Archive for Main Course

What to do with all those EGGS?

easter-wallpaper-1

We love Easter in our home!

We love the reason behind it, and the celebration of Christ’s resurrection. We love the excitement of the Easter egg hunt, the wonderment, the family, the traditions, and yes, the FOOD.

What oh what to do with all those eggs you dyed?  We used to hunt those dyed eggs as kids until the dog got sick on them :-).

Our children just hunt the plastic kind, but I still love the tradition of dying the boiled eggs on Good Friday!  They love it too!  But what do you do with all of them?  This is where I can help!  They are just sitting in your fridge, right?  Well, don’t let them go bad.  I have ideas for you!  And, yes, they are still good to eat!

basket-of-easter-eggs-A

Take those beautiful pastel eggs and use them – ketofy them!

There are numerous uses for boiled eggs such as adding them to salads, (especially tuna salad and cobb salad), deviled eggs (an Easter favorite), add them to sautéed spinach or asparagus with hollandaise, or even just eat them for breakfast or a snack with a little salt and pepper.

My favorite Easter memory is creamed eggs though!  Creamed eggs just scream Easter morning breakfast for me, and this is how my mom used our dyed eggs on Easter morning.  She literally just used a Béchamel sauce and added the chopped boiled eggs.  Of course she served it over well-buttered toast, and it was delicious, but when you are eating against the grain you need to modify.  What do you do when you can’t use flour in your Béchamel?  Did you know that if you simmer cream long enough, it will naturally thicken?  This trick I did not know until I went Keto!

This is what I did:

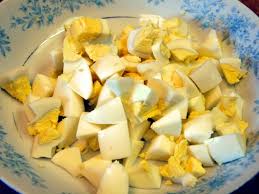
Peel and cut up your boiled eggs and set aside.

images

Allow about 45 minutes for your cream to thicken.

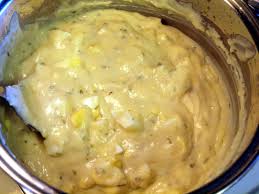
Using 4 cups of heavy whipping cream, (add a Bay Leaf if you like), and bring to a rolling boil over medium-high heat.  Keep an eye on it because it will make a mess if it boils over, and it does have a tendency to do this.  Keep the cream at a low boil for about 45 minutes stirring frequently over medium heat.  When it reaches the consistency of a cream sauce, turn it off.  It can take a little longer, but not more than an hour.  (Yes, I would say this is a weekend treat unless you get up really early.)

starburst-sauce-and-dilly-bars-068-1

Now, you can add salt (1 tsp Pink Himalayan) and pepper (1/2 – 3/4 tsp freshly ground) and keep it as it is or add some more flavor.

Now, plain is delicious, but I took it a step further:

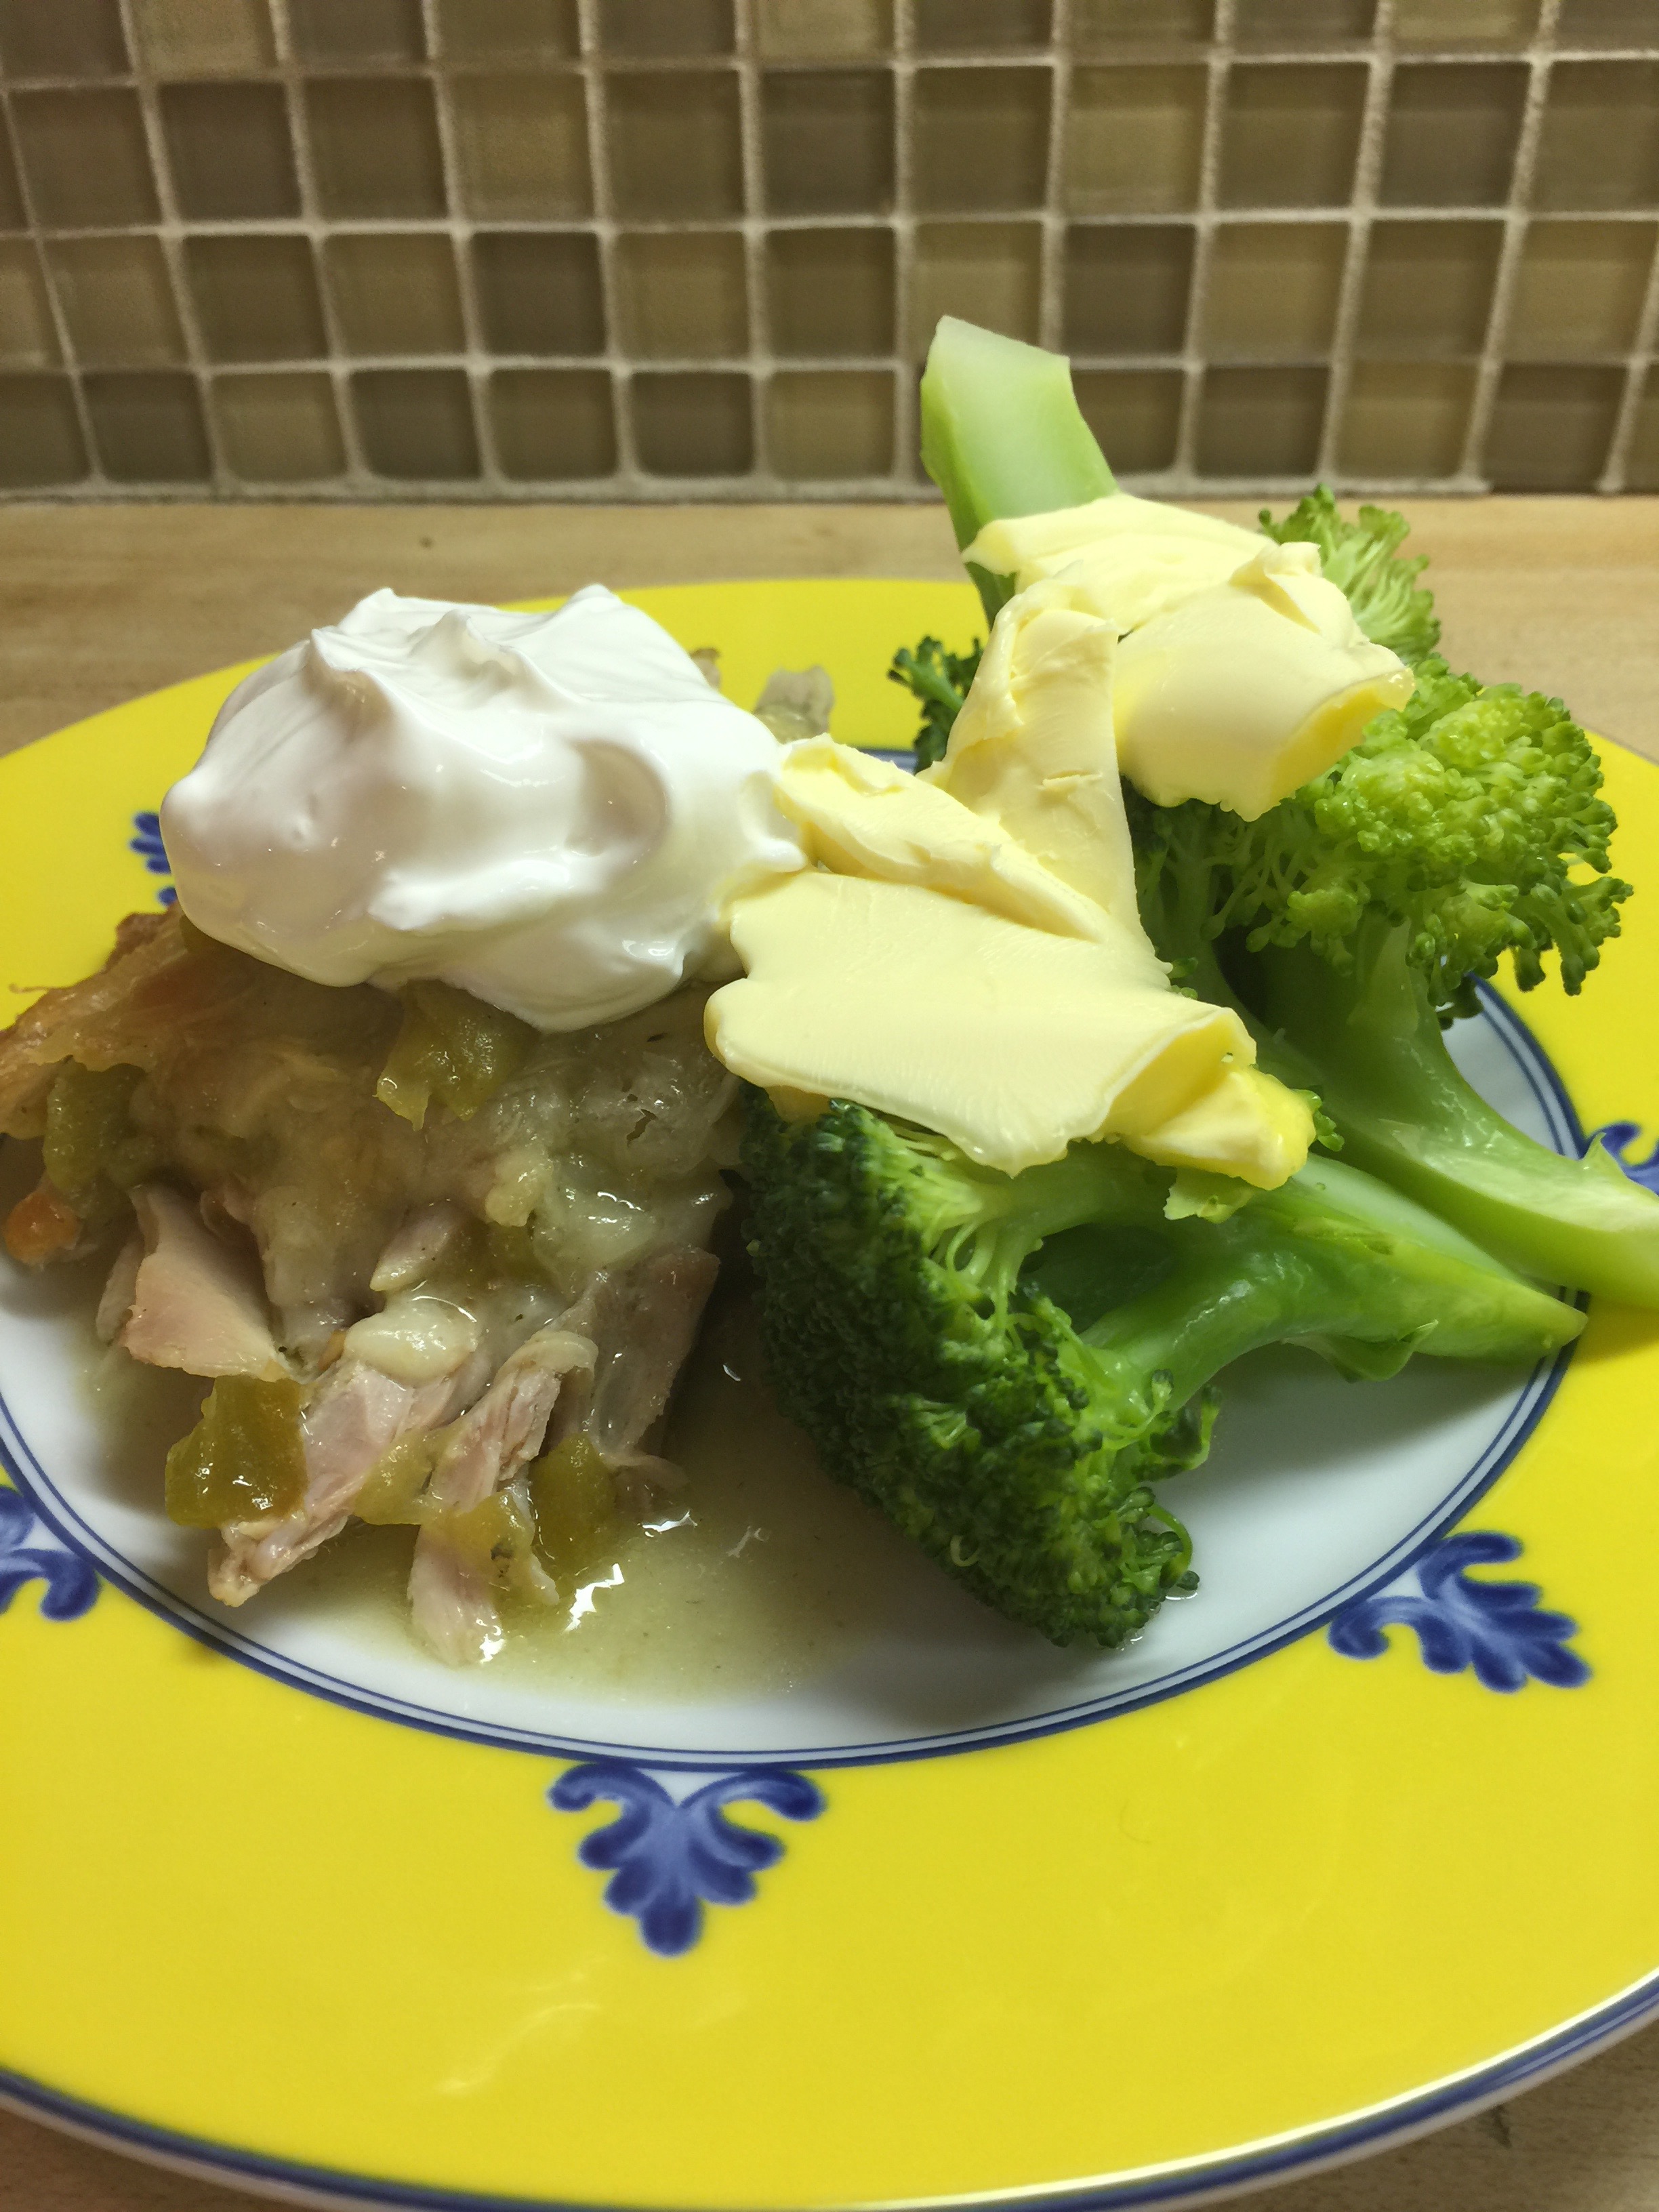
I added a couple of Tbsp of fresh chopped parsley and 1/2 cup of fresh parmesan.  Stir until melted.  Lastly, add your eggs and gently mix them in.  You can also add a few TBSP of butter for extra decadence.

My family loved it, but couldn’t figure it out the new taste with the cheese until I told them what I added.  It was deliciously creamy and decadent.  You don’t even need bread!  Spoon it into a bowl and enjoy your new tasty, gluten free treat!

Unknown


Easiest Dinner Ever!

8f13089806ded9dc49d92b71e26bac58

Well life just got super crazy in our house!  We were just getting into the swing of basketball season, and the craziness of baseball season smacked us upside the head.  Little did we know that baseball started the day after the draft and looks to be 7 days a week between the two boys.

Pile that onto 3 ongoing basketball teams and a move!  My head is spinning.  We are regrouping to some very easy, fast meals that can be prepped ahead and thrown into the oven at go time.

This is something I made on a ski trip on the fly so I pulled it out today.  It doesn’t get much easier than chicken, sauce and cheese!

Green Enchilada Casserole

2 Chickens or 6 Chicken Leg Quarters

1 jar of 505 Roasted Green Chili Sauce

3 cups Monterrey Jack Cheese

Sour Cream

Hot Sauce

Yes!  It is that easy.  I bought the precooked chicken quarters at Costco (Not the best quality, but as well as I could do in a pinch) and just peeled the chicken.  We prefer the fattier dark meat chicken, but you can also use a rotisserie chicken, chicken breasts or boil or roast a couple of chickens.  I was able to get about 5 -6 cups of chicken out of the Costco pack.  I used 4 in my casserole dish and saved the rest for chicken salad.

IMG_5946

Pile the chicken in your dish and cover with about 2 to 3 cups of the green chili sauce and mix throughout the chicken. (I used 1/2 a large jar)  I even mixed it in the baking dish.

IMG_5949 IMG_5947 IMG_5950


Top with cheese!


IMG_5948

That is it.  Now you can either throw it in the oven or cover and refrigerate until you are ready to cook.
I cooked it on 325 degrees for 45 minutes.  You could do 350 degrees for 30 minutes, but I had carpool and needed the time!

DSC_0033

We like to top it with a healthy portion of sour cream, and if you like it spicy, add some hot sauce too.

It goes beautifully with broccoli and Kerrygold.

IMG_5961


There you have it!  A hot great dish in less than an hour!

Enjoy!

Home Cooking on a Cold Winter’s Eve

I don’t know about you, but getting back into the swing of things has been tough this week.

mombalancing-act

We returned from vacation, had another Christmas at home, entertained family, Happy New Year, undecorated, reorganized, and now back to school and after-school activities!  It’s a lot to jump into after a couple of weeks off!

The last thing I always want to do when we return from vacation, is go to the dreaded grocery store.  This means a lot of experimenting and improvisation in our house because my crew expects three hot meals a day out of me, and Mom is pooped right now.

What to do?  The freezer!  This is a word I rarely use because really, all we use our freezer for is ice and meat.  We purchased a half of a grass-fed cow in August, and we still have quite a bit left.  We always crave red meat when we have been traveling which was obviously the case, because I went to the freezer and pulled out stew meat, a roast, and some steaks.  The steaks we grilled right away, but the others required a little more effort.  Not much though.  On undecorating day, I knew I would be busy so I pulled out an old recipe, made a few changes, and prayed we would have something tummy warming good for dinner.

61nGZkpNKNL._SL1500_

It was amazing! In fact, my ten year old has asked for stew in his thermos for lunch every day since that he has needed a lunch.  We have had some moist bone-chilling days in South Texas recently, and there is nothing better than good, warm you up from within, home-cooked meals from the heart!

This takes a little forethought, but get it going, and forget about it all afternoon.  Before you know it, it is dinner time and it’s ready to go.  Perfect for those basketball practice nights when everyone is coming home at different times.

Hearty Beef Stew

3 lbs Stew Meat chopped

16 oz bacon

2 cups beef broth

14.5 oz can petite diced tomatoes, drained

1 green bell pepper

1 cup baby carrots

1 small onion

6 cloves garlic, minced

2 Tbsp tomato paste

2 Tbsp Worcestershire Sauce

2 tsp pink Himalayan salt

2 tsp black pepper

1 tsp garlic powder

1 tsp onion powder

1 tsp dried oregano


Instructions:

Slice your bacon into small pieces and cook in a large dutch oven.

20131121_203219

Once your bacon is cooking and you have a nice layer of grease, add your stew beef.  Cook until browned, and then add your onion, pepper and garlic.

cooking-beef-300x225

Cook these for about 5 minutes.  Add your remaining ingredients, stir, and bring to a boil.  Once boiling, reduce the heat to low.  Cover and simmer for 3 hours or until you are ready to serve.

spicy-beef-stew_andrew-mccaul

My family prefers their stew runny, almost like a beef soup.

If you are used to a stew with potatoes and a thicker sauce, this will not turn out like that.  If your family likes the thicker stew, dust the top of your stew with just a pinch of xanthan gum.  As it sits and you stir, it will slowly thicken.  This will give you a more stew like consistency.

Enjoy!


A Fast and Delicious Weeknight Favorite!

winterfriday food frenzy

‘Tis the season for crazy weeknights!  We are all in the thick of school and sports, but add the holidays to the mix, and you are about ready to pull out your hair.  Let’s just say, dinner sometimes becomes a hassle, more than a featured event this time of year!

Before I give you the recipe, I need to preface it with the fact that I used to detest salmon.  I LOVE fish, but never ever wanted salmon if I saw it on the menu.  I don’t know if I had it poorly prepared in the past or if my tastes have changed, but it is now a staple around here.  Not only is it perfectly amazing in healthy fats, but it is SO tasty and E-A-S-Y!!!  Many are afraid to cook fish at home, but this one is a no brainer.  Up until last night, we were a split family on the salmon.  Three of us can’t get enough, but the daddy and one middle child (who shall remain nameless) would eat it, but didn’t love it.  Things have changed due to one simple addition: Herb Butter!  The best news; you can make it ahead, and you can have dinner on the table in less than 20 minutes!  I kid you not!!!

Herbed Butter Salmon

Prepare your butter ahead of time and wrap it up for later.

1 cup butter (I used one block of Kerry Gold – yes, it makes a difference)

1 lemon zested (just the zest)  you can save the lemon juice for later.

1 TBSP dried dill (or 3 TBSP fresh)

5 cloves garlic, minced

1/4 tsp ground pepper

1/4 tsp pink Himalayan salt

Bring your butter to room temperature.  Zest your lemon and mince your garlic.  Combine all of your ingredients.

IMG_5220 IMG_5219

Stir and mash everything together.

IMG_5221

Scrape onto a piece of waxed paper or parchment paper.

IMG_5222 IMG_5223

Form it back into a block on parchment, seal in a bag, and keep in the refrigerator until ready to use.

Now for the Salmon:

I used a wild caught whole filet. There are many many kinds from farm raised to the cold waters of Alaska.  I always ask for the fattiest version of salmon at the seafood counter.  Just like everything else, the food industry is actually trying to make salmon “low fat” because of our fat phobic society.  I figure the fatty one is the most natural since salmon IS a fatty fish!

Preheat your oven to 425 degrees.

On a cookie sheet sprayed with coconut oil, lay out your filet skin side down.

Sprinkle your salmon with your favorite seasoning.  There are several that I love, but this was a favorite last night:

IMG_5231

You know how I love my bulk spices!  They are such a bargain, and so many from which to choose!  This one is the Colorado Spice from Central Market, but take a stab at something new!  This is the fun part of grocery shopping!

IMG_5224

Once you have your fish seasoned, place in a preheated 425 degree oven.  Watch it carefully!  Depending on the size, cook for 10 to 15 minutes until the fish flakes.  I did this one for 12 minutes.  It is always best to ere on the less done side for fish.

I sautéed a box of fresh spinach in butter to go under the salmon while the fish was in the oven, and in under 20 minutes, dinner was served.  Top with your fun new herb butter, and it is just perfect!

IMG_5225


Enjoy!!!


A Taste of New England in the Lone Star State!

images


I am imagining cooler weather at this point in San Antonio.  The humidity is unbearable at the moment, but the sight of pumpkins, falling leaves, and mums make me pretend it’s cold outside and dream of the cool crisp mornings to come.


fall-leaves-hq-2


I am piggy backing off of Erin’s post earlier in the week.  She posted our recipe for bone-broth, which if you haven’t tried, you must.  I didn’t make it for about a year after I heard about it, and then, once made, I was kicking myself for all those months without.  It is an automatic pick-me-up, arthritis healer, sore throat cure, and overall, just an incredible remedy for almost anything.  During flu season, everyone in our house gets a cup everyday to boost the immune system – and it works.


So what else is great when cooler weather arrives or you are feel sub-par?  Soups, chowders, stews – anything piping hot!  Now, I have to come clean…I was really skeptical about this one.  First, I have never made clam chowder before.  Second, this was a far deviation from the original version I have seen.  Third, would my children eat something with clams?  My reaction was, why not?  Wow!  And…Oh YES, they will!  In fact, three out of four went back for seconds!  So, in thinking positive thoughts about cooler weather, here is a brand new one for you!  This is another one that you can make ahead on a busy afternoon and dinner is prepared for later!


e7faa46c-fe97-4a20-8be0-35e0dc36ee44


Creamy New England Clam Chowder With Bacon

Ingredients:

4 – 6.5 oz cans of chopped clams packed in clam juice

2 – 8 oz bottles of clam juice

2 cups chopped leeks (white and light green parts – this was 5 leaks for me)

1 large head of cauliflower chopped into chunks

8 – 10 slices of bacon chopped into pieces

1 cup broth

1/2 tsp dried thyme or 2 tsp fresh

3 TBSP fresh minced Italian parsley

1/2 tsp fresh black pepper or more to taste

1 tsp Himalayan salt

1/2 cup butter


IMG_5172 IMG_5171


Directions:

In a large soup pot, cook your bacon over medium heat until just starting to brown.  Add you leeks and sauté until wilted and soft.

Remove half of your mixture and set aside.


IMG_5174


Add your cauliflower, clam juice, juice from the canned clams (save the clams though), water and thyme.  Increase heat to high and bring to a boil.  Then reduce heat to low, cover, and simmer for 30 to 40 minutes until the cauliflower is very soft.

Using an immersion blender, puree the soup until it is light and creamy.  It should start to resemble clam chowder now.  I love my Cuisinart Immersion Blender!


IMG_5176


Now, just add the clams, the rest of your leeks and bacon, butter, salt, pepper, and parsley.  Simmer for 20 minutes.  You can always add cream, or more butter, salt and pepper to taste.  At this point, you can turn off the heat and save it for later or serve piping hot with a little cheese on top if you like.

Enjoy!


Southern Comfort Food – Keto Style!

I am trying to pretend that it is fall here in San Antonio!  Sure doesn’t feel like it, but I heard a rumor that it might be coming soon :).

fall-festival-clipart-fall-festival-clip-art2-300x214

With fall approaching, we start to crave more comfort foods and home cooking.  I’m not sure there is anything more comforting in cooler weather than some good ol’ southern cooking.  The trick is trying to create southern comfort food lower on the carb scale.

While at Costco last week, I noticed that they had some huge, delicious, bone-in pork chops on sale.  I bought them, put them in the fridge, and then began to wonder what on earth I was going to do with all these beauties.

Driving around, looking at all the fall wreathes on doors and pumpkins on stoops really made me want to try something southern good!

images
I searched, tweaked, and nailed it – gravy and all!

I just had to share so you can plan for this cooler weather we are rumored to have soon.

Best of all, I cooked this entire meal on my kids crazy sports day because it can all be prepared ahead!


Slow-Cooker Pork Chops with Herbed Gravy

3-4 pounds bone-in pork chops (6 chops)

1/2 cup butter

1 white onion

6-8 cloves garlic

1 tsp dried thyme

1 tsp ground mustard

Salt and Pepper to taste

1/2 cup fresh Italian parsley

2 cups chicken broth

1/2 cup bacon drippings

1 pound mushrooms, sliced

Sauce:

1 1/2 cup cream

3 tsp xantham gum

1/2 – 3/4 cup fresh basil chopped


Instructions:

Lay out your pork chops and coat each side with salt, pepper, thyme and ground mustard.  Be generous with your seasoning.

Chop onion and mince your garlic.

IMG_4749 IMG_4750

Saute your onion and garlic in the butter until softened.

IMG_4751

Press softened veggies to the side and add your seasoned pork chops.  Brown slightly on each side over medium heat. (2-3 minutes per side)

IMG_4752 IMG_4754

Pour everything from your pan into your crockpot.  Then add chicken broth and bacon drippings.

IMG_4756 IMG_4757

Add your parsley and mushrooms last, cover, and cook on low 6 to 8 hours.

When you are almost ready to serve, remove the pork chops and cover to keep warm while you make your gravy – YUM!

IMG_4763

These were so tender, they fell off the bone!

For the gravy:

Turn your crockpot up to high.  Add your cream and basil.  Stir with a whisk.  Very carefully, lightly sprinkle the xantham gum over the top while whisking quickly.  This has to be added very carefully with a fine sprinkle or it will clump similarly to corn starch.

Continue to whisk and you will see it thicken – be patient, it will take about 5 minutes.

IMG_4761

We served this wonderful mushroom herbed gravy over the pork chops which we placed on a bed of garlic cauliflower mashers with a side of okra.  It was a huge hit with the entire family just in time for fall!

IMG_4760


Enjoy – and Happy Fall, Y’all!!!


What’s For Dinner?

It is hard to believe that we already have a month of school under our belts!  Time certainly does fly!  Not only do the months fly, but the hours in the day seem to get shorter and shorter as well.  The best advice I can give you for dinners is to PLAN AHEAD!

time-flies

You need to know your busy days – these are my leftover days!

Know the days that you will have an extra hour or two – these are my cooking days!

Lastly, know the days when you have a little extra time to throw something in the oven – these are the days when I usually use something pre-prepared.  Yes!  I said it!  I DO use prepared foods every so often, as long as I know how they are prepared and what is in the package.  Other prepared foods are foods that I have made and previously frozen.  If I make a chili, stew, lasagna, etc., I always double the recipe and freeze one to pull out on a busy day.  It doesn’t take much more effort, but it saves you loads of time in the future for a home cooked meal!

images-1

Planning ahead makes all the difference in the world.  As long as I know what proteins, veggies, and other sides I have in the fridge, (and always have 3 or 4 days worth of all the above) – I know my family will survive, and even better, be full and satisfied.

For instance, I know that Wednesdays are my worst day.  Not only am I in the car for 2 hours in the morning shuttling the kiddos to school, but I am also in the car for 2 hours in the afternoon getting three kids to four different activities.  I couldn’t believe it when I timed it!  I am actually in the car longer driving around the neighborhood getting kids to gymnastics, soccer, and more soccer than I am taking my children to another town for school.  I wouldn’t give it up for the world, but it does take serious planning.  Really, though, there is not another better day in the week to have a leftover day!  It’s the midpoint of the week, and time to clean out from all that weekend cooking!

Unknown

Tuesdays are my best day!  It is our only day this sports season that we do not have a scheduled regular activity.  This is my shopping day and big cooking day.

mother-cooking-clipart-kids-cooking-clip-artwriting-books-etc--april-2011-qbwtquon

Mondays I am usually prepared from the weekend before when I hope to have time to prep some things for the week.

Thursdays are always busy so this is usually a pre-prepared day.

Fridays are more relaxed.  We either eat out or I cook something easy.

Saturdays are usually cooking days as are Sundays, but this is a good left-over day to clean out the fridge for the week ahead.  I generally spend a lot of time preparing for the week ahead on Sundays.  This is when I bake for breakfasts, make Keto desserts, my sauces, and my seasonings.  It always feels great to start the week prepared.

Here are a few really simple dinner ideas to throw together on those super tough week nights:

The kids favorite:

Taco night – We always have ground meat, and this is super easy with lettuce as your tortilla!  We make a taco bar and the kids LOVE it!

IMG_3780

This next is a prepared dish: Stuffed Pork Tender (Cream cheese and jalapeño) with a side of zucchini topped with parmesan and bacon brussels.

IMG_3751 (1)


This one is super fast…Steamed broccolini with butter, alongside broiled salmon and stuffed mushrooms.

IMG_3745

Beef pinwheels with a side of asparagus:

IMG_3722

Top with queso and you get a thumbs up:

IMG_3724

ABC burgers with a side of squash casserole:

IMG_2662

Stuffed bell peppers with stuffed mushrooms!  Apparently, I was in the mood to stuff!

IMG_2780

Keto spaghetti with zucchini and grilled sausage:

IMG_2598

Grilled skewers with a veggie…we did grilled asparagus.

IMG_2545

I hope that this gives you some easy, quick dinner ideas for your family.  These are some of our favorites along with a host of others!  Happy cooking!


Tacos-Yes Please!

I know you have missed them. If you are a San Antonian, how could you not?? I mean this is an actual mascot here – Henry-The Puffy Taco.

puffy20taco2

I’ll be honest, me too.

Until recently…


Many times if we go out for breakfast we would order our tacos in a bowl. SO many places are quite accommodating.

But there are few things better than lounging in your jammies, drinking your (BP) coffee, and eating breakfast at home.

Yes, we do bacon and eggs OFTEN but being a native South Texan I like my breakfast tacos. This may sound silly, but the hubs (from Colorado) calls them breakfast burritos and it drives me a little crazy.

A wonderful girlfriend of mine came over last weekend and enlightened me to the lettuce wraps from HEB. Borderline life changing over here. I have had lettuce wrap tacos many times before but I did not know that the actual heads could be purchased at the grocery store.

IMG_5359

Here is a full head with a cork to compare size


The heads are smaller and compact. They were perfect! Super crisp, perfect size, incredibly versatile, and made ideal Keto tacos.


These can be used for so many things but this week I made some fantastic breakfast tacos. Check these out-so simple.

IMG_5348


Wrap, cheese, and breakfast sausage. They turned out great!


IMG_5353 IMG_5352


A Night Out on the Town

It’s the weekend, and what is better than taking a night off from the kitchen to have a wonderful meal out?  For those of you not local to San Antonio, you will have to make the trip down here.  We know many of our readers are local though, so we have some great tips you can try for an evening out!

The kids are off to camp this week so we decided to try some new restaurants we had heard about.  We ventured out four nights this week which I think is a record!  Of the four, two were very much post worthy.

The first one worth mention was Cured, which is located in the Pearl area near downtown San Antonio.  I went with Erin and another Keto friend, Kelley, where we decided to get three different dishes and serve them family style.

IMG_3254

We ordered a great variety.

The first was the Crabmeat Ravigote:IMG_3249

It is basically lump crabmeat in a mayonnaise base topped with a ton of avocado and salad fixings.  I asked them to leave off the beets.  It was a delightful summer dish, not to mention beautiful!

The second was the Wagyu Brisket Sandwich:

IMG_3252

Of course, without the bun!  Another delicious dish.  Look at the Herb Creme Fraiche and picked onions!  And…the wonderful natural beef fat could only help to make it perfectly KETO!

The third dish was a hands down favorite with all three of us.  Pork Cheeks Poutine:

IMG_3253

I am still salivating over this one!  I had never had pork cheeks or any kind of cheeks for that matter, but I guarantee I will have them again.  They are melt in your mouth tender with wonderful flavor.  They braise these and then slow cook them for hours.  It was topped with gobs of flavorful cheddar cheese, pickled cauliflower, and we chose to add the fried egg.  Can you say Keto, Keto, Keto!  AMAZING!!!  I can’t say it loudly enough!


Over all Cured got 5 Stars from all of us for food, atmosphere, staff, and Keto friendly!


The other restaurant we tried was The Cookhouse!  This one is located off of St. Mary’s on Mistletoe in a cute little restored house.  Make sure you have a reservation!  We went on Tuesday night and the only reservation they had left was 6:00 pm.  We probably watched them turn away 7 or 8 parties while we were there.  Another advantage of this restaurant is their corking policy.  You can bring your favorite wine to enjoy for a $20 corkage fee.


The Cookhouse is a New Orleans style restaurant so we were a little anxious going in because of all the heavy carb dishes usually associated with New Orleans.  They could not have been more friendly about substitutions here even though they had a large party that evening.  Everything is prepared fresh while you wait, and we were able to have a perfectly Keto Low-Carb meal.


We tried a lot of different dishes, and realized we ordered too much once the entrees arrived.  They are massive so go hungry!


We started with the Shrimp Remoulade Salad and Pork Cracklins:

IMG_3240


The Pork Cracklins are you guessed it, Pork Rinds served with an incredible cream cheese, sour cream and chive dip. These are a far cry from the pork rinds at the gas station!


IMG_3242

Above is the Shrimp Remoulade Salad-A meal in itself but watch out for the fried green tomatoes.


IMG_3243


Trout Almandine above


IMG_3244

Braised Pork Shoulder with zucchini.


IMG_3247This was in place for the Blackened Drum in the menu, I believe it was a red fish.


When you think of cajun often the first thought after spicy and gumbo is grits. None of the four of us had grits and none of us missed them.


The Cookhouse was super accommodating and the objects on your screen are about three times larger than they appear. 🙂


Beautiful Bells!

I had some grass-fed ground beef and bell peppers in my fridge that I needed to use.  I decided to combine the two for some fabulous stuffed bell peppers!  They turned out fabulous so I just had to share.  This was a great main course.  Save your carbs for this one because the veggies are a little higher in carbs than most of our recipes, but it is a super healthy way to combine your veggies and protein for a fairly easy meal.  I changed out the cheese in the picture for mozzarella and it was excellent.

Start with all your ingredients:

IMG_2749

6 Bell Peppers

1 1/2 lb Grass-Fed Ground Meat

1/2 Onion finely chopped

5 cloves of garlic minced

1 1/2 tsp Italian Seasoning

16 oz can of Organic diced tomatoes

1 can of organic tomato paste

1/2 cup sweet peppers

1 small can of diced black olives

1/2 cup cauliflower rice (recipe on site – this is a great binder)

Colby Jack cheese or Mozzarella cheese

Salt and Pepper to taste

Directions:

Brown your ground meat.  Add your onion, garlic, and chopped sweet peppers to soften.

IMG_2753

IMG_2754

There are a few ways to cut your peppers.  For more stuffing, you want to cut off the stemmed top and leave the rest of the pepper.  Cutting them in half also works for a smaller portion – you just don’t eat the stem.  This is what I do for my children because they just eat the meat and cheese out of the center anyway.  I did both of these with the green peppers.  You can also cut them in half lengthwise and use both halves.  This is what I did for the red peppers.

Make sure you wash well – remove the stem if you are not using both halves.  Remove the seeds and the membranes on the inside of the pepper.

In a large pot of simmering water, place your clean peppers and simmer for about 5 minutes until just barely softened.  This will take away a little of the bitterness.  Set aside.

IMG_2760

Back to the meat…add all your remaining ingredients except for the cheese.  Feel free to add spices and other ingredients to your liking or subtract those you don’t care for.IMG_2765 IMG_2755

Now scoop out your mixture and stuff inside your peppers.

IMG_2766

Top with cheese, and bake at 350 degrees for 30 minutes.

IMG_2770

We served ours with stuffed mushrooms – I was obviously on a stuffing kick!

IMG_2780

Enjoy!


« Older Entries