Well…this was not my intended post for today, but it worked out well!
We have all heard the term, “When life gives you lemons, make lemonade!”
My theme for today, is “When your eggs won’t peel, make egg salad!”
The intention of the post for today was yummy deviled eggs to finish off the menu for Independence Day! However, I did not plan well enough ahead!
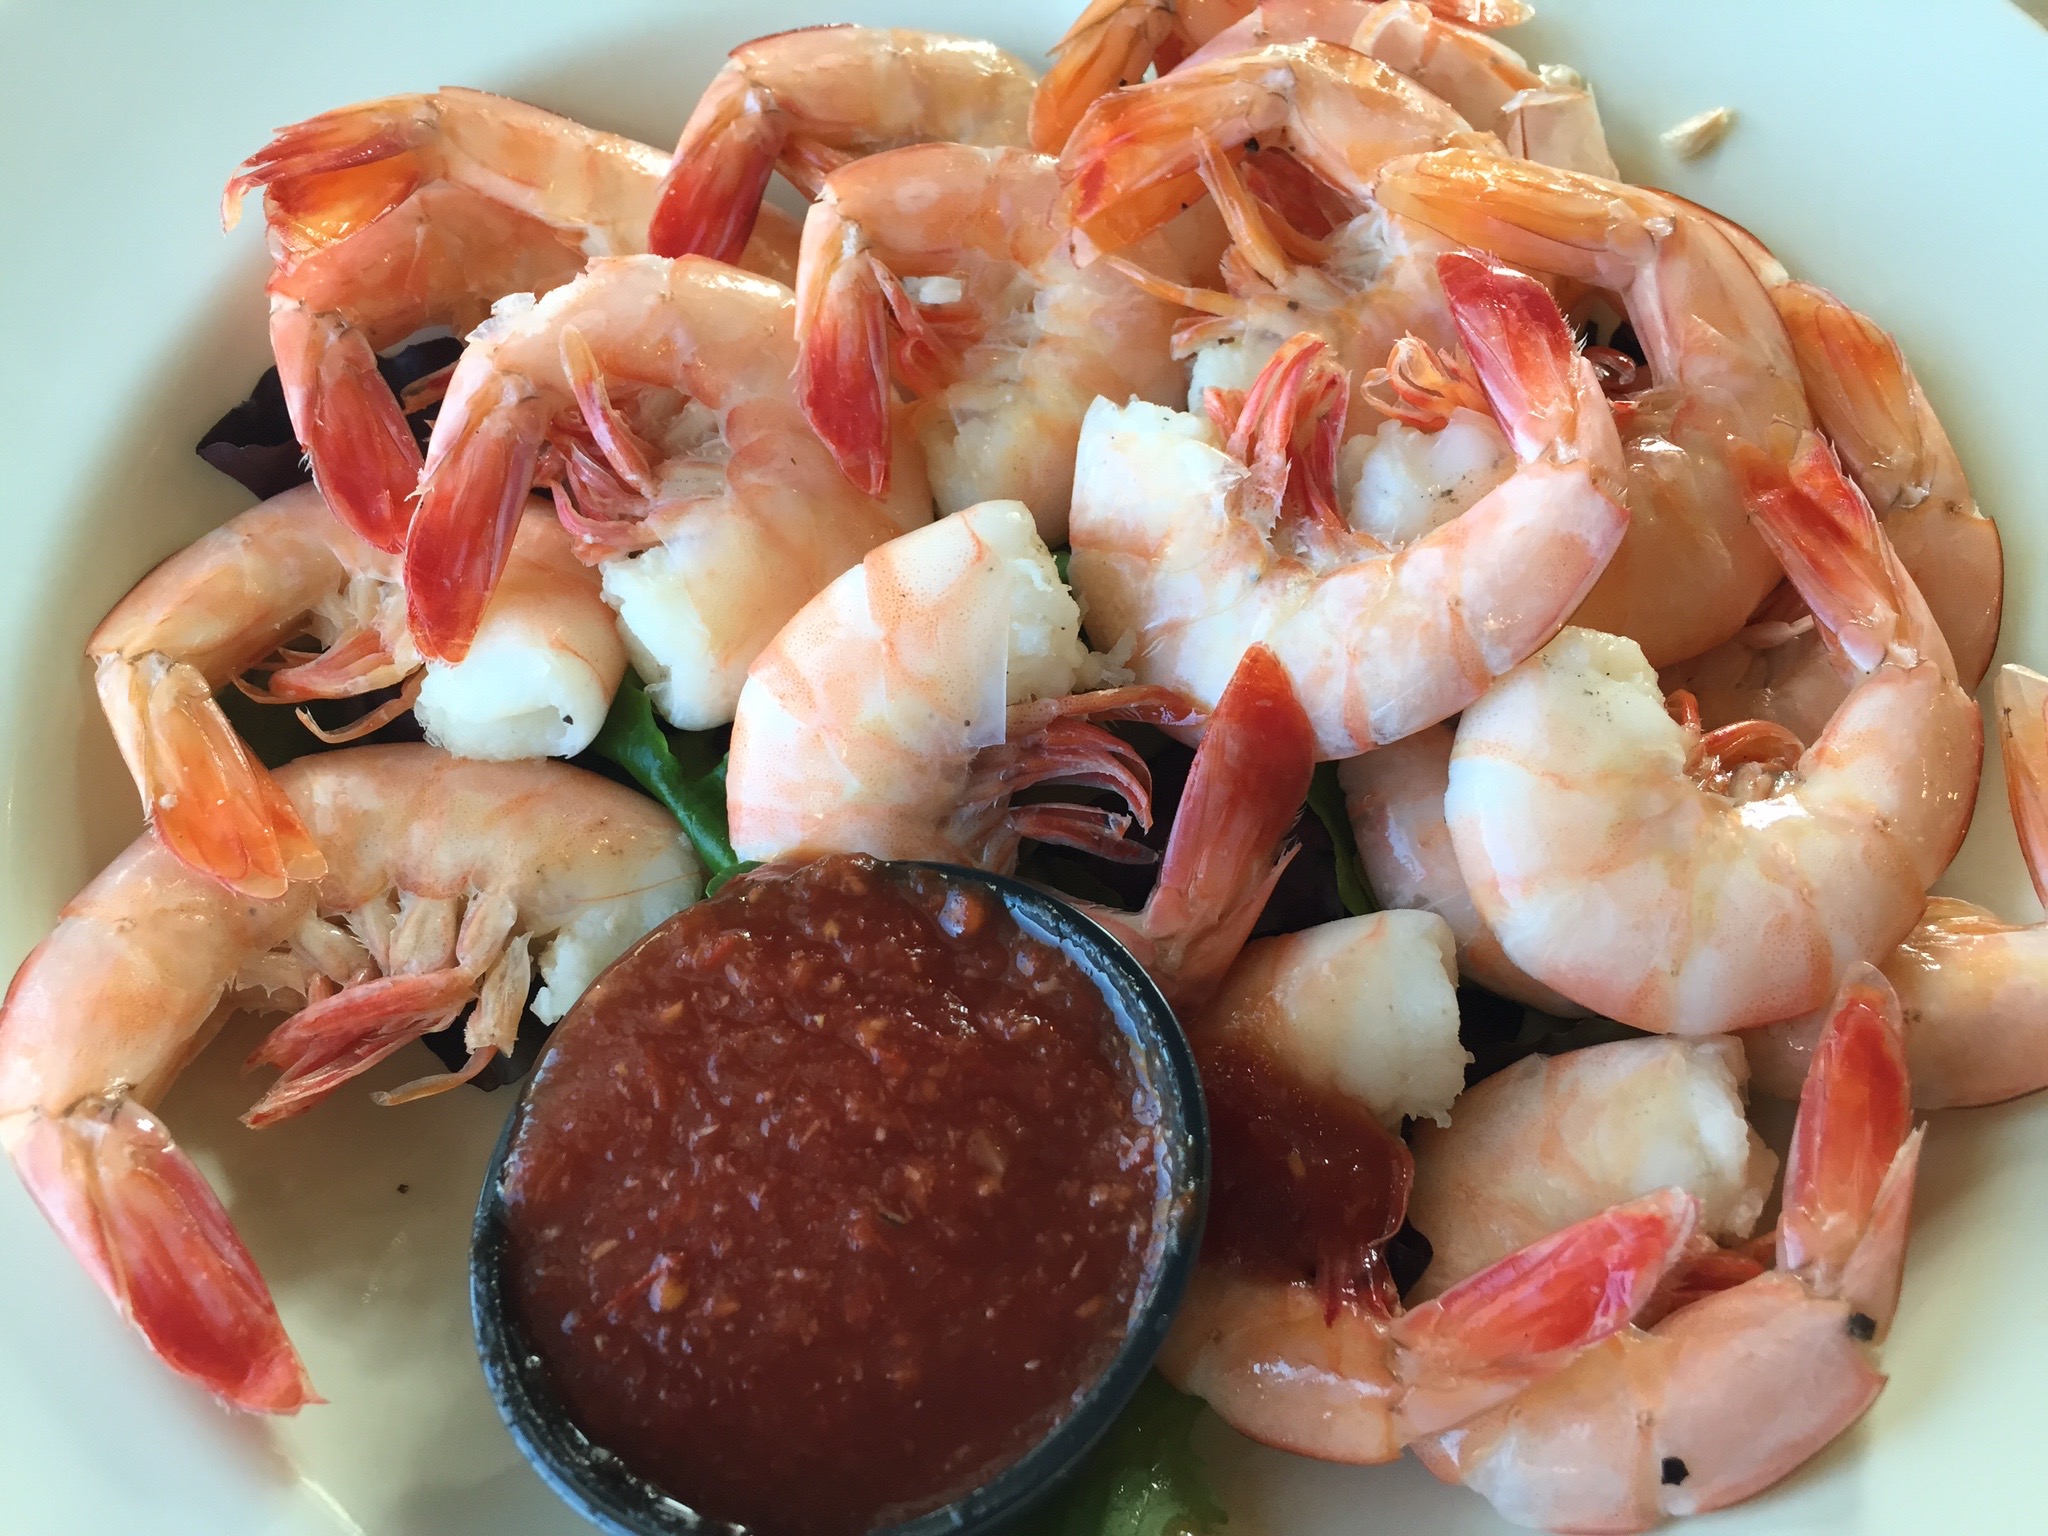
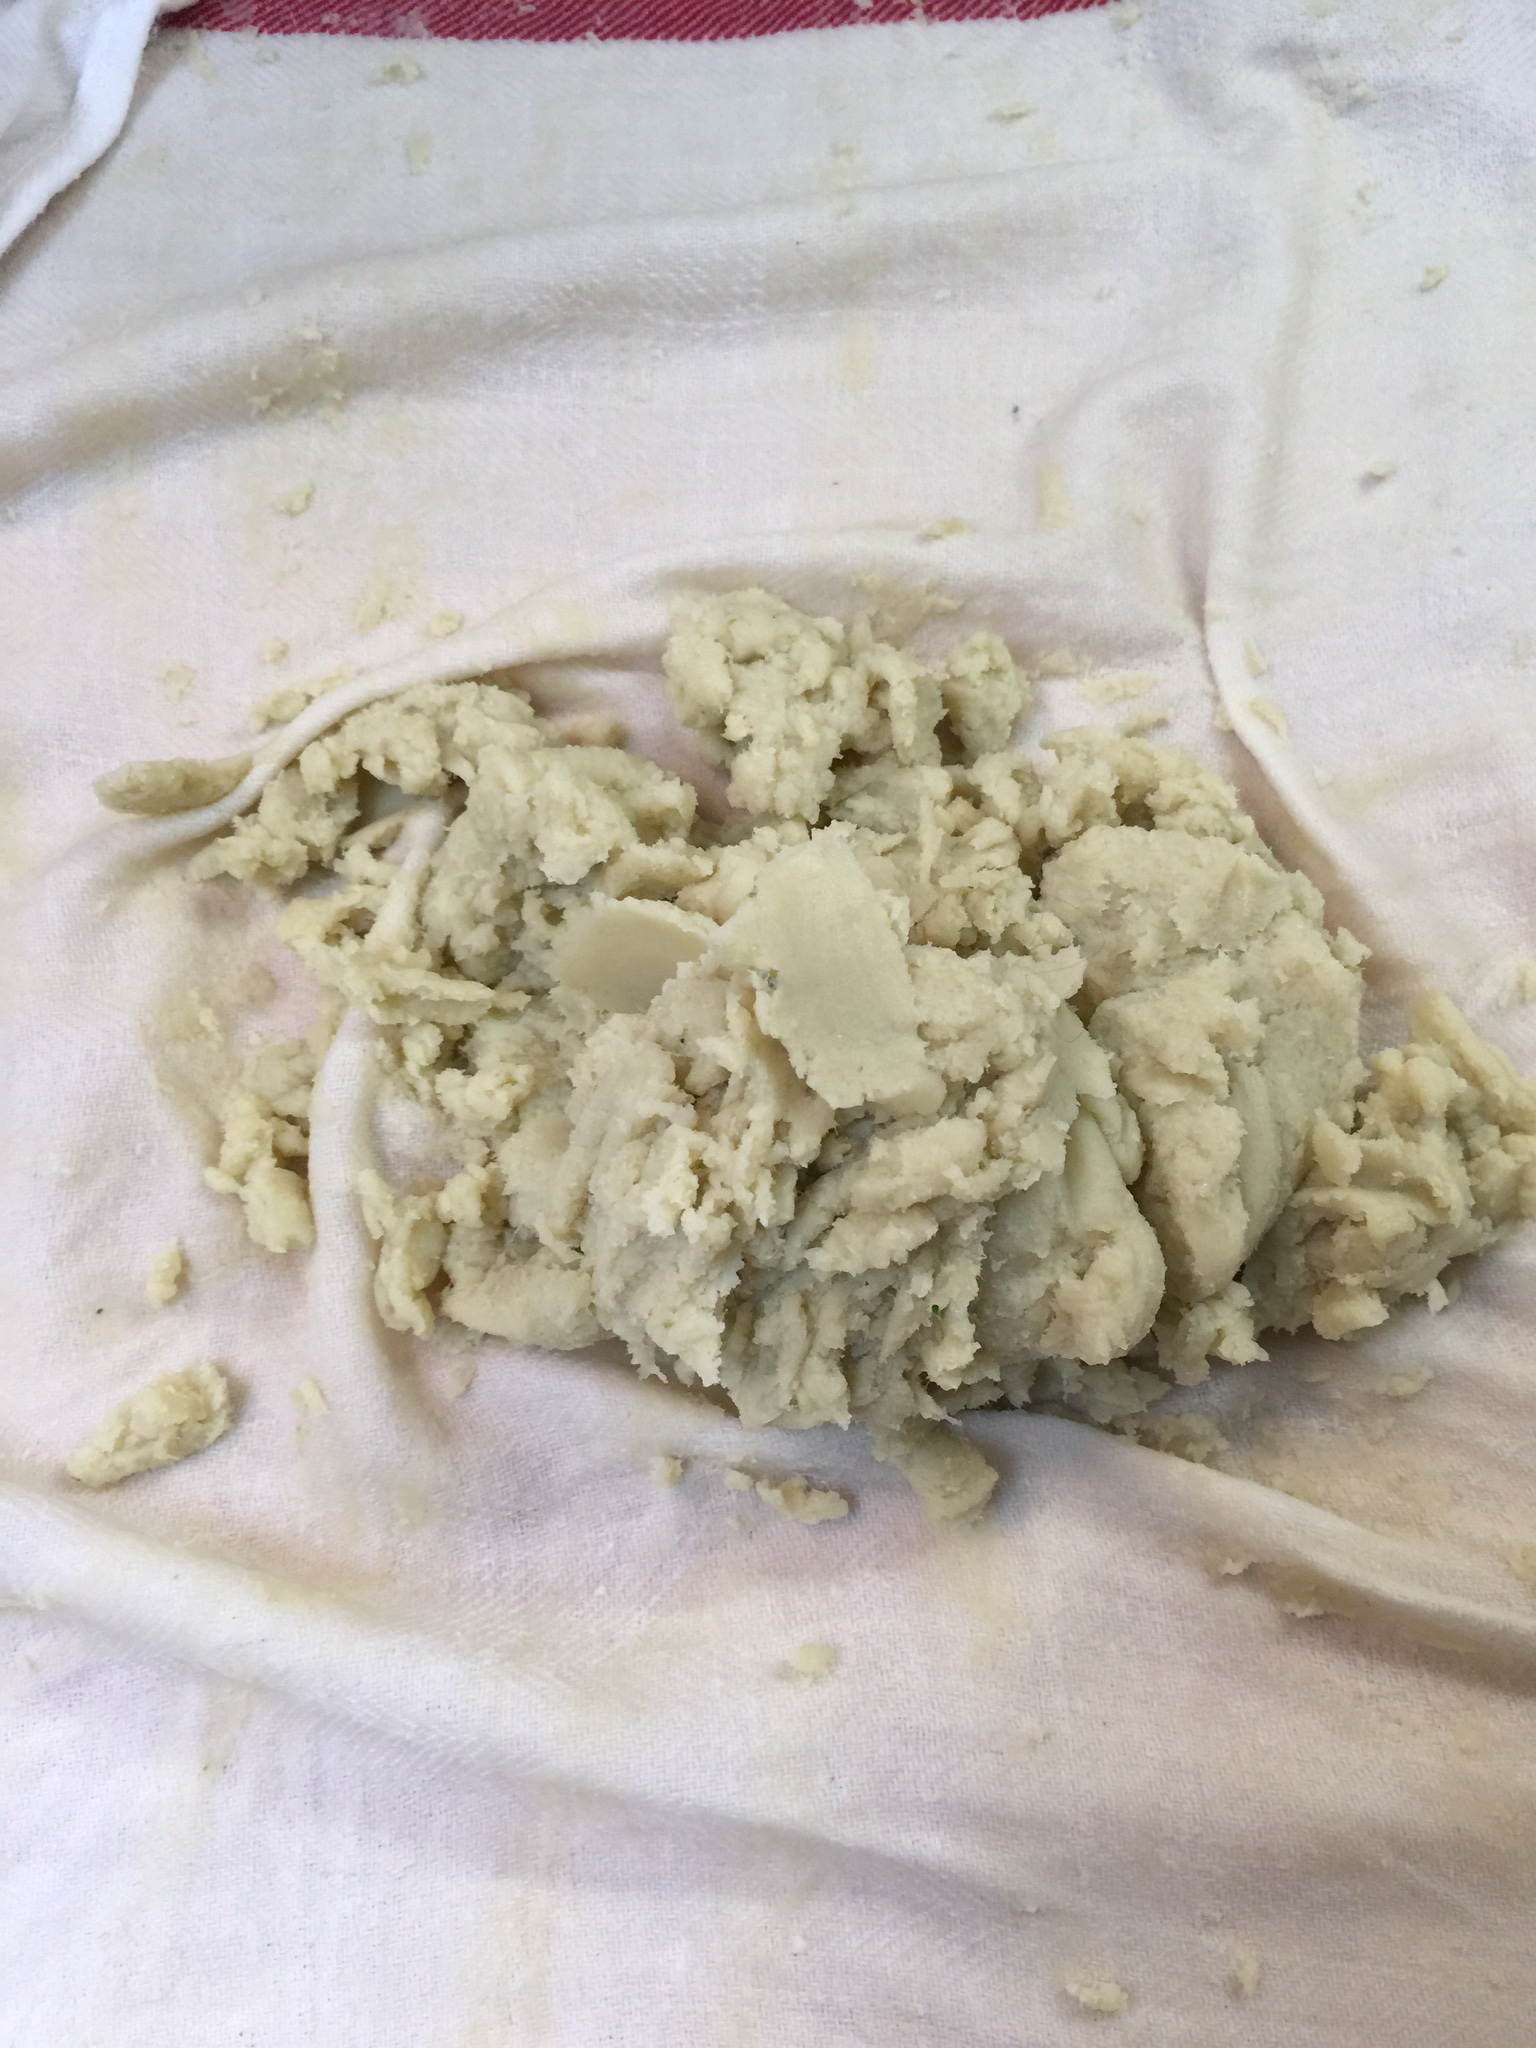
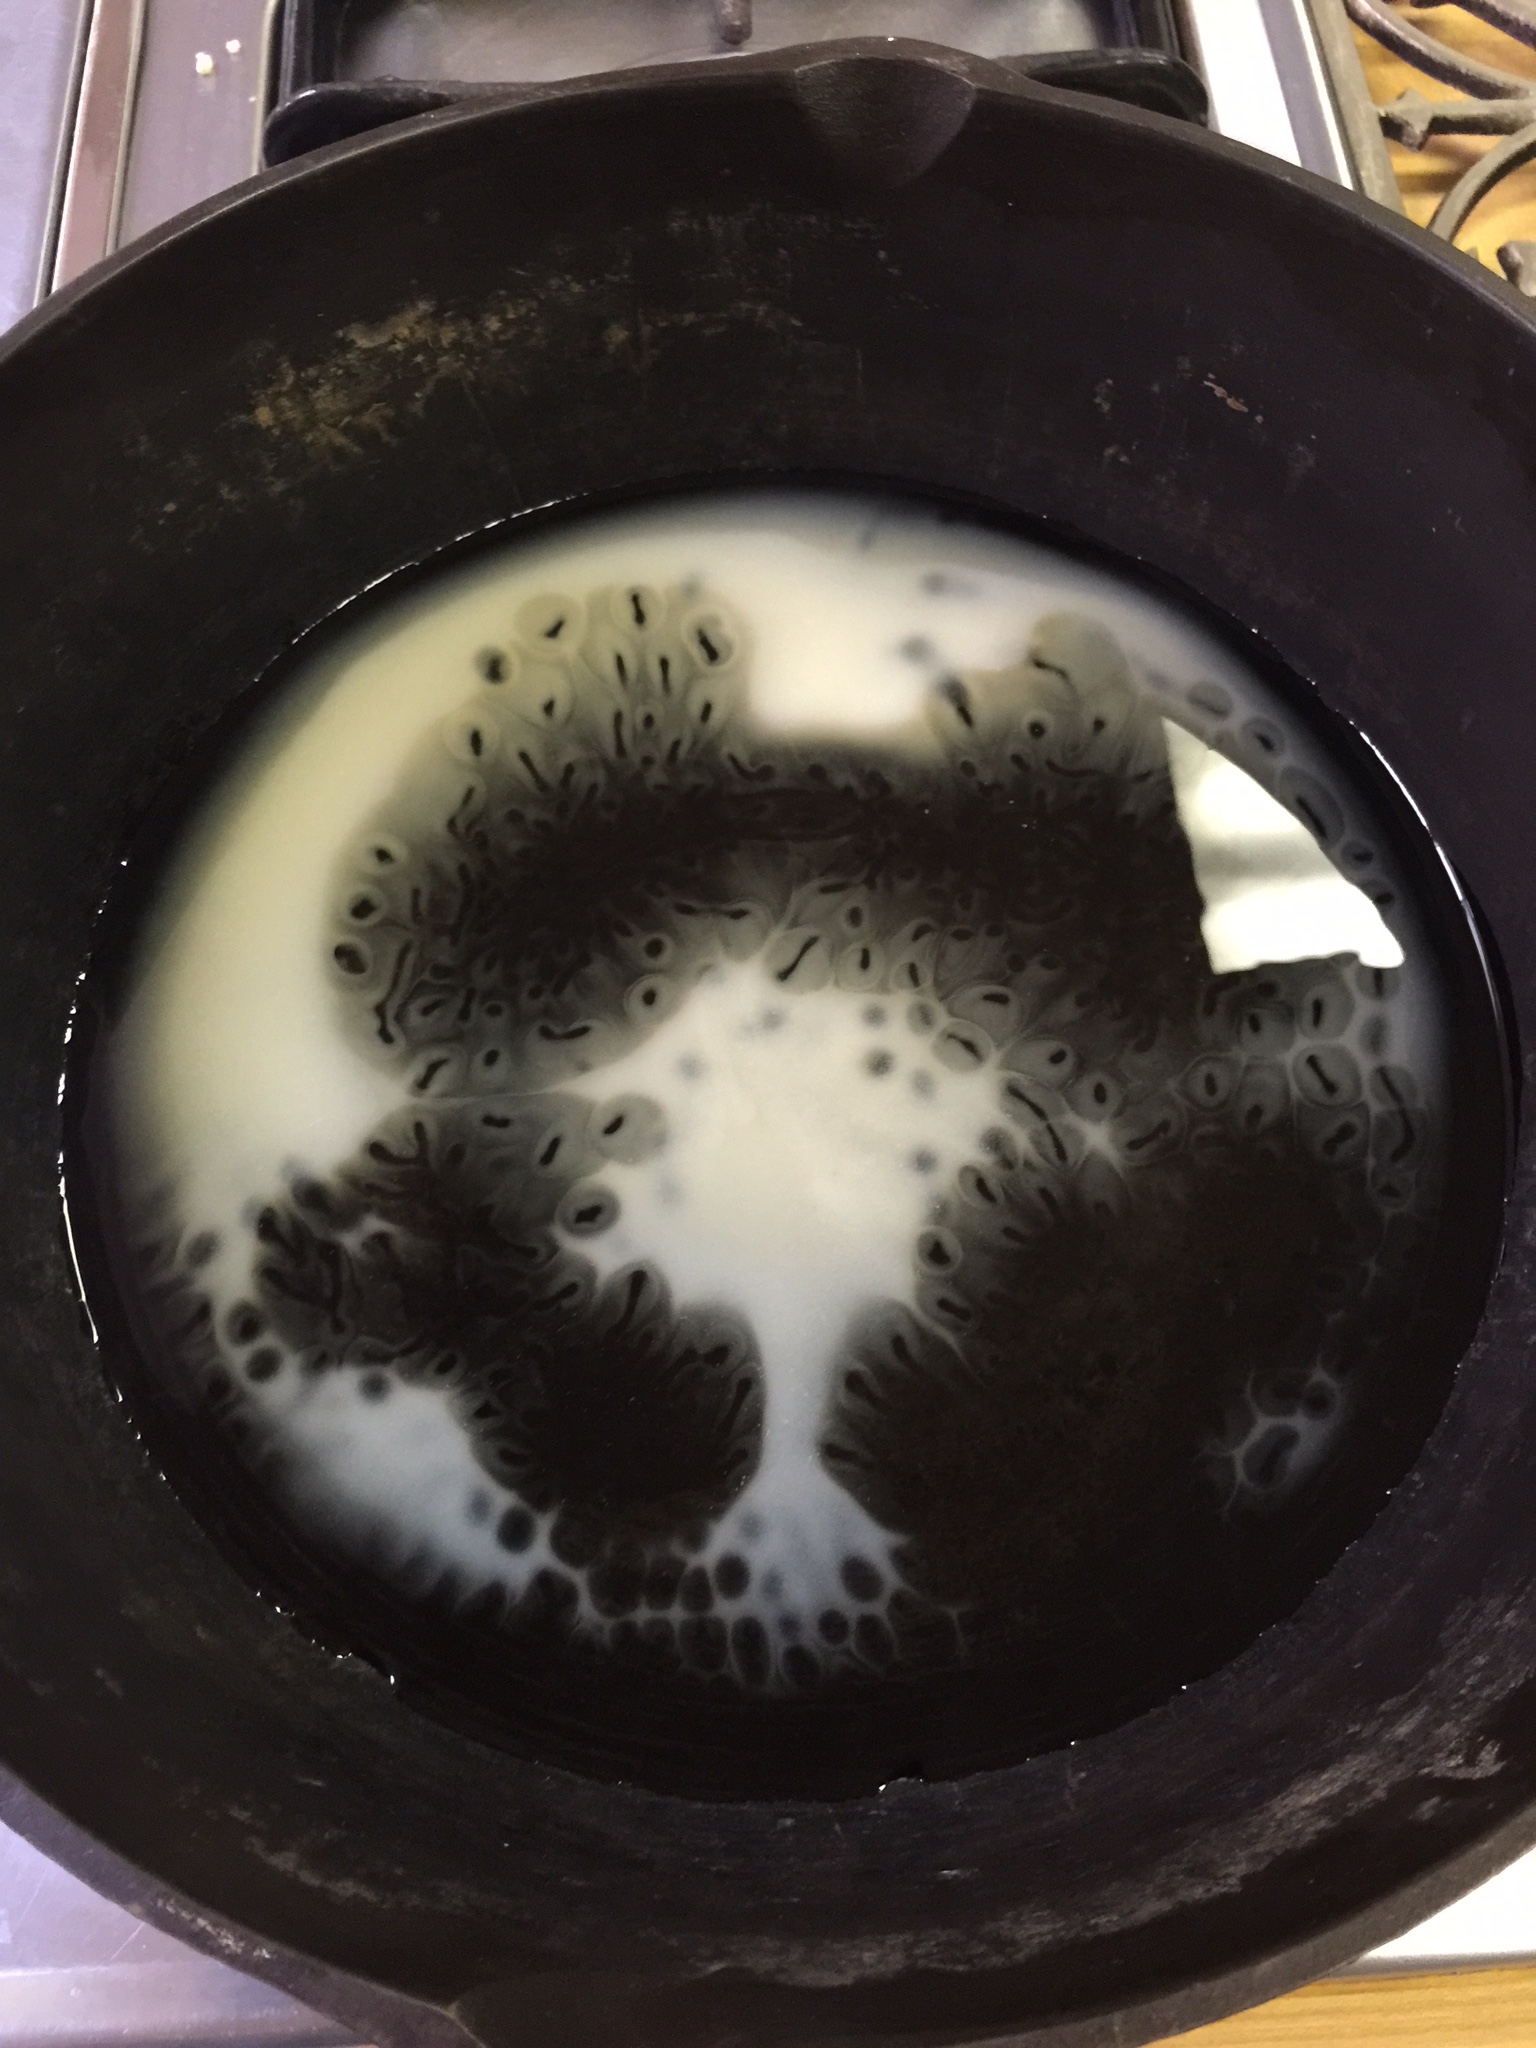
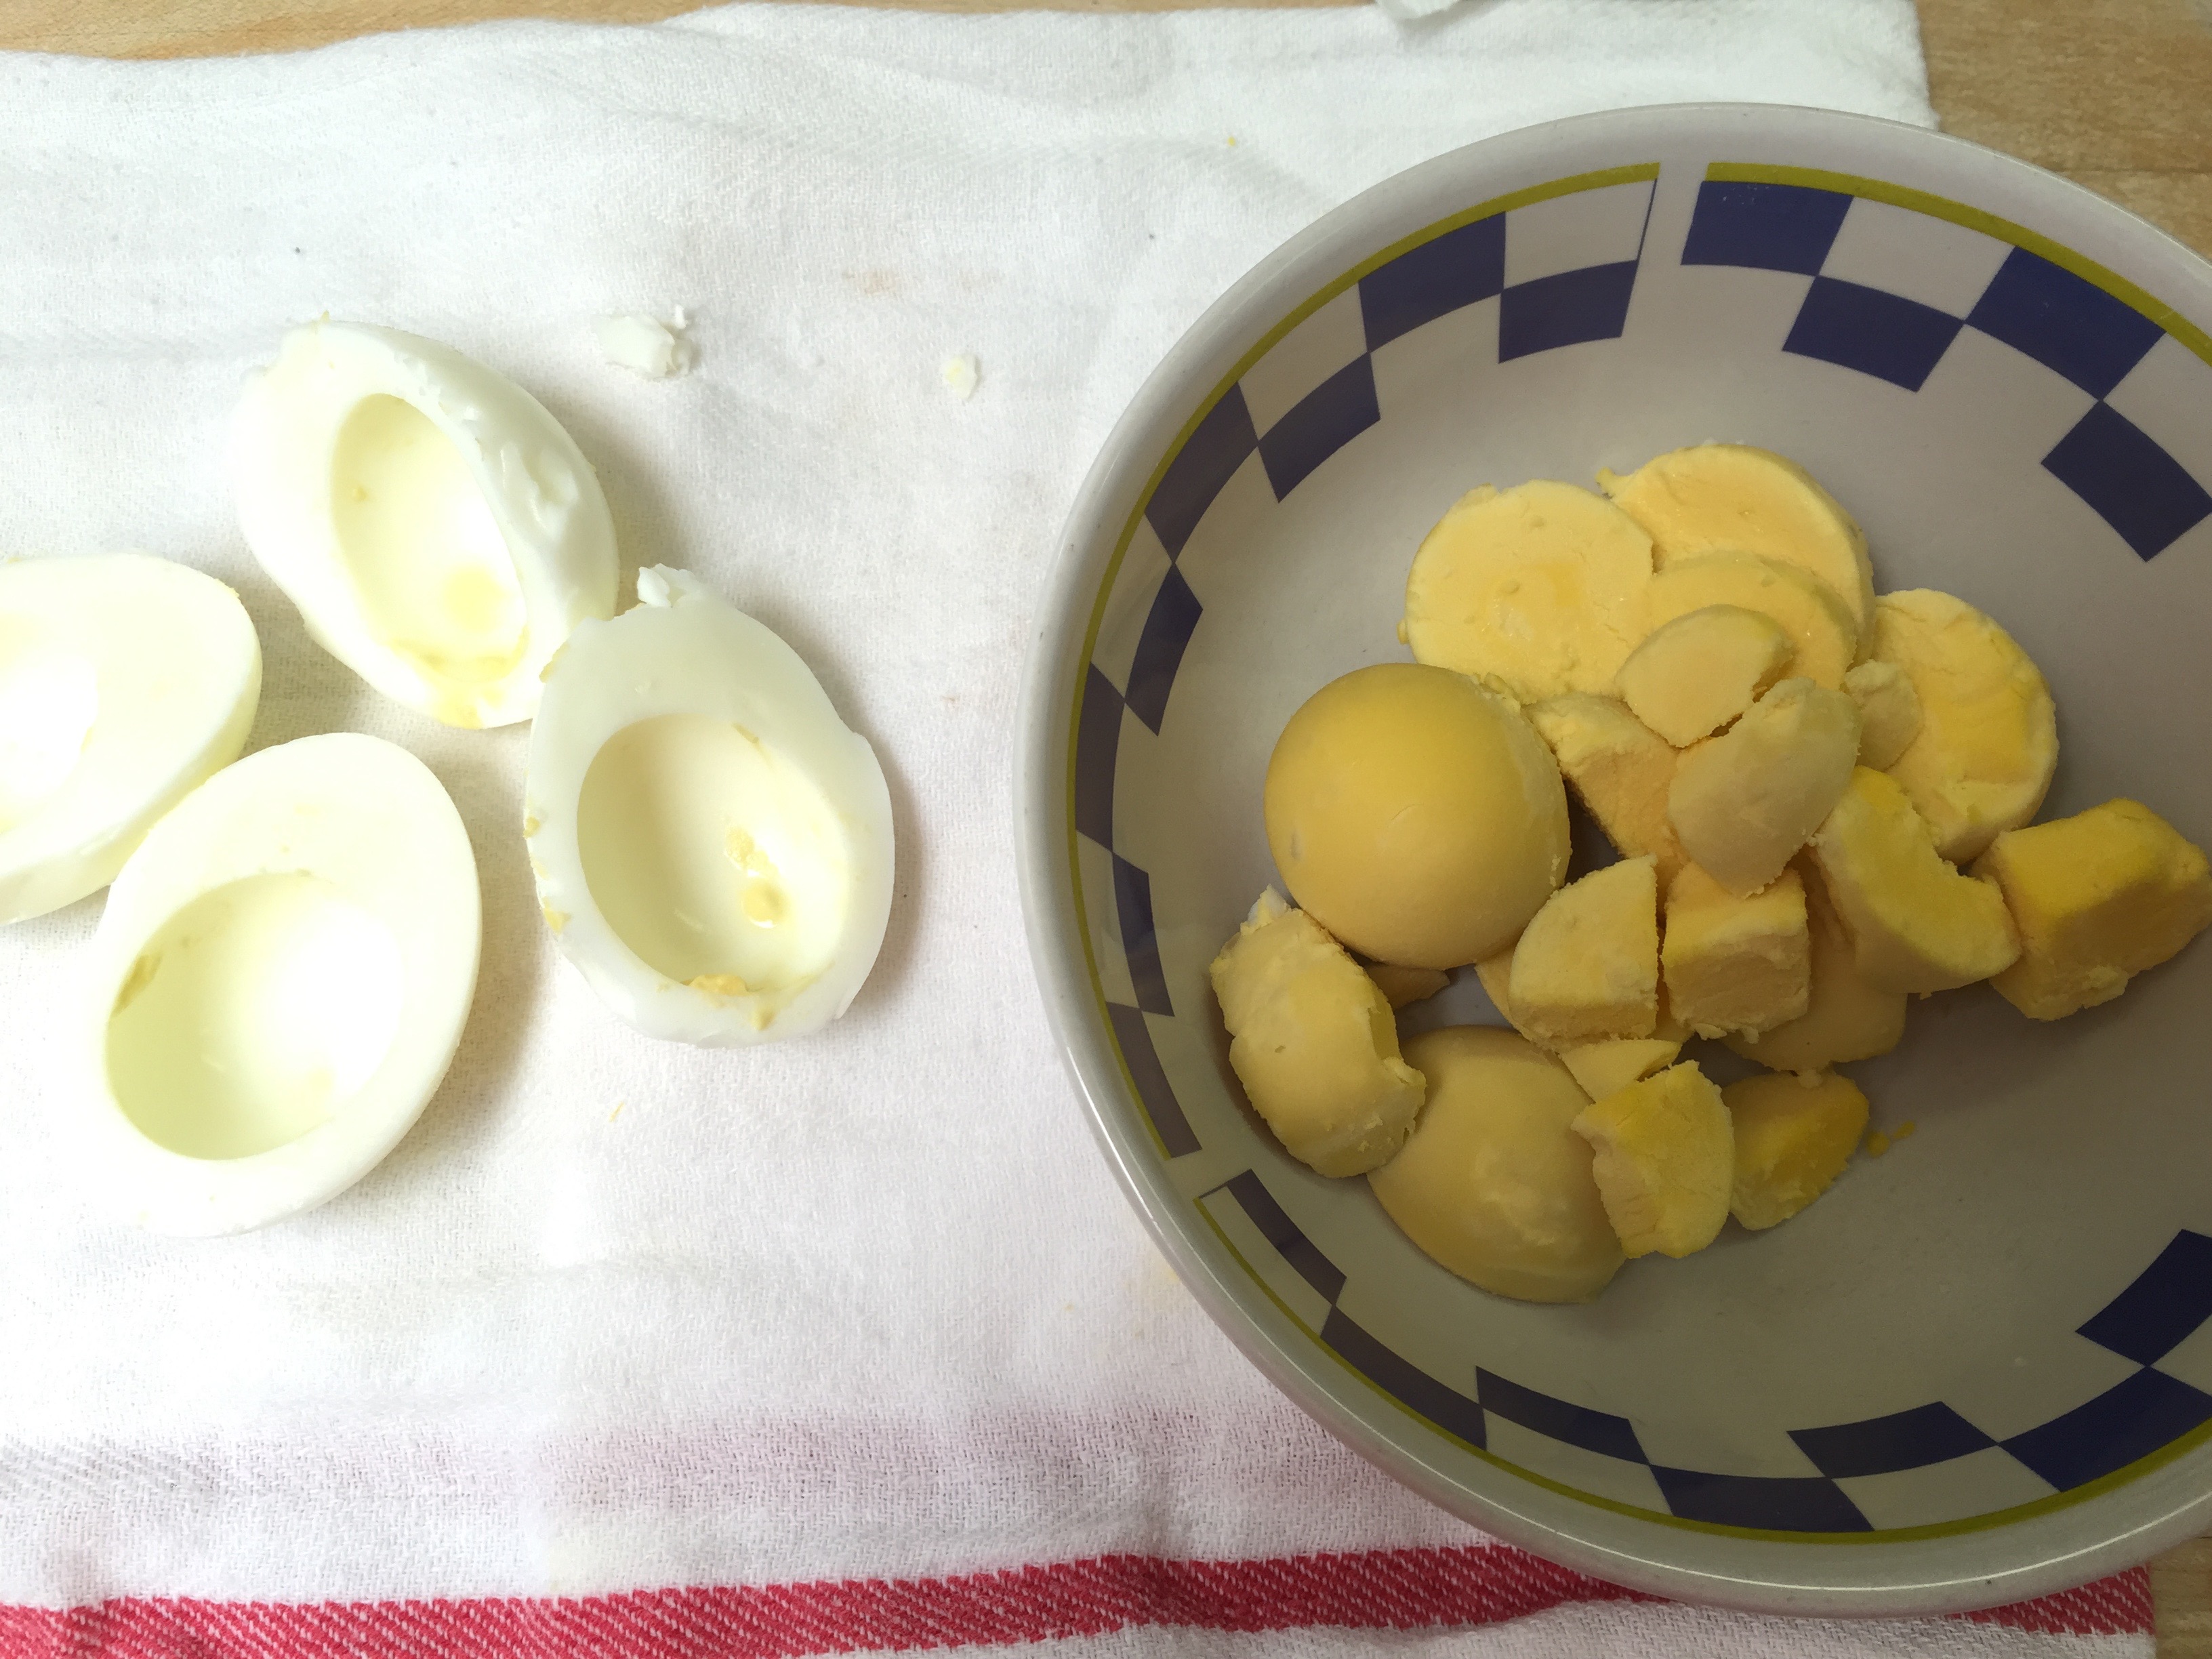
This was a good lesson! Anytime you want pretty peeled eggs, plan ahead! I did not know we were so low on eggs (because I always have several dozen.) When you do boiled eggs, they are much easier to peel when they are not fresh. You want to buy them 5 to 7 days ahead of when you need them. I bought mine yesterday, boiled them, and tried to peel them. This is what happened:
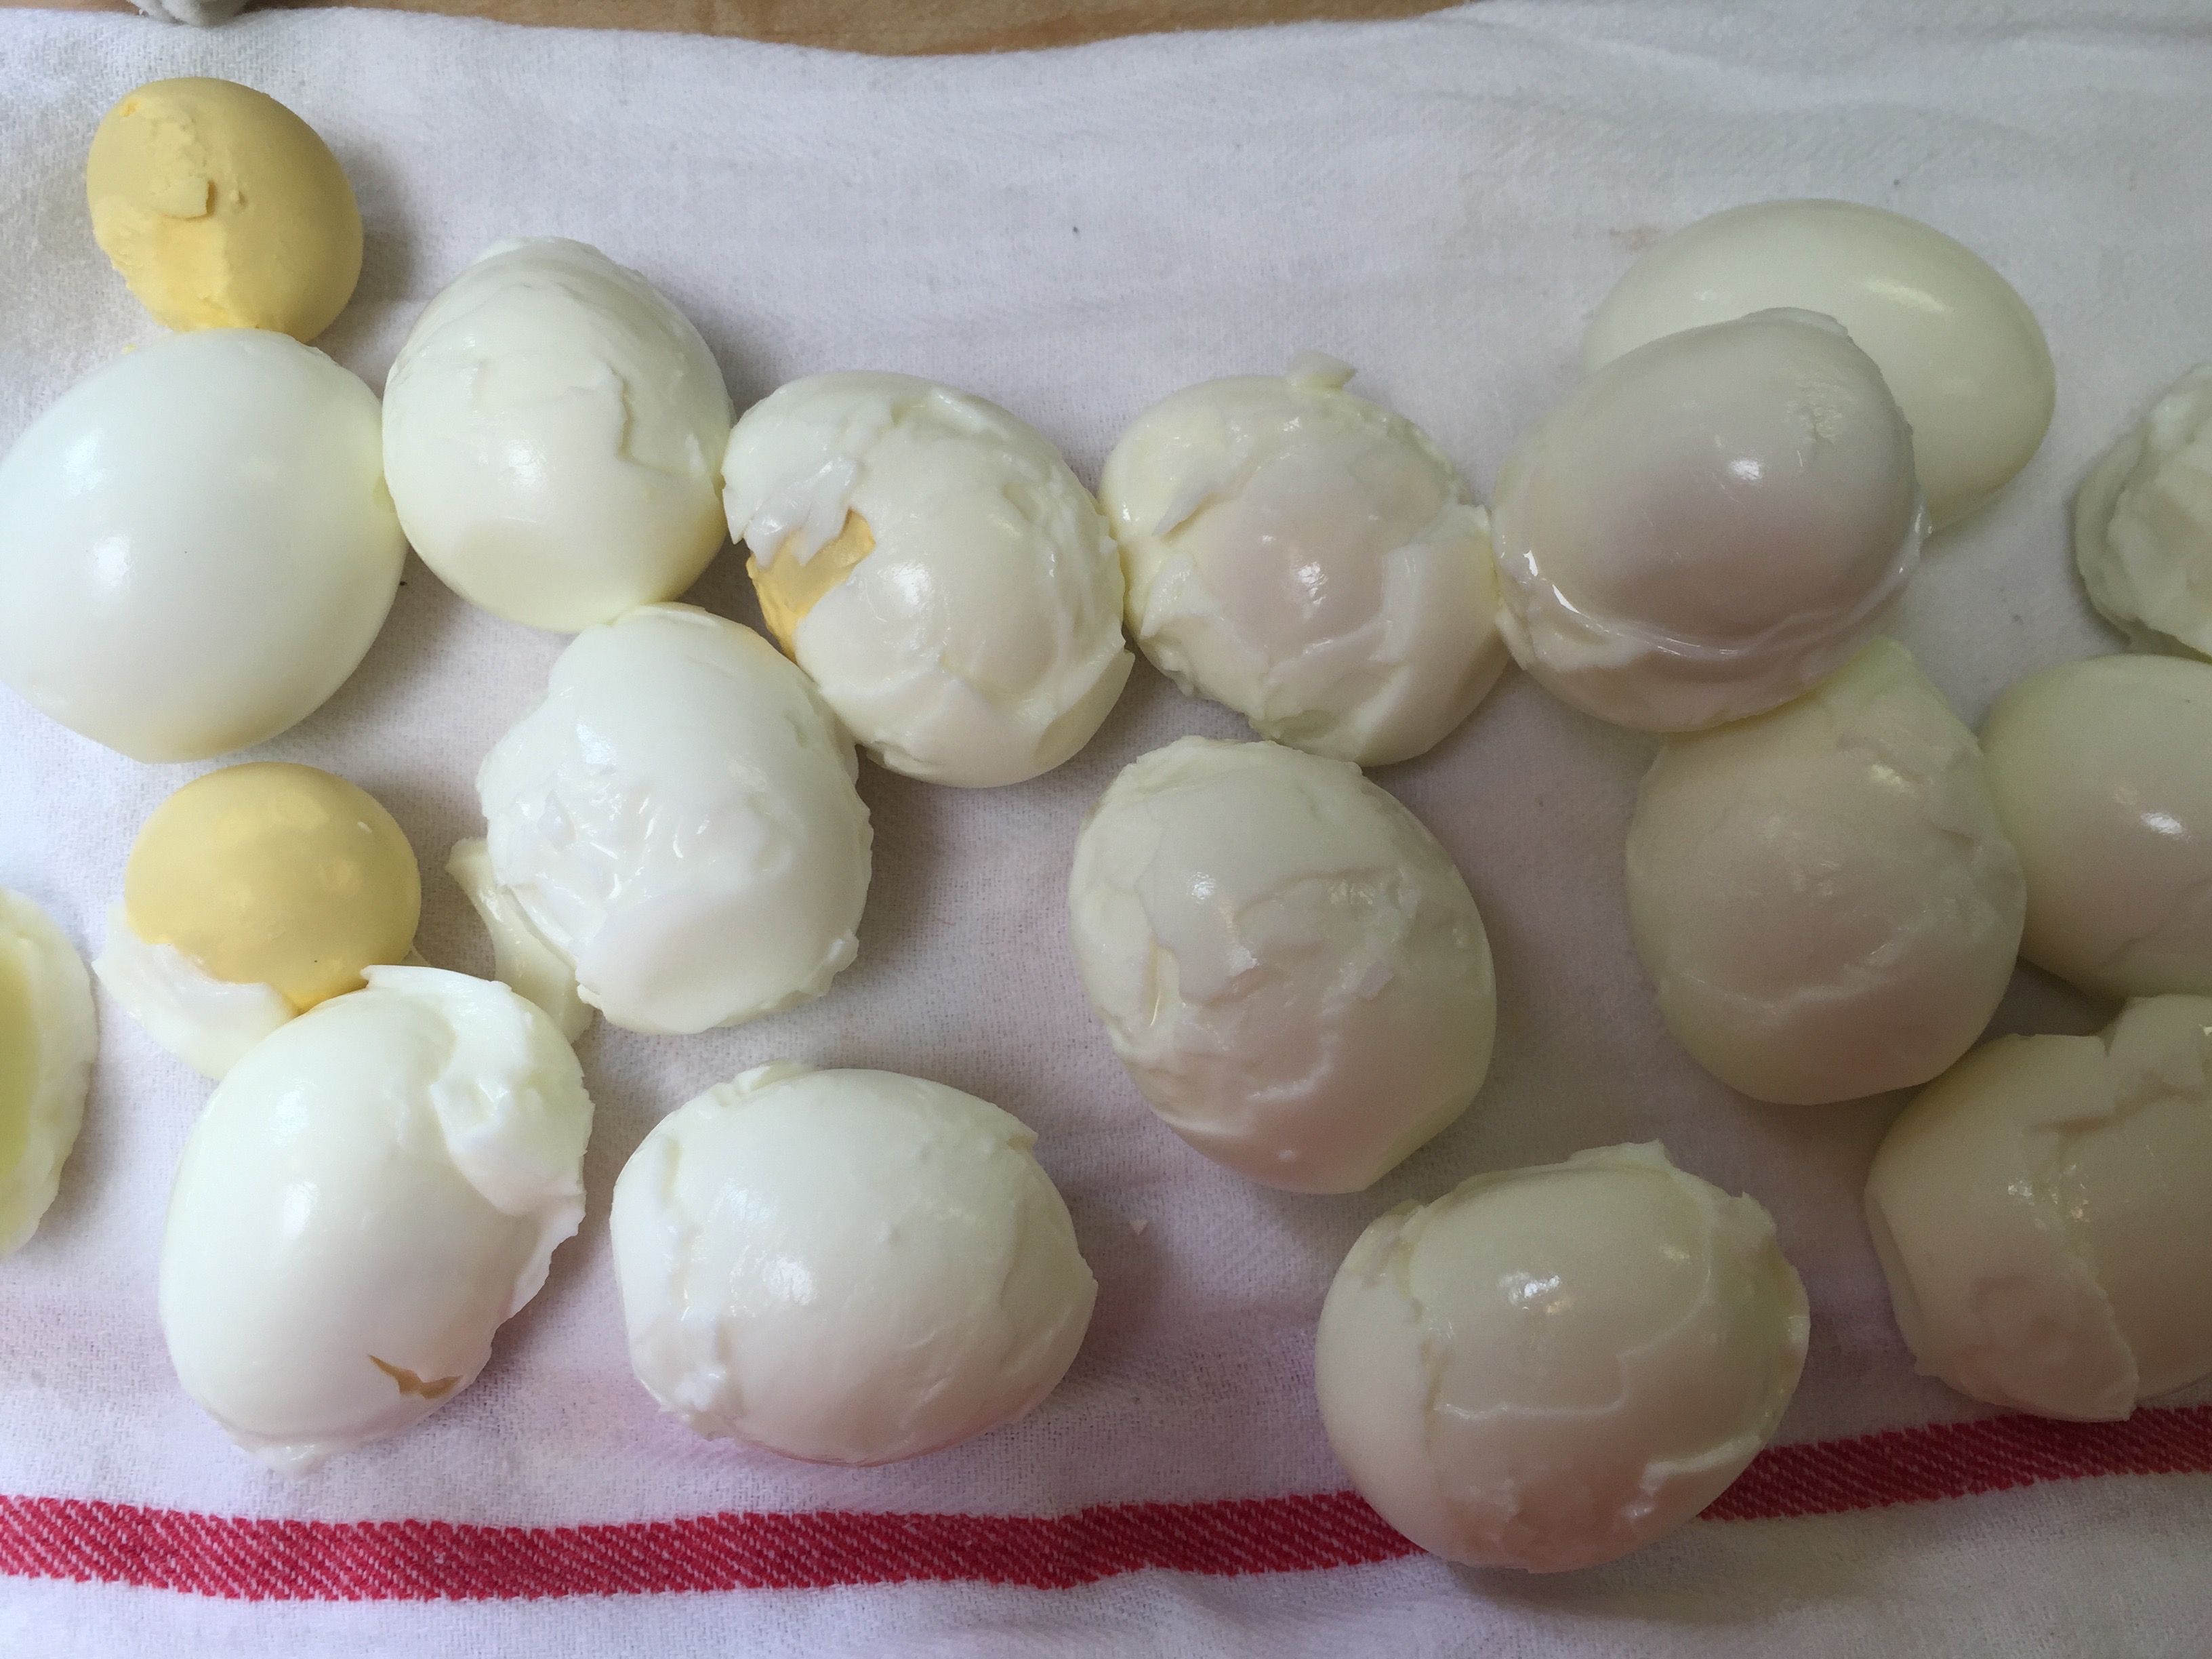
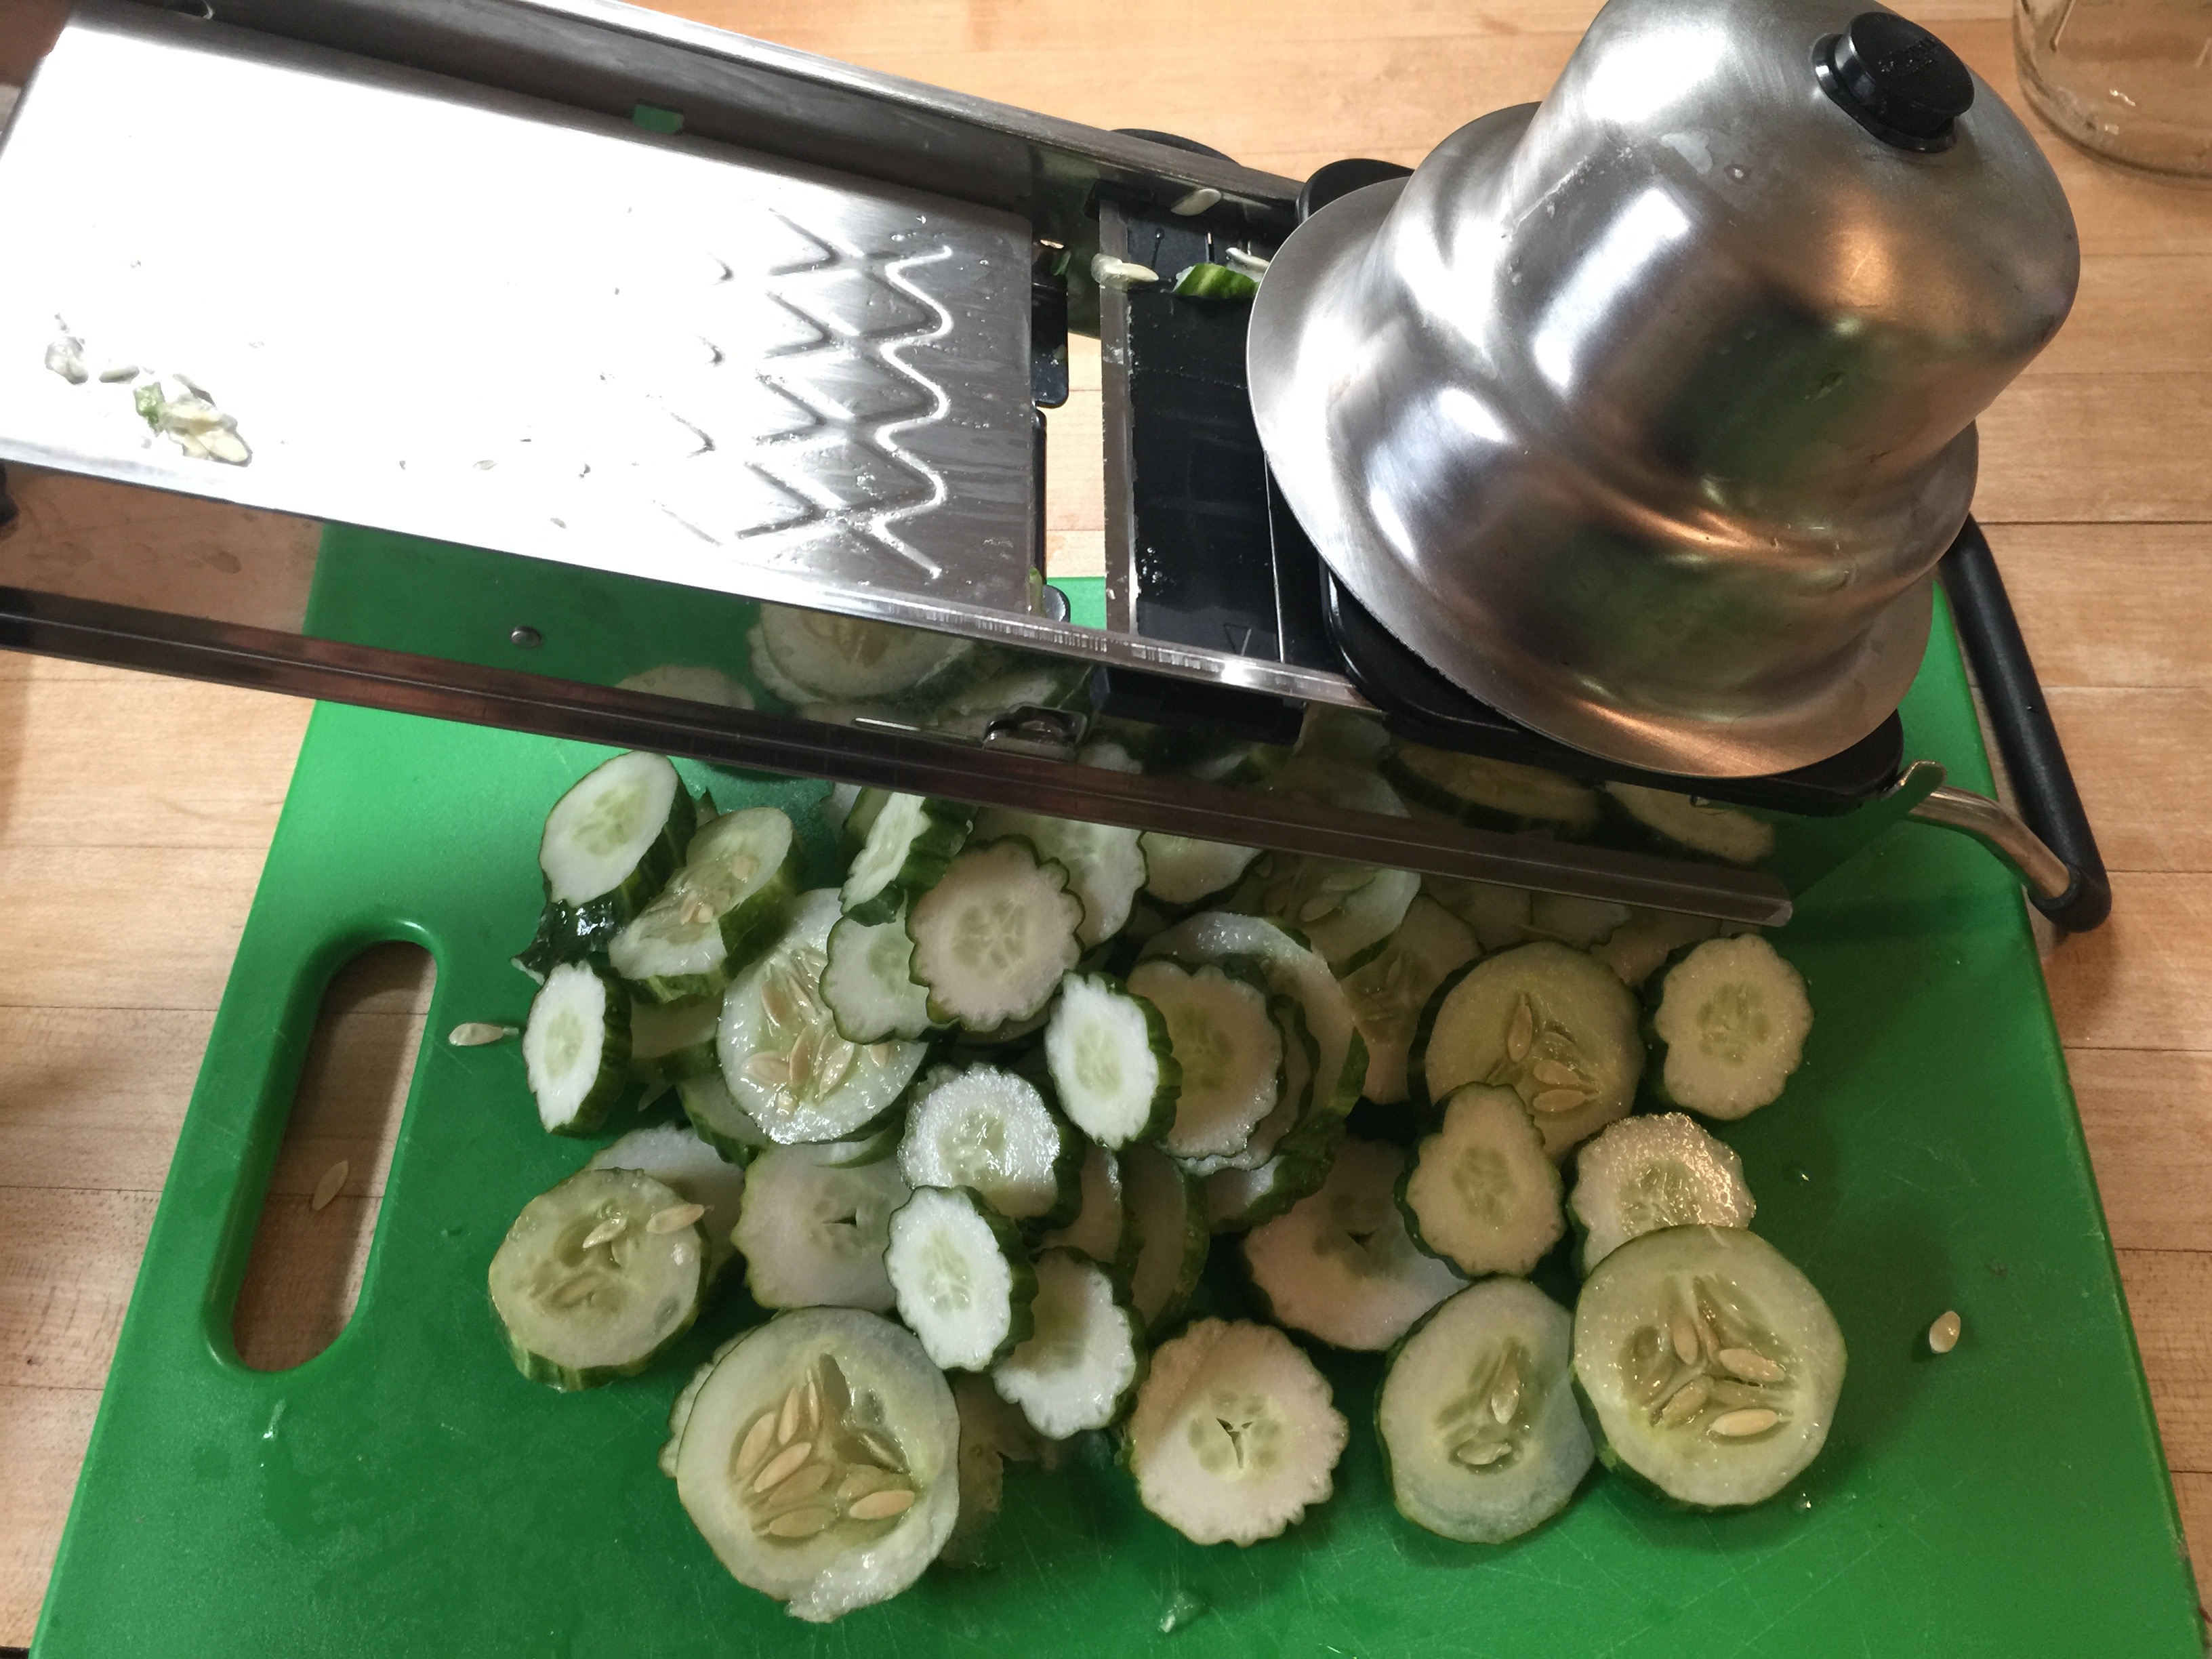
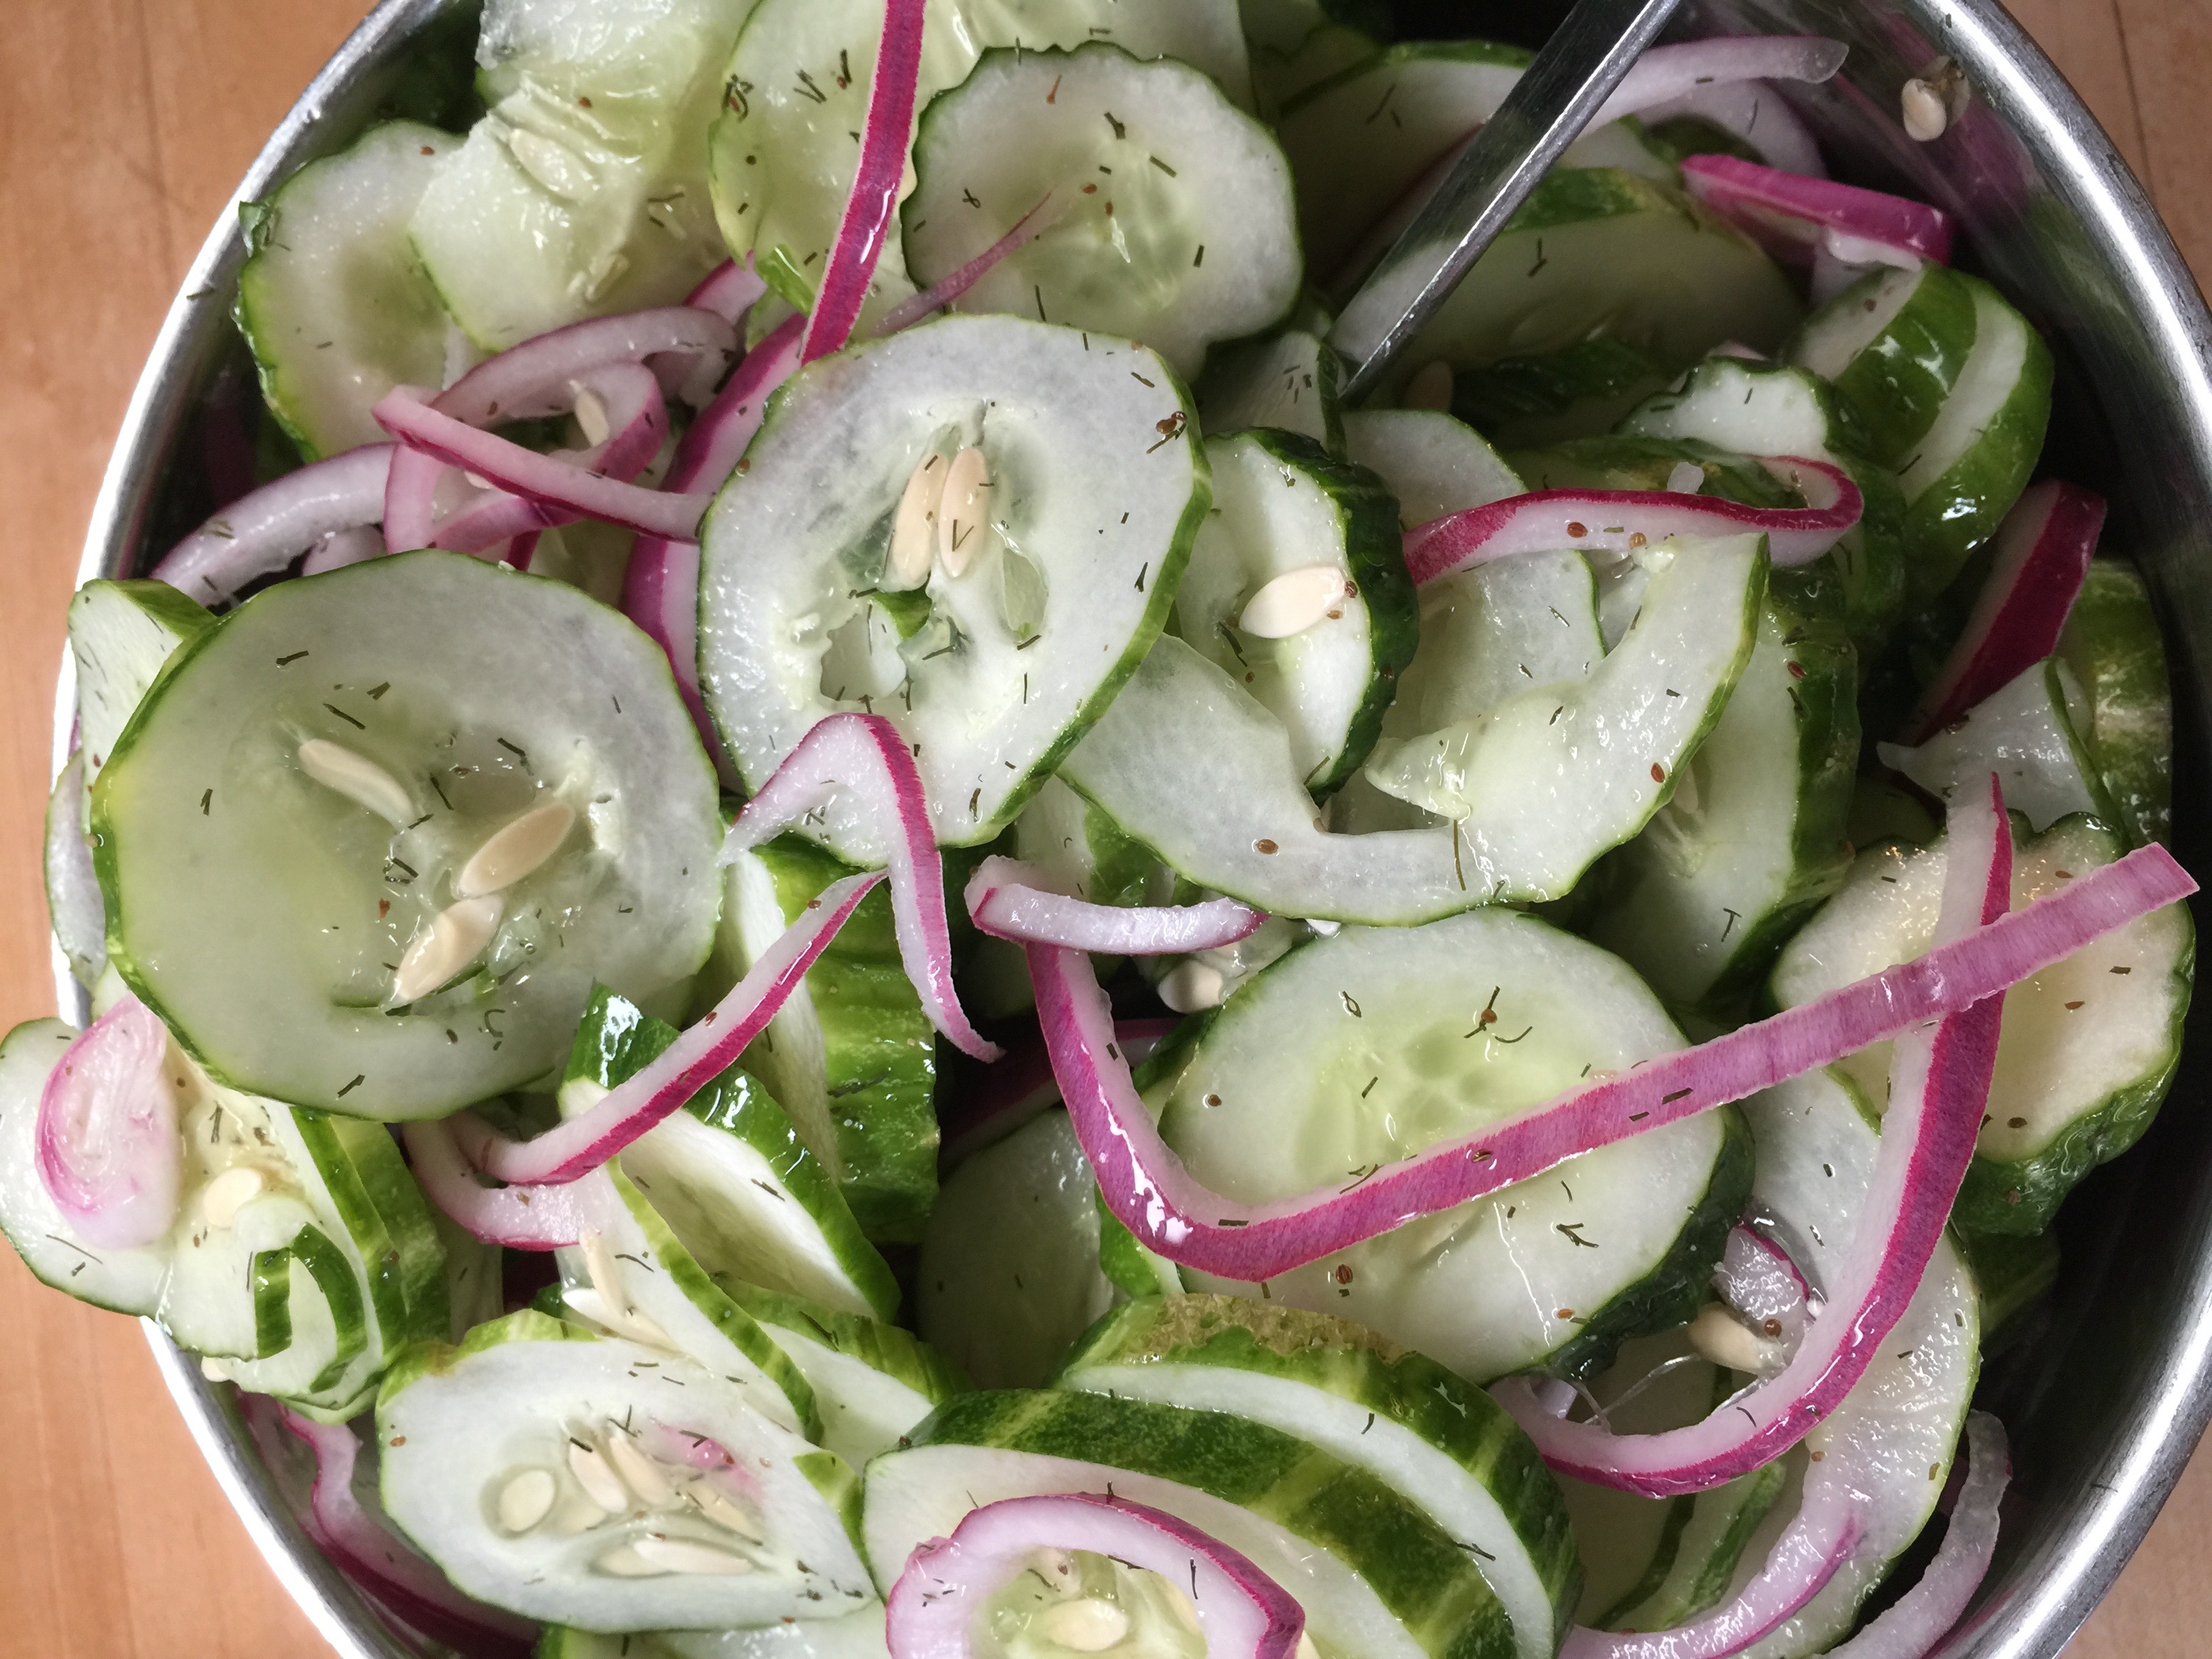
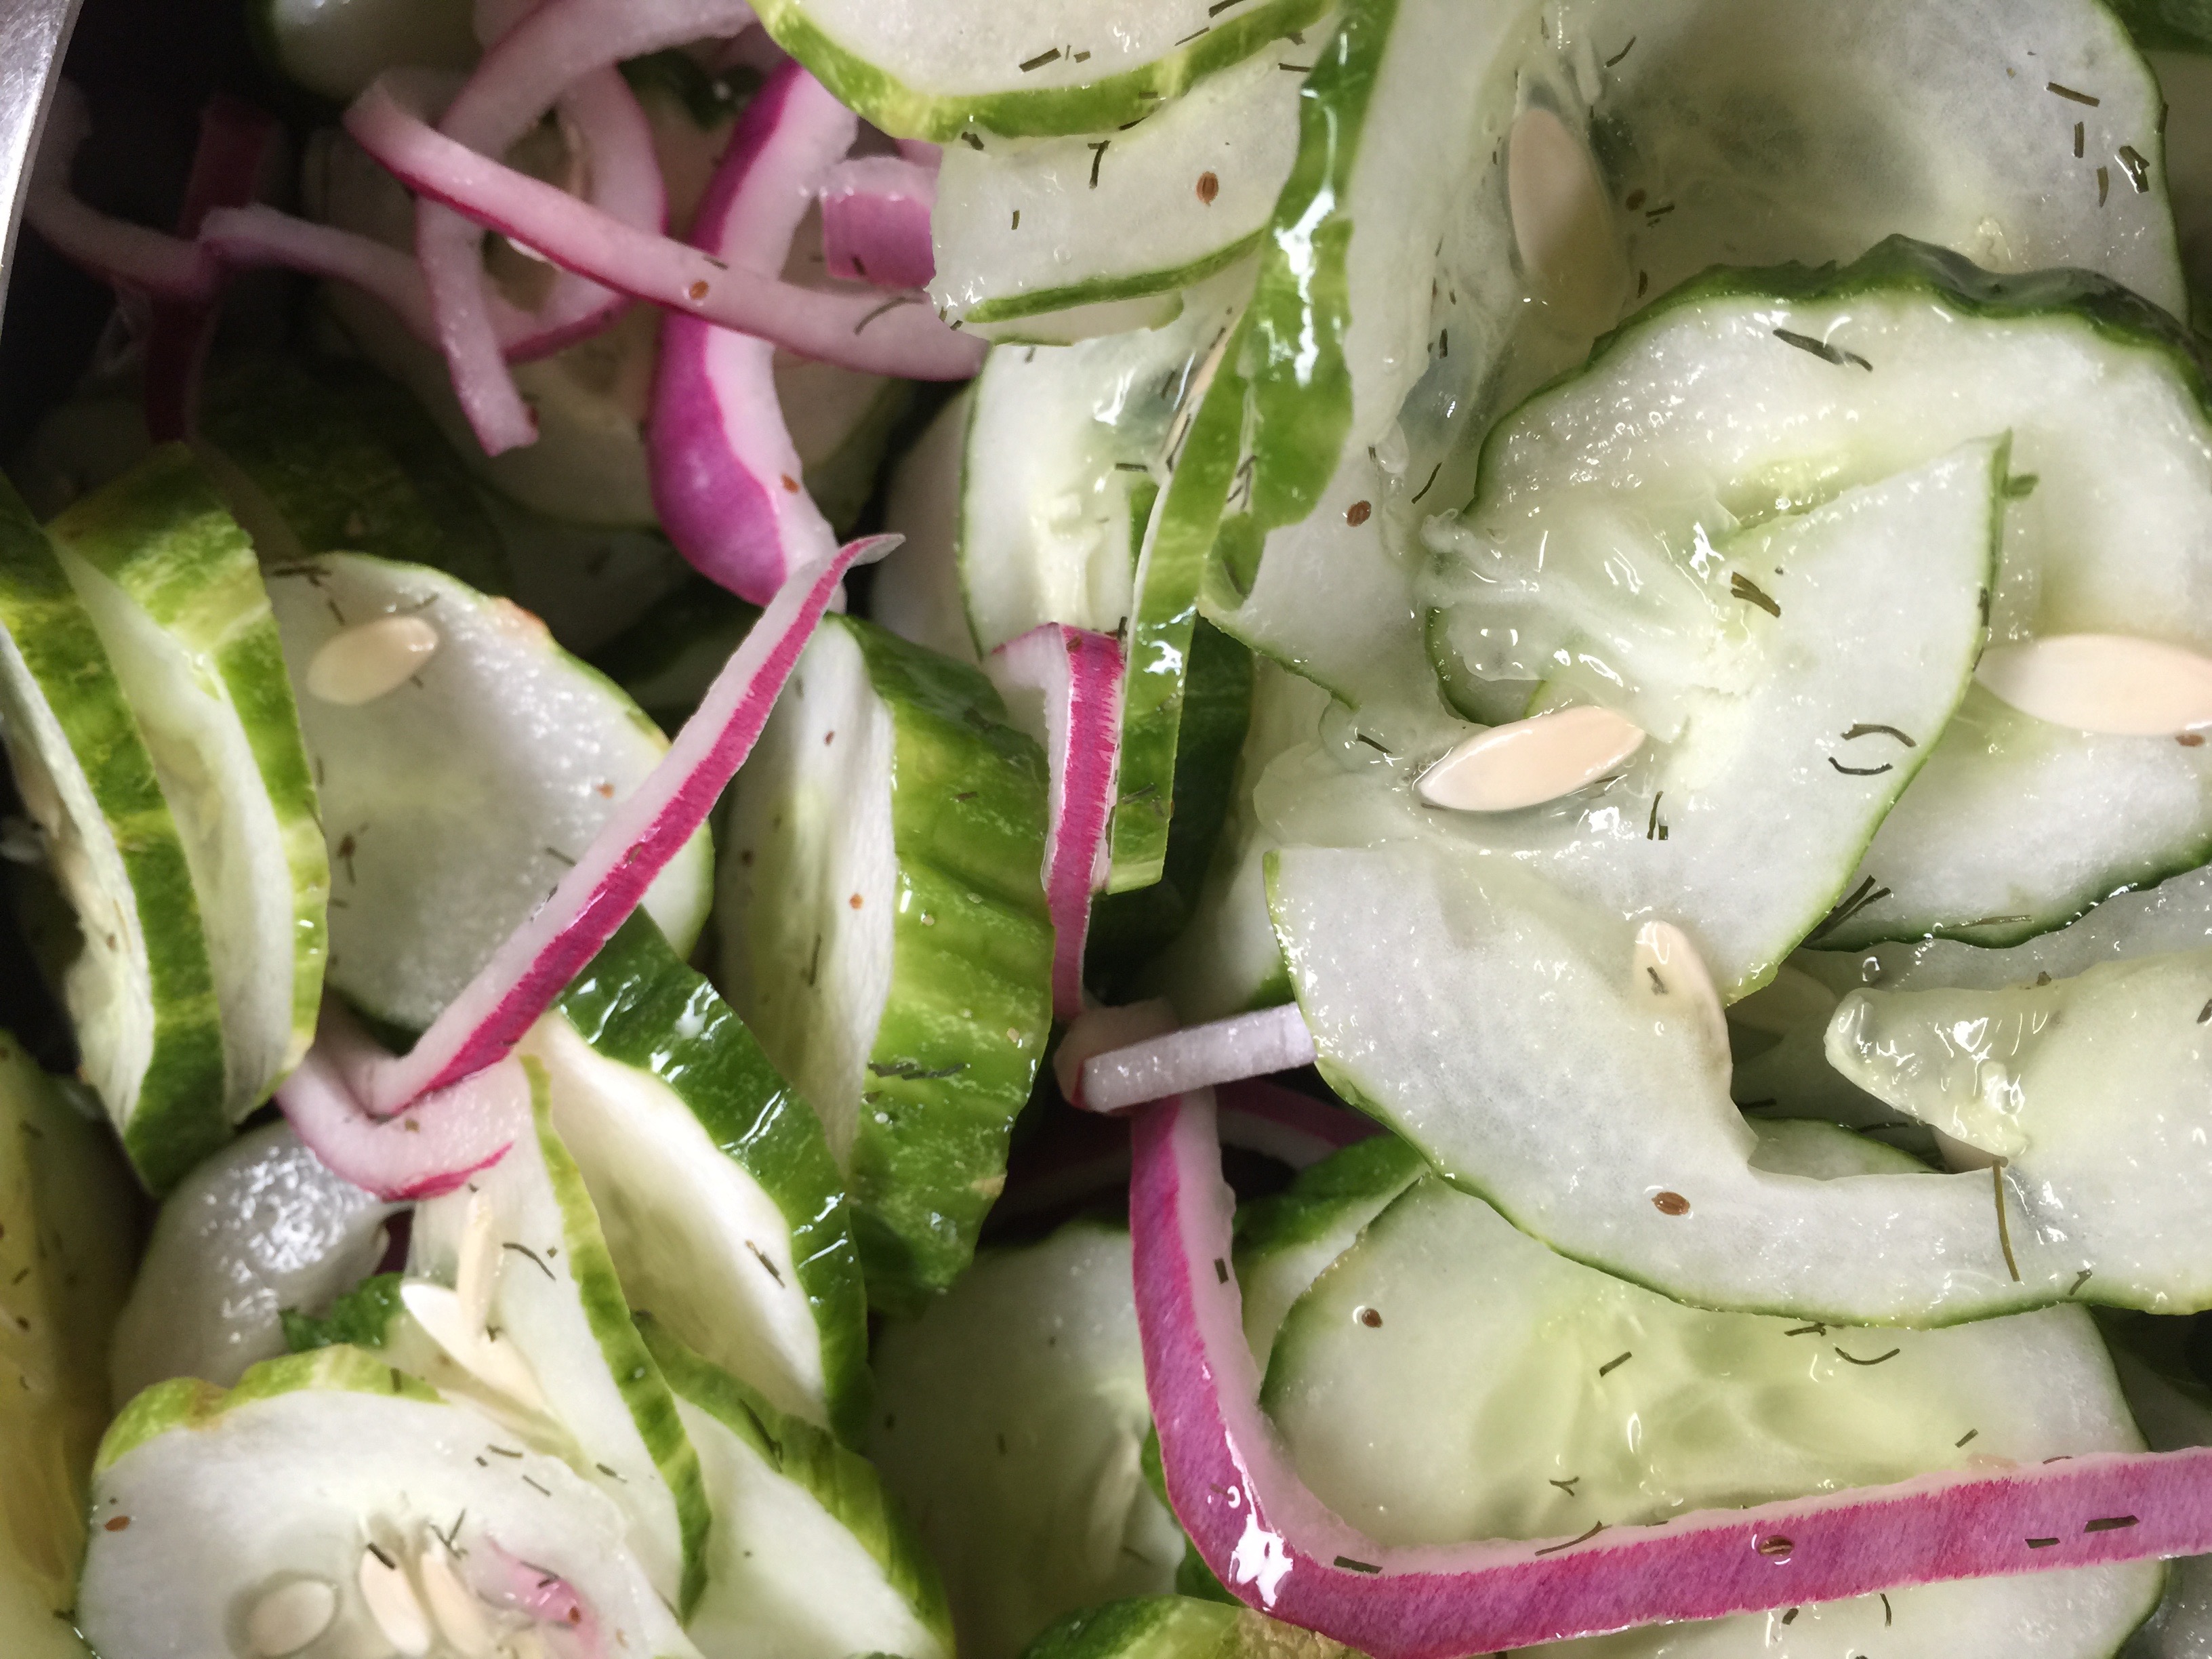
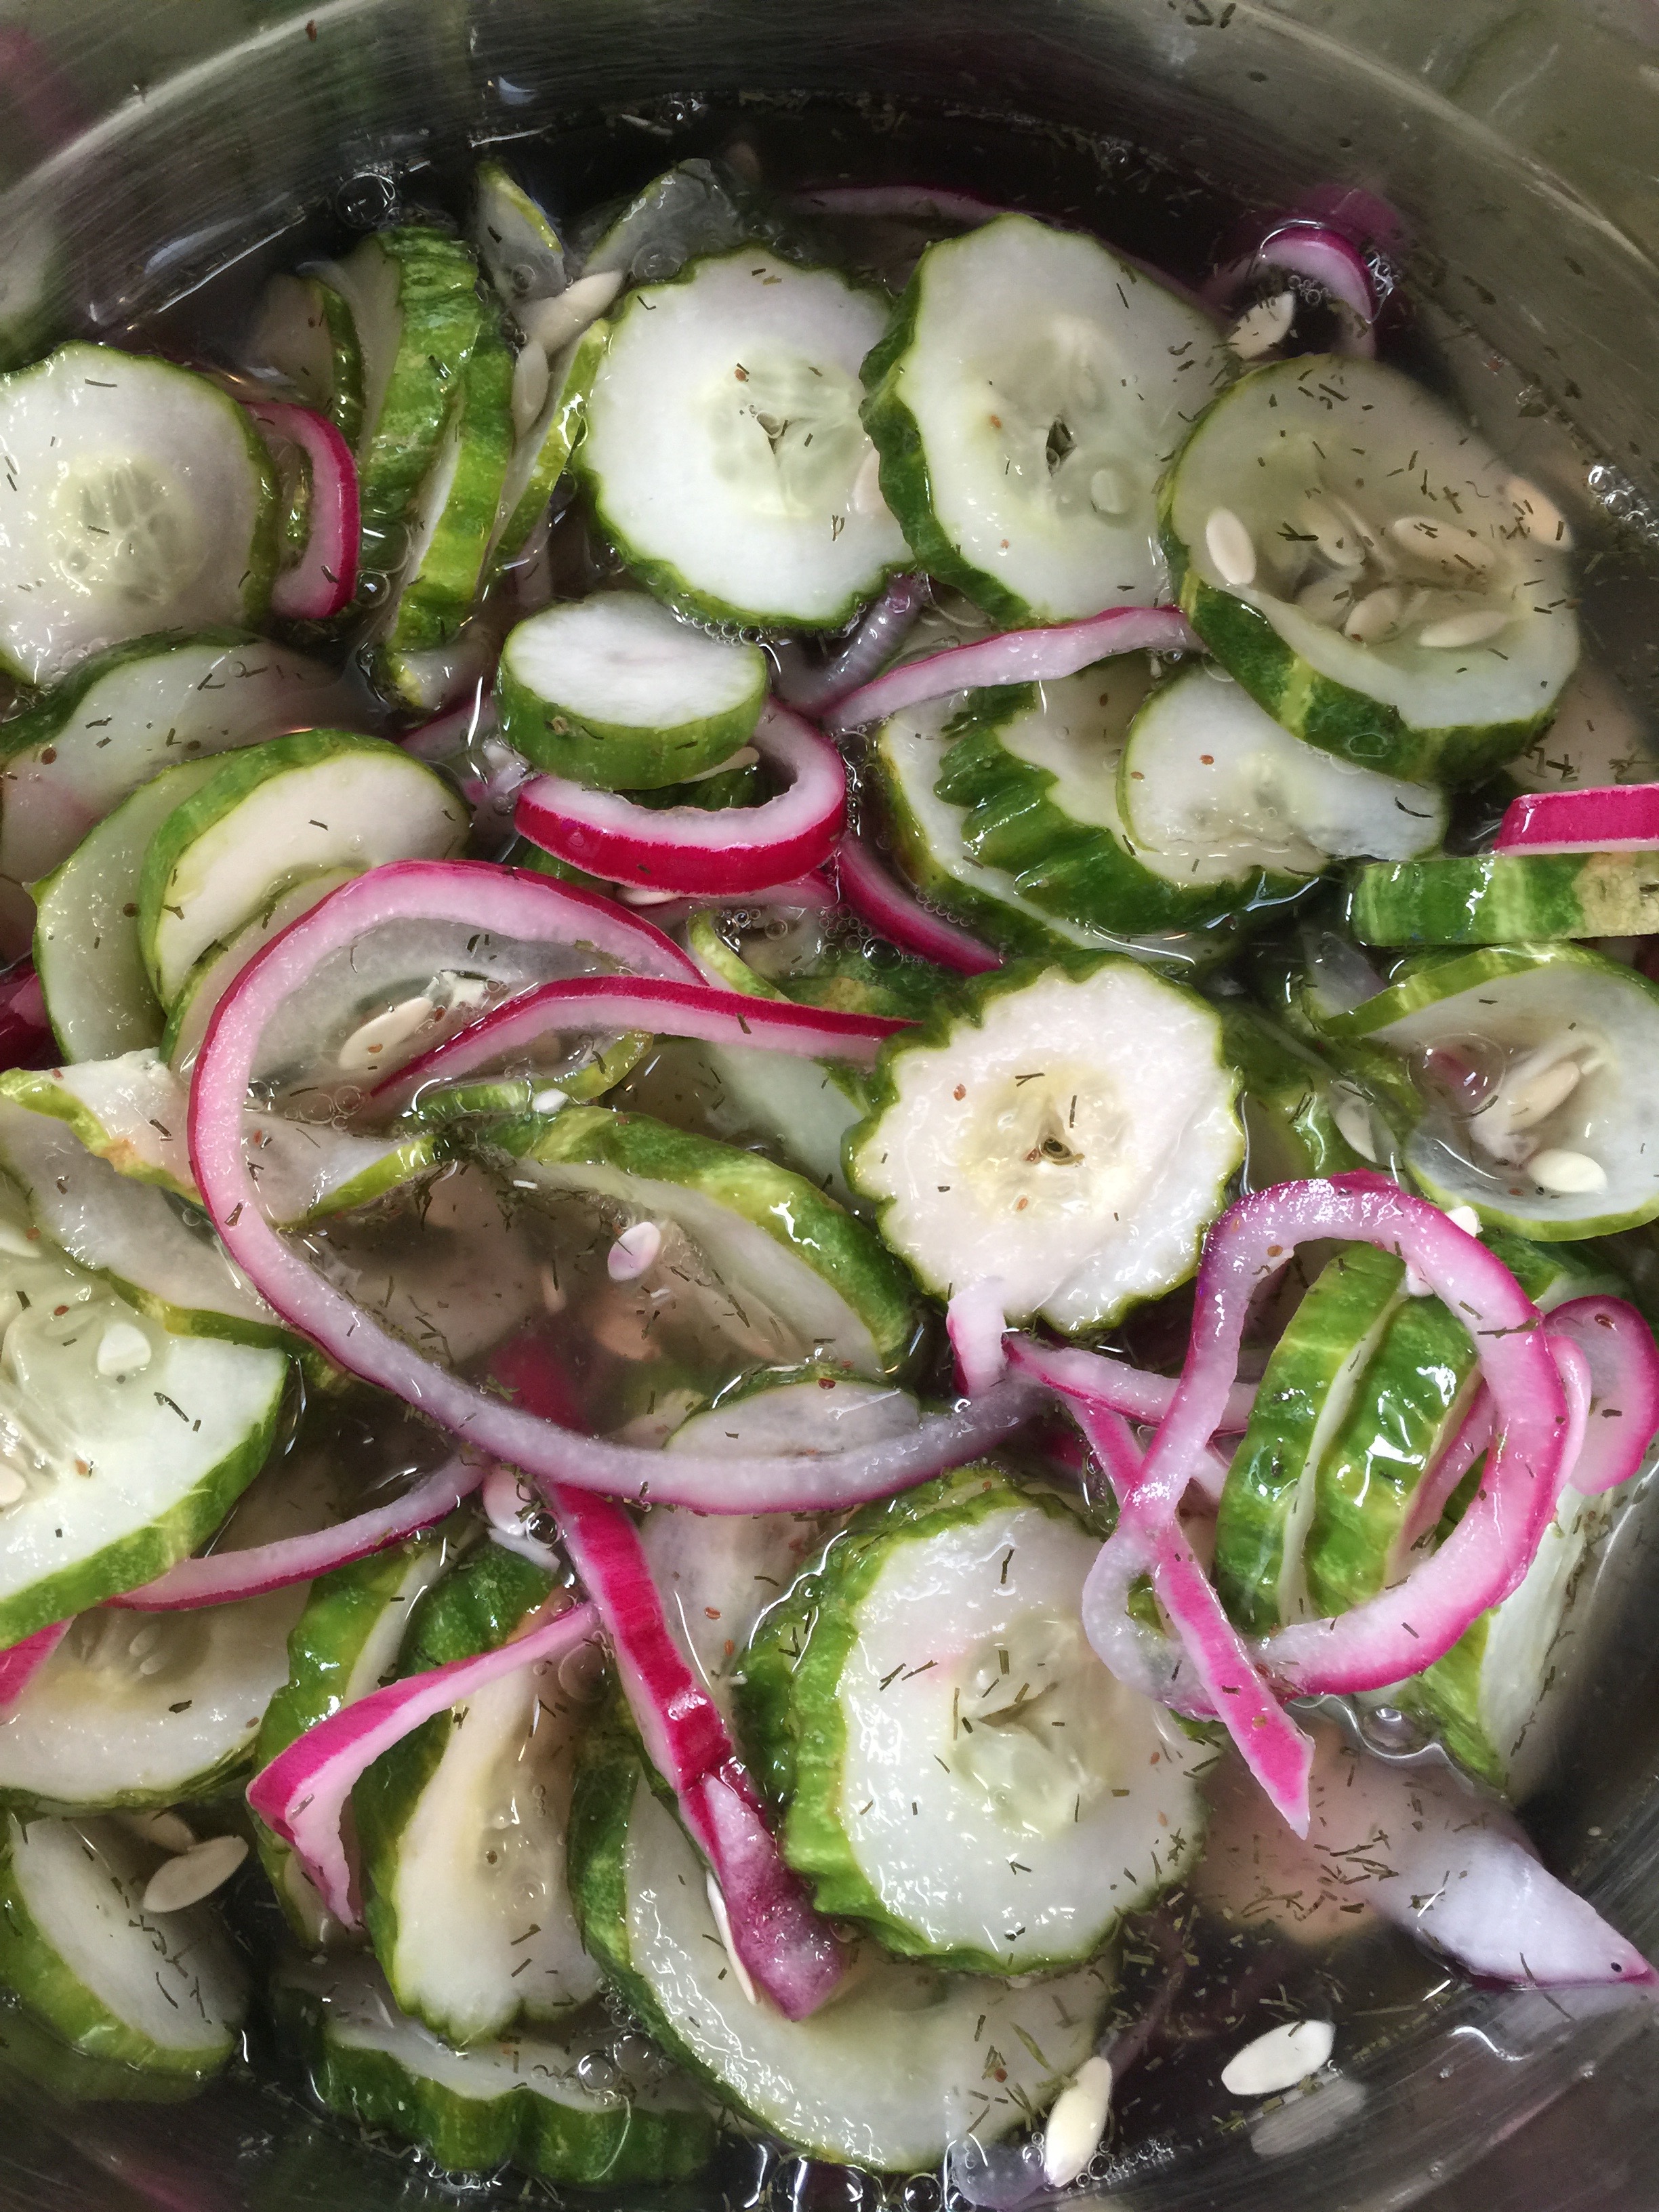
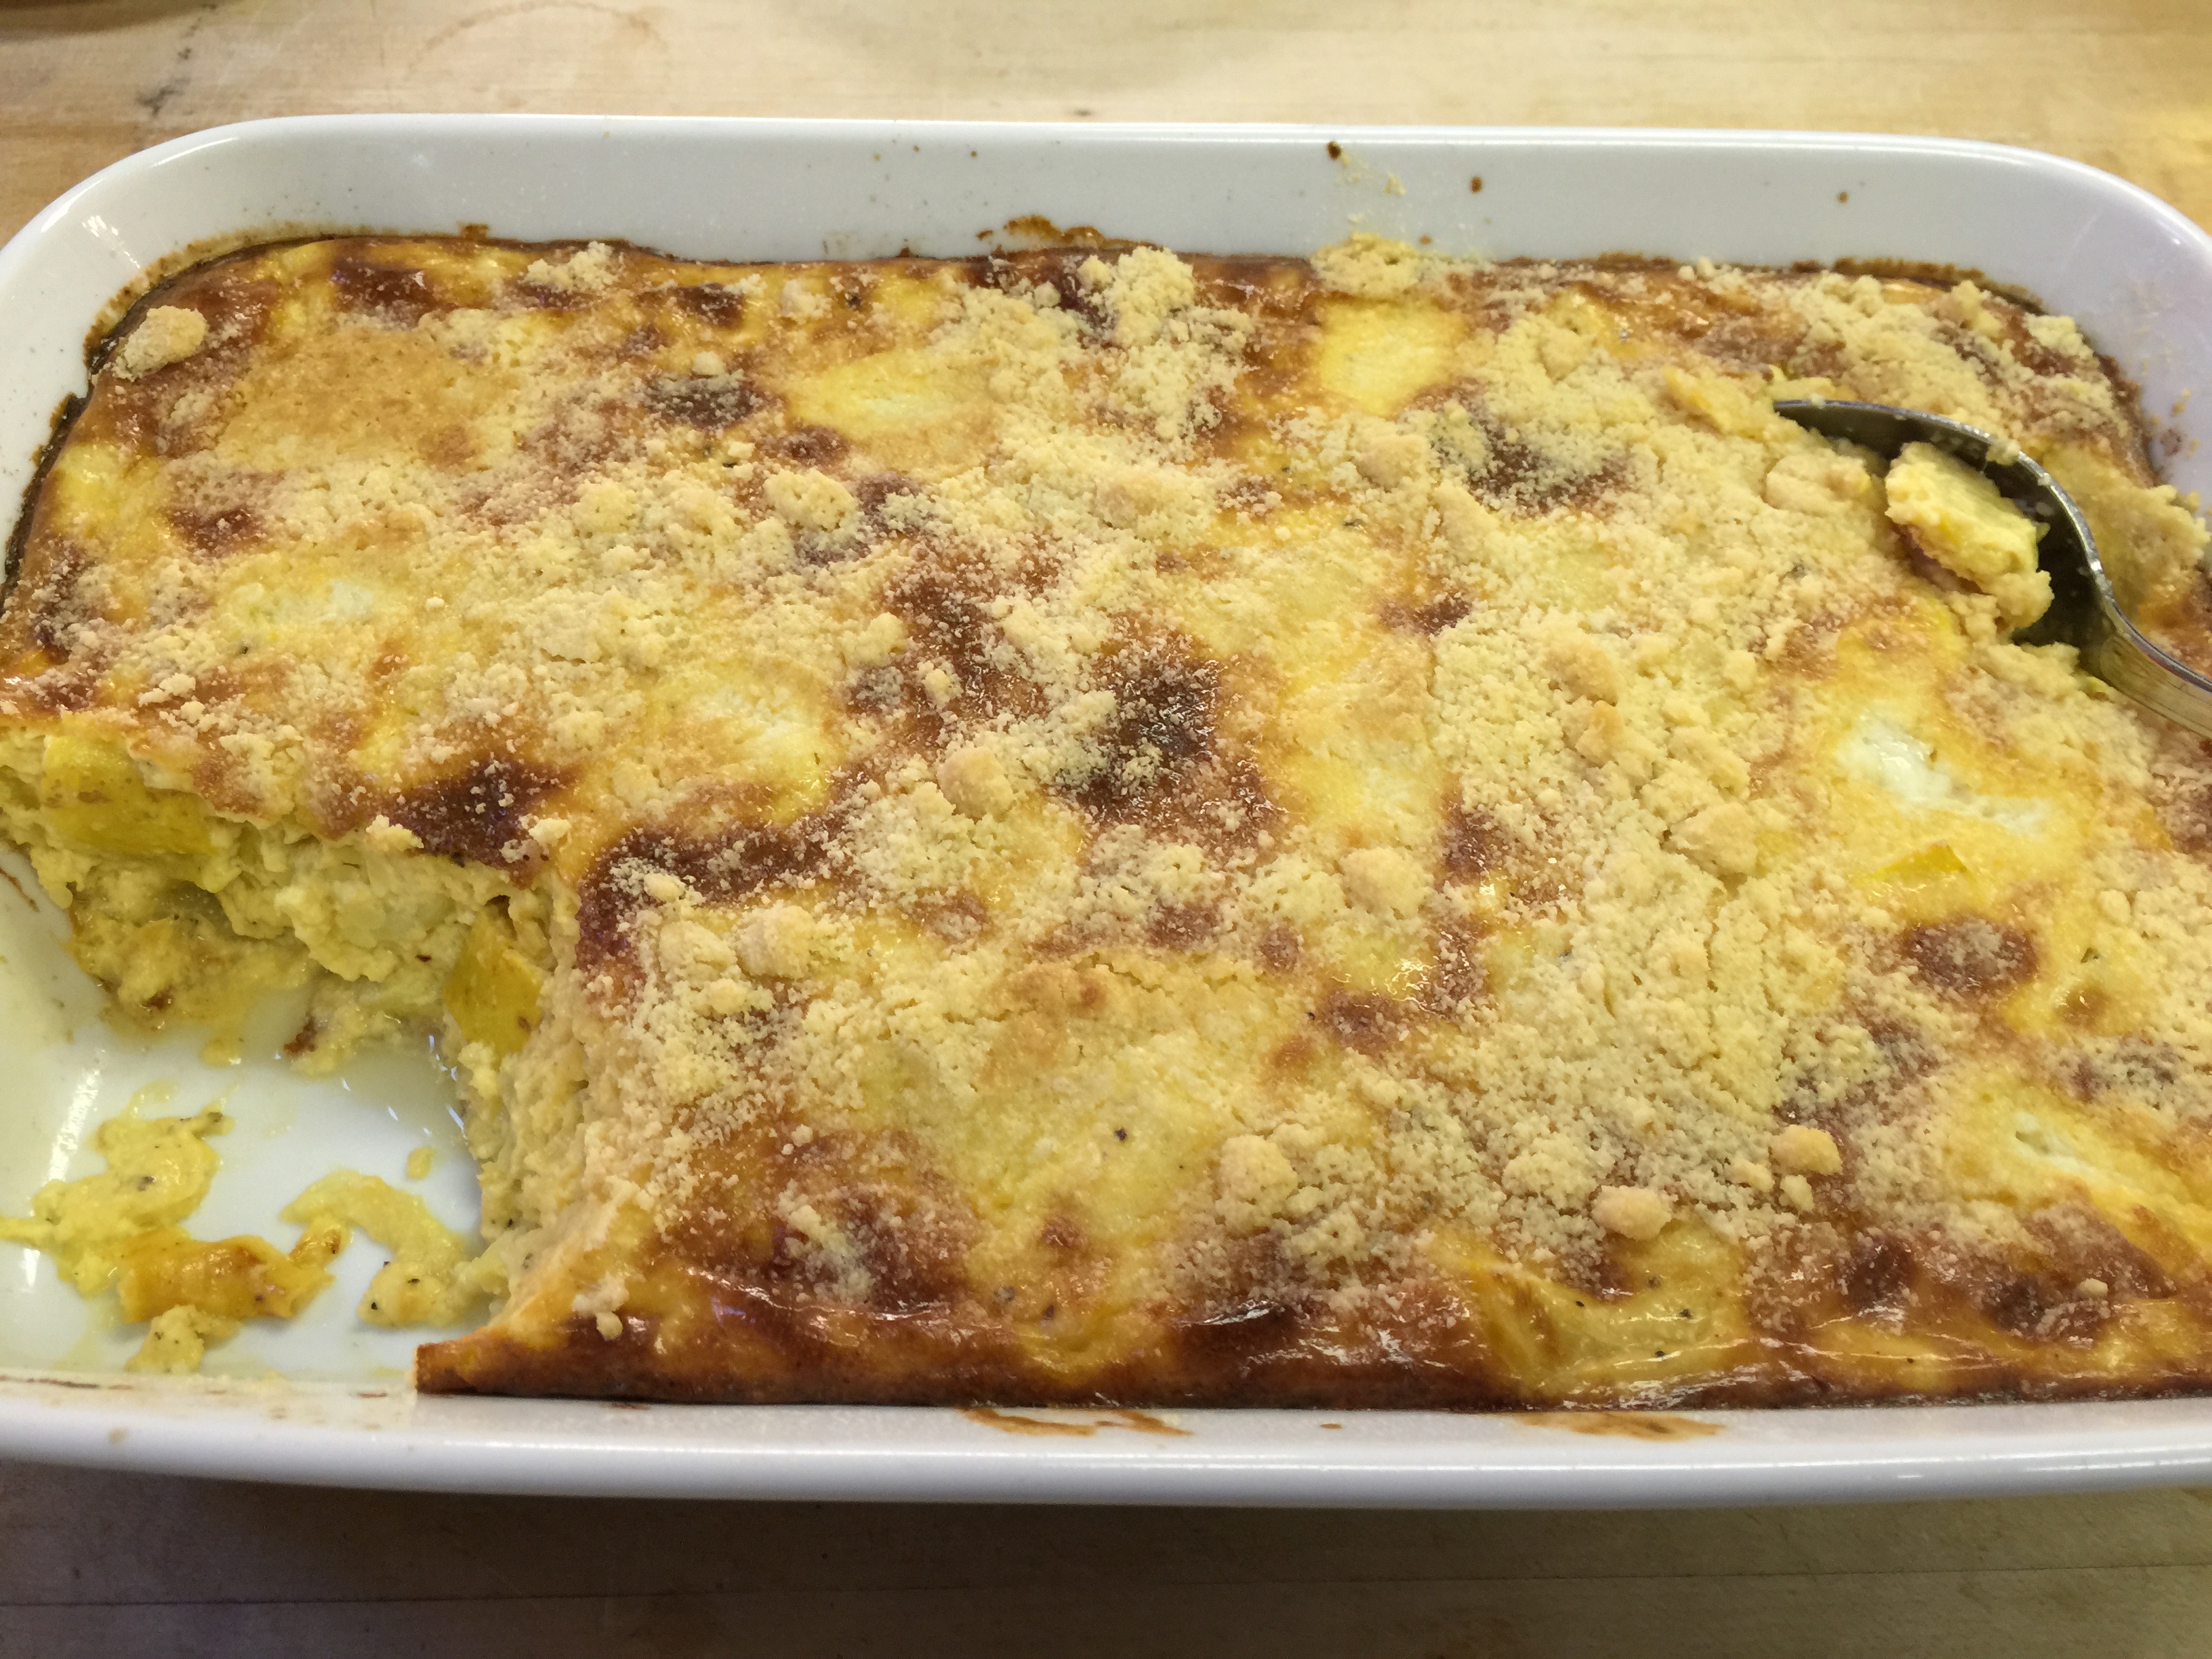
Not so pretty! So…we had a very fast change of plans. Since we have dinner pretty much planned with Bar-B-Que (with sauce), “Potato” Salad, and Refreshing Cukes, I thought why not make egg salad for a Keto lunch! It was simple, and we still got to use those delicious and nutritious eggs.
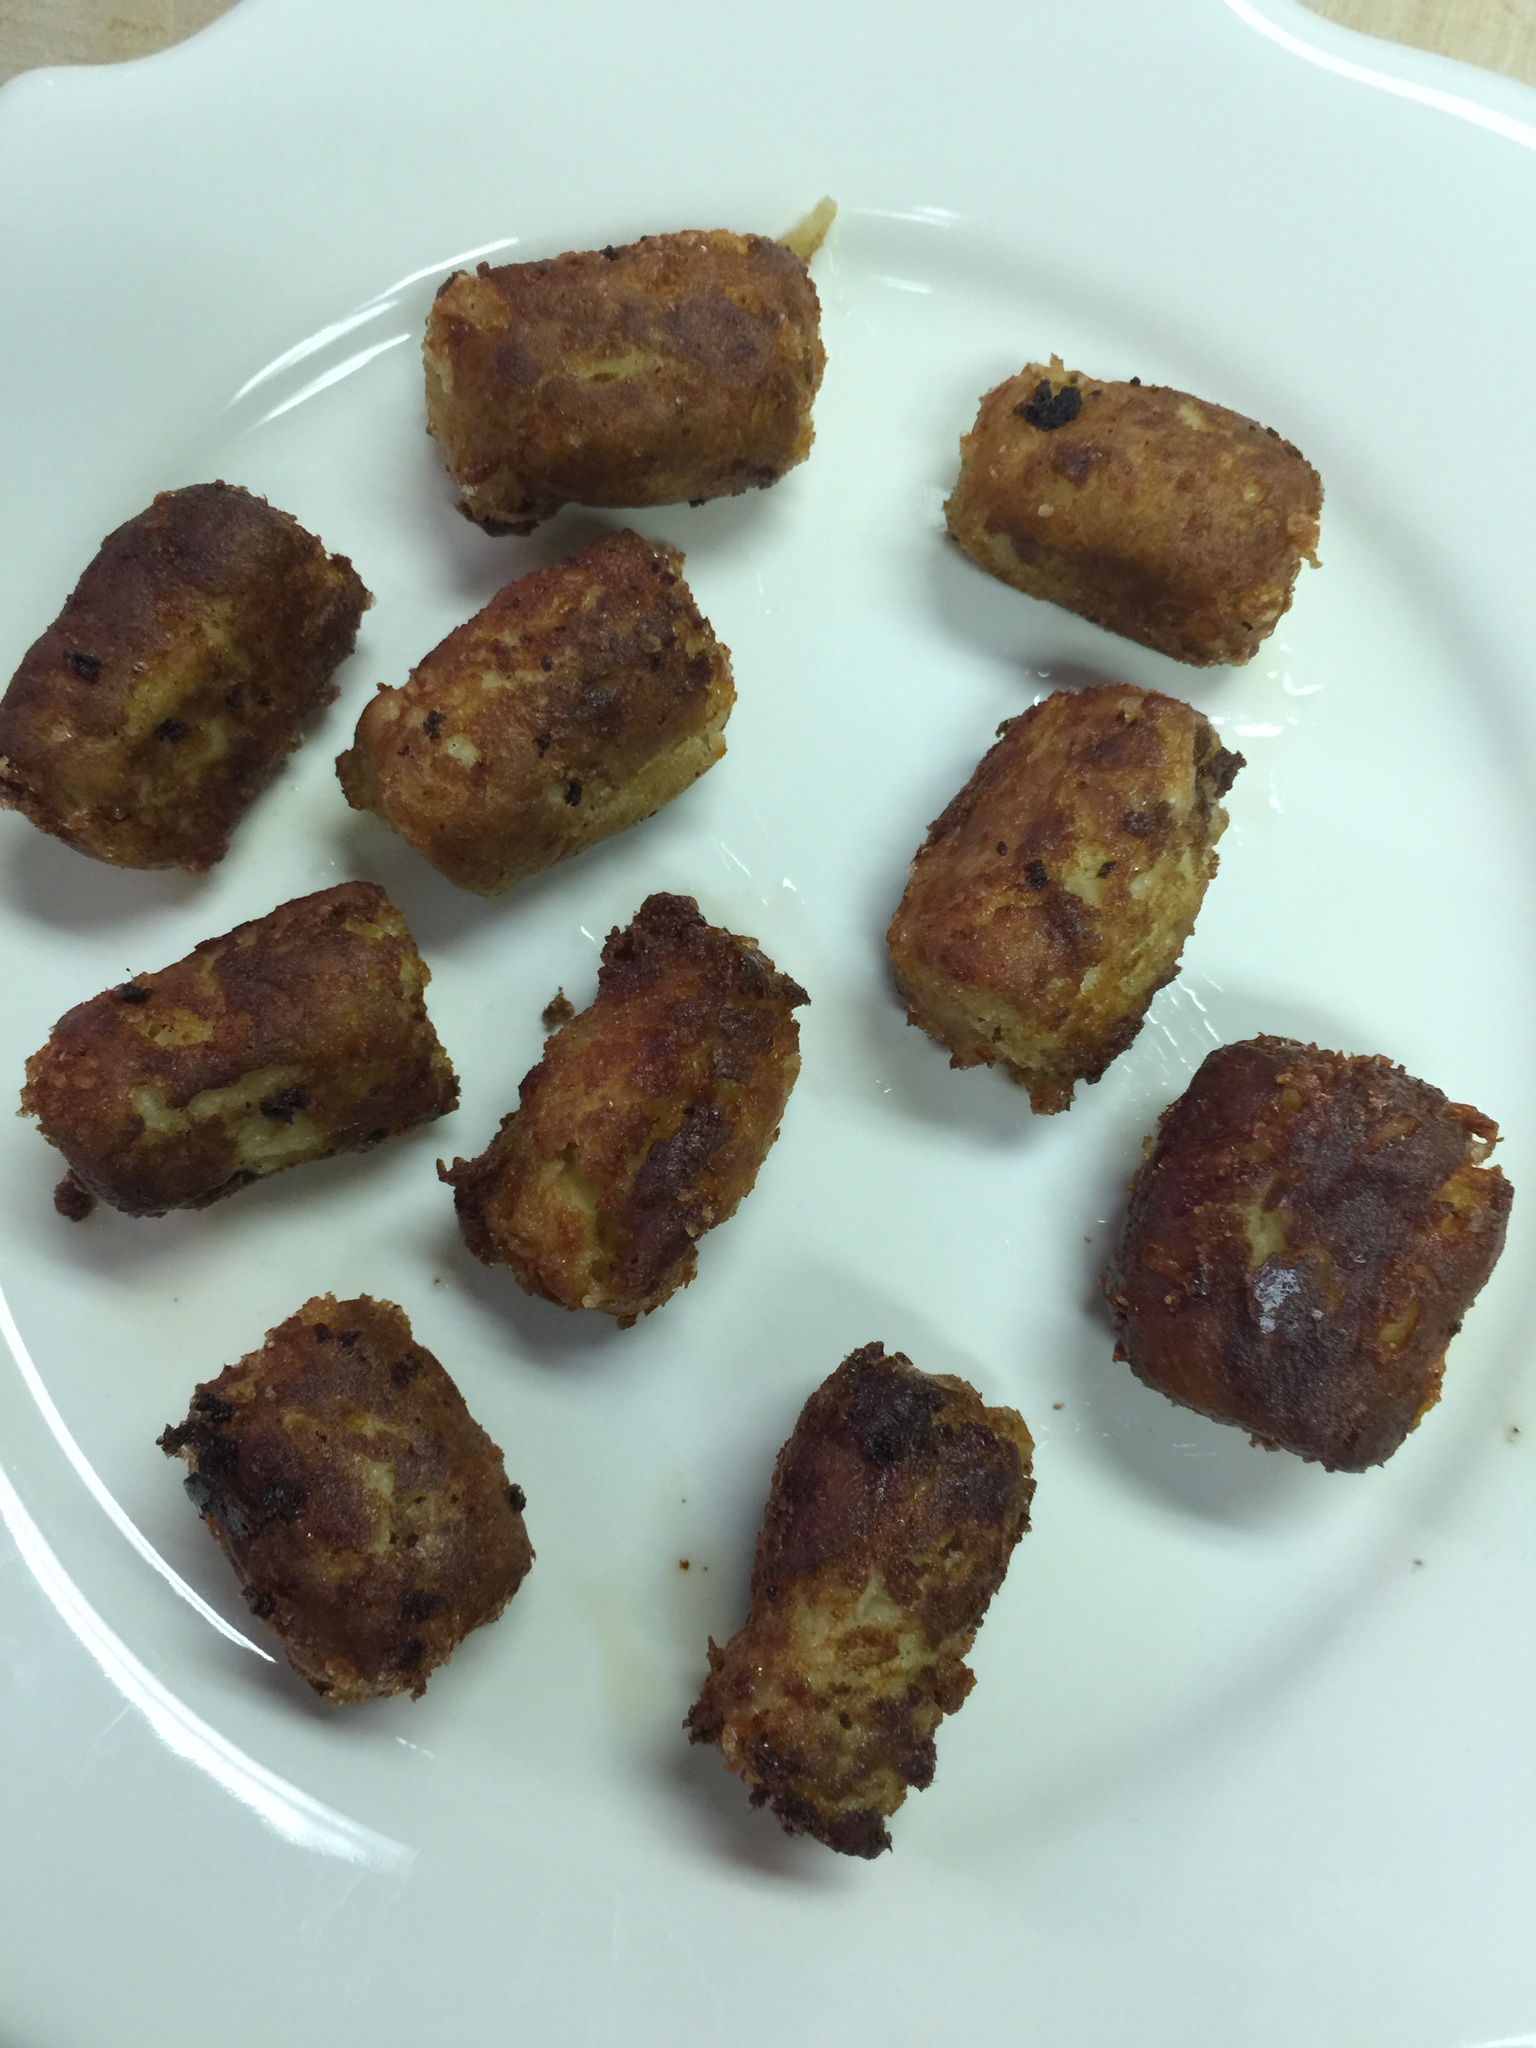
I did get a few of the eggs to turn out, so I will share how to do both just in case you plan ahead better than I, or if you have some eggs stored in your fridge that you want to use.
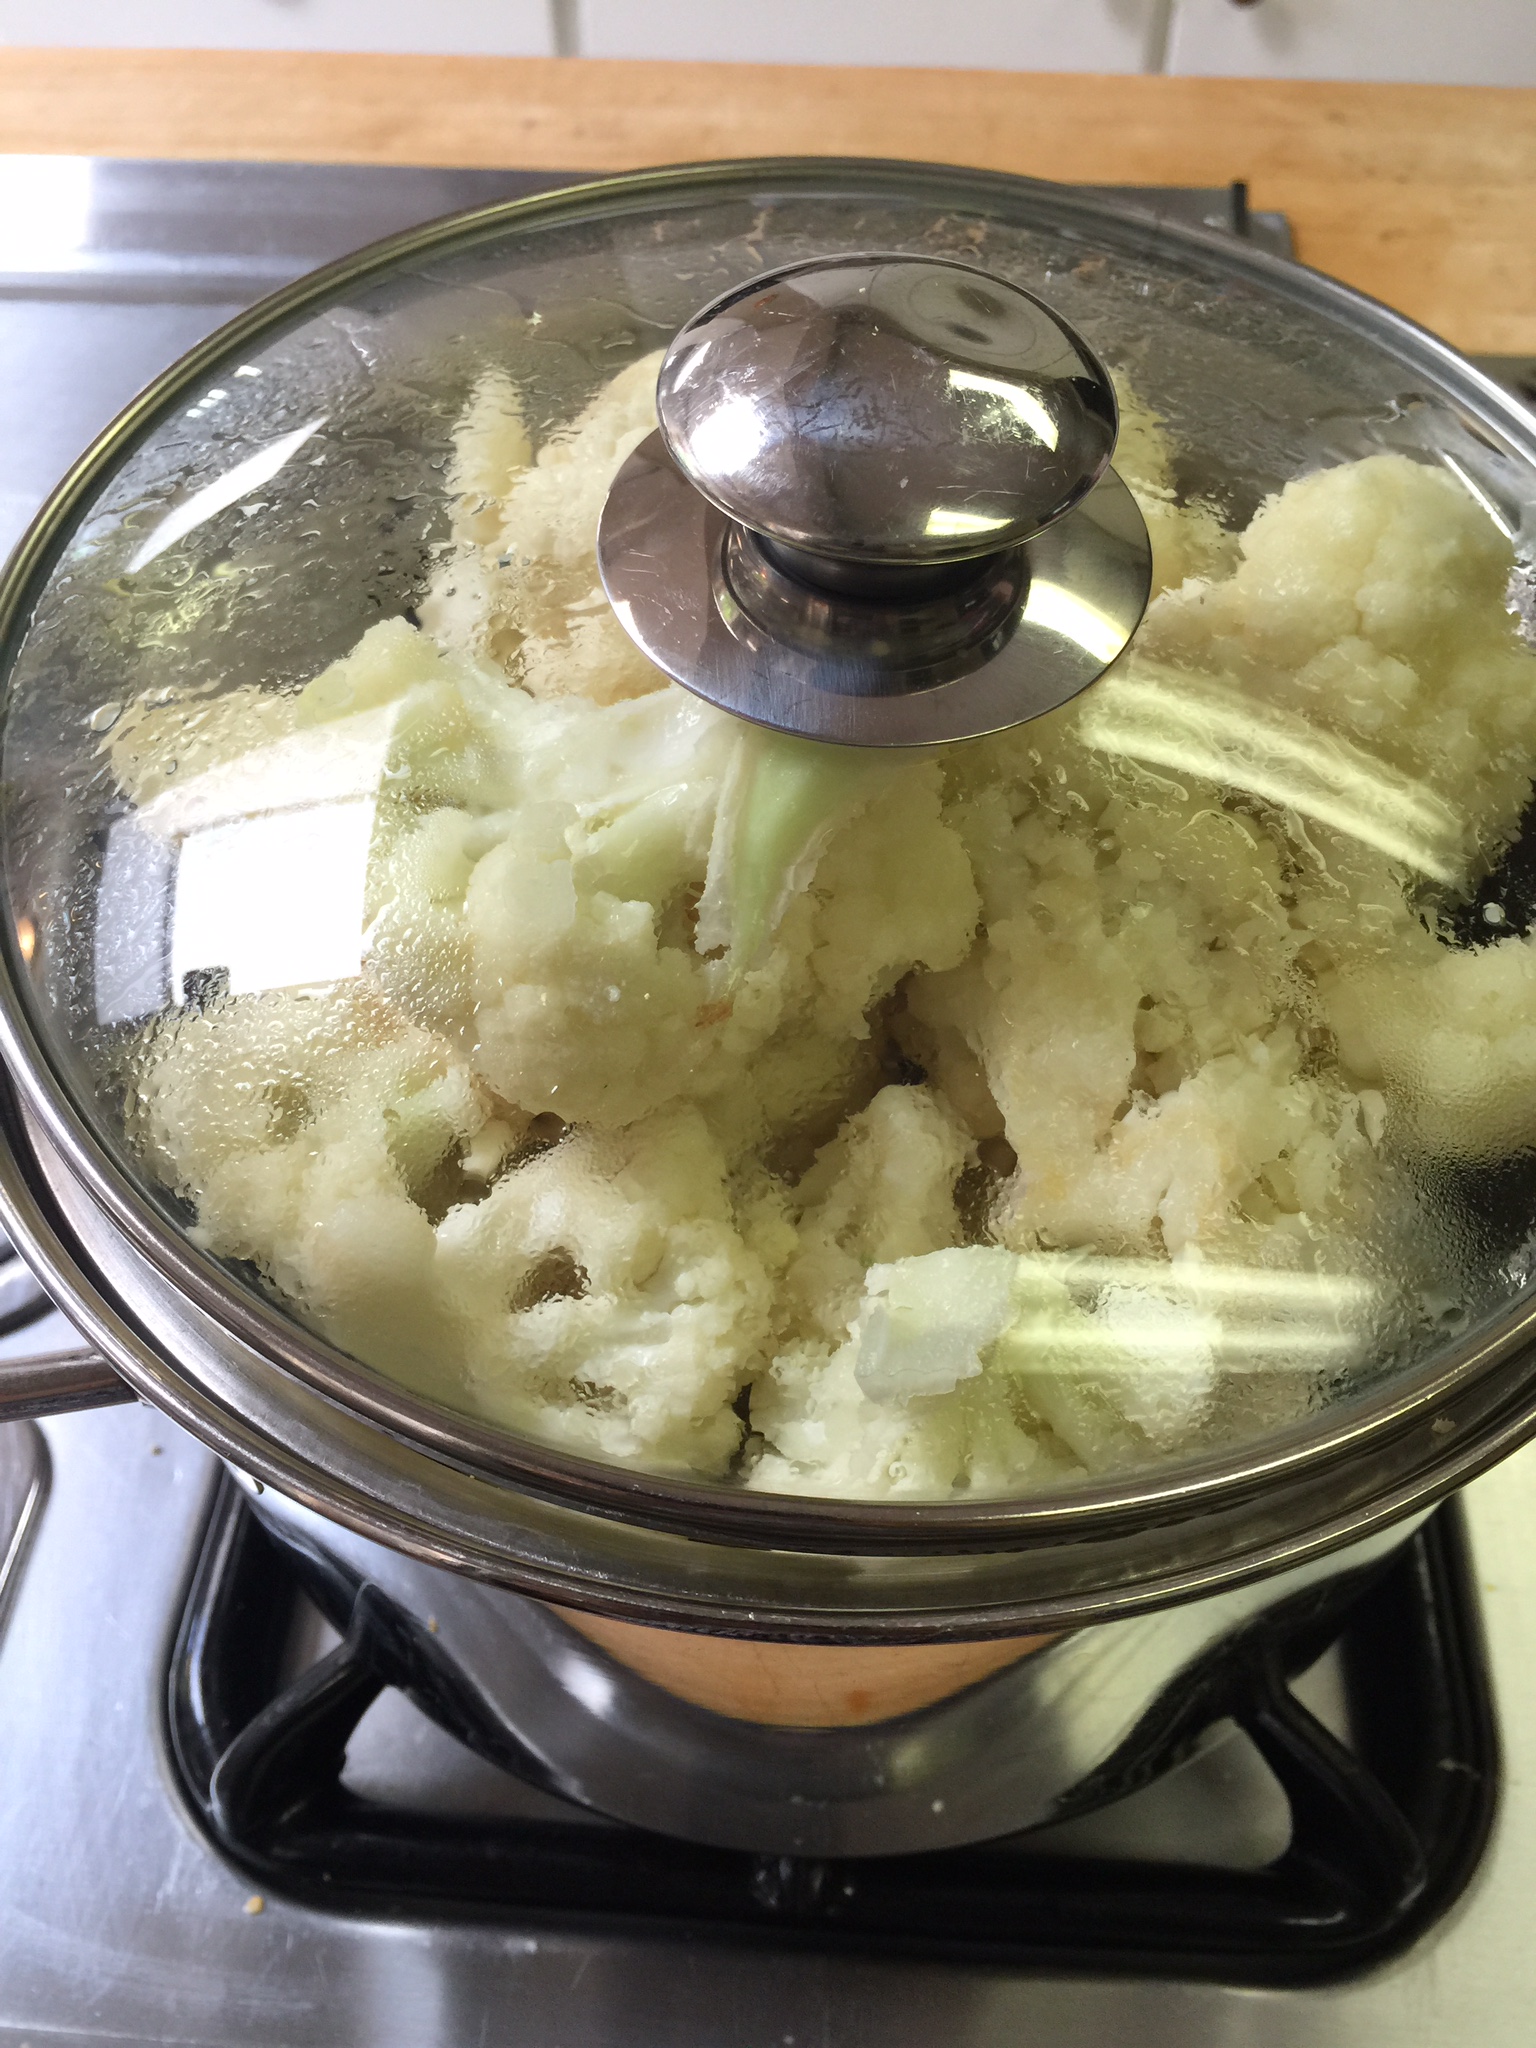
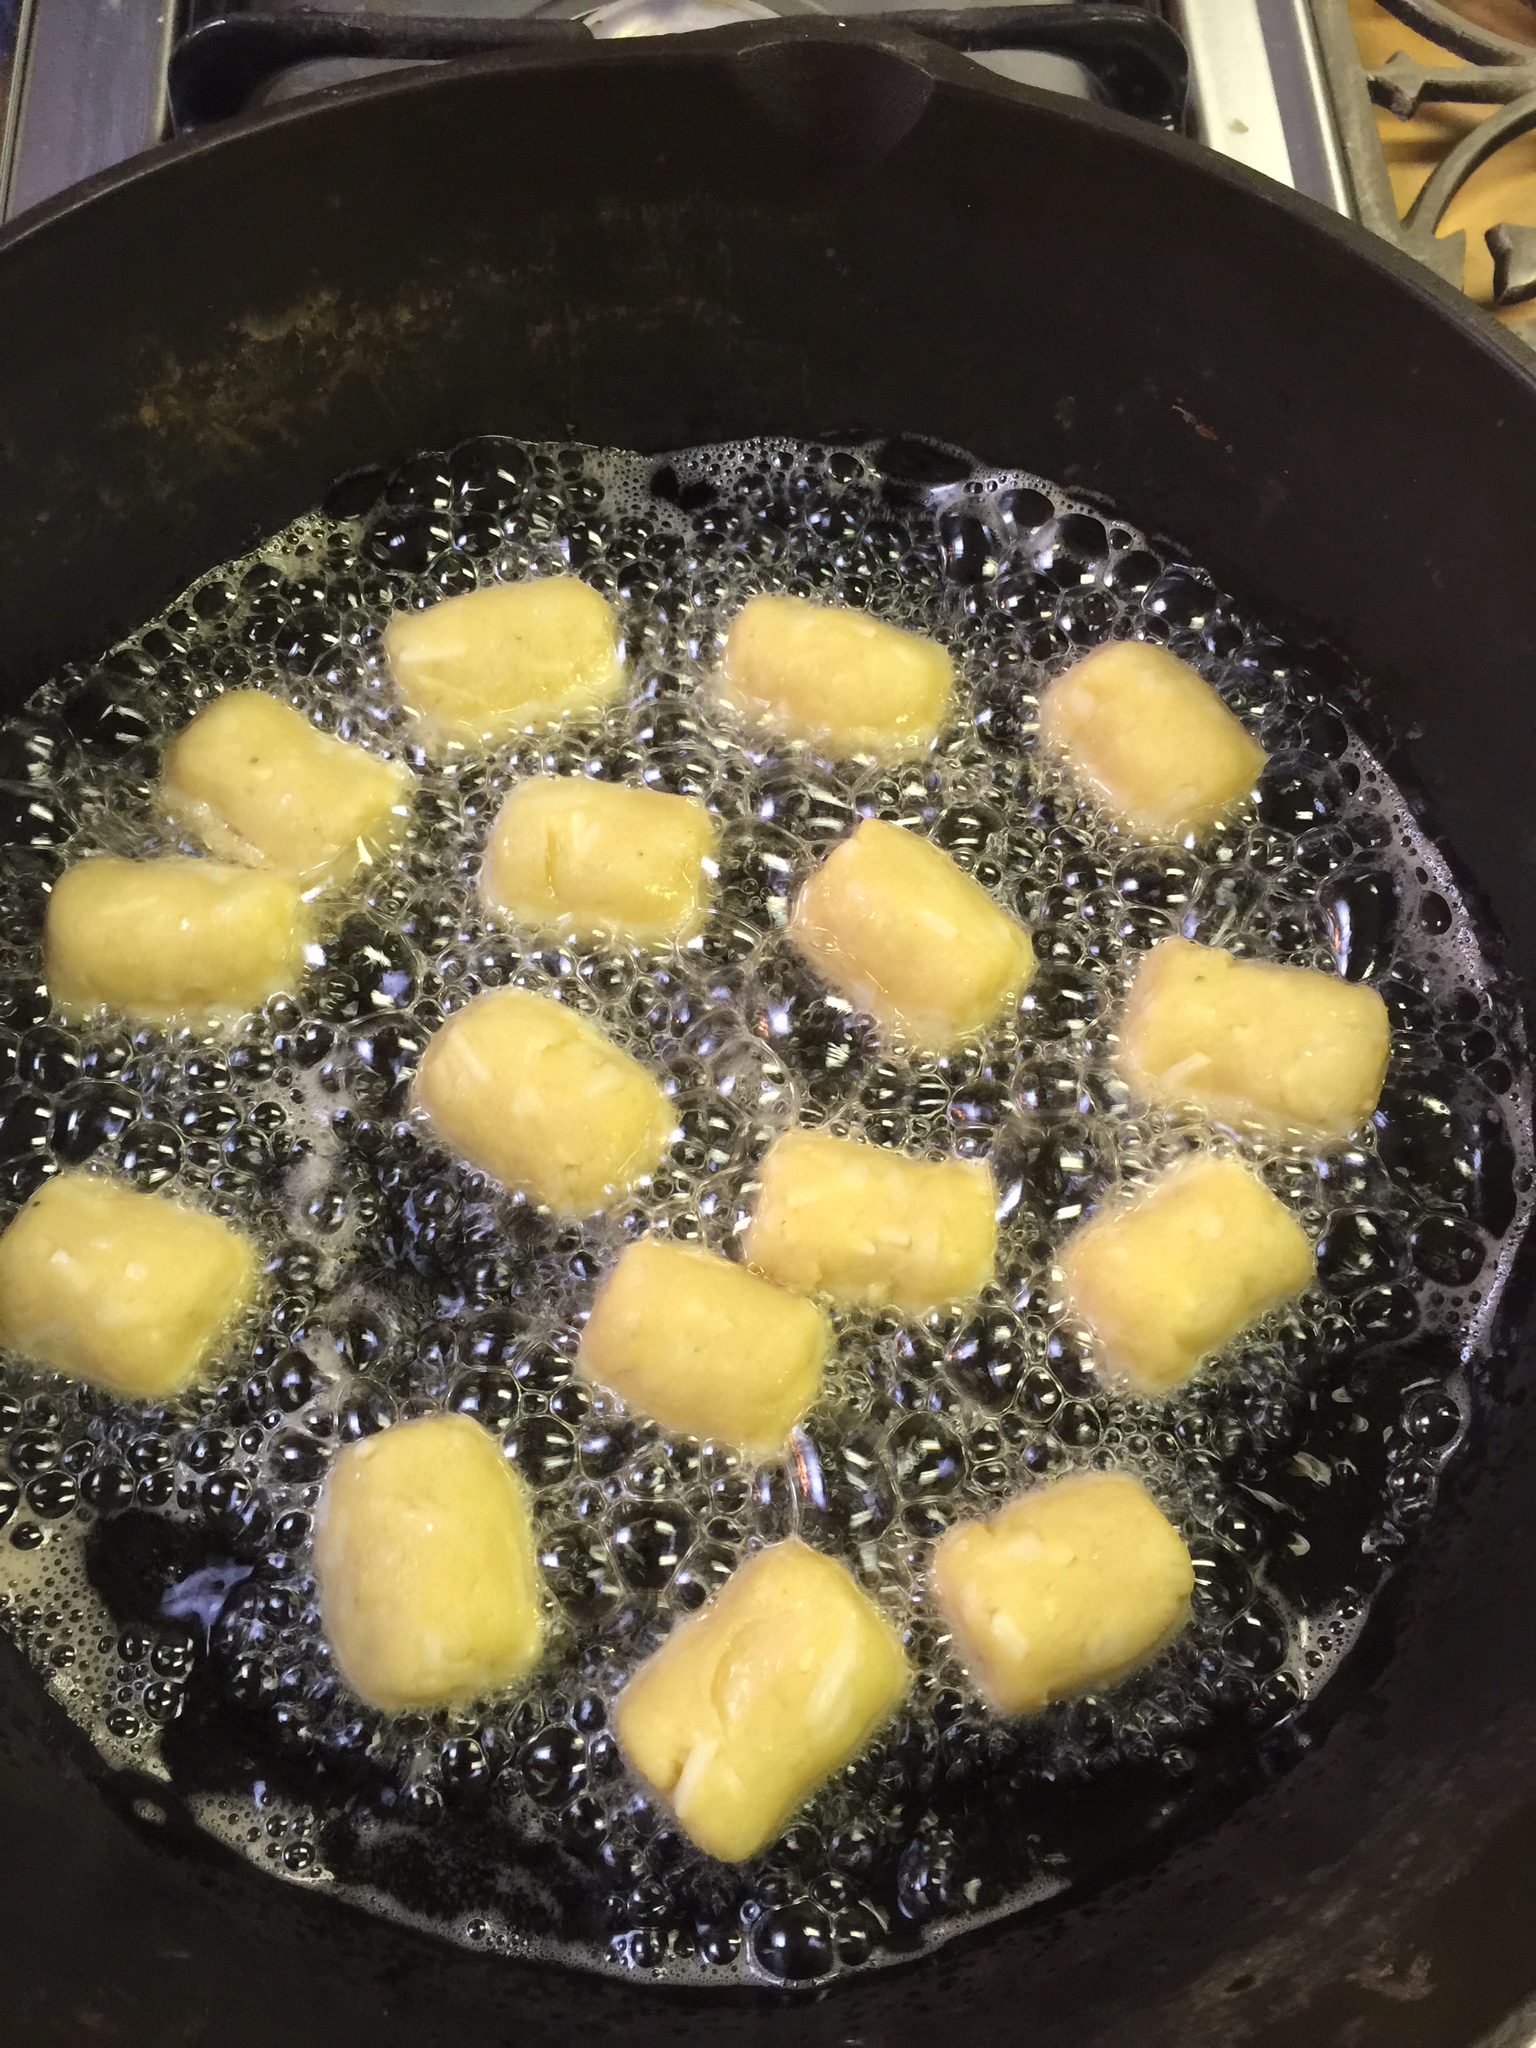
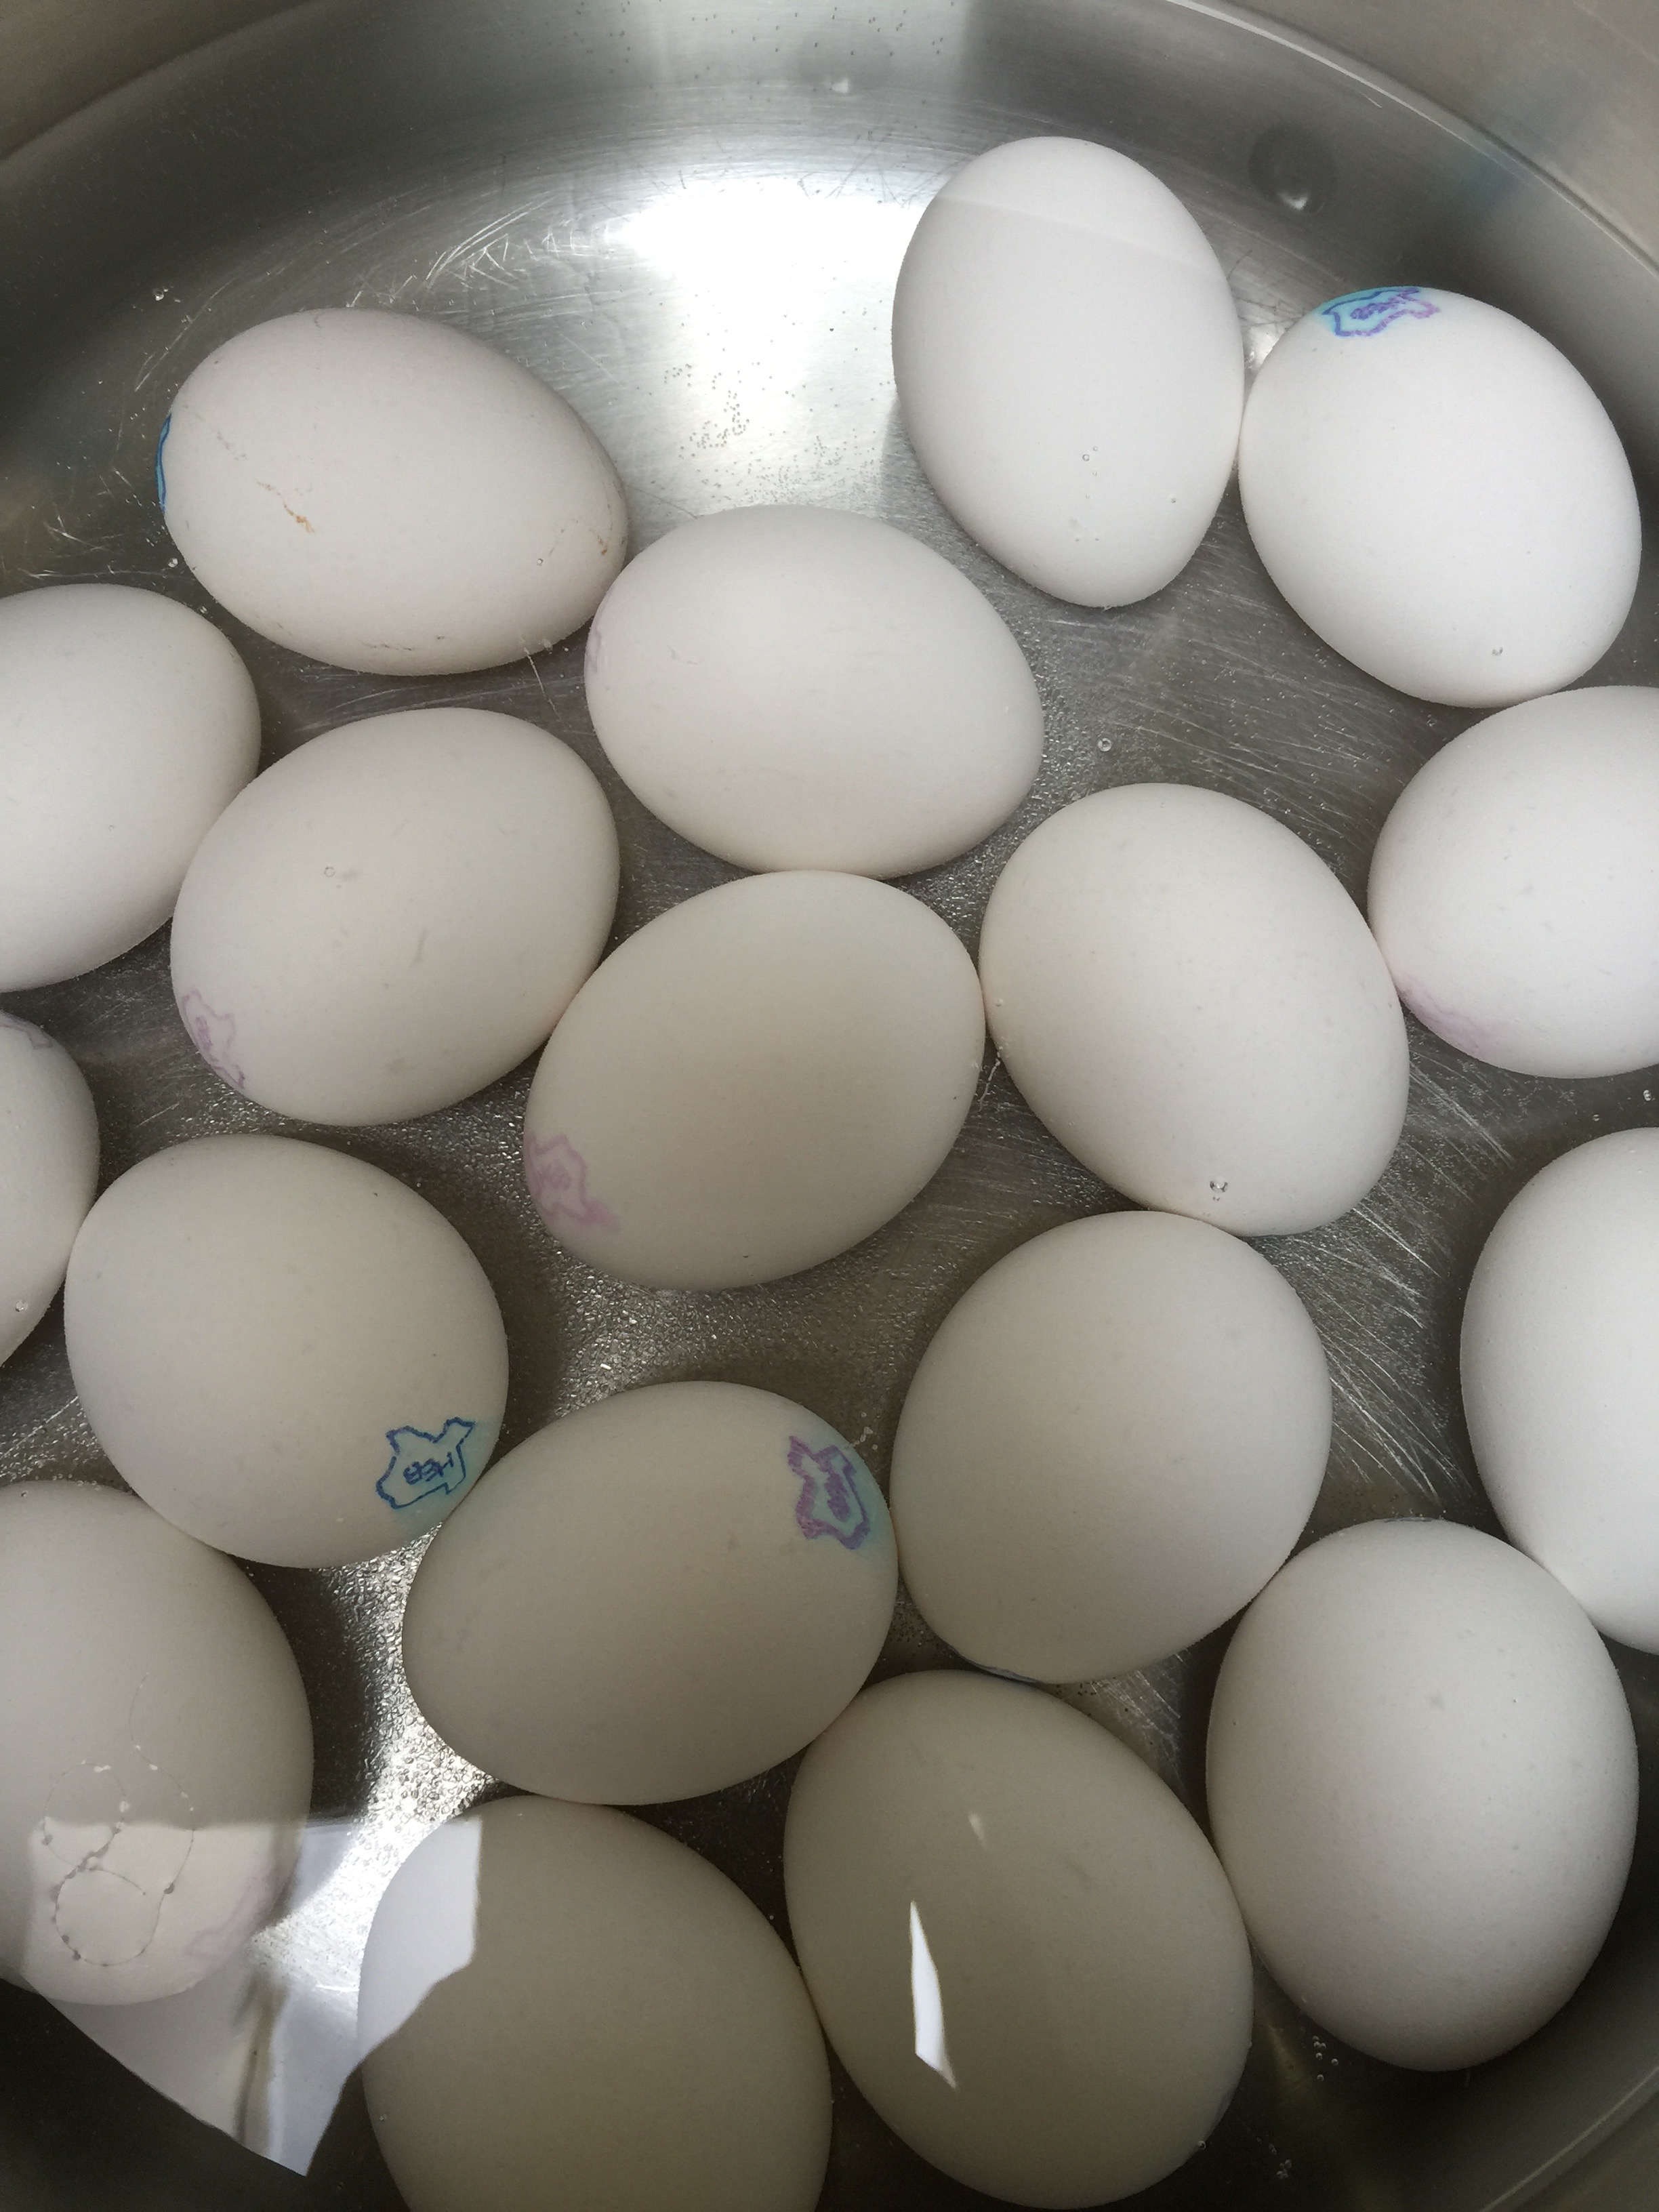
First, start by boiling your eggs. I have a gas stove, and have had great success by placing my eggs in a large pot, covering with cold water with a tsp of salt, and bringing it to a rumbling boil. Once it is at a full boil, turn your heat down to a simmer for 1 minute, cover, and turn the heat off completely for 10 to 12 minutes. As soon as the timer goes off, dunk them in a cold water bath. Let them cool, and then place in the refrigerator until you need them.
You can peel your eggs now or later. For deviled eggs you will want to slice your pretty eggs lengthwise, hull out the yolk and place on a flat surface.
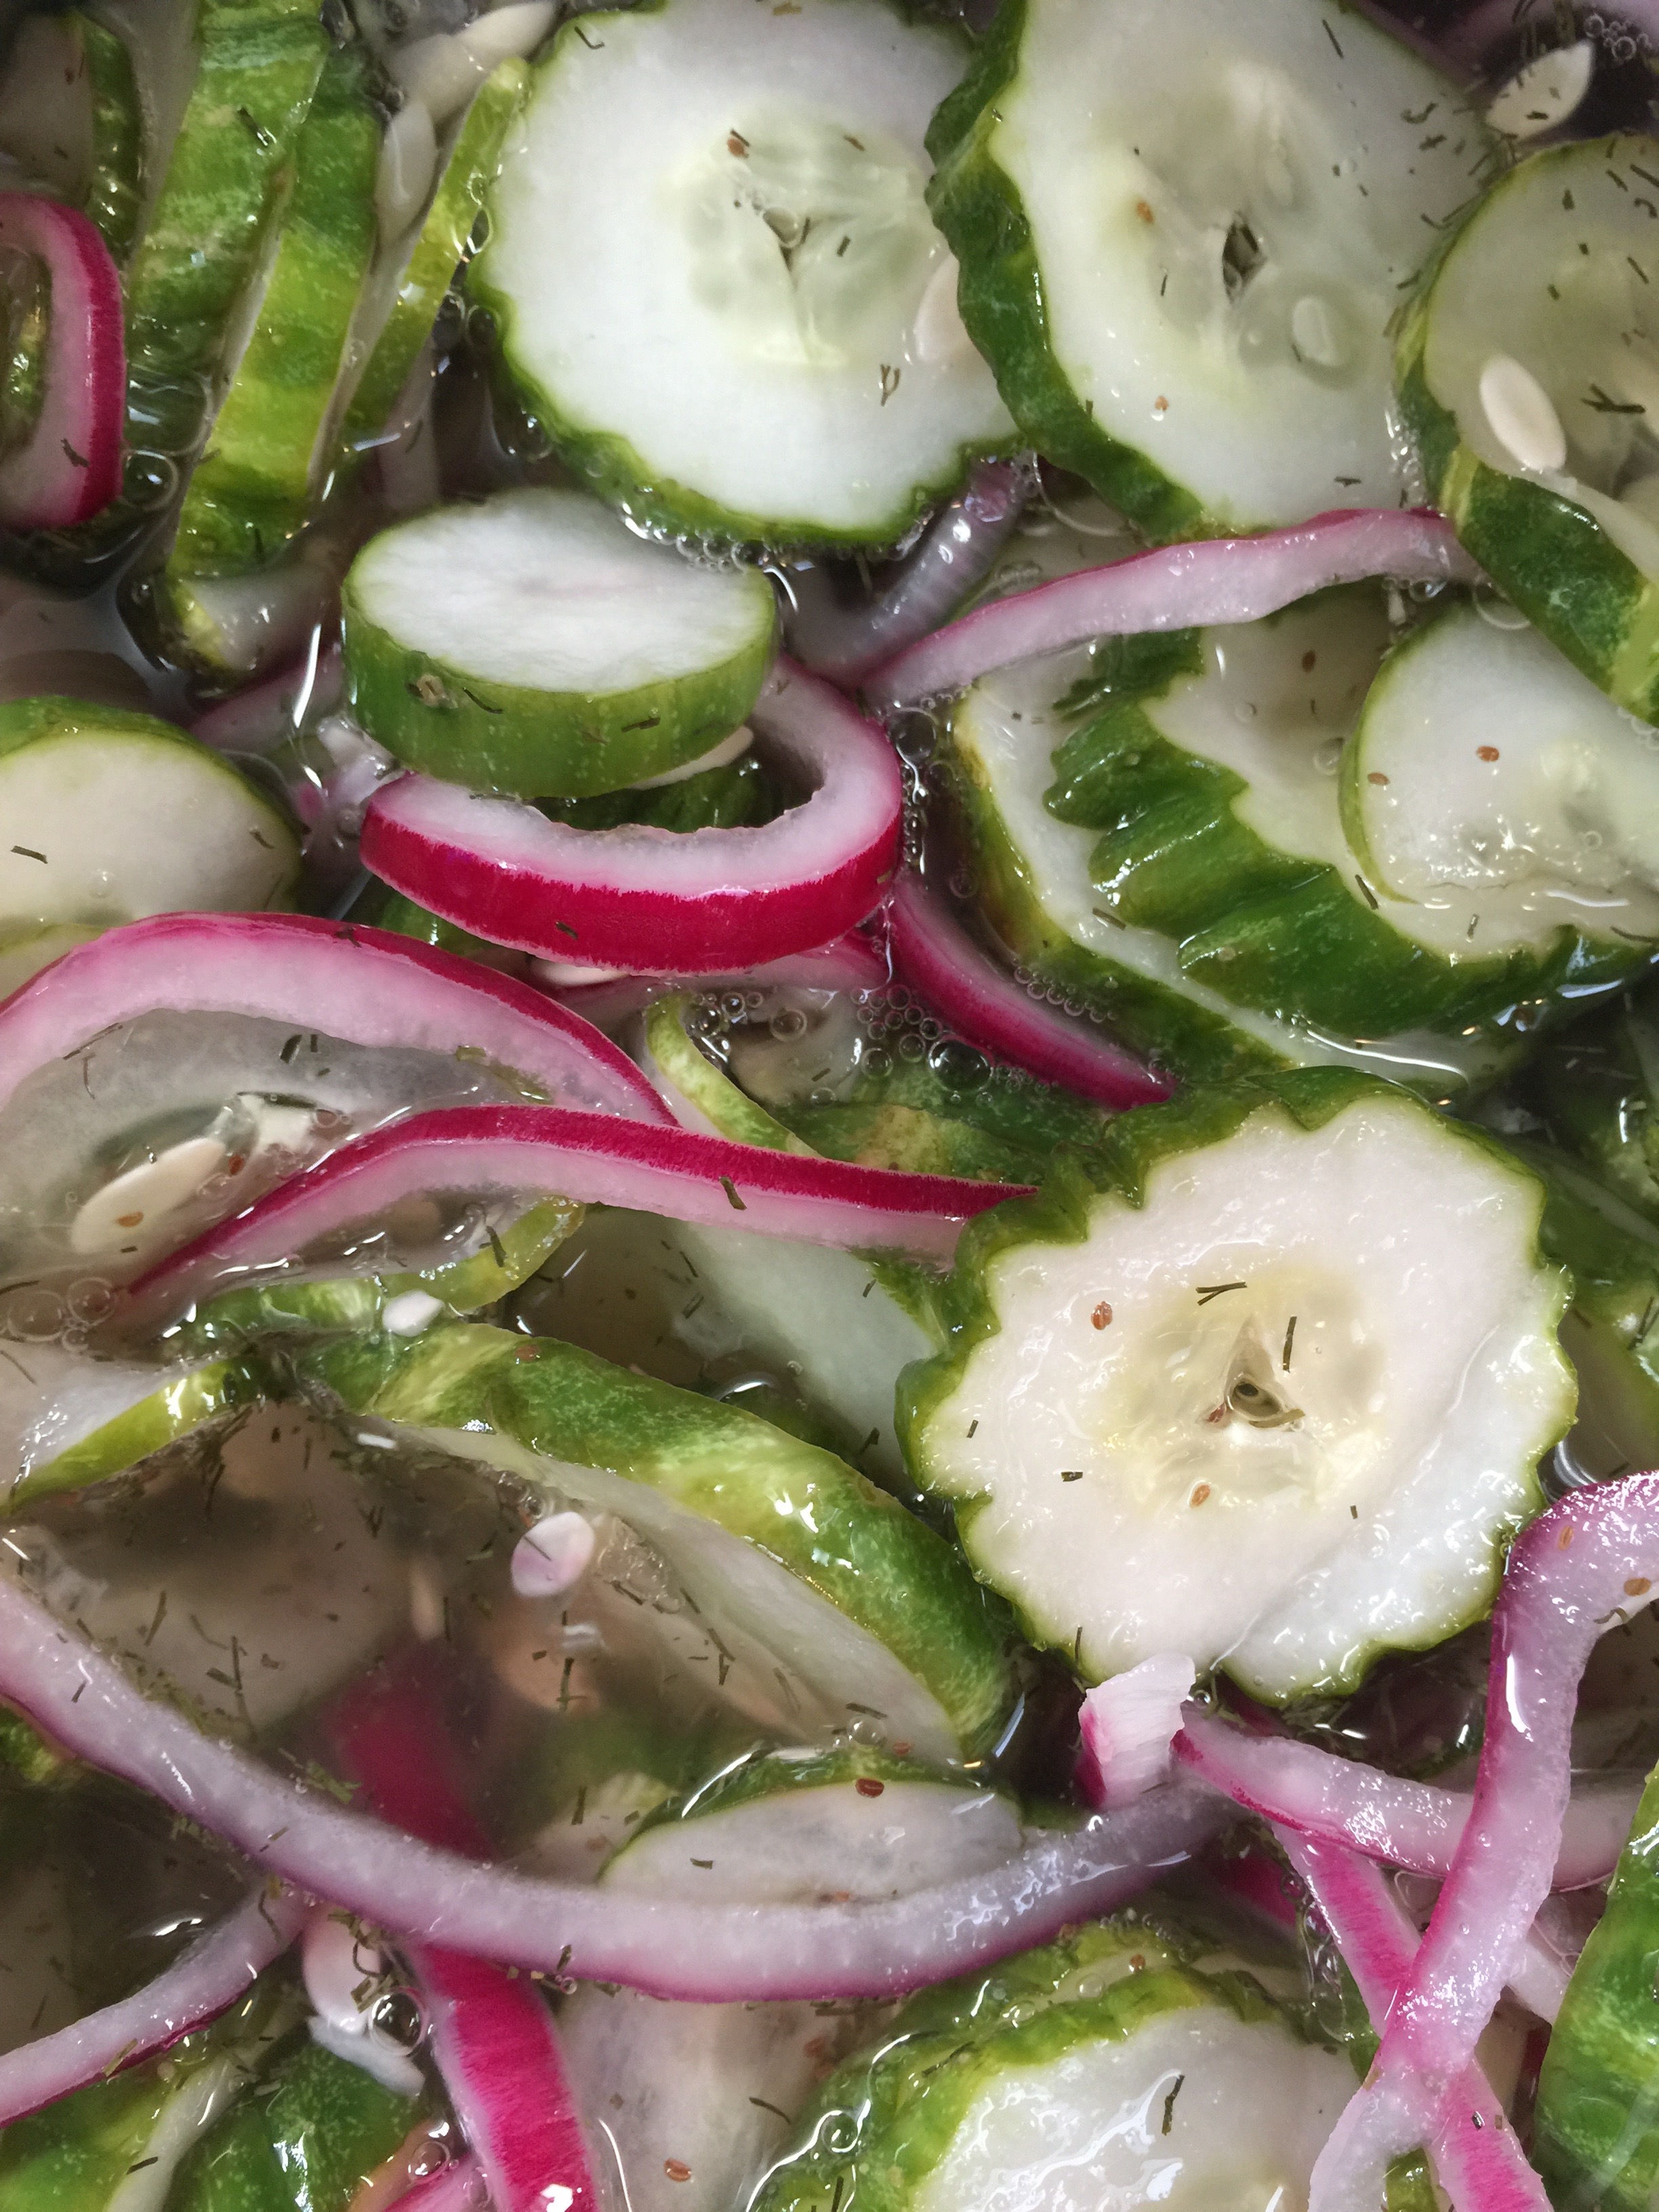
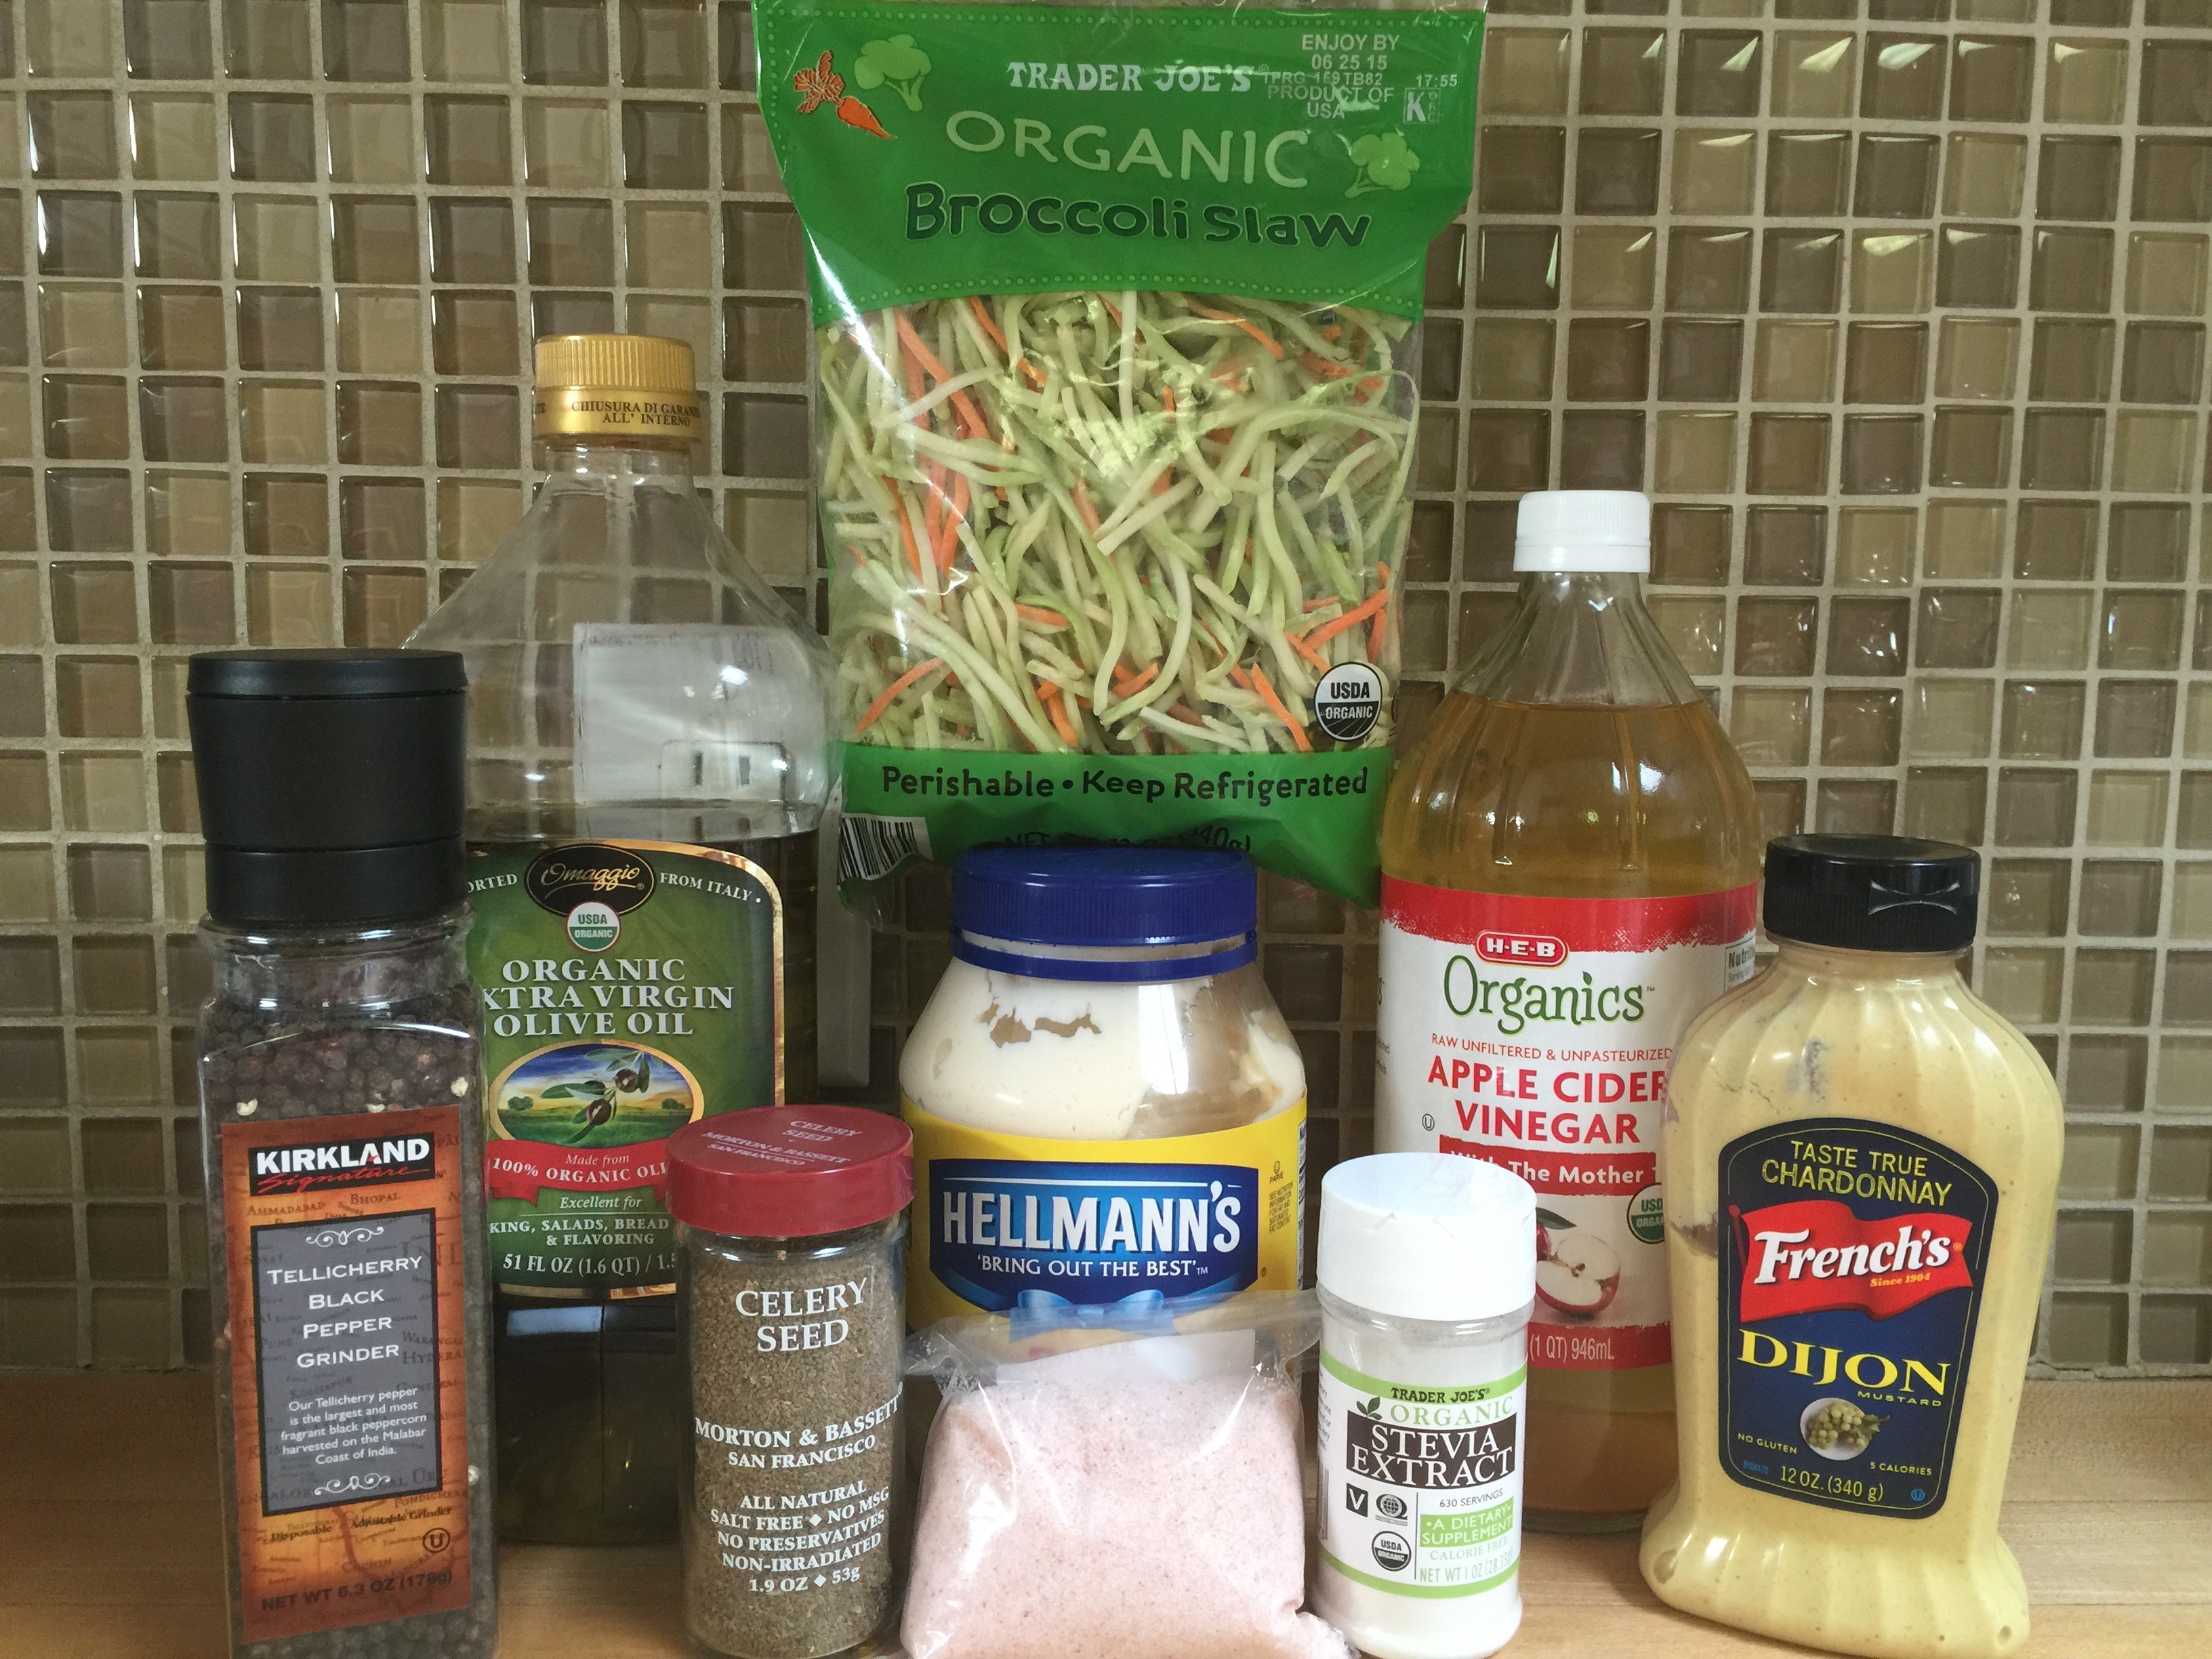
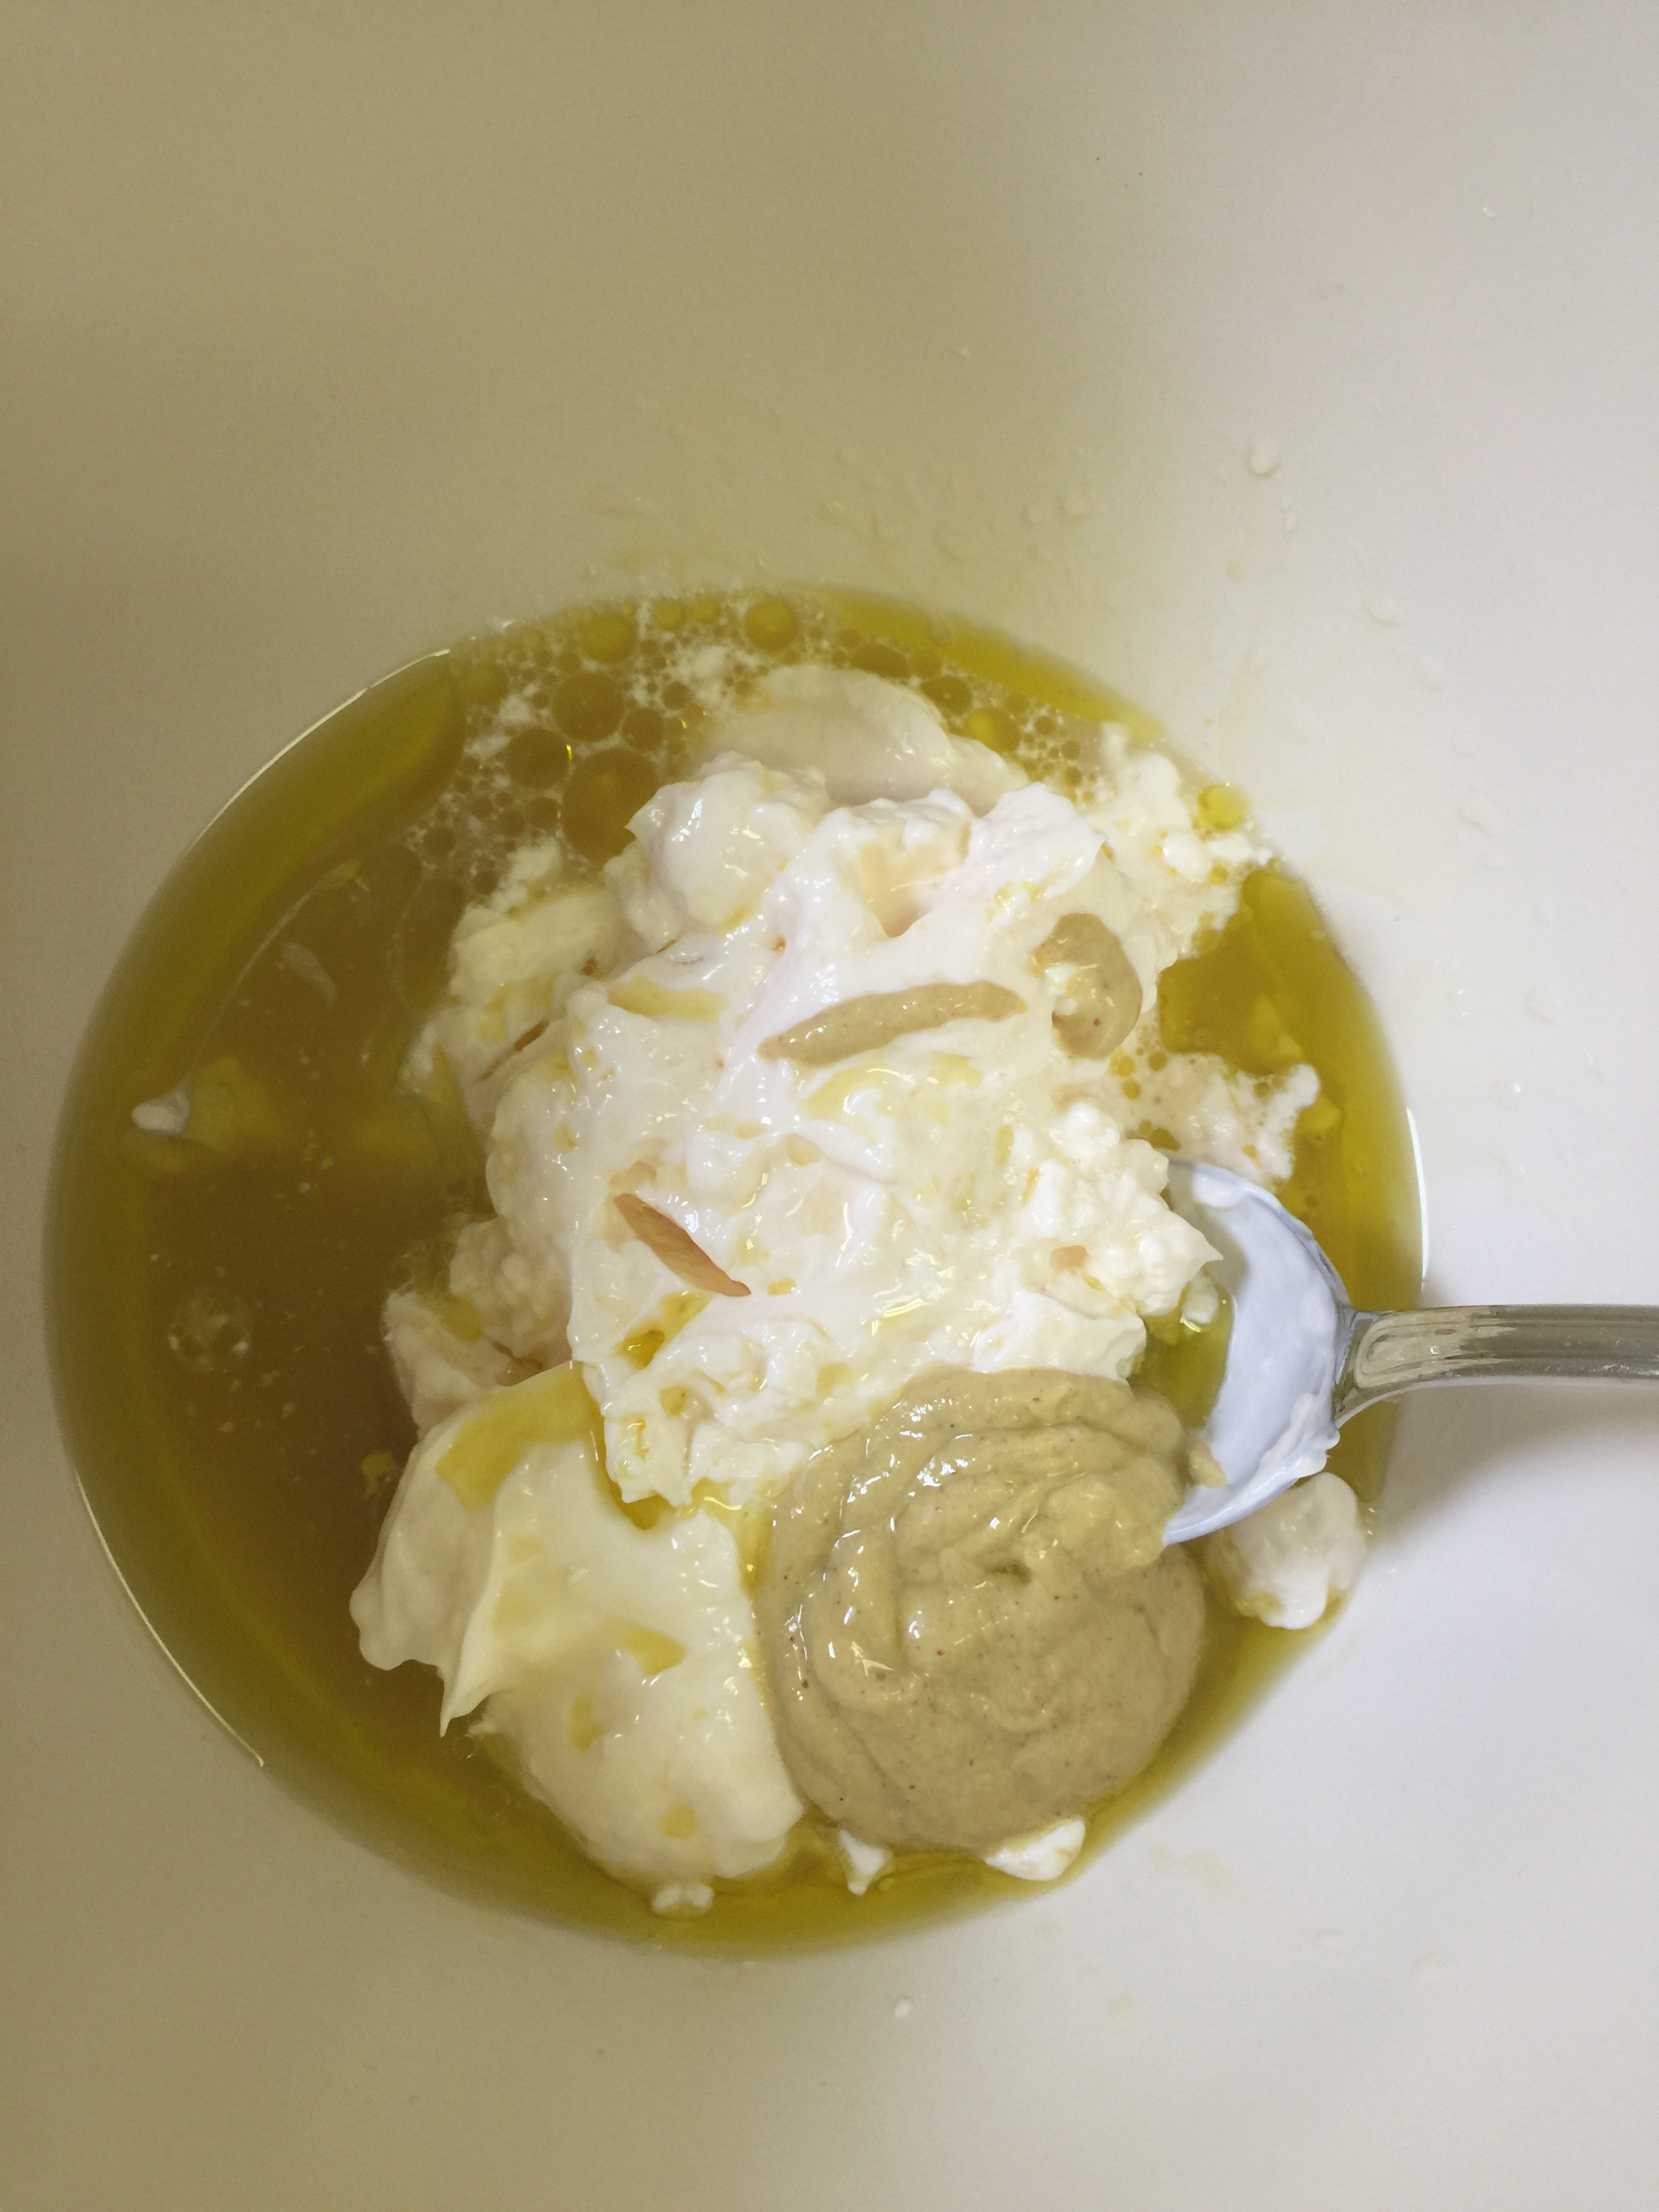
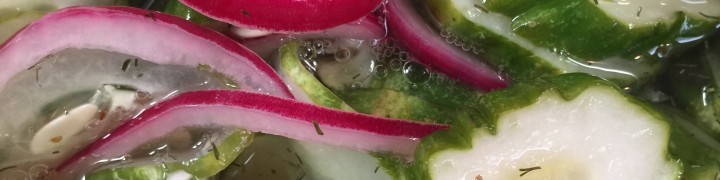
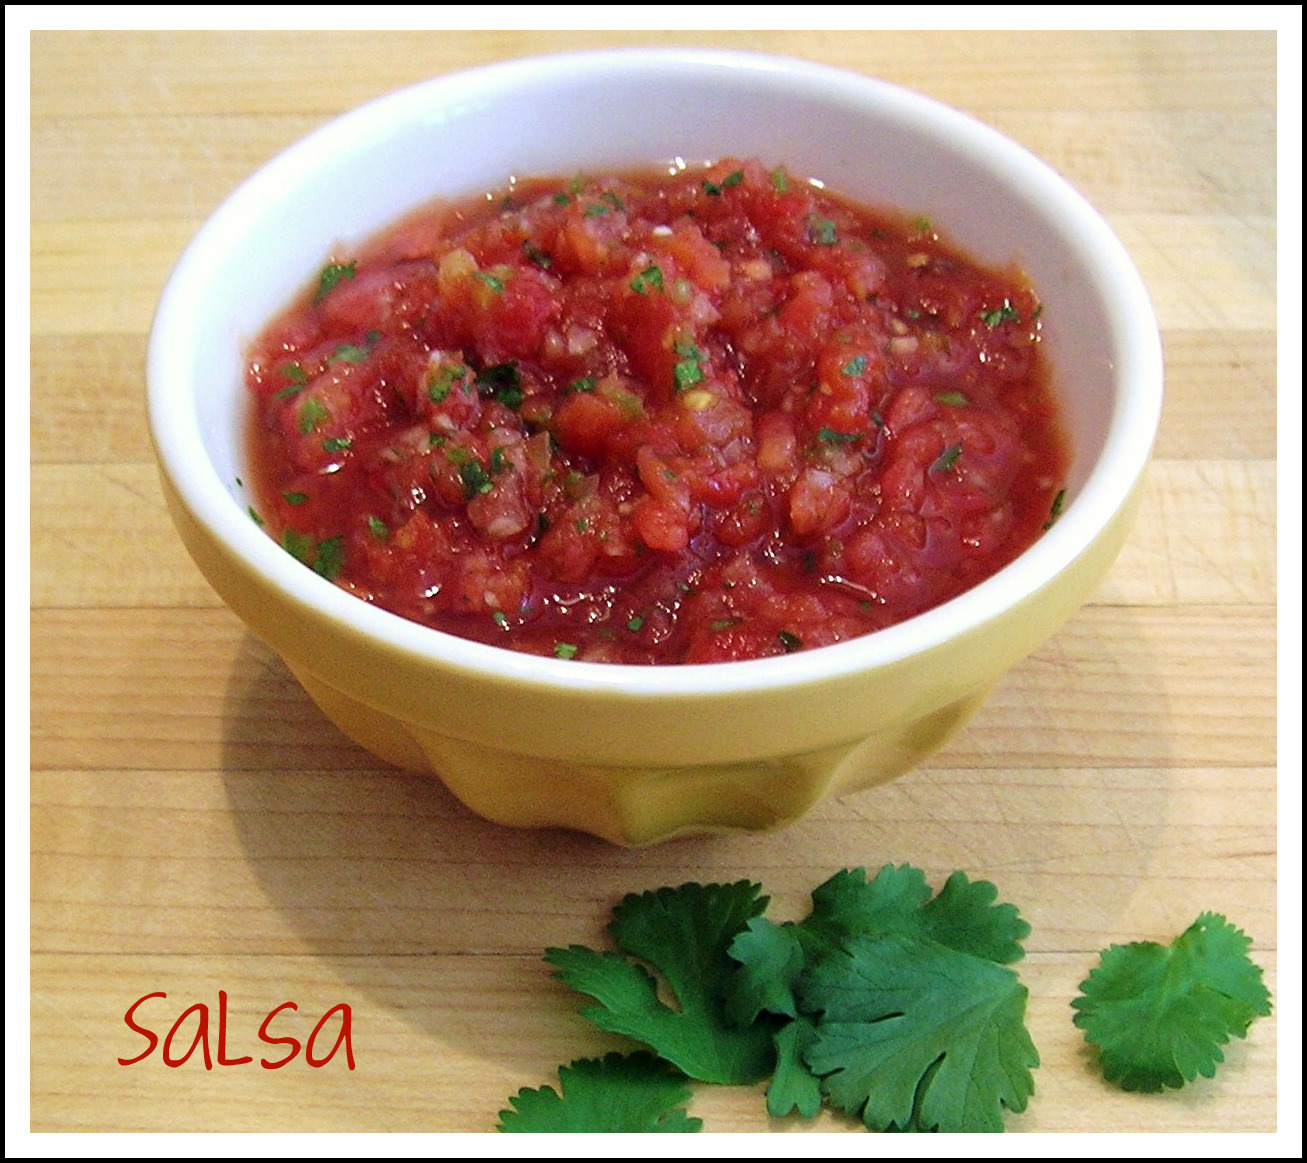
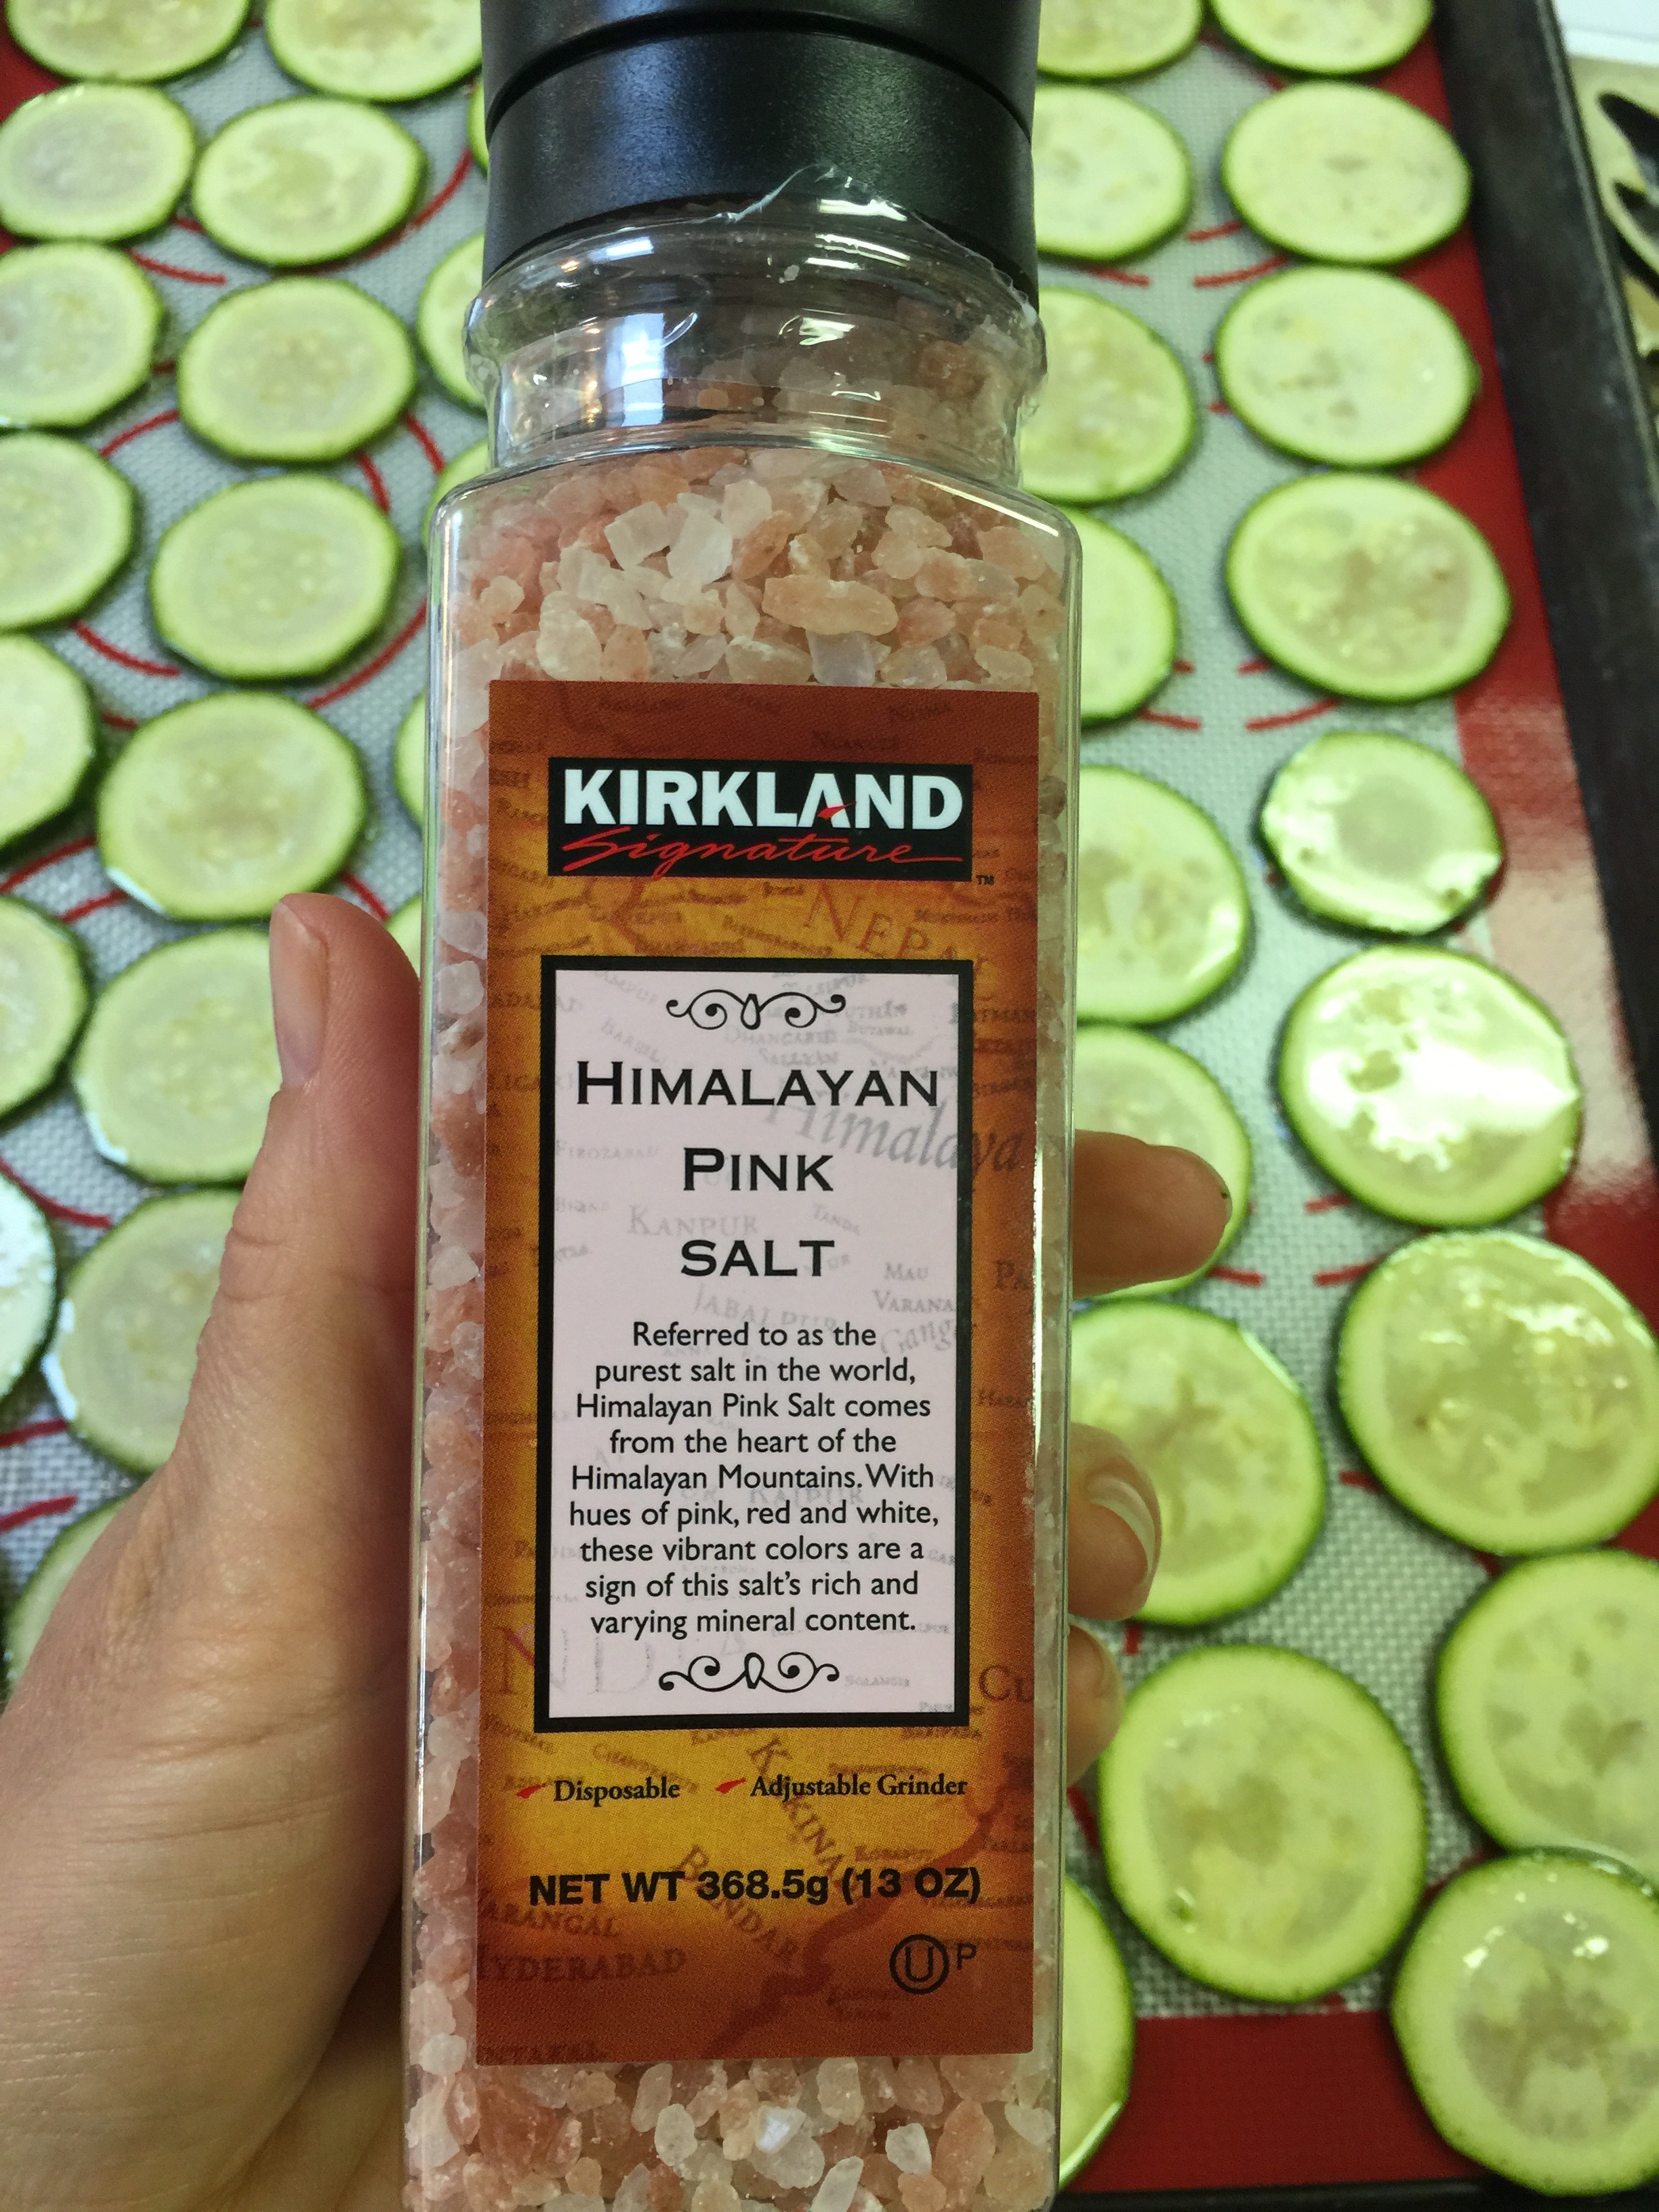
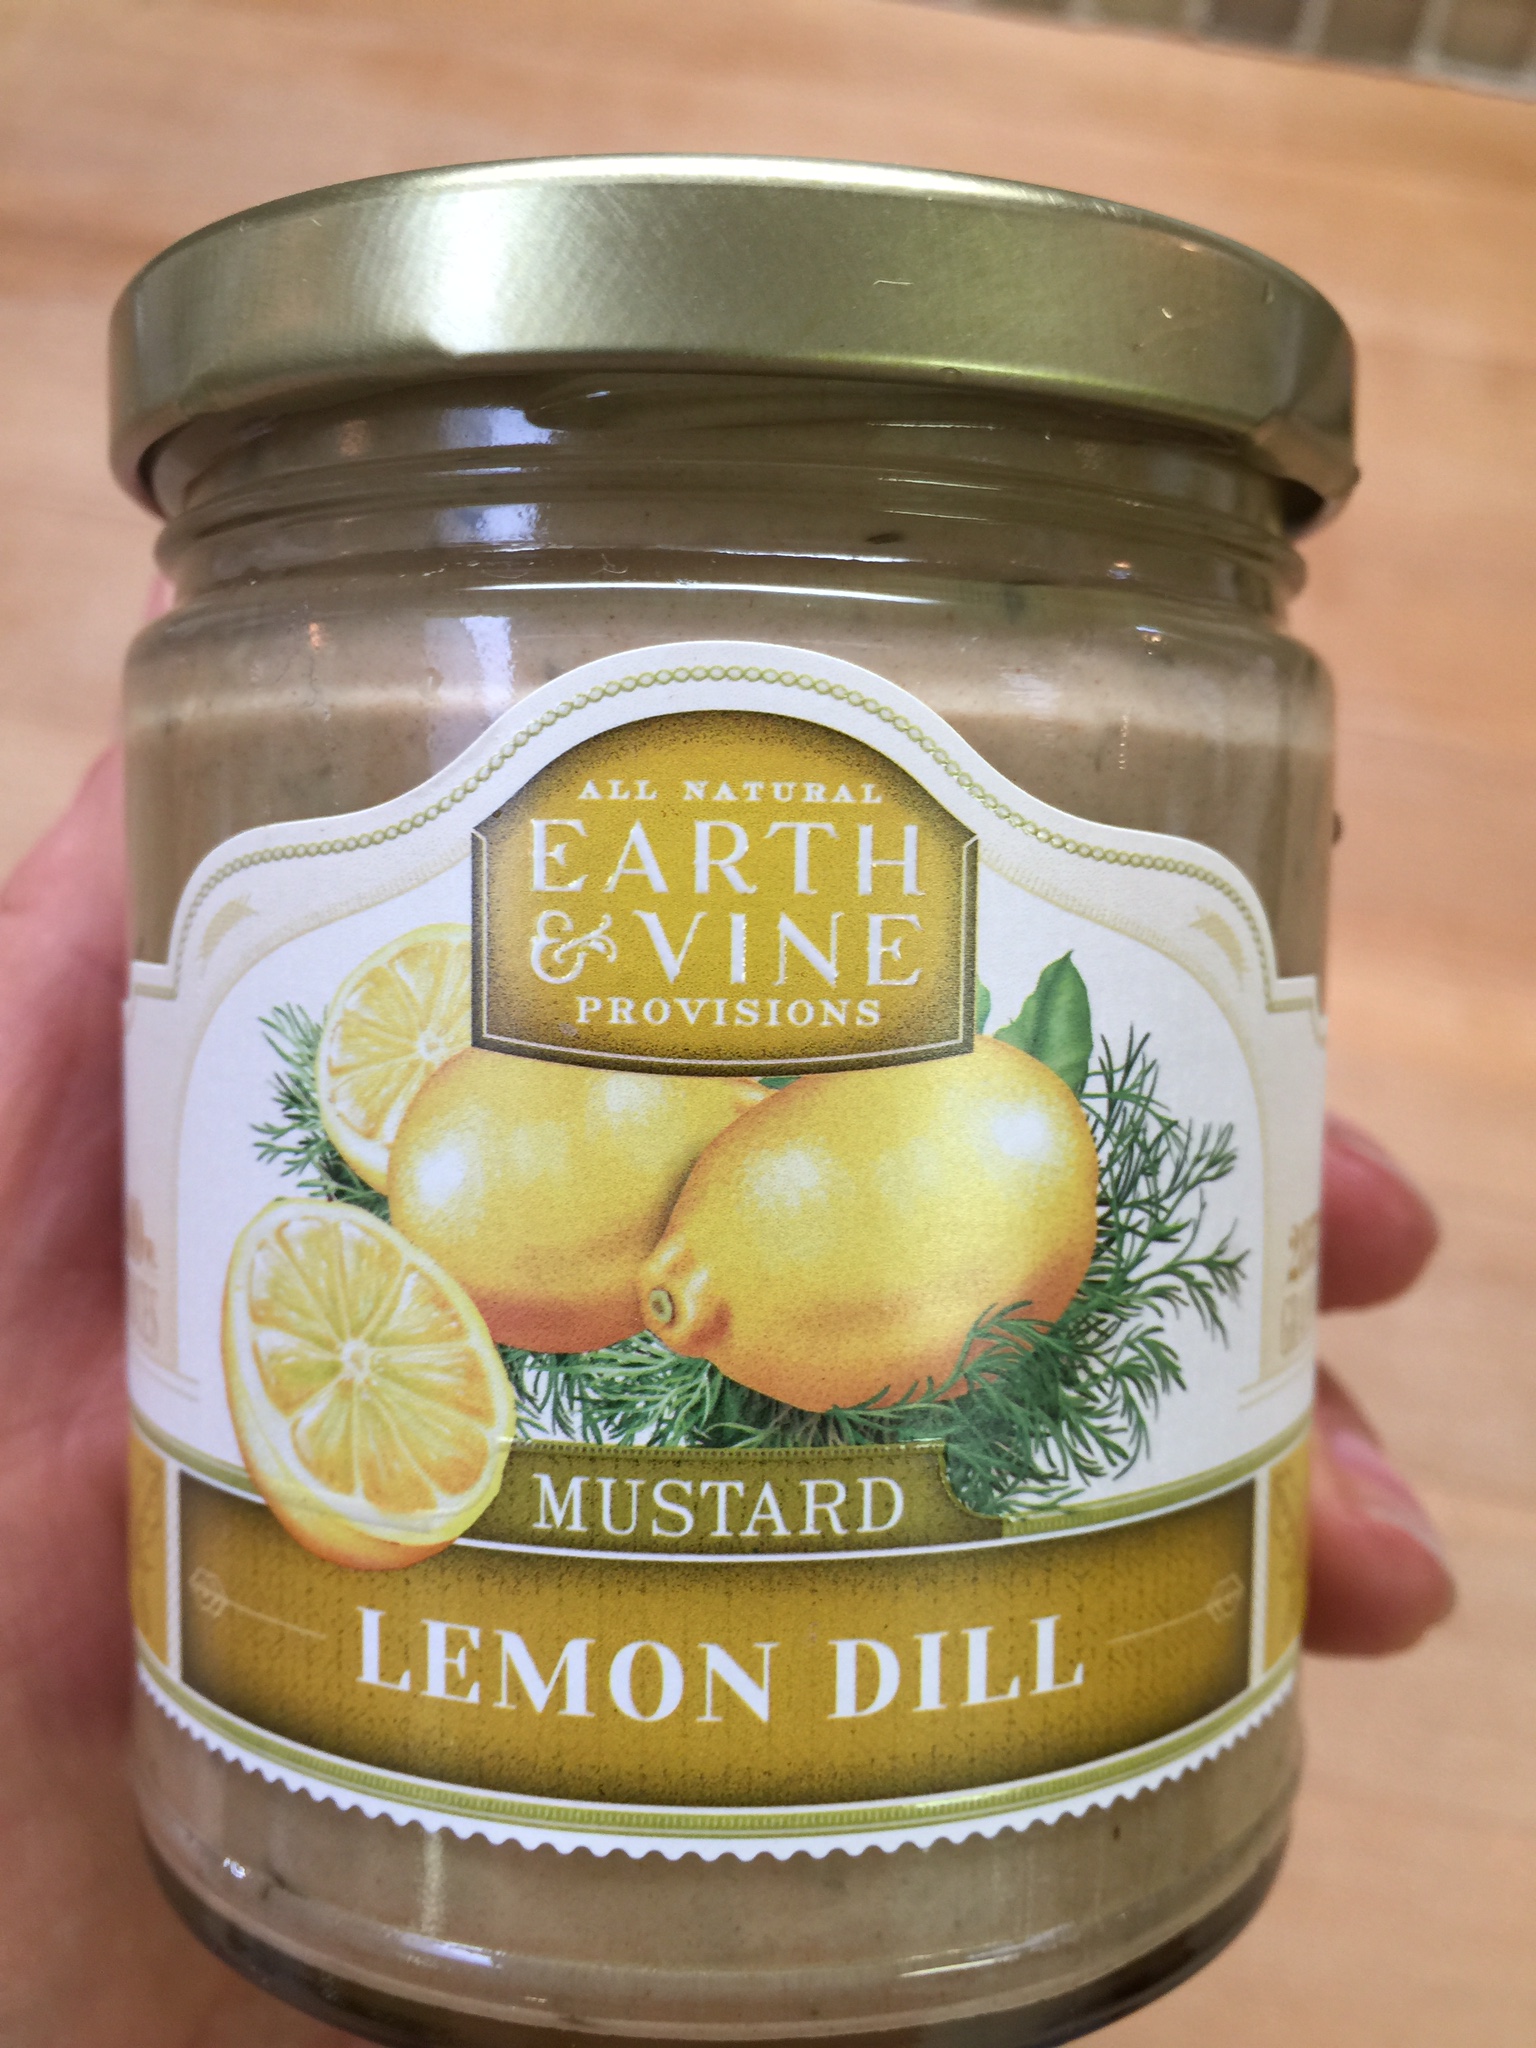
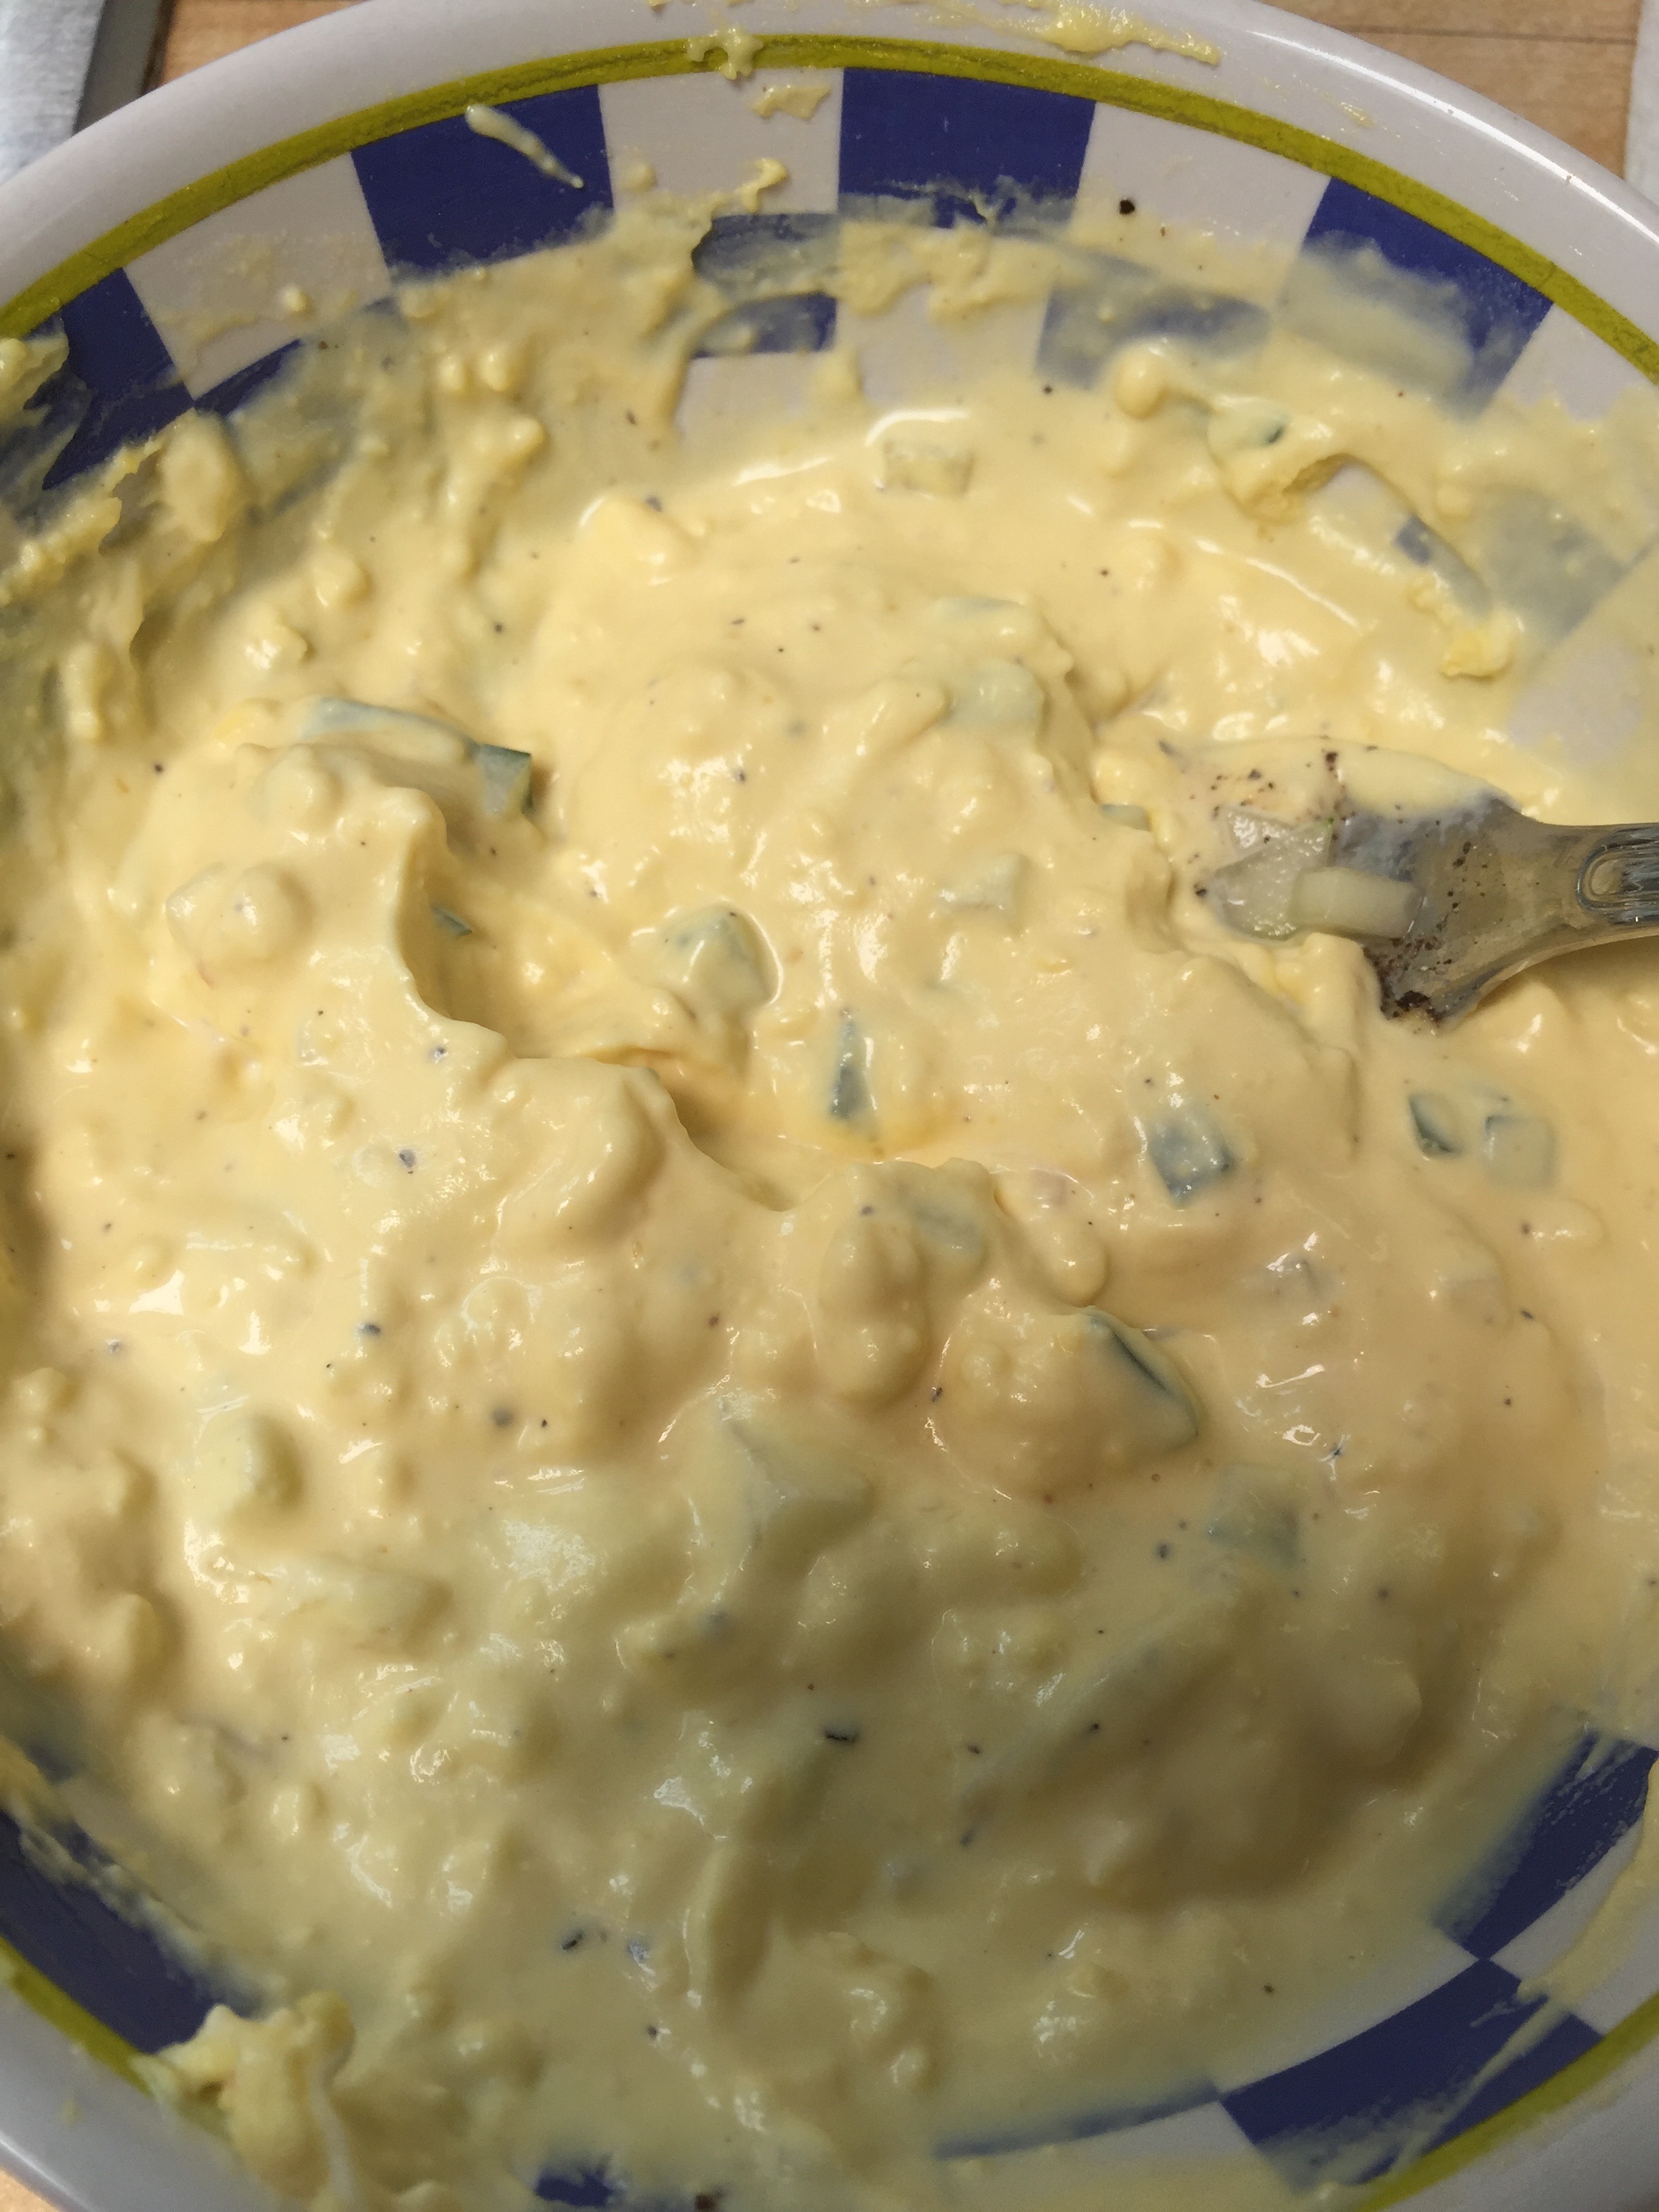
 I put the yolks in a bowl, and mash with mayo, dijon mustard, a little lemon juice, salt, pepper, and if you have them, some chopped Refreshing Cukes. You can also add some fresh dill or dill pickle if you like savory. If you like sweet, you can add a teeny tiny pinch of Stevia. Mash it all together and stuff your eggs. Refrigerate immediately.

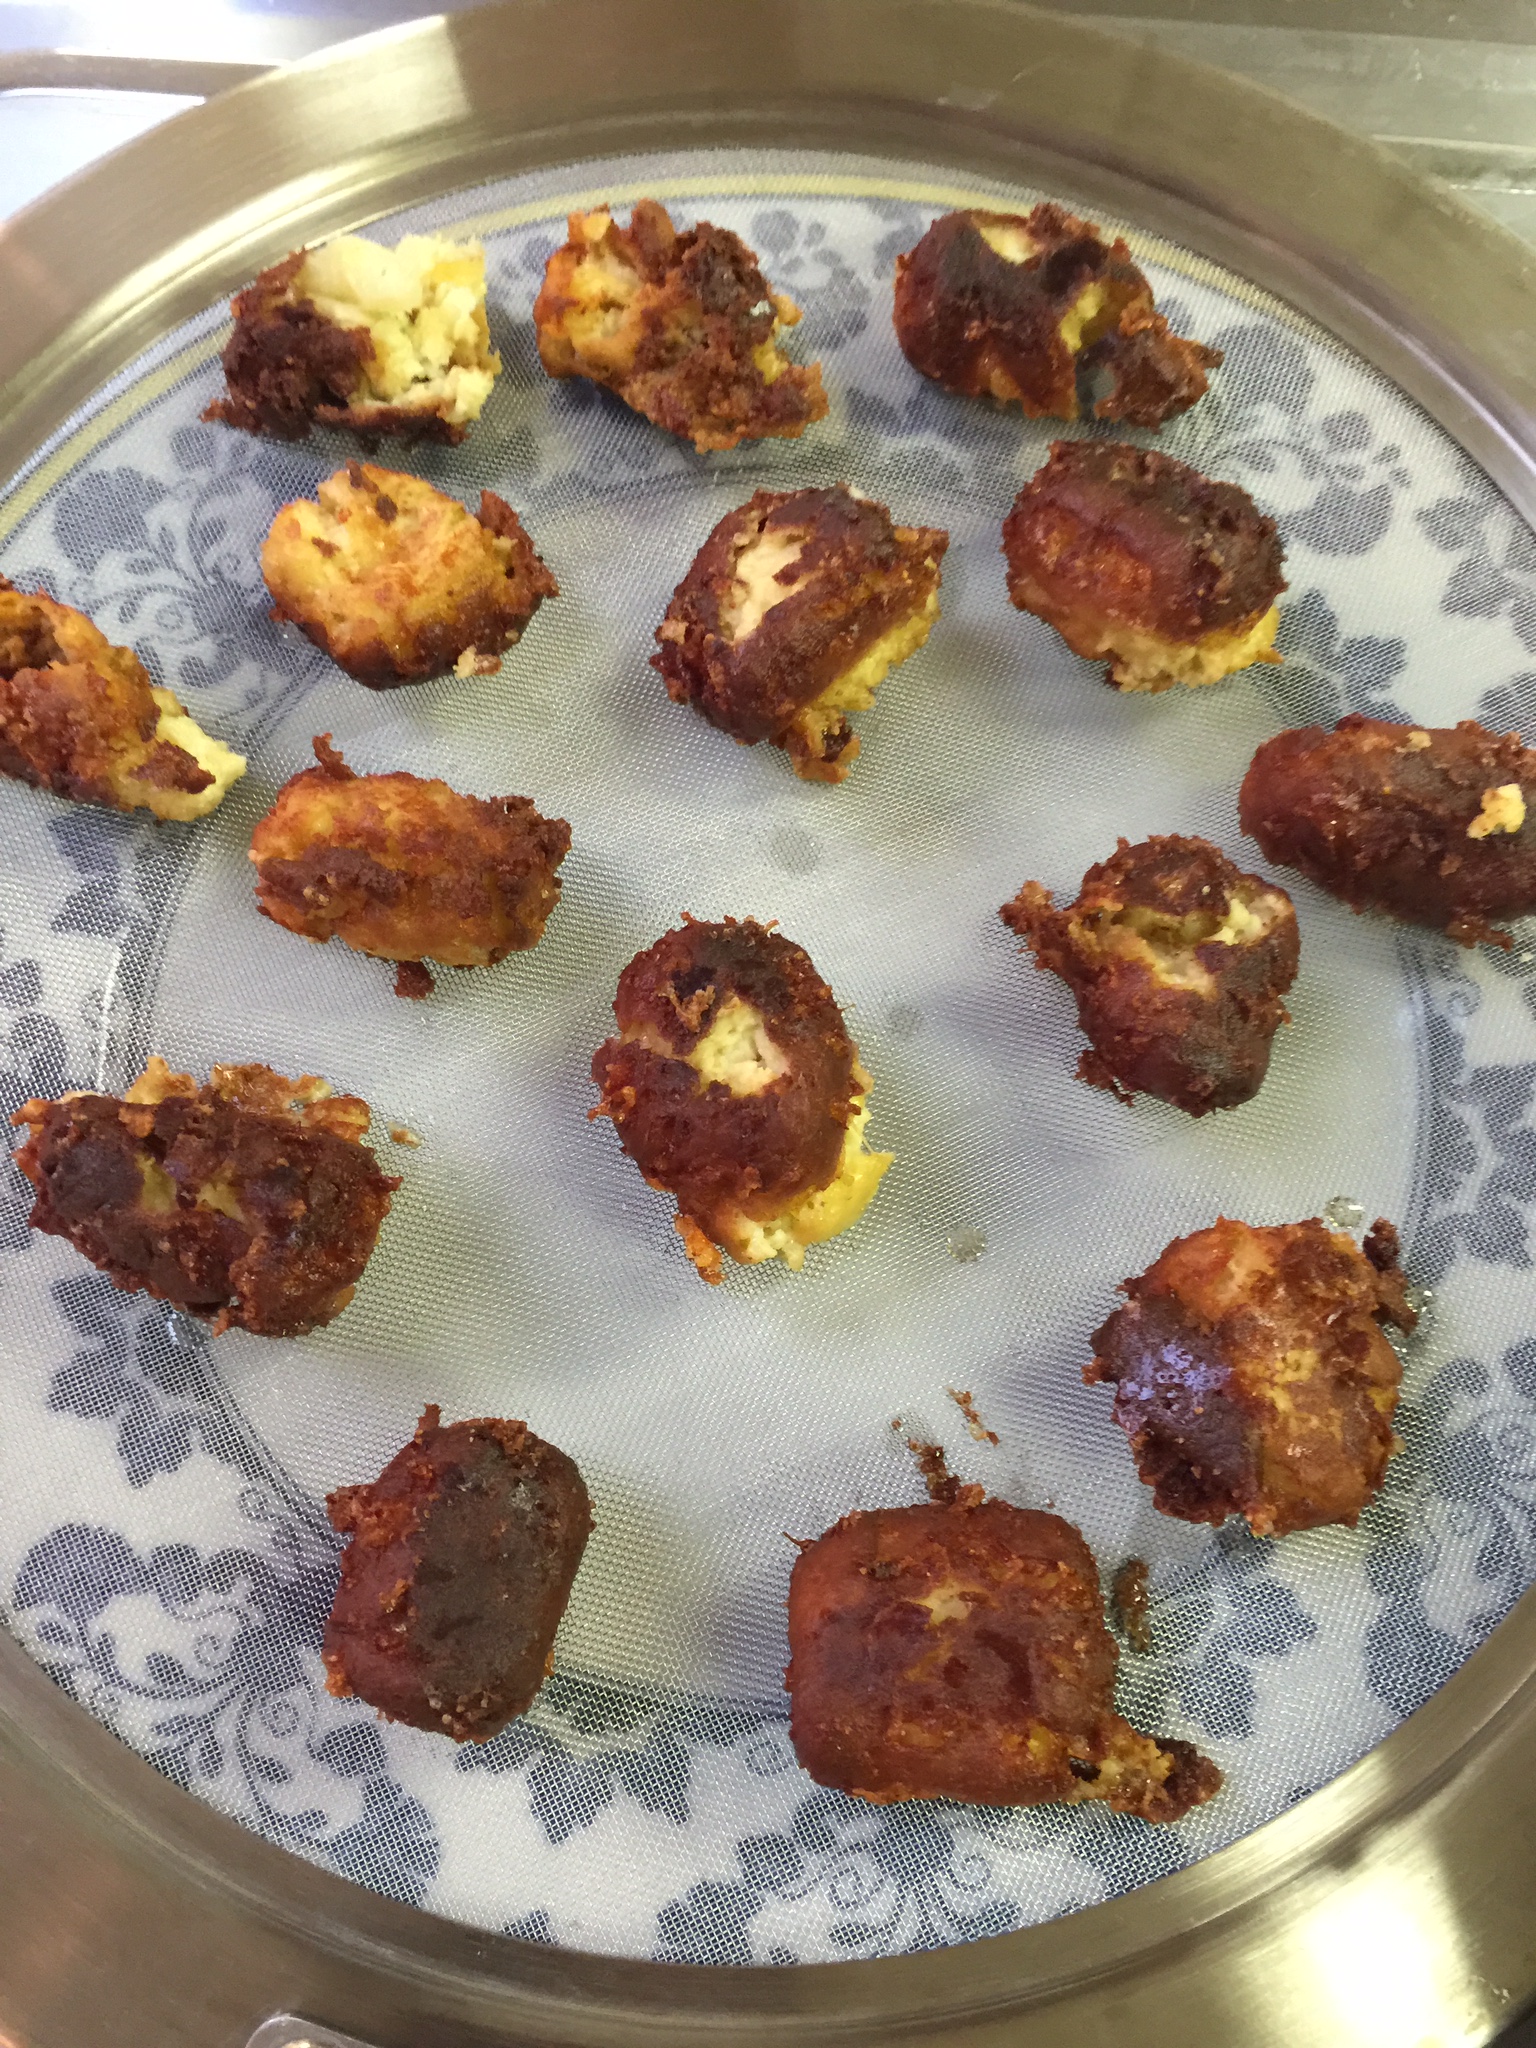
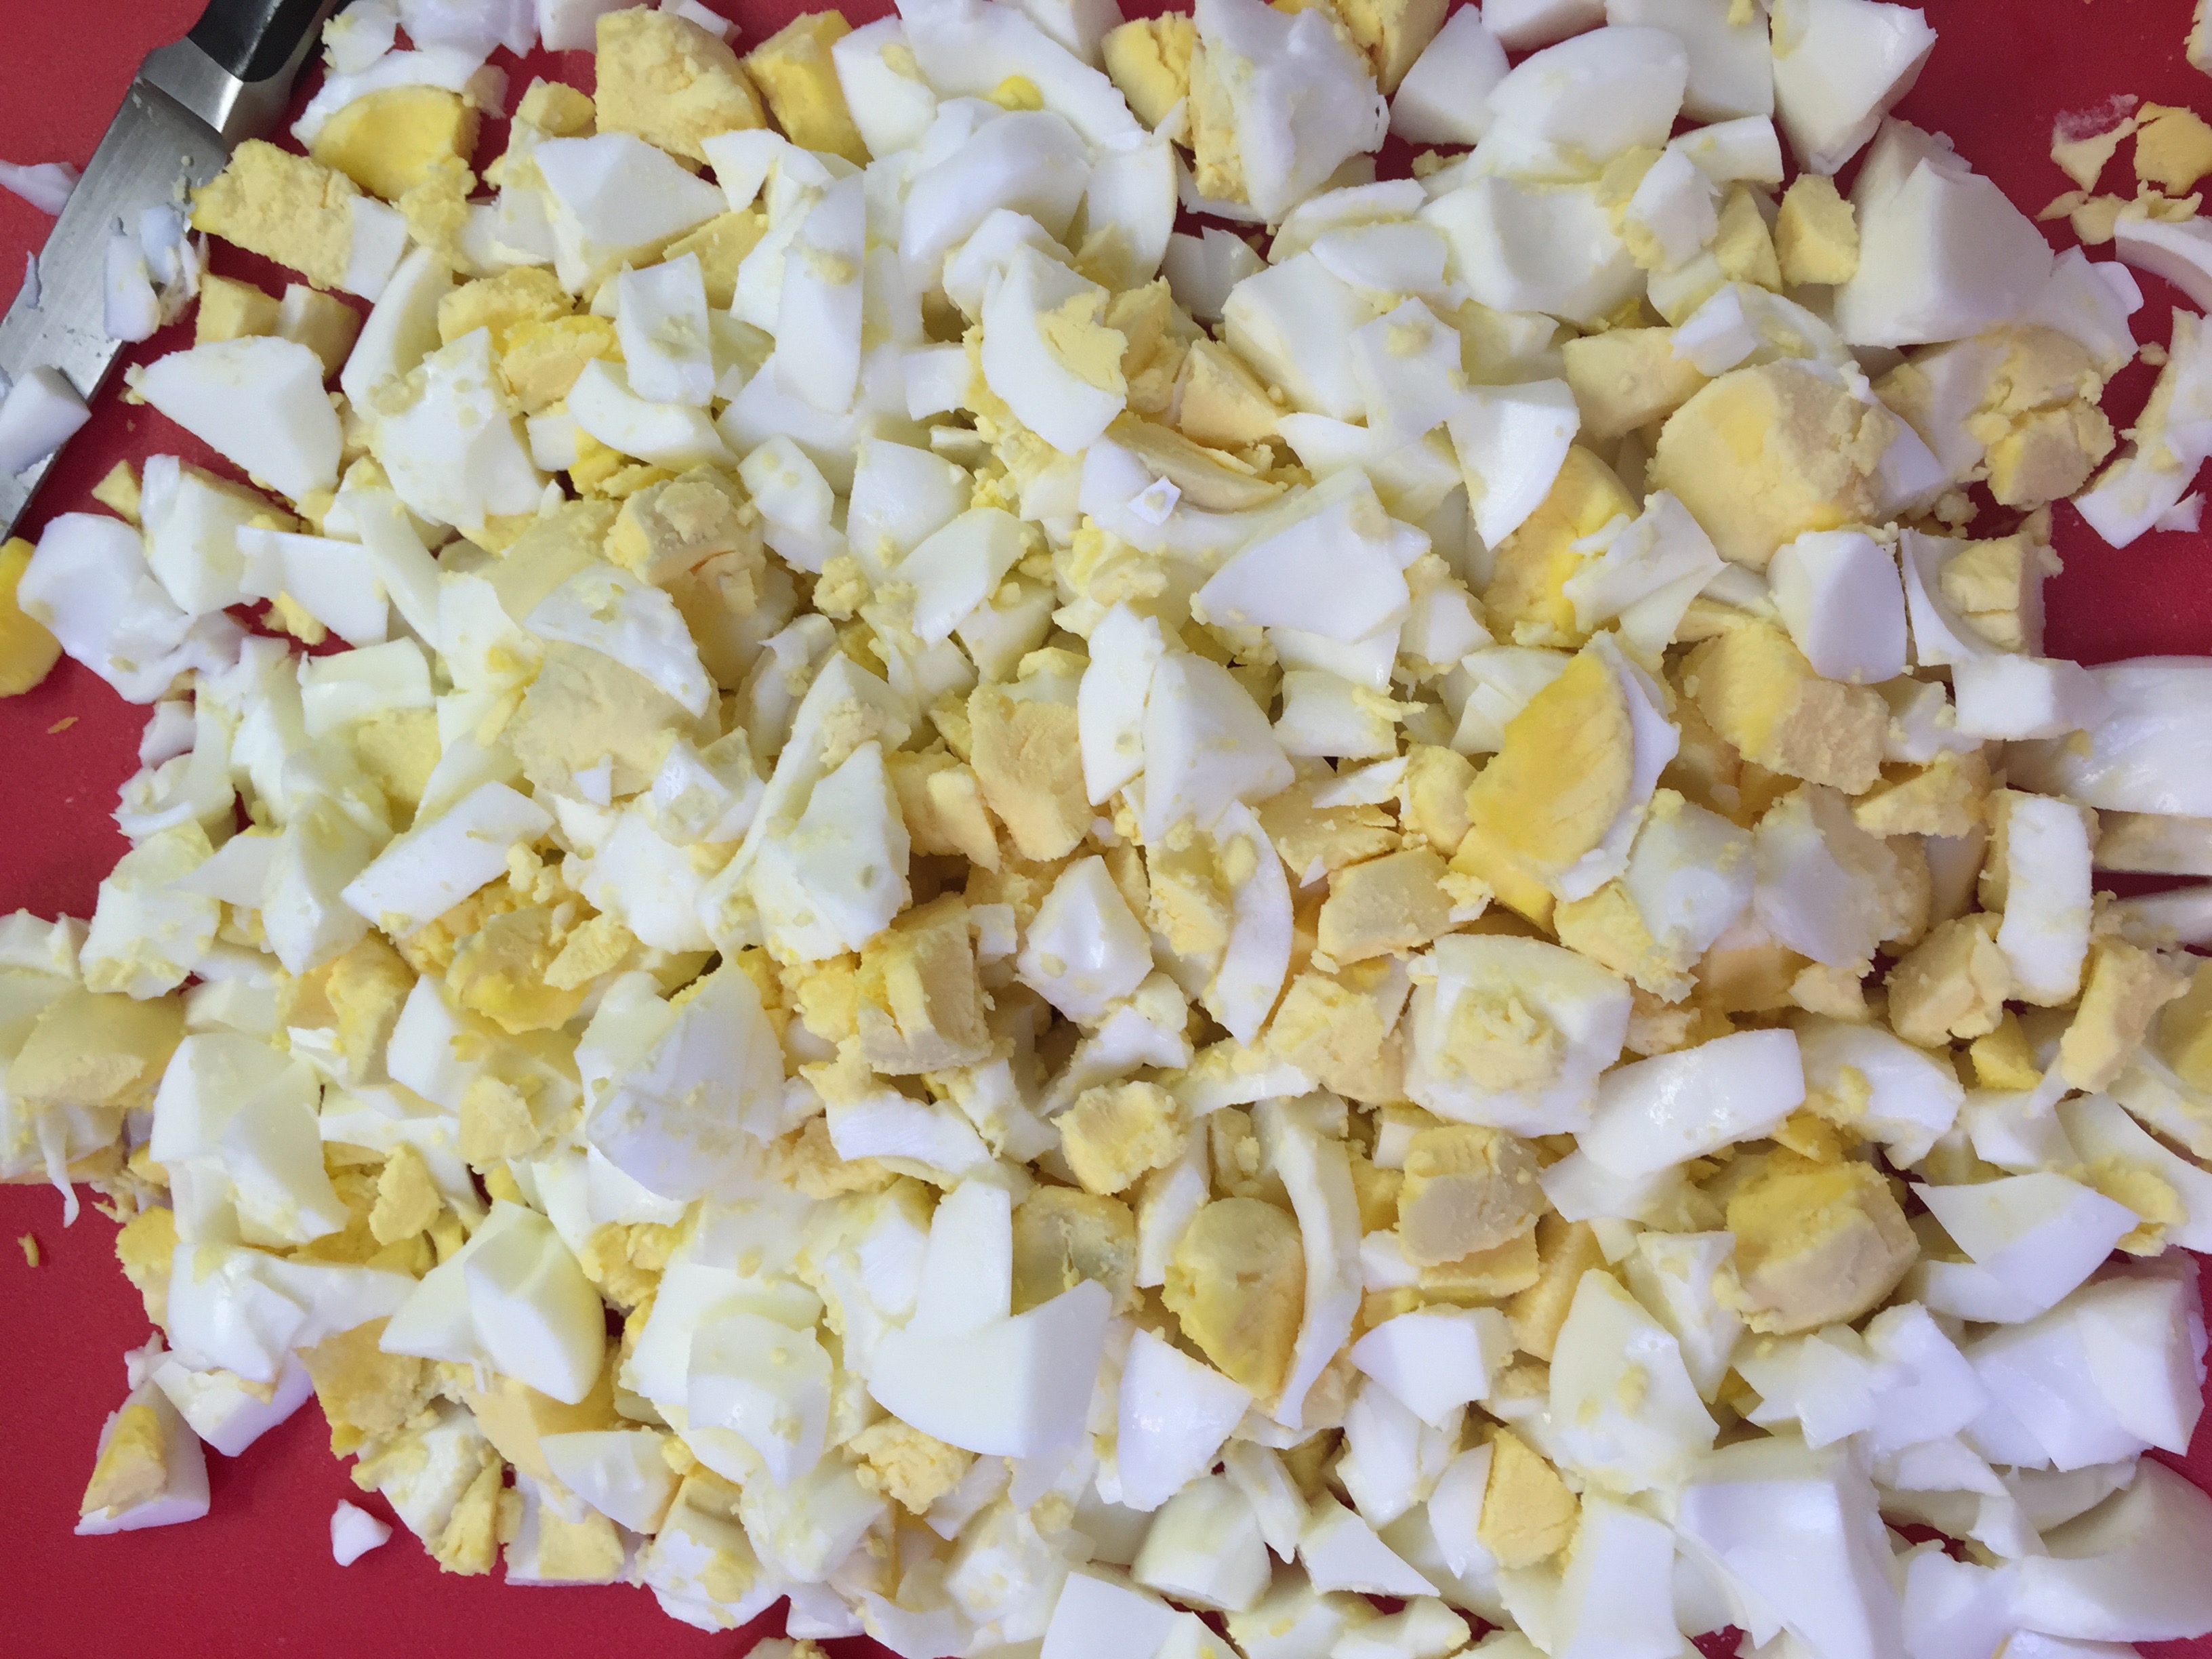
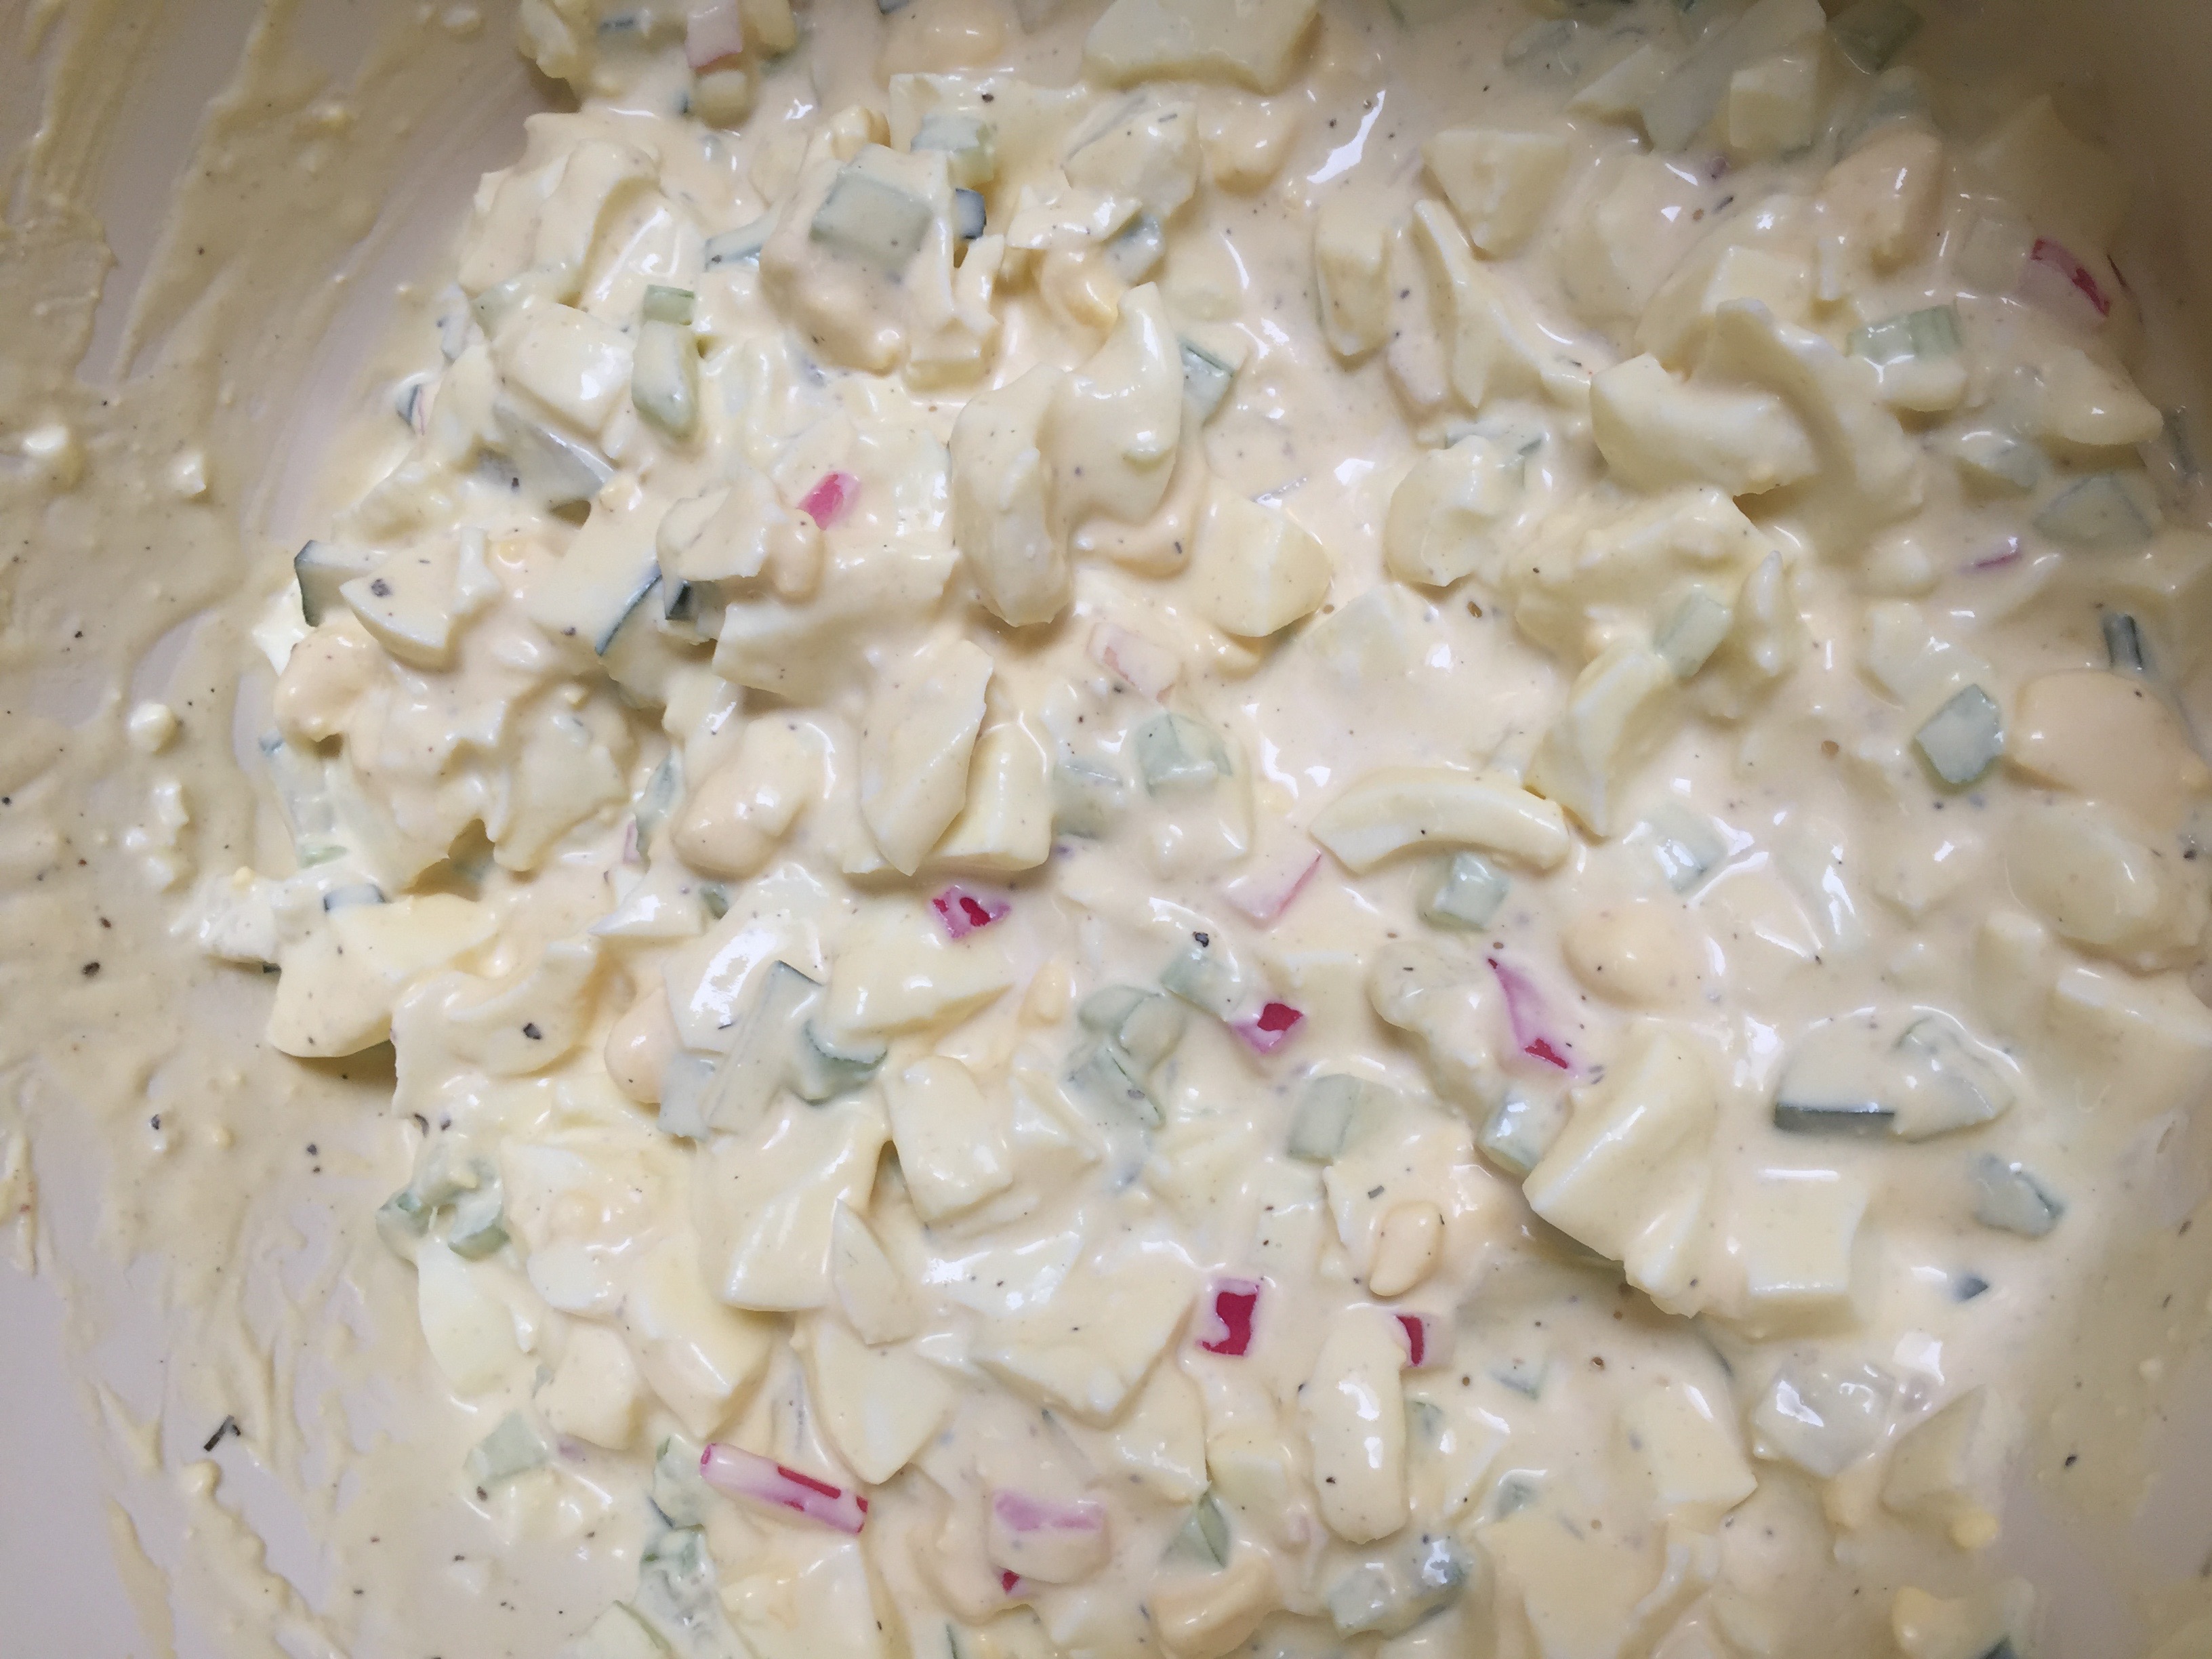
If you get a bunch of eggs that look like they were in a massacre like mine did, just chop them up and no one will be the wiser.
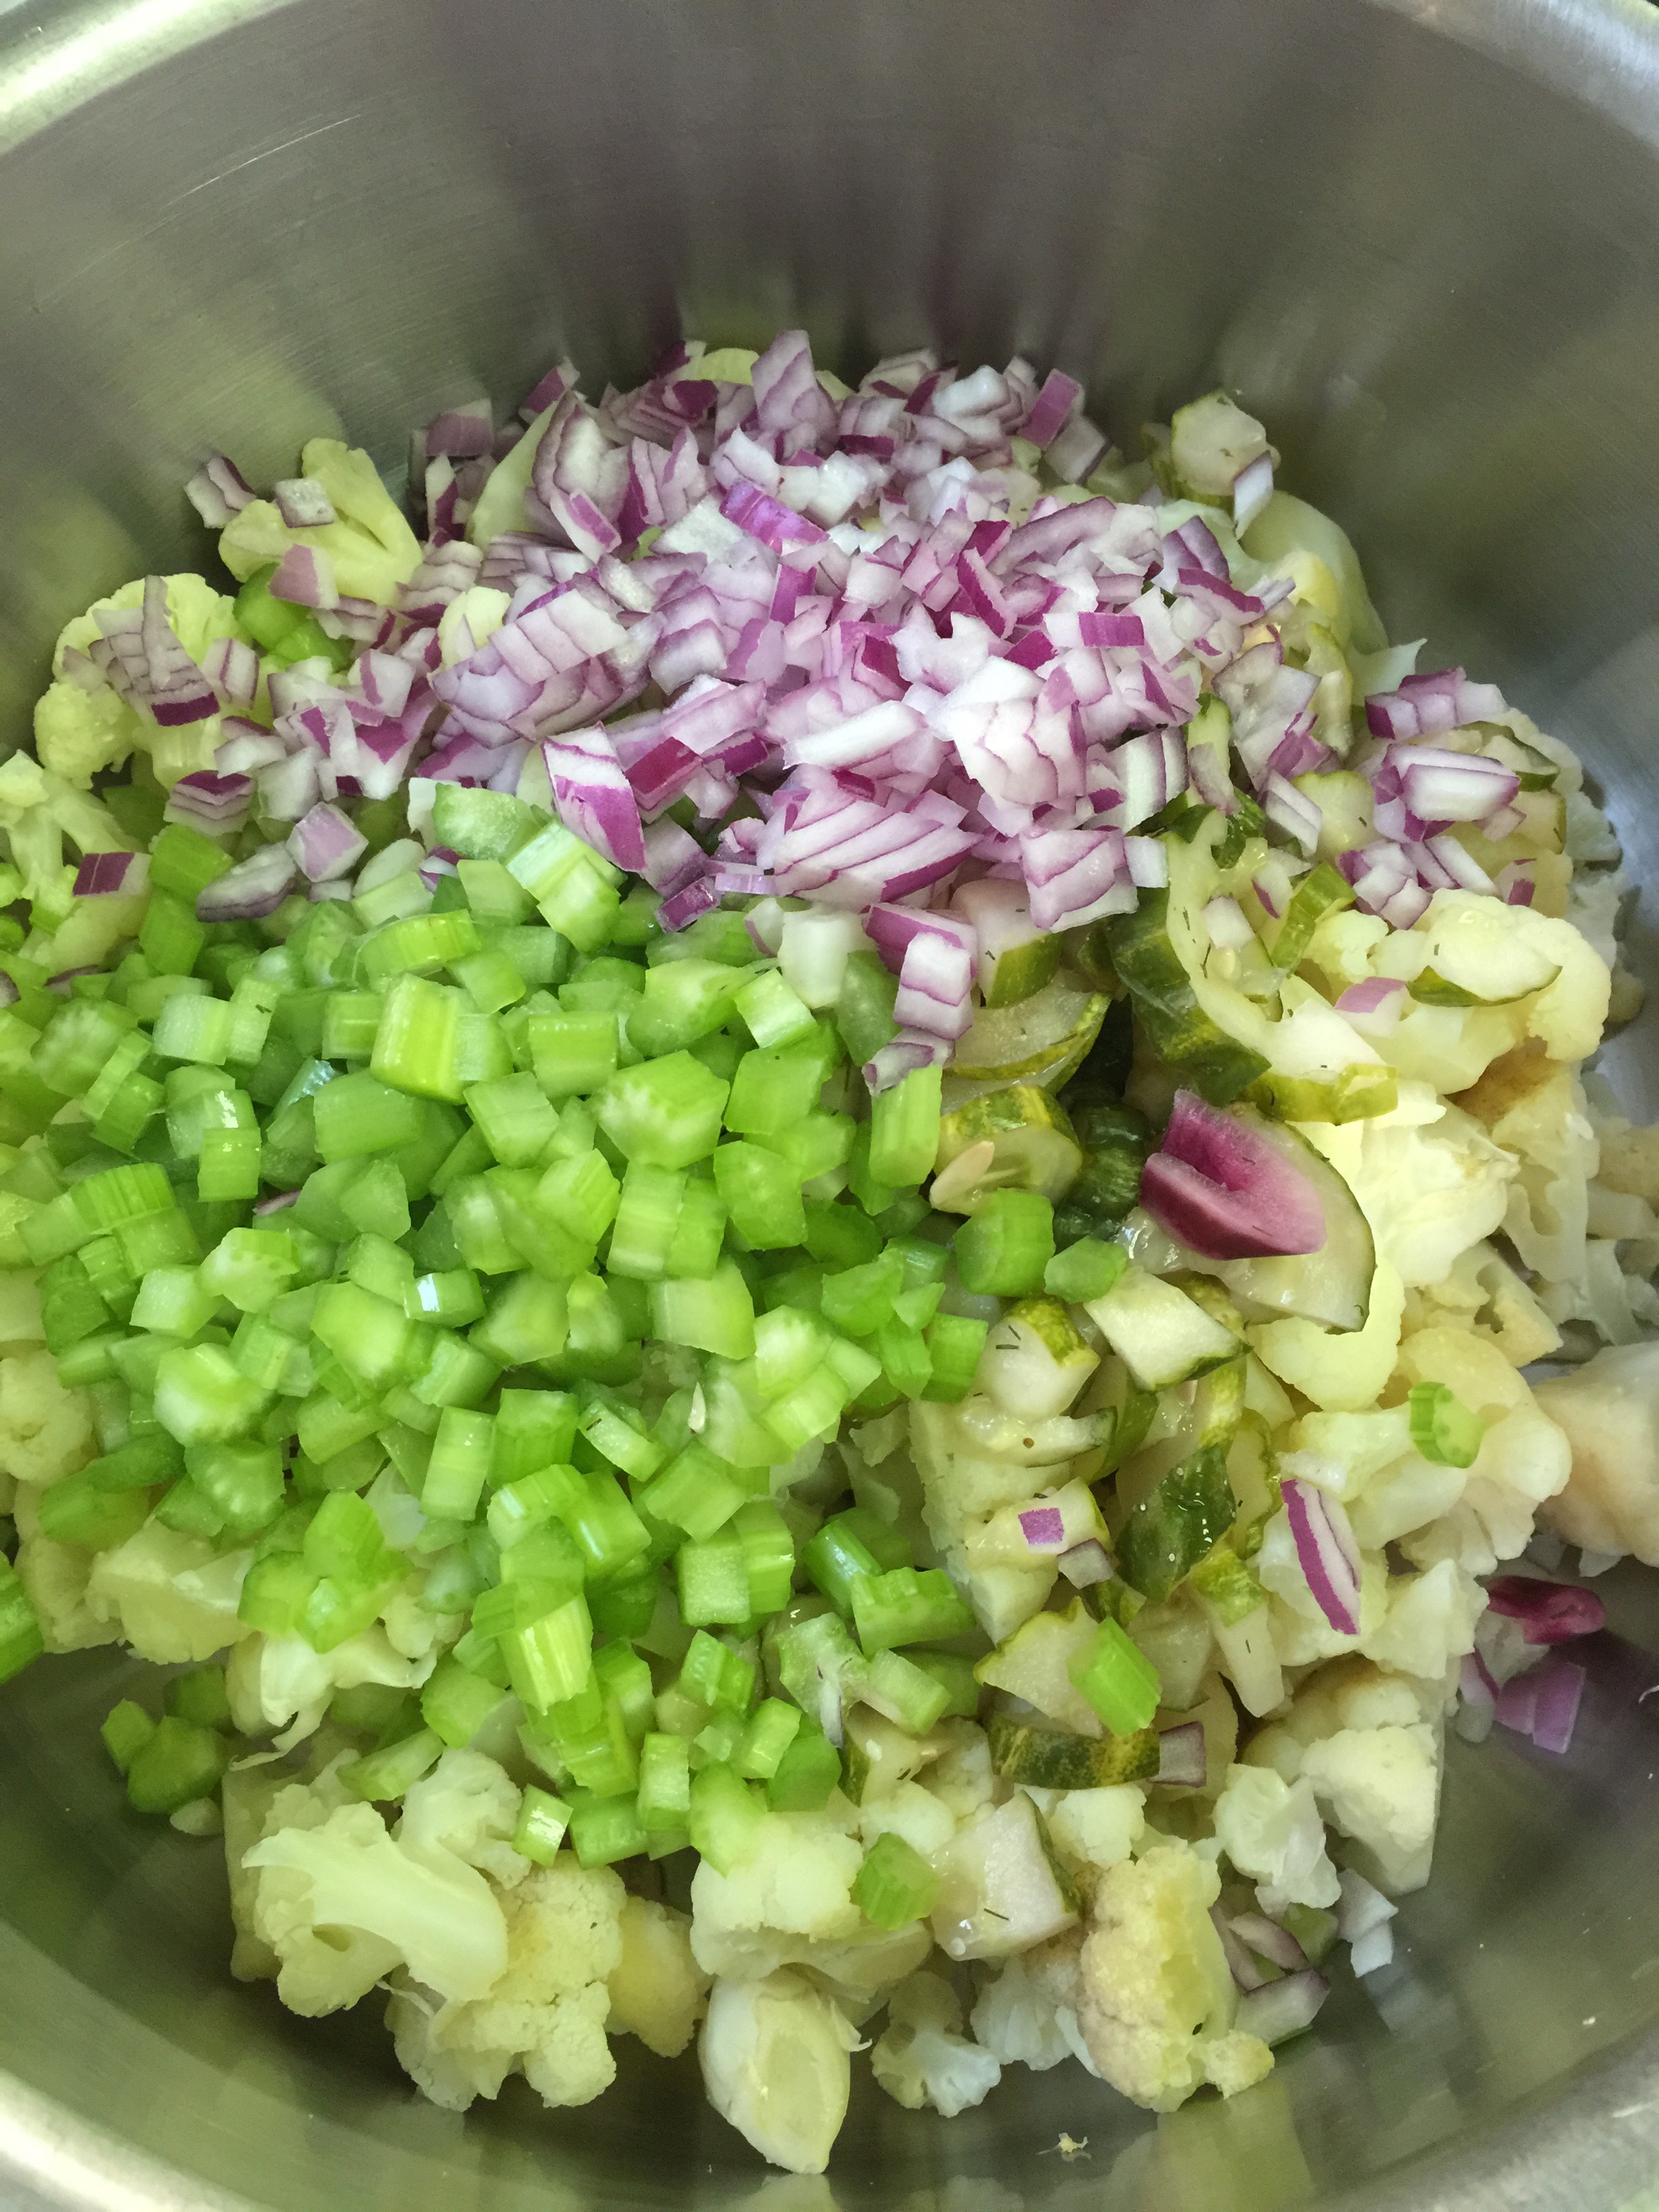
Add to a bowl with:
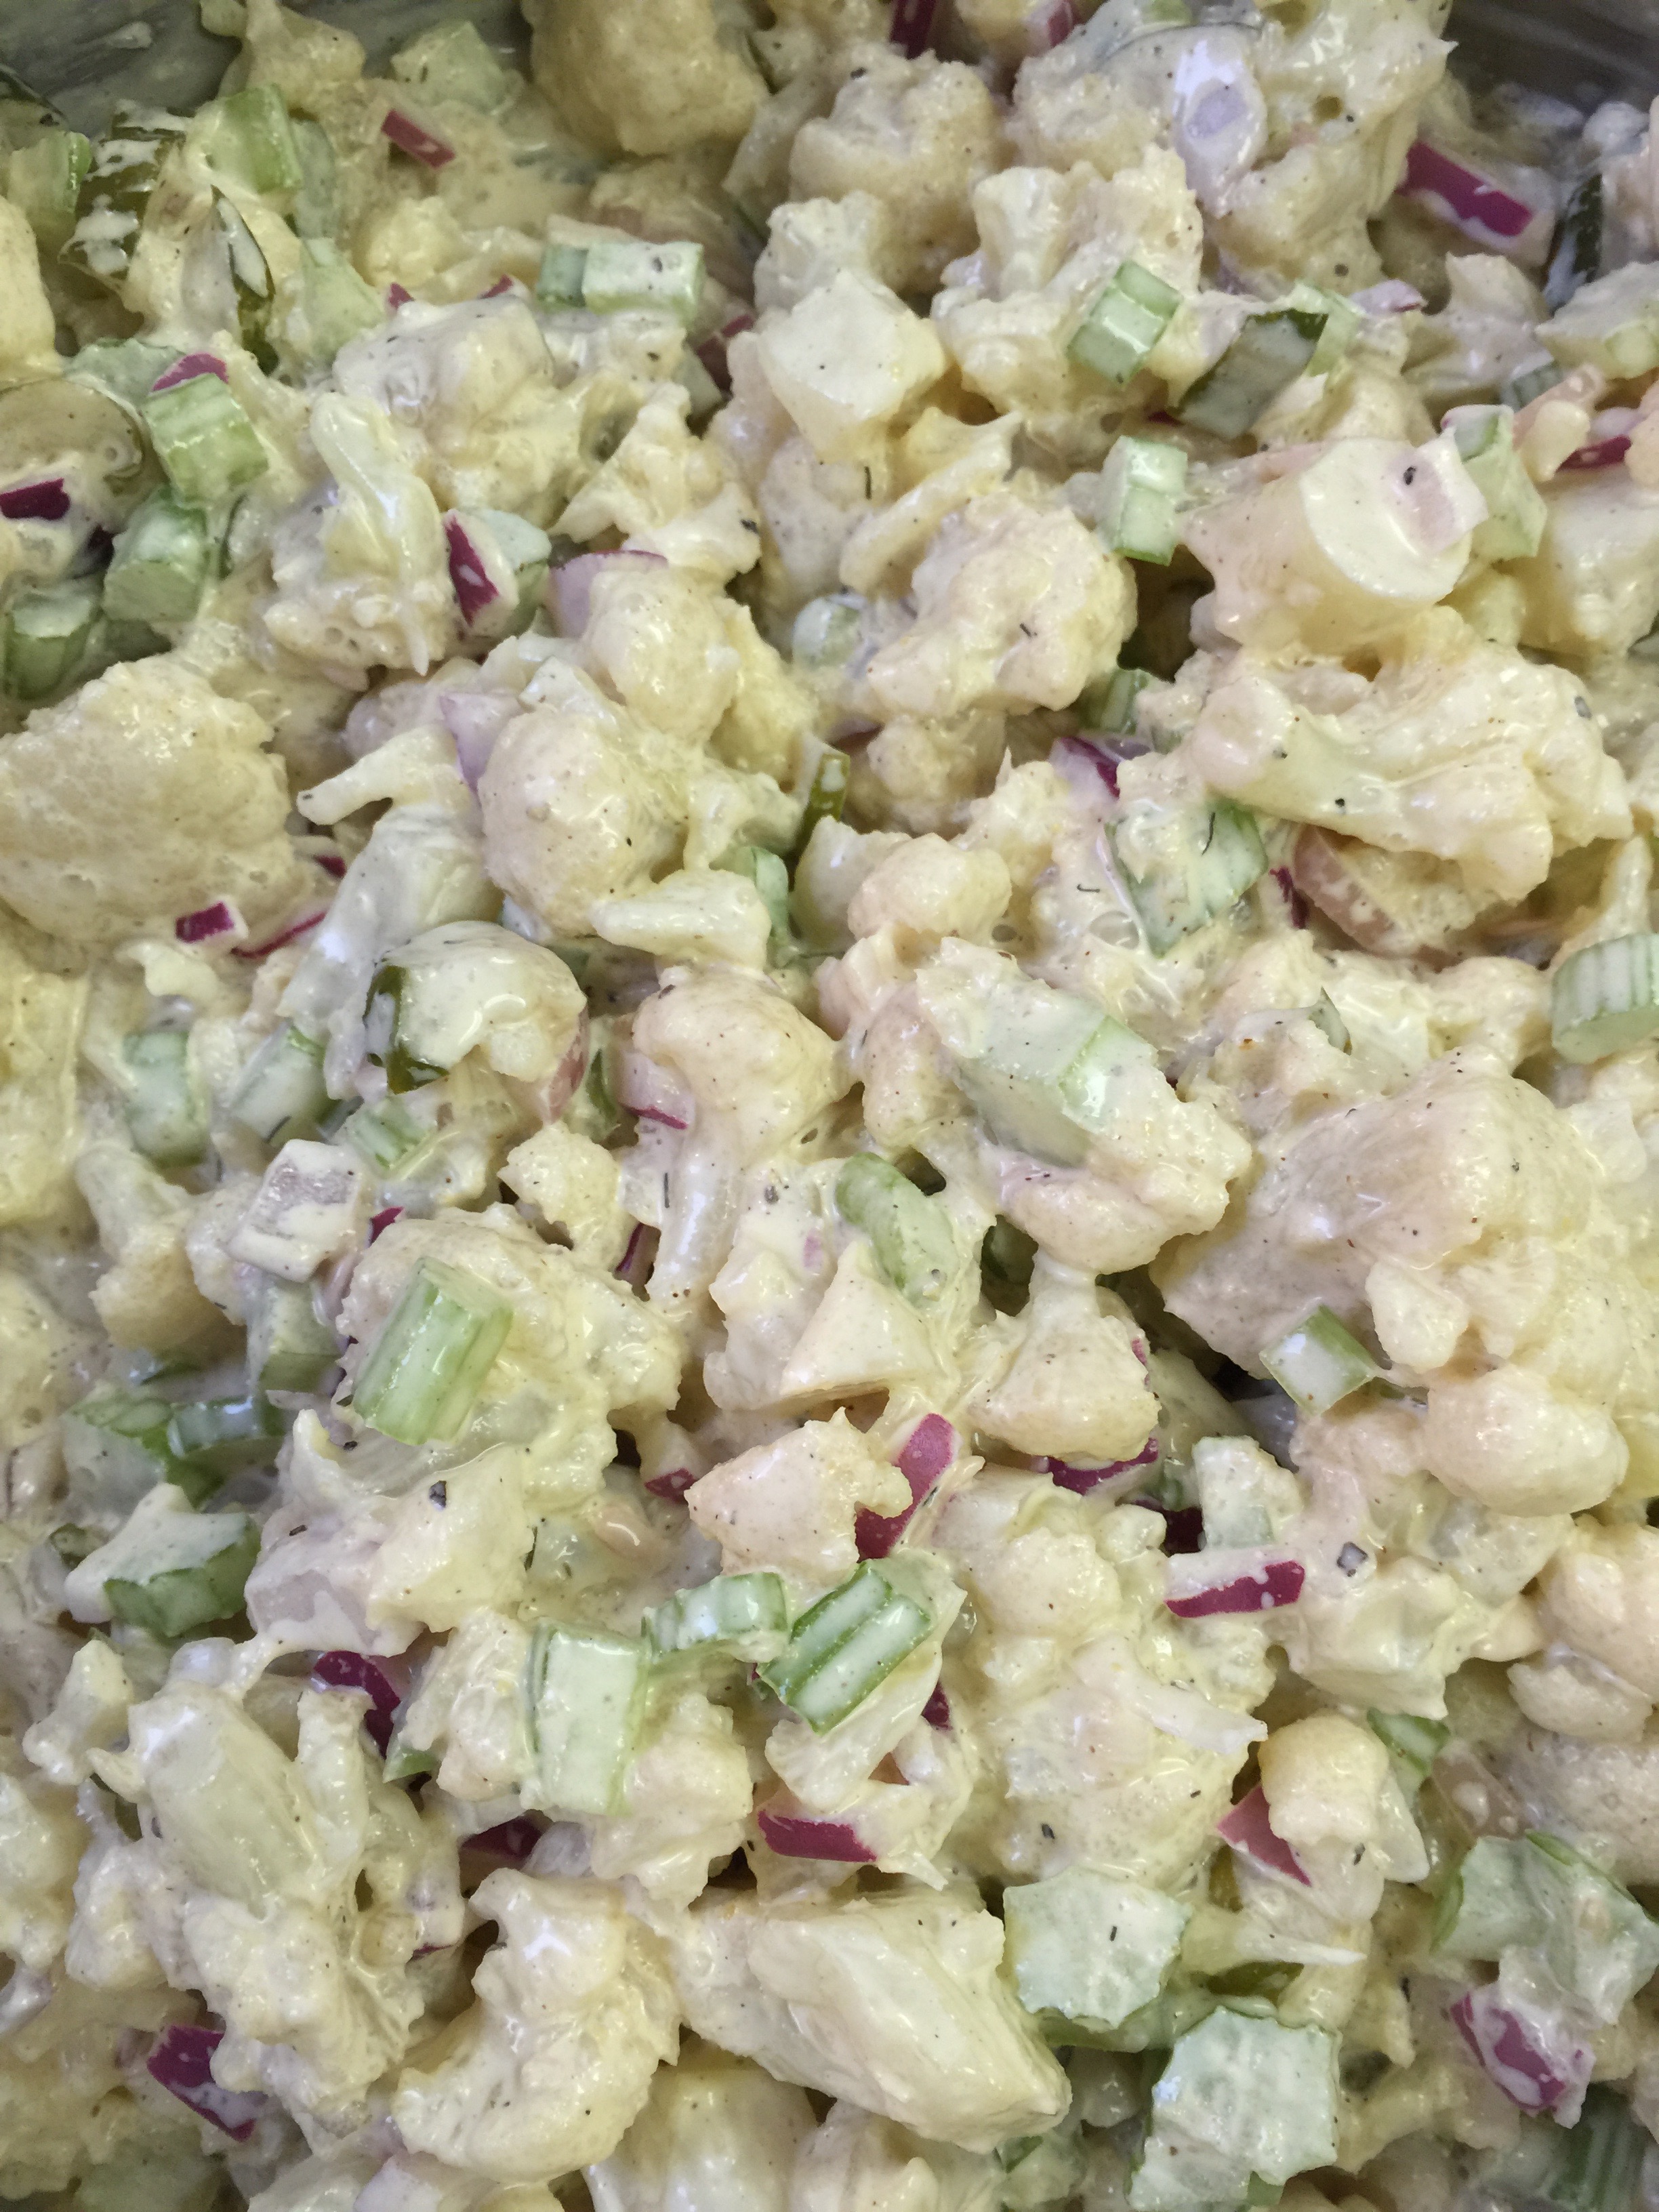
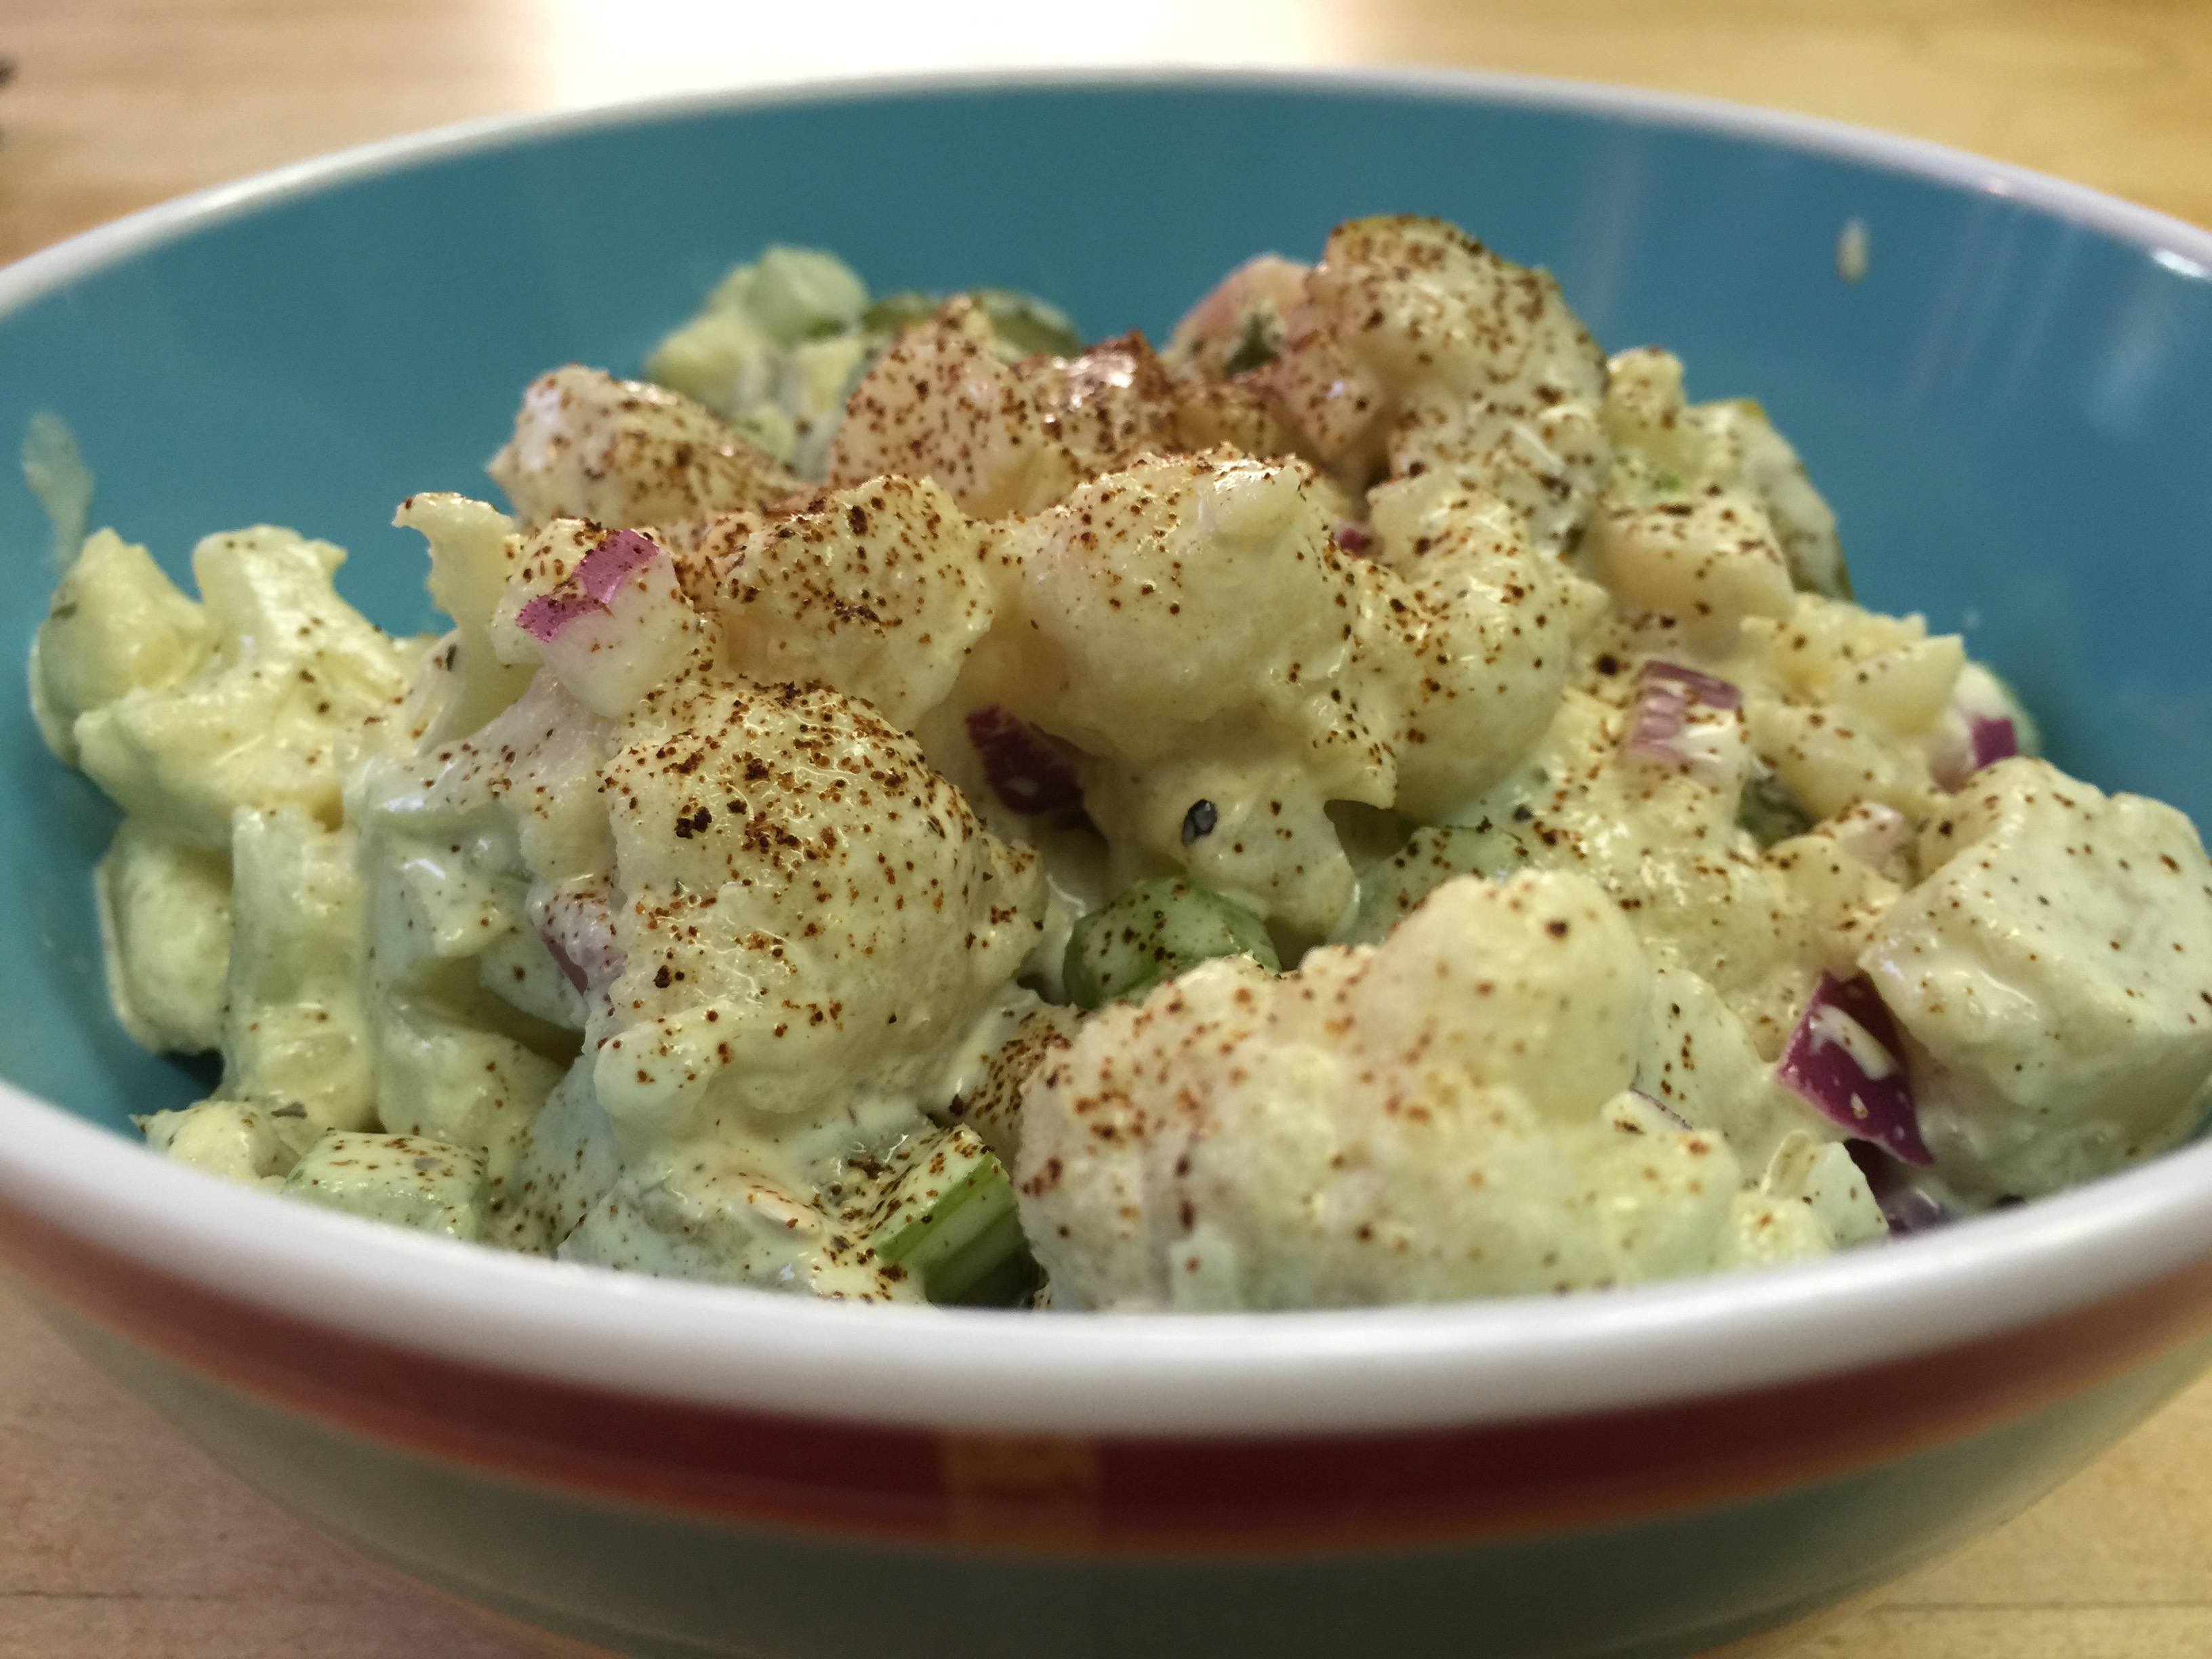
Egg Salad
12 eggs – boiled, peeled and chopped
1/2 lemon – squeezed
1/2 cup petite diced celery
3/4 cup mayonnaise
2 Tbsp dijon mustard
1/2 cup diced “Refreshing Cukes”
2 tsp juice from above
Salt and pepper to taste
Stir everything together until combined and either put in the fridge for later or serve over lettuce. It was quite a delicious mistake!
 We hope that everyone has a safe and delicious Fourth of July!
Remember those that sacrificed for the freedoms that we hold so precious today. We are so fortunate to live in a place that allows us to speak and write what we believe and hold true to our hearts, even if not everyone agrees.
Remember on your holiday to plan ahead, drink plenty of water, take your supplements, and stay healthy! Holidays and parties can be difficult, but with planning you can be strong and live Keto! We know you can!
Have a wonderful long weekend, and enjoy those fireworks!!!