That’s right! I said Ice Cream! Chocolate Ice Cream!
I’ve been experimenting all summer, and not only do I have a great recipe for you, but it is an excellent activity to keep the kiddos entertained at the same time (if you choose to do this method.)
The best part, other than the amazing taste, is the simplicity! Just a few simple, pure, ingredients that you probably have on hand, a little waiting time, and dessert is prepared! A creamy, delicious dessert that no one would ever guess is SUGAR FREE!
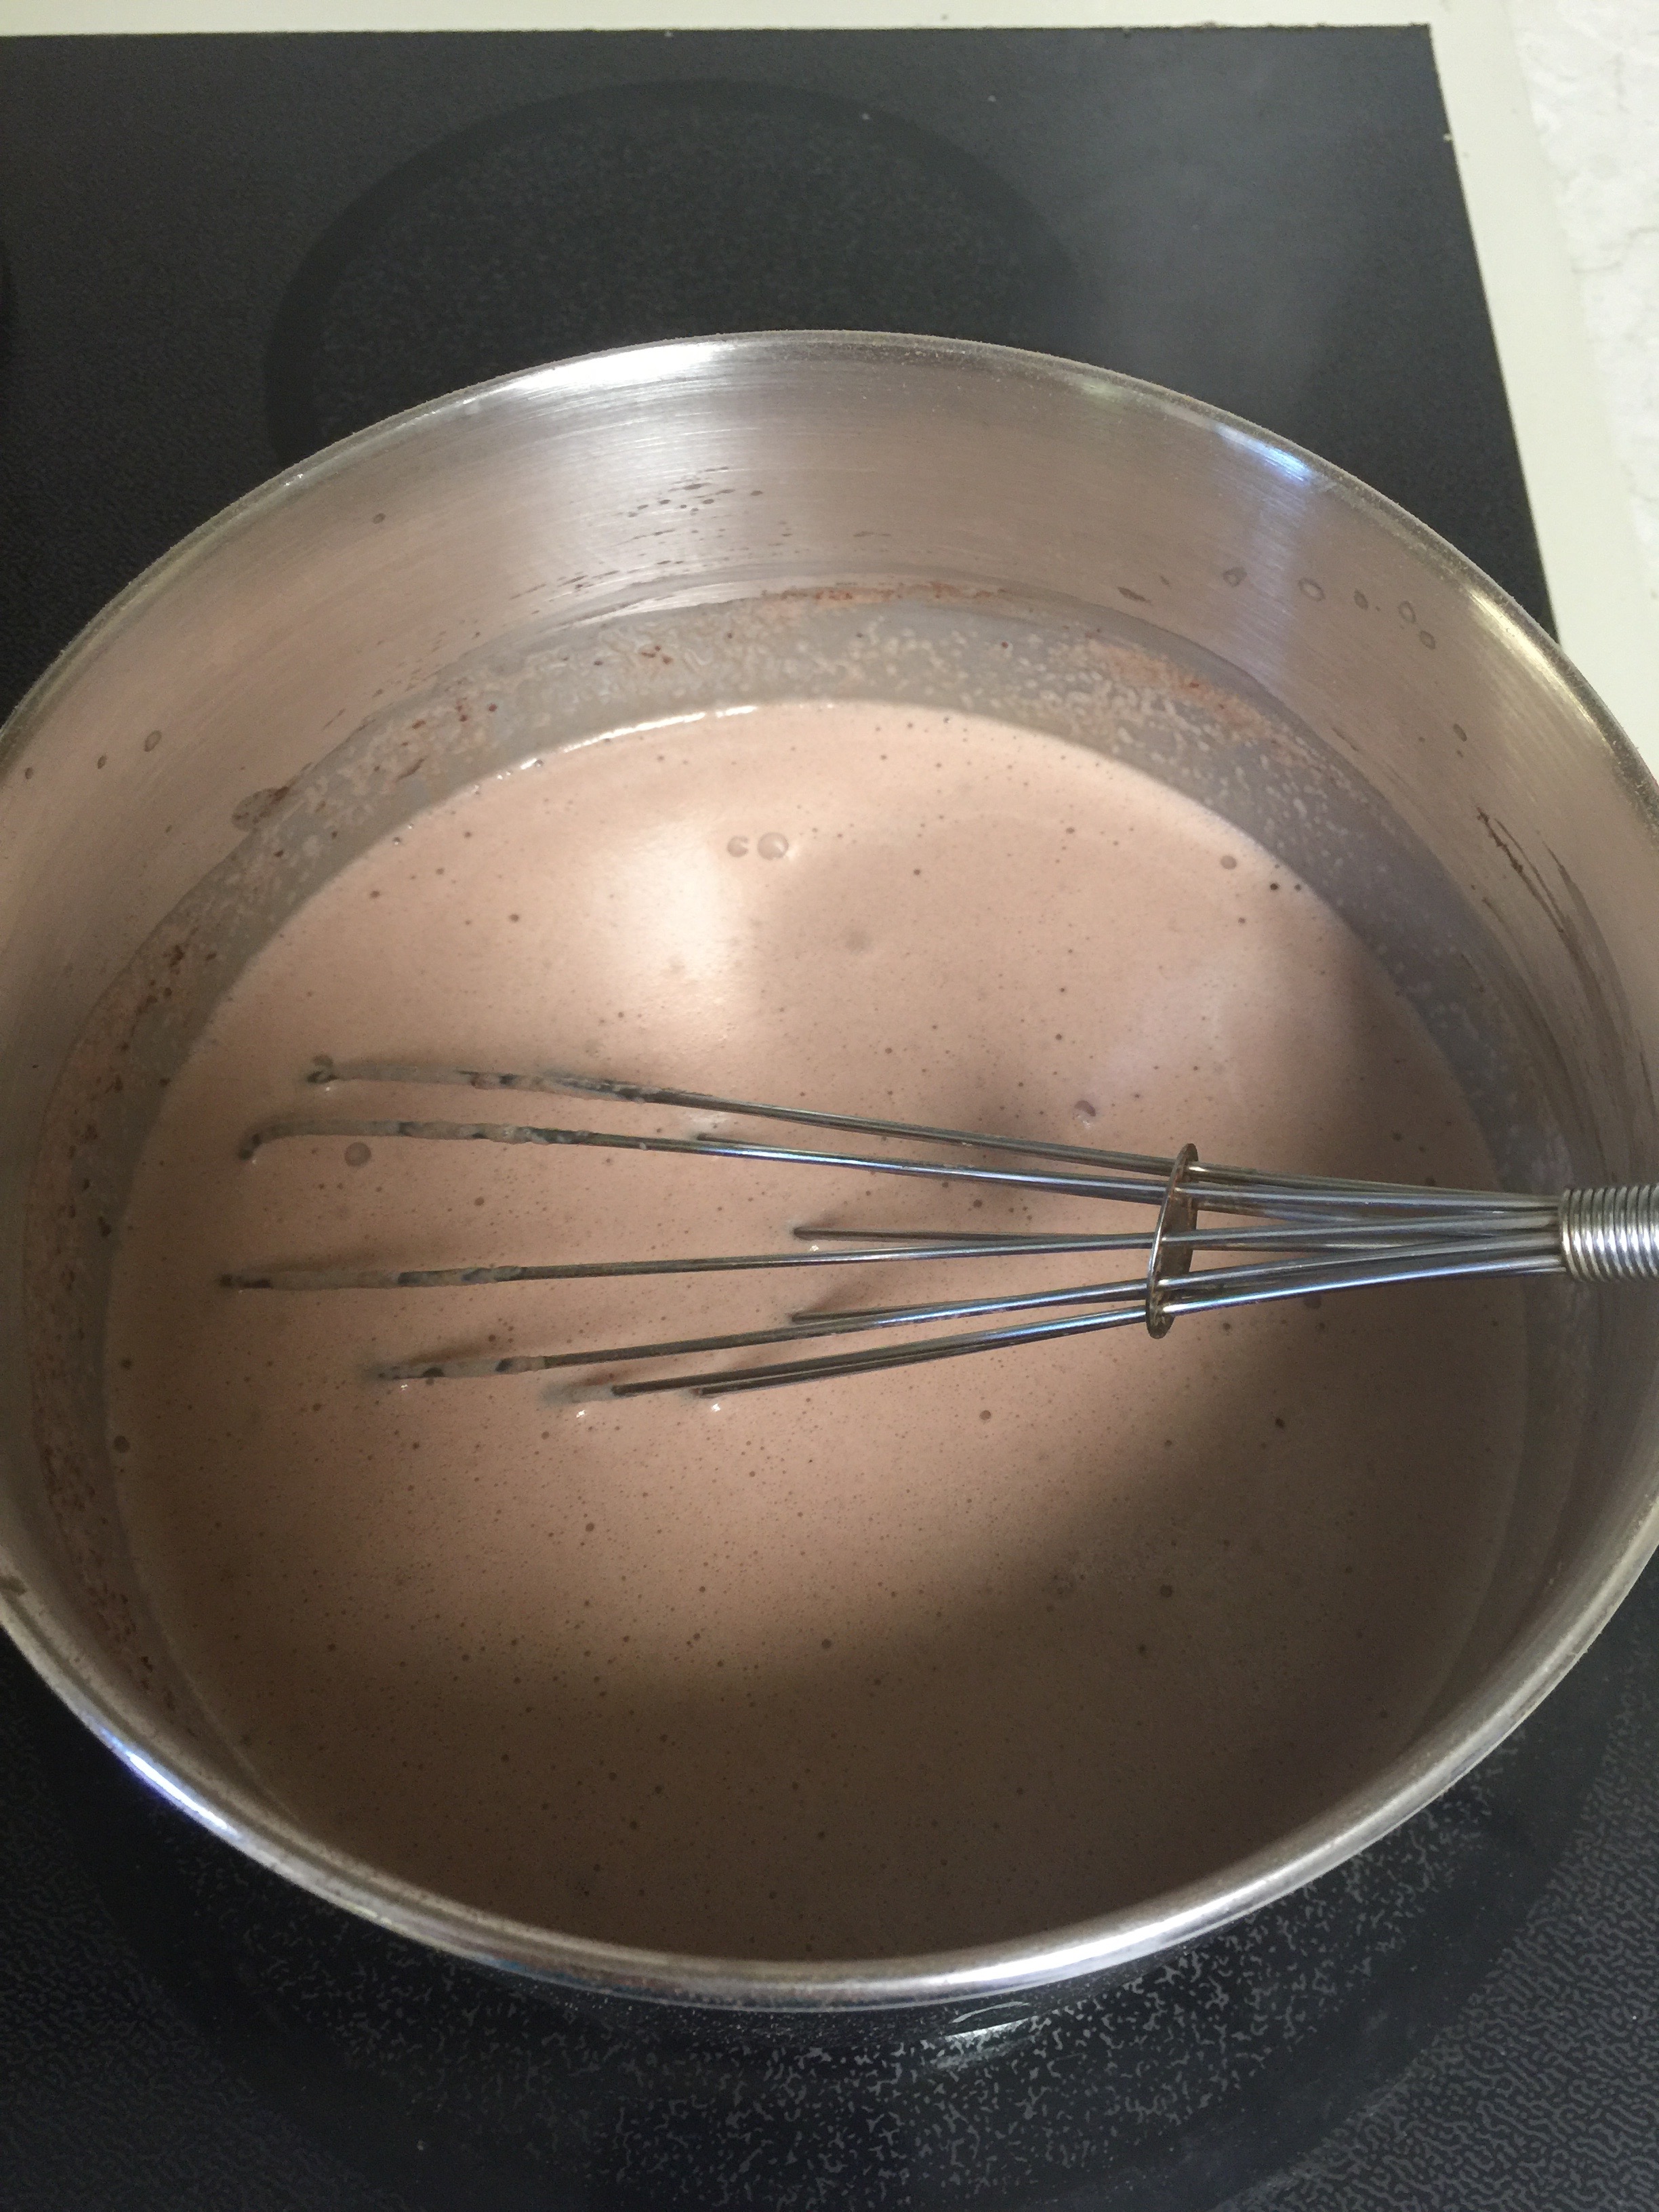
Whisk together cream, sweetener, and cocoa in a saucepan until it barely starts to simmer. Add vanilla and remove from heat.
Let it cool on the stovetop until the pan is not scalding. Place in the refrigerator to bring down to at least room temperature. (You don’t want to add the mixture to the ice cream maker or plastic bags at a high heat.)
Here are your options:
Kids version:
Pour 1/2 cup of mixture in a quart size Ziplock bag. Seal well! Place that bag in a gallon size ziplock filled with several cups of ice and 1/4 cup ice cream salt. Seal the gallon size bag. Hand it to your child with a dish towel and have them shake it until exhaustion or until the ice cream is the consistency of soft serve. Enjoy!
No mess version:
Pour your saucepan of cream mixture into an ice cream maker, turn on, and walk away. It should be nice and creamy in about 30 to 45 minutes! Enjoy.
I hope your family enjoys this as much as ours! Happy summer!!!
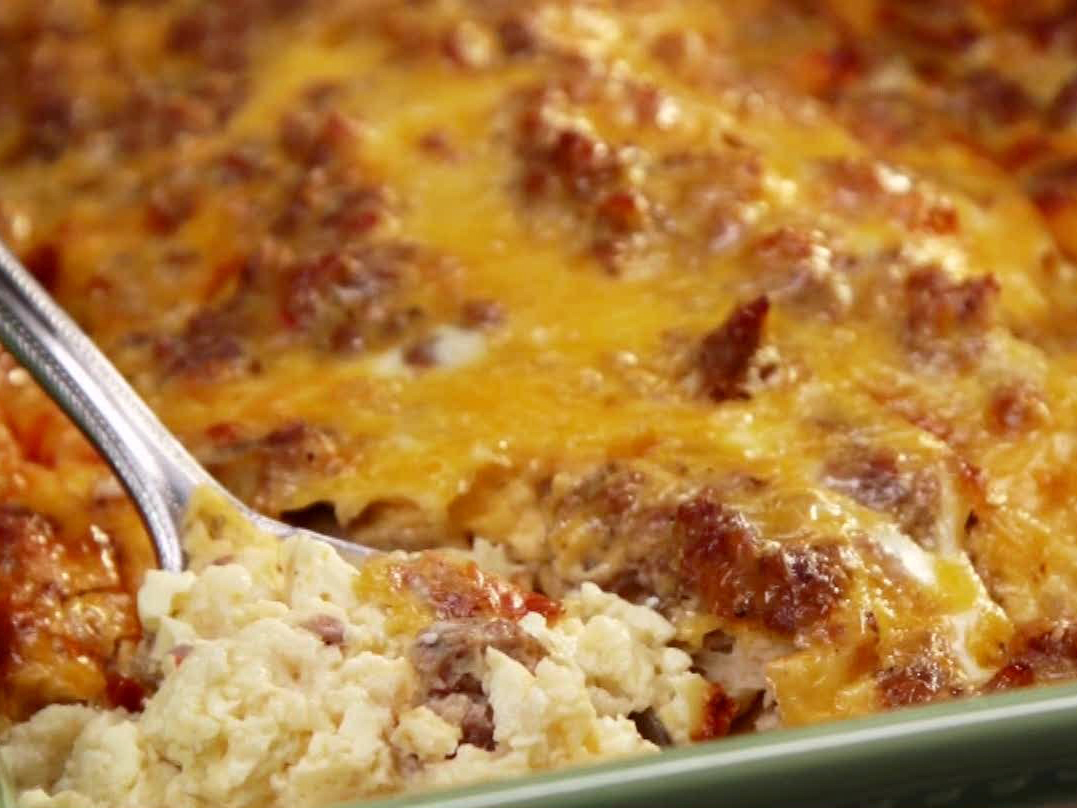
It is hard to believe that Christmas is only a week away. We are all busy preparing for the day, and I have had questions about what to serve for Christmas morning breakfast. Growing up, we always had the same thing. We started with grapefruit that my grandfather bought at the produce market. Then, we moved on to breakfast casserole and either coffee cake or cinnamon roles. I carried on this tradition with my own family, but need to revamp the pastry portion.
You can always make the breakfast casserole which is a favorite around here! Check out that recipe here. You can use any meat…bacon, chorizo, crumbled browned breakfast sausage or grilled links. They are all delicious. You can use many breakfast casserole recipes. Just swap out the milk for cream and do not add any bread. I promise it will cook just as well.
Now for the pastry! I have dabbled around with a few recipes, and we have found a winner for a special occasion. It takes a little time, and is a little different, but it turned out “amazing”, and that quote is coming from the kiddos! I hope you enjoy it!
Cream Cheese Coffee Cake
Crust:
2 cups almond flour
2 T coconut flour
3 T Swerve granular
6 T butter softened
6 egg white whipped very stiff (you want those mountain tops)
1/4 tsp salt
1 tsp baking powder
1 tsp xanthan gum
Filling:
12 oz cream cheese
3/4 cup Swerve confectioners
1 egg
2 tsp vanilla extract
Topping:
1 1/2 tsp ground cinnamon
1/4 cup Swerve granular
2-3 T melted butter
Instructions:
Preheat oven to 350 degrees.
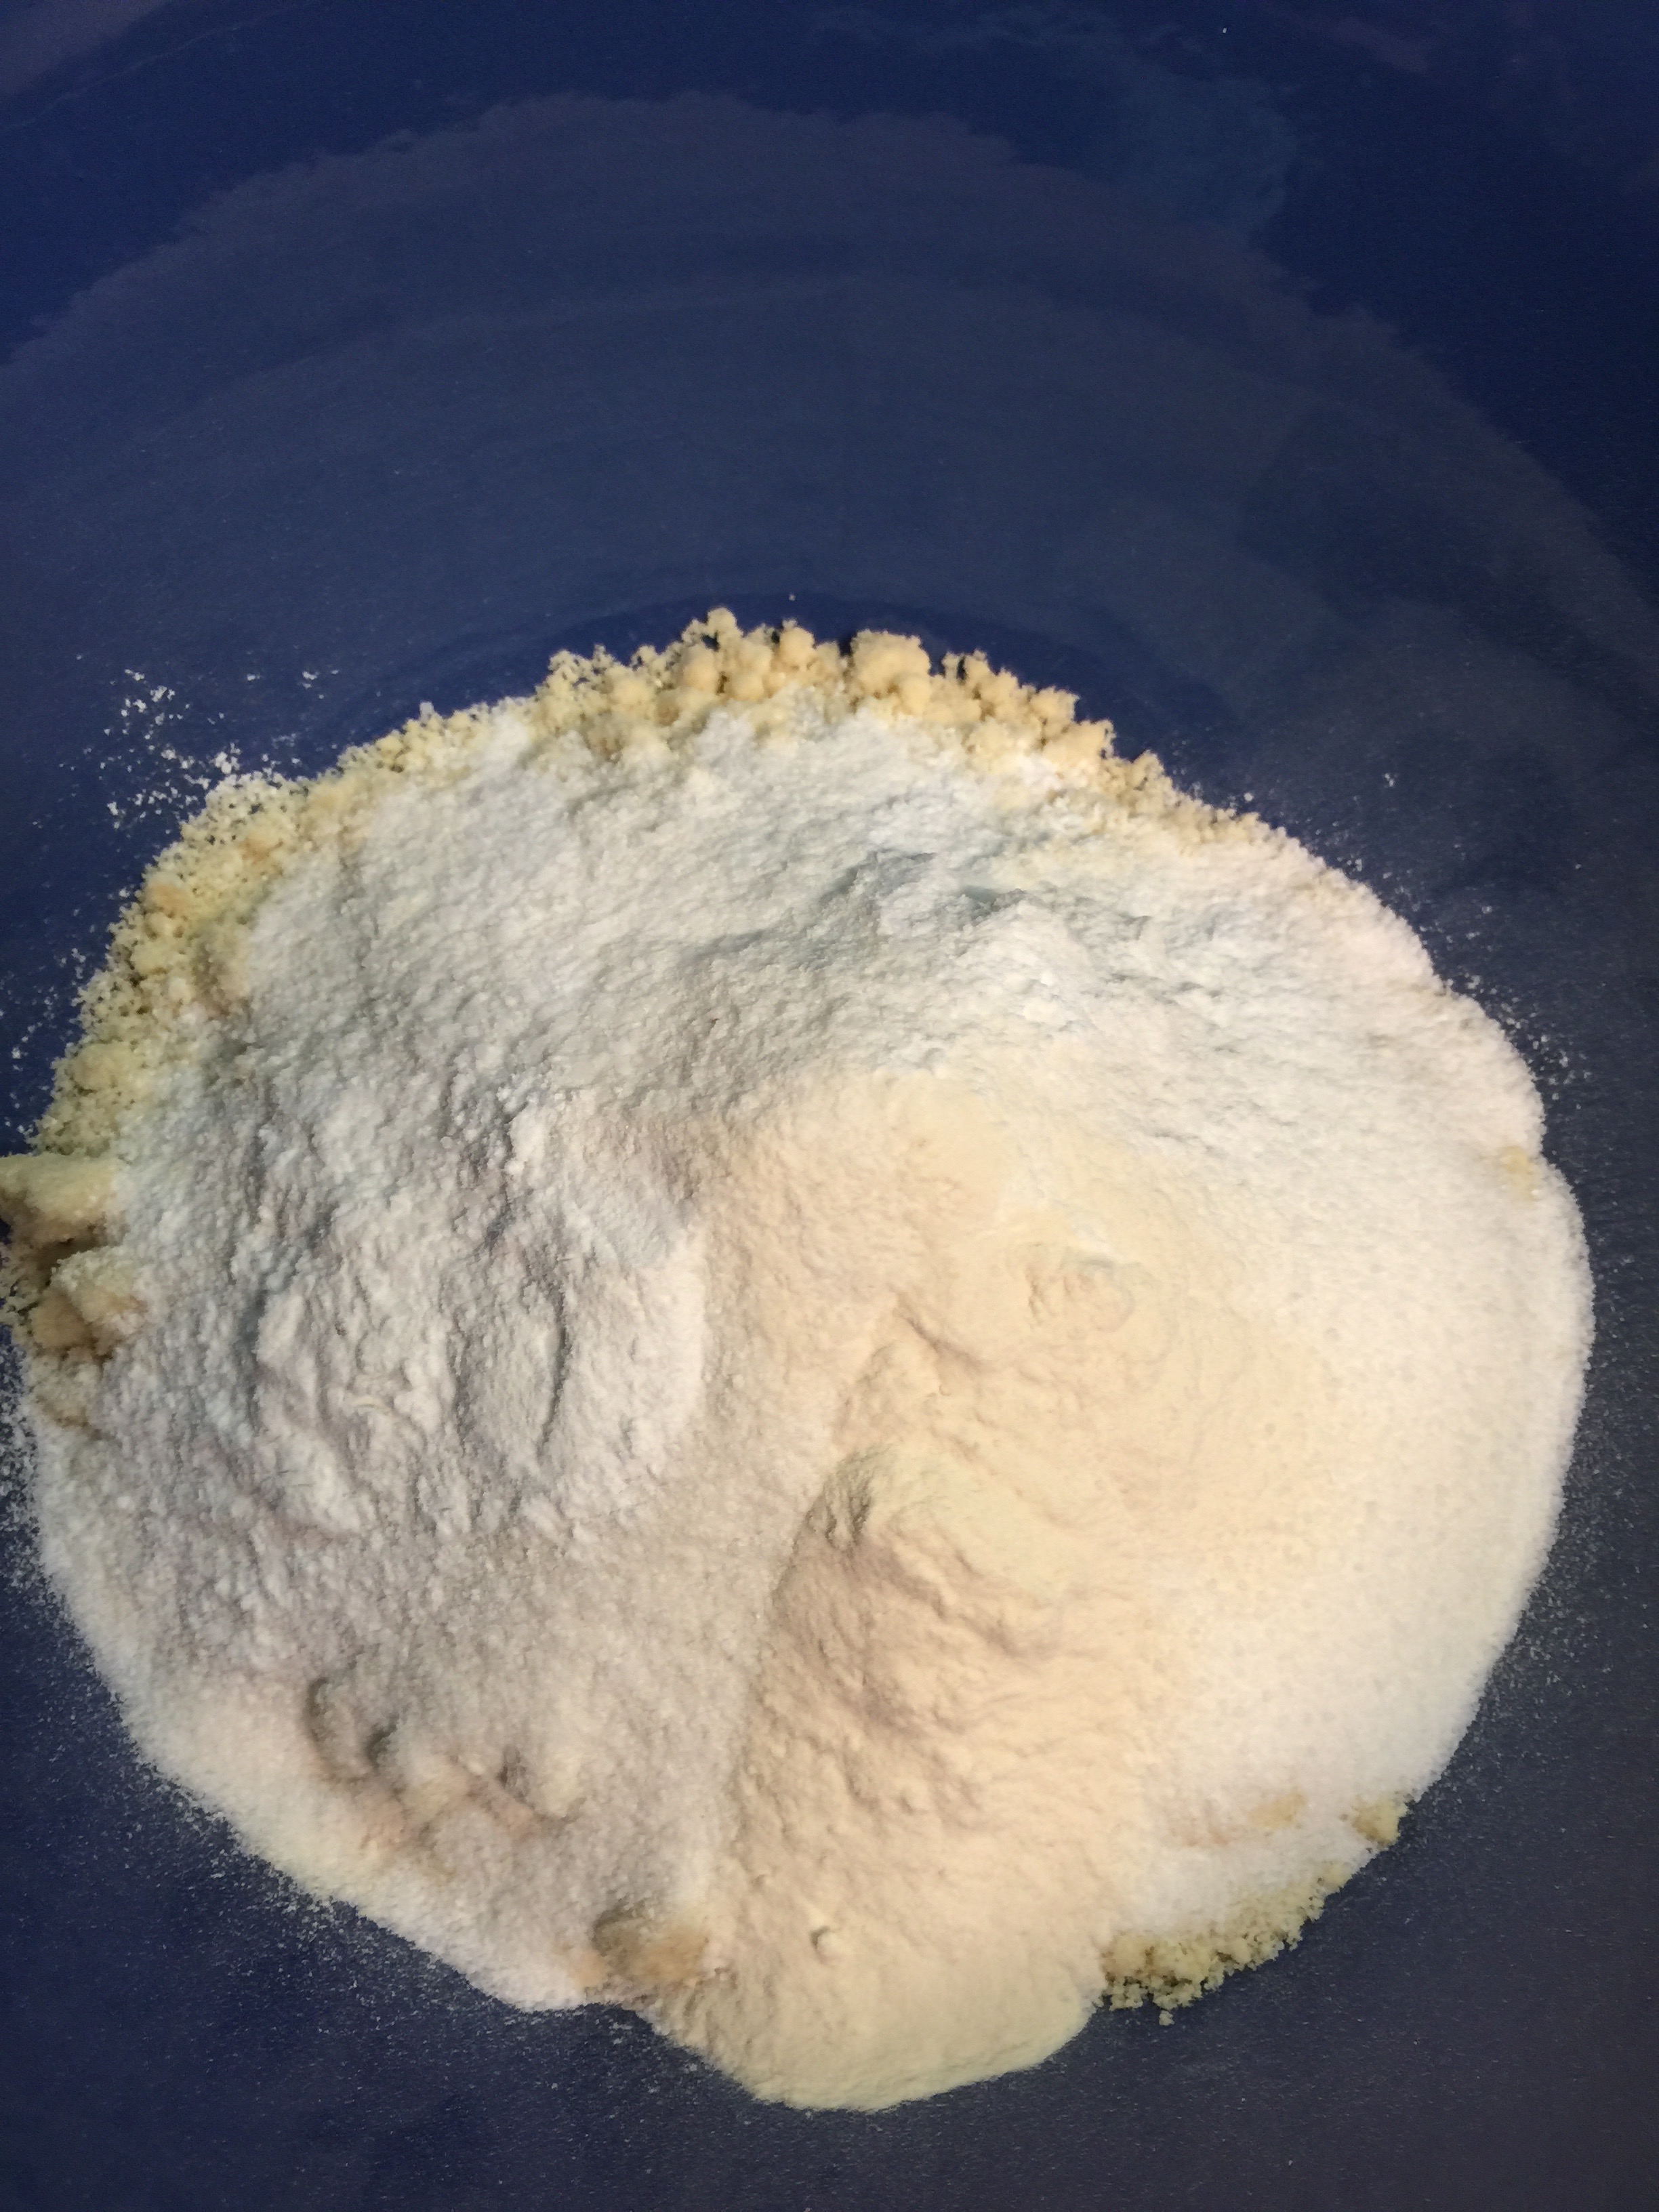
Combine all your dry crust ingredients:
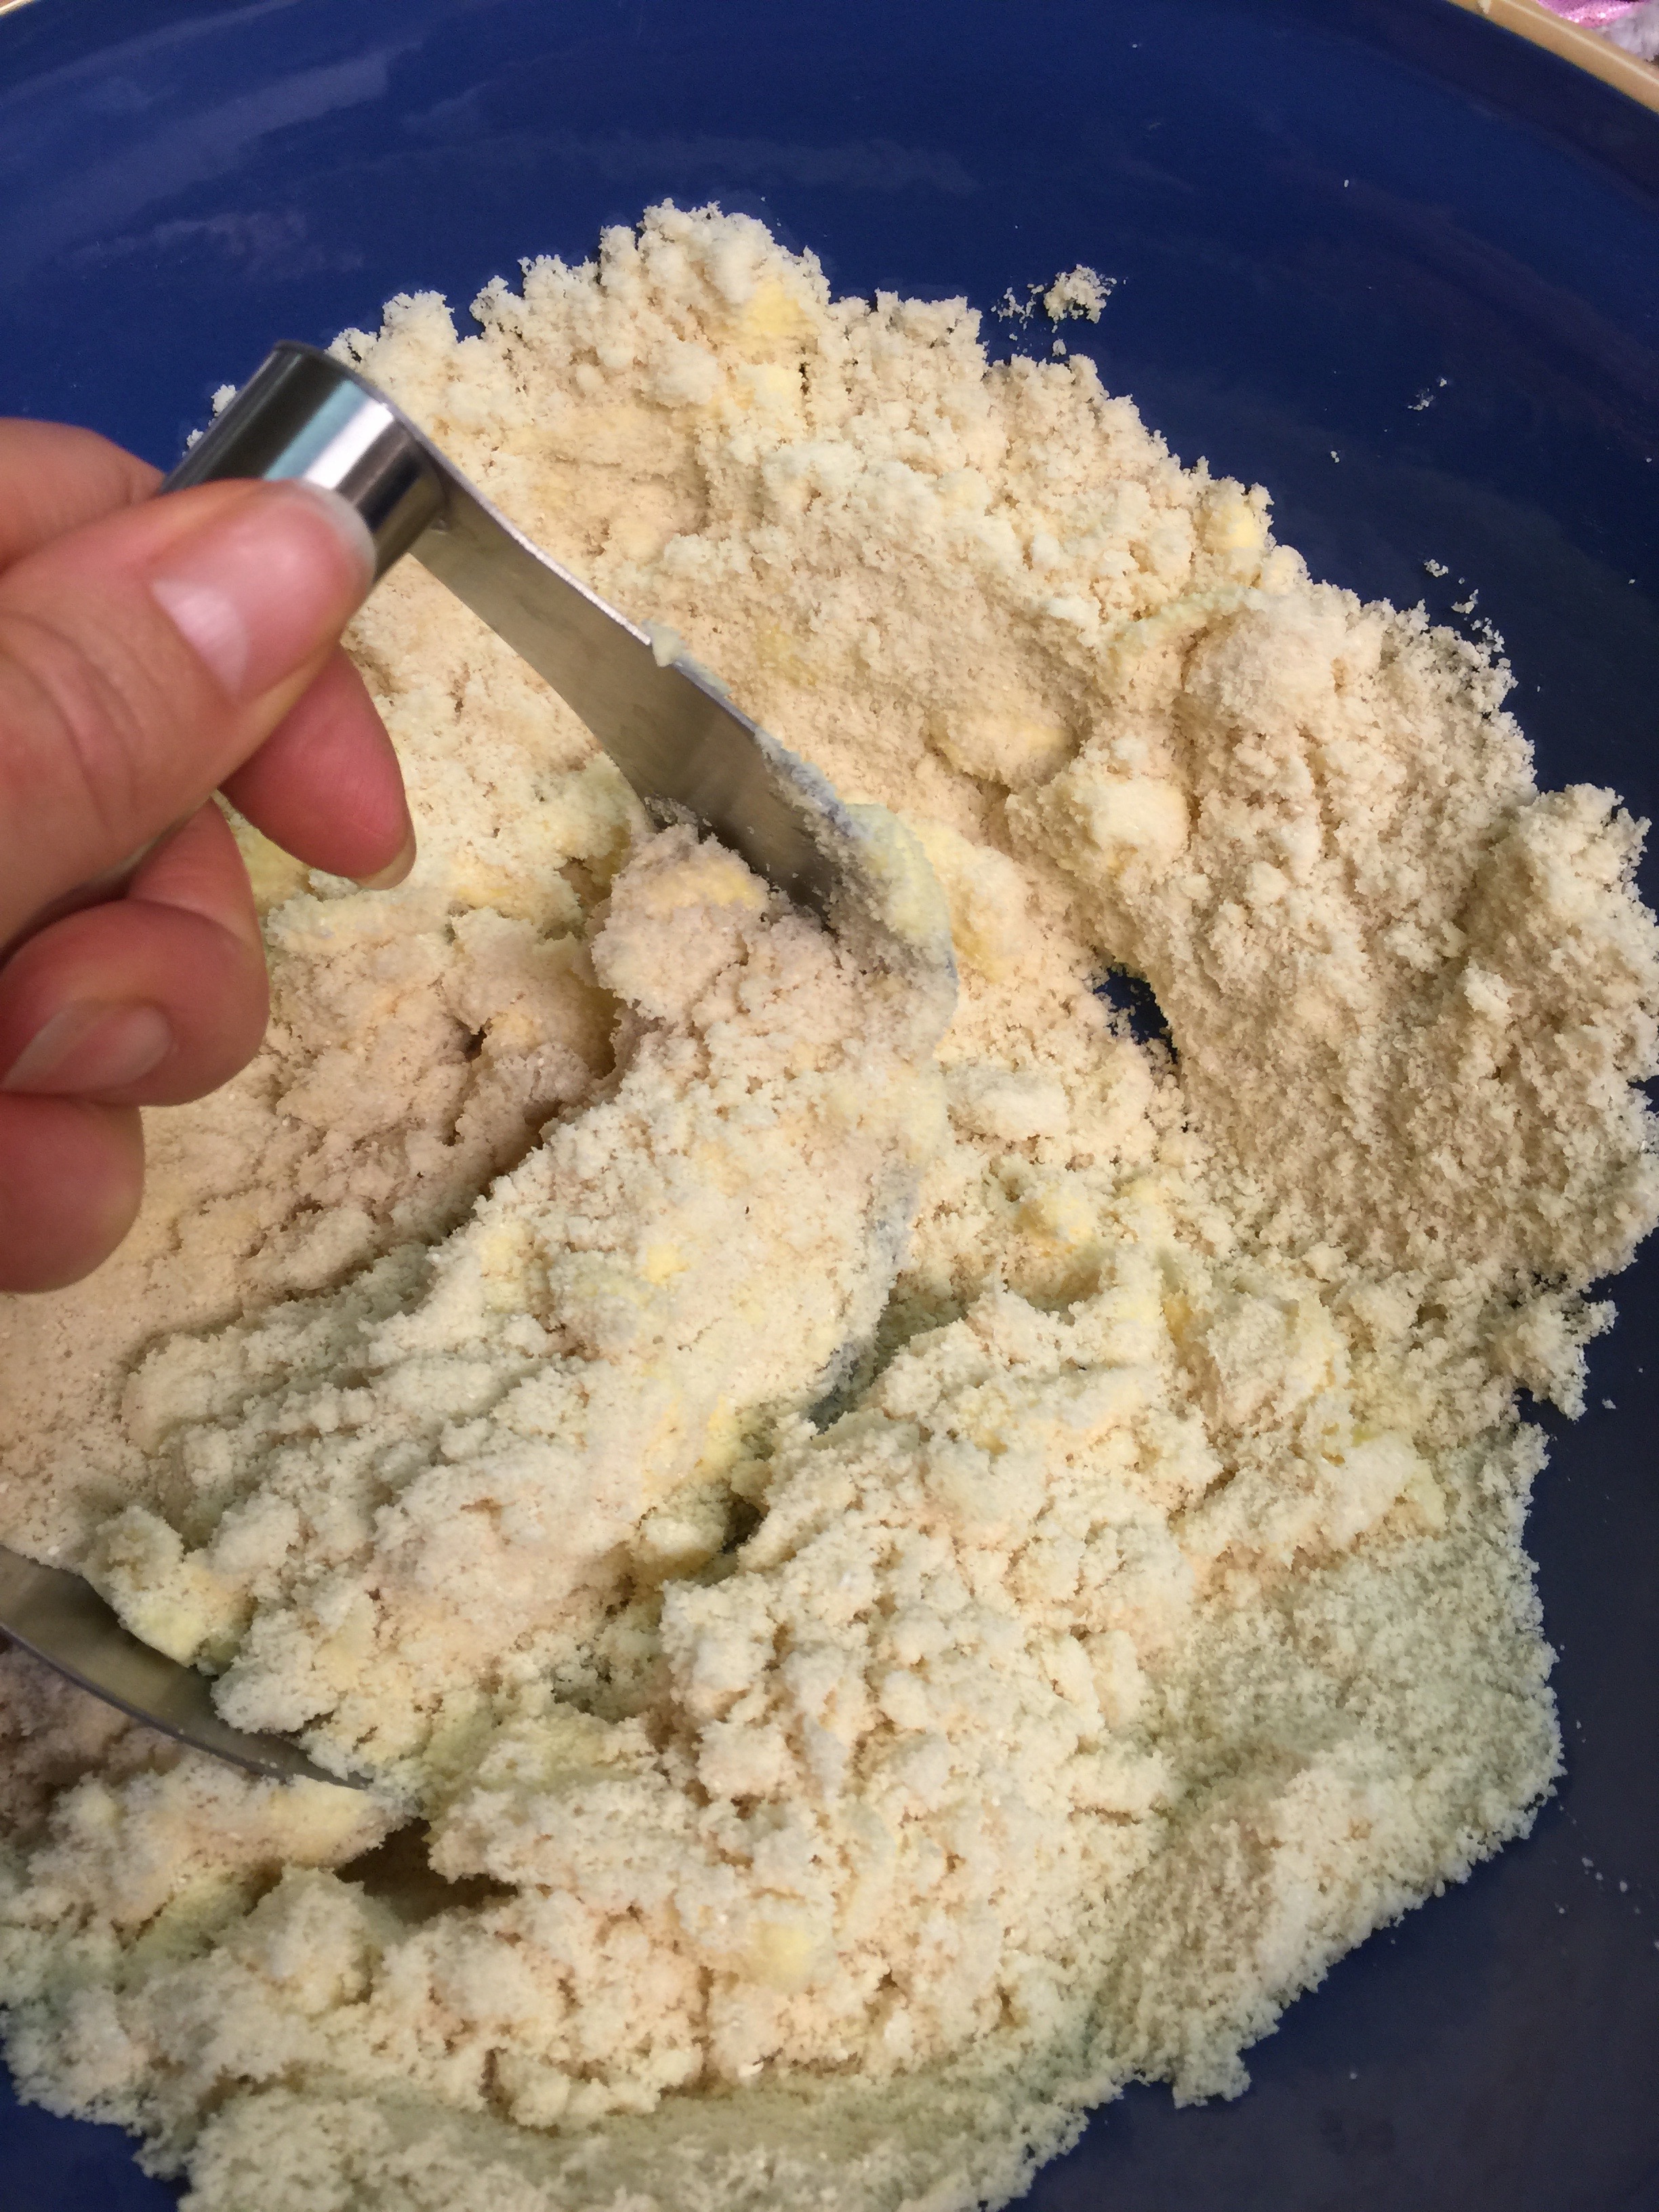
Cut in your butter:
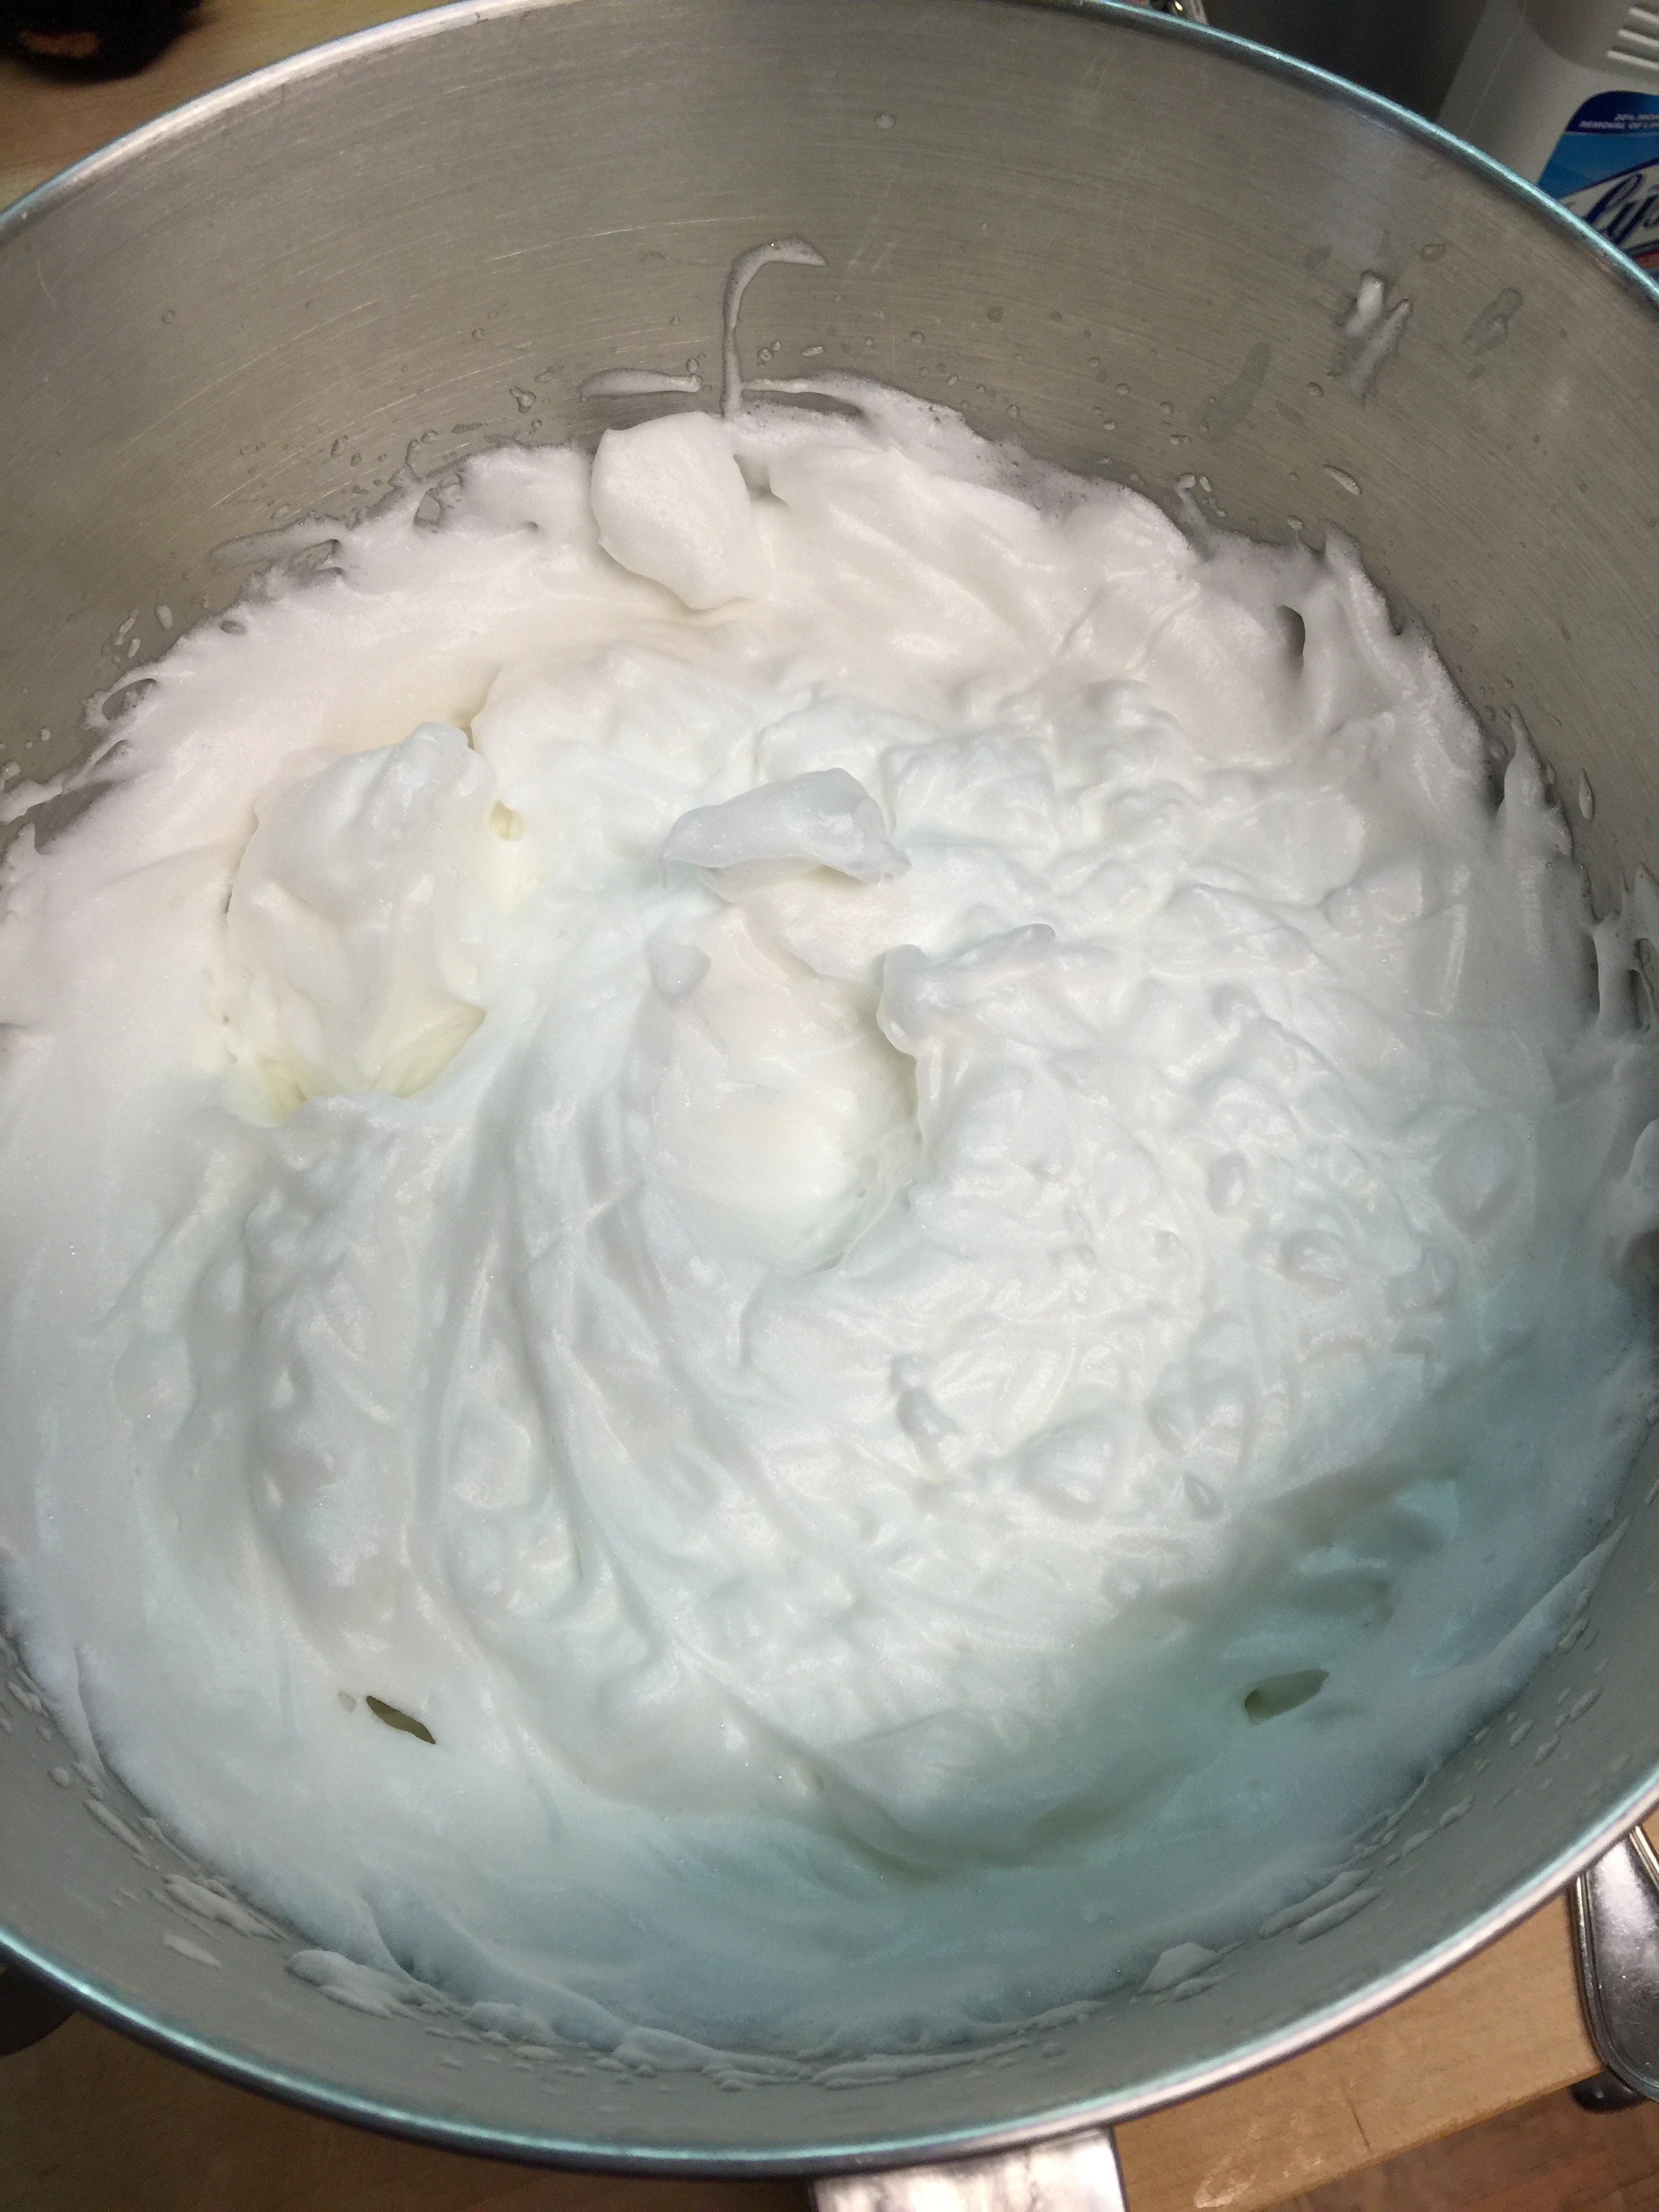
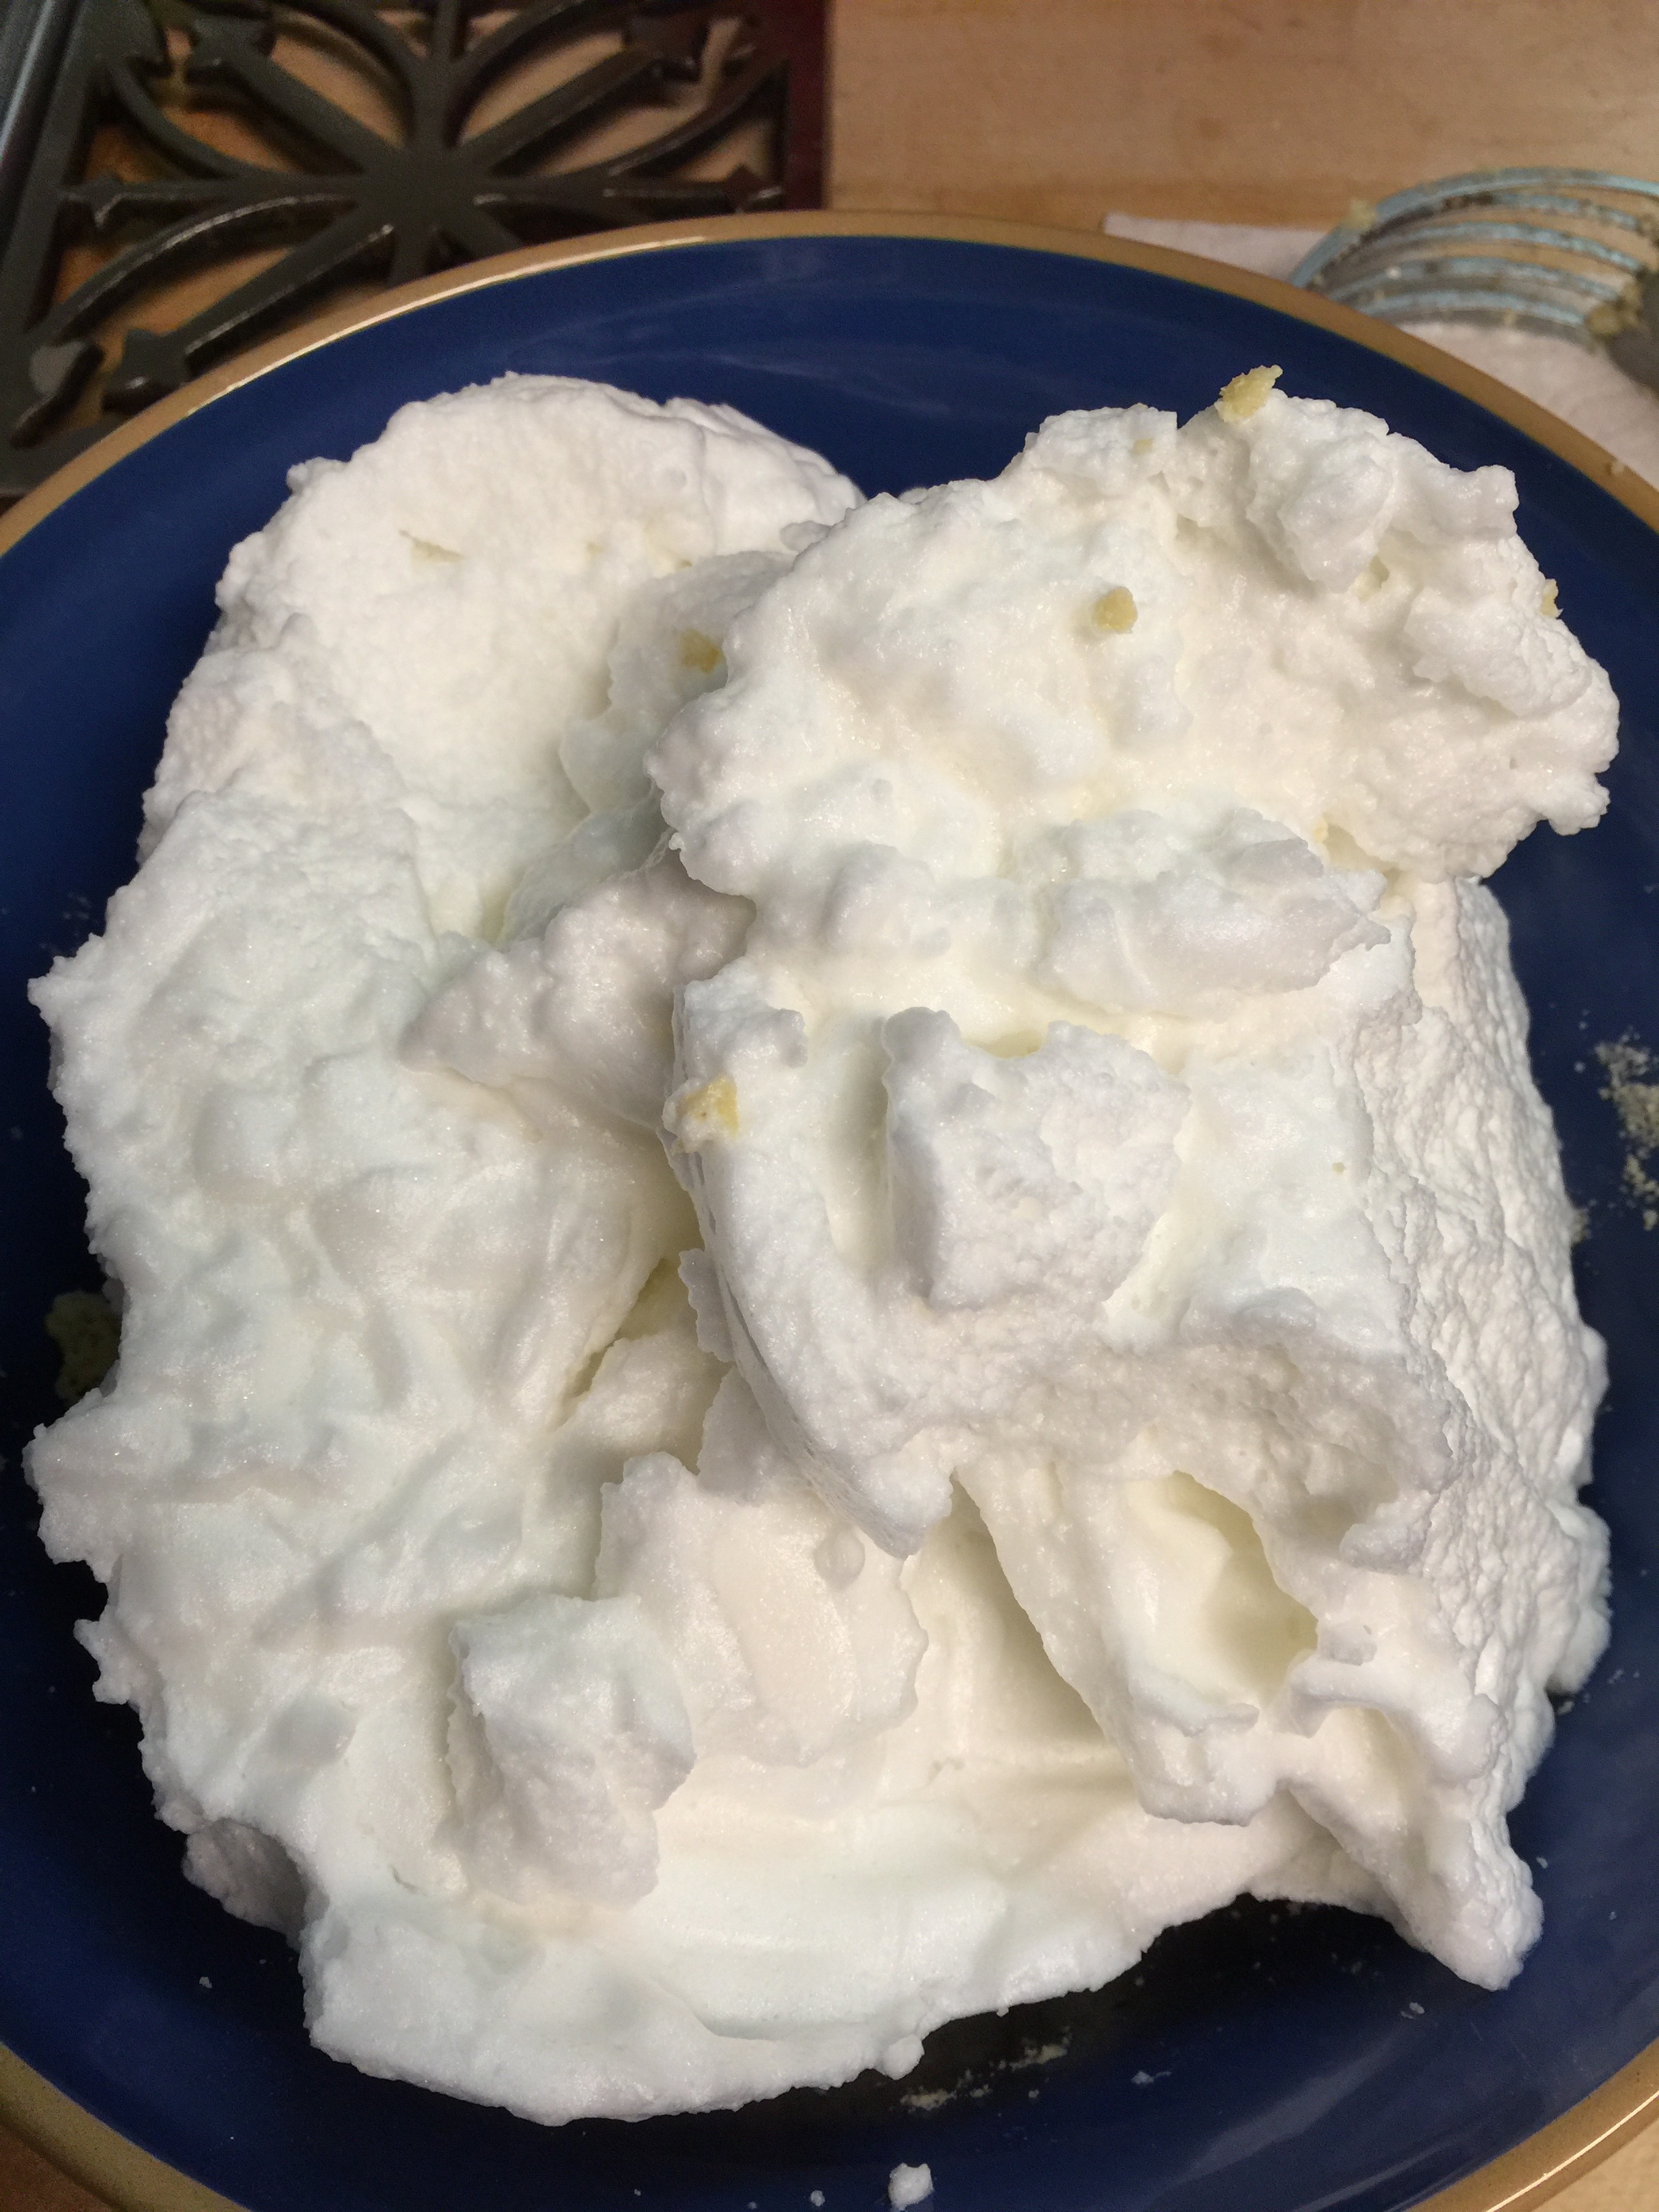
Meanwhile, beat your egg whites:
They should be very stiff!
Once beaten, fold in your eggs whites. Losing the volume is normal as you fold, but be gentle. You want it even and fluffy.
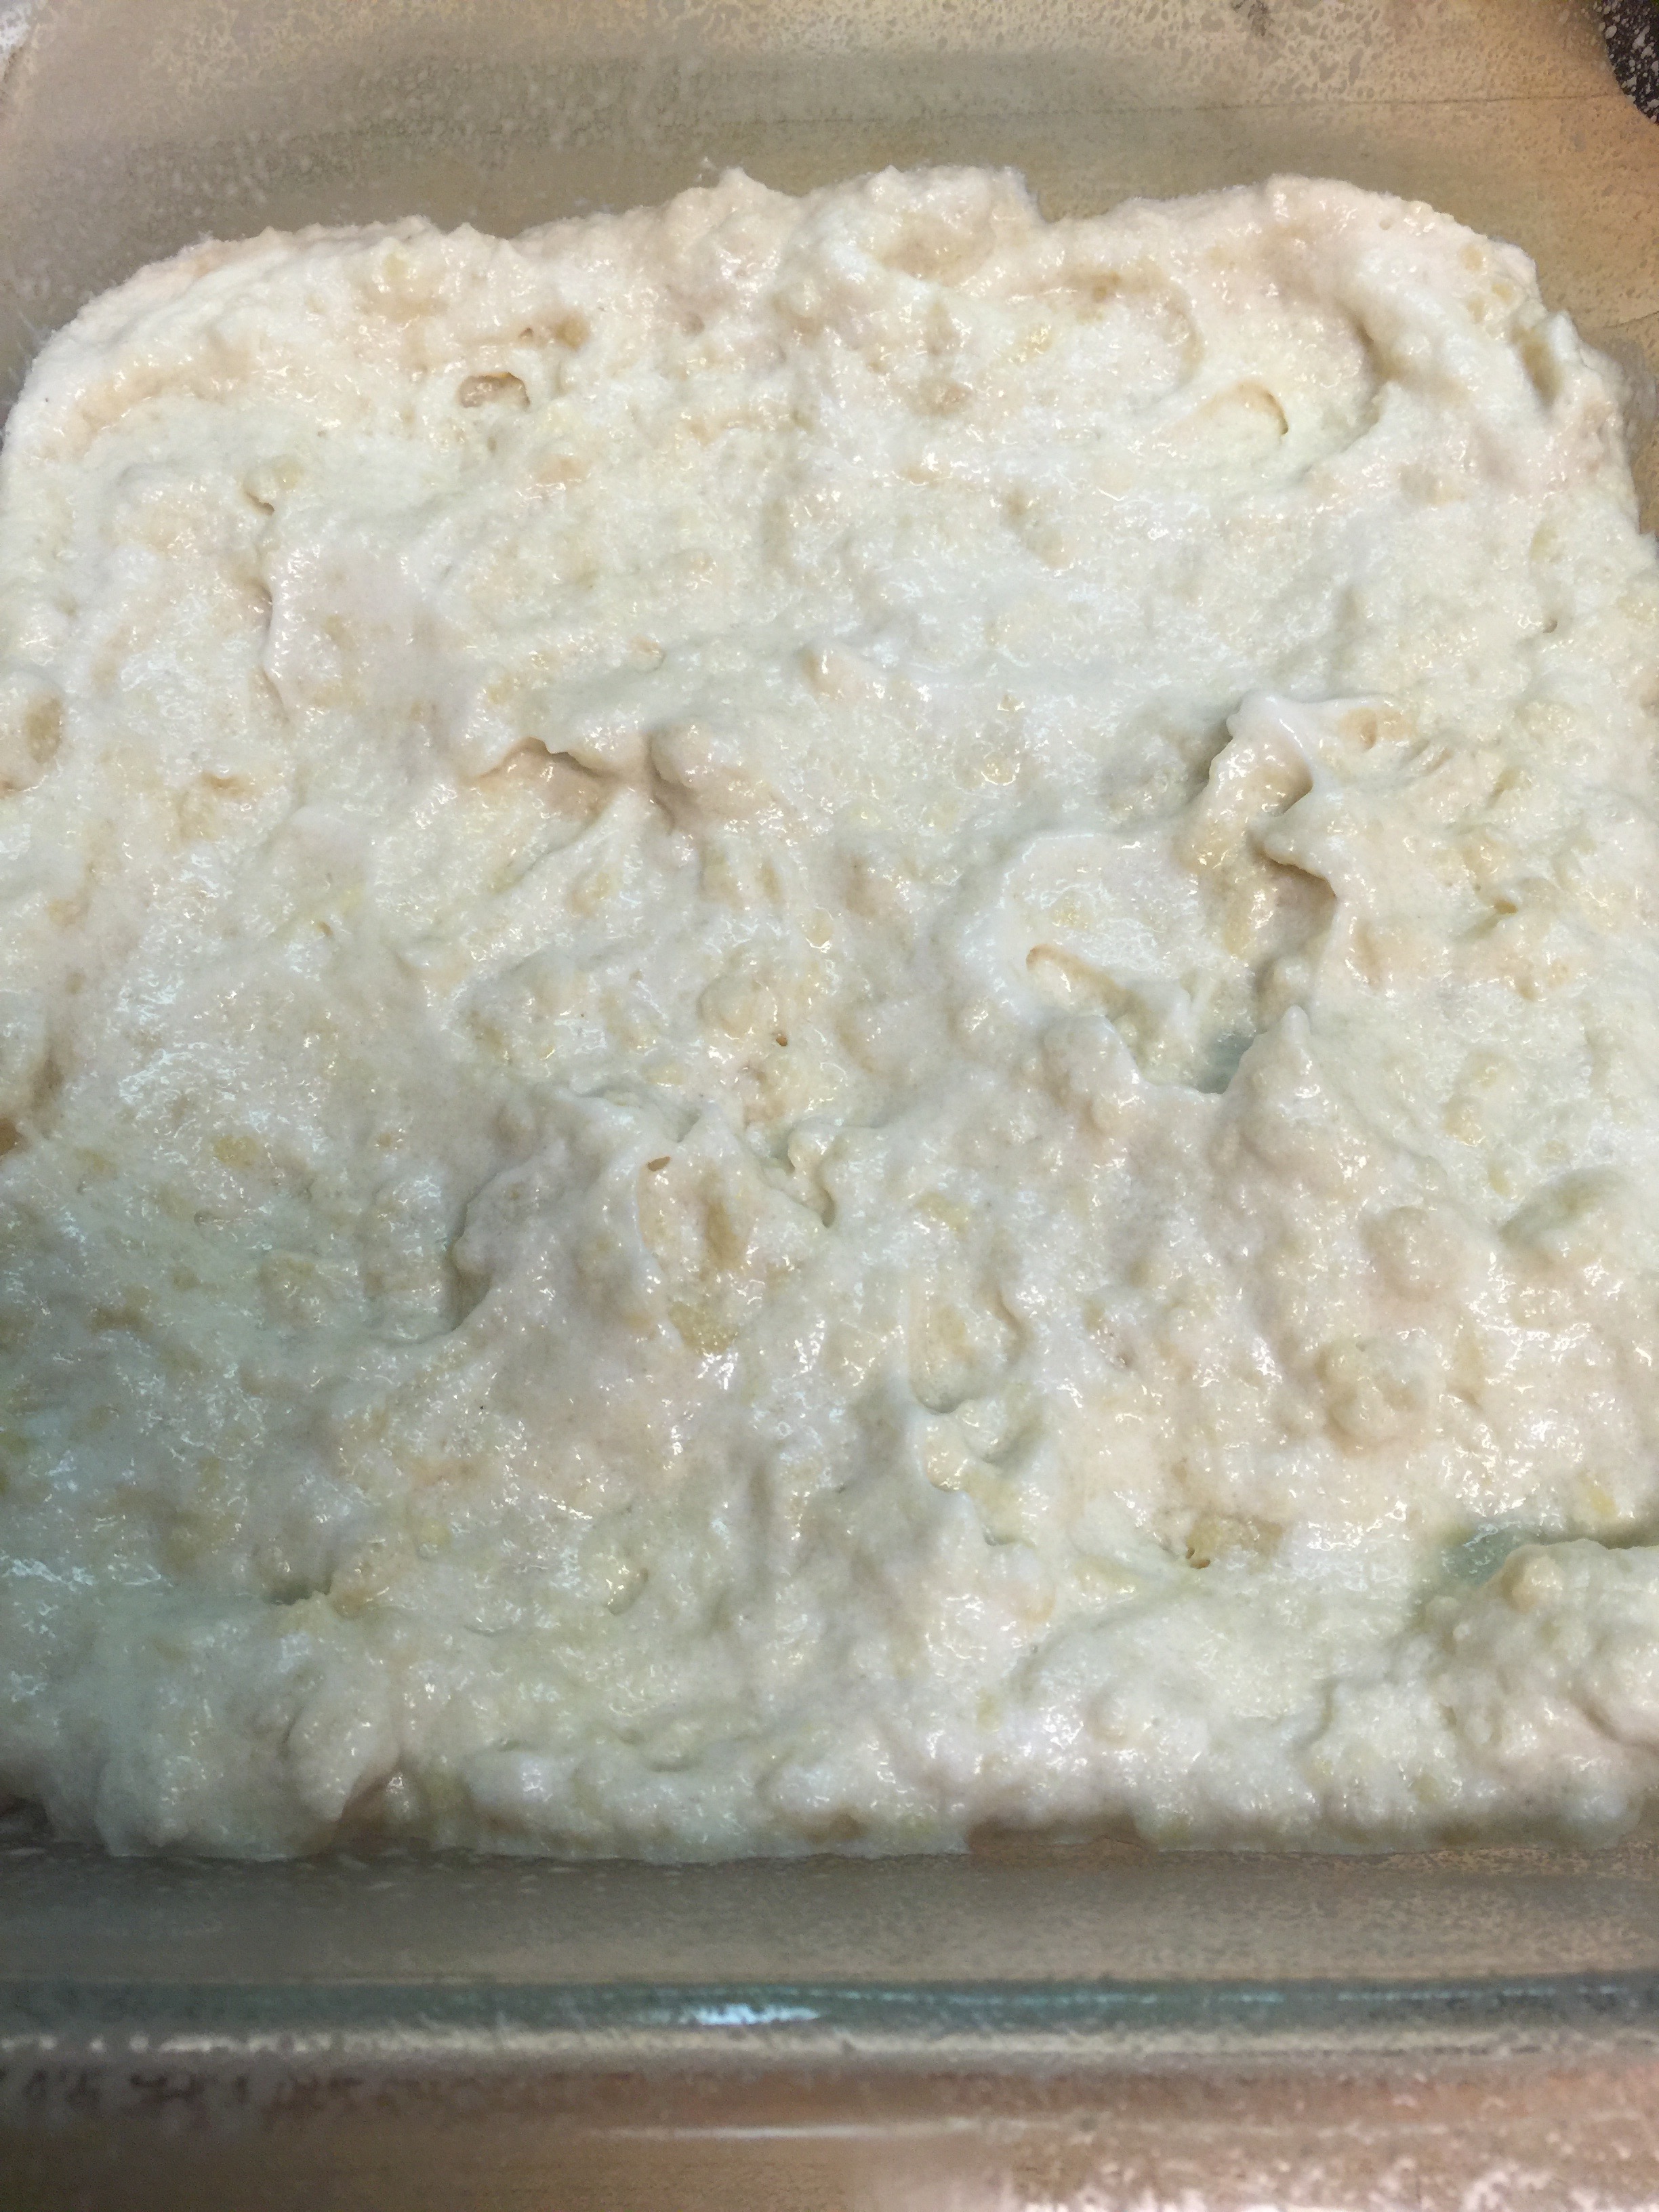
Place half of your “dough” in a parchment lined 8×8 pyrex or other baking dish.
Bake for 10 minutes, just until it is slightly firm.
To prepare your filling:
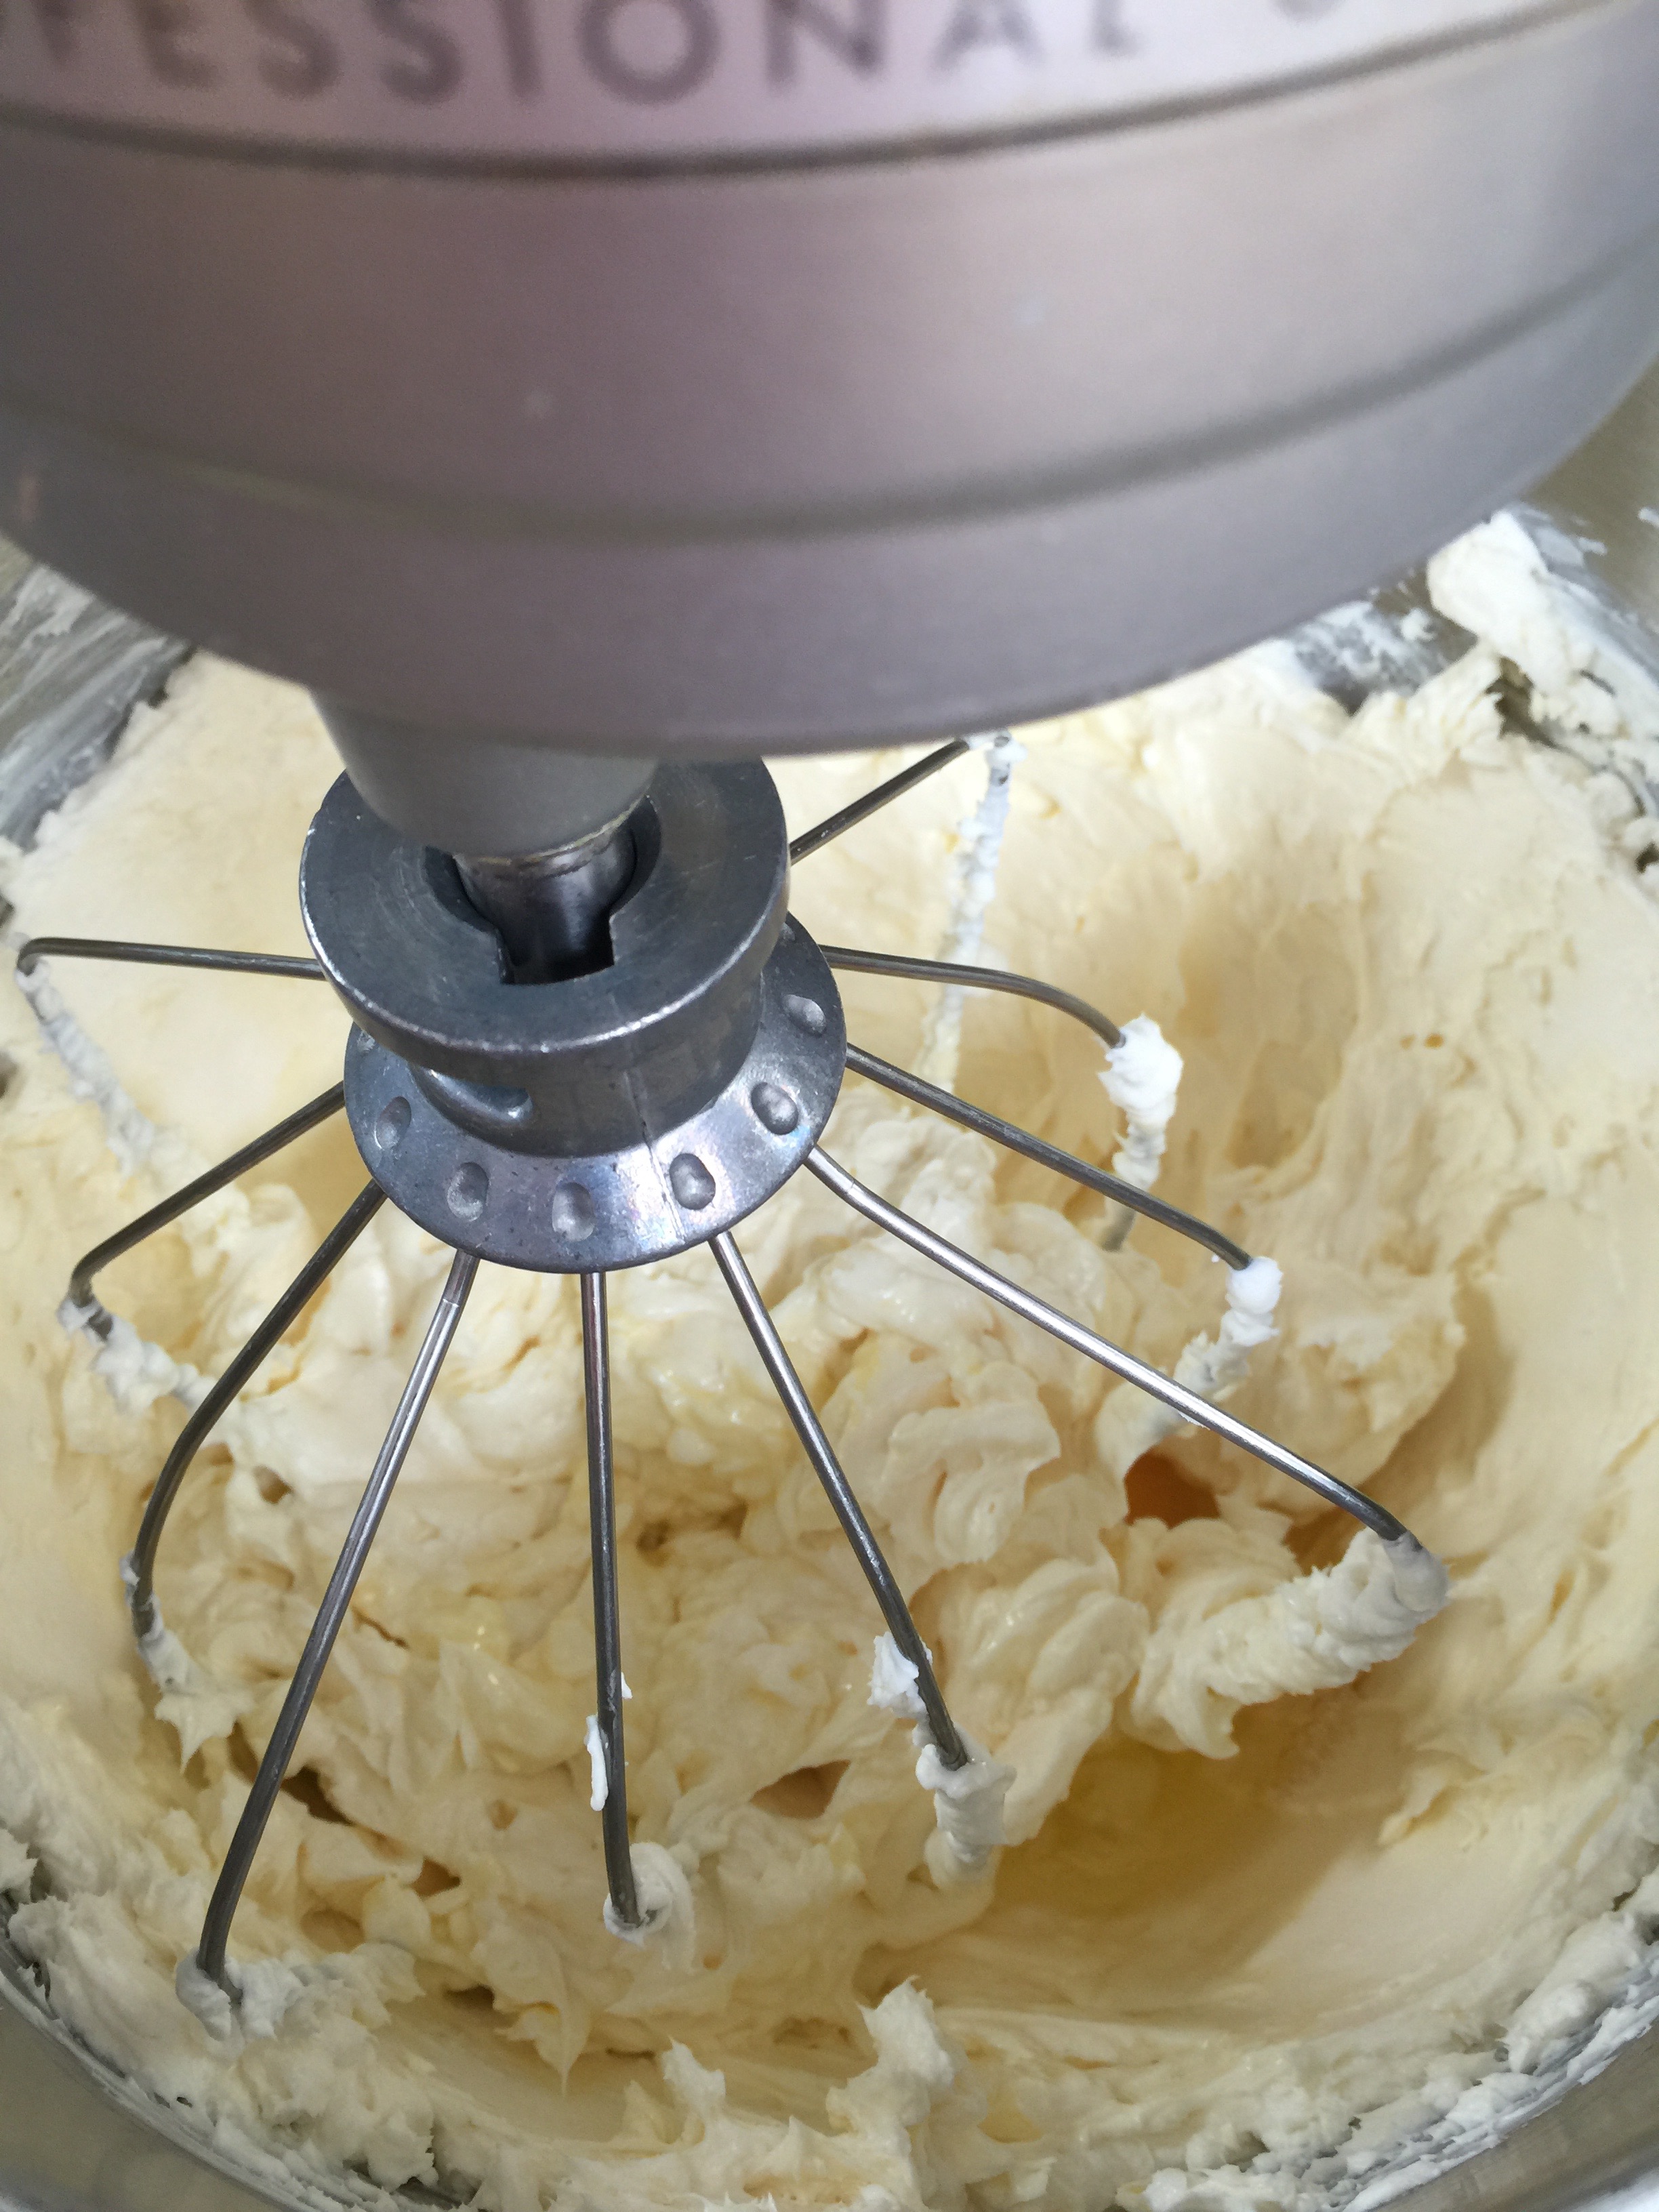
Combine your softened cream cheese, vanilla and Swerve. Beat until it is smooth and creamy.
After your crust has baked 10 minutes, remove and let cool for 5 minutes.
Spread your cream cheese filling on top of your crust.
Then add the rest of your “dough” and smooth over the top.
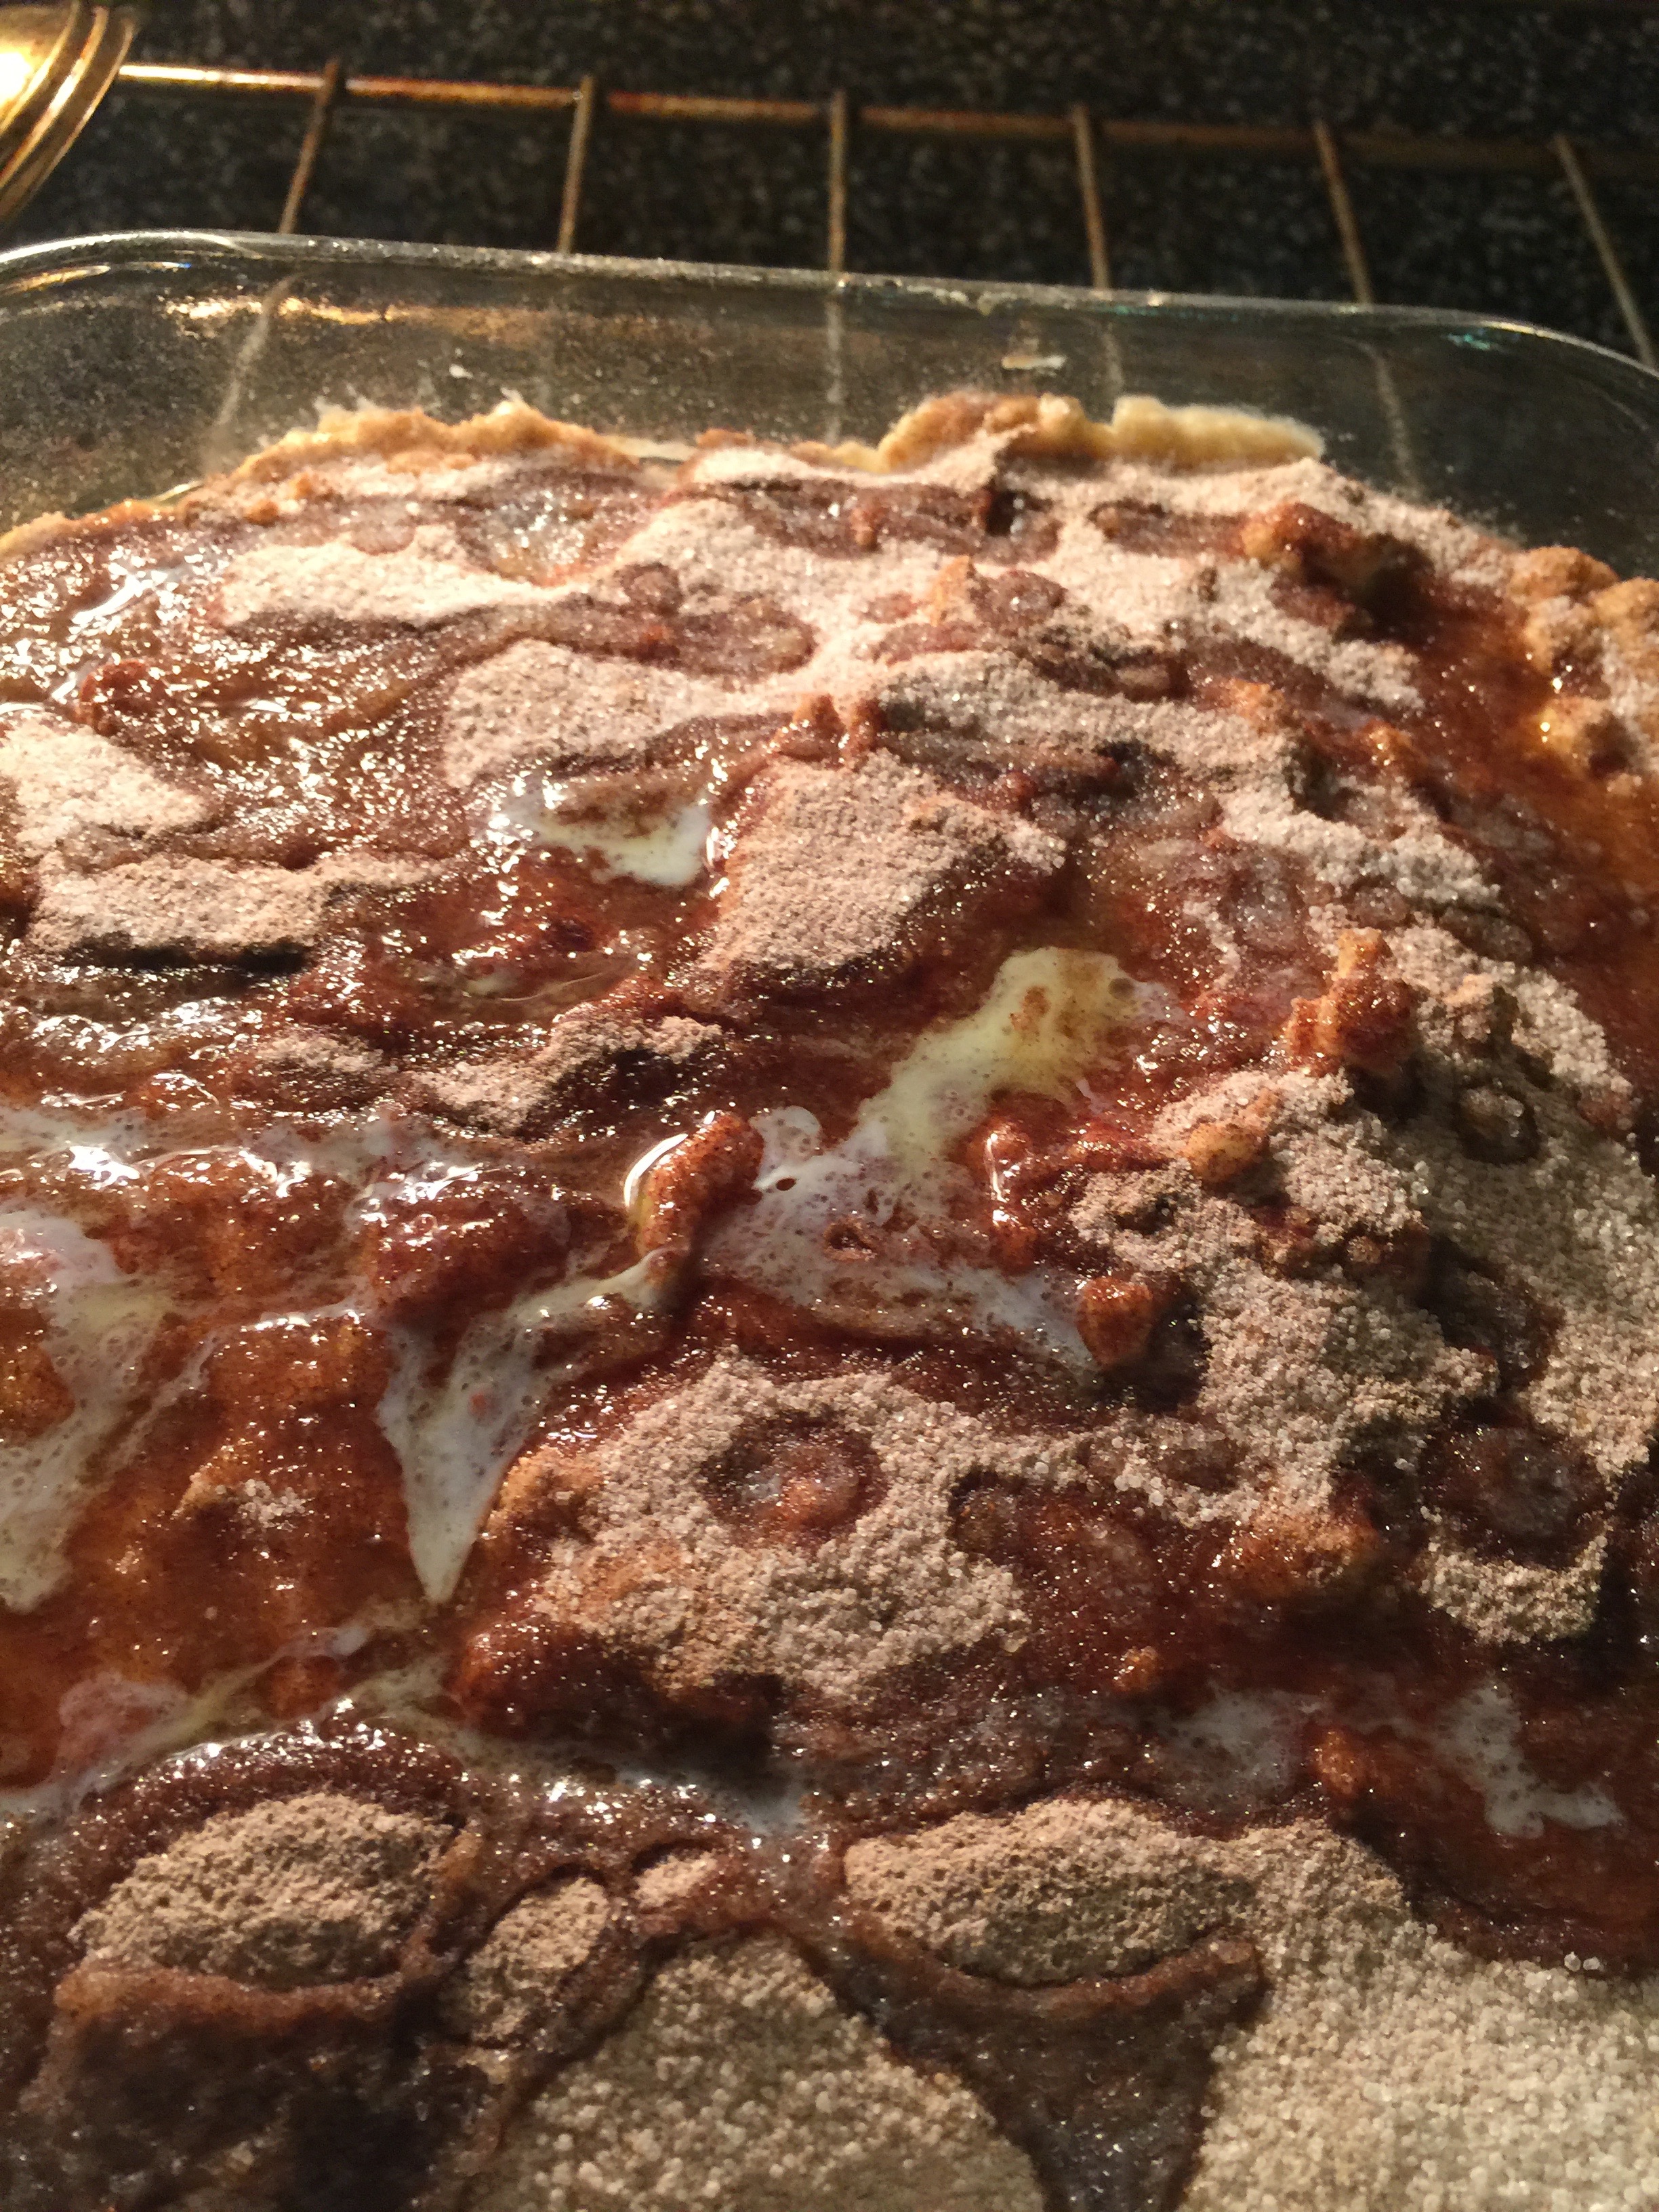
Finally, sprinkle the cinnamon sugar topping over the dough, and drizzle the butter over the top.
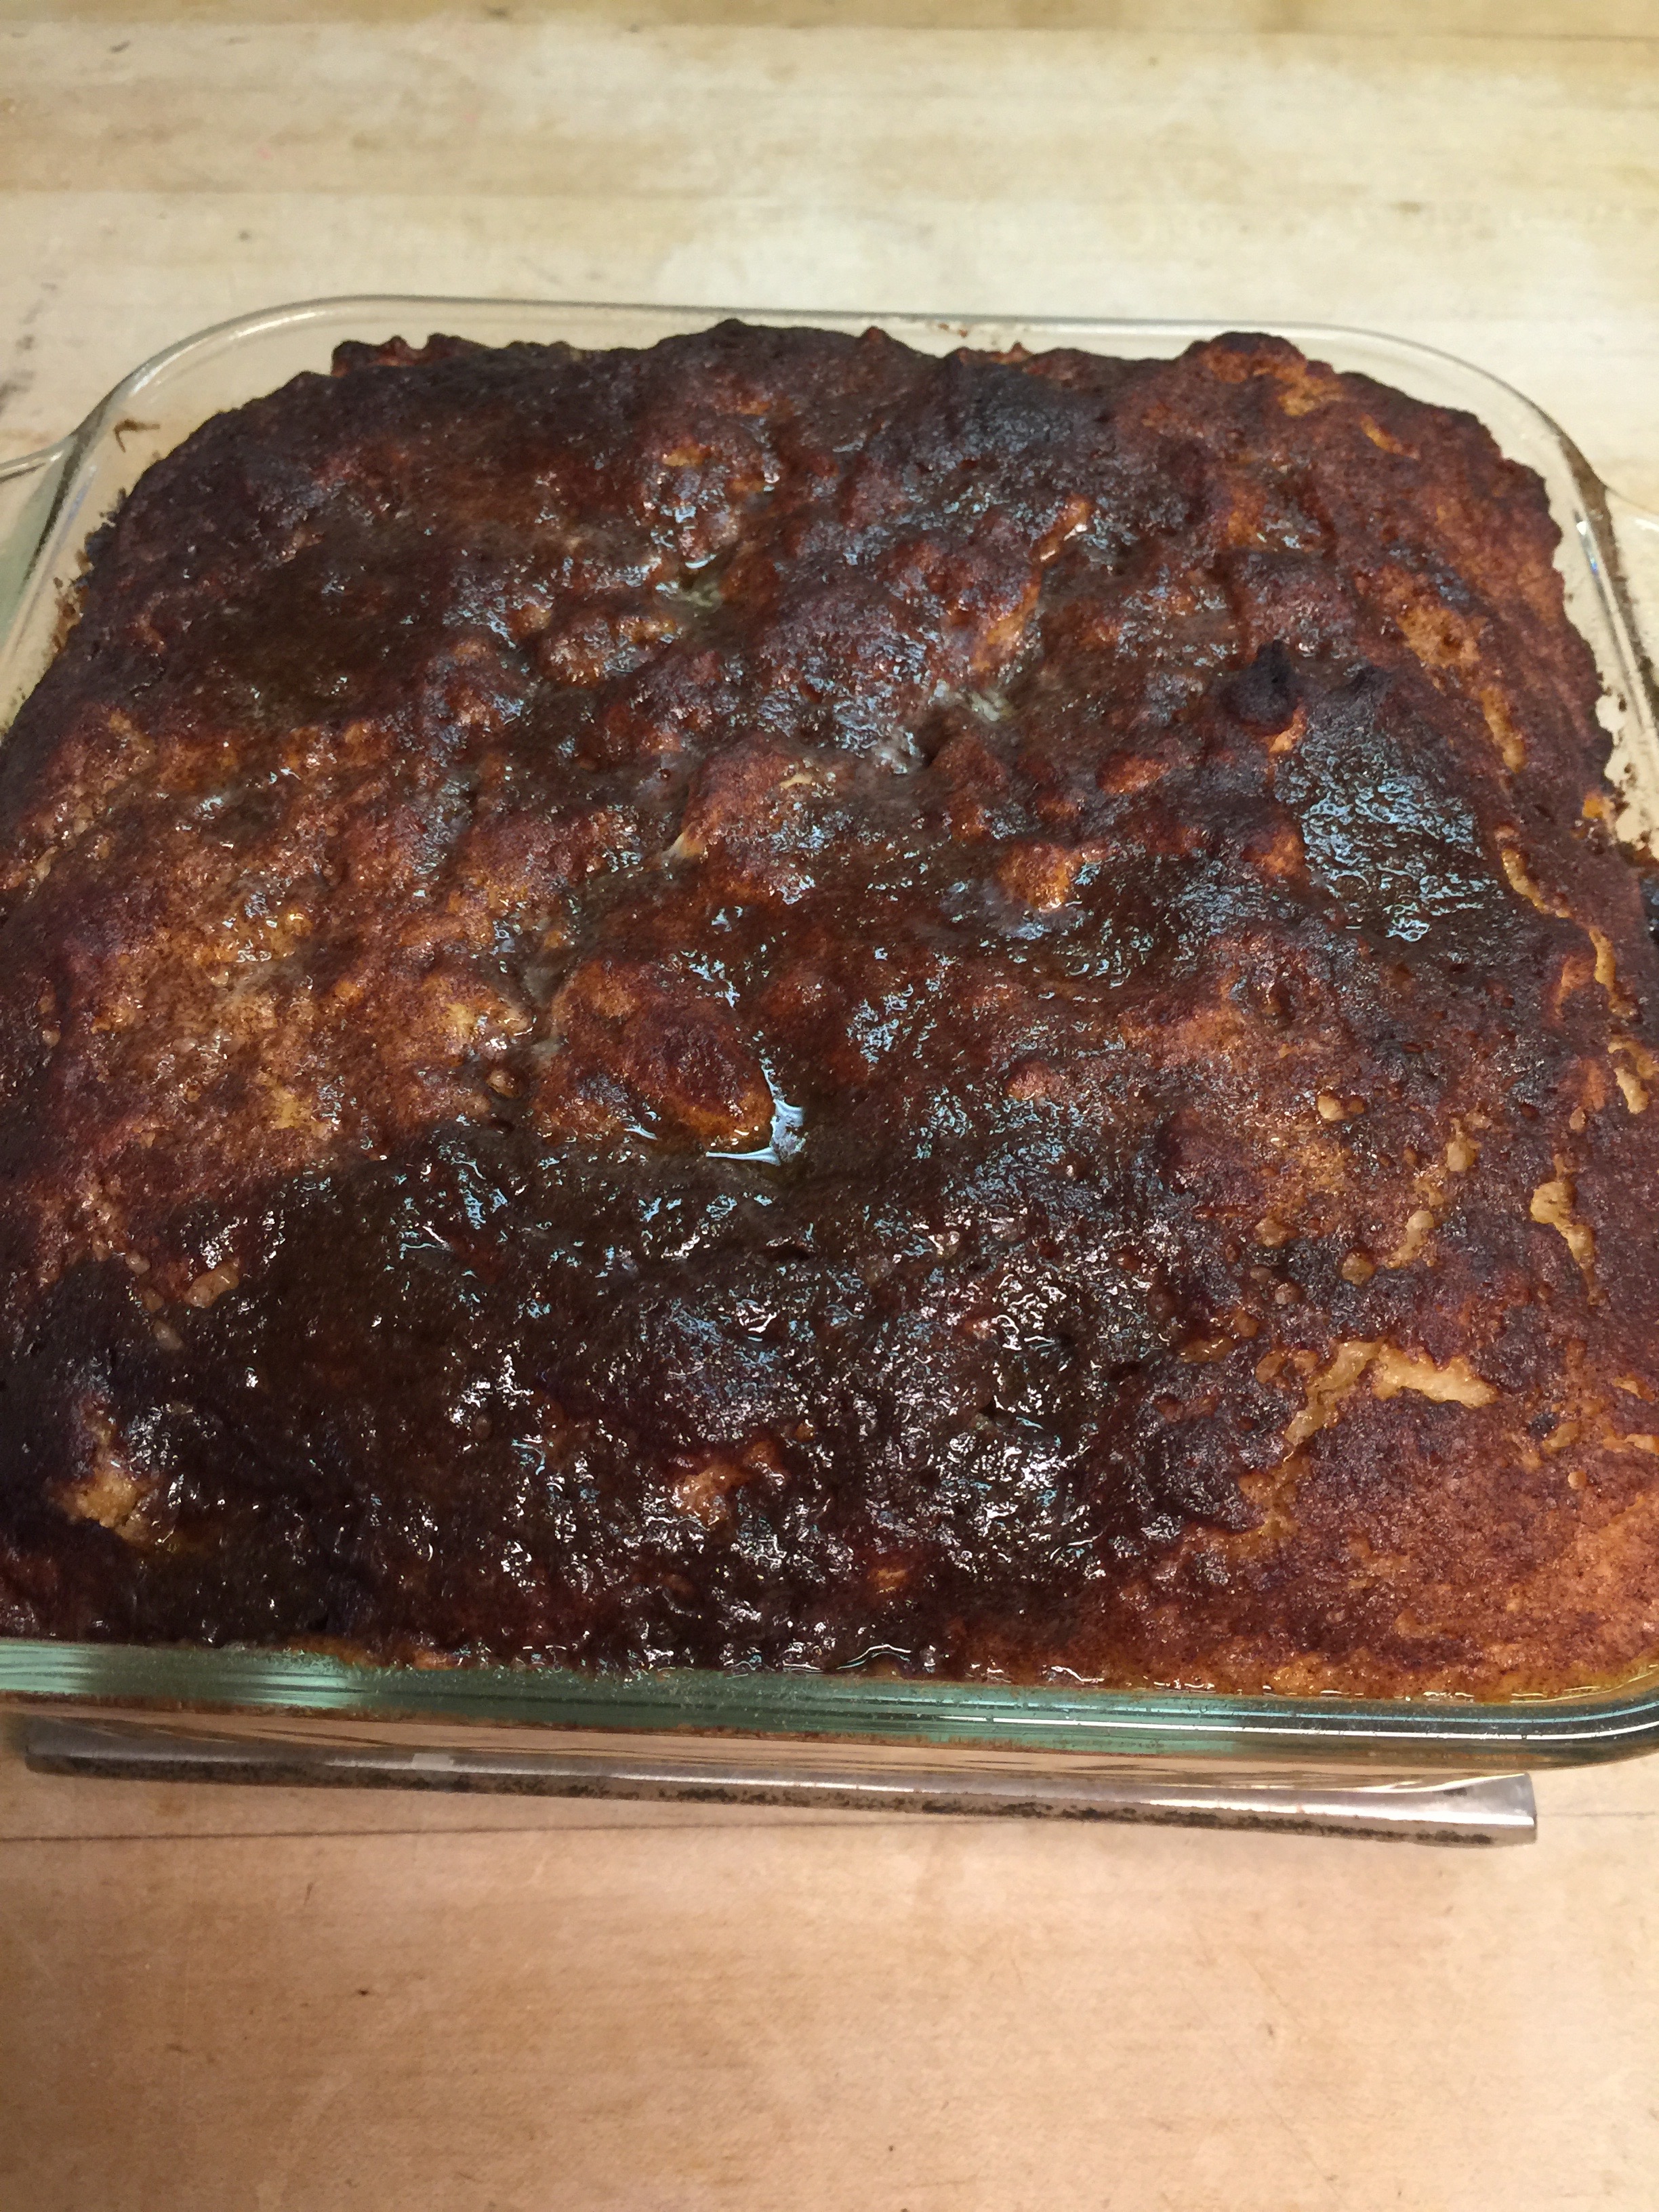
Bake at 350 for 30 to 40 minutes until you have a deep golden brown crust. It should get dark and crispy. The “sugar” will caramelize! YUM!!!!
Let cool for 30 minutes before serving or it can sit overnight at room temperature.
Slice and serve!
Just as a note, we will be taking the next two weeks off to spend time with our families. We wish you each a safe, joyous, and blessed Christmas filled with lasting memories, new family traditions, and most of all, love! God bless, and Merry Christmas!
It is hard to believe that we already have a month of school under our belts! Time certainly does fly! Not only do the months fly, but the hours in the day seem to get shorter and shorter as well. The best advice I can give you for dinners is to PLAN AHEAD!
You need to know your busy days – these are my leftover days!
Know the days that you will have an extra hour or two – these are my cooking days!
Lastly, know the days when you have a little extra time to throw something in the oven – these are the days when I usually use something pre-prepared. Yes! I said it! I DO use prepared foods every so often, as long as I know how they are prepared and what is in the package. Other prepared foods are foods that I have made and previously frozen. If I make a chili, stew, lasagna, etc., I always double the recipe and freeze one to pull out on a busy day. It doesn’t take much more effort, but it saves you loads of time in the future for a home cooked meal!
Planning ahead makes all the difference in the world. As long as I know what proteins, veggies, and other sides I have in the fridge, (and always have 3 or 4 days worth of all the above) – I know my family will survive, and even better, be full and satisfied.
For instance, I know that Wednesdays are my worst day. Not only am I in the car for 2 hours in the morning shuttling the kiddos to school, but I am also in the car for 2 hours in the afternoon getting three kids to four different activities. I couldn’t believe it when I timed it! I am actually in the car longer driving around the neighborhood getting kids to gymnastics, soccer, and more soccer than I am taking my children to another town for school. I wouldn’t give it up for the world, but it does take serious planning. Really, though, there is not another better day in the week to have a leftover day! It’s the midpoint of the week, and time to clean out from all that weekend cooking!
Tuesdays are my best day! It is our only day this sports season that we do not have a scheduled regular activity. This is my shopping day and big cooking day.
Mondays I am usually prepared from the weekend before when I hope to have time to prep some things for the week.
Thursdays are always busy so this is usually a pre-prepared day.
Fridays are more relaxed. We either eat out or I cook something easy.
Saturdays are usually cooking days as are Sundays, but this is a good left-over day to clean out the fridge for the week ahead. I generally spend a lot of time preparing for the week ahead on Sundays. This is when I bake for breakfasts, make Keto desserts, my sauces, and my seasonings. It always feels great to start the week prepared.
Here are a few really simple dinner ideas to throw together on those super tough week nights:
The kids favorite:
Taco night – We always have ground meat, and this is super easy with lettuce as your tortilla! We make a taco bar and the kids LOVE it!
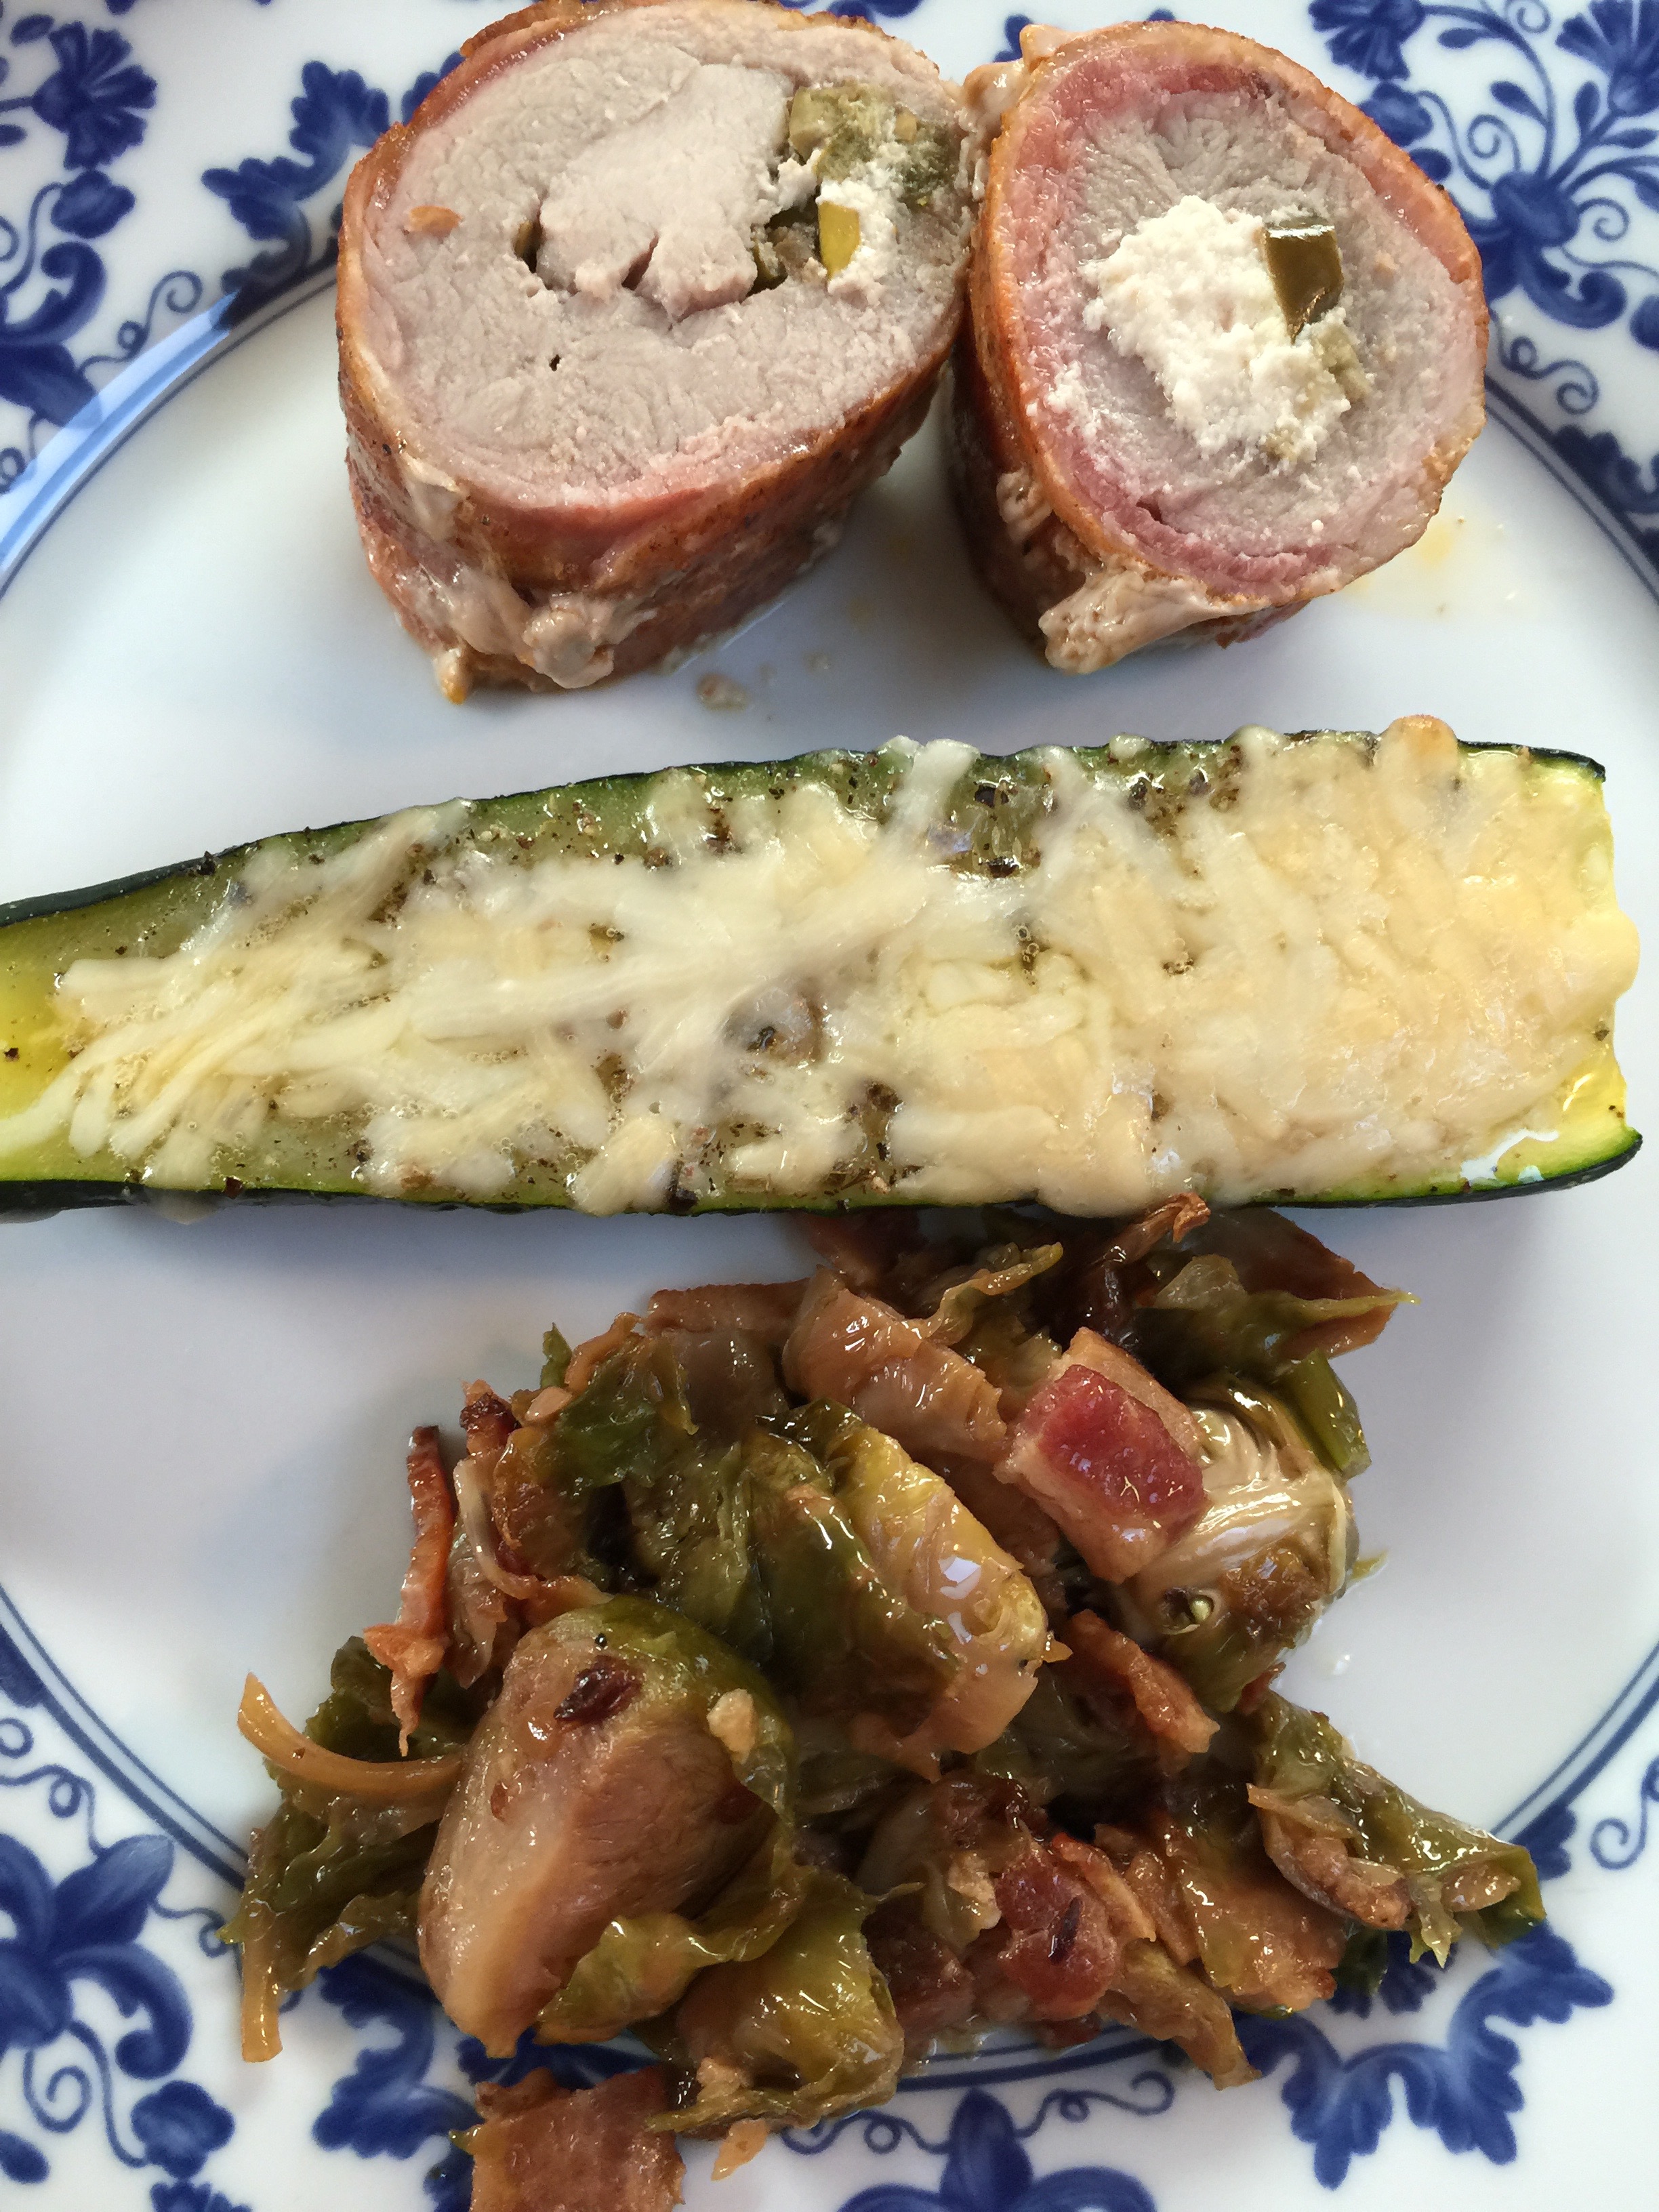
This next is a prepared dish: Stuffed Pork Tender (Cream cheese and jalapeño) with a side of zucchini topped with parmesan and bacon brussels.
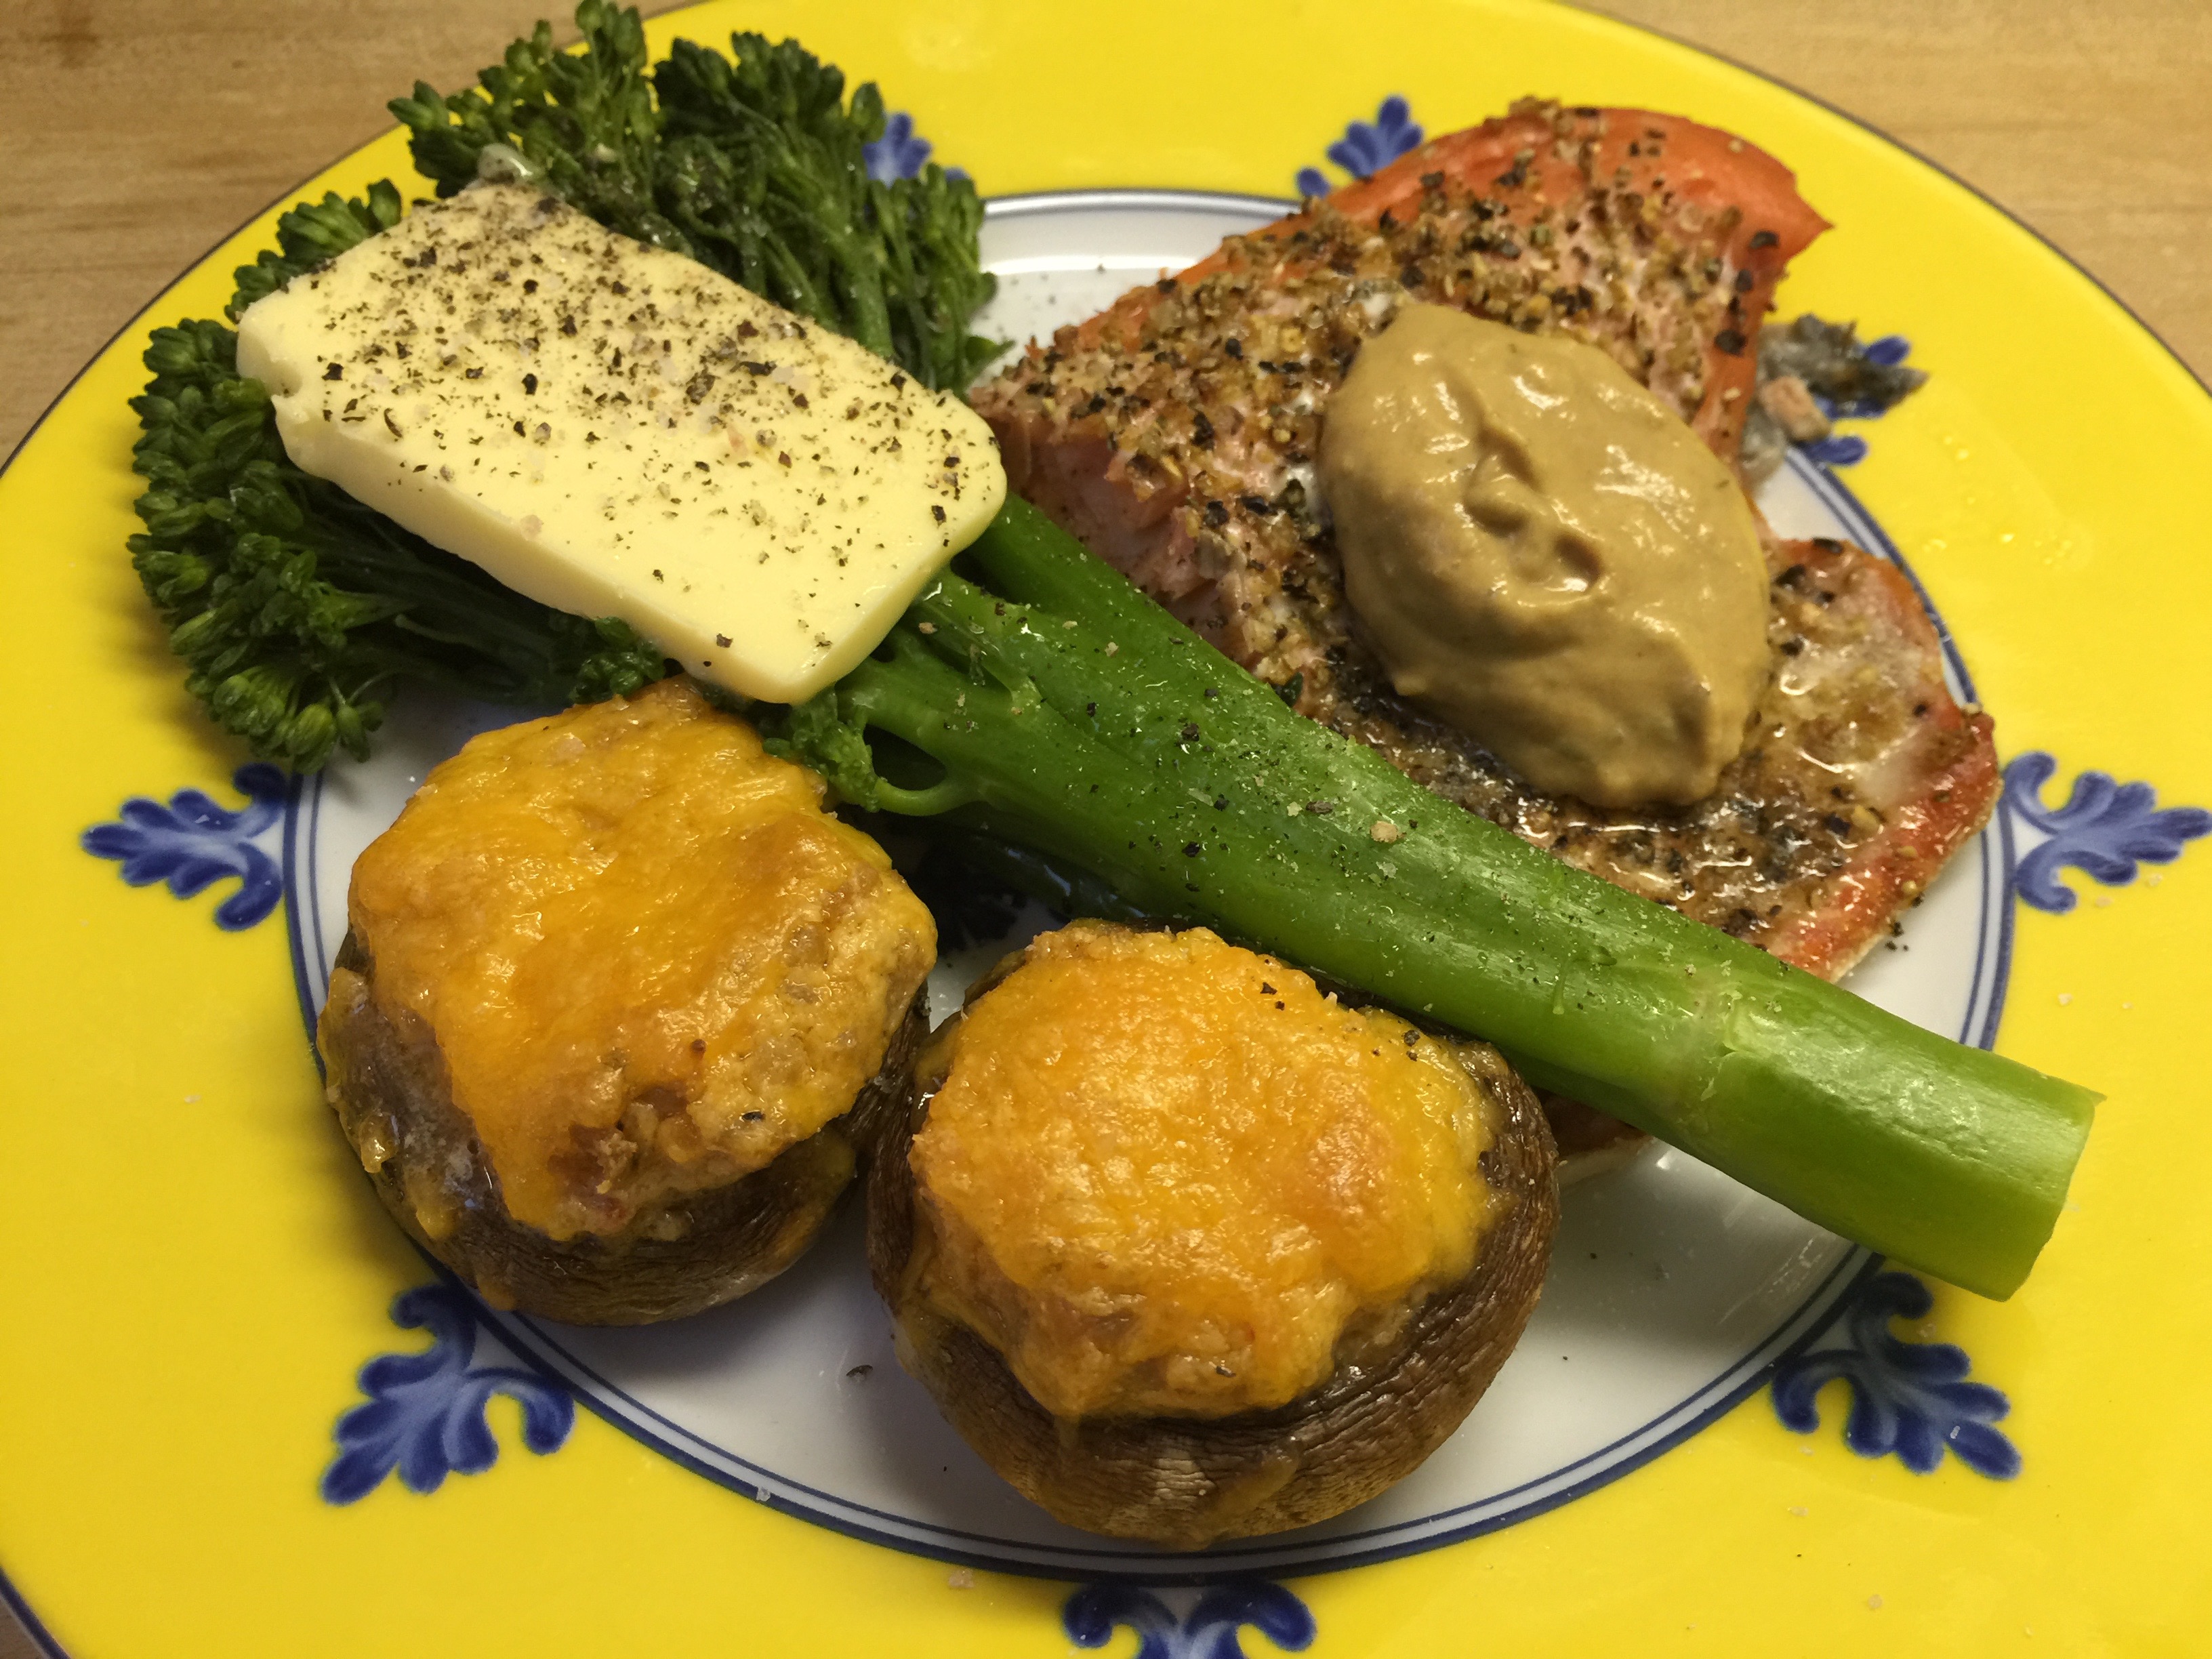
This one is super fast…Steamed broccolini with butter, alongside broiled salmon and stuffed mushrooms.
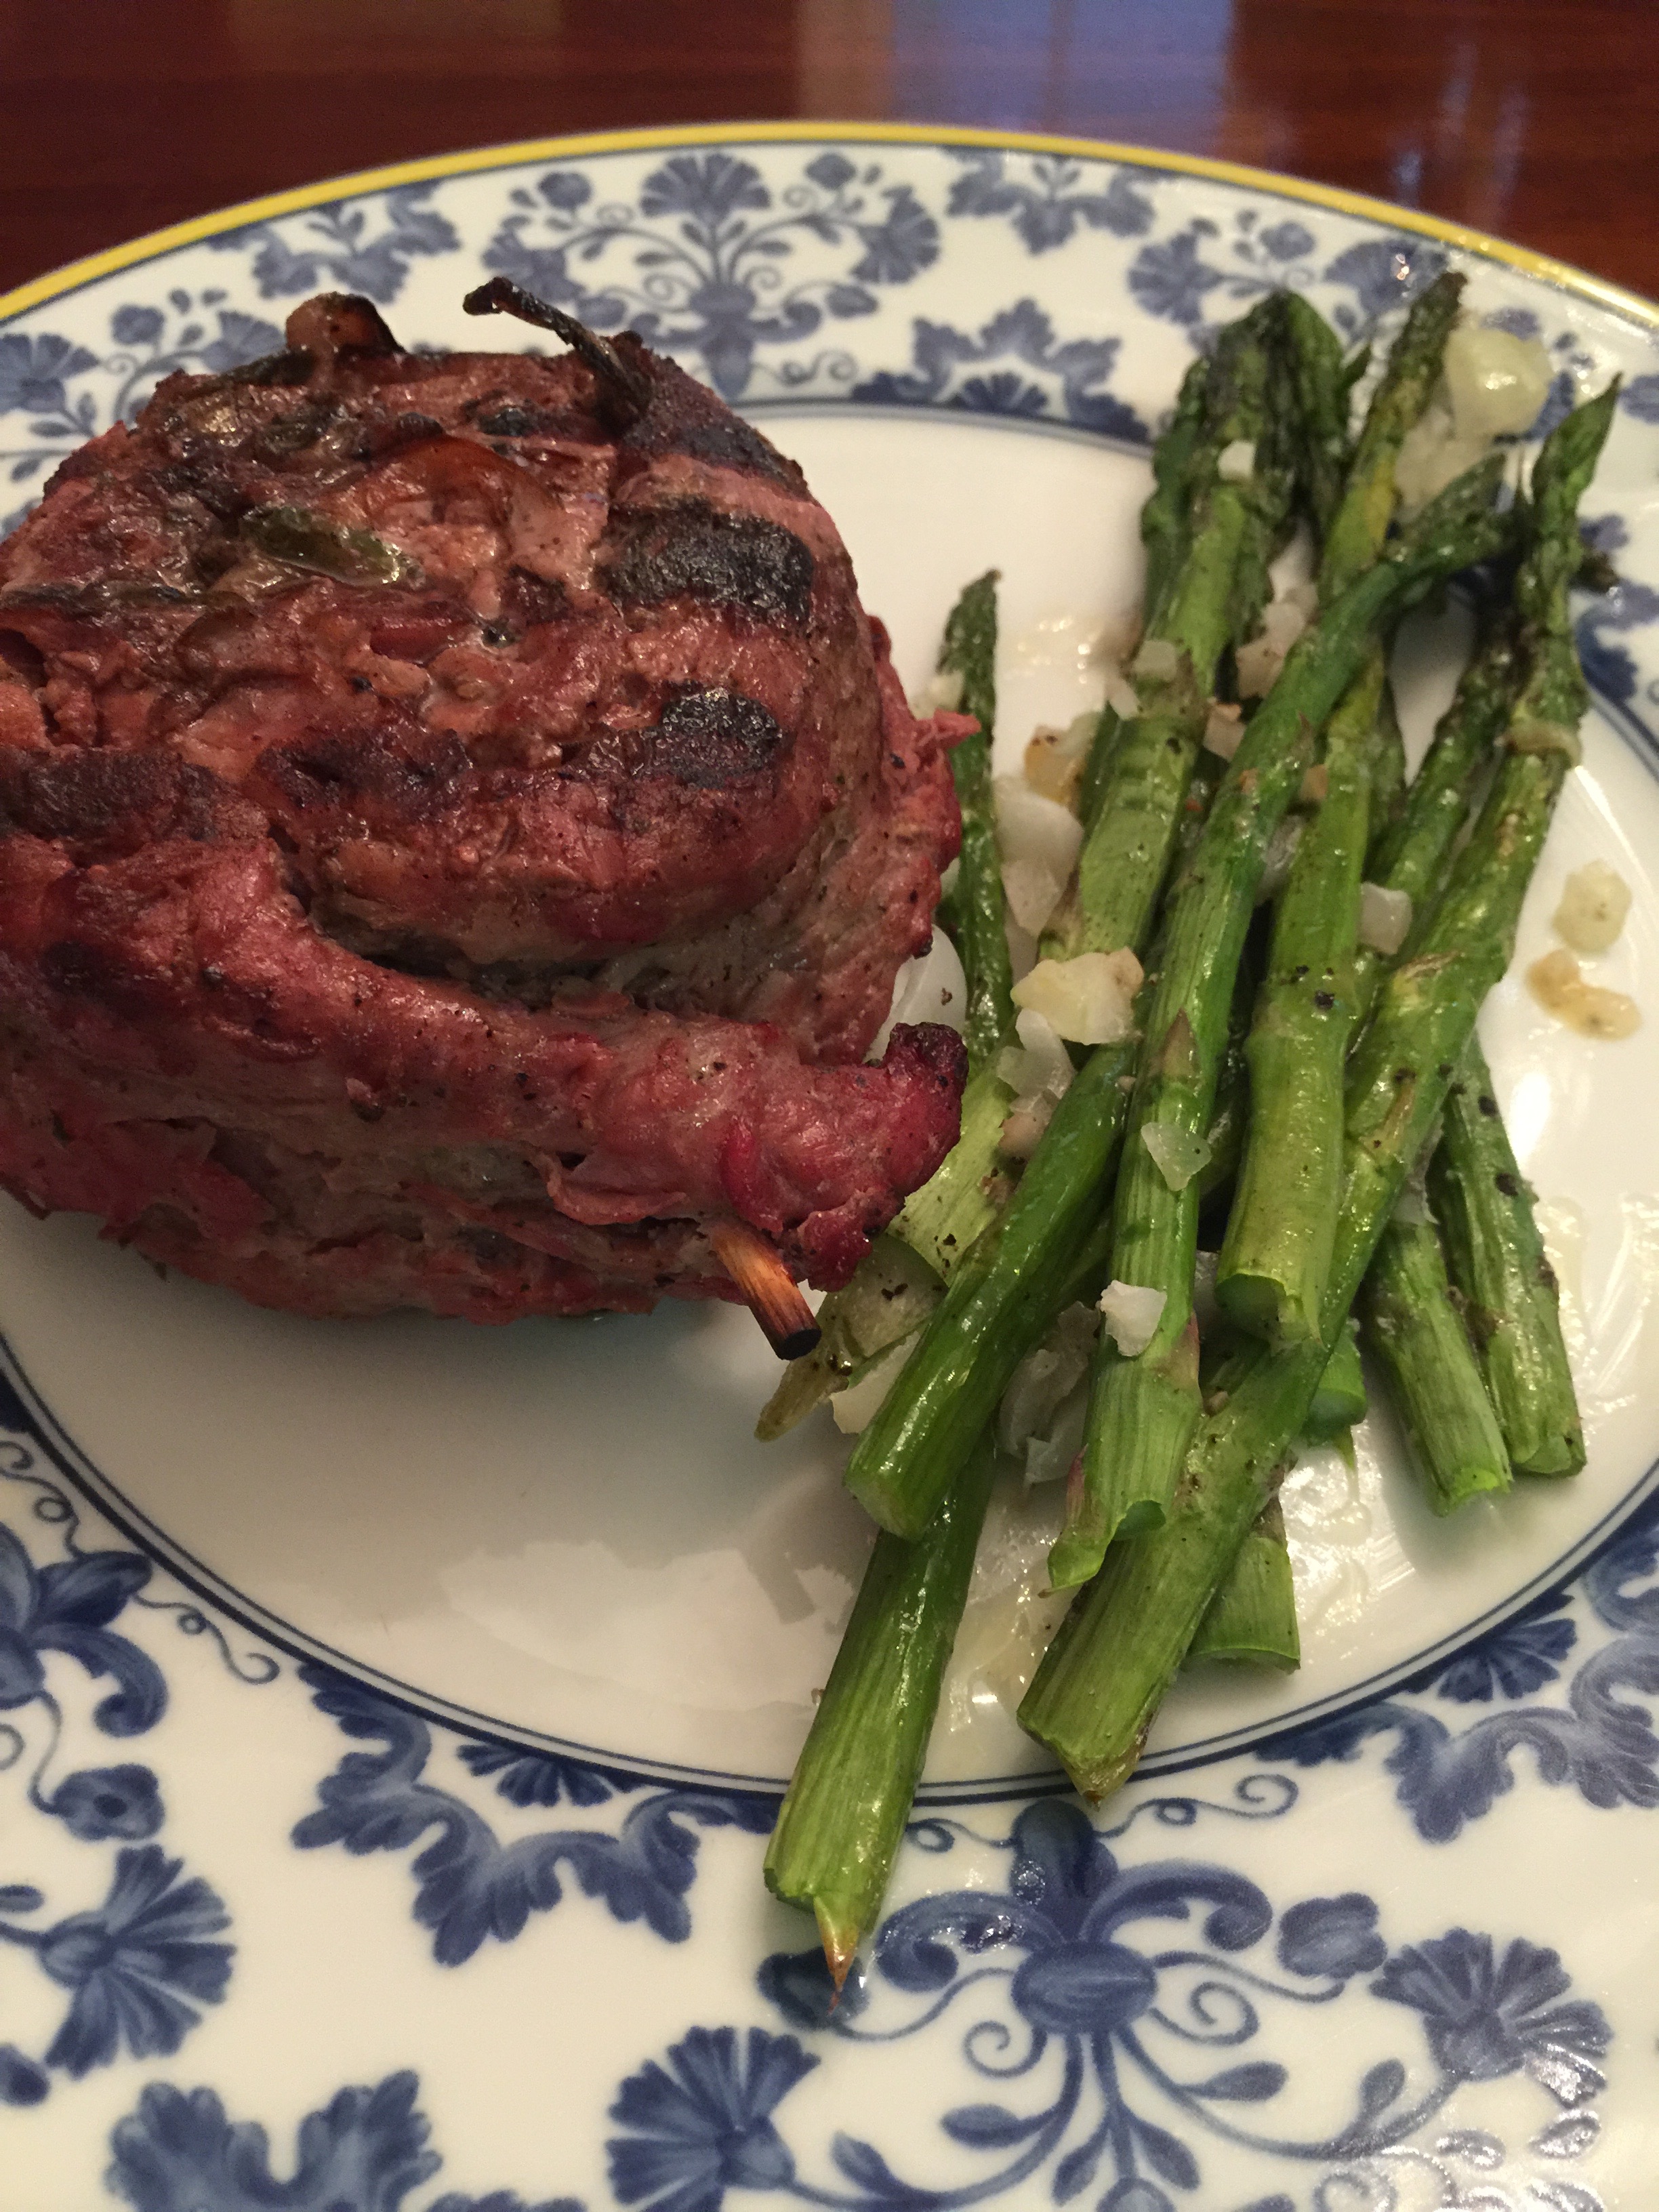
Beef pinwheels with a side of asparagus:
Top with queso and you get a thumbs up:
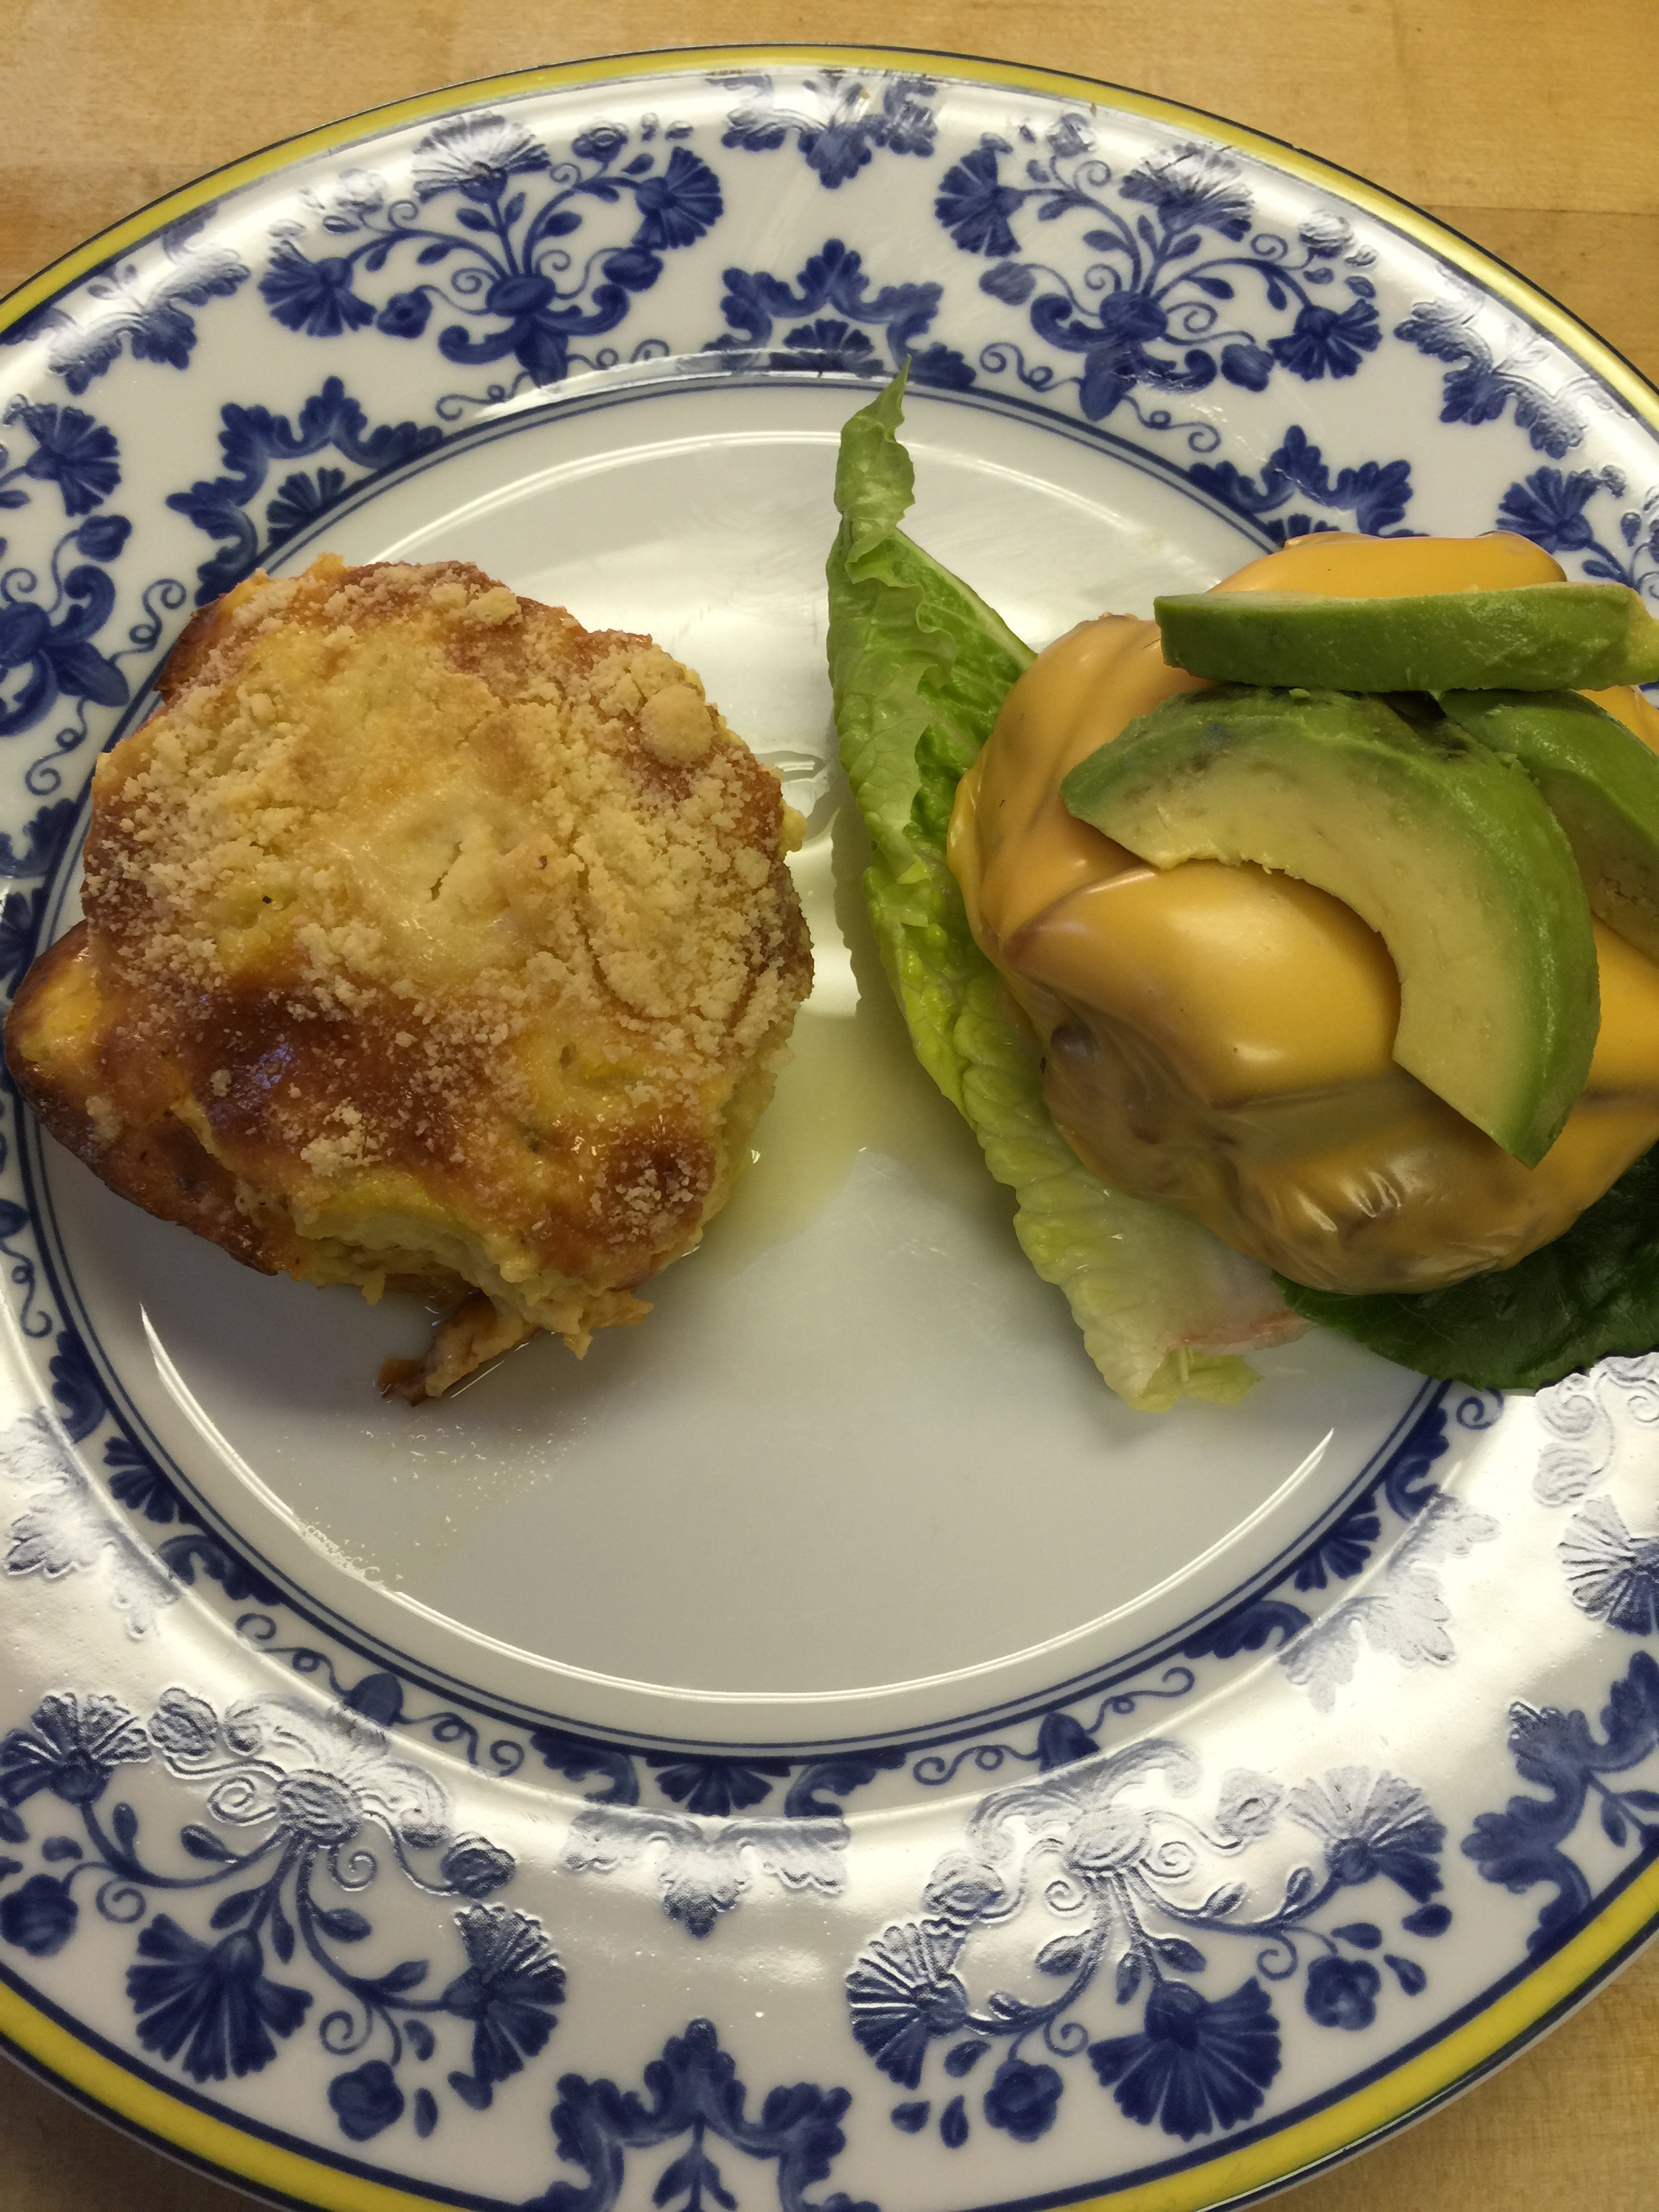
ABC burgers with a side of squash casserole:
Stuffed bell peppers with stuffed mushrooms! Apparently, I was in the mood to stuff!
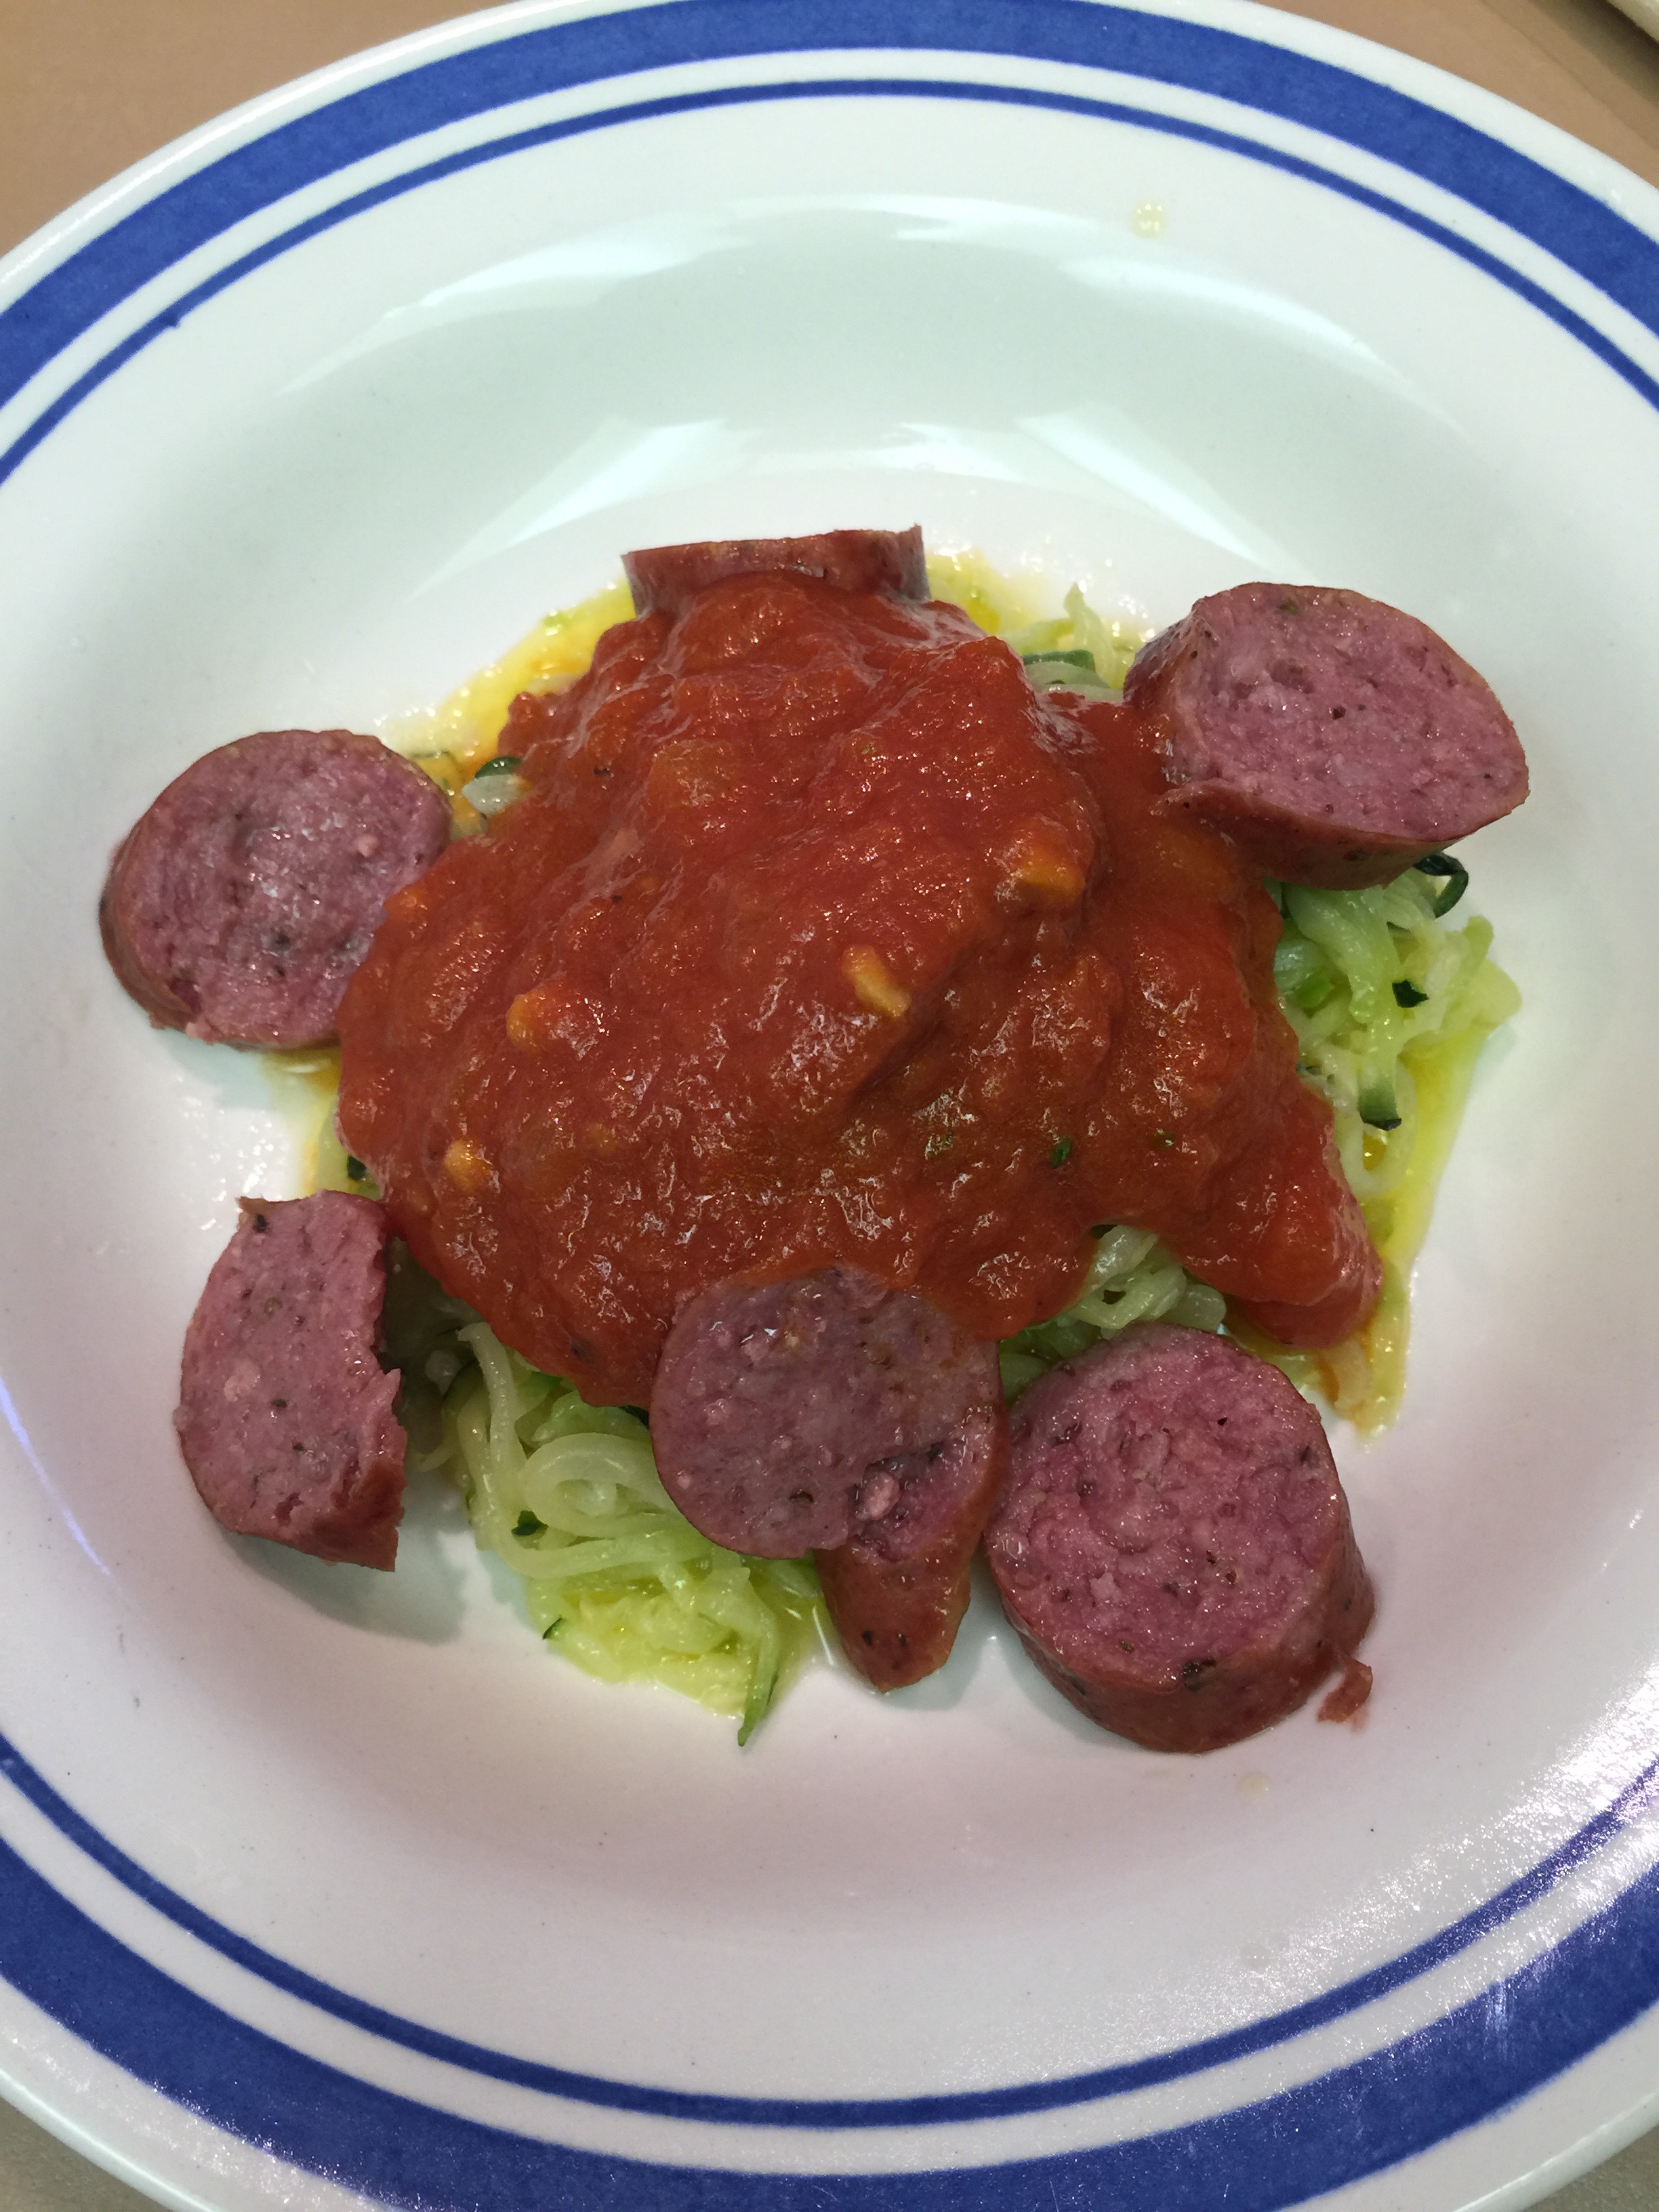
Keto spaghetti with zucchini and grilled sausage:
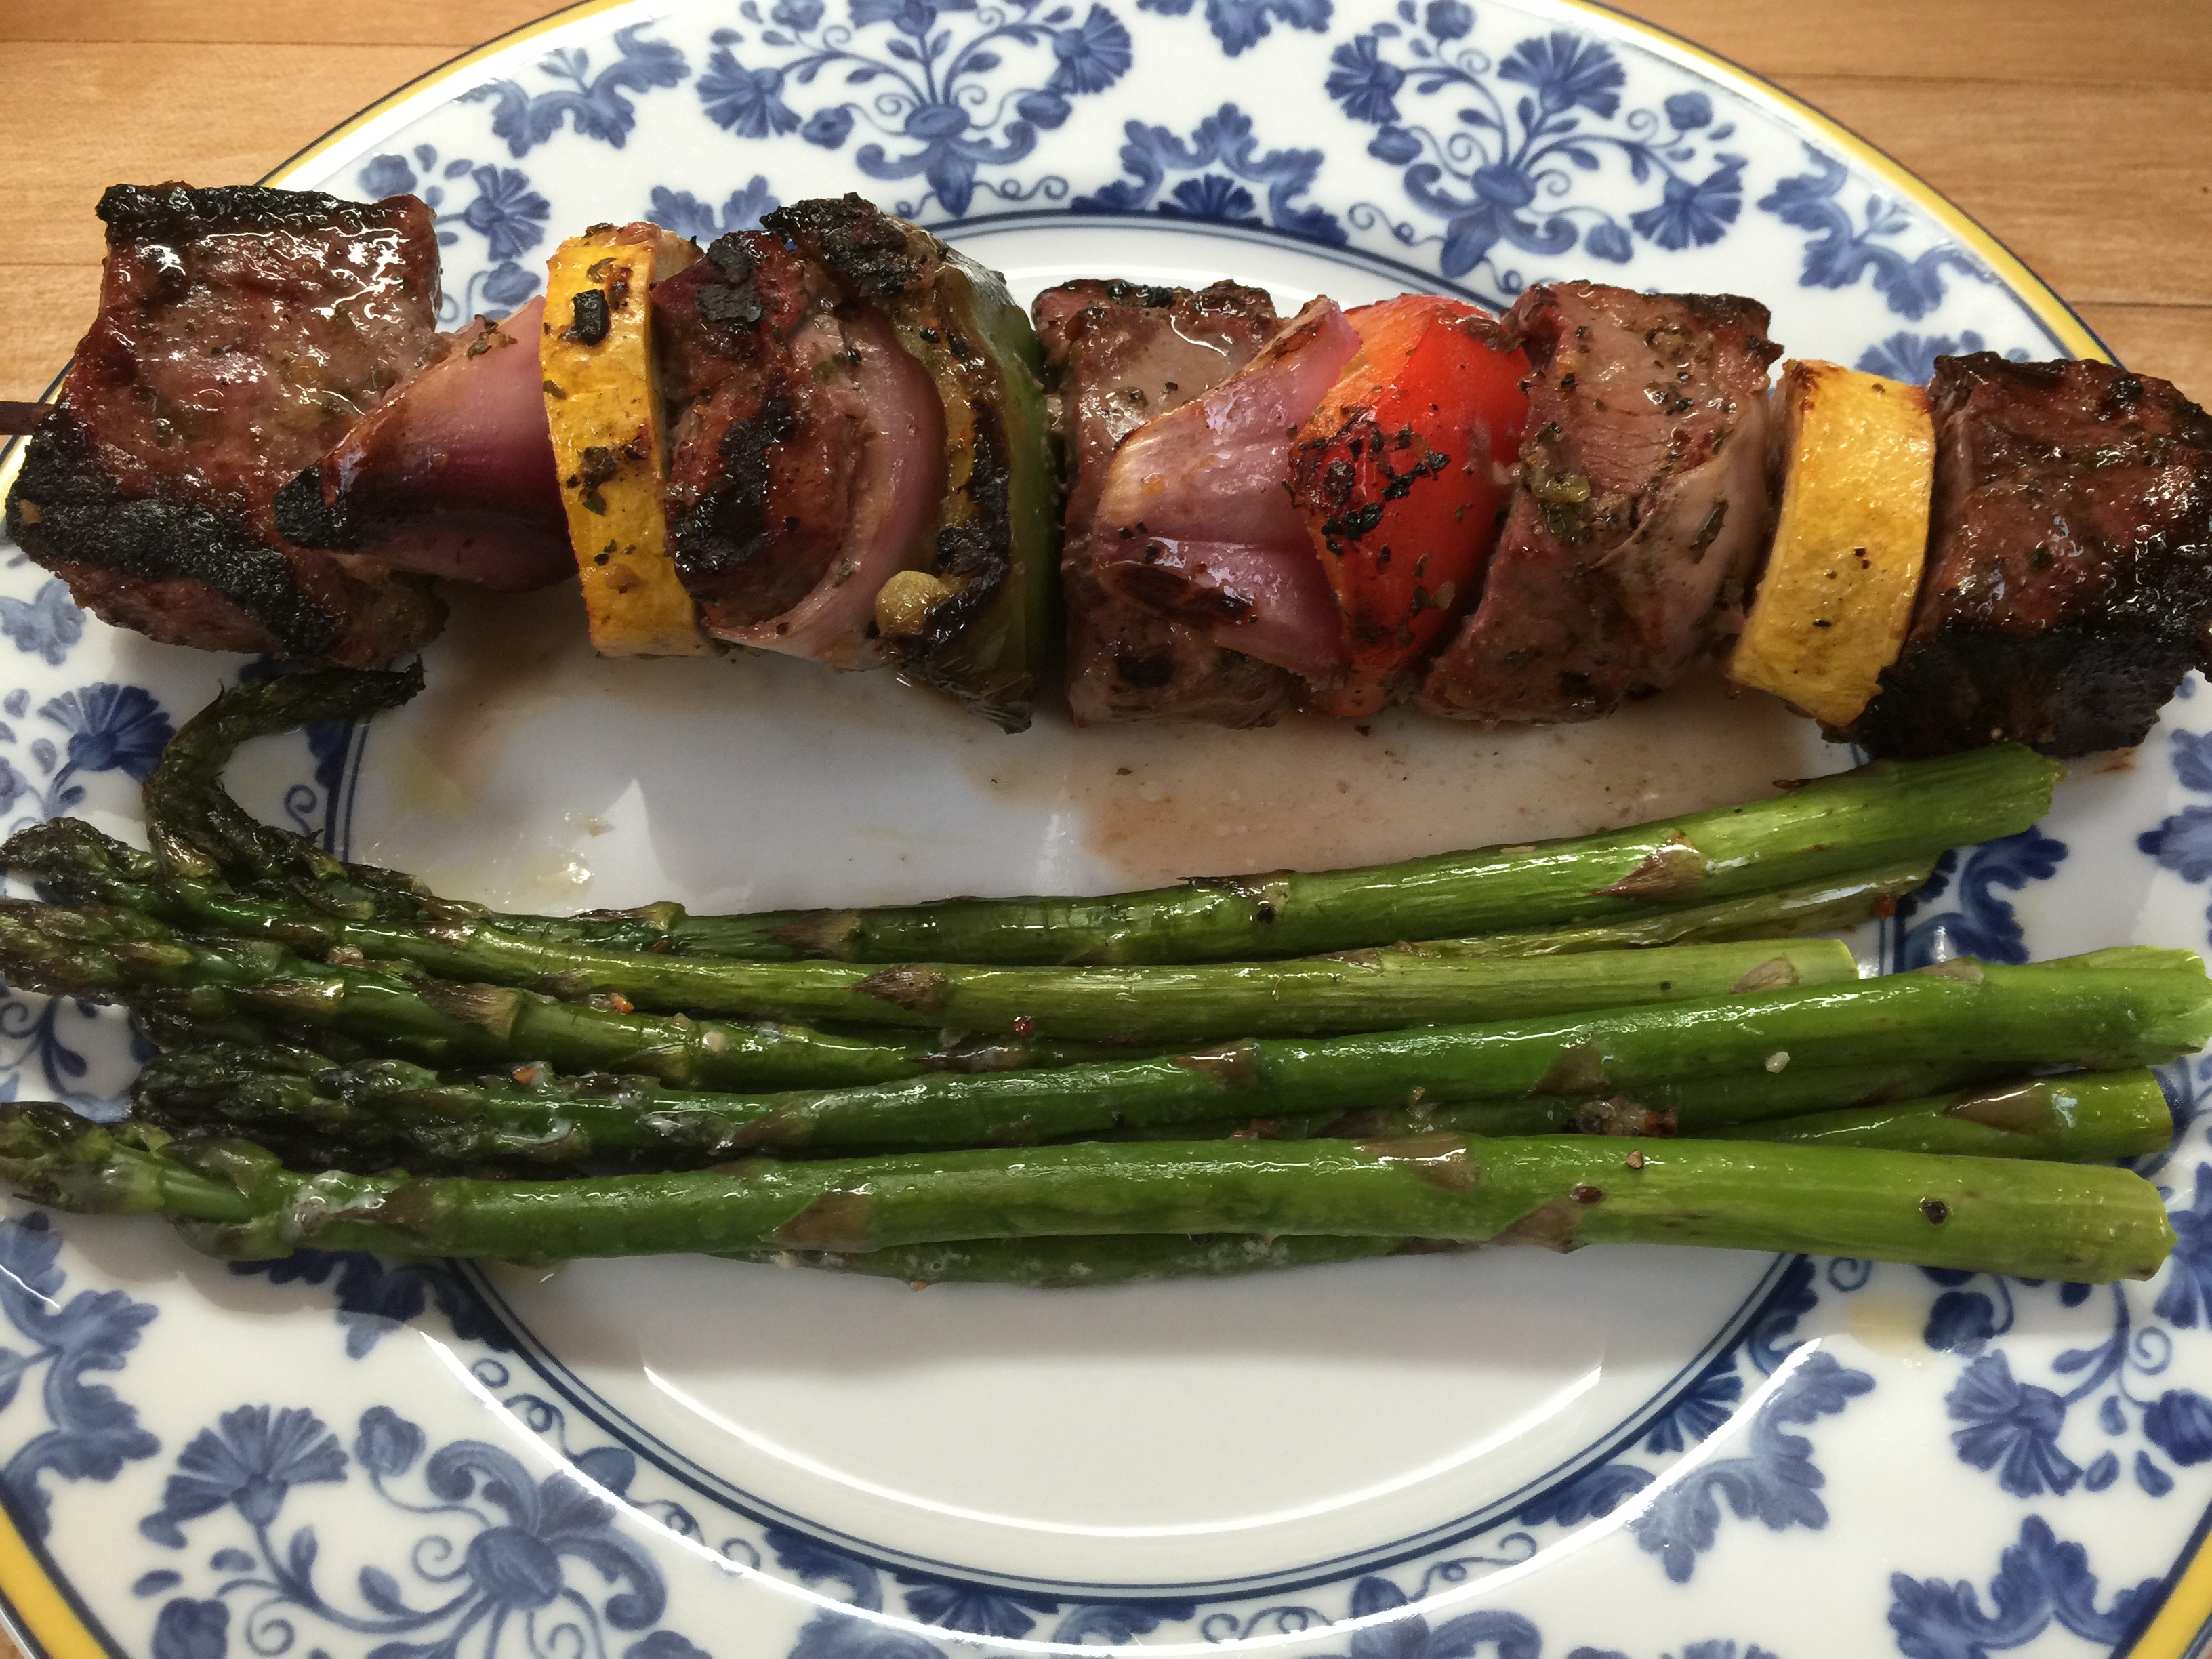
Grilled skewers with a veggie…we did grilled asparagus.
I hope that this gives you some easy, quick dinner ideas for your family. These are some of our favorites along with a host of others! Happy cooking!
Our little angel (youngest child and only girl – say some prayers) just celebrated her fifth birthday. She was counting down the months until her birthday…”I’m four and 8/12, I/m four and 11/12). You get the picture.
When her week finally rolled around, I asked her what kind of cake she wanted for her birthday. You may remember, I was quite the baker before my Keto days, so birthday time is always fun! In actuality, Keto baking is just as fun as regular baking once you get the hang of it. For birthdays, I let the children choose what ever they like for their one special day of the year. Keto or not! Low and behold, she said she wanted Angel Cake, which to the rest of us is Angel Food Cake. I was ecstatic! This is one recipe for dessert where Keto style tastes just like the real thing. In fact, my parents had no idea that it was sugar and grain free! That is the ultimate test in my opinion. It is also a great dessert for warm weather because it is quite refreshing. Even though it is September, in South Texas, it feels like July!
Save this cake for a day when you have time, because just like any other Angel Food Cake, the whipping of the egg whites is time consuming. This is not a difficult cake, but it is a little different from typical baking and patience is a must.
Keto Angel Cake
(Carolyn Style)
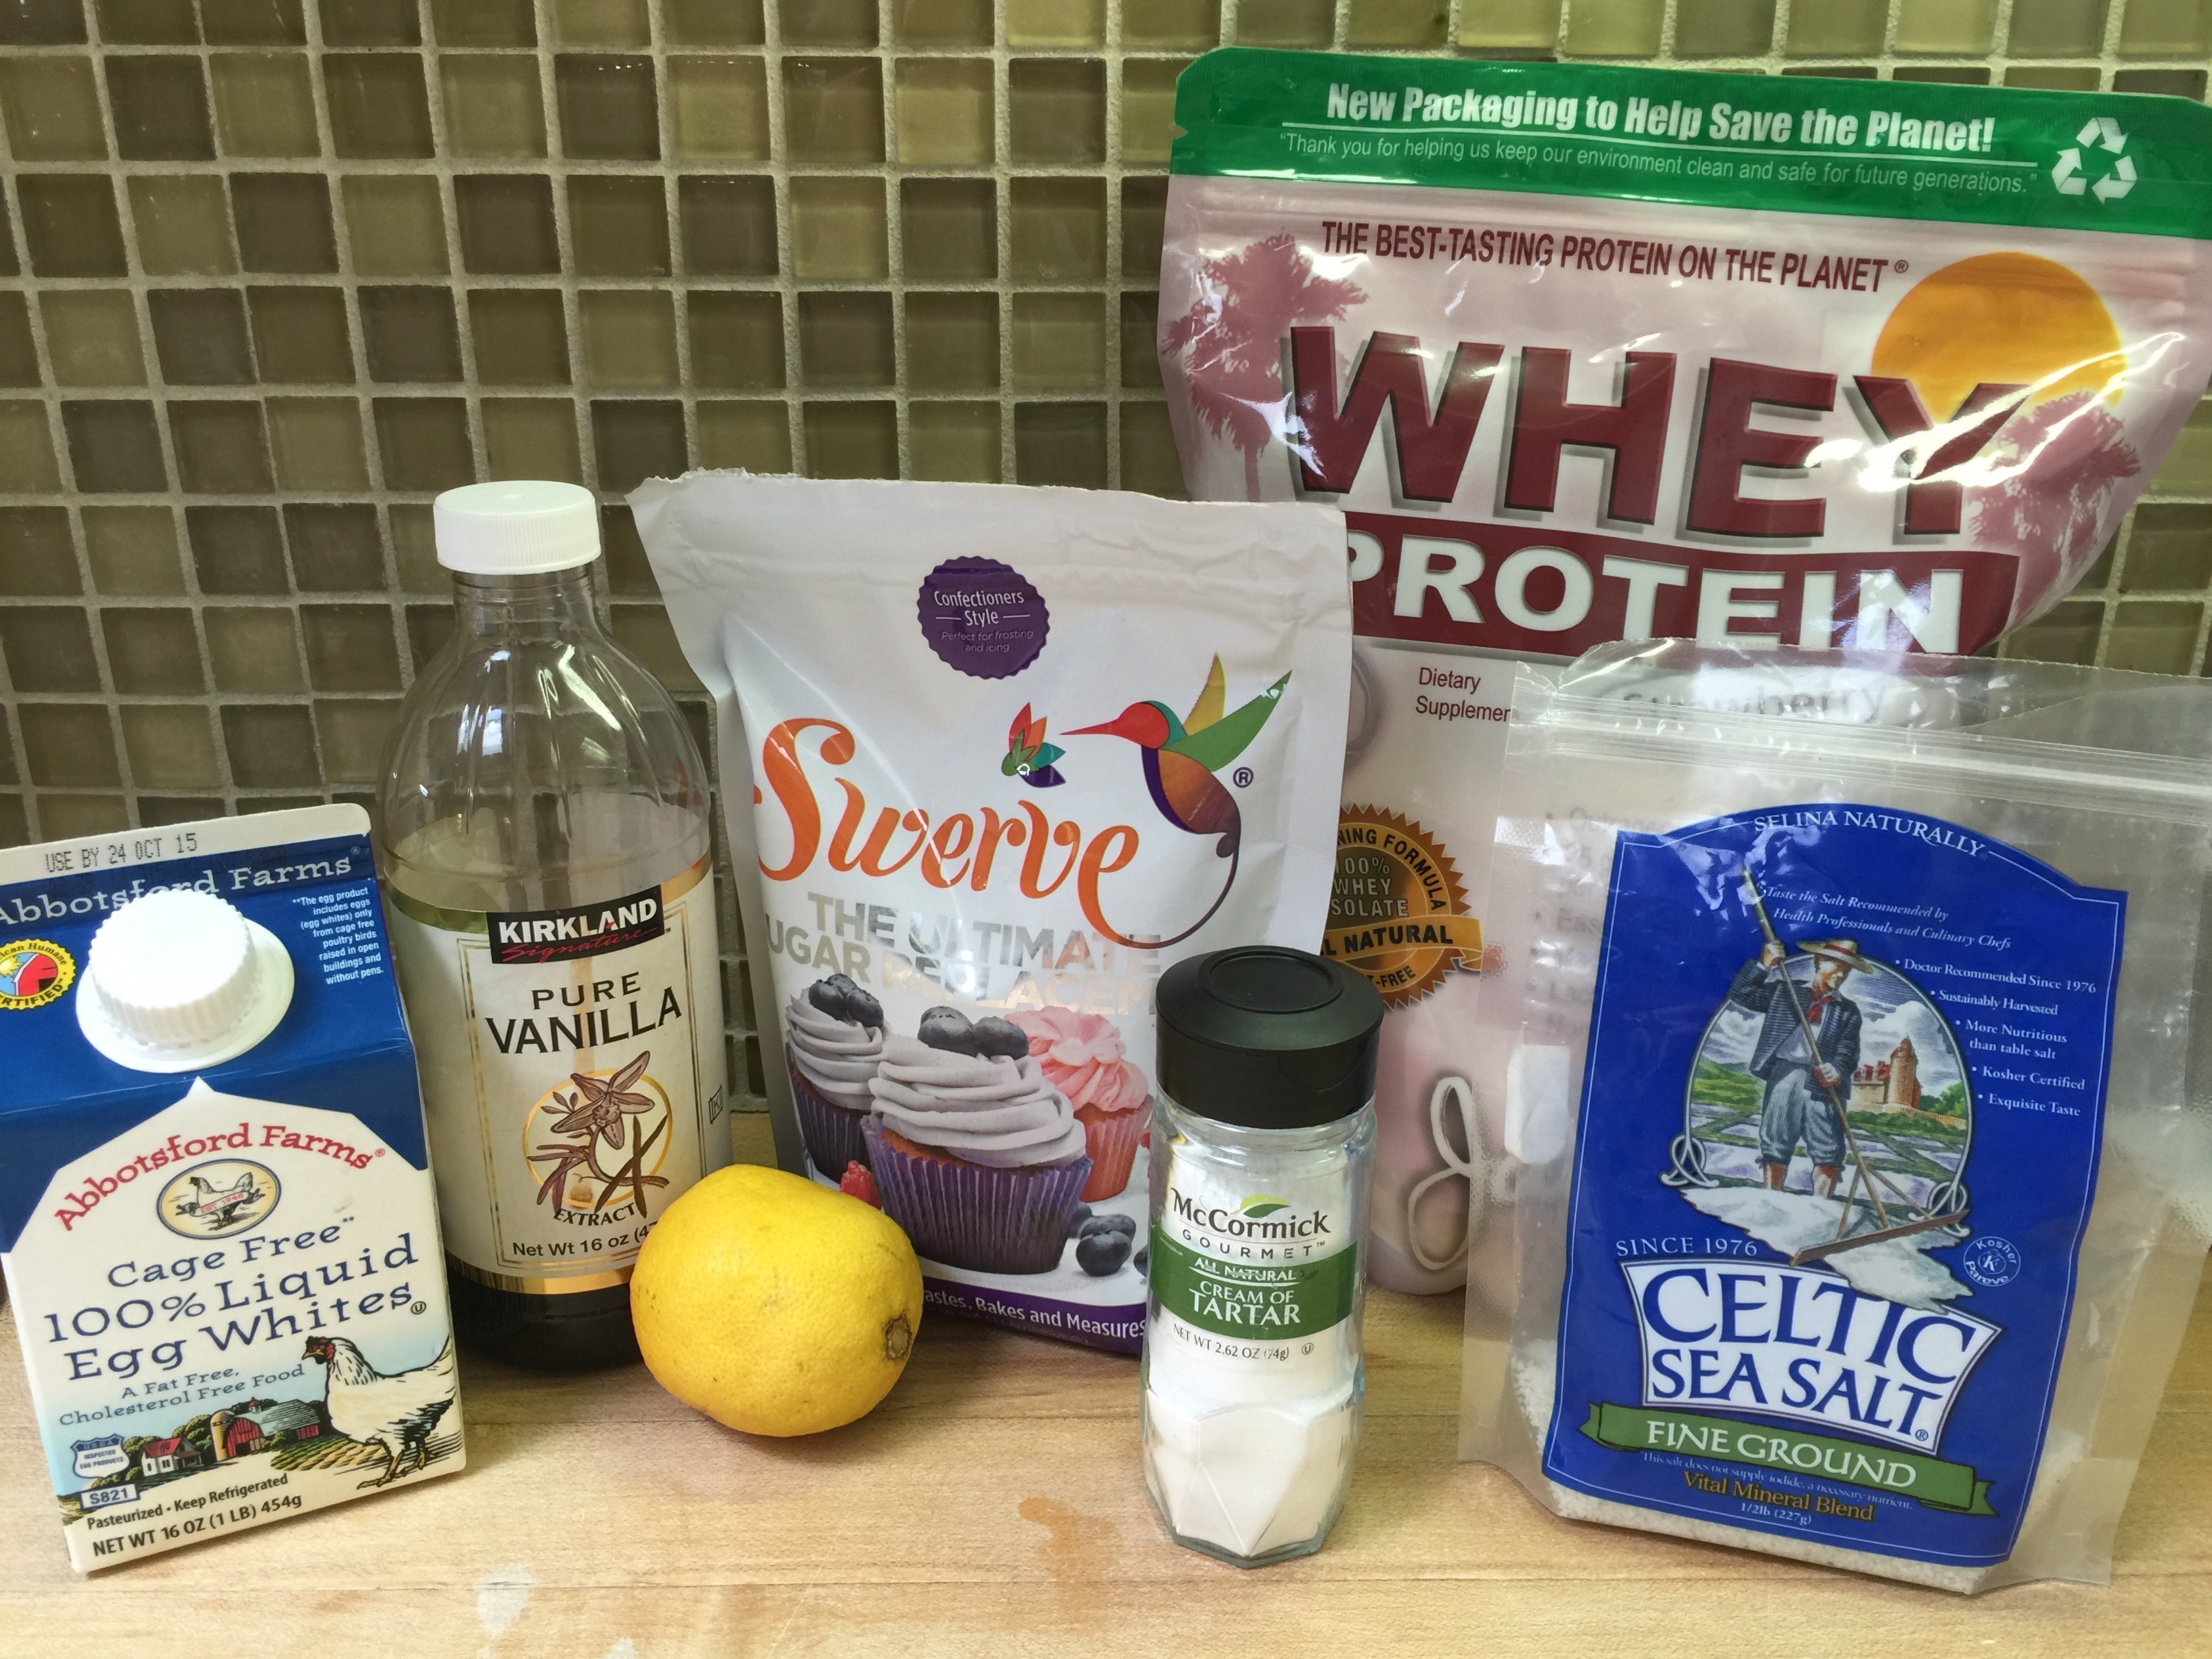
Ingredients:
Yes, this is correct! It is much different from traditional cake.
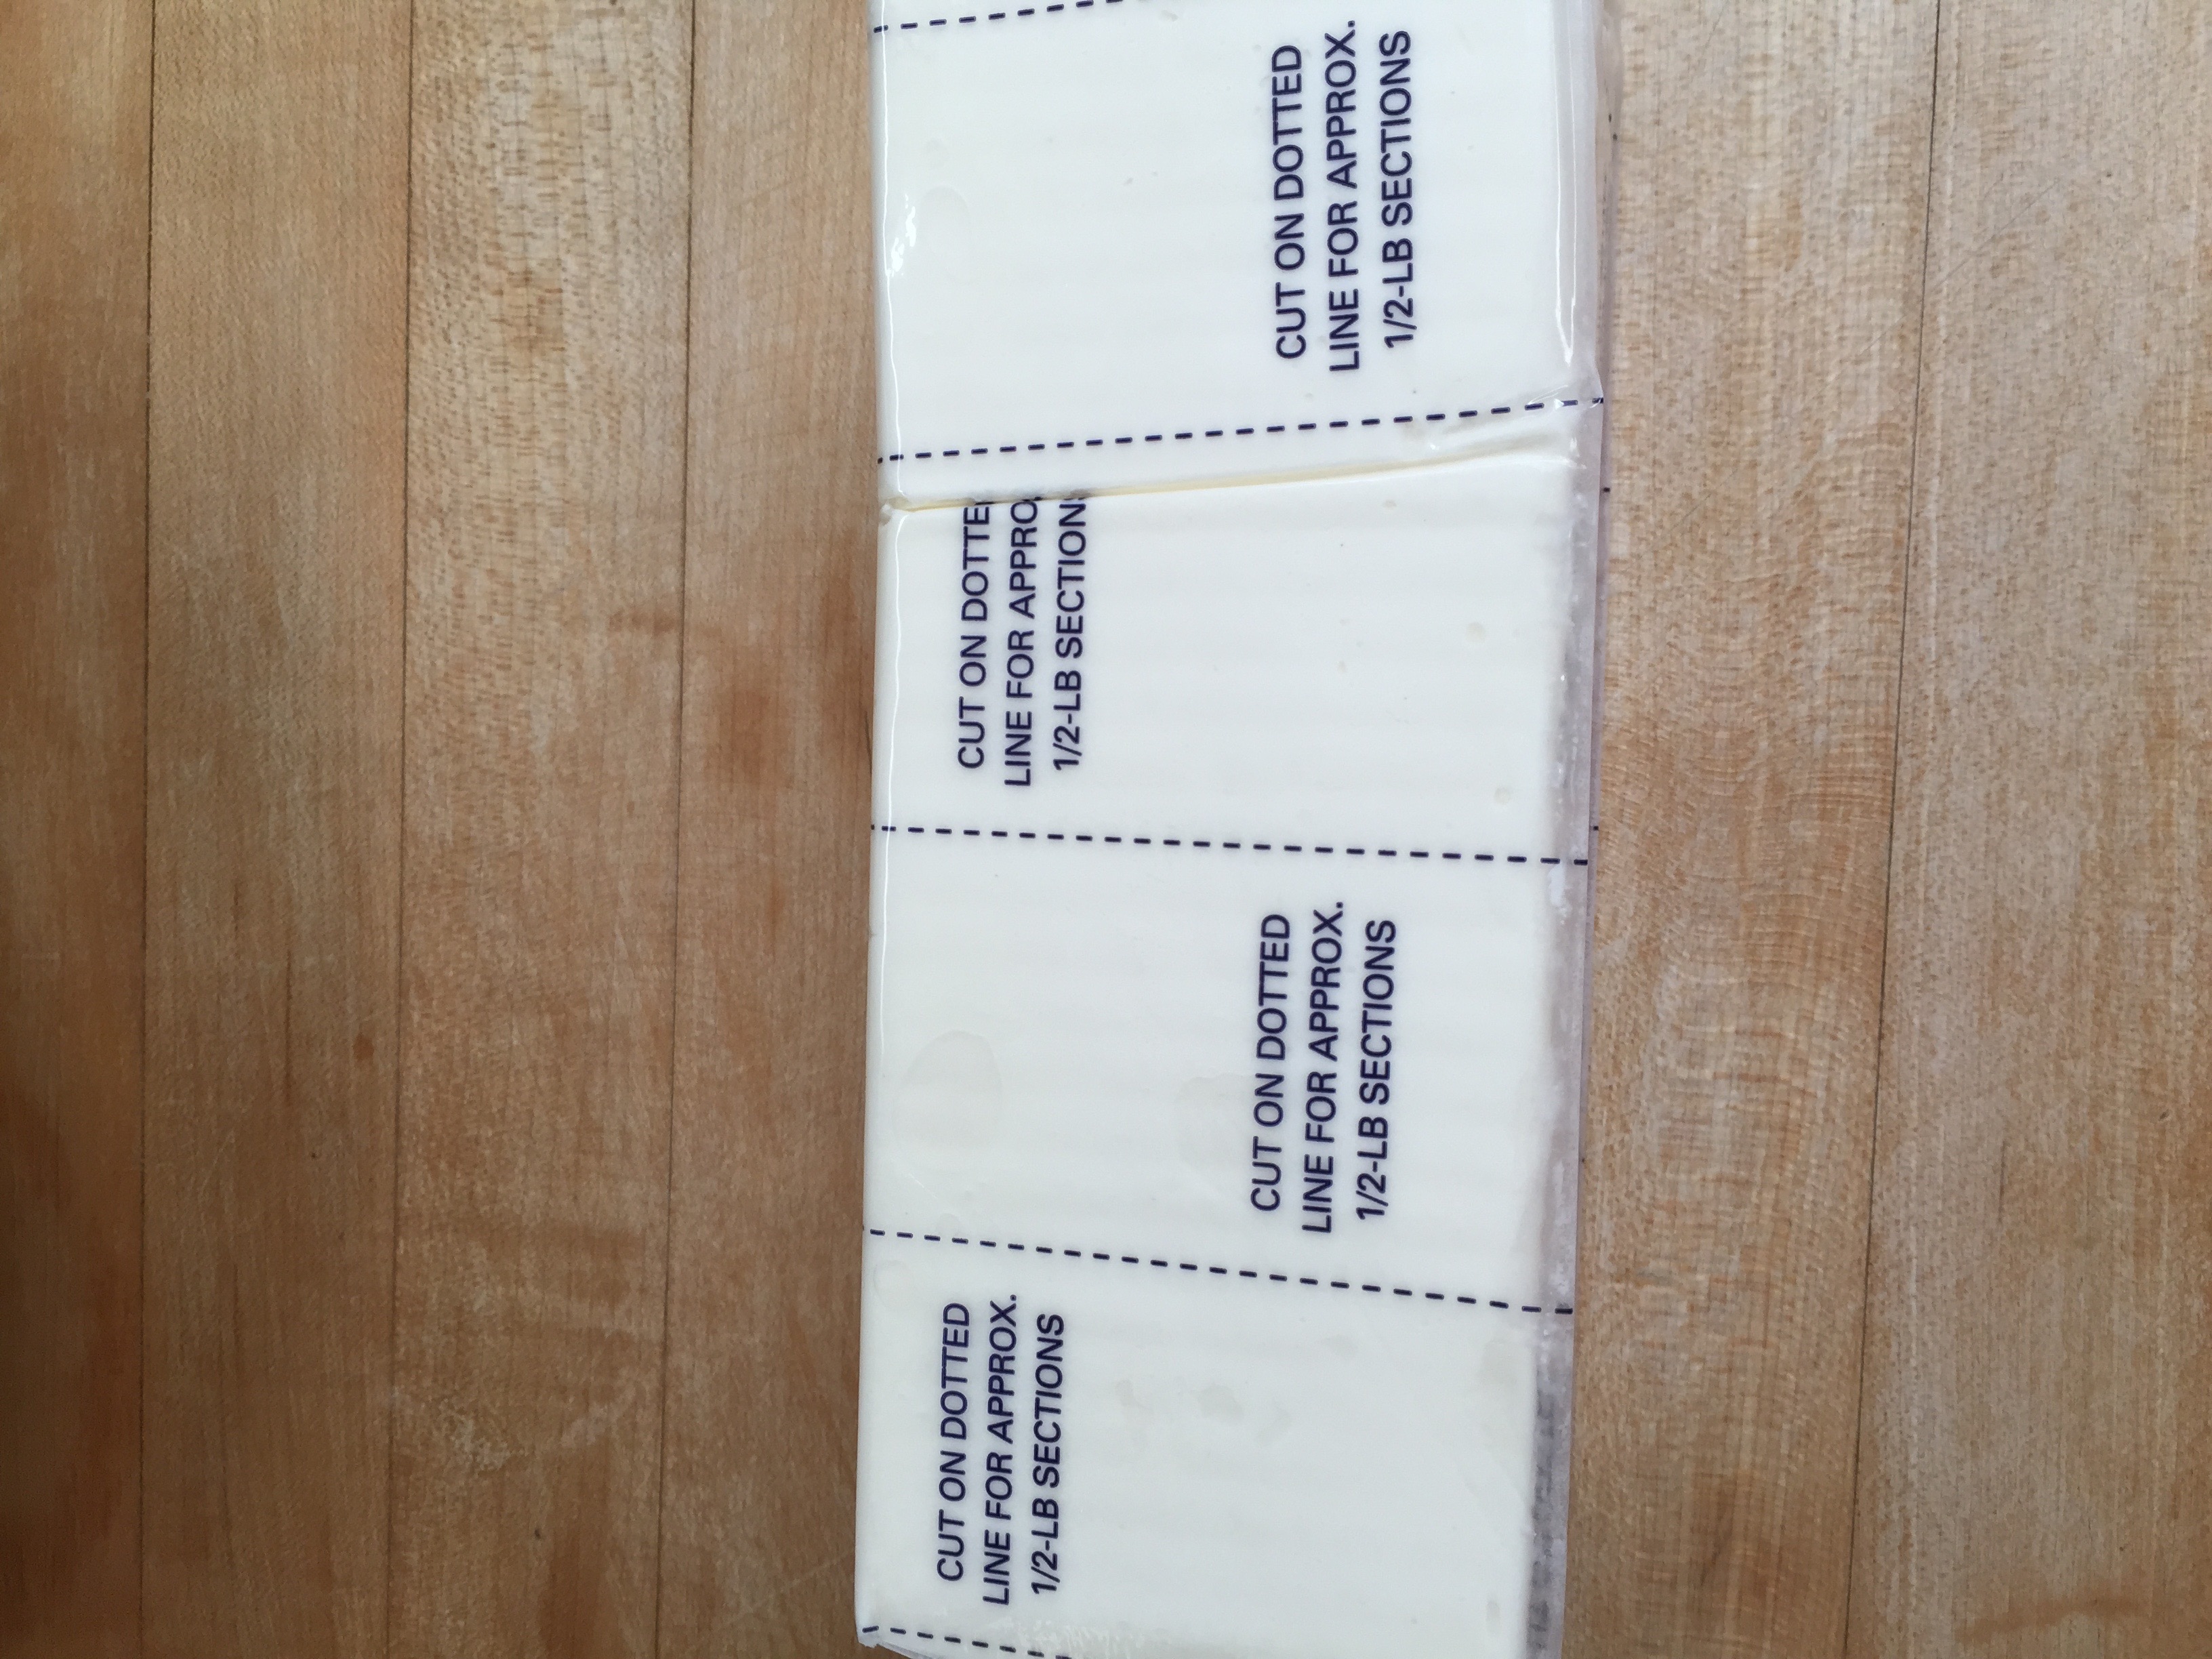
Start with 12 very cold egg whites or the equivalent of such (like I did) which is about 3 cups.
I Cup Jay Robb Protein Powder (Vanilla or Strawberry)
1 1/3 Cup Swerve Confectioners
1 1/2 tsp cream of tartar
1/2 tsp salt
1 TBSP fresh lemon juice
1 tsp vanilla (or lemon, strawberry or flavor of your choice)
Directions:
1. Preheat your oven to 350 degrees.
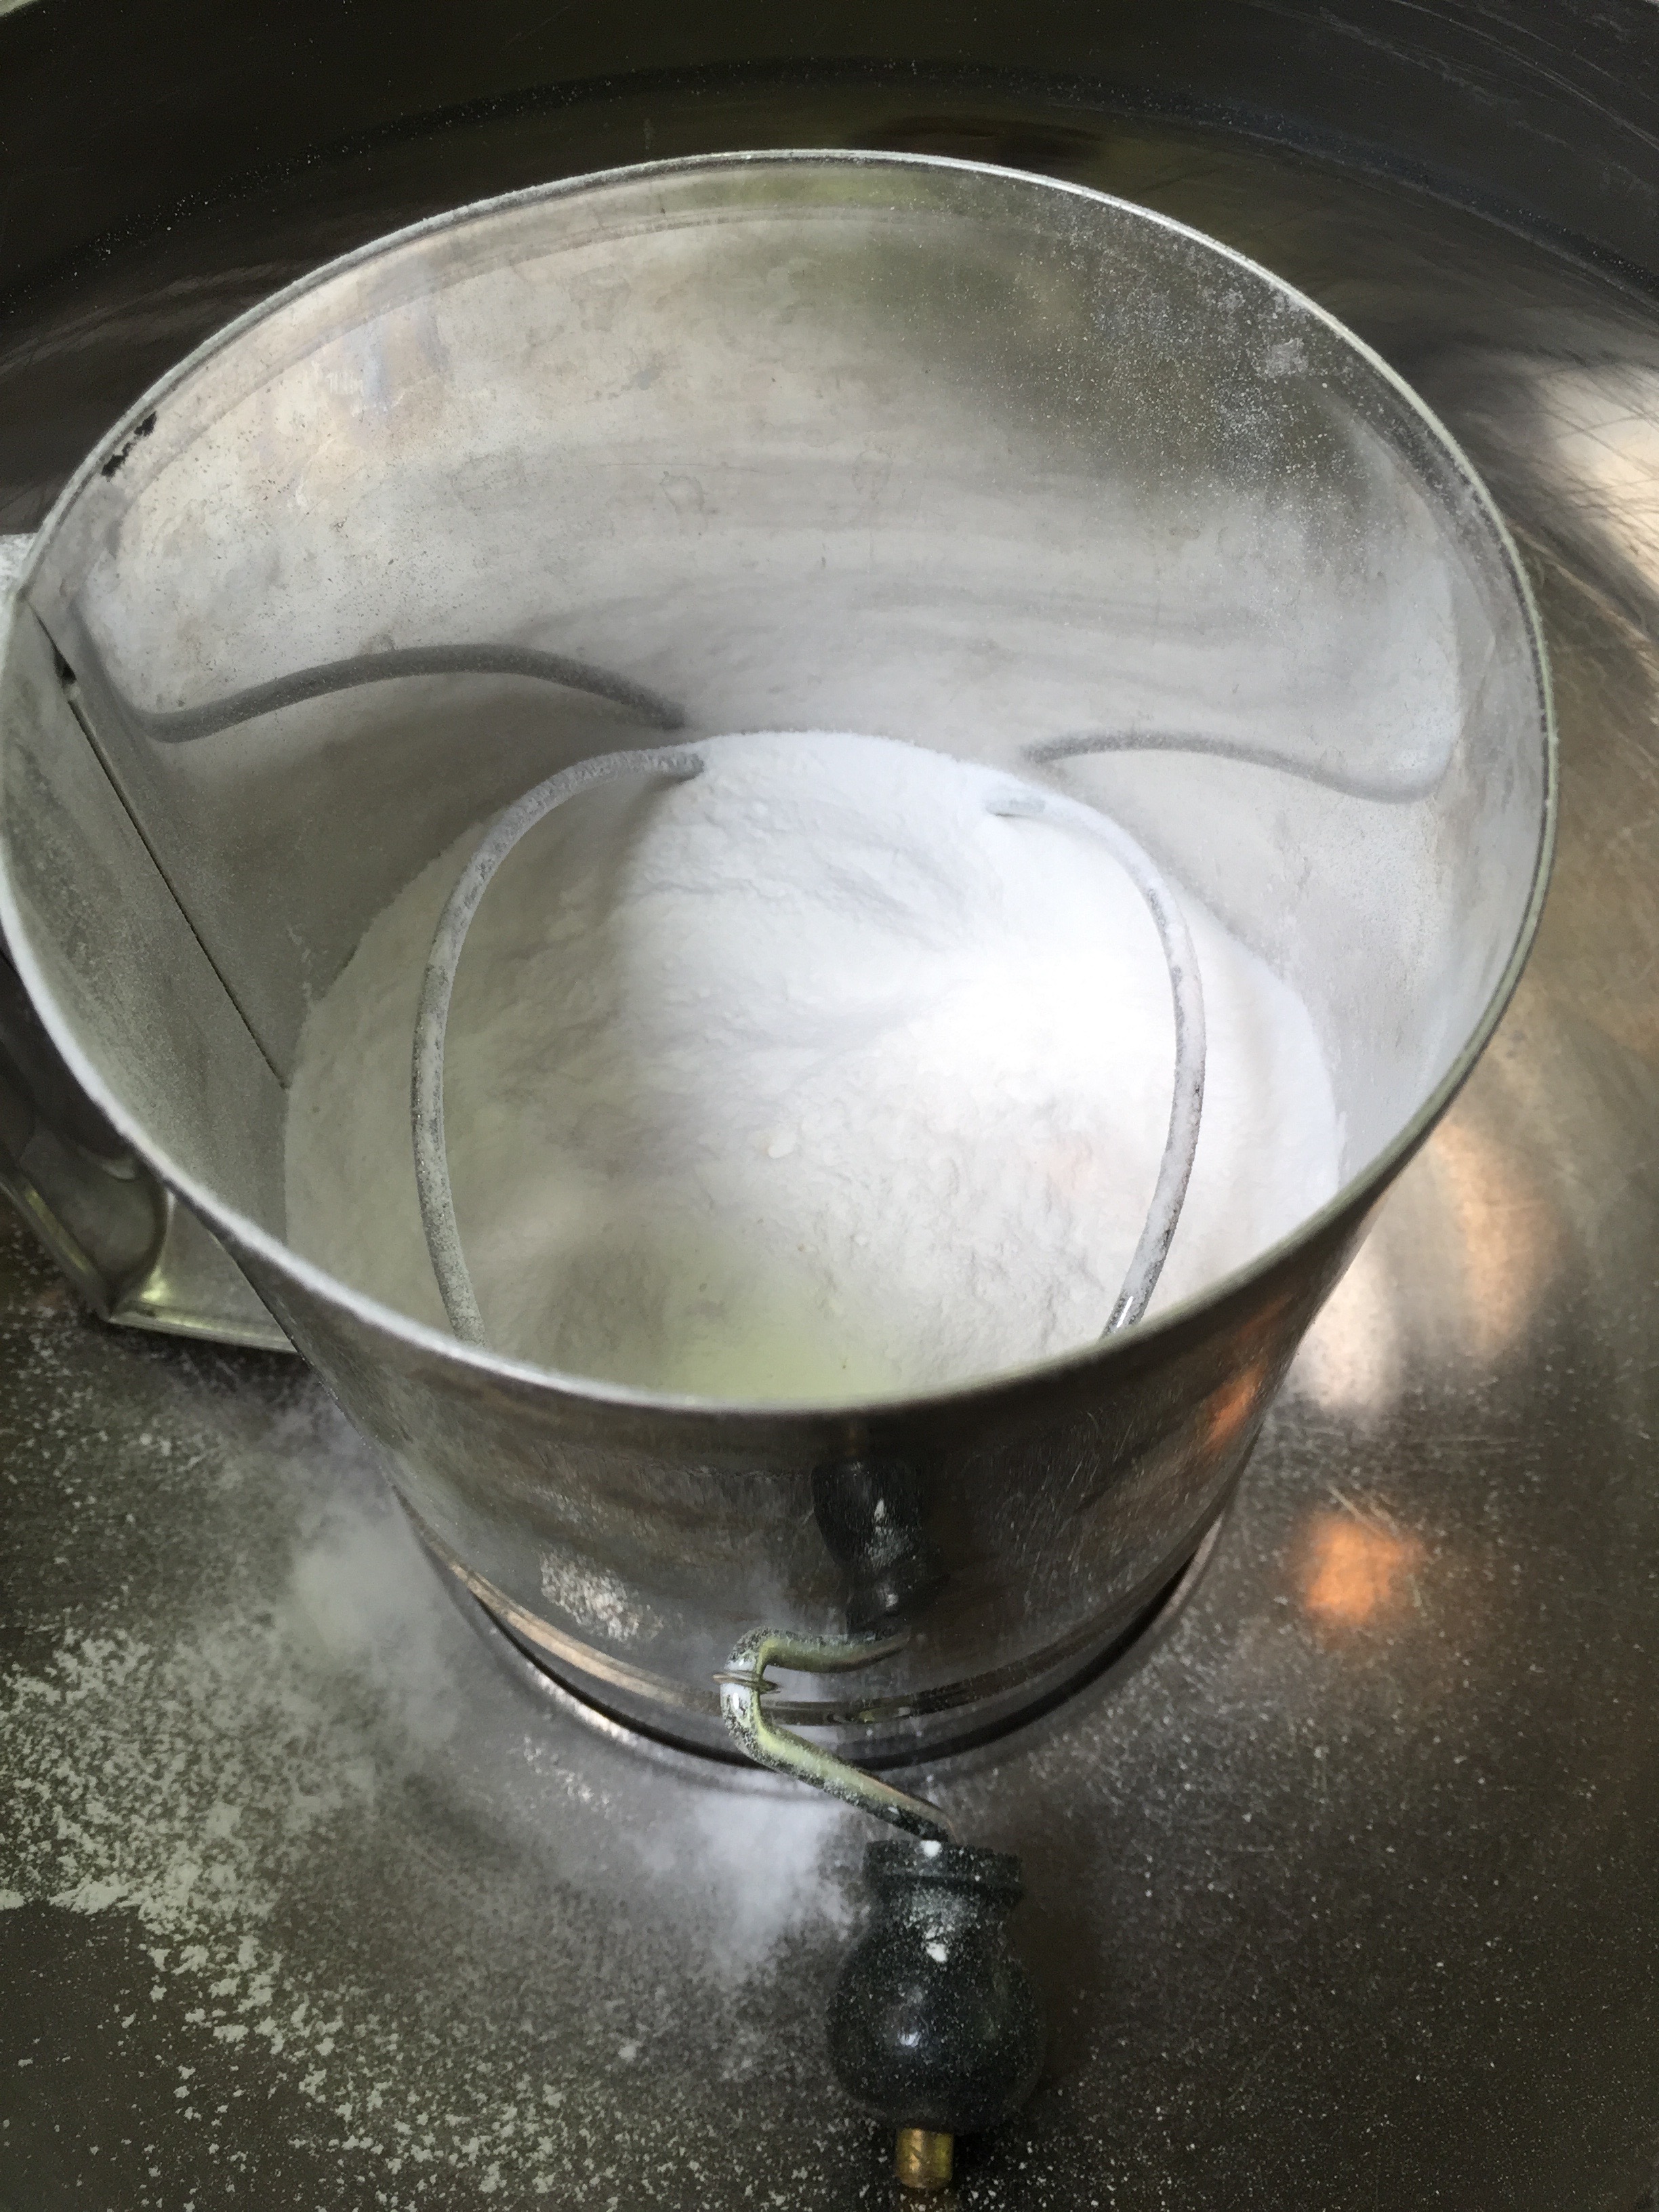
2. Sift your Protein Powder and Swerve Confectioners together 2 times. Set aside.
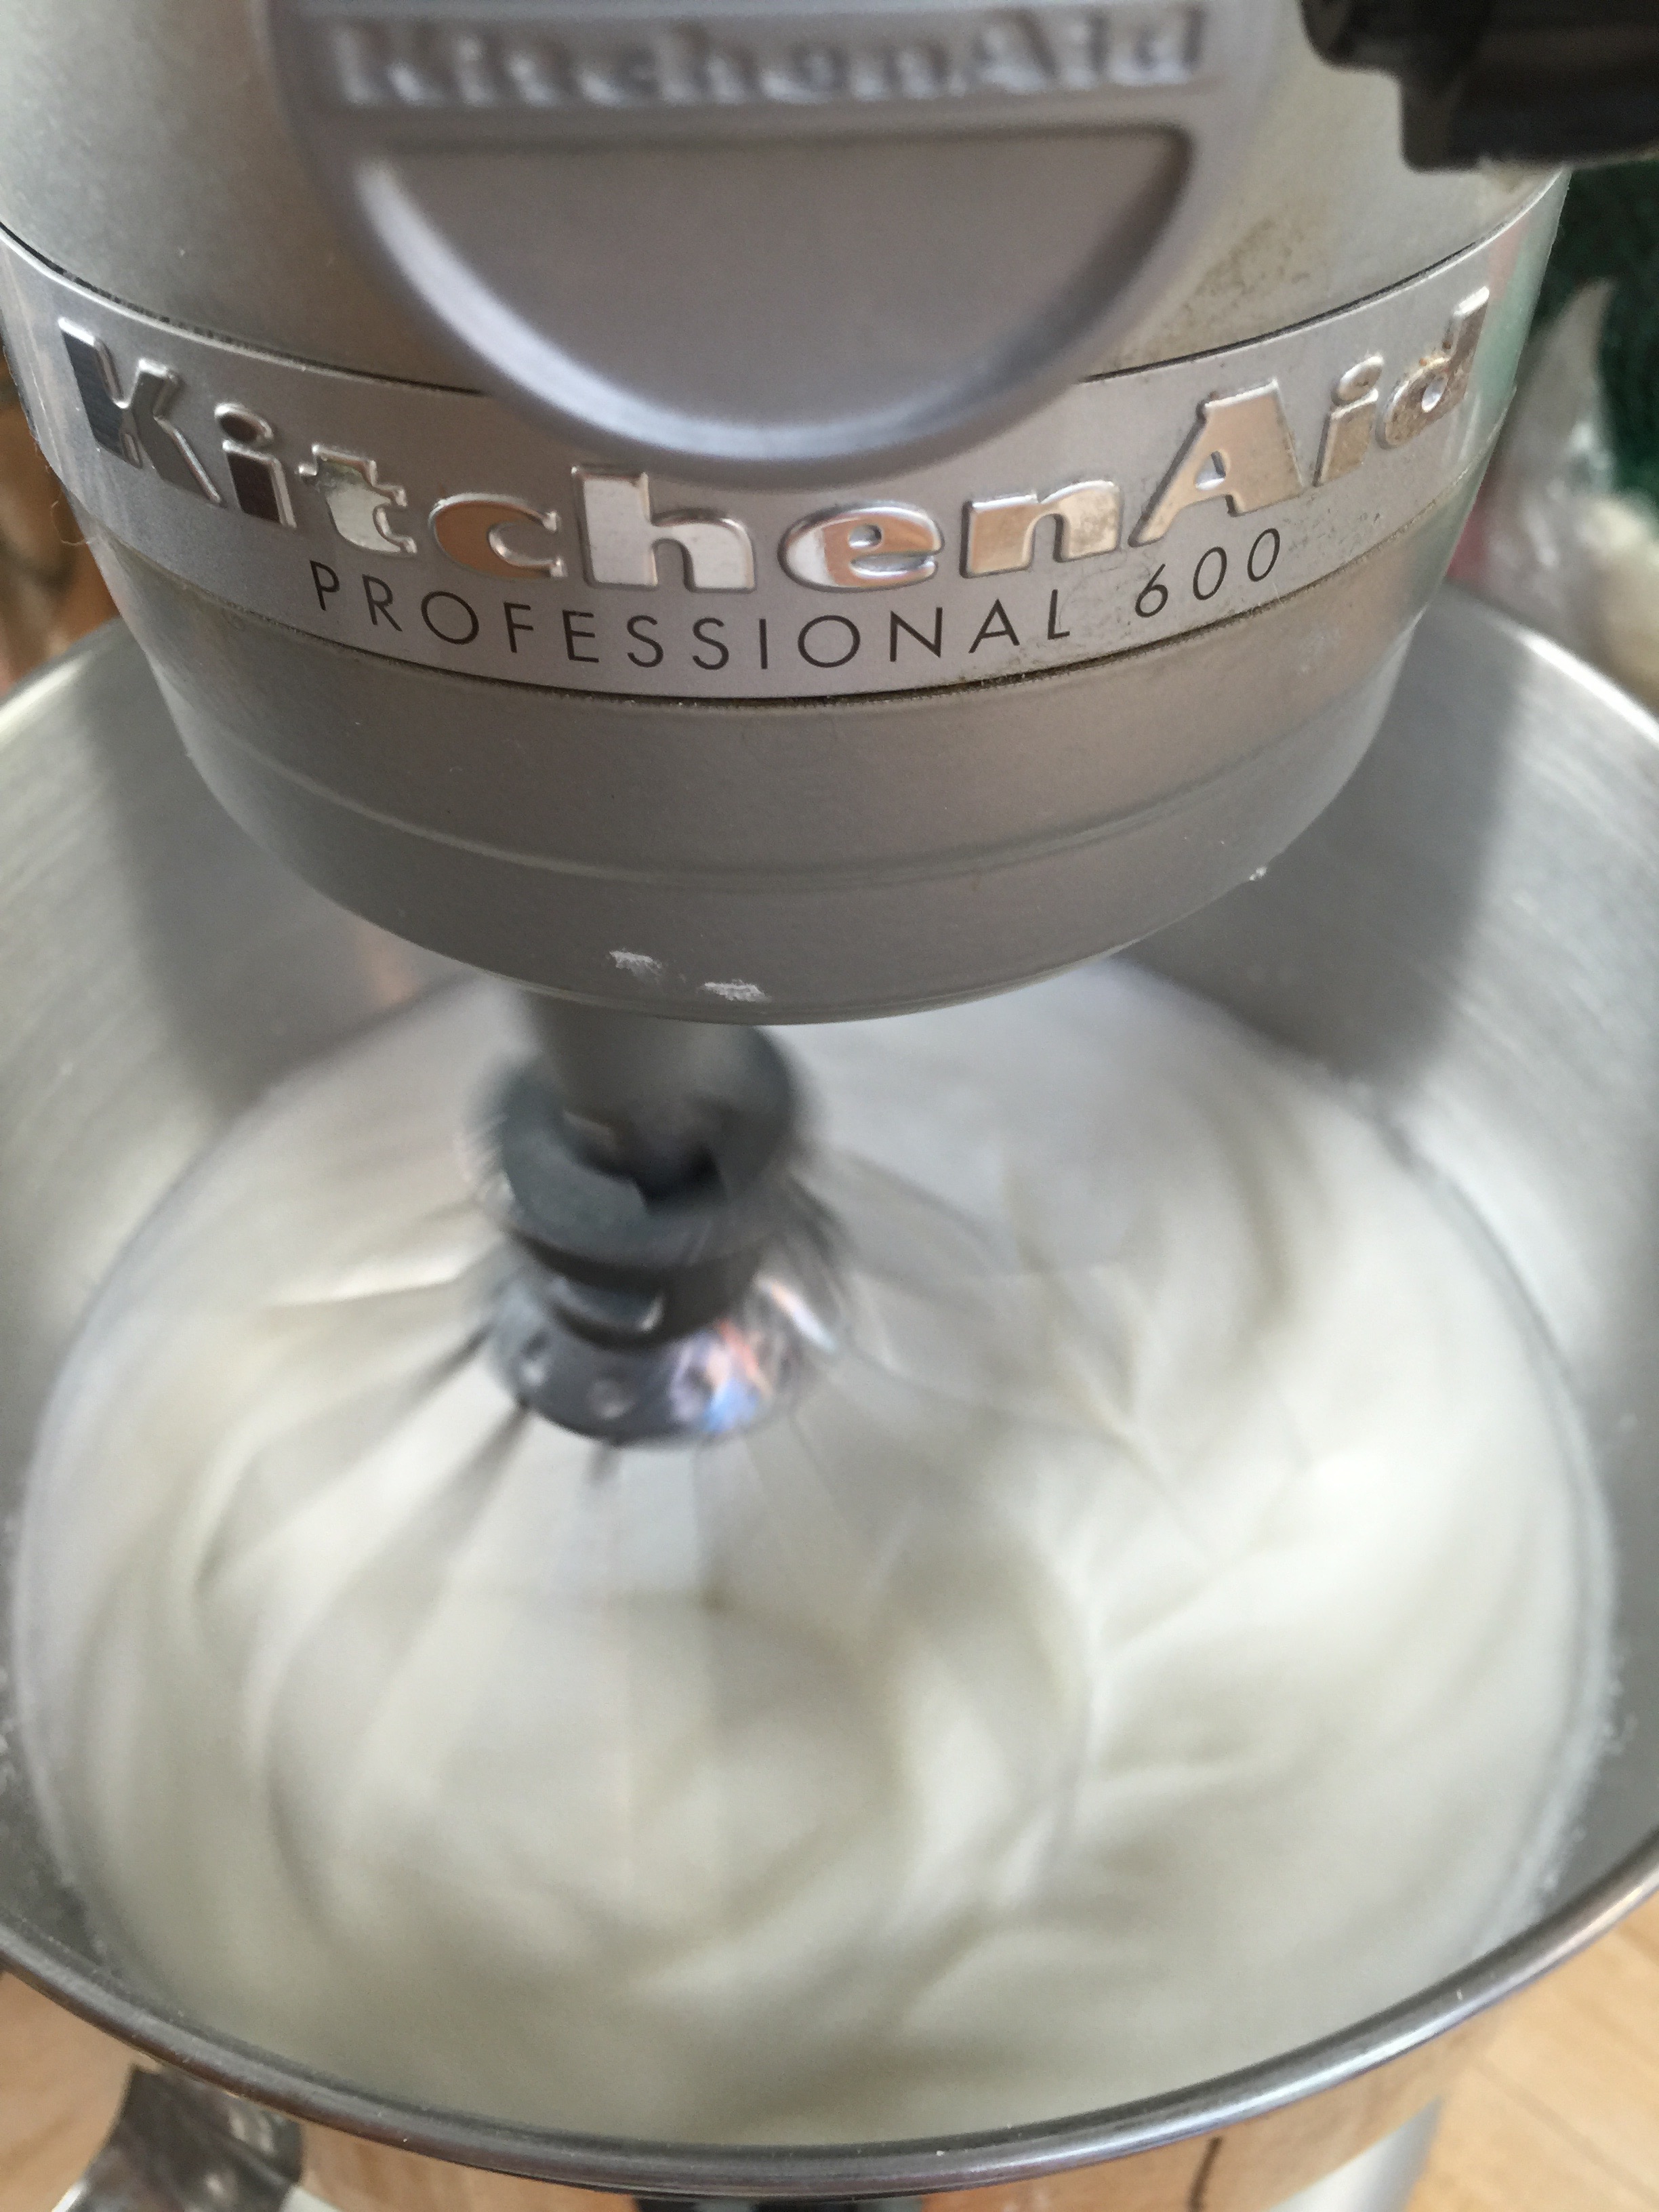
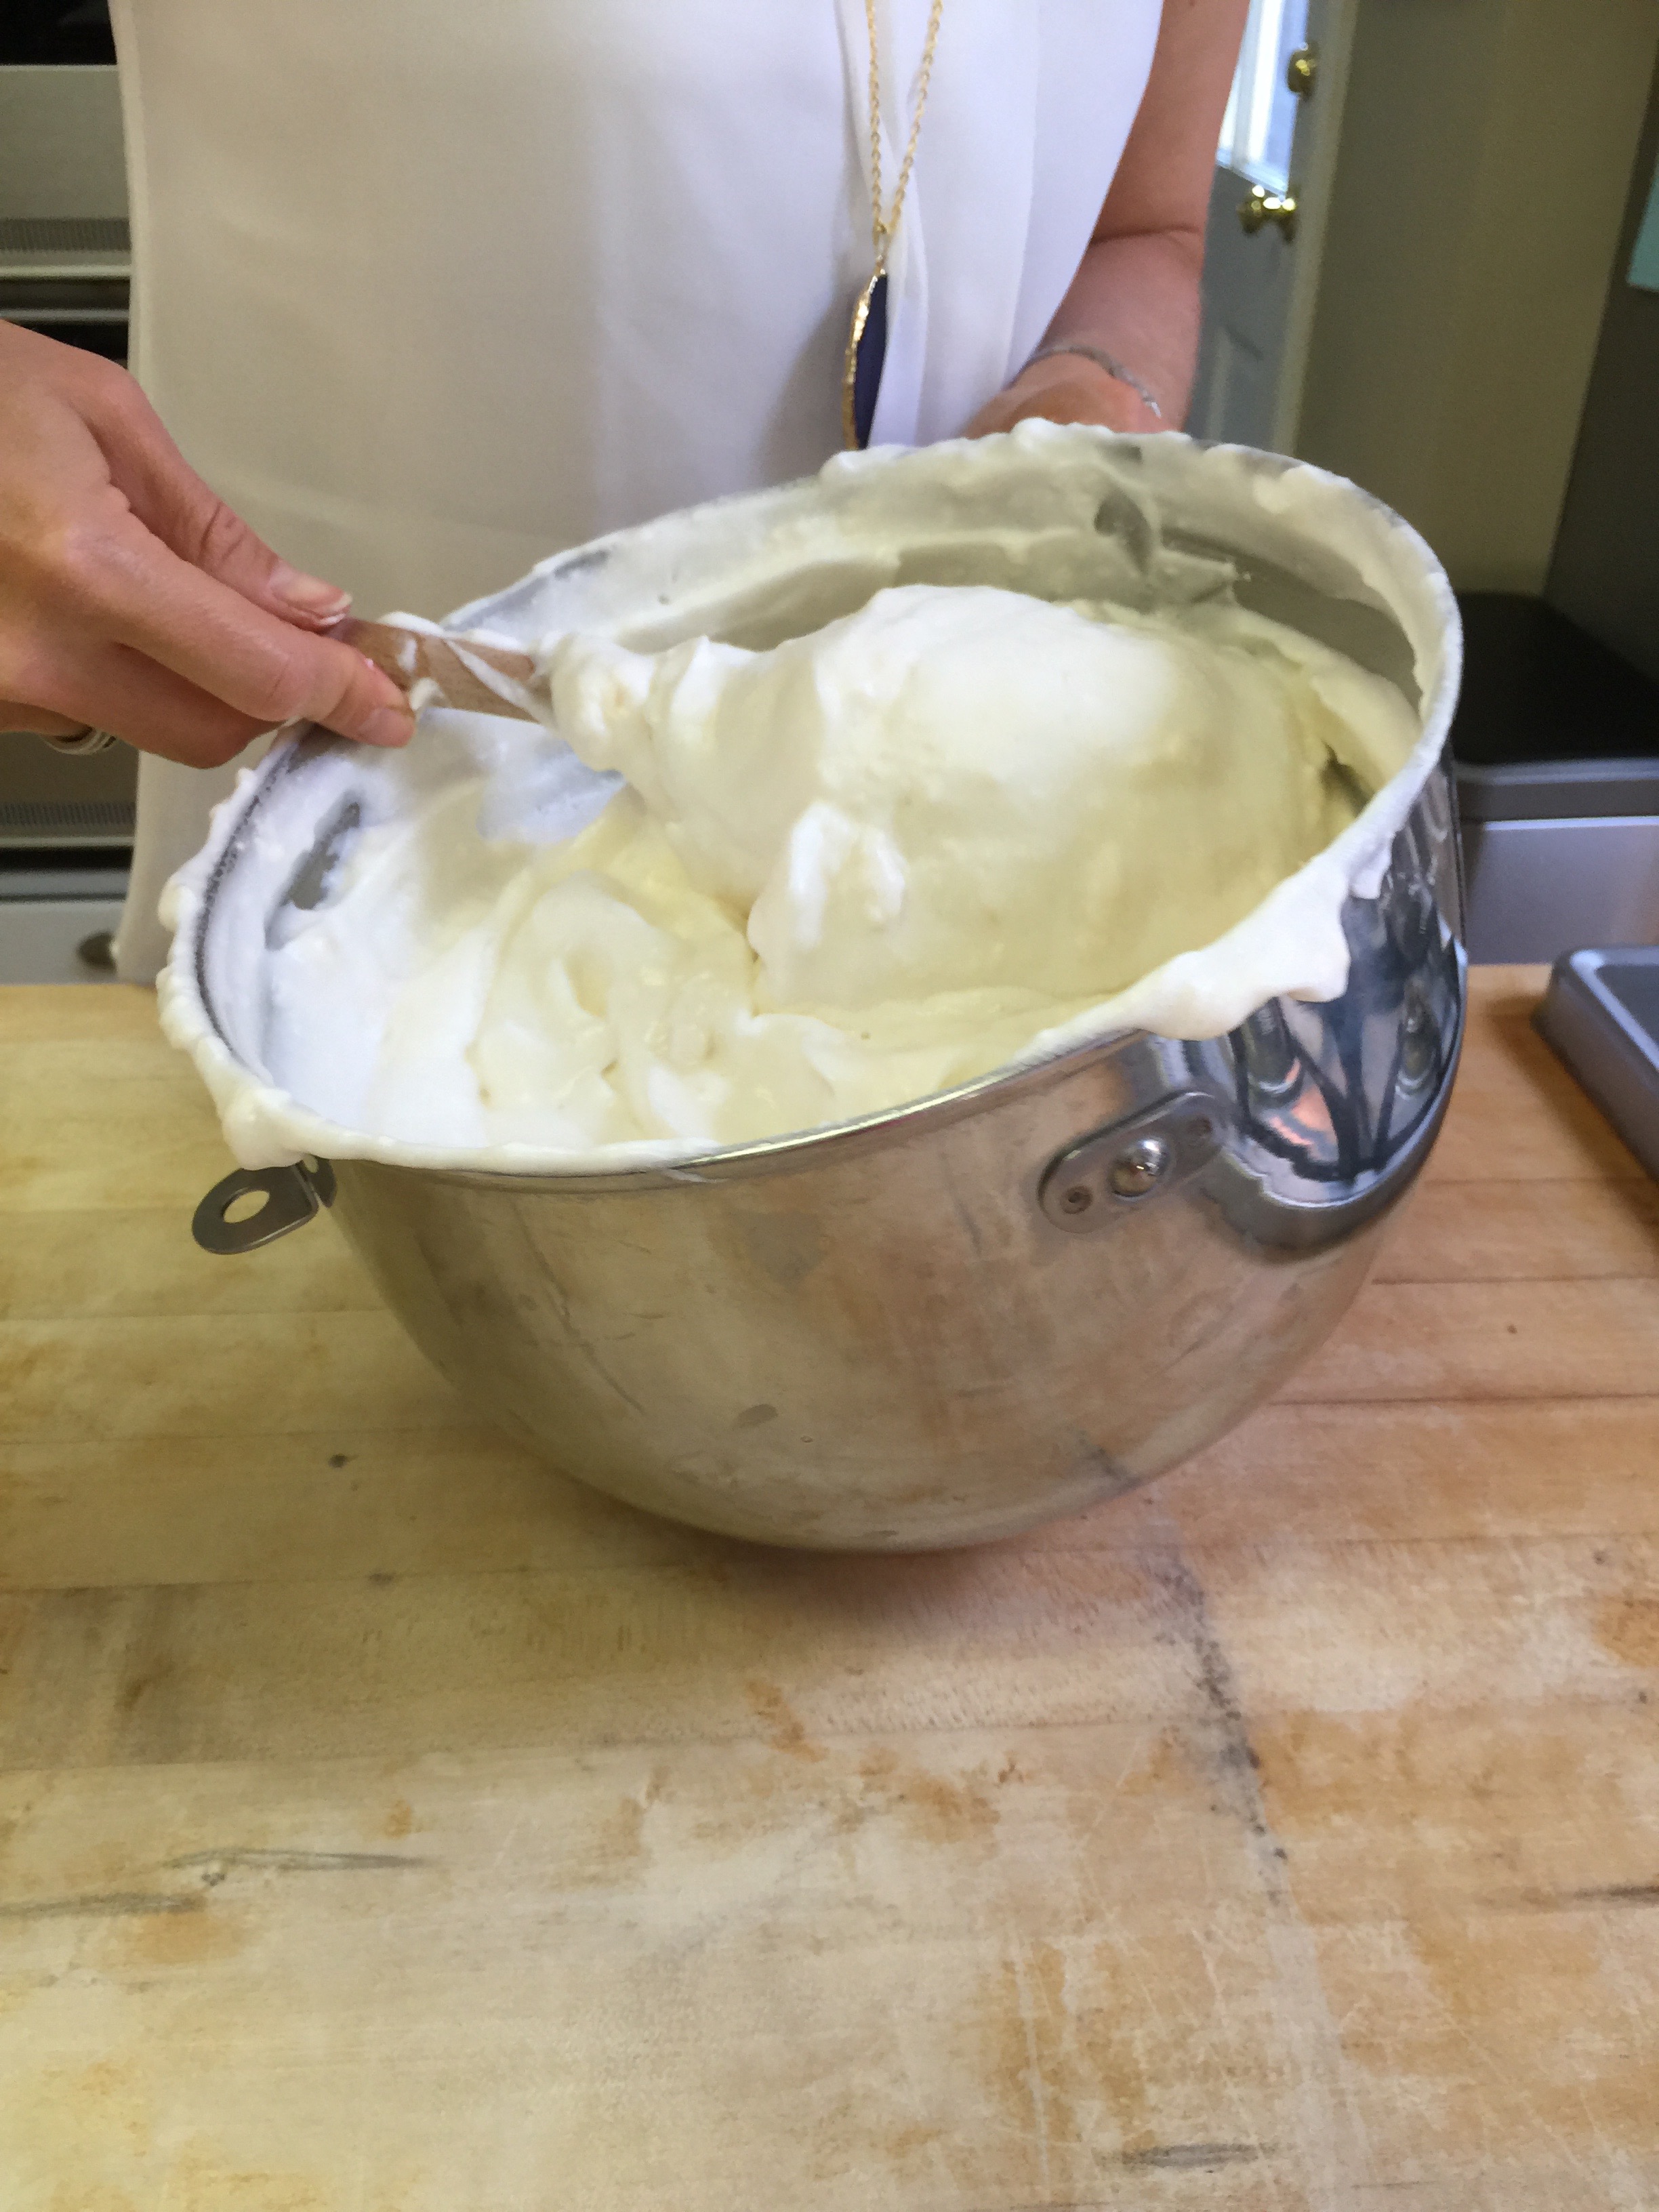
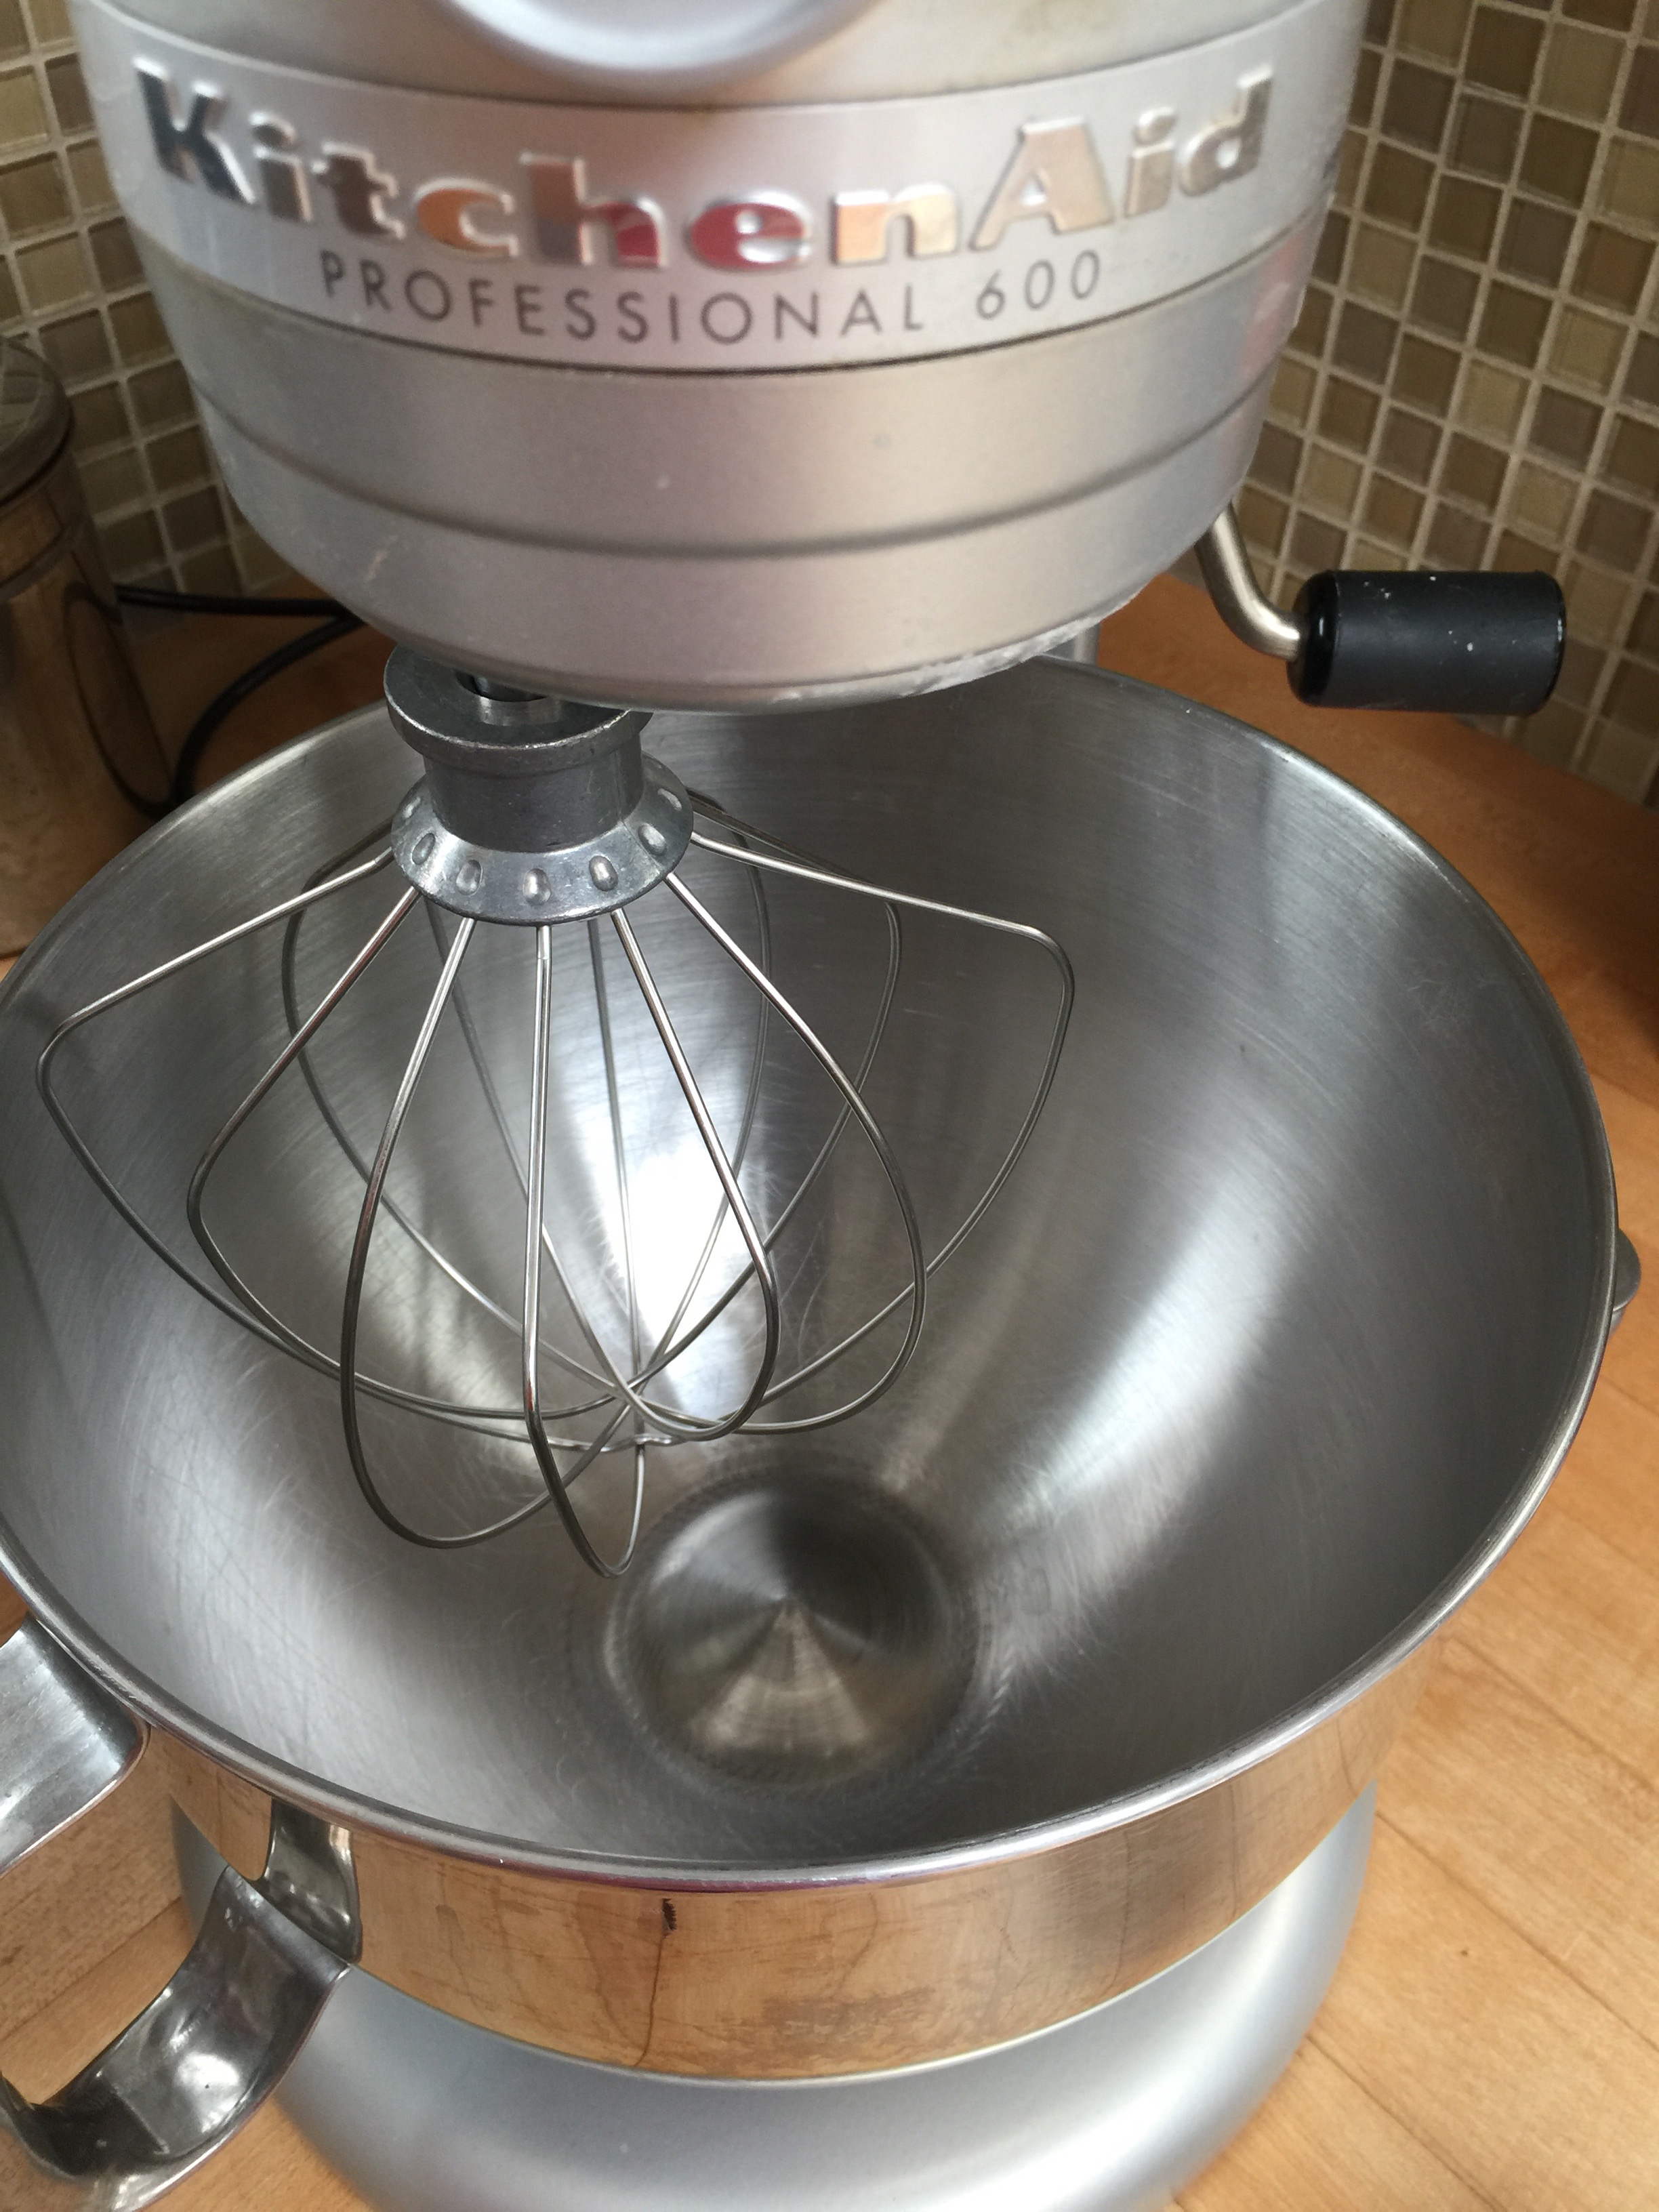
3. In a large, very clean, cold bowl (Preferably a Kitchen Aid mixer bowl) whip your egg whites, cream of tarter and salt. Beat on medium-high to high speed until stiff. Once fairly stiff, add your lemon juice and flavoring. Continue mixing.
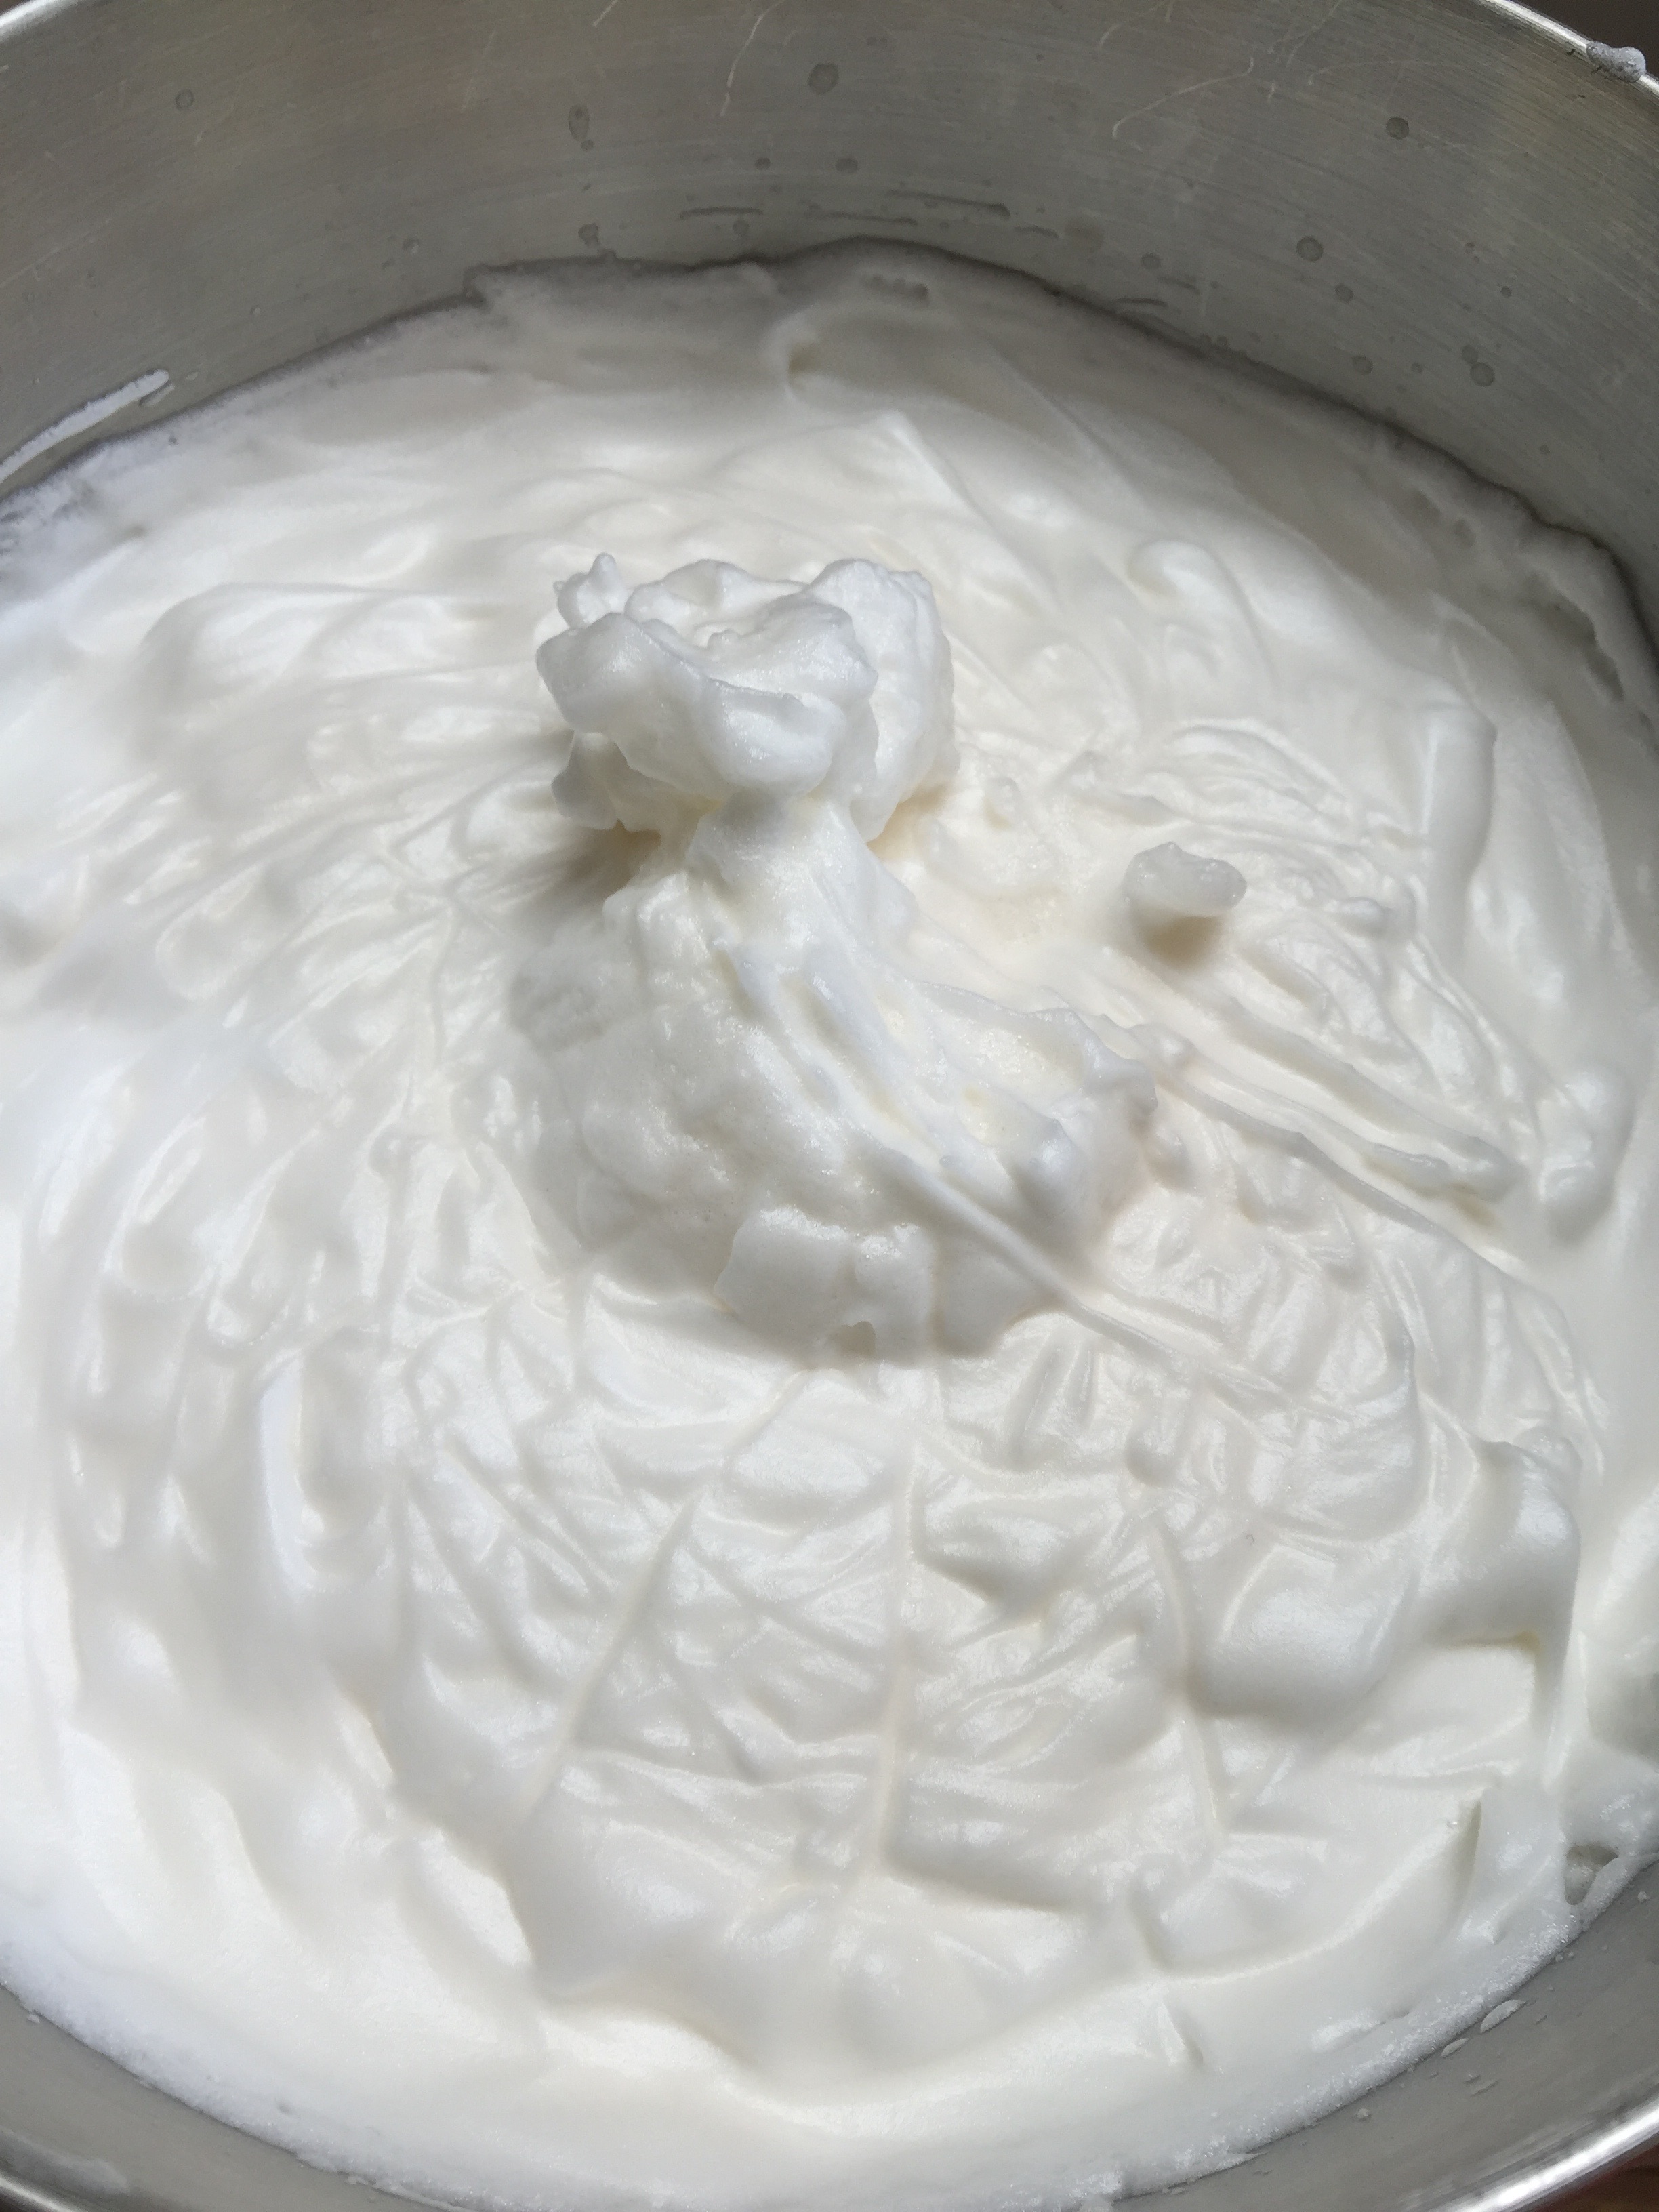
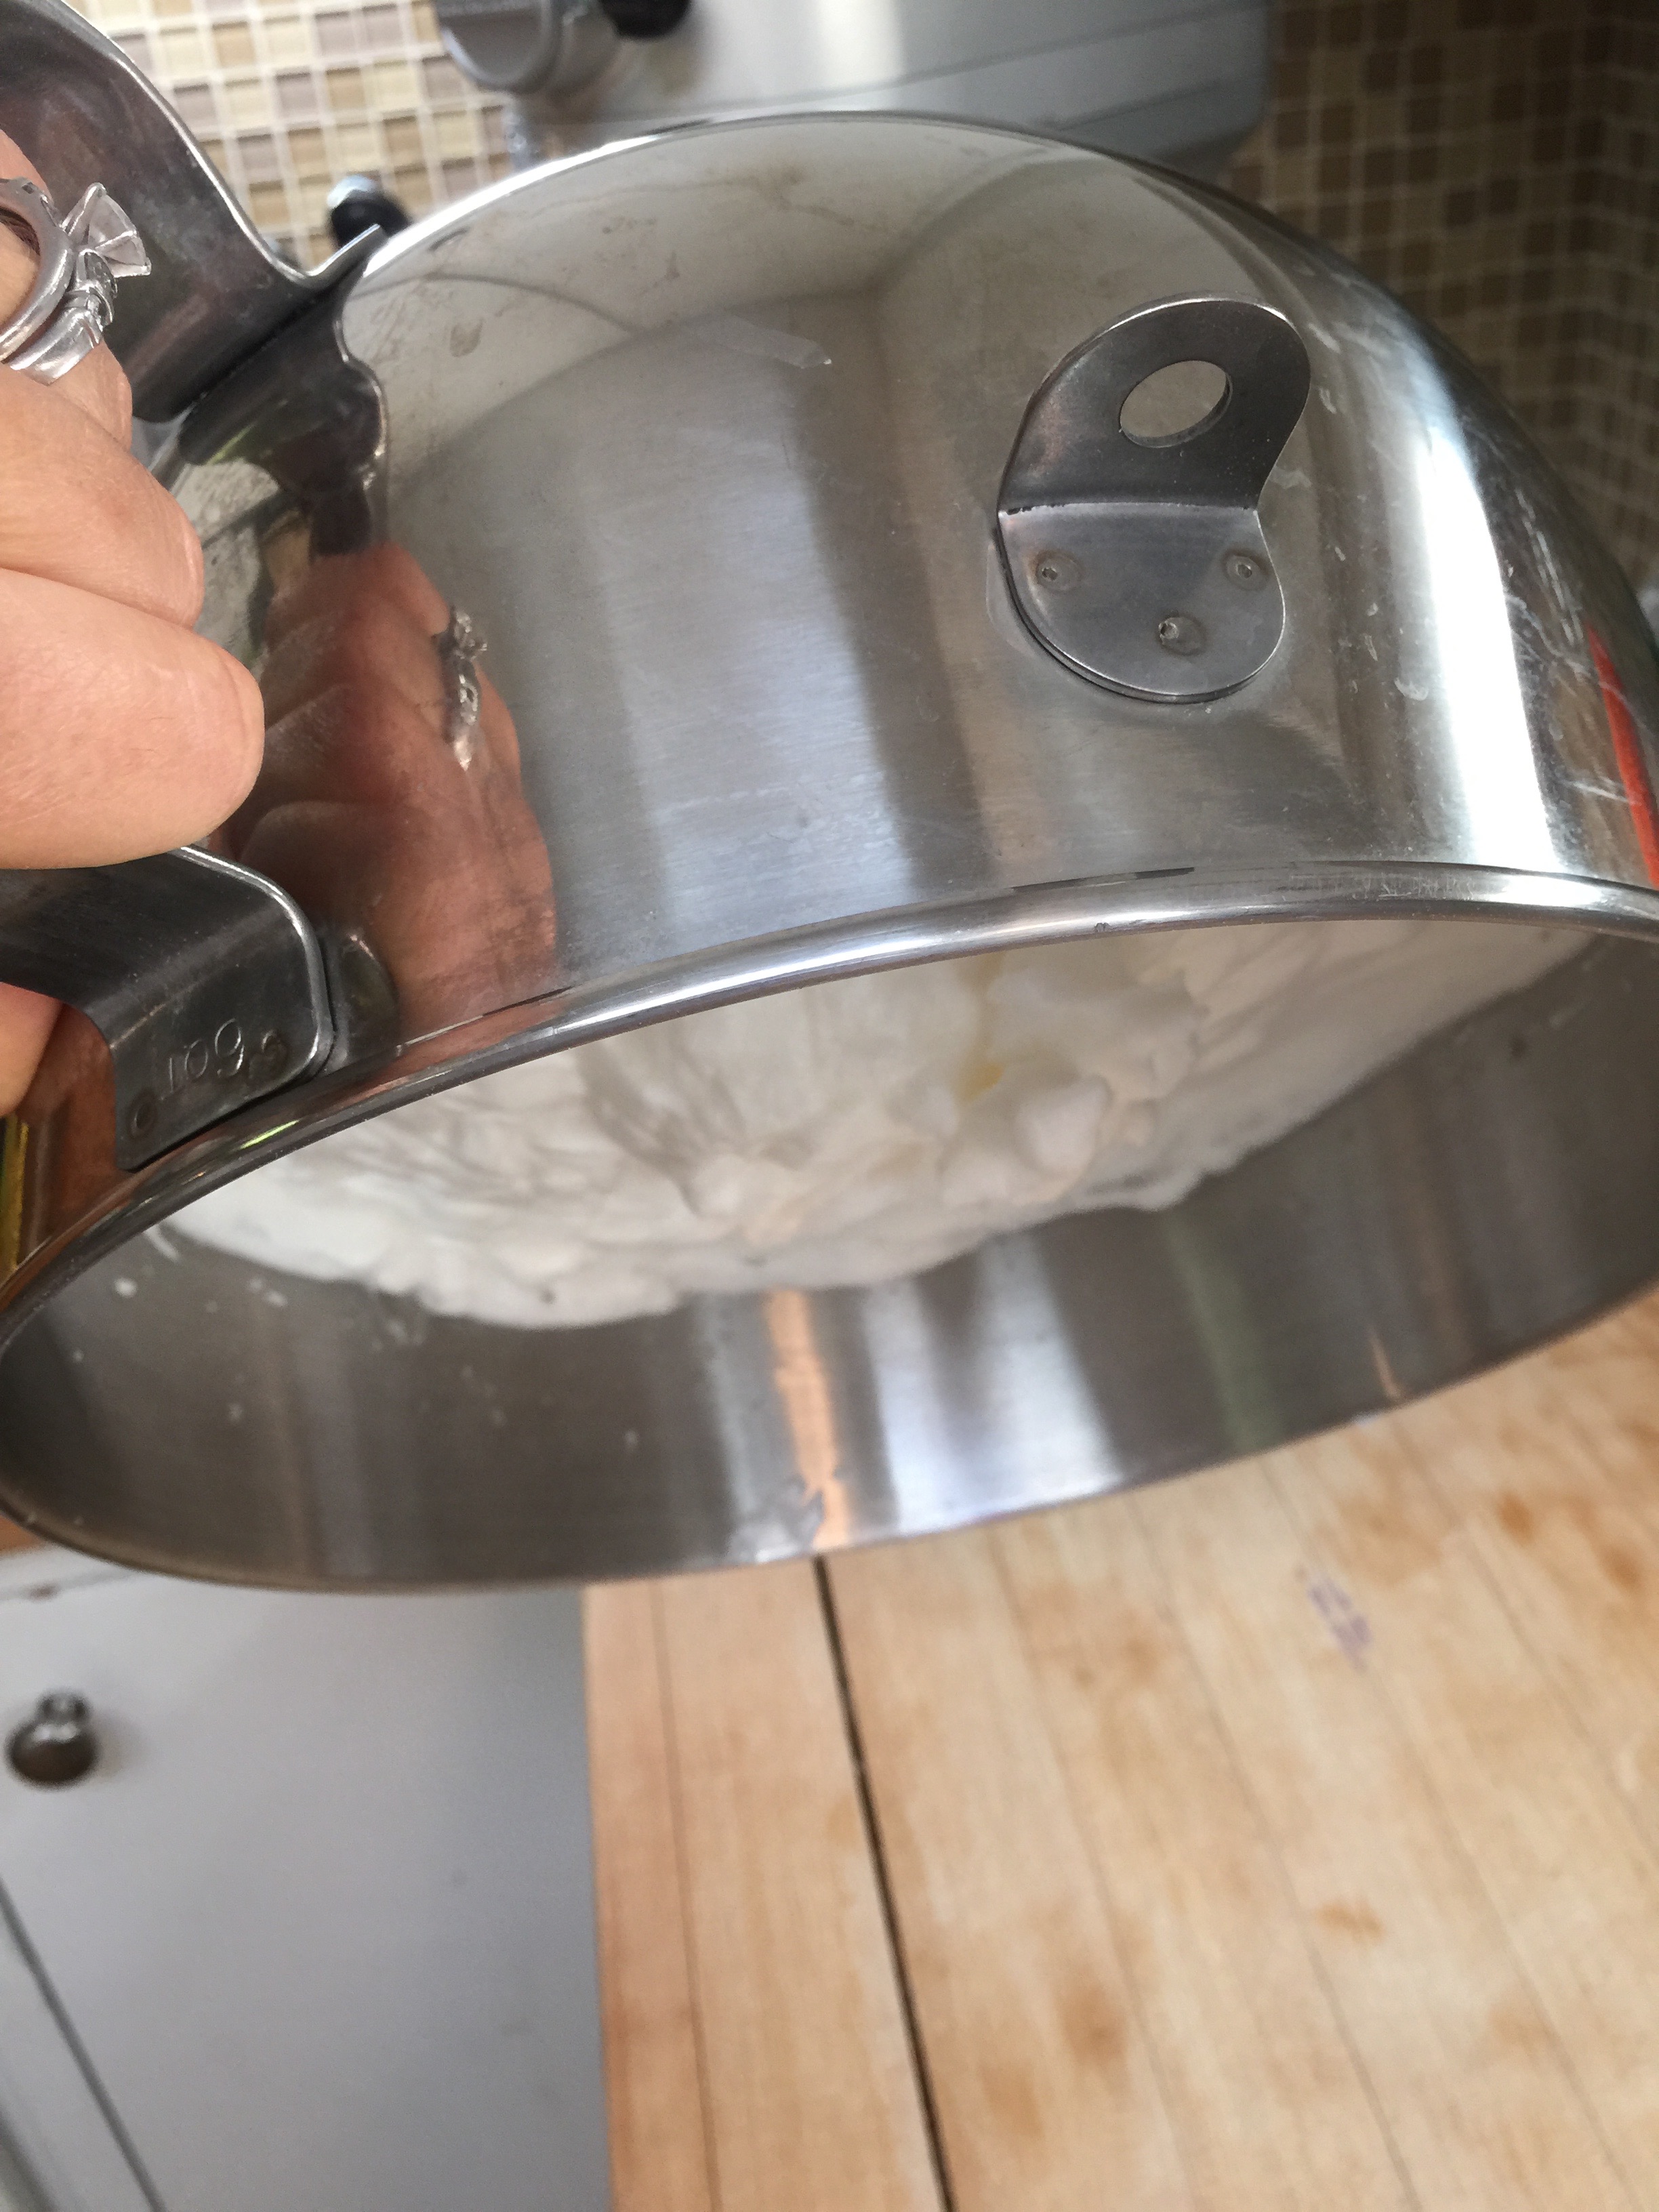
I didn’t time this, but it was at least 15 to 20 minutes of whipping. Just let it go. You should be able to turn the bowl over without the egg whites moving.
4. Remove the egg white mixture from the stand and slowly and carefully FOLD in your protein powder mixture. Gently fold until completely combined.
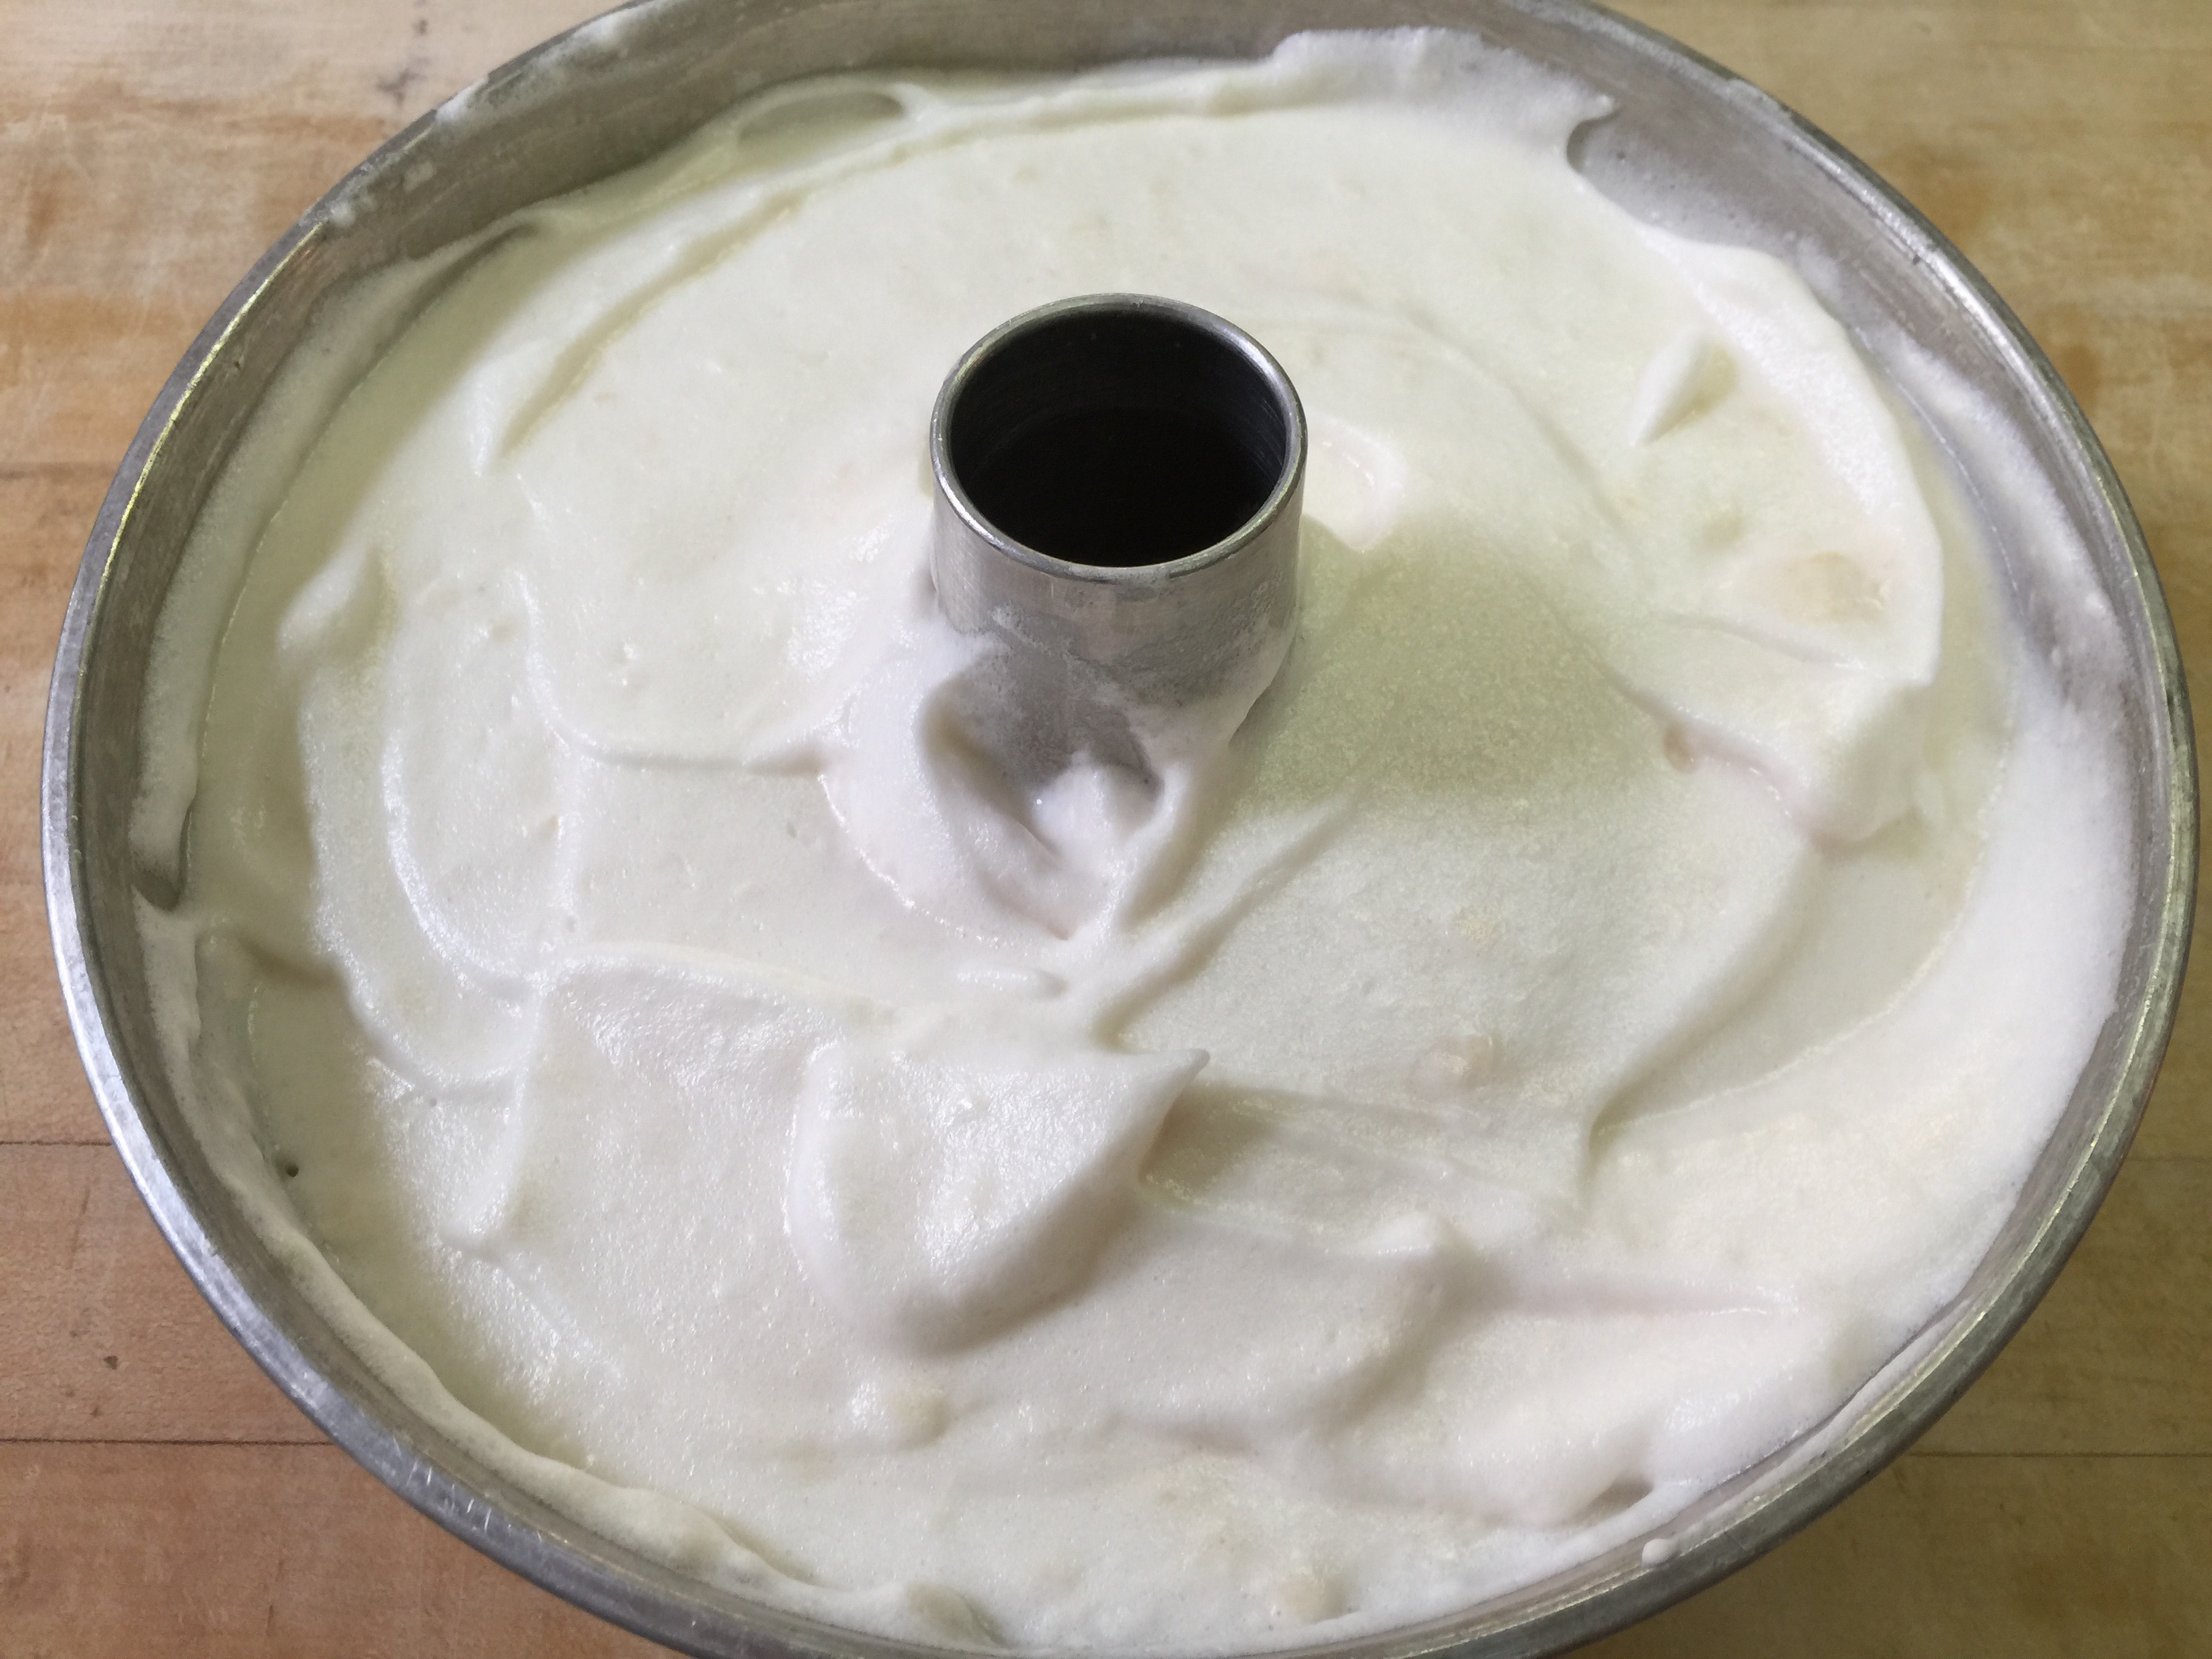
5. After all of your ingredients are mixed, pour into your angel food tube pan – DO NOT GREASE the pan!!! This is super important and you will see why! If you don’t have one, make sure you purchase one with a removable bottom. It should be a two piece pan. This was my grandmother’s pan, and all of the old ones are like this, but you have to look on the new ones.
6. Place in your oven and watch. I had to turn my heat down to 325 degrees because it was getting too brown. It needs to cook for a good 55 minutes so if it is getting too brown after 25 or 30 make sure you turn down your heat. I did another cake afterwards and turned the dial down to about 335 degrees after I placed it in the oven, and it was about right.
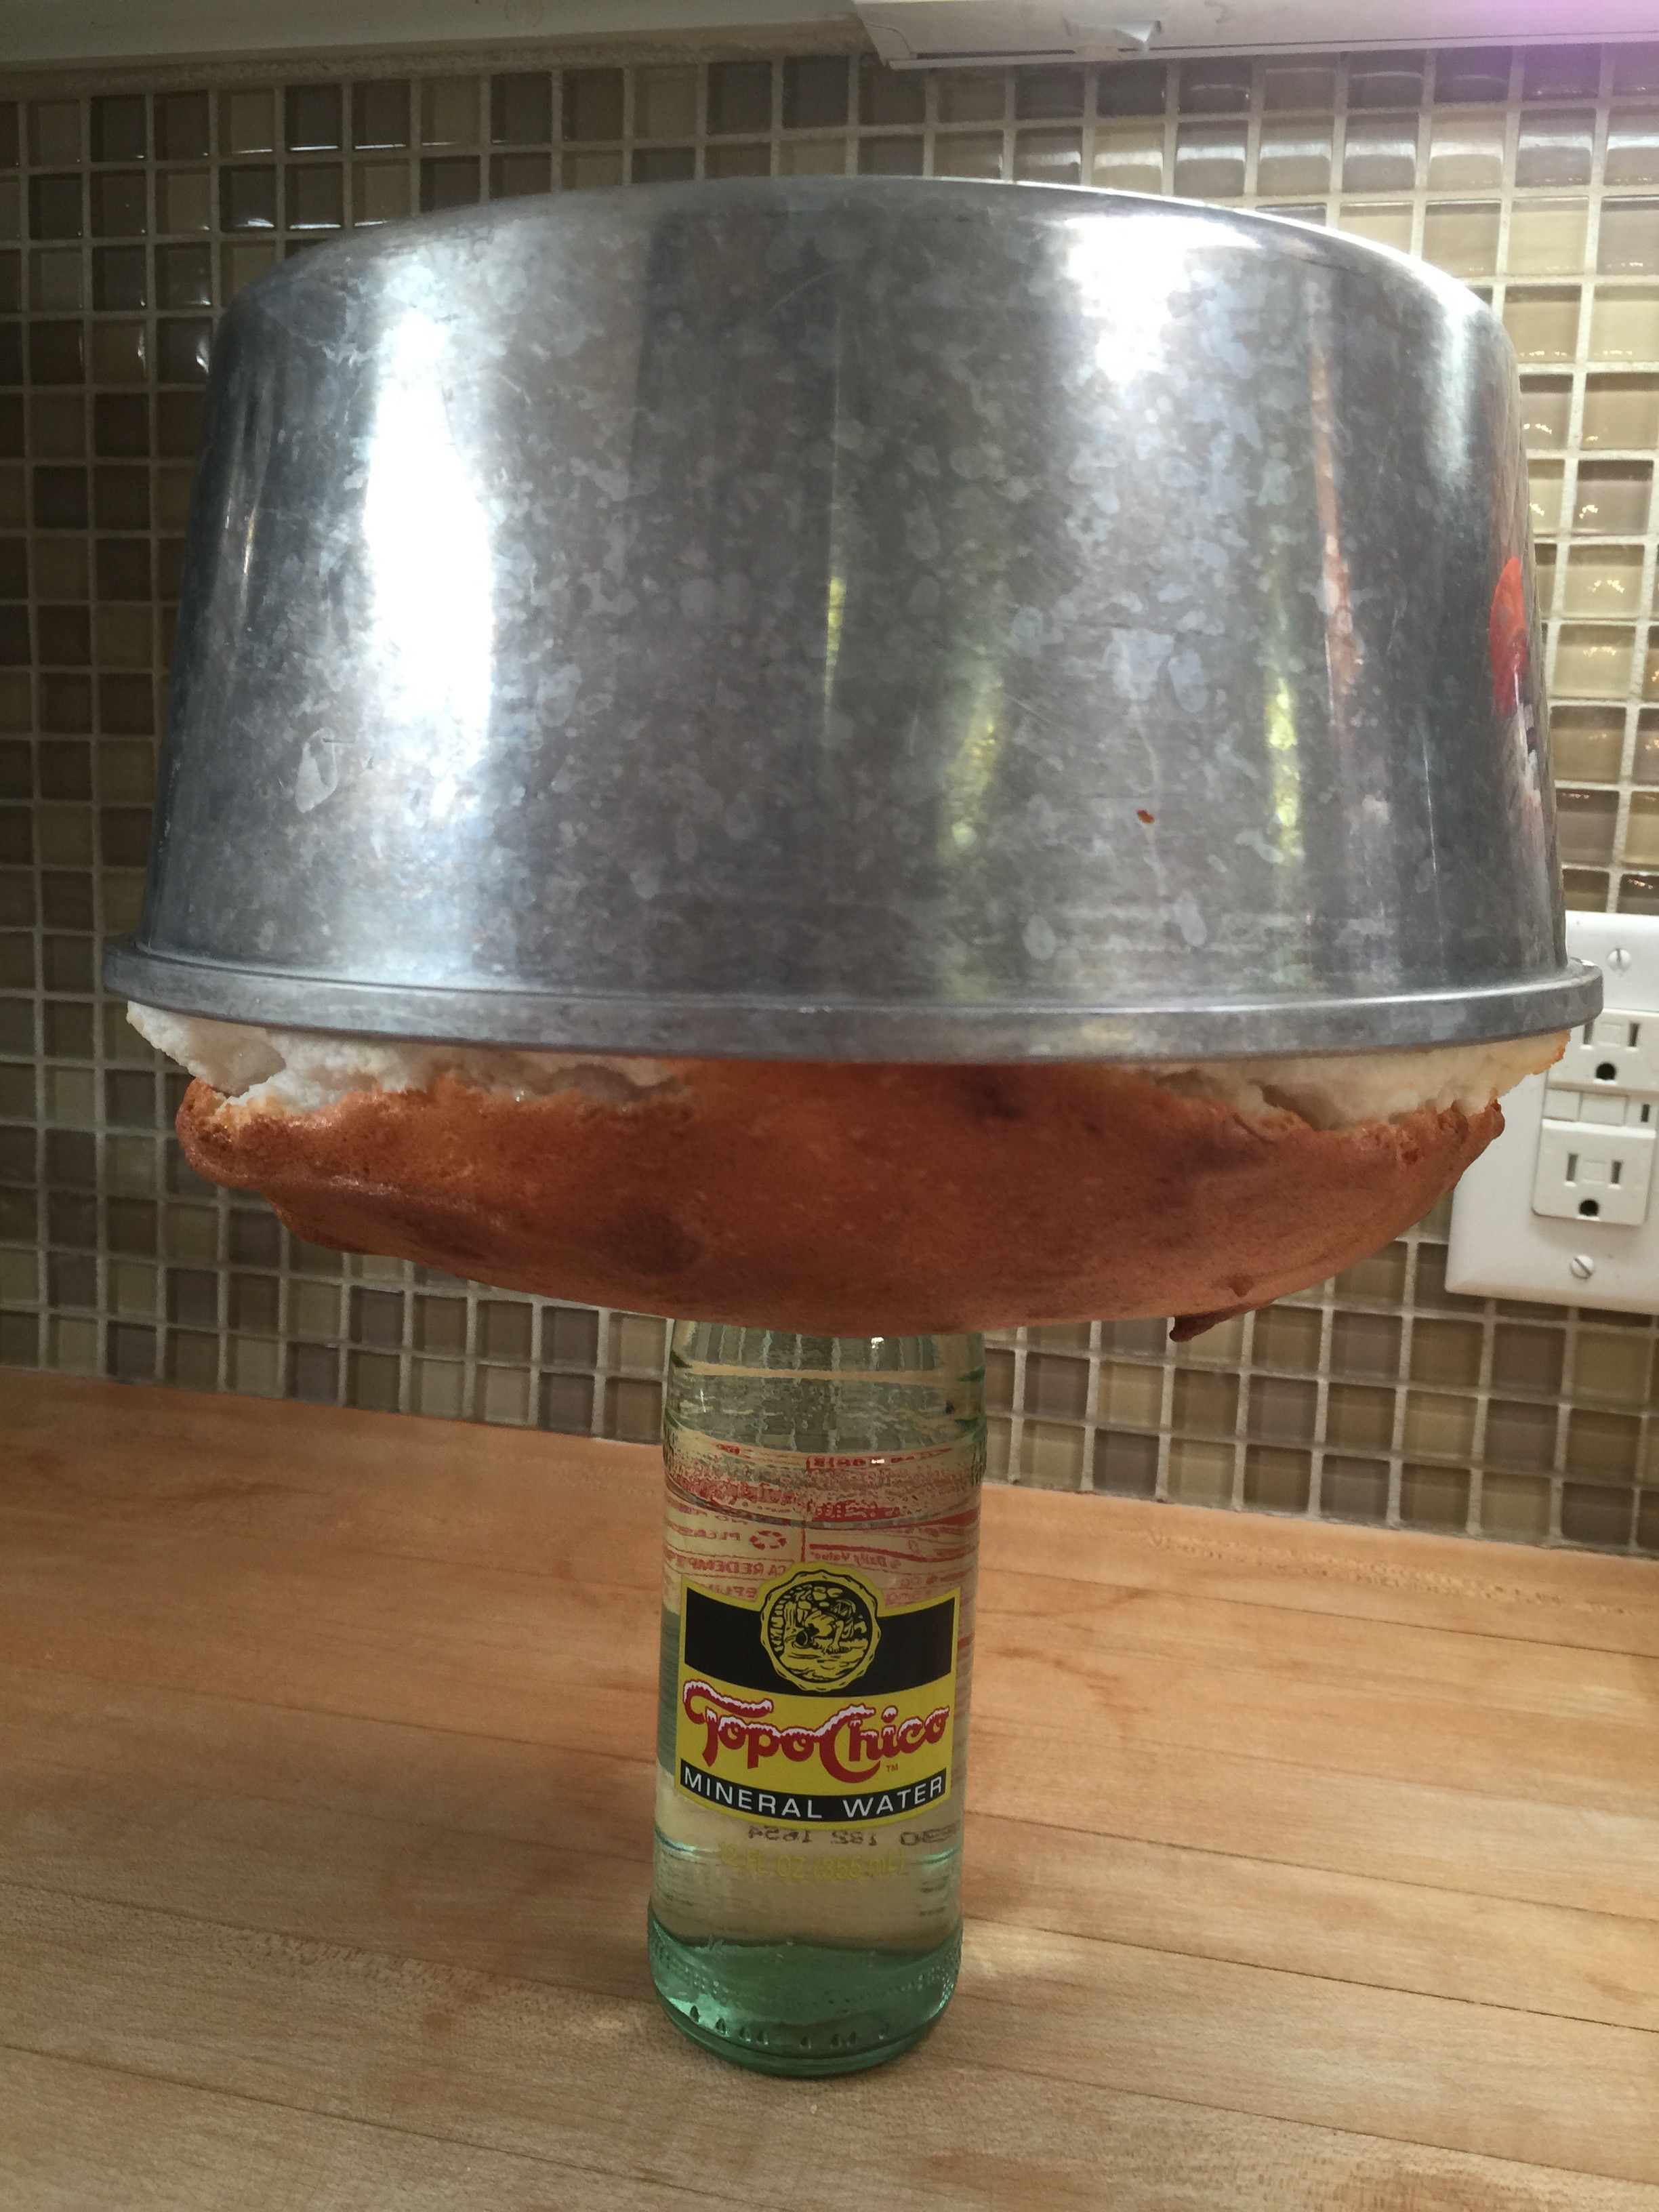
7. Now you will see the “why”. When the cake is super fluffy, high and browned, remove it from the oven, and immediately invert onto a bottle at room temperature. This will keep the cake from sinking.
8. This is why you don’t grease the cake!!!! Otherwise it would be on the counter. Let it cool completely like this.
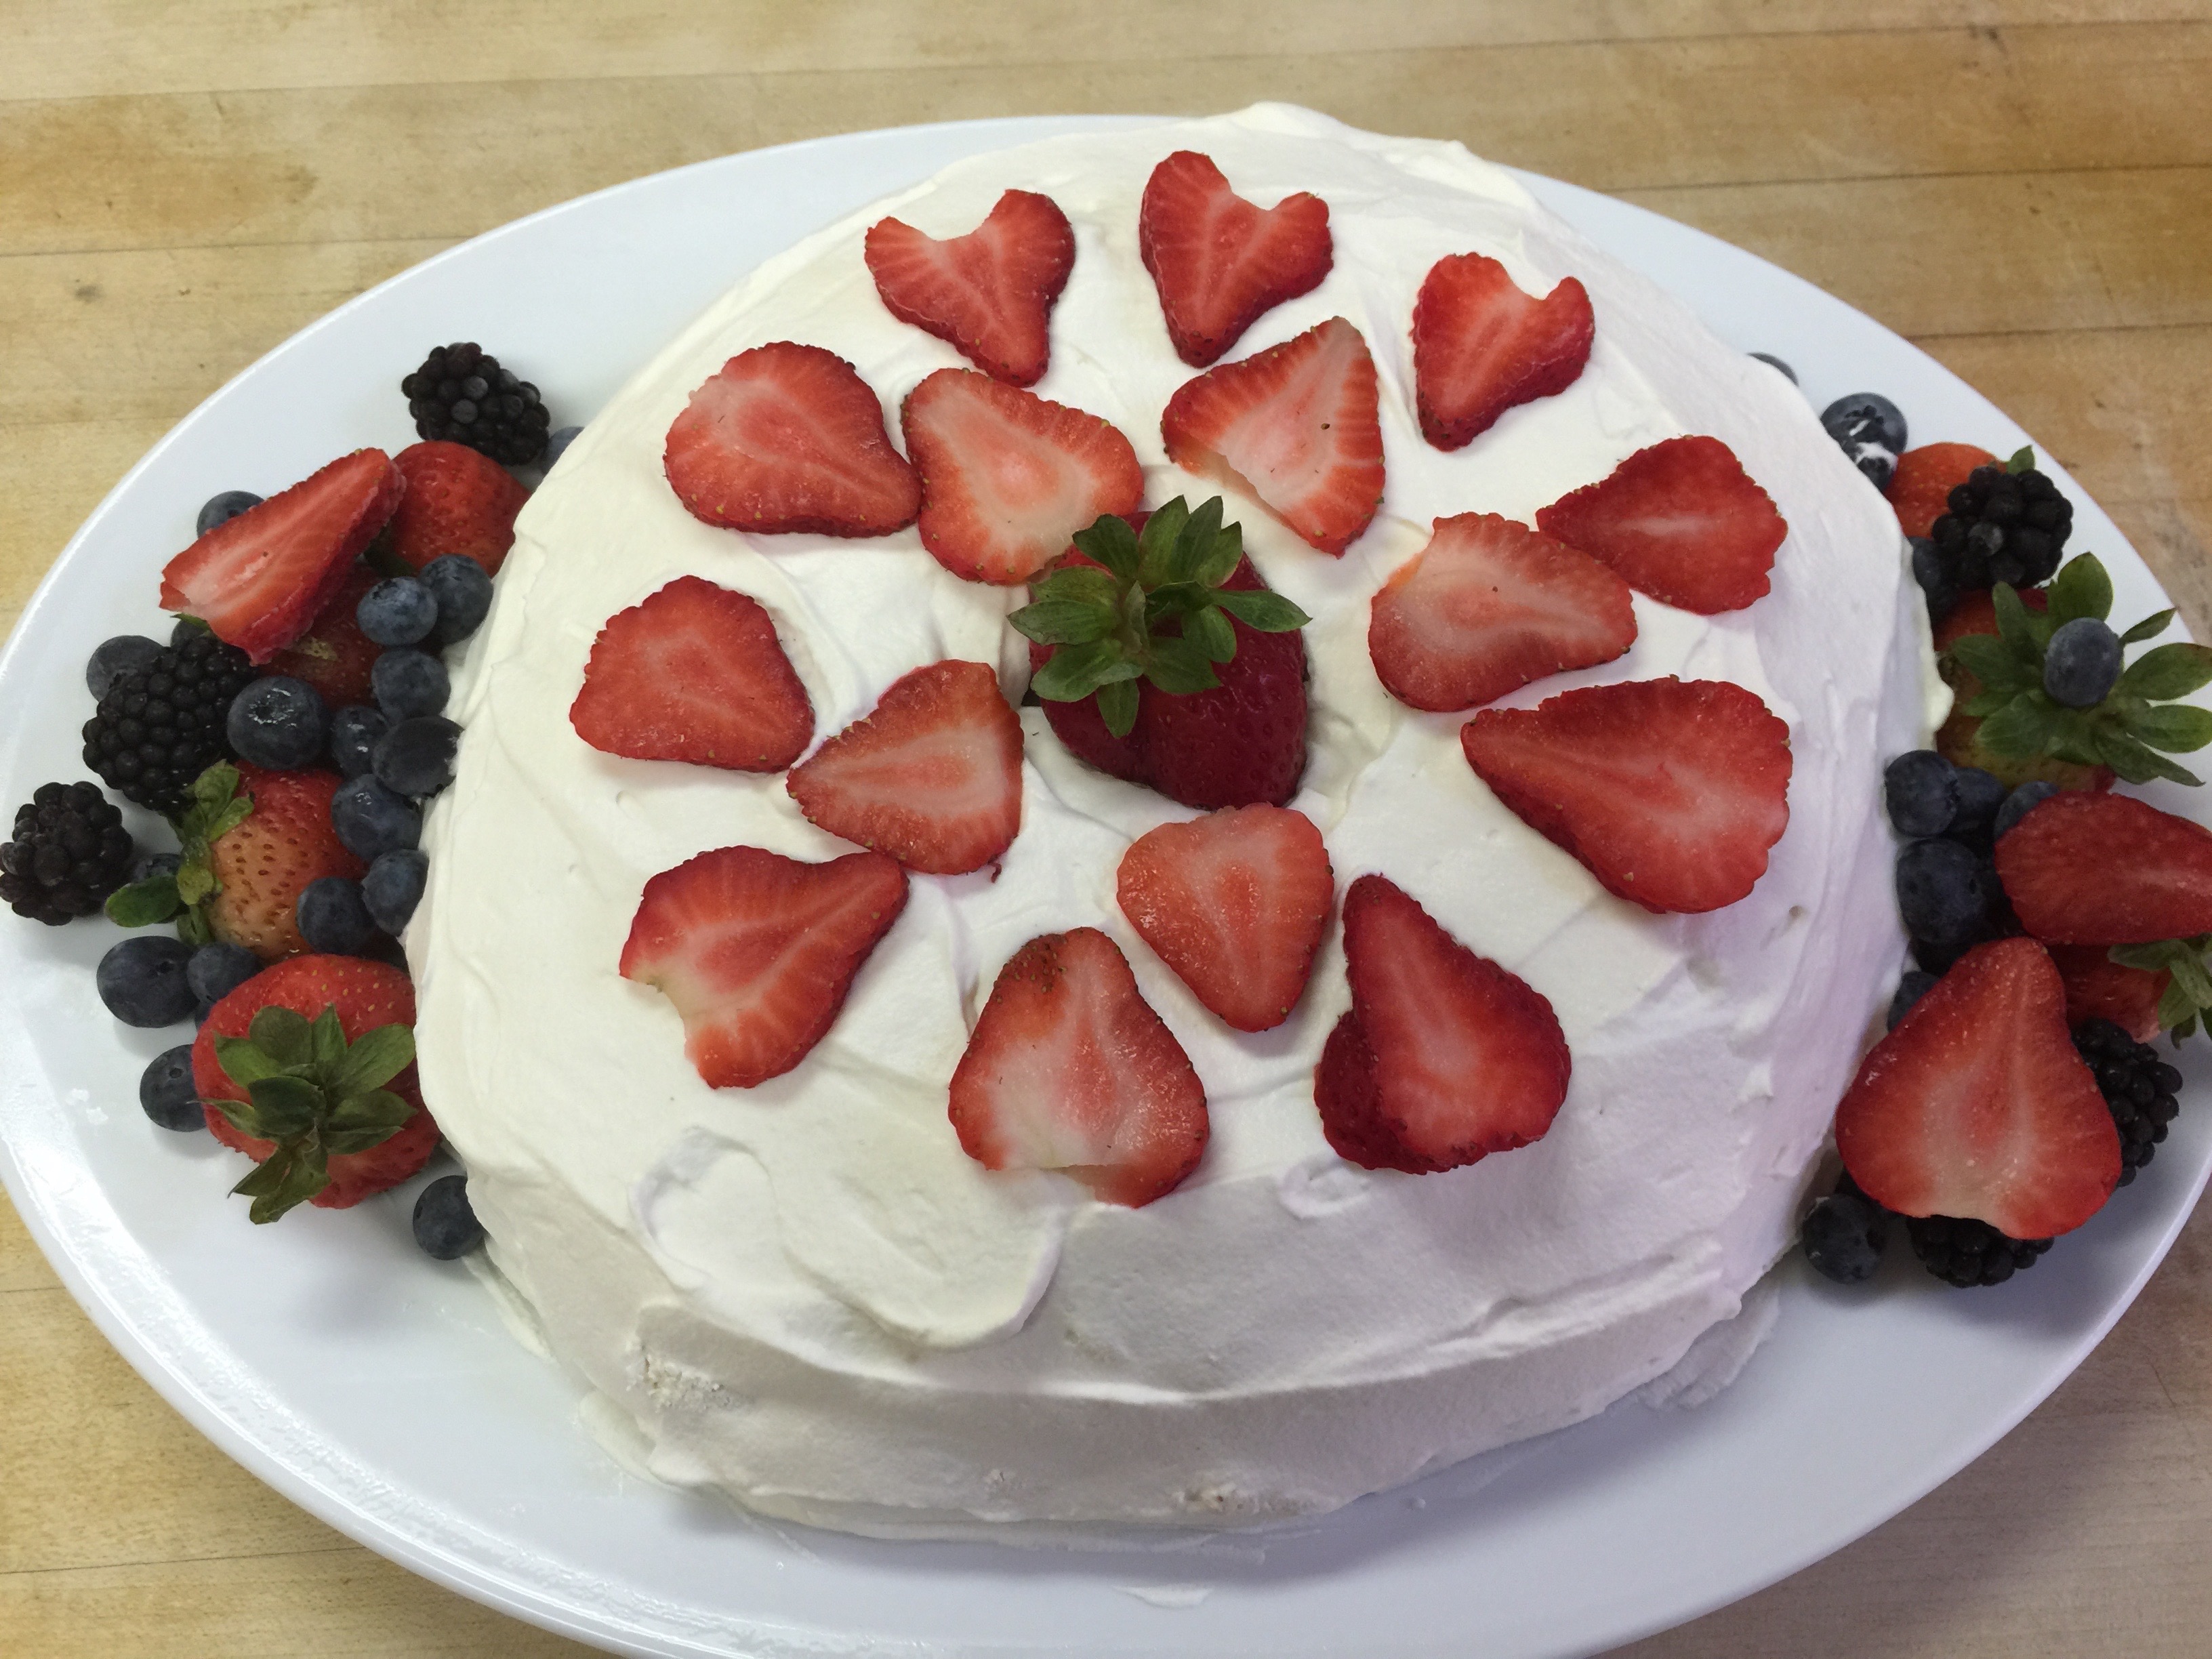
9. After it is cooled, use a sharp knife to go around the edges, and then push the bottom out of the pan. Place on a cake stand, and it is ready to serve with whipping cream and berries.
I also made a prettier one that I iced with whipping cream and arranged berries on top. My kids like it this way frozen. You can do it either way.
You can see in the above picture; I removed the super brown top which basically popped right off.
This one above is actually frozen – berries and all!
That was one happy birthday girl and every bite devoured!
All the whipping in this recipe can be time consuming, but it is so rewarding! Don’t give up, and enjoy every bite!
Erin and I were able to take part in a fun party that a friend of mine hosted for about 20 friends. She hired us to come in and talk about the benefits of Keto, the difference it has made in our lives, and how we cook. After our talk, we prepared a complete Keto meal for the whole group. It was a lively discussion filled with great questions and some new foods for most. I always wait for the reaction after dessert. It amazes people that we can make such decadent desserts without sugar. One of the desserts we made was a rich chocolate tart that I have slightly modified from the brilliant Dr. William Davis’ book, Wheat Belly 30-Minute (Or Less) Cookbook. If you don’t already have it, we do recommend it, and it is available for purchase in our Amazon store.
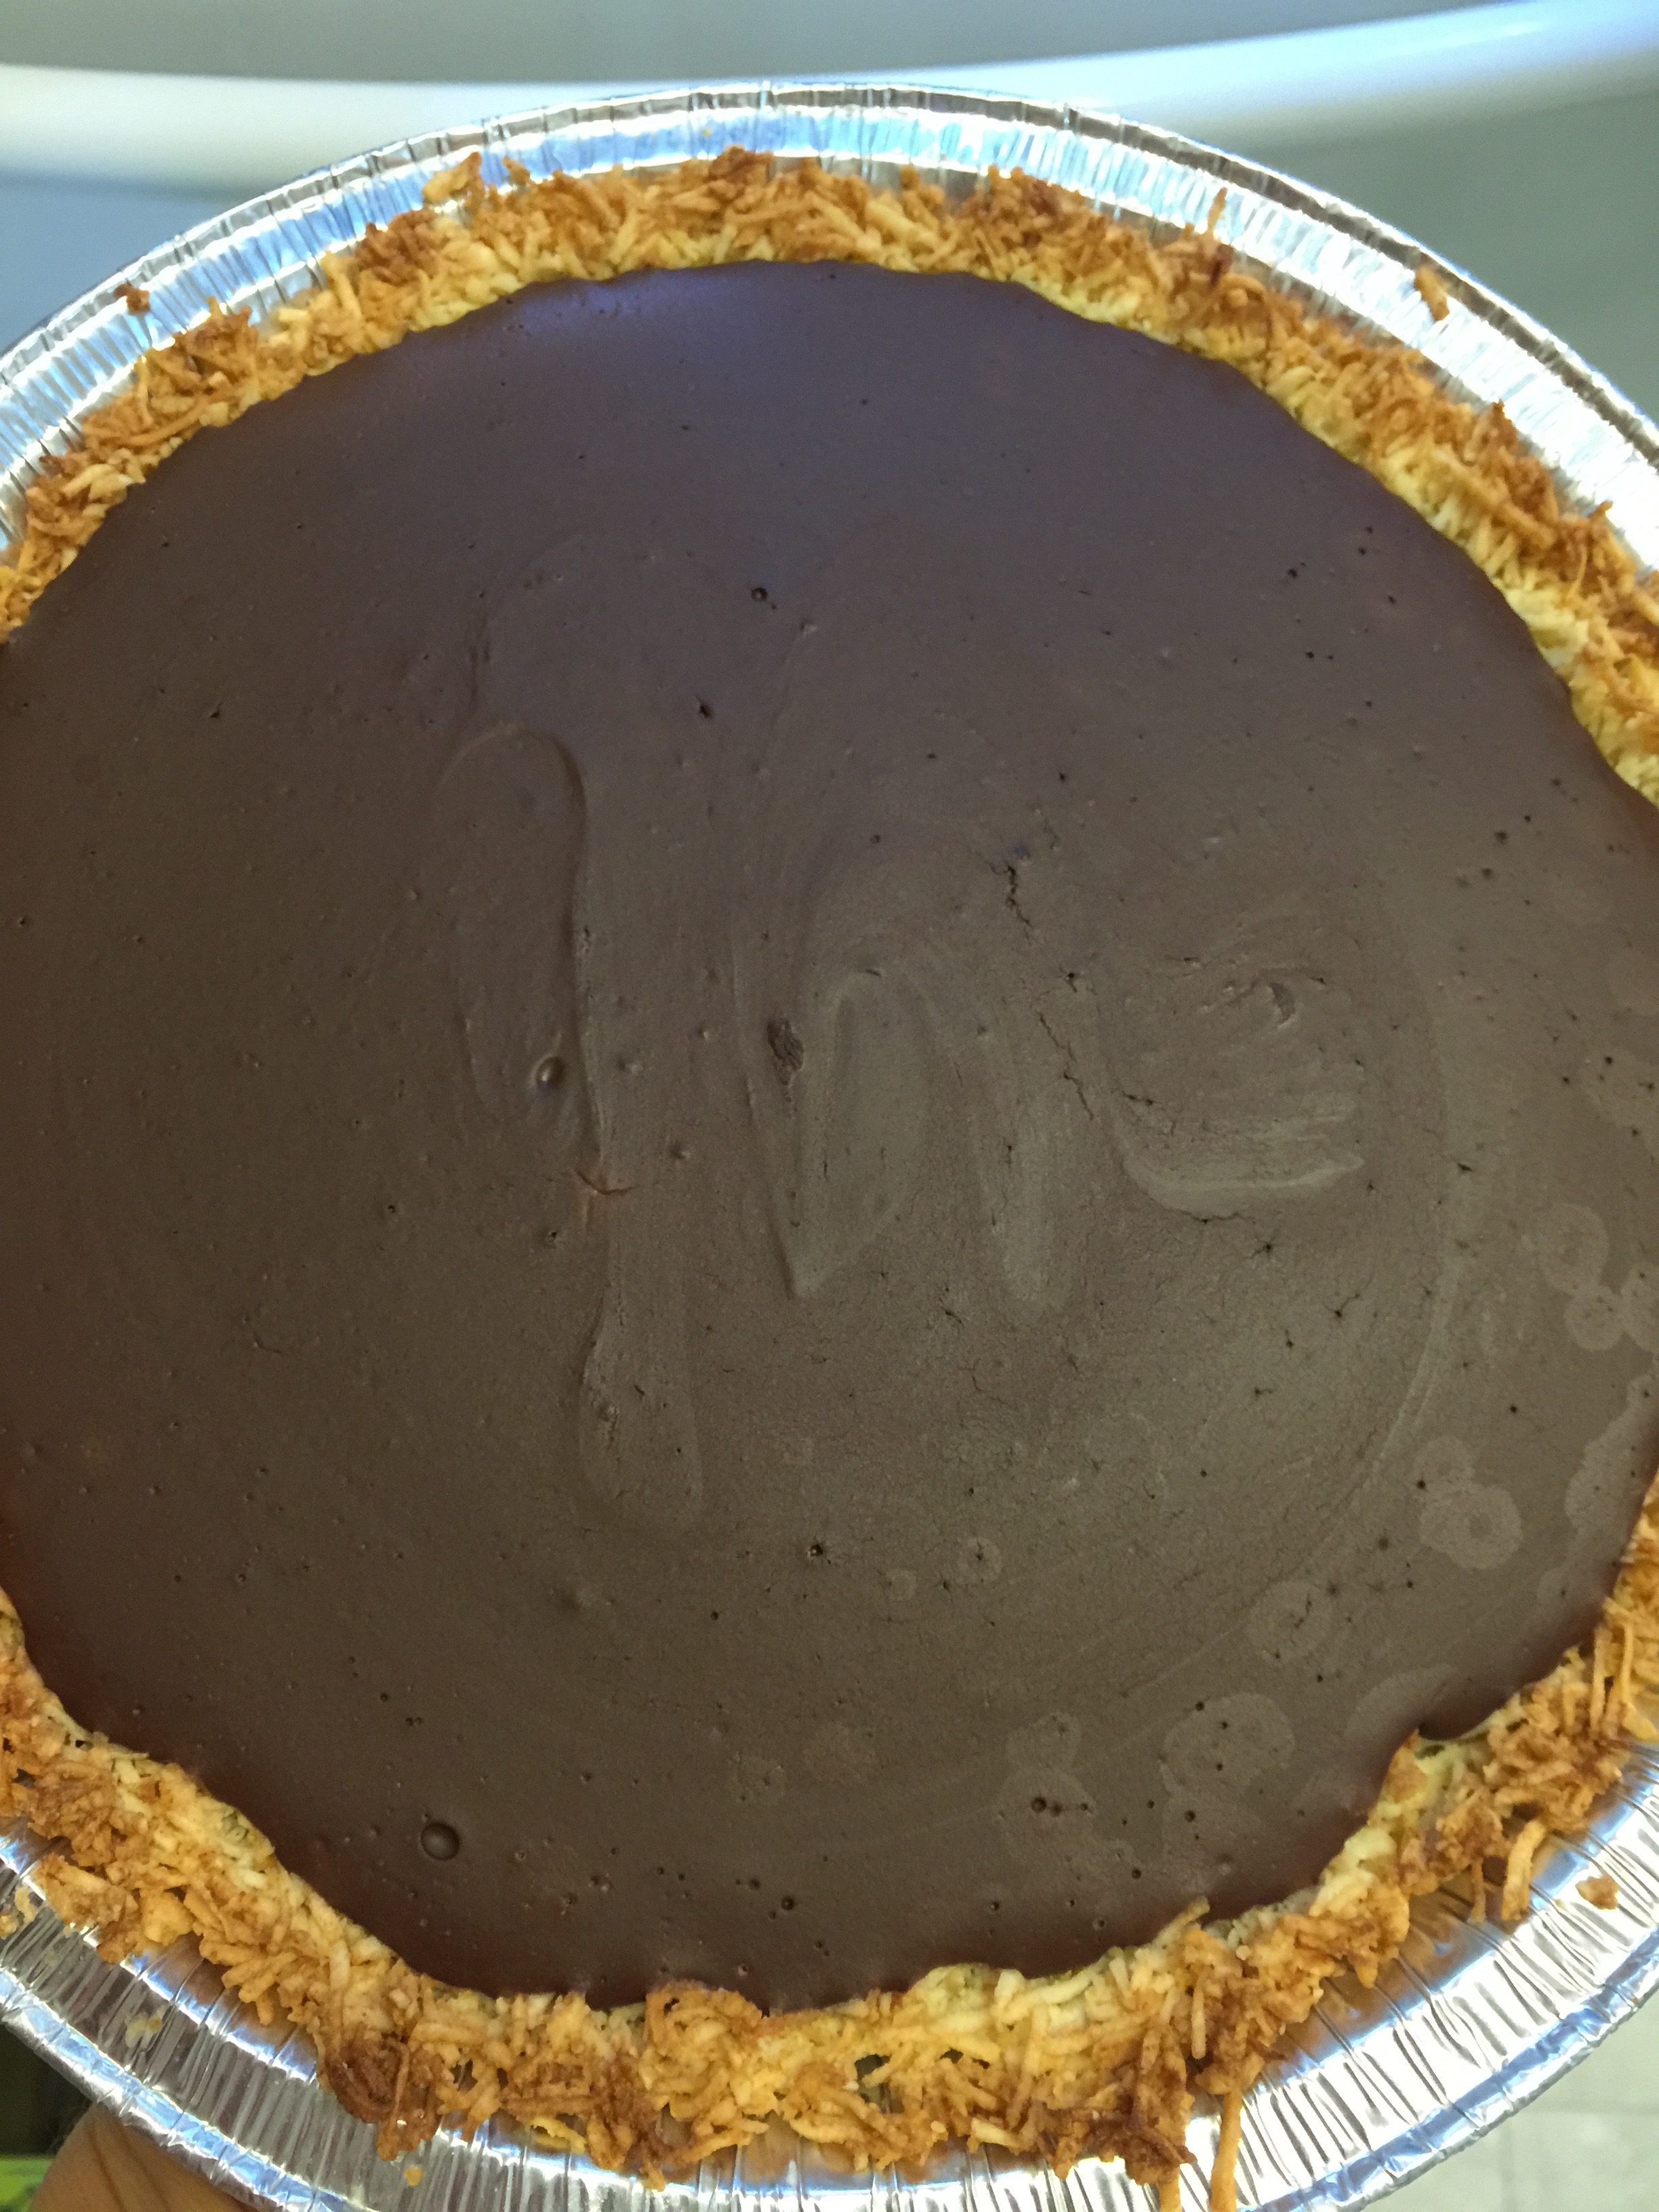
I made two tarts, one primarily the way it is in the cookbook with a coconut crust. In my opinion, the natural taste and texture of the coconut helps cut the bitterness of the dark unsweetened chocolate for a perfectly balanced dessert that is very satisfying. The coconut also provides a nice sturdy crust for the dense chocolate. I do understand that there are some that really don’t like the texture of coconut. For those individuals, I made a regular almond flour crust. Just know that you can always change out your crust in any recipe.
Rich Coconut – Chocolate Tart
Preheat oven to 350 degrees and grease a 9 inch pie plate.
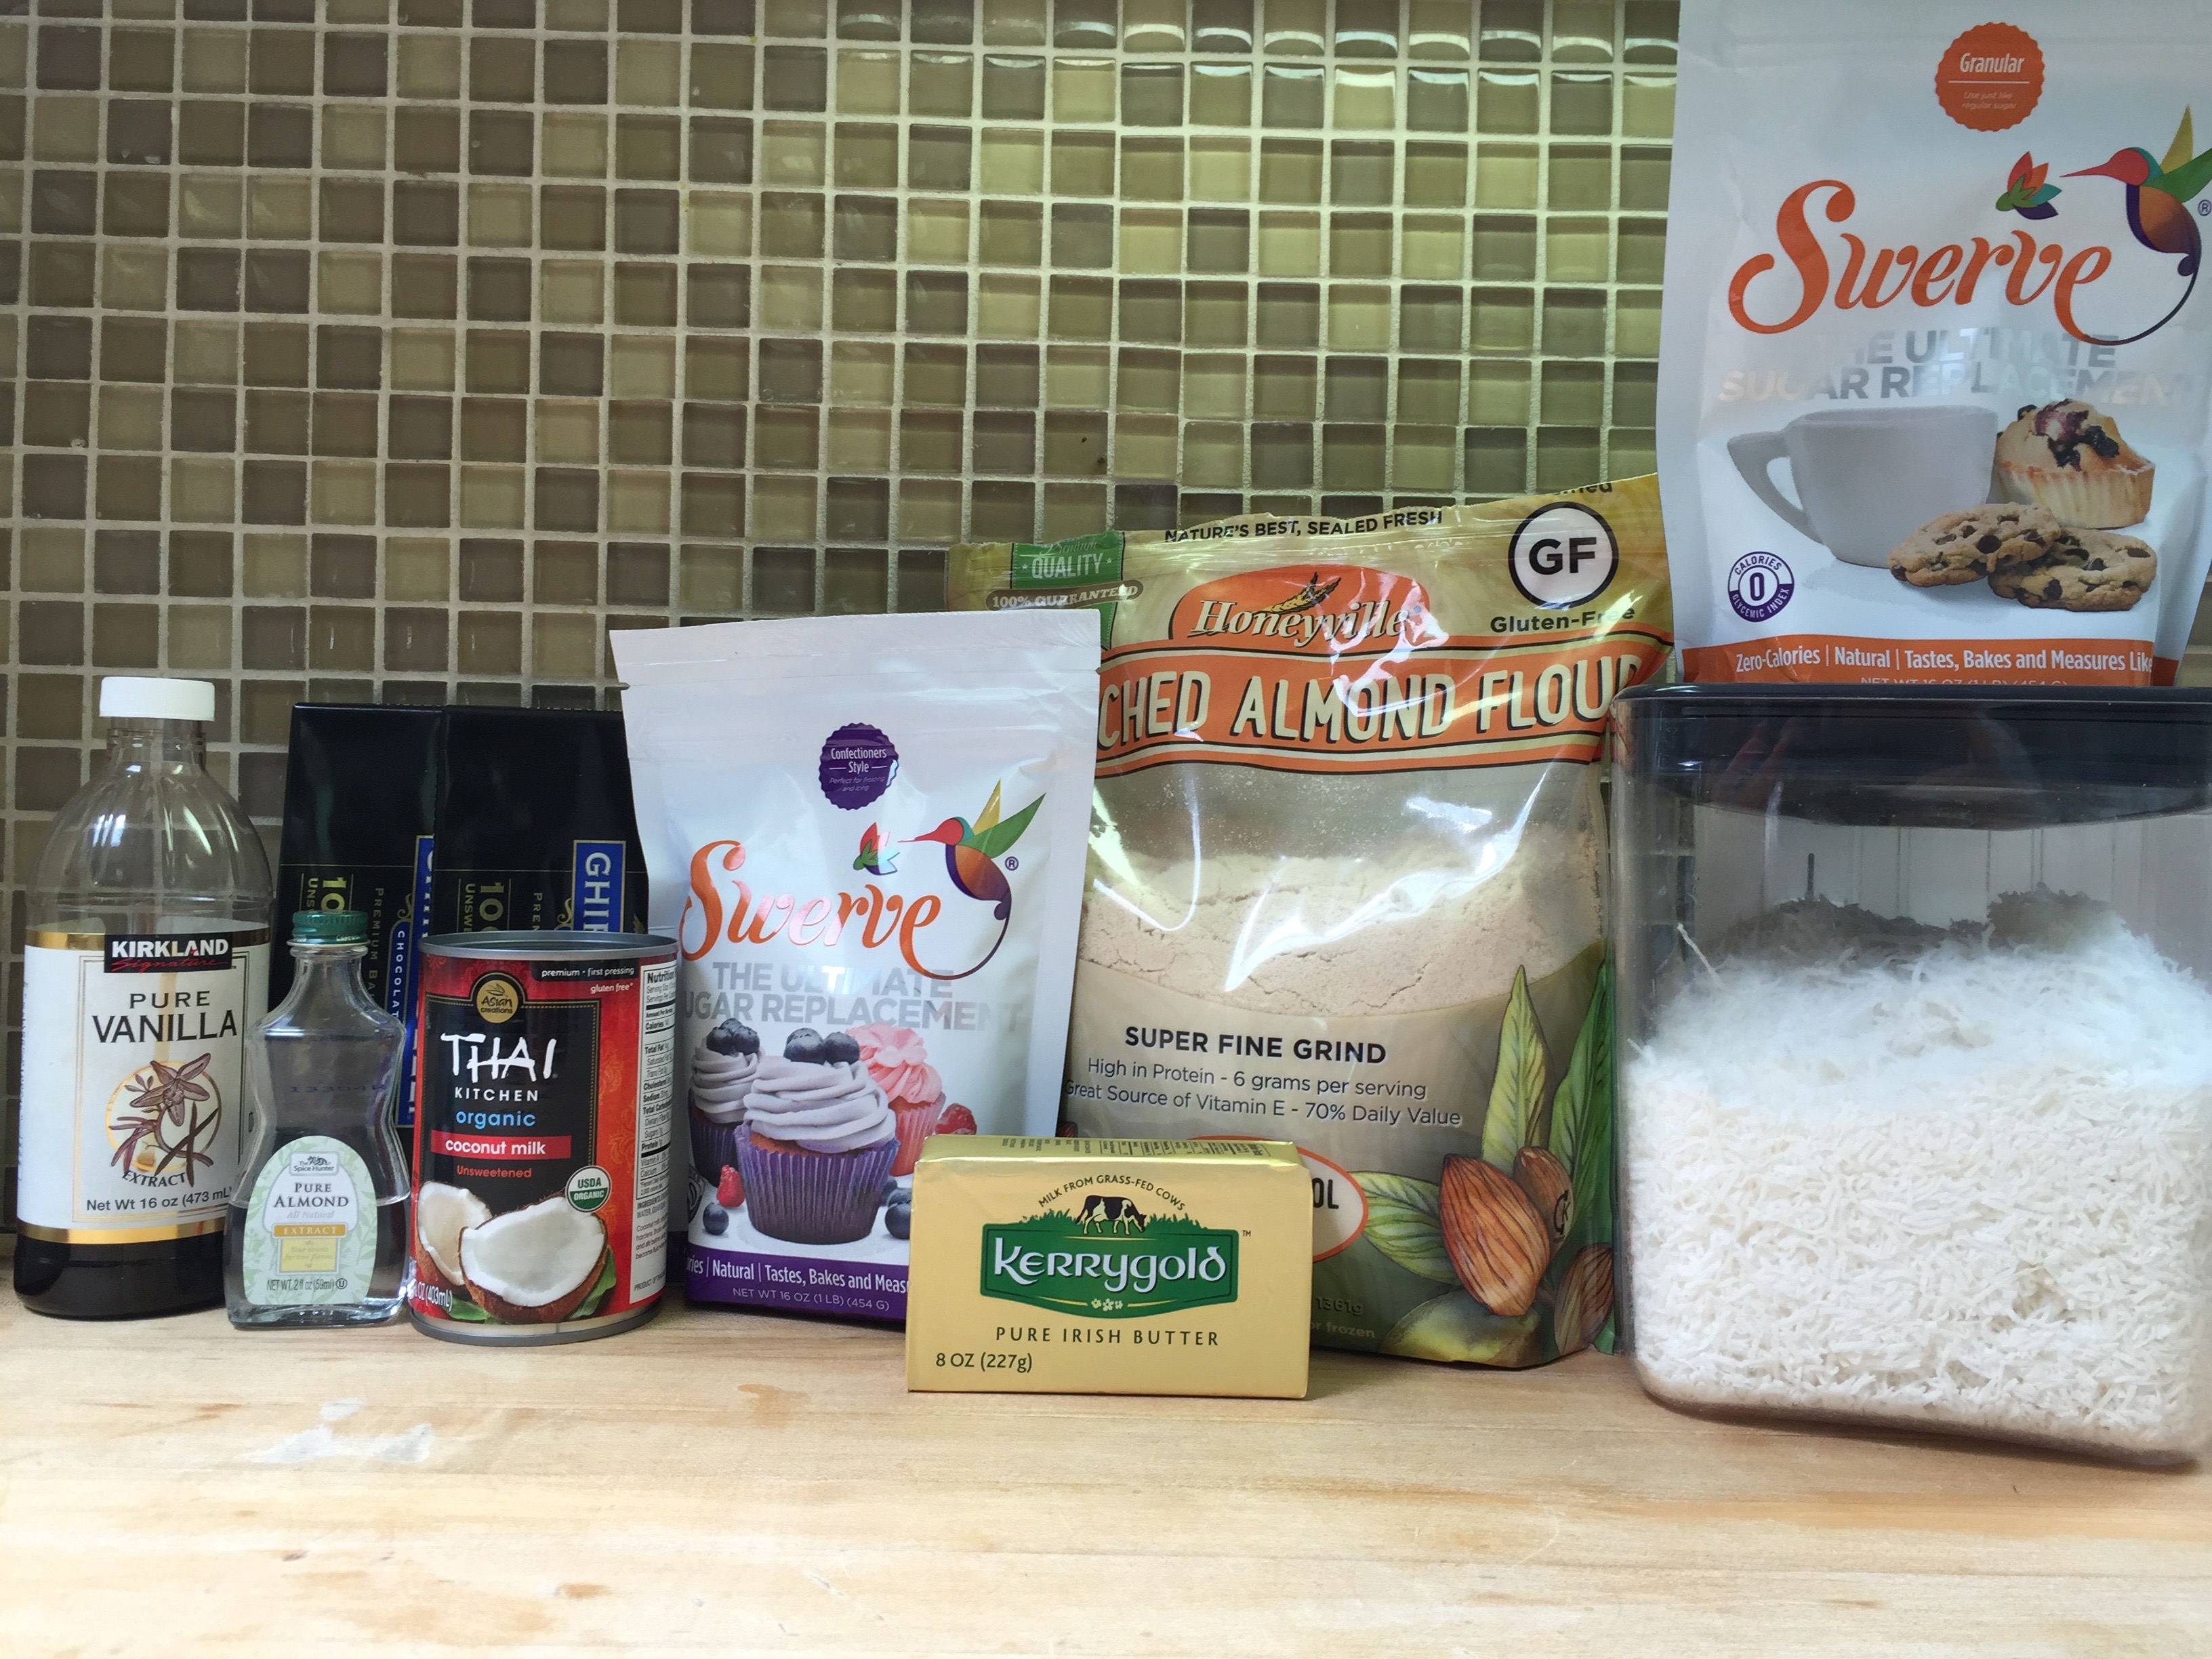
Gather your ingredients:
Crust:
2 cups unsweetened coconut
3 Tbsp almond flour
3 Tbsp Swerve granular
3 Tbsp melted butter
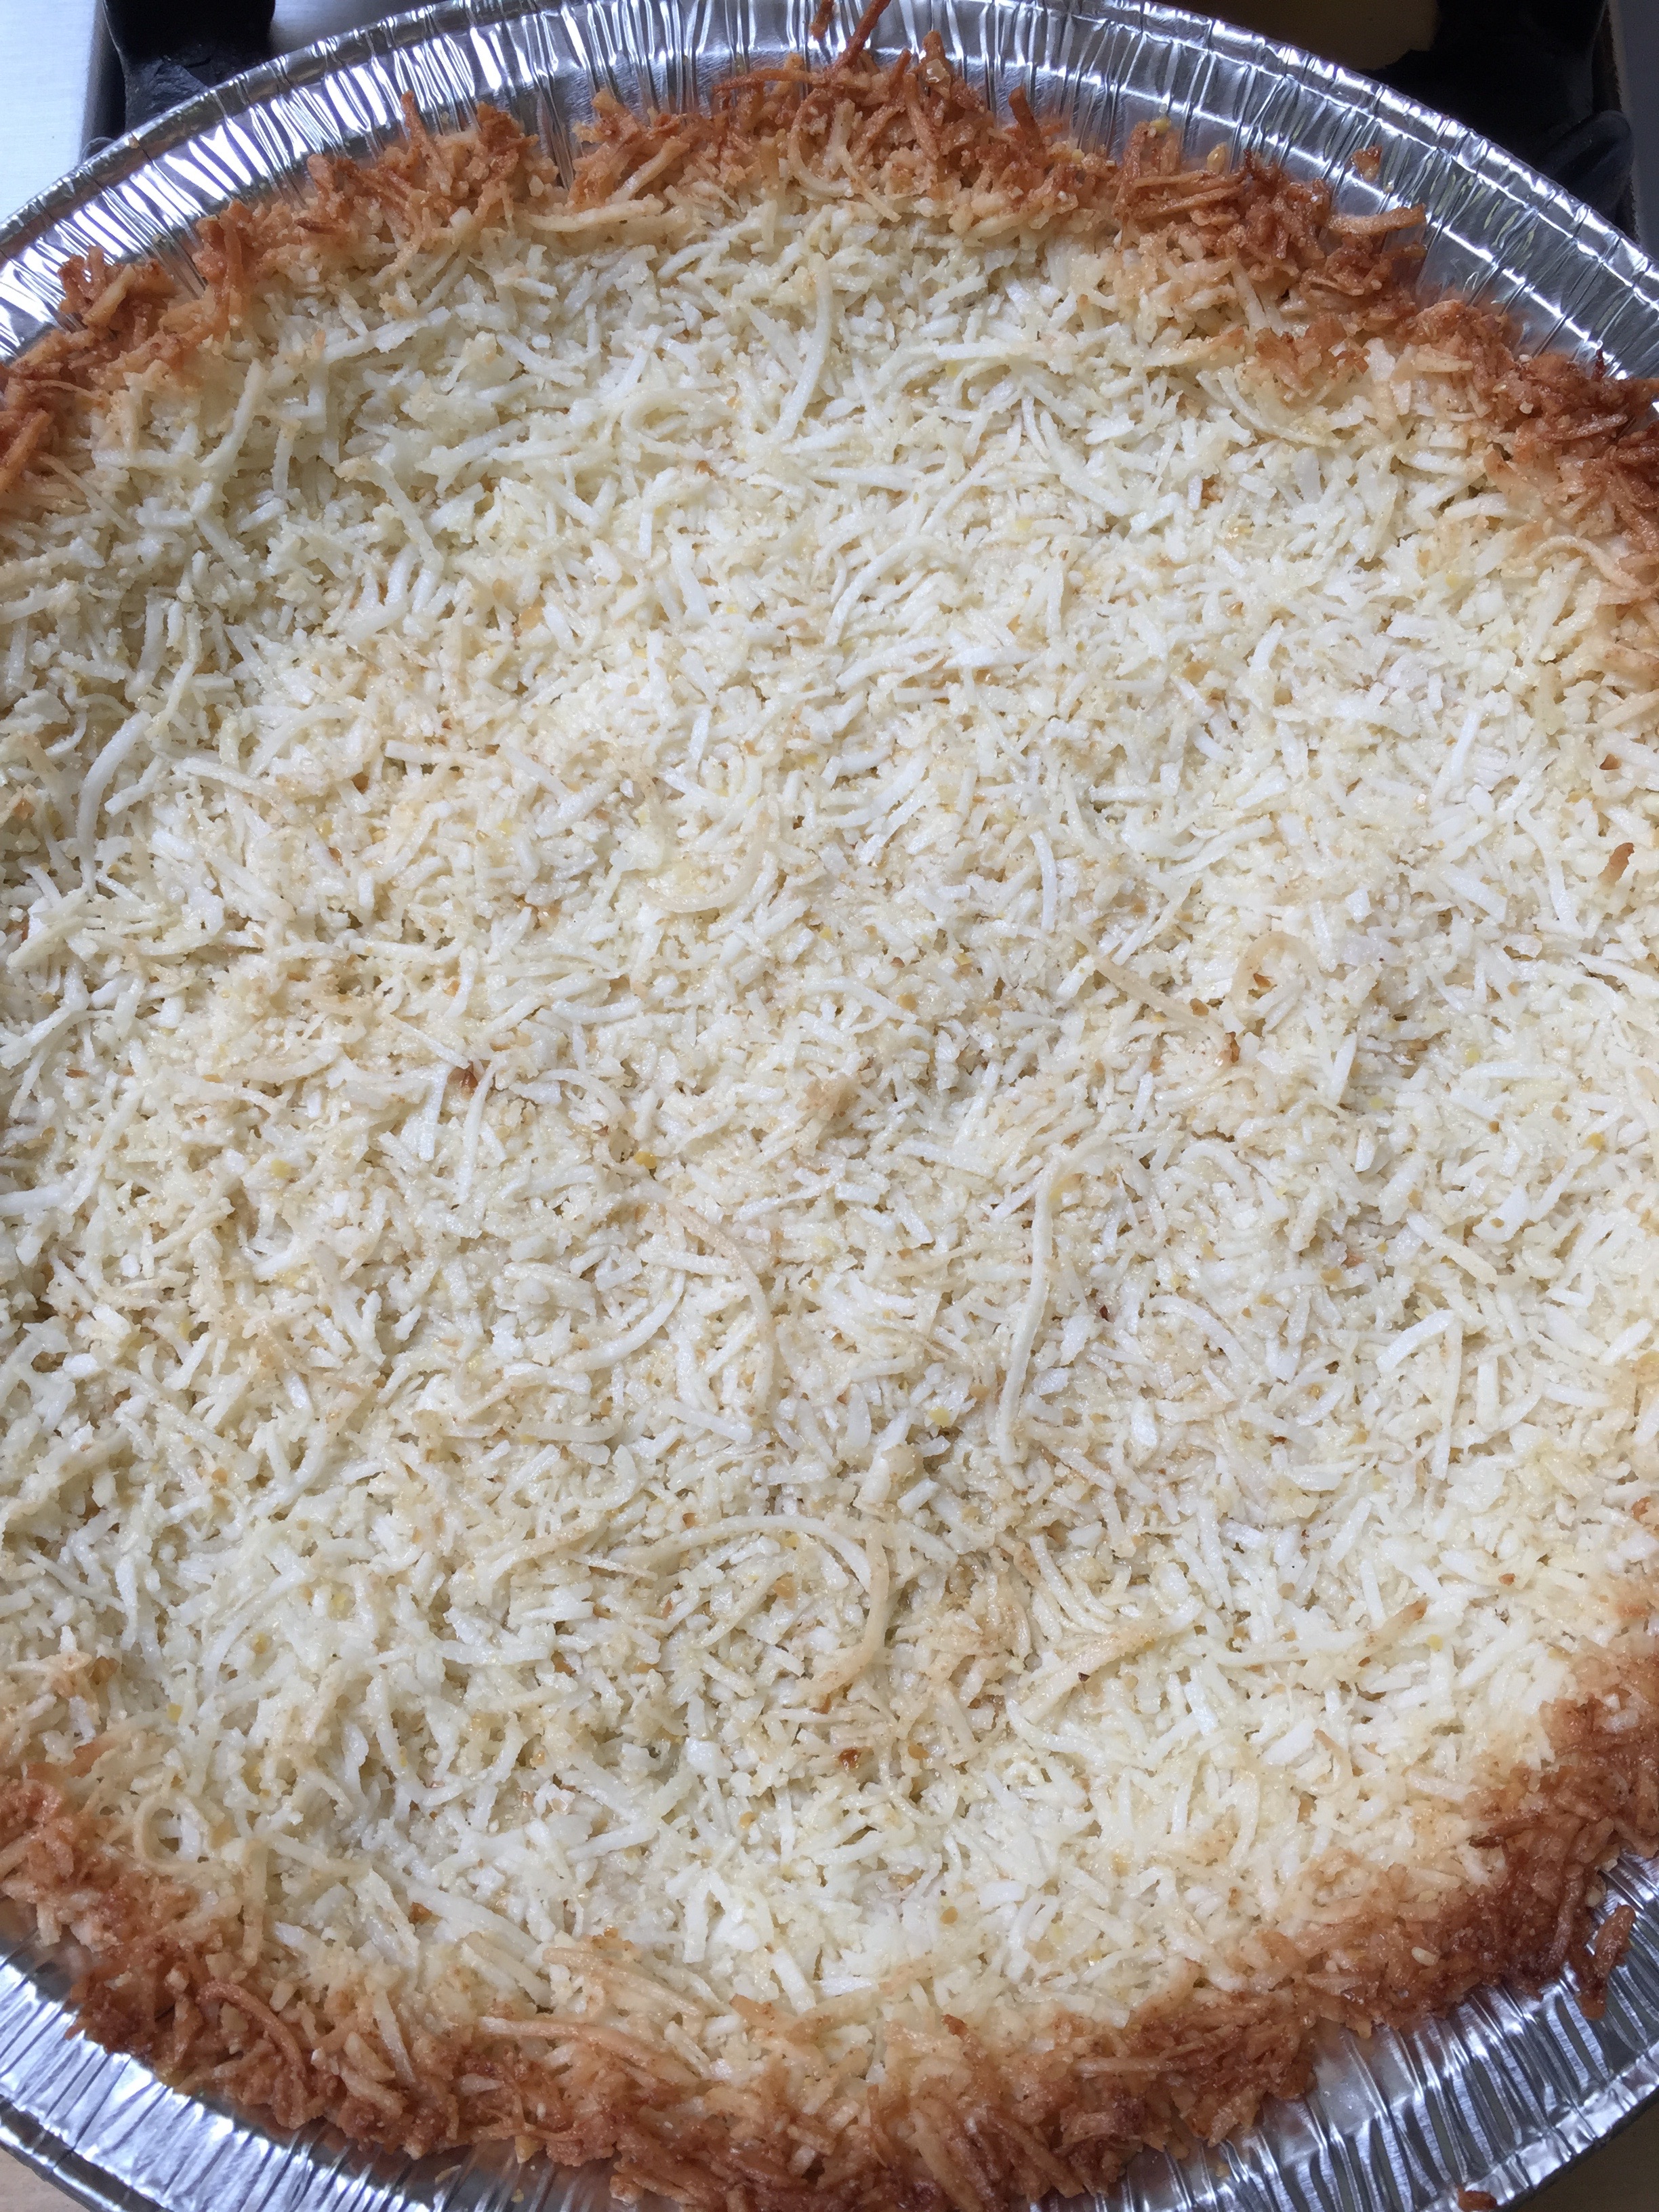
Combine all of the above ingredients. I use my hands to combine and then press into your greased pie plate.
Bake at 350 degrees for 10 minutes.
Let it cool while you prepare your filling.
Filling:
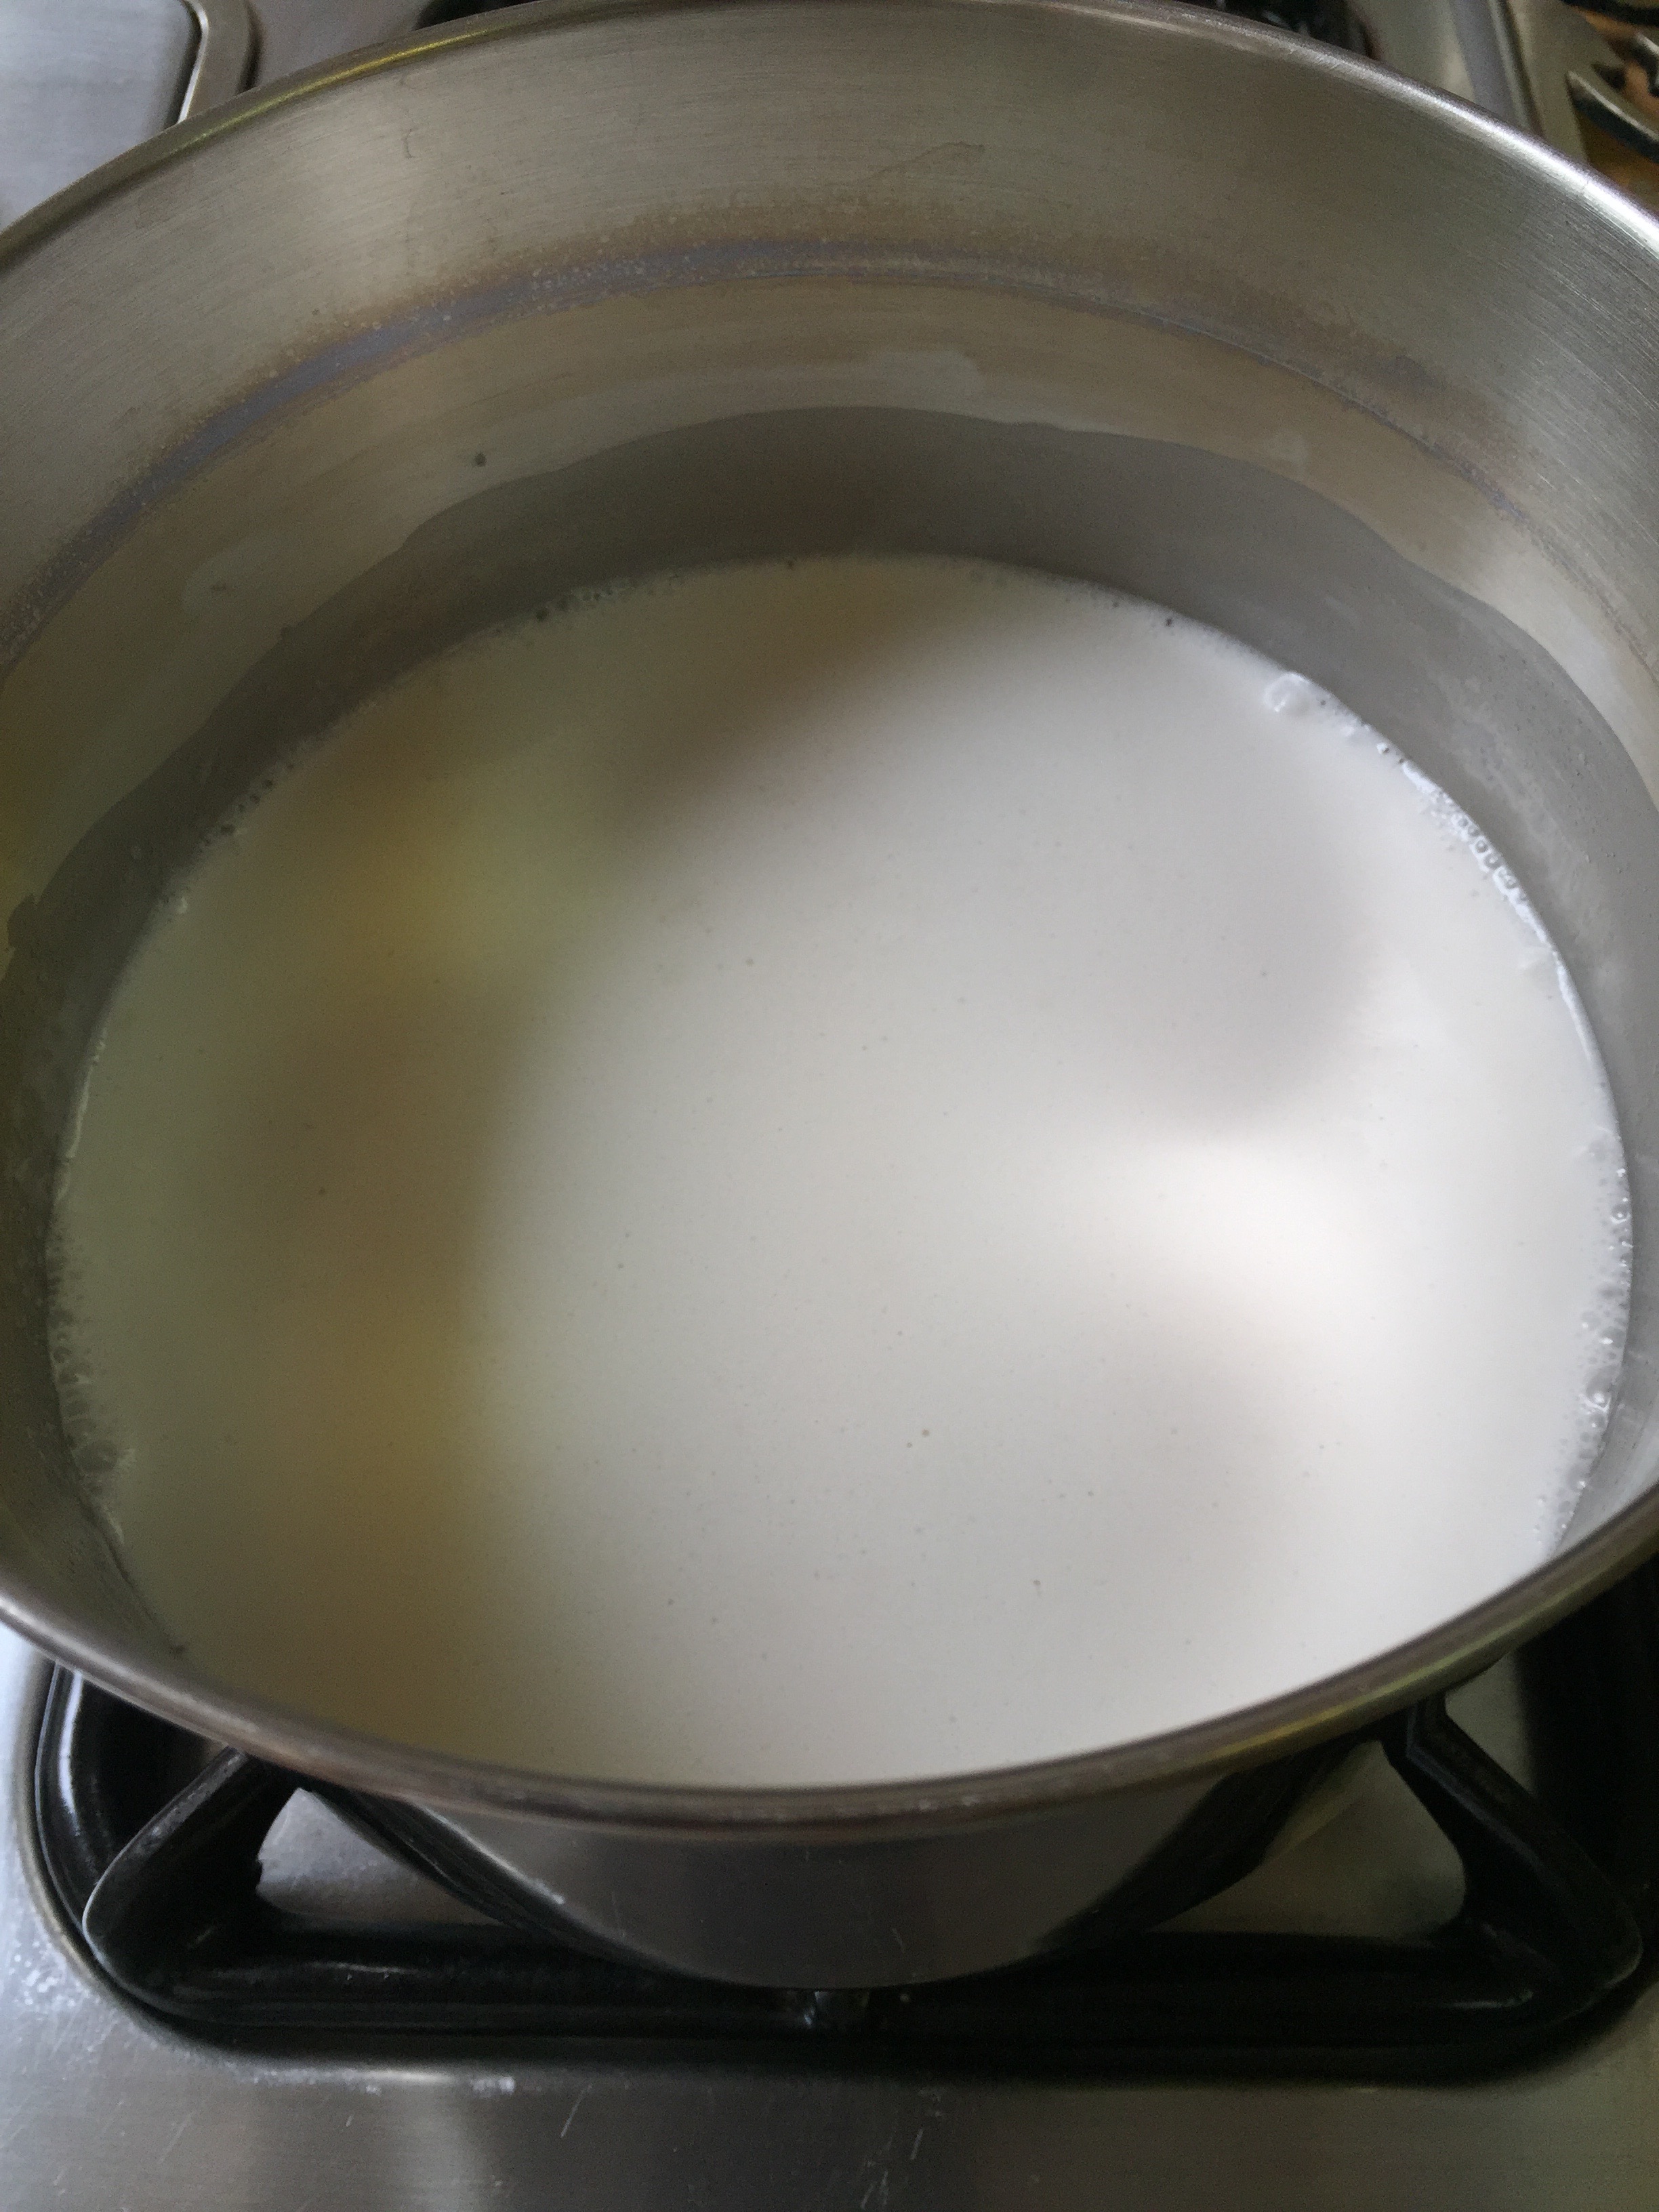
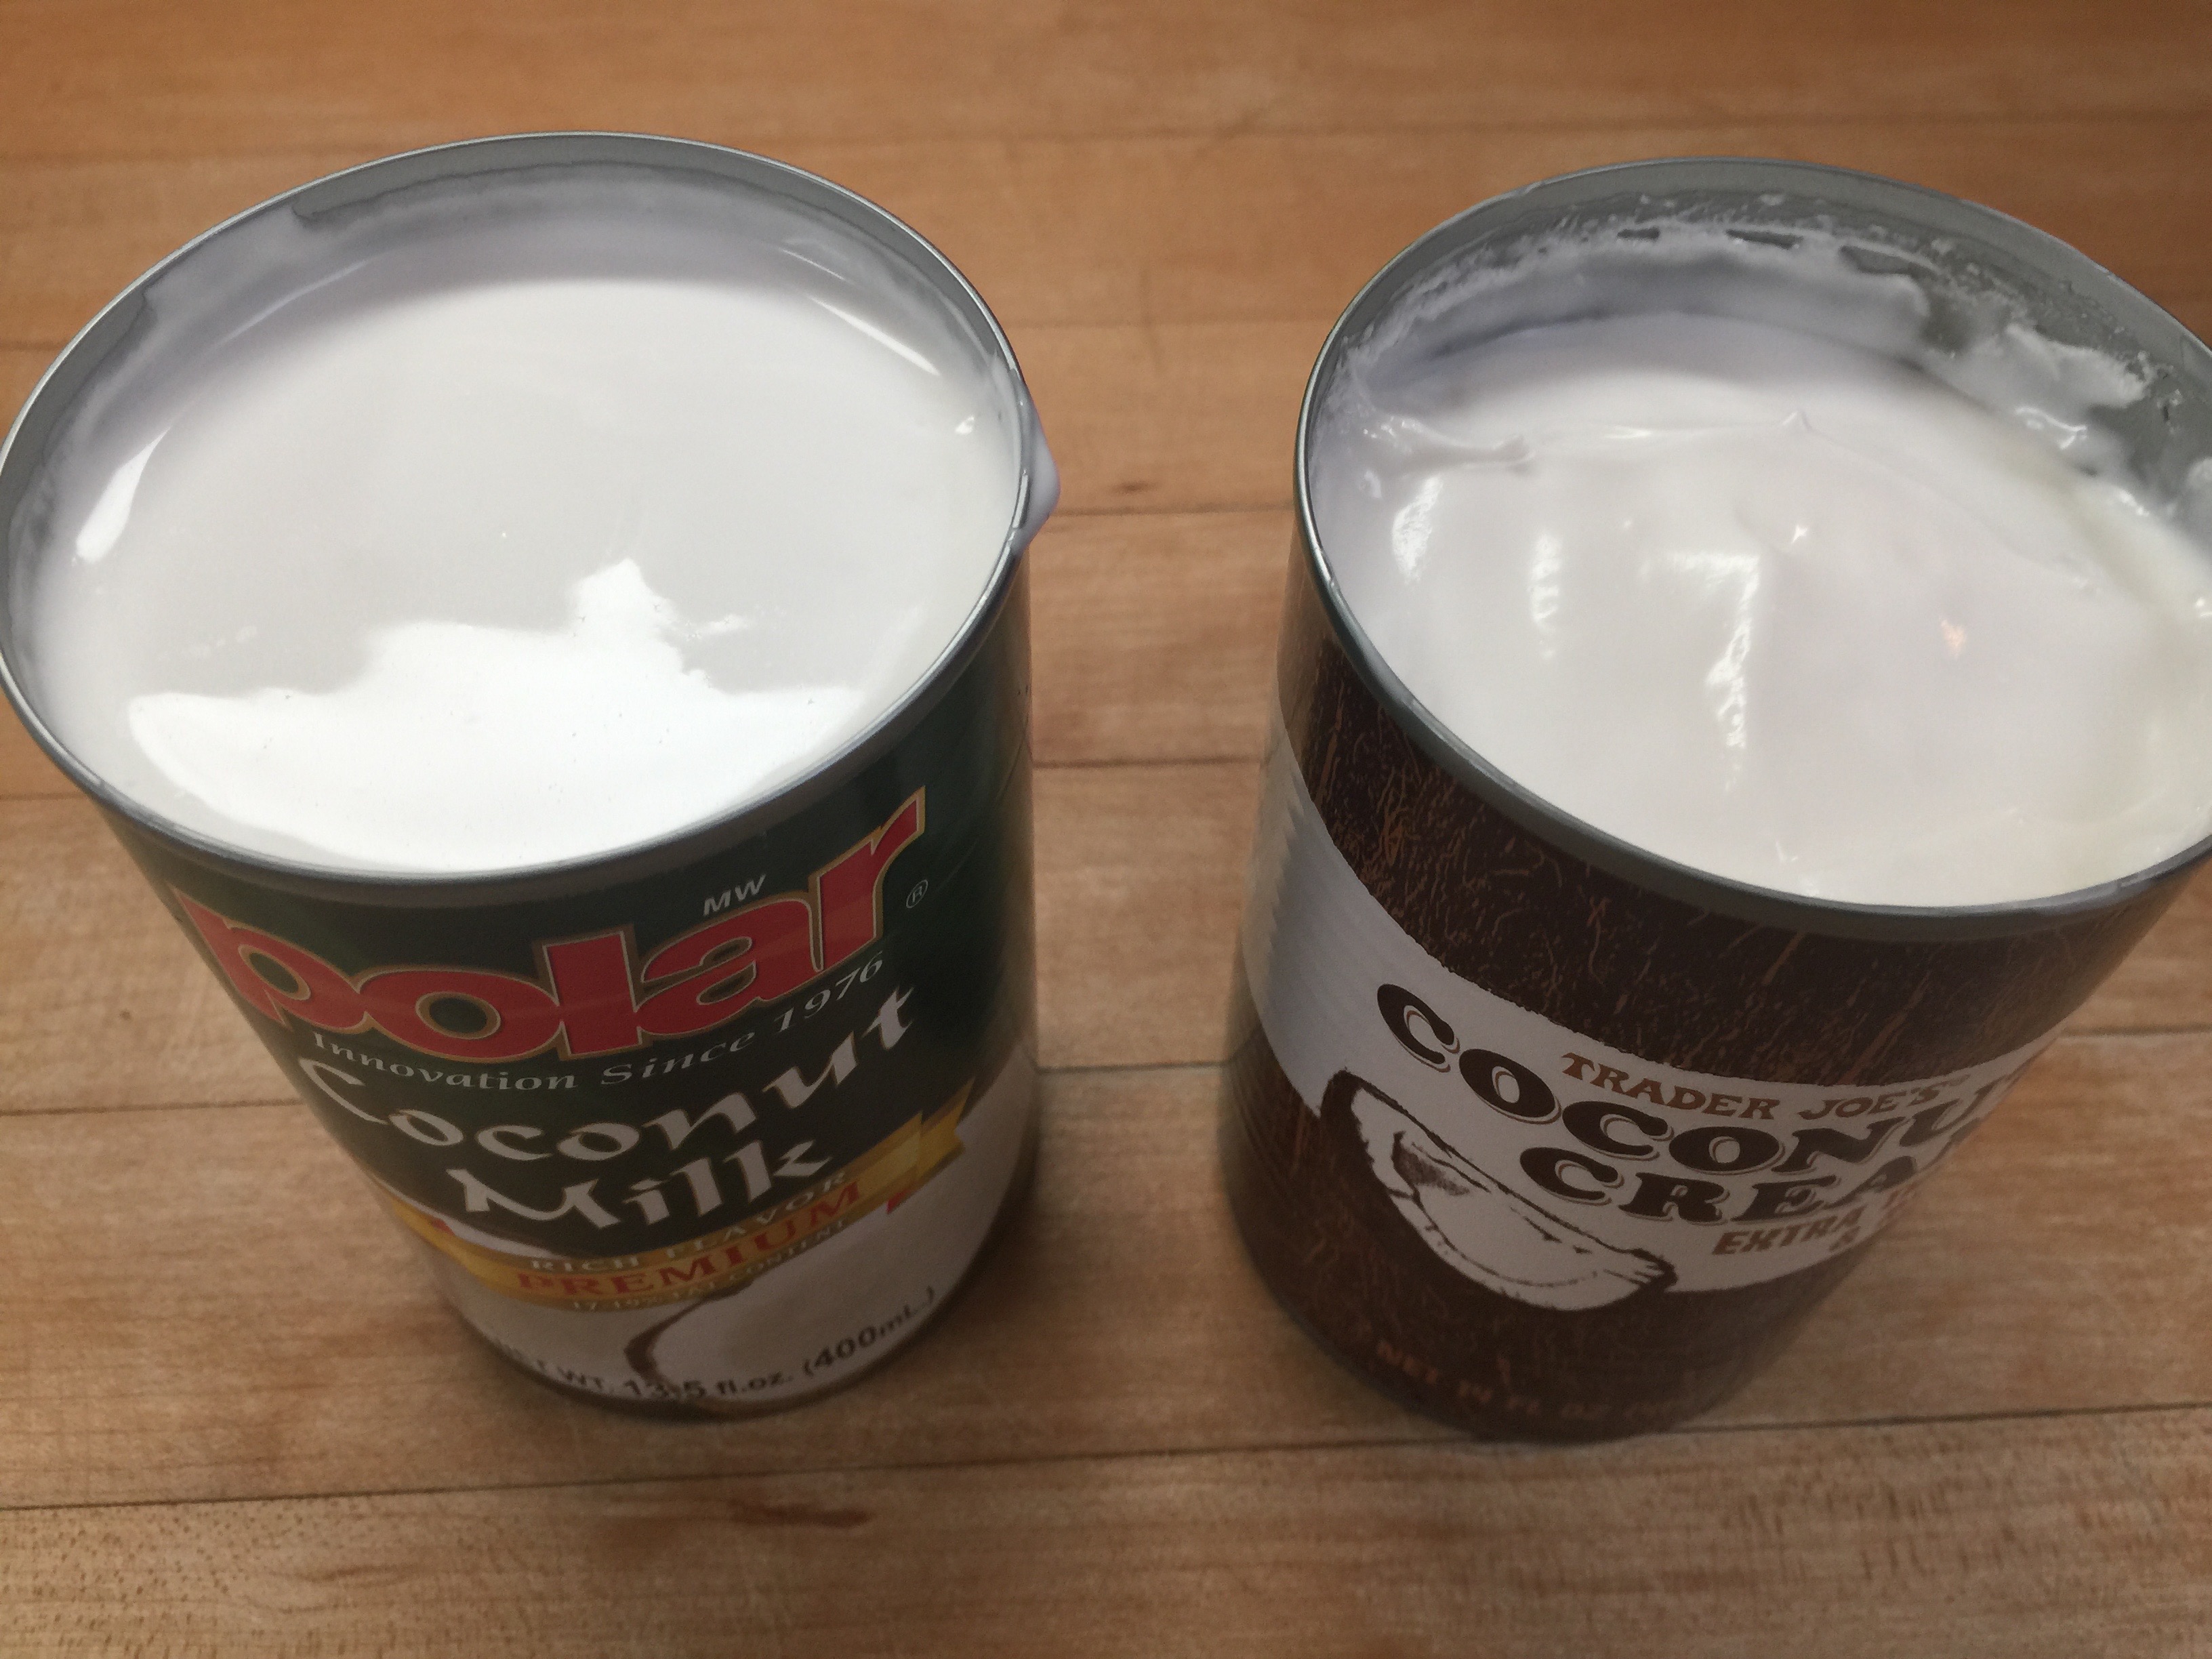
14 ounces of canned full-fat organic coconut milk
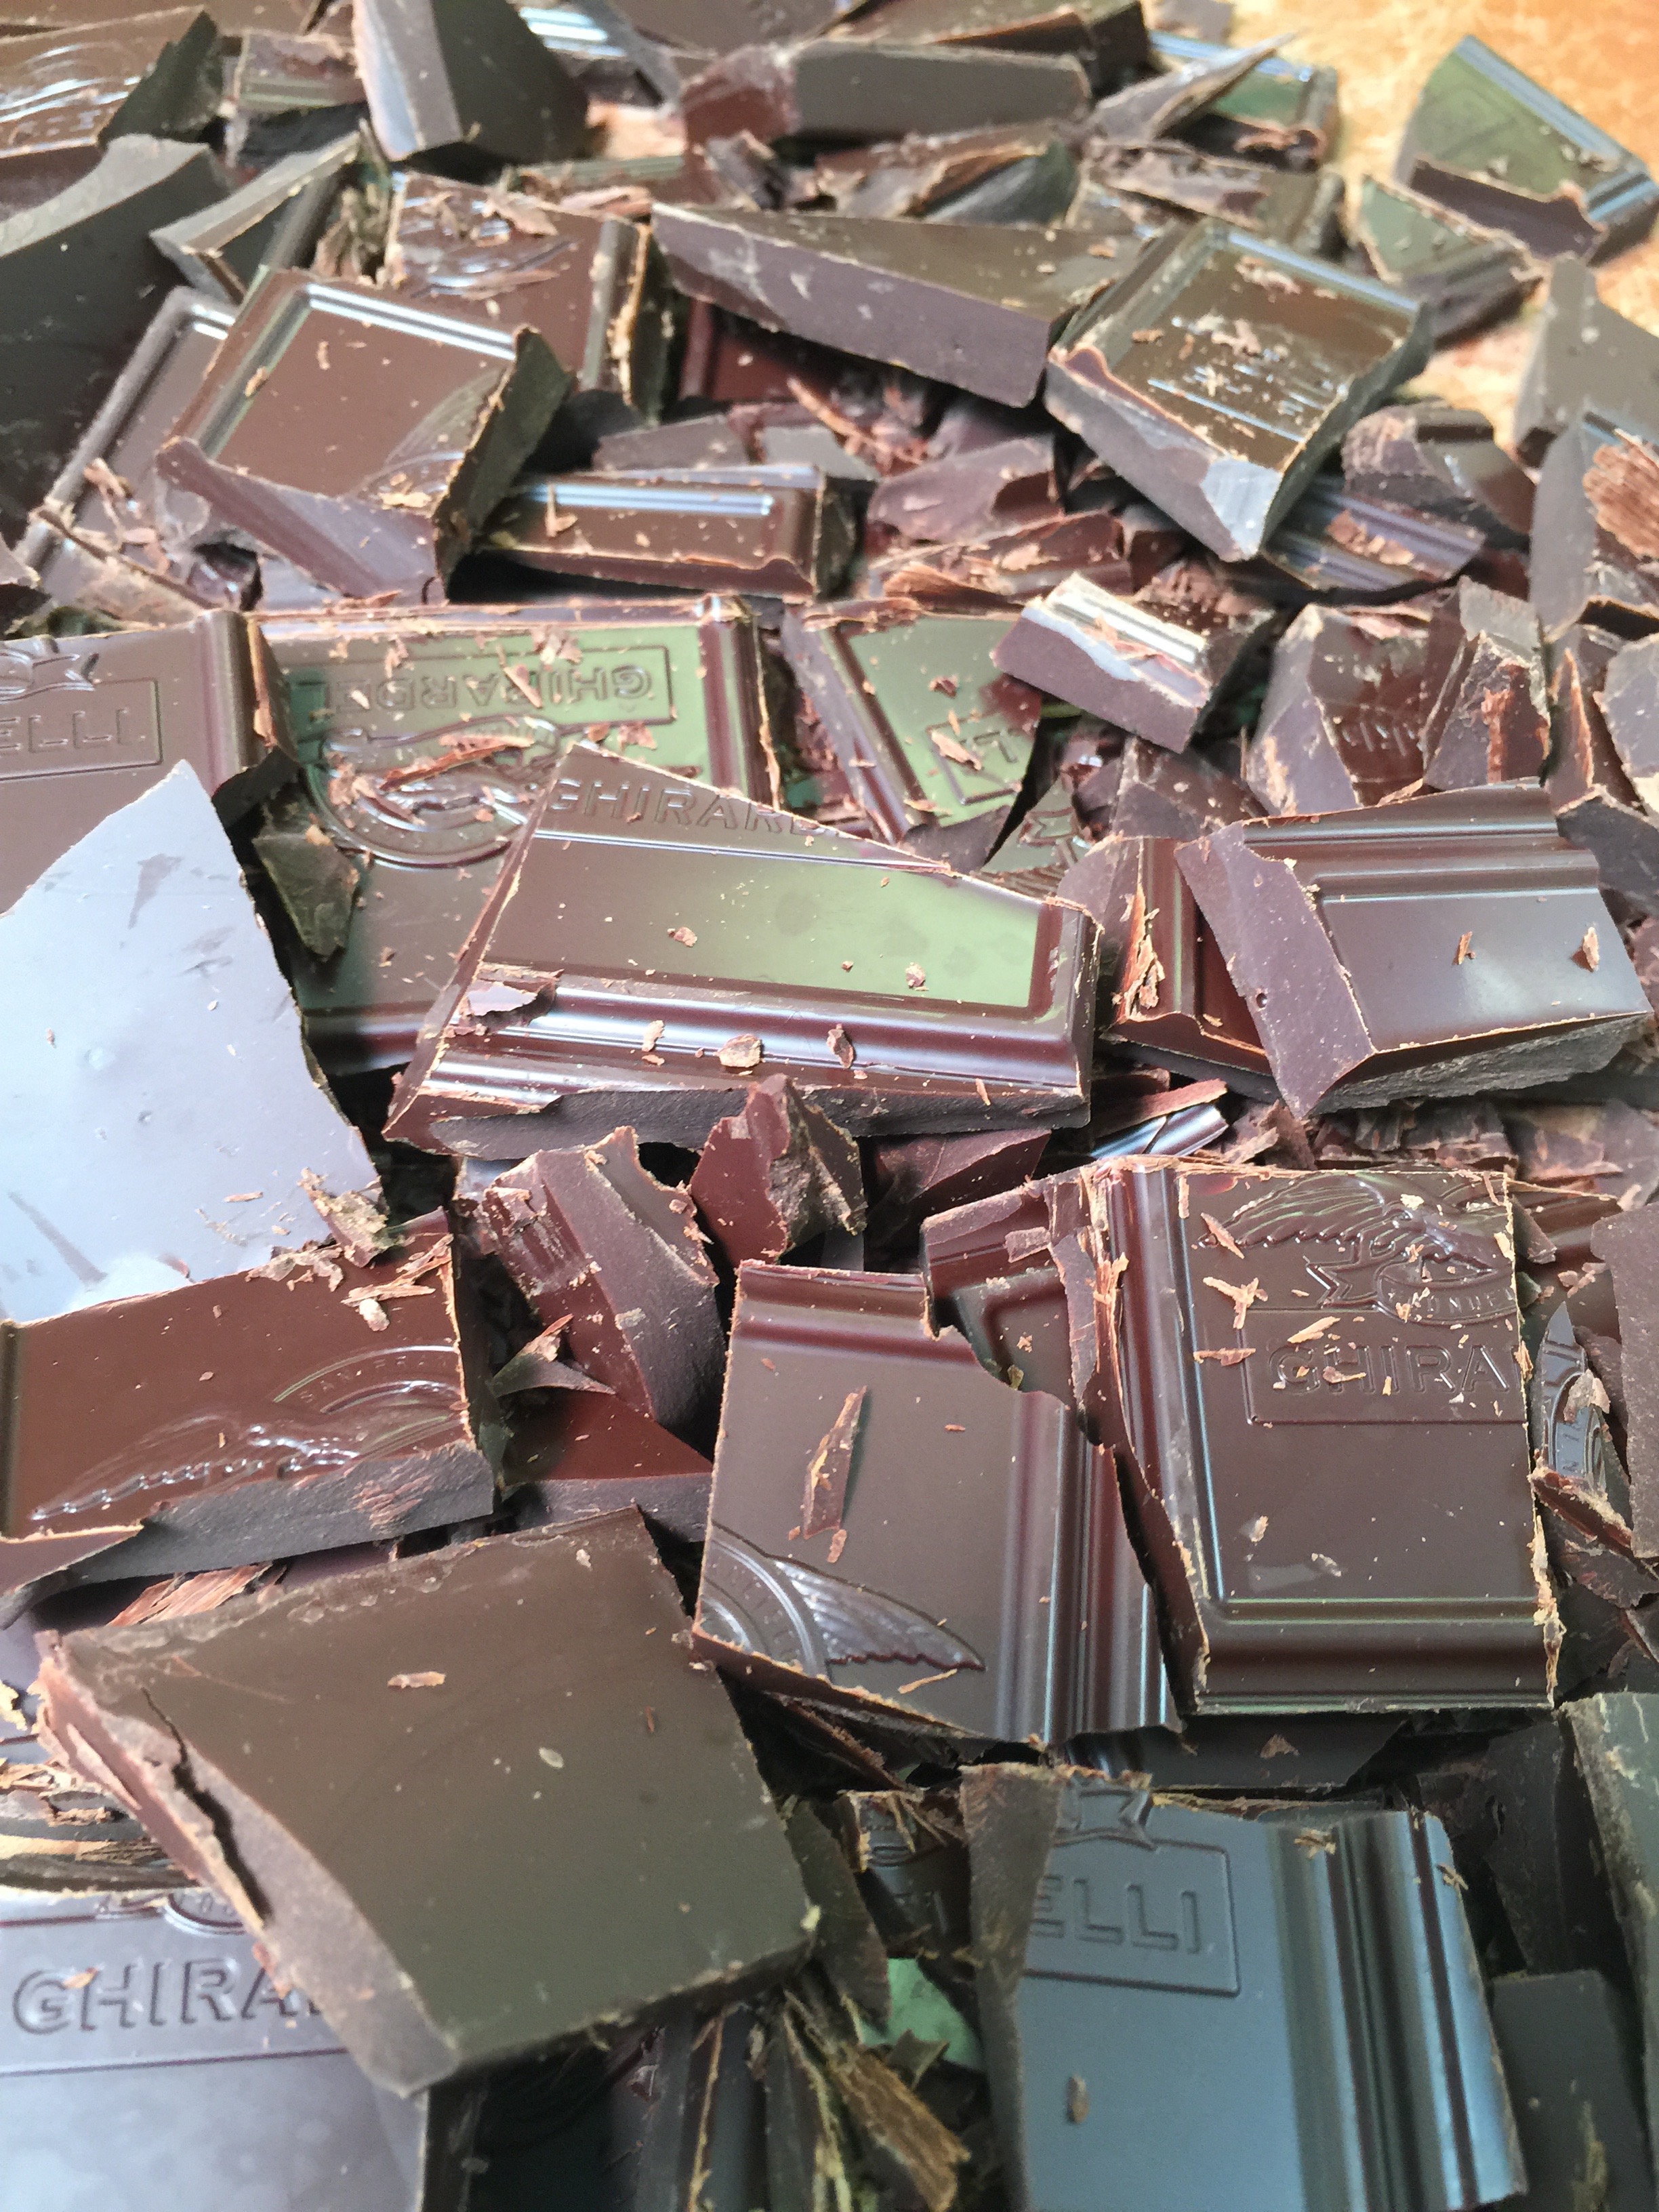
8 ounces of 100% Cocoa (Unsweetened) Chocolate
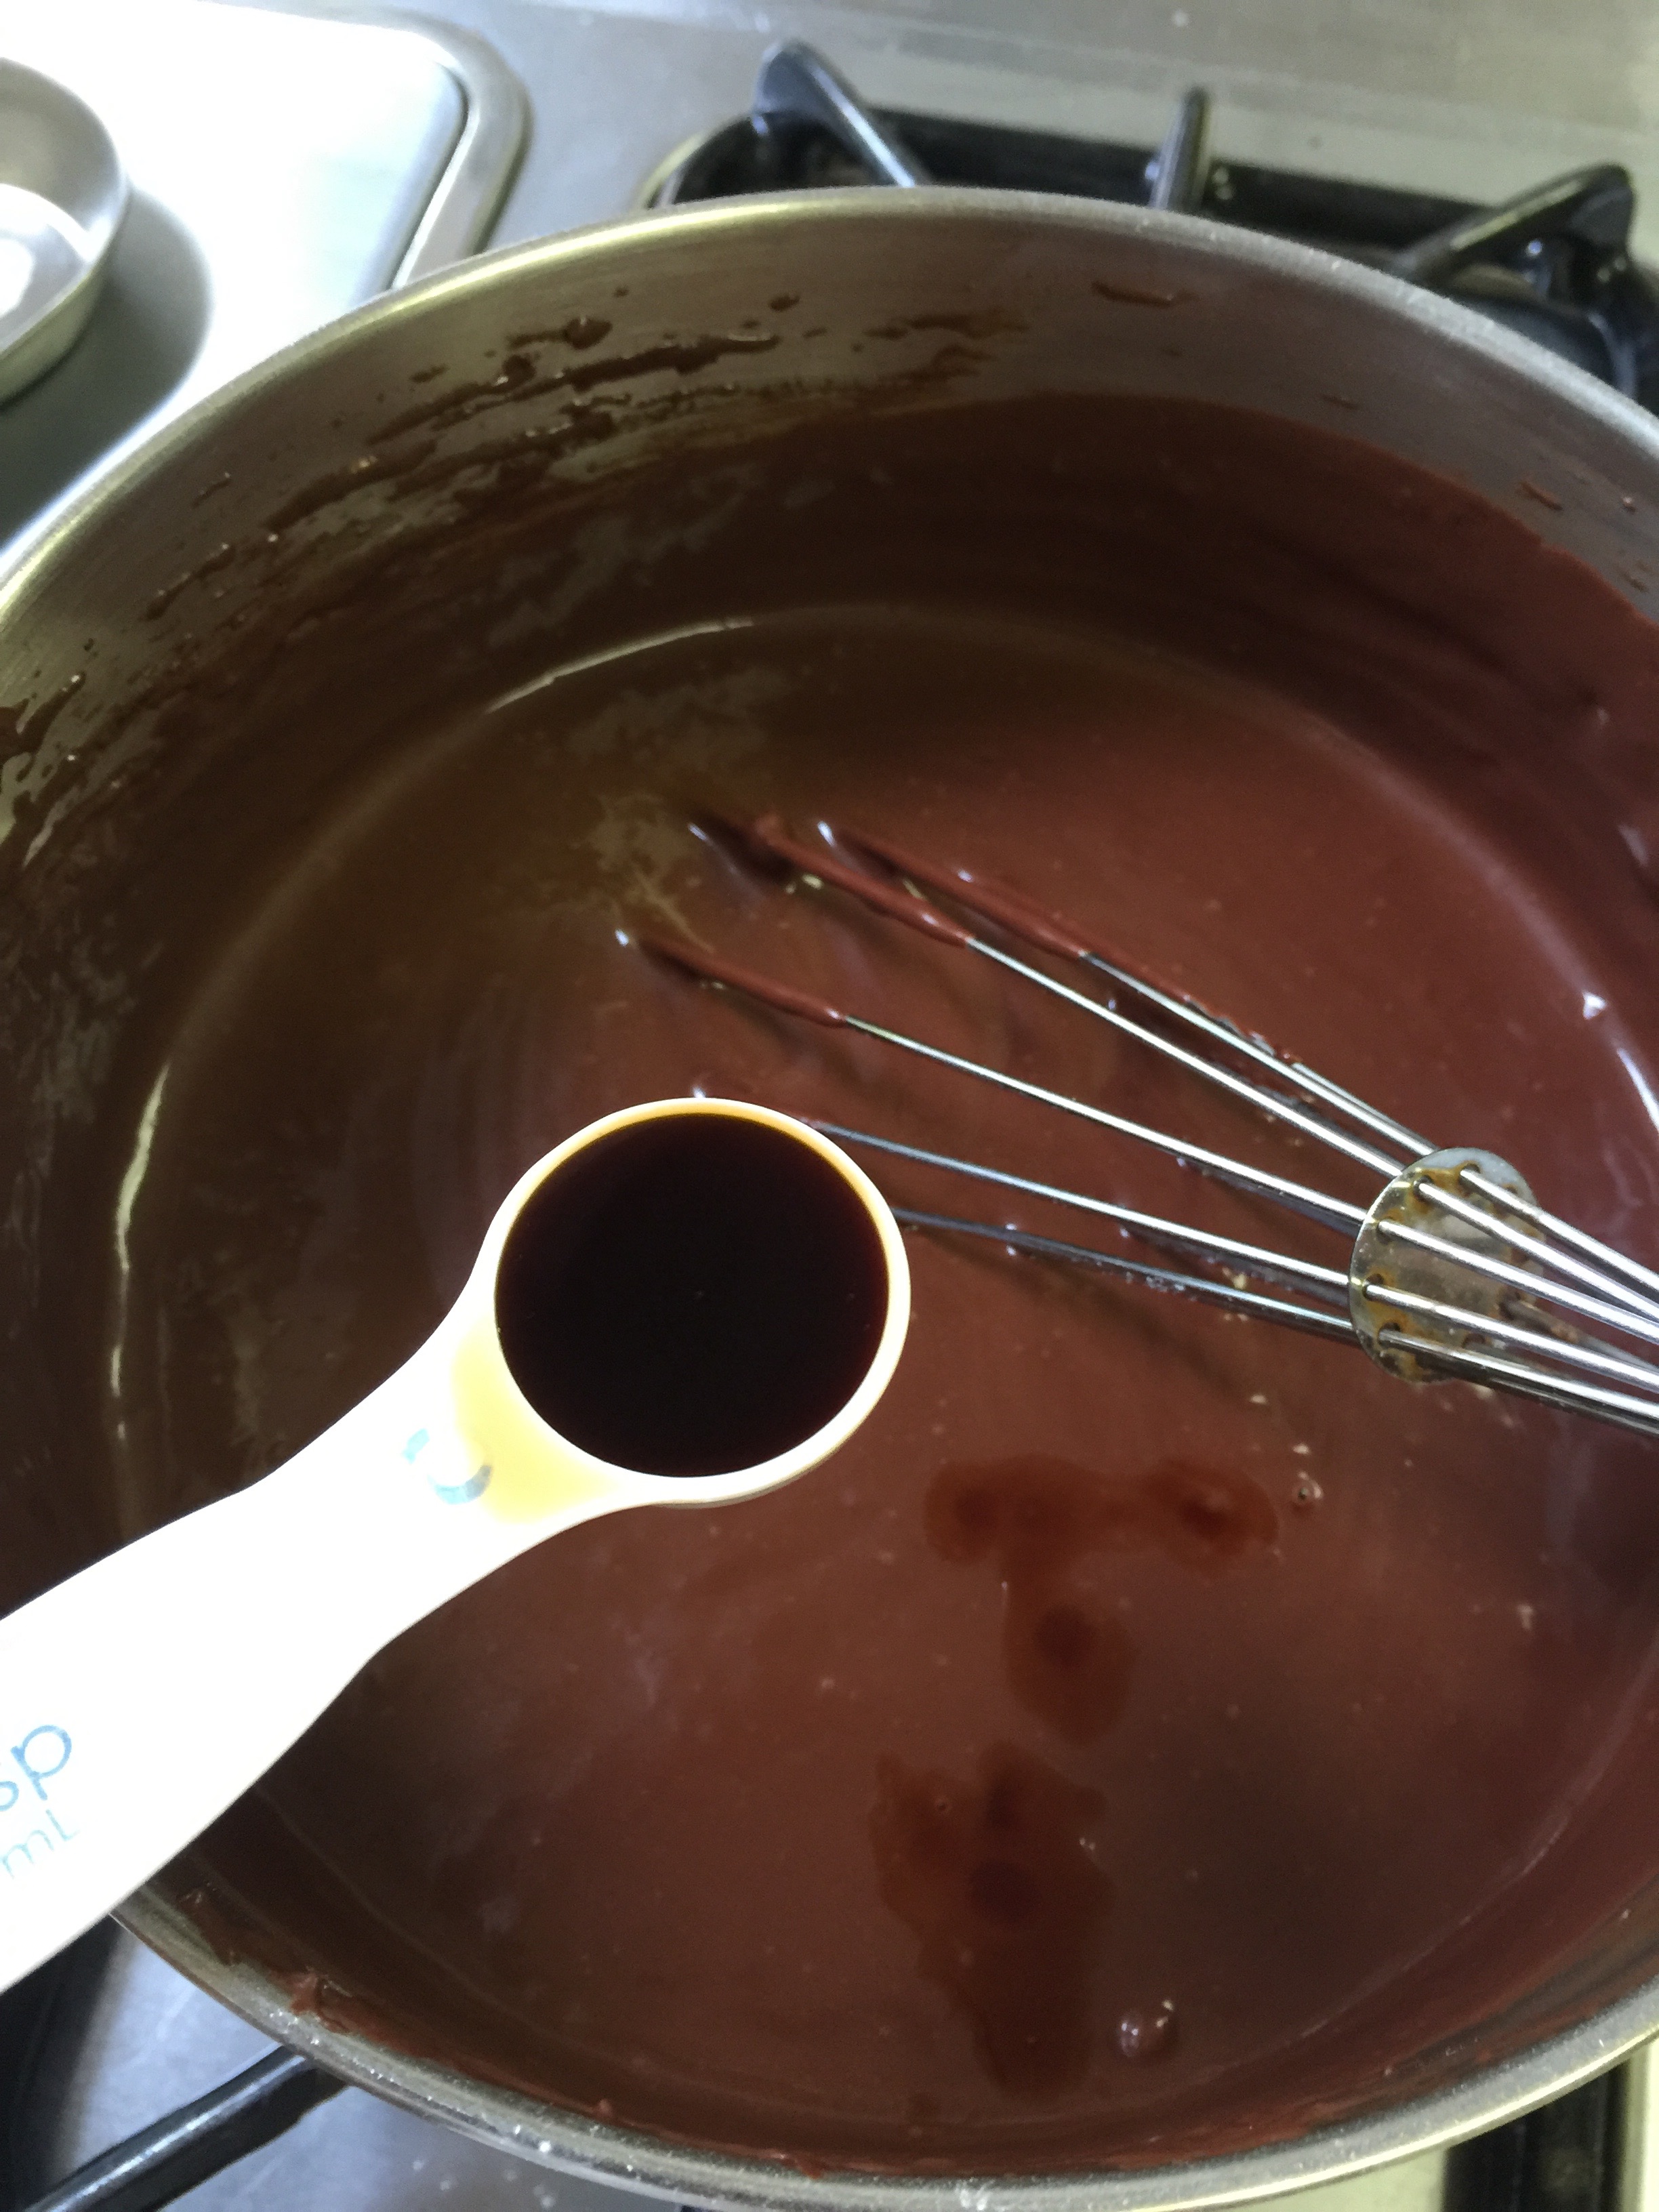
1 tsp of vanilla extract OR 1/2 tsp vanilla extract and 1/4 tsp almond extract
1/2 cup Swerve Confectioners
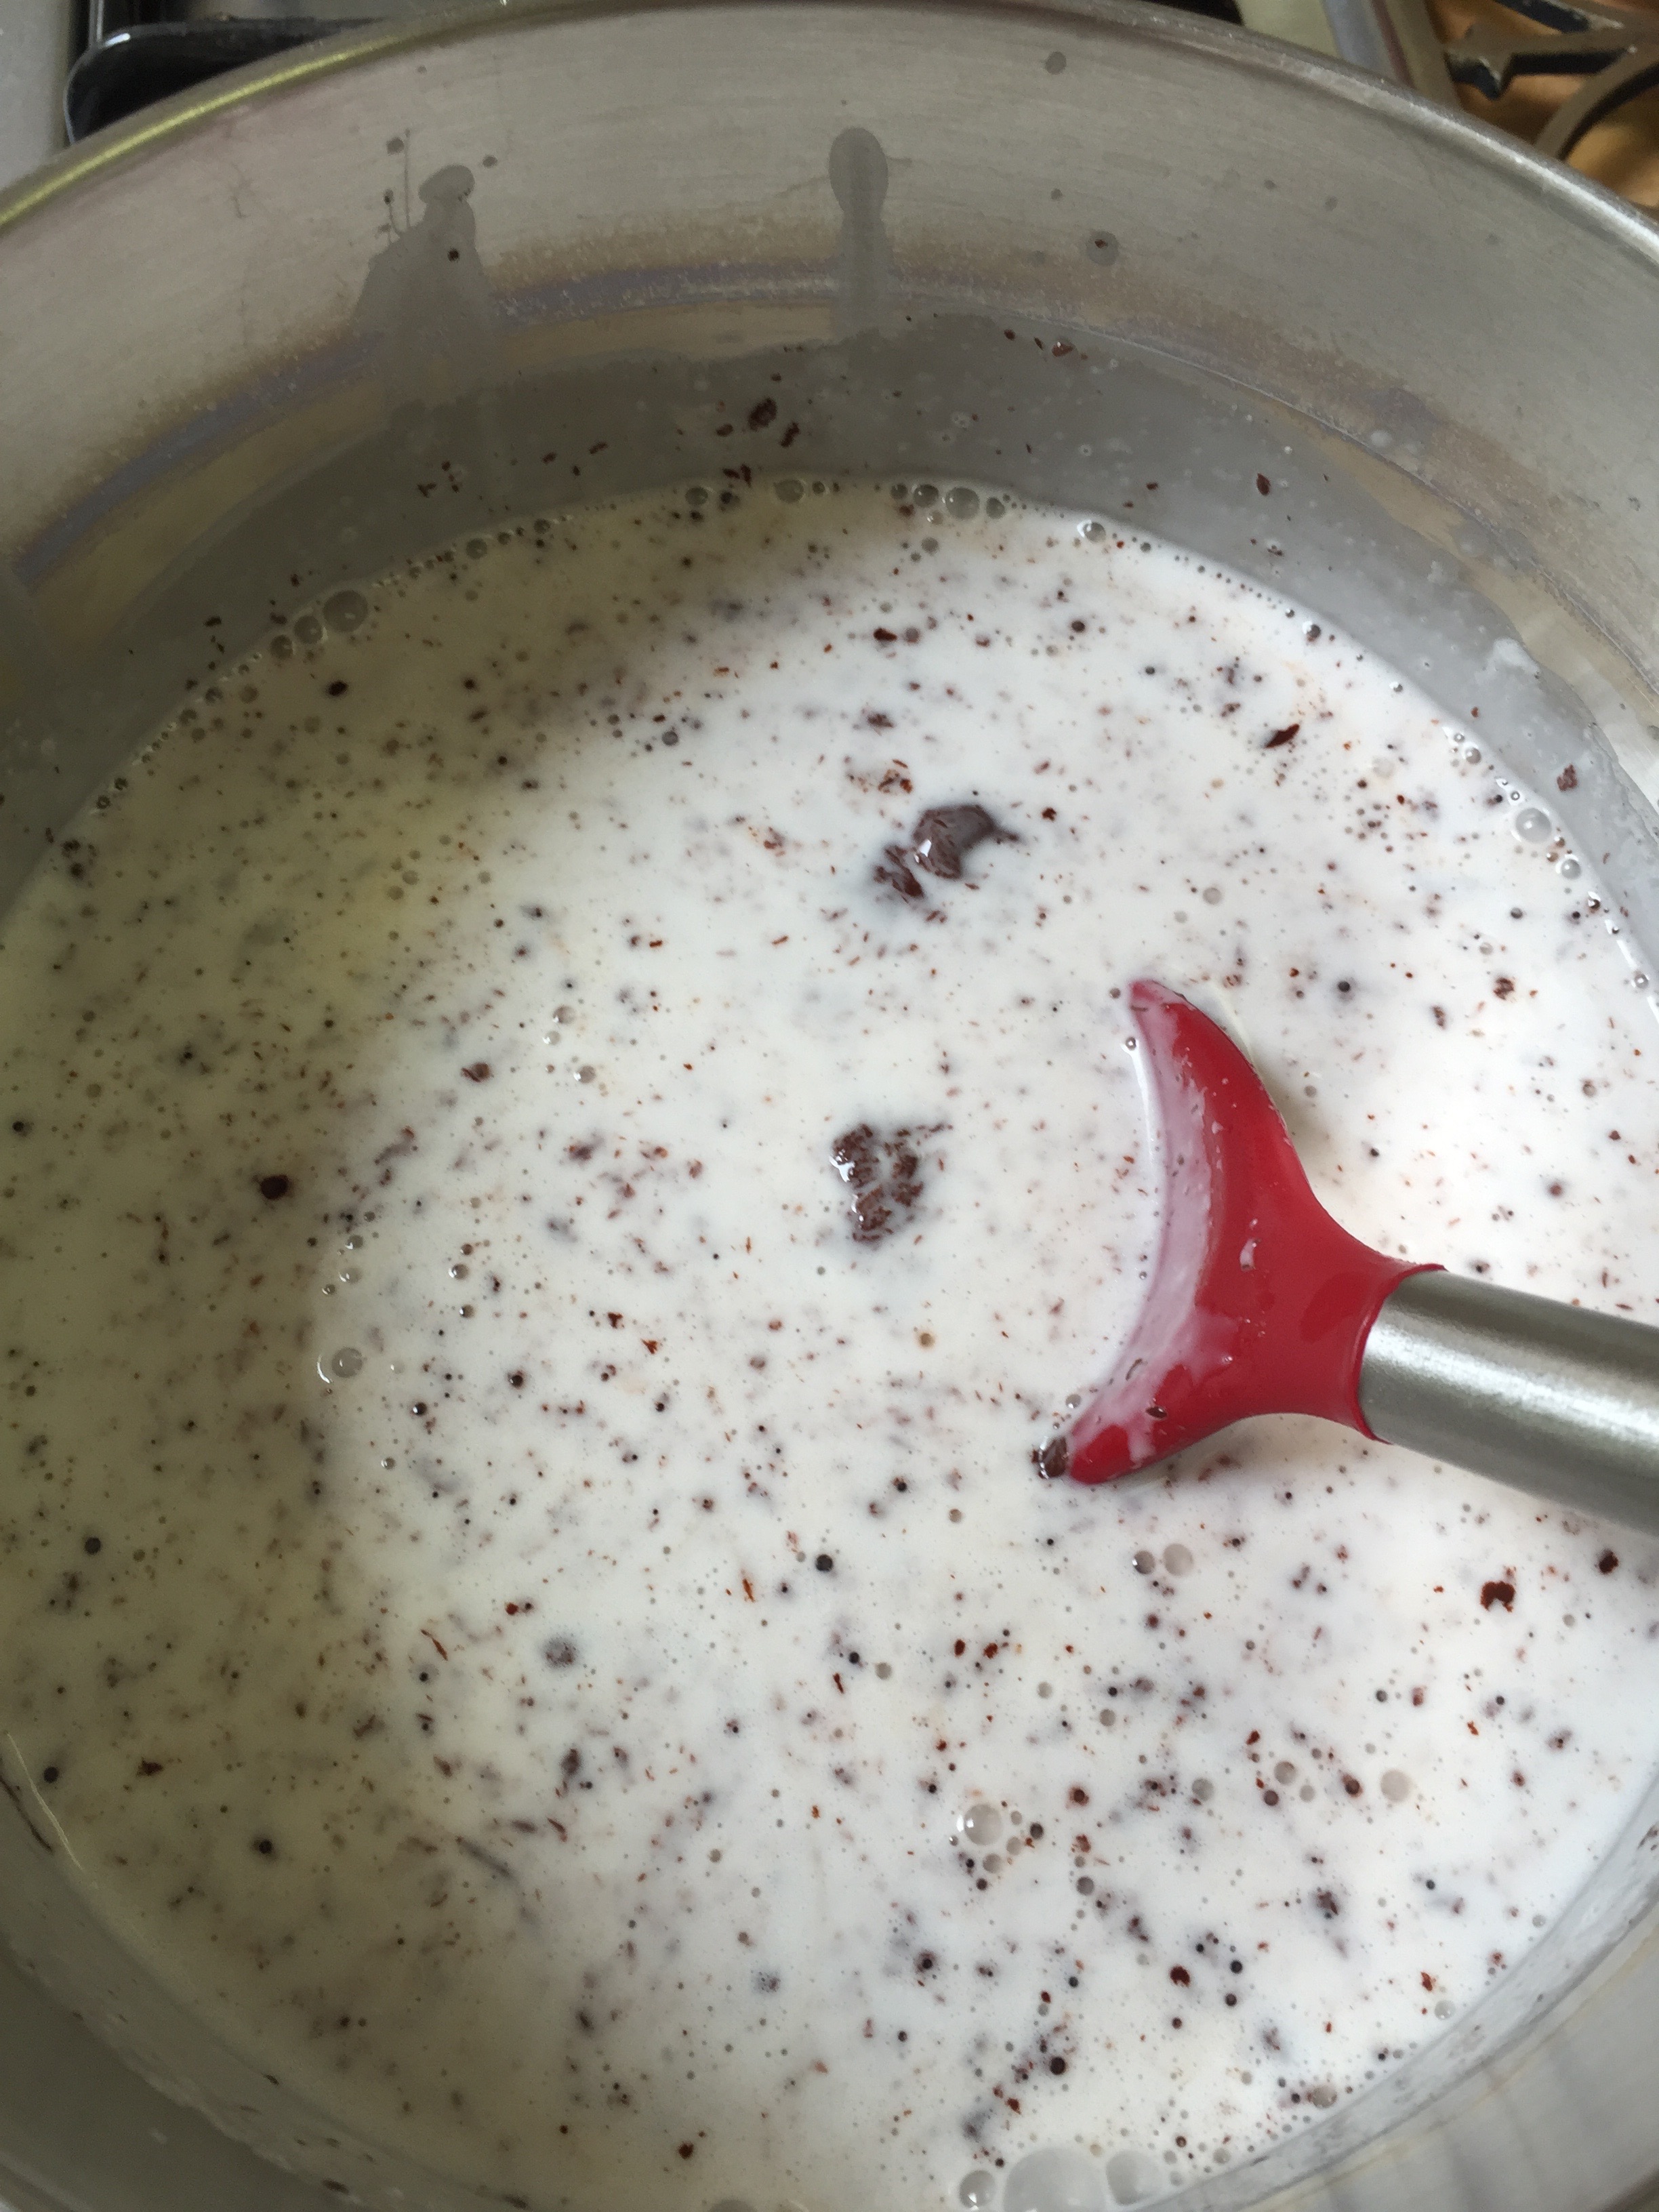
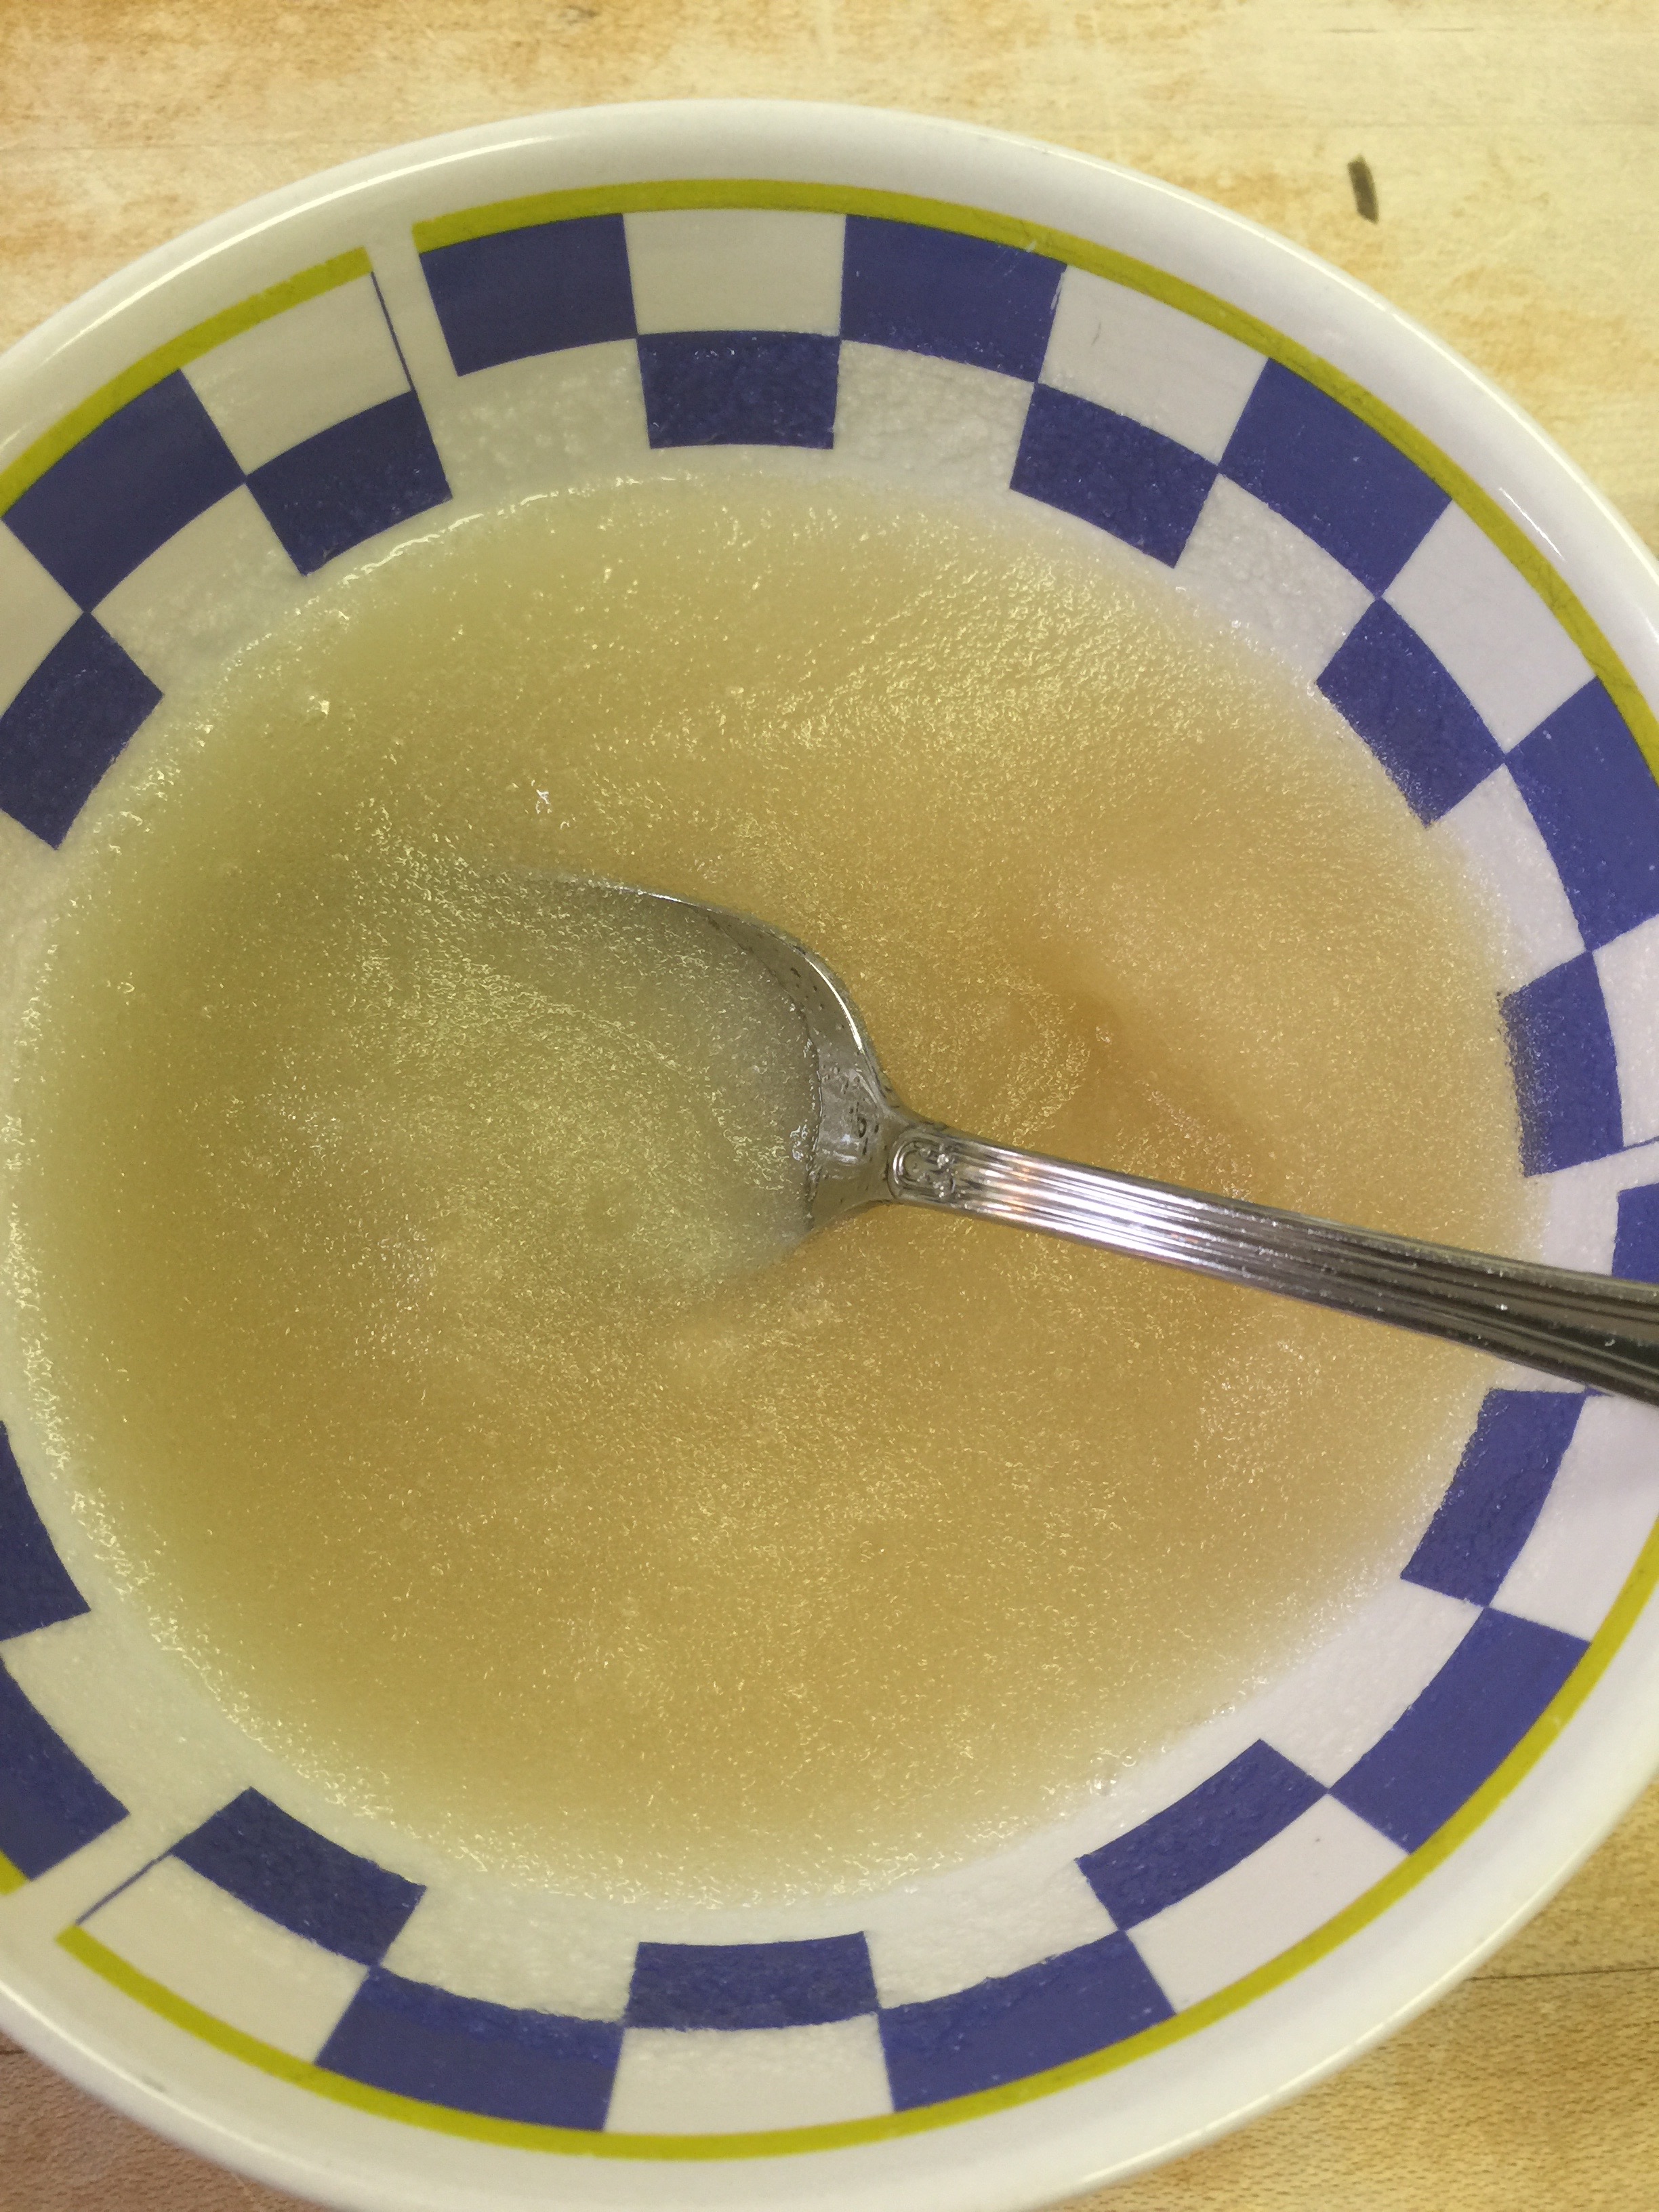
In a saucepan, over medium heat, heat the coconut milk just until bubble form.
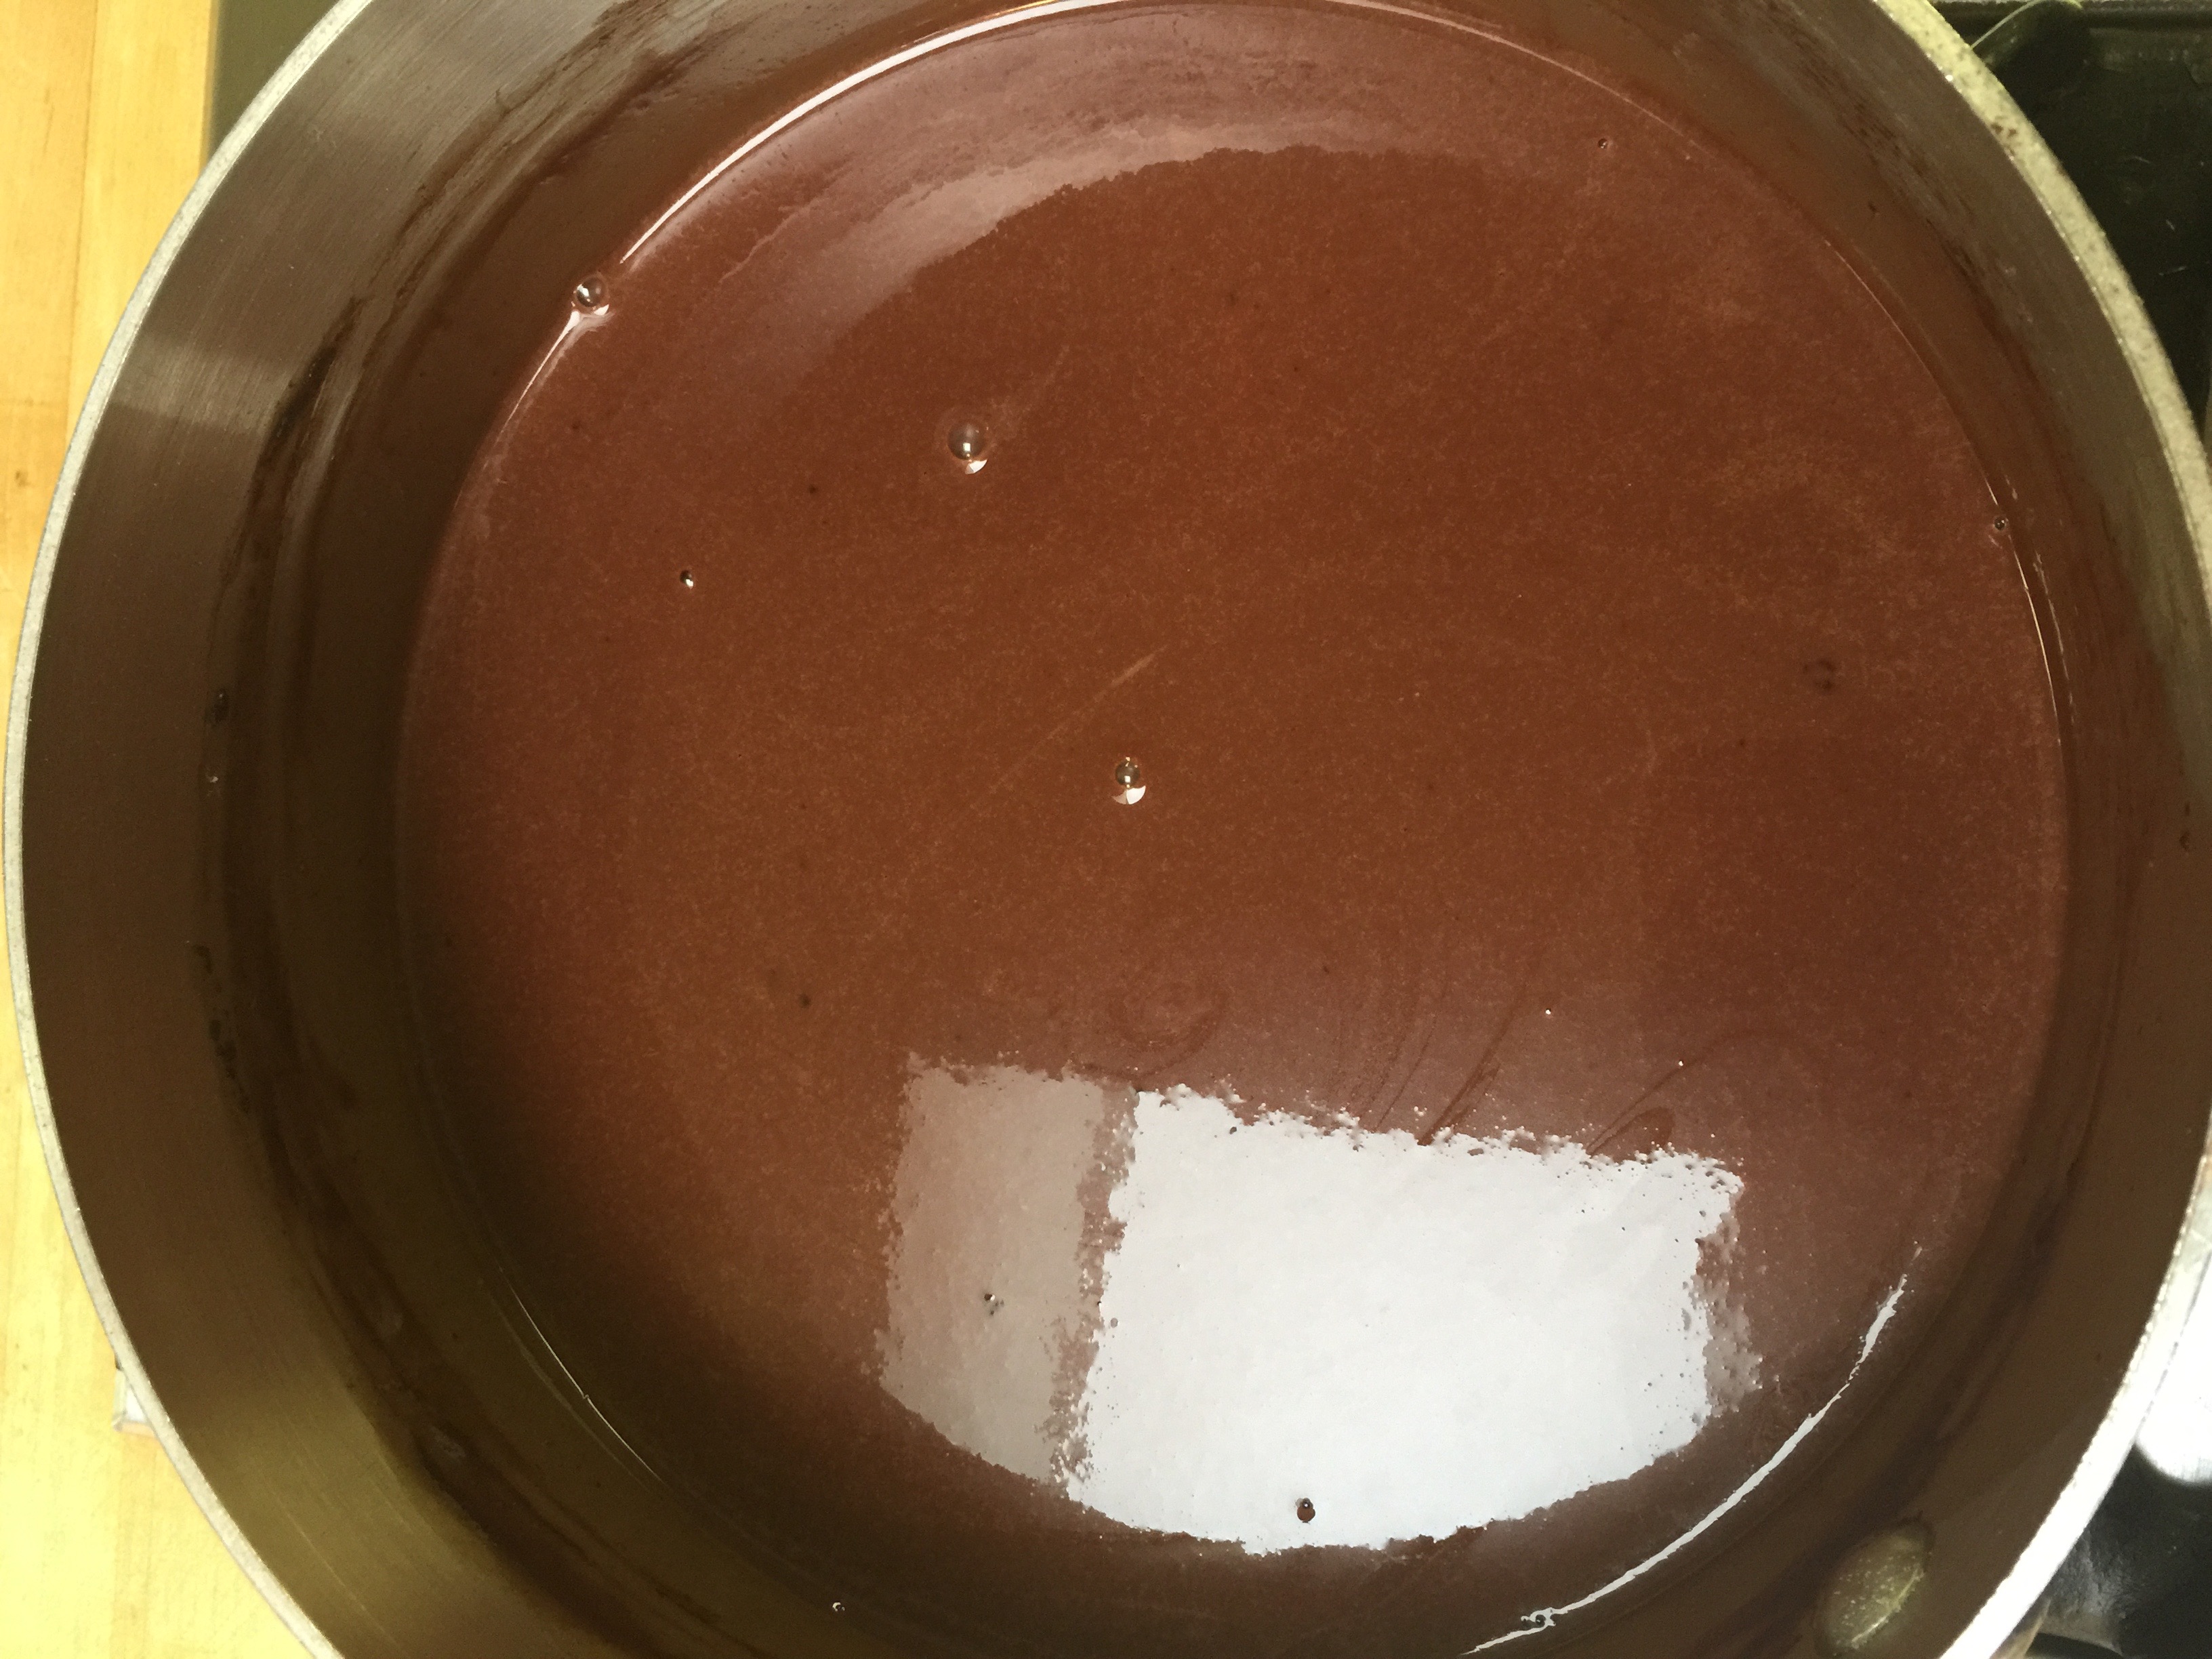
Add the chocolate that you have chopped to the pan.
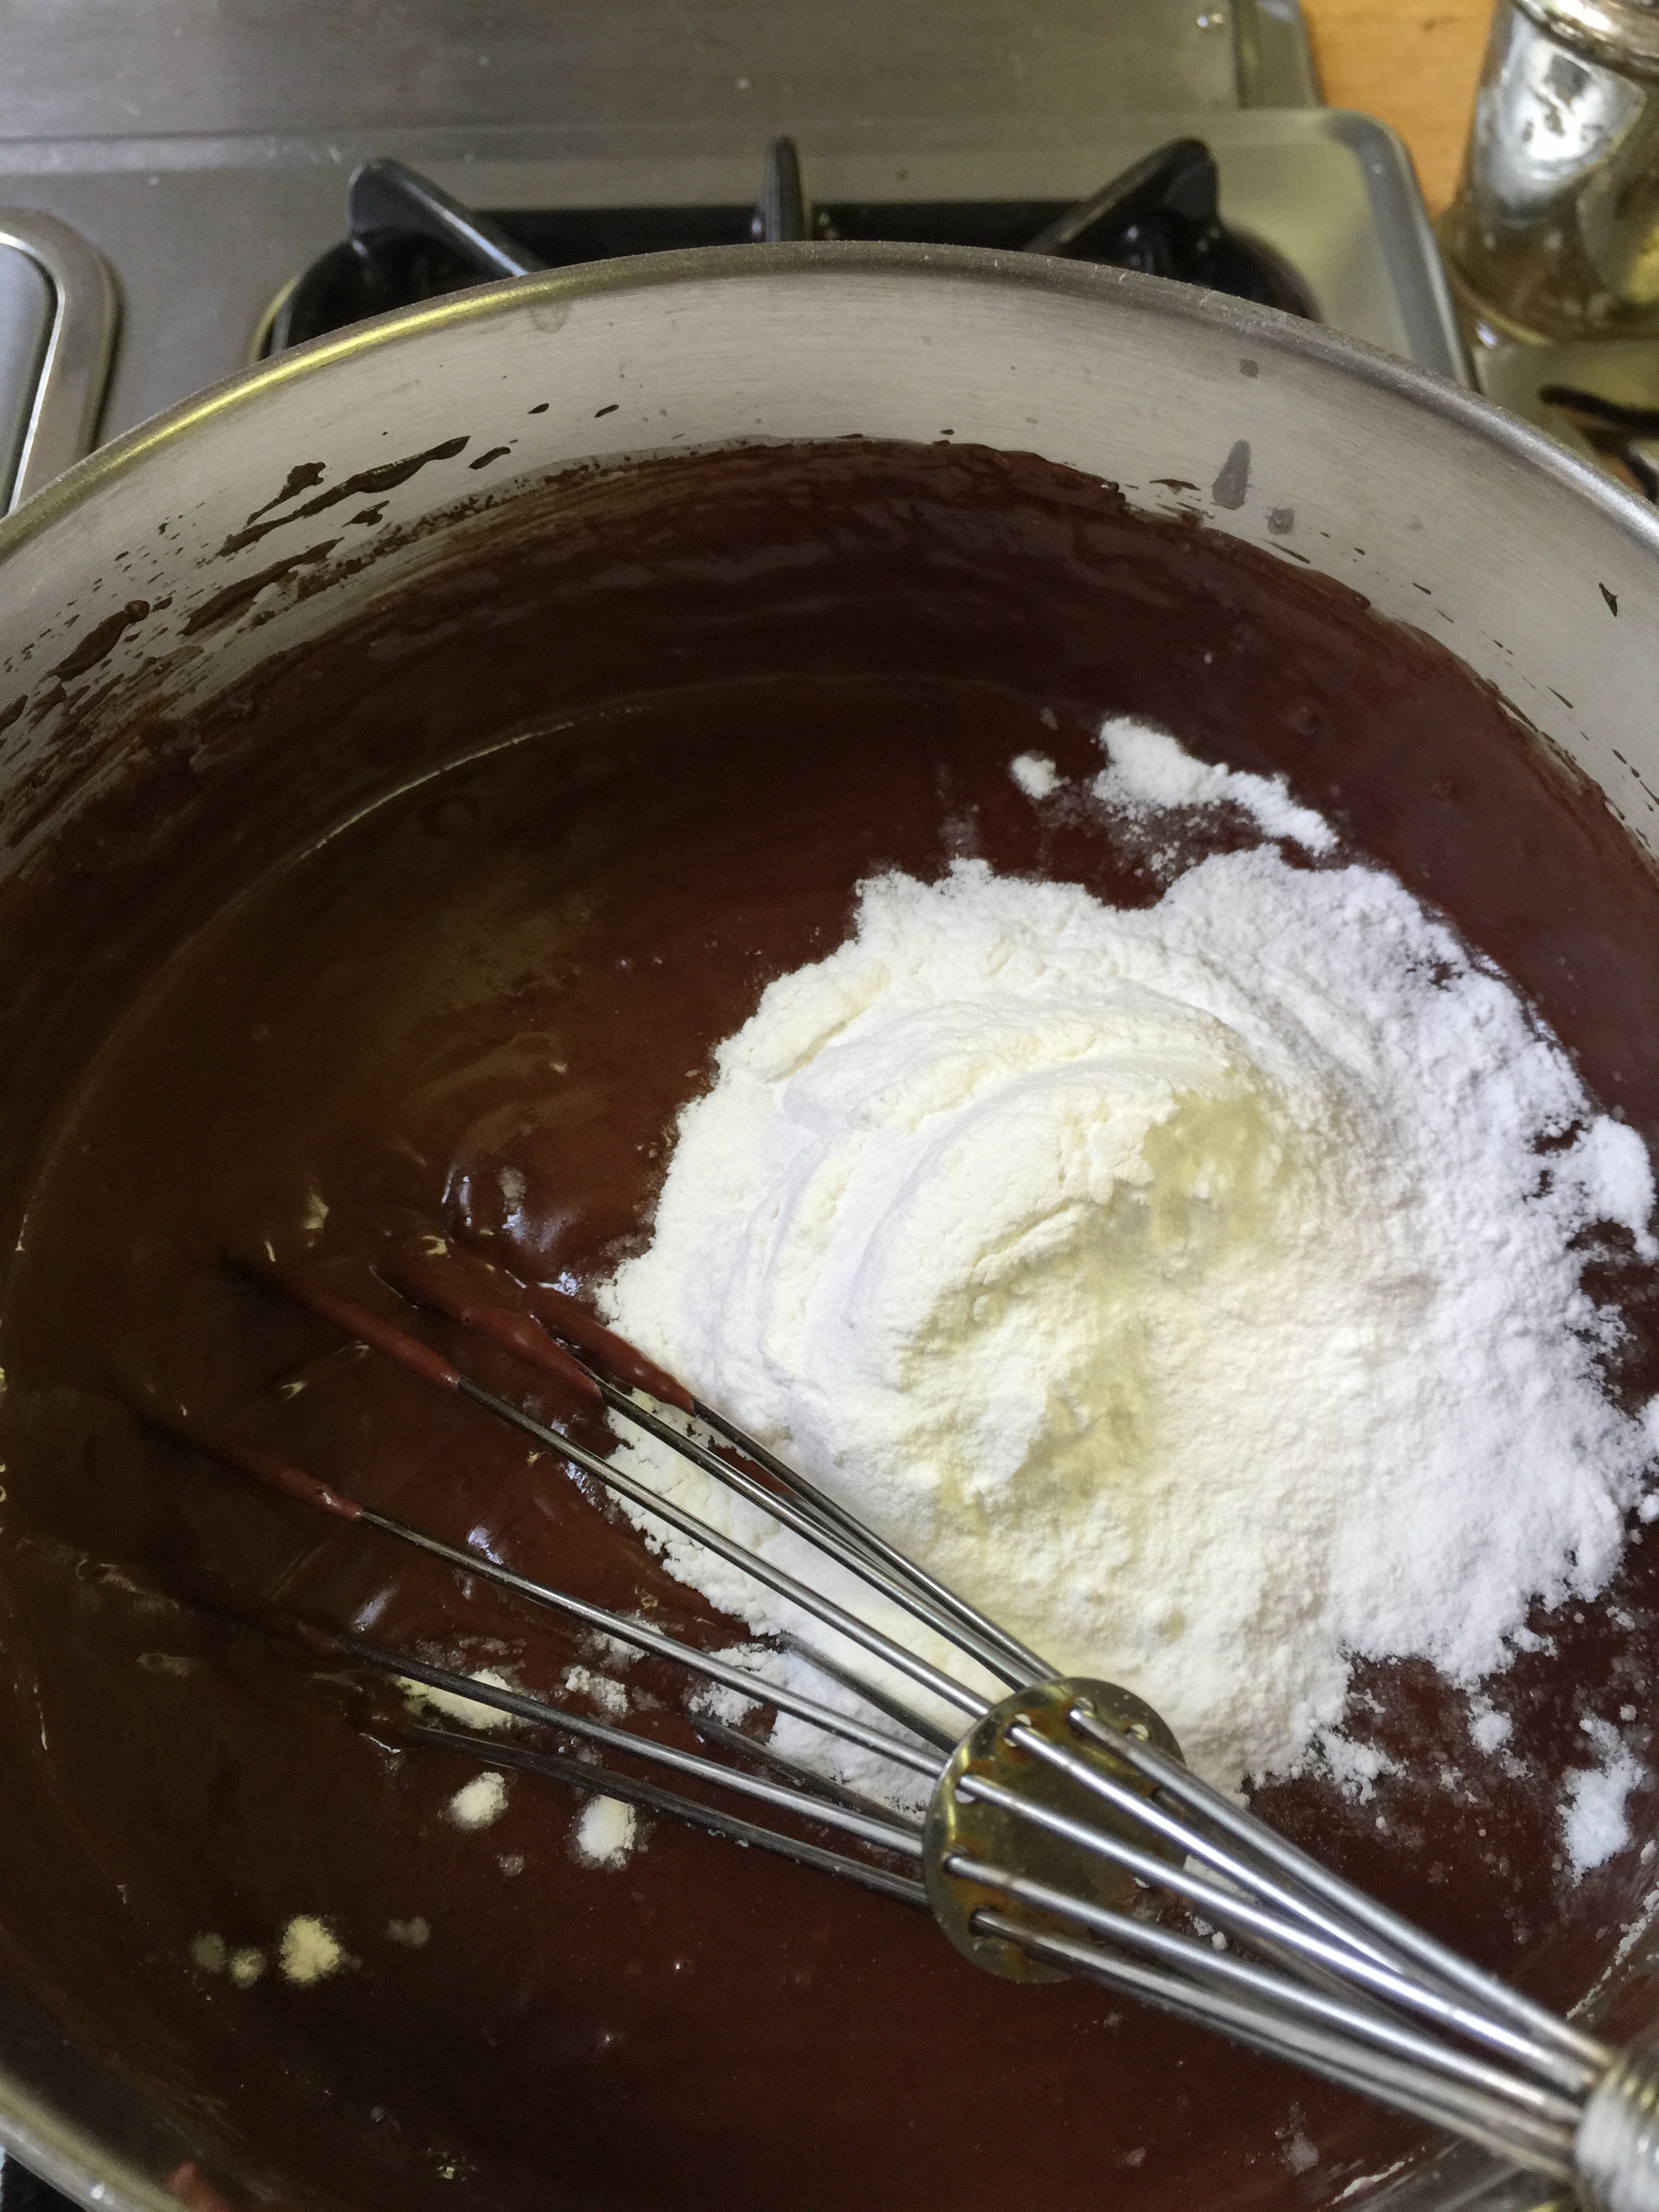
It will look like the above until it begins to melt, and then it will look beautiful. Once melted, remove from the heat and add the Swerve and Vanilla or other extracts.
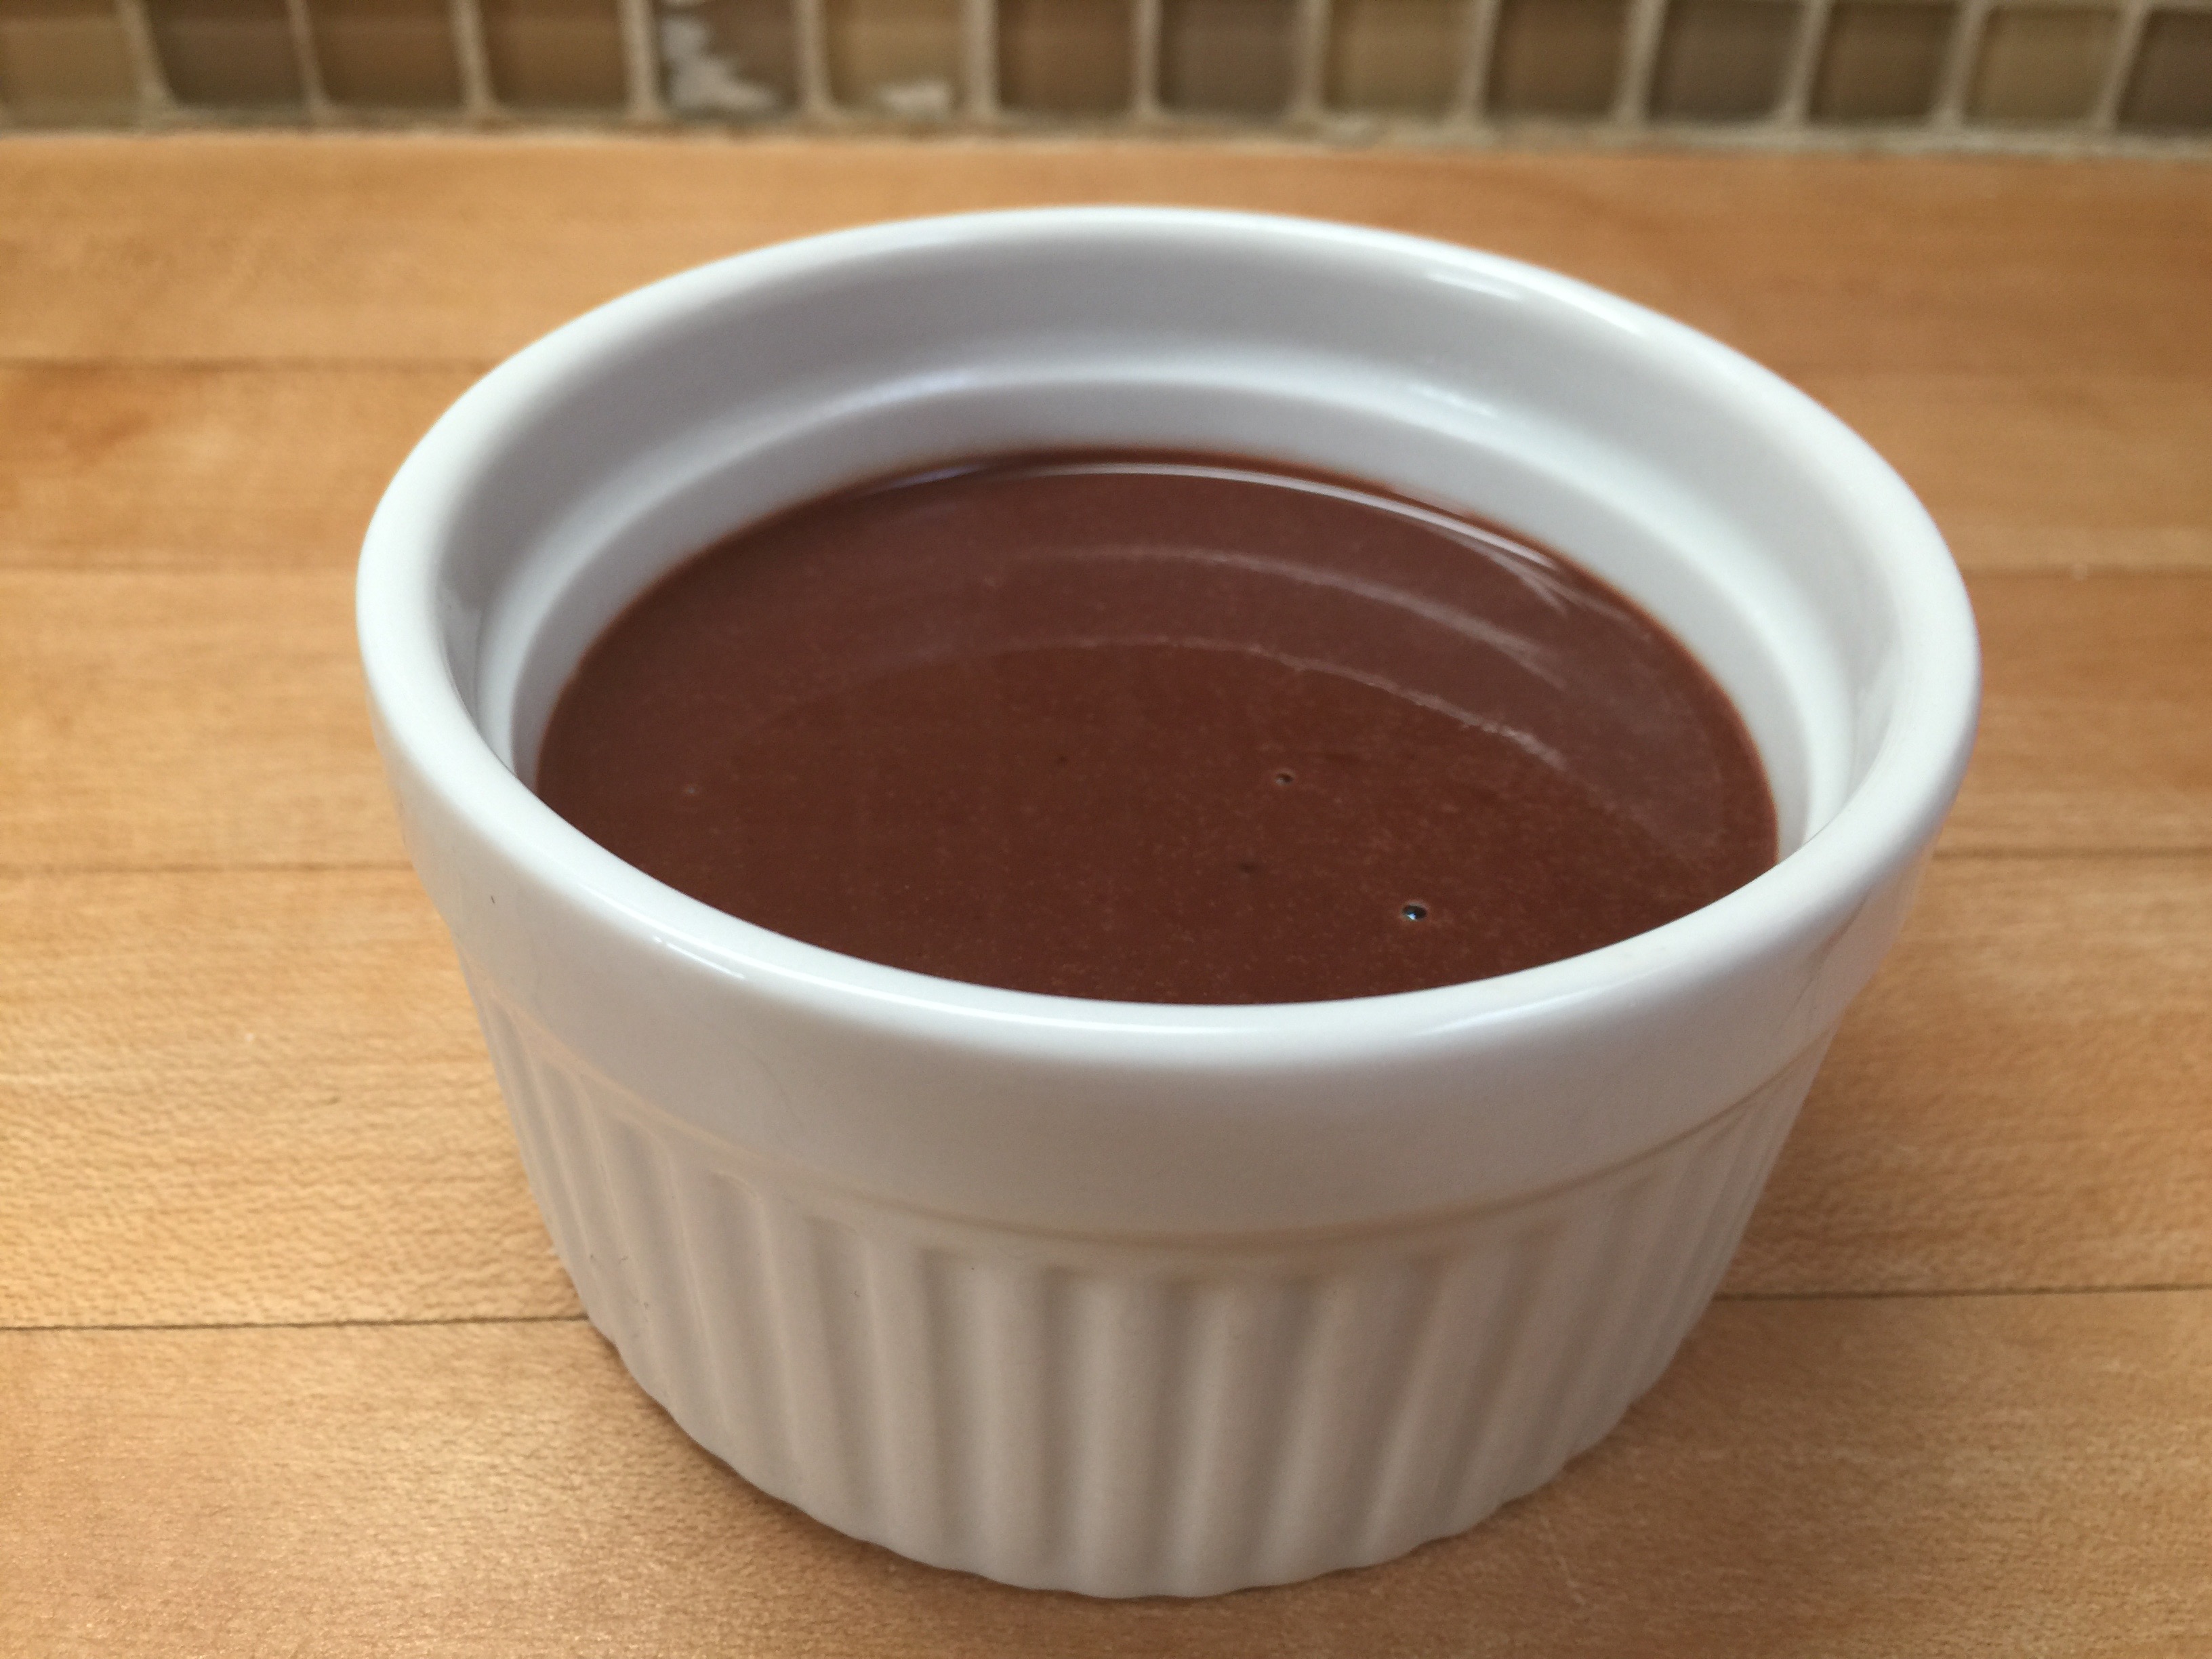
Whisk all your ingredients together and then pour in your crust of choice.
Place your pie in the refrigerator for at least 2 hours. You can do it overnight which is great when preparing for a party or event.
This is your finished product! To add even more to the richness, add a dollop of whipped cream to the top and you are really set! Cut with a sharp knife and enjoy.
We are posting this one today so you have time to prepare this beauty for the holiday weekend. This is a luscious lemony dessert that you would never guess to be sugar free, and even better, you can make it patriotic as all get out. The entire dessert was devoured and family approved. It also keeps well so you can make it ahead, and then dress it up the day of your event.
I am getting more accustomed and comfortable using Stevia in recipes, and so far so good. A little goes a long way, and it doesn’t seem to leave that sweet aftertaste like Swerve does with some people. Don’t get me wrong, I love Swerve, but Stevia is great too! I am definitely going to stick with the Trader Joe’s Pure Stevia. It is the real deal! If you are looking for it in the store, you can find it with the supplements.
This dessert is similar to the Key Lime Cheesecake I shared a few weeks ago. I changed up the crust a little to try to create a denser, less flakey crust for easier cutting into bars, and it seemed to serve easier with a spatula. I actually had better luck cutting into bars after it cooled, but before I chilled it in the refrigerator. This is a great tip for the future, but if you plan to decorate it like I did on this one, it is best to cut after everyone admires your handiwork.
Patriotic Lemon Berry Cheesecake
This recipe will yield a 9×13 and an 8×8 cheesecake. If you only want one, half the recipe.
Before you start, you will want to bring your cream cheese and eggs to room temperature (a few hours) and preheat your oven to 325 degrees.
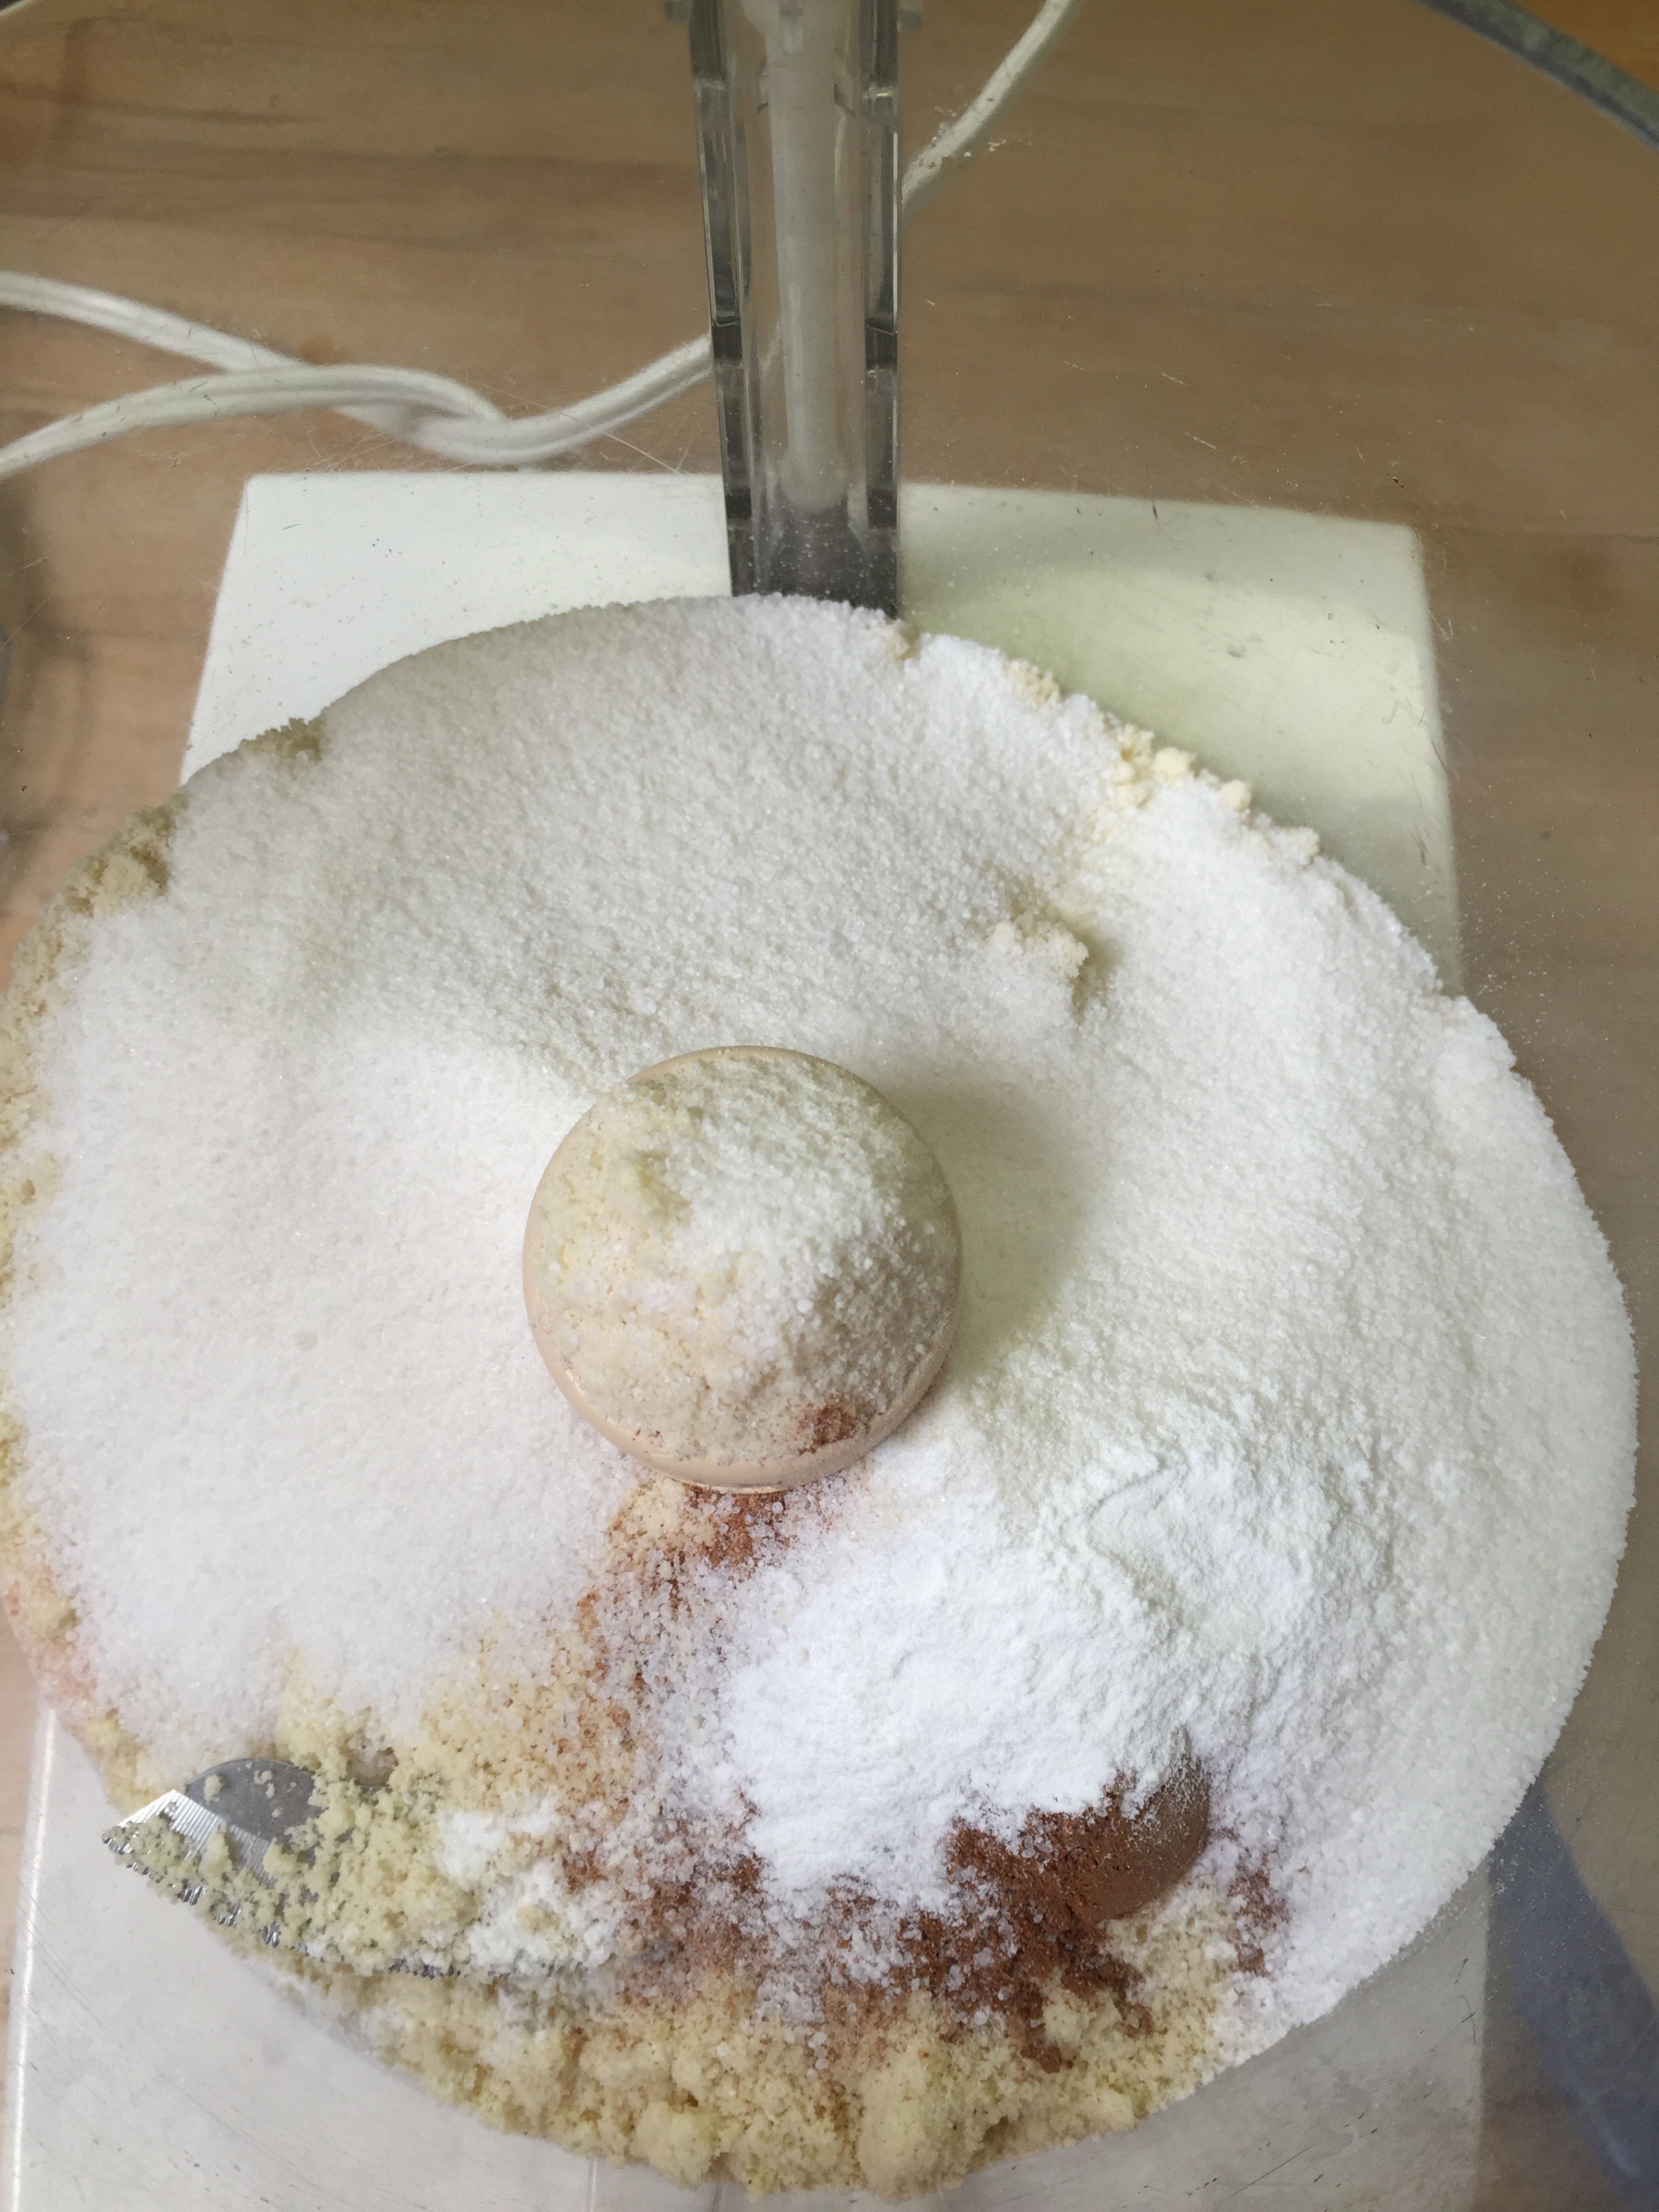
Combine all your dry ingredients in a food processor. Pulse until you have a sand like mixture.
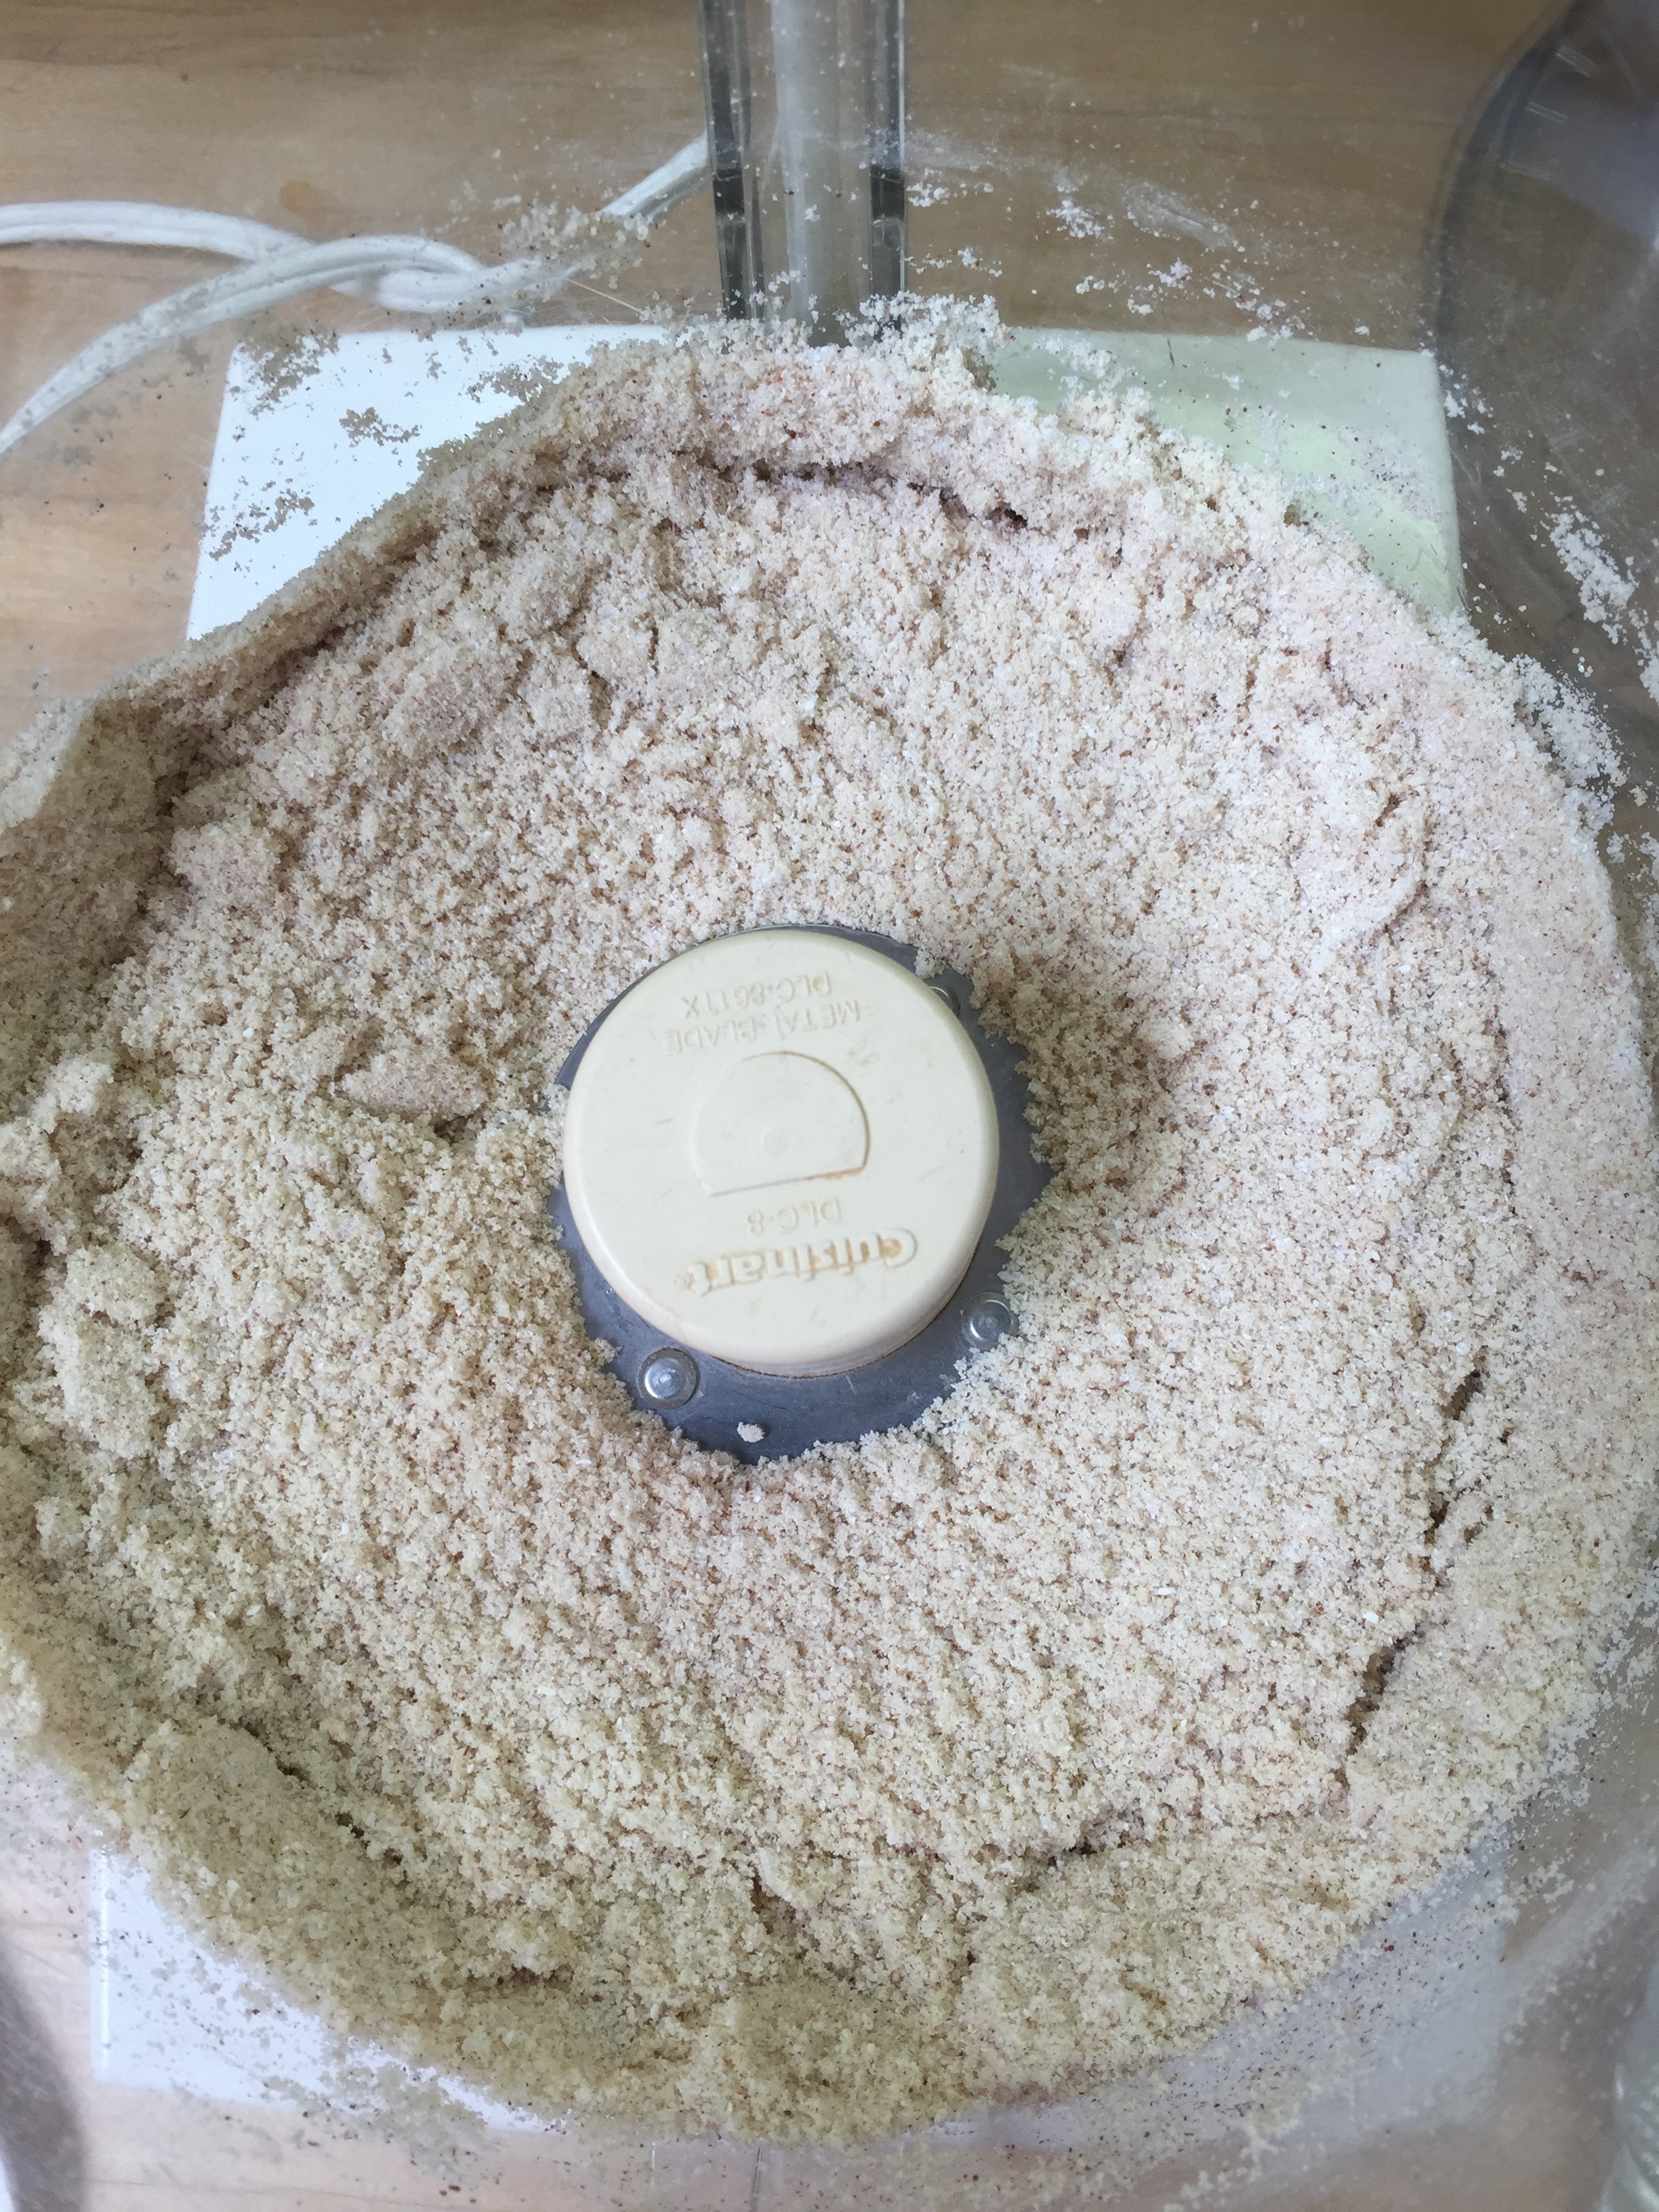
Add your eggs and butter. Pulse until a ball of dough forms.
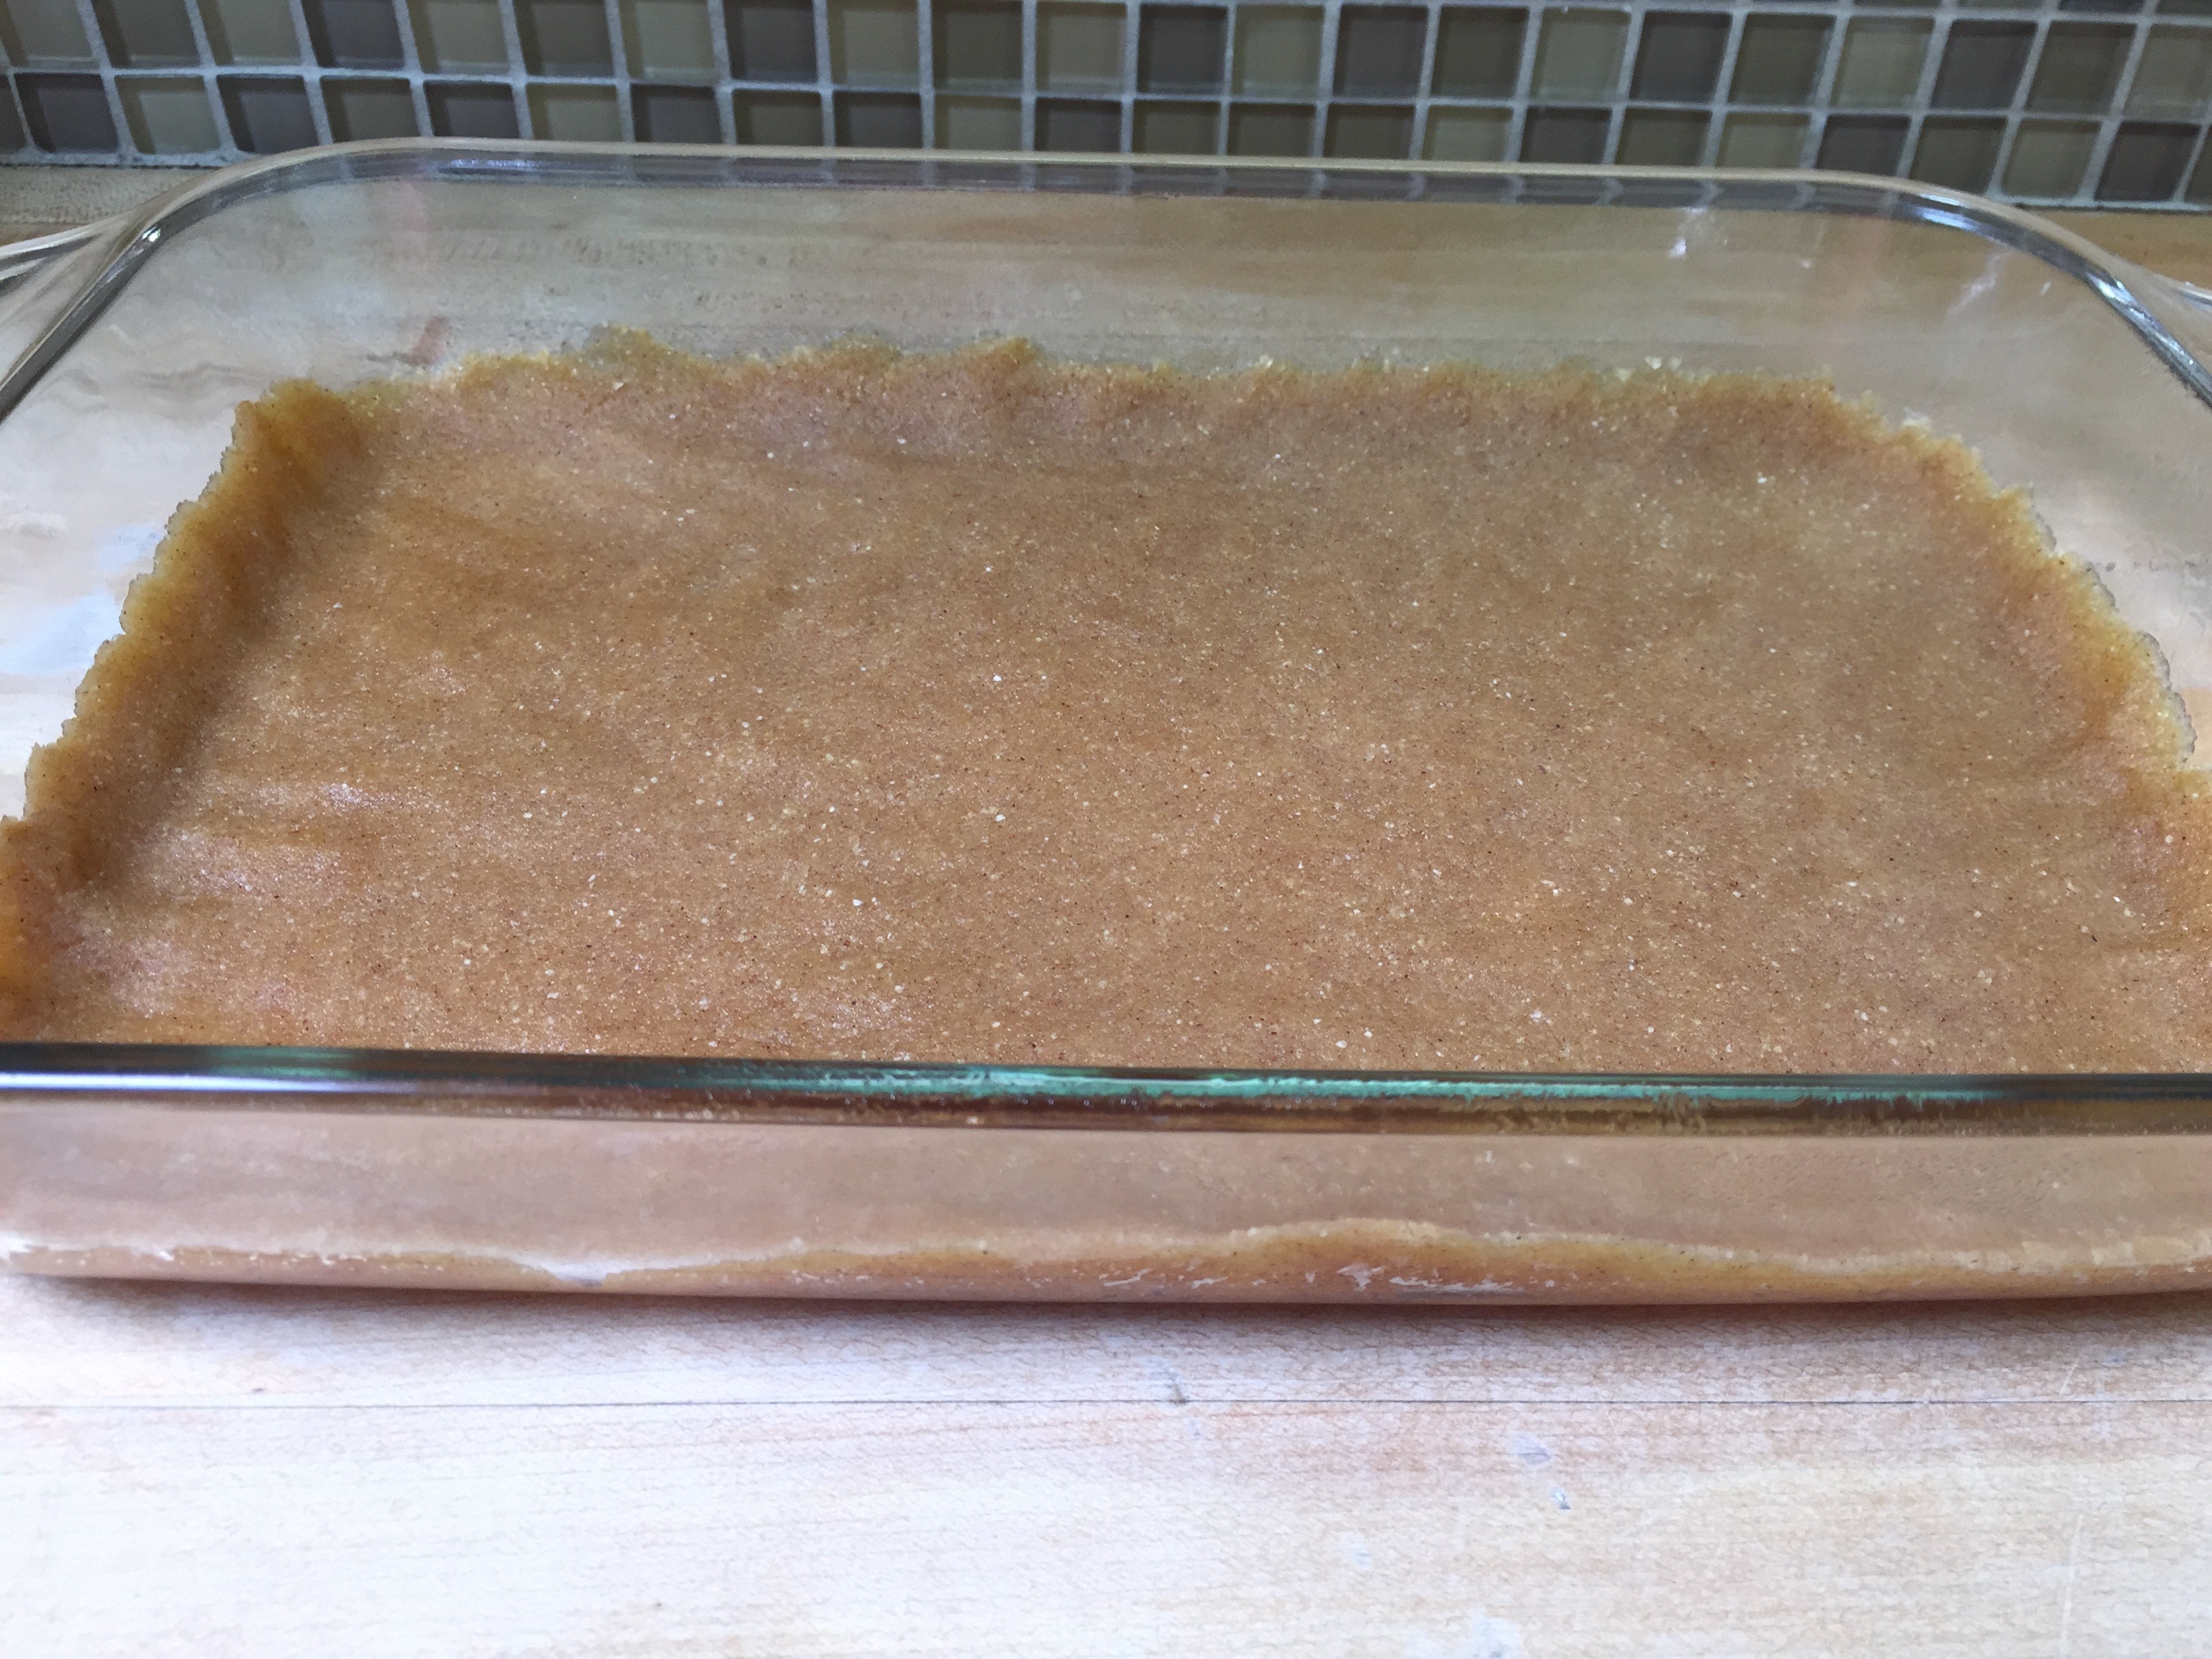
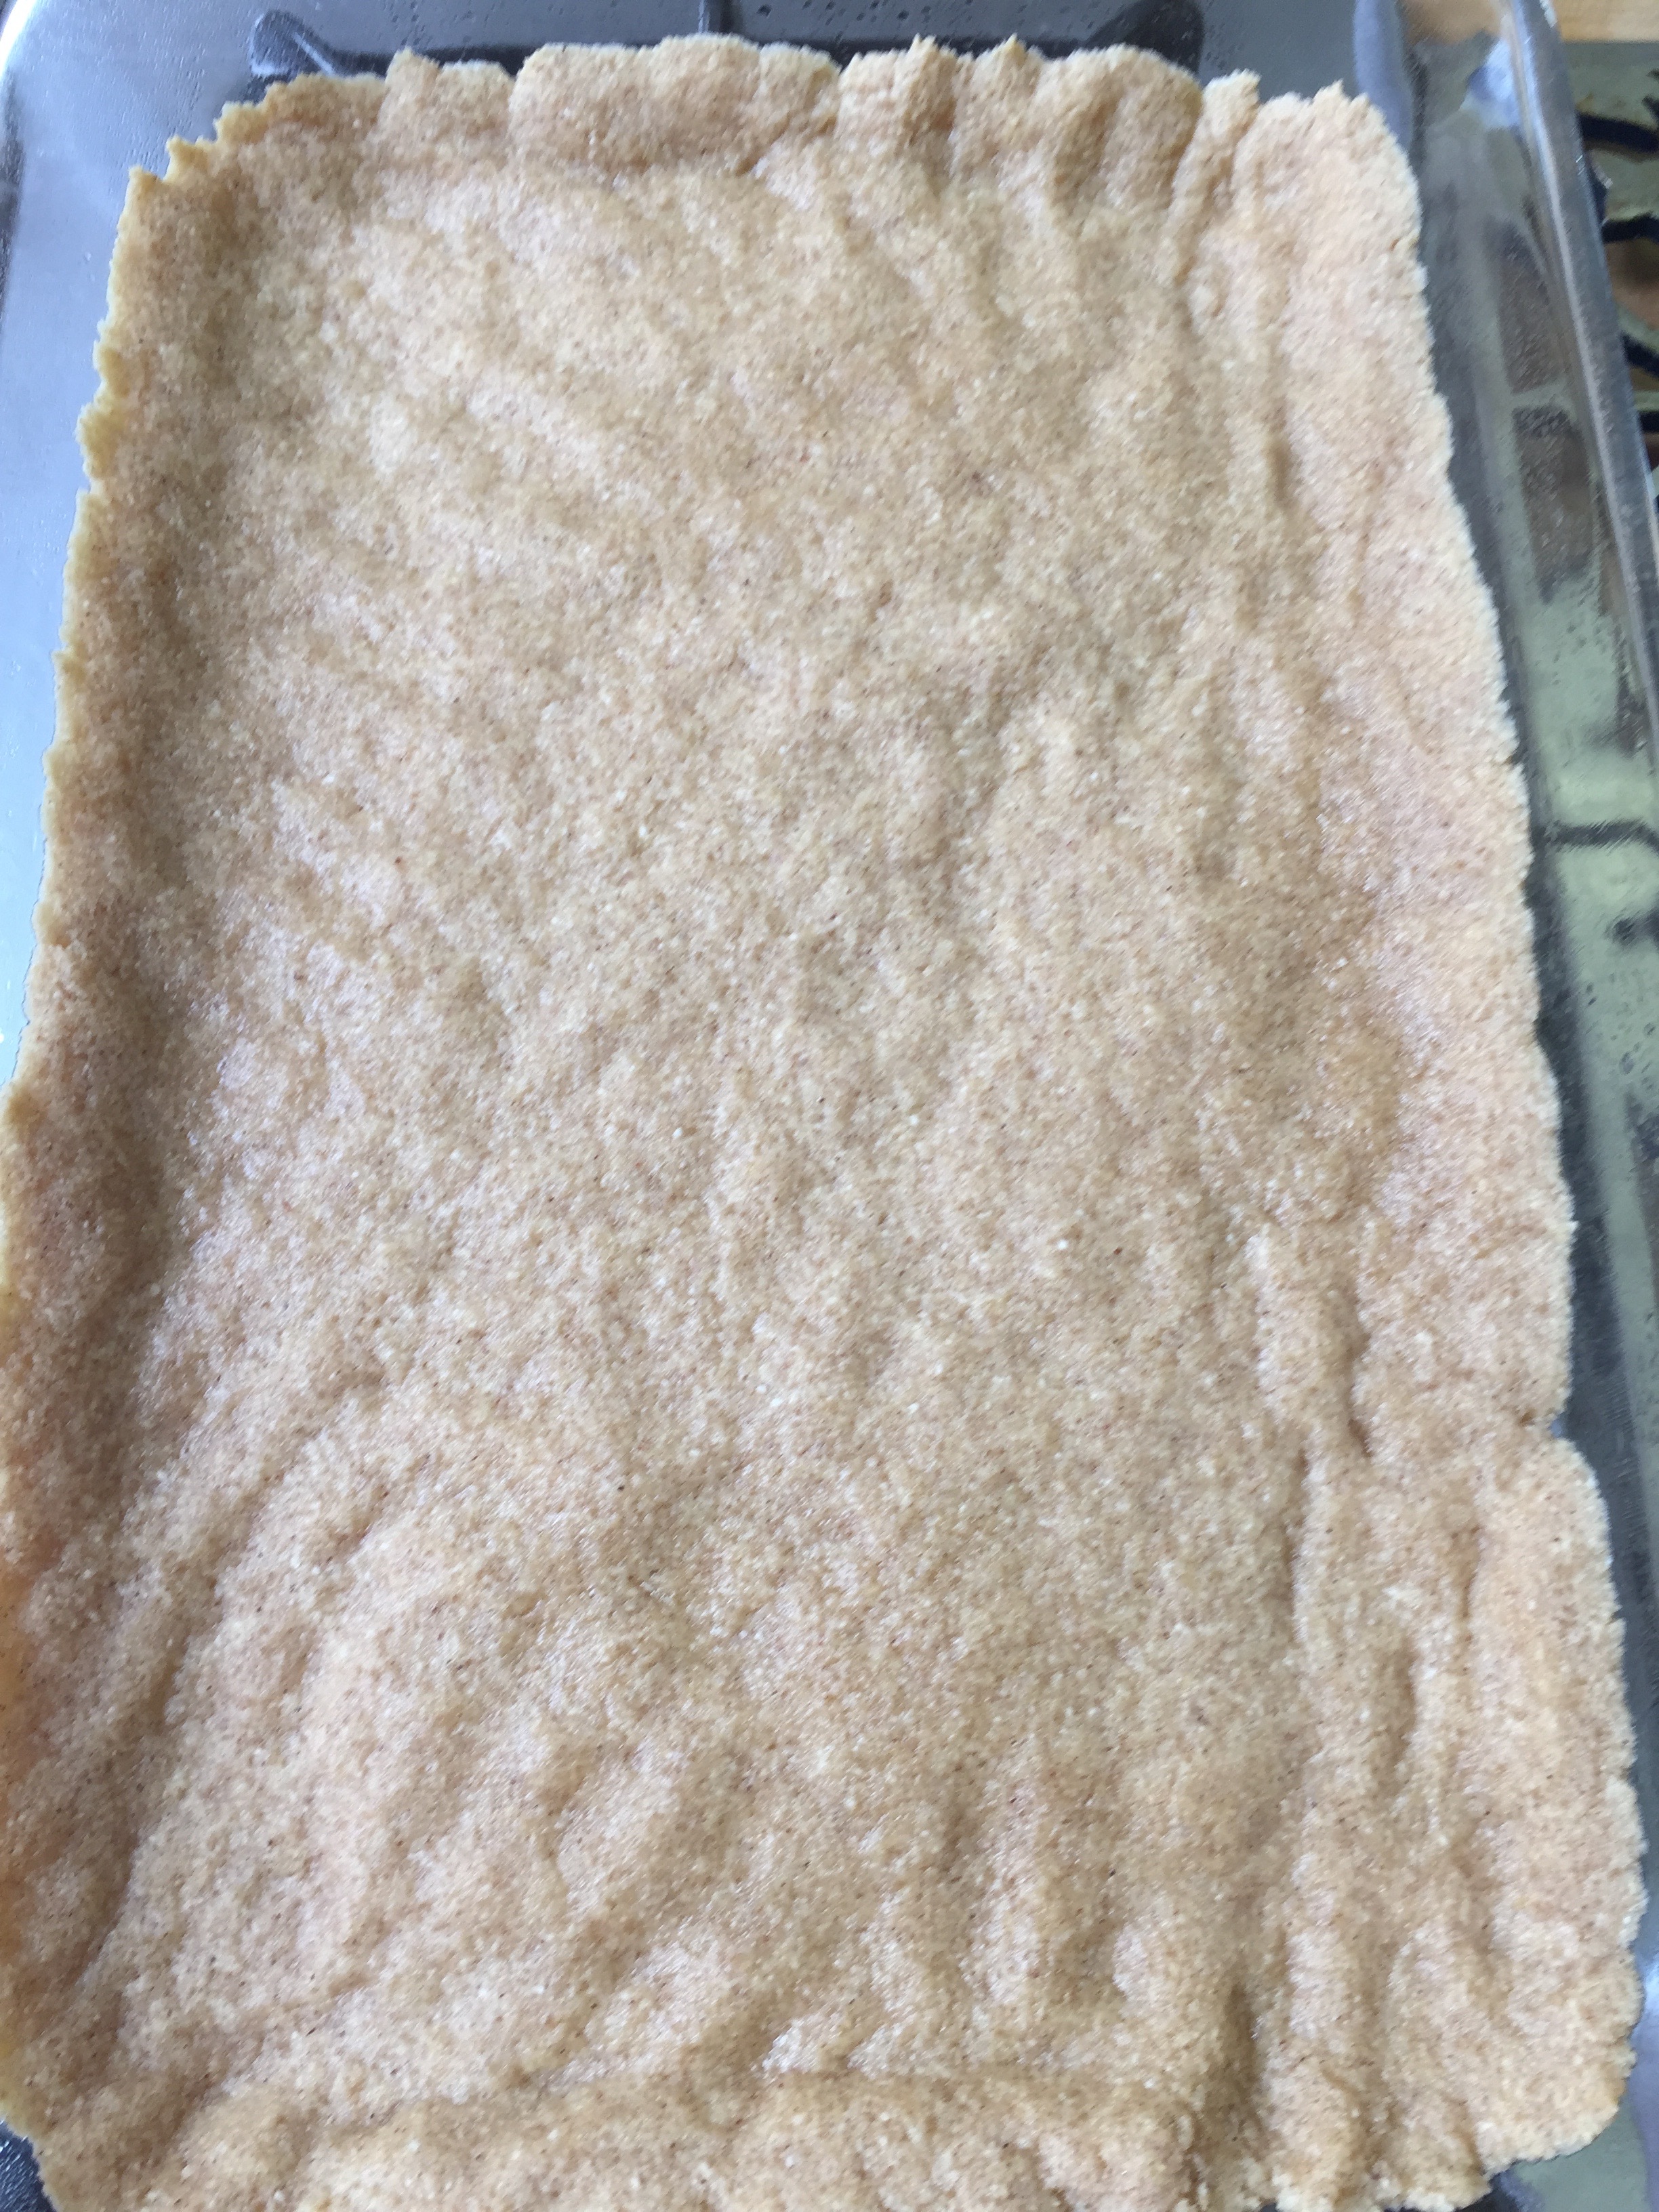
Mix well and press into a 9 x 13 and an 8 x 8 pyrex.
Bake at 325 for 12 minutes.
Meanwhile prepare your mixer for the cheesecake.
Cheesecake Filling
4 – 8 oz packages of Cream Cheese
4 Eggs
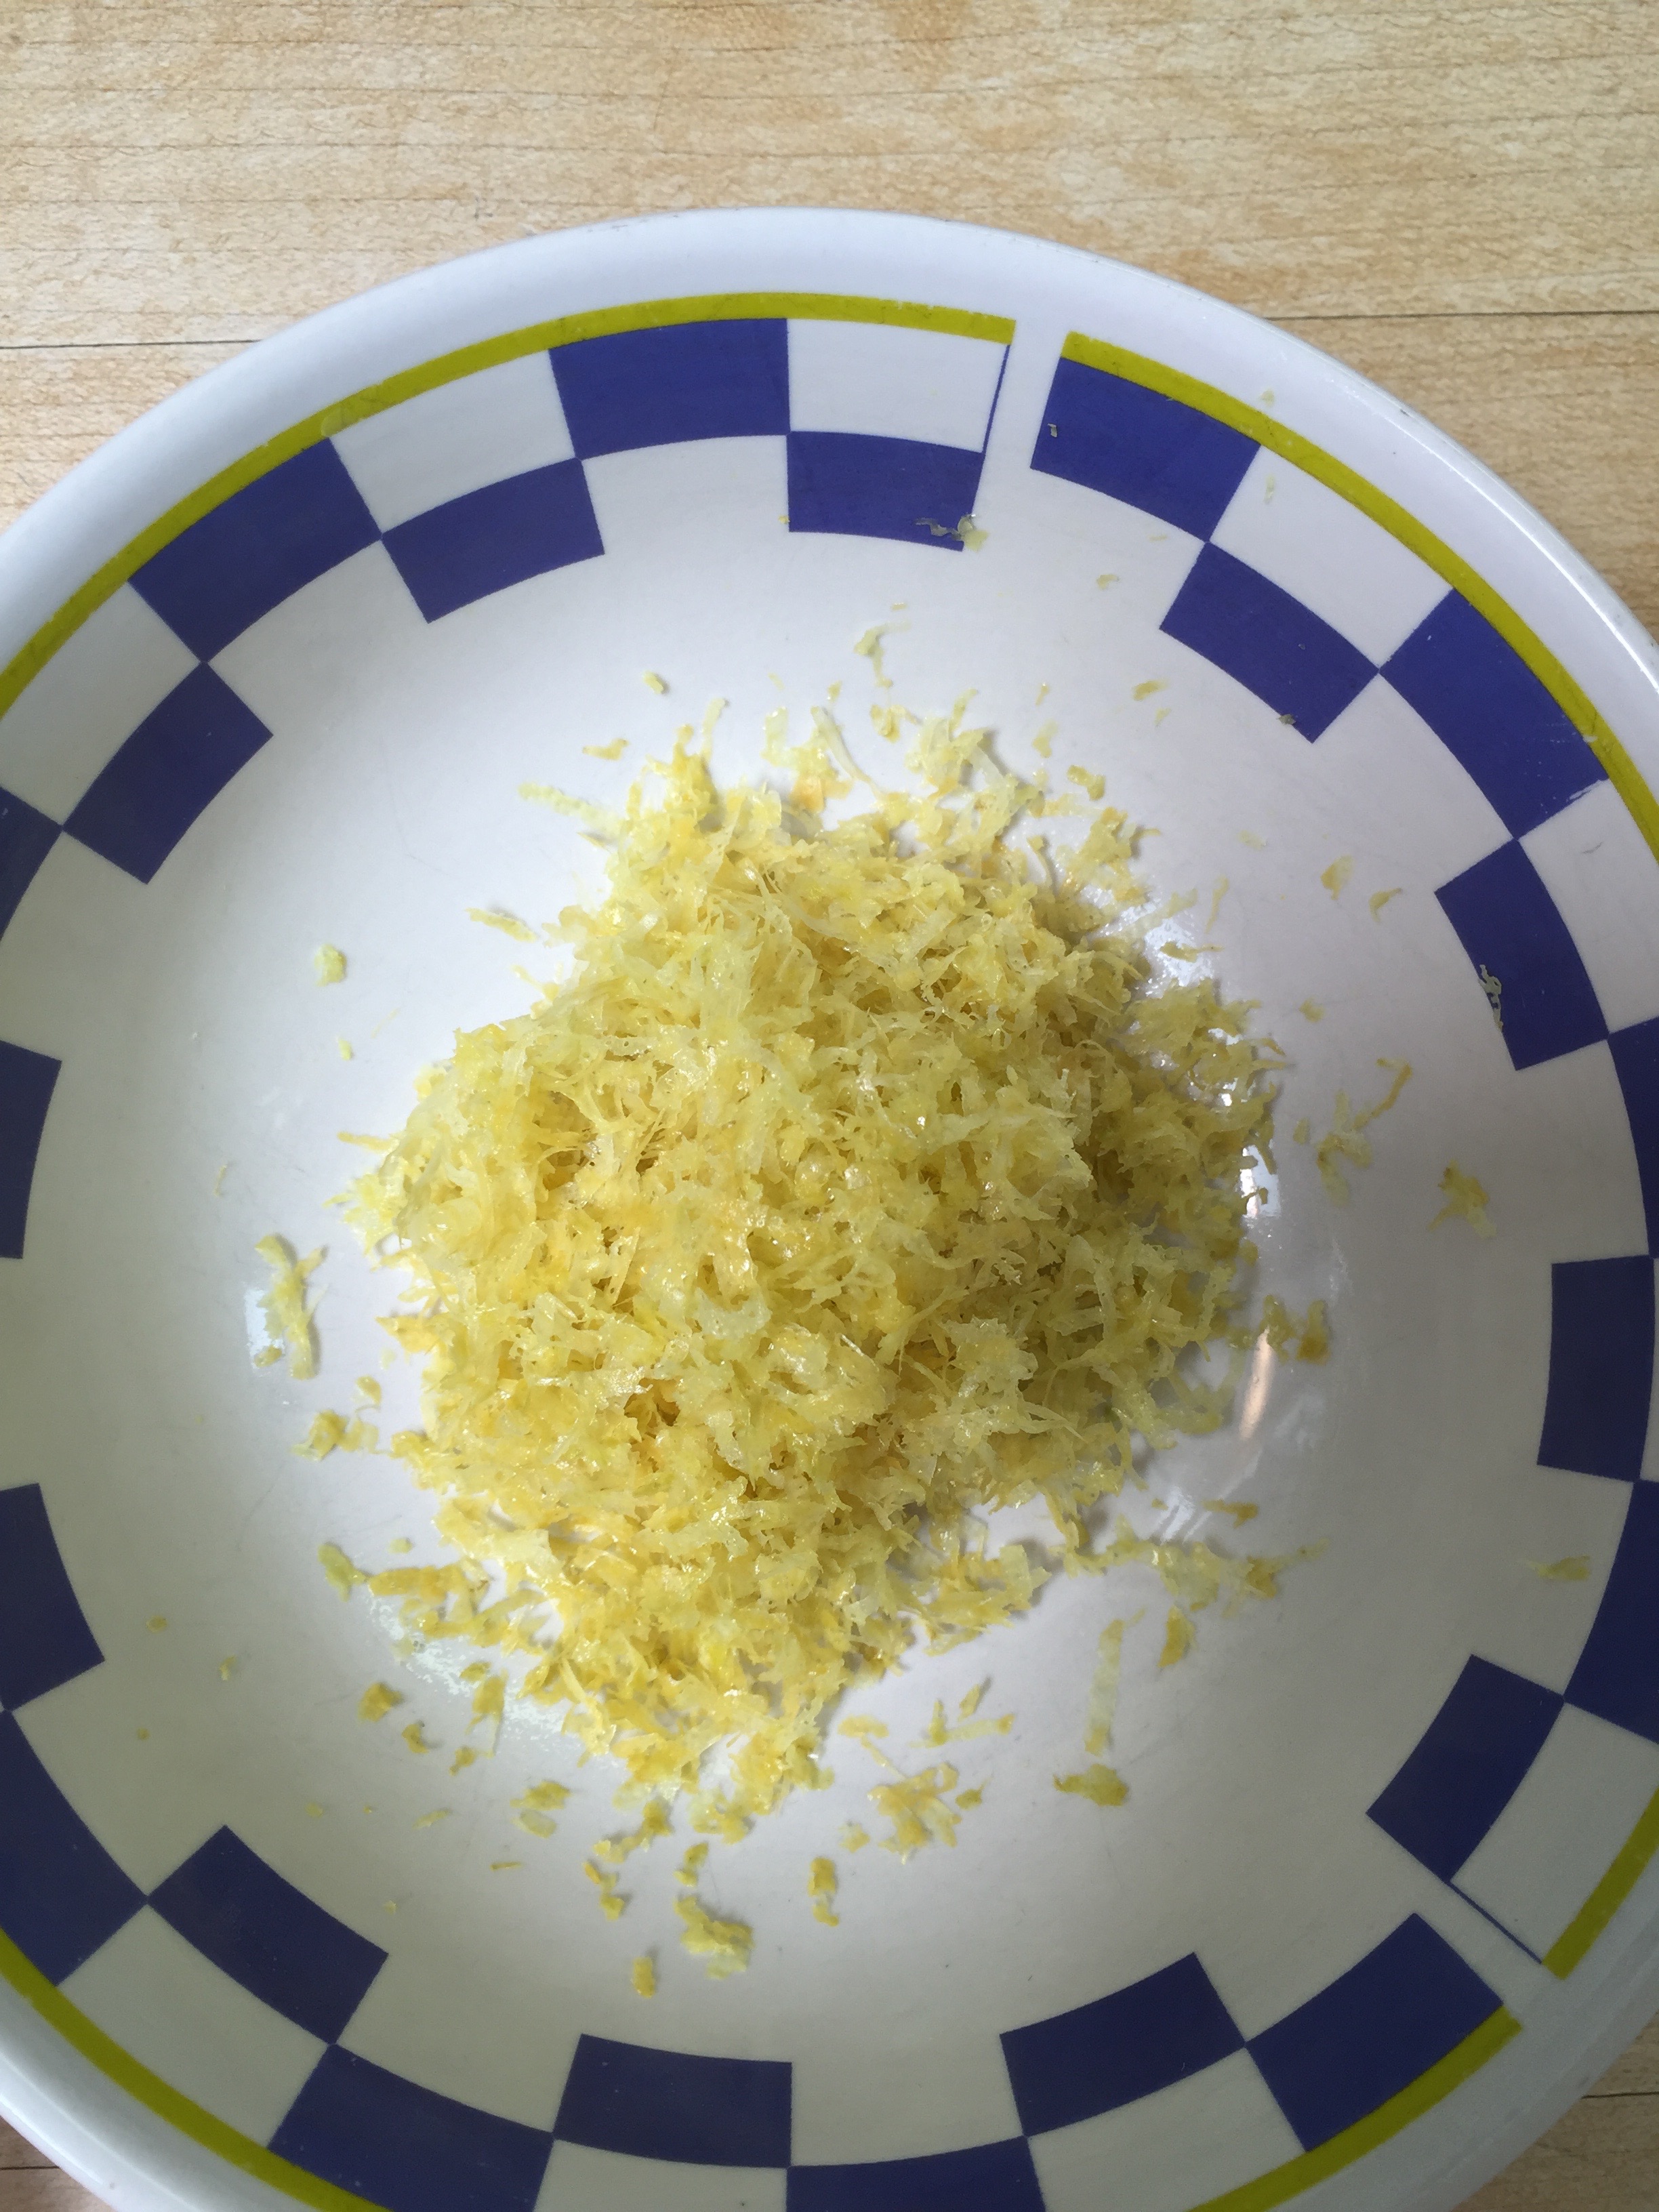
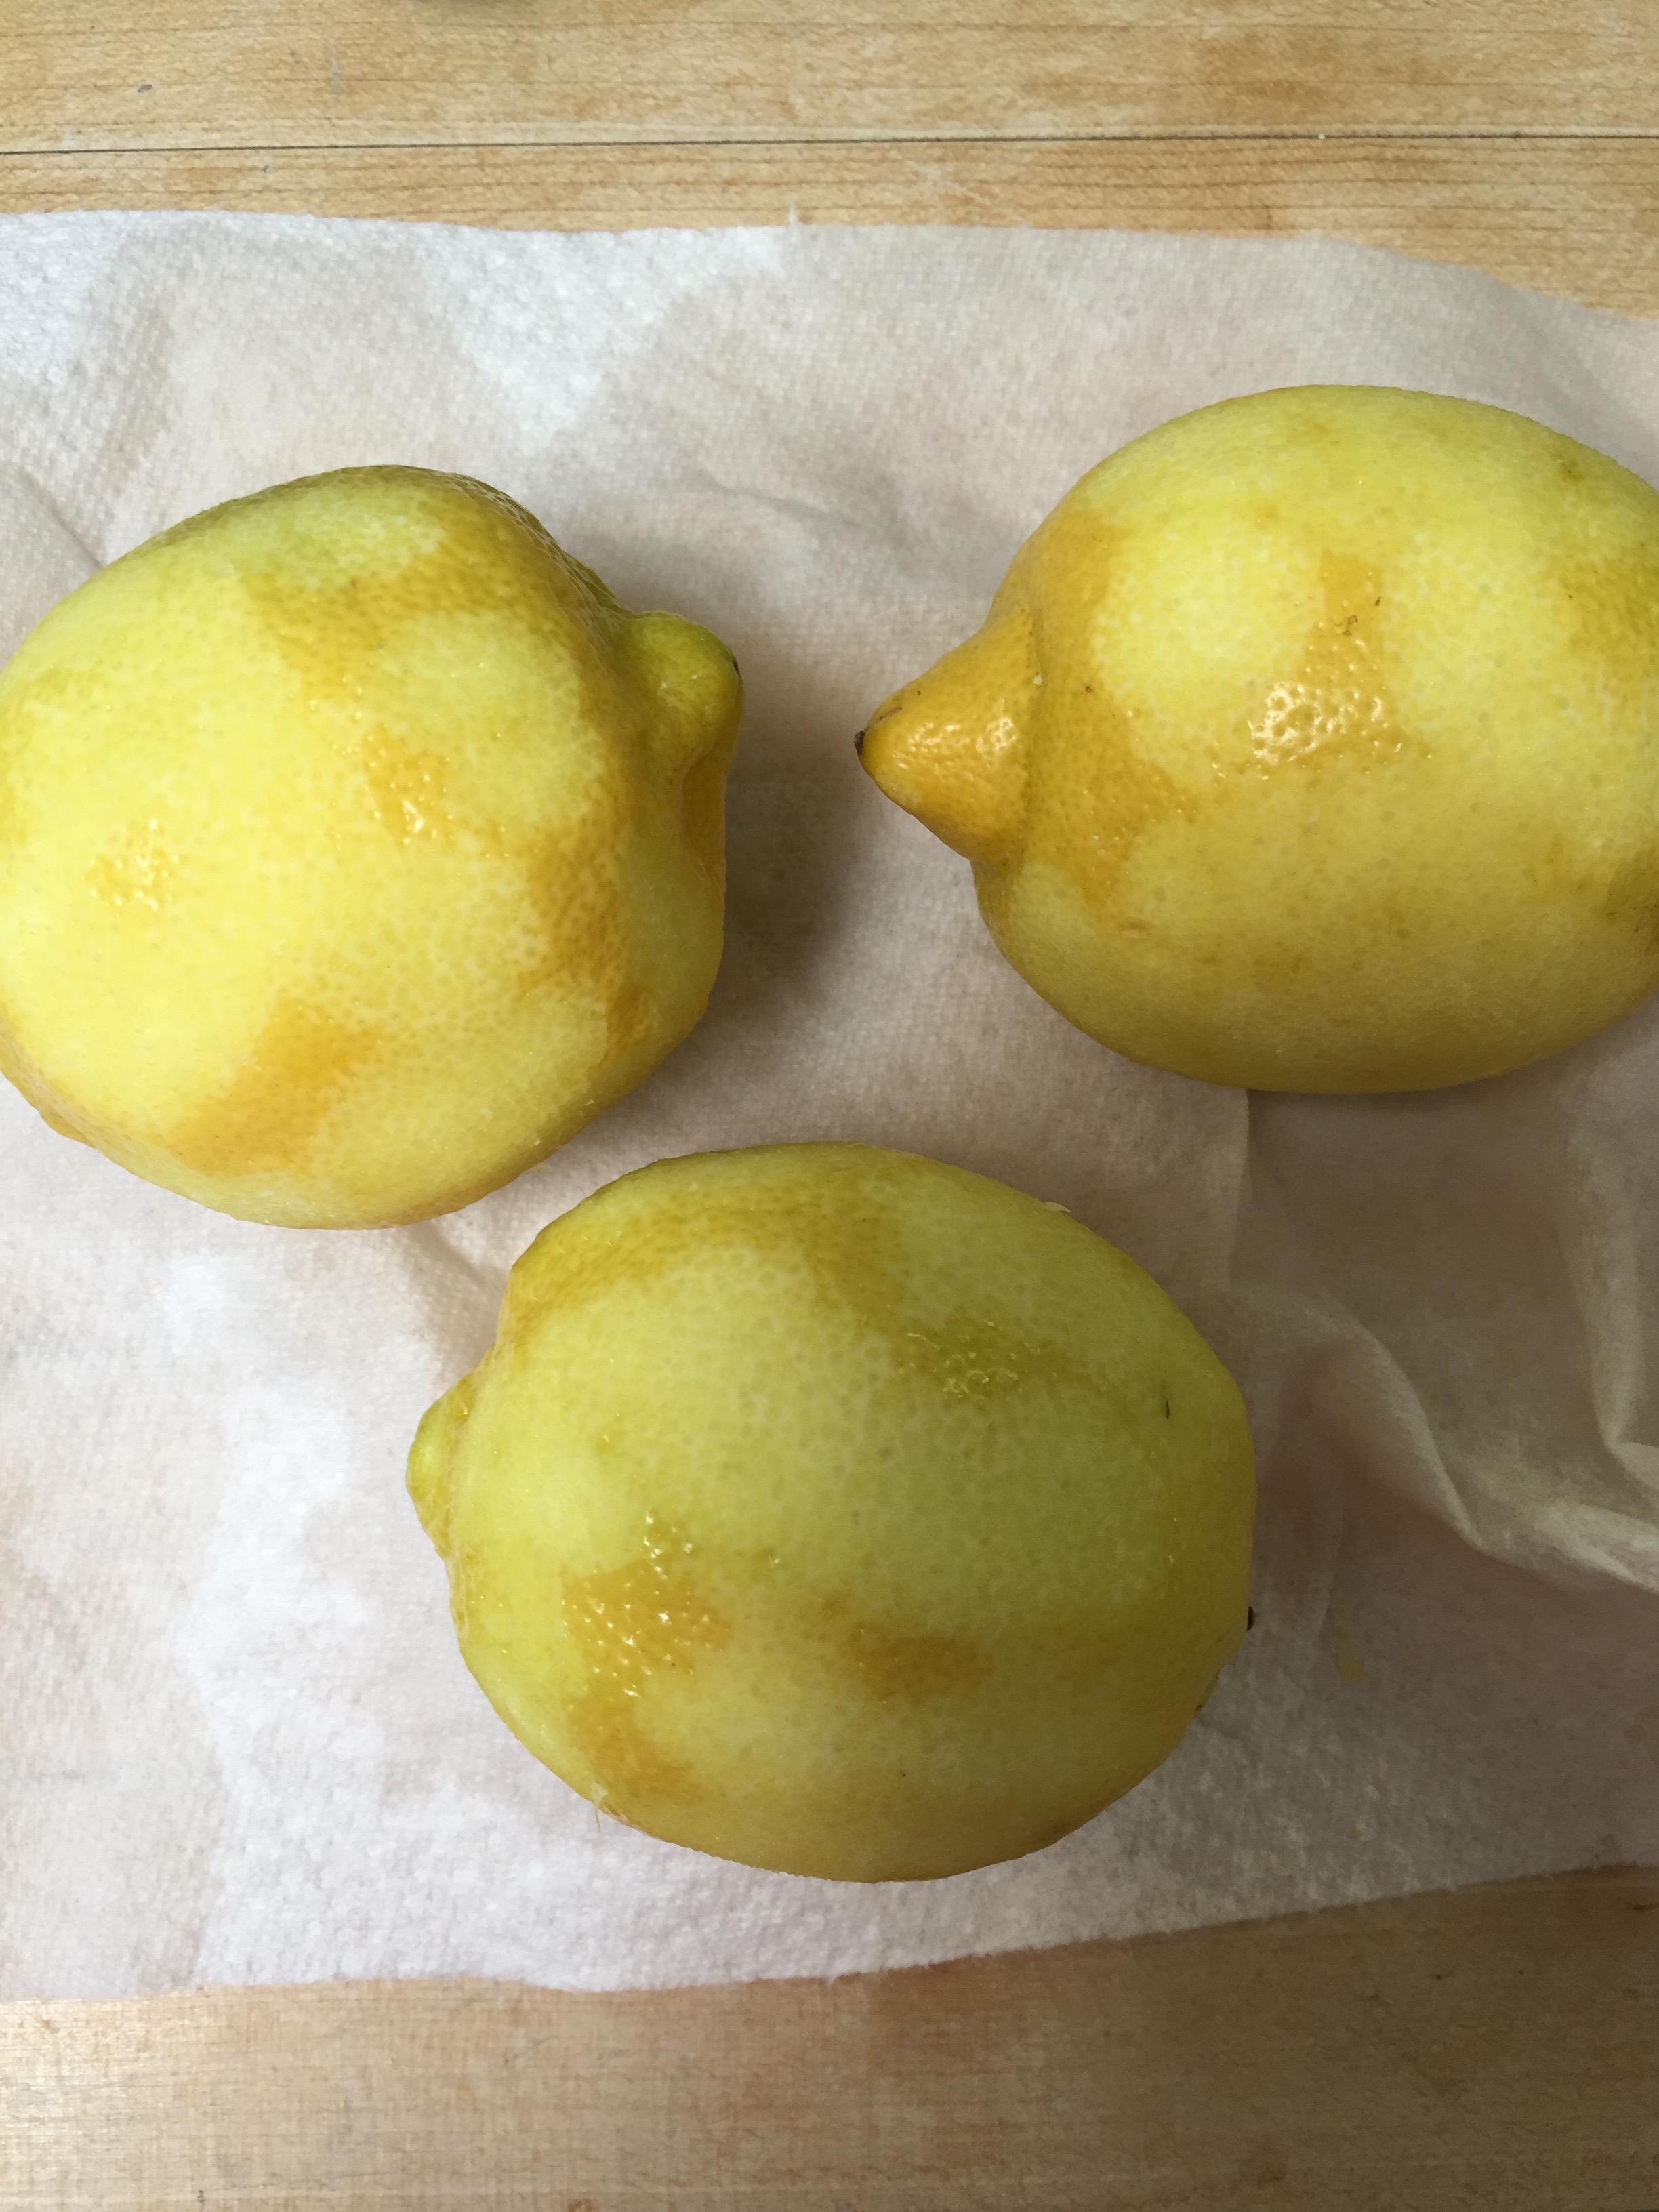
3 Lemons zested and juiced
1 tsp Pure Stevia
Berries
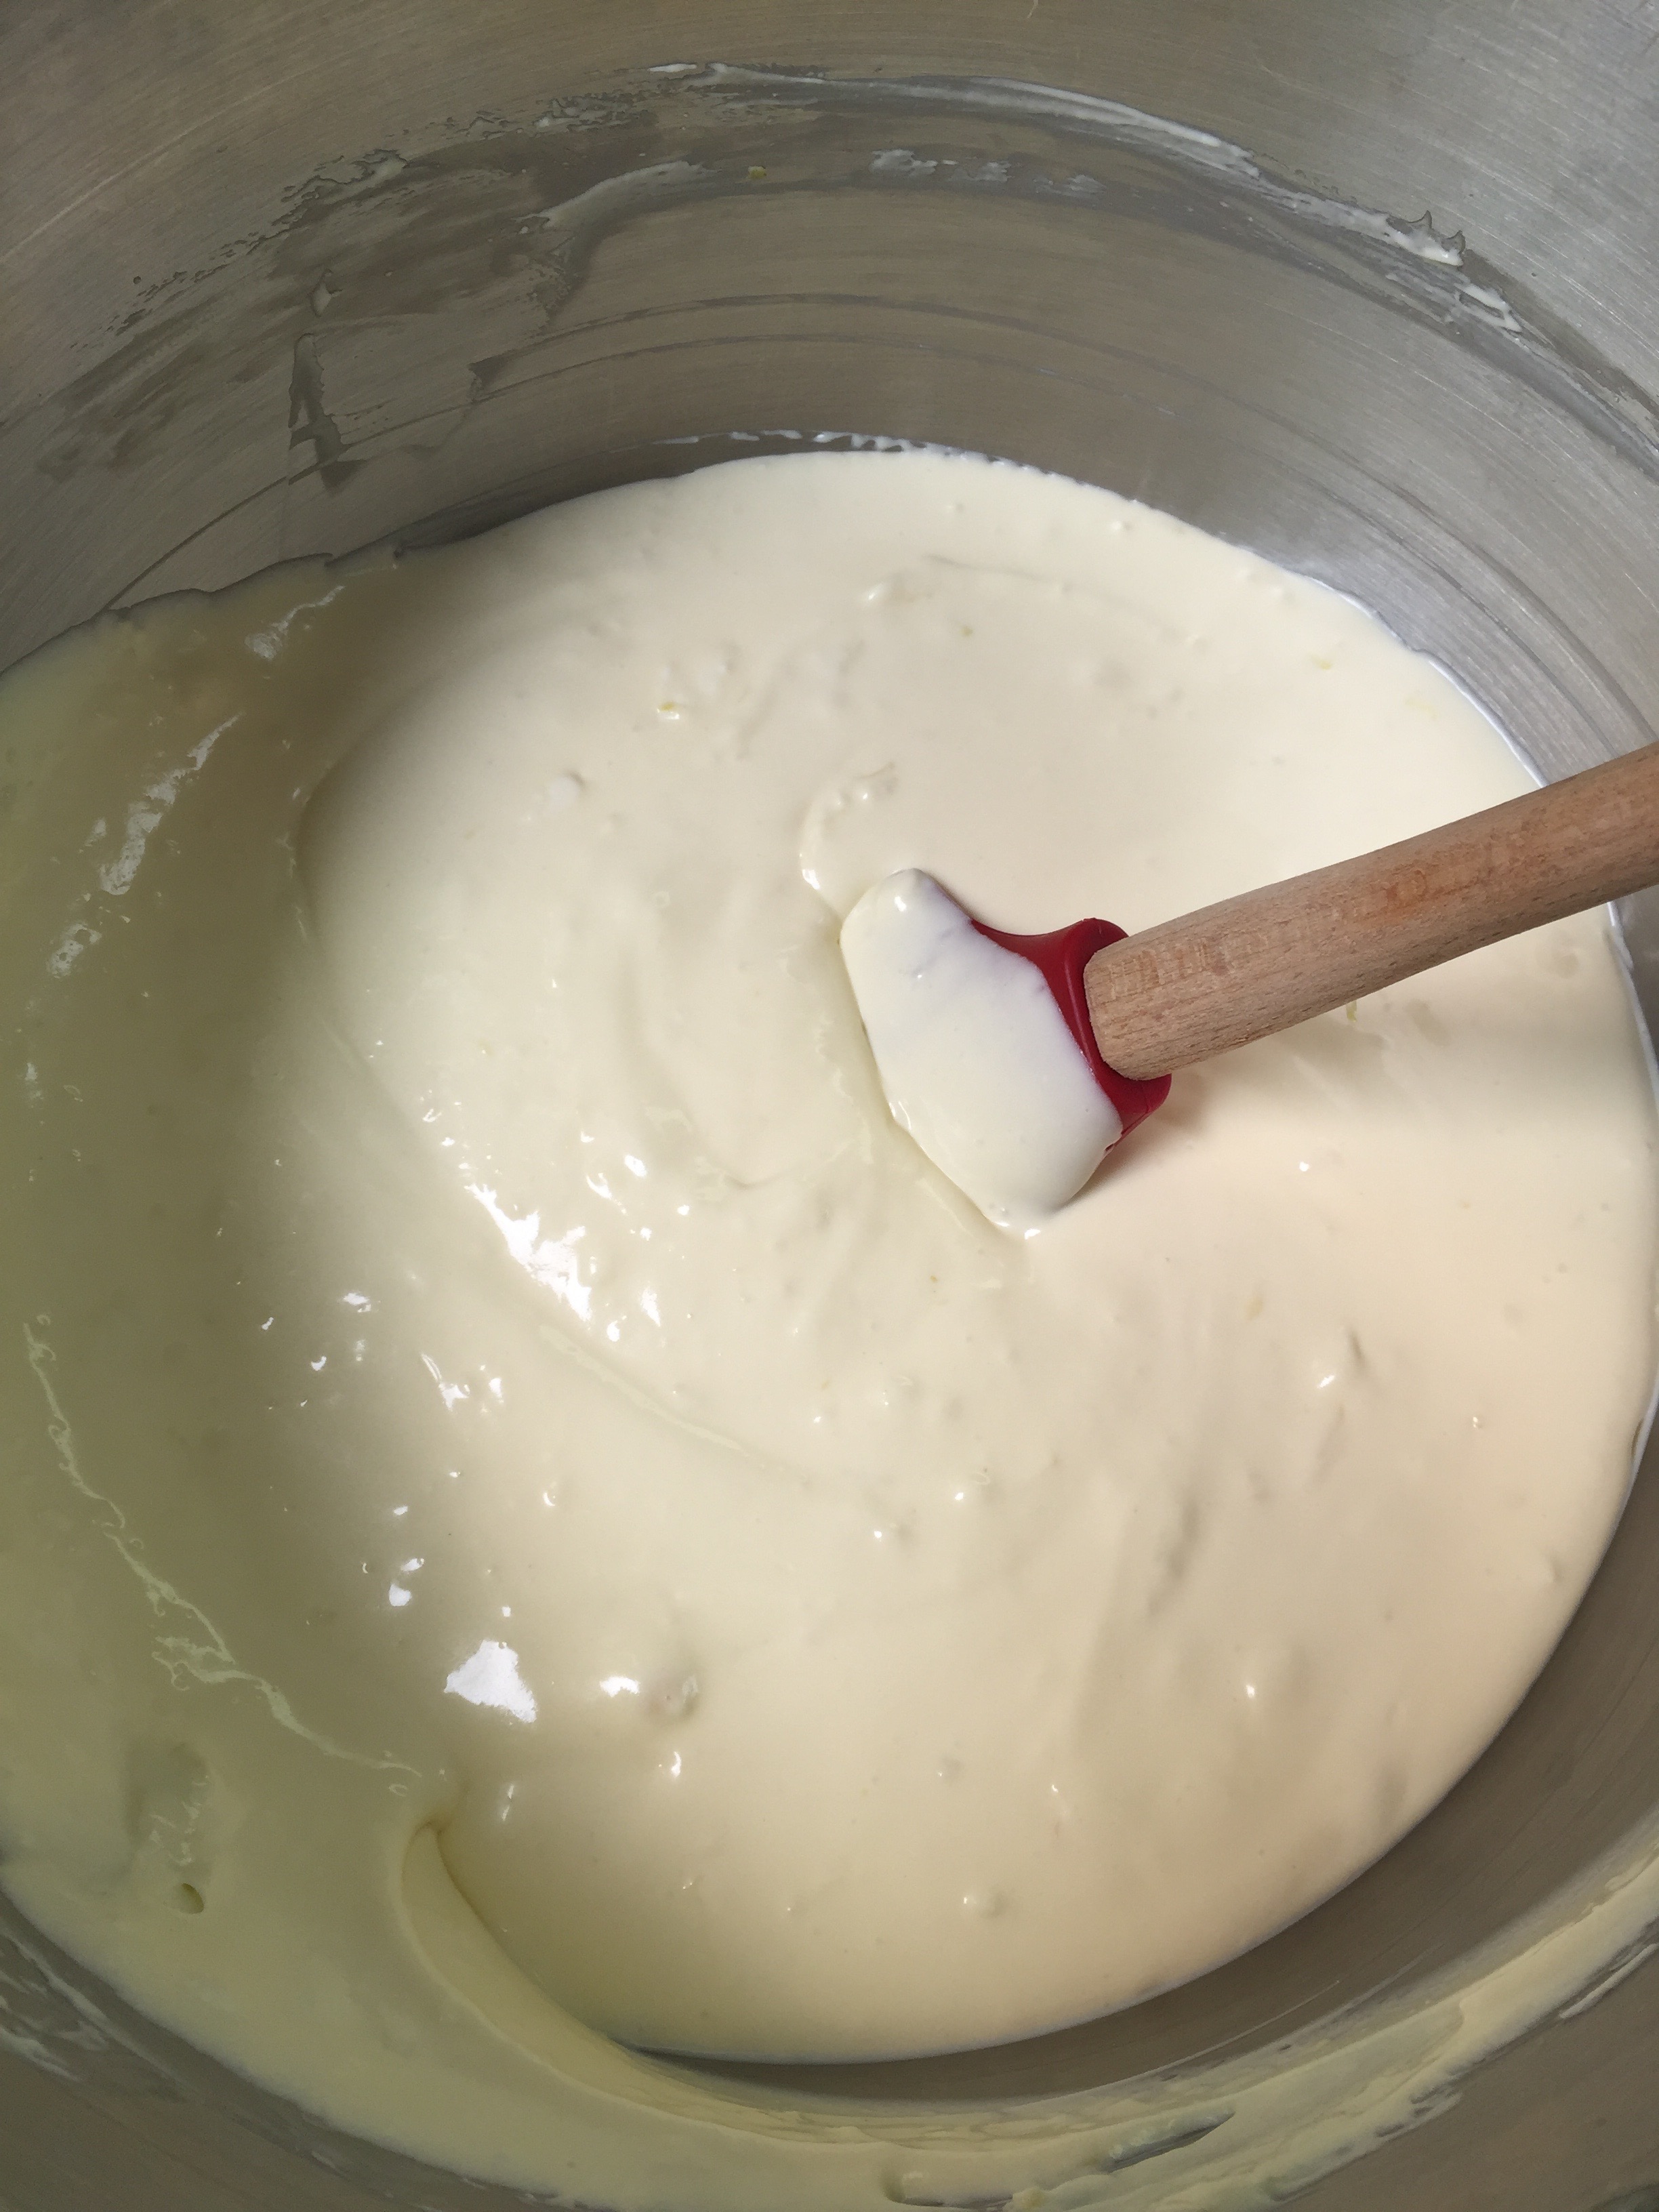
Place your very soft cream cheese in your mixer.
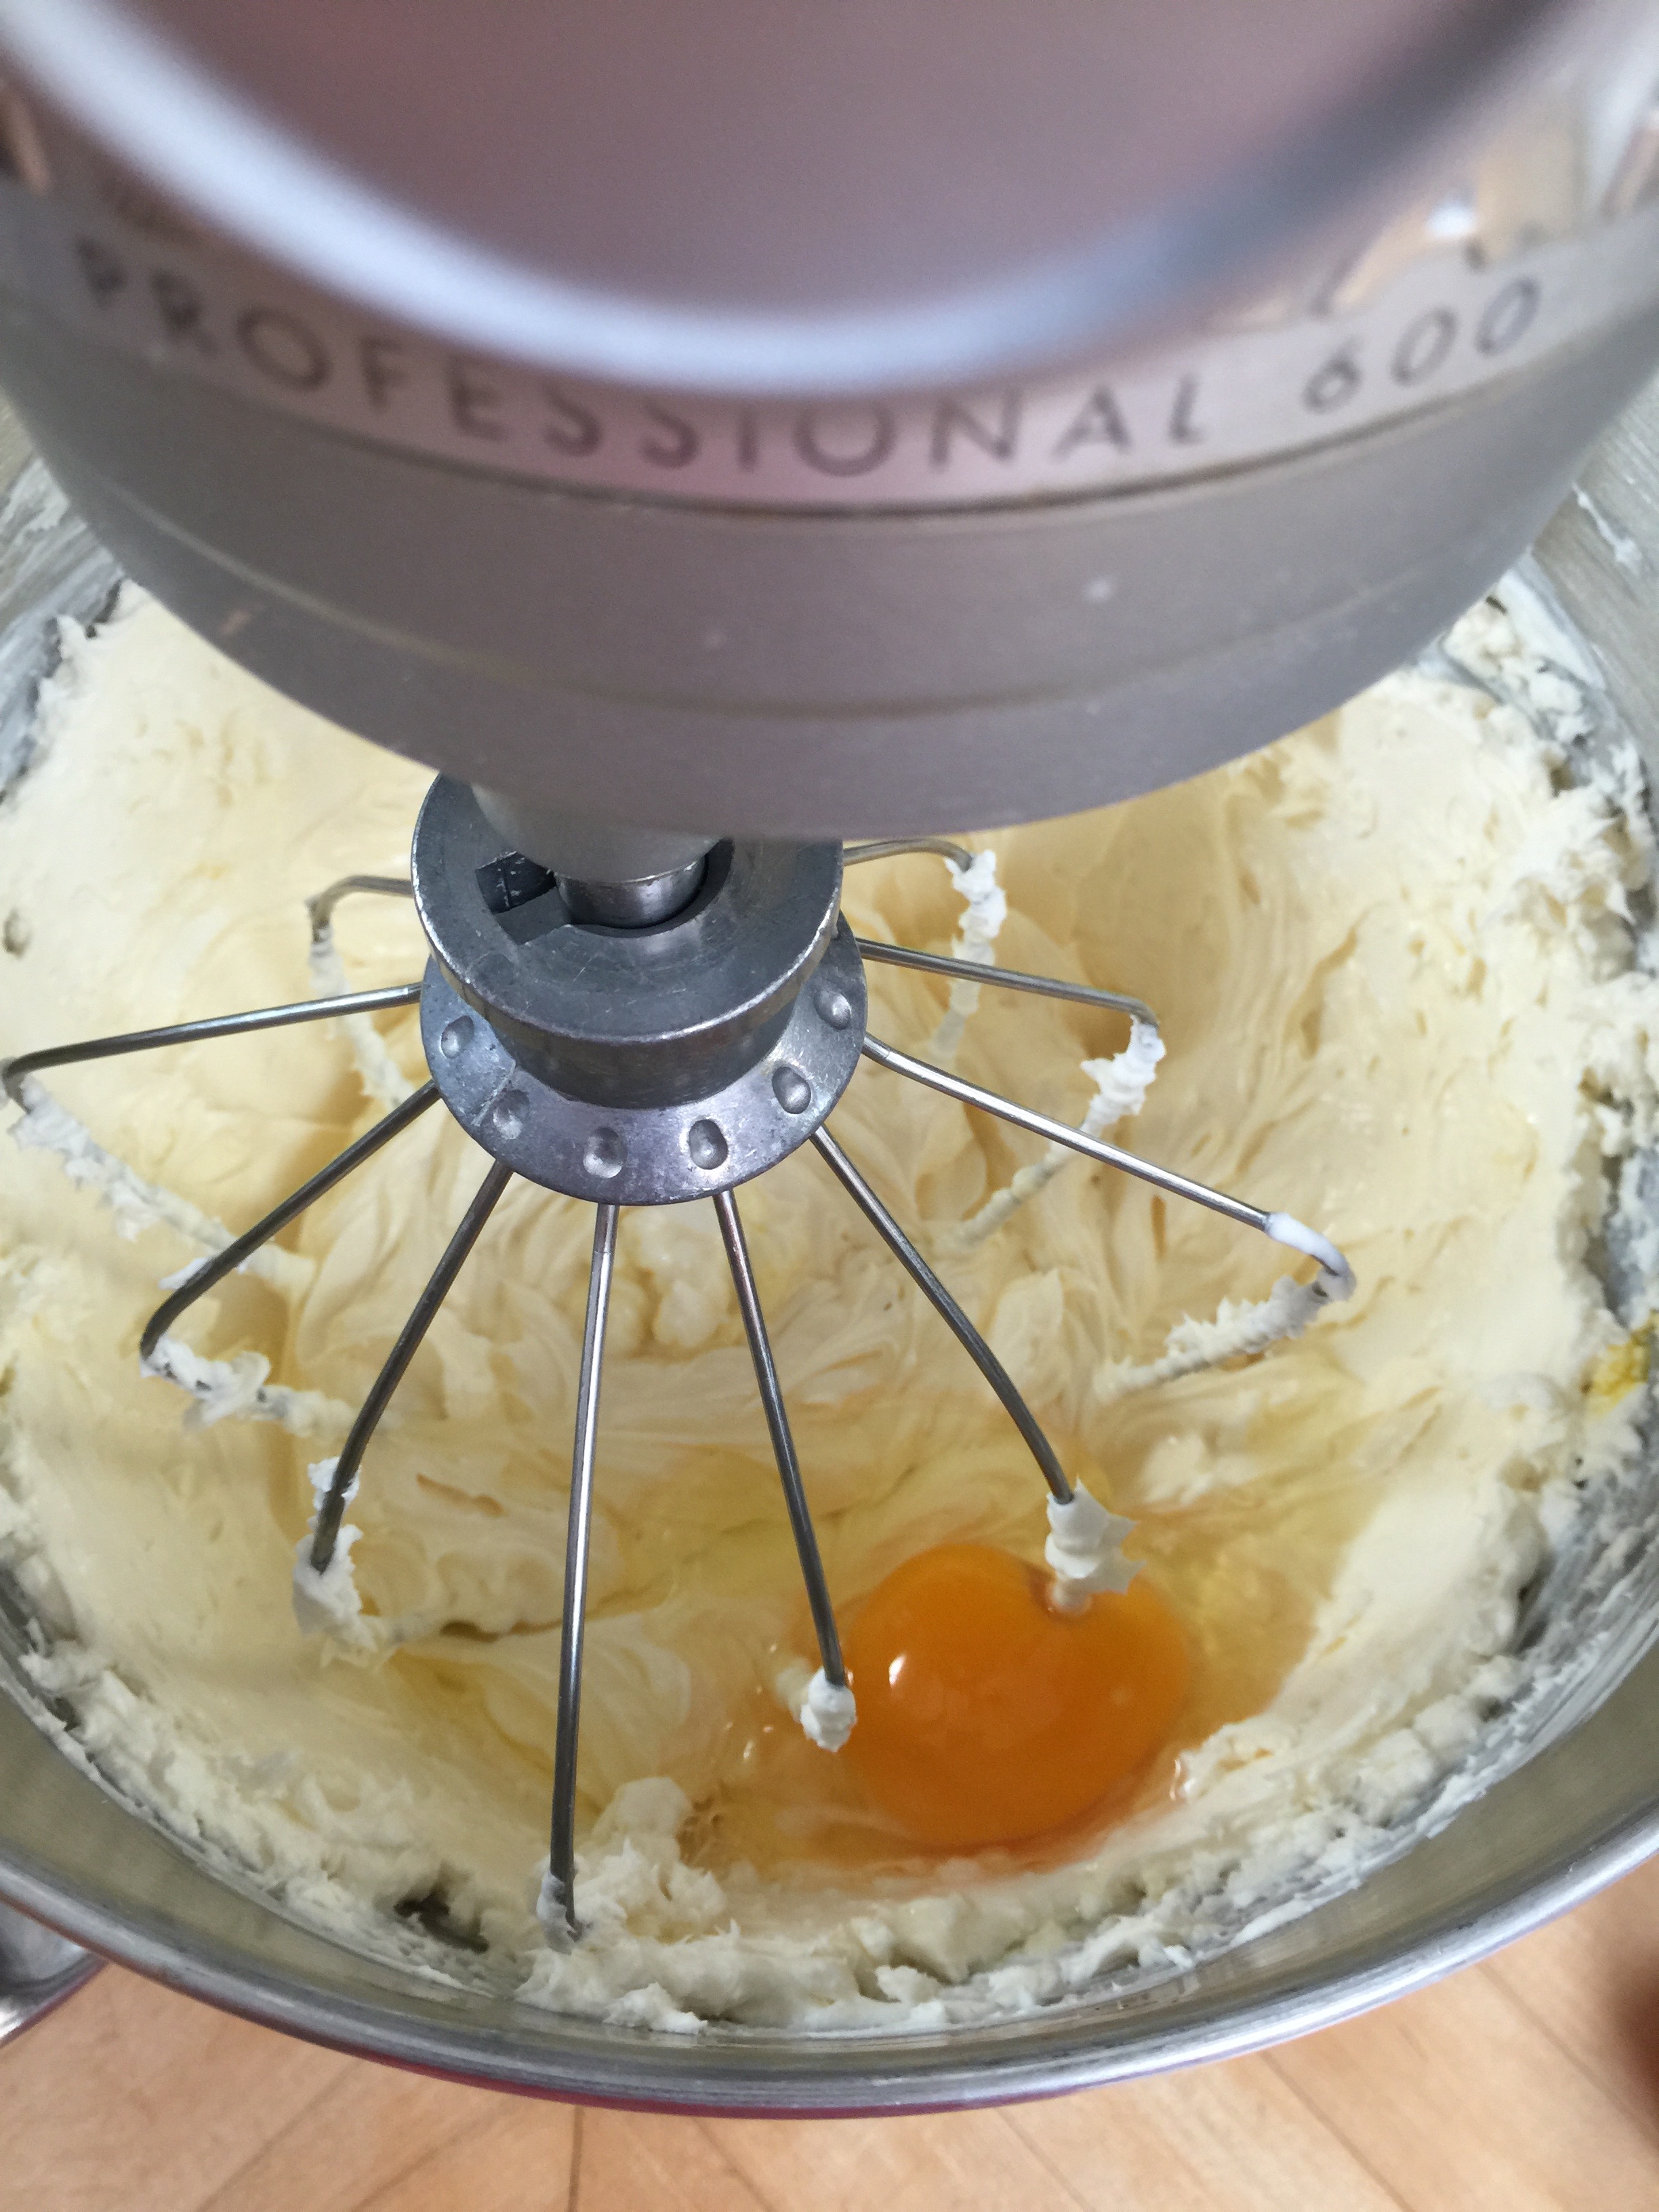
Turn your mixer onto medium to cream your cream cheese. Add your eggs one at a time, and mix well in between each egg, scraping the sides as you go.
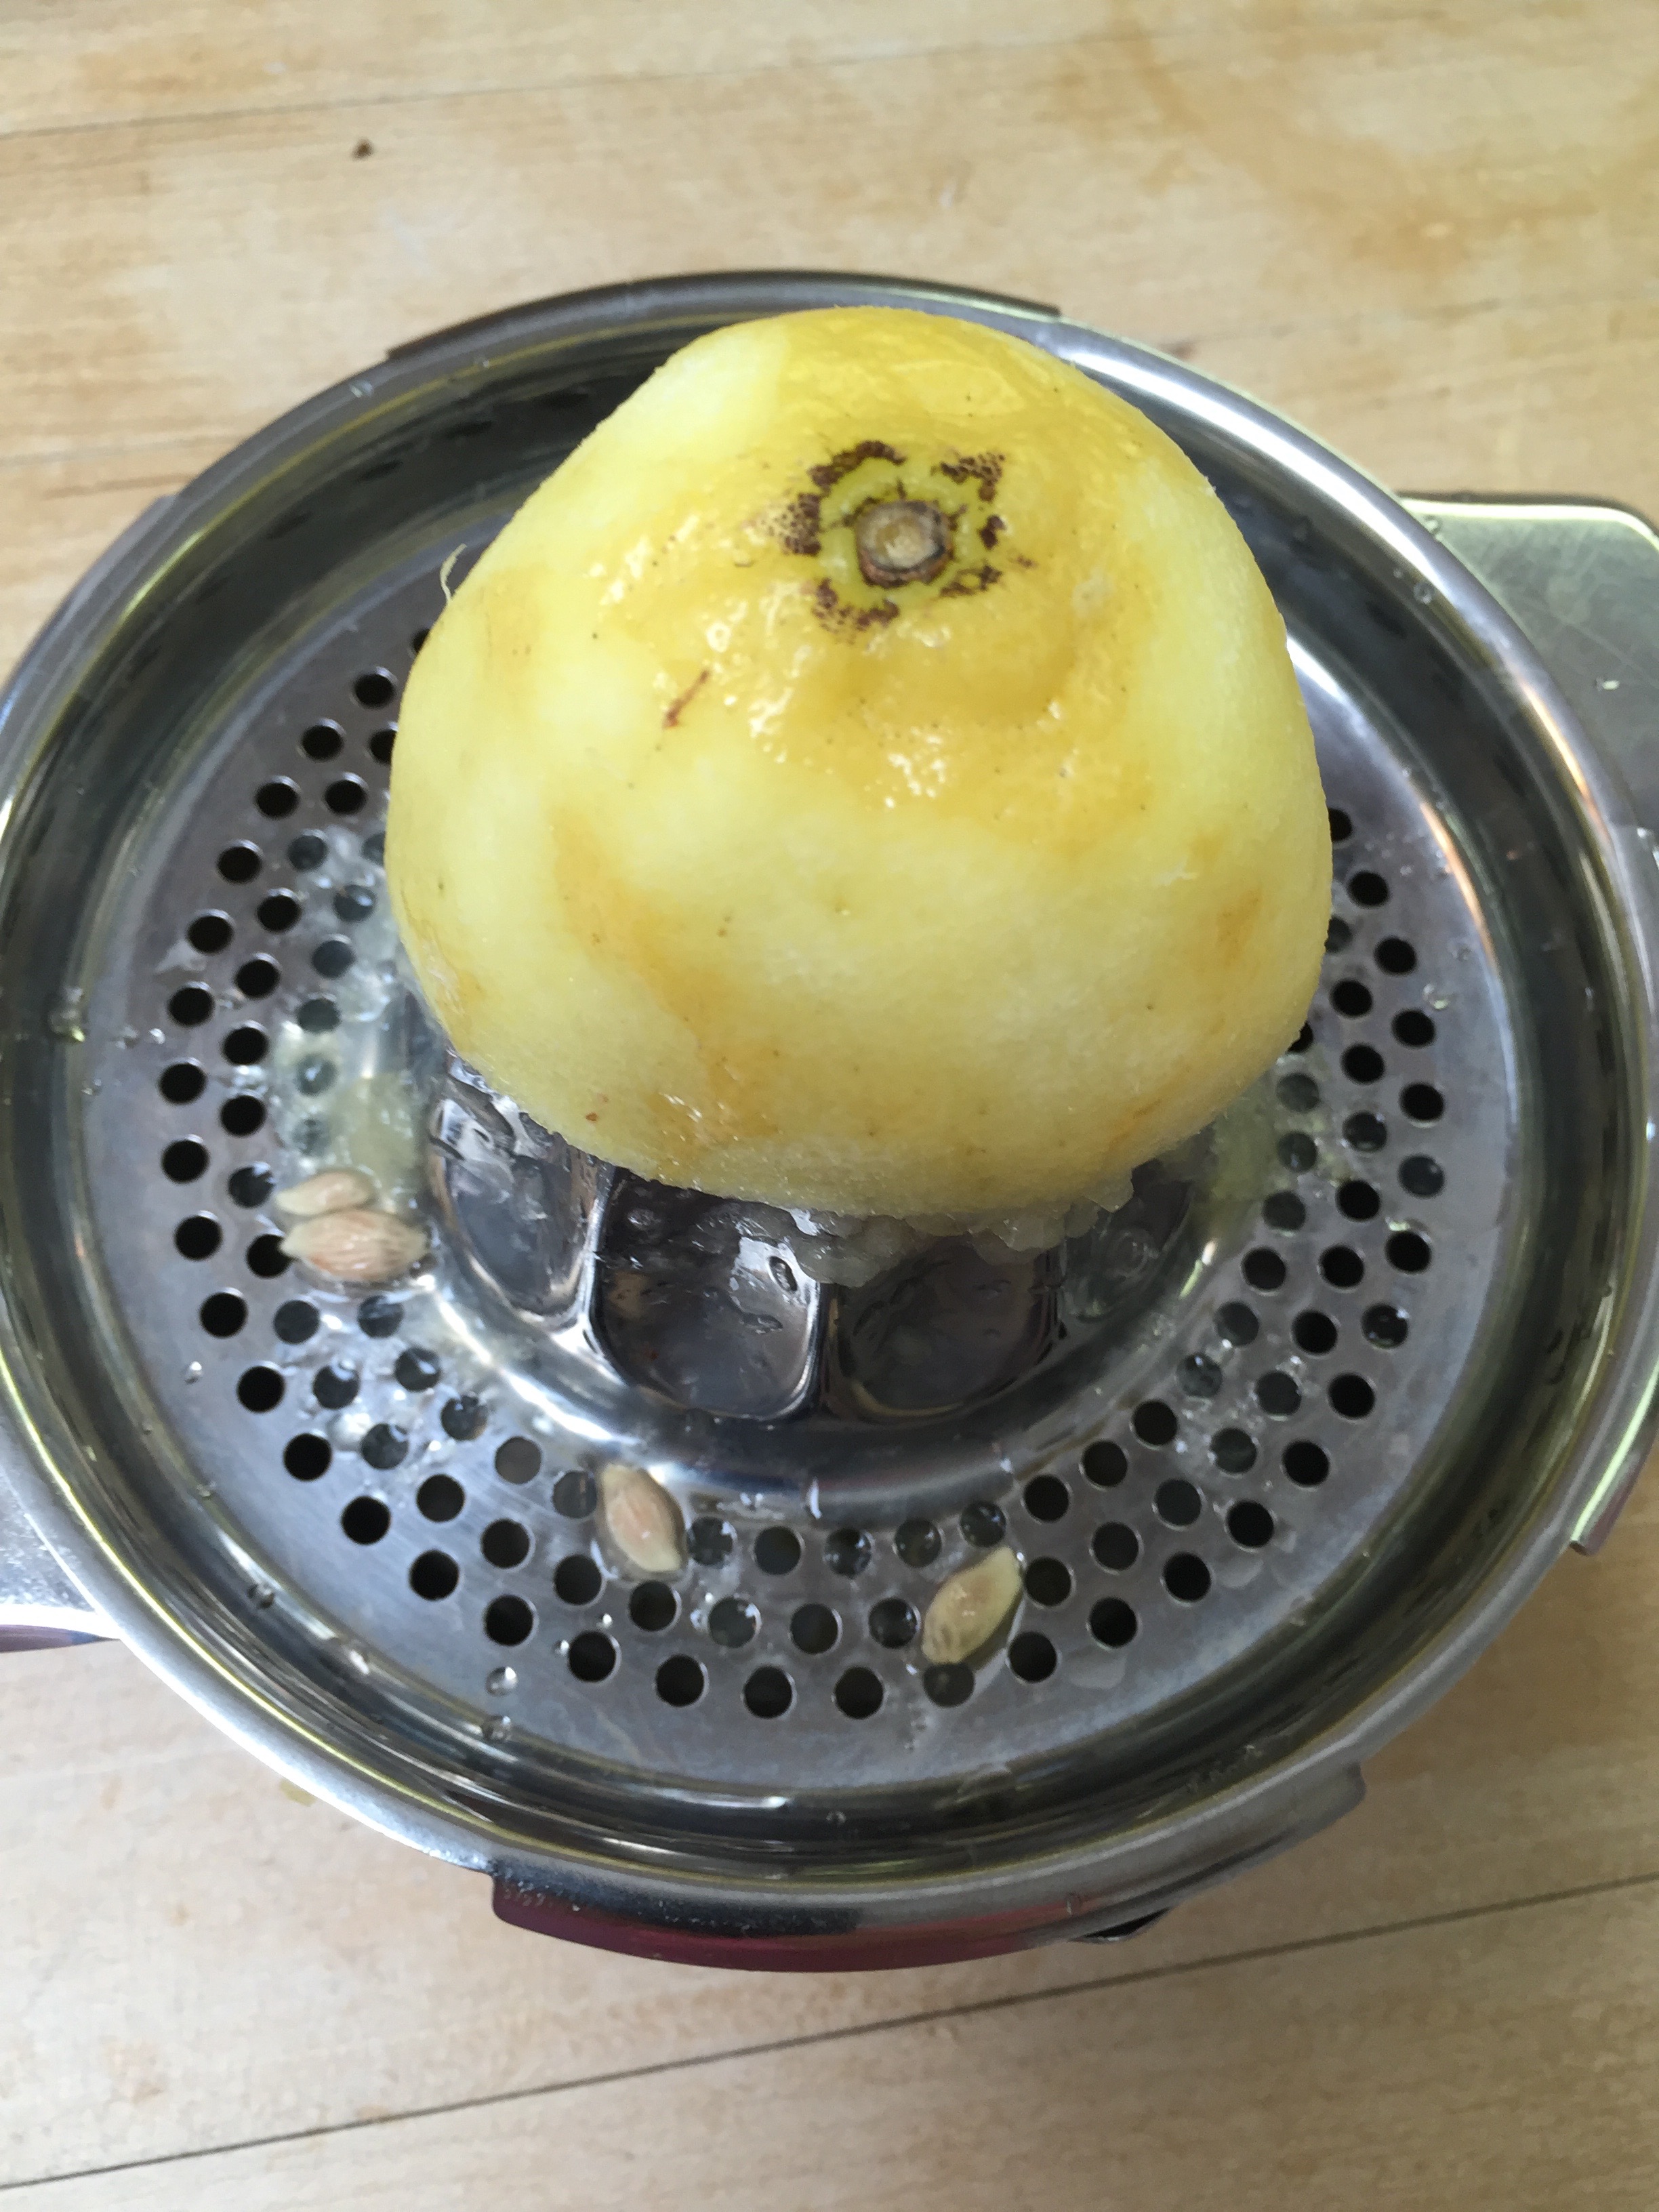
Zest and juice your lemons.
Add all the juice and zest to your cream cheese mixture. Add your Stevia and mix well.
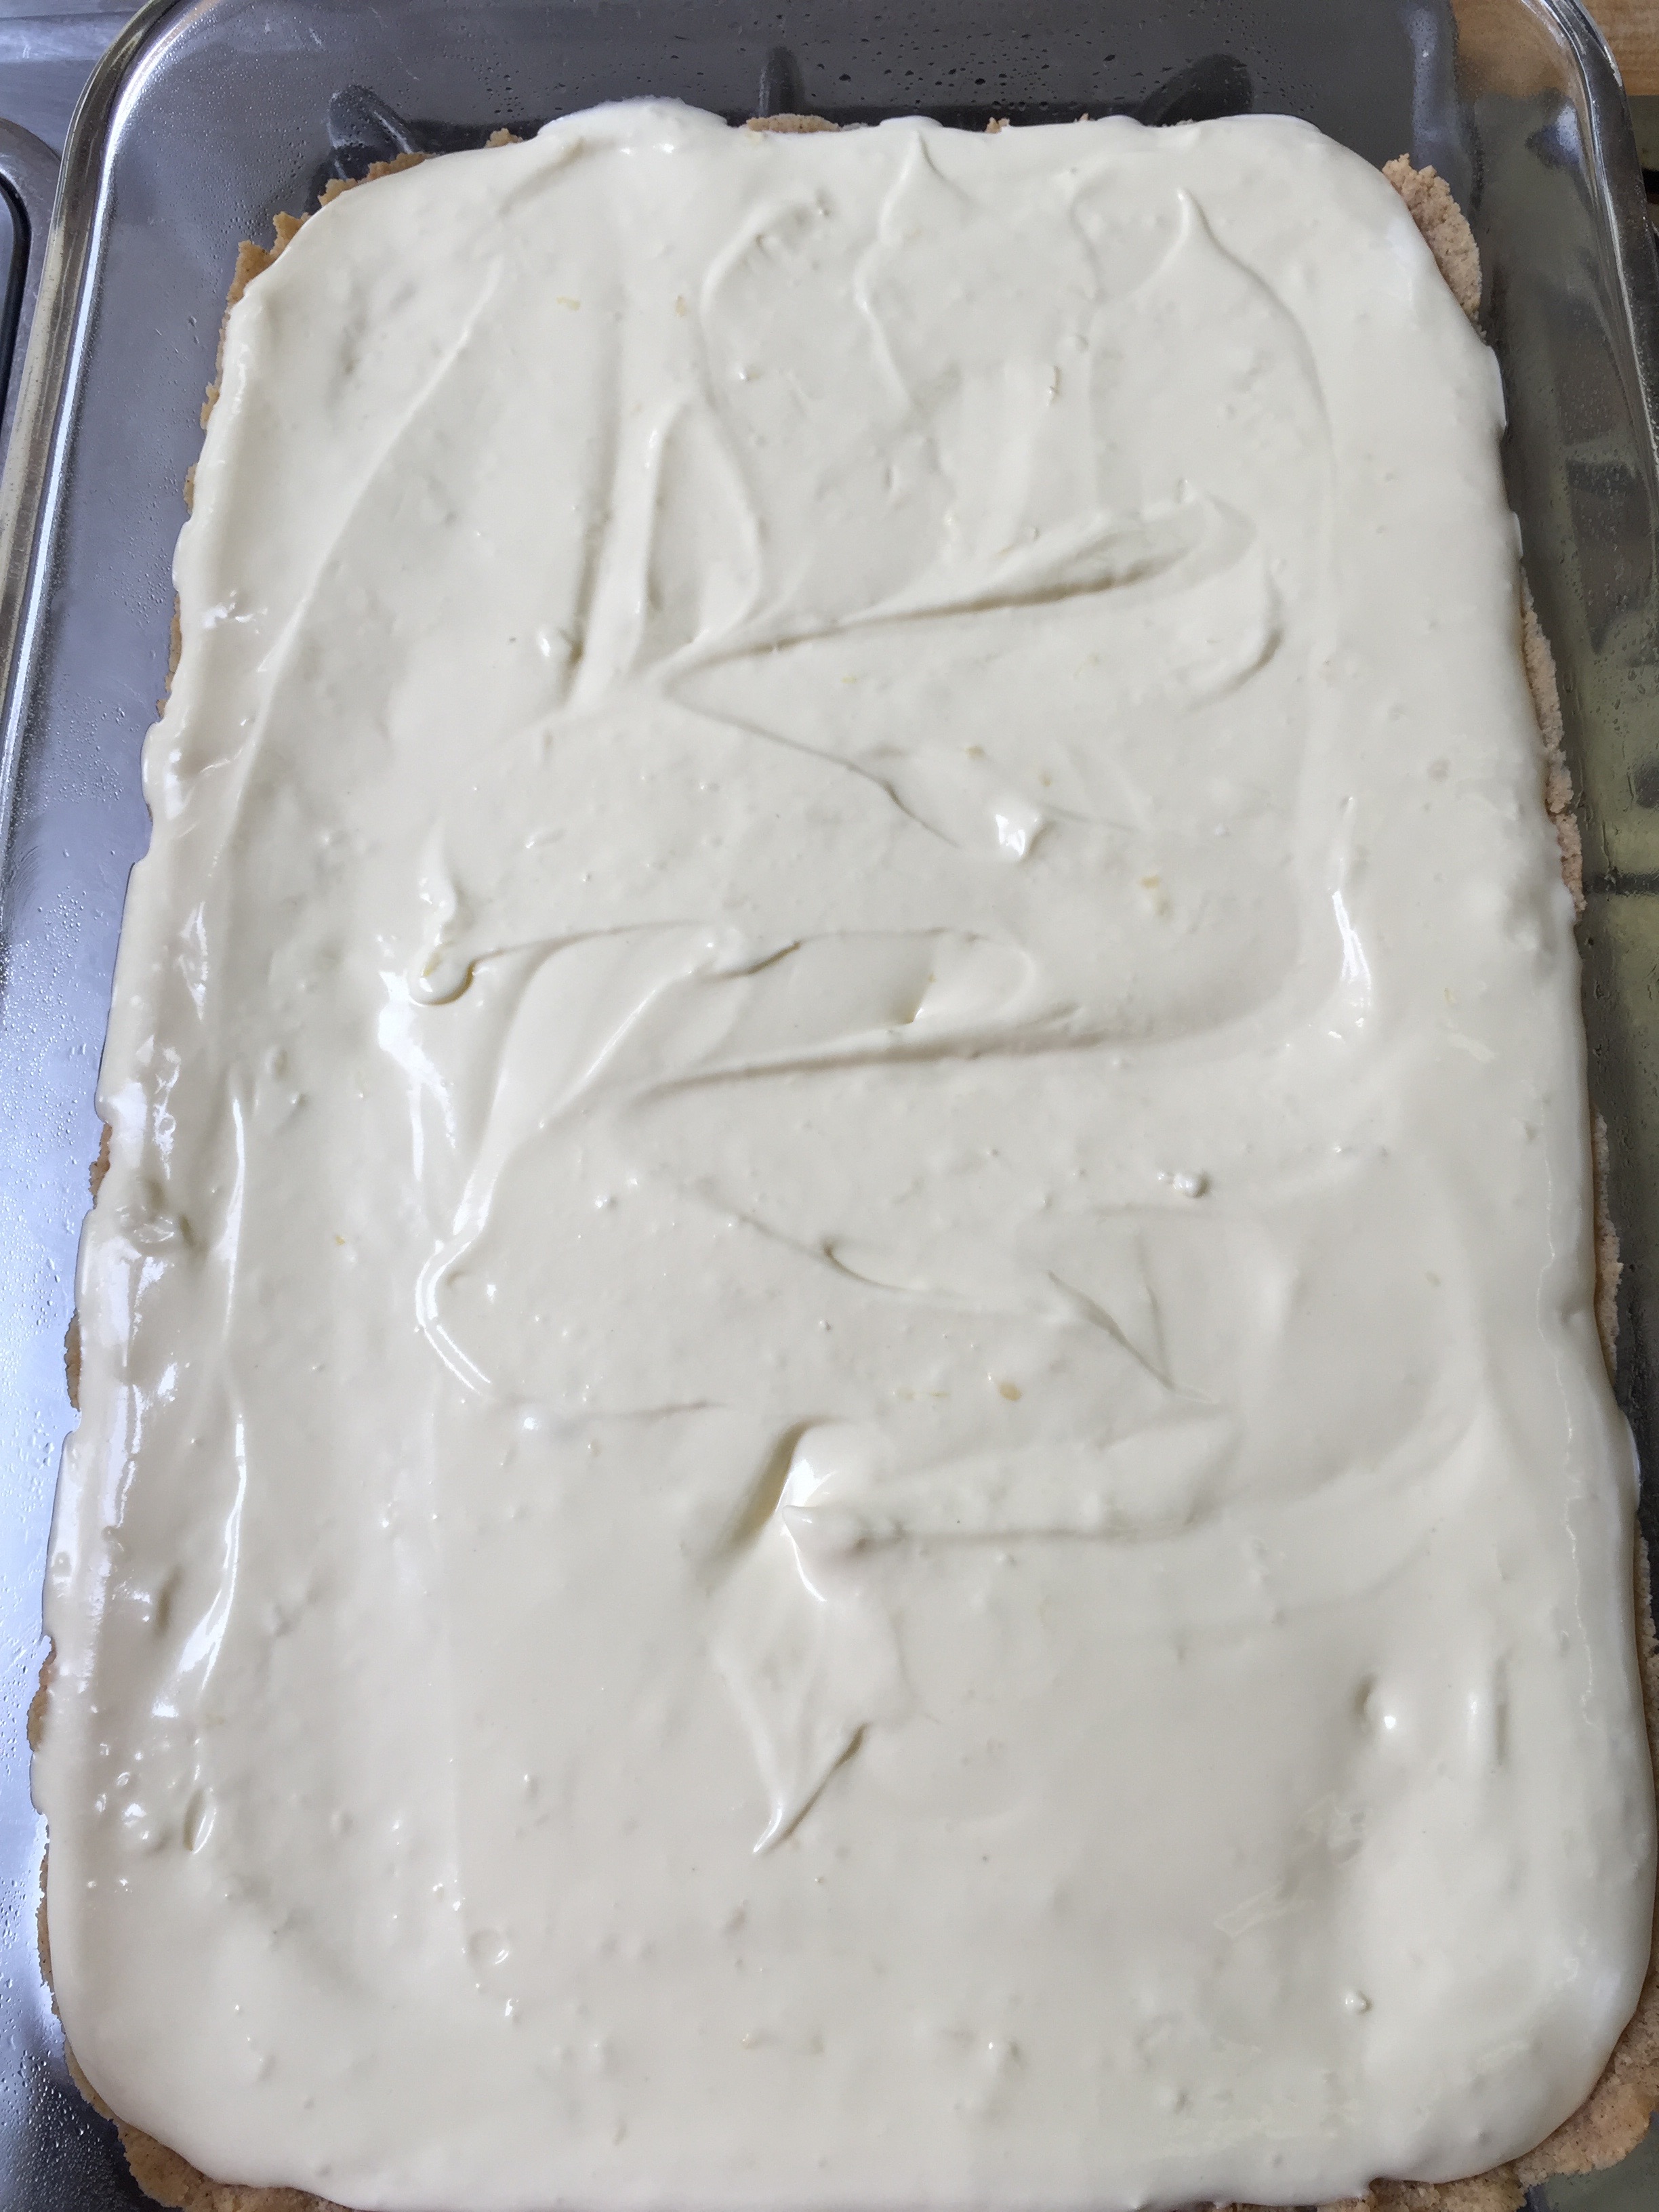
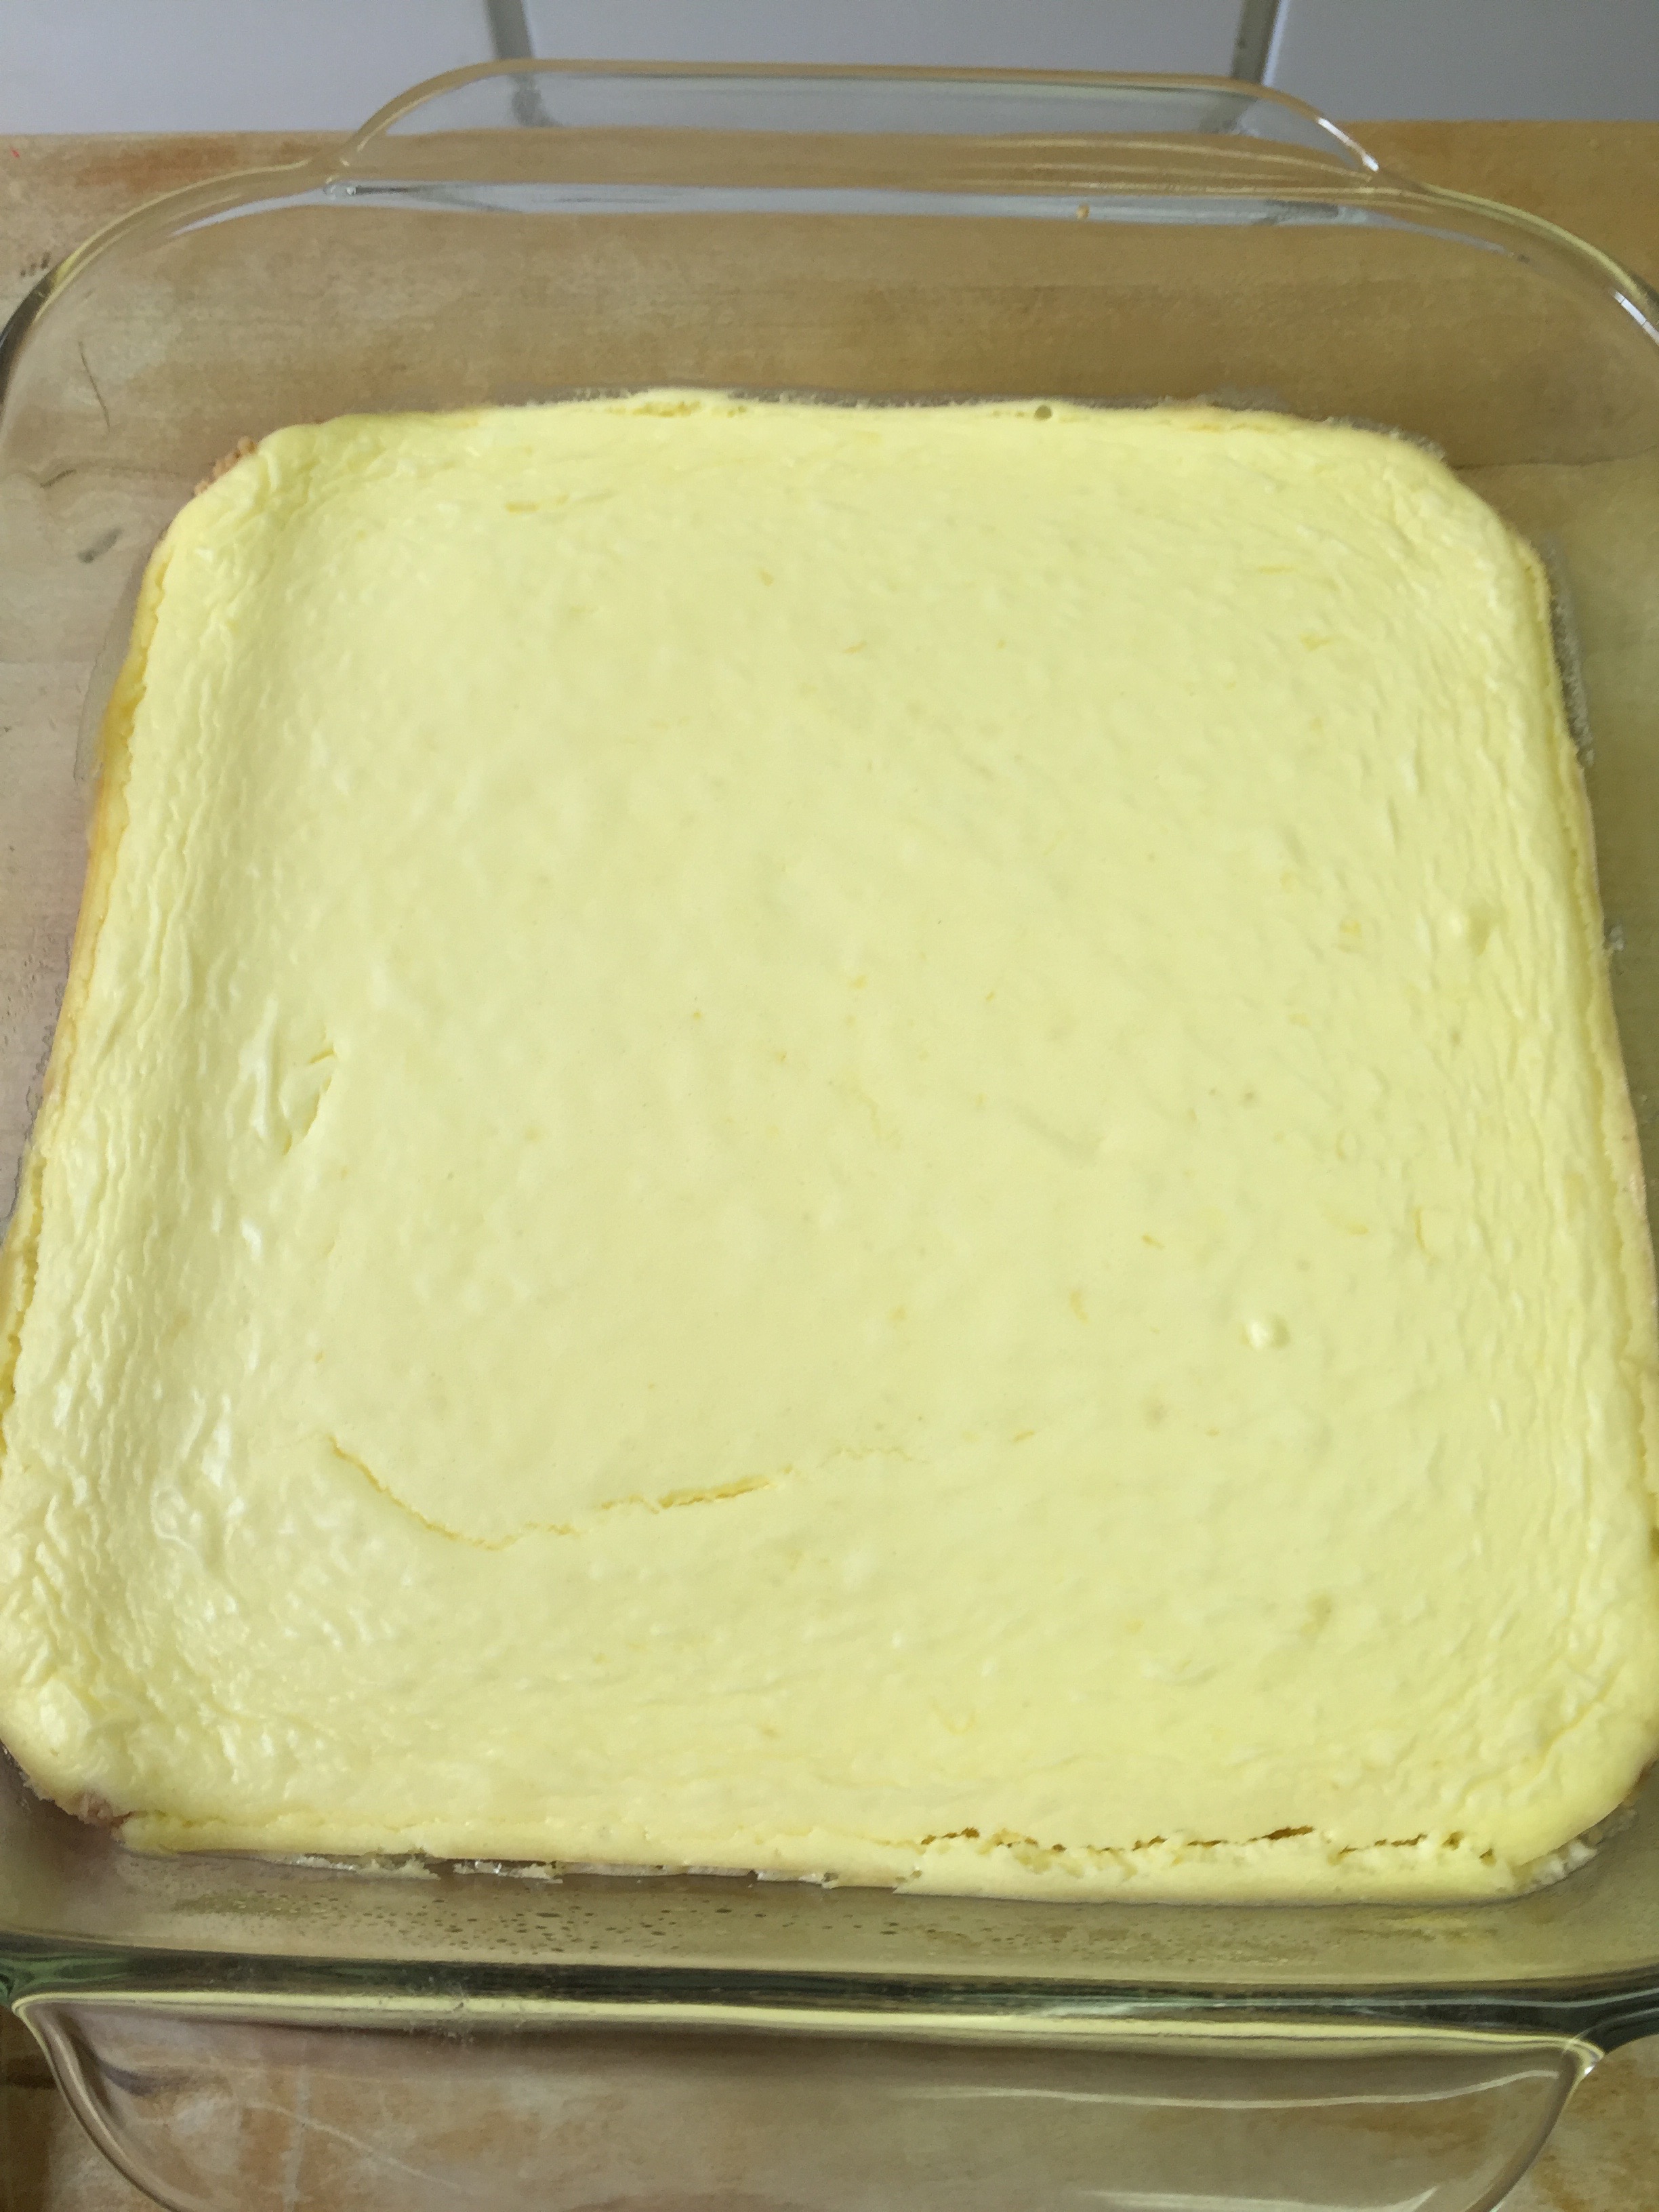
Pour into your pyrex dishes.
Bake at 325 degrees for 35 minutes.
They actually looked the same, but the lighting was different.
Cool completely to room temperature. Then place in the fridge to cool.
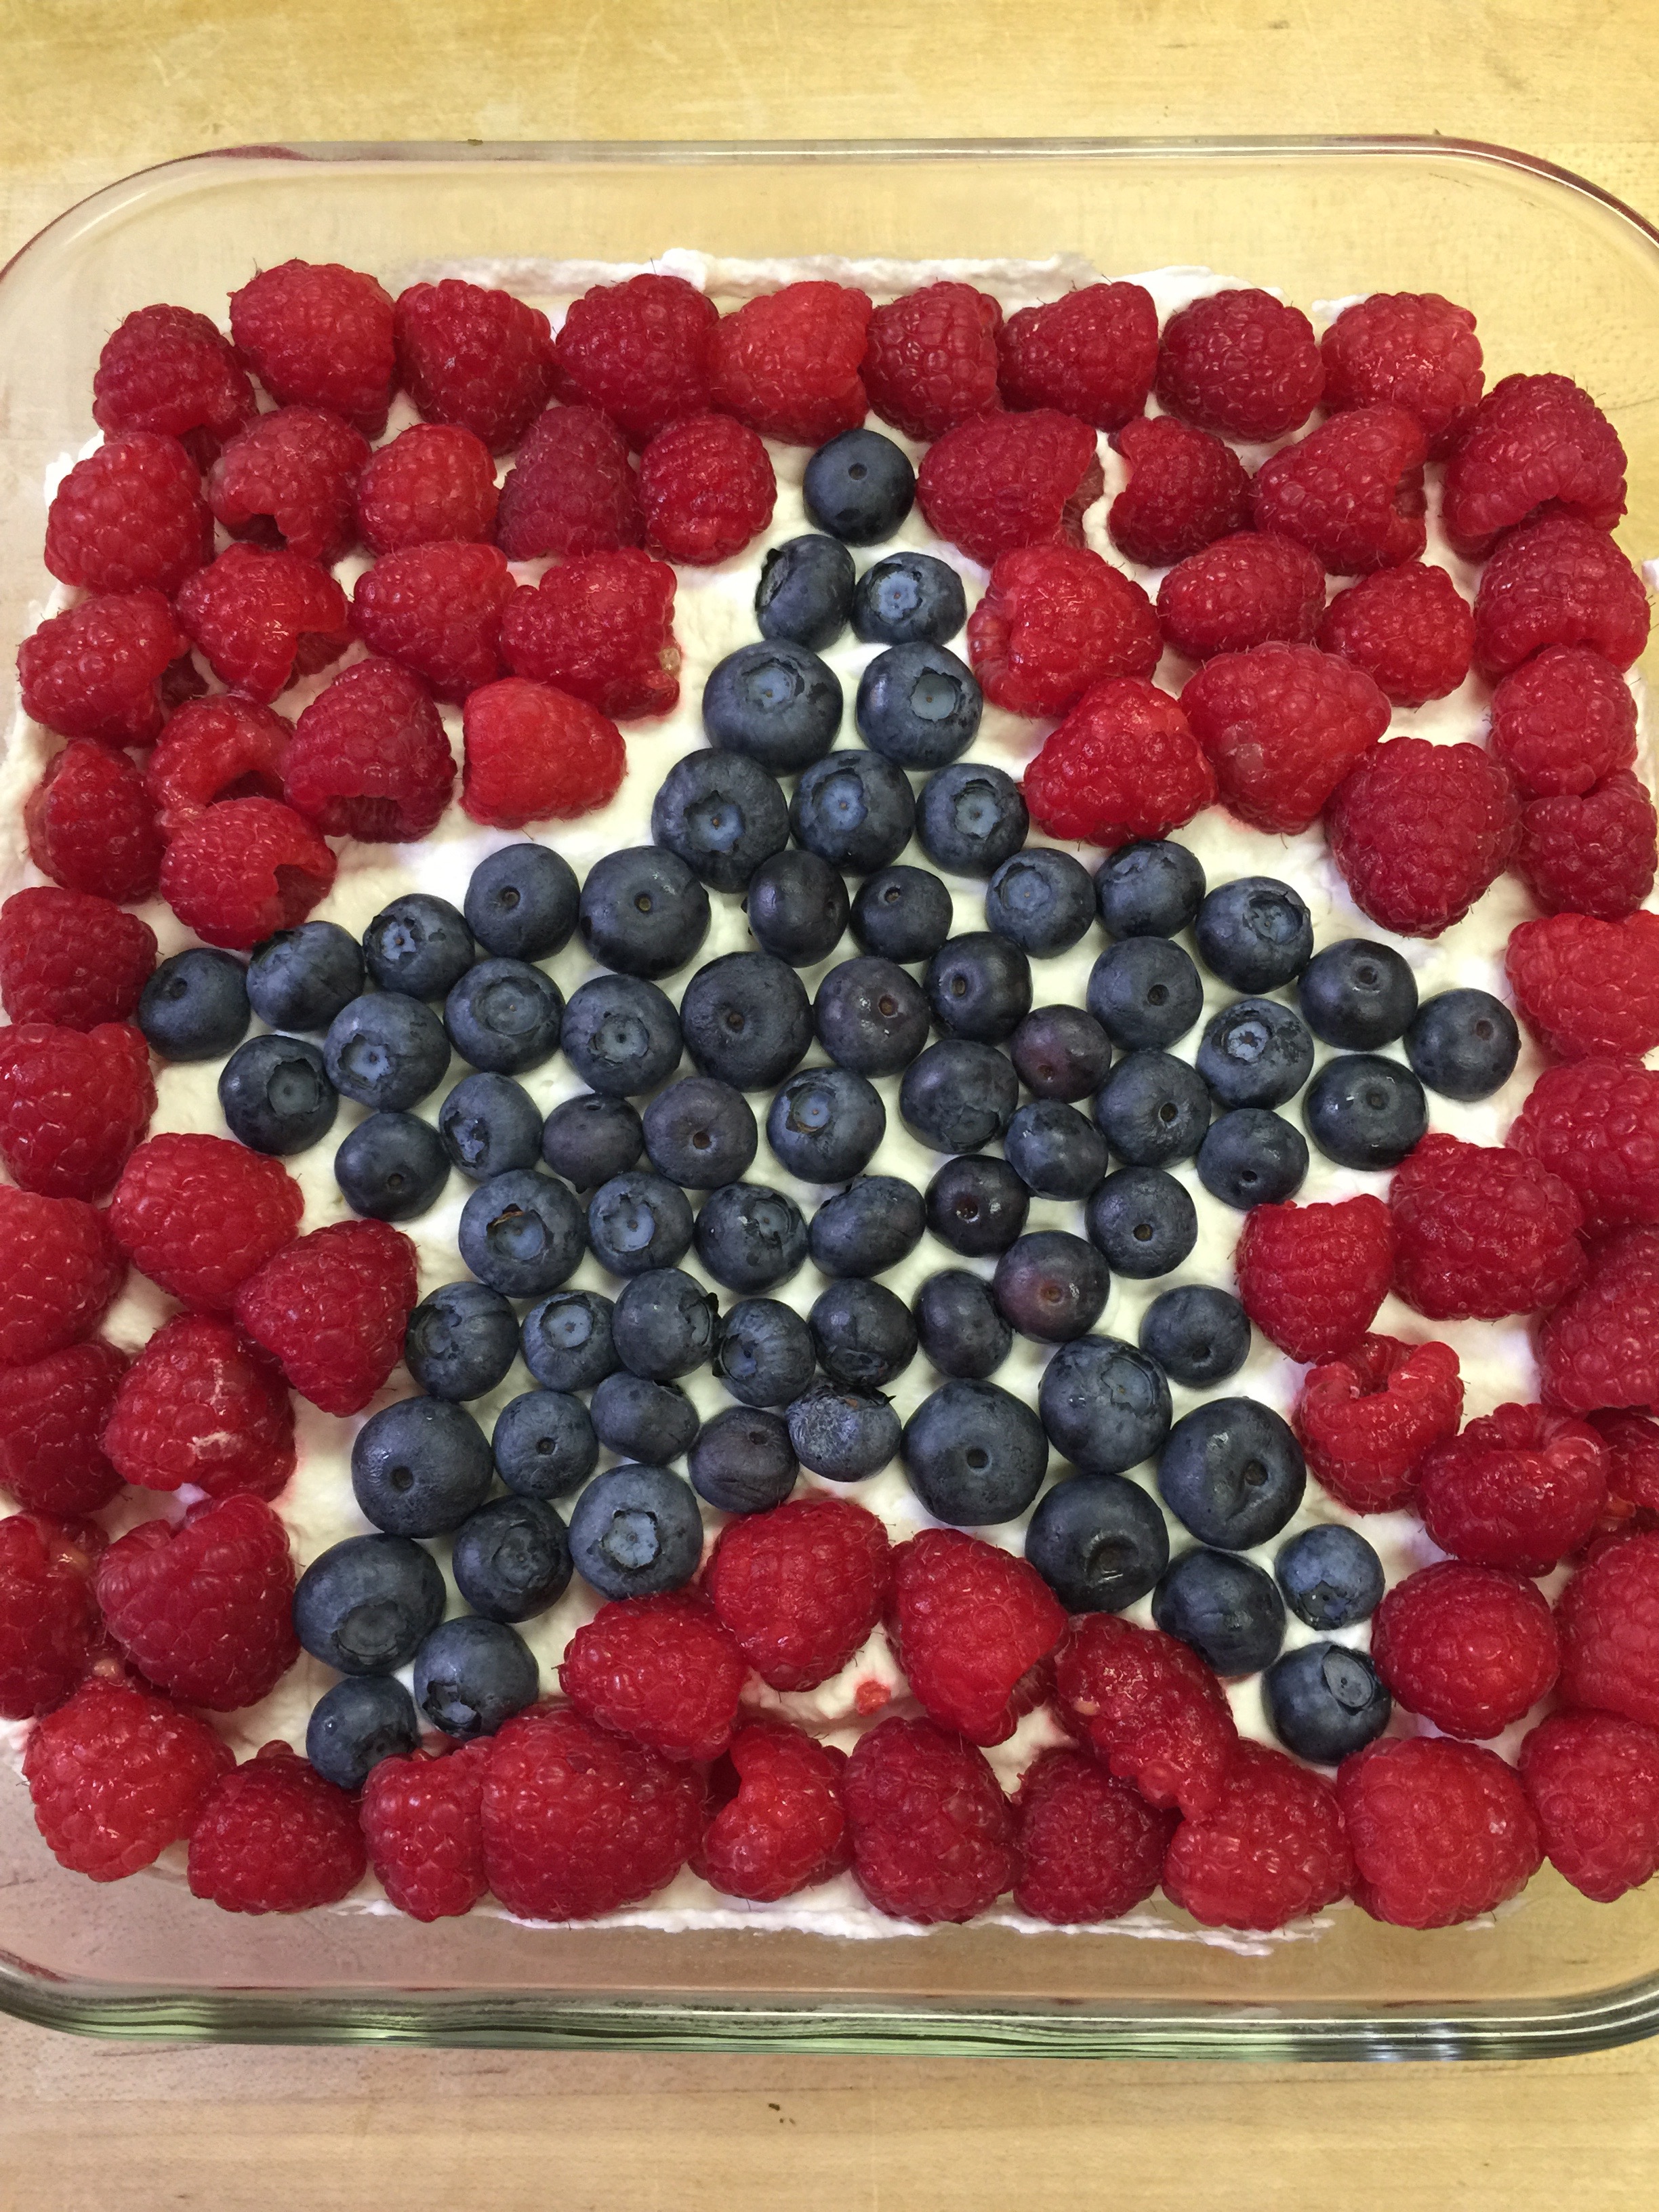
The next day or later in the day, whip up some whipped cream with heavy whipping cream, vanilla, and Swerve Confectioners.
“Ice” your cheesecake with the whipped cream.
I forgot to take a picture of the flag that I made on the 9×13 cake, but you can do an American flag with blueberries for the navy and do stripes with strawberry slices.
On the 8×8, I did a big star with blueberries and raspberries. This is so fun to do with the kiddos!
Let your friends and family ohh and ahh, but don’t tell them it’s sugar-free! They will be amazed. I love the way the lemon and fruit taste together for a special treat!
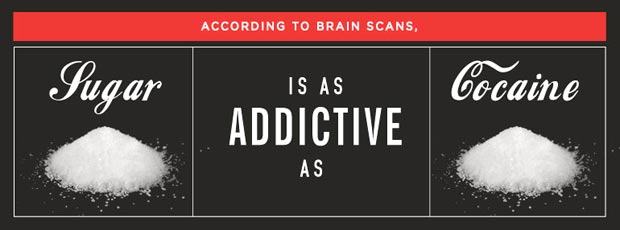
For the most part, I think most would agree that sugar is bad, very bad! It causes a copious amount of diseases, is almost entirely responsible for the obesity epidemic in our country, and is 8 times more addictive than cocaine. Yes 8 TIMES more addictive than COCAINE!
So what about all those “sugar free” choices out there? Well, this is the definition by the FDA of “sugar free” : “Sugar Free”: Less than 0.5 g sugars per RACC and per labeled serving (or for meals and main dishes, less than 0.5 g per labeled serving) (c)(1)
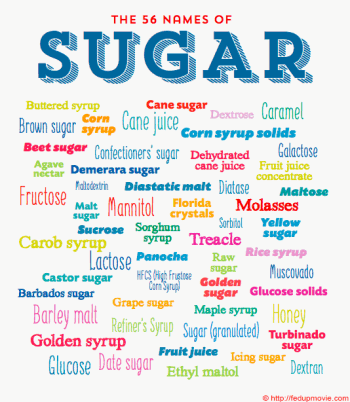
Contains no ingredient that is a sugar or generally understood to contain sugars except as noted below (*) You can read their definitions on the FDA website here. The problem with this definition is the fact that there are a lot of ingredients these days that are hidden in our foods that will spike your insulin levels faster than cane sugar and are not identified as so called “sugar”. Many of these are sneaky ingredients in foods you would never guess like salad dressings, spices and seasonings, and marinated products. These are foods that you may still be eating because I know you are not eating those awful processed foods anymore, right?
You need to know that just because you don’t see “sugar” or dare I say, “high fructose corn syrup” on the label does not mean you are home free.
If you see any of these ingredients – Stay away – far, far away. If you are still drinking diet drinks – wean yourself, by drinking sparking water, La Croix, fresh brewed tea, or water! It does the body good!
The sneakiest one on the list for me has been the Maltodextrin! It is in more than you could imagine. I have found it in sauces, and especially seasoning mixes. For instance, I used to love dumping a packet of Hidden Valley Ranch dressing mix into 16 ounces of sour cream for a yummy veggie dip. Then, I actually took a minute to look at the ingredients, and there it was, in black and white – #3 on the ingredient list – Maltodextrin. That was a huge wake up call for me when I thought I was doing it all right! I cannot say it enough, “READ YOUR LABELS!” A really good rule of thumb to follow is this: If it has more than 5 ingredients, you probably shouldn’t eat it, but if it has ingredients you cannot pronounce, you definitely should not eat it! I guarantee that if you saw the manufacturing and chemical processing of these products you wouldn’t want them in your body. Best to choose foods grown from the earth or raised grazing the green grass. These are your REAL FOODS!
The other mention on this subject is the Glycemic Index. There is more study needed on this index, but it is a good resource going back to ingredients like Maltodextrin. The Glycemic Index measures how much the food you eat affects your blood sugar levels. The higher the rating, the greater the effect the food will have on your blood sugar. The scale ranges from 0 to 100, with 100 being the highest (well-used to be the highest). A 100 rating will shoot your blood sugar through the roof! Here are some examples:
Remember that Maltodextrin? Well, it measured higher than pure Glucose which used to top the scale:
Maltodextrin – 110
Pure Glucose – 100
Splenda – 80
Sucrose (Table Sugar) – 65
Maple Syrup – 54
Honey – 50
Lactose – 45
Coconut Palm Sugar – 35
Maltitol – 35
Agave – 15
I like this website published by the University of Sydney, that allows you to enter in foods to calculate the impact it has on your body. This website published by Harvard is also an eye-opening chart that lists common foods with their Glycemic Index as well as the Glycemic Load which takes into account the serving size, or “dose” of sugar. The difference between the Glycemic Index and Glycemic Load is the serving size. The “Index” measures the sugar impact on the same amount of food, not a typical serving size. The “Load” uses the Glycemic Index as its foundation but takes serving size into account.
Watch out for those hidden sugars. “No Sugar Added” always mean sugar! Food labels are tricky. I really like the way JJ Virgin writes in her book, “Let’s be honest. You get excited when you see that sparkly starburst on the box telling you there’s been no sugar added to those fruit roll-ups. Well, I’ll be delicate here. They’re taking some poetic license – with you health. Manufacturers give you some credit, and they know that if you saw a box that read “21 teaspoons of added sugar for your metabolic upheaval!” you might think twice. So they’ve spent a lot of time and money testing ways to get around your sensible objections so they can manipulate you into buying as much of what they’re selling as possible, guilt and worry free. They’ve made all your favorite treats “without added sugar,” so you could have your cake and eat it, too….And just because a manufacturer labels a food or drink “no added sugar,” that in no way means that it doesn’t contain sugar. No added sugar does not mean sugar-free. It can also mean they’ve used fruit juice concentrate as their sweetener. That’s essentially fructose without the fiber. (Fructose goes straight to your liver!) And remember that white flour will end up as sugar anyway, so many of the ingredients in your no-sugar added cookie will turn into sugar as soon as you start munching. Labels can be misleading.” JJ Virgin – Sugar Impact Diet.
In a nutshell, read your labels – the ones on the back, buy “Real Food”, and know your sugars and their impact. And remember:
We are thinking ahead to fireworks and celebration! It is hard to believe that July 4th is right around the corner. The other day I posted the “Refreshing Cukes” recipe which would be a great side dish for any Fourth of July celebration. By the way, they just got better in the fridge for a few days! The cucumbers were definitely a hit in our house!
Today, I have another side that is easy because all you need to do is prepare the dressing ahead, pour it in a mason jar, throw it in the ice chest, and you have a great nutritious side wherever your travels may take you! Even better, you can use this tangy dressing as a dip or on any salad with what you have left over.
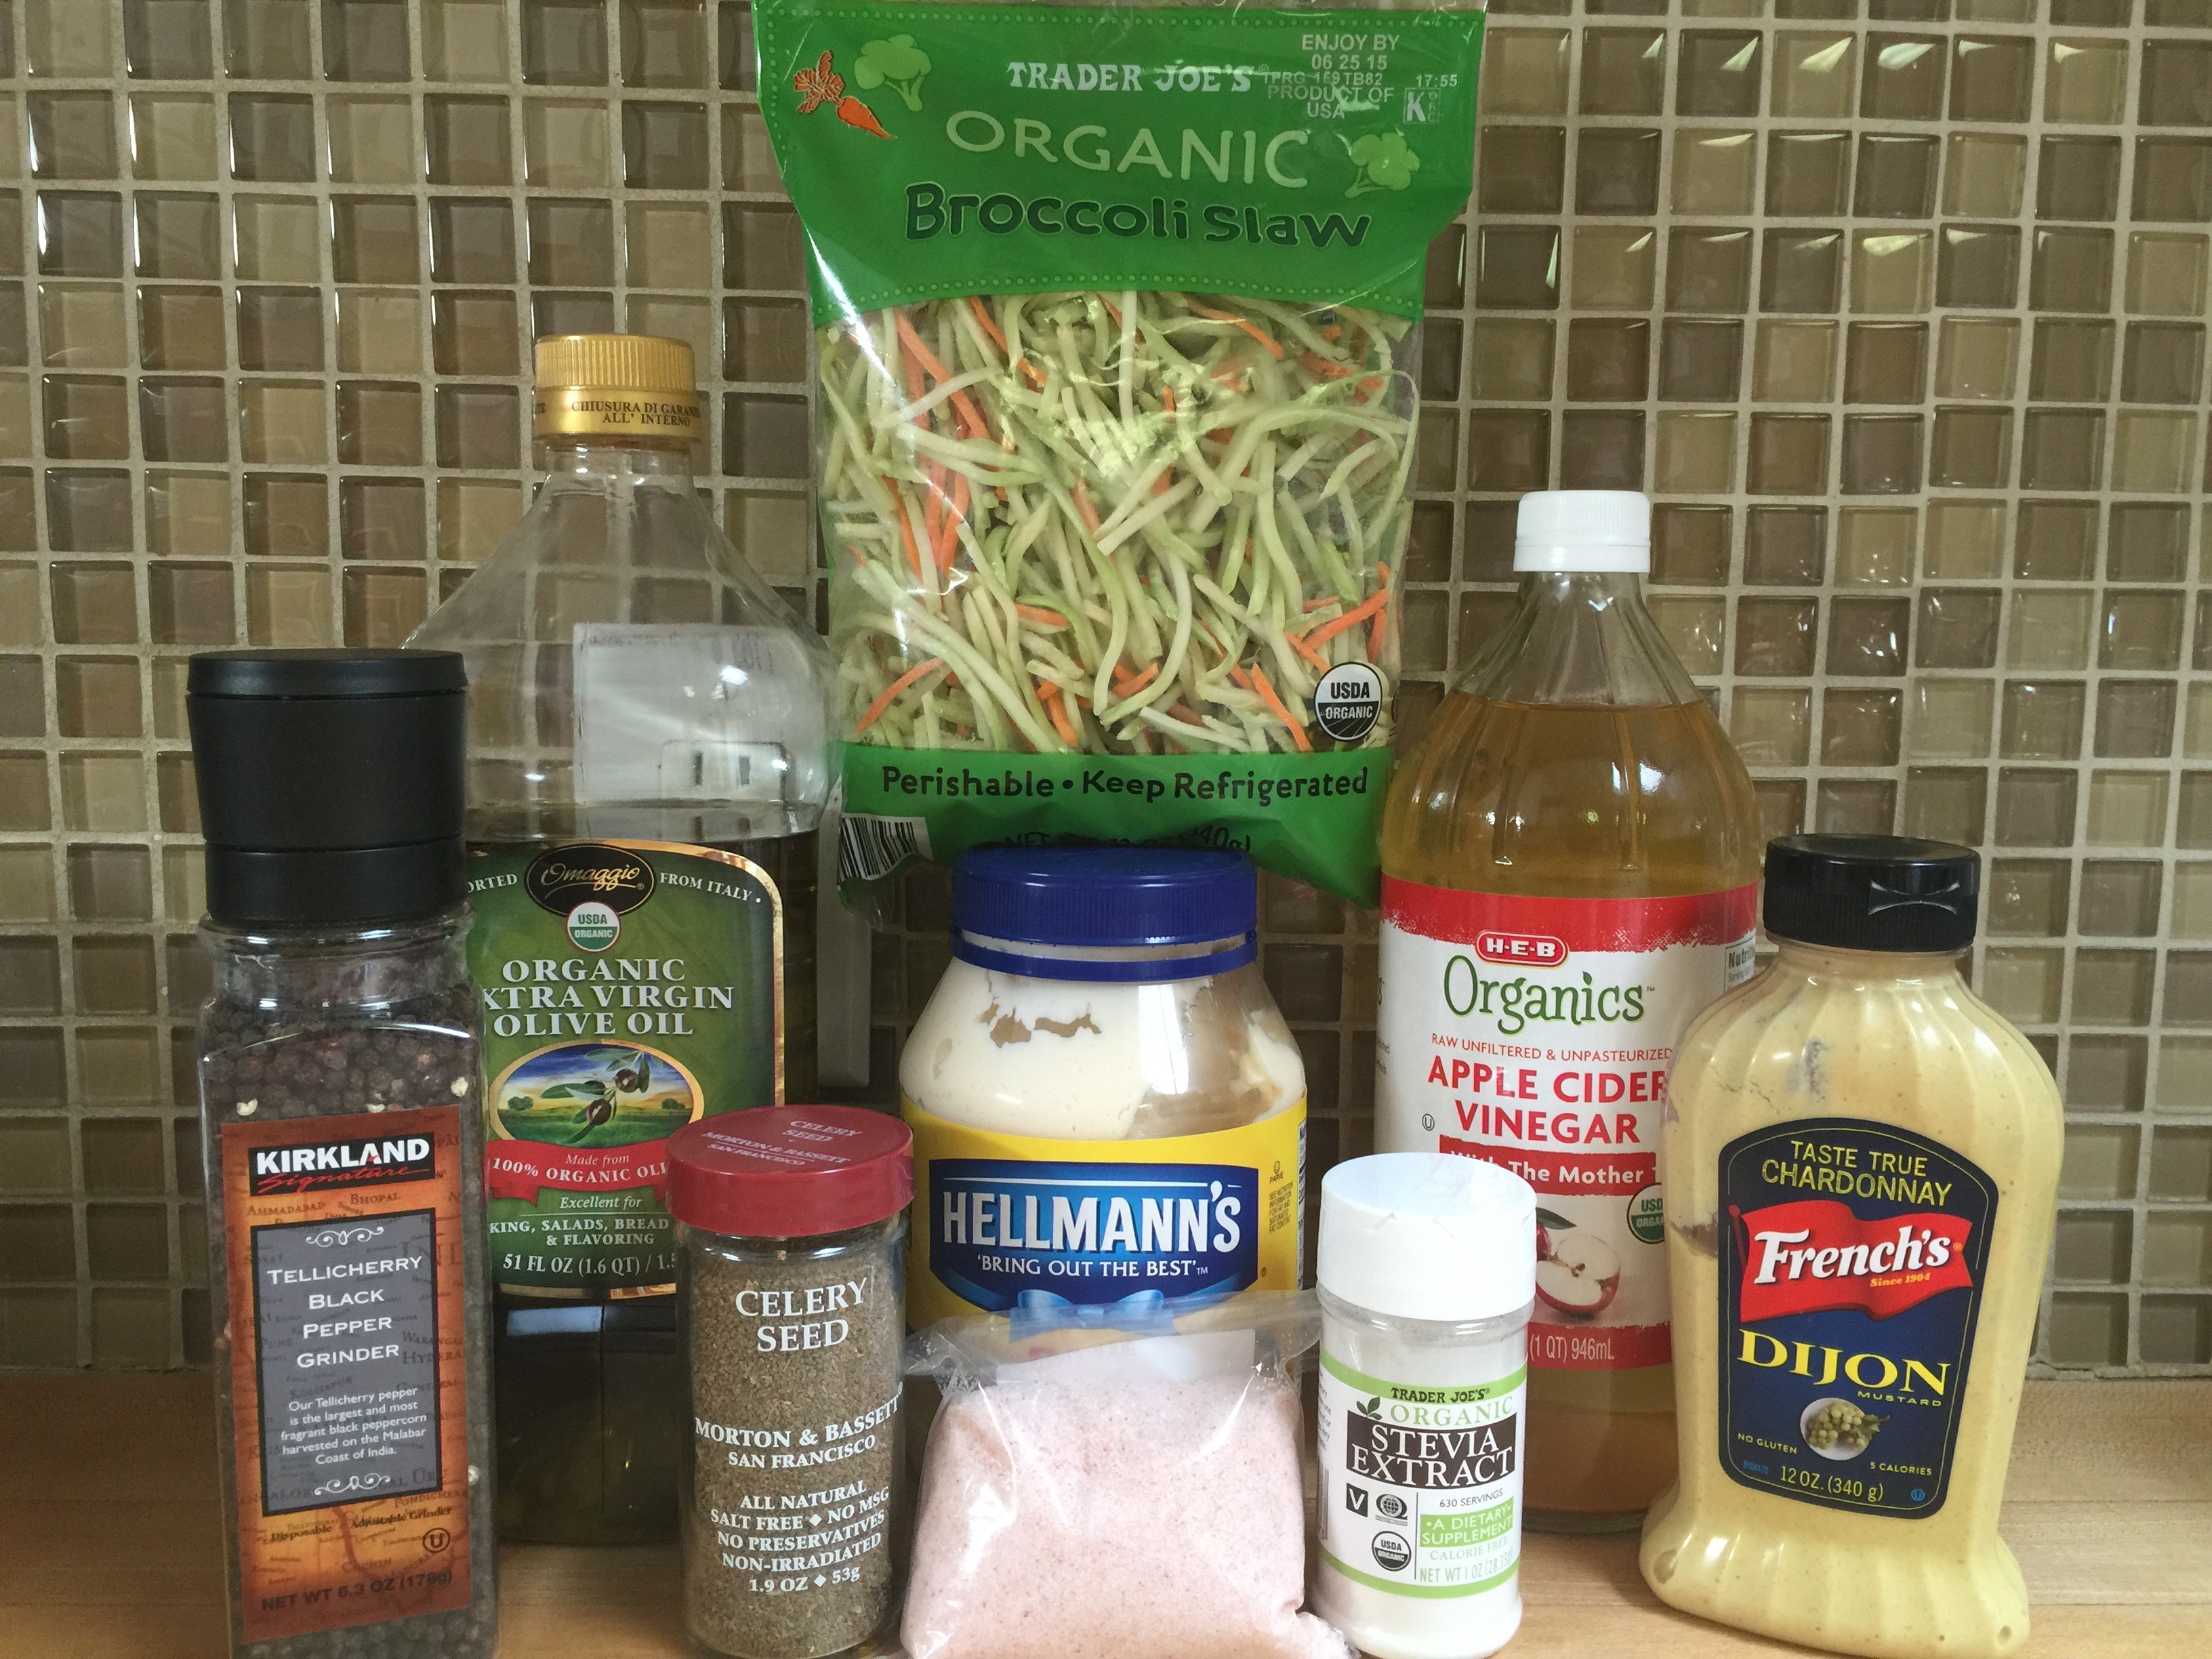
Keto Broccoli Slaw Recipe
2 Tbsp Extra Virgin Olive Oil
1 Cup Mayonnaise (I used Hellman’s, but homemade is better)
2 Bags of Trader Joe’s Organic Broccoli Slaw (I just use one at a time.)
Directions:
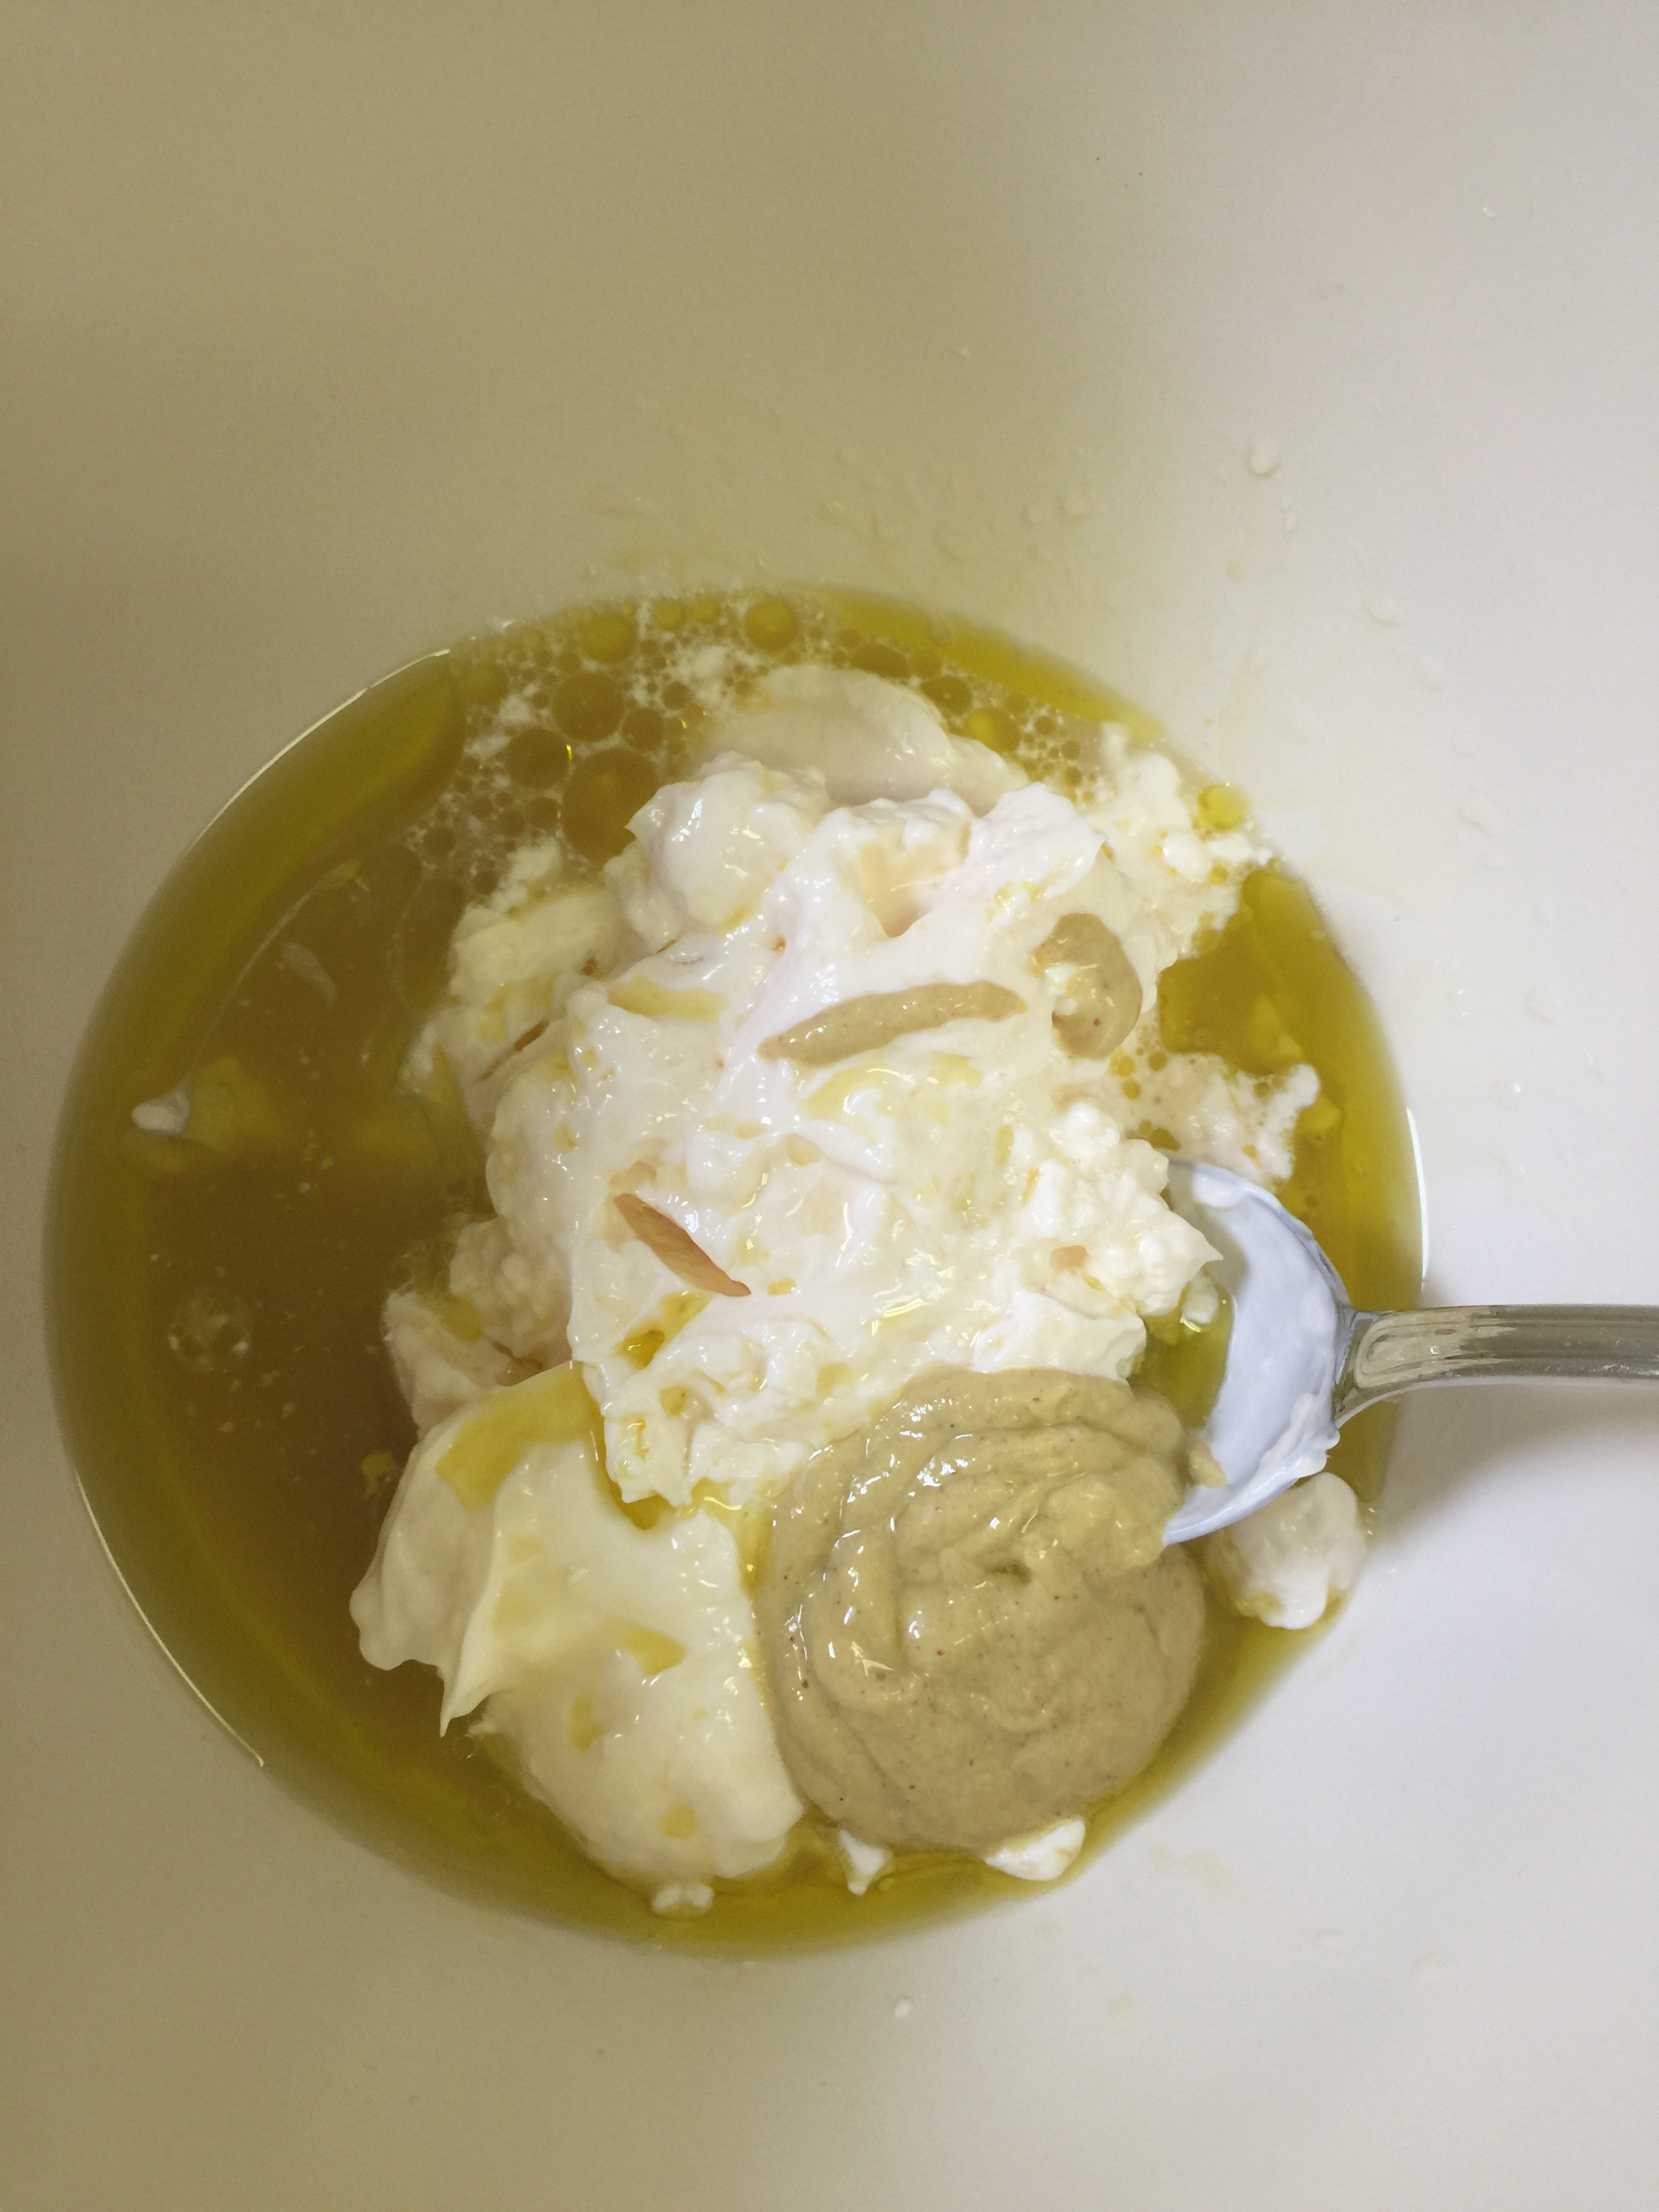
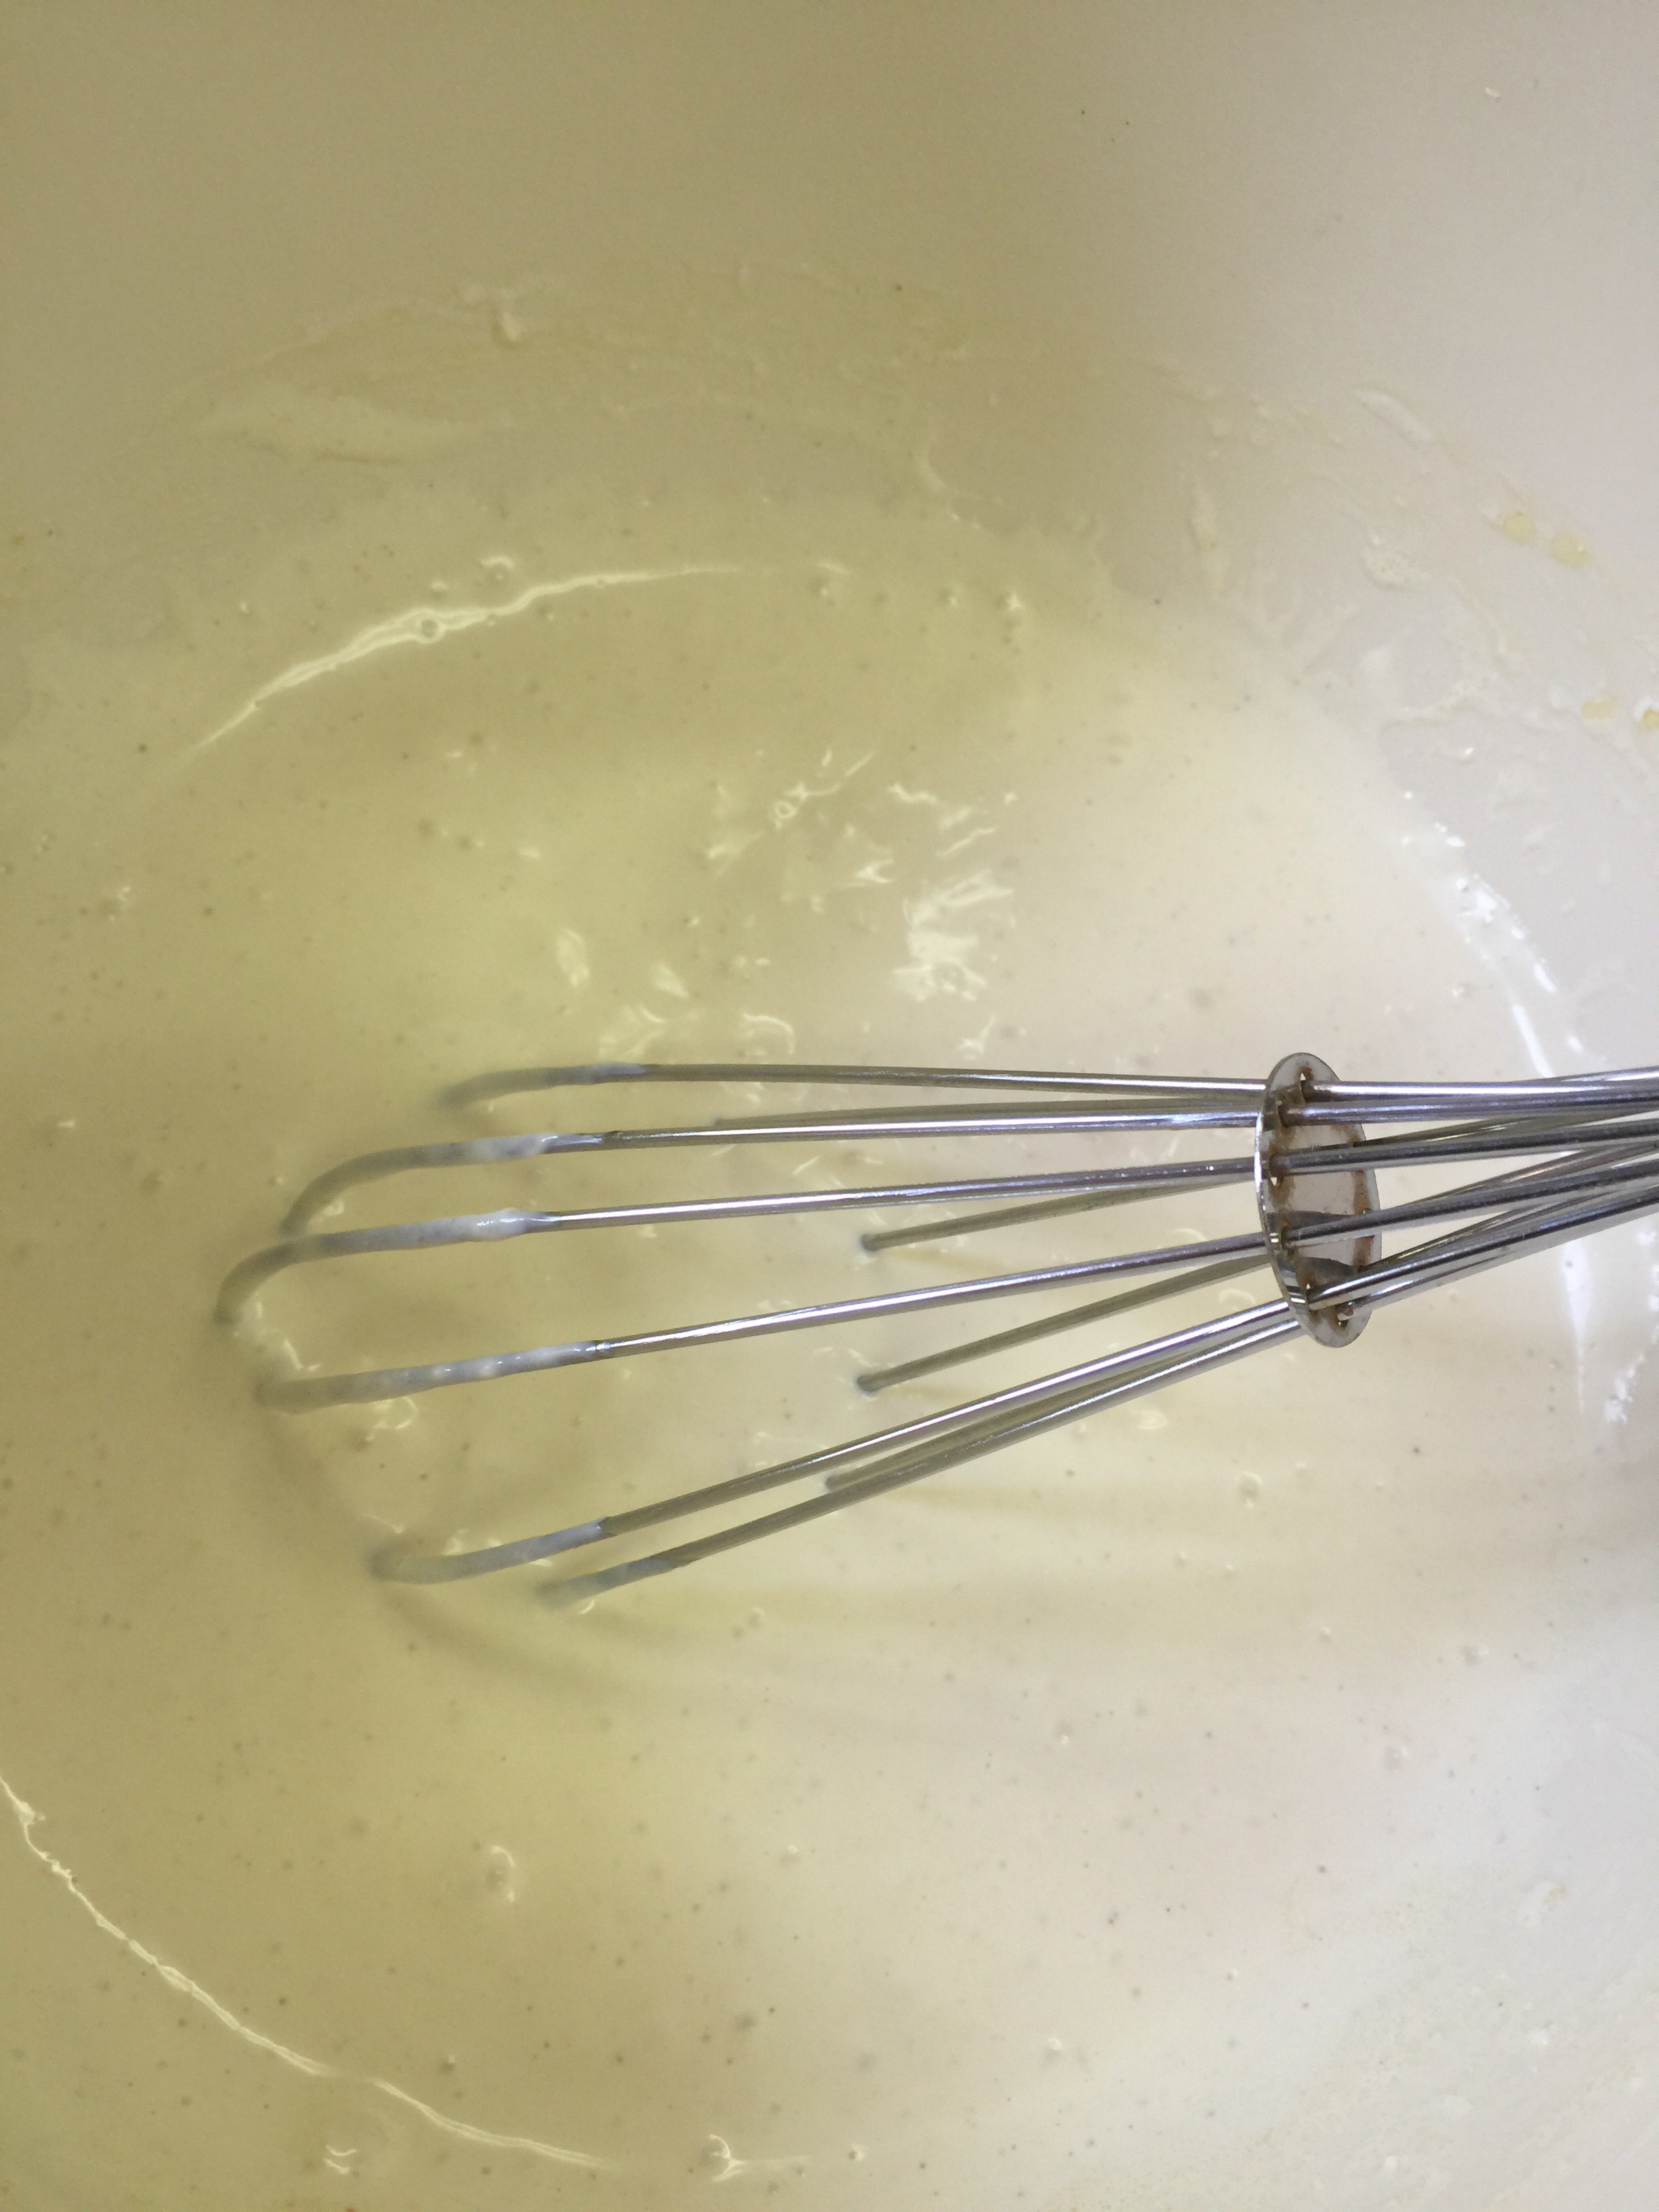
Start by combining your Olive Oil and Mayonnaise. Then add your Apple Cider Vinegar and Mustard.
Stir well.
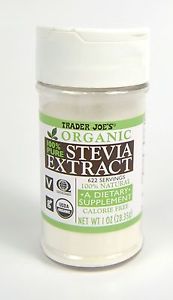
Add your Stevia: This is the best one I’ve found so far:
Then add the rest of your ingredients except for the slaw.
Whisk well, and pour into a mason jar once it is completely combined.
Now it is ready for packing or serving. Place in the refrigerator until ready to use. Also, shake well before each use to distribute the celery seeds.
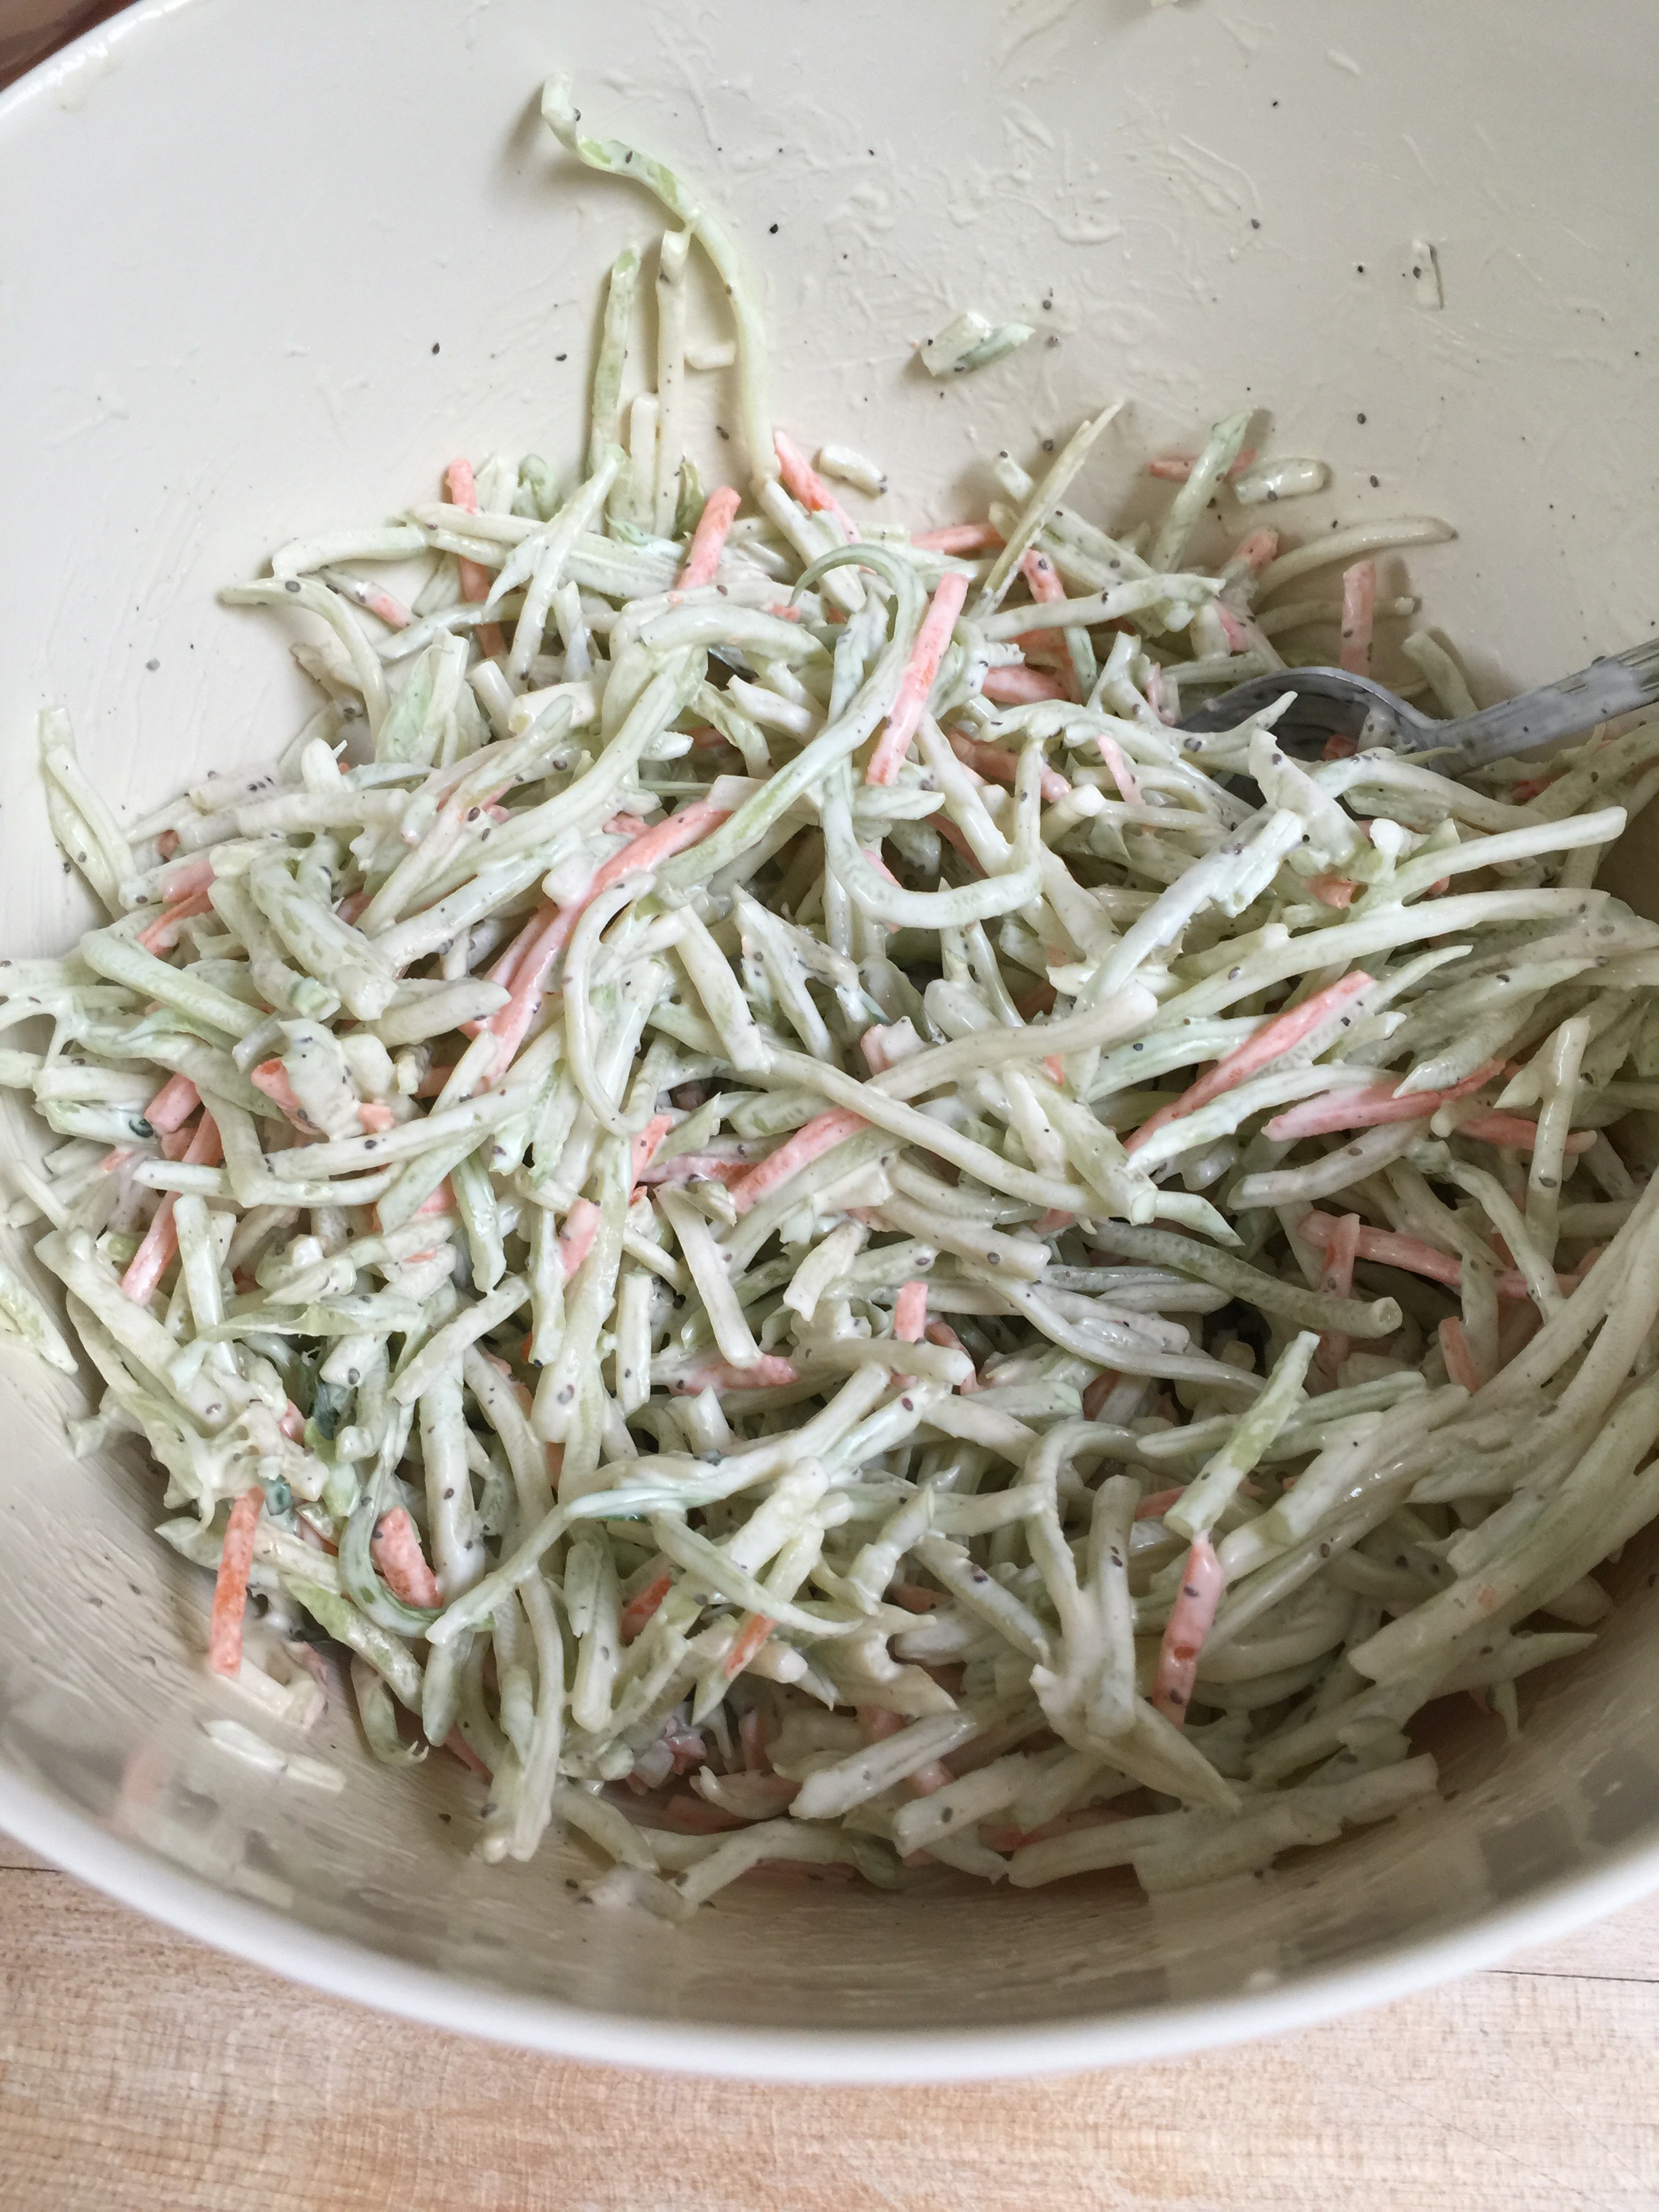
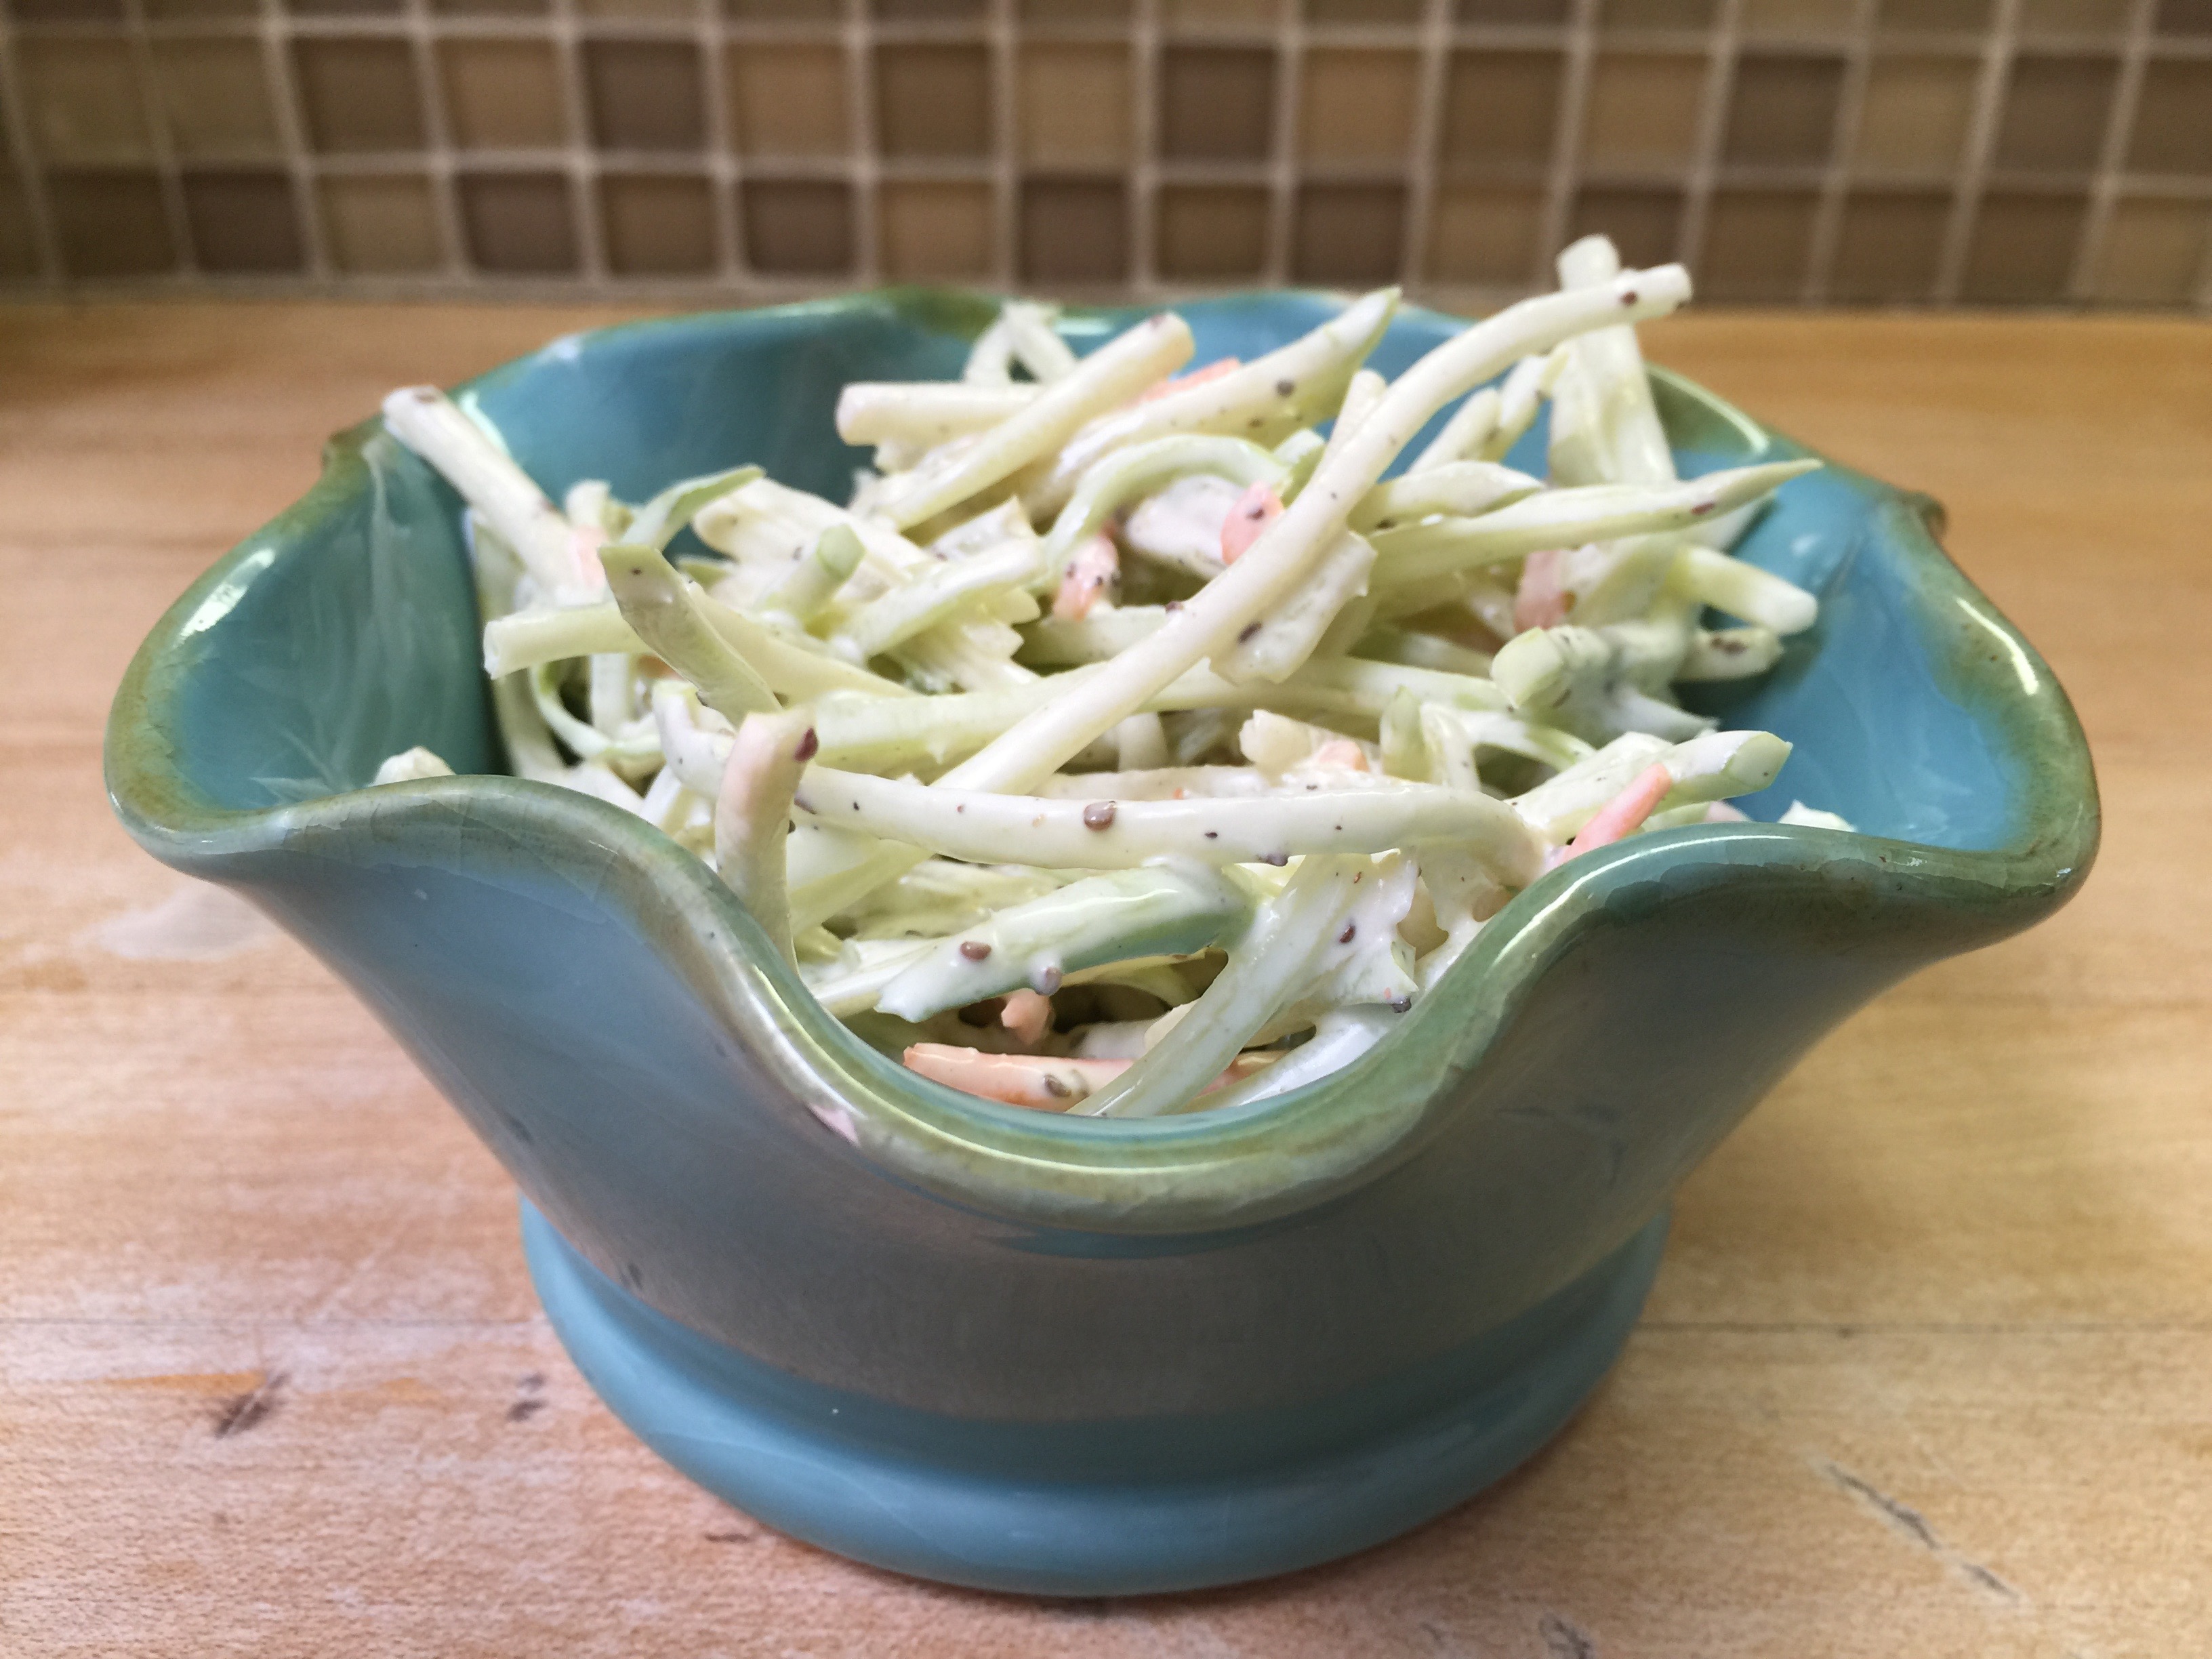
When you are ready, empty the packet of broccoli slaw into a large bowl. It will make more than you think, so pick a large enough bowl. Pour about a half cup of dressing over your slaw and mix well. You can always add more if you like.
This is excellent served with Bar-B-Que, or served on its own. Enjoy!
We know sugar is BAD! The sad truth is that many “No Calorie Sweeteners” are also bad. The choices are plentiful! The health consequences of these are also plentiful!
My first choice of sweetener when we decided to go Keto was Splenda (Larger name is Sucralose.) because that was my husband’s sweetener of choice, and you could bake with it in equal amounts. Then…I heard the story about how Sucralose was invented. It was invented by a group of chemists looking for a new formula for pesticide. Yes, I said pesticide! When you eat Splenda or other versions of Sucralose you are eating the mistake of chemists looking for a new improved pesticide. When Chemist A said to Chemist B, “Have you tested it?”, Chemist B responded, “It tastes sweet!” Obviously mishearing, taste for test, Chemist A was horrified that B actually put this poison in his mouth. But, the formula for a new product began at this point. Let’s see when you put that stuff to your lips again.
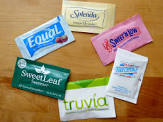
There are many other choices…We are all familiar with the blue stuff, the pink stuff, and the list goes on. Then you have honey, agave, and maple syrup. Granted, these are natural sweeteners, but have an effect on blood sugar. Honey, agave and maple syrup can all have a dramatic effect on your blood sugar, and leave you craving for more. Honey? I know, but just like everything else, it has become highly processed, and basically “all the good stuff” has been removed. The only exception I would find, would be a good local source that you know has quality honey from the area in which you live. I still would not eat it, but I would use it to sweeten things such as grass-fed plain yogurt and other quality foods for my children. If you can find good LOCAL honey, it is great for allergy resistance for your children in very small amounts – I emphasize SMALL. Please use with caution because it still will spike blood sugar. If you are trying to lose weight or have insulin resistance at all (which over 70% of our adult population does) stay away and stick to the others mentioned next. To read more about the worst and best sweetener, check out this article, The 4 Best and 3 Worst Sweeteners to Have in Your Kitchen, written by Dr. Mercola.
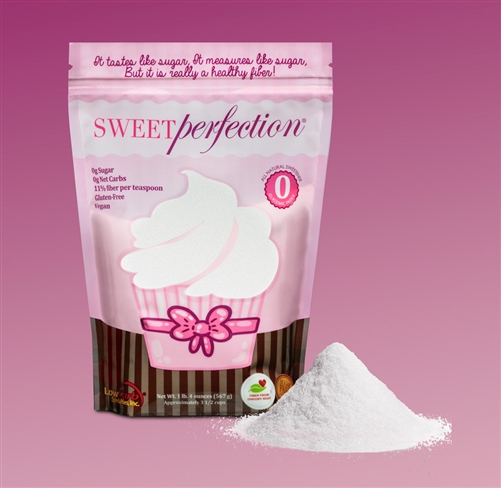
Natural sweeteners that do not have an impact on blood sugar are Swerve, Stevia, and Chicory Root, and every once in a while, Xylitol for certain foods (be careful with Xylitol – toxic for pets). These are the ones that we choose to use. You can purchase Swerve at Whole Foods, Sprouts, or in our Amazon store, here. There are many different forms of Stevia on the market. Be careful, and READ your labels. I have found all sorts of added ingredients. This is the Chicory Root powder sold by Chocoperfection:
This is granular swerve, good used on anything that is NOT cold, such as coffee or baked goods. Choose the purple confectioners for cold items, such as puddings or custards.
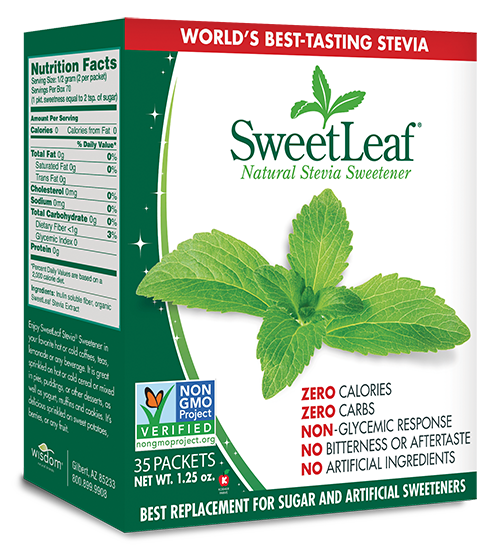
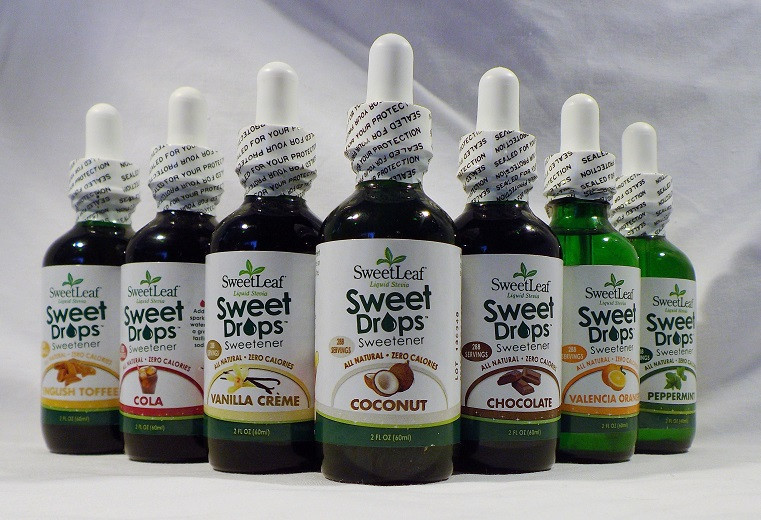
We do all need to try to be as sugar free as possible for so many health reasons. The problem is, any time there is a good thing, the food industry can take it and make it BAD! Take for instance, Stevia. Stevia is a great product, used for centuries in South America. It is all natural, has a low glycemic index, and a little goes a long way. The food industry in America saw that this was an up and coming sweetener, and has come along and ruined it in many ways. For example, Pure Stevia used to be the only thing you could buy. Now you have huge food and beverage companies coming into the market, and adding other ingredients, such as sugar (yes, sugar) maltodextrin, and a variety of other ingredients we do not want inside our bodies. My point of this post is to tell you to be careful when choosing sweeteners and reading labels. We need to cut down on the “sweet” period! That is, teach our tongues not to crave the sweet. If you do need a little sweet every once in a while, choose carefully by doing your research, and reading your labels. Do not go by what you see on the front of a box! At the moment, I buy the Sweet Leaf packets:
And Stevia Drops which come in a variety of flavors and you can purchase at Whole Foods, Sprouts, or our Amazon store here:
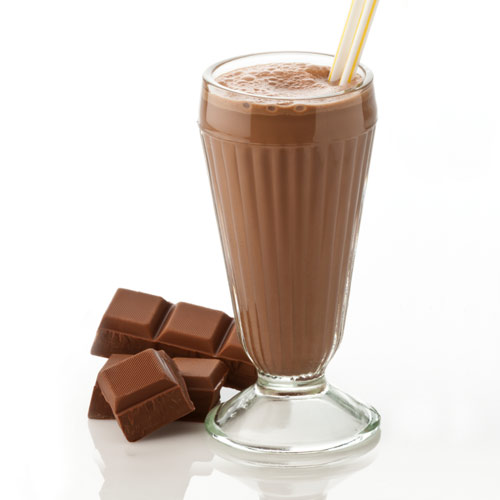
Sometimes as a treat, I use these drops to sweeten plain unsweetened almond milk for the children. When I use the chocolate drops, it magically turns into a chocolate milkshake!
Stevia measures VERY VERY differently than any of these other sweeteners which more or less can be measured cup for cup just like sugar. This website is a great resource for conversions if you have any questions. Just click here for a conversion chart! This works for PURE Stevia only.
I ordered a “Pure Stevia” off of Amazon last week, and was livid when I received it to find that the “other ingredient” was Malodextrin which has one of the highest glycemic index values out there. It is BAD stuff! Needless to say, it is going back, and I will continue to do my research to find an actual PURE stevia with no other added ingredients. It is becoming harder and harder to do this. The one place I have been able to find actual pure, organic, non-GMO stevia for baking is Trader Joe’s. While there, pick up some coconut cream, ghee, nuts of many varieties, and some Creme Fraiche! Yum!!!
So the take away of this article is to READ, READ, READ you labels! There are new brands of Stevia, especially, coming to the market daily because it is a HOT item. To make them better, companies are making these sweeteners worse for us. Take care and sweeten carefully!
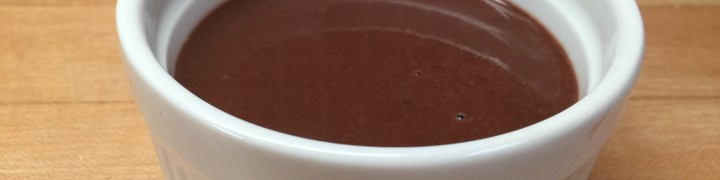
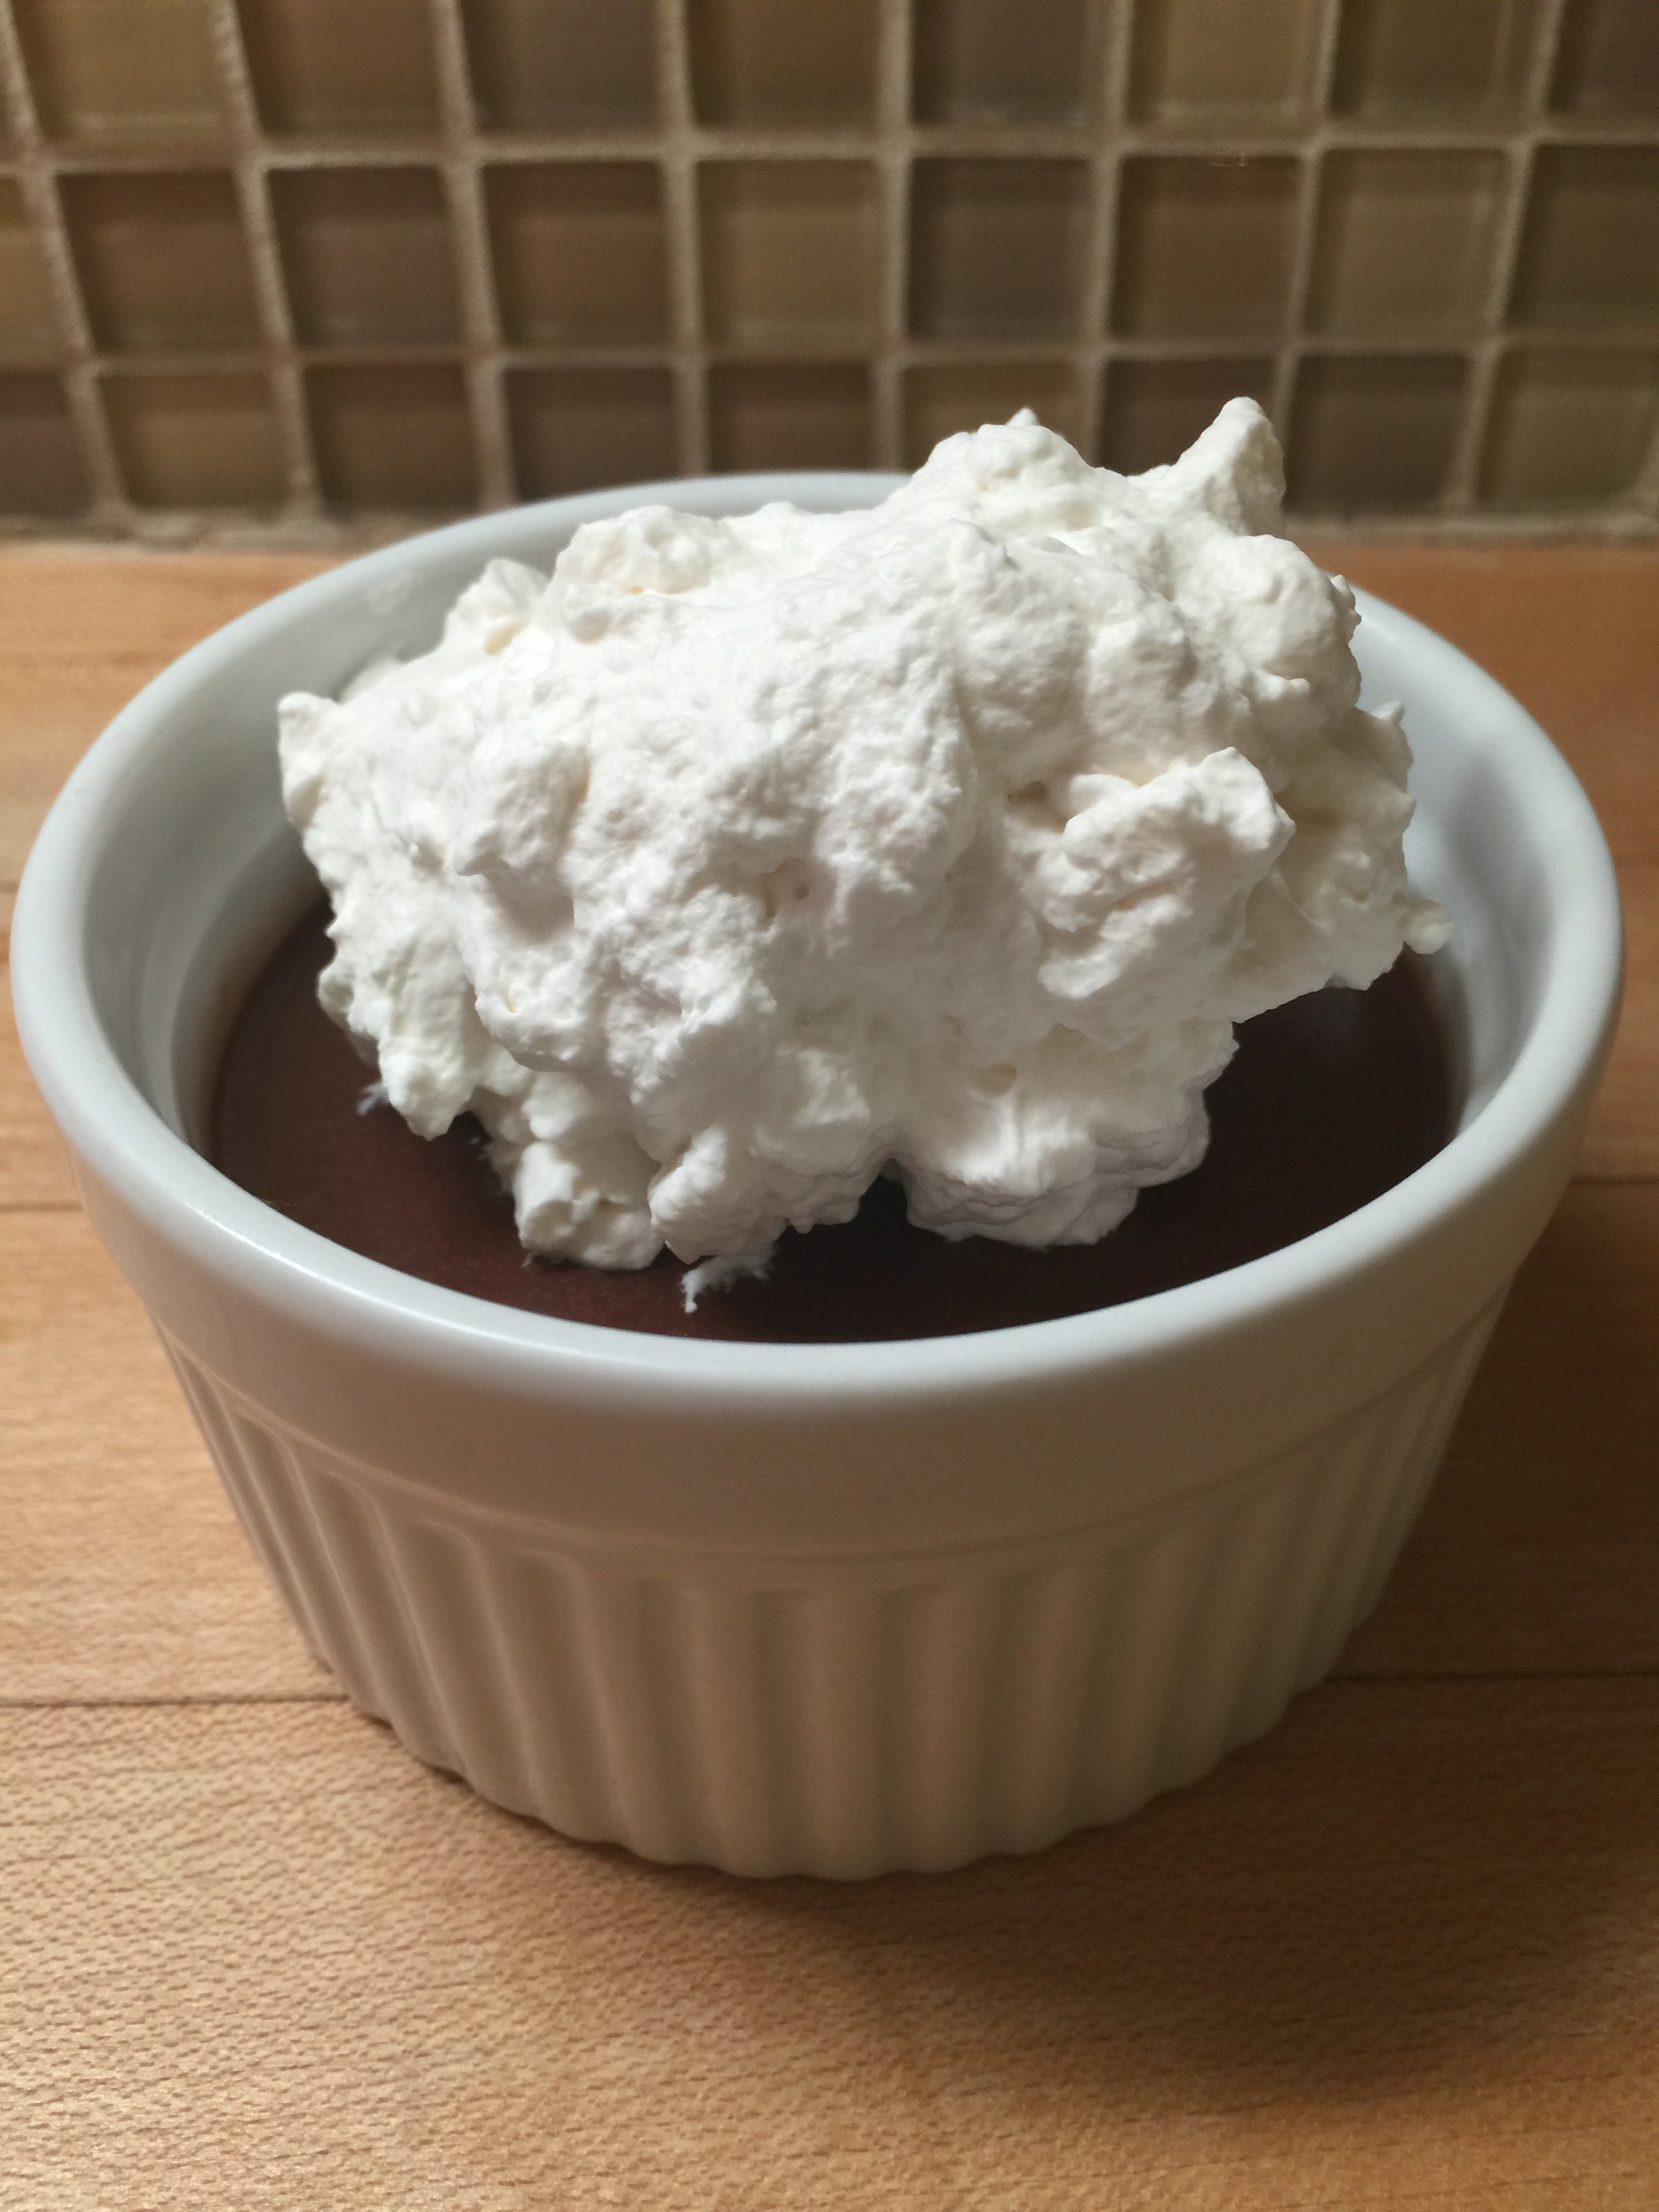
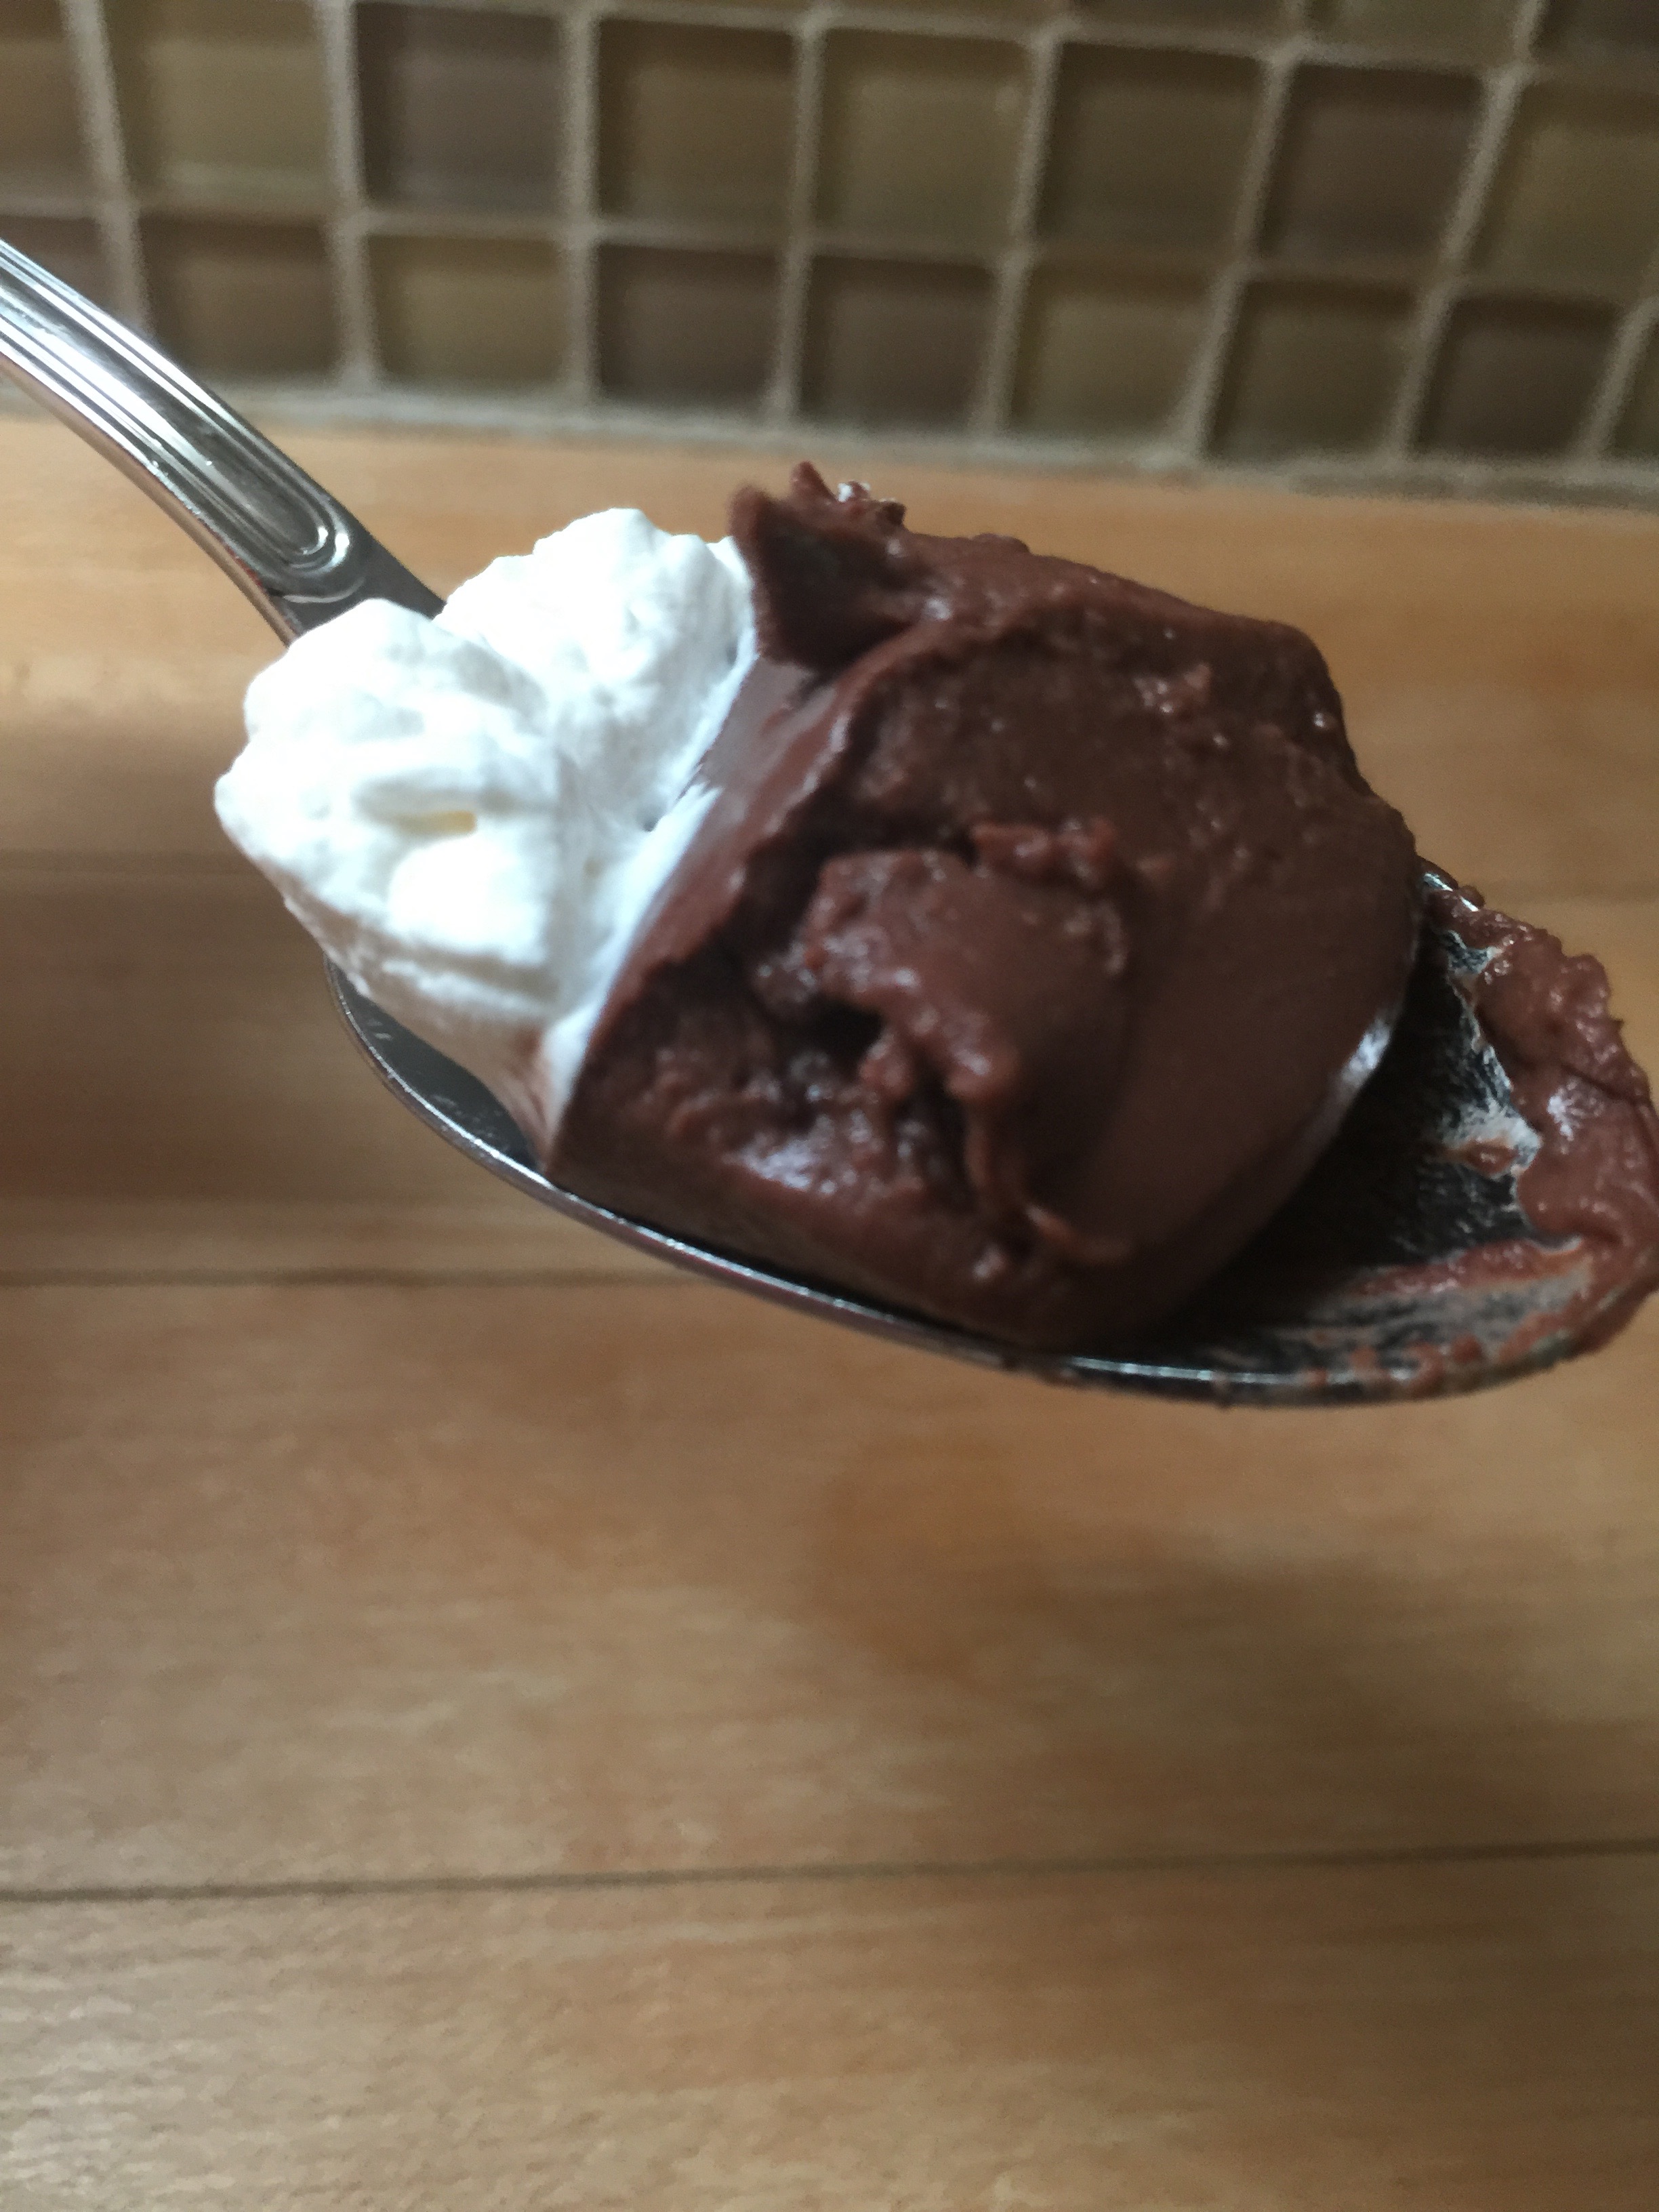
That’s a mouthful! This may be the perfect Keto Chocolate pudding to put in your mouth though!
The kids always want some kind of treat, so I experimented with something different. I wanted to go chocolate based off of a treat the kids picked out at the grocery store on vacation a few weeks ago. I relax a little on the restrictions on vacation, and amazingly the treat they chose was not too far off. It was a store-bought Jello-brand chocolate mousse at the grocery store in Port Aransas, Texas. I expected it to be filled with artificial this and artificial that, but it actually had real cream in it! Surprising, right? It wasn’t perfect, but it did give me the idea of trying to create my own that was perfect! The only ingredient I am still waiting on is my new gelatin, but the Knox worked for today.
This is not really a mousse, but a pudding. With supervision, this is a great one to do with the kiddos this summer.
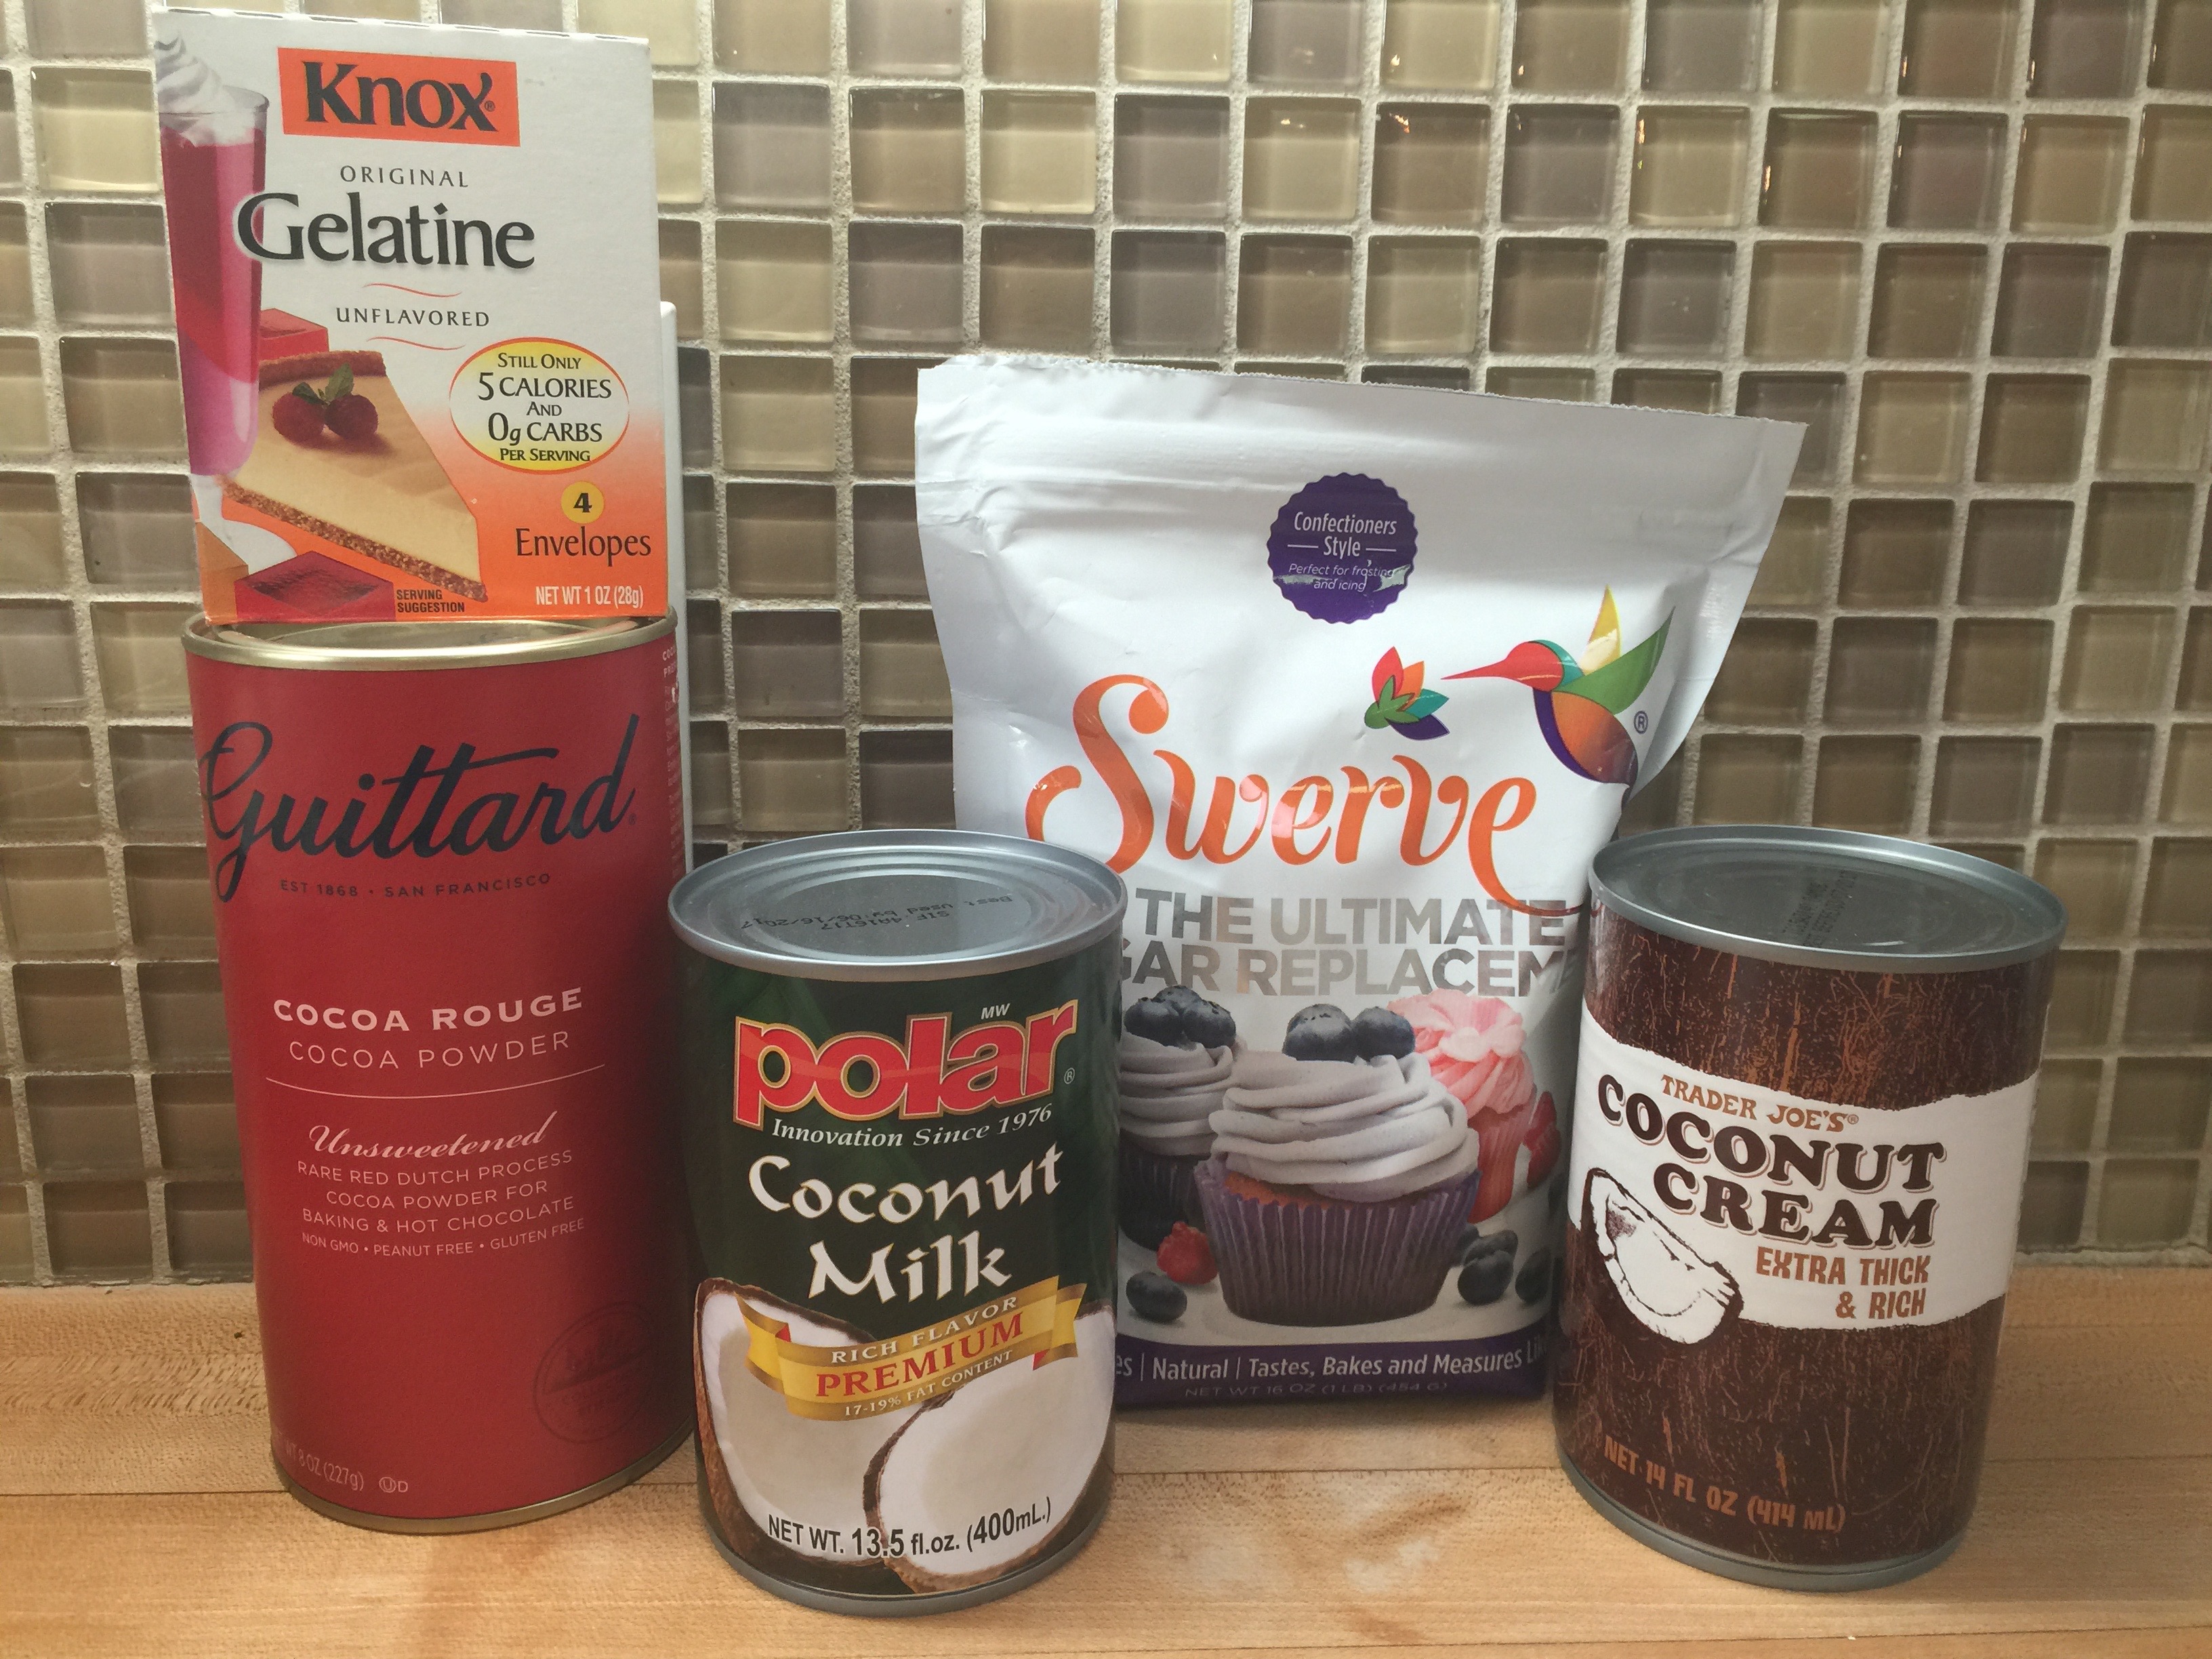
Start with your ingredients: (I also added vanilla and salt that are not pictured.)
Cover each bowl with saran wrap and place in the fridge for about 2 hours to set.
We topped ours with homemade sugar-free dairy whipped cream, but if you are Paleo or dairy-free, you can whip up some coconut cream with some Swerve and vanilla and use that as well.