
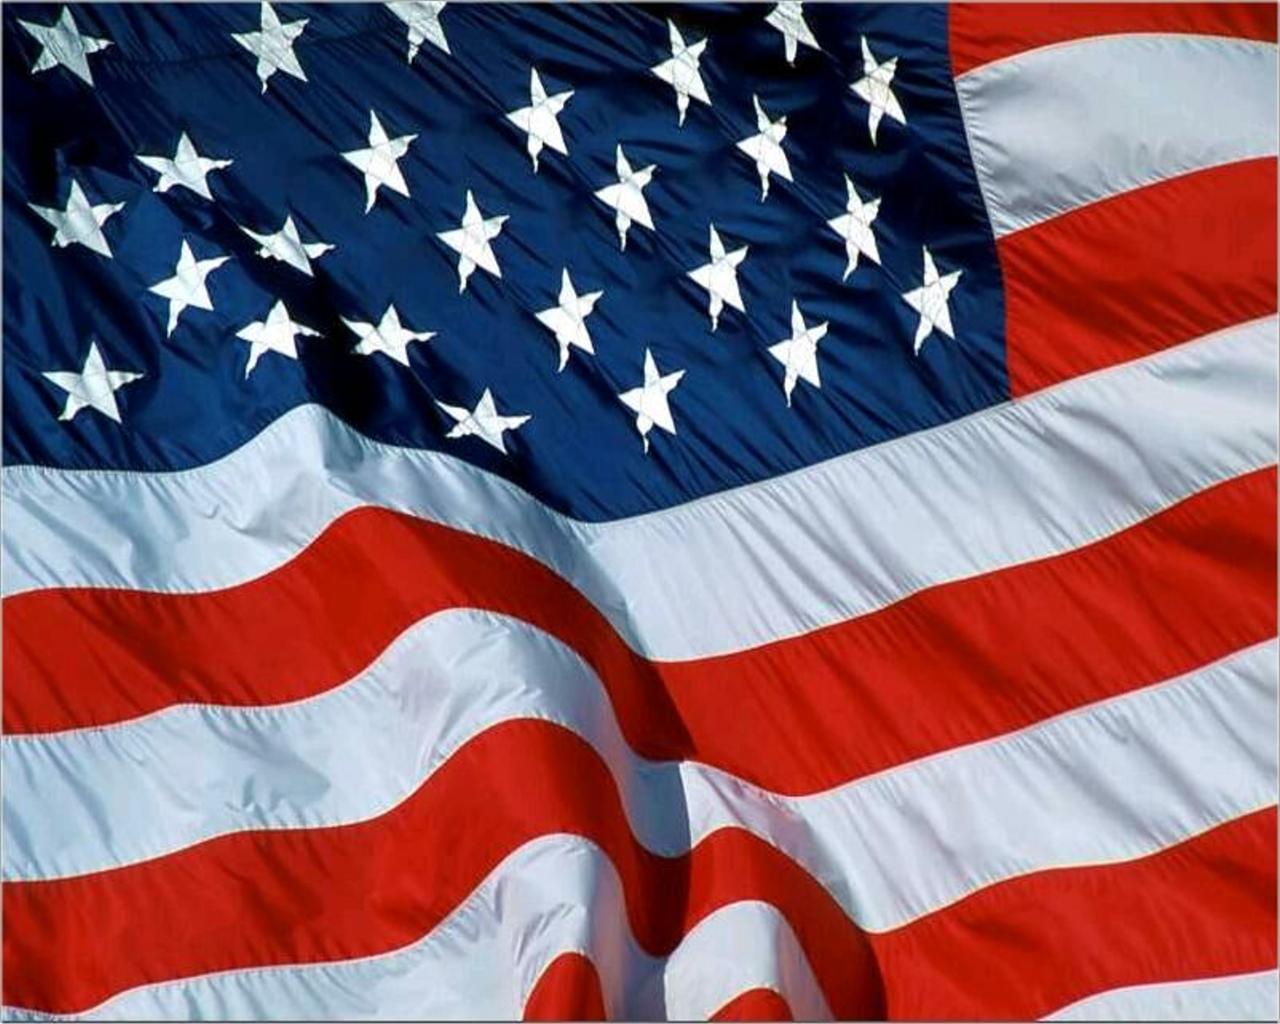
We are posting this one today so you have time to prepare this beauty for the holiday weekend. This is a luscious lemony dessert that you would never guess to be sugar free, and even better, you can make it patriotic as all get out. The entire dessert was devoured and family approved. It also keeps well so you can make it ahead, and then dress it up the day of your event.
I am getting more accustomed and comfortable using Stevia in recipes, and so far so good. A little goes a long way, and it doesn’t seem to leave that sweet aftertaste like Swerve does with some people. Don’t get me wrong, I love Swerve, but Stevia is great too! I am definitely going to stick with the Trader Joe’s Pure Stevia. It is the real deal! If you are looking for it in the store, you can find it with the supplements.
This dessert is similar to the Key Lime Cheesecake I shared a few weeks ago. I changed up the crust a little to try to create a denser, less flakey crust for easier cutting into bars, and it seemed to serve easier with a spatula. I actually had better luck cutting into bars after it cooled, but before I chilled it in the refrigerator. This is a great tip for the future, but if you plan to decorate it like I did on this one, it is best to cut after everyone admires your handiwork.
Patriotic Lemon Berry Cheesecake
This recipe will yield a 9×13 and an 8×8 cheesecake. If you only want one, half the recipe.
Before you start, you will want to bring your cream cheese and eggs to room temperature (a few hours) and preheat your oven to 325 degrees.
Crust
1 1/2 cups Honeyville Almond Flour
1/2 cup Coconut Flour
2 Eggs
1 tsp cinnamon
2 tsp baking powder
1 cup butter (melted)
1 cup Swerve
1 tsp salt
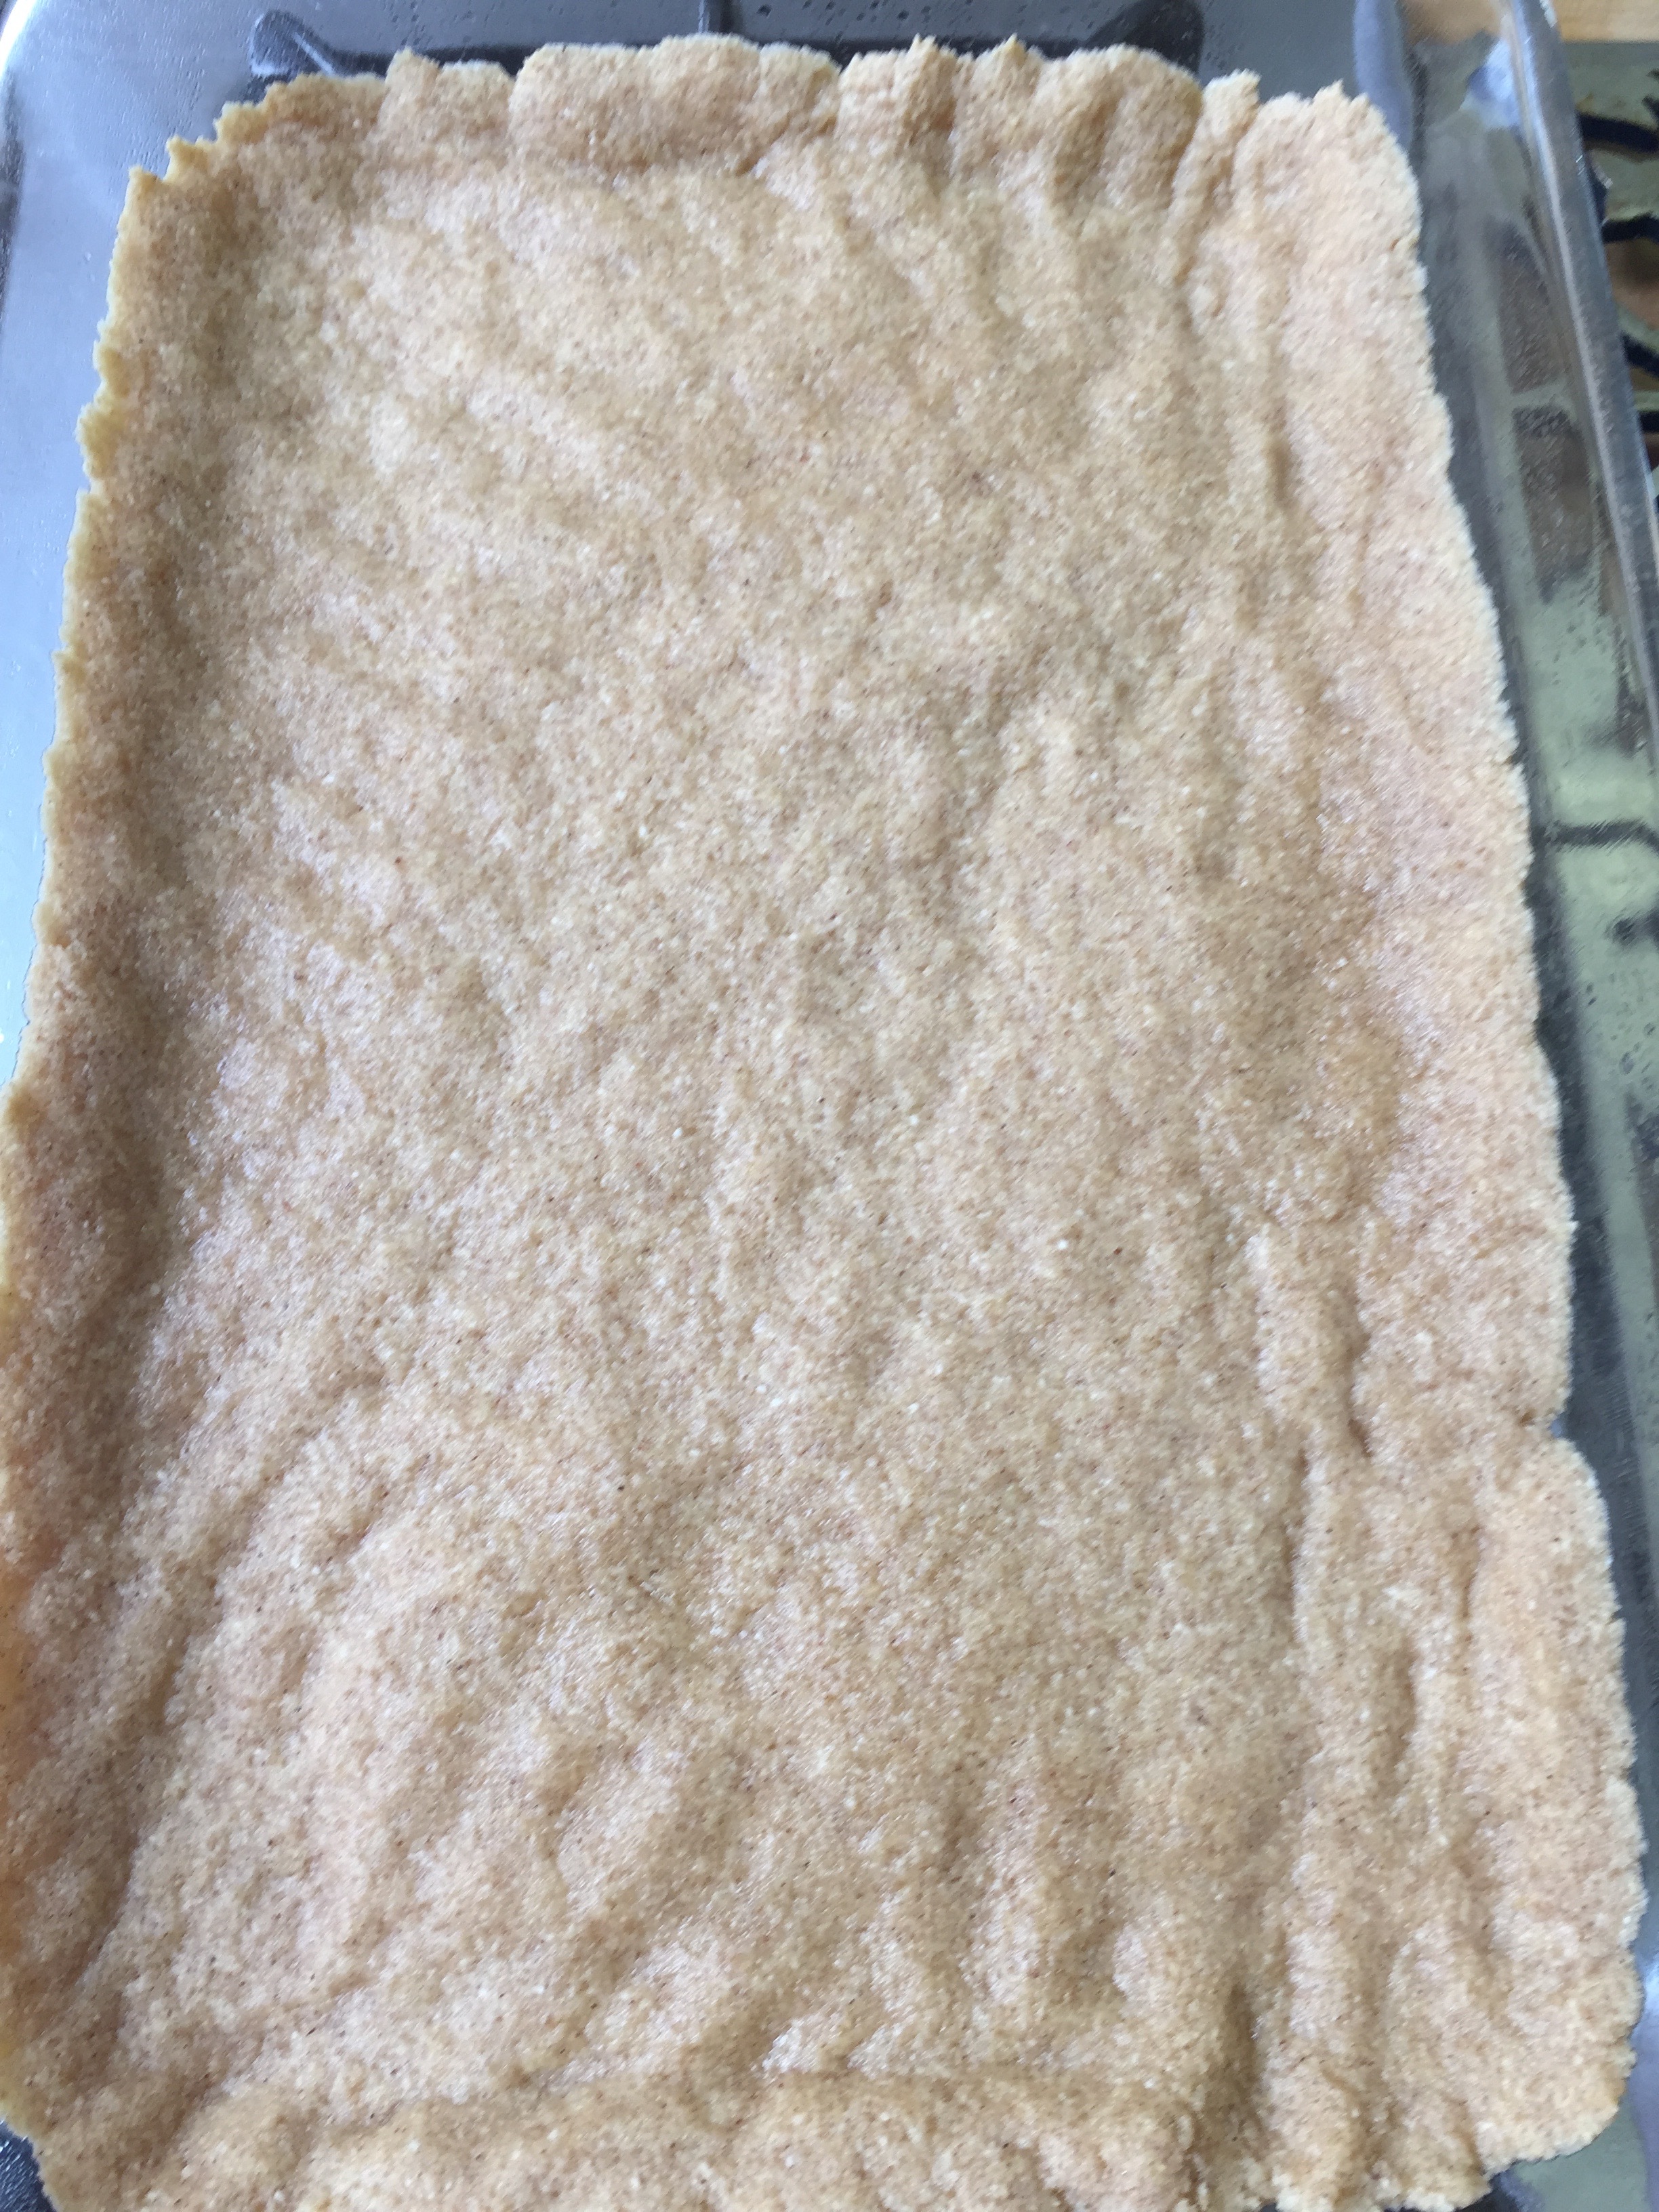
Combine all your dry ingredients in a food processor. Pulse until you have a sand like mixture.
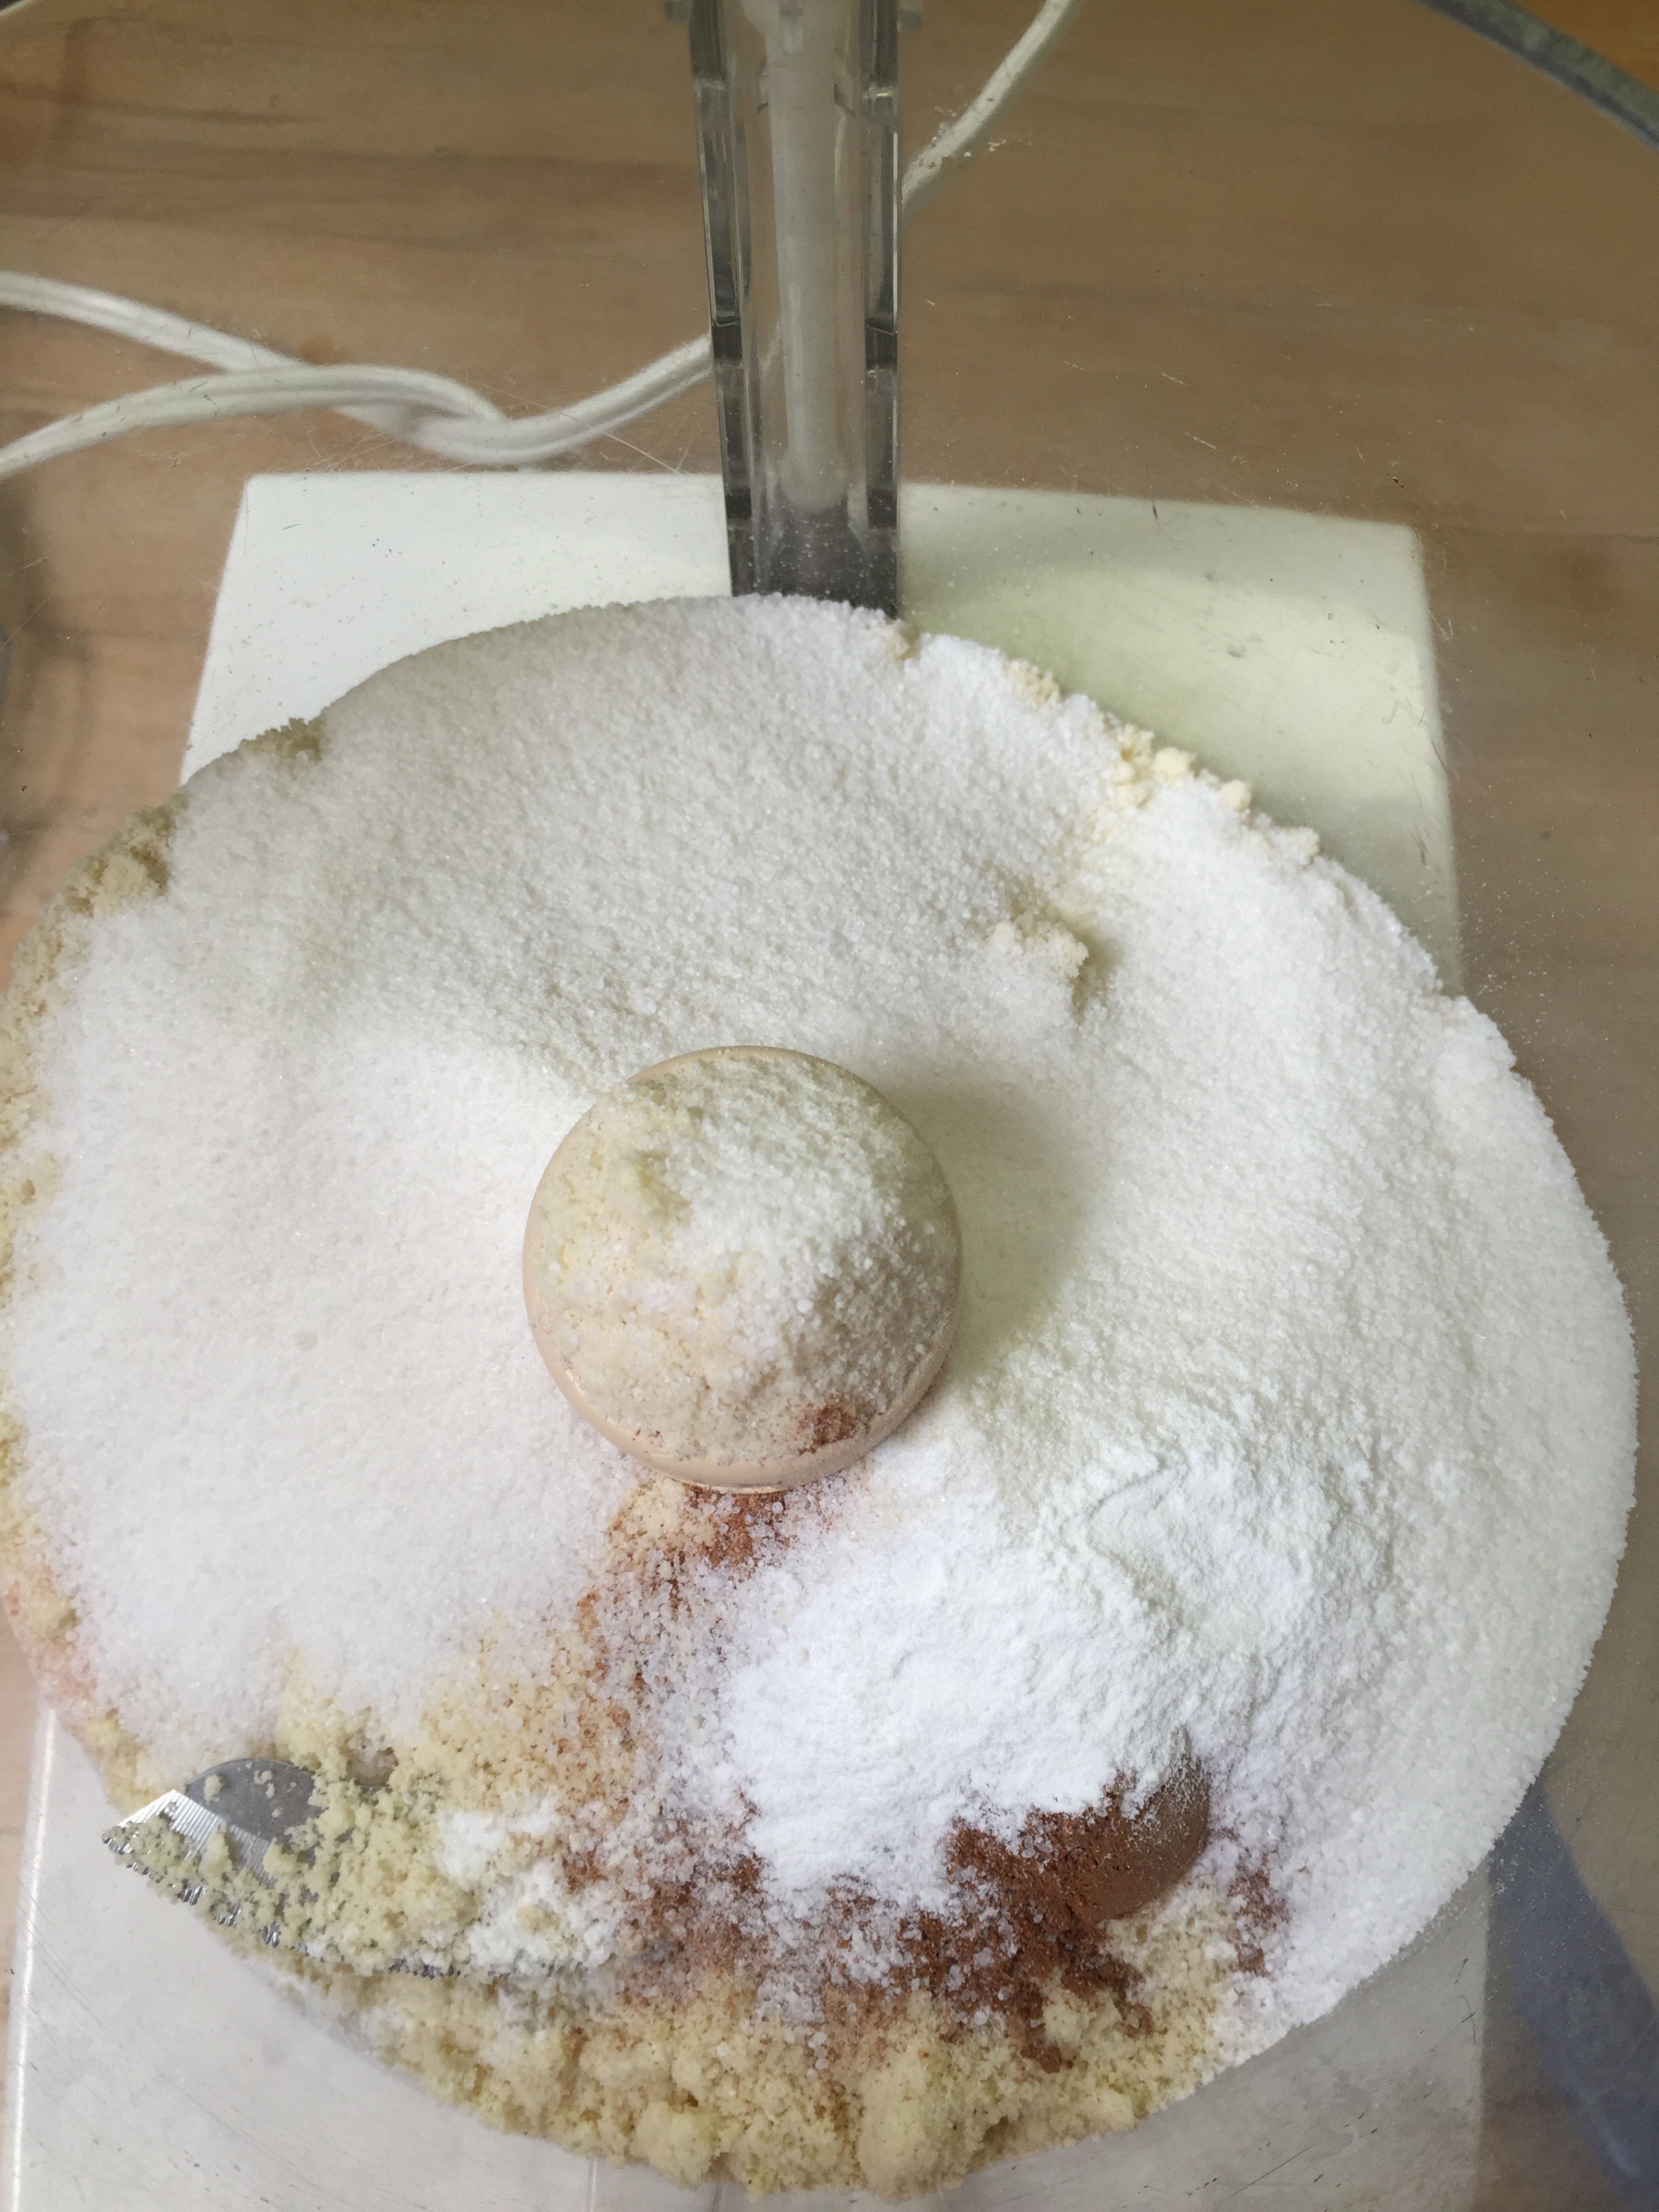
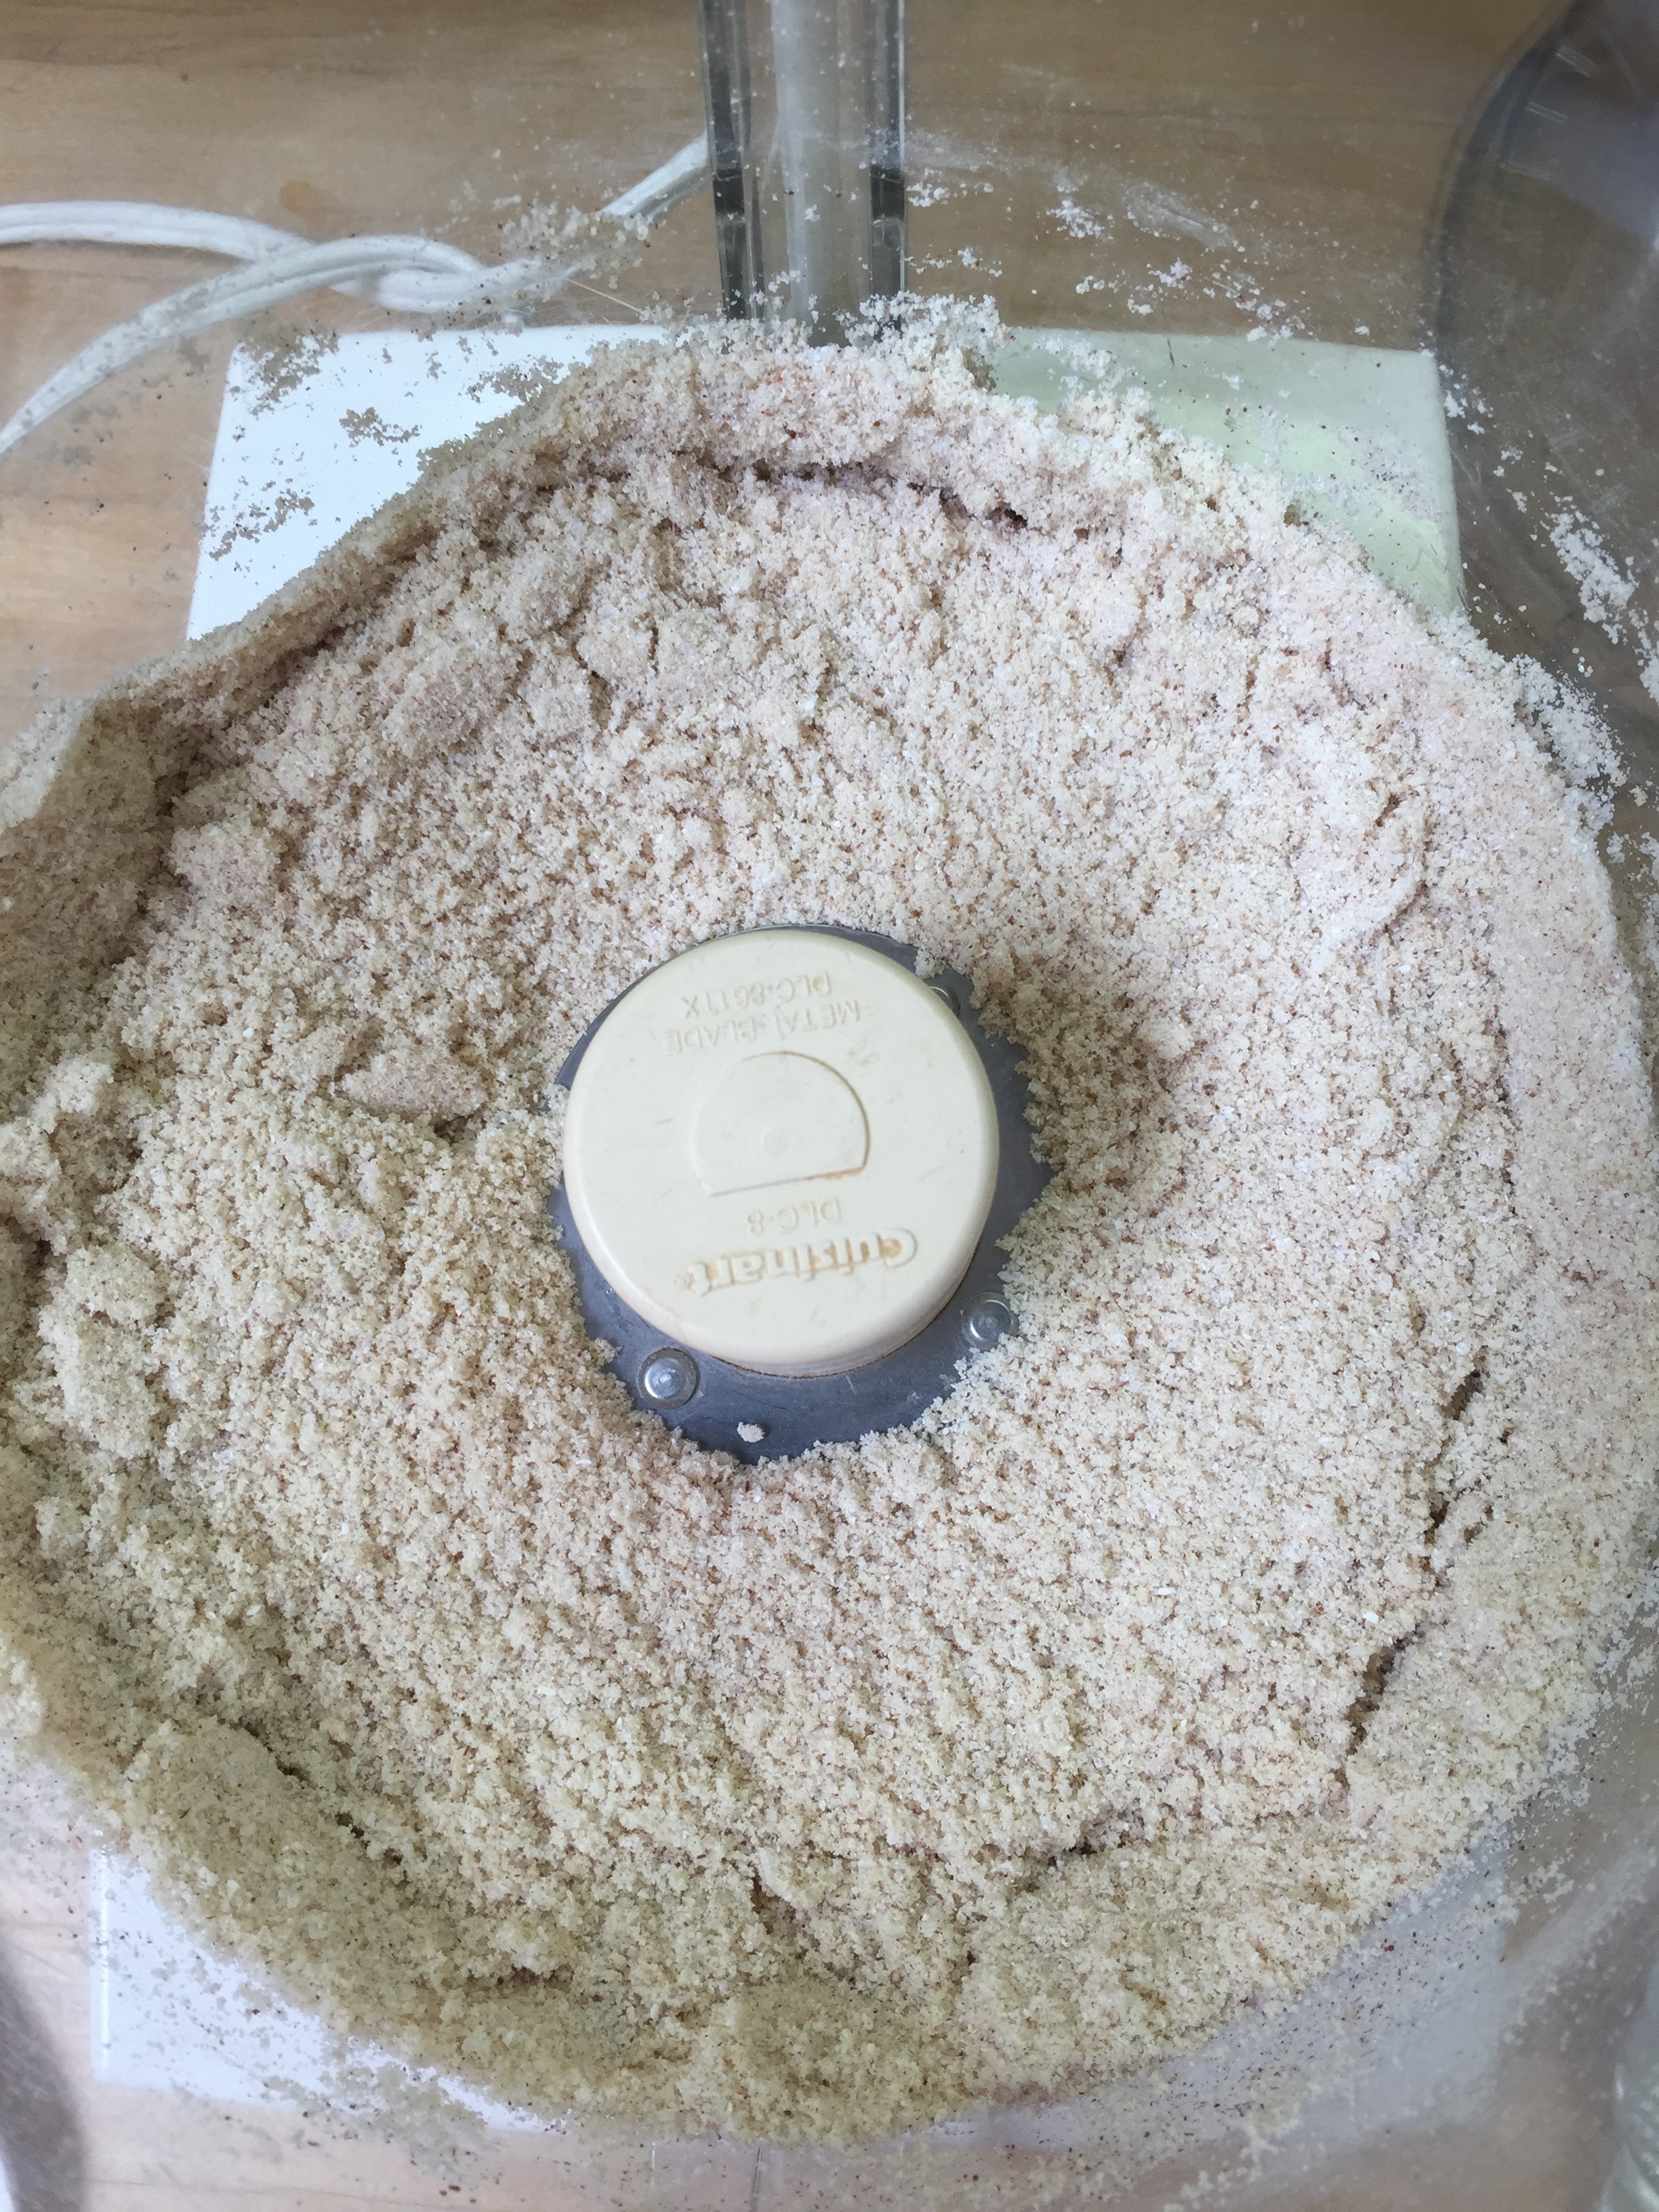
Add your eggs and butter. Pulse until a ball of dough forms.

Mix well and press into a 9 x 13 and an 8 x 8 pyrex.
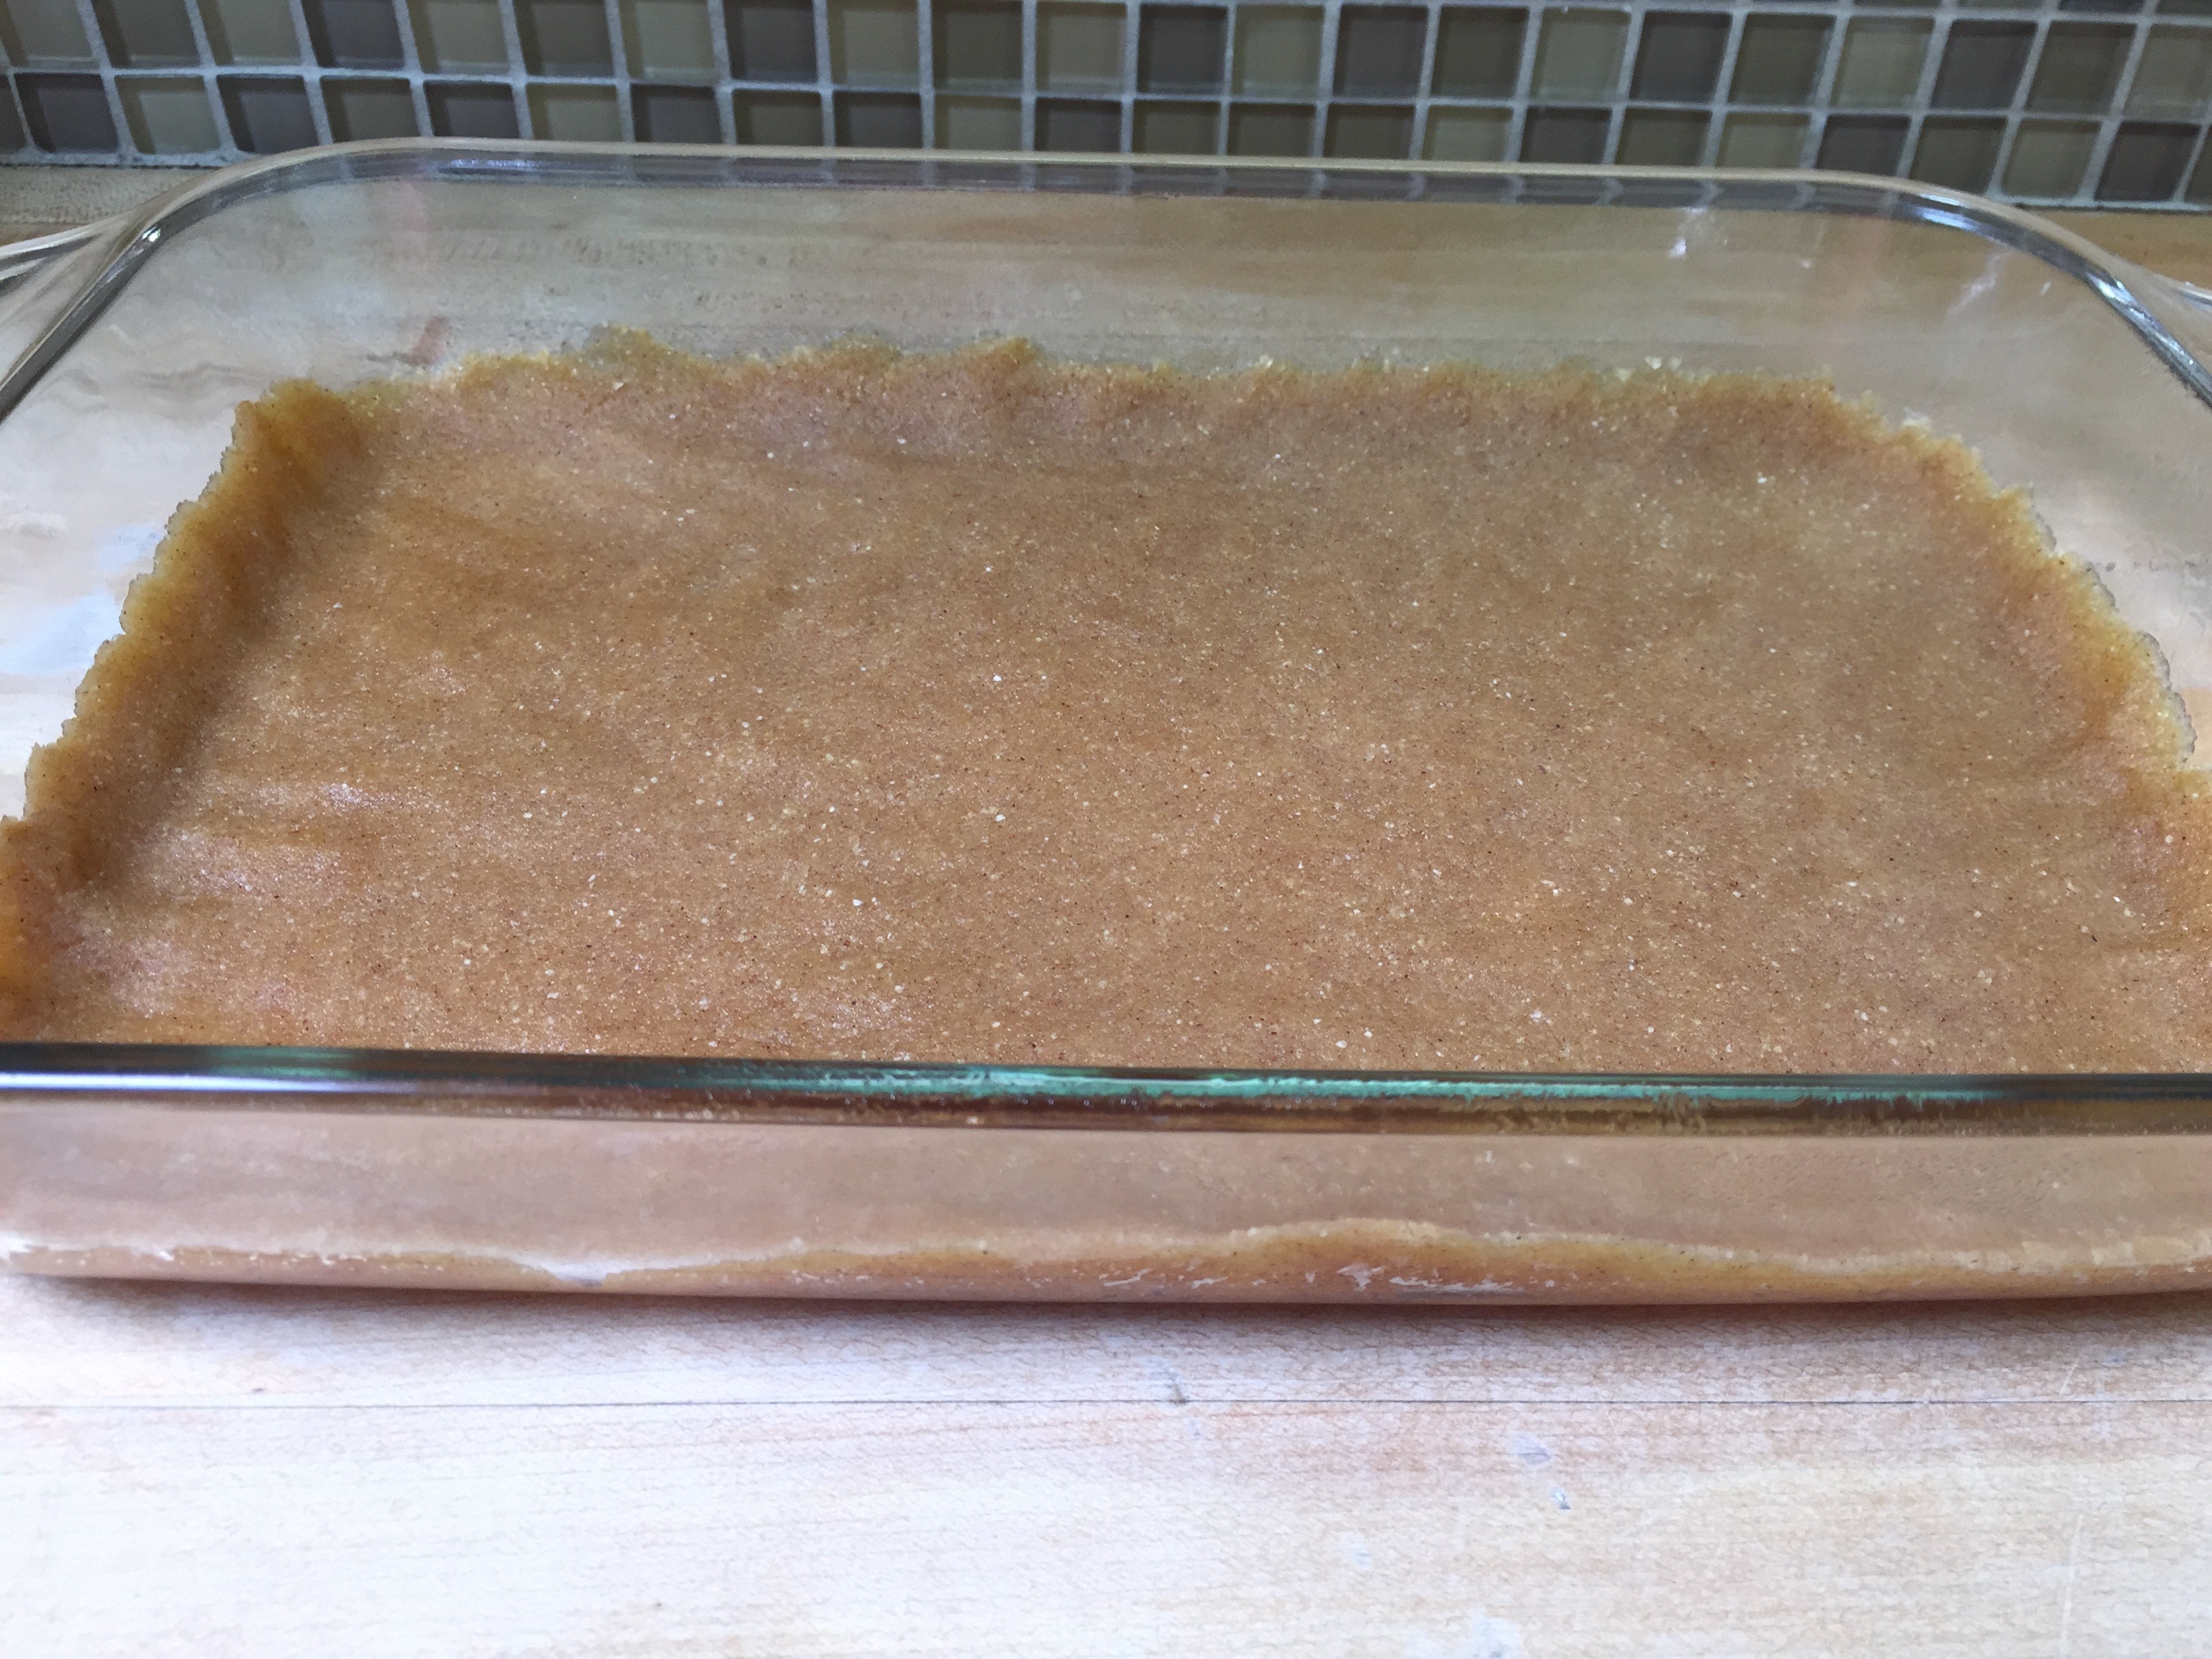
Bake at 325 for 12 minutes.
Meanwhile prepare your mixer for the cheesecake.
Cheesecake Filling
4 – 8 oz packages of Cream Cheese
4 Eggs
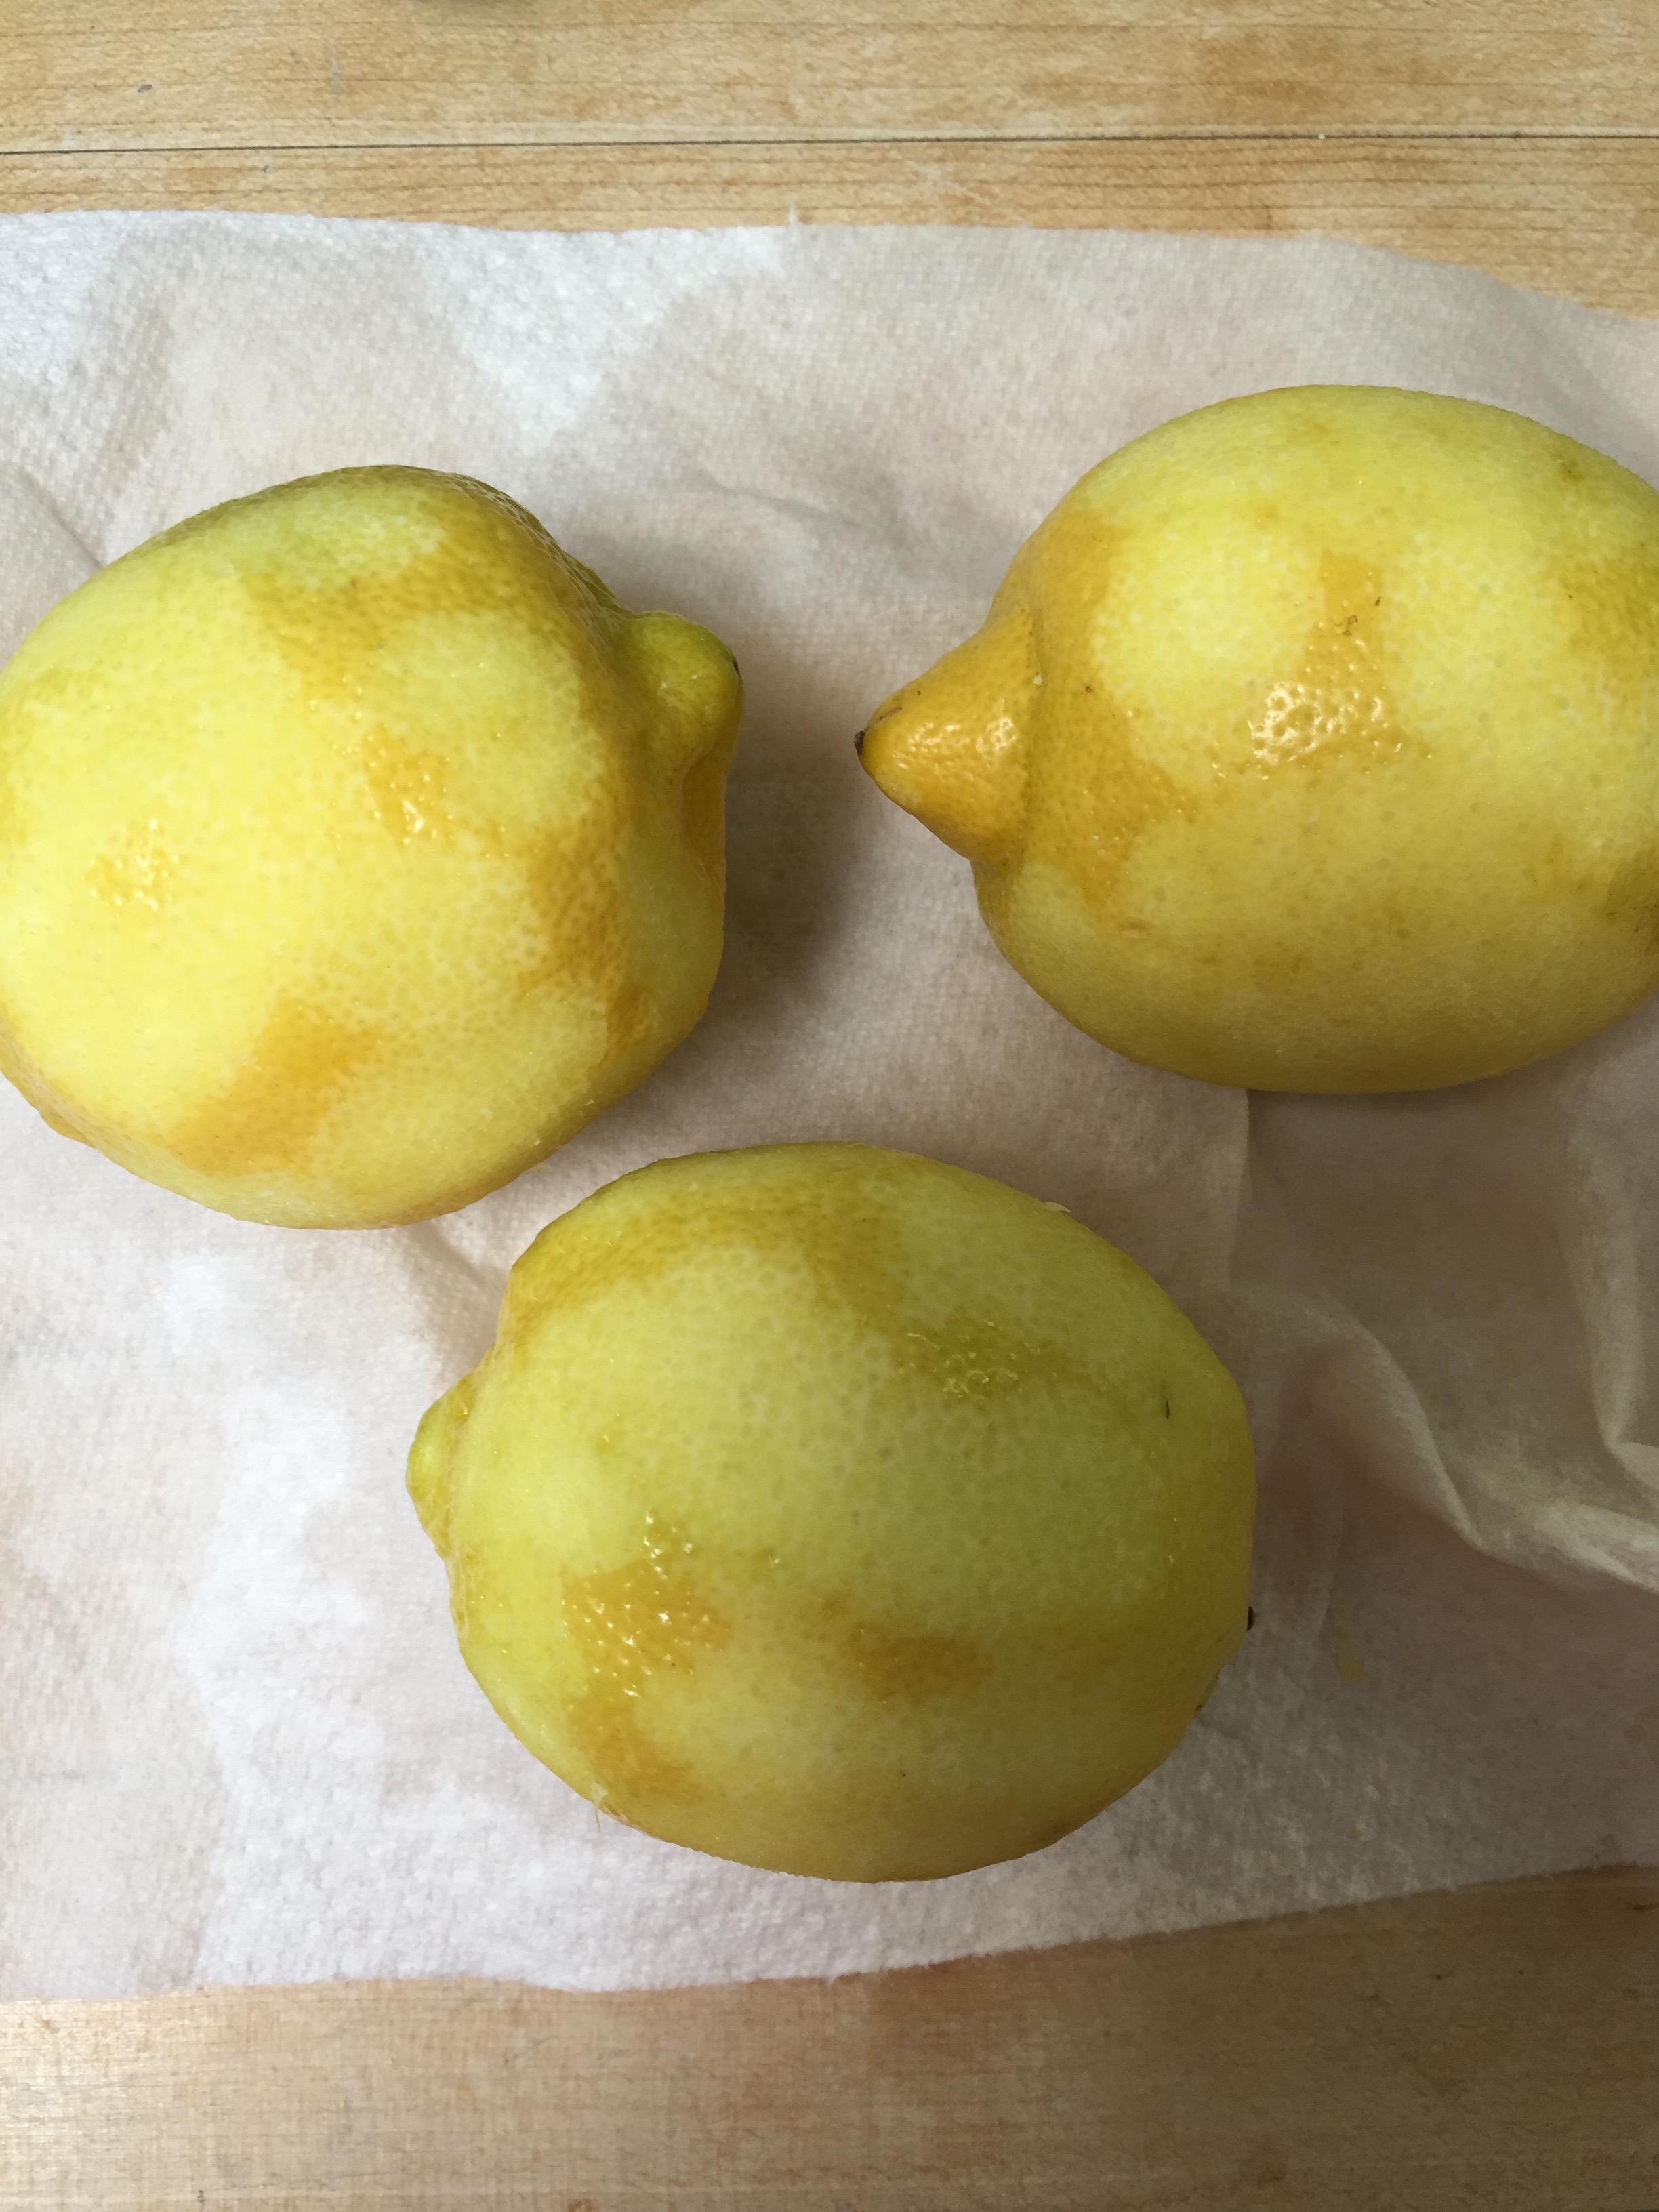
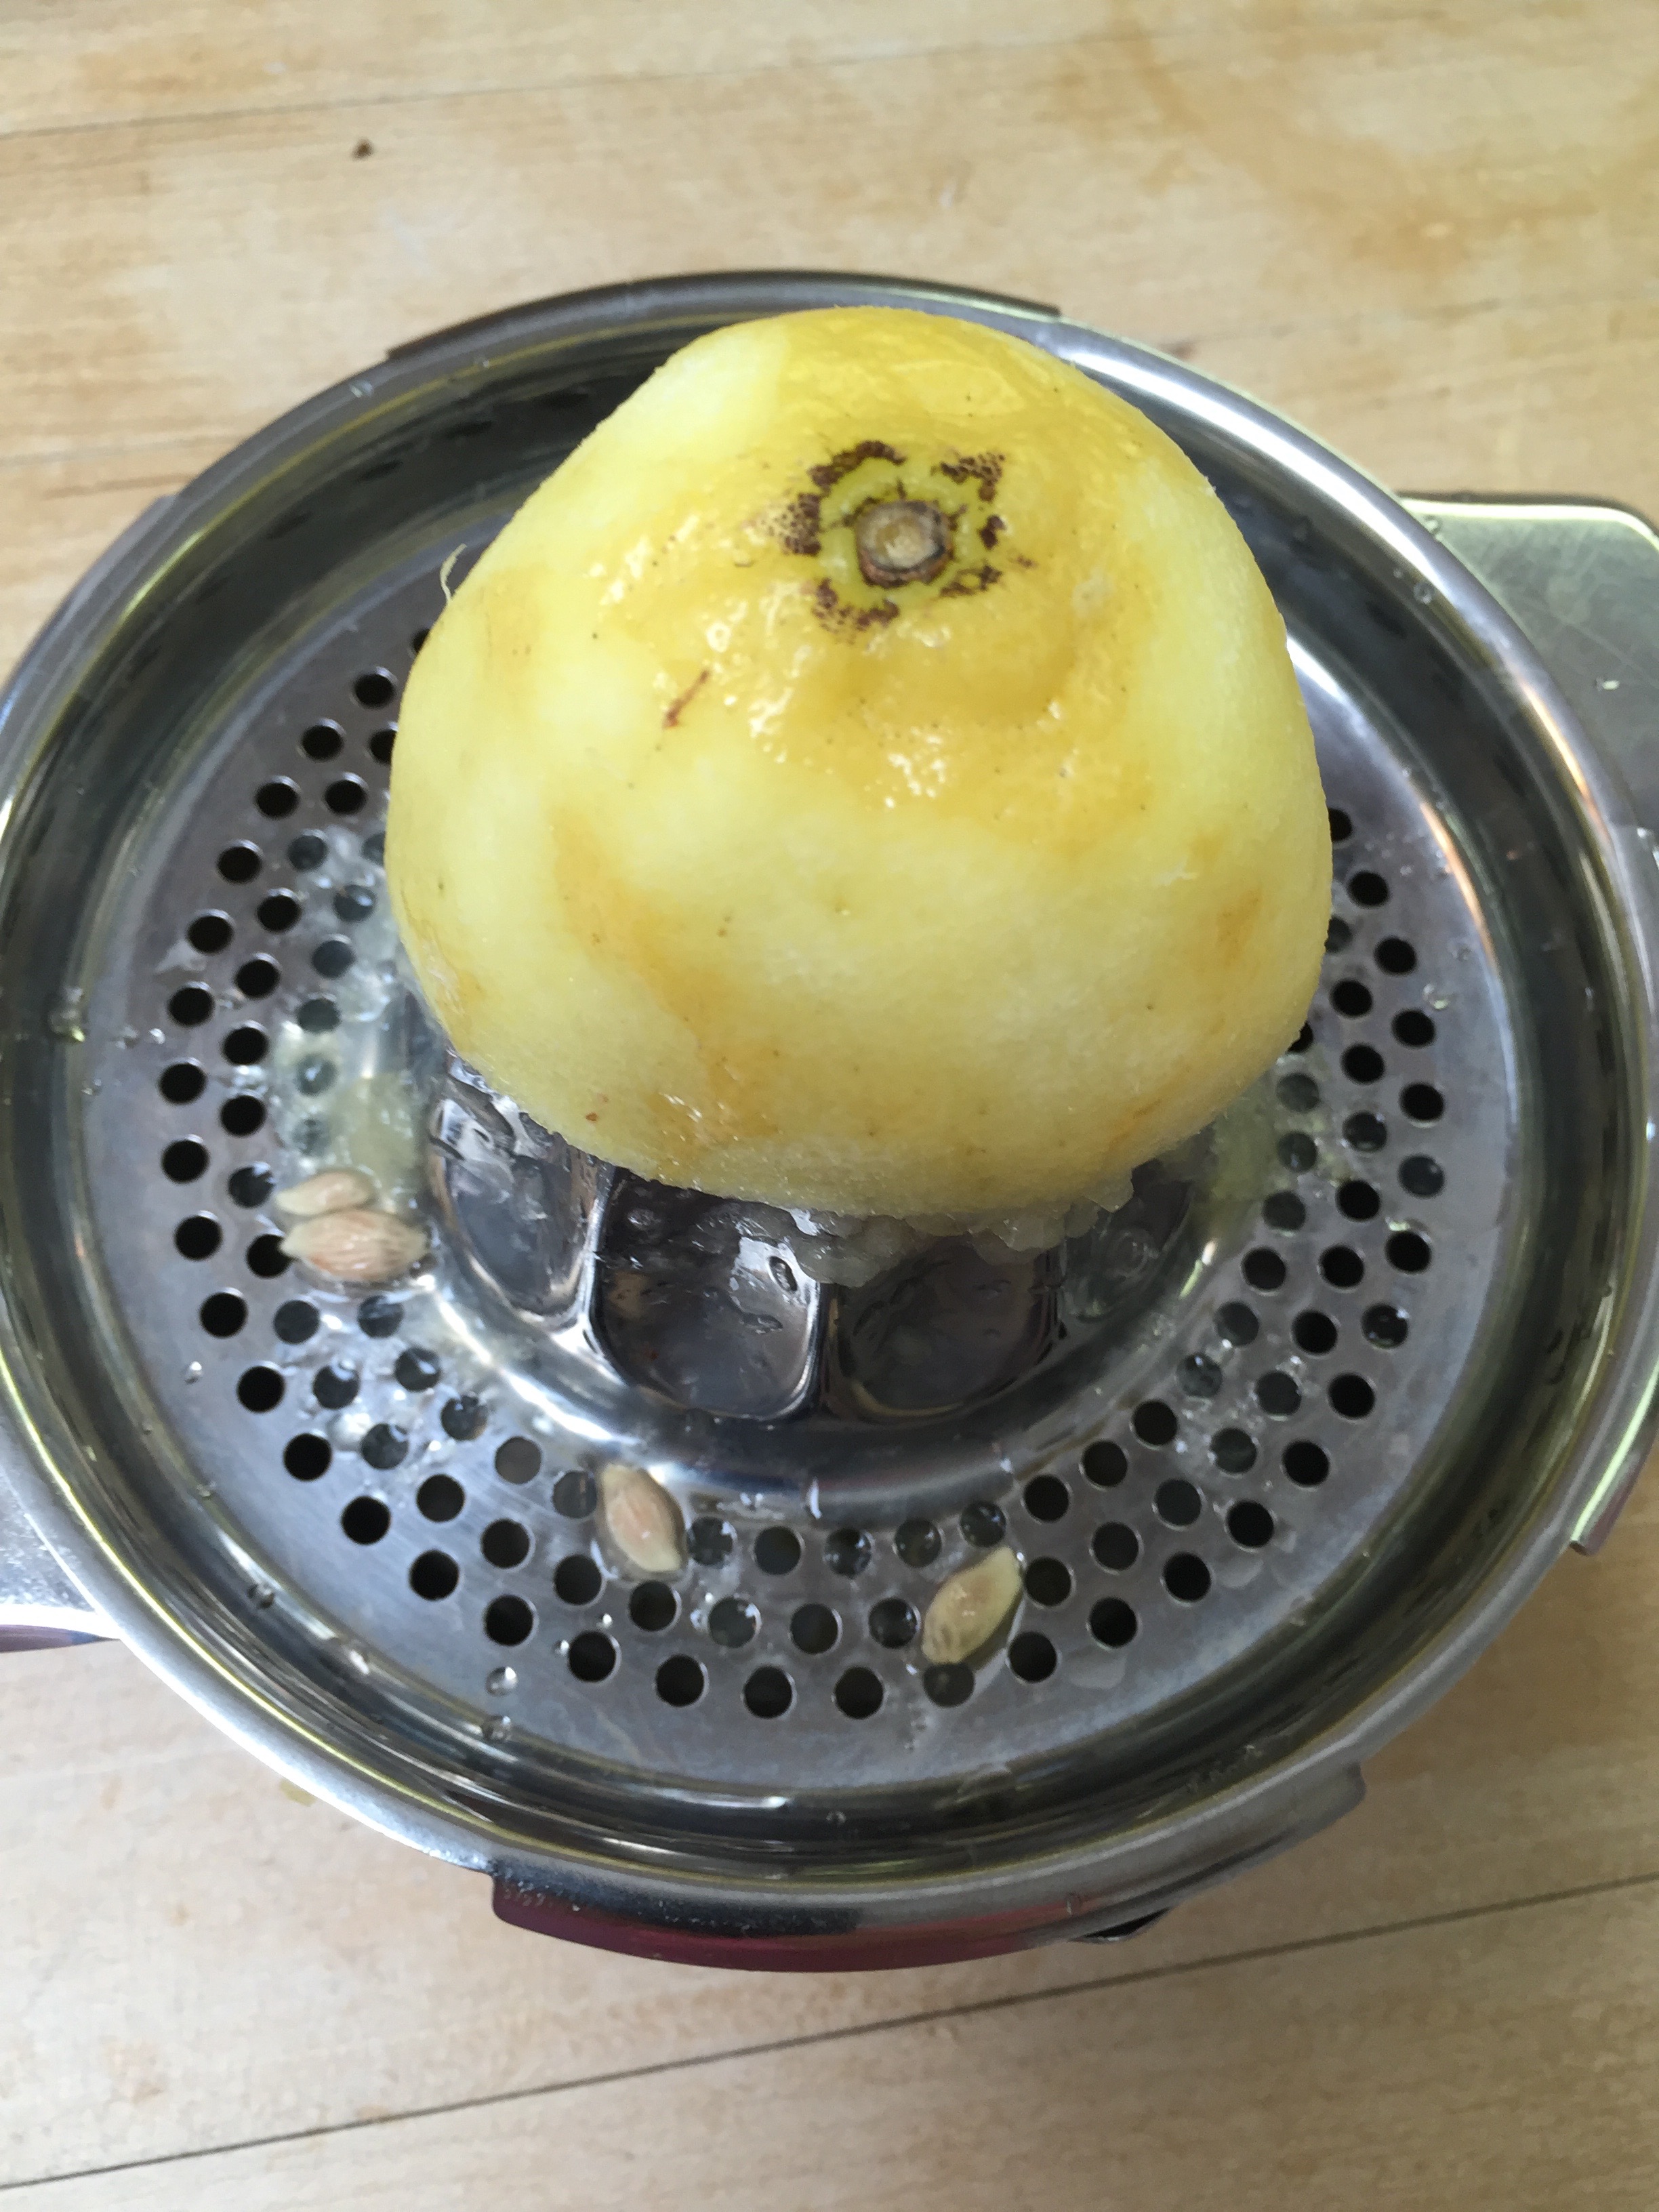
3 Lemons zested and juiced
1 tsp Pure Stevia
Berries
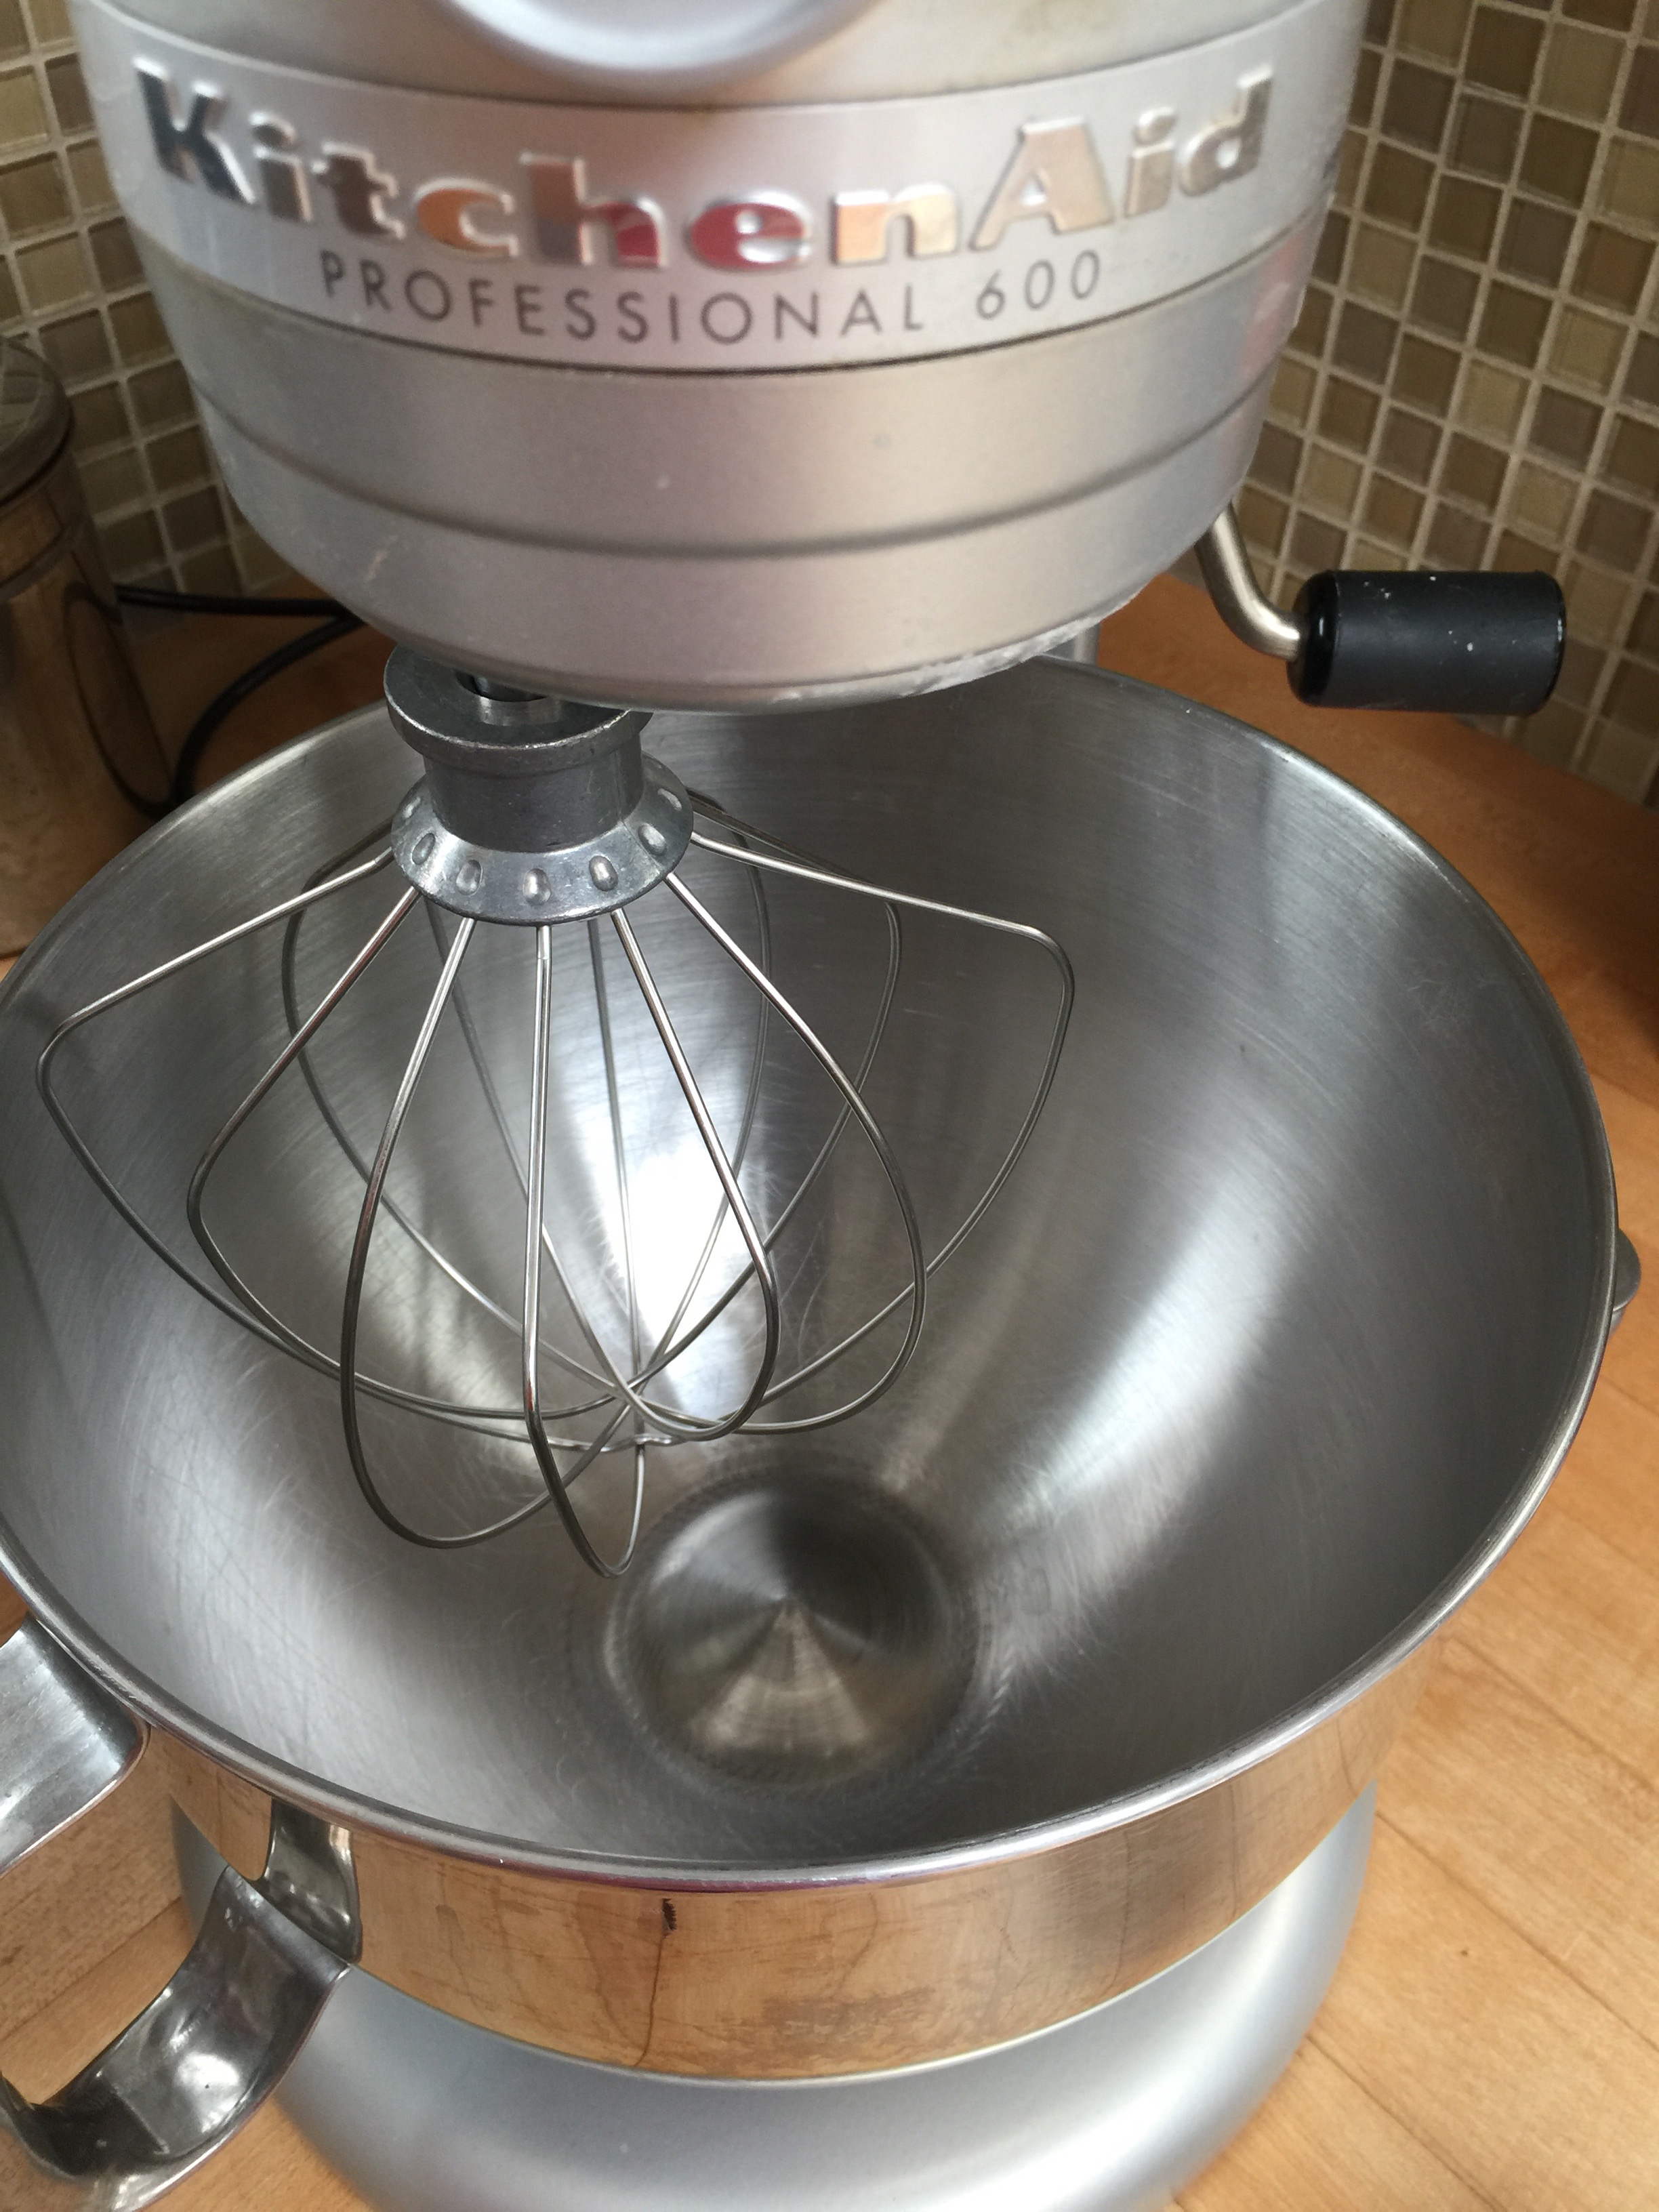
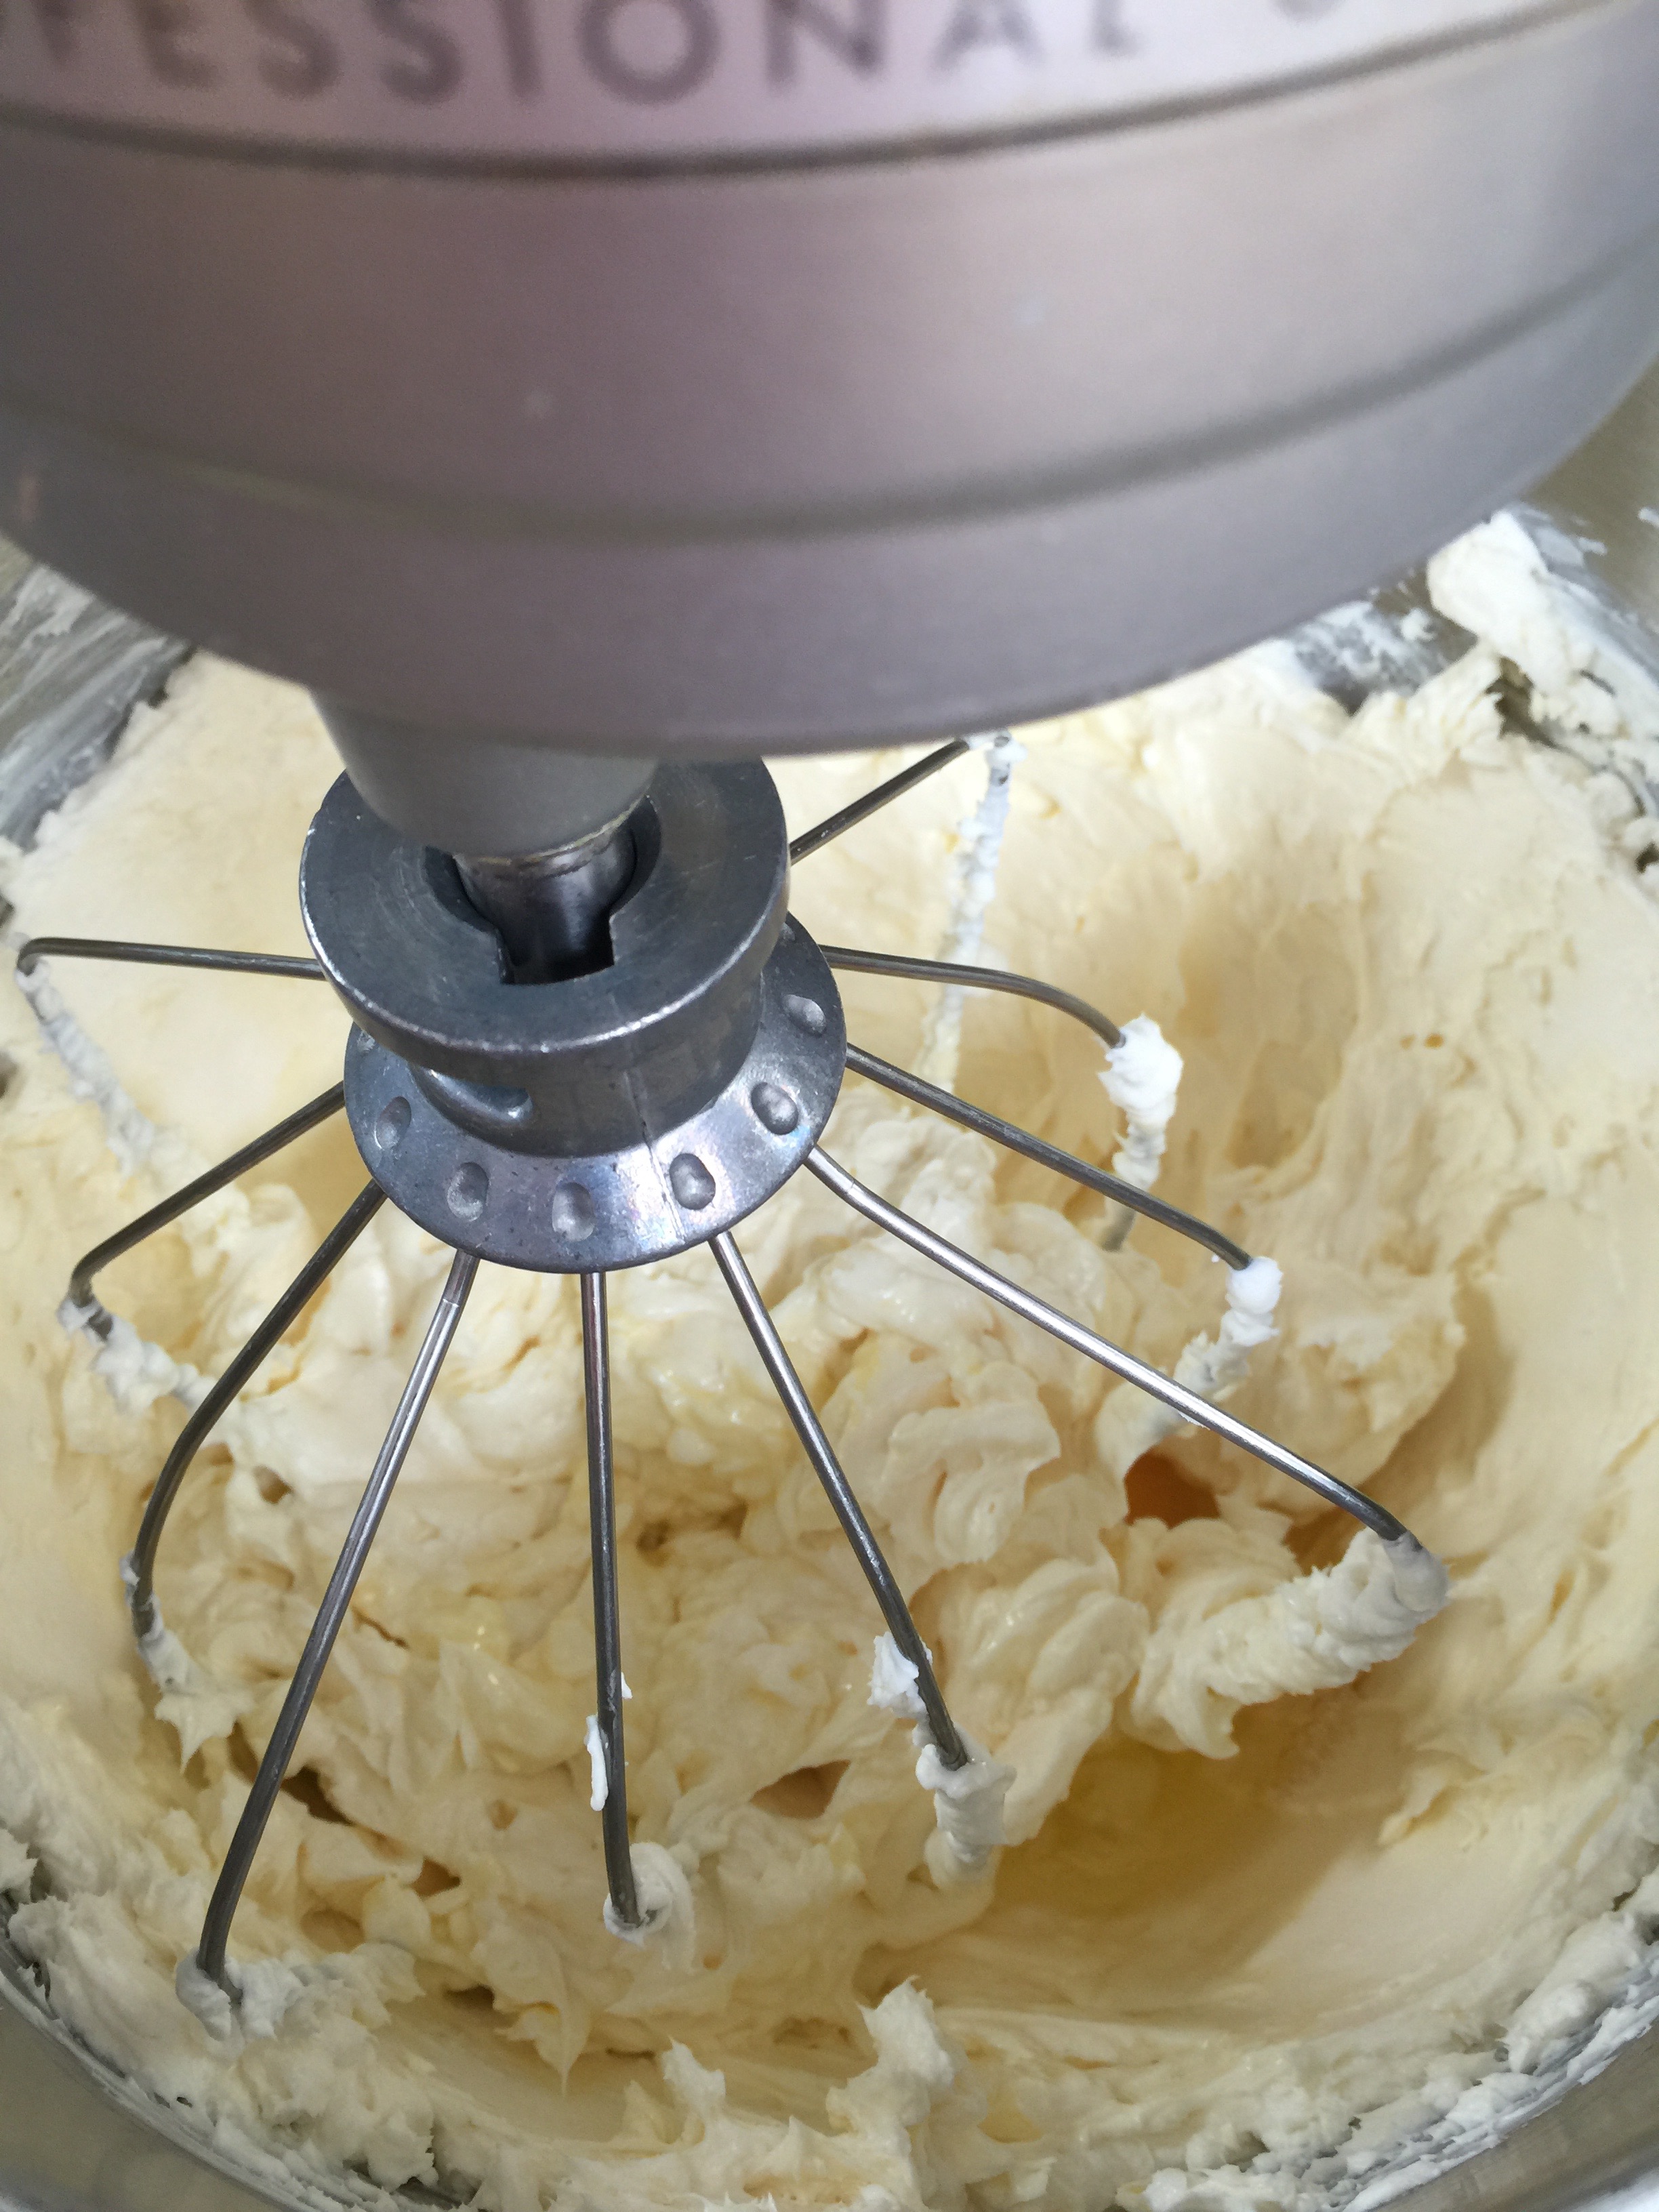
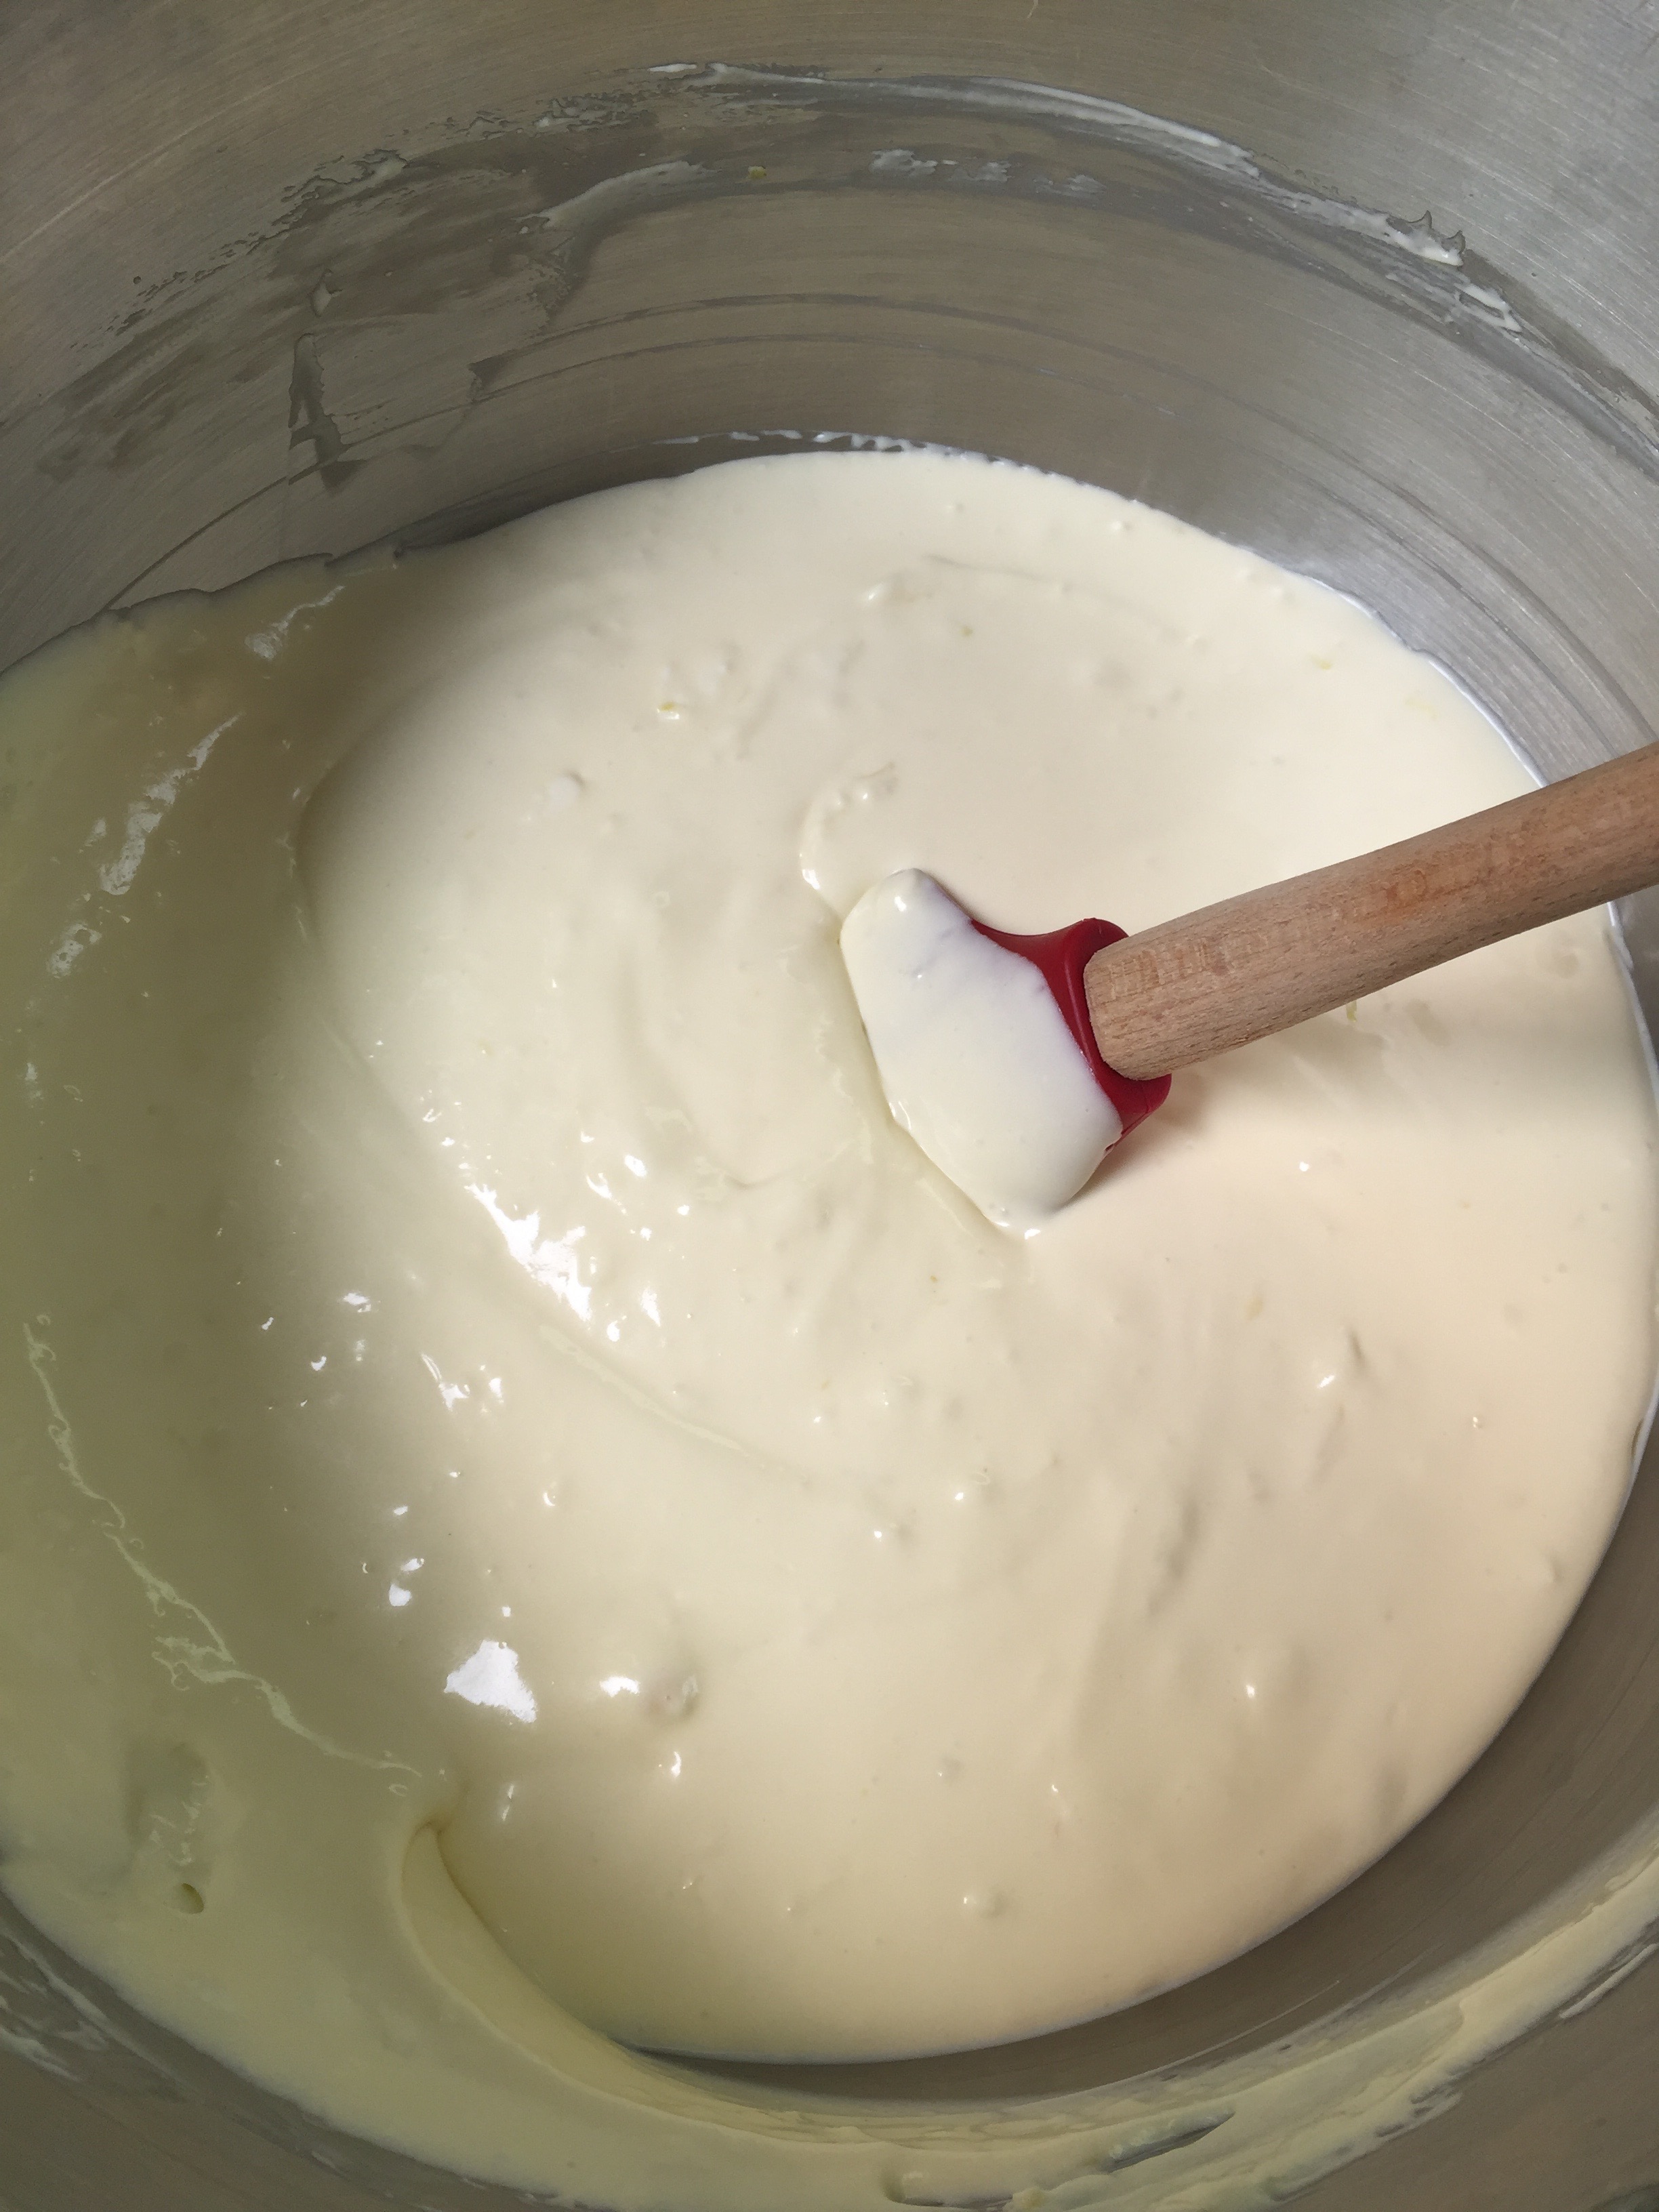
Place your very soft cream cheese in your mixer.

Turn your mixer onto medium to cream your cream cheese. Add your eggs one at a time, and mix well in between each egg, scraping the sides as you go.
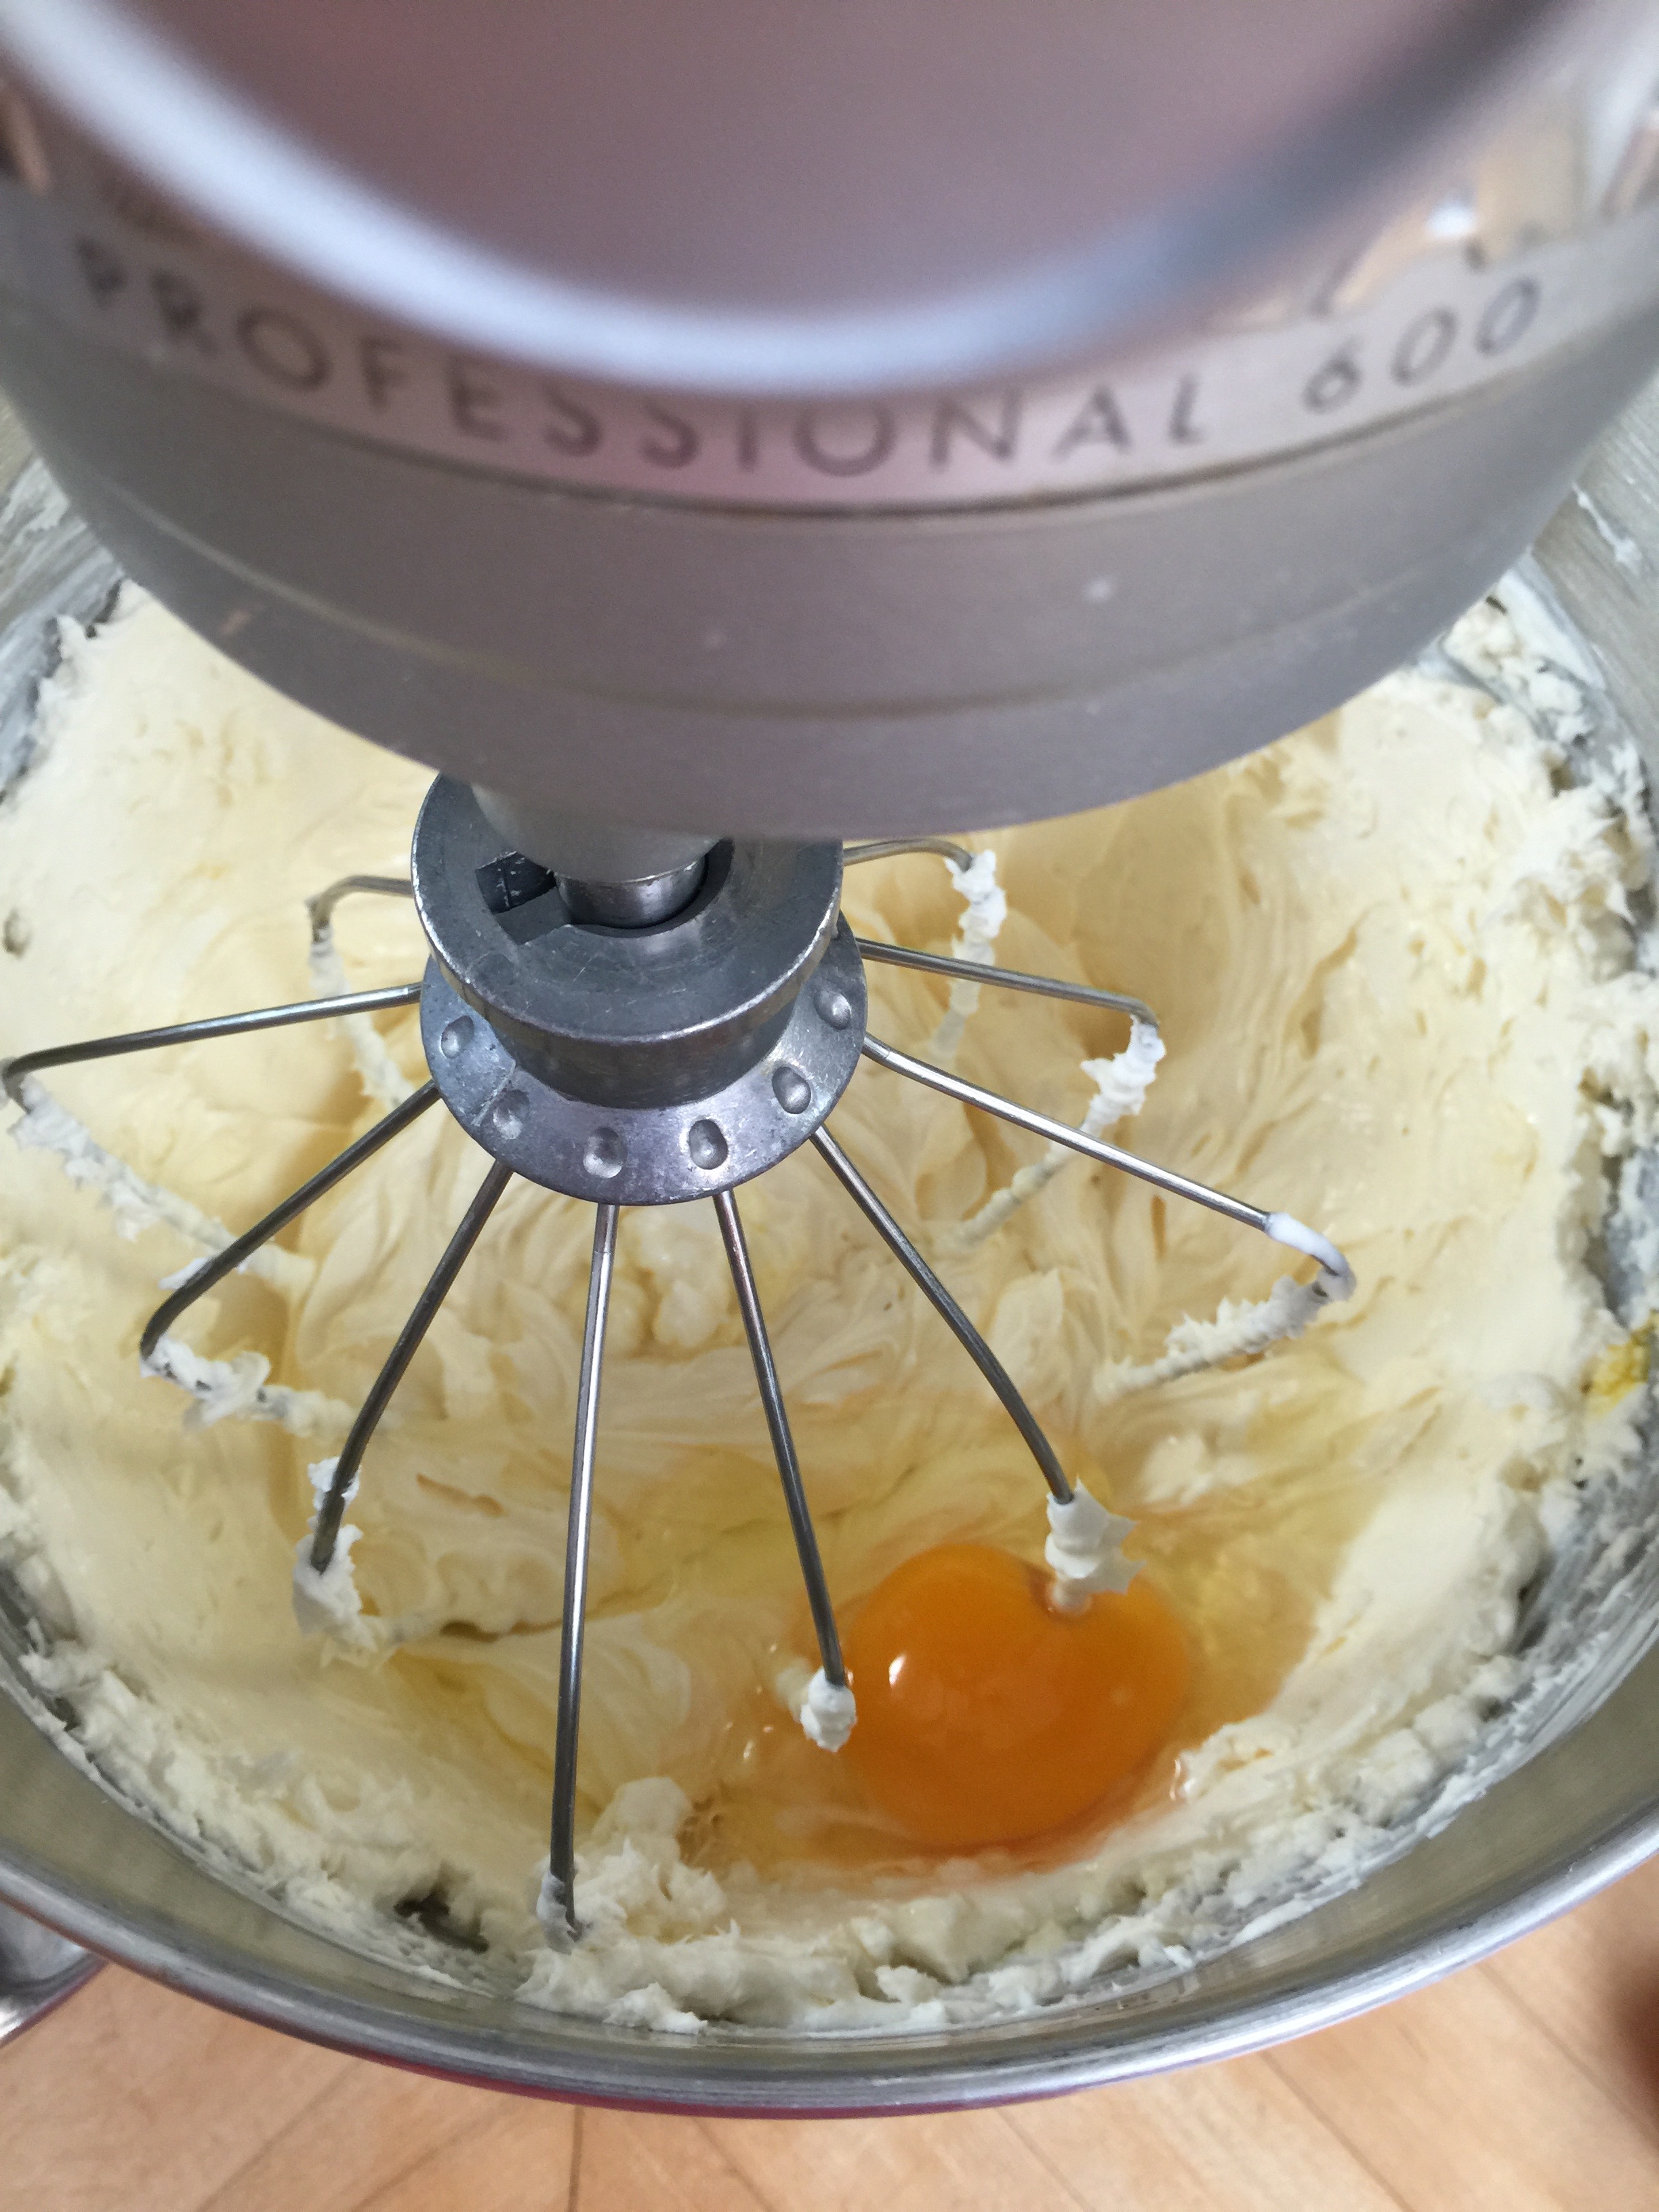
Zest and juice your lemons.

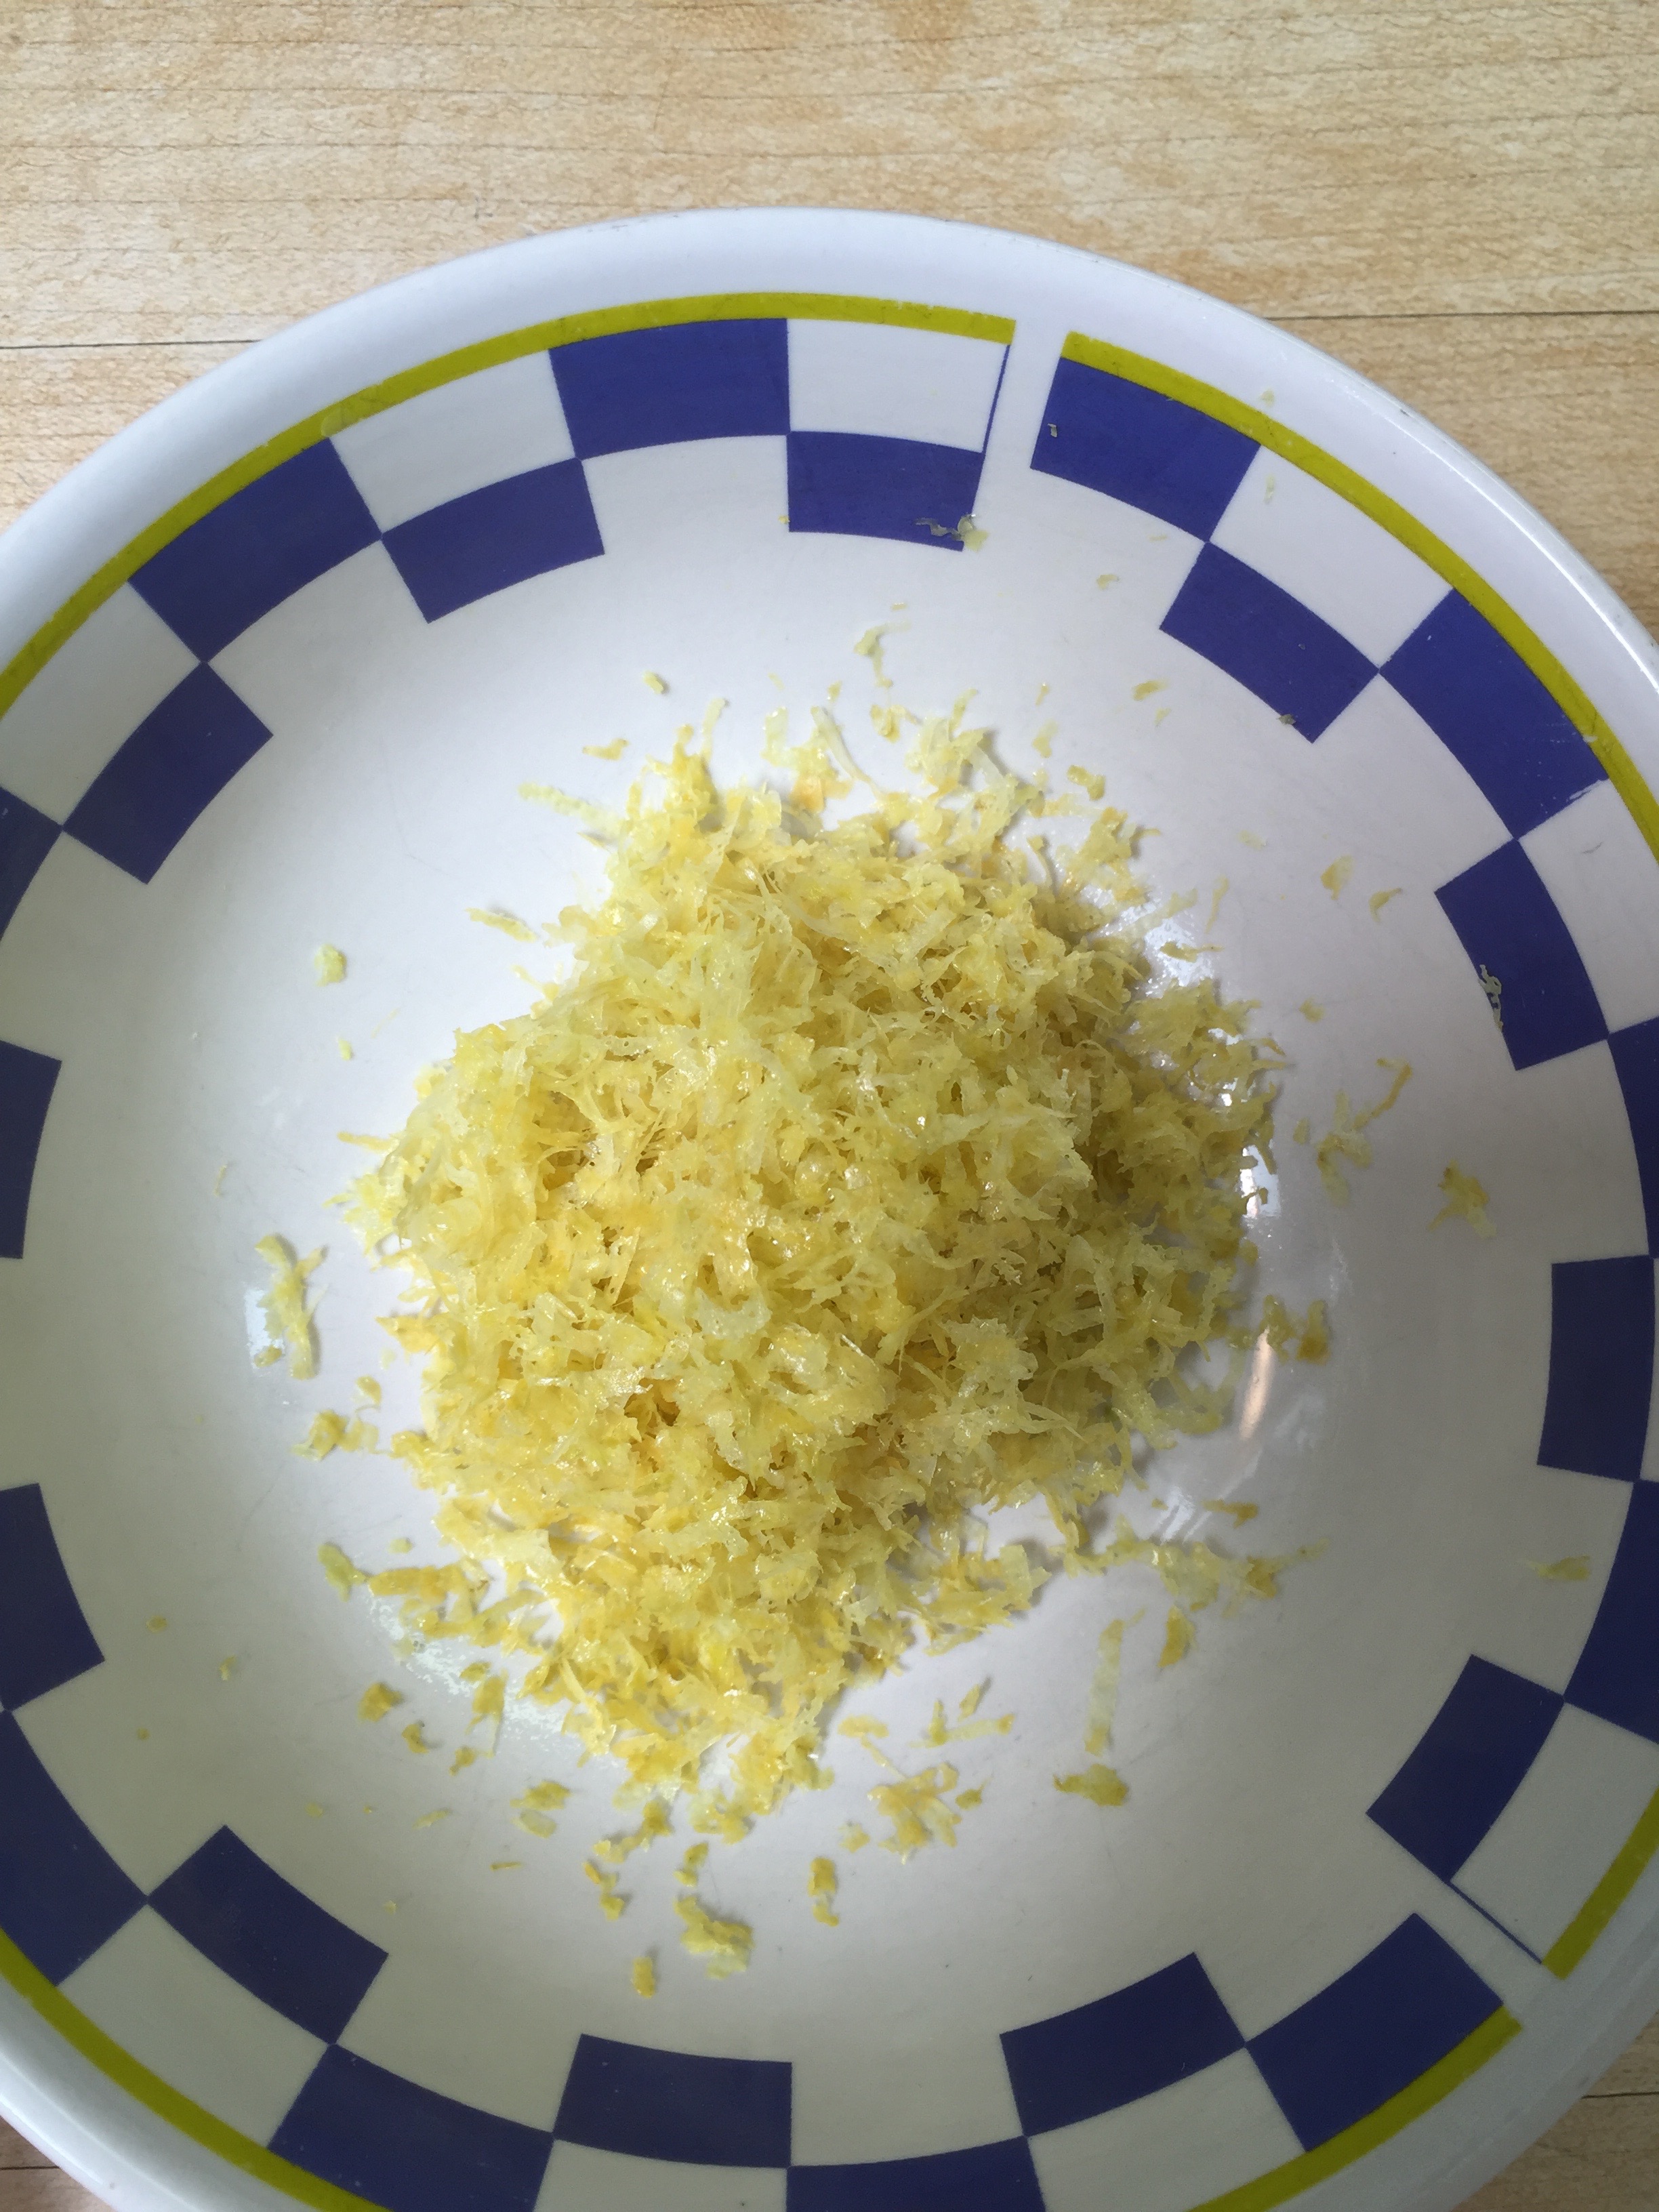
Add all the juice and zest to your cream cheese mixture. Add your Stevia and mix well.
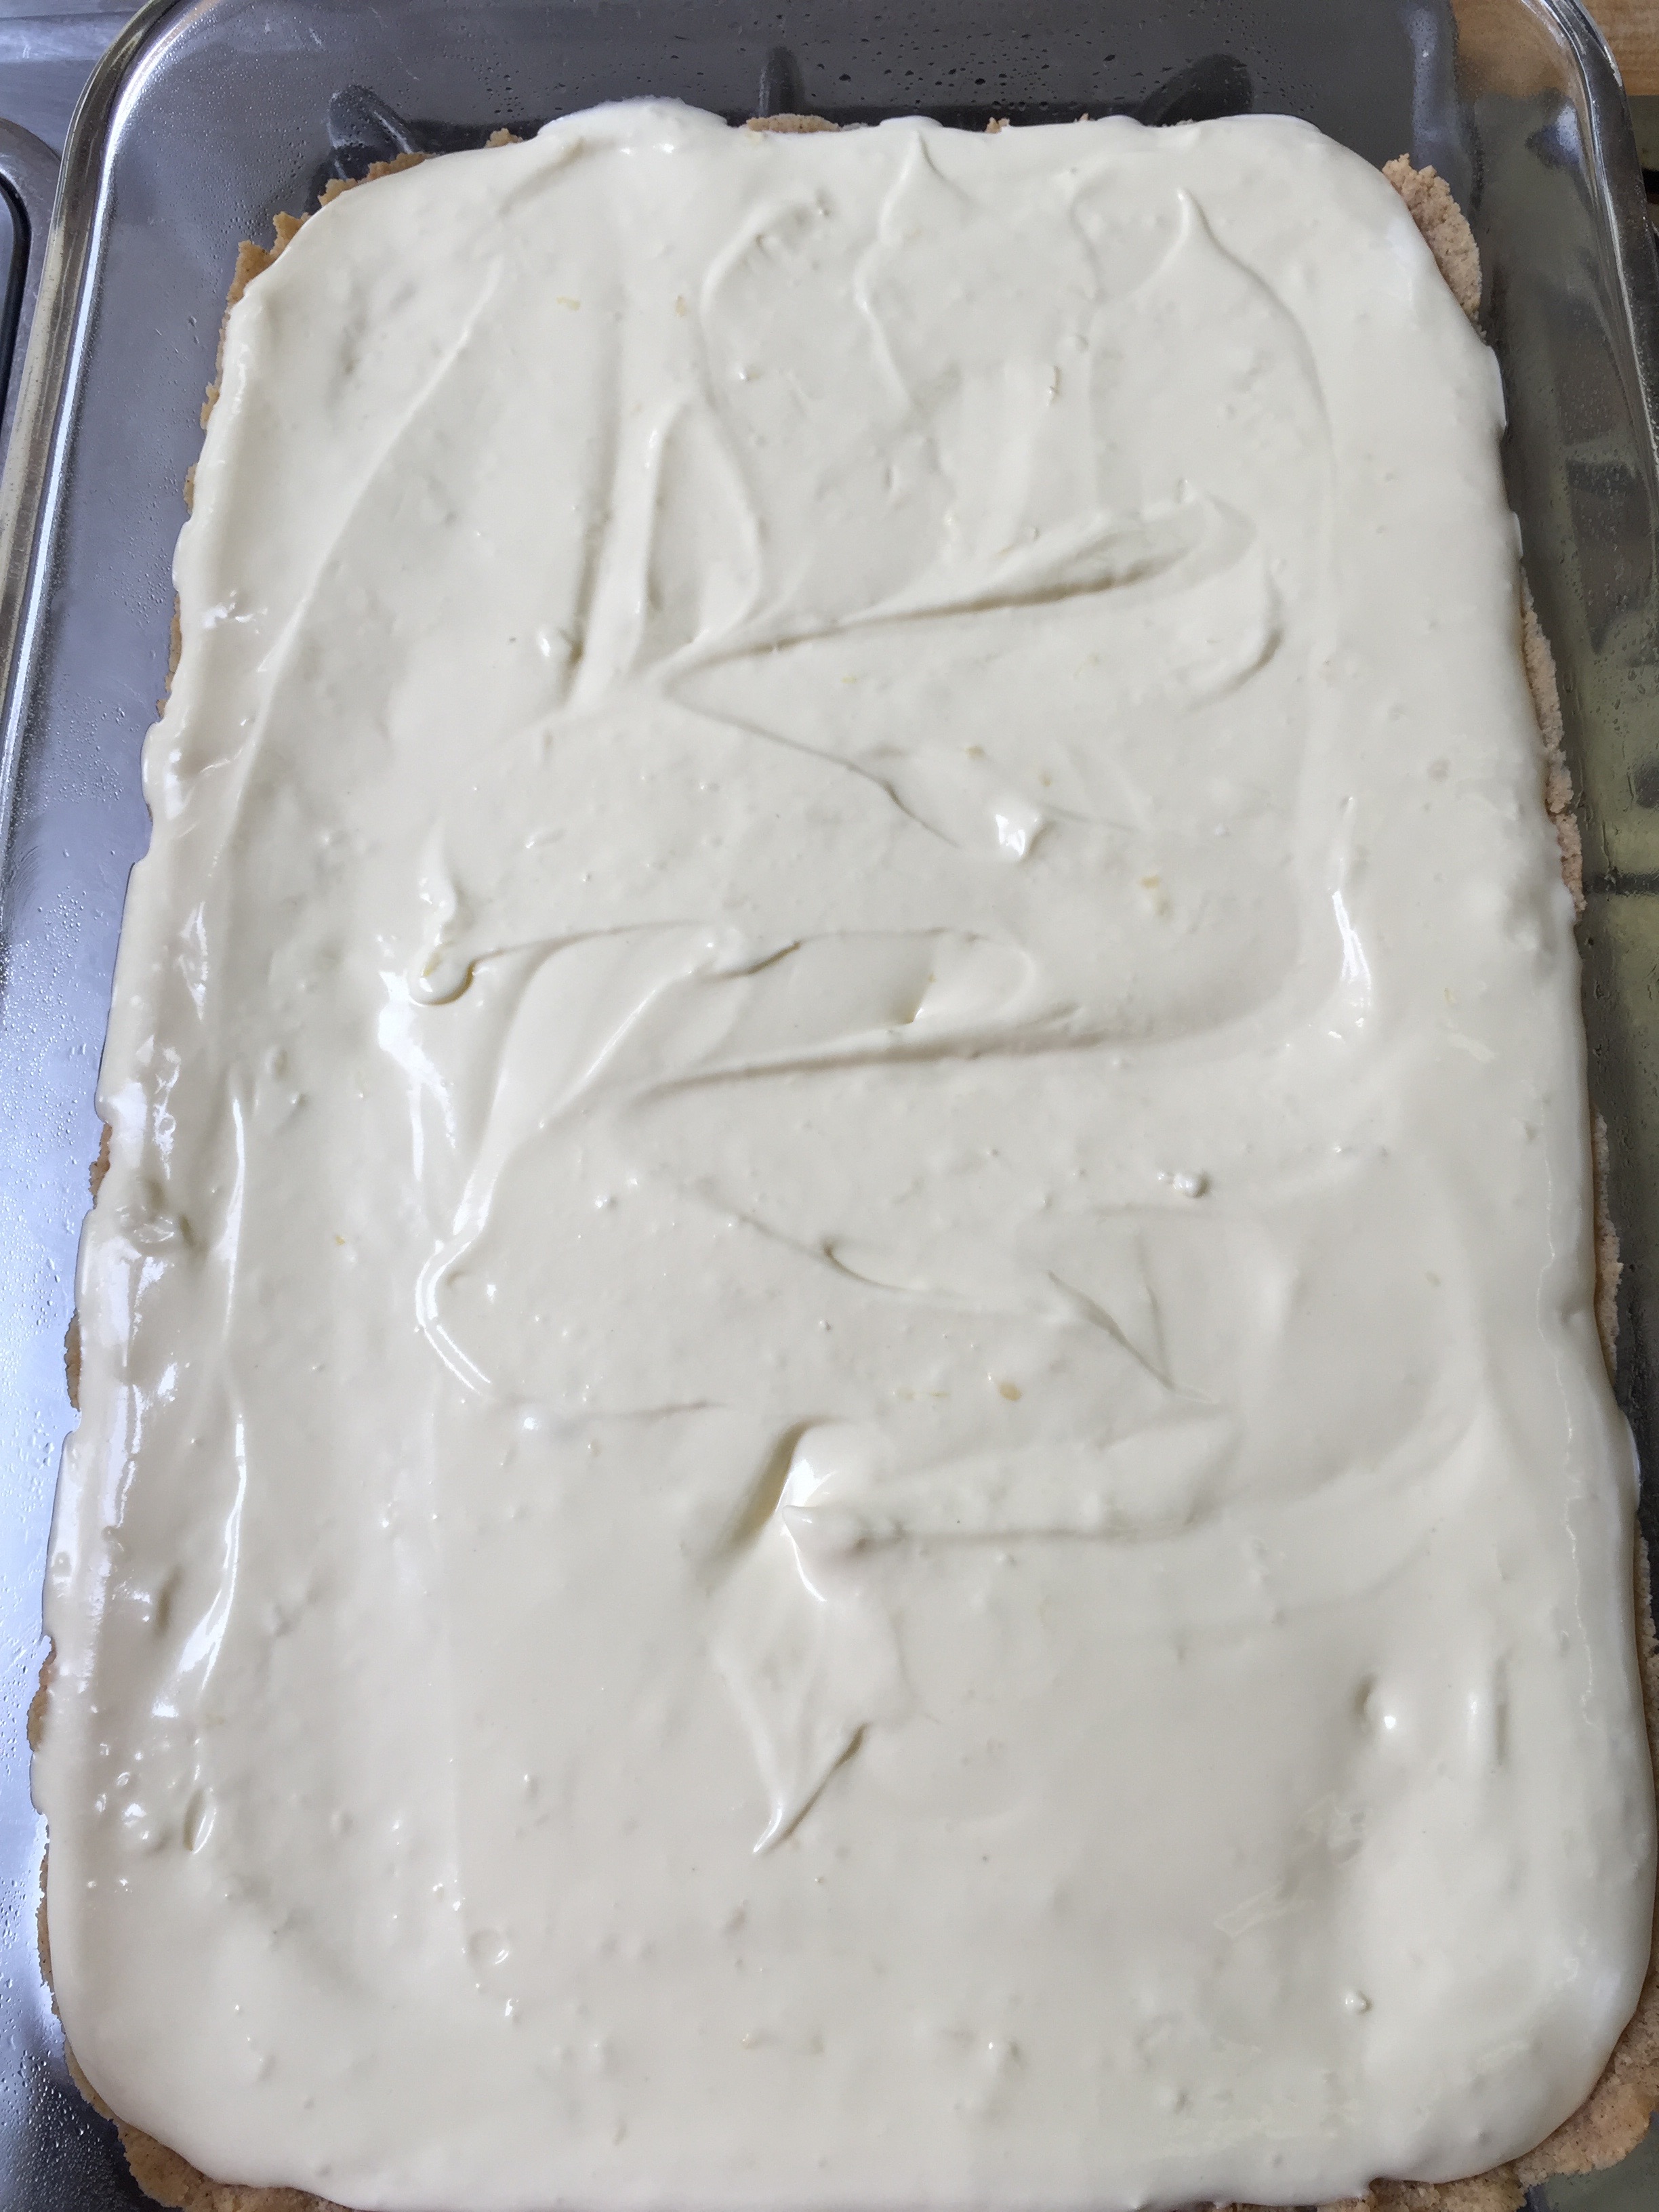
Pour into your pyrex dishes.
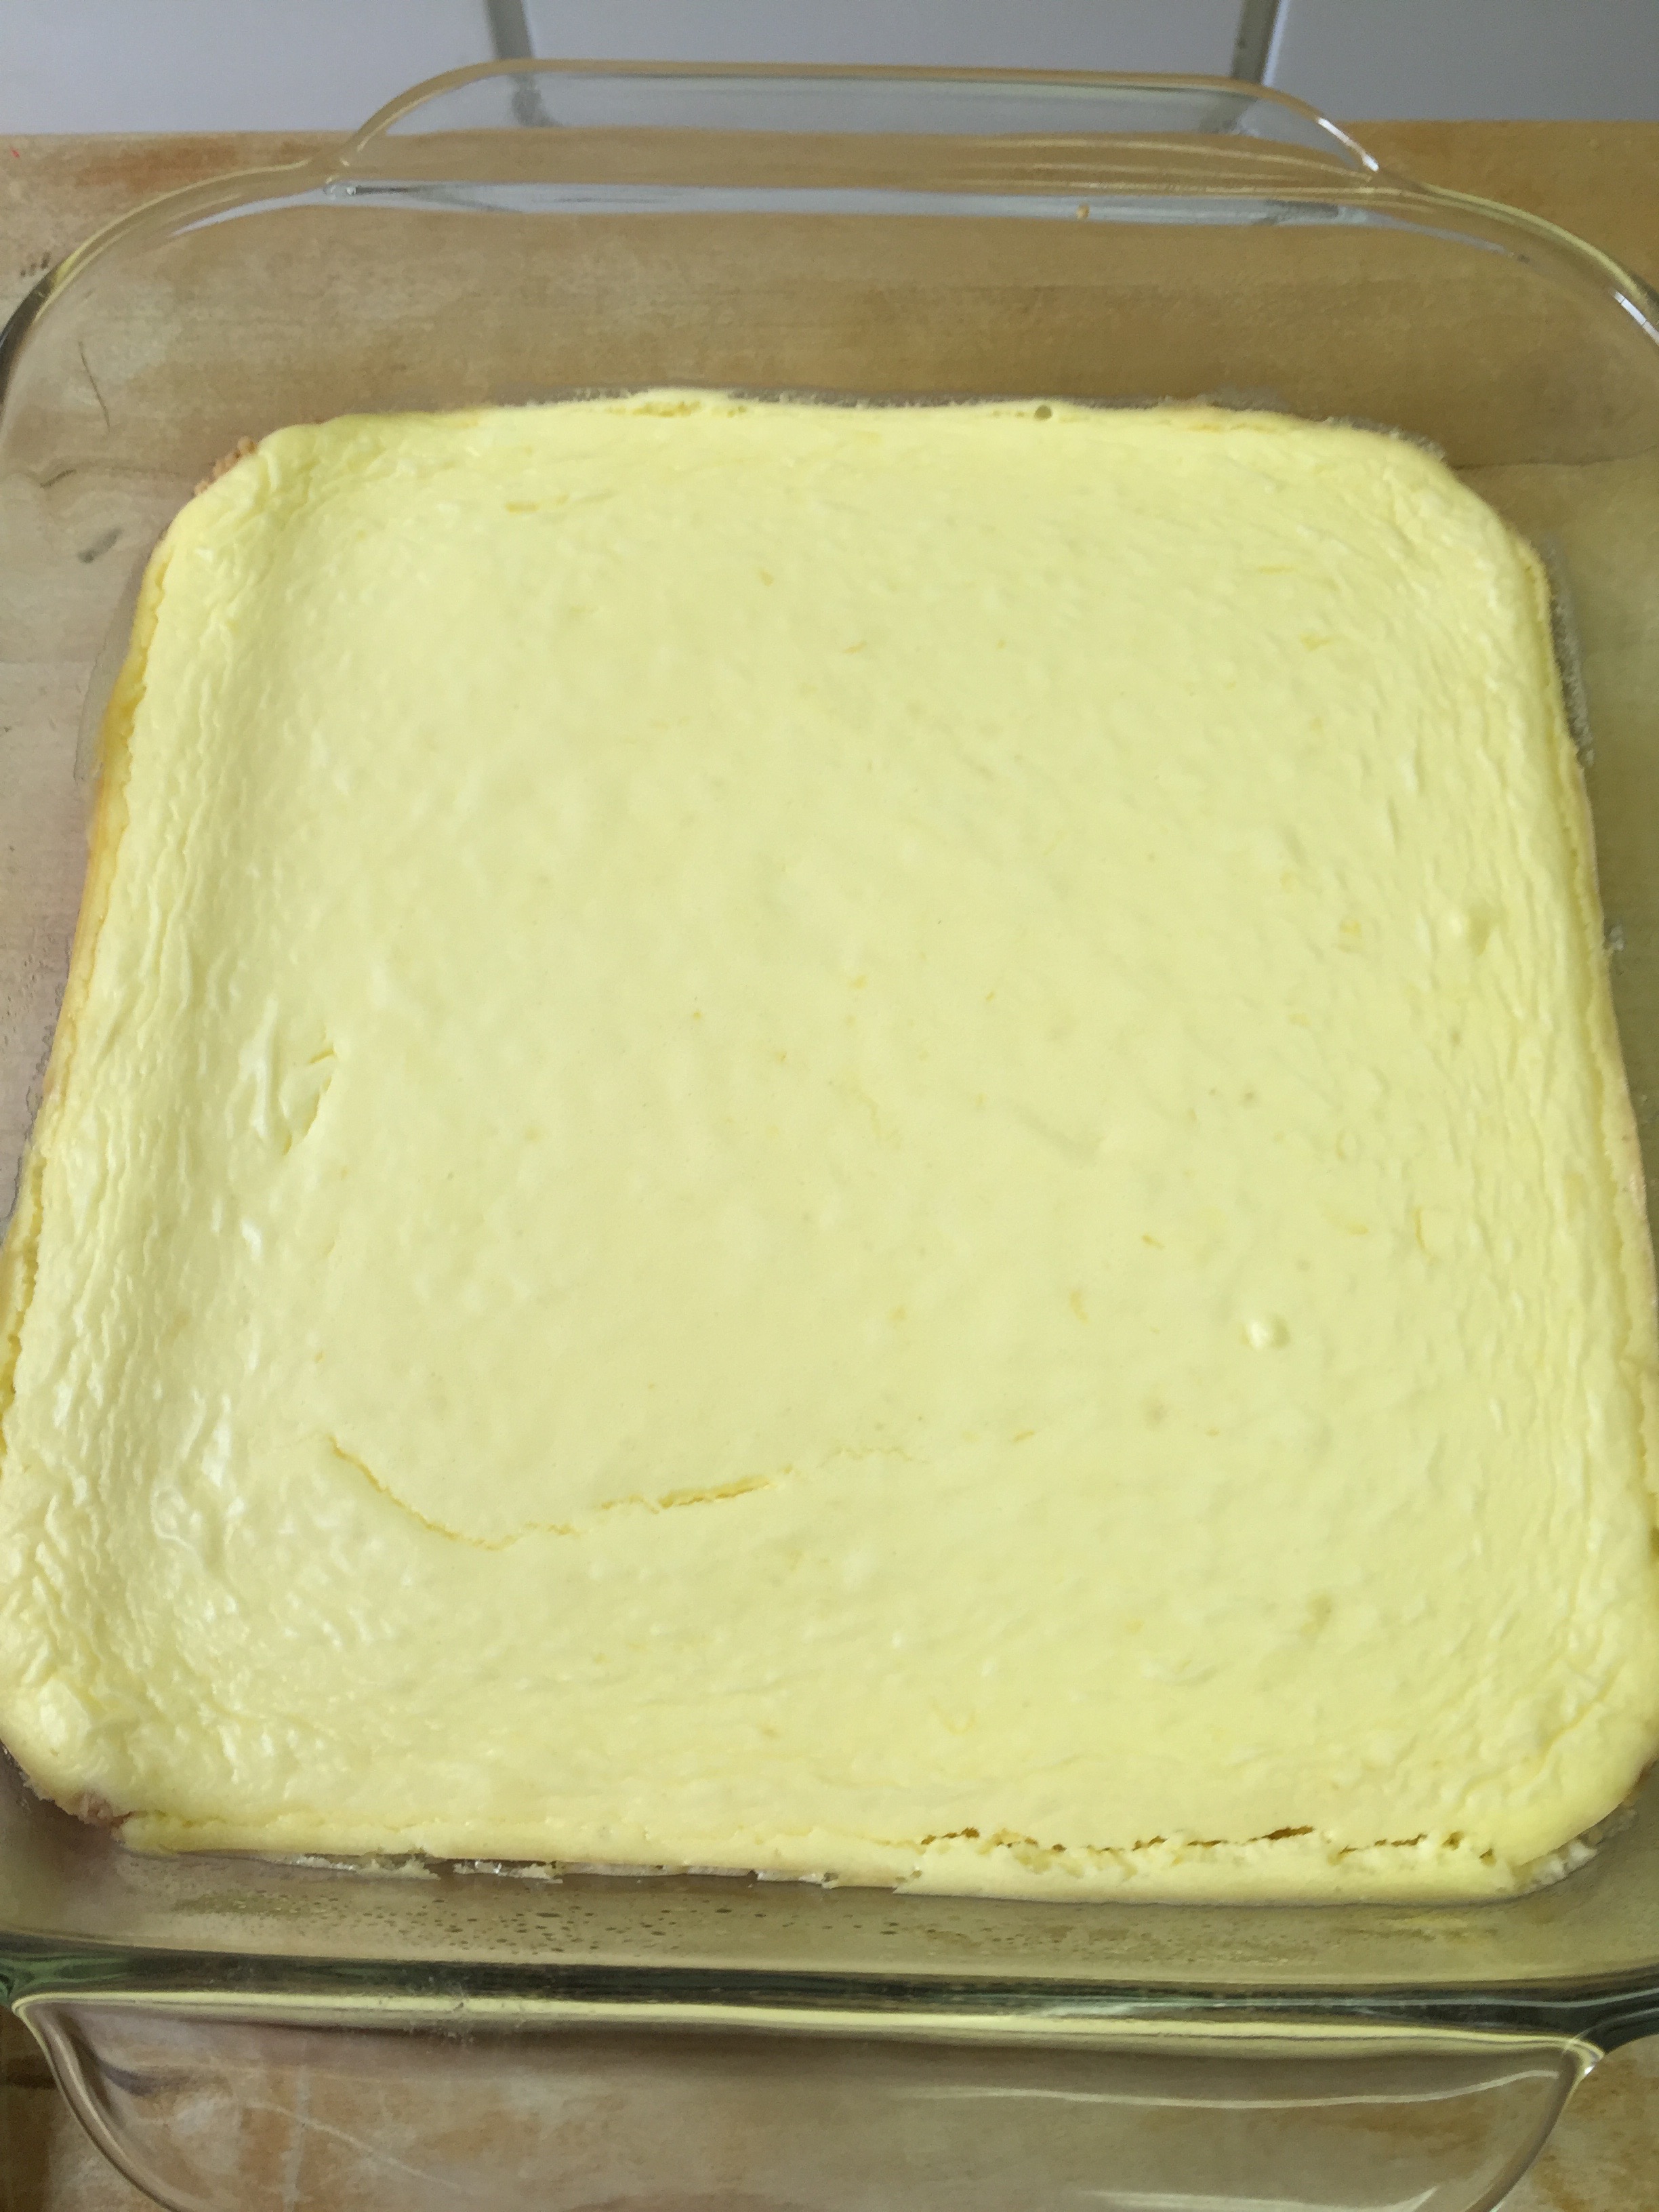
Bake at 325 degrees for 35 minutes.

They actually looked the same, but the lighting was different.
Cool completely to room temperature. Then place in the fridge to cool.
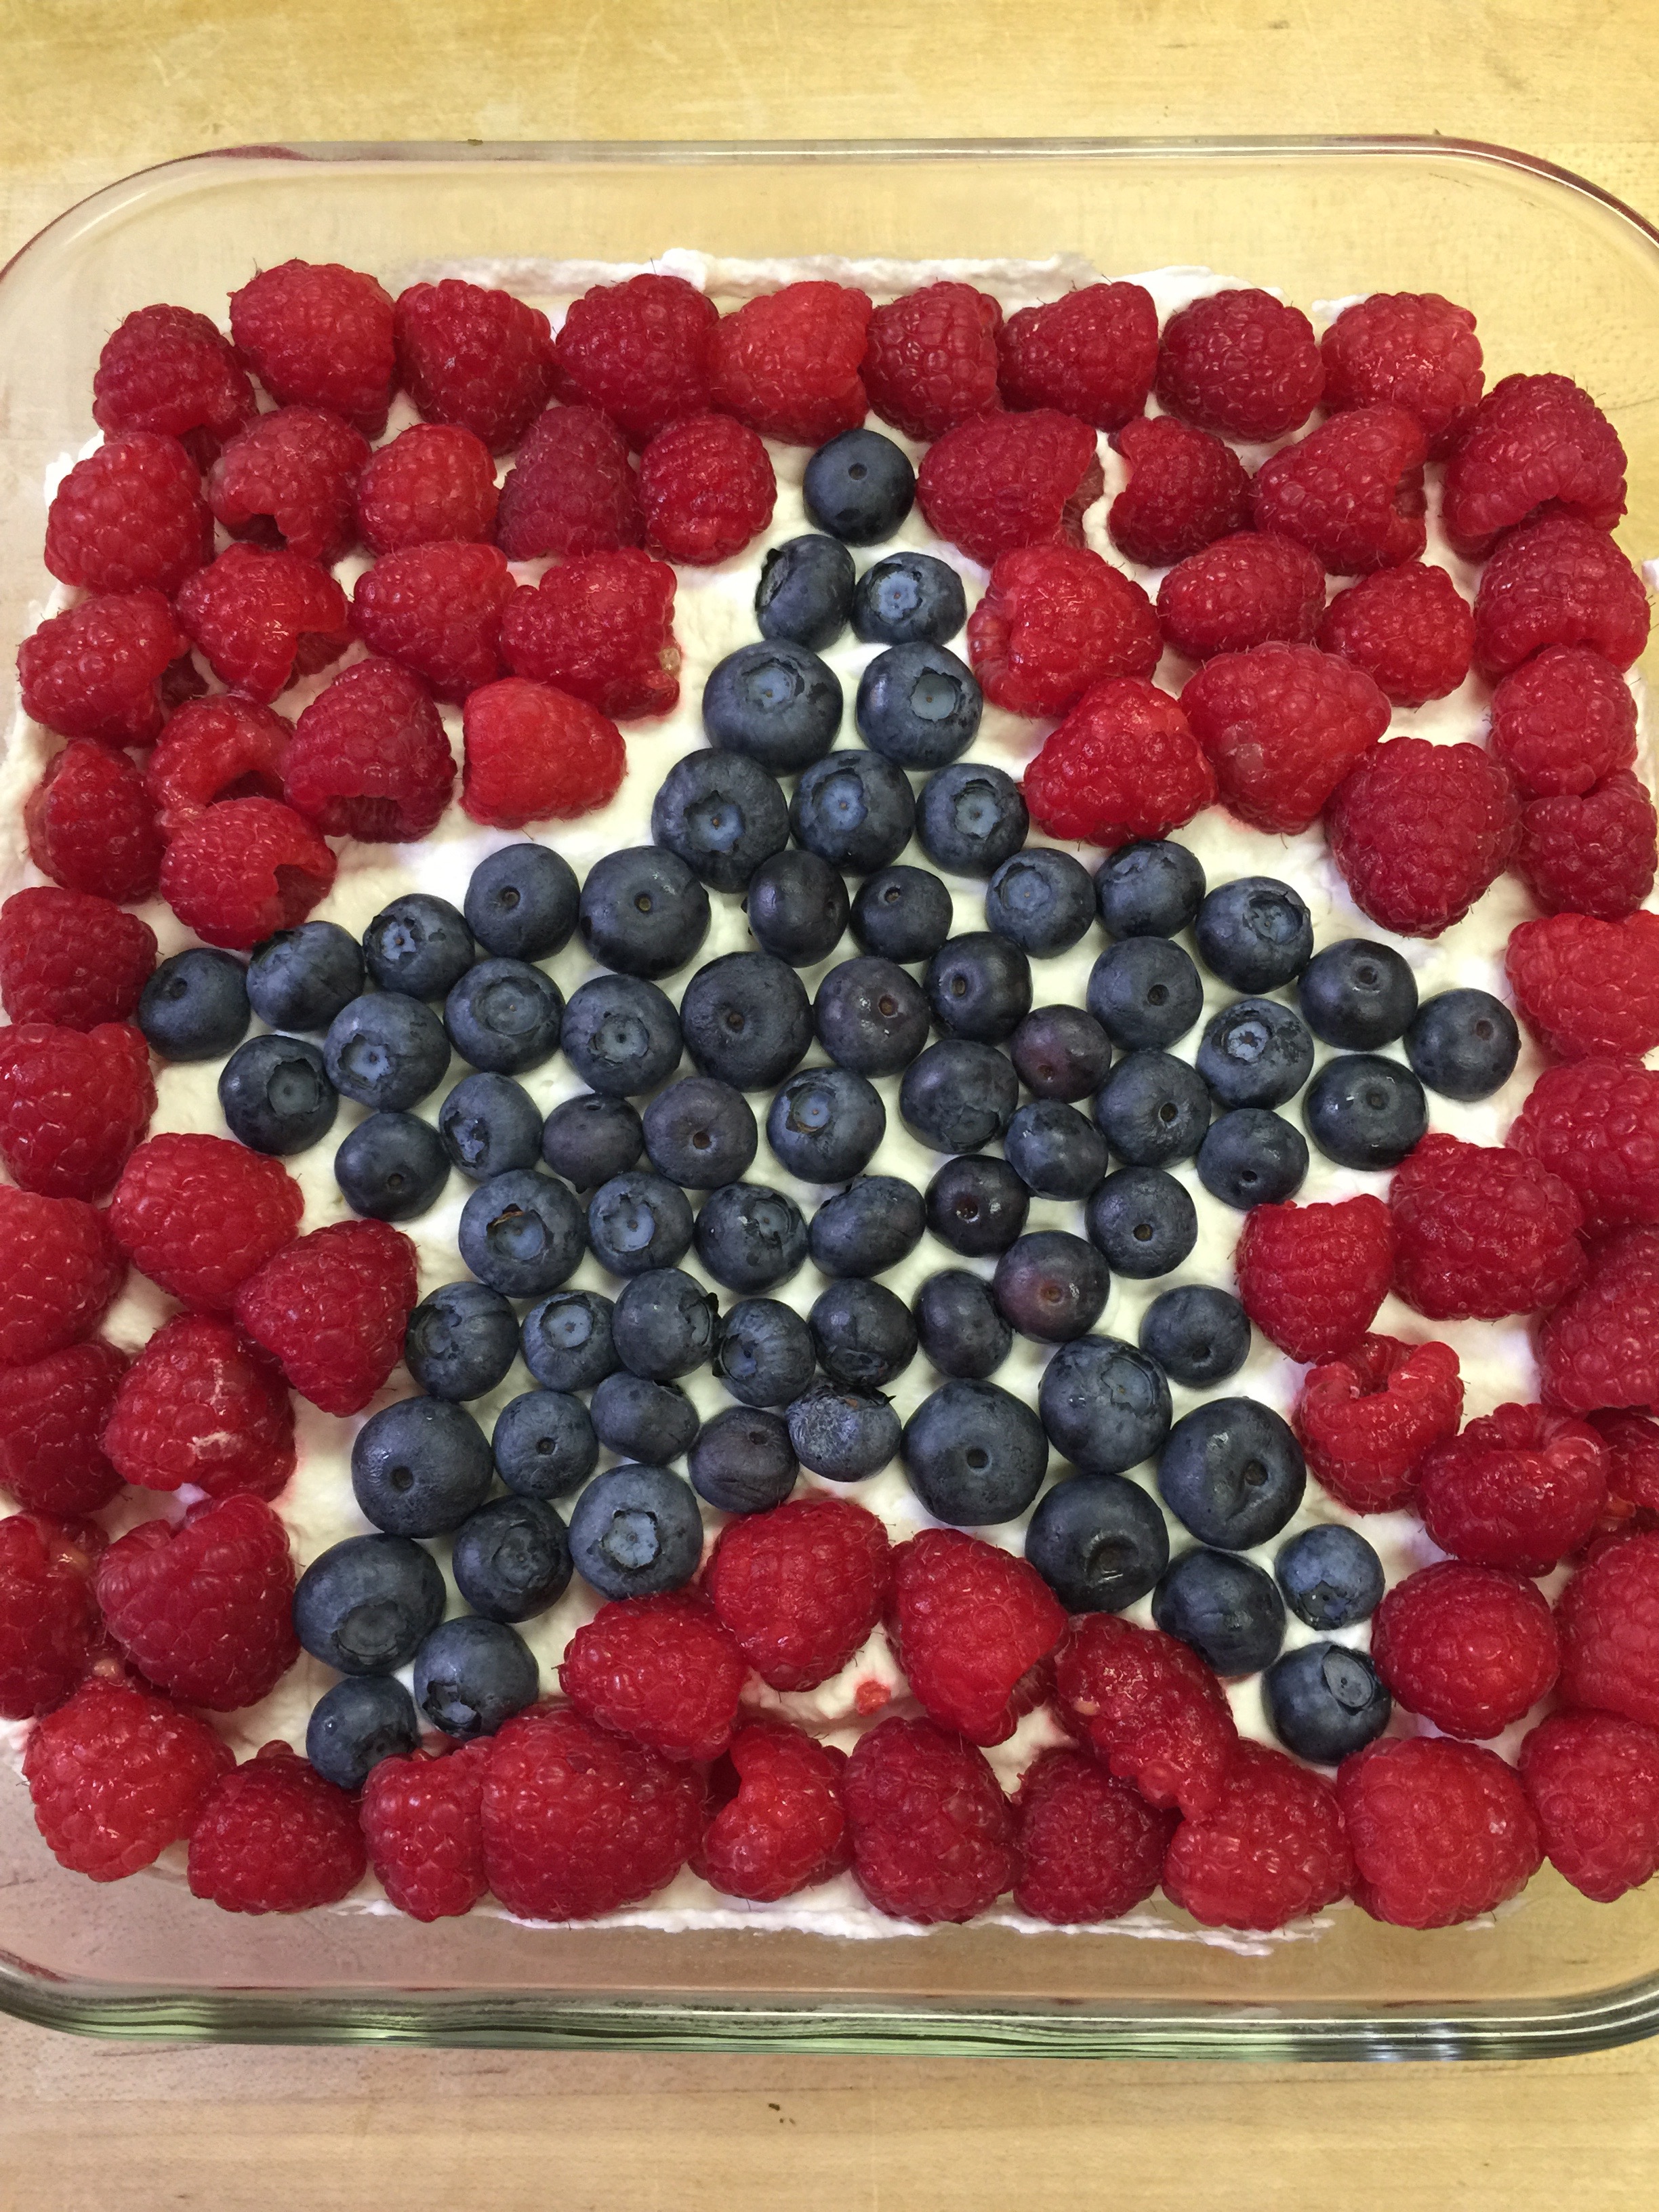
The next day or later in the day, whip up some whipped cream with heavy whipping cream, vanilla, and Swerve Confectioners.
“Ice” your cheesecake with the whipped cream.
I forgot to take a picture of the flag that I made on the 9×13 cake, but you can do an American flag with blueberries for the navy and do stripes with strawberry slices.
On the 8×8, I did a big star with blueberries and raspberries. This is so fun to do with the kiddos!
Let your friends and family ohh and ahh, but don’t tell them it’s sugar-free! They will be amazed. I love the way the lemon and fruit taste together for a special treat!
Keep refrigerated.
Enjoy!!!