Tag Archive for kid friendly

A Dip to Rival Hidden Valley Ranch

ranch image

Well, by now, if you have been following us, you know how we feel about artificial sweeteners and those other sneaky names used so you won’t know that sugar is in the ingredient list.

Believe it or not, those sneaky names are in the fine print of many pantry items you never would have imagined.  For instance, my family used to love it when I mixed in the little seasoning packet of Hidden Valley Ranch Dip and Dressing mix with sour cream for a yummy dip to serve with vegetables.  One of the main ingredients I discovered, as soon as I went Keto and started looking at the back of packages, is Maltodextrin.

hidden valley

A little about Maltodextrin: It is a food additive derived from corn, rice, potatoes, or wheat and therefore a carbohydrate.  It ranks higher than table sugar on the glycemic index – 106 to 136 depending on the derived source and is in a TON of packaged foods!  This means that it will spike your blood sugar levels so beware and read those labels.

It became a mission of mine and that of a few of our followers to find a better way to make ranch dressing and dip.  One of the best parts of Keto is freeing yourself from all of those tasteless, chemical ridden low-fat salad dressings!  You actually get to eat the real thing as long as it is real food.  The Maltodextrin kind of ruined that for us though.  Thanks to one of my friends and fellow ketoers, Kelley, we have found the solution!  This may be even better than Hidden Valley Ranch, and it is a seasoning blend that can be used in other sauces or dressings as well.  I did some minor tweaking, and we all think it is delicious.  We hope you enjoy!

Ranch Dip Picture

Ranch Dressing Seasoning

1 1/4 tsp Celtic sea salt

1/2 tsp black pepper

1 TBSP Onion Powder

1 tsp garlic powder

1 TBSP dried parsley
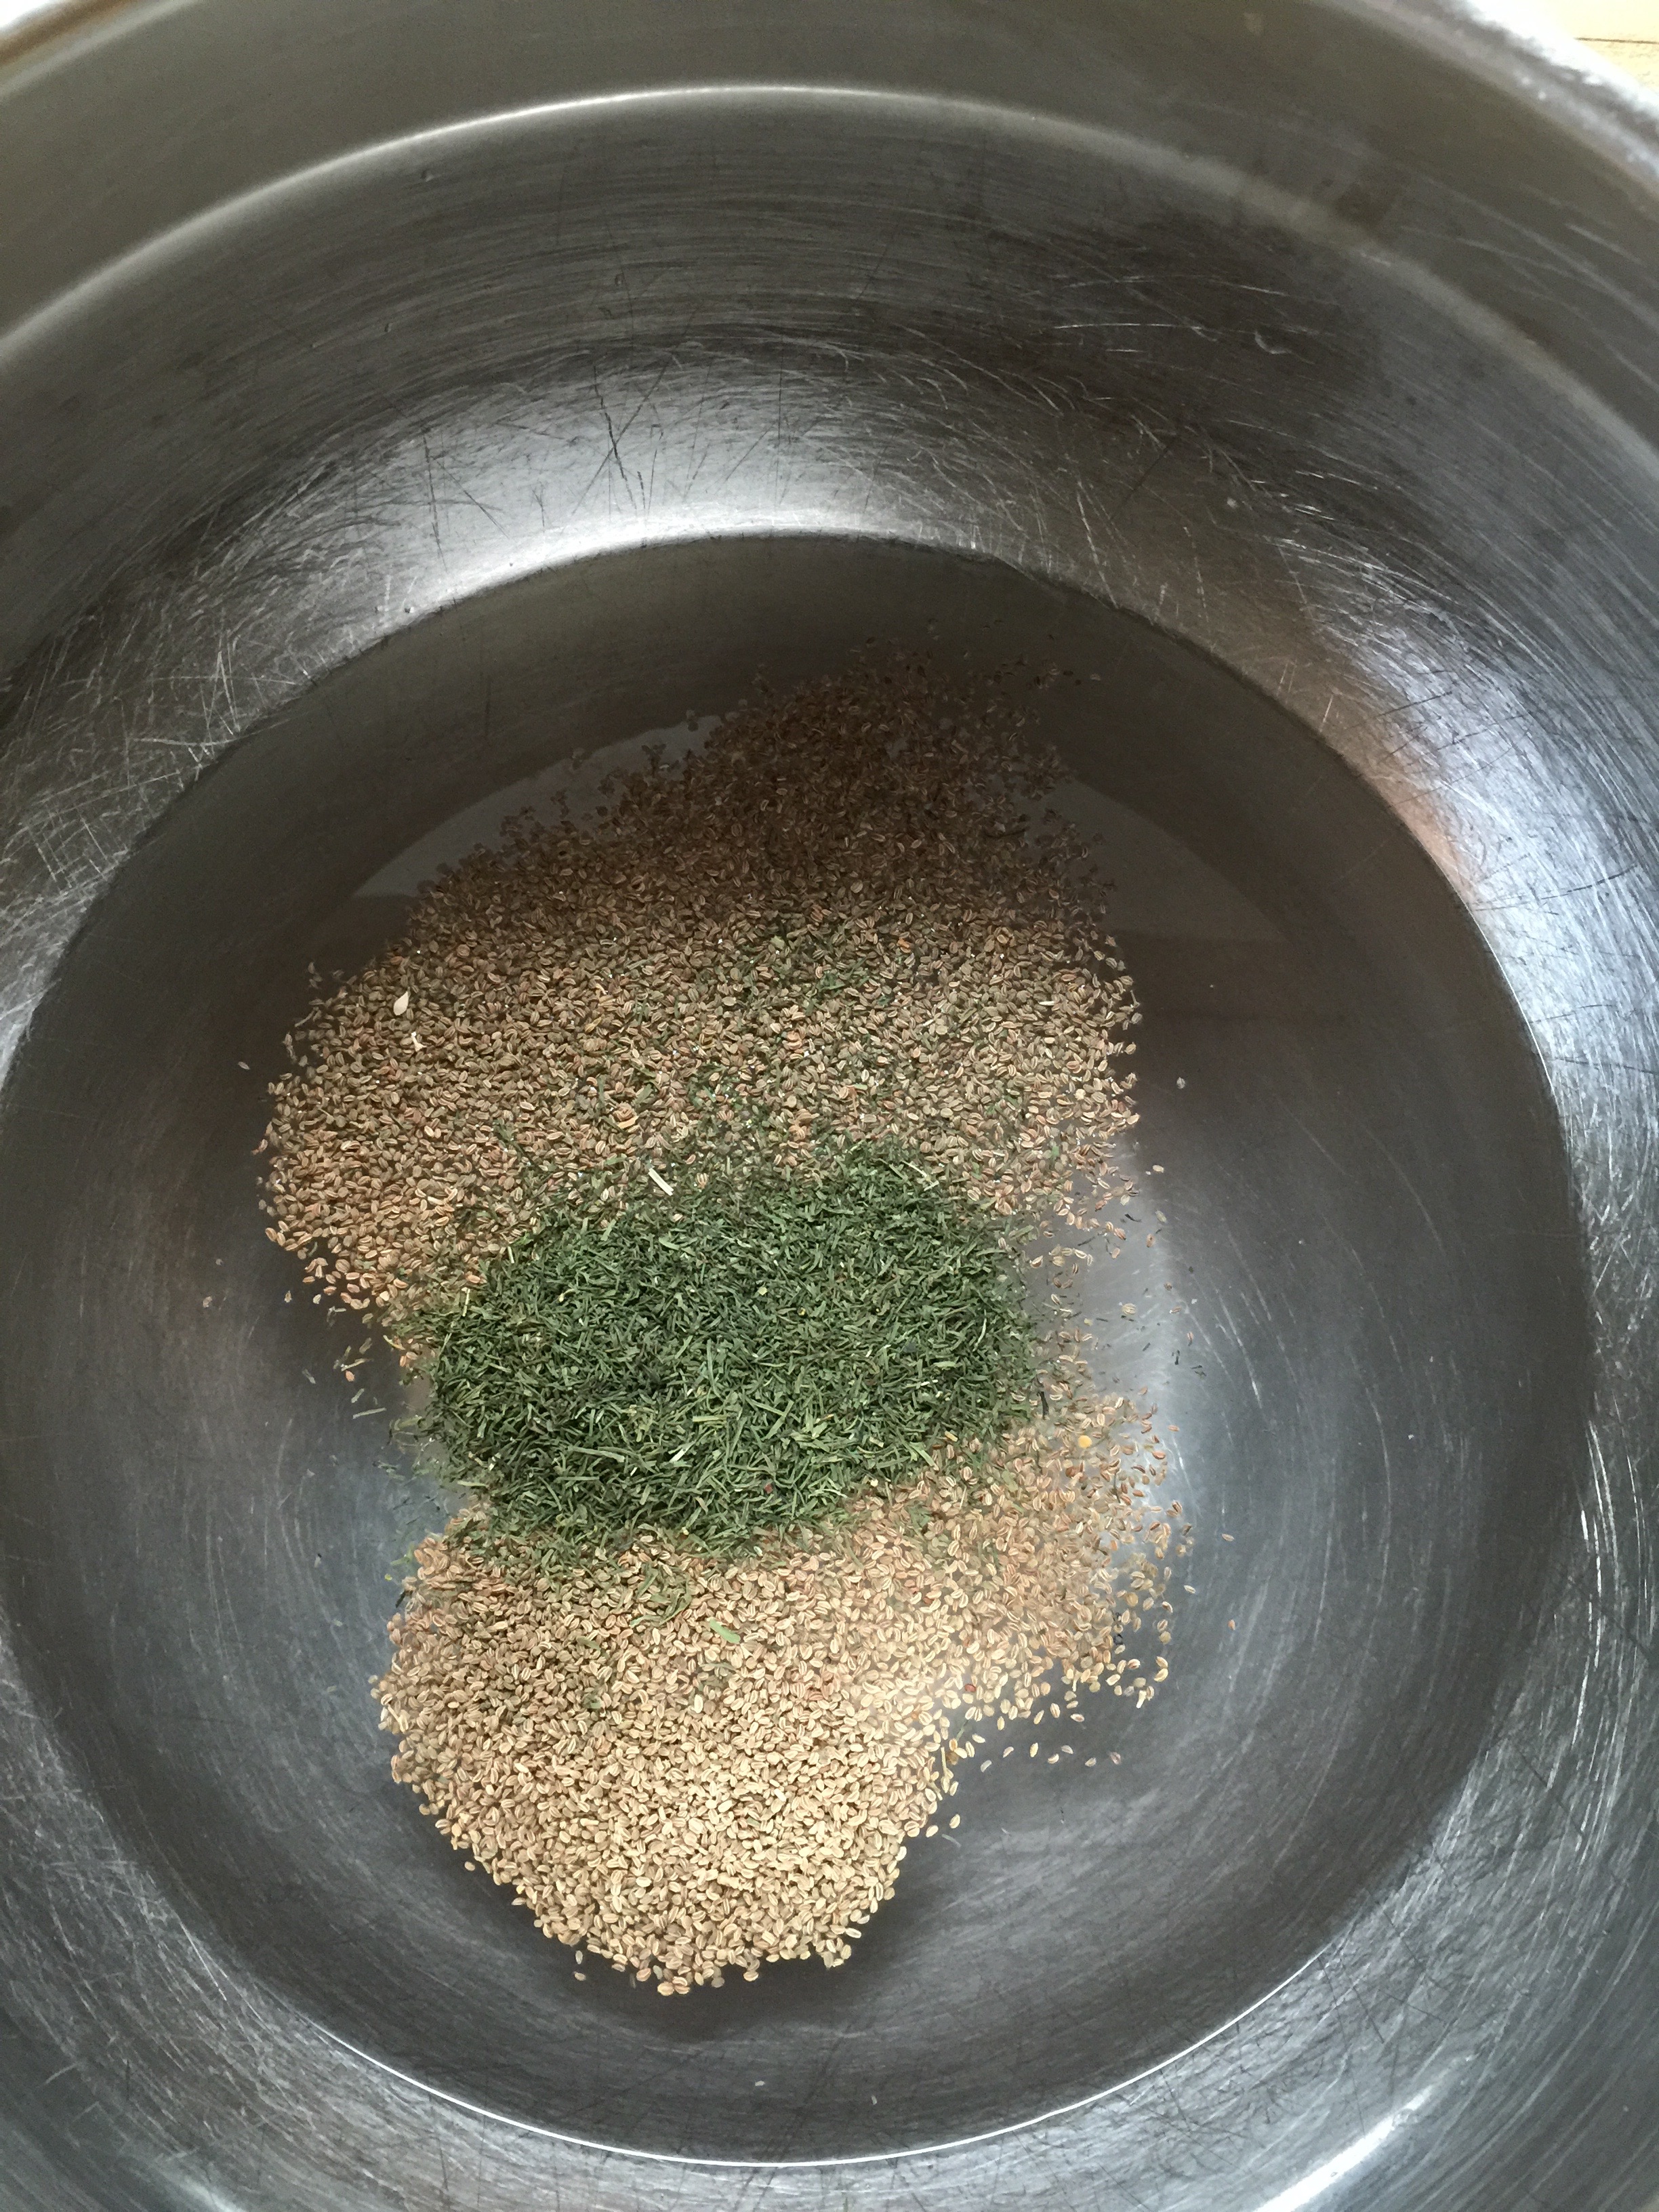
1/4 tsp celery seed

1/2 tsp dried dill weed (with a little extra for garnish)

1/2 tsp dried mustard seed

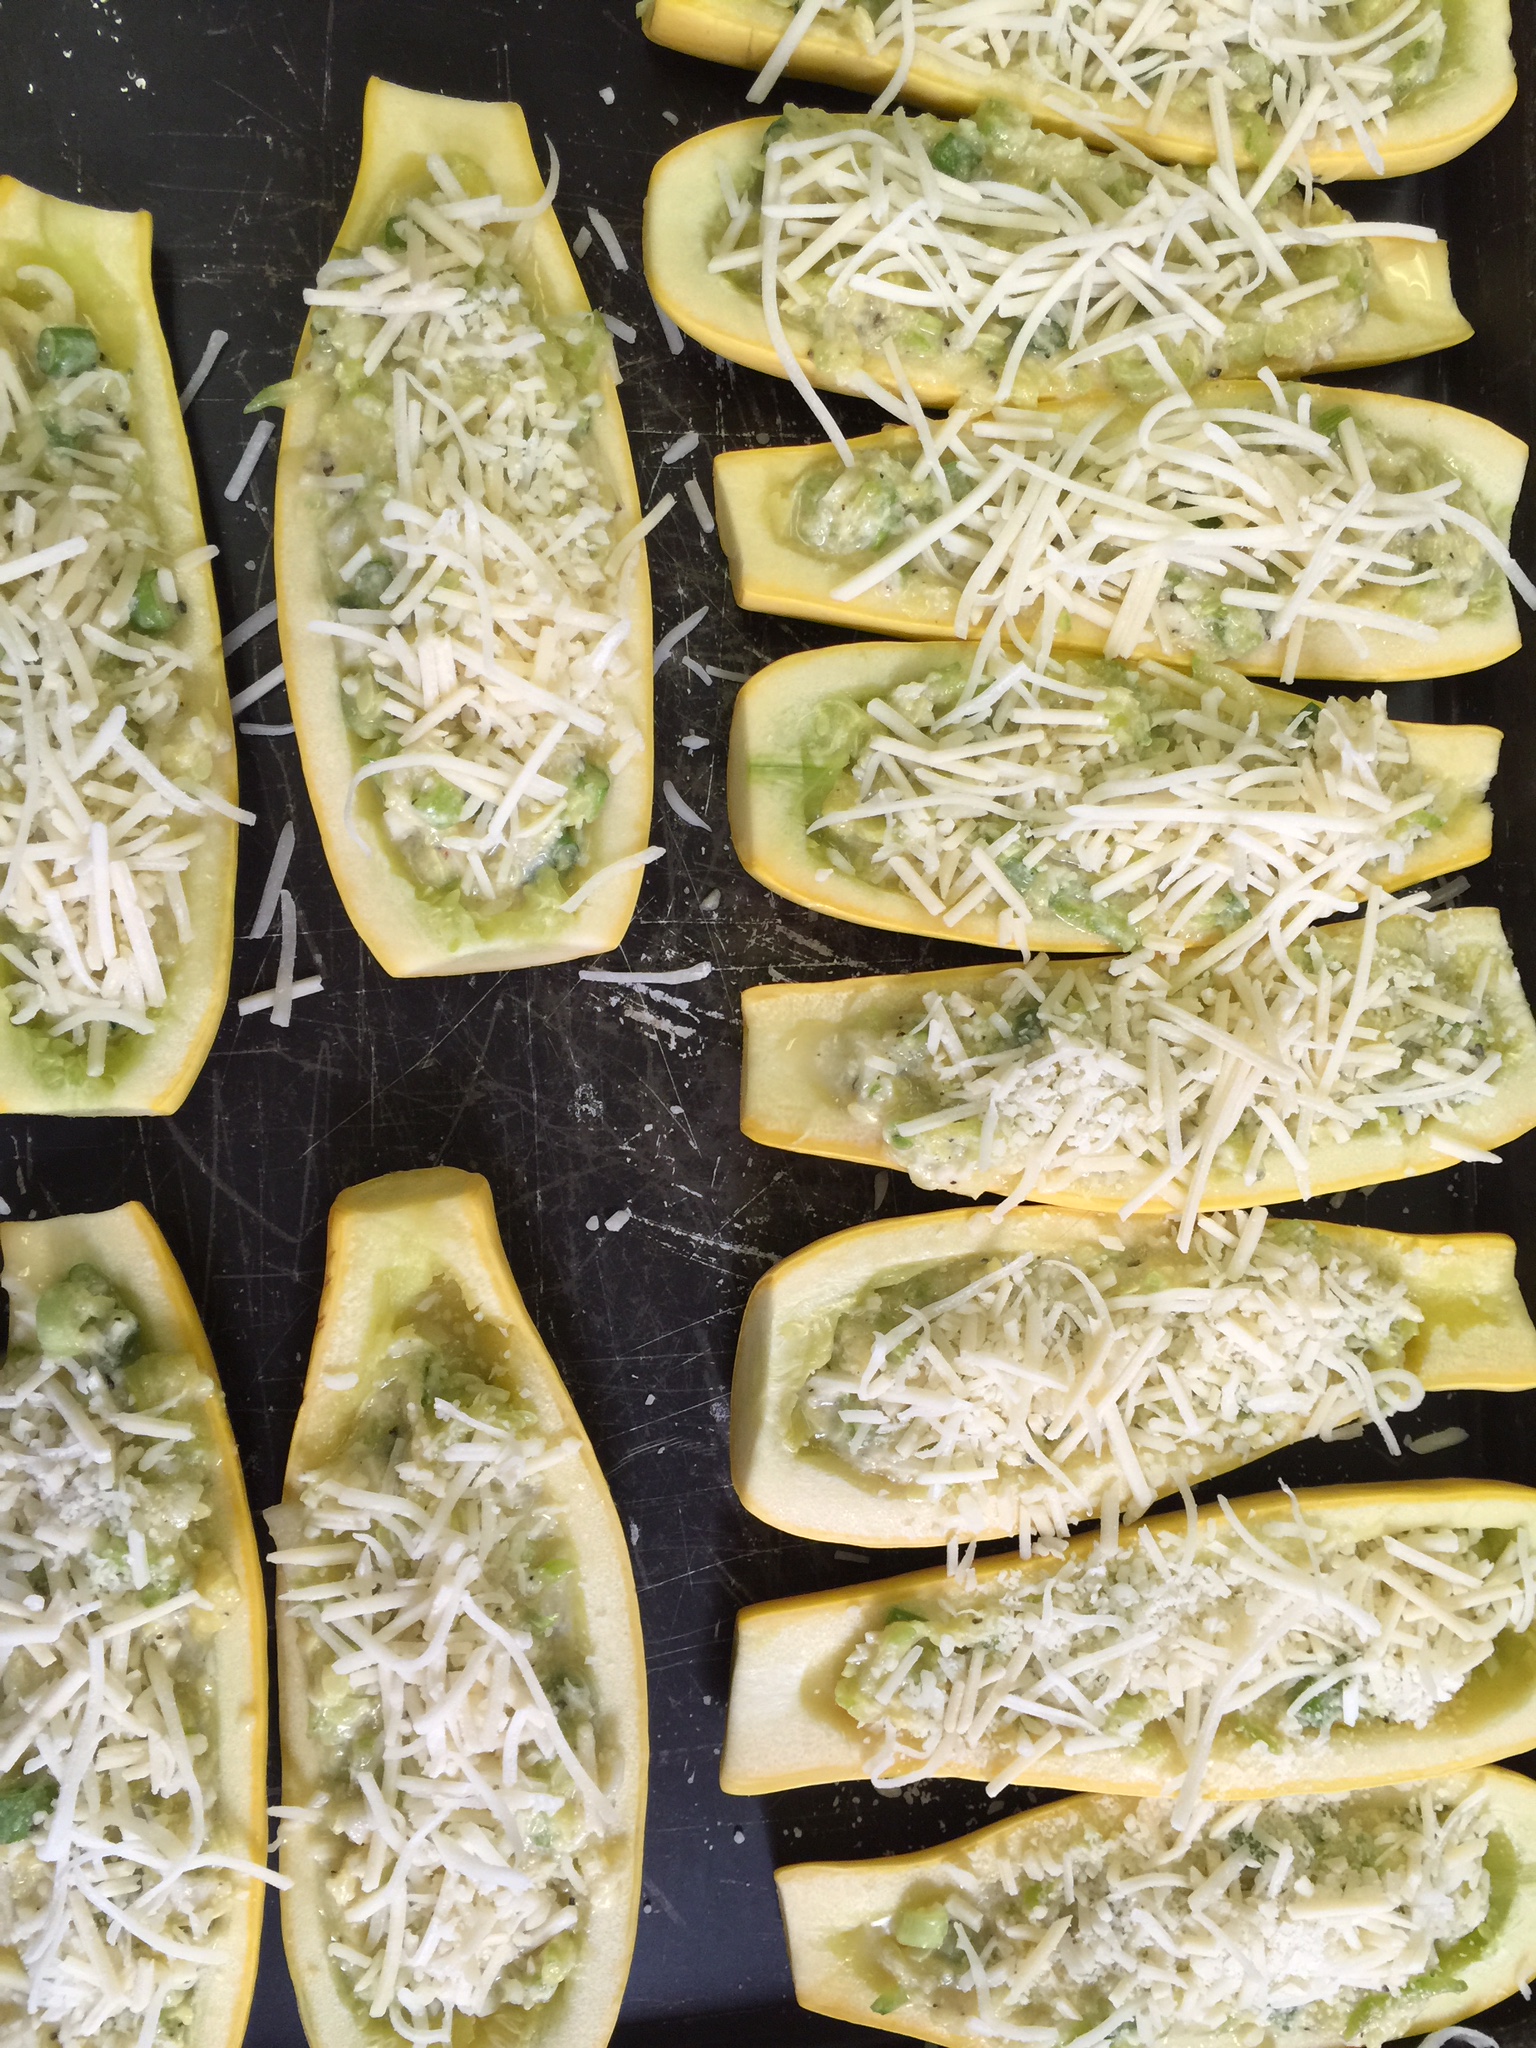
To mix into a dressing or dip, the possibilities are endless.

For a dip, I use the traditional 1 cup mayonnaise and 1 cup sour cream.

If you want to make it into a dressing, you can put all of the above ingredients into a blender and add some half and half or cream to liquify it slightly.

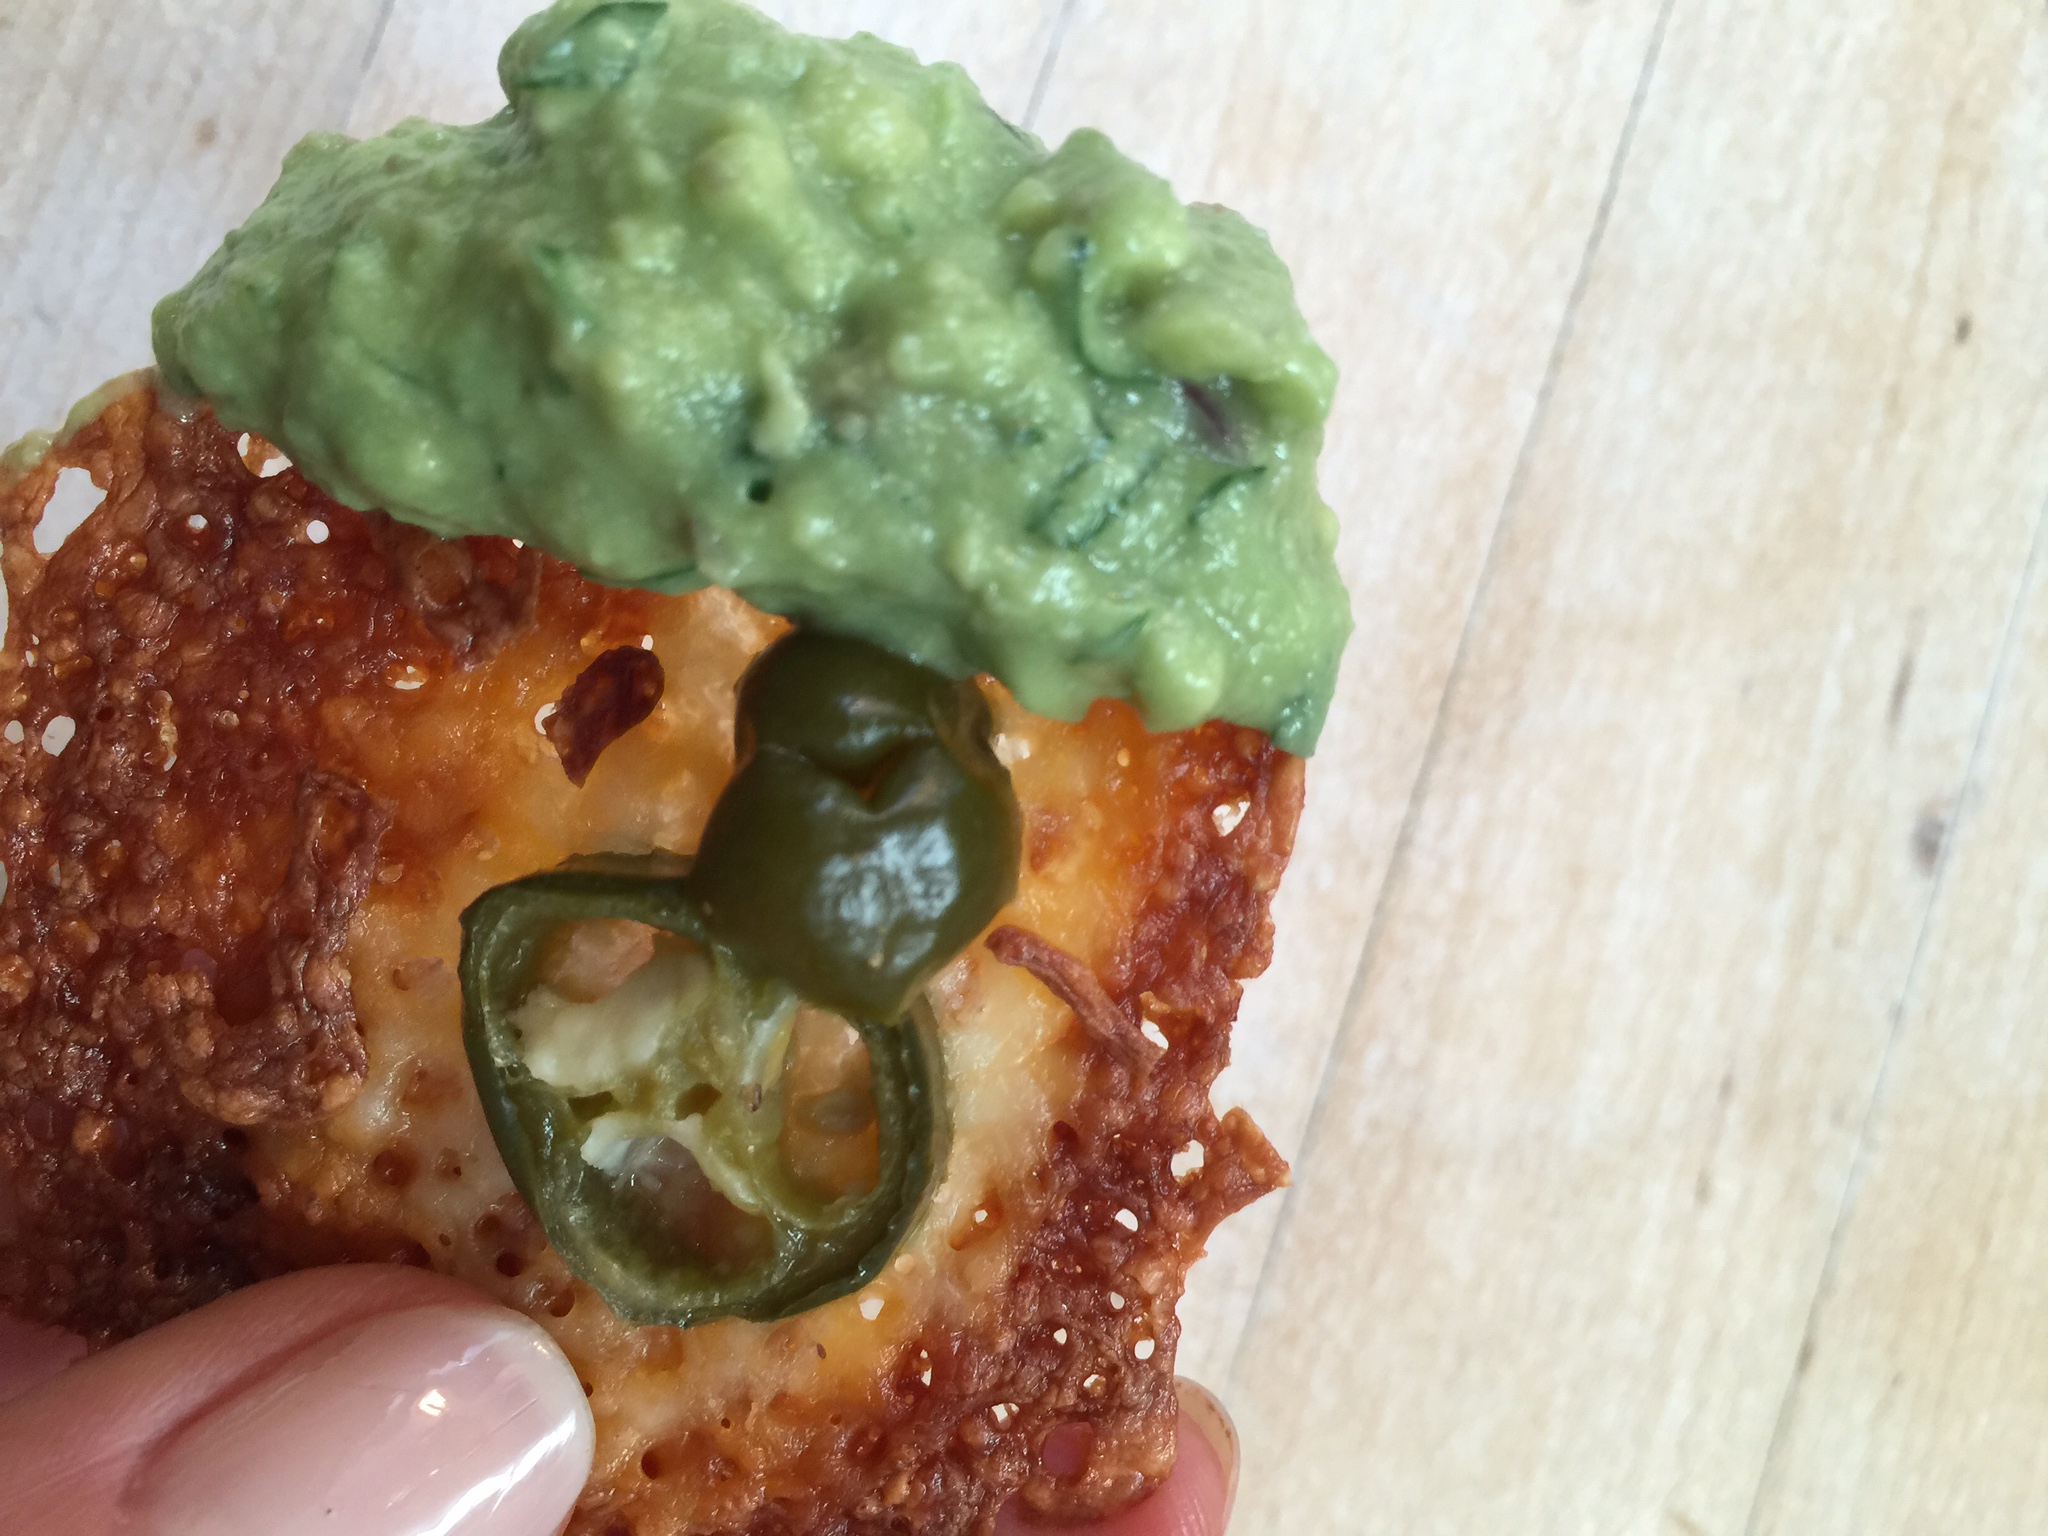
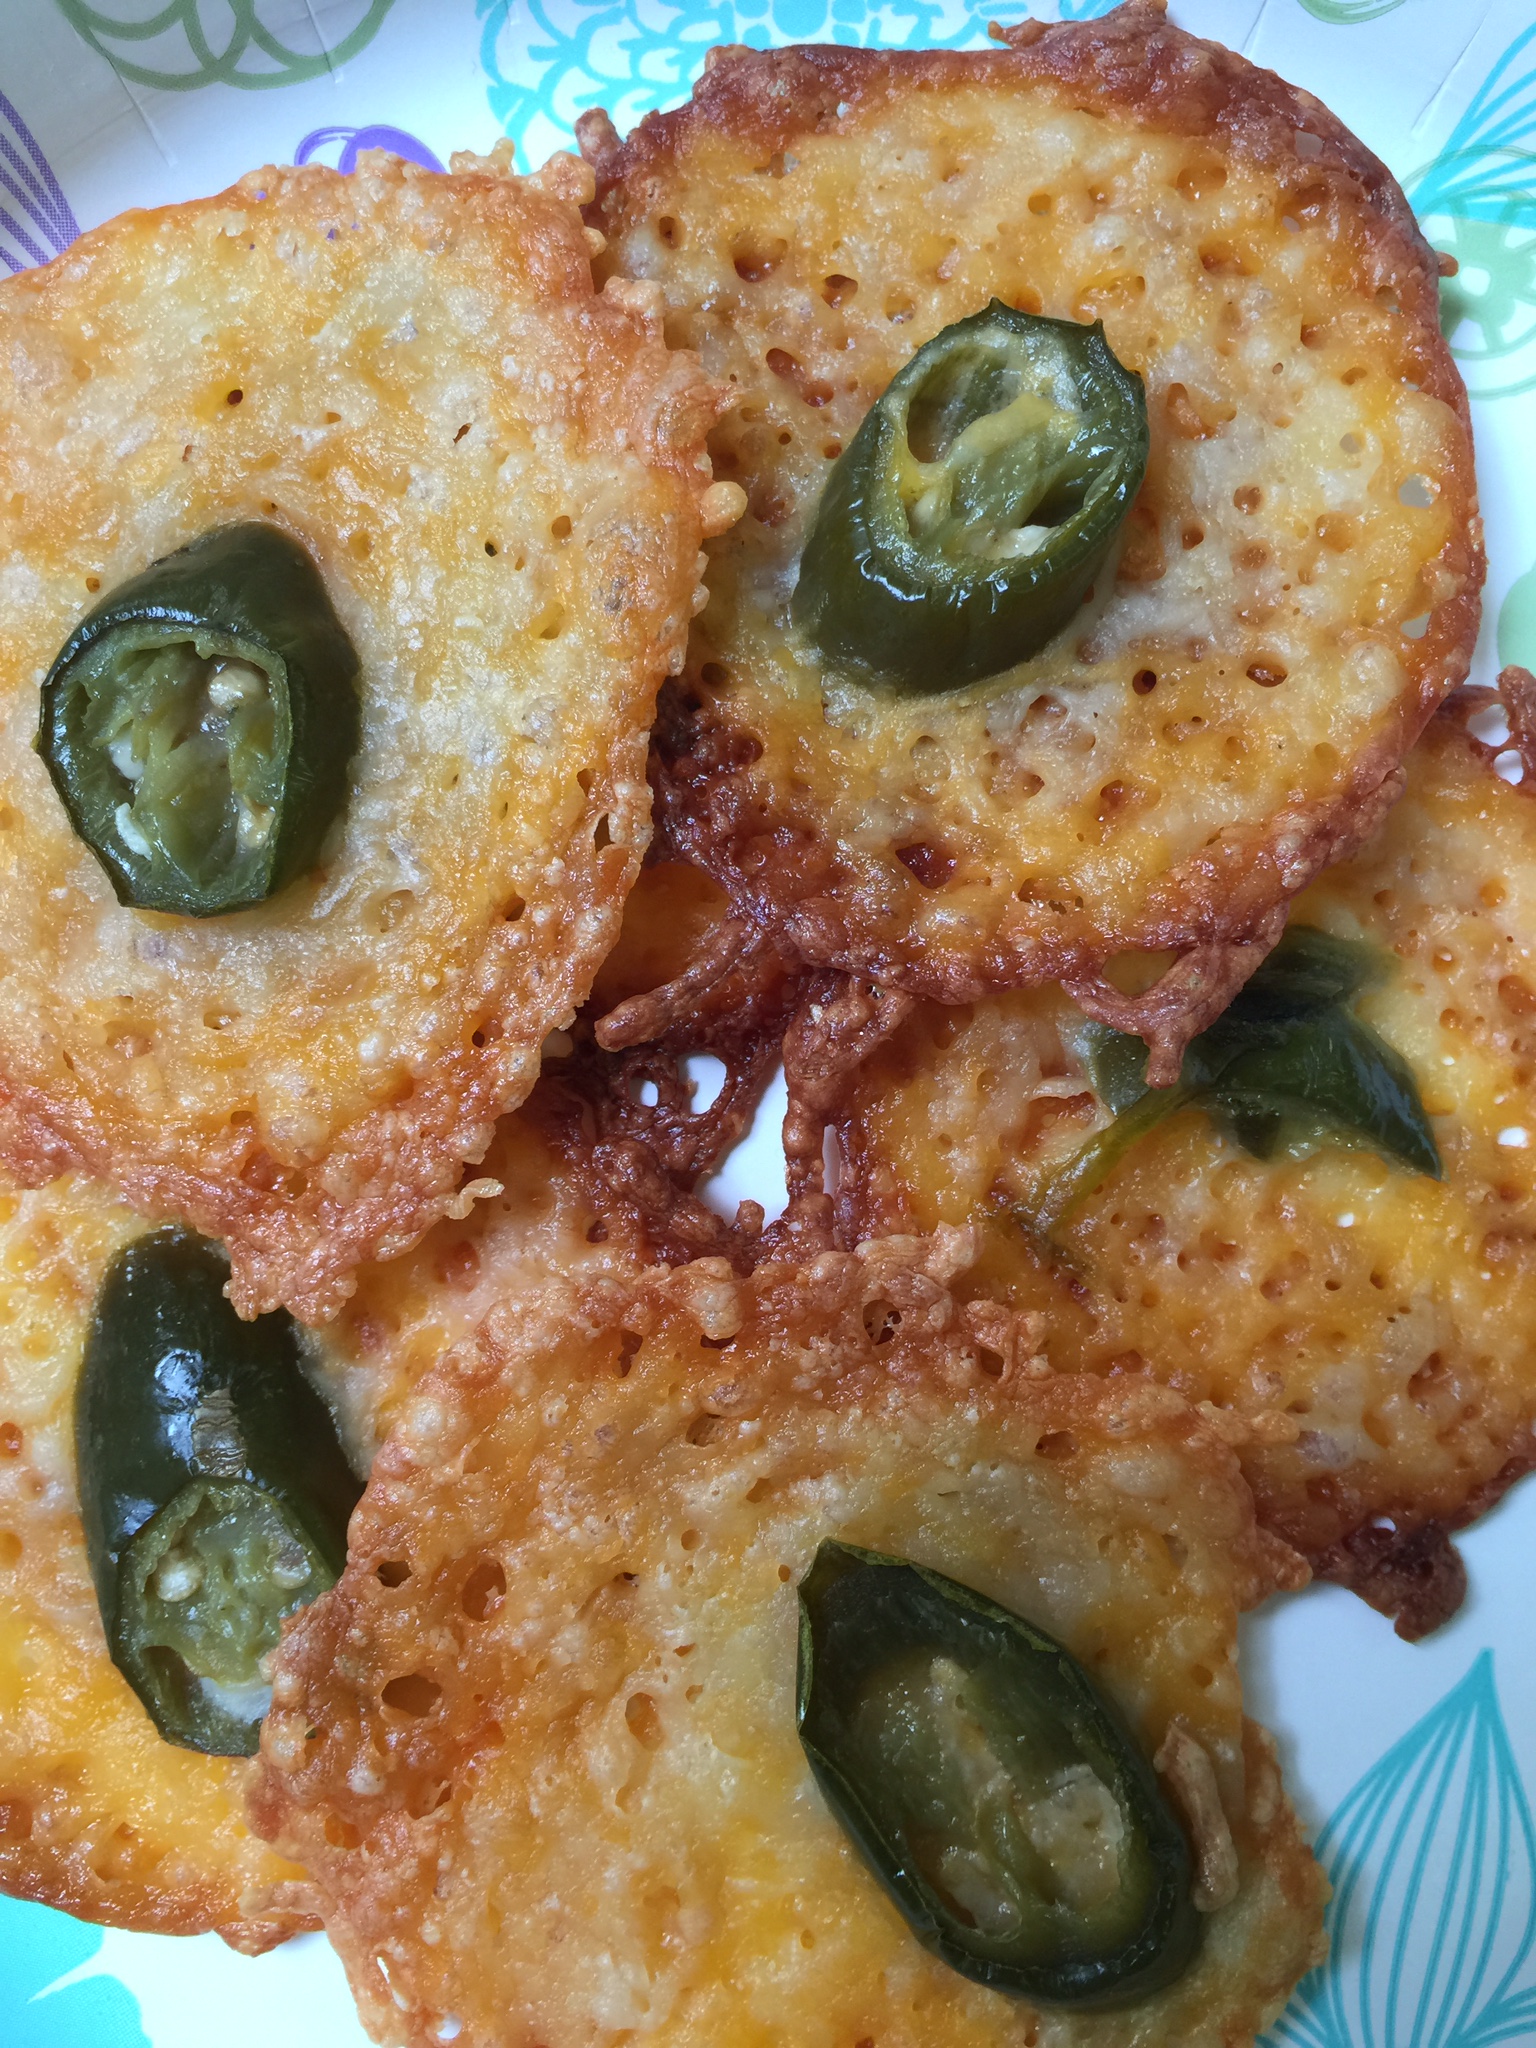
Modifications you can make are to add some fresh parsley instead of the dry, add some cilantro to the dressing, or even spice it up with some jalapeños or your favorite peppers.  This is super easy if you use the blender!  The possibilities for making this your own are endless, nutritious, and beautifully Ketogenic! Have fun with it, and enjoy!

IMG_1694

These are Cindy’s boys!  This dip with mini peppers is one of their favorite after school snacks!


Stars, Stripes, and Cheesecake

flag_1280x1024

We are posting this one today so you have time to prepare this beauty for the holiday weekend. This is a luscious lemony dessert that you would never guess to be sugar free, and even better, you can make it patriotic as all get out. The entire dessert was devoured and family approved.  It also keeps well so you can make it ahead, and then dress it up the day of your event.

I am getting more accustomed and comfortable using Stevia in recipes, and so far so good. A little goes a long way, and it doesn’t seem to leave that sweet aftertaste like Swerve does with some people. Don’t get me wrong, I love Swerve, but Stevia is great too! I am definitely going to stick with the Trader Joe’s Pure Stevia. It is the real deal! If you are looking for it in the store, you can find it with the supplements.

This dessert is similar to the Key Lime Cheesecake I shared a few weeks ago. I changed up the crust a little to try to create a denser, less flakey crust for easier cutting into bars, and it seemed to serve easier with a spatula. I actually had better luck cutting into bars after it cooled, but before I chilled it in the refrigerator.  This is a great tip for the future, but if you plan to decorate it like I did on this one, it is best to cut after everyone admires your handiwork.

Patriotic Lemon Berry Cheesecake

This recipe will yield a 9×13 and an 8×8 cheesecake.  If you only want one, half the recipe.

Before you start, you will want to bring your cream cheese and eggs to room temperature (a few hours) and preheat your oven to 325 degrees.

Crust

1 1/2 cups Honeyville Almond Flour

1/2 cup Coconut Flour

2 Eggs

1 tsp cinnamon

2 tsp baking powder

1 cup butter (melted)

1 cup Swerve

1 tsp salt

Combine all your dry ingredients in a food processor. Pulse until you have a sand like mixture.

IMG_2890

IMG_2891

Add your eggs and butter.  Pulse until a ball of dough forms.

IMG_2893

Mix well and press into a 9 x 13 and an 8 x 8  pyrex.

IMG_2894

Bake at 325 for 12 minutes.

IMG_2898

Meanwhile prepare your mixer for the cheesecake.

Cheesecake Filling

4 – 8 oz packages of Cream Cheese

4 Eggs

3 Lemons zested and juiced

1 tsp Pure Stevia

Berries

IMG_2895

Place your very soft cream cheese in your mixer.

IMG_2896 IMG_2897


Turn your mixer onto medium to cream your cream cheese.  Add your eggs one at a time, and mix well in between each egg, scraping the sides as you go.

IMG_2899 IMG_2900

Zest and juice your lemons.

IMG_2916

IMG_2904 IMG_2903


IMG_2918

Add all the juice and zest to your cream cheese mixture.  Add your Stevia and mix well.

IMG_2905

Pour into your pyrex dishes.

IMG_2906


Bake at 325 degrees for 35 minutes.

IMG_2912 IMG_2927

They actually looked the same, but the lighting was different.

Cool completely to room temperature.  Then place in the fridge to cool.

The next day or later in the day, whip up some whipped cream with heavy whipping cream, vanilla, and Swerve Confectioners.

“Ice” your cheesecake with the whipped cream.

I forgot to take a picture of the flag that I made on the 9×13 cake, but you can do an American flag with blueberries for the navy and do stripes with strawberry slices.

On the 8×8, I did a big star with blueberries and raspberries.  This is so fun to do with the kiddos!

IMG_2970


Let your friends and family ohh and ahh, but don’t tell them it’s sugar-free!  They will be amazed.  I love the way the lemon and fruit taste together for a special treat!

Keep refrigerated.

Enjoy!!!


Sugar-Free, Dairy-Free, Paleo, Keto Chocolate Pudding!

That’s a mouthful!  This may be the perfect Keto Chocolate pudding to put in your mouth though!

The kids always want some kind of treat, so I experimented with something different.  I wanted to go chocolate based off of a treat the kids picked out at the grocery store on vacation a few weeks ago.  I relax a little on the restrictions on vacation, and amazingly the treat they chose was not too far off.  It was a store-bought Jello-brand chocolate mousse at the grocery store in Port Aransas, Texas.  I expected it to be filled with artificial this and artificial that, but it actually had real cream in it!  Surprising, right?  It wasn’t perfect, but it did give me the idea of trying to create my own that was perfect!  The only ingredient I am still waiting on is my new gelatin, but the Knox worked for today.

This is not really a mousse, but a pudding.  With supervision, this is a great one to do with the kiddos this summer.

Start with your ingredients: (I also added vanilla and salt that are not pictured.)

IMG_2803

1 can Coconut Cream (I used Trader Joe’s)

1 can Coconut Milk

You can see the difference in consistency between the two:

IMG_2805


1/2 cup cocoa powder

3/4 cup Swerve Confectioners

3 packets of Gelatin or 3 Tbsp of this one

1/2 cup cold water

1/2 tsp Celtic salt

1 tsp vanilla

Directions:

In a saucepan, combine your coconut cream, coconut milk, cocoa, Swerve, and salt.

Whisk over medium heat until warm.

In a small bowl, empty your gelatin packets and combine with your 1/2 cup of cold water.  Stir until there are no clumps.

IMG_2804

Whisk the gelatin mixture into your chocolate mixture, and stir until dissolved.  Add your vanilla, and stir until well combined.

IMG_2807

Spoon into 8 individual ramekins.

IMG_2809

Cover each bowl with saran wrap and place in the fridge for about 2 hours to set.

We topped ours with homemade sugar-free dairy whipped cream, but if you are Paleo or dairy-free, you can whip up some coconut cream with some Swerve and vanilla and use that as well.

IMG_2815

We all gobbled it right up.  Enjoy!

IMG_2816


Refreshing Cukes!

Last week, a friend of mine showed up at my door with a trash bag full of homegrown cucumbers.  He had grown them at his office, and thought I could use them since he knows I like to cook.  I had never seen so many cucumbers, and I honestly didn’t have a clue what to do with them.   My husband LOVES cucumbers, so I knew I needed to find something quickly!  I couldn’t let these go to waste!  The search began…

Look at these things…I had never seen anything like them before!  They were the largest Japanese Cucumbers I had ever seen!

IMG_2788 (1)

As you can see, these are huge!

I searched around through cookbooks and on the web.  I didn’t find anything that shouted out at me, but I combined a few recipes, changed out the sugar, and came up with a winner!  They haven’t even finished marinating, and my son said, “These are amazing…Dad is going to love them…This is my new favorite snack.”

So those of you looking for snack ideas, I have a new one!

You will need:

5-6 Cucumbers (I used 4 of these huge ones, so thinking this is the equivalent)

2 1/2 cups White Vinegar

1 Red Onion

1 Cup Xylitol or Sugar Substitute of Choice (See note at bottom)

2 tsp Celtic Salt

1 tsp Celery Seed

1 tsp Dried Dill

Directions:

In a saucepan, combine your vinegar, salt, and sweetener.  Over medium heat, (it’s gonna stink), heat your vinegar until your “sugar” and salt dissolves.

IMG_2789 (1)


Remove from heat, and add your celery seed and dill weed.  Allow to cool a little and place in the refrigerator to cool completely.

IMG_2790

While your marinade is cooling, slice your cucumbers in a mandoline.  I love my De Buyer!  If you don’t have a mandoline, what are you waiting for?  It makes life so much easier!  I bought mine at Williams Sonoma, but you can get yours here too.

IMG_2793

IMG_2792


IMG_2795

I did adjust my mandoline for thicker slices.  I had it set from the zucchini last week, but these needed to be a bit thicker.

Also, slice your red onion into thin rings.  Place your cucumbers and red onion slices in a bowl.

Once you have everything sliced and your marinade is cold, you can pour your marinade over your cucumber and onion.

IMG_2796

IMG_2797

Toss everything together until lightly coated.  Cover with Saran and place in your refrigerator overnight.  At this point you can’t even see the liquid, but just wait!

This is what it looks like in the morning:

IMG_2799

Everything is soaking in the juices!  Yum!

IMG_2798

Let it sit and soak up the deliciousness for 24 to 48 hours!  Enjoy as a snack, a salad, or a side dish!  I am thinking ahead to the July 4th holiday!!!


A note on Xylitol:  You don’t see us using this one very often.  The reason I did on this dish was because it was a cold marinade that also had to be heated so I thought it would work best.  There are many that love Xylitol, and there is nothing wrong with it from a Keto standpoint.  I have two cautions on it though:

1.  It is extremely toxic for dogs!  Keep it away from animals.

2.  It can cause stomach discomfort in a few.

For the quantity of liquid in these in relation to the amount of cucumbers, I did not think it would have much effect since we are not consuming the liquid on it’s own.

If you try different sweeteners or have a different variation on this recipe, we would love to hear about it in the comments section!


A Snack to Crunch!

images-1

No, not that kind of crunch!

The type of crunch I am talking about is the loud tortilla chip kind of crunch!  On Keto, I think it is safe to say, that one of the things we miss the most is that crunch of a chip or cracker.  One of my summer-time favorites was corn chips and salsa.  Needless to say, the corn is gone forever, but the salsa is here to stay.  So what does one do for that crunch, scoop, or dip?

blog-salsa

For a long time, I used a ton of celery, and still do for many things.  It can scoop, it’s refreshing, full of fiber, and I can have it for all those wonderful Keto dips out there.  It is not good for salsa though.  Then I discovered the cheese crisps we posted a few weeks ago.  Love those, especially for guacamole.  The cheese is the perfect accompaniment with avocado.

But, what about the salsa?  Well…zucchini was again on sale at Sprouts last week, so I bought a bunch to experiment.  Over the weekend I tried three different recipes for zucchini crisps.  I will share two of them with you, and you can choose which you prefer.

The first is a simple chip, and when I say simple, all you need is time and a few ingredients:

Crispy Chips

Ingredients:

2 Zucchini Squash

1/2 Cup Coconut Oil

Pink Himalayan Salt

Mandoline

Parchment Paper

Jelly Roll Pans

Directions:

Wash and dry your zucchini.  When I say wash, I mean wash with soap and water!

IMG_2686

I used a Mandoline to slice my zucchini very thin.  This also makes it a fast process.  You want them very thin.  Mine were probably less than 1/8 inch thick.

IMG_2689 (1)


IMG_2690

Now, I will tell you what I did, and also how you can do it differently.

The first thing I would change is to either slice my zucchini on the diagonal or lengthwise.  The reason being, they shrink tremendously when they dehydrate so if the purpose is for dipping, these left very little surface area to do such.

Line your jellyroll pan with parchment paper.  I used a slip mat, and it was a huge chore to clean, so go with parchment on these.  Just pretend this slip mat is parchment paper.

IMG_2691

Pour your coconut oil into a small pyrex or similar bowl.  Just something shallow will do.

Dip each “chip” into the oil and place on your parchment. They can be close together.  Variation: You can lay all your zucchini out and then brush them with the oil.  You just have to flip them half way through baking.

IMG_2694

Once you have dipped or placed all your zucchini on your parchment, sprinkle a very scant amount of salt on top.  This was a huge mistake of mine.  I used a normal amount of salt, but they shrank so much, they were literally coated in salt.  A little goes a long way on these!

IMG_2695

Place in a 200 degree oven for 2 hours.  Yes, two hours.  This will dehydrate and crisp them.  I flipped my cookie sheet around about half way through so they cook evenly.

This is how much they will shrink, and why I recommend slicing the opposite direction for dipping chips:

IMG_2696IMG_2708

Place on a paper towel to absorb the remaining oil.  Once dry, seal them in a ziplock bag or they will get soggy.


Method 2:

Cheesy Chips

These were described as tasting just like a “Cheez It”.  In other words, a great snack for the kids looking for that healthy crunch without any grain!!!

These are similar to above, except for the cheese.  Follow the same directions until you finish with your oil.

Ingredients:

2 Zucchini Squash

2 Cups Parmesan Cheese

1/2 Cup Coconut Oil

Mini-Cuisinart

Mandoline

Parchment Paper

Directions:

Slice your zucchini as described above using a Mandoline.

IMG_2690

Place the Parchment paper on your jelly roll pan (make sure it has sides.)

Grind your parmesan cheese in your Mini-Prep Cuisinart (unless you have already dirtied your big one.)  The parmesan adheres to the squash much easier when it is a bit finer, but still melts well, unlike the super fine ground you buy off the shelf.

IMG_2698

IMG_2699

IMG_2701

IMG_2702


Pour your finely grated cheese into a bowl.

Take your squash one by one and dip into the oil first, and then into the cheese.  Place each on a lined cookie sheet.

IMG_2694

IMG_2707


These will not need salt because your cheese is already salty.  You can add pepper if you like for taste.  You can always add extra cheese to the top if you have extra left over.

Bake at 425 degrees for 20 to 25 minutes.  They should be a little darker than golden brown to ensure they are crisp.  Serve immediately with your favorite dip or eat just as they are.

IMG_2709

IMG_2711


Store in a sealed container or Ziplock in the refrigerator.


Restaurant Worthy Side Dish!

Most of you know by now that I love squash!  All squash, but especially summer squash!  Lucky for me, it is summer, and all those summer squashes are plentiful.  The yellow is my favorite!

header_logo

About a year ago, we celebrated my dad’s birthday at a great restaurant in San Antonio called Bohanan’s.  It is a wonderful special occasion restaurant if you have not tried it!  Most of my family would consider themselves foodies, and really enjoy a great meal.  I am no exception!  You can always count on having a great meal at Bohanan’s.  Not only do they have some of the best steaks in Texas (which is saying a lot), but they have great seafood and side dishes as well.  One of my favorite side dishes we were served that evening was their Baked Squash.  It is melt in your mouth delicious, with just the right amount of savory paired with the sweet.  The sugar in ours is, of course, replaced with Swerve or natural sweetener of your choice.

images

Just a few weeks after my father’s birthday, I found the squash recipe in our local Sunday paper.  I just love restaurants that publish their prized recipes!  It was so close to being Keto, that I knew I could tweak it to make it healthier for our family without the sugar and flour.  I think I have mastered it enough to share:


Sweet Life Baked Squash

Serves 10-12 (Can half, but saves great for leftovers)

3.5 lbs yellow summer squash

1/2 brick of Kerry Gold butter (extra for top)

20 slices of Kraft cheese

4-5 tsp of Swerve granular

1 cup mayonnaise

1/2 tsp Celtic salt

2 tsp fresh ground black pepper

4 eggs

Almond Flour for top

Directions:

Preheat oven to 350 degrees, and gather your ingredients.

IMG_2645

Start by washing the squash, trimming off the ends, and cubing it.

IMG_2643

Place your squash in a large saucepan and cover with water and a pinch of salt.

IMG_2644 (1)

Boil for about 10 minutes until tender when pierced with a fork.

Drain in a colander, place back in the pan, and cook over medium heat to release more of the moisture in the squash. Stir for a few minutes, and then remove from heat.  Most (not all) of the moisture should be evaporated from the pan at this point.

IMG_2647

Stir in your Kerrygold, Kraft cheese, Swerve, mayonnaise, salt, and pepper.

Mix until all the cheese is melted.

Beat the eggs lightly in a small bowl, and temper them by adding a small amount of the squash mixture.  Then pour them into the pan, and mix well.  It will look super runny, but it will firm up when you bake it.

IMG_2651

Pour your mixture into a 9×13 baking dish sprayed with coconut oil.

IMG_2652

Top with a sprinkle of Almond Flour and a few dabs of additional Kerrygold.

IMG_2655

Bake at 350 degrees for 45 minutes.

IMG_2659

IMG_2661

This dish goes great with any kind of bar-b-que, hamburger patties, steak, fish – really anything.  I was going to serve it with some brisket, but my husband was in the mood for burger patties so that is what you see.

IMG_2662

I hope you enjoy this great side dish with your next summer meal!  Enjoy!


Cheesy Tater Tots!

Summer has arrived, and so has burger and hot dog season!  We all love a good cookout in the more relaxing summer months.  Of course, what goes hand in hand with burgers?  Some sort of fried potato off limits to us low-carbers!  Going Keto means no more fries and tots, right?  Wrong!  I told my children I was making tater tots, (which they have missed) and they started doing cheers!

I did NOT tell them how I was making them, however, and they could not tell the difference.  These suckers were good, and there was nothing left to save after dinner.  Bummer!

Keto tater tots take a little preparation and forethought, but overall they are pretty easy – and I don’t even fry – before or during Keto, until now.  This was a game changer for our family!

Cheesy Tater Tots

1 large head of Cauliflower

1/3 cup Parmesan Cheese

1/2 cup Mozzarella Cheese, shredded

1 Egg

2 tsp Psyllium Husk Powder

1 tsp garlic salt

1-2 cups Bacon Fat

Salt and Pepper to taste

Shredded Cheddar to melt on top (I used sharp cheddar)

Directions:

Cut your cauliflower into small pieces to steam.  Place in your steamer and steam until tender but not too soft.IMG_0965

Place in your food processor, and pulse until it is smooth without any chunks.

IMG_0972

This is not enough, above ^.

This is how it should look below:

IMG_0973

At this point you can make mashers or tots!:)  I’m going for tots!

After you get your cauliflower to this consistency, you are going to want to wring out the excess water – and there is a LOT!!!

This is the time consuming part, and you will want to make sure your cauliflower is cool, or you will burn off your finger tips.  Trust me – I didn’t quite burn mine off, but it was close!  Make sure you allow time for your cauliflower to cool either right after steaming or after processing.

Once cool, I use a light dish towel to wring out the excess water. You can use a cheese cloth as well.  The cauliflower will slip right through a colander.

When you place it on the dish towel, be ready to start wringing.  See the water spreading…It will look like this:

IMG_0974

After you squeeze and squeeze, and wring and wring, it will look like this:

IMG_0975

Doesn’t look verry appetizing, but just wait!

Now, take your cauliflower “paste”, and add your cheeses, egg, and garlic salt.  You may have to use a dull knife to scrape the dry cauliflower off the towel.

IMG_0979

Mix well.  It should be a very thick mixture.  If it is too runny to roll, then add your psyllium husk powder a little at a time.

It should look like this:

IMG_0981

Take out about a teaspoon of “dough” at a time and roll into your tots!  This is fun for the kids too!

IMG_0982

Now, get your yummy bacon grease ready (that you have saved from all those batches of bacon, right?)  Remember that cast iron skillet that Erin posted about?  This is the perfect time to pull that big daddy out as well!

Start heating your fat in your skillet over medium heat!  Your grease really needs to be perfect.  If it is too hot, they will burn, but if it is not hot enough, the tots will stick to the bottom of the skillet.  Keep it on medium, and be patient.  The first picture is my mason jar of grease.  The second is the grease melting in my cast iron skillet.  Yum!!!!

IMG_0983

IMG_0984

You will also need to set up a plate with either paper towels or a mesh splatter shield to drain your tots after they cook so they start to crisp.  I used a splatter shield over a plate, and had it ready to go before frying.

IMG_0985

When your grease is hot, gently drop your tots into the grease, and move them around so they don’t stick to the bottom.  Continue to rotate until they are golden brown on all sides:

IMG_0987

When they are cooked on all sides, remove to your plate.

IMG_0988

This was my first batch, before my oil was hot enough so you can see where some stuck.  I was not very patient:).

Once you remove them, you can add salt and pepper, if you like, or cover with cheese.

IMG_0991

IMG_0992

Let them cool slightly and serve!  I hope you enjoy these beauties as much as we did!

IMG_0994

Happy summer, folks!


I Want Crackers!

That’s what I heard on Friday!  My kids wanted crackers, and honestly it sounded pretty good to me too.  What to do when you want a high-carb snack on a low-carb diet?  Get creative!

We were already planning on having fajitas, minus the tortilla, for dinner which meant guacamole was on the menu. What is better than plain old guacamole?  Guacamole with cheese!  What a way to Keto up guacamole – cheese, cheese, and more cheese!  And, maybe some jalapenos!

This time of year, with the end of school, planning summer vacations, packing for camps, attending recitals, baseball games, graduations, ceremonies, parties, and planning fundraisers, (Whew – makes me tired just typing about it!) we are all exhausted and out of time!  I promise this is easy, and look how delicious!!!!

IMG_0857


Cheese Crackers

First line a cookie sheet with Parchment Paper – Very Important!

IMG_0845

Start with shredded cheese.  Any kind will work – whether you buy it shredded or shred it finely yourself.  I used a Cheddar and Monterey Jack blend. Use your favorite!

Make little circles of cheese and press down so it forms a “cheese pancake”.  Don’t make them too thick or they will not crisp.

IMG_0847

If you want a little spice, add a sliced jalapeño to the middle, and press into the cheese.

IMG_0848

That’s it!  Bake in the oven at 350 degrees for 10 minutes.

IMG_0846

IMG_0850


Allow the “crackers” to cool so they crisp nicely.  Then, enjoy your carb-free snack with your favorite dip or eat them plain!  I made two cookie sheets, and they were devoured before dinner!

IMG_0849


A Meal to Make a Family Happy!

So, I was ruled out on my dinner choice this evening!  My husband wanted steak, and the kiddos wanted potatoes.  “Hmmm,” I thought to myself.  Let’s see if I can slide those cauli-mashers by them without notice.

Worked like a charm!  My super picky four-year old said this was the “best dinner in the world!”  She also told me that “these are the best potatoes ever!”

IMG_0812

If you missed Erin’s post on Cauli-mashers, they are a breeze to make, even when you get outnumbered at the last minute in the kitchen.

I steamed one bag of Costco fresh Cauliflower florets until fairly soft.  I don’t have the emersion mixer like Erin, so I just used my KitchenAid hand mixer, and beat them until they were the consistency of mashed potatoes.  I added a half block of Kerrygold, a half block of cream cheese, and a handful of chopped parsley.  I then added a generous amount of salt and pepper.  Mixed it all together with the mixer, poured into an 8×8 pyrex, and topped with some Colby Jack cheese.  I popped it in the oven at 350 degrees for about 20 minutes, and to the delight of everyone, it was devoured.

Served with grass-fed New York Strips topped with sautéed mushrooms (in Kerrygold no less), and a side of asparagus topped with Kerrygold!

Every plate was clean, and every face had a smile!

So my sweet 8 year boy (the middle child) wanted me to share his dessert with you tonight!  He was very proud of his extra helping of steak and his two dark chocolate-coconut fat bombs (posted last week) that he used to make a smiley face!  He said, “This will show your viewers how happy I am right now!”  So, how could I refuse?  Here is Colton’s sugar-free dessert!

IMG_0813

I hope you all have a happy dinner tonight!

Stuffed Low-Carb Yellow Squash

A Savory Summer Side!

IMG_0743


Perfect for the summer time veggie season!

This is super easy, and so delicious anyone in your family will love it!  Even my picky 4 year old will at least eat out the stuffing!

Ingredients:

5 yellow (summer) squash

1 zucchini squash, steamed, cooked and diced

2 eggs

3/4 cup Parmesan cheese + additional to top squash

1/3 cup melted butter + 2 Tbsp (not melted)

1 bunch green onion

4 Tbsp almond flour

1 tsp oregano

1 tsp garlic powder

Salt & pepper to taste

Instructions:

Start with your yellow squash by washing and cutting off the ends.  Then cut in half lengthwise.

IMG_0735

One squash = two servings.

Lay them cut-side up in a glass pyrex baking dish.  Fill the bottom of the dish with water so you can steam the squash until softened.

IMG_0736Microwave on high for 4 minutes.  Check them after this time…if they are still hard in the middle, then keep cooking them on high in 2 minute increments until they are soft enough to scoop, but not mushy.

When they are tender, remove them and let them cool a bit or you will burn off the tips of your fingers. Maybe not, but it will hurt!

IMG_0738 IMG_0739

When they are cool enough to handle, use a soup spoon, and start hulling out the inside of the squash. Hull all but one half – leaving this one to chop finely.  Be careful not to poke all the way through.  Place the squash you have removed into a mixing bowl, and your now empty “boats” onto a cookie sheet.

Finely chop one half of one yellow squash into small bits, along with one zucchini squash that you have also steamed and finely diced.  Now, you will see a lot of water in the bottom of the bowl.  Try to drain as much of this as possible or it will be too runny.  I press and drain 3 or 4 times.  You could use a mesh colander for this also.  It is okay to be moist, but you don’t want standing water at the bottom of the bowl.

Once most of the water is removed, I use a sharp knife and run it through the squash in the bowl to break up the membranes in the squash.  This is not an exact science.  Just break up the larger pieces that you scooped out.

Add your eggs, 3/4 cup Parmesan cheese, 1/3 cup melted butter, finely chopped green onion with some of the green tops included.  Then add 2 Tbsp of almond flour and your seasonings.  Mix well!

IMG_0740 IMG_0741

Use the mixture to fill your squash “boats” so it is slightly heaping.

IMG_0742Lightly sprinkle with the additional 2 Tbsp of almond flour, put a pat of additional butter on top and finish with as much Parmesan cheese as you desire.  I have also topped with mozzarella cheese as well.  Both are delicious!

Bake in the oven for 25 minutes at 350 degrees, and you have an amazing side dish!

IMG_0743

Enjoy!


« Older Entries