I don’t know about you, but when we go to a nice steak restaurant, one of our sides is always creamed spinach. Well, I was determined to duplicate this rich satisfying side dish, and mission accomplished! Behind my fat bombs, this is my second most requested recipe, and is delicious alongside any meal, but it is our favorite with grass-fed beef! This dish is good enough for company!

Ingredients:
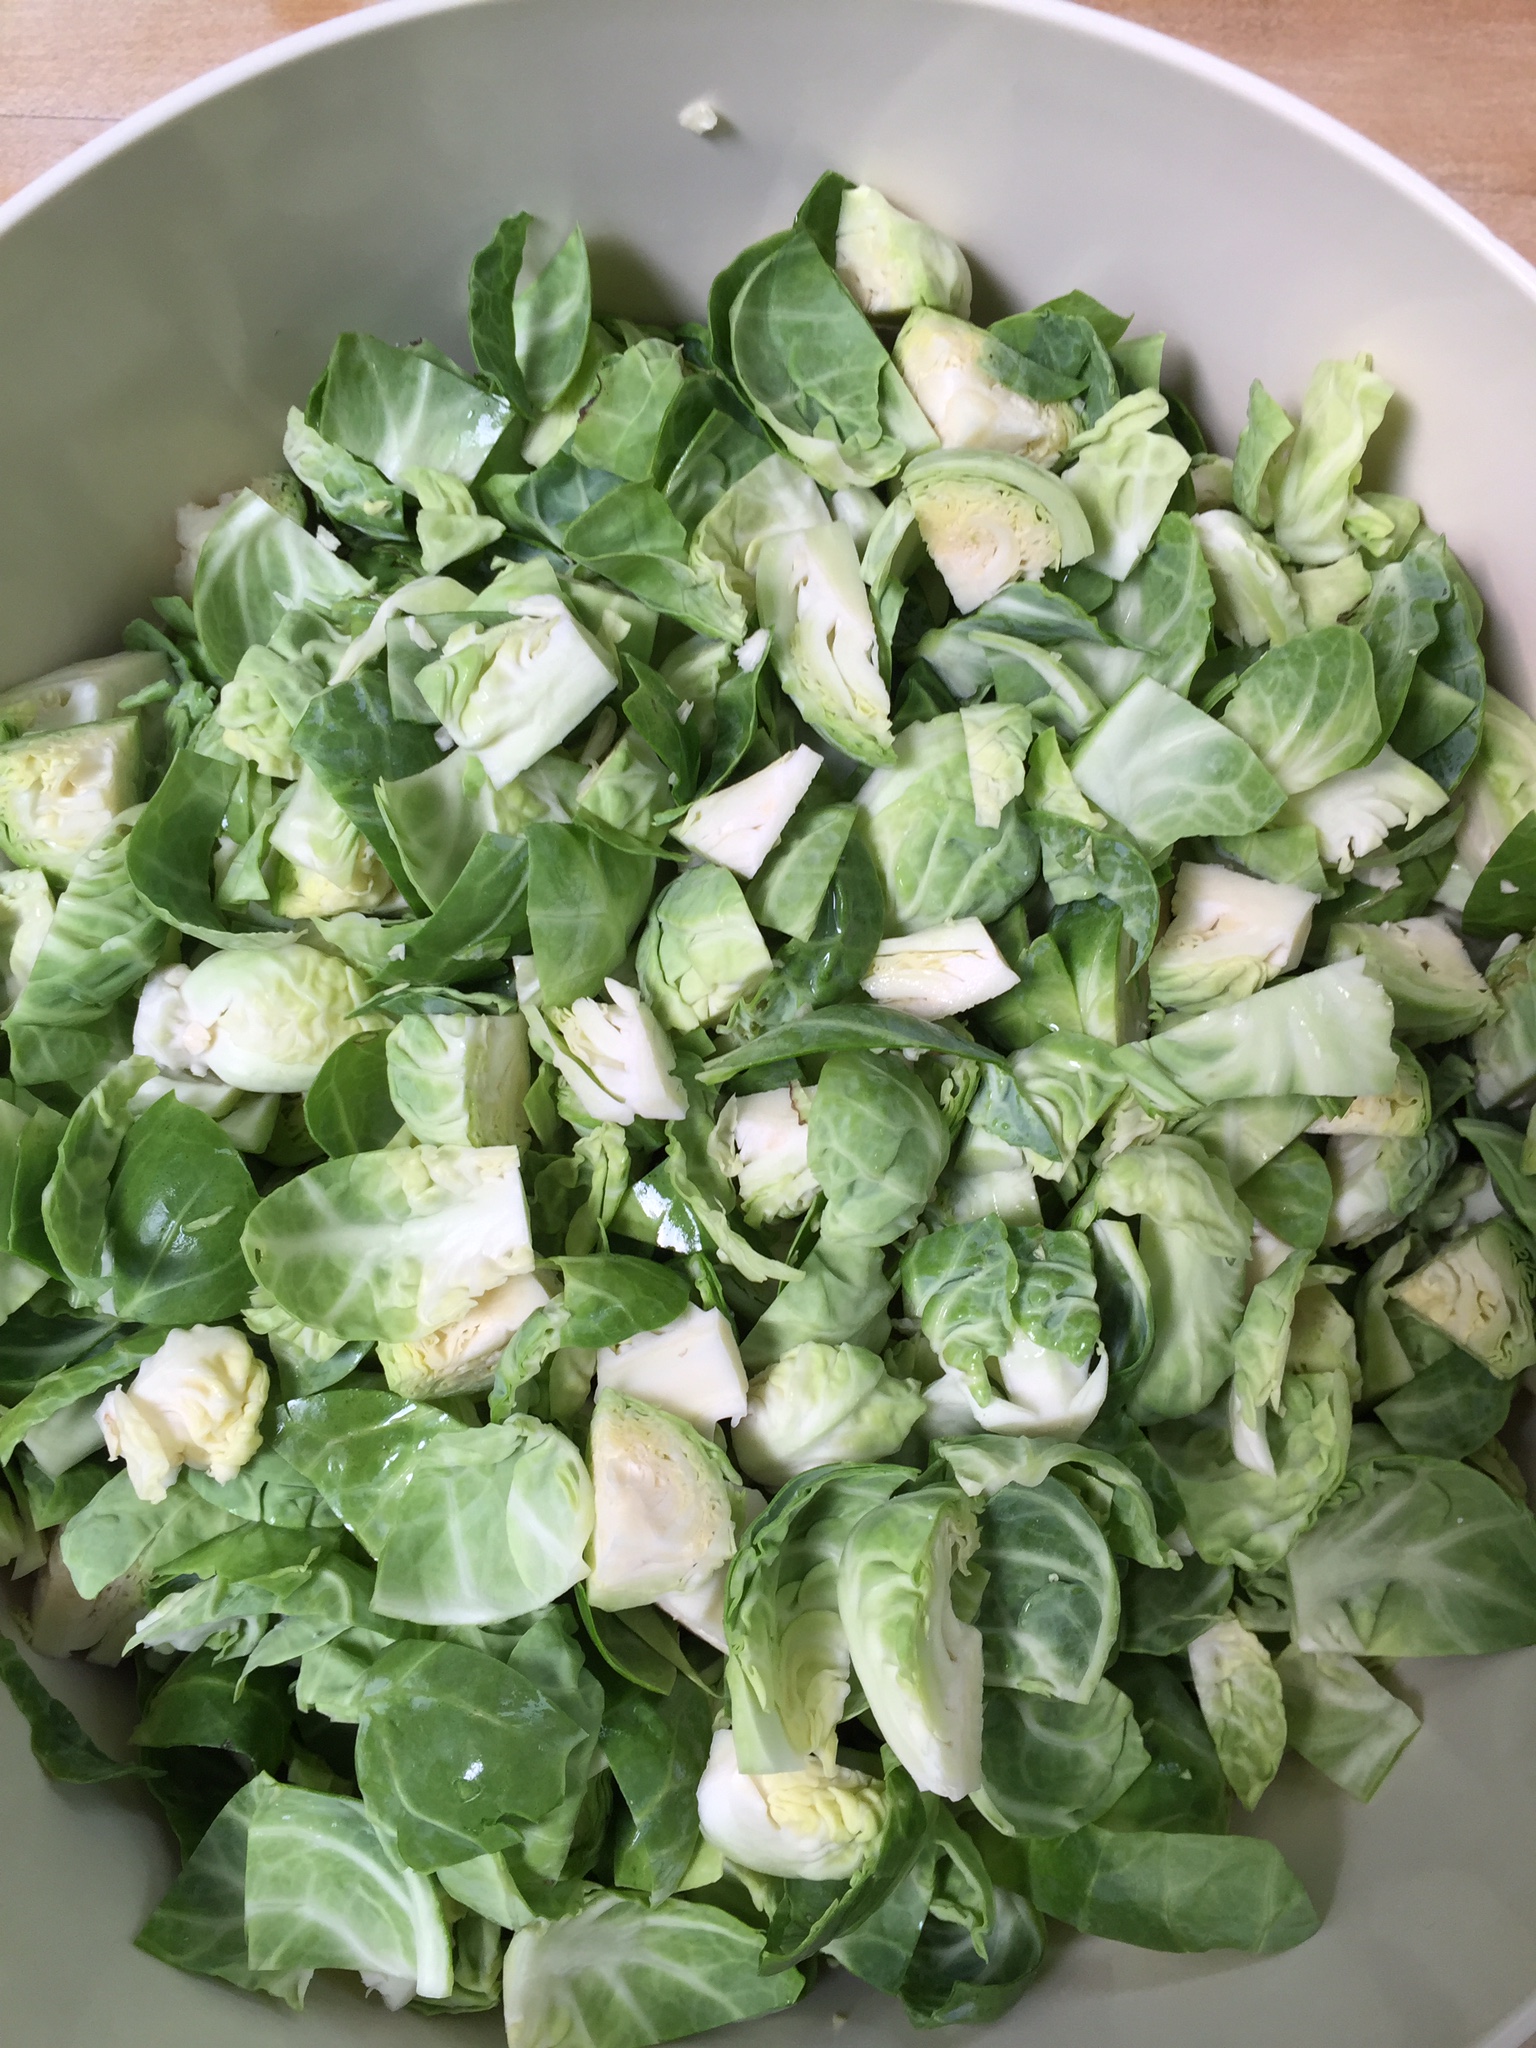
Organic Baby Spinach (I used two large containers)
Kerrygold Grass Fed Butter (1/4 to 1/2 stick)
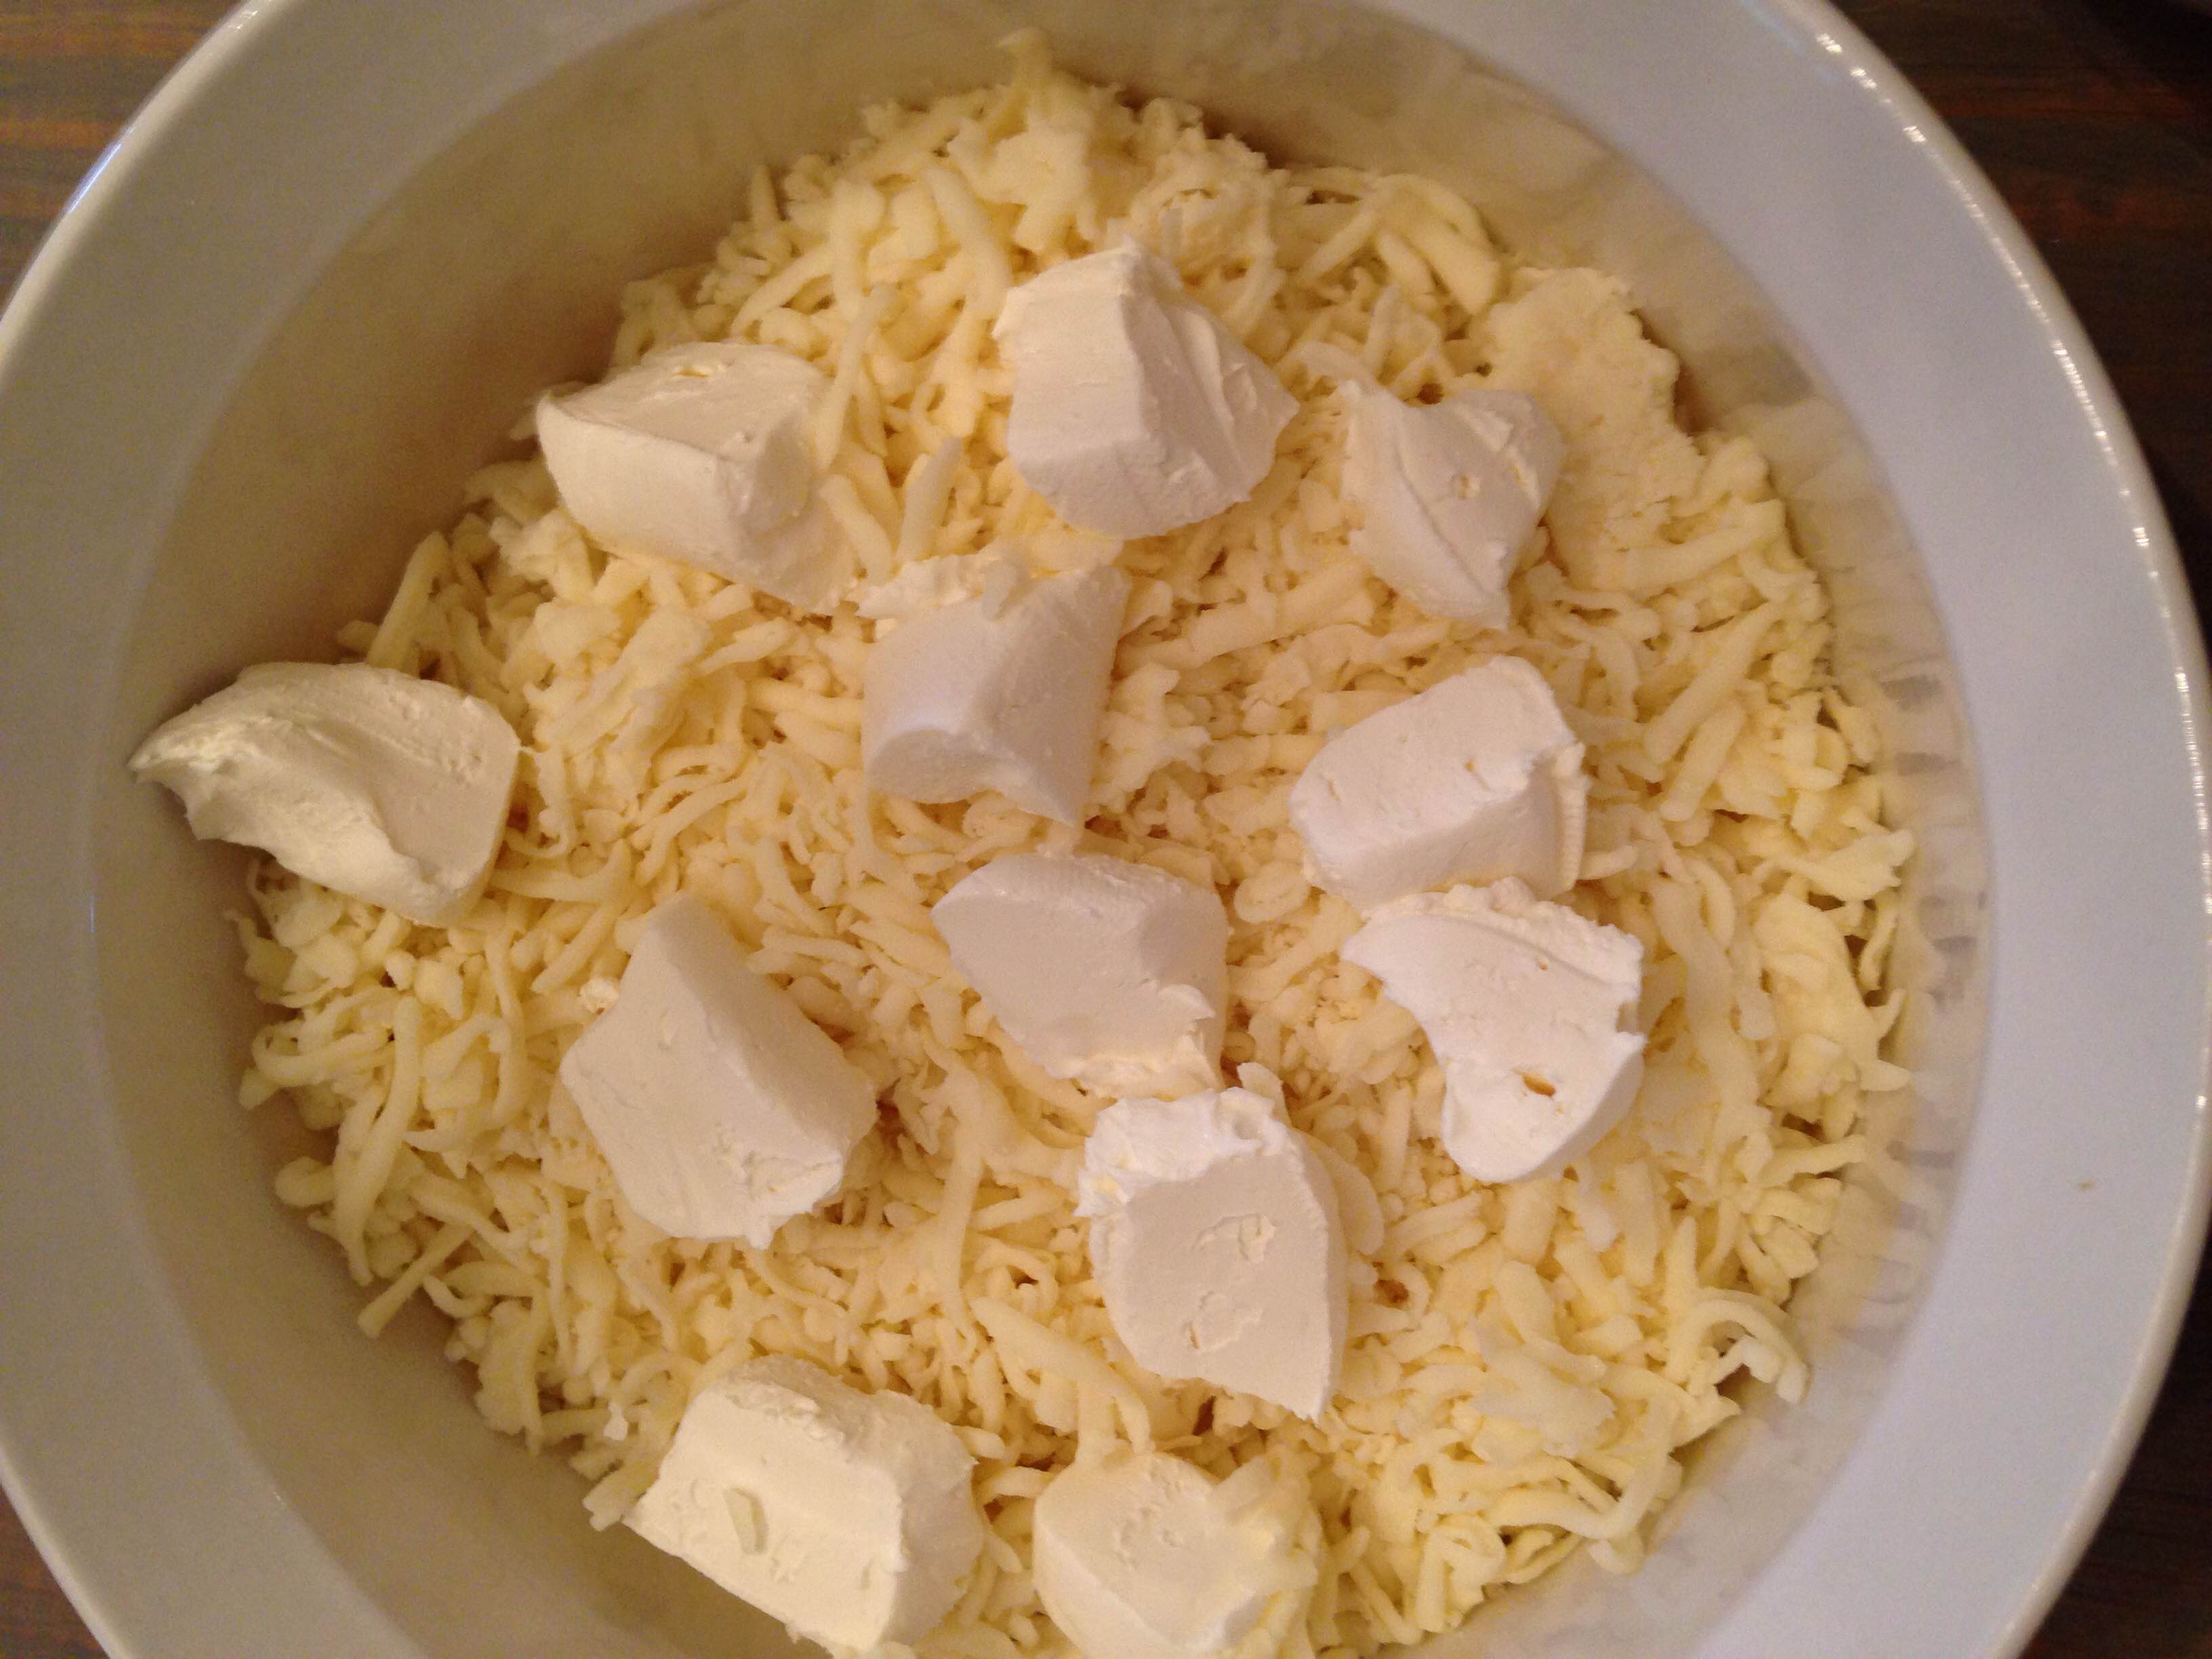
Full Fat Cream Cheese (I package)
Heavy Whipping Cream (1/4 to 1/2 cup)
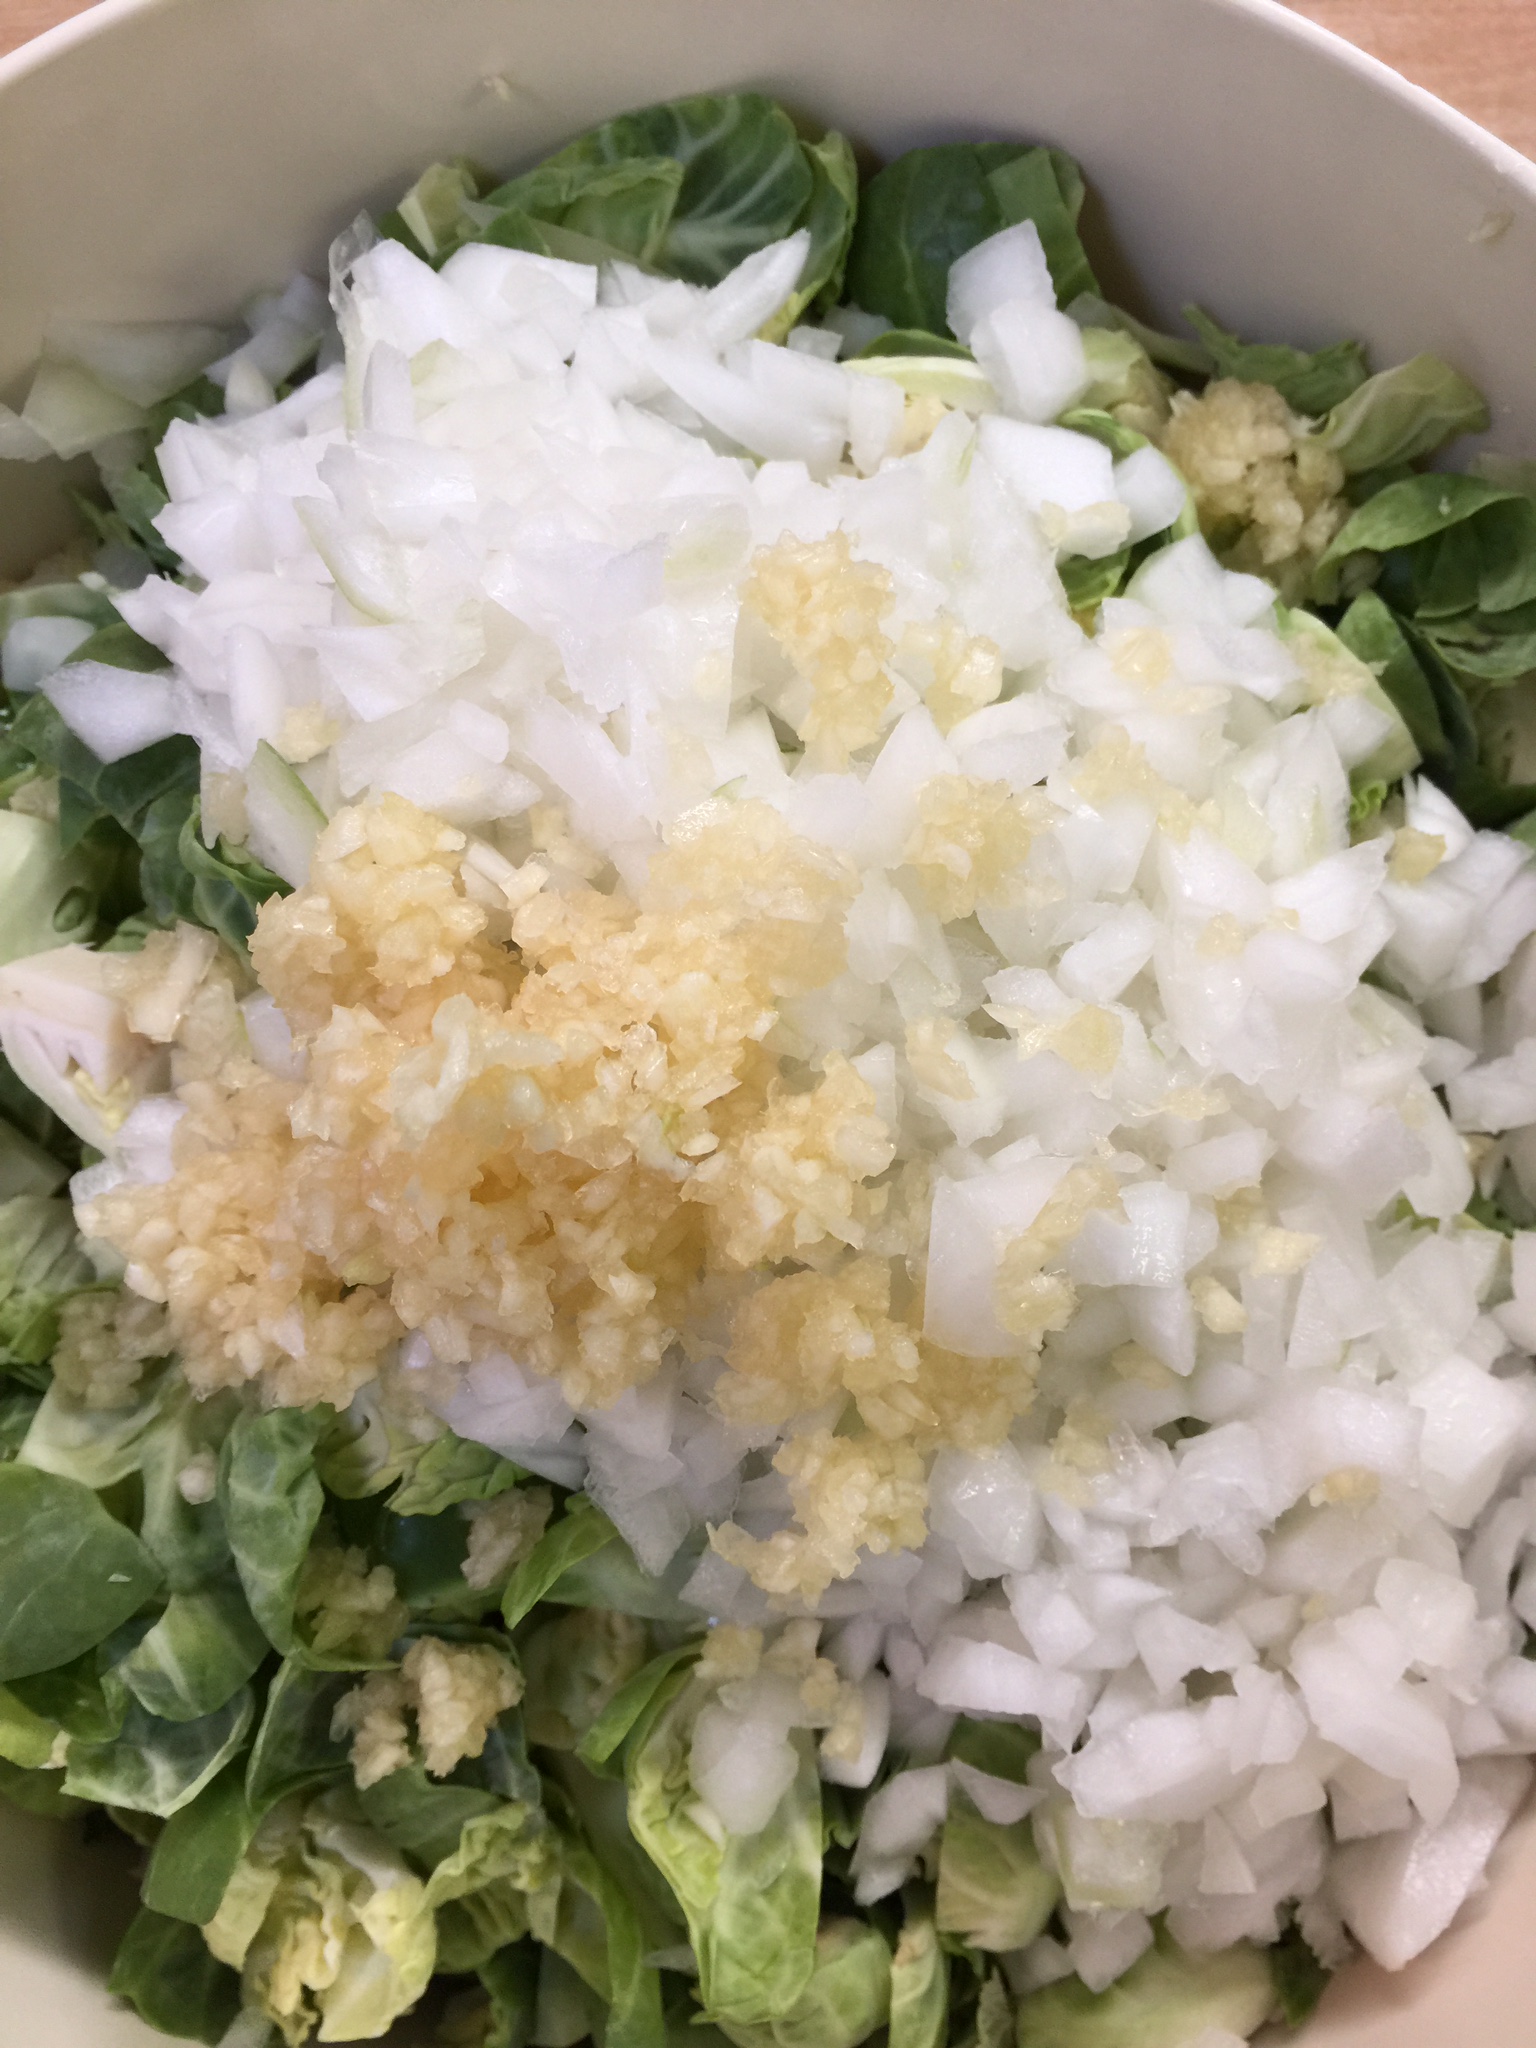
White Onion (Quartered)
Garlic (4-5 cloves)
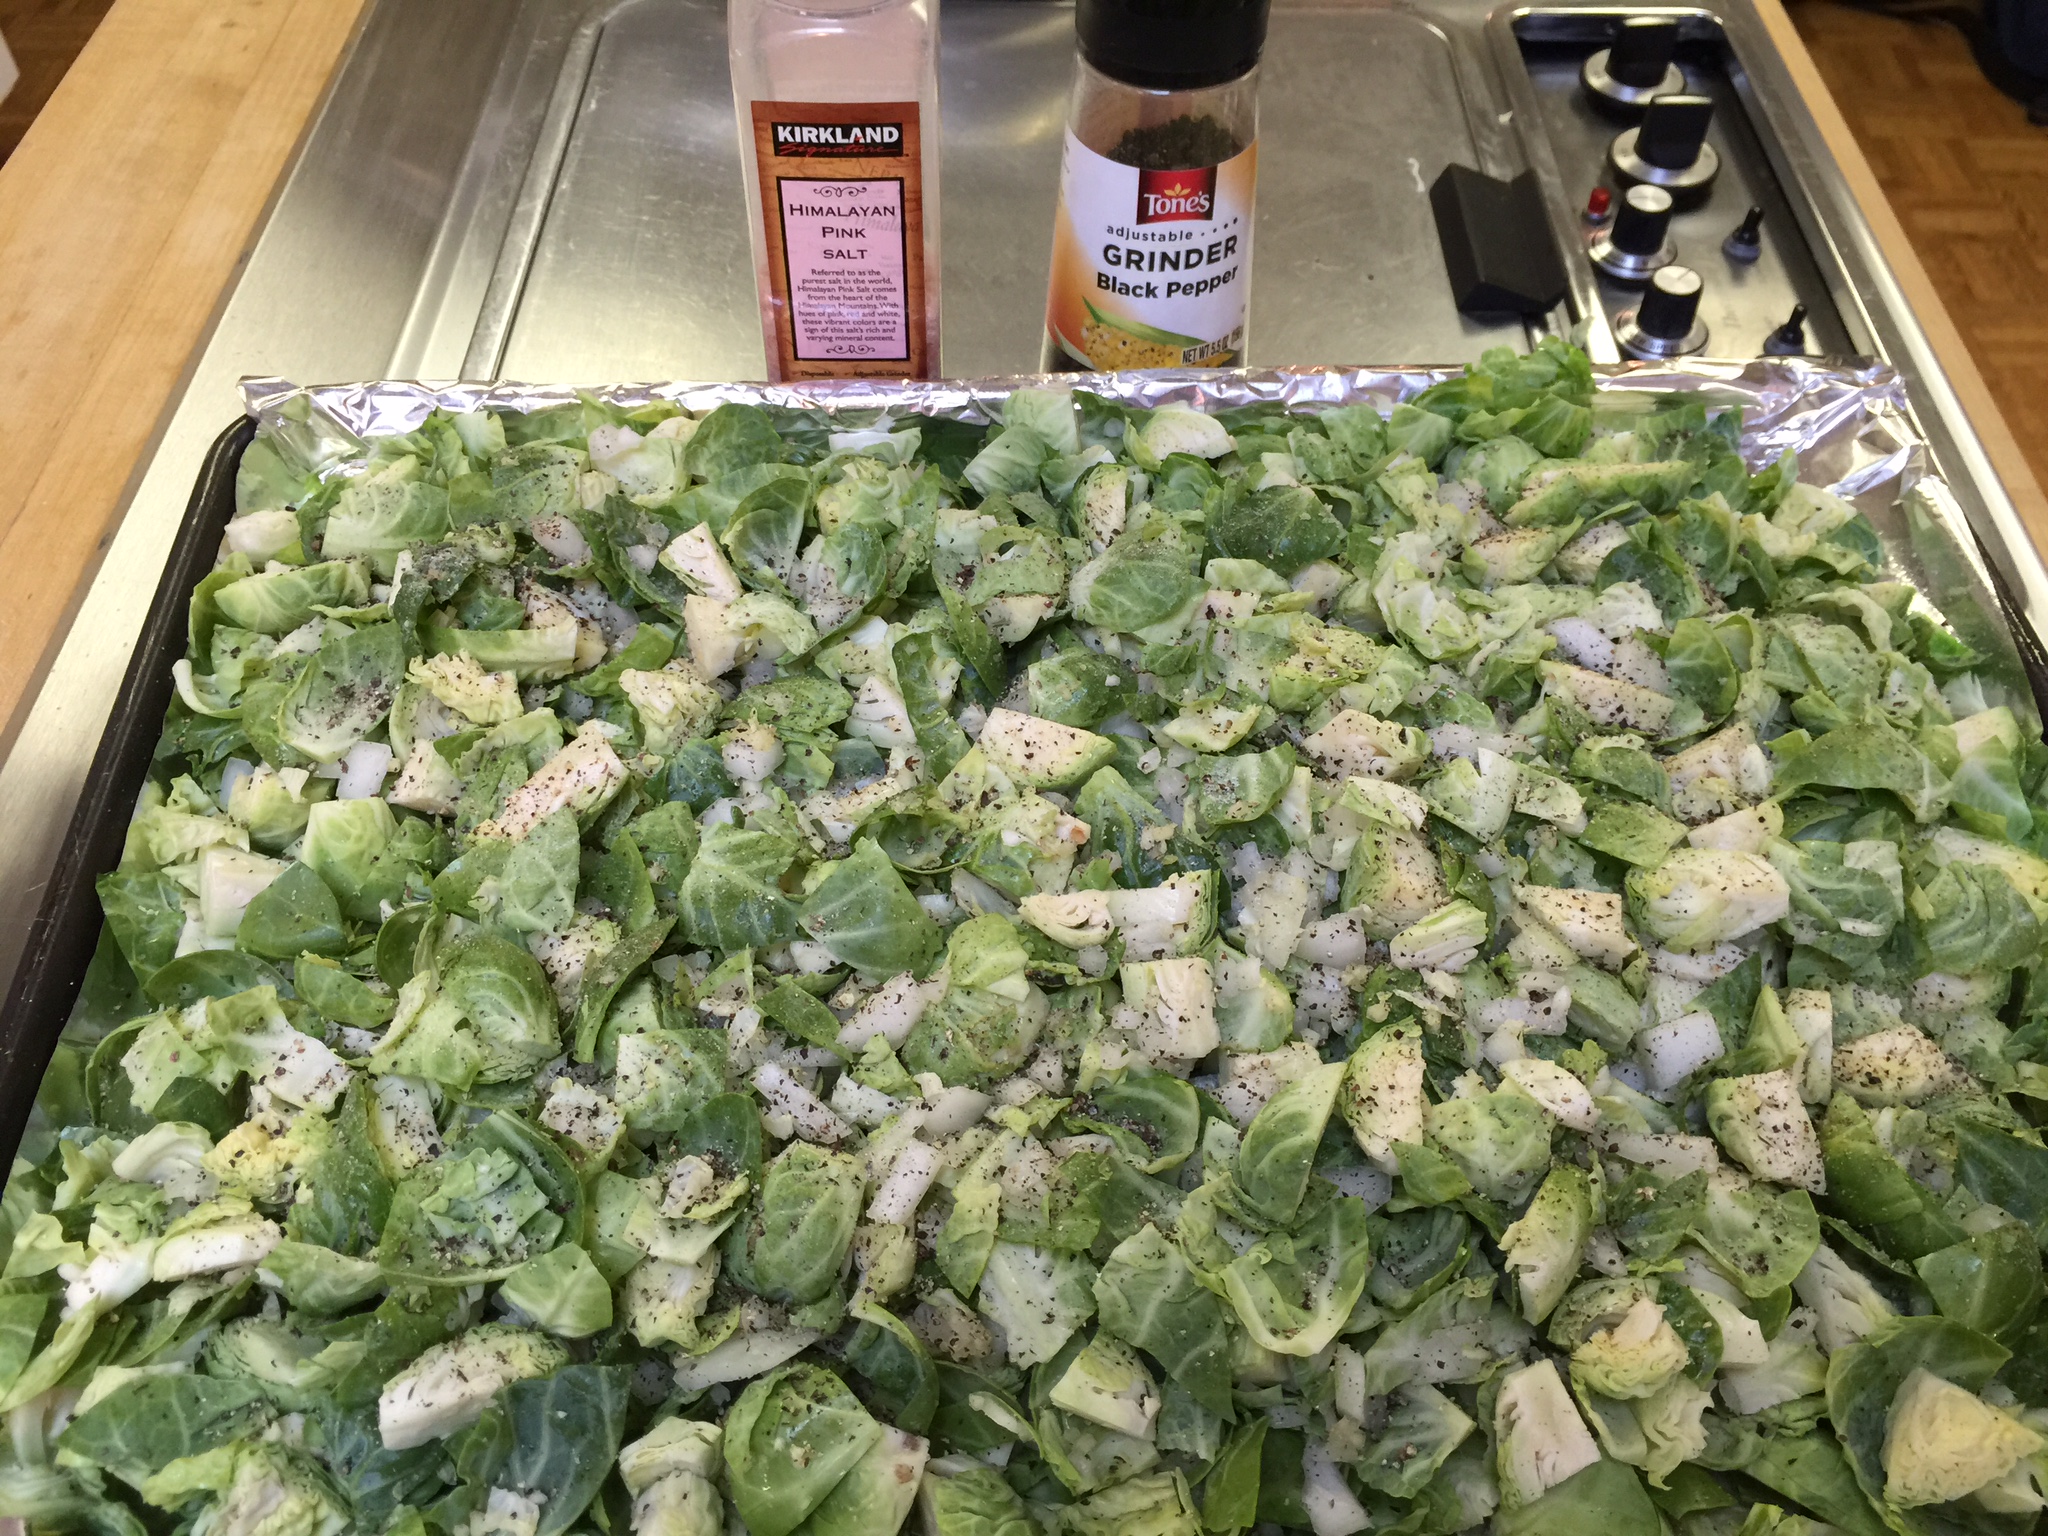
Salt and Pepper
Whole Nutmeg
Preparation:
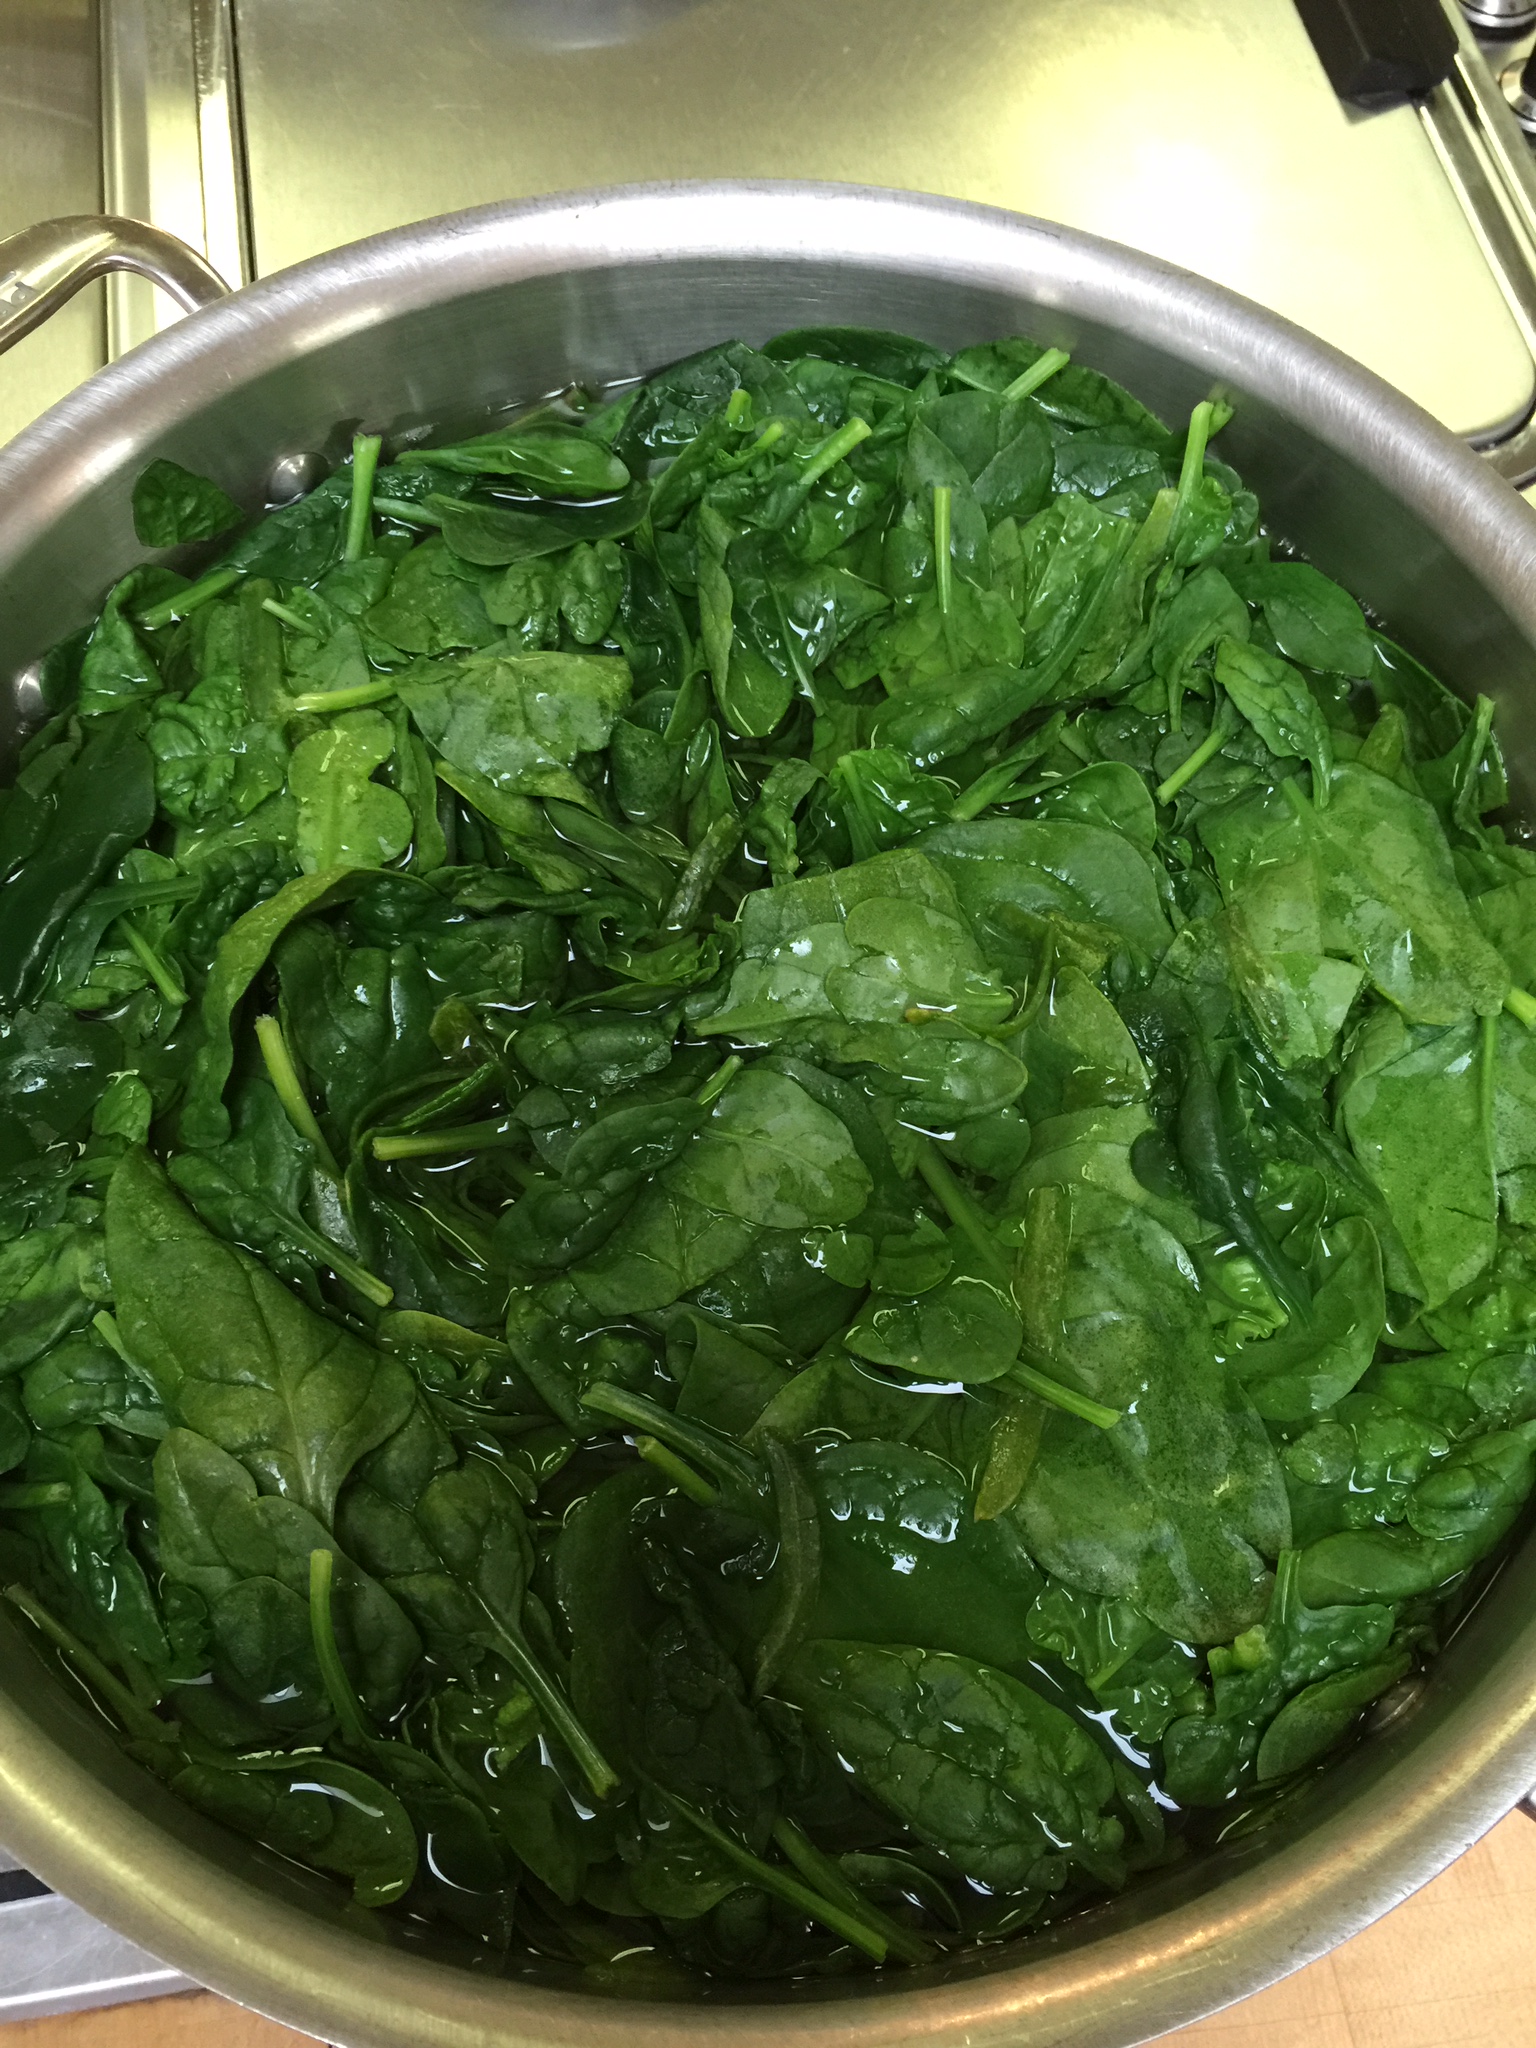
Bring a full pot of water to a boil. Add spinach and cook for 3 to 5 minutes. You want it cooked down, but not completely wilted.
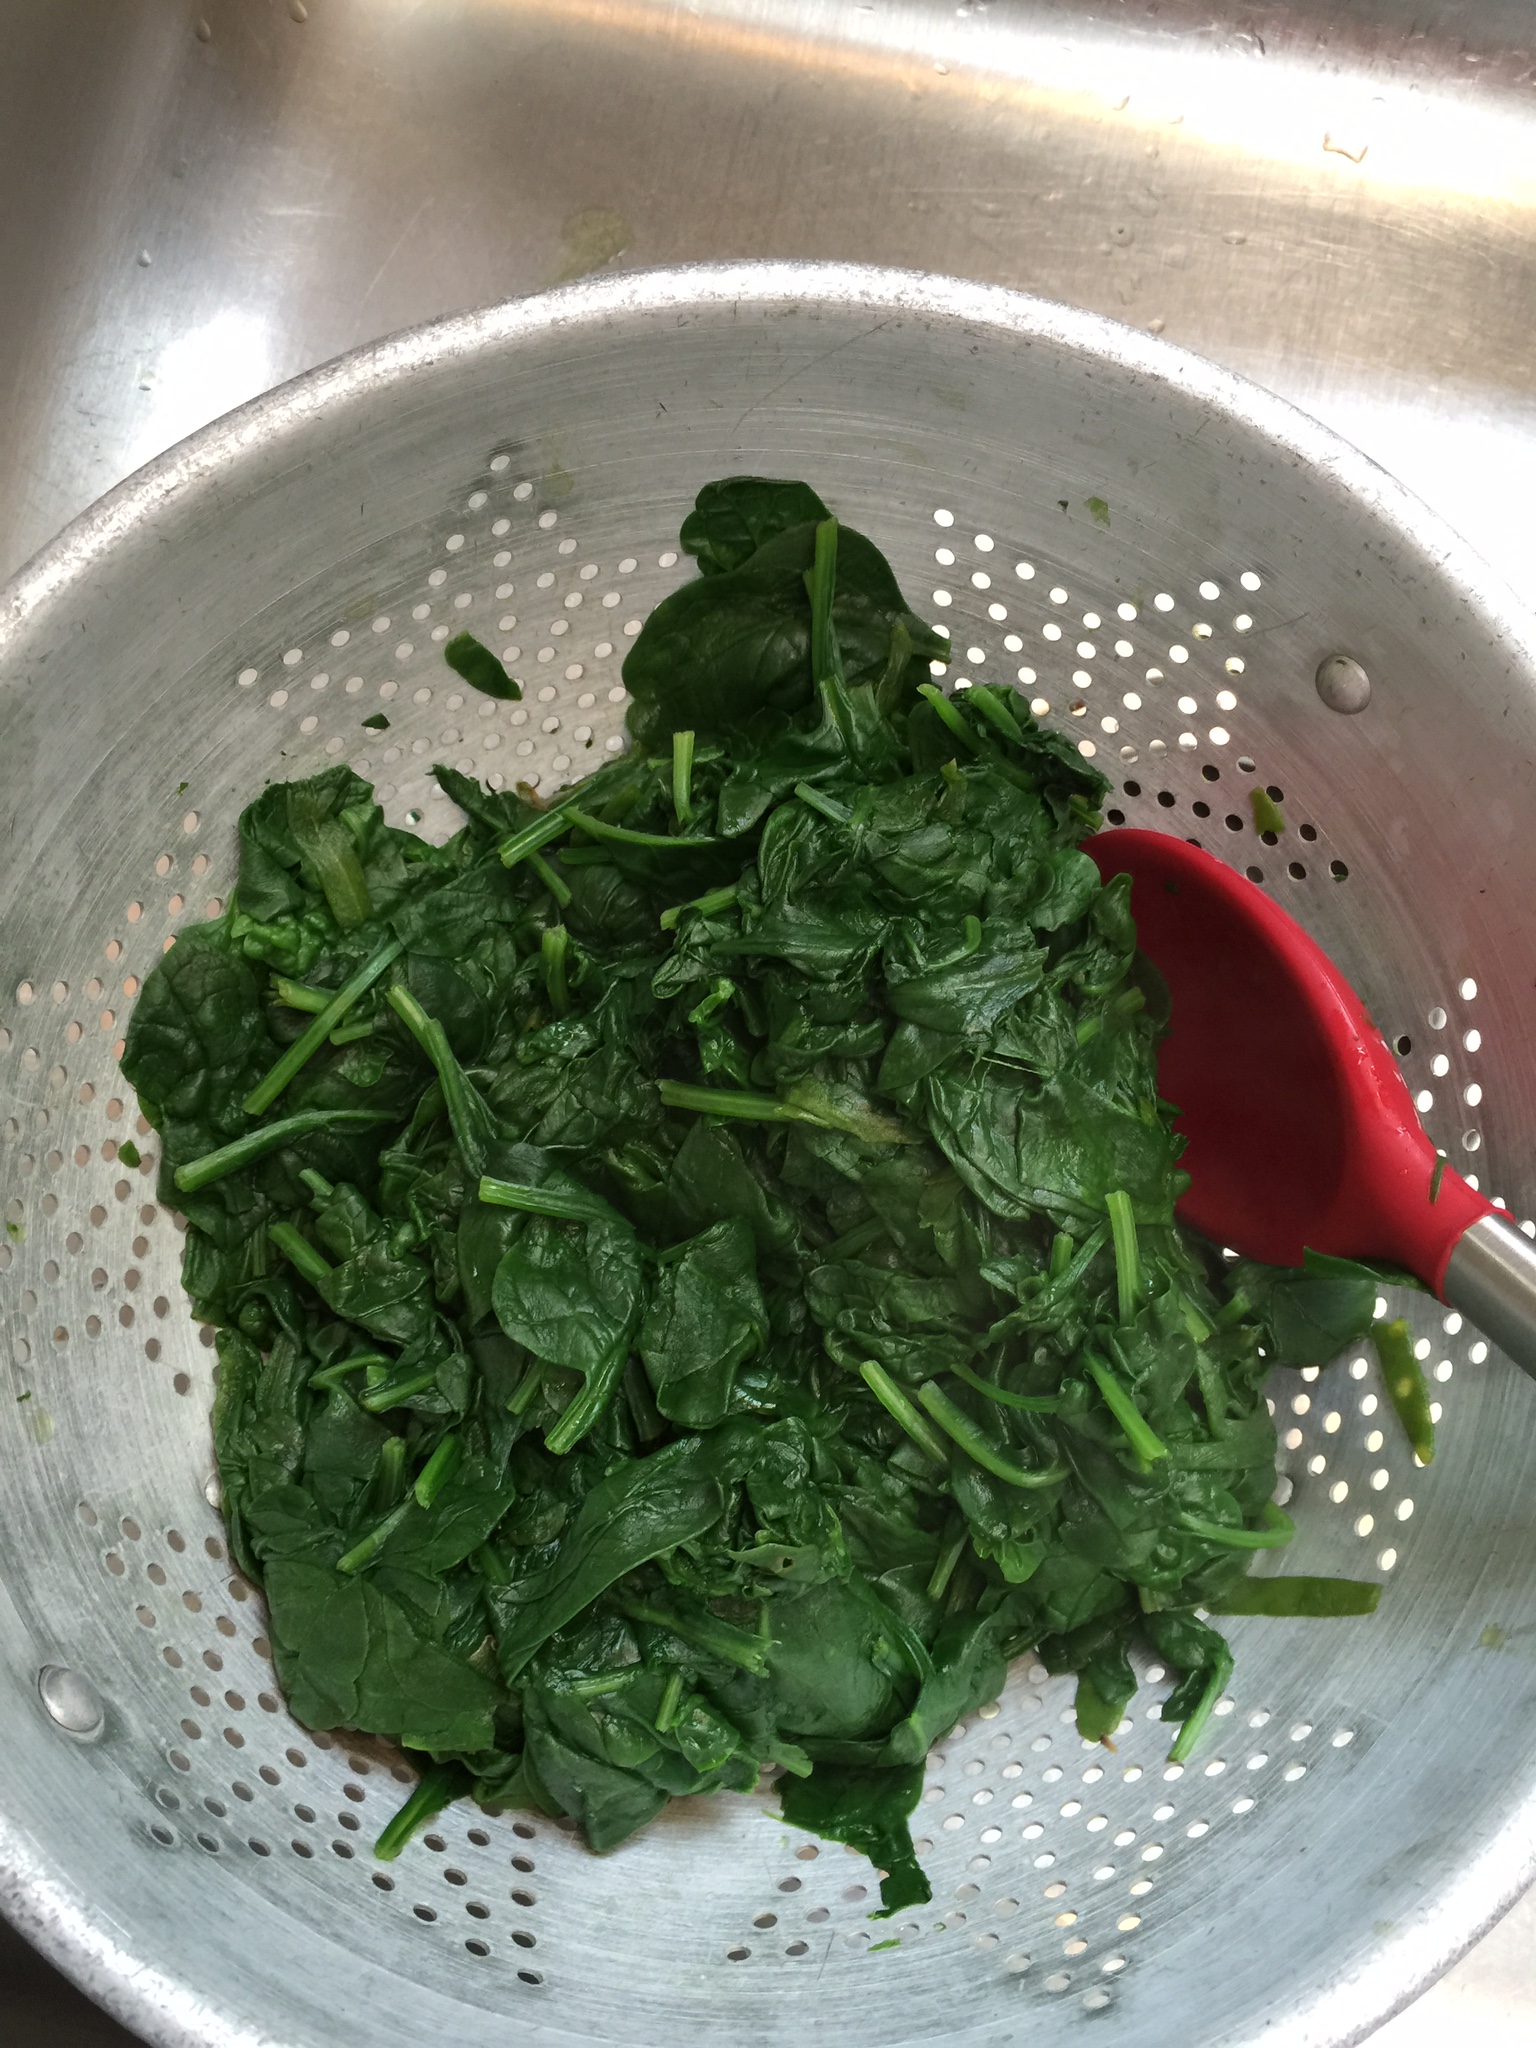
Drain in a colander, and let it sit while you prepare the rest of the ingredients.
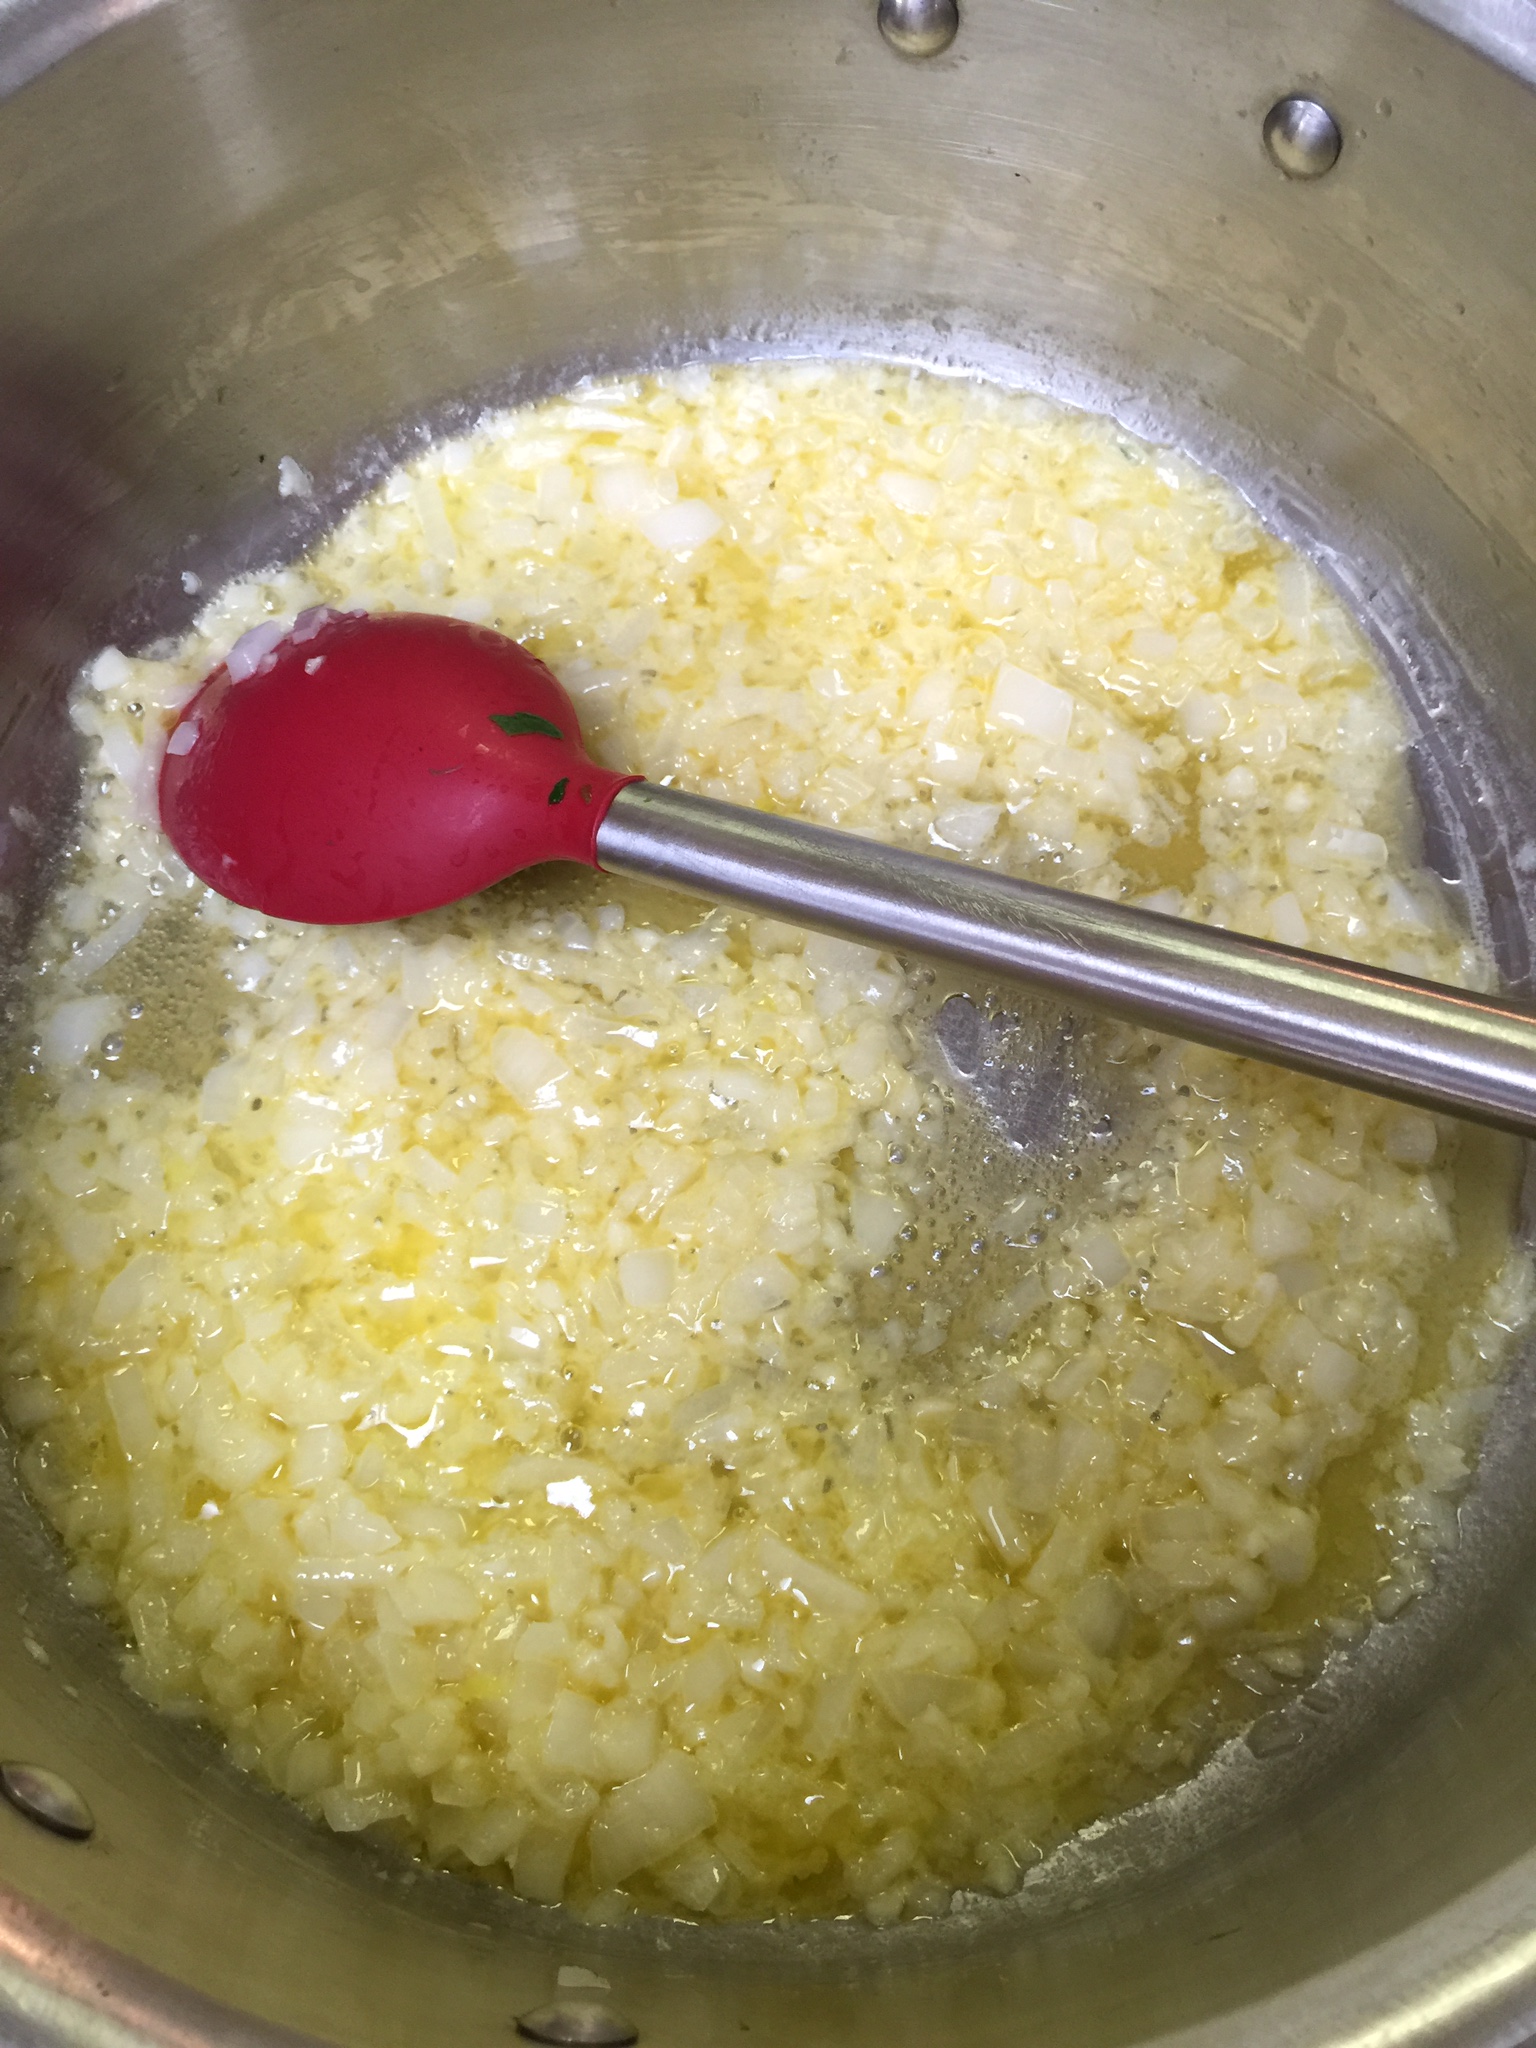
Back in the same pot, melt your butter over medium heat. I used a half of a Kerrygold brick. If you are using a regular stick of butter, you will need 1 whole stick.
Add a quarter to a half of a white onion, finely chopped with 4-5 minced garlic cloves, and sauté until translucent. (We like a bit more onion and garlic which is higher in carbs so take that into account.)
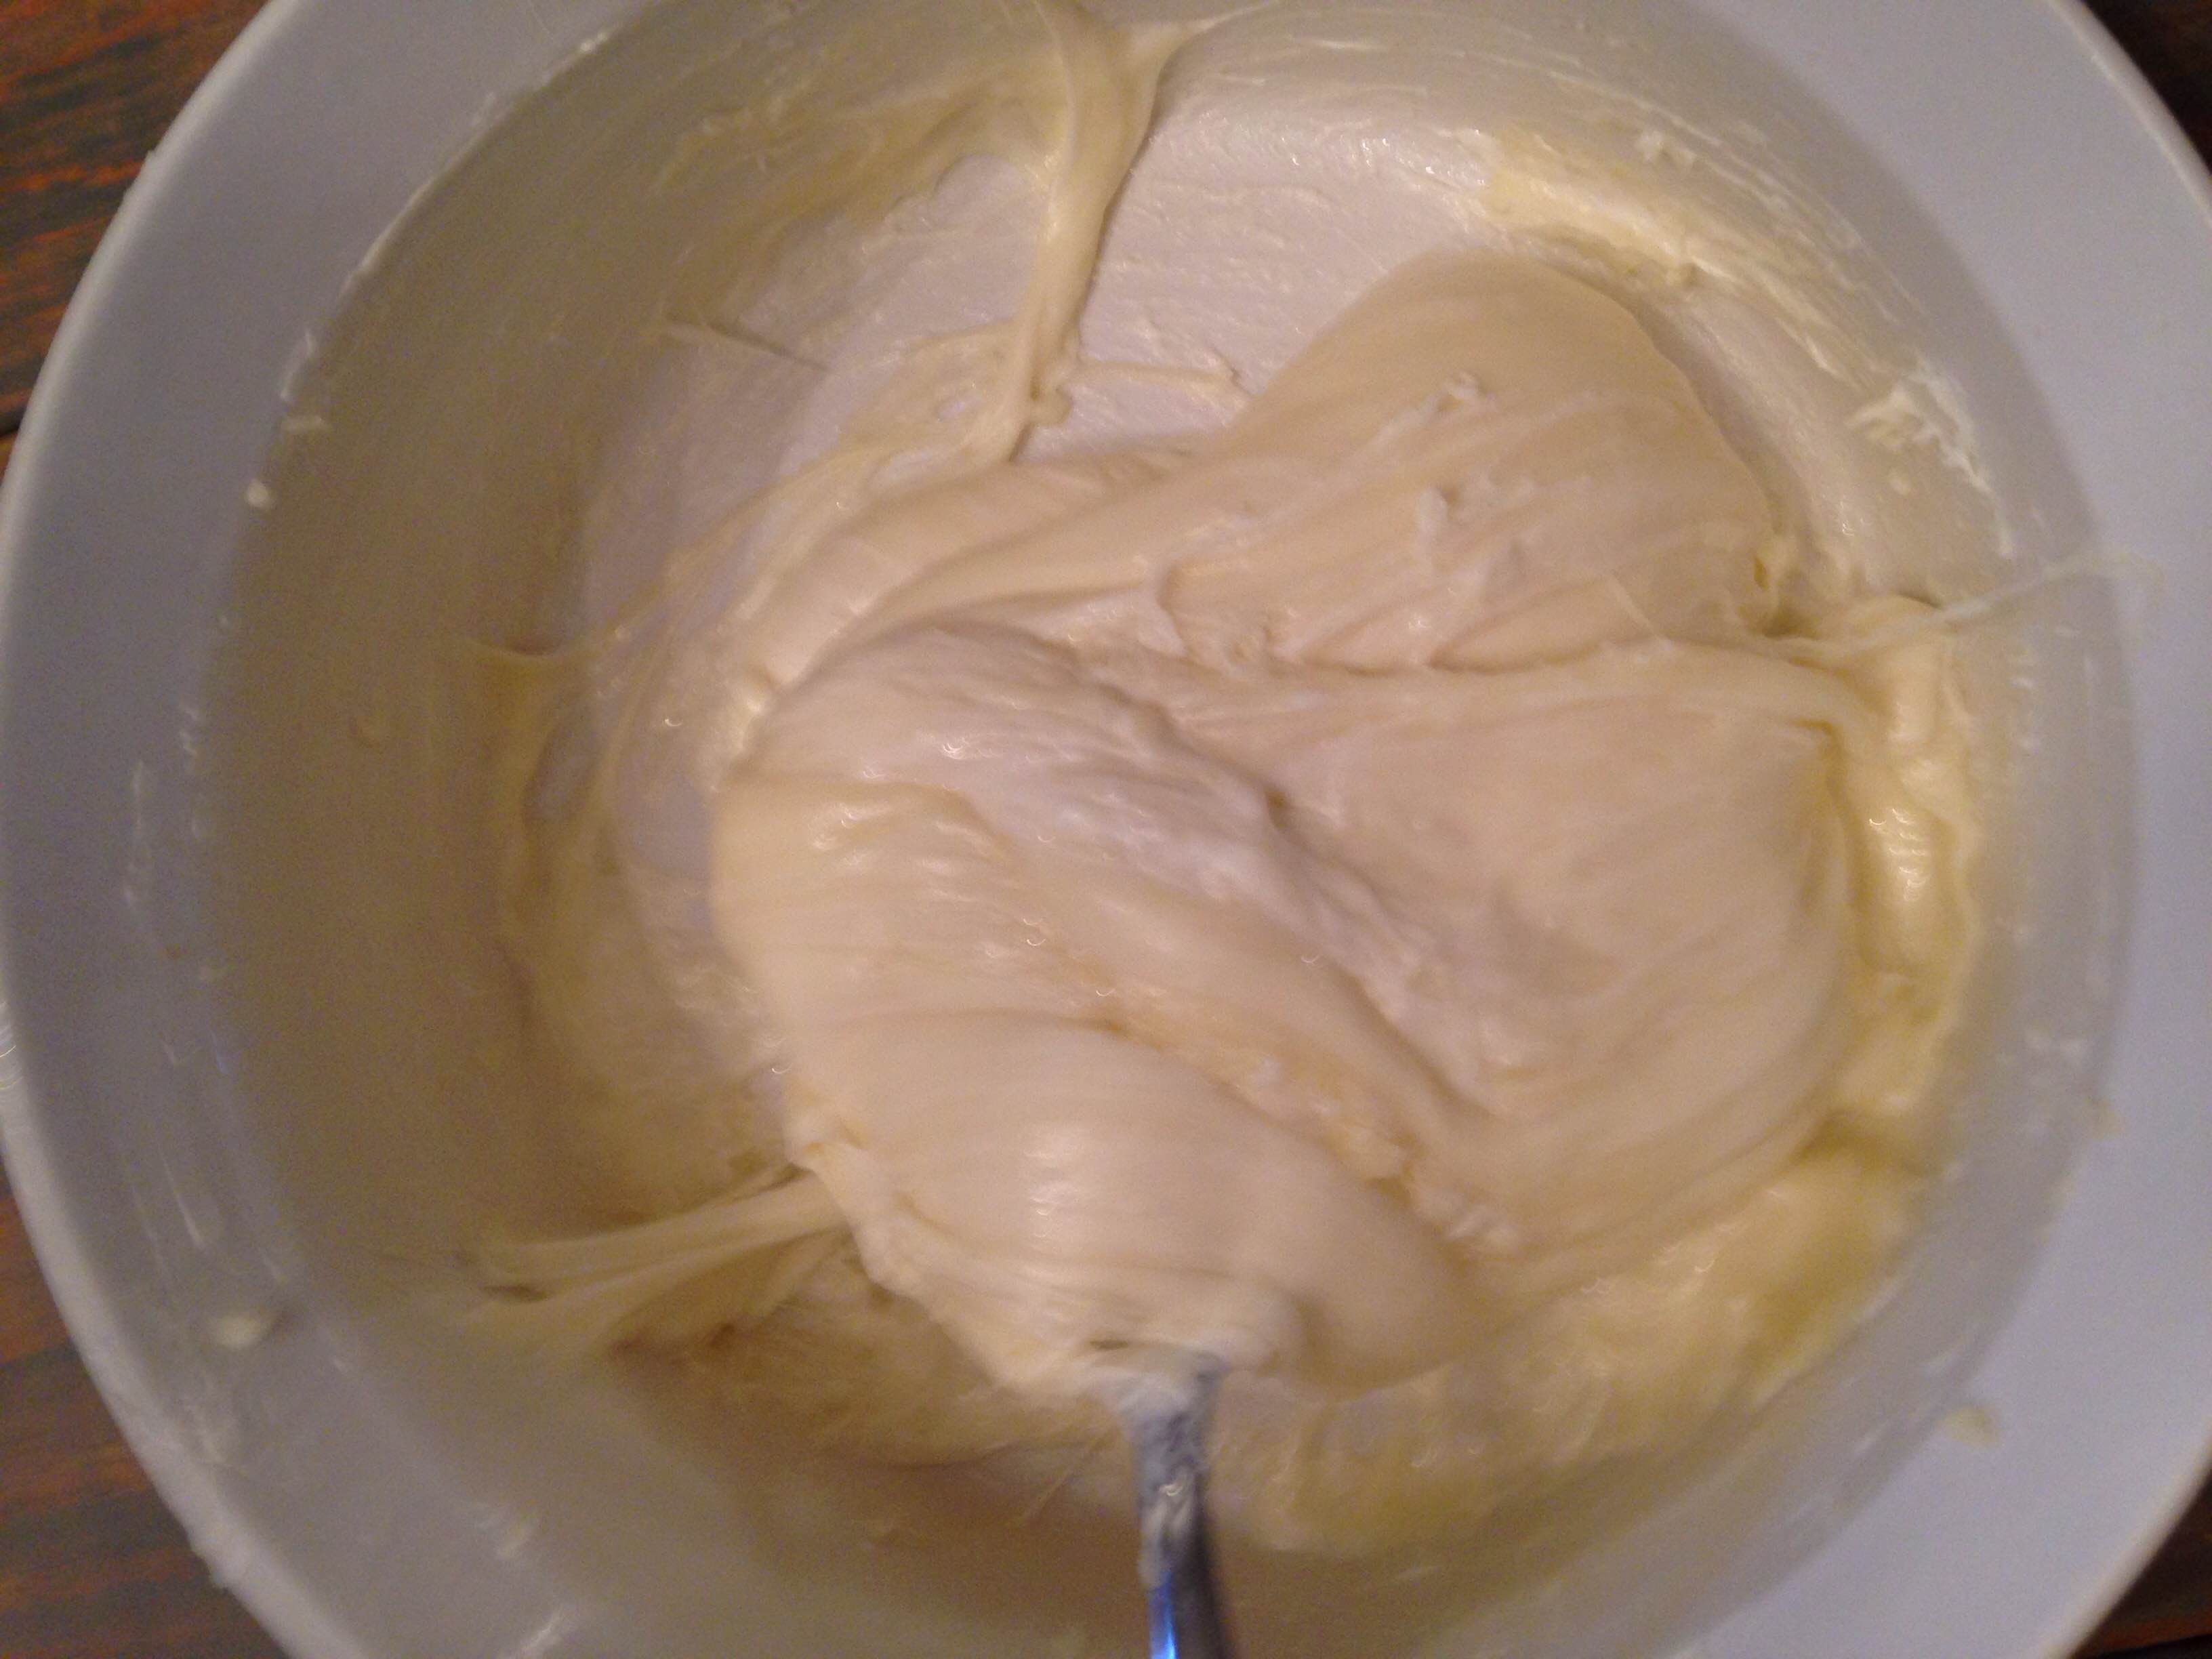
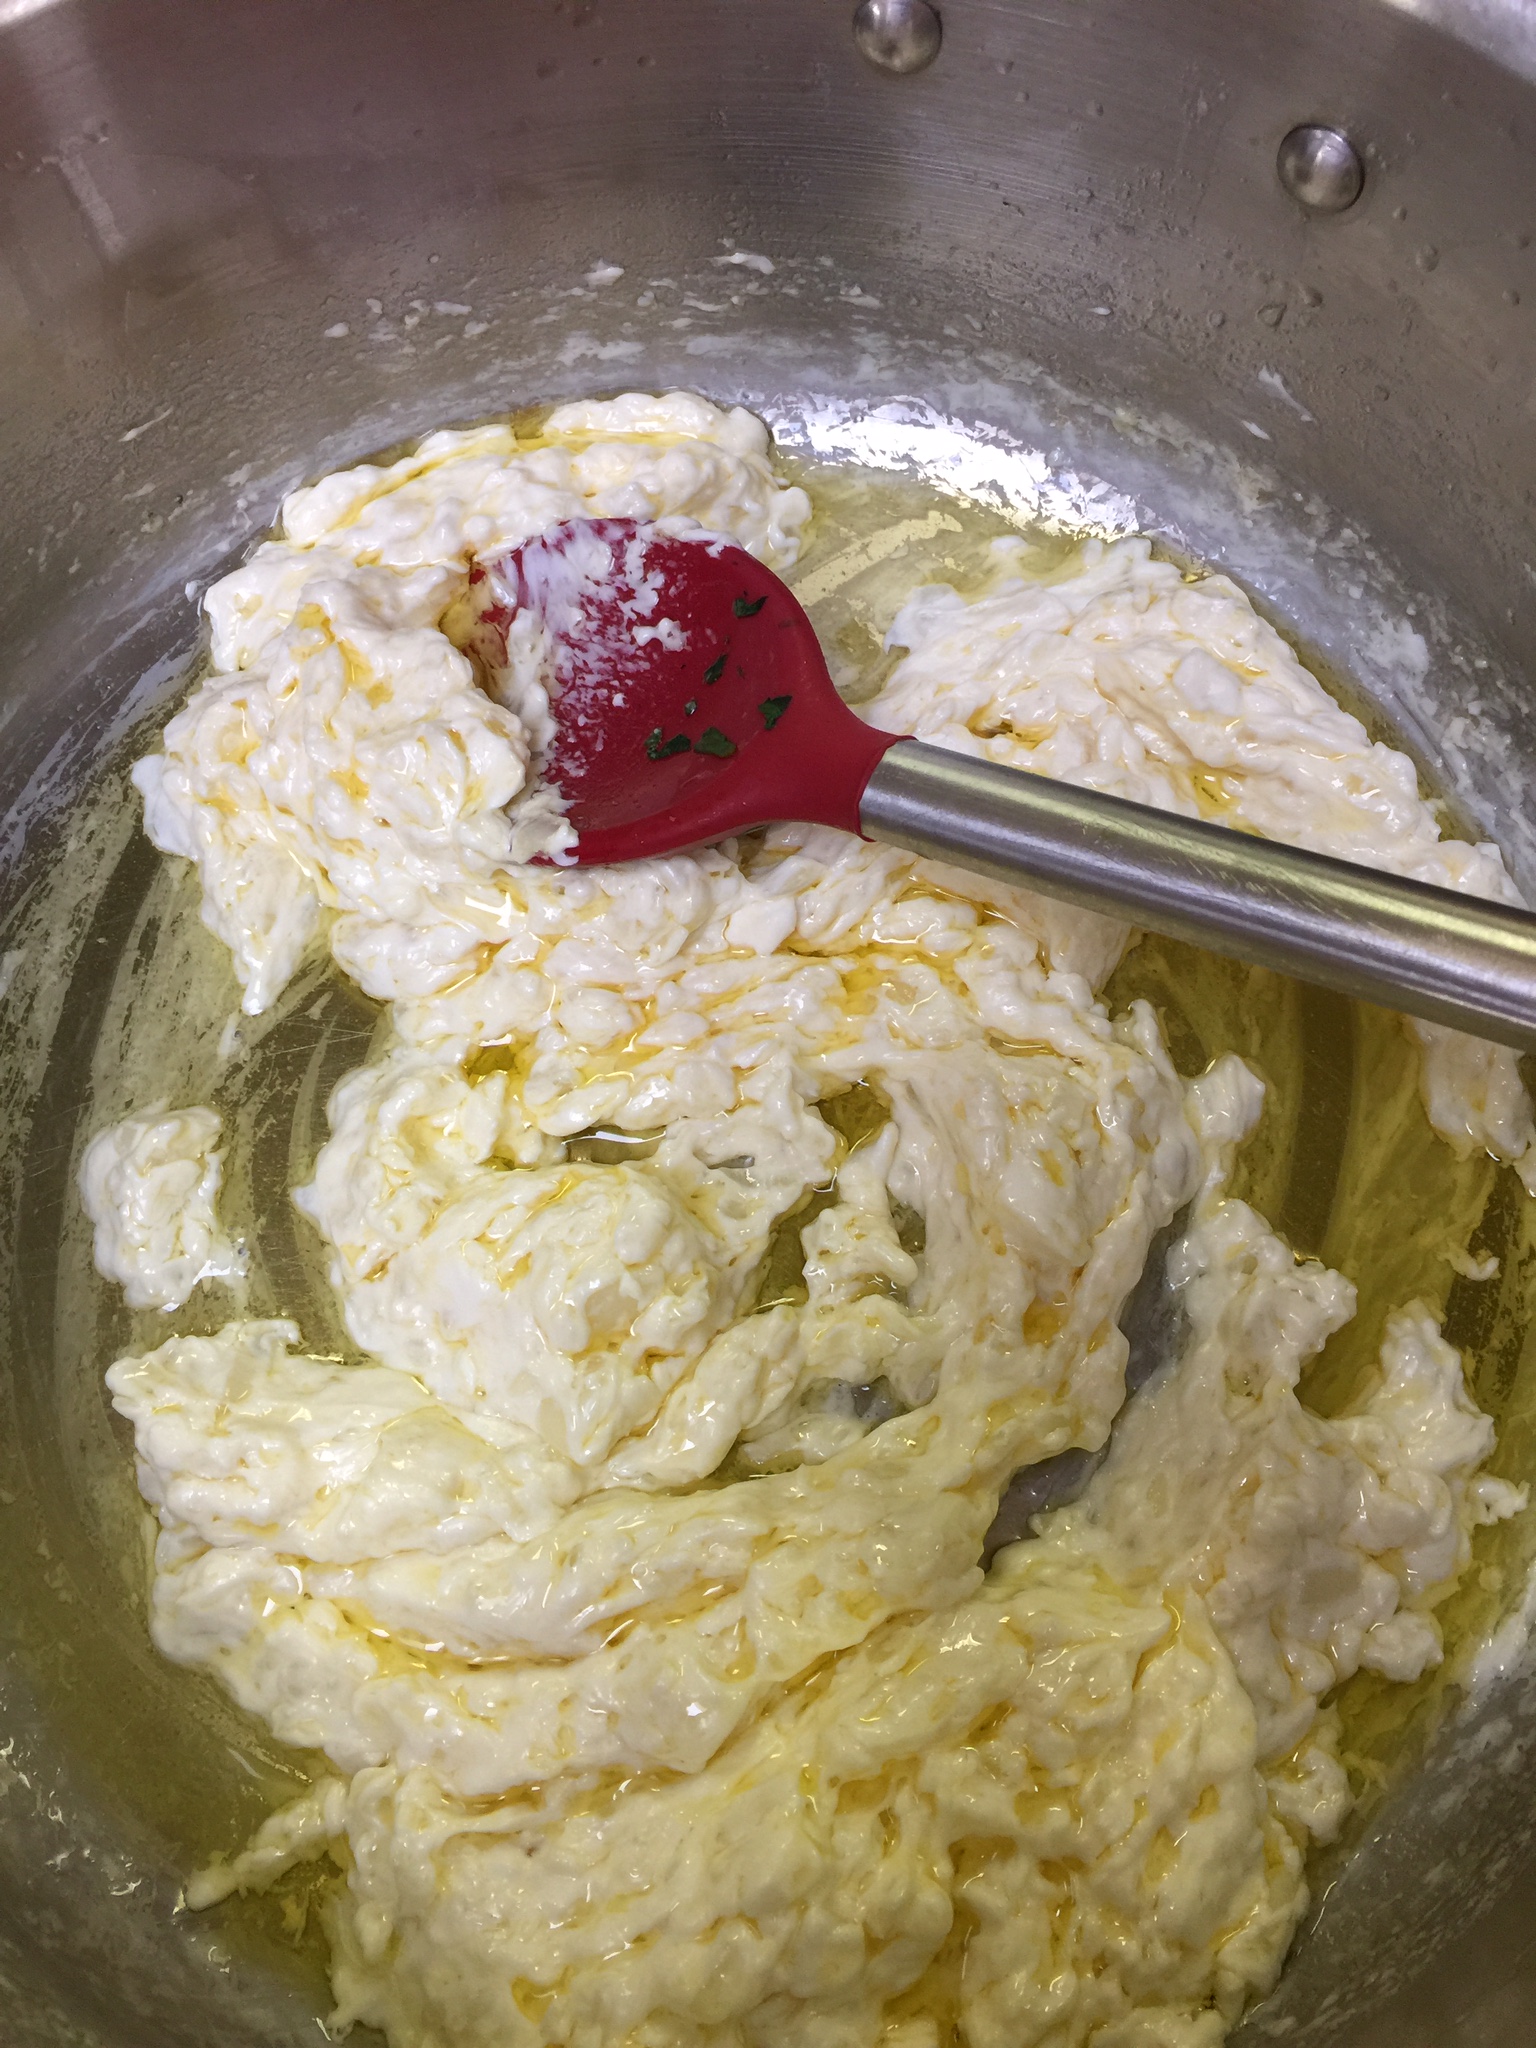
Turn your heat down to low. Add your cream cheese cubed and stir well until incorporated with the butter. It may separate slightly and this is okay. When you add your spinach it will combine well.
Press all the remaining water out of your spinach. Dump it out on a cutting board and chop roughly. Then add it to your butter mixture on the stove.

Next, add your heavy cream. This is up to you. Start with 1/4 cup, and if you want it creamier, add a little at a time. It will thicken slightly after about 5 minutes over low heat.
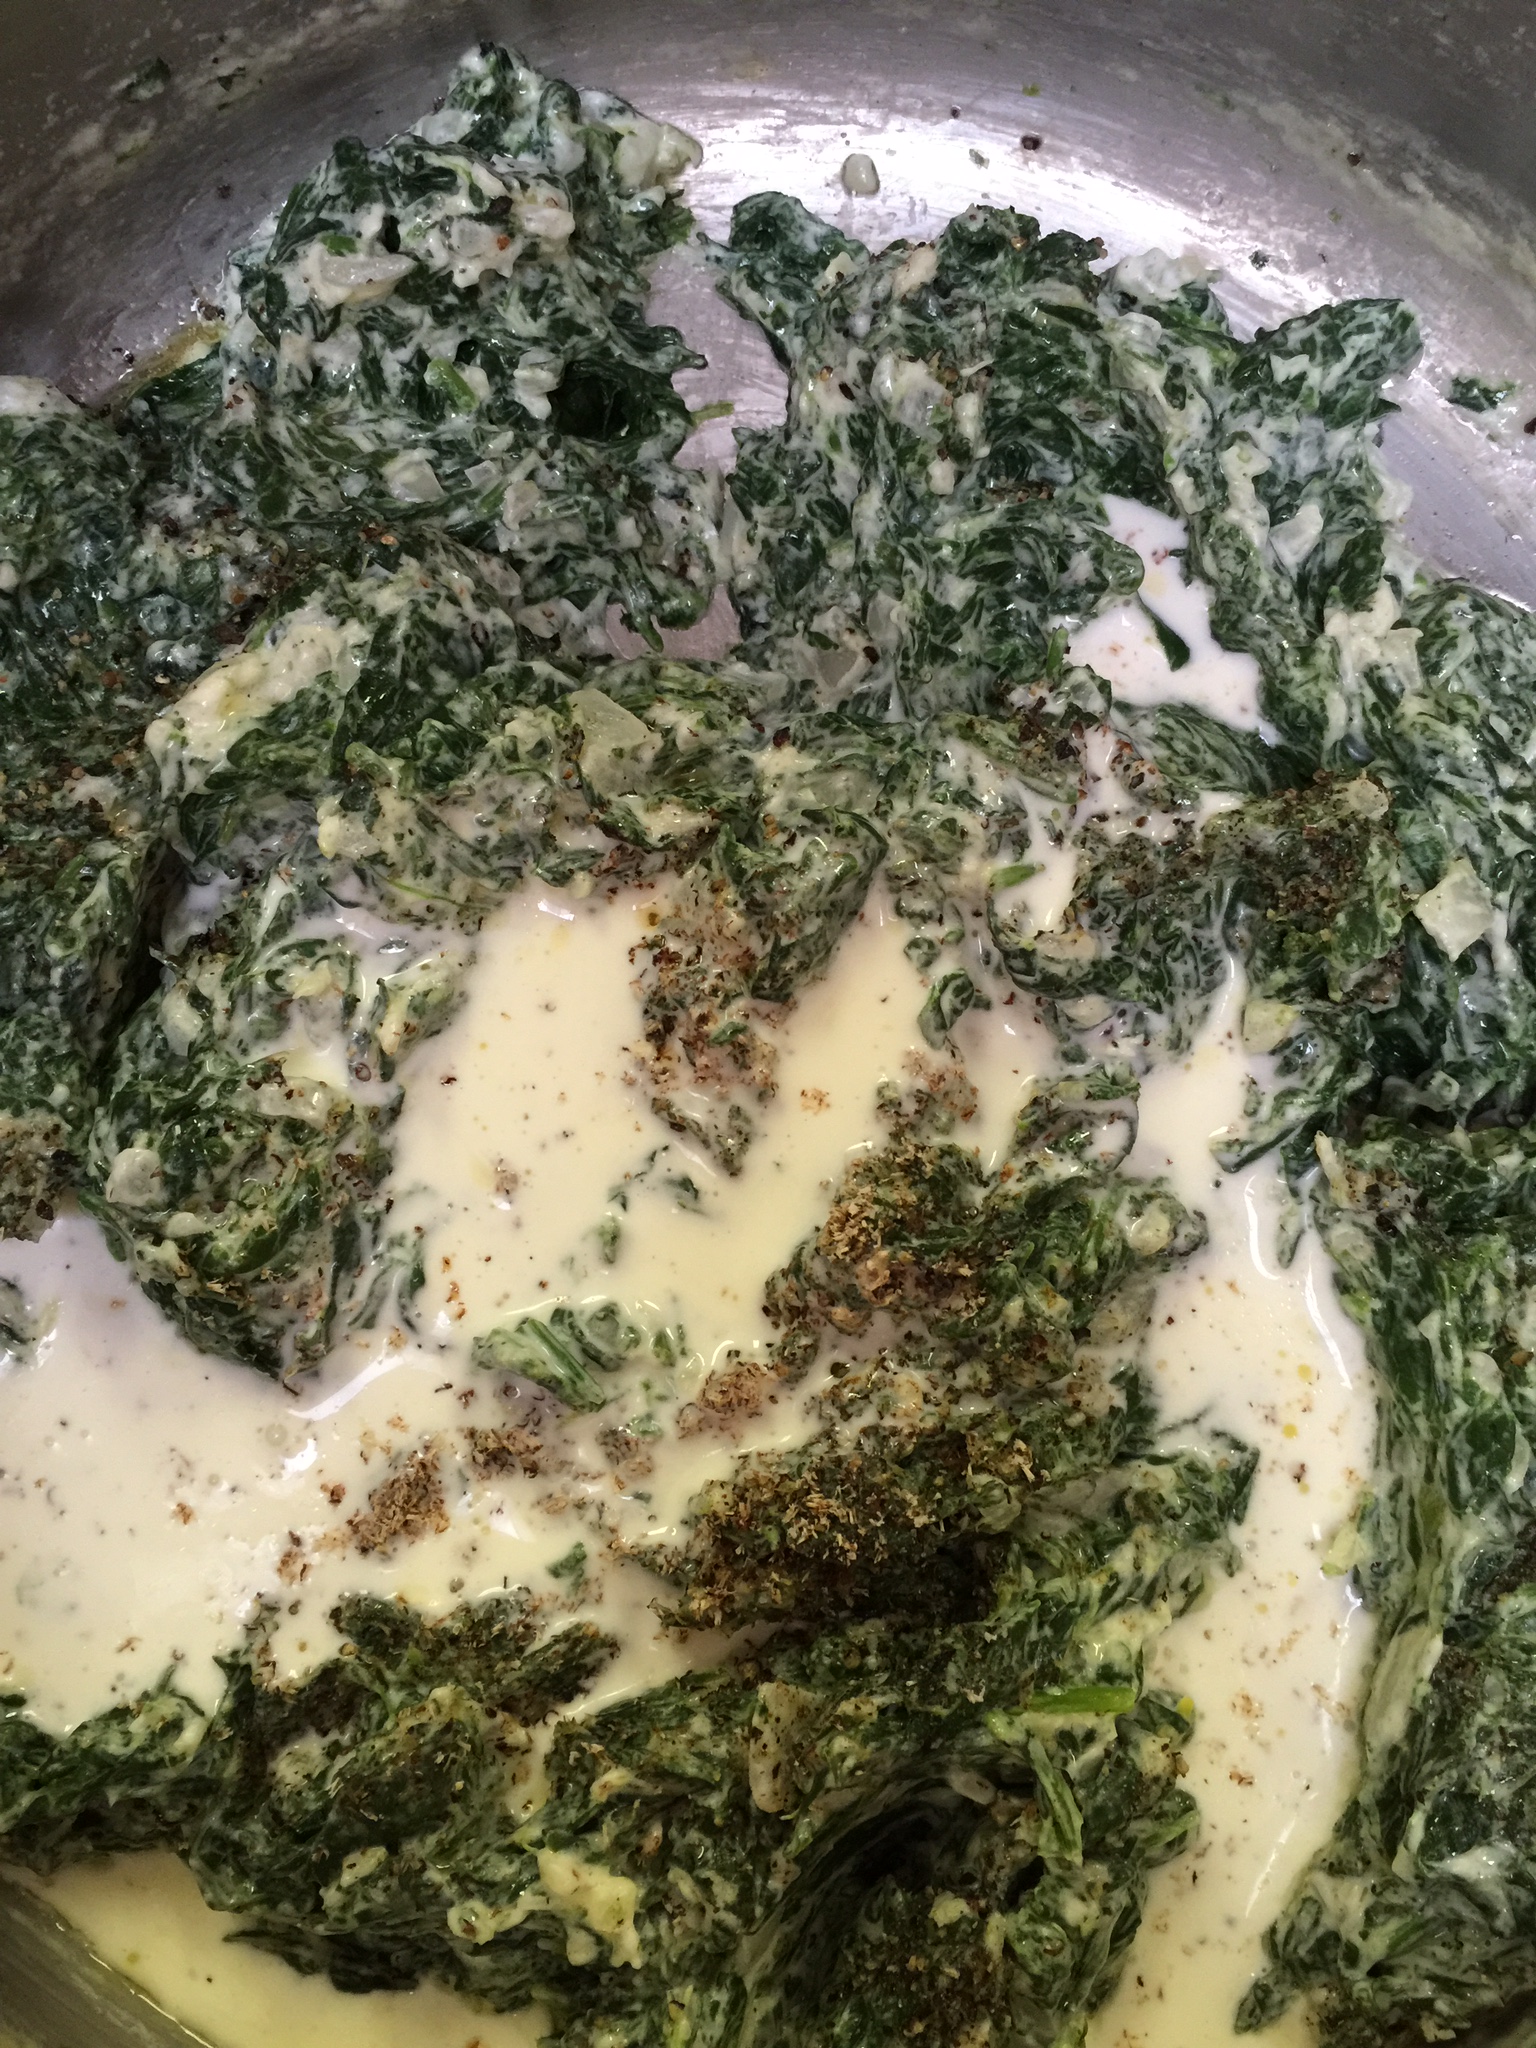
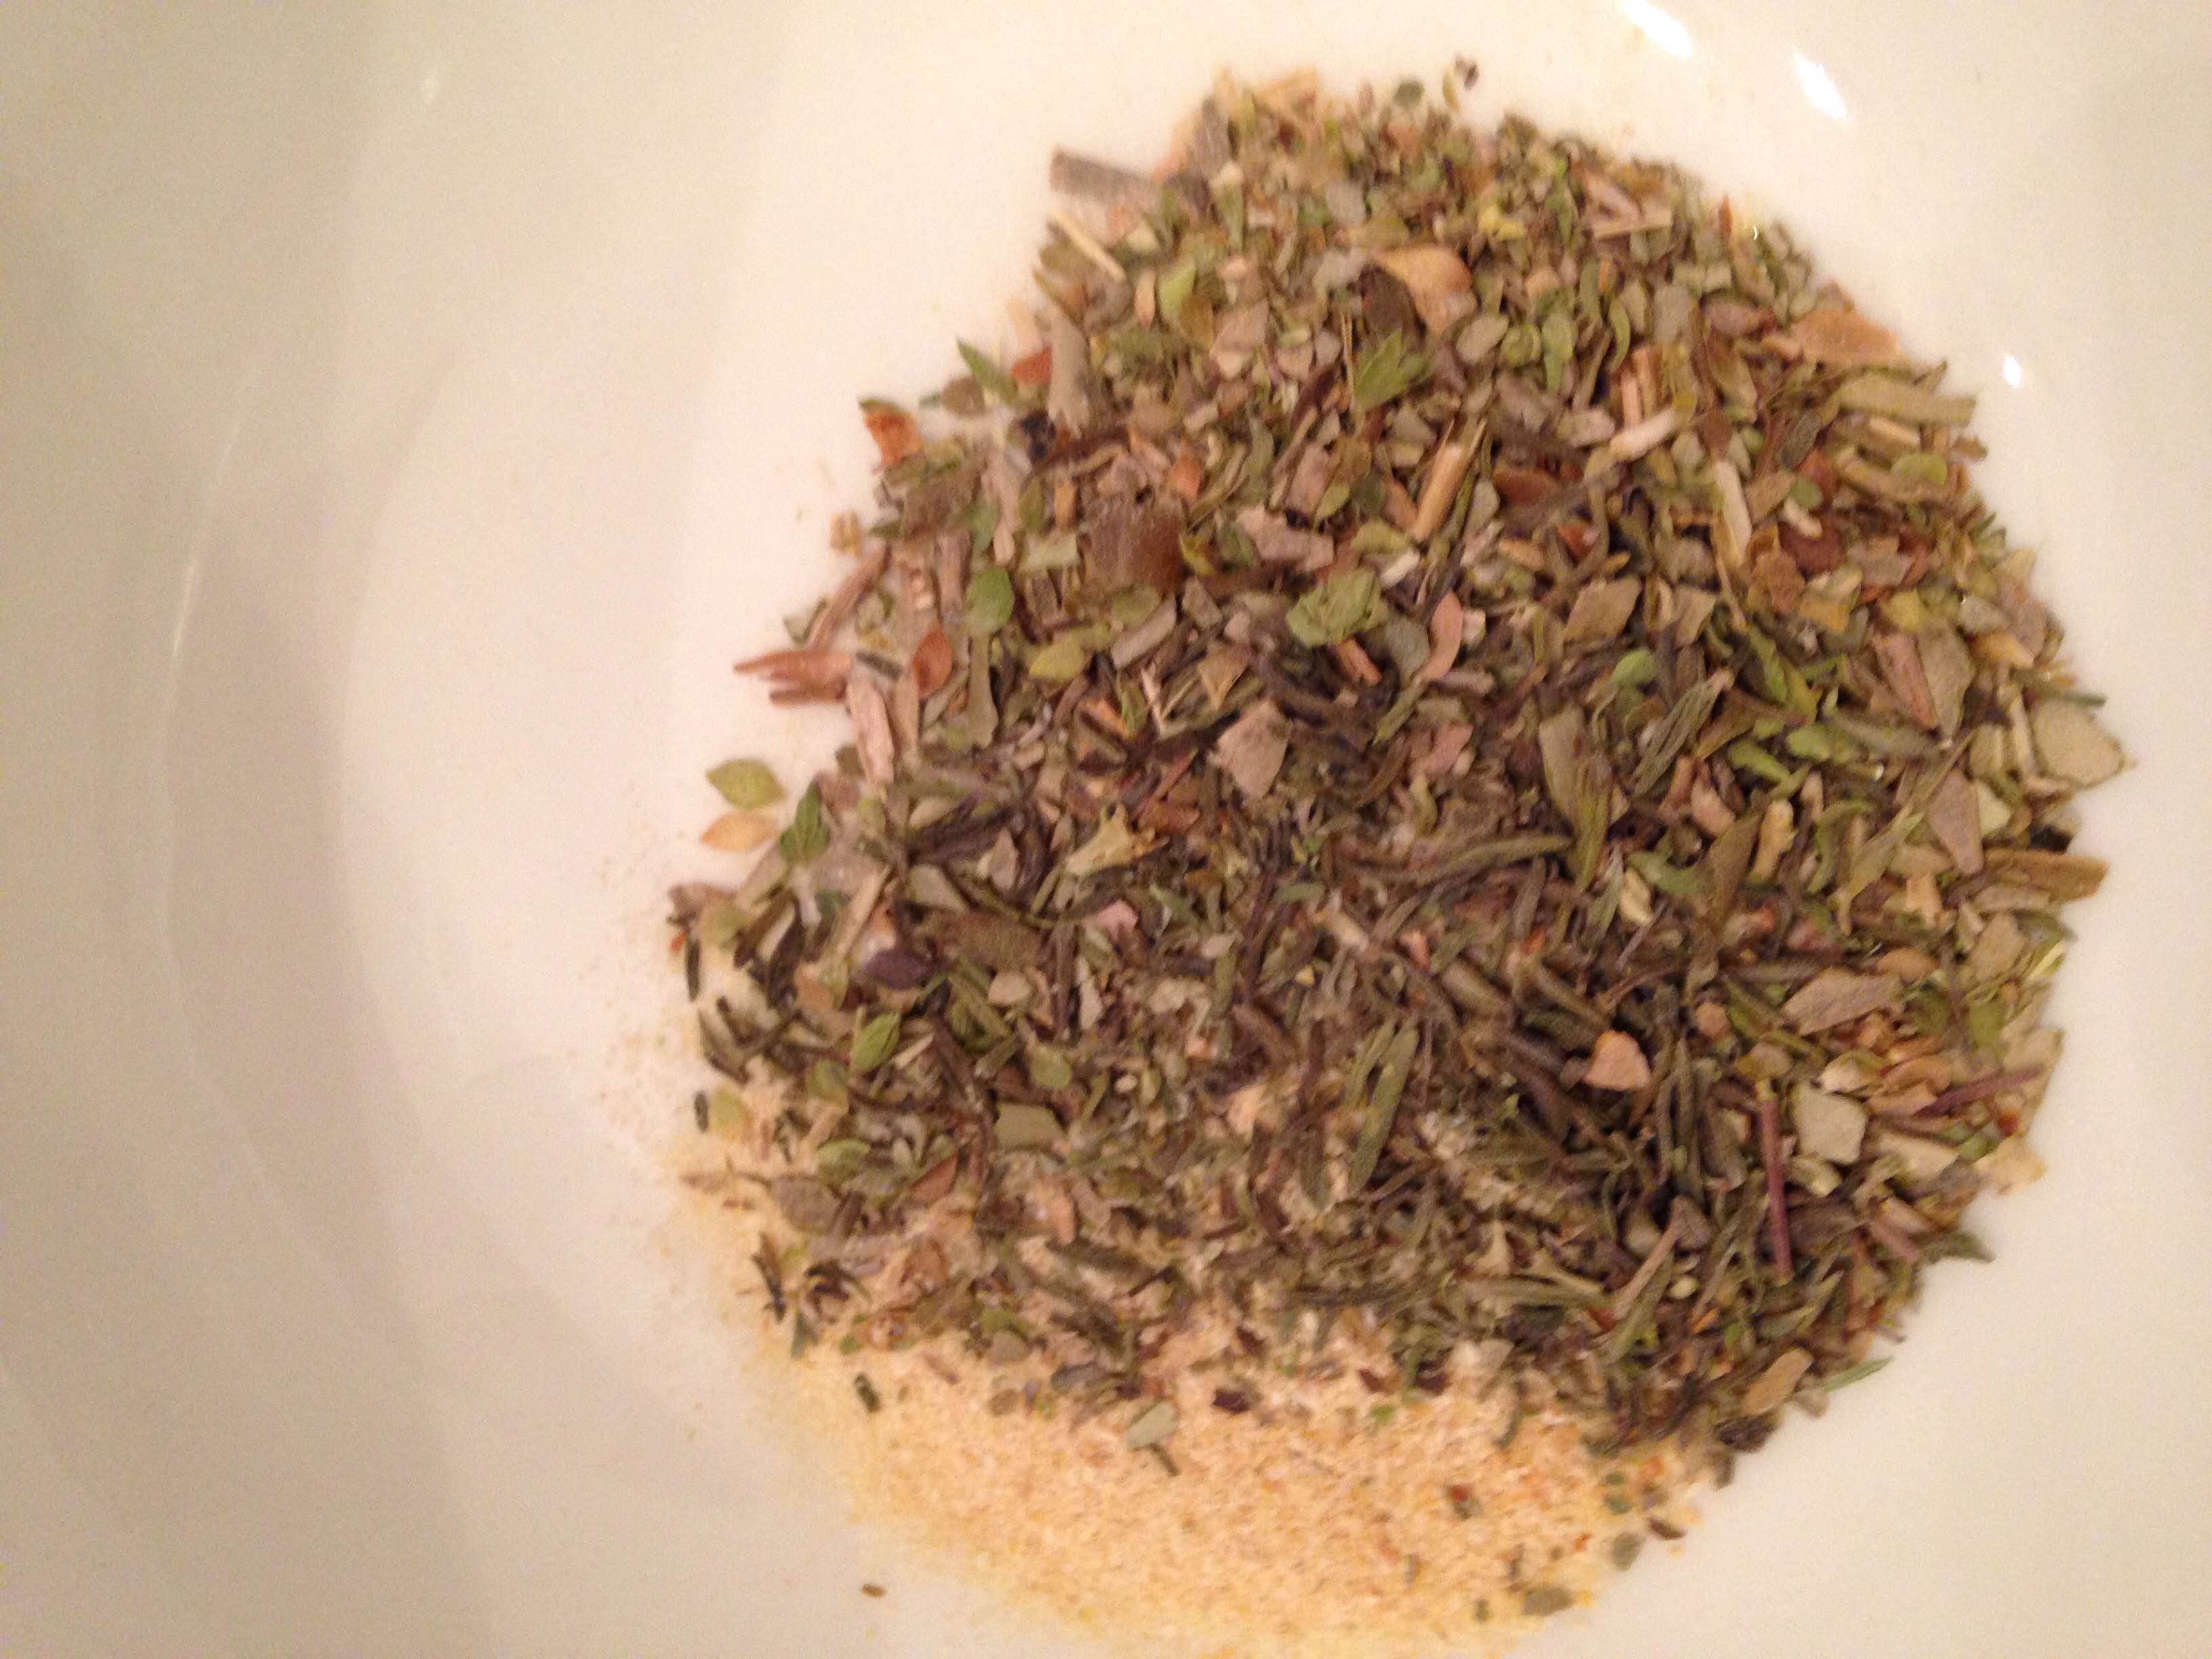
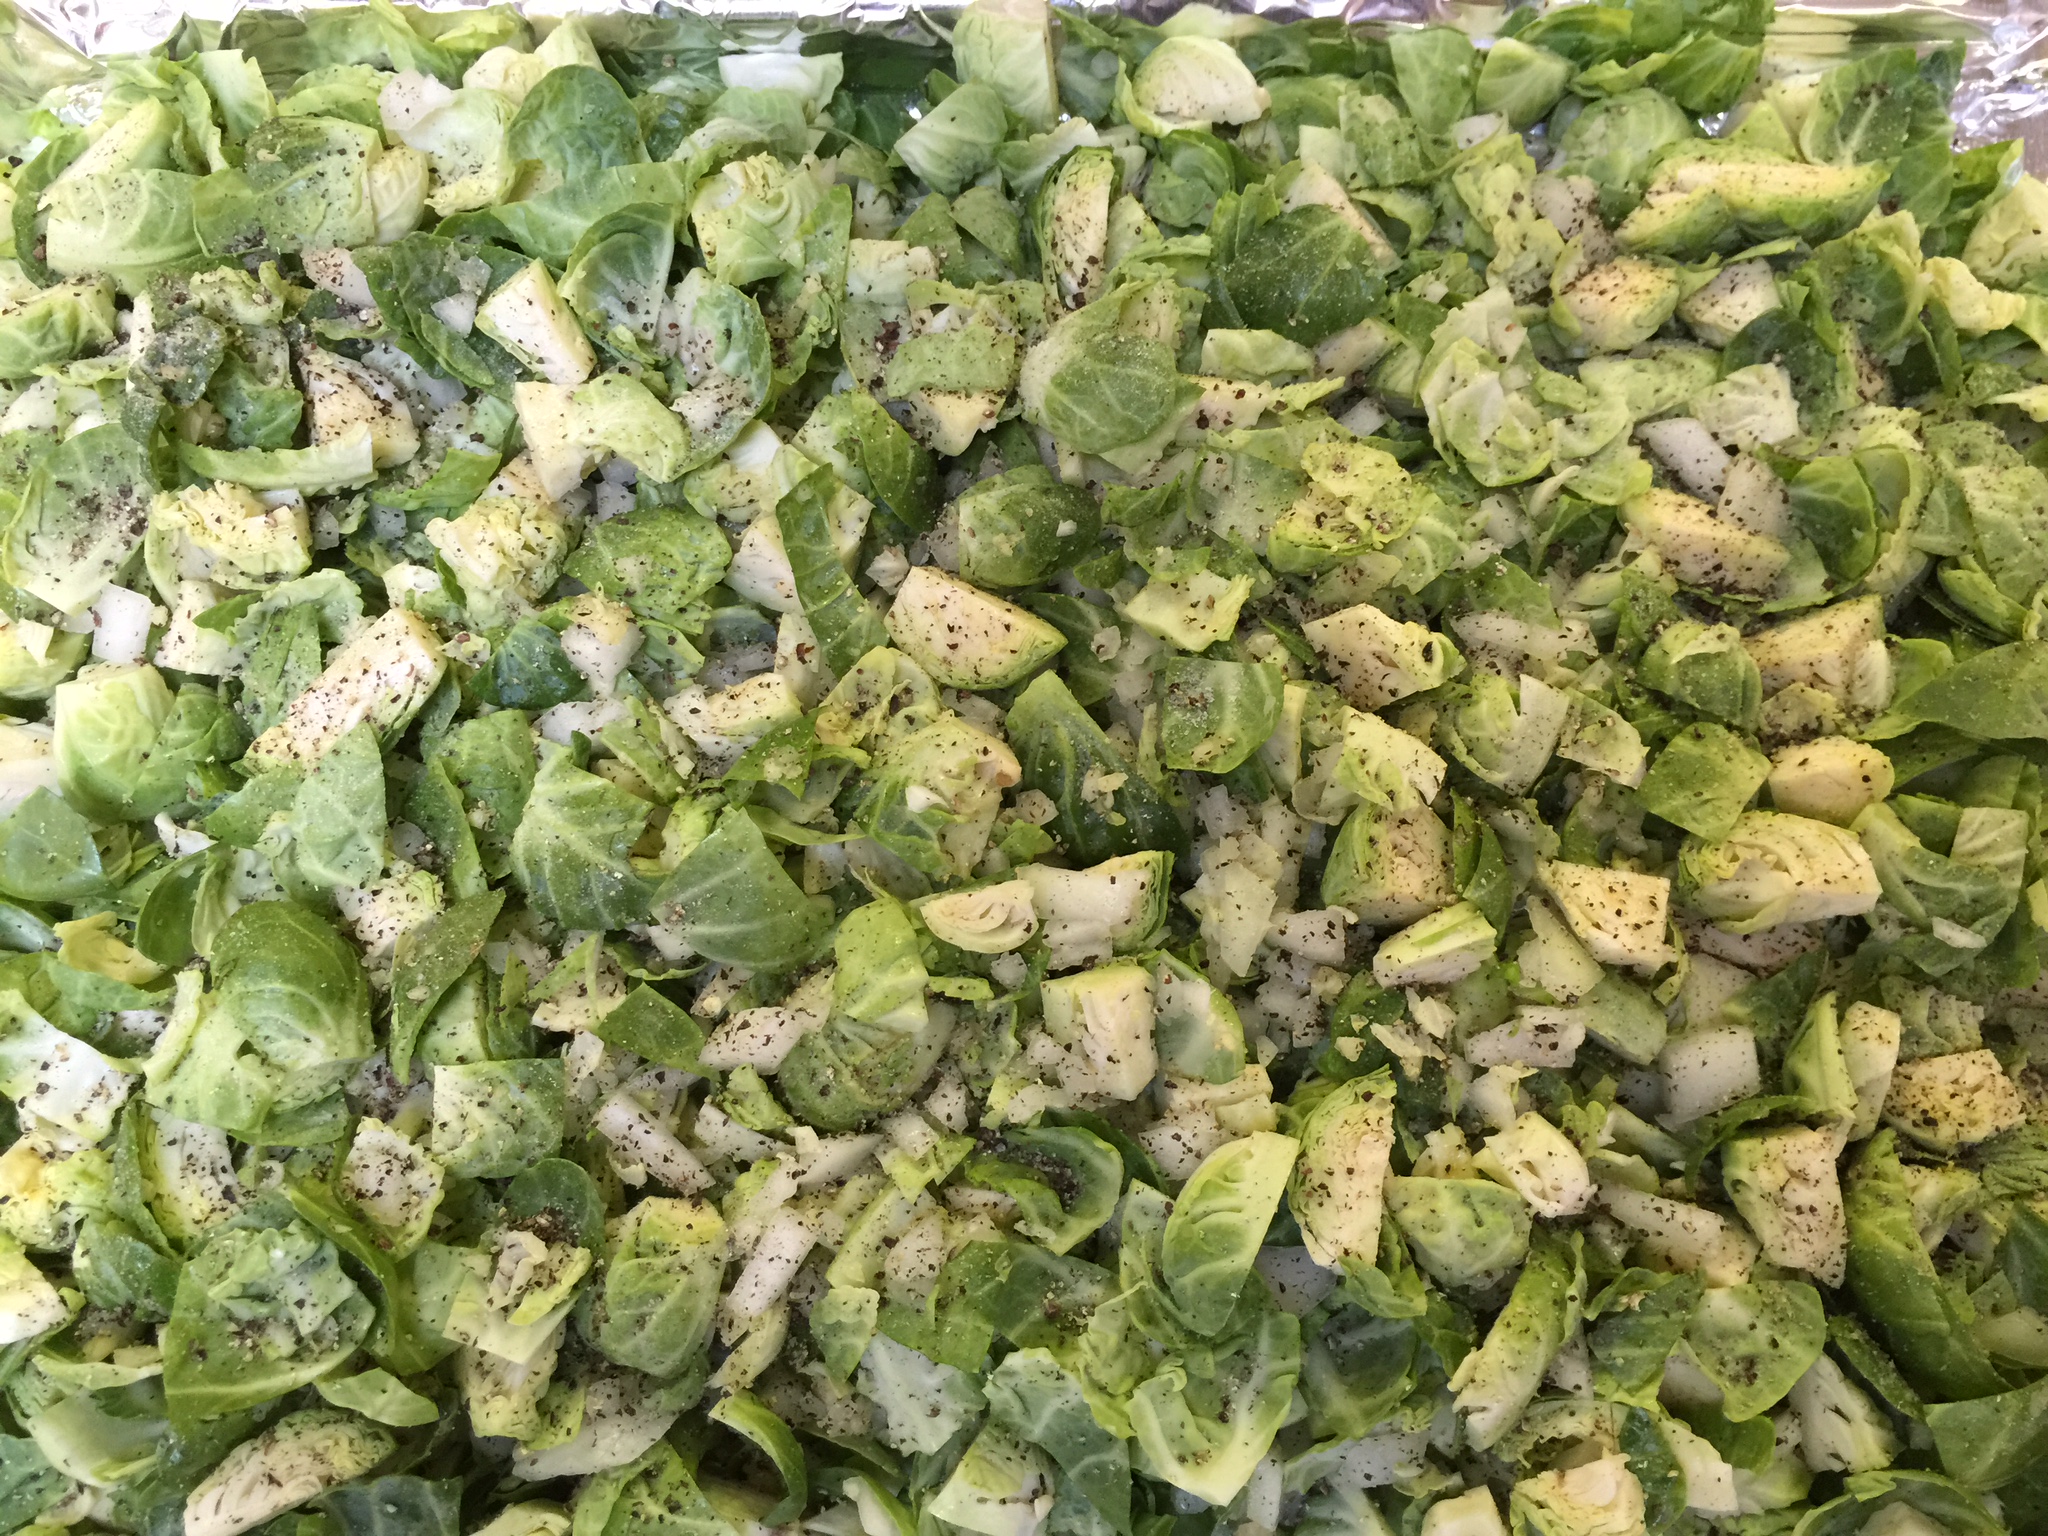
Now, all you have left is your seasoning! Spinach is amazing with nutmeg, especially freshly grated. I also add freshly ground Himalayan salt and black pepper.
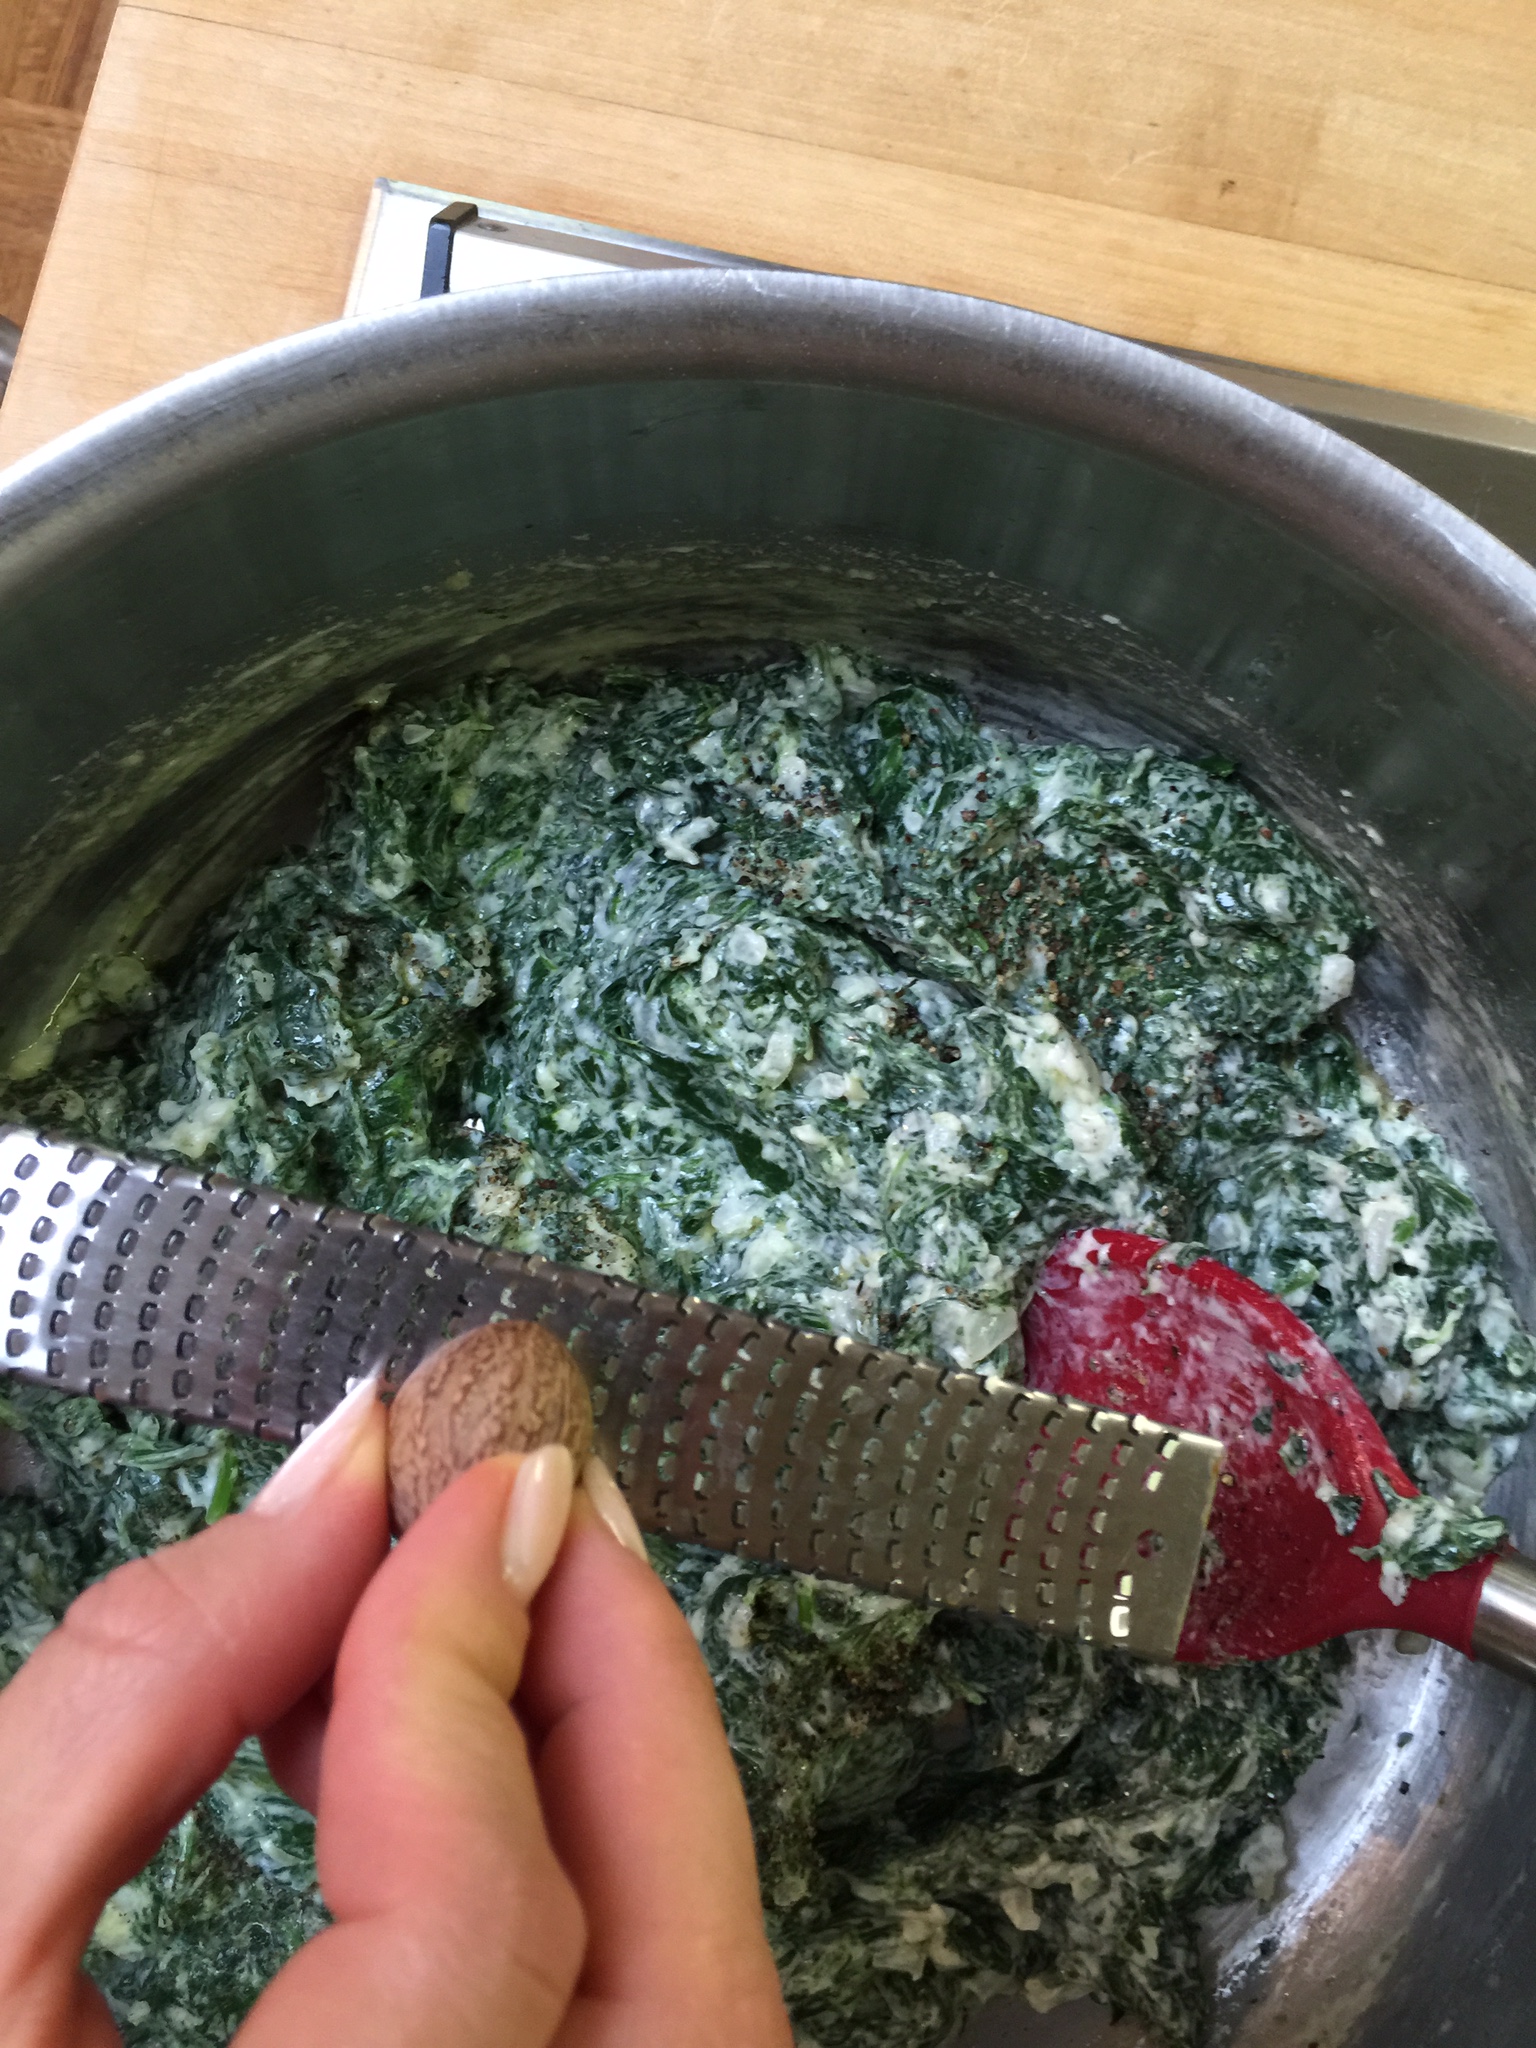
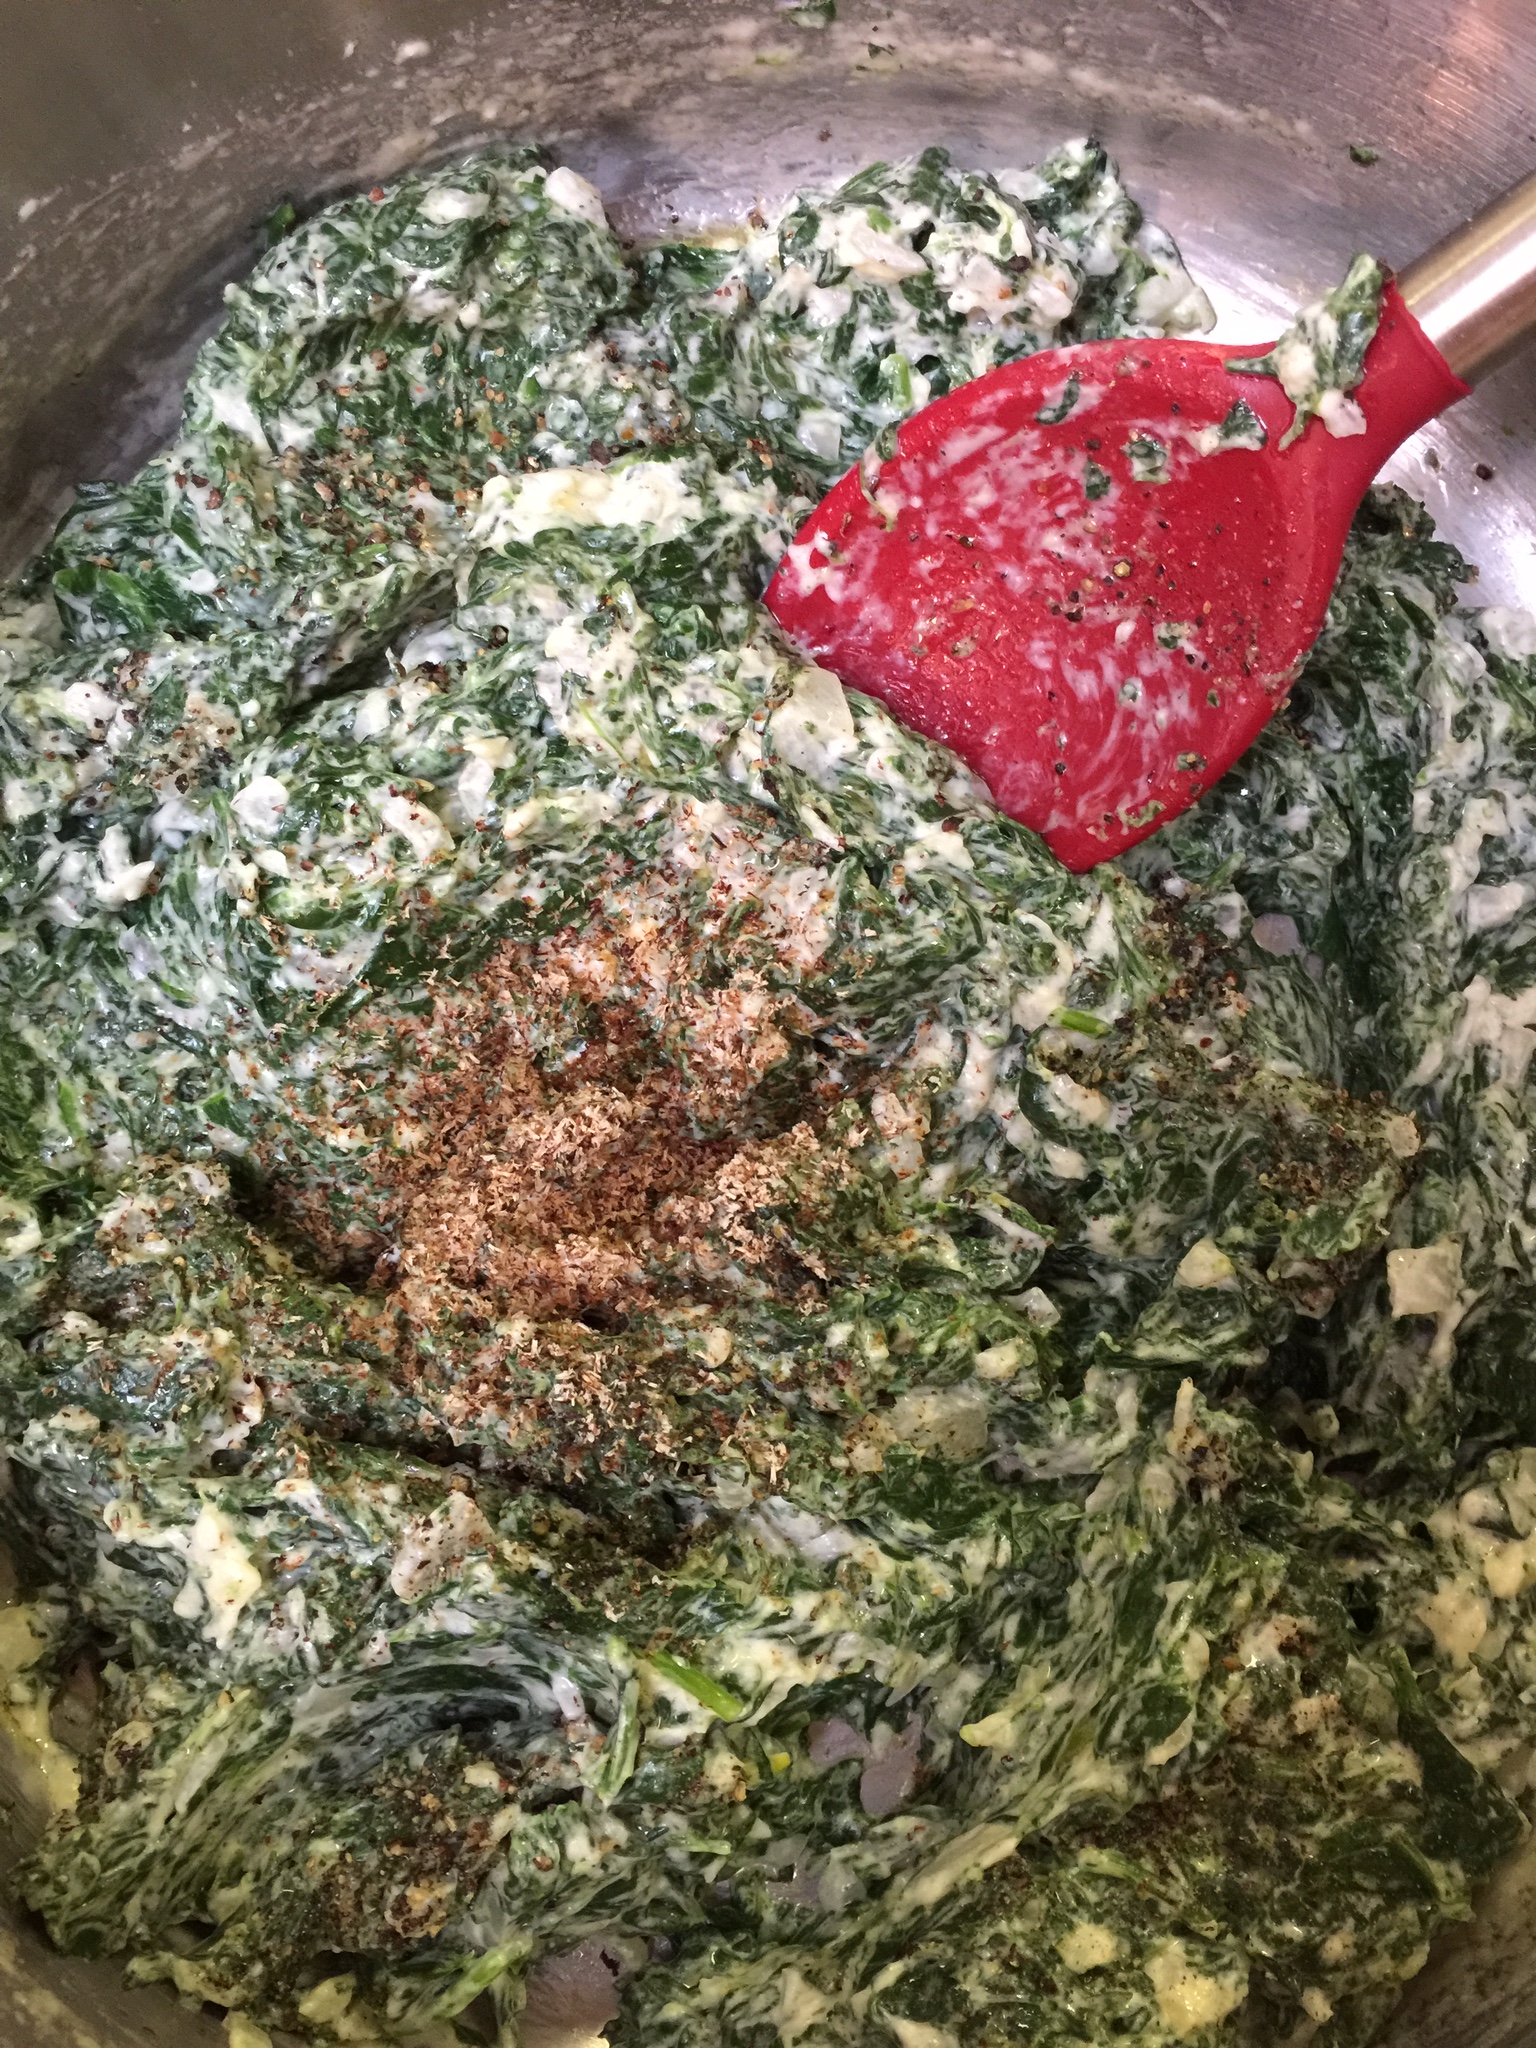
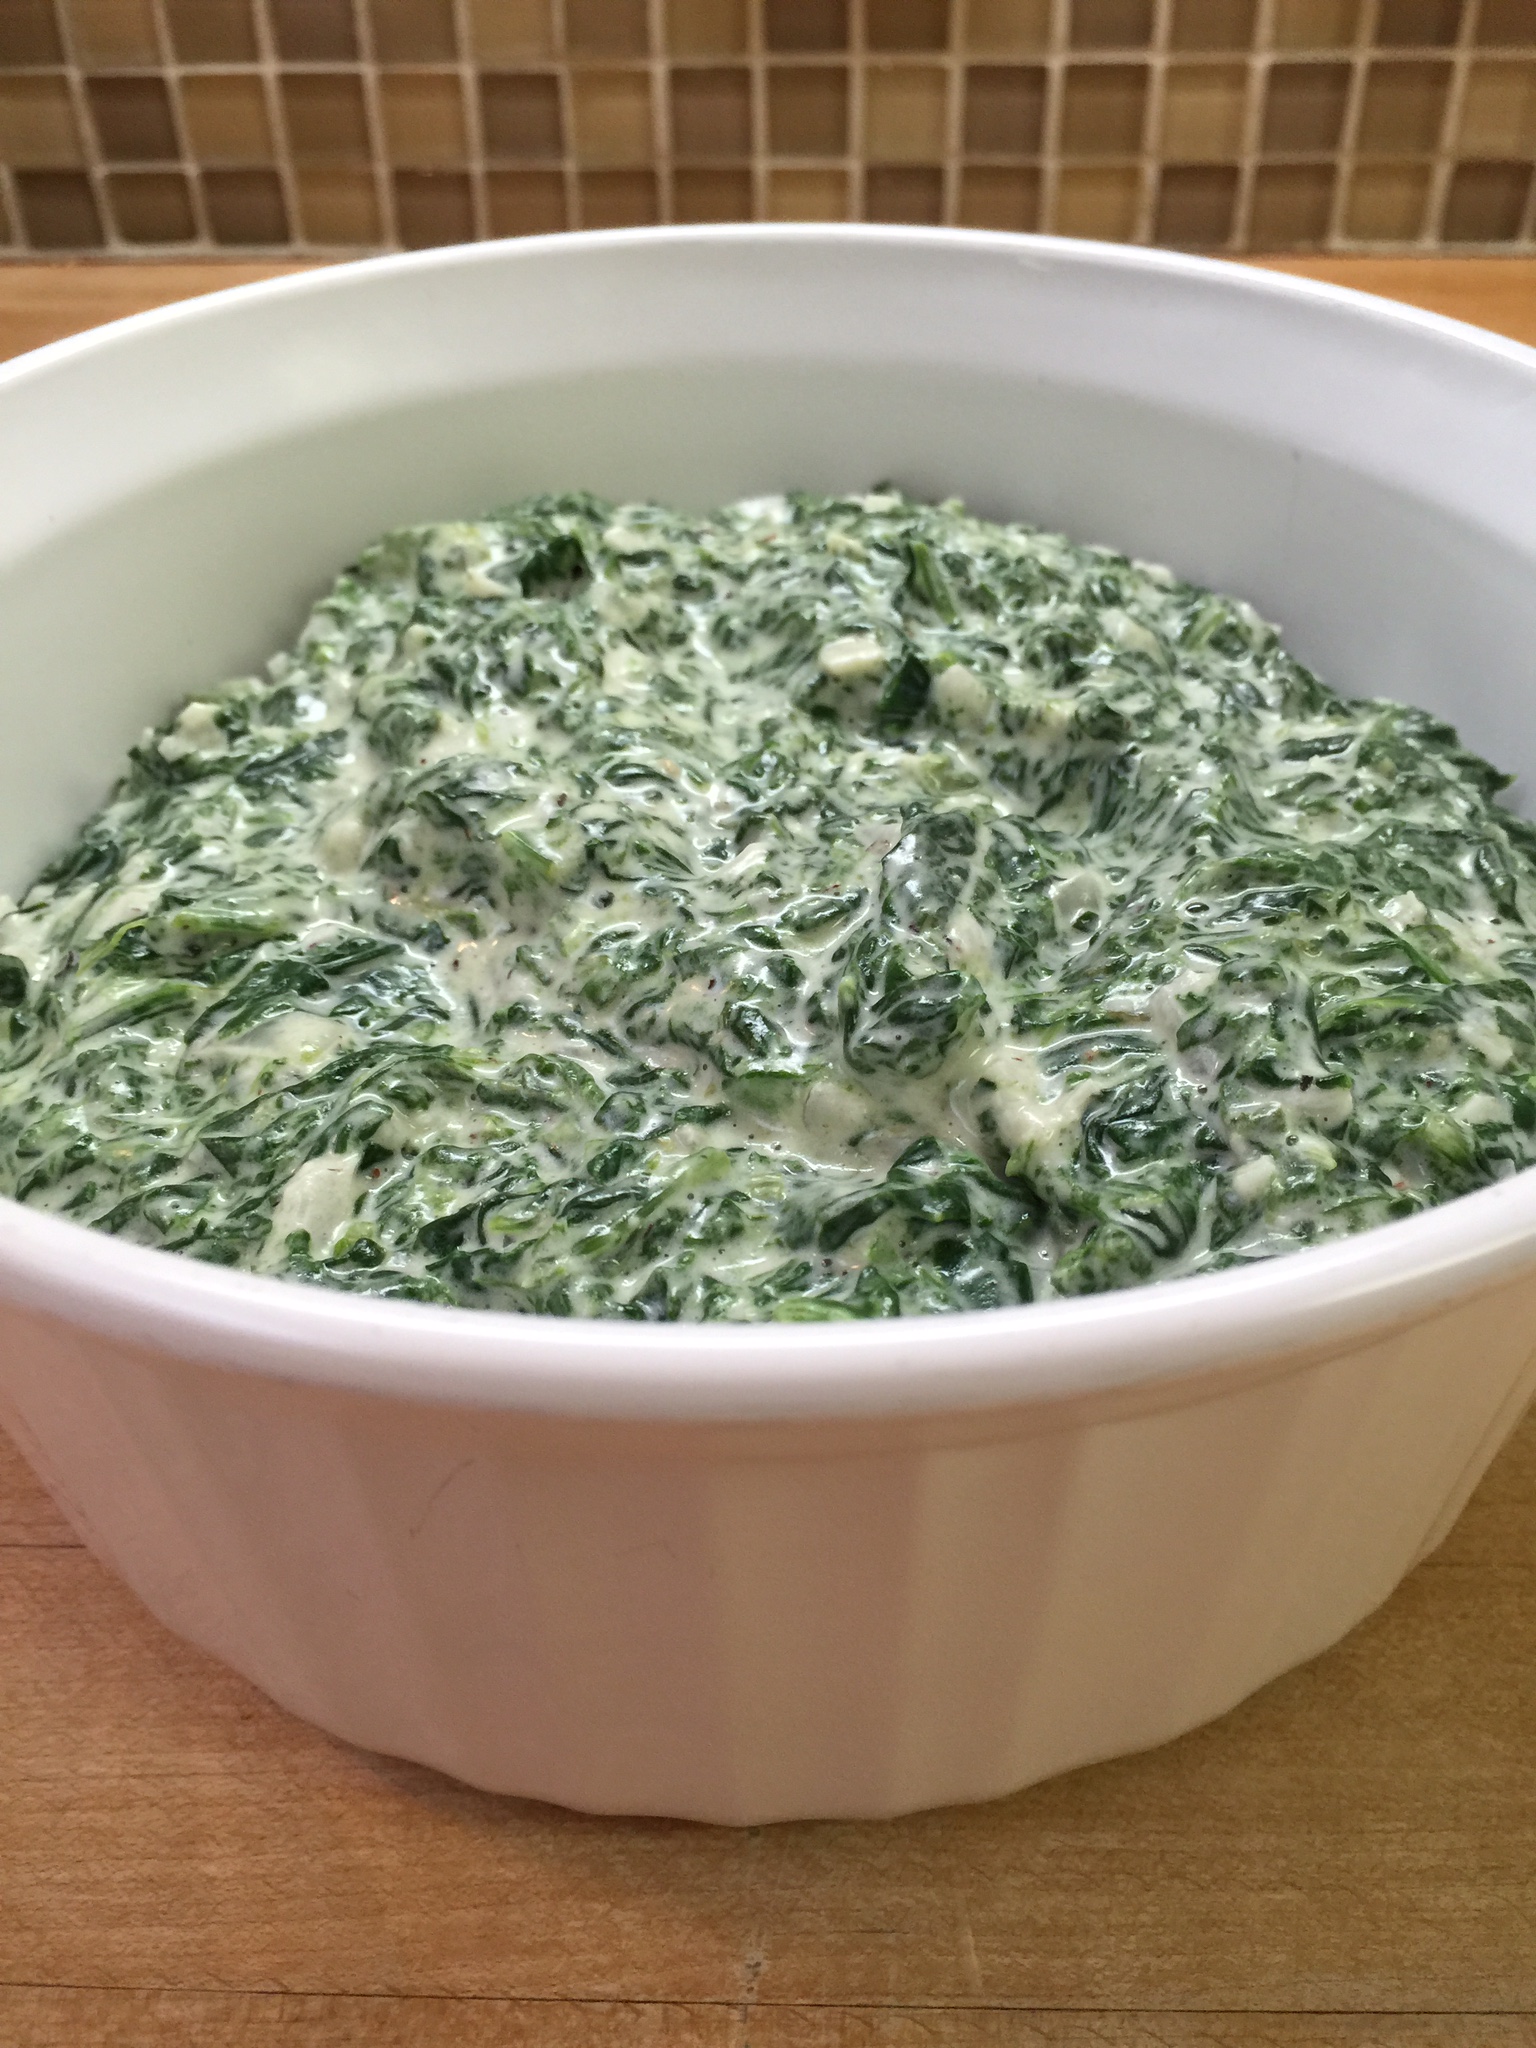
Mix all your seasonings in and let it simmer over low heat for about 5 minutes. Then serve and enjoy! It is just as good left over for lunch too!


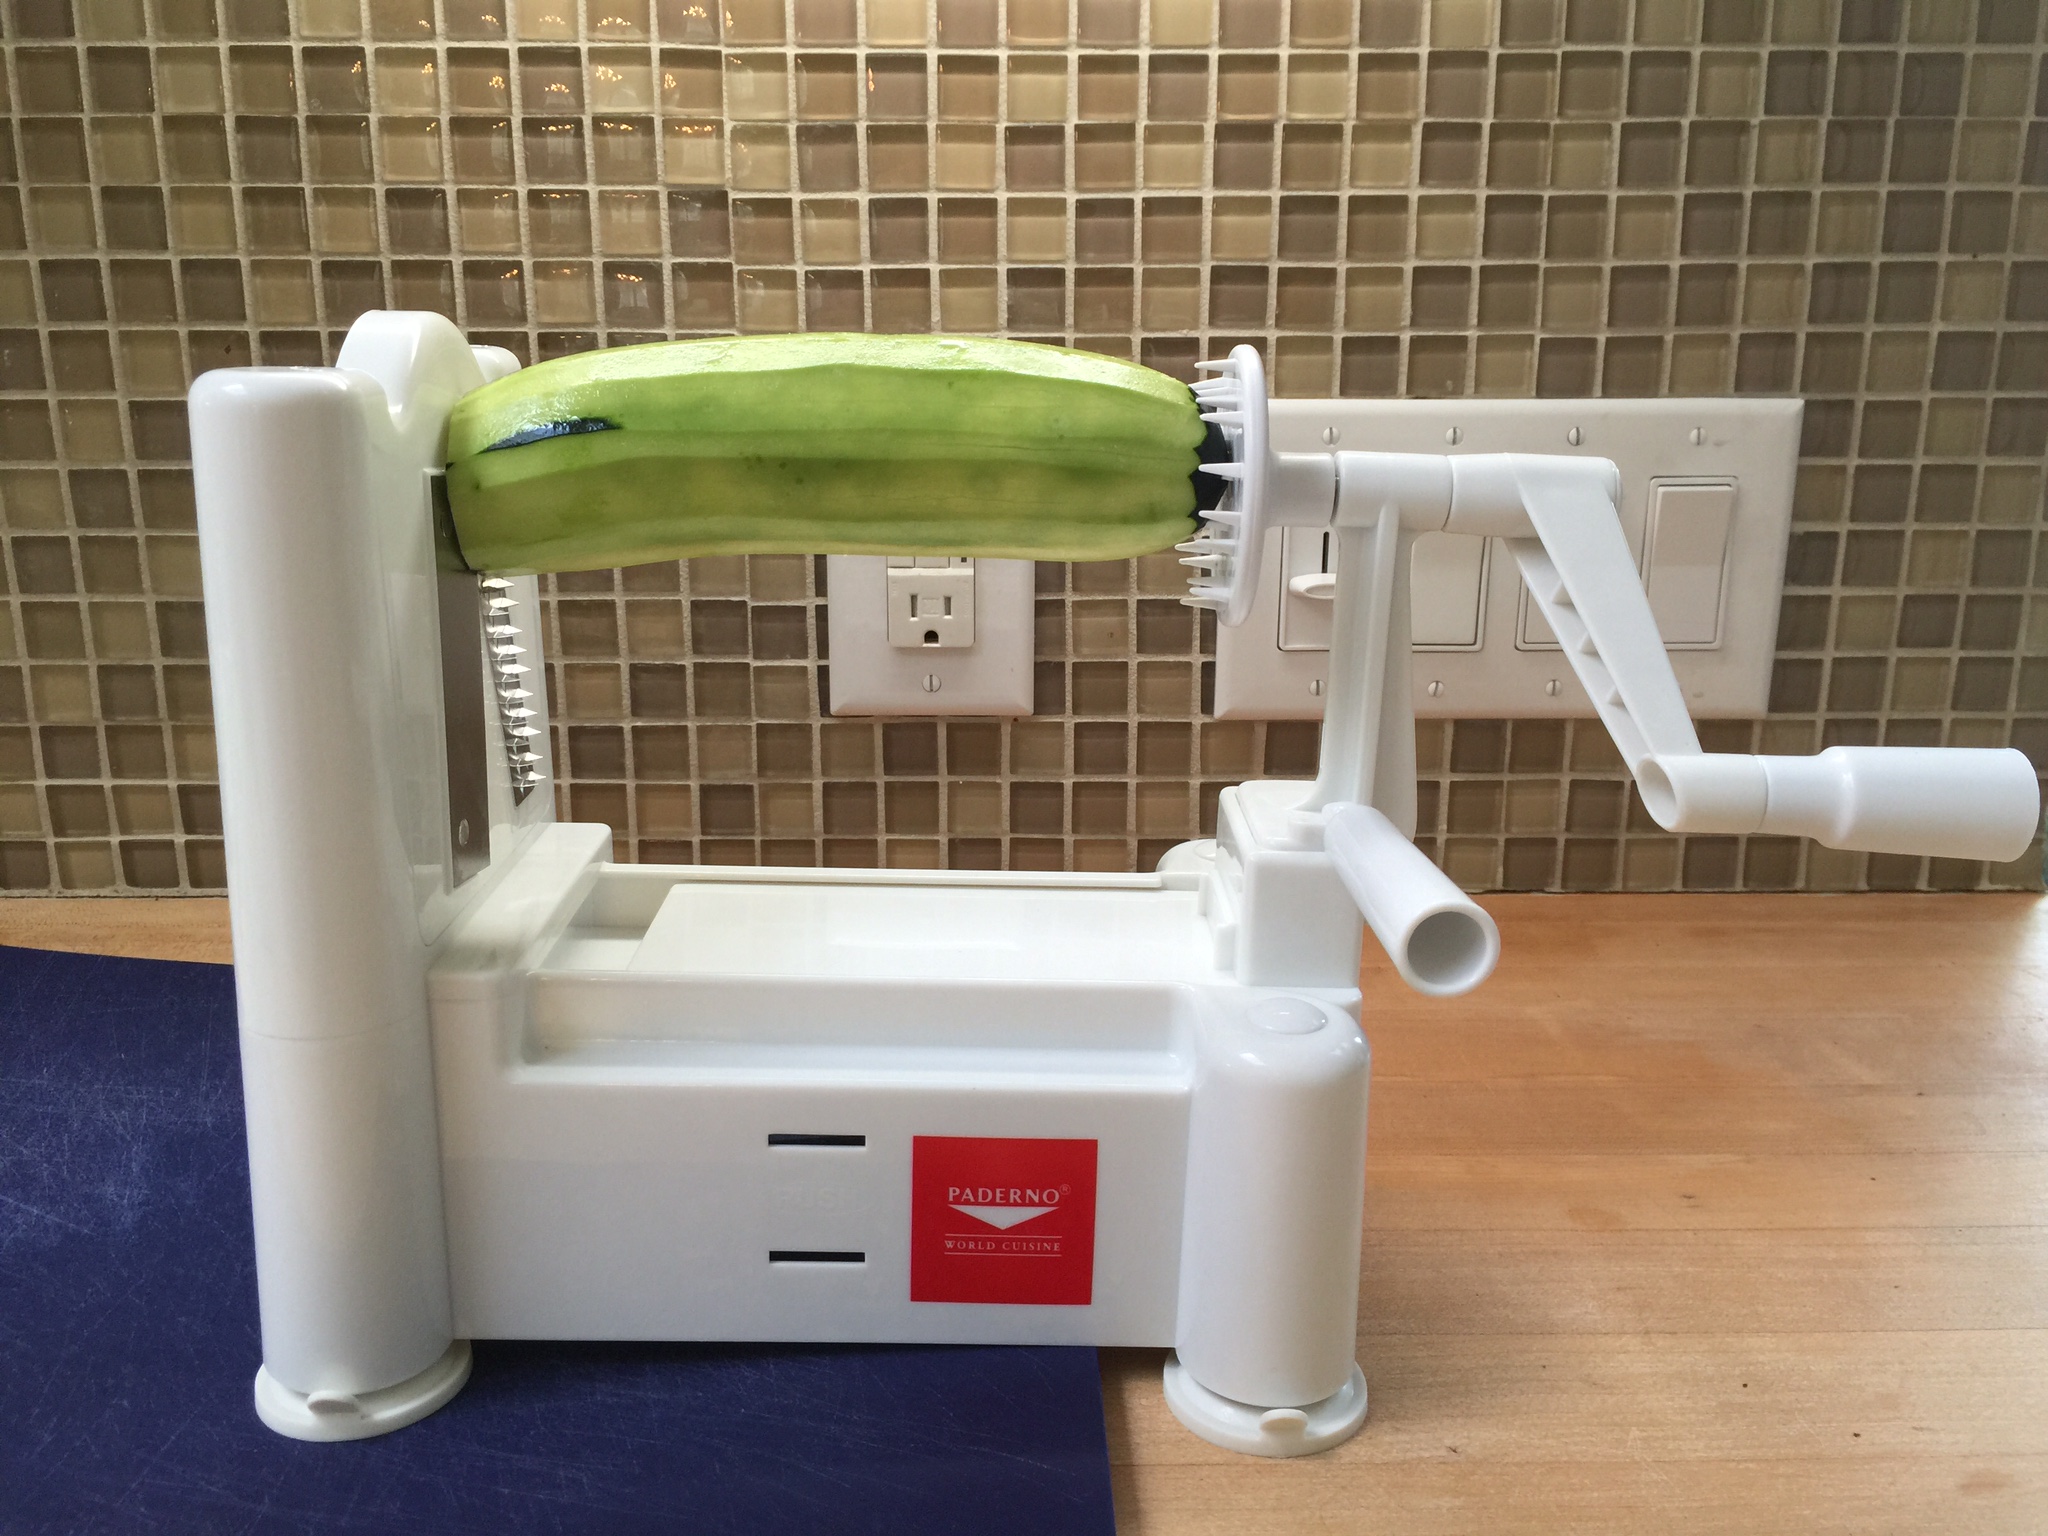
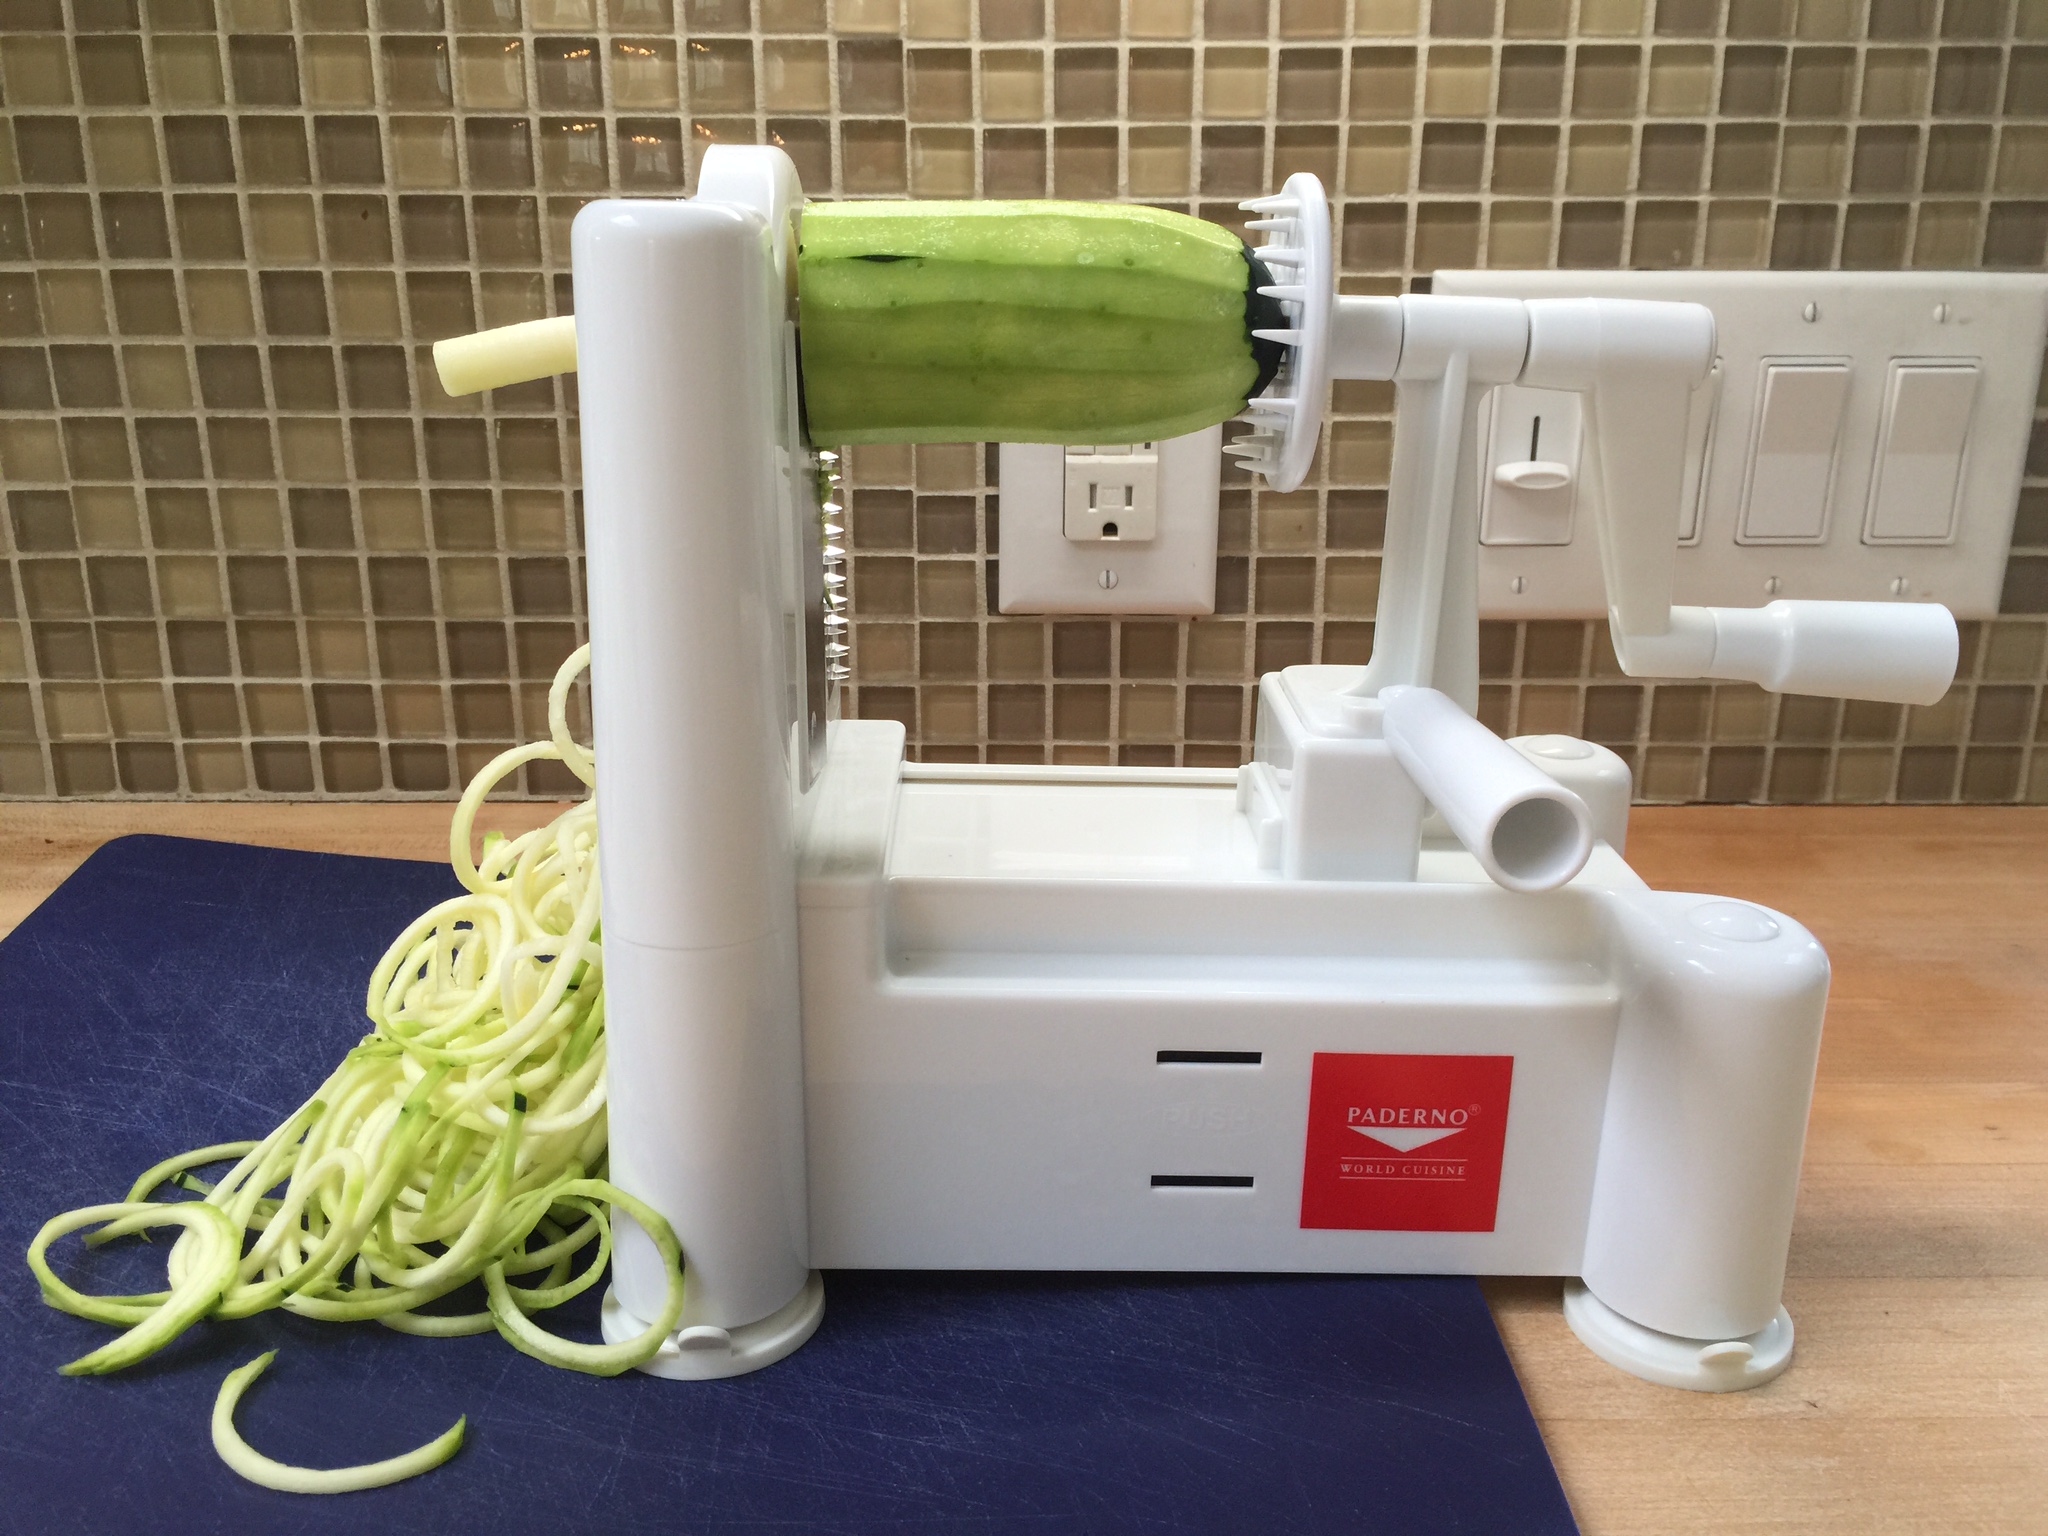
 2. Start your spiraling one at a time. This is super fast. I let mine drop onto a flexible cutting board and then scrape them every so often into a colander.