That’s right! I said Ice Cream! Chocolate Ice Cream!
I’ve been experimenting all summer, and not only do I have a great recipe for you, but it is an excellent activity to keep the kiddos entertained at the same time (if you choose to do this method.)
The best part, other than the amazing taste, is the simplicity! Just a few simple, pure, ingredients that you probably have on hand, a little waiting time, and dessert is prepared! A creamy, delicious dessert that no one would ever guess is SUGAR FREE!
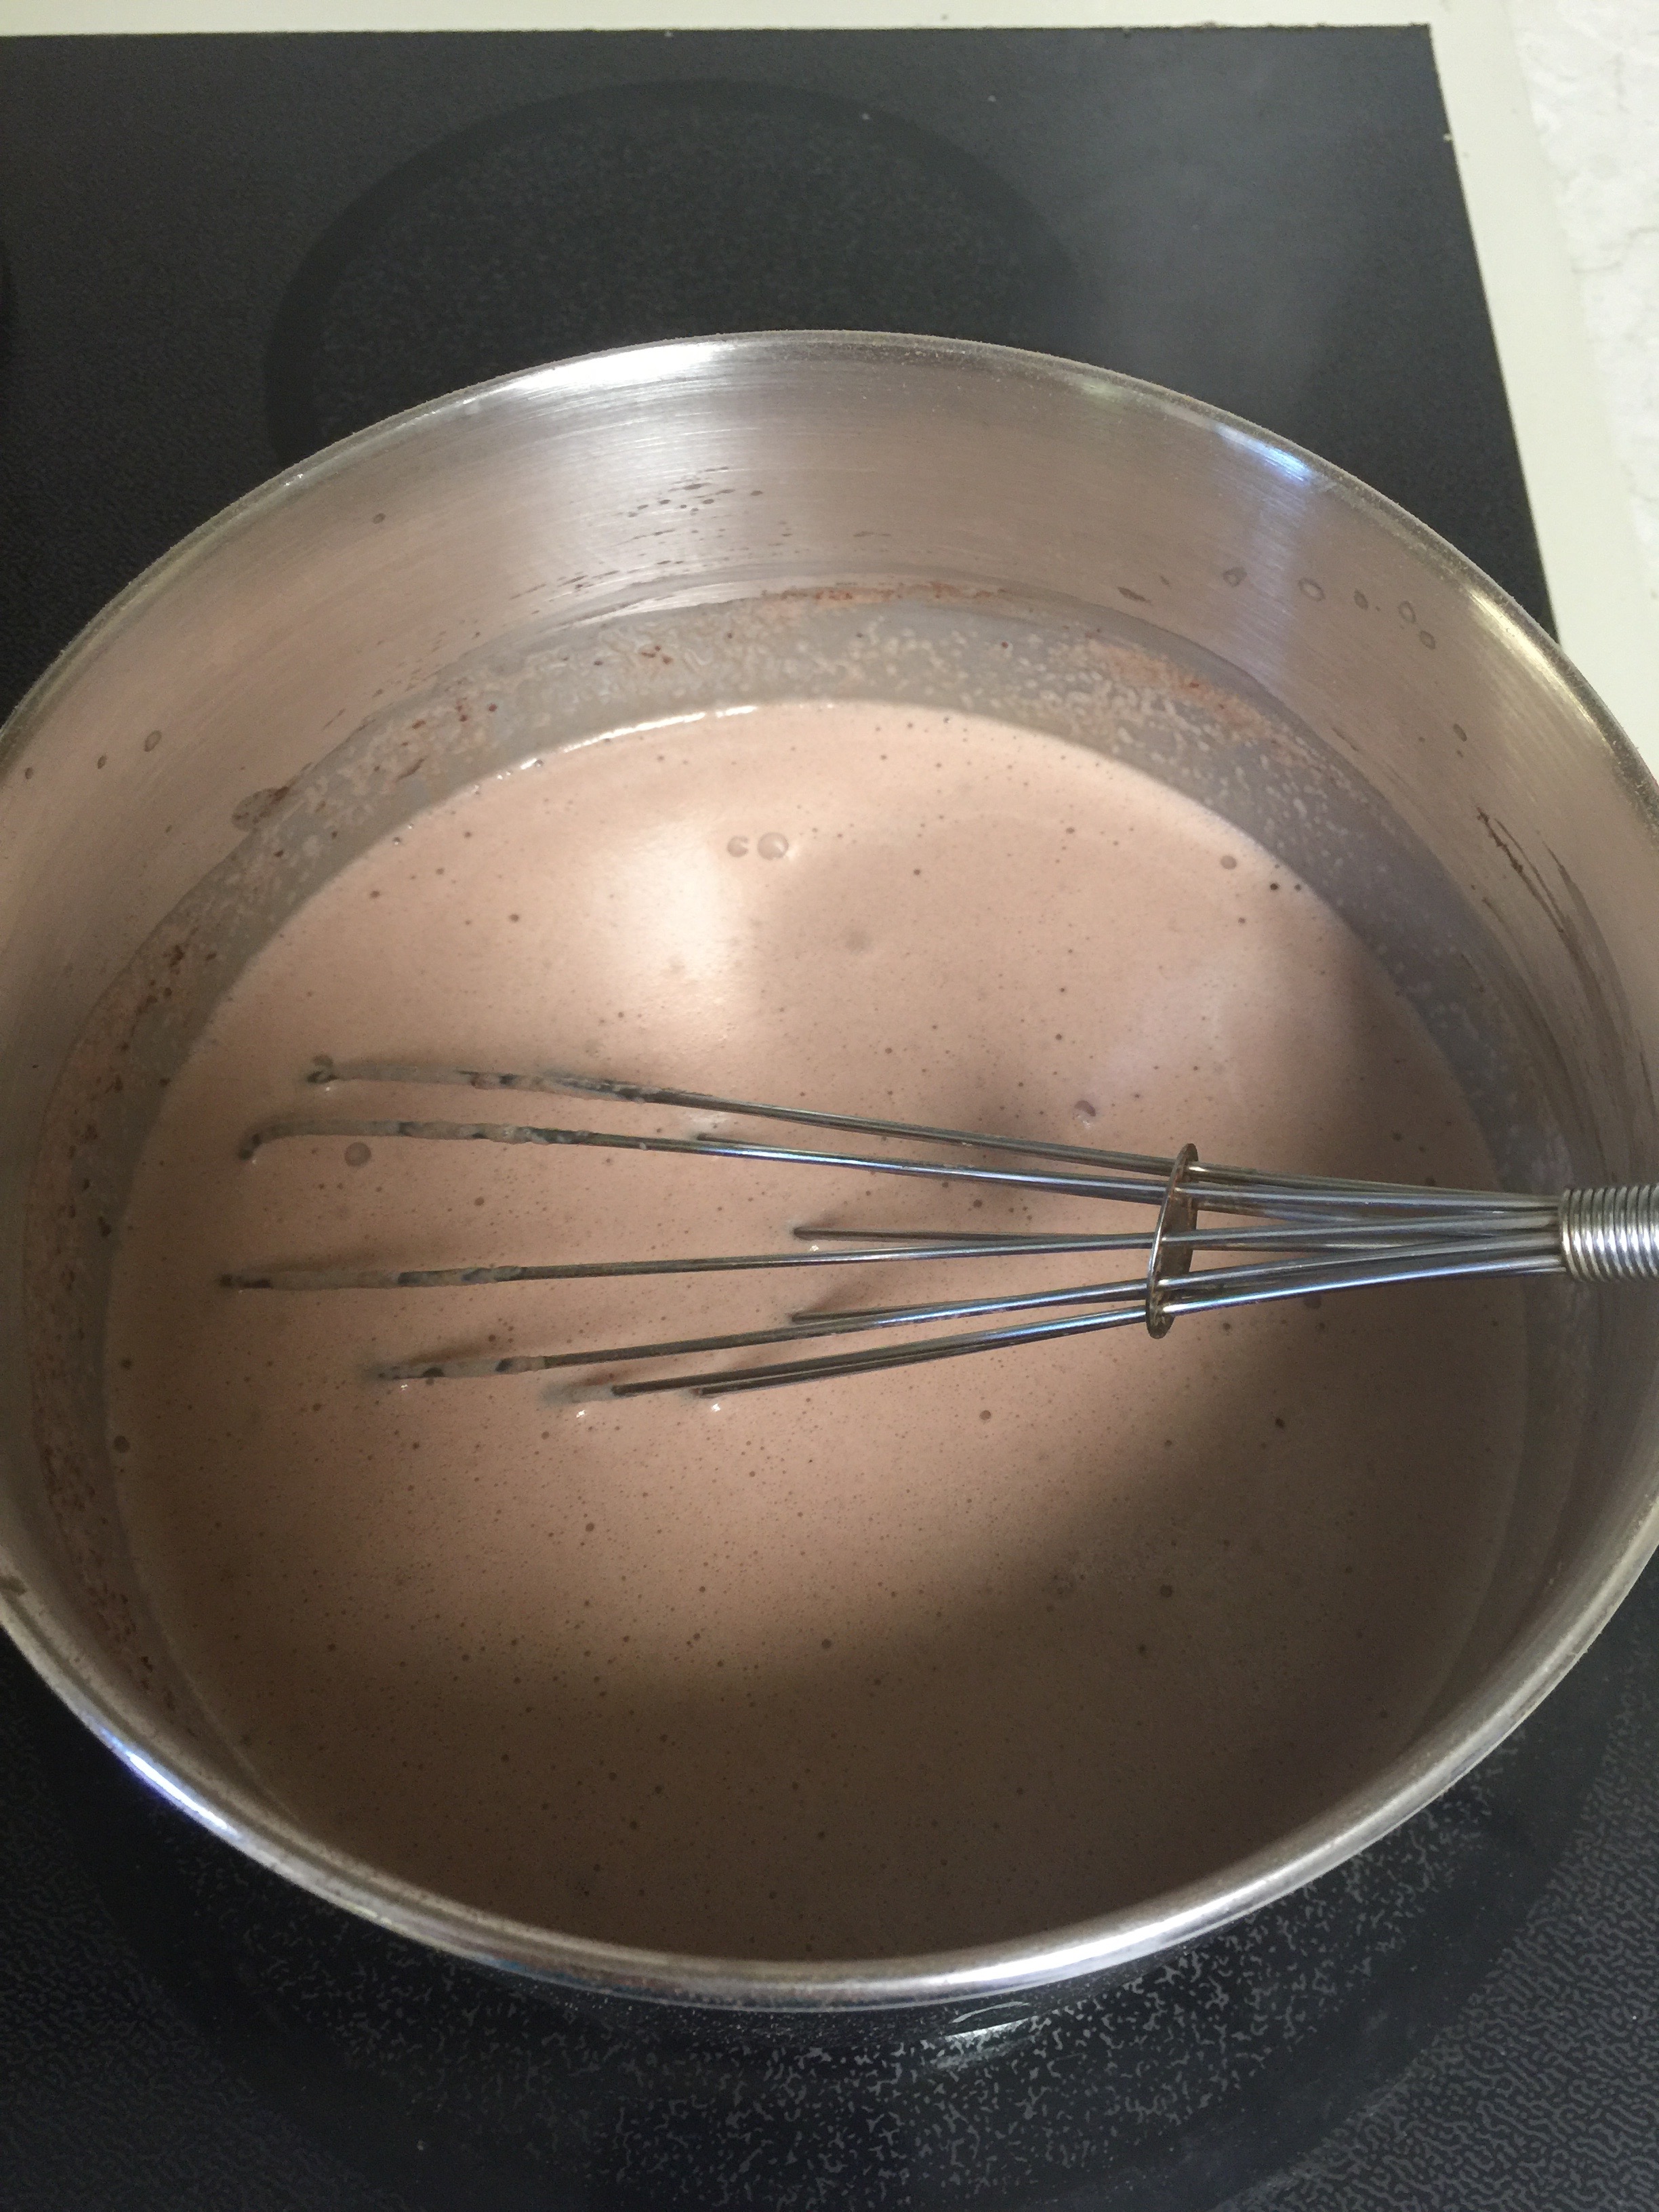
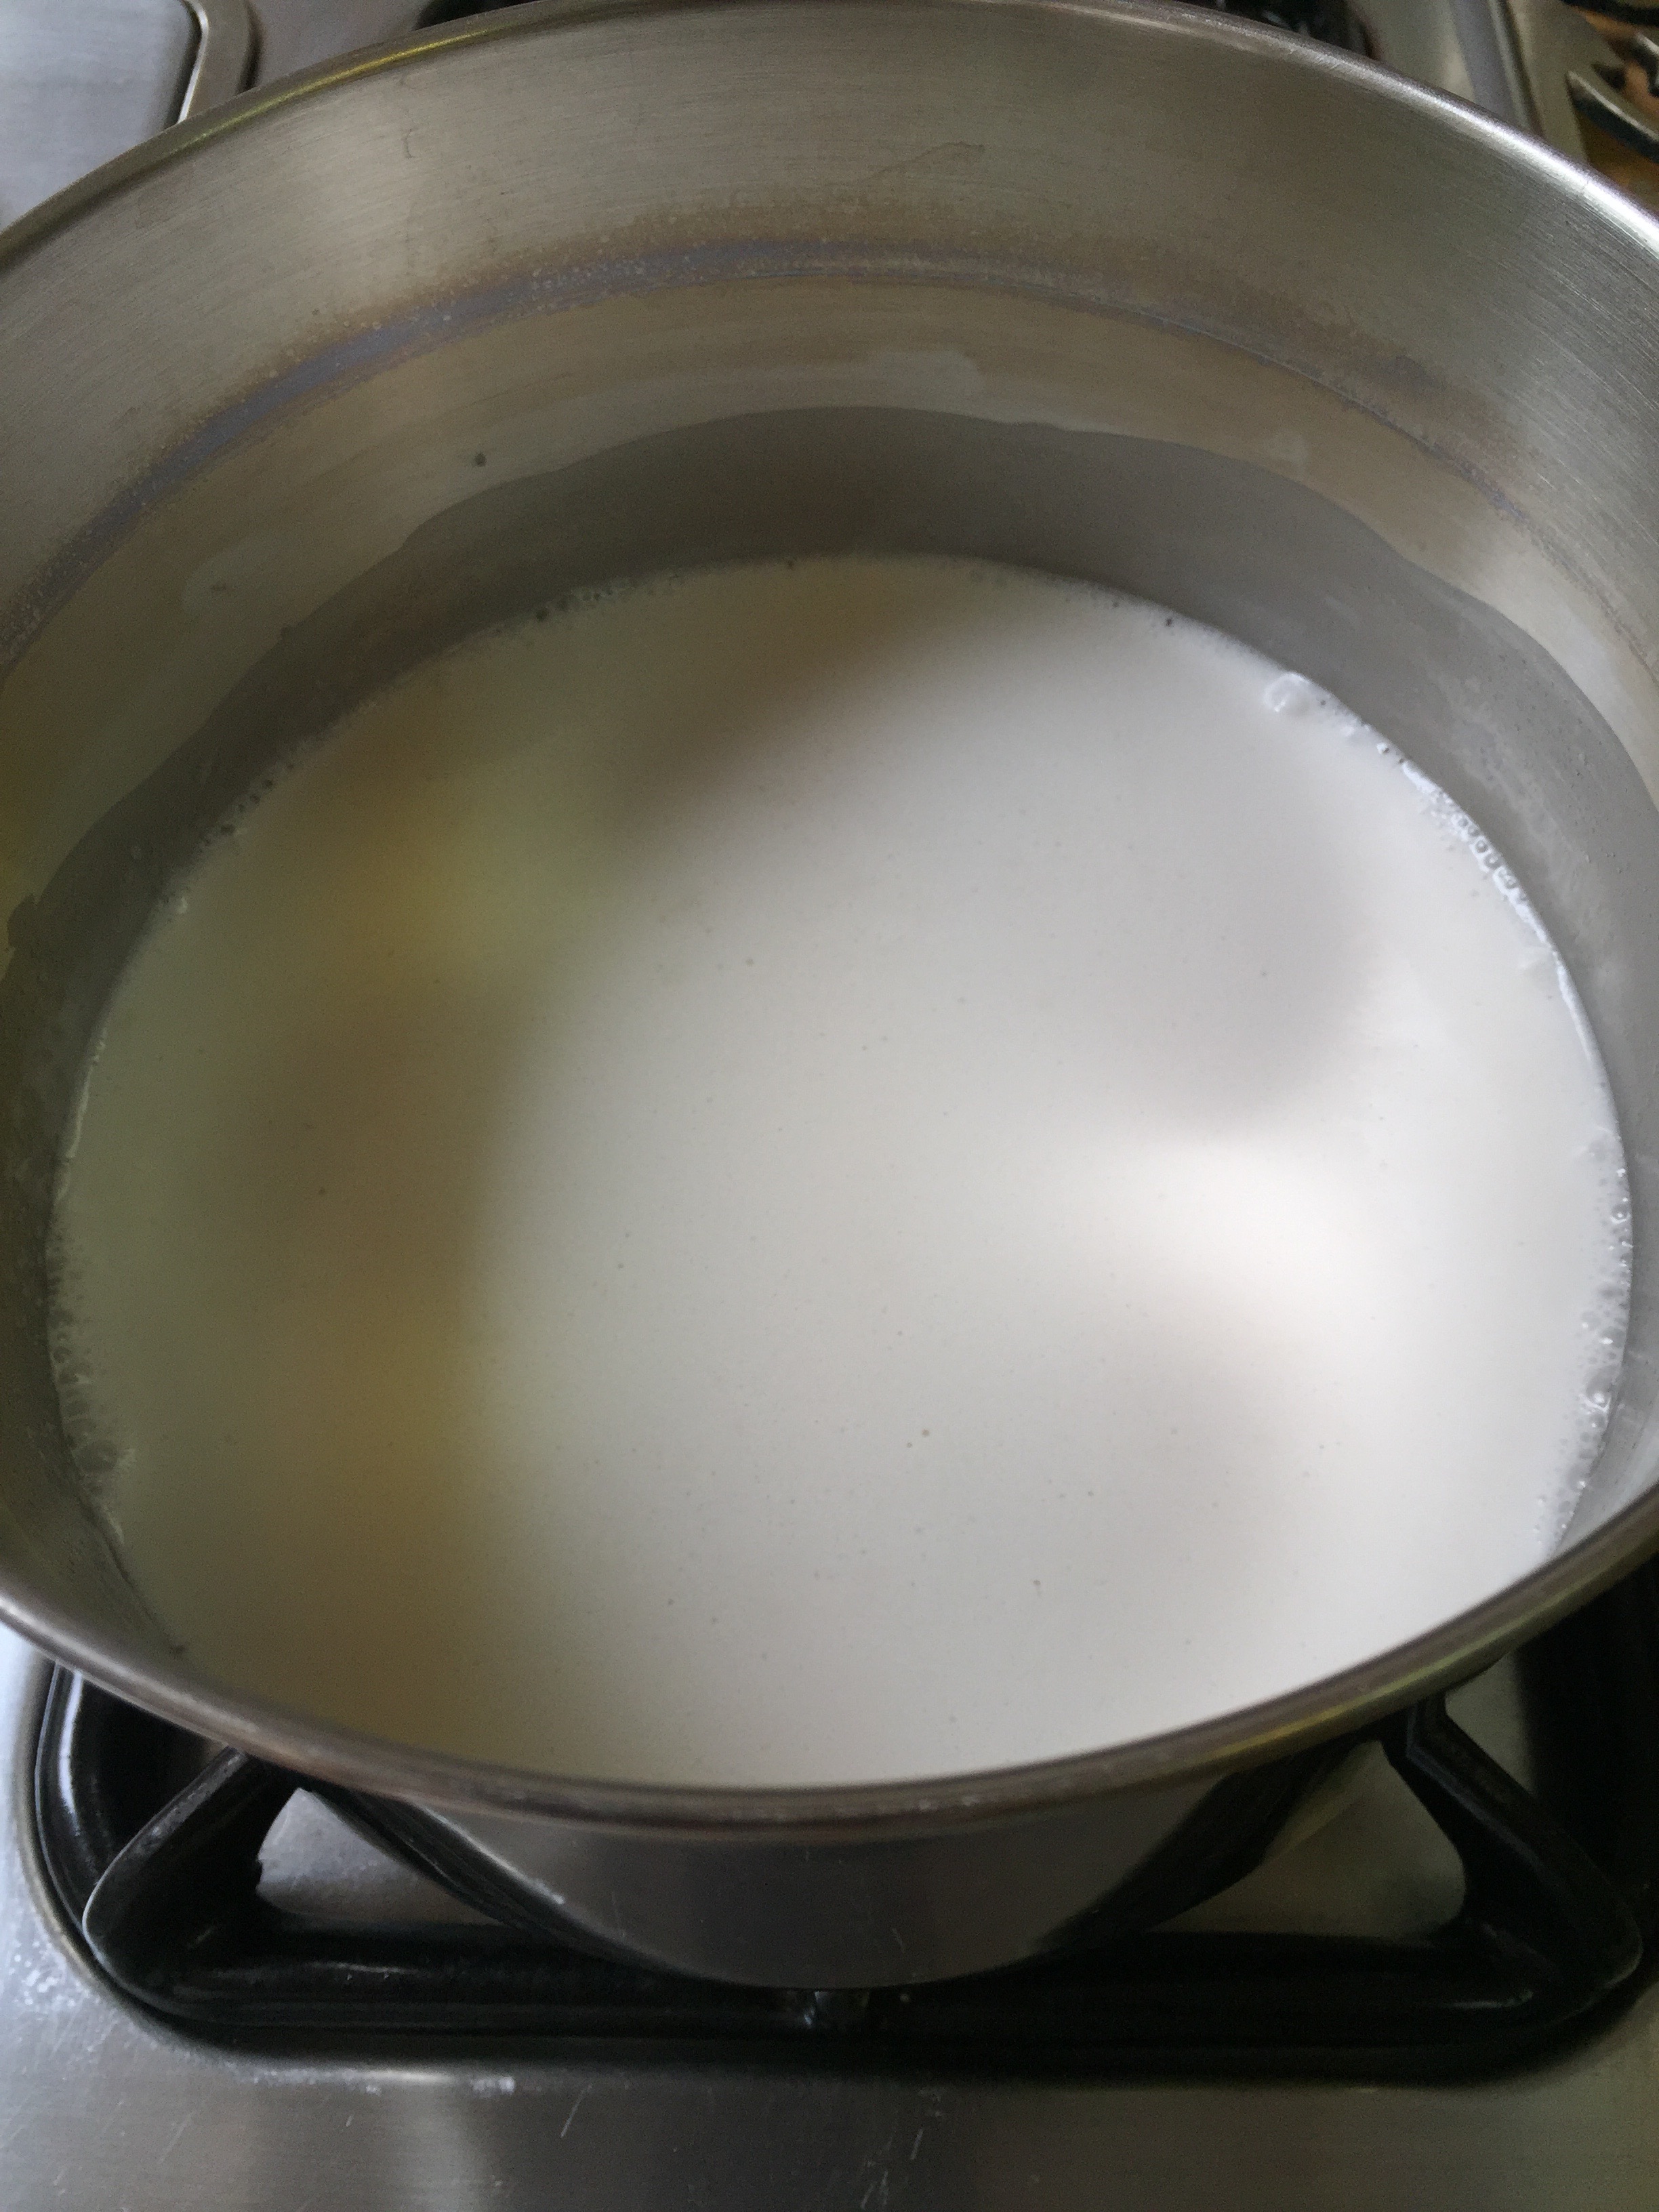
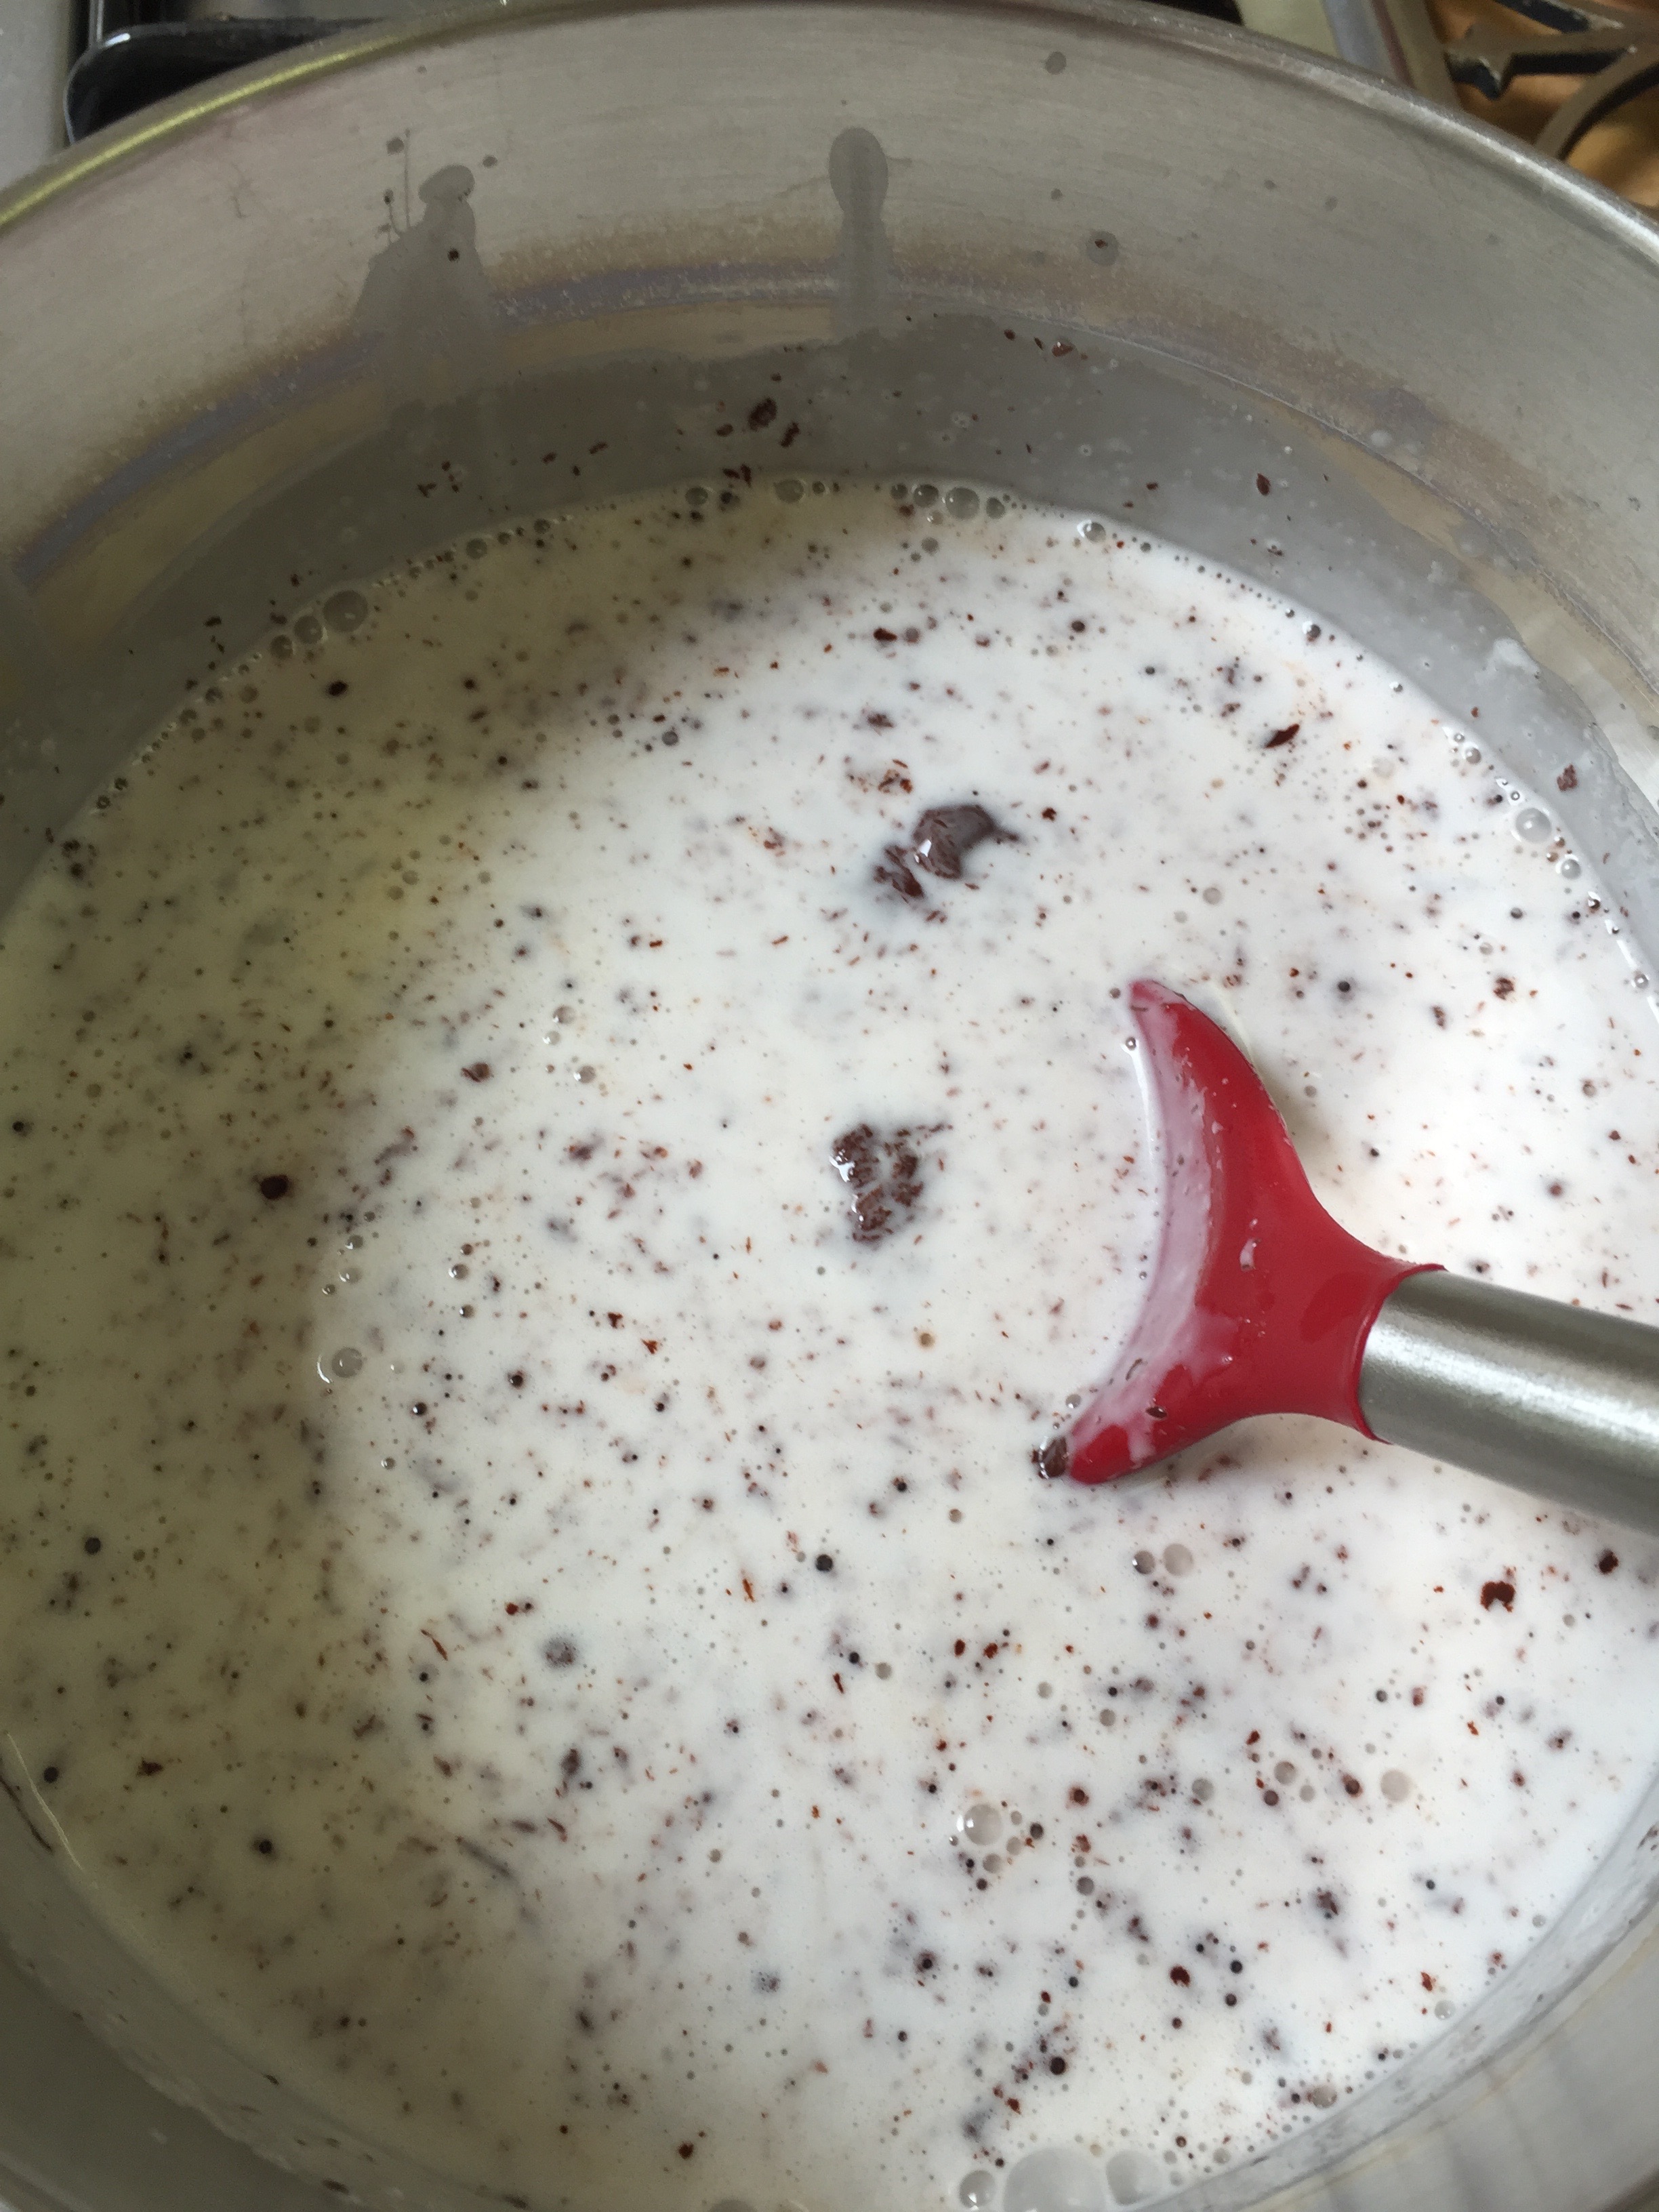
Whisk together cream, sweetener, and cocoa in a saucepan until it barely starts to simmer. Add vanilla and remove from heat.
Let it cool on the stovetop until the pan is not scalding. Place in the refrigerator to bring down to at least room temperature. (You don’t want to add the mixture to the ice cream maker or plastic bags at a high heat.)
Here are your options:
Kids version:
Pour 1/2 cup of mixture in a quart size Ziplock bag. Seal well! Place that bag in a gallon size ziplock filled with several cups of ice and 1/4 cup ice cream salt. Seal the gallon size bag. Hand it to your child with a dish towel and have them shake it until exhaustion or until the ice cream is the consistency of soft serve. Enjoy!
No mess version:
Pour your saucepan of cream mixture into an ice cream maker, turn on, and walk away. It should be nice and creamy in about 30 to 45 minutes! Enjoy.
I hope your family enjoys this as much as ours! Happy summer!!!
It’s starting to FEEL (and look) a lot like Christmas! My favorite season of the year!
We had such a hot fall in San Antonio, I was beginning to think it would never get cooler around here, but ‘lo and behold, we finally had a great cold front! Finally!
The first cold morning around here, the kids were begging for HOT CHOCOLATE!!!
Can hot chocolate be Keto?
Absolutely!
Look at these smiling faces!
There is nothing better on a cold morning than curling up in your cozy chair with a steaming hot cup of cocoa! The kids were cozy, happy, and warm!
So how to?
Keto Hot Chocolate
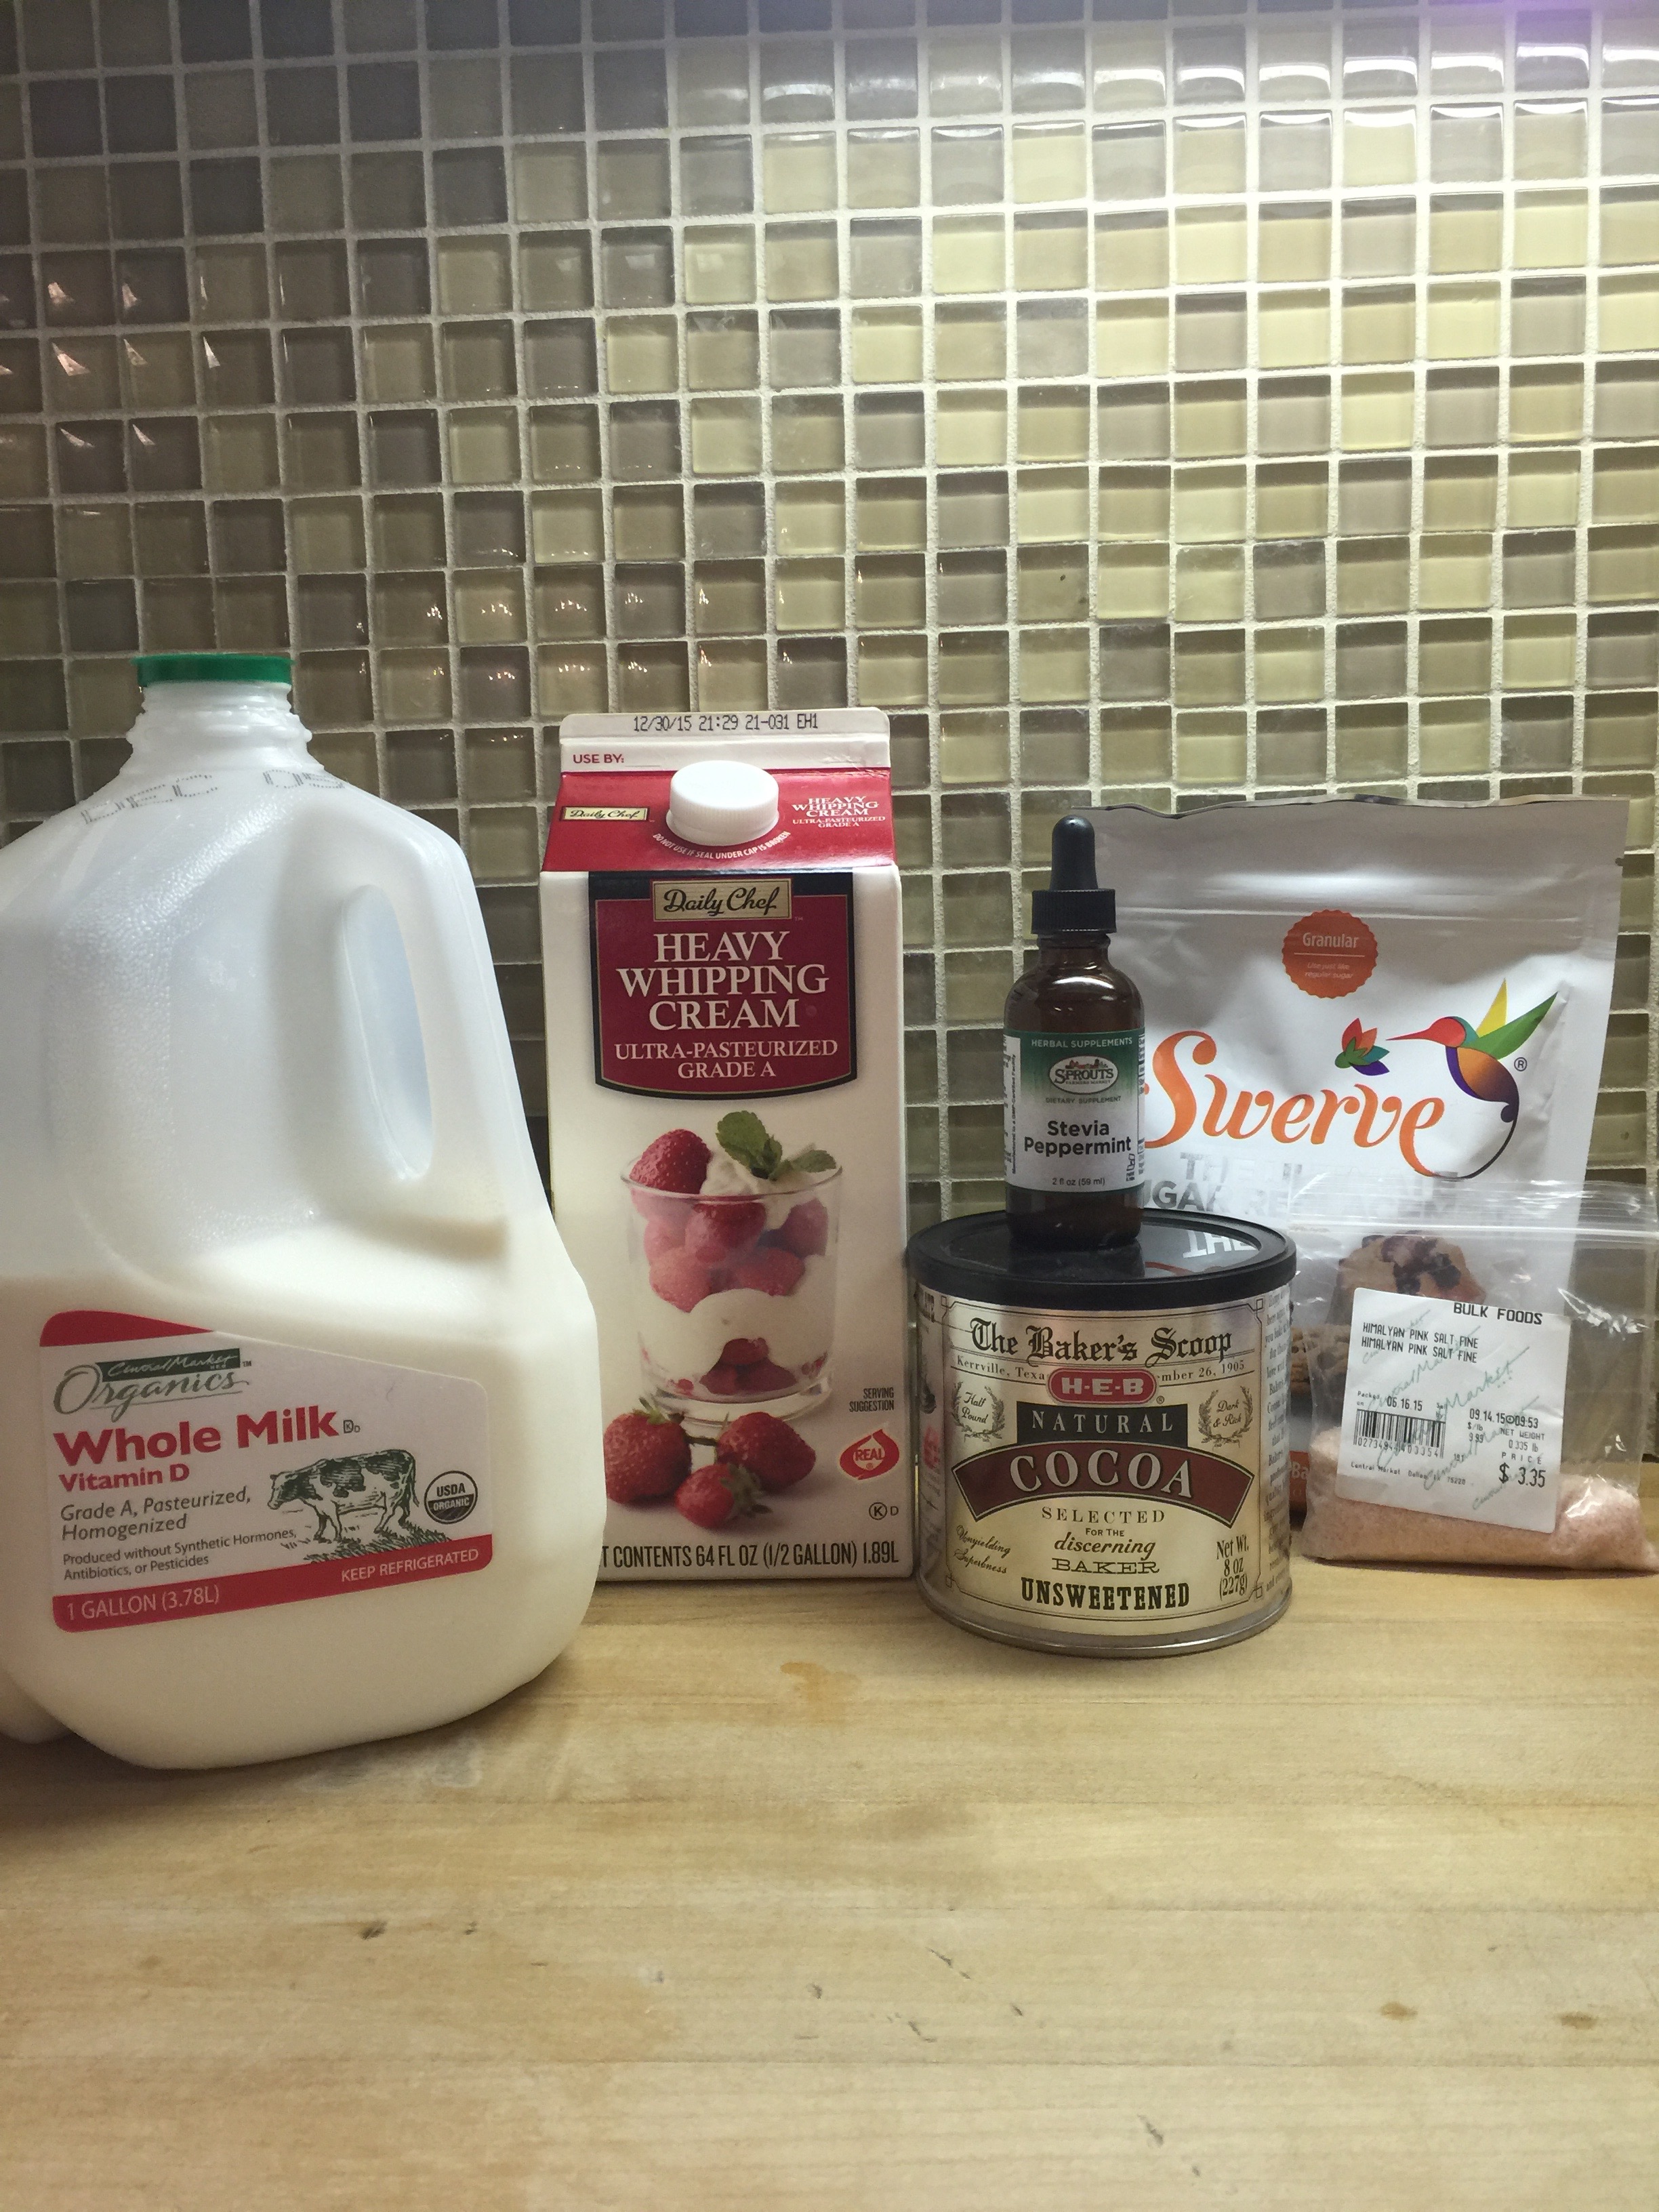
Do you see that half-gallon of cream???? Oh, yes it is! Sam’s Club!
You can use more cream and less milk for more keto cocoa and thin with some more water, however, for the kiddos, I don’t mind them having whole milk.
Ingredients:
1 cup water
1/2 cup 100% cocoa
1/4 tsp himalayan salt
3/4 cup Swerve granular
2 cups milk
2 cups heavy whipping cream
peppermint flavored Stevia to taste – I used 2 droppers full
The kids especially liked the peppermint flavor added, but you could use any flavor Stevia drops.
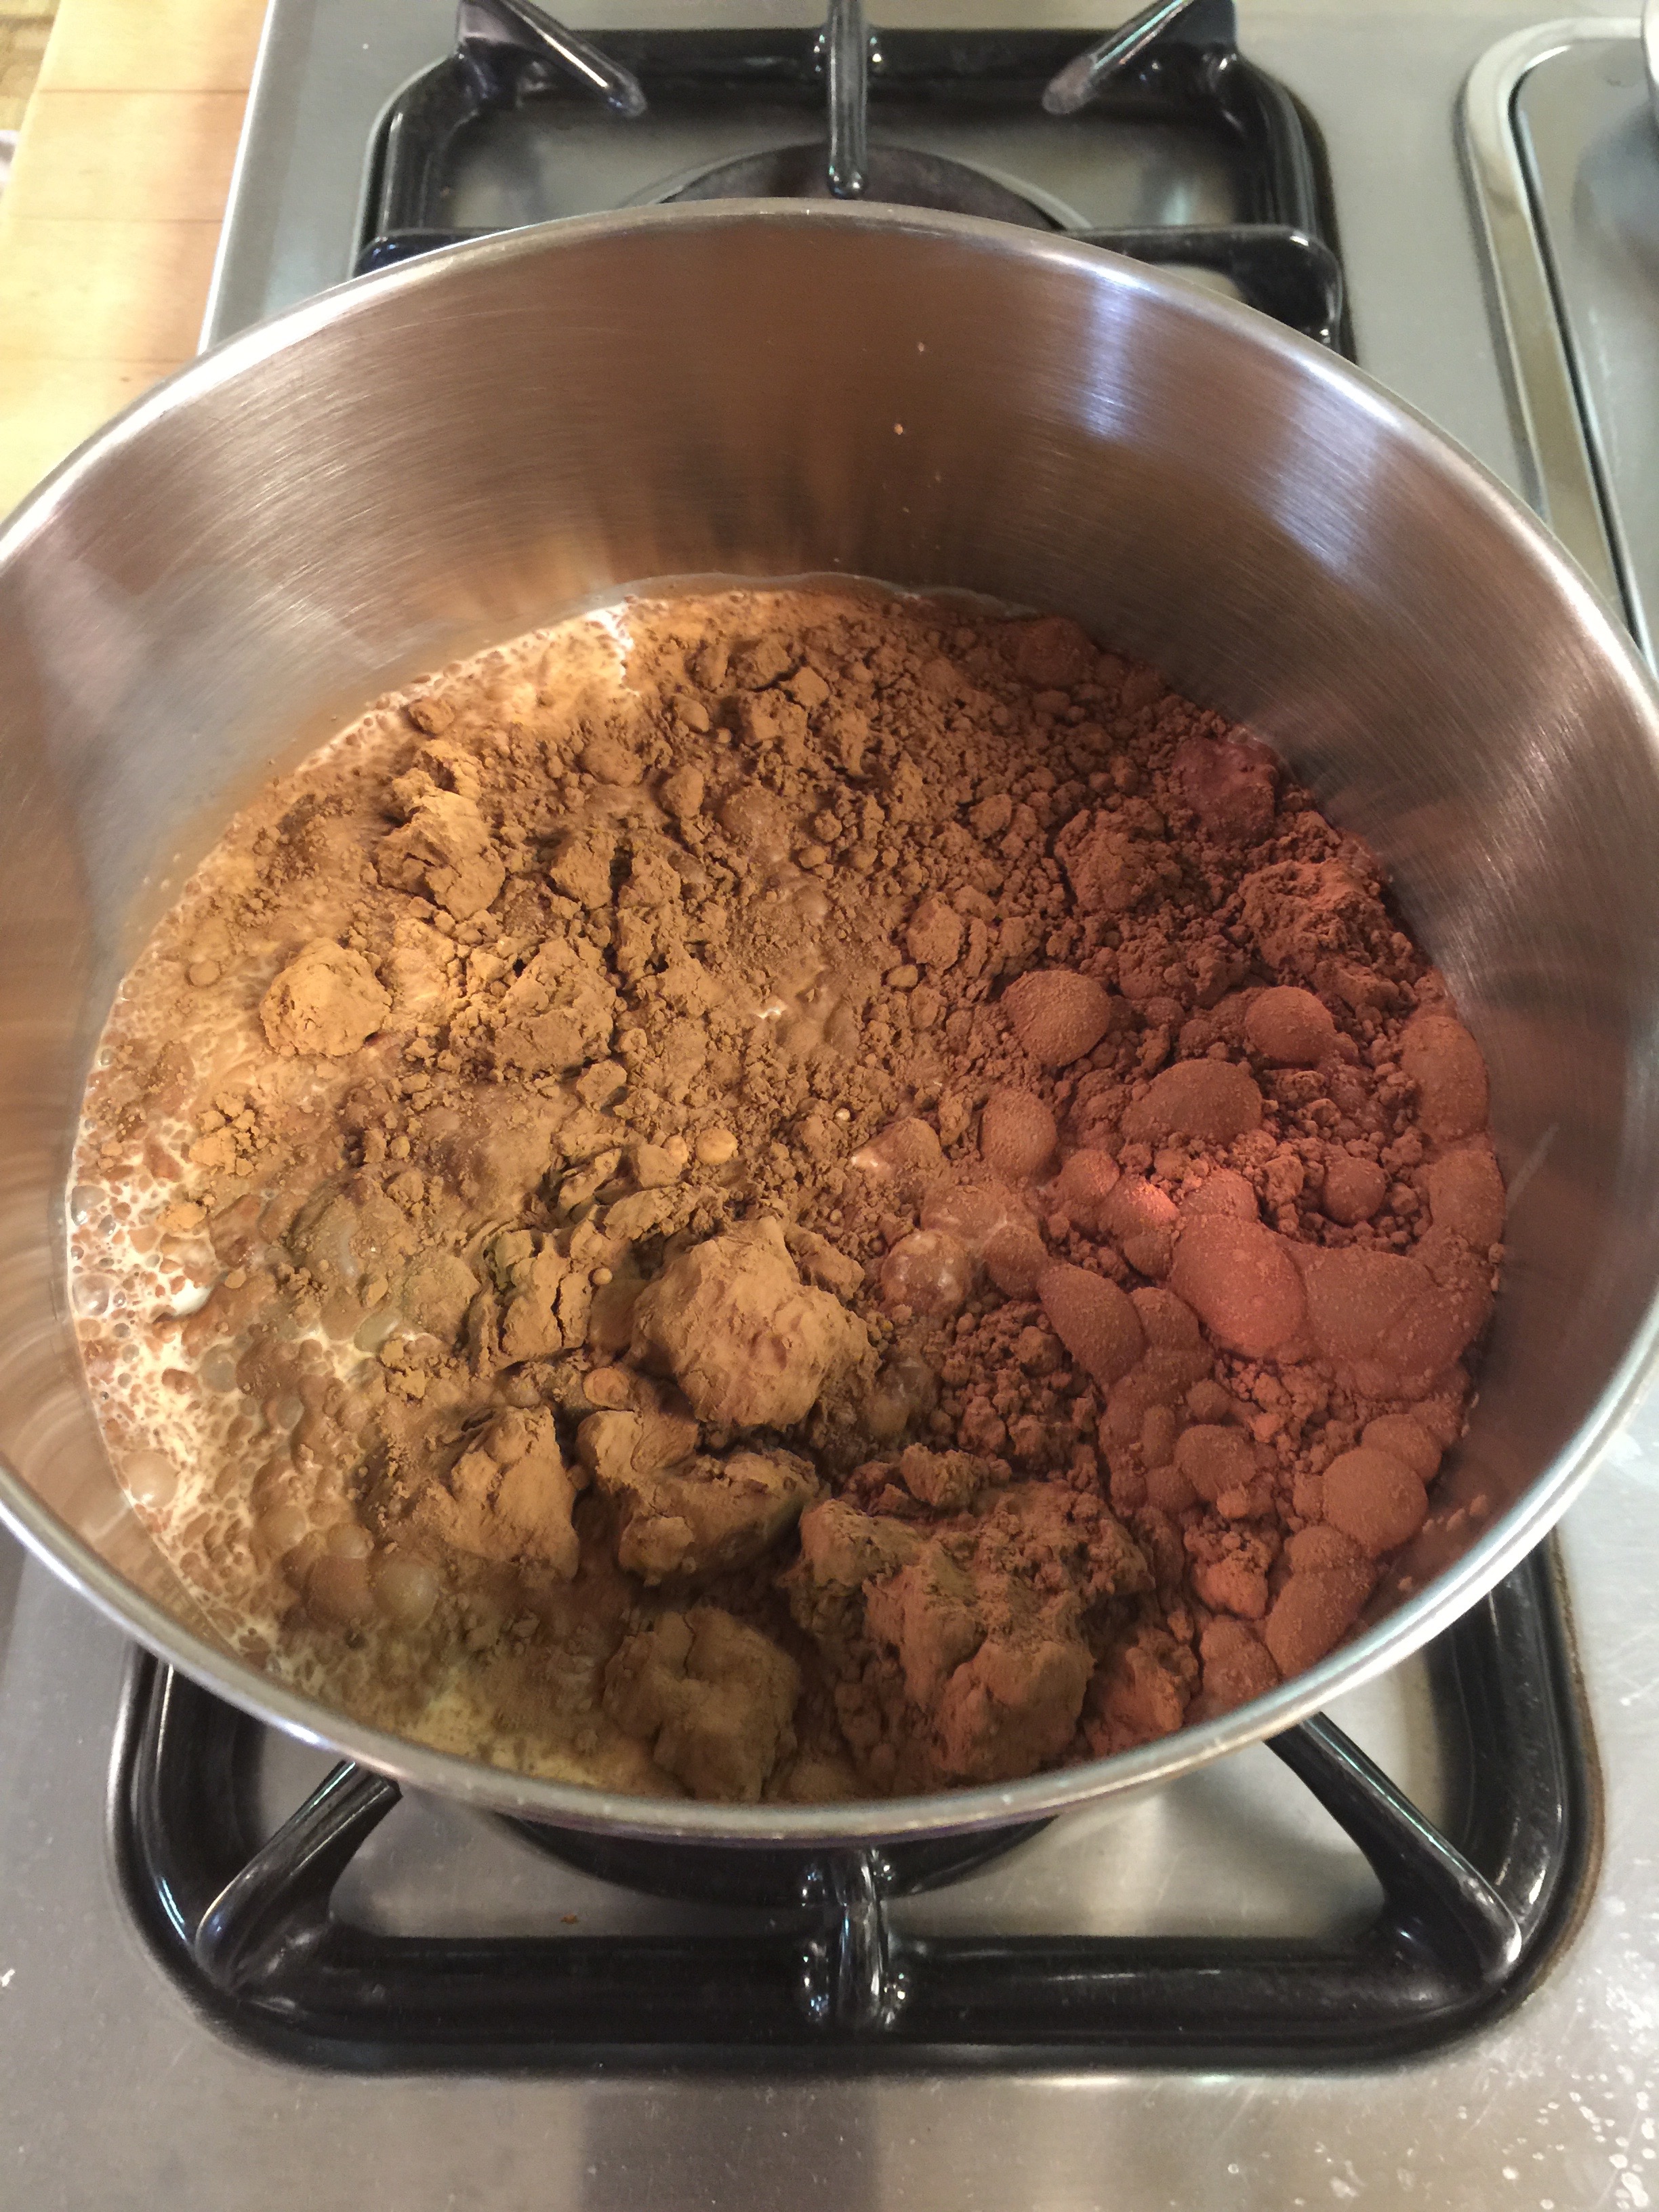
In a heavy large saucepan, combine all your ingredients and whisk well. Keep watch as you heat over medium heat. At the end, when everything is combined, it can boil up quickly and make a huge mess, so keep and eye on your sweet treat. When everything is combined and comes to a light boil, pour in mugs and top with sugar-free whipping cream! Yum yum delicious!
Wow! I don’t know about you, but it really snuck up on me this year.
The Thanksgiving menu is not too tough on Ketoers for the most part. We can have turkey, brussel sprouts, swap the potatoes for cauliflower mashed potatoes, and the list goes on. What to do about dessert though?
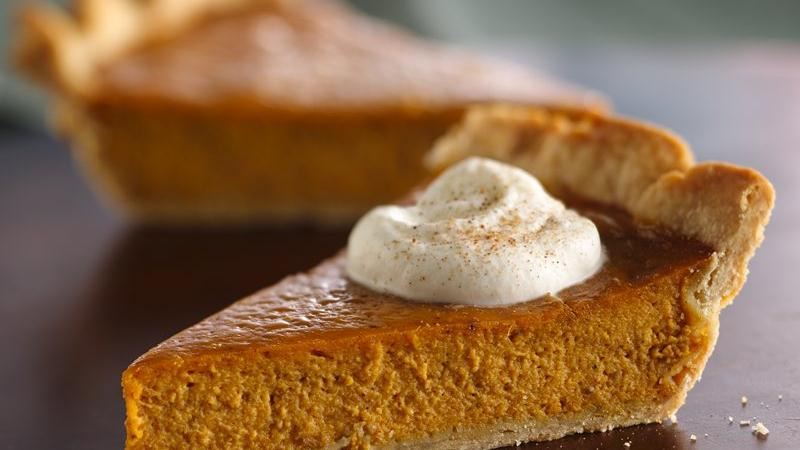
I have great news! I have perfected the Keto Pumpkin Pie! It is as simple as following the Libby’s recipe on the back of the pumpkin can. My grandmother (who was a wonderful cook) always said to go with the recipe on the back of the can. Why mess with a good thing that professionals have spent endless hours perfecting?
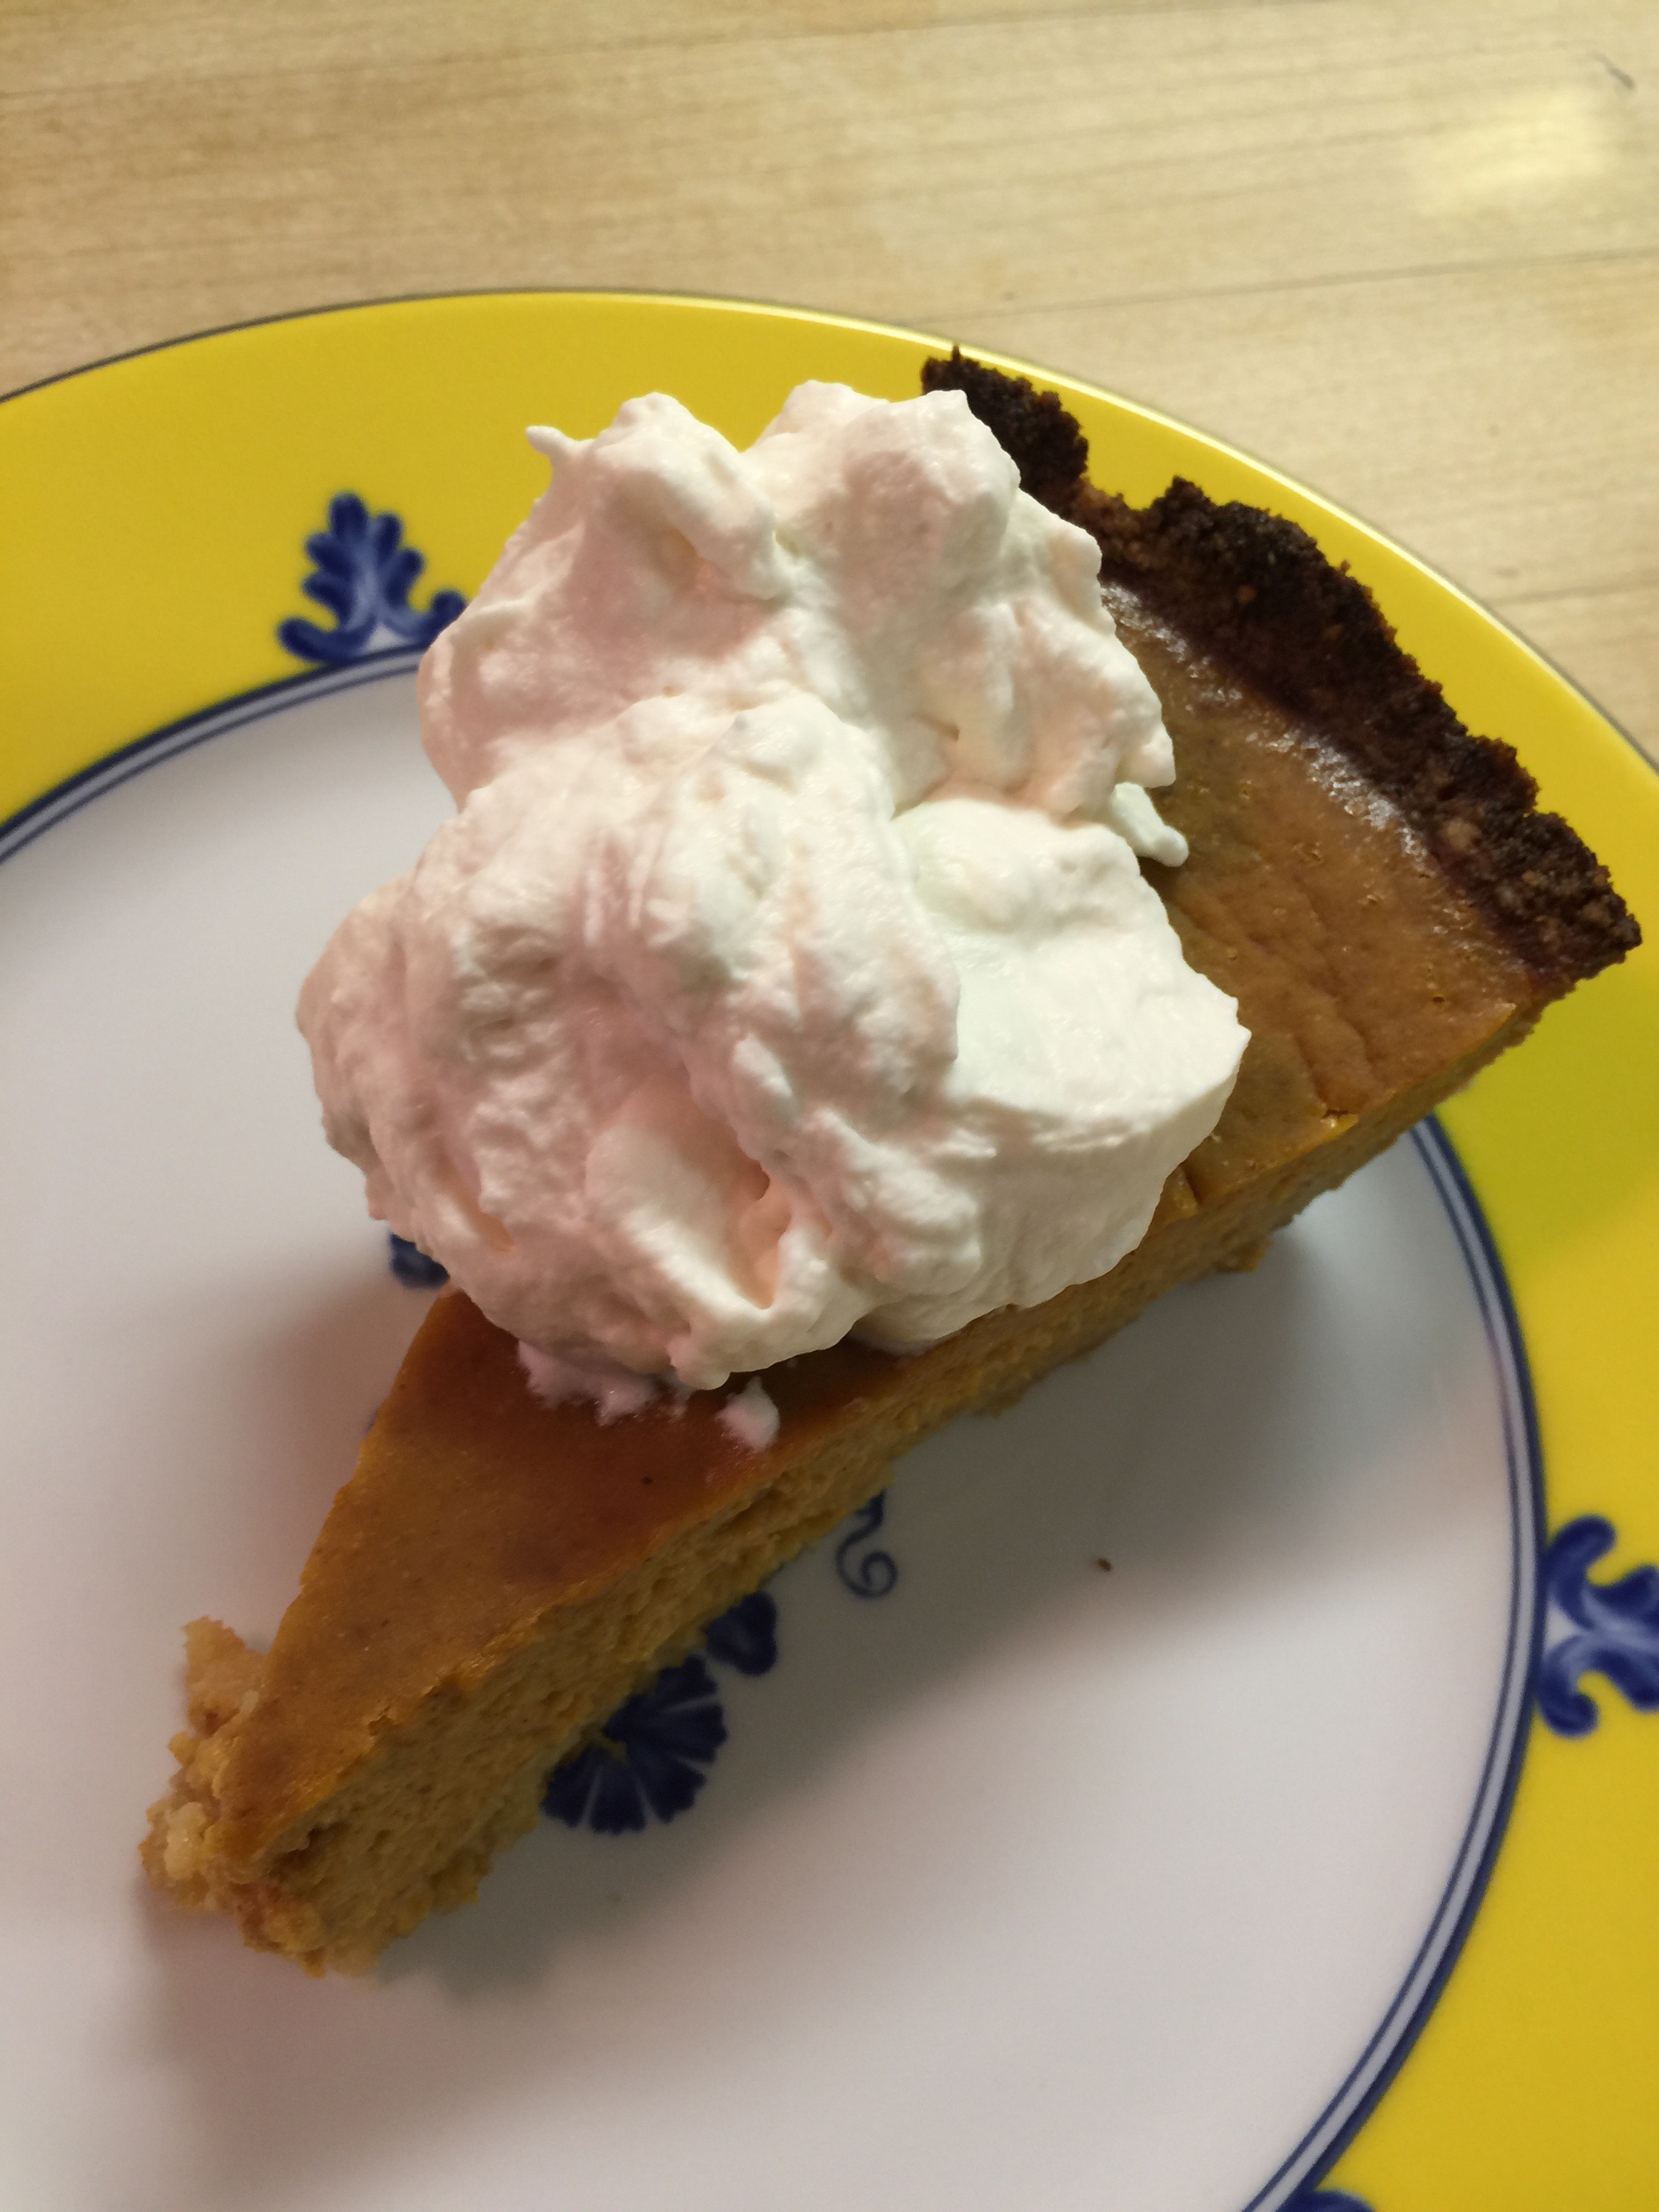
I stick with my basic almond flour and butter crust, and it is Keto perfection for a Thanksgiving treat! Make it even better with Keto whipped cream! Yum!!!!
Keto Pumpkin Pie
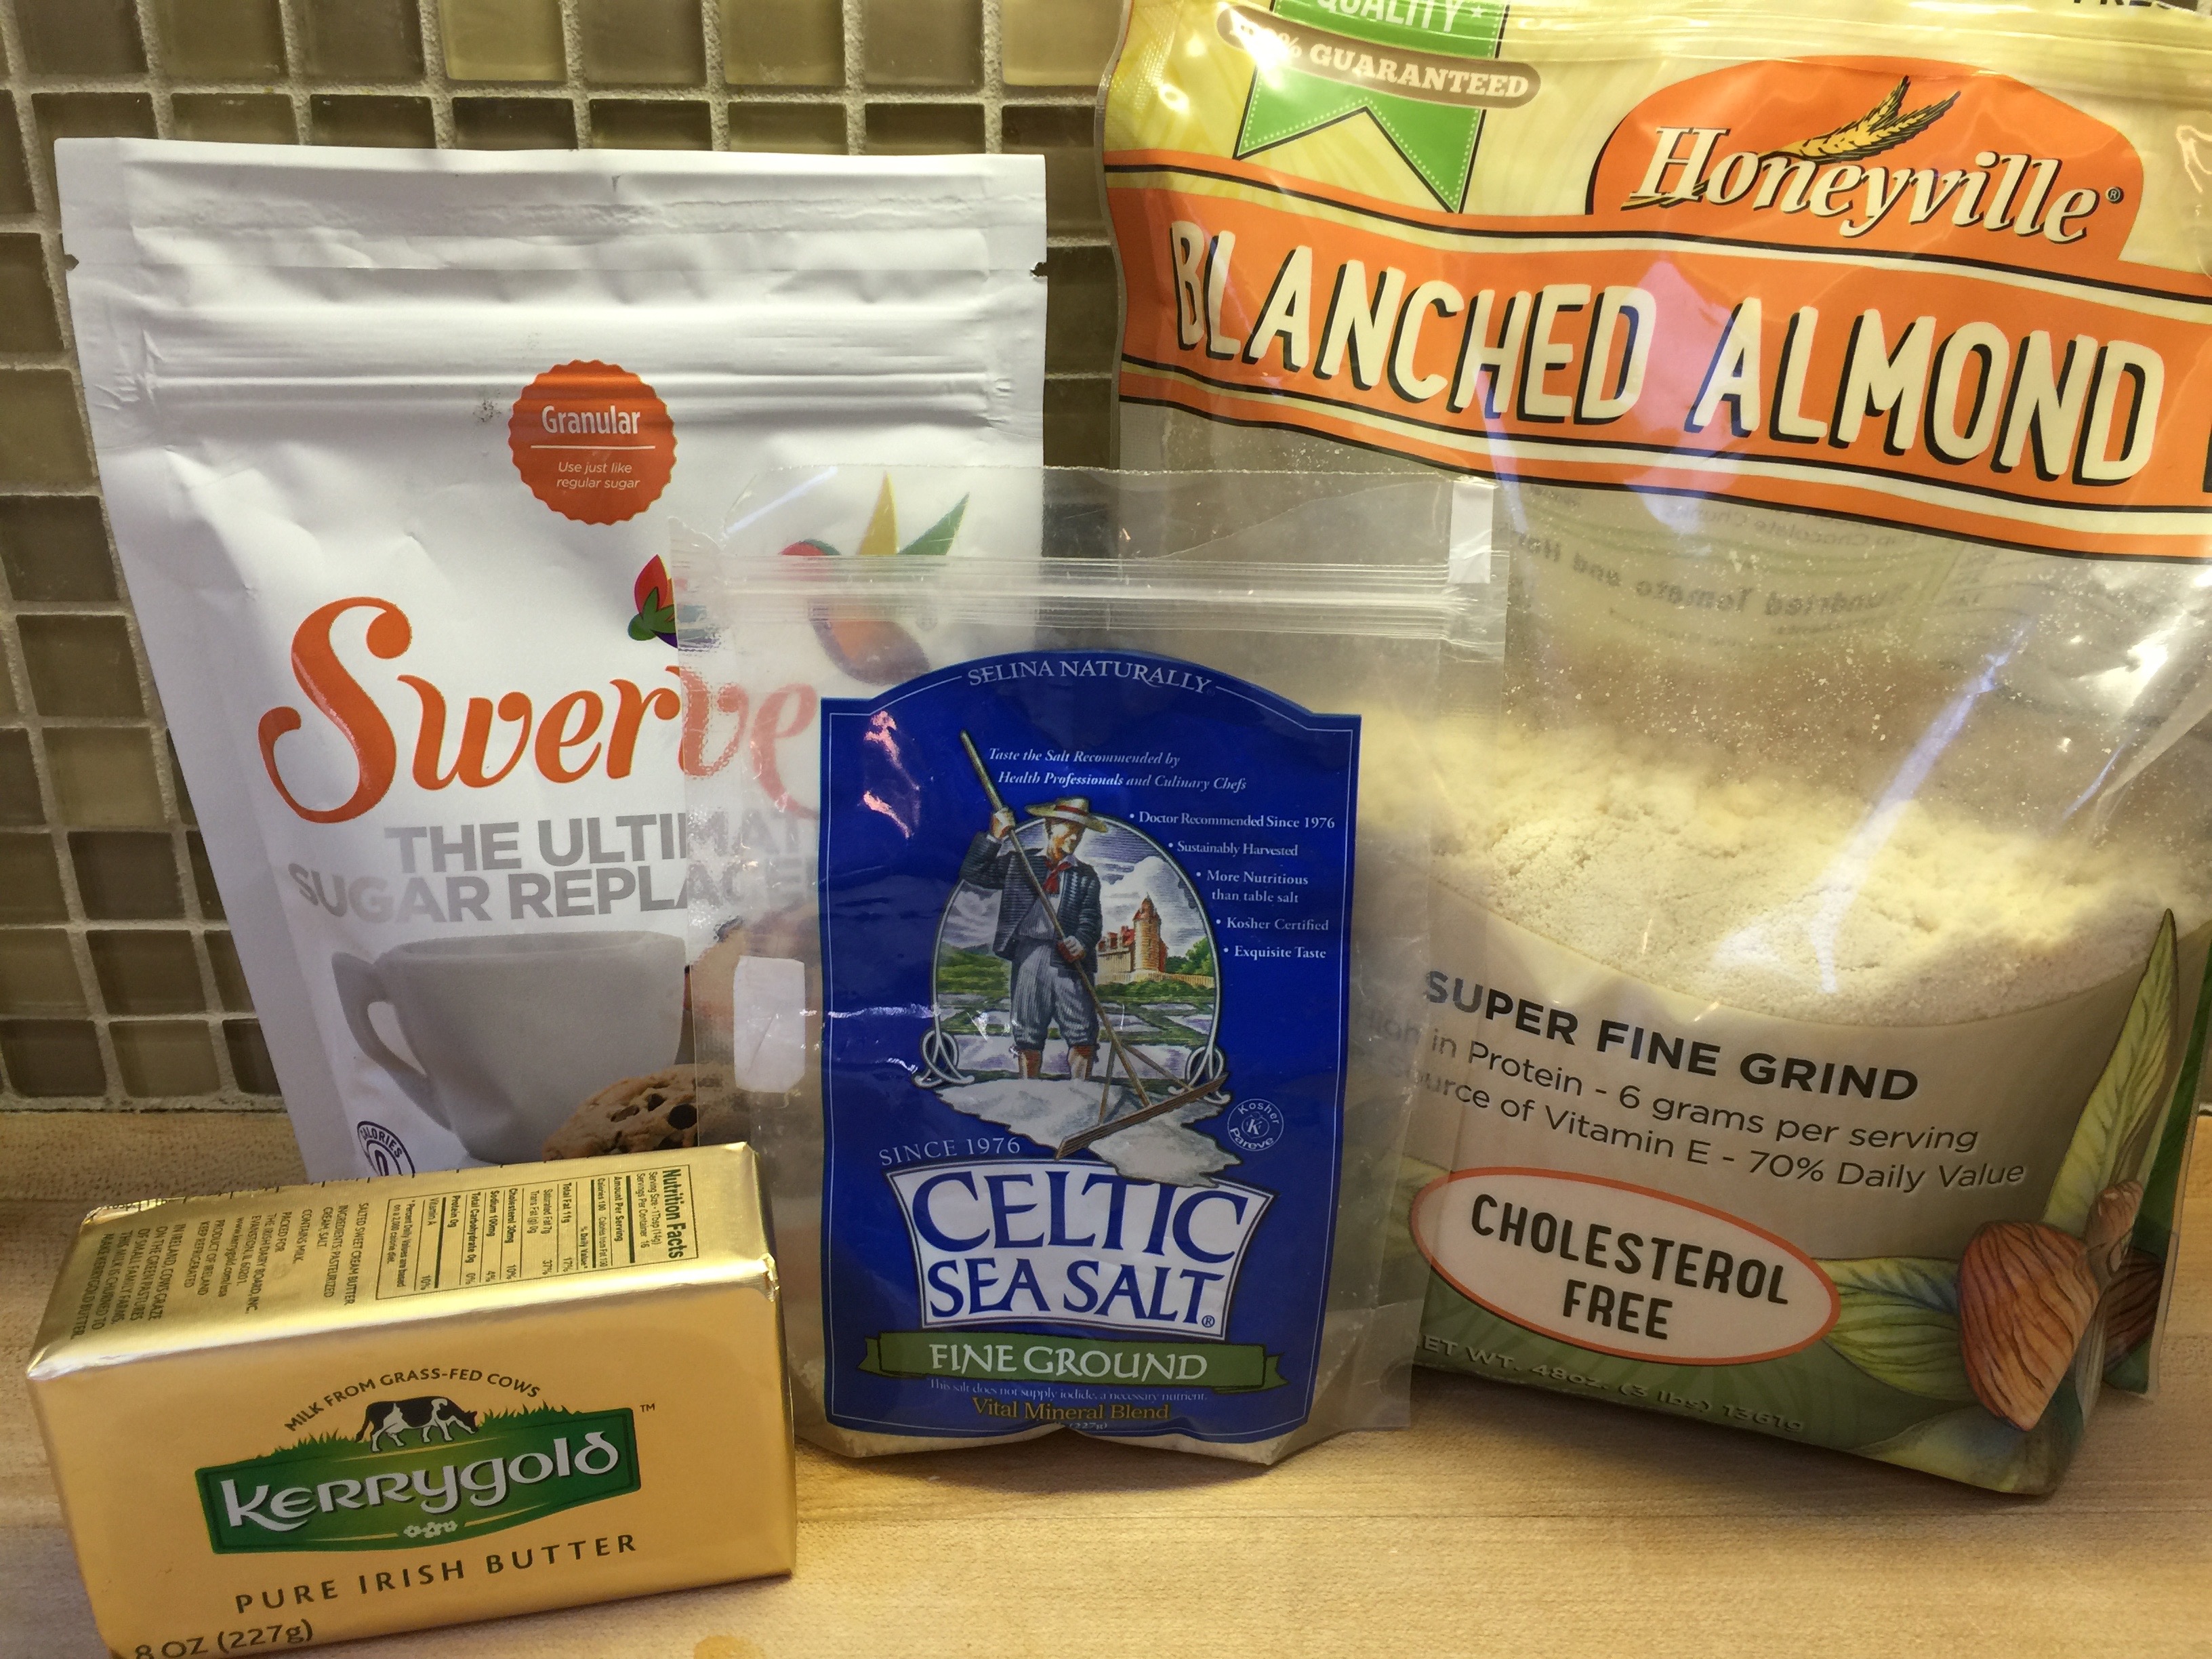
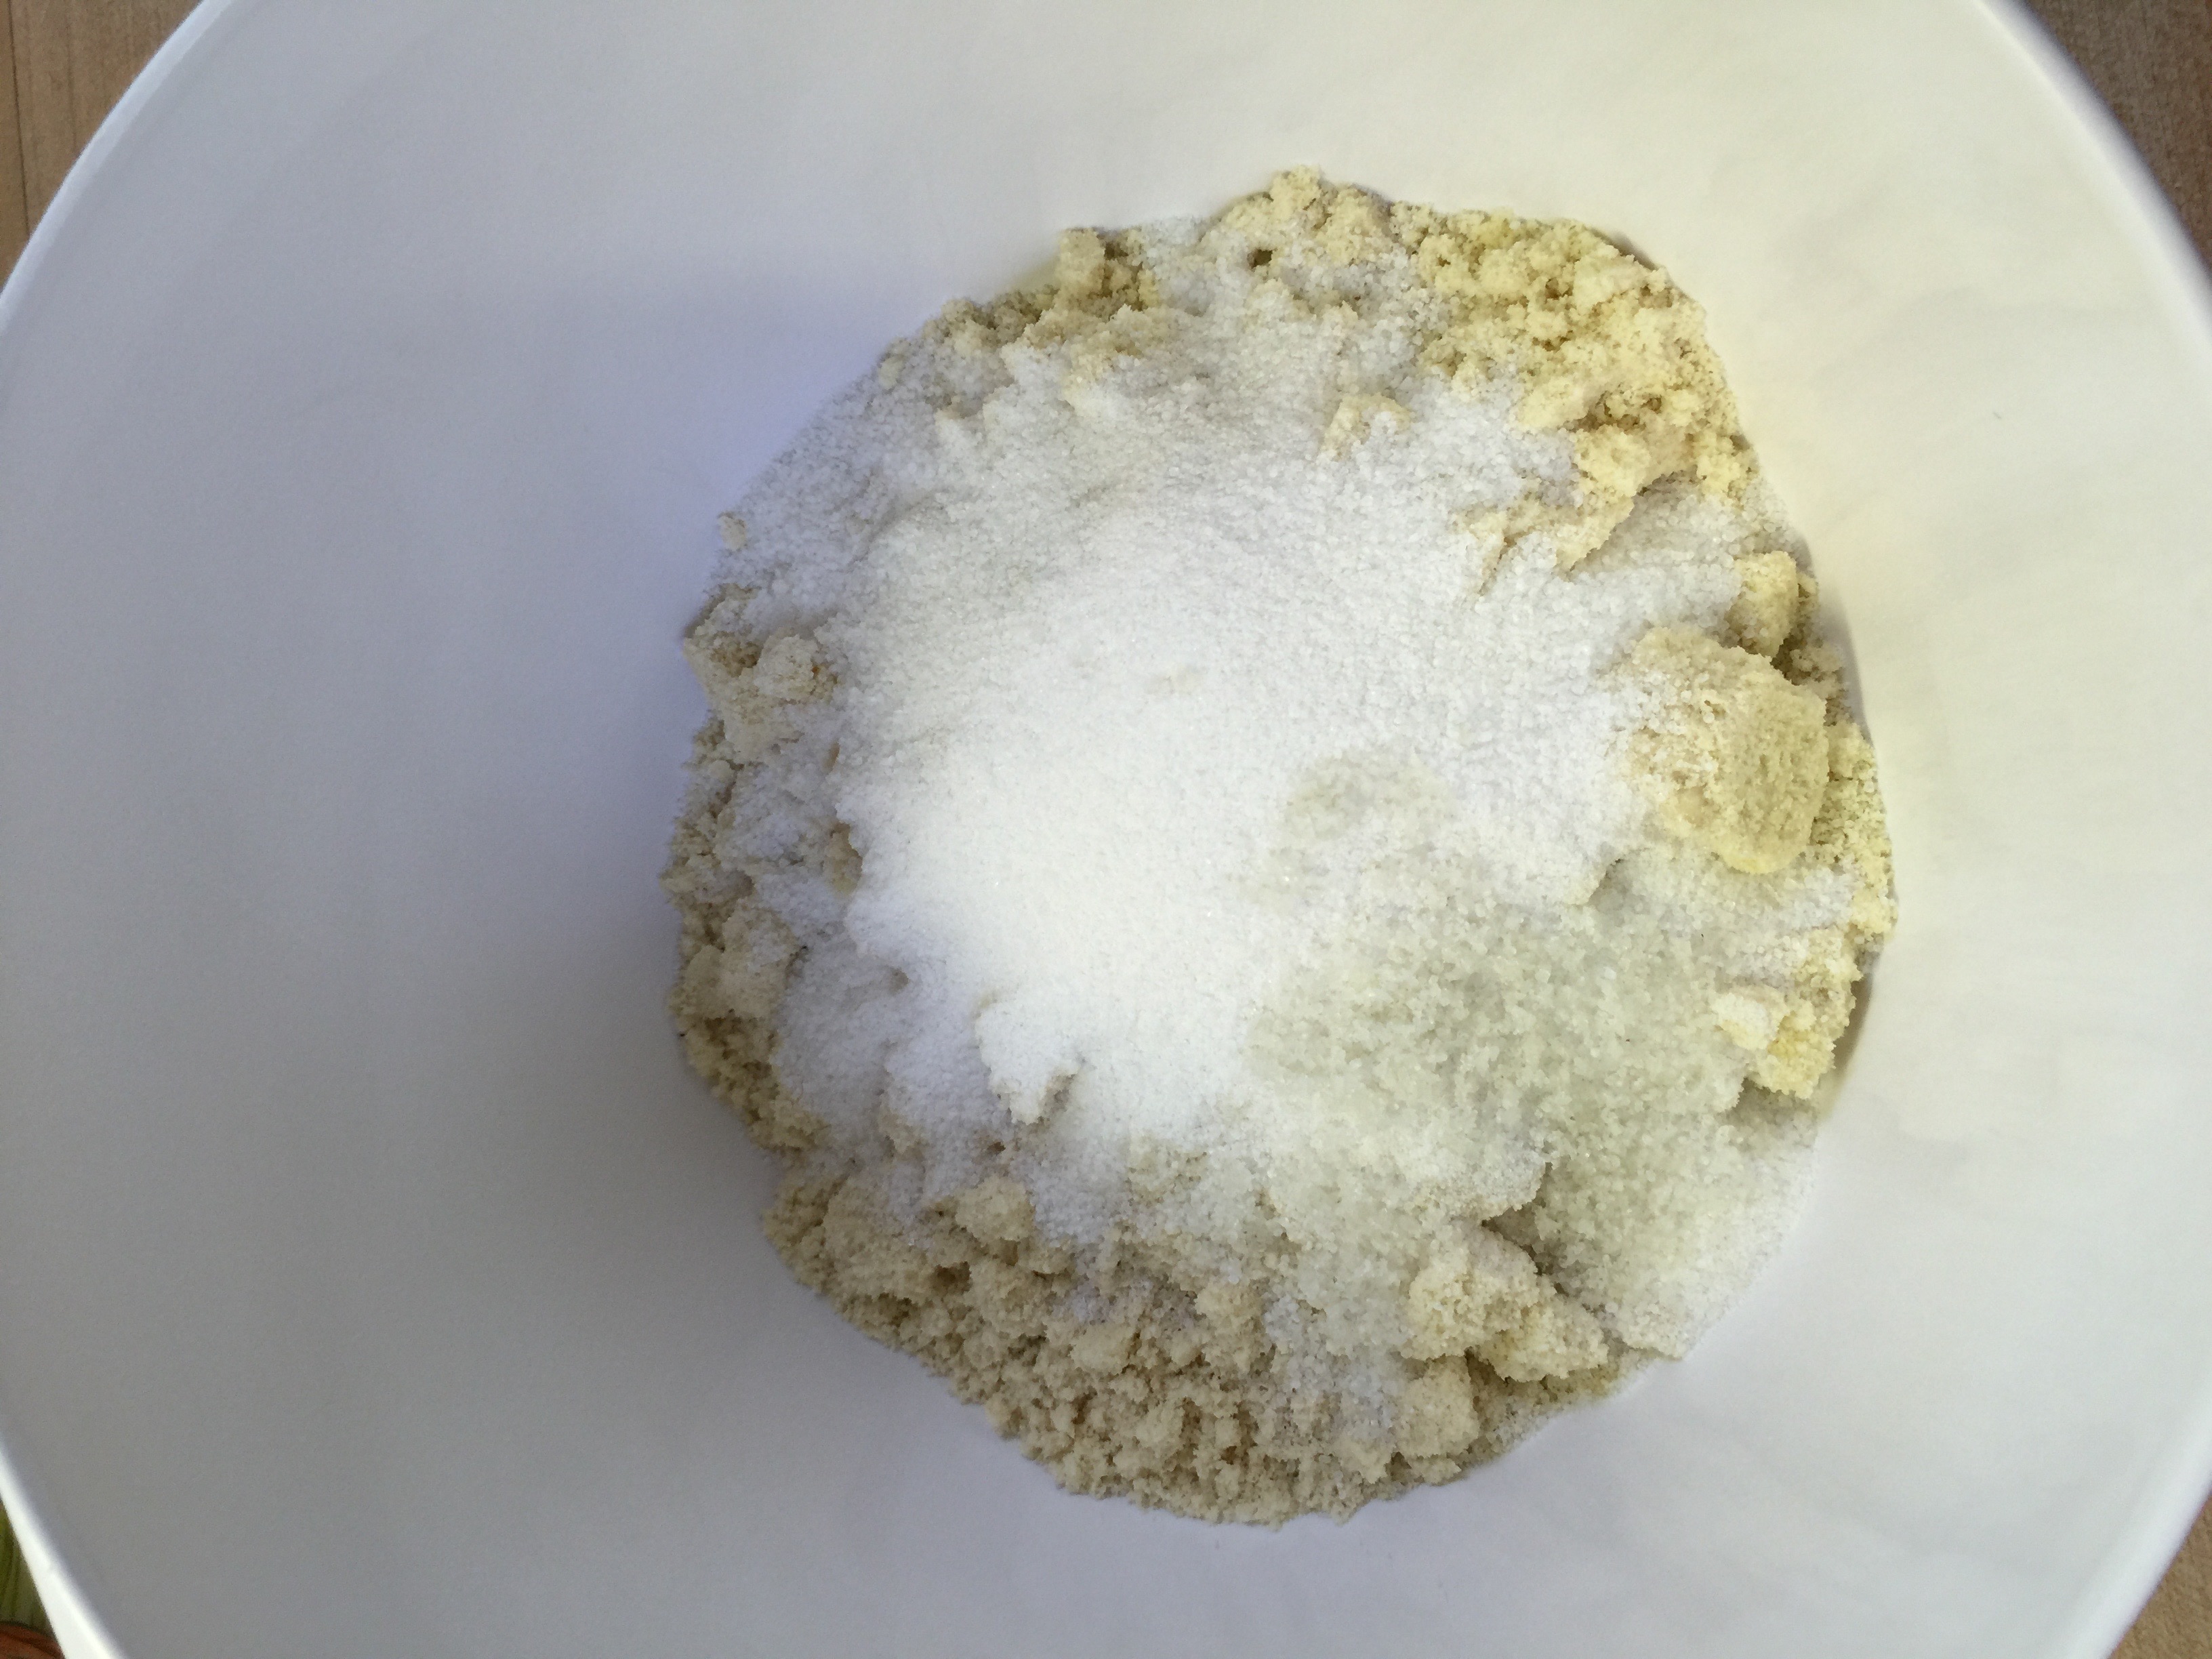
Crust:
1 1/2 cups almond flour
3 TBSP melted butter
3 TBSP Swerve Granular
1/4 tsp salt
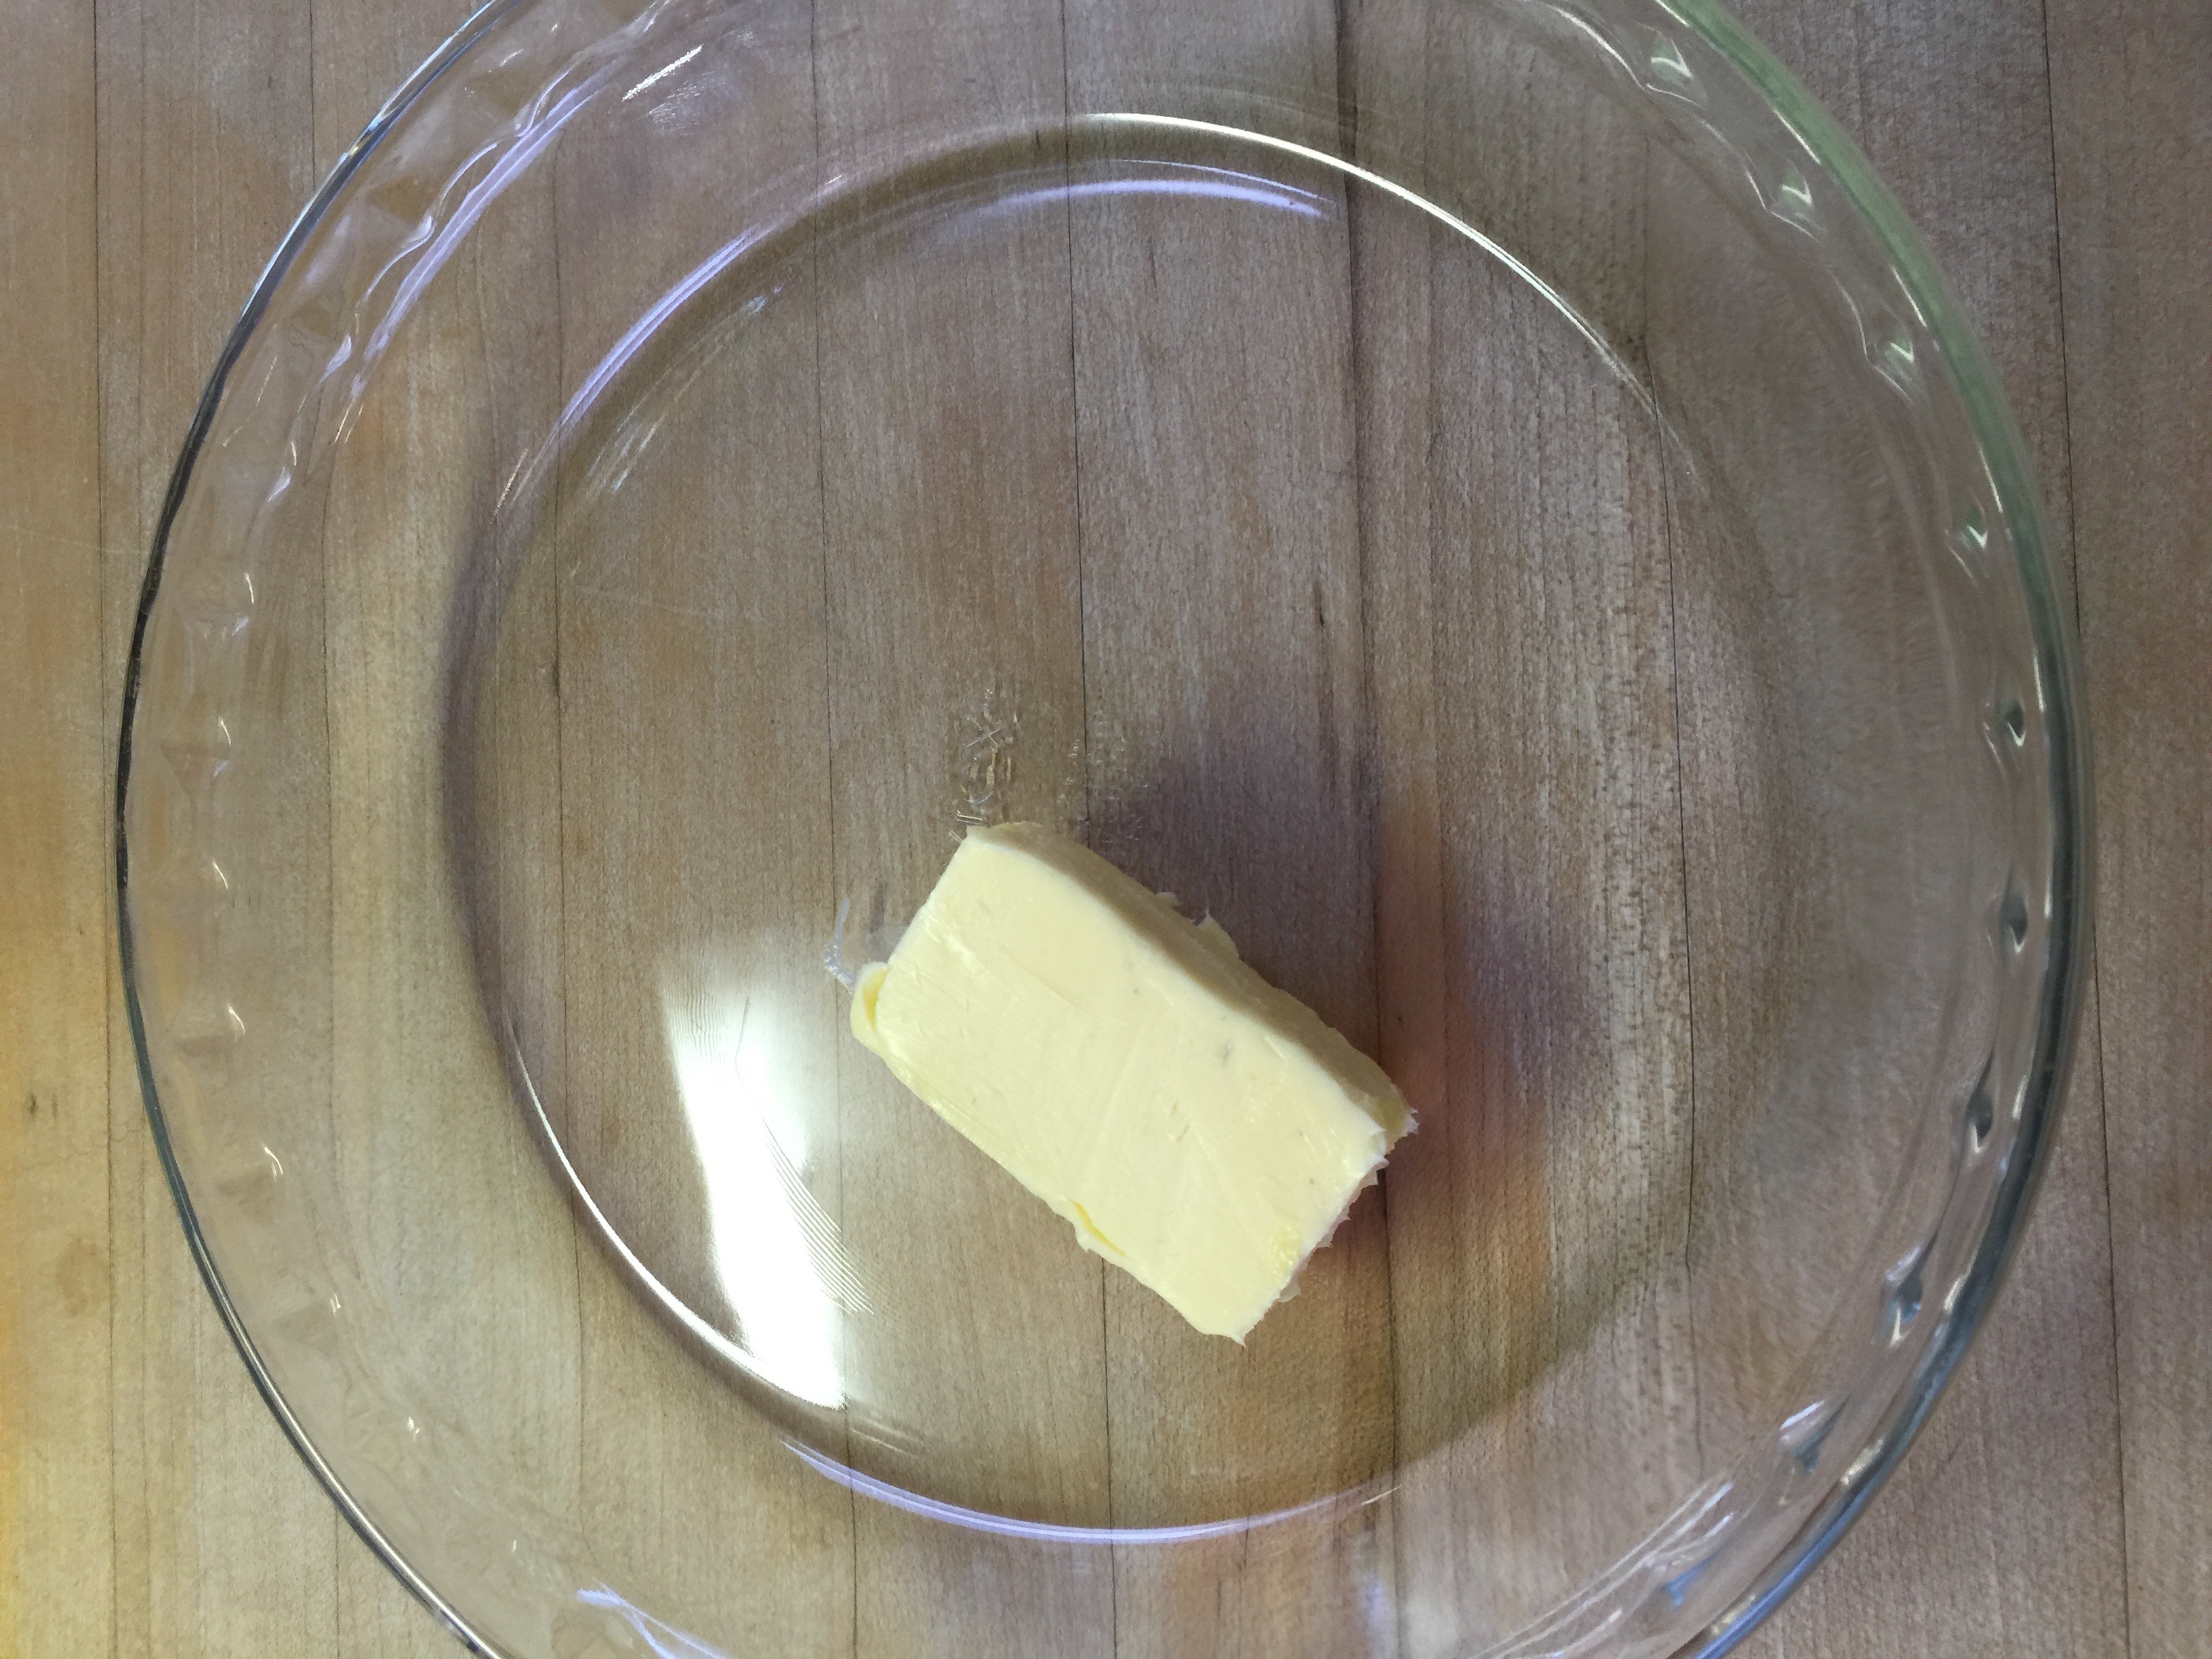
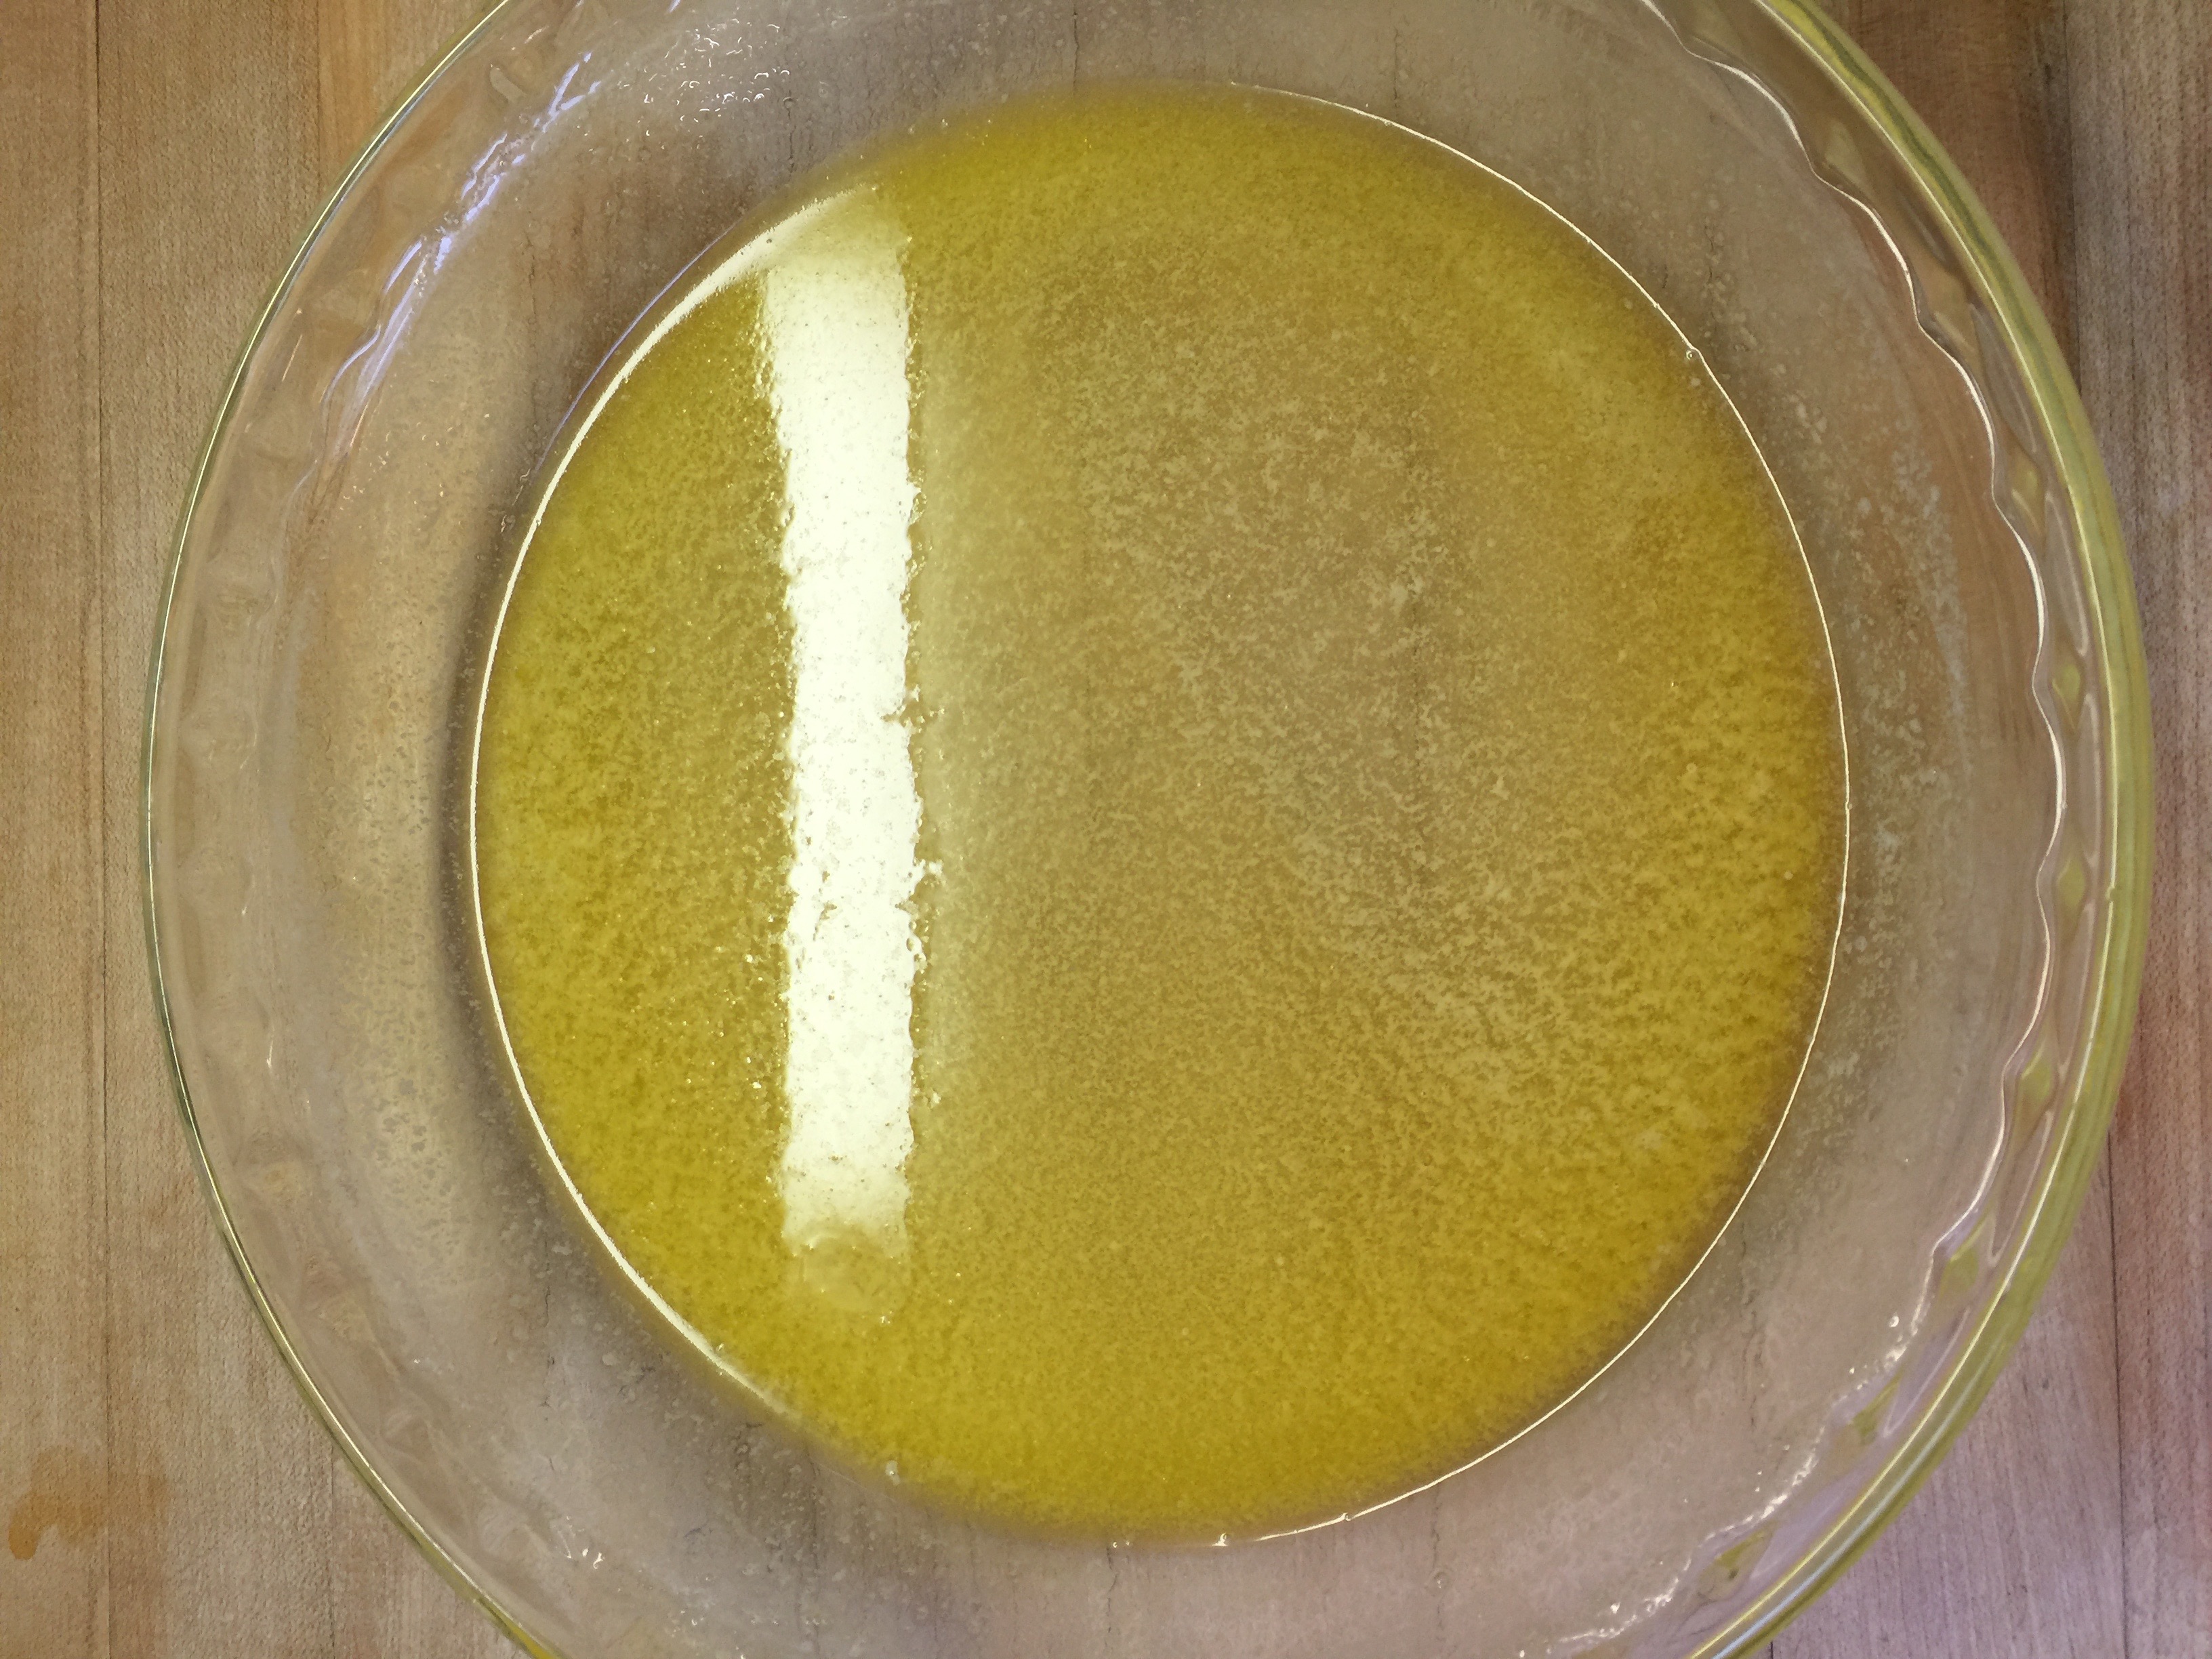
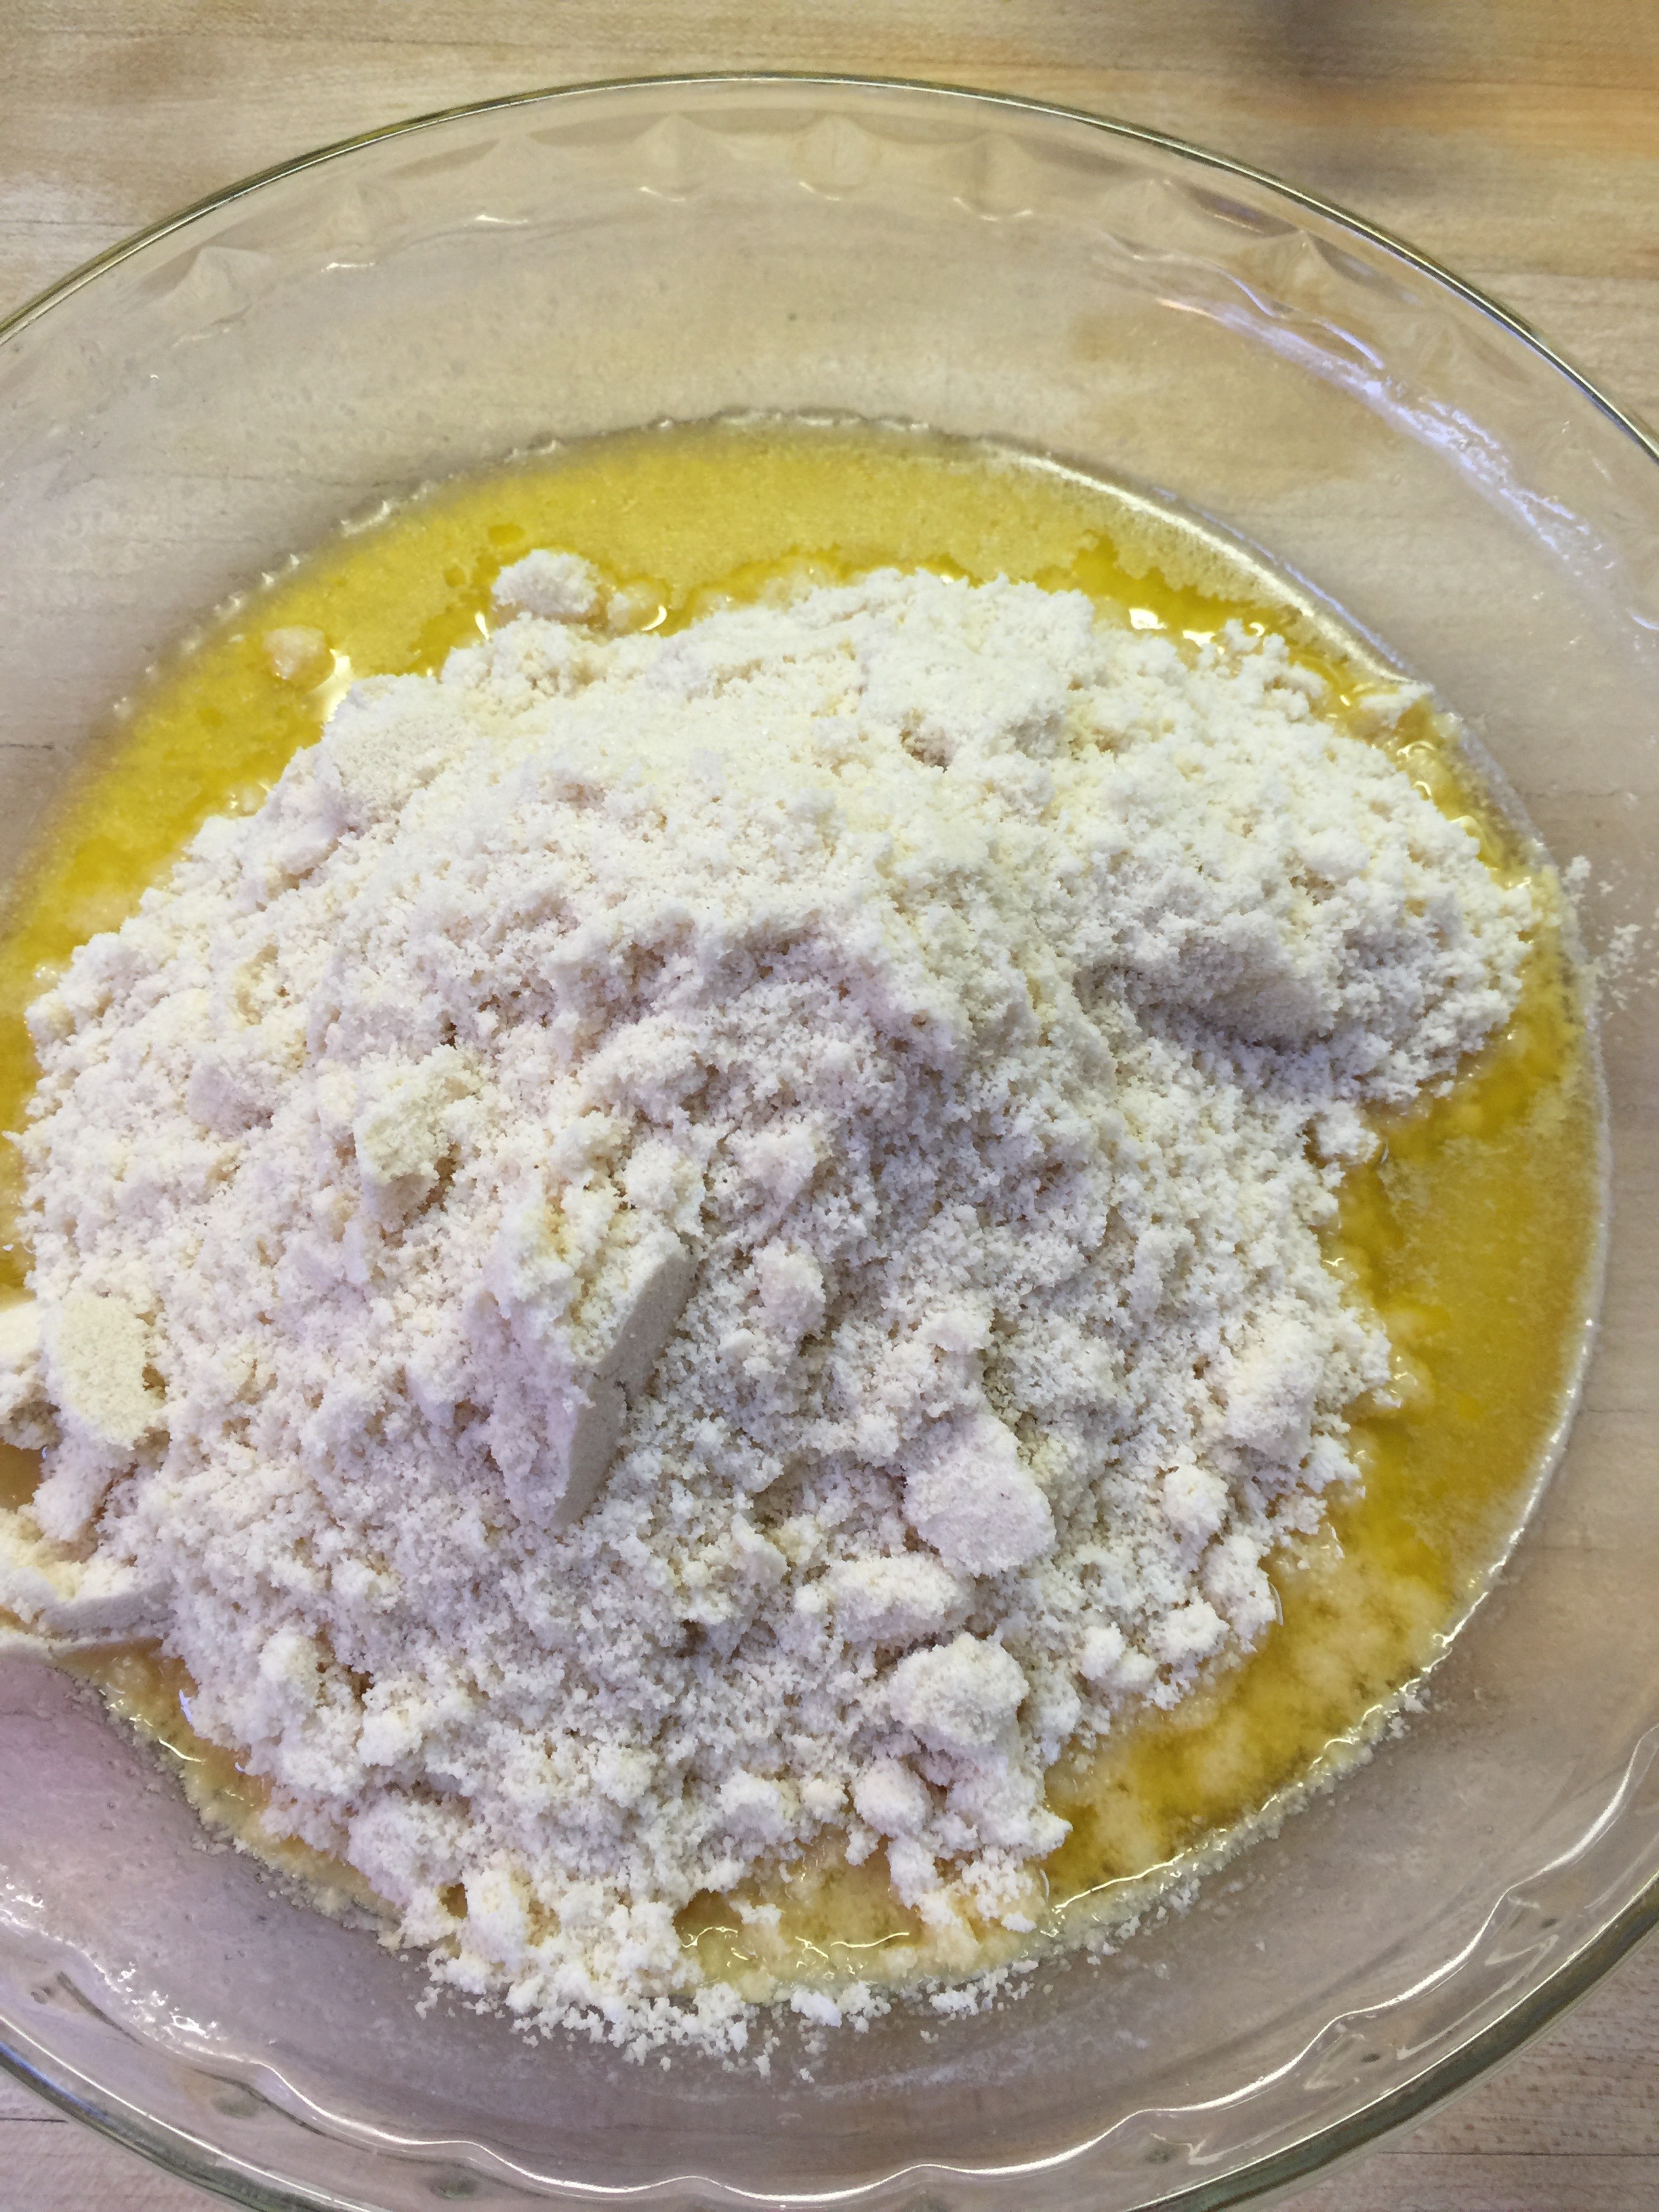
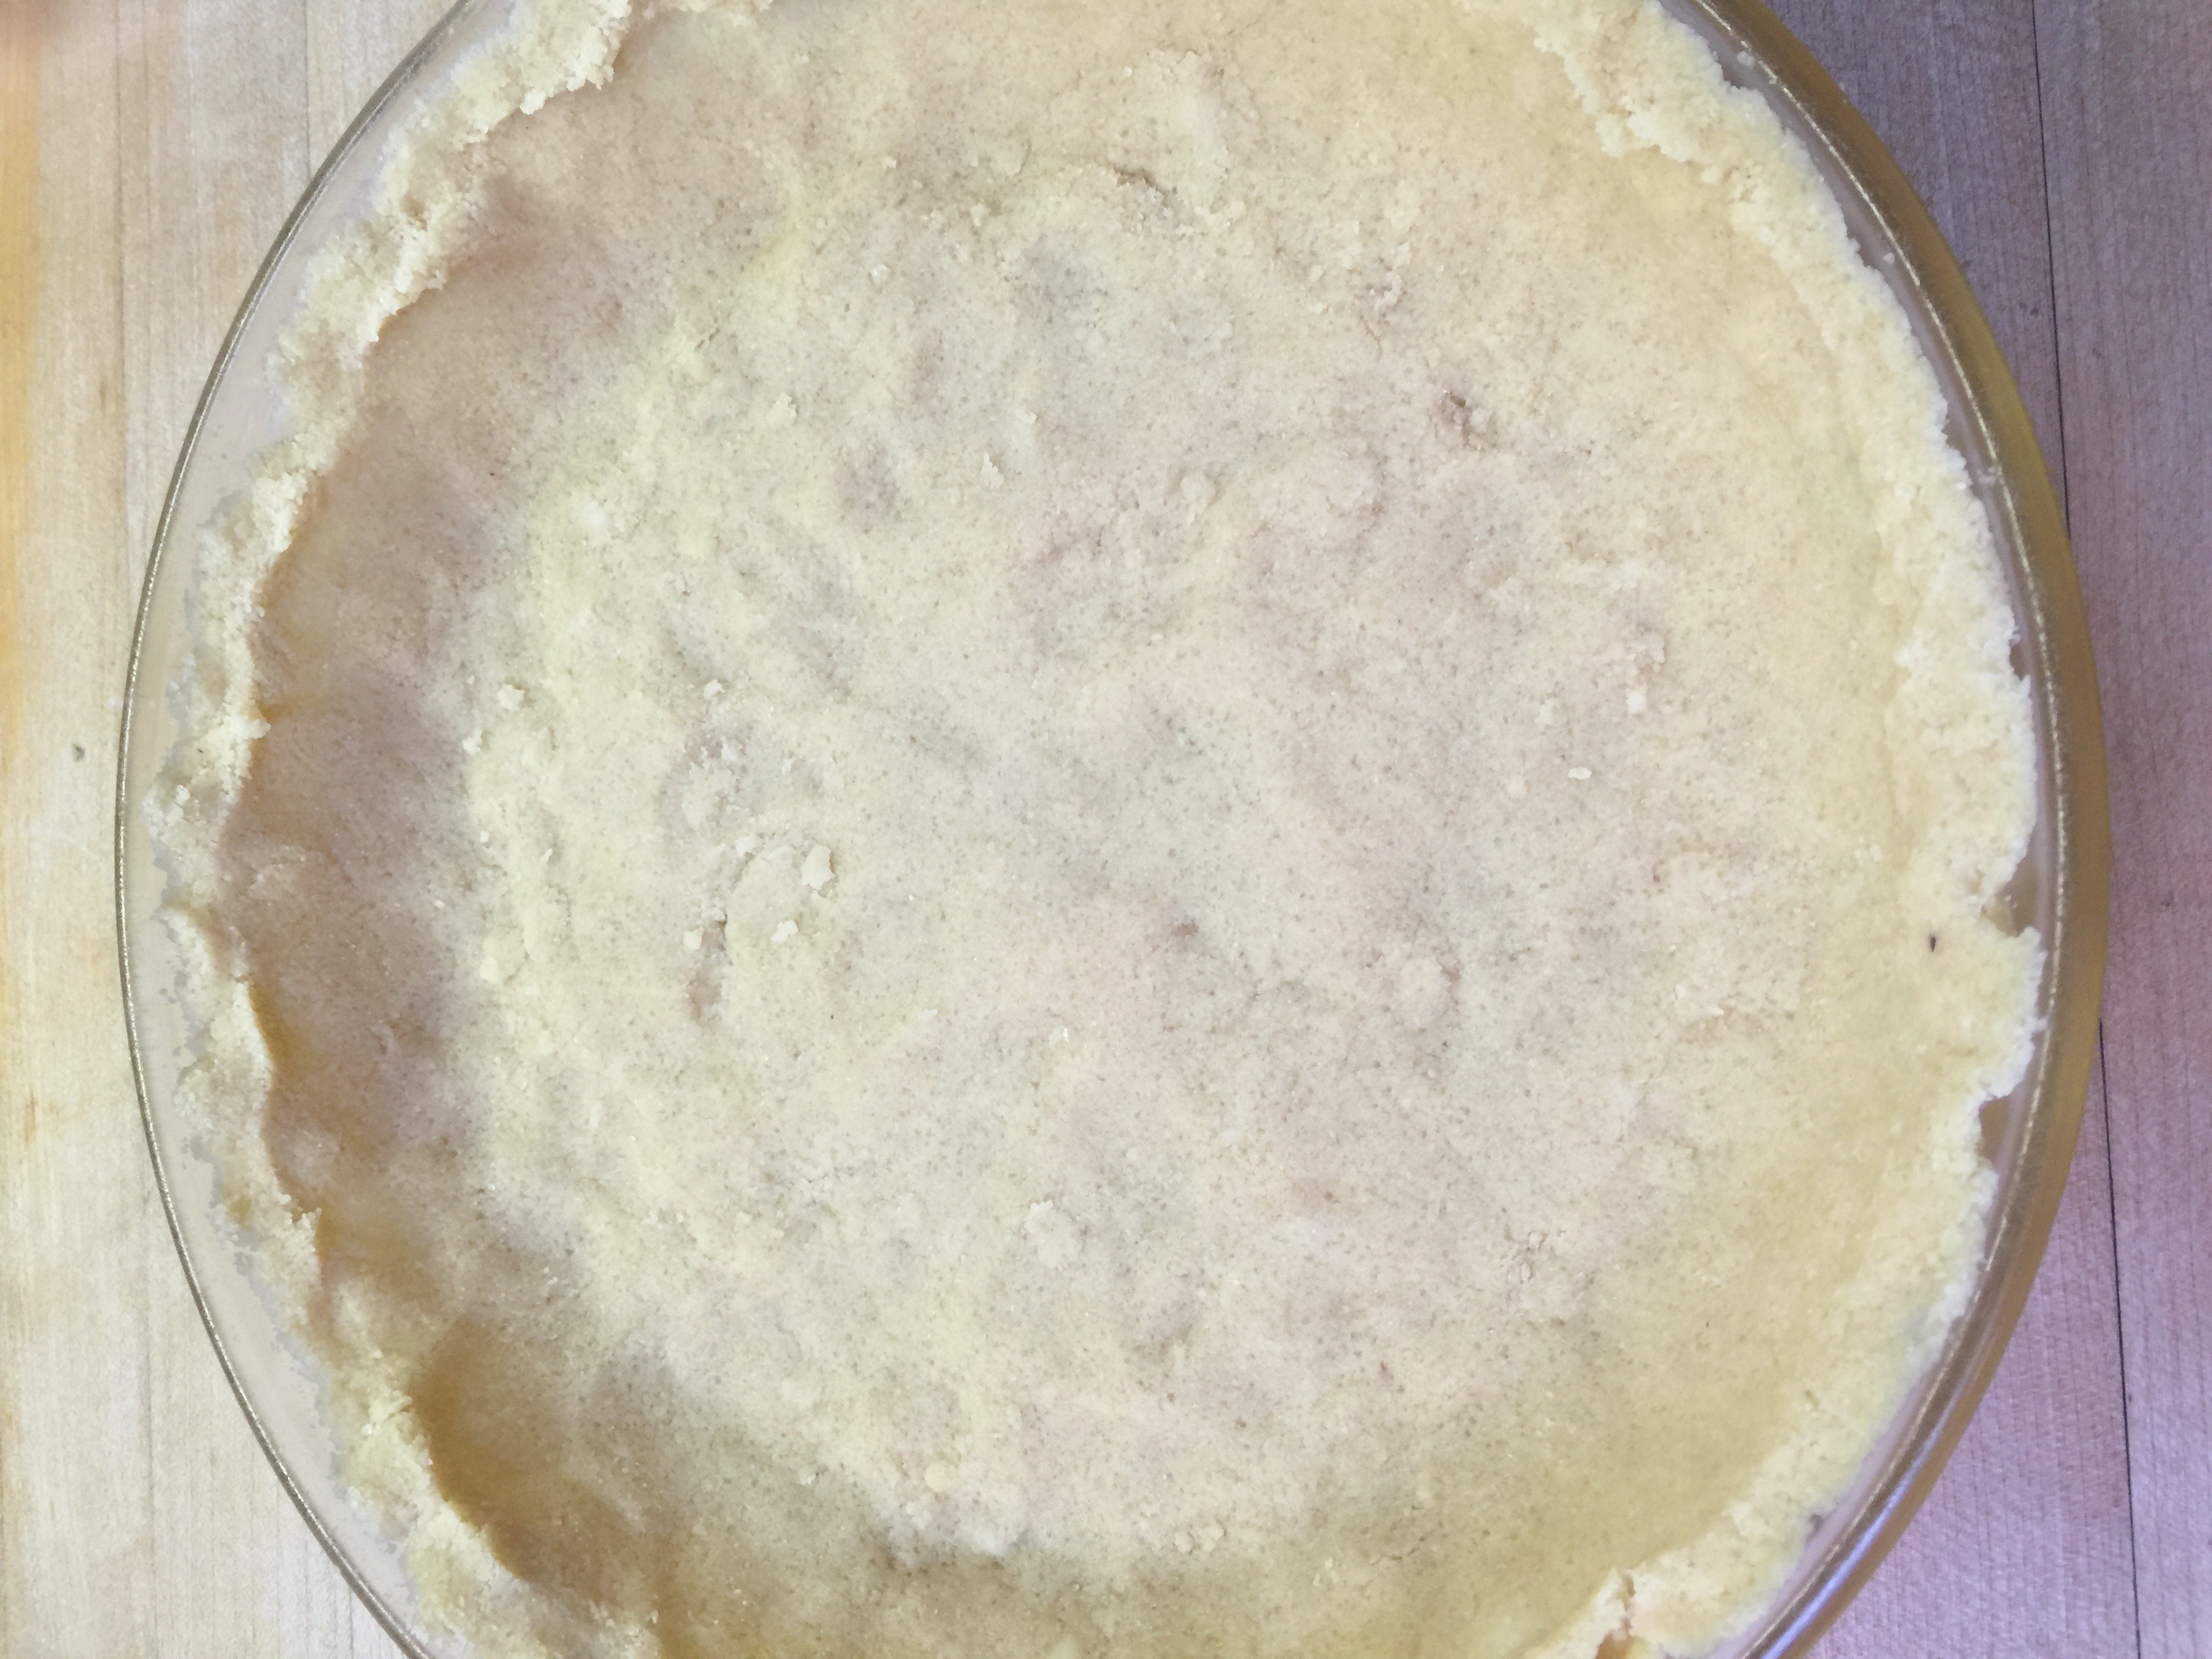
Melt the butter in a glass pie pan in the microwave.
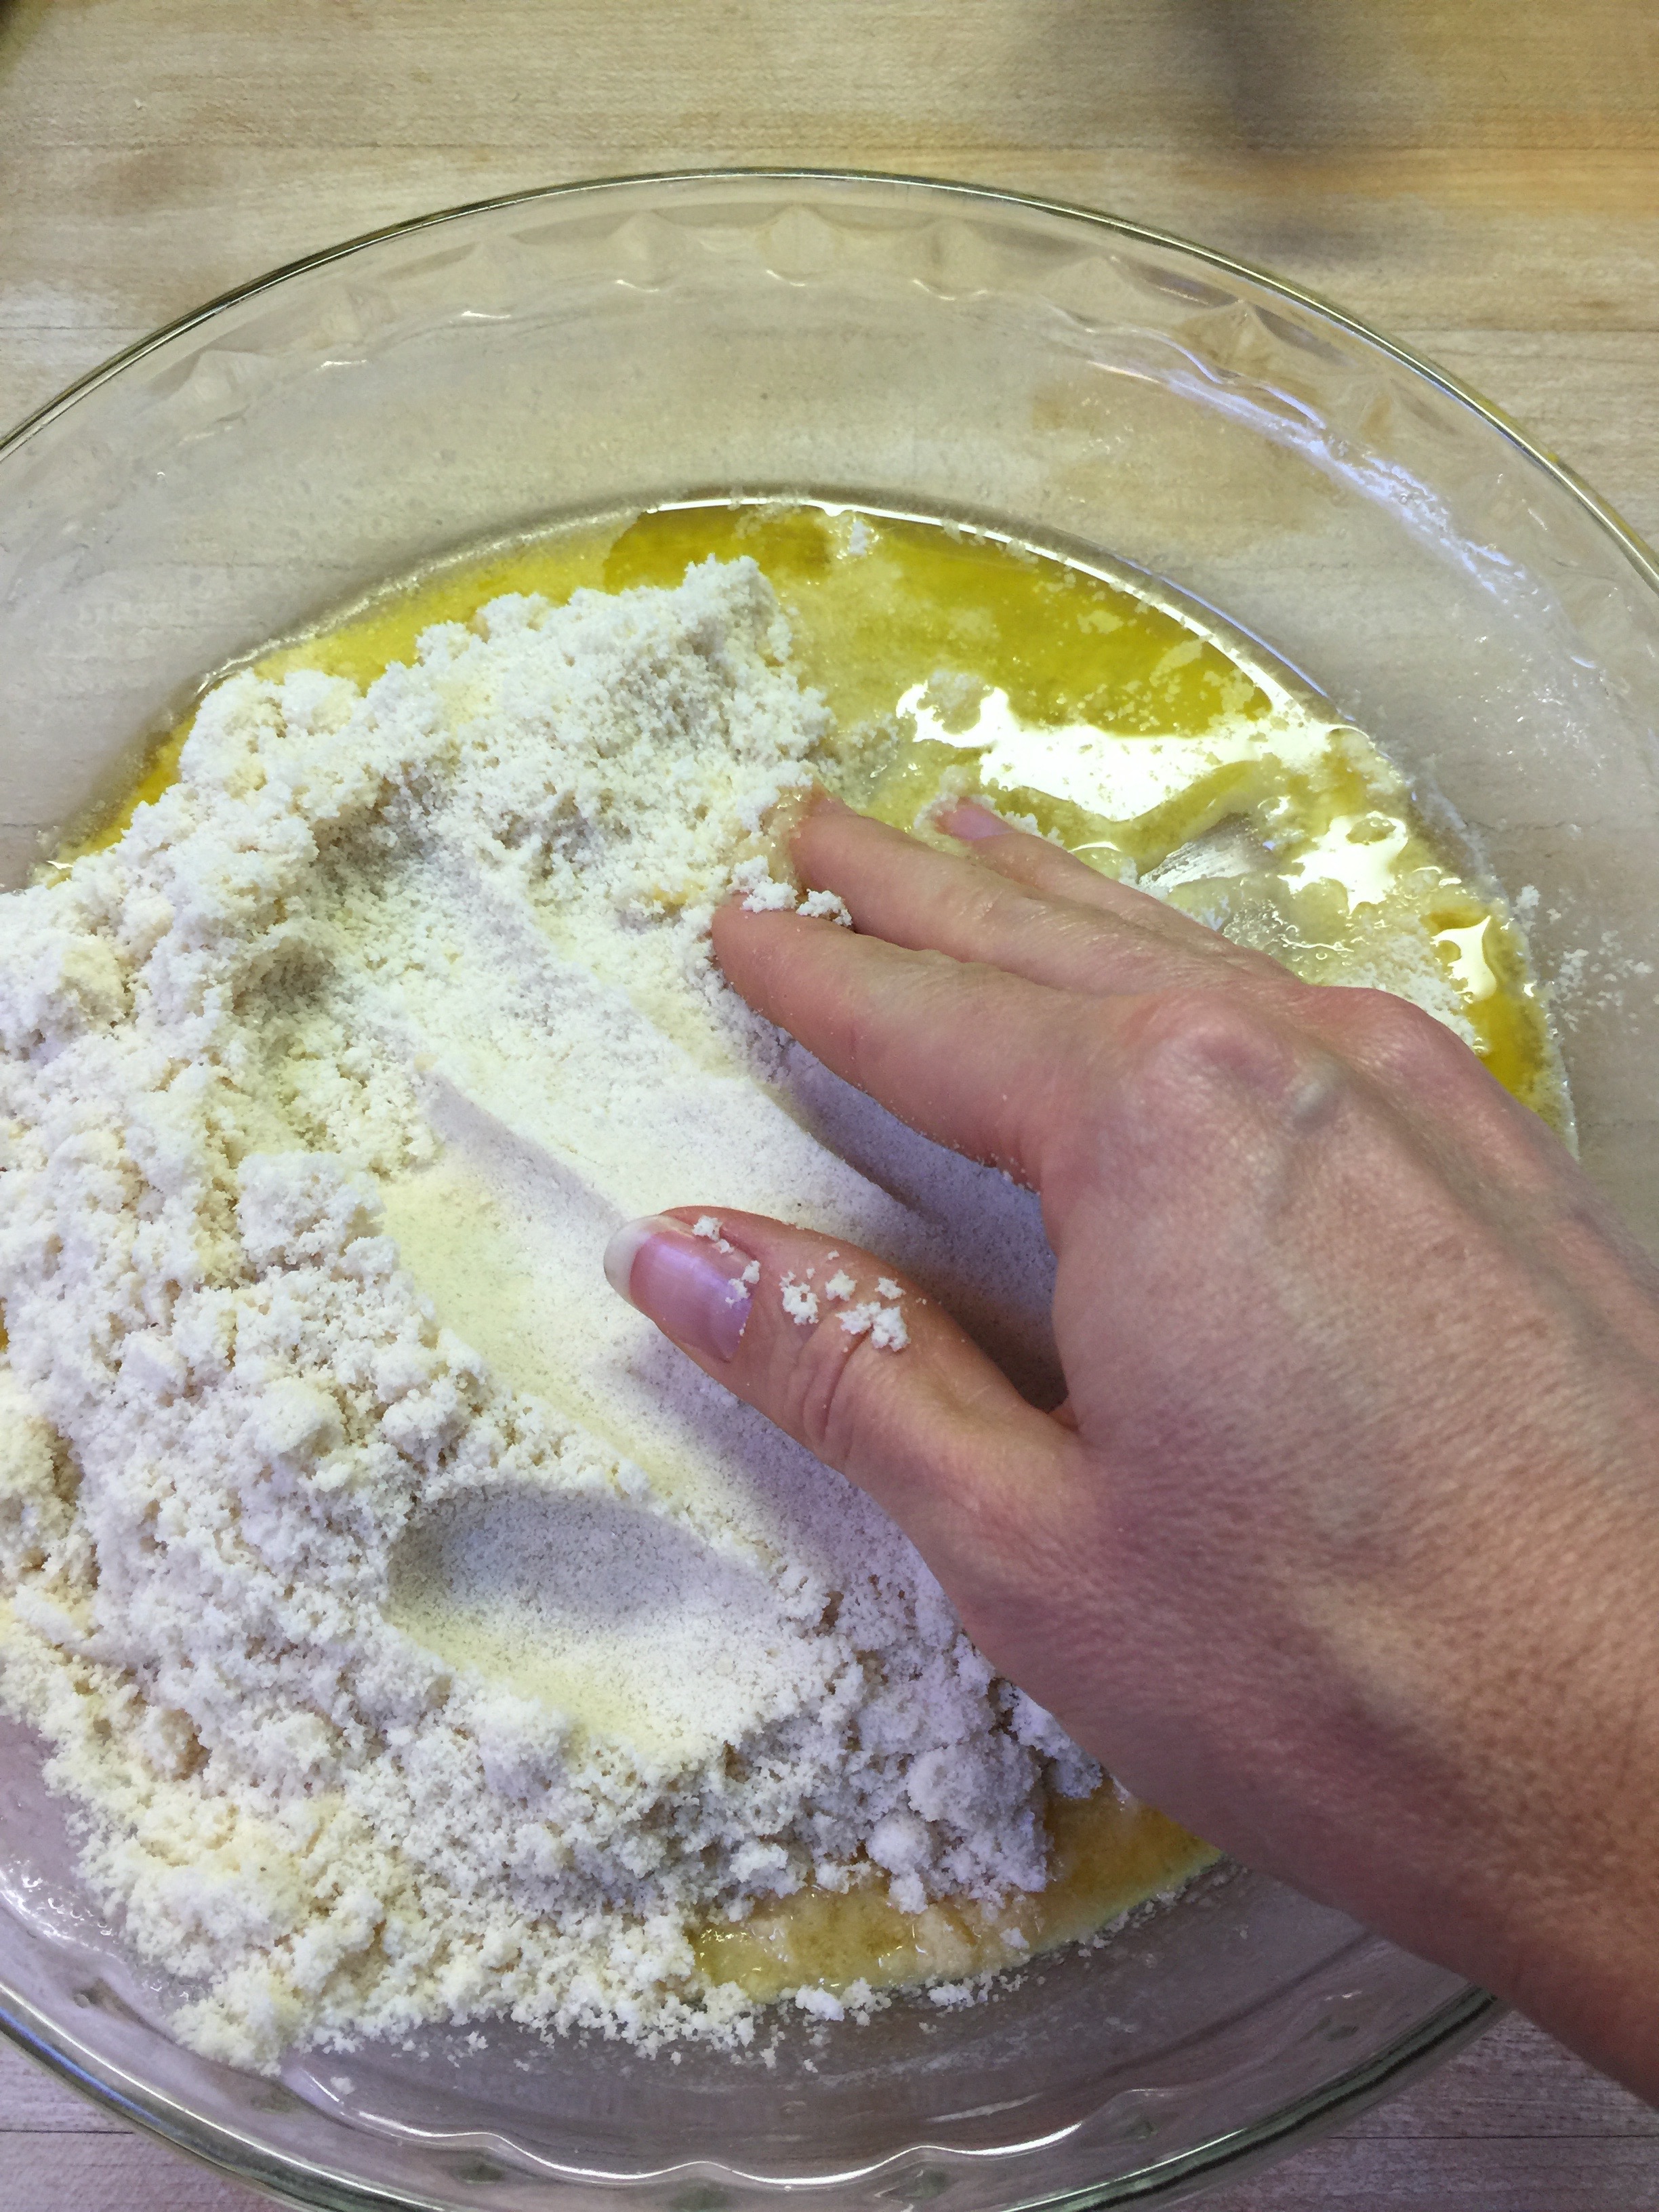
Combine all your dry ingredients in a bowl and then add to the butter.
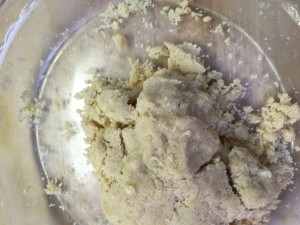
Mix with your hands directly in the pie dish forming a crust up the sides.
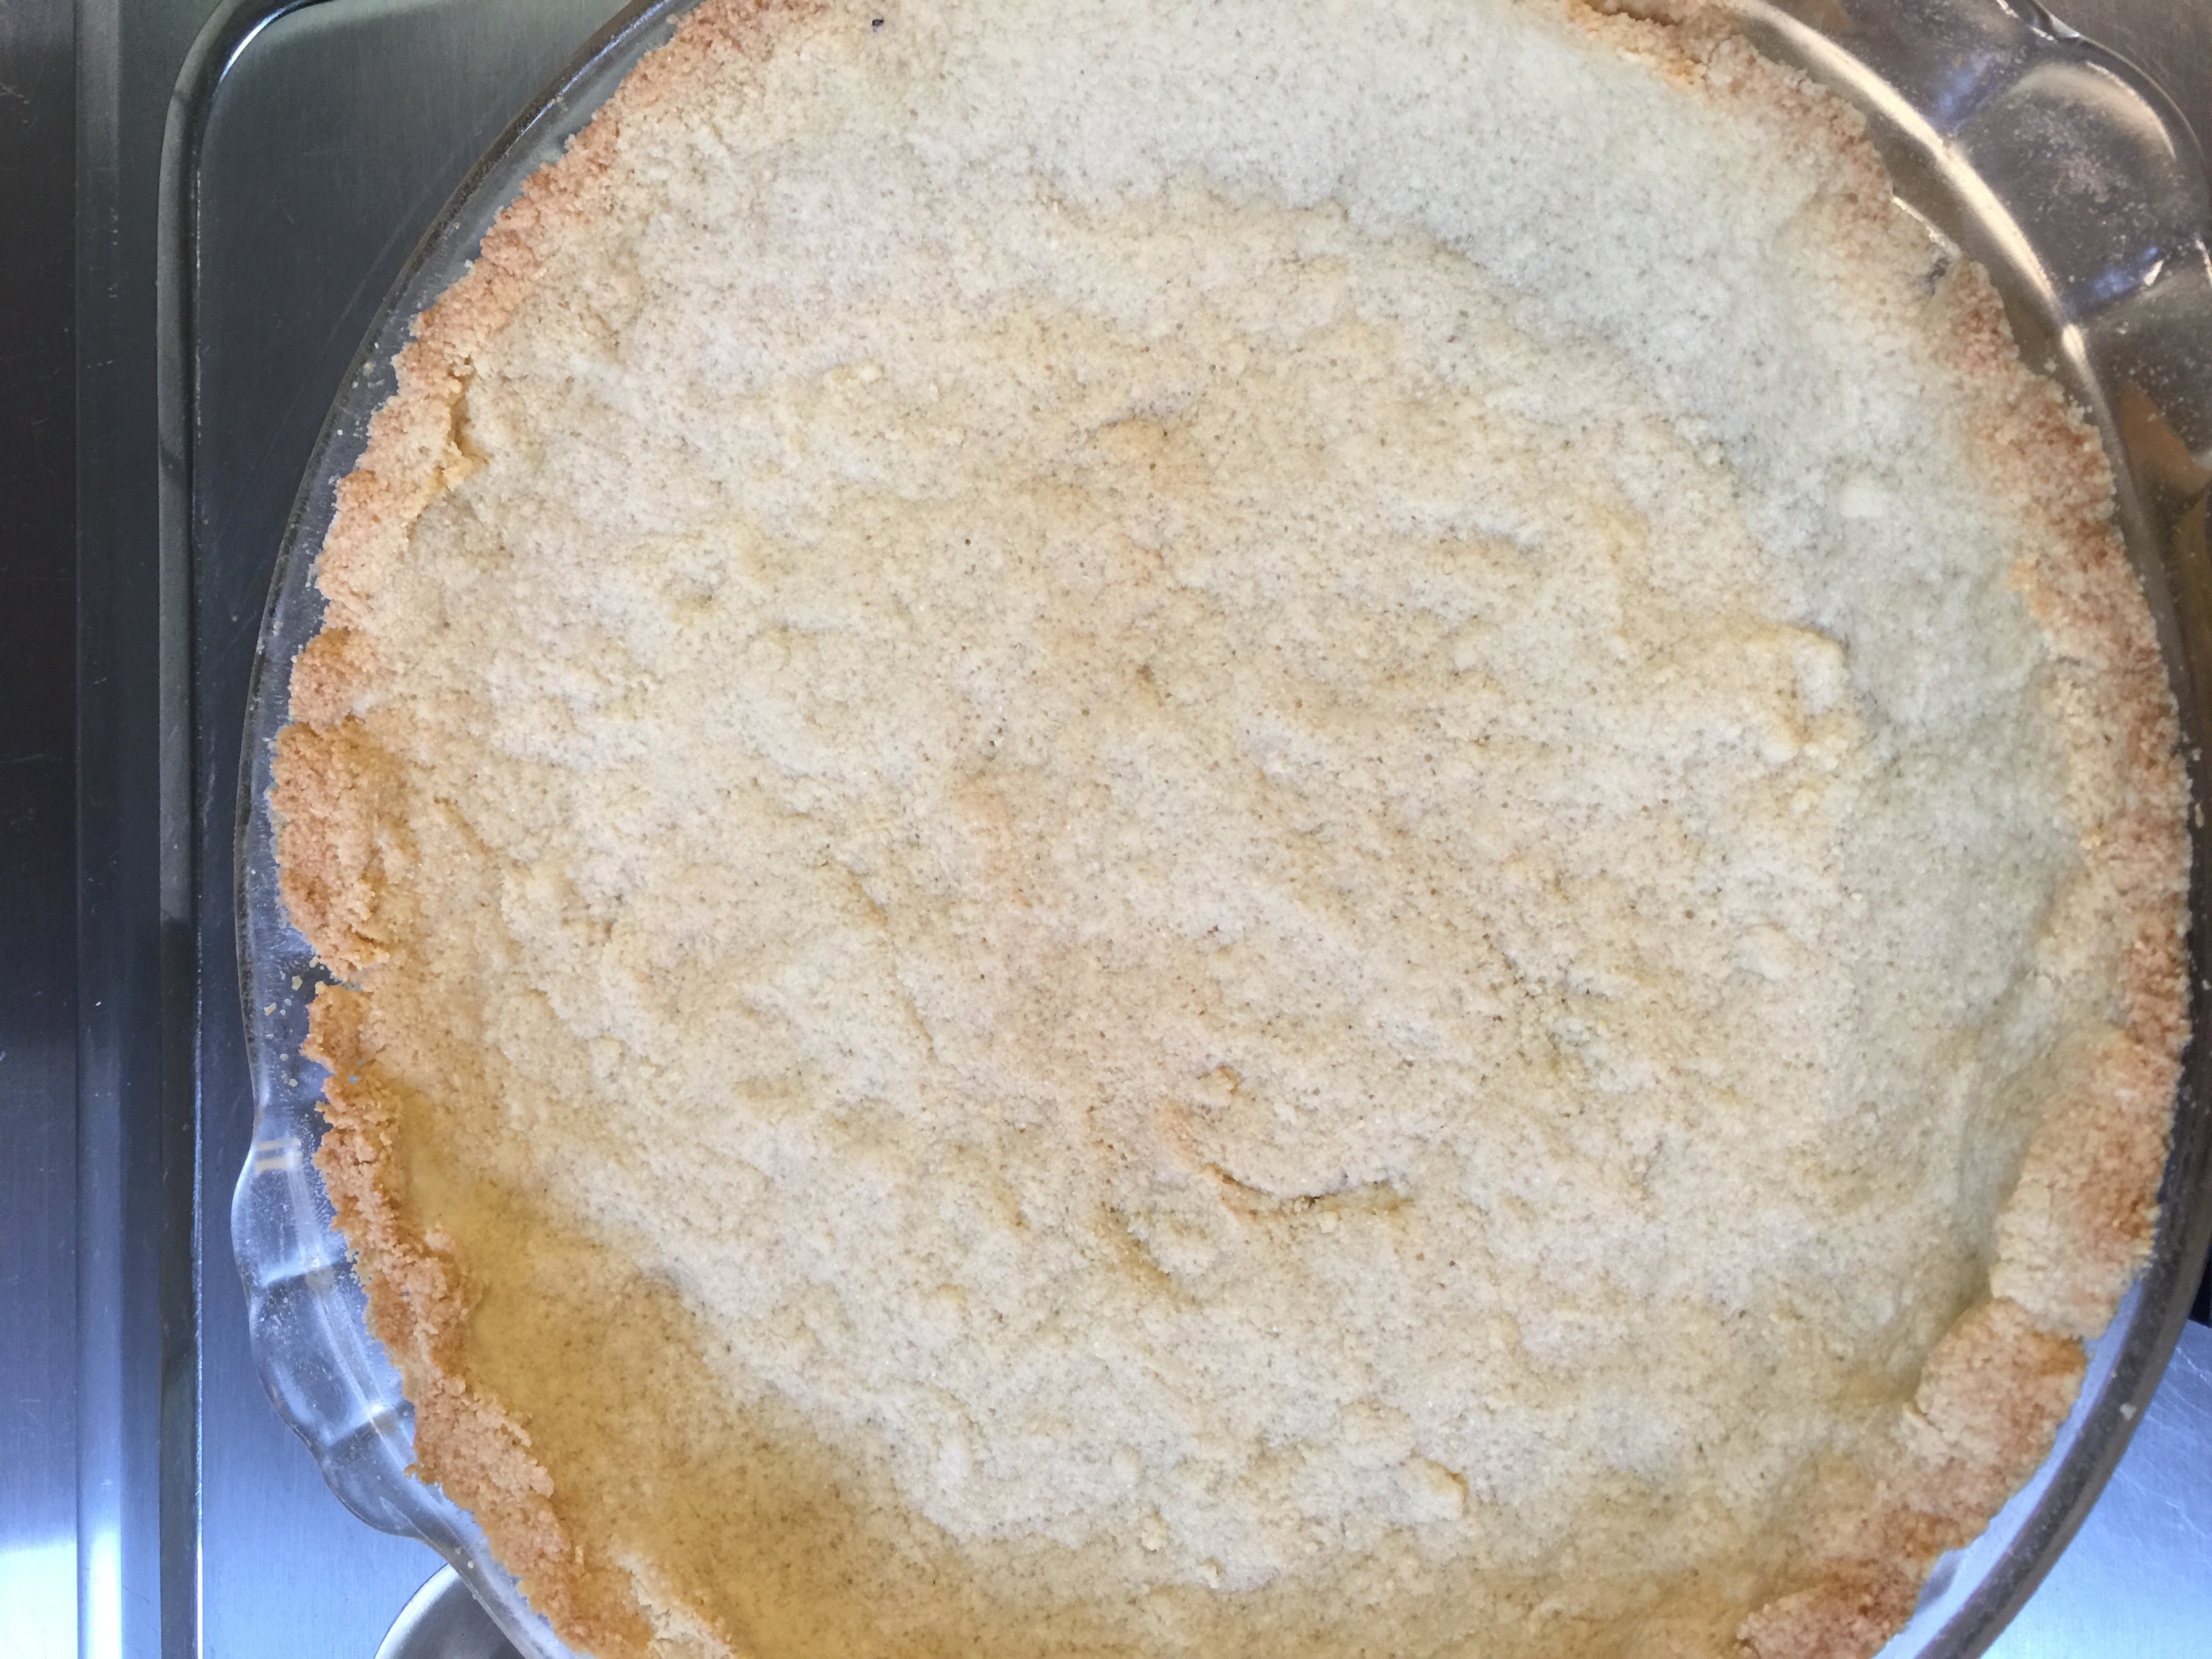
Place in a preheated 350 degree oven for 8 minutes. Remove and set aside.
Now for a Modified Libby’s Pie Filling:
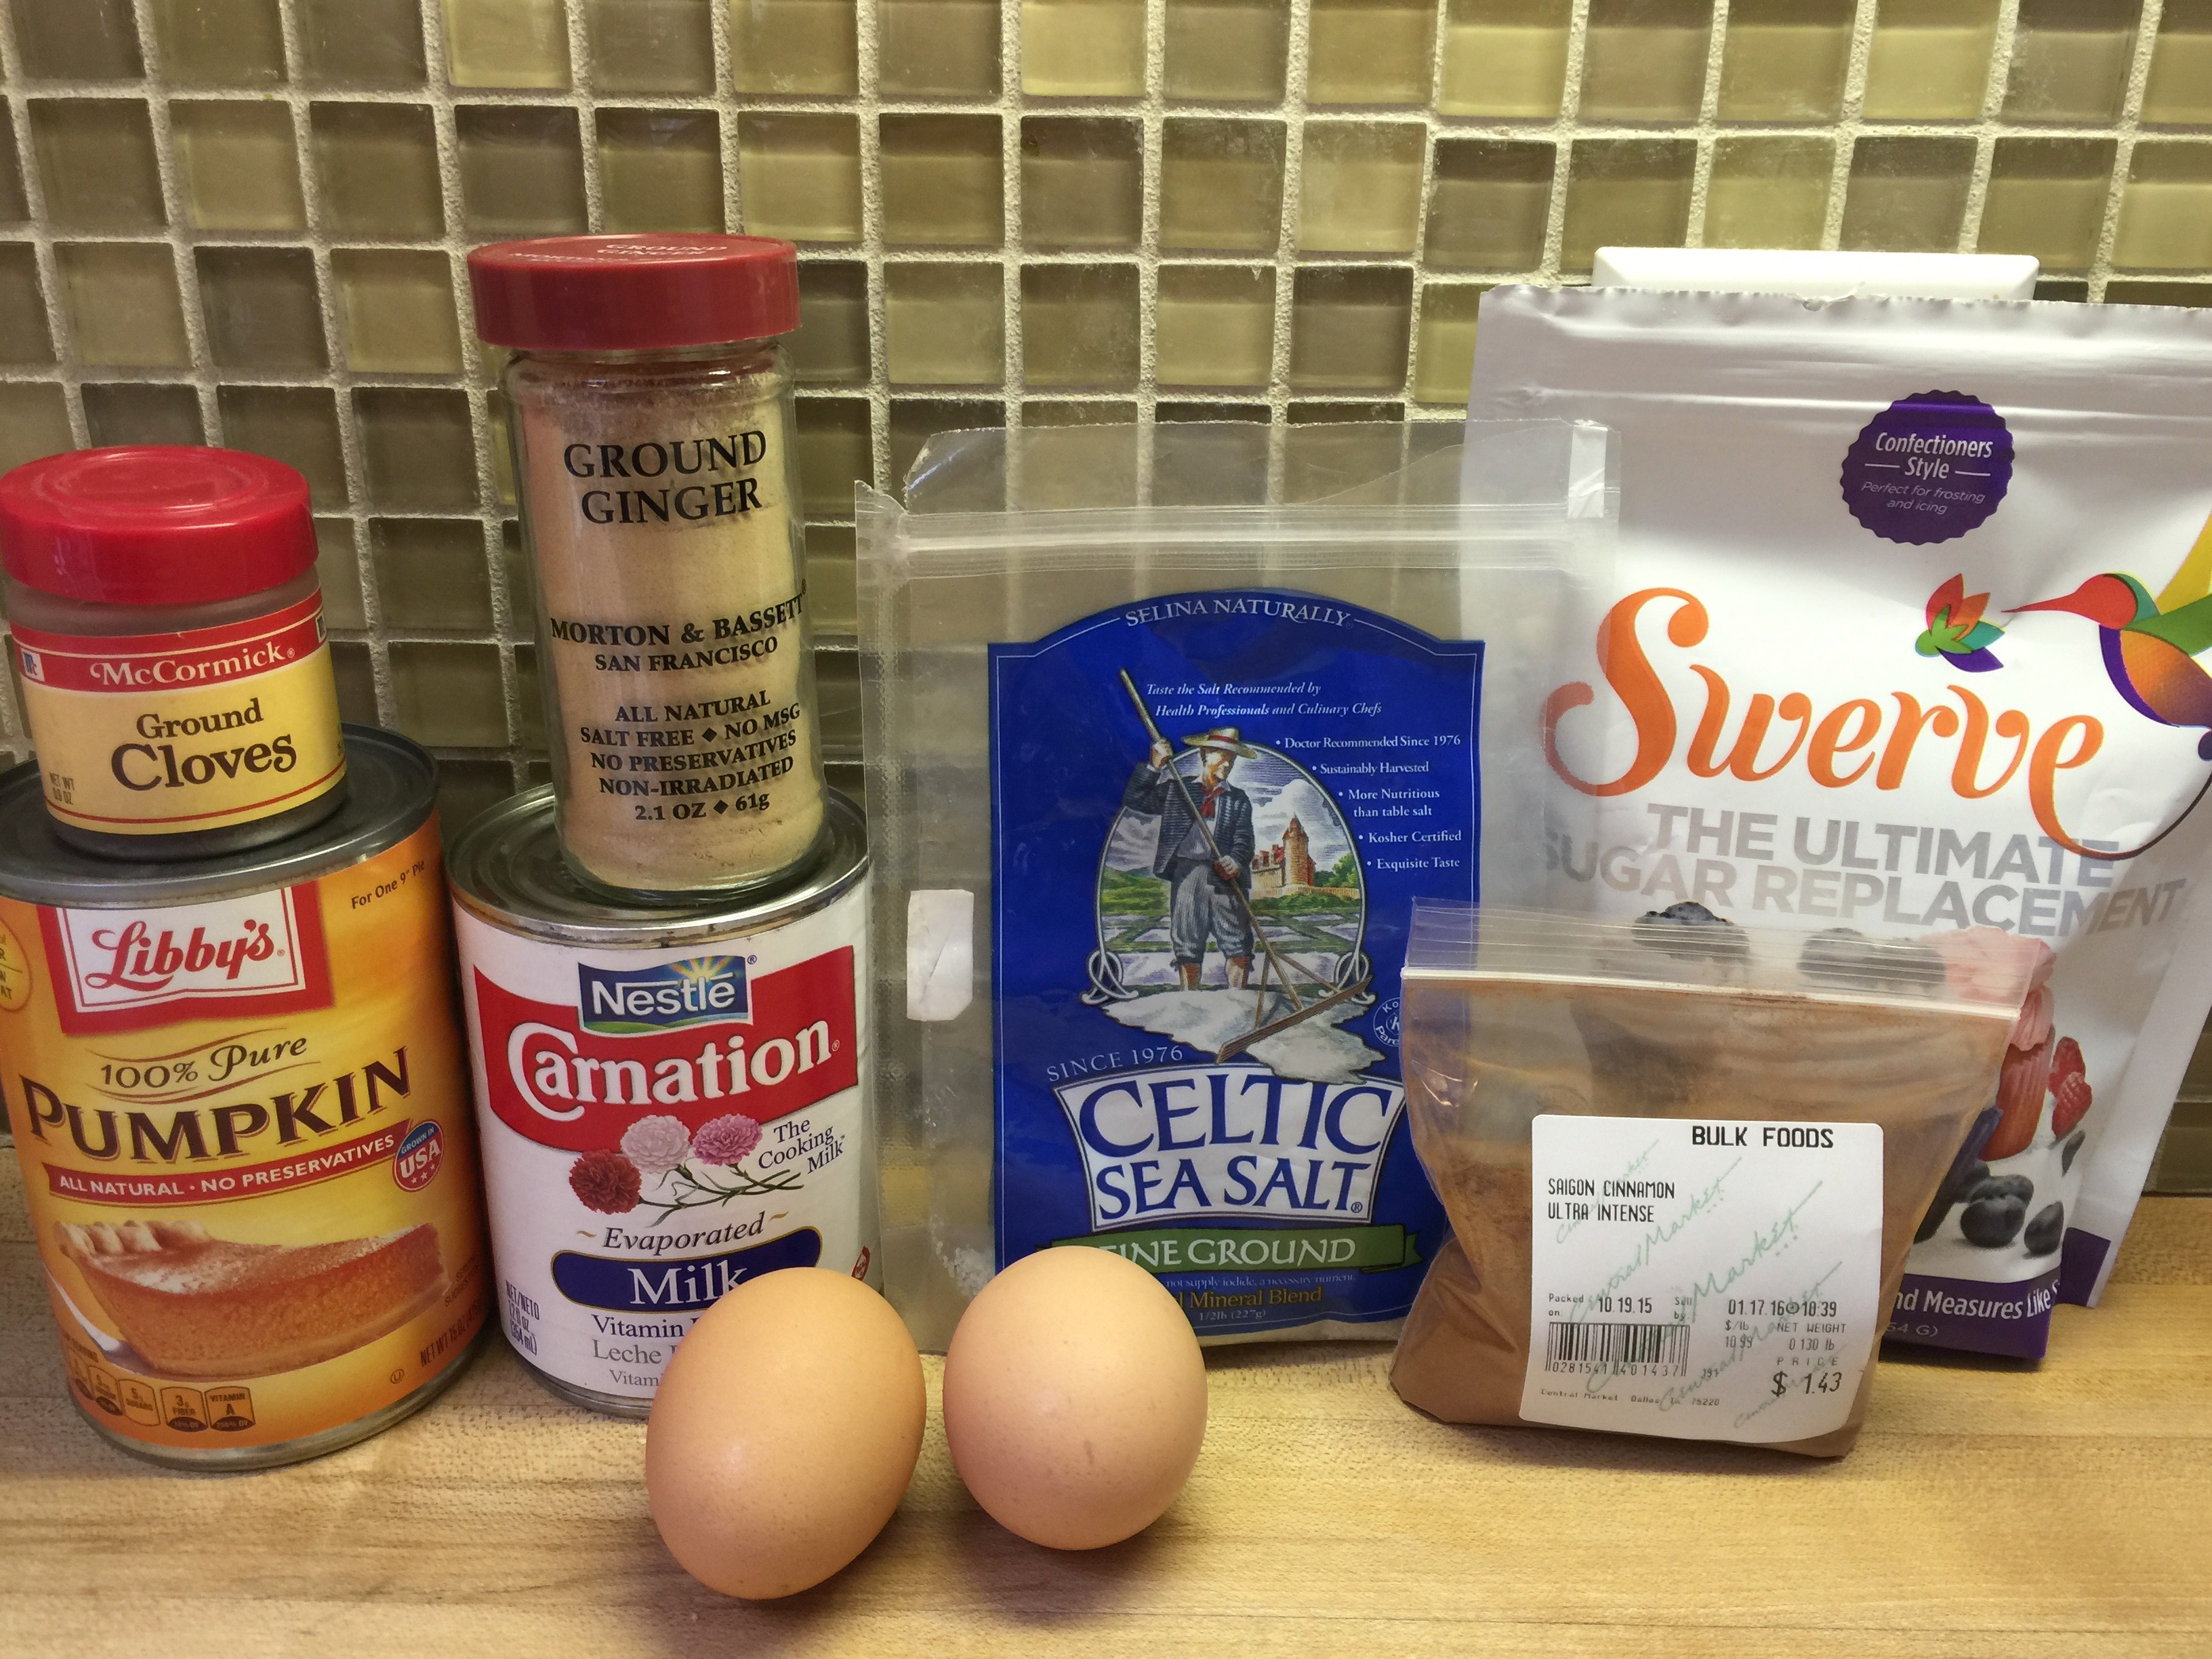
1 Cup Swerve granular
1/2 tsp salt
1 tsp cinnamon
1/2 tsp ground ginger
1/4 tsp ground cloves
2 large eggs
1 can (15 oz) Libby’s 100% Pure Pumpkin
1 can (12 fl oz) Carnation Evaporated Milk
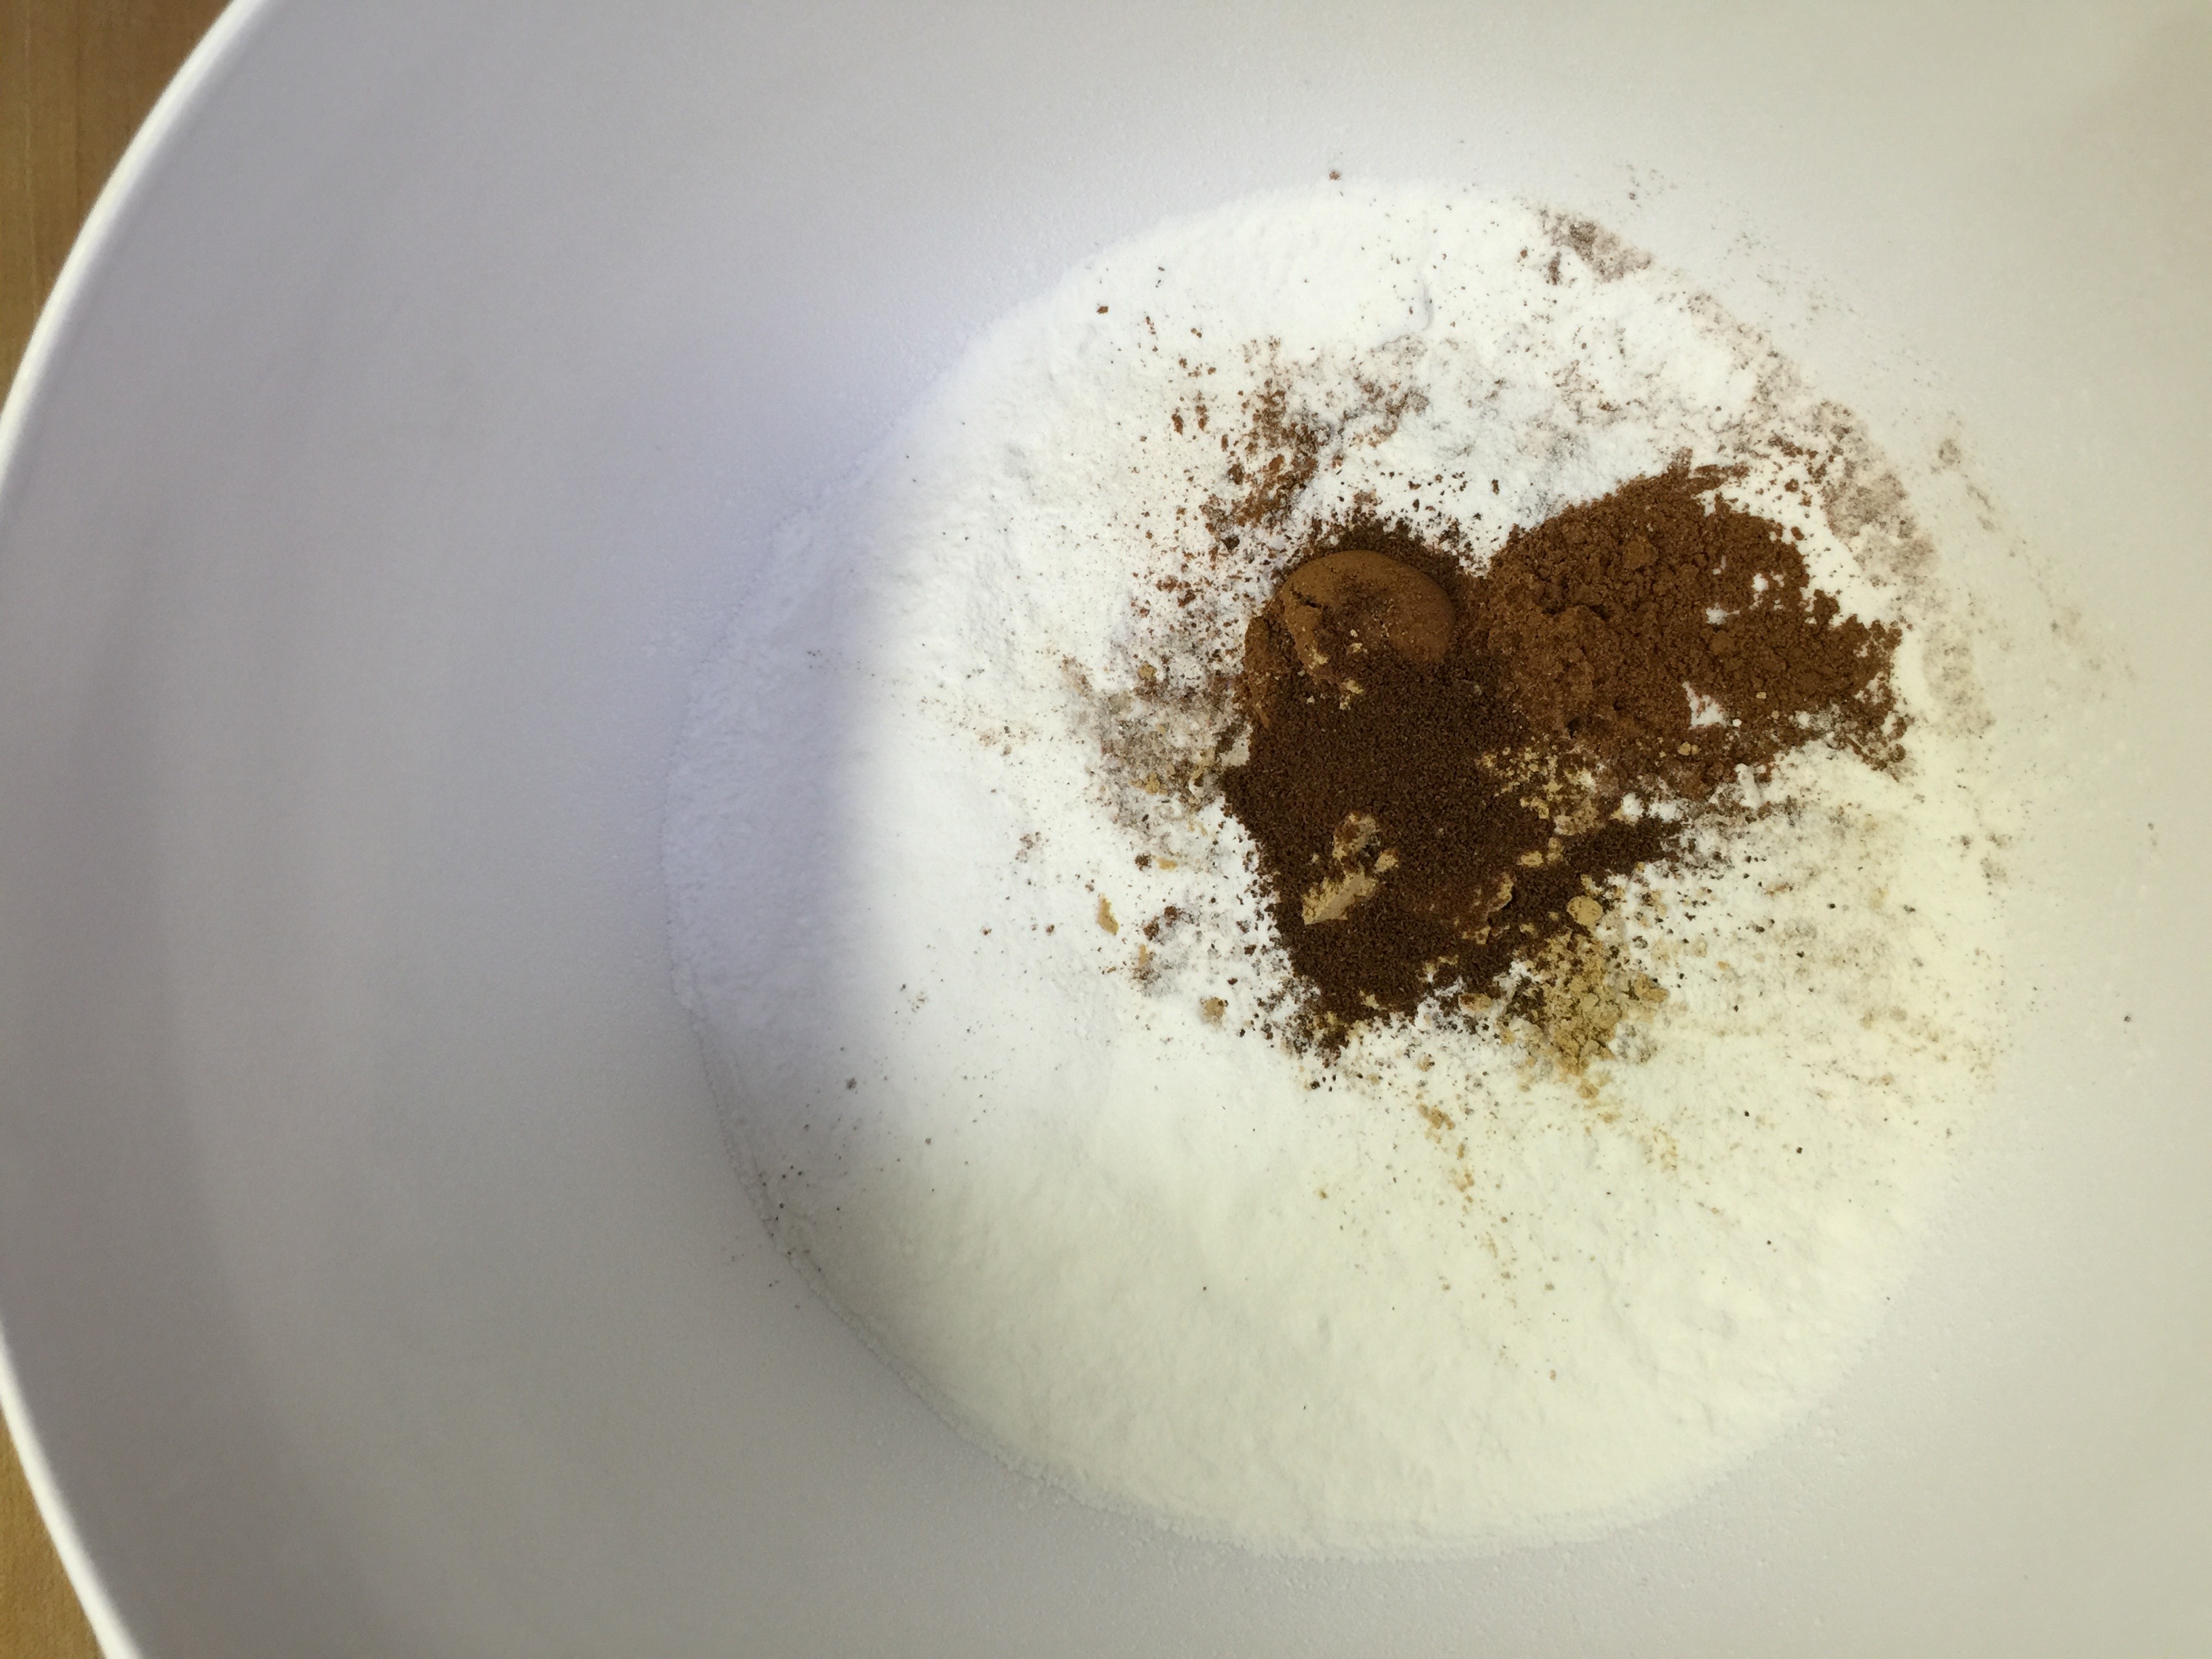
Mix your Swerve and spices in a small bowl.
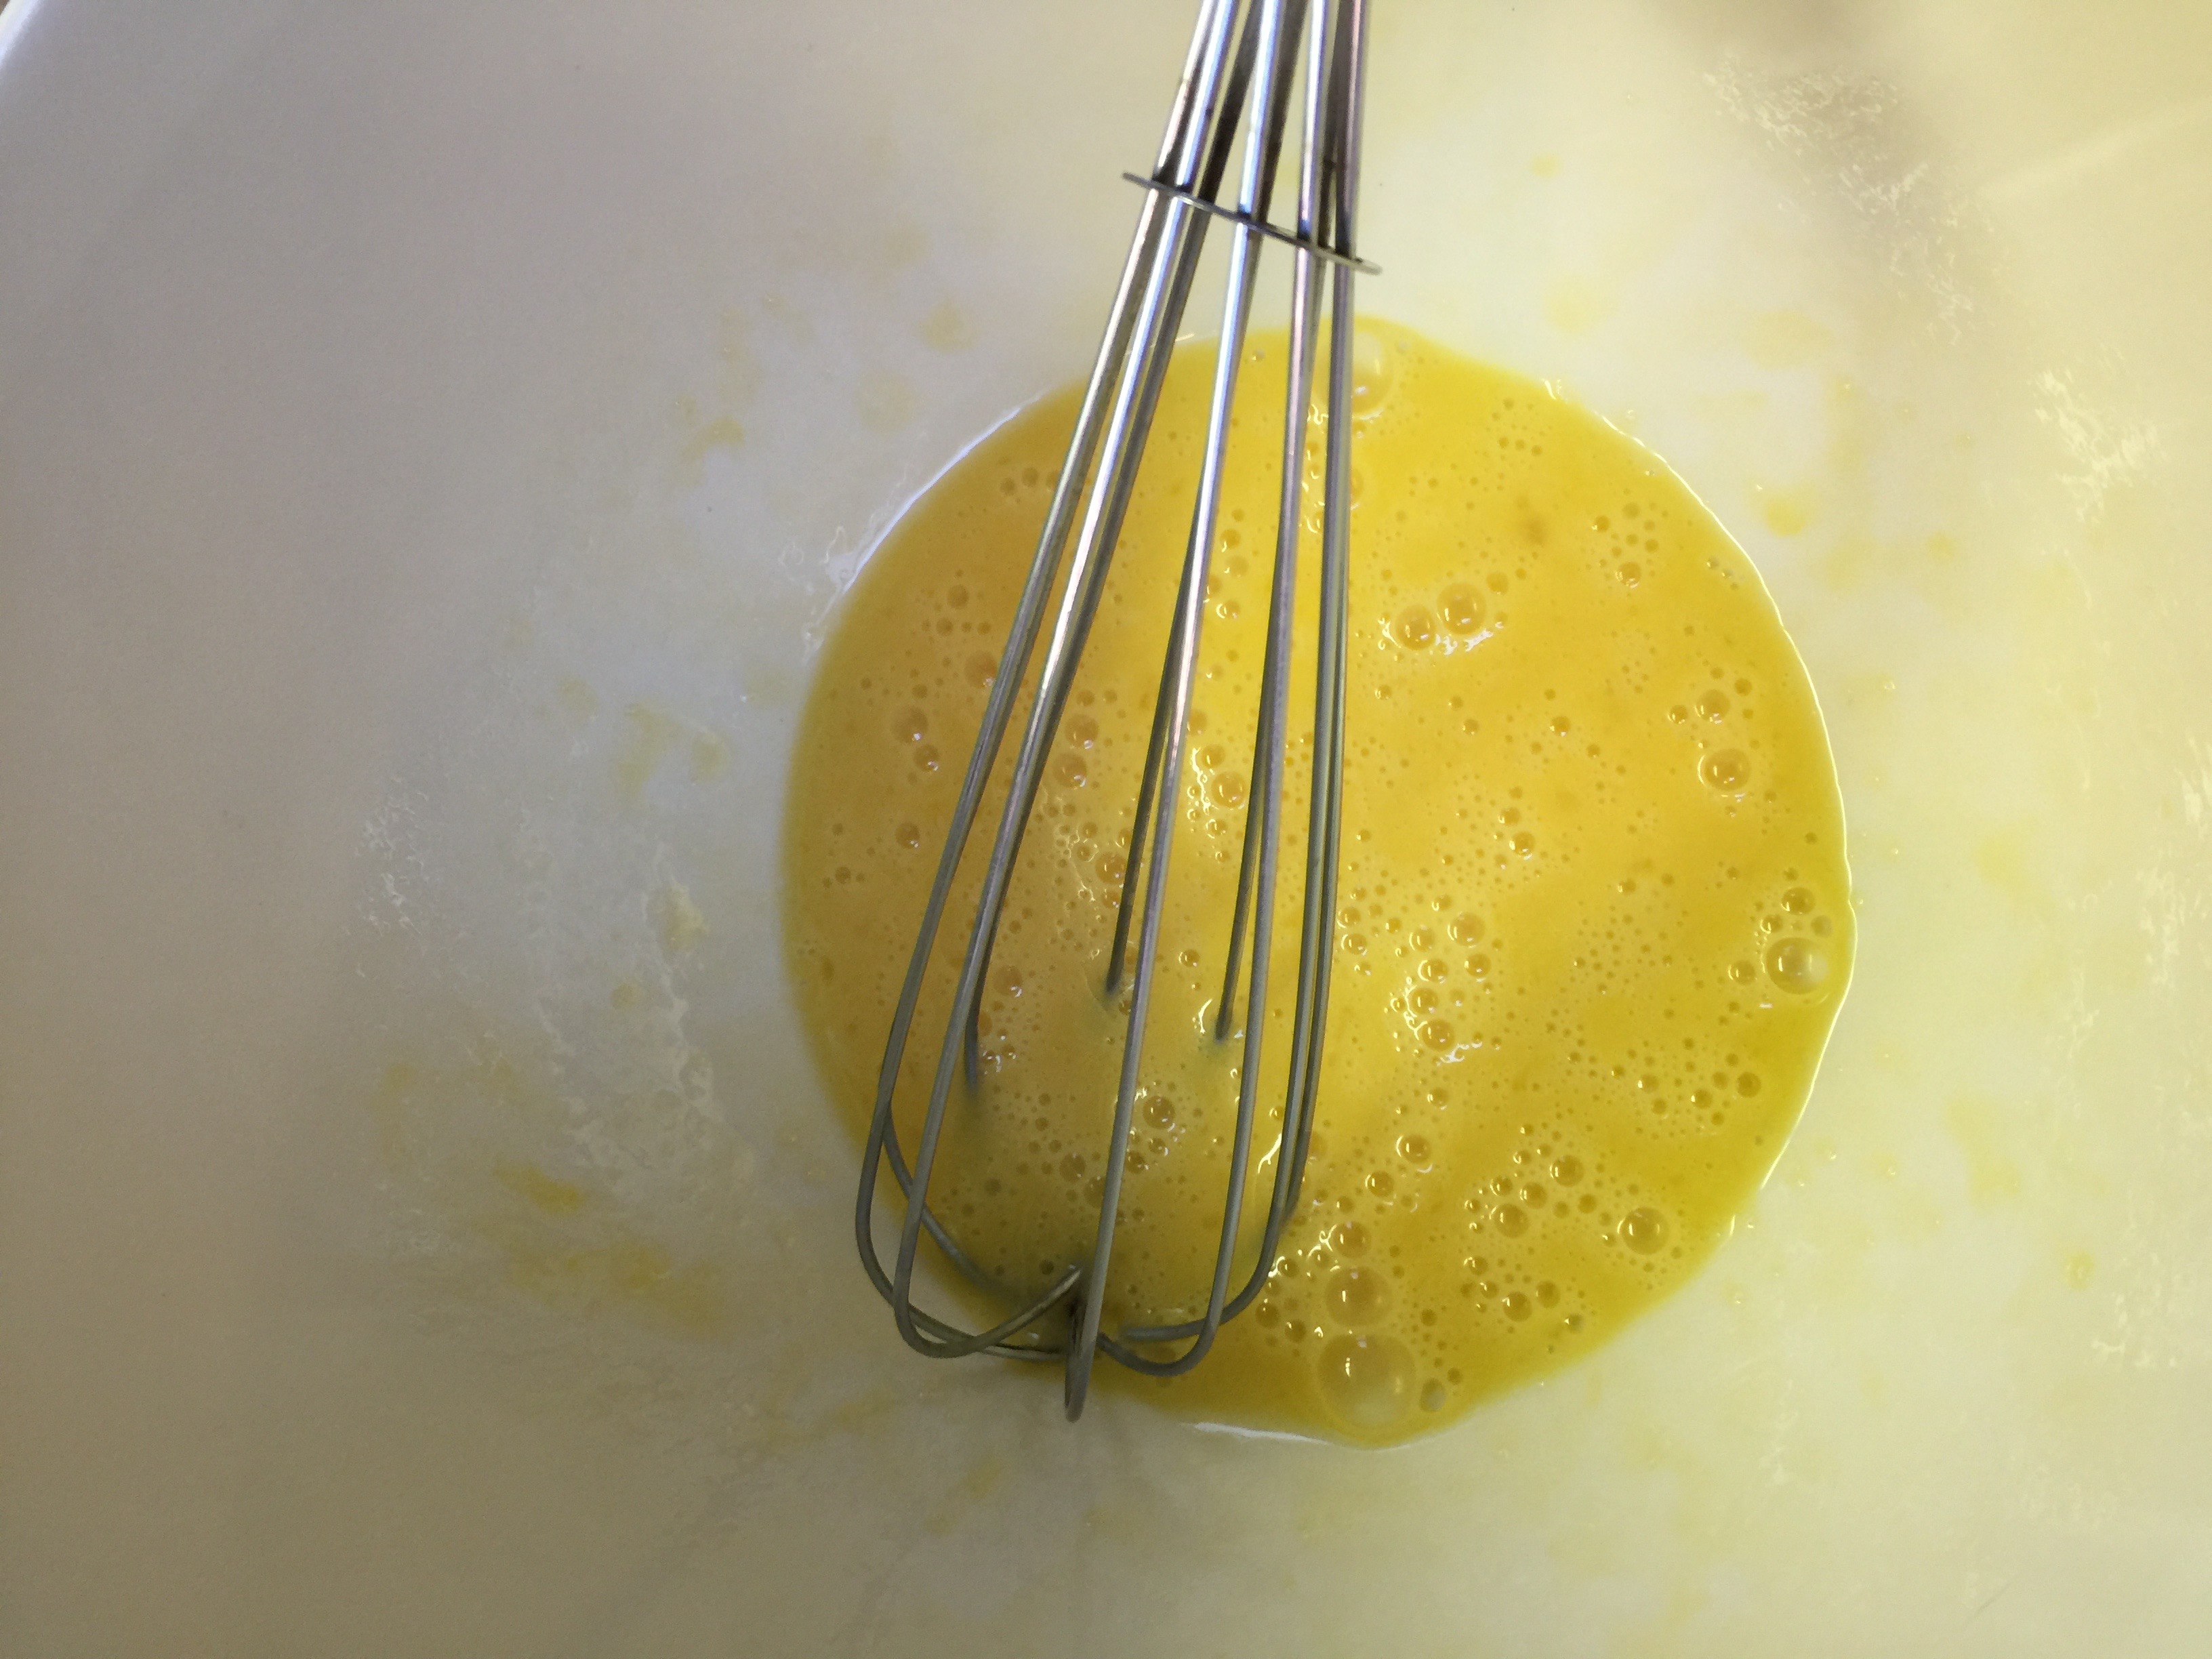
In a separate bowl, beat your eggs. Then add your pumpkin and mix well.
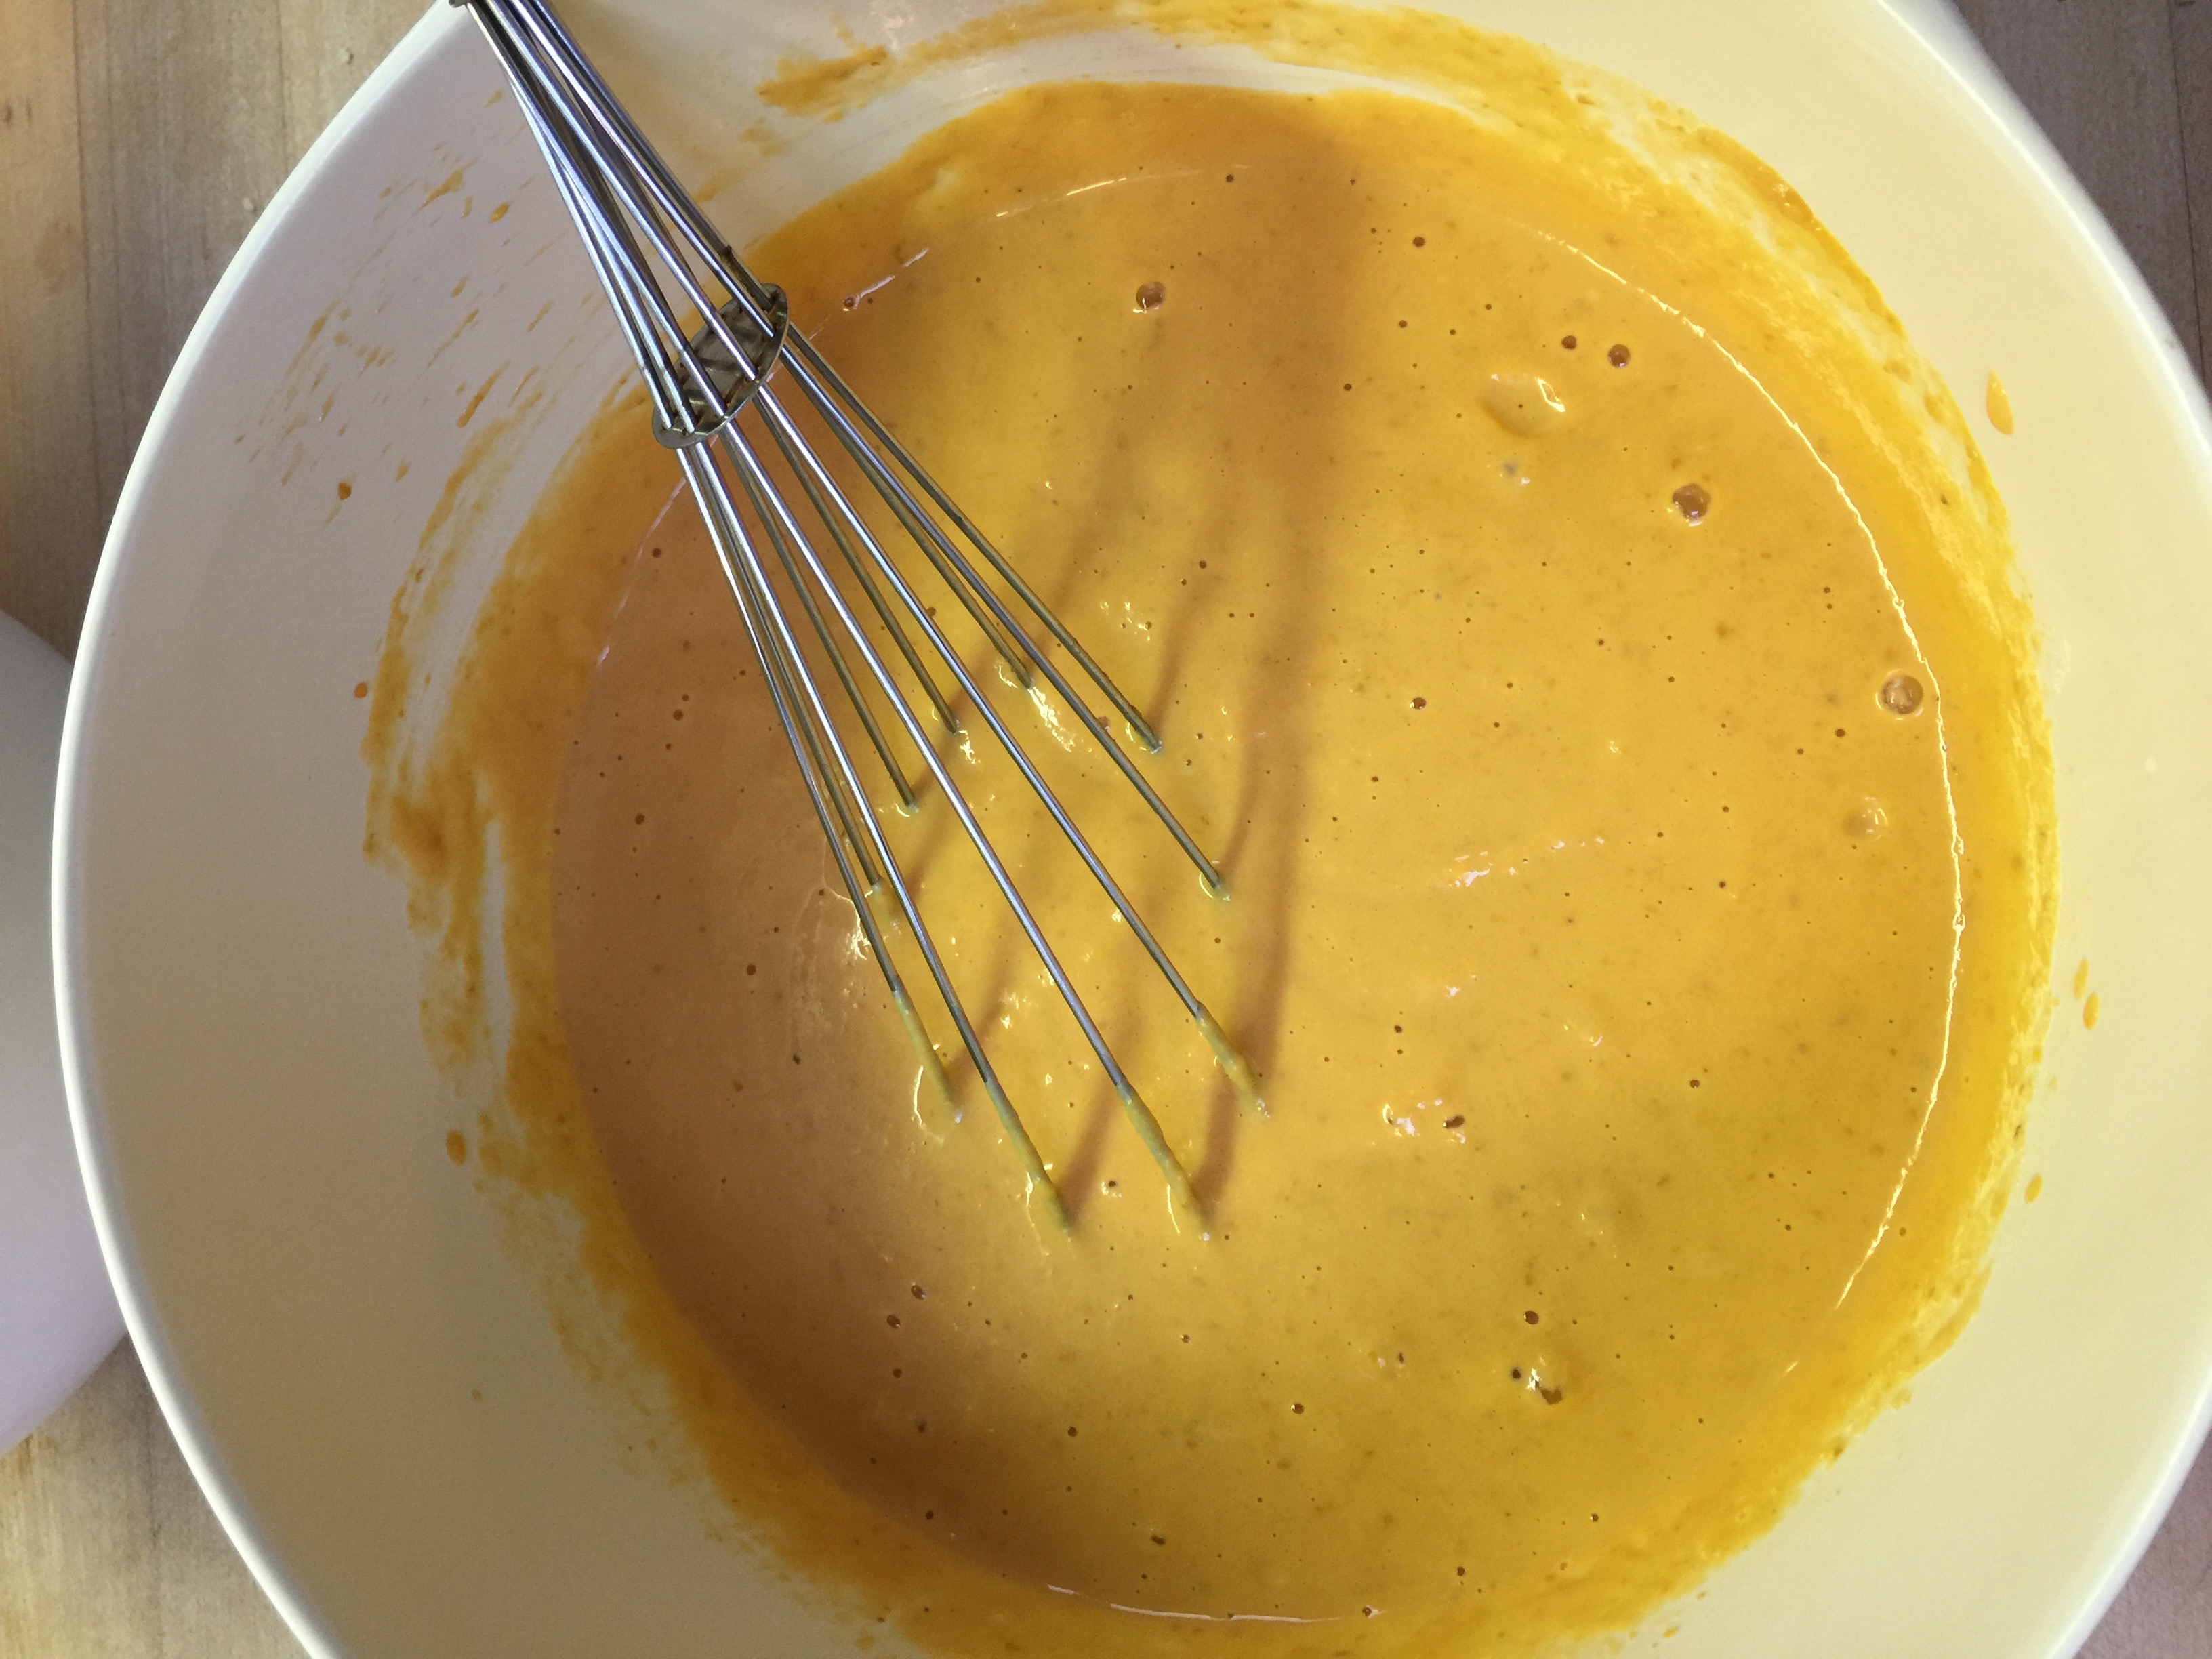
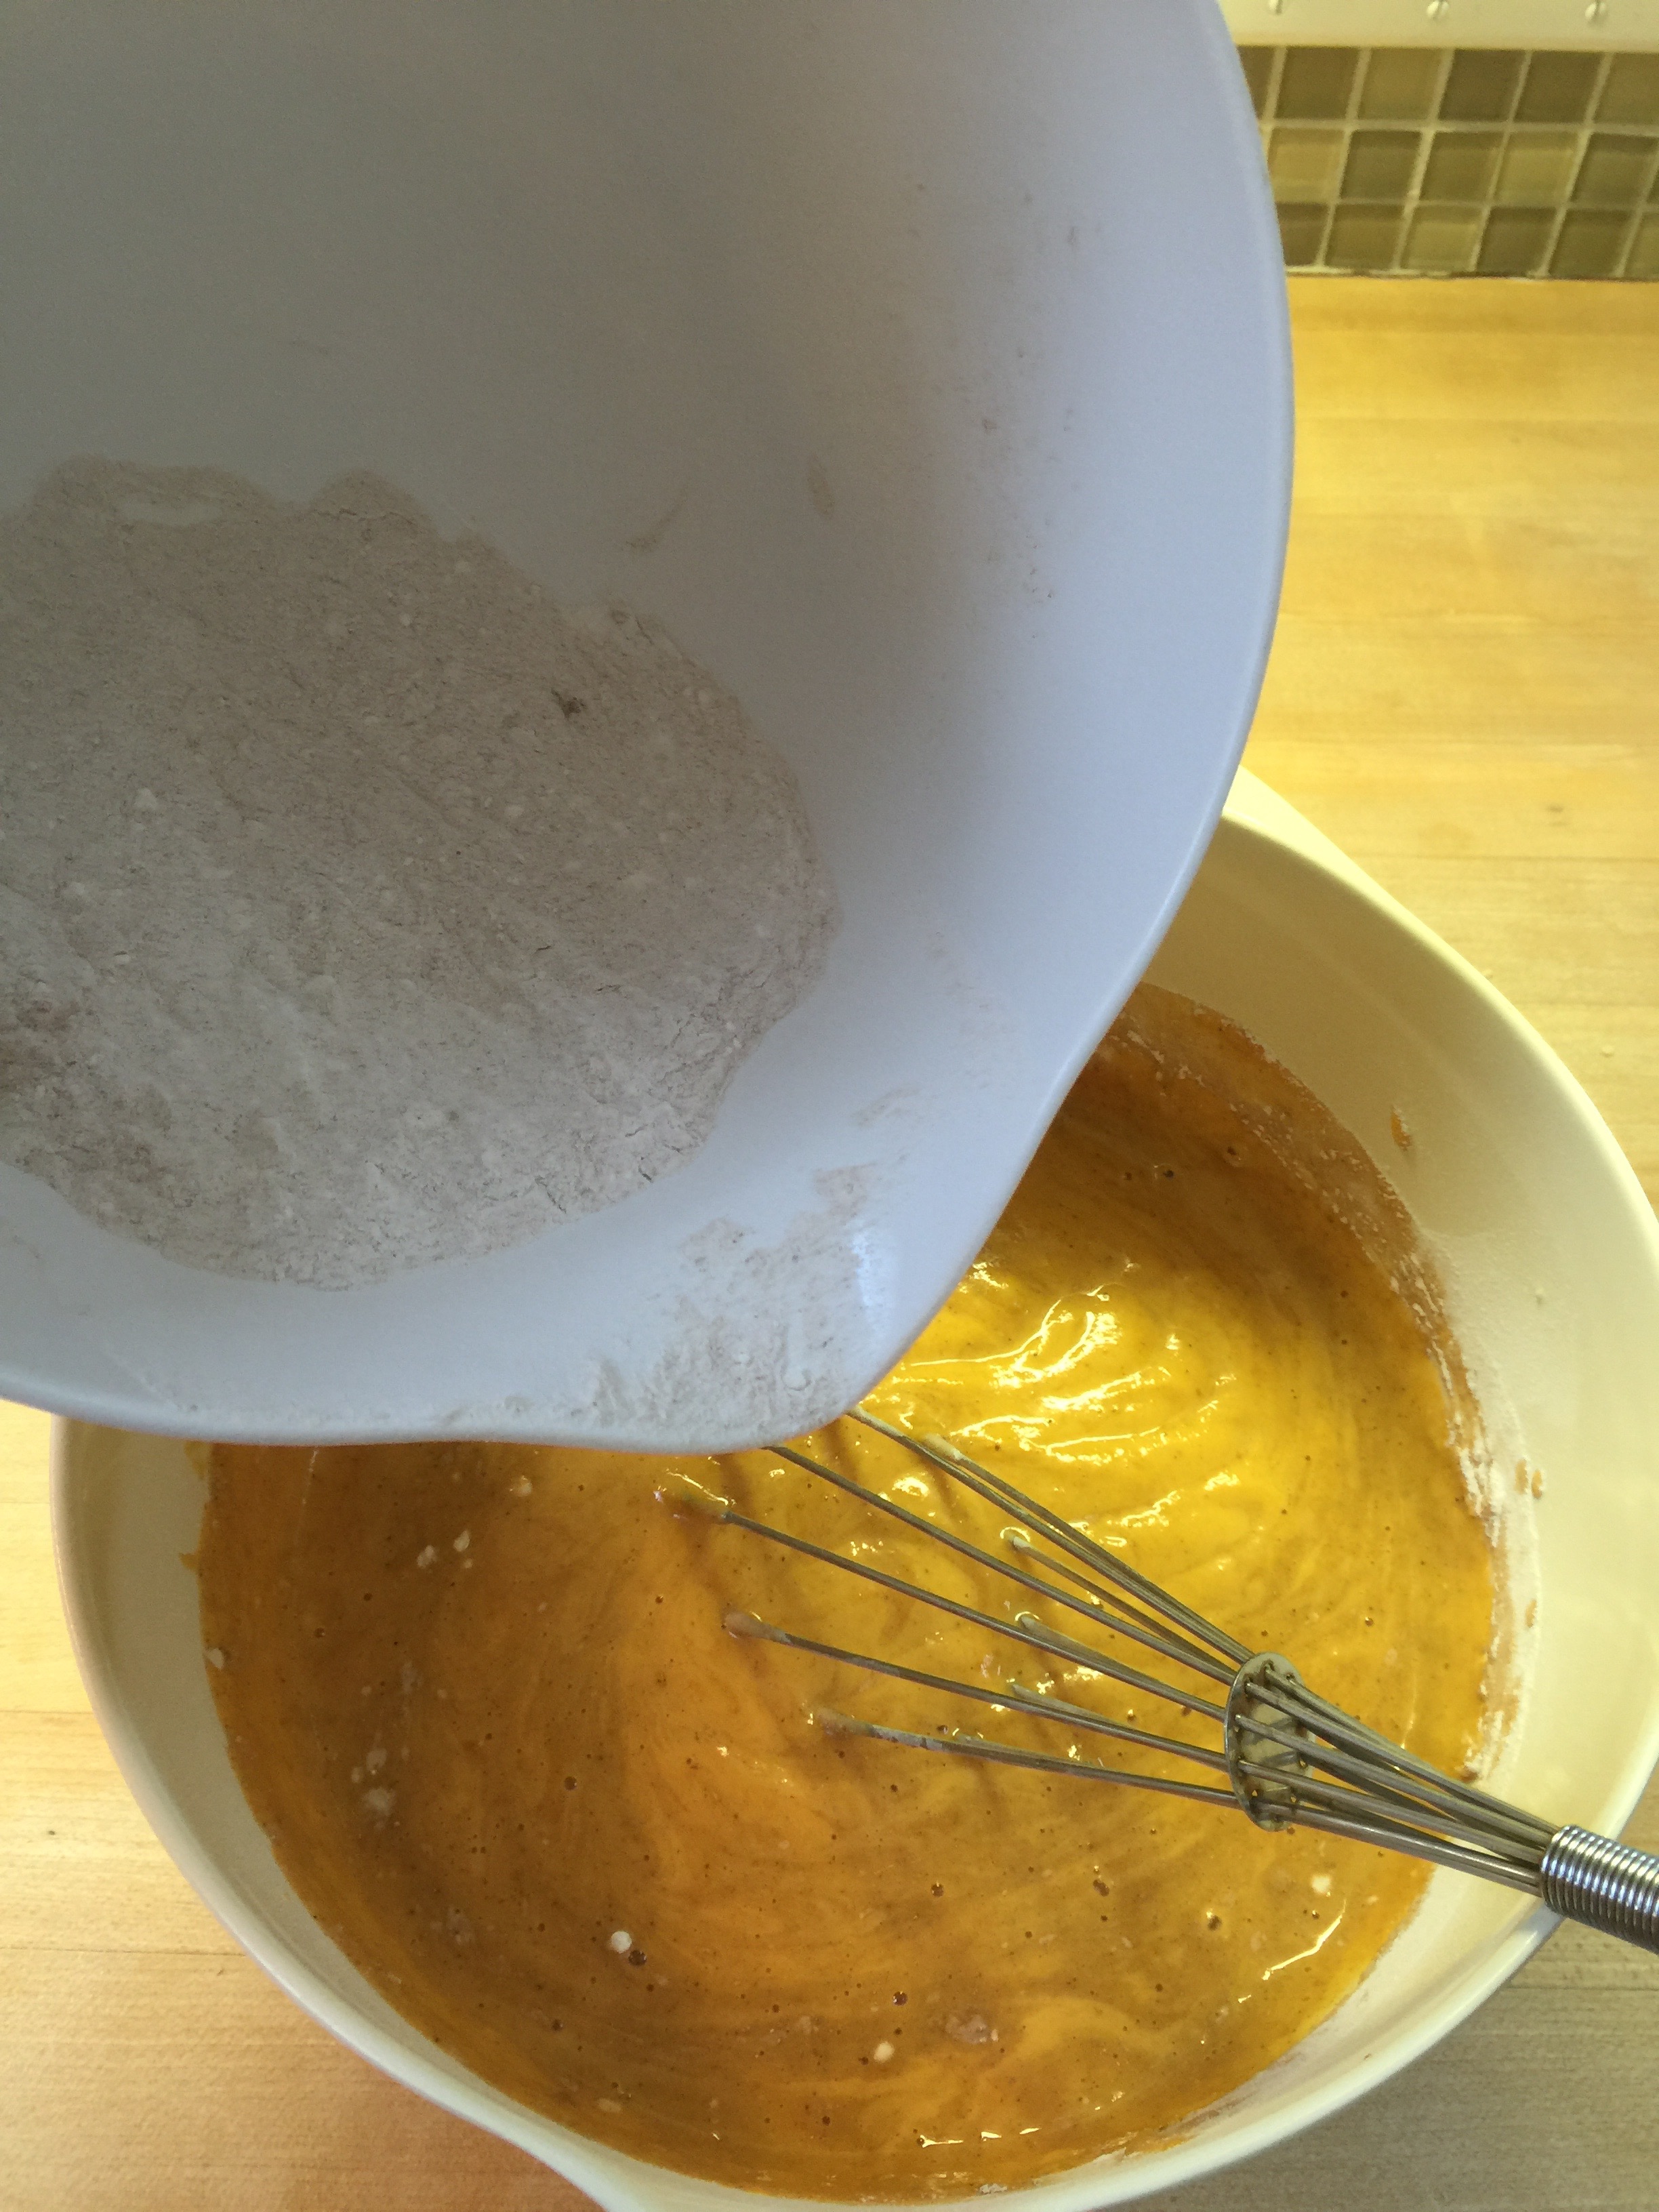
Finally add your dry ingredients while whisking and then add your evaporated milk.
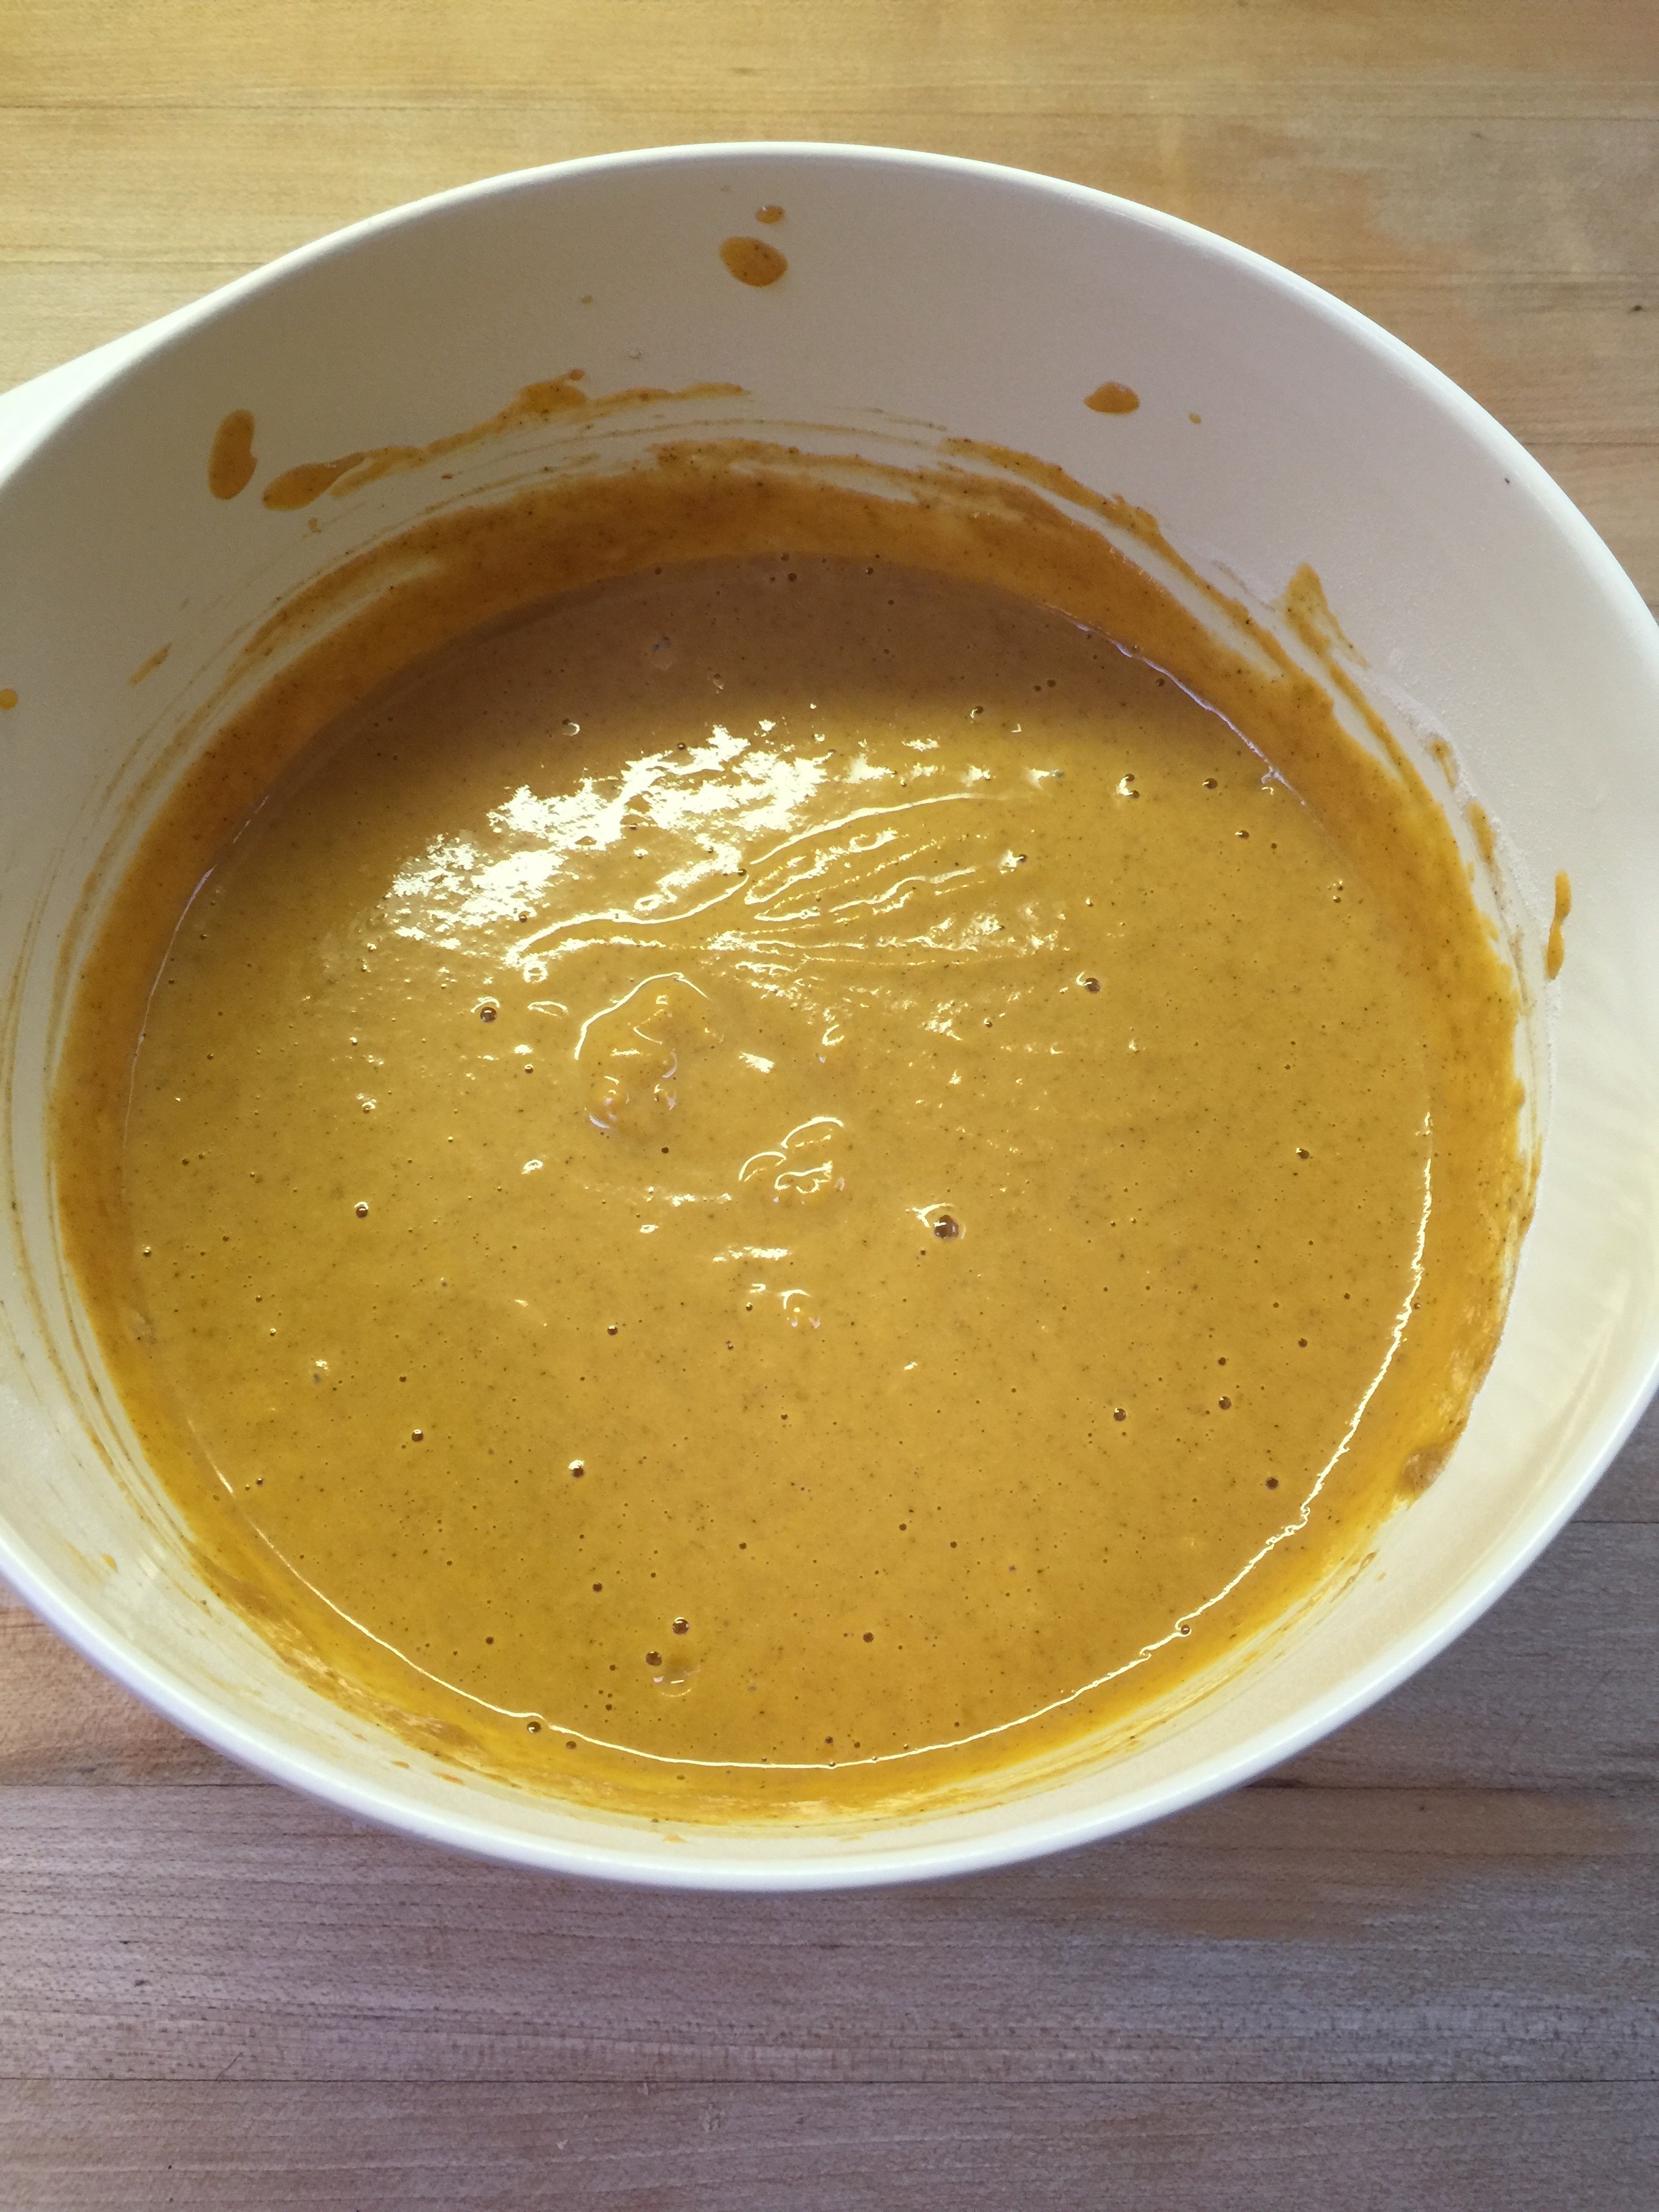
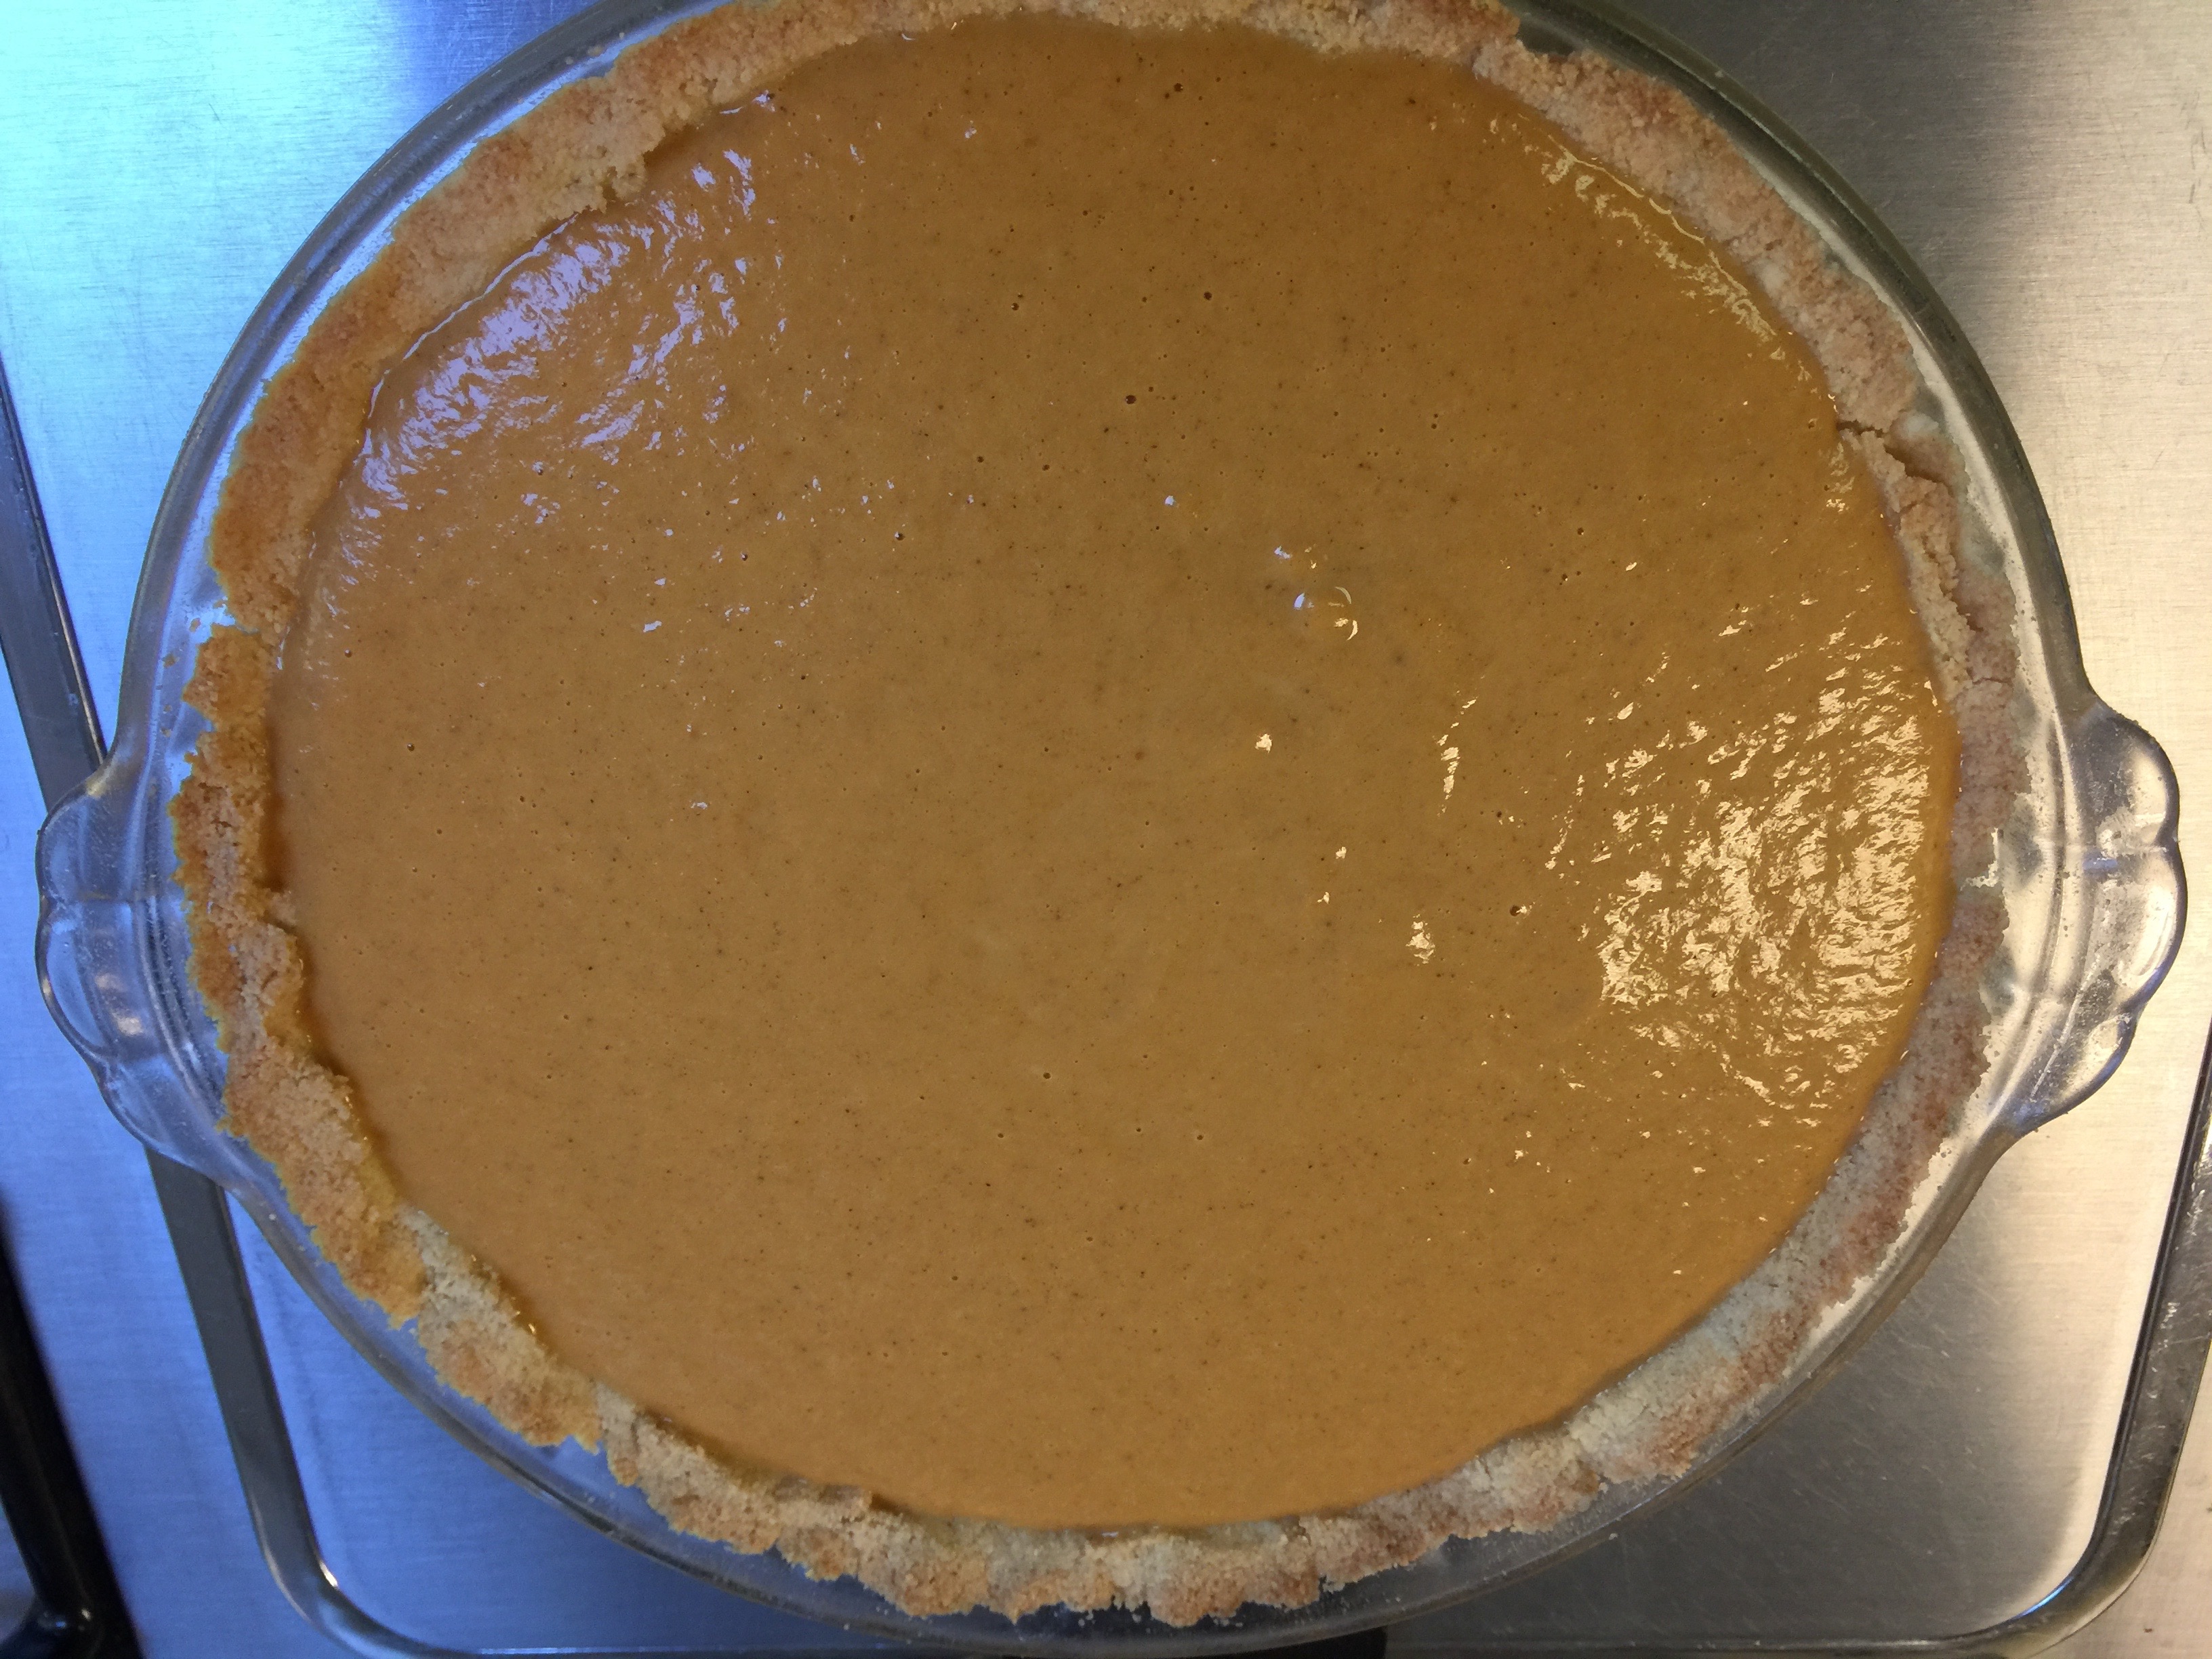
Once all your ingredients are combined well, add to your pie shell.
Bake at 425 degrees for 15 minutes. Reduce temperature to 350 degrees and continue baking for 40 to 50 minutes.
Let cool for a few hours before serving or chilling.
Top with whipped cream, and serve warm or cold.
She gobbled this huge piece down in no time! It was delicious!
Our little angel (youngest child and only girl – say some prayers) just celebrated her fifth birthday. She was counting down the months until her birthday…”I’m four and 8/12, I/m four and 11/12). You get the picture.
When her week finally rolled around, I asked her what kind of cake she wanted for her birthday. You may remember, I was quite the baker before my Keto days, so birthday time is always fun! In actuality, Keto baking is just as fun as regular baking once you get the hang of it. For birthdays, I let the children choose what ever they like for their one special day of the year. Keto or not! Low and behold, she said she wanted Angel Cake, which to the rest of us is Angel Food Cake. I was ecstatic! This is one recipe for dessert where Keto style tastes just like the real thing. In fact, my parents had no idea that it was sugar and grain free! That is the ultimate test in my opinion. It is also a great dessert for warm weather because it is quite refreshing. Even though it is September, in South Texas, it feels like July!
Save this cake for a day when you have time, because just like any other Angel Food Cake, the whipping of the egg whites is time consuming. This is not a difficult cake, but it is a little different from typical baking and patience is a must.
Keto Angel Cake
(Carolyn Style)
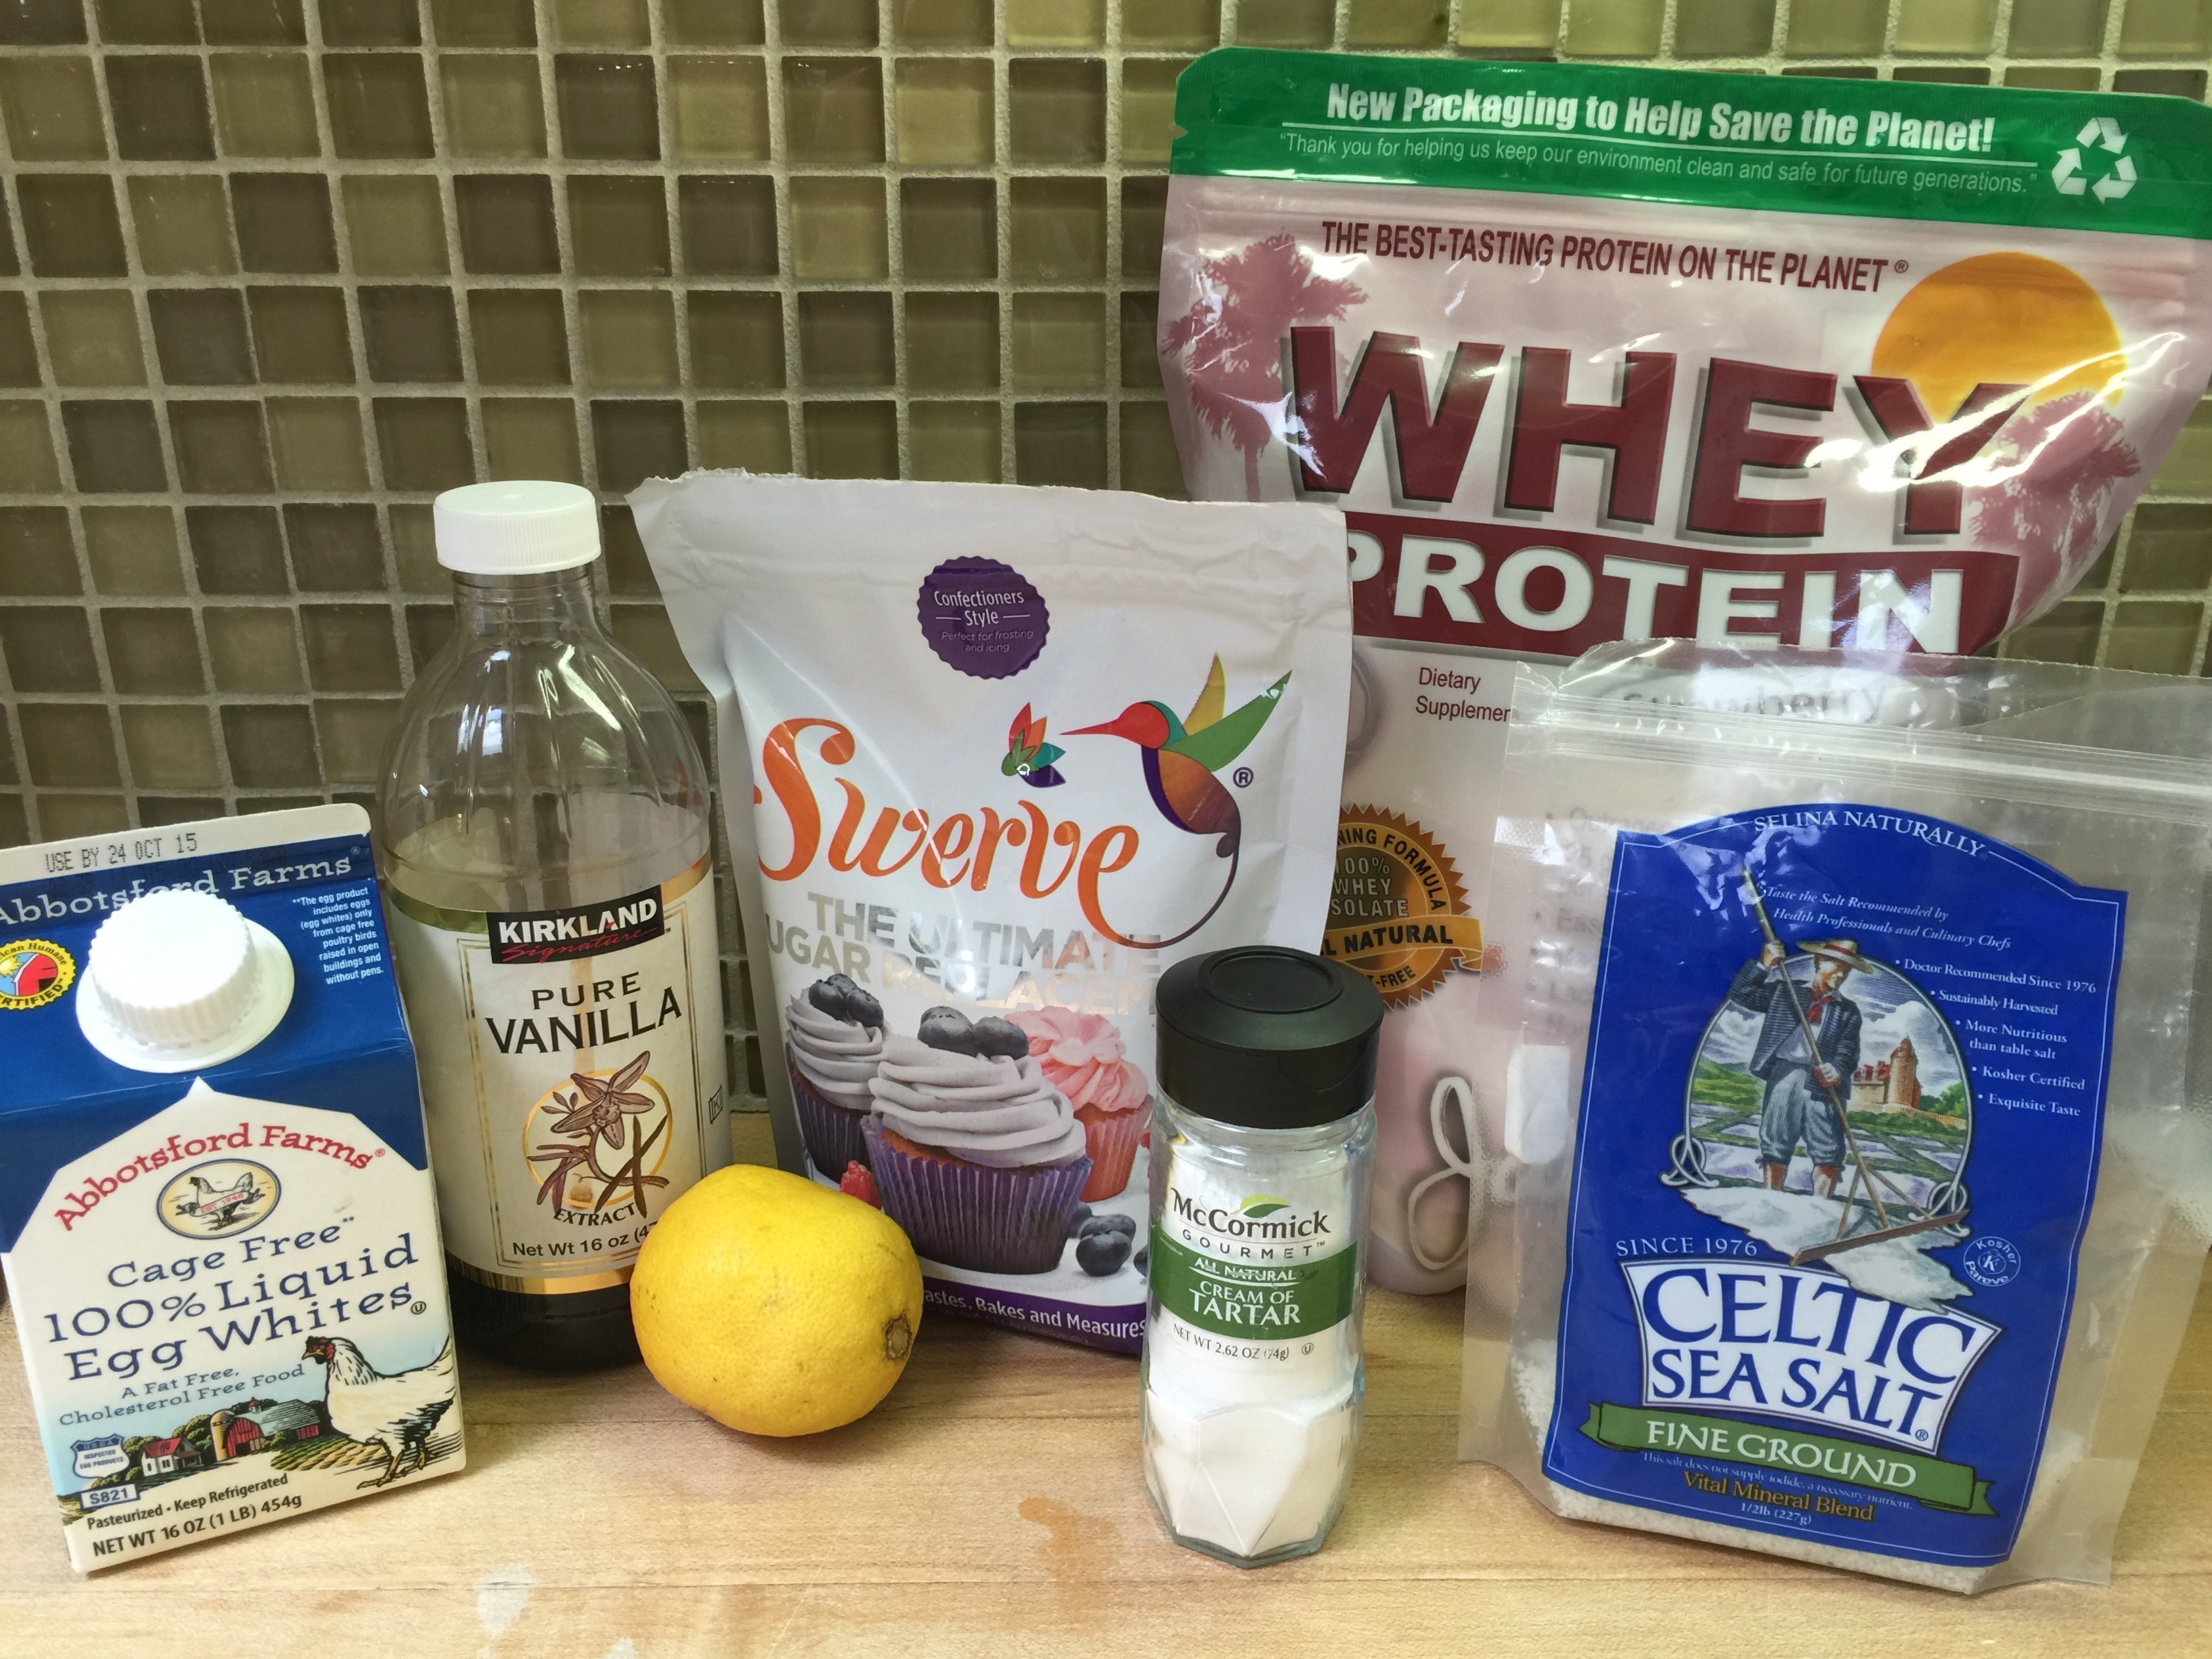
Ingredients:
Yes, this is correct! It is much different from traditional cake.
Start with 12 very cold egg whites or the equivalent of such (like I did) which is about 3 cups.
I Cup Jay Robb Protein Powder (Vanilla or Strawberry)
1 1/3 Cup Swerve Confectioners
1 1/2 tsp cream of tartar
1/2 tsp salt
1 TBSP fresh lemon juice
1 tsp vanilla (or lemon, strawberry or flavor of your choice)
Directions:
1. Preheat your oven to 350 degrees.
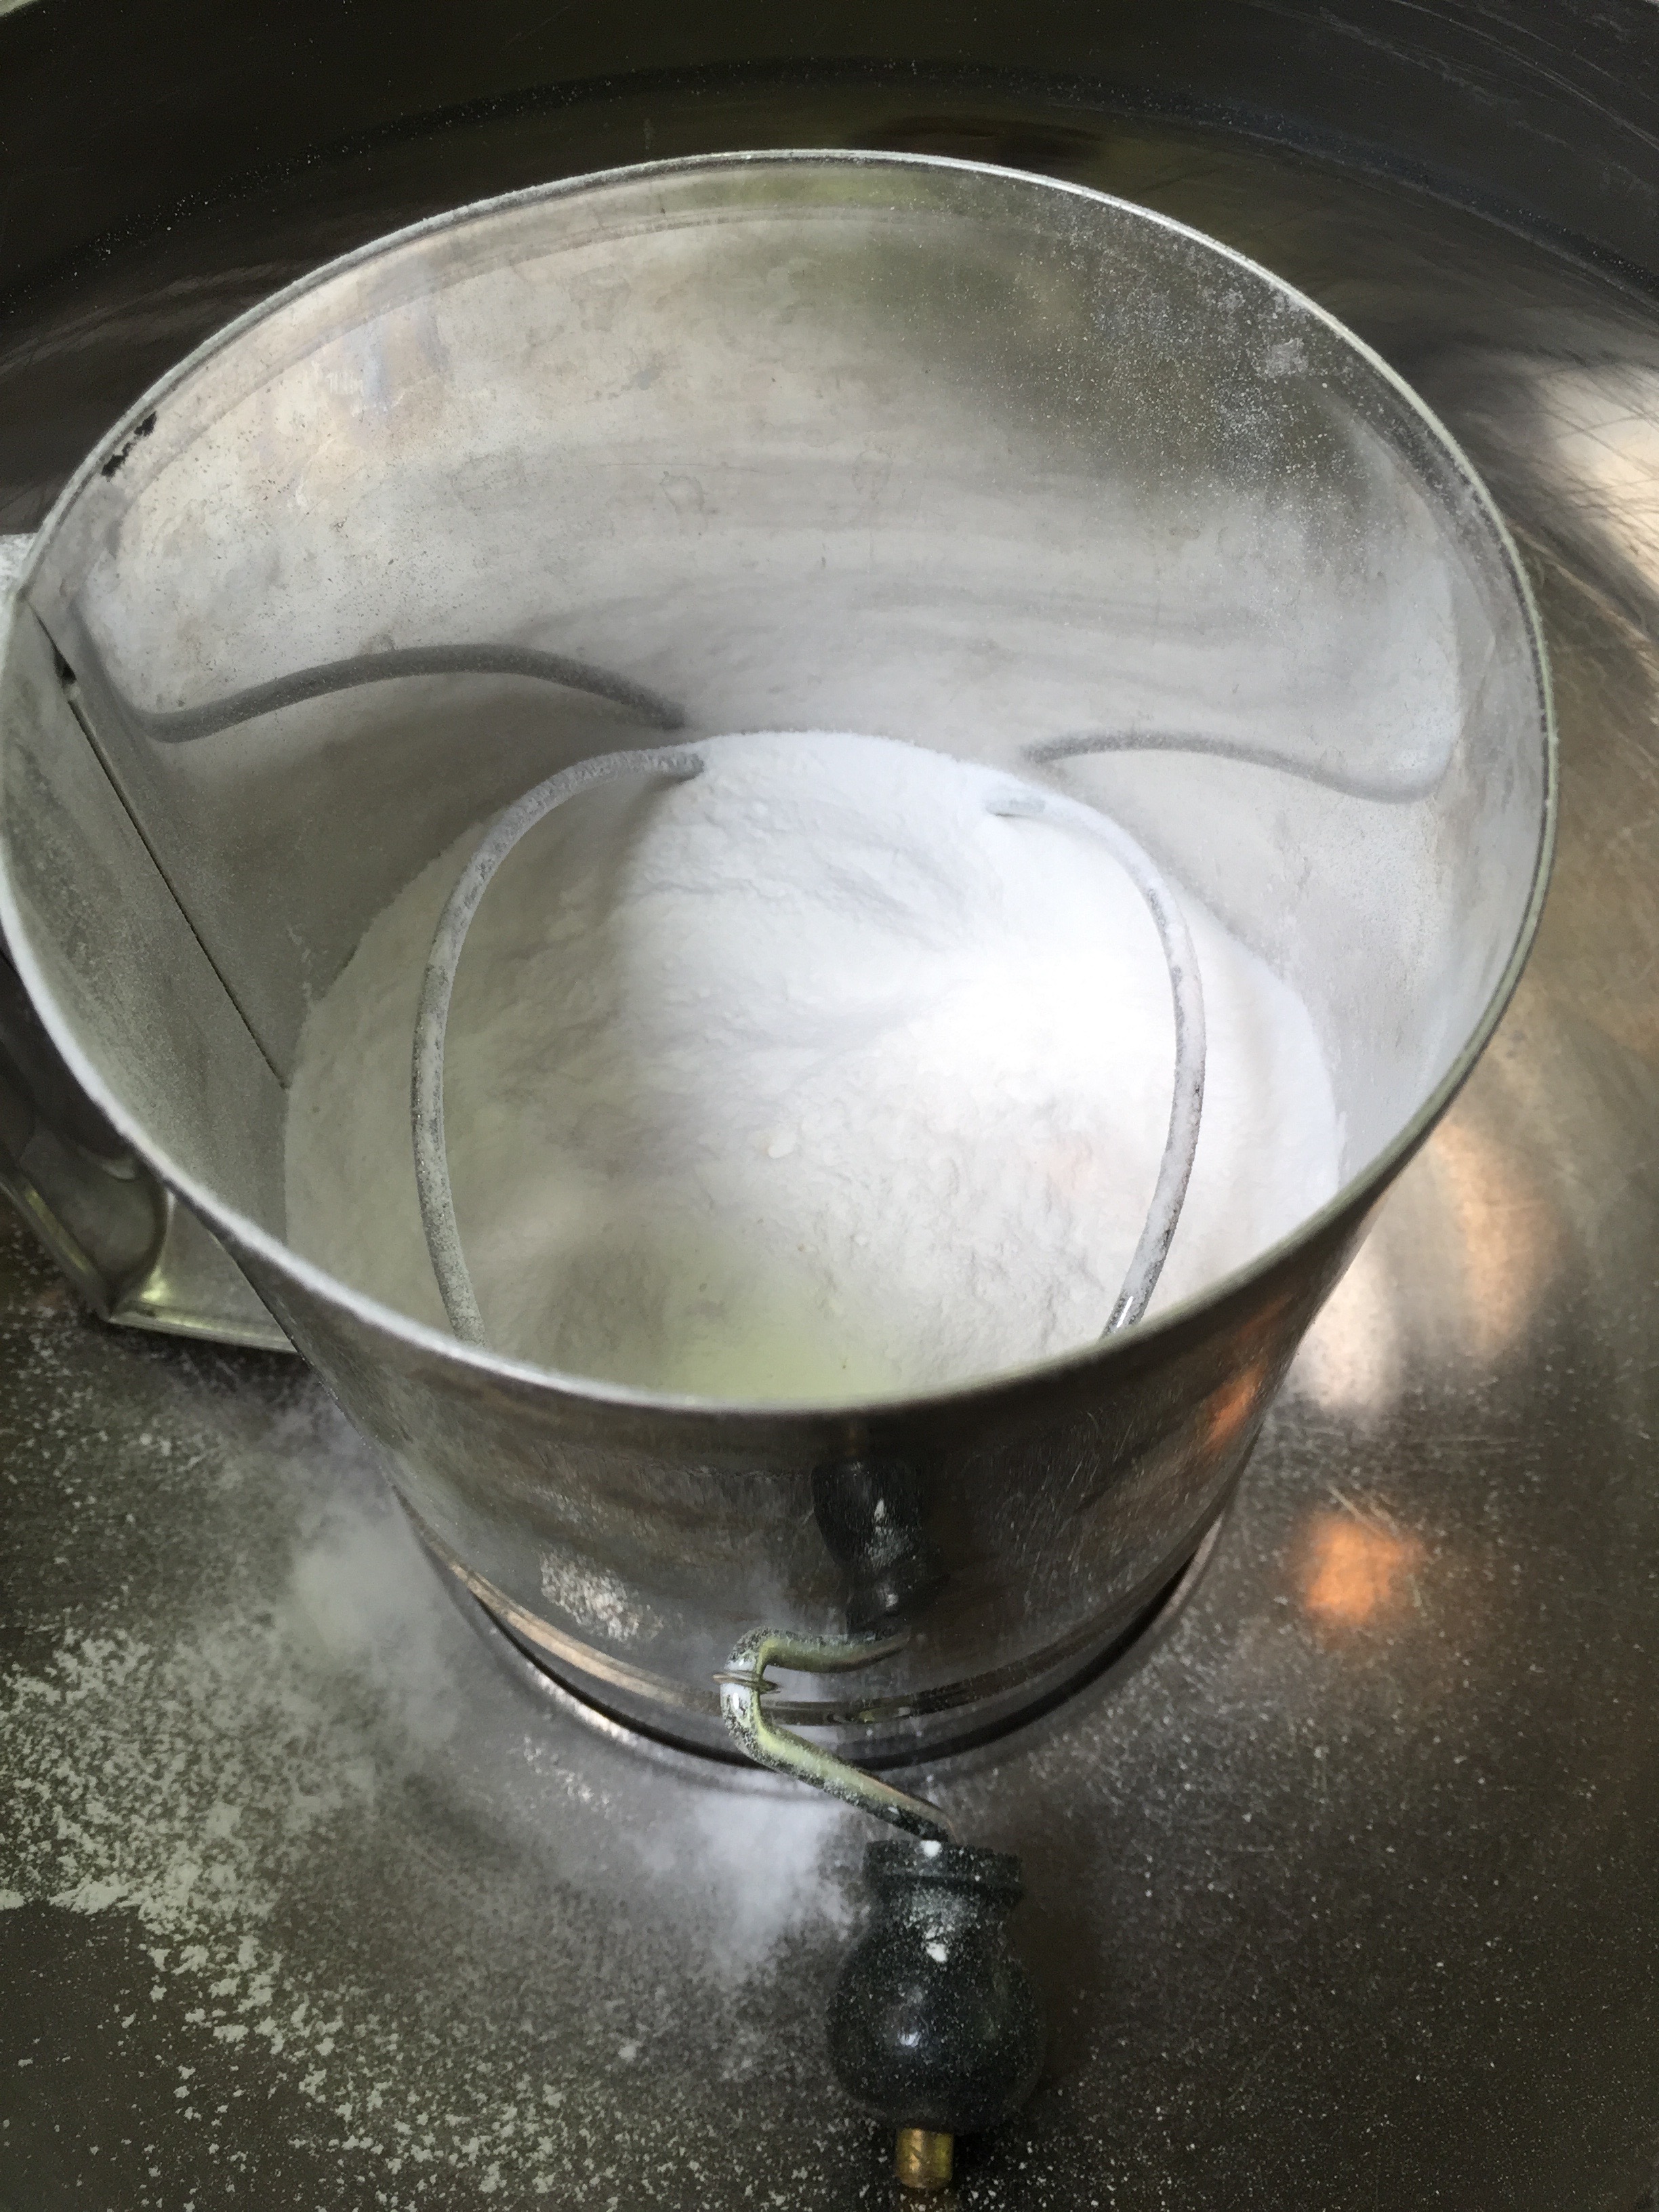
2. Sift your Protein Powder and Swerve Confectioners together 2 times. Set aside.
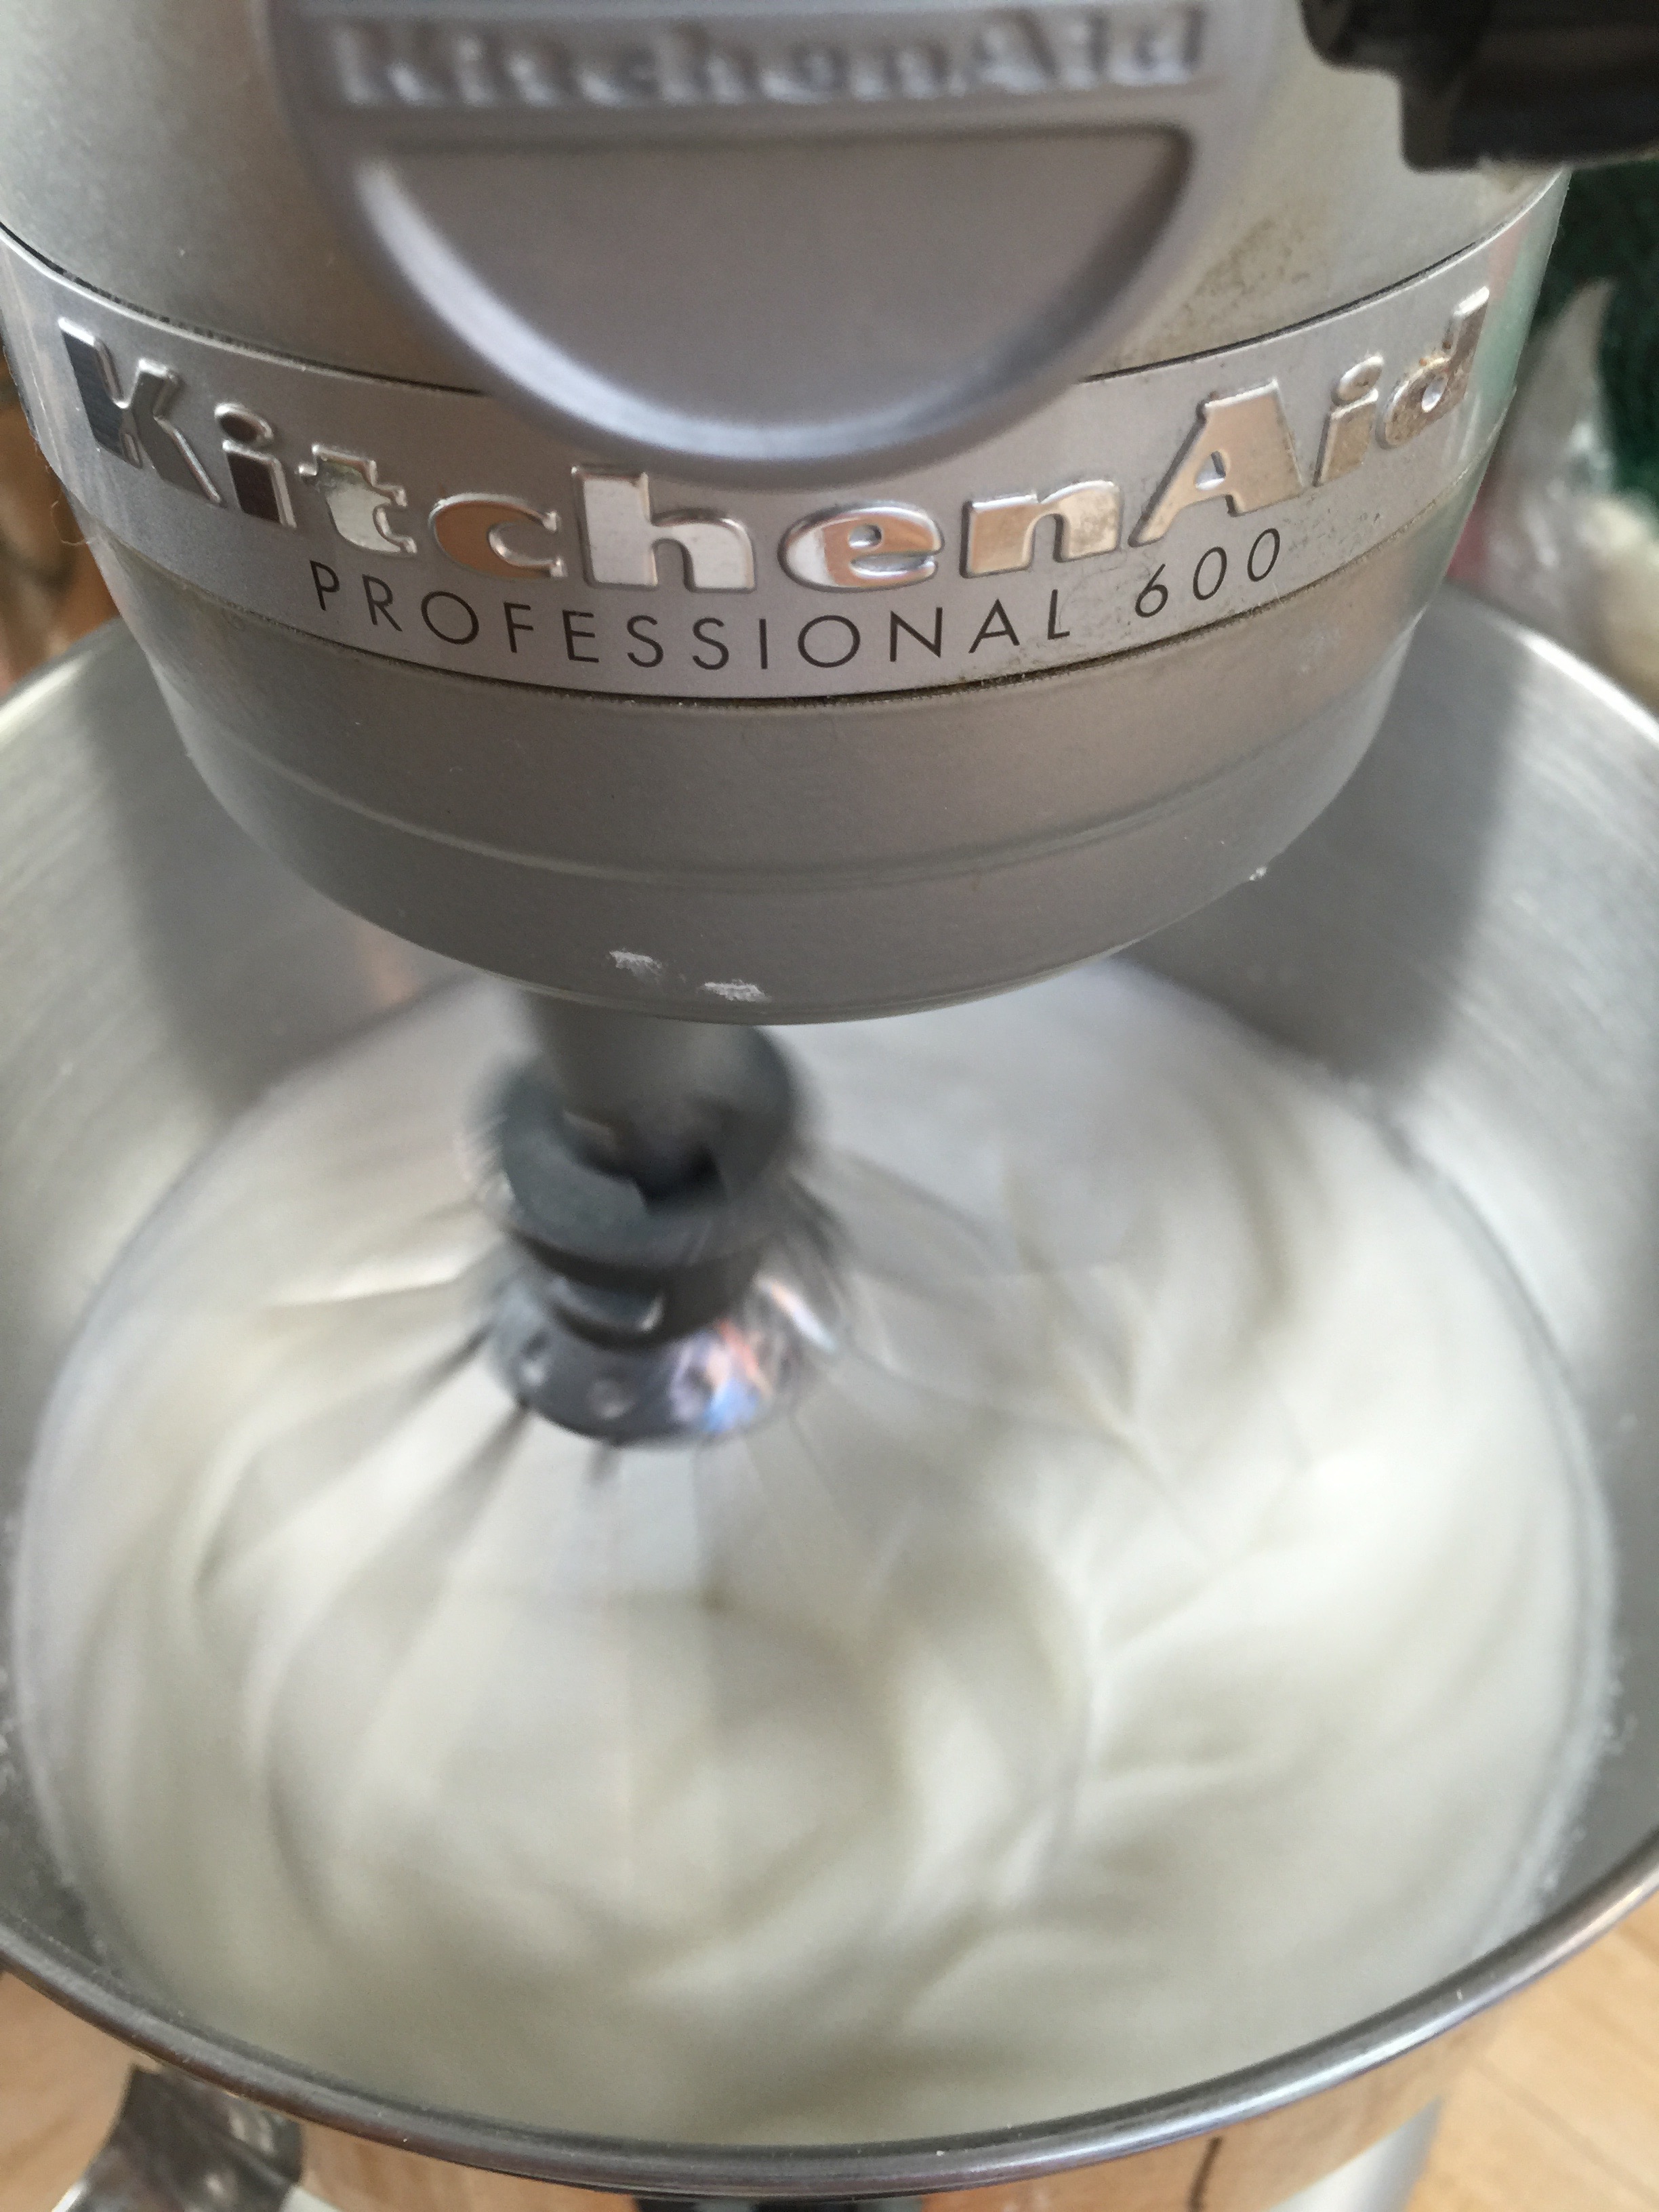
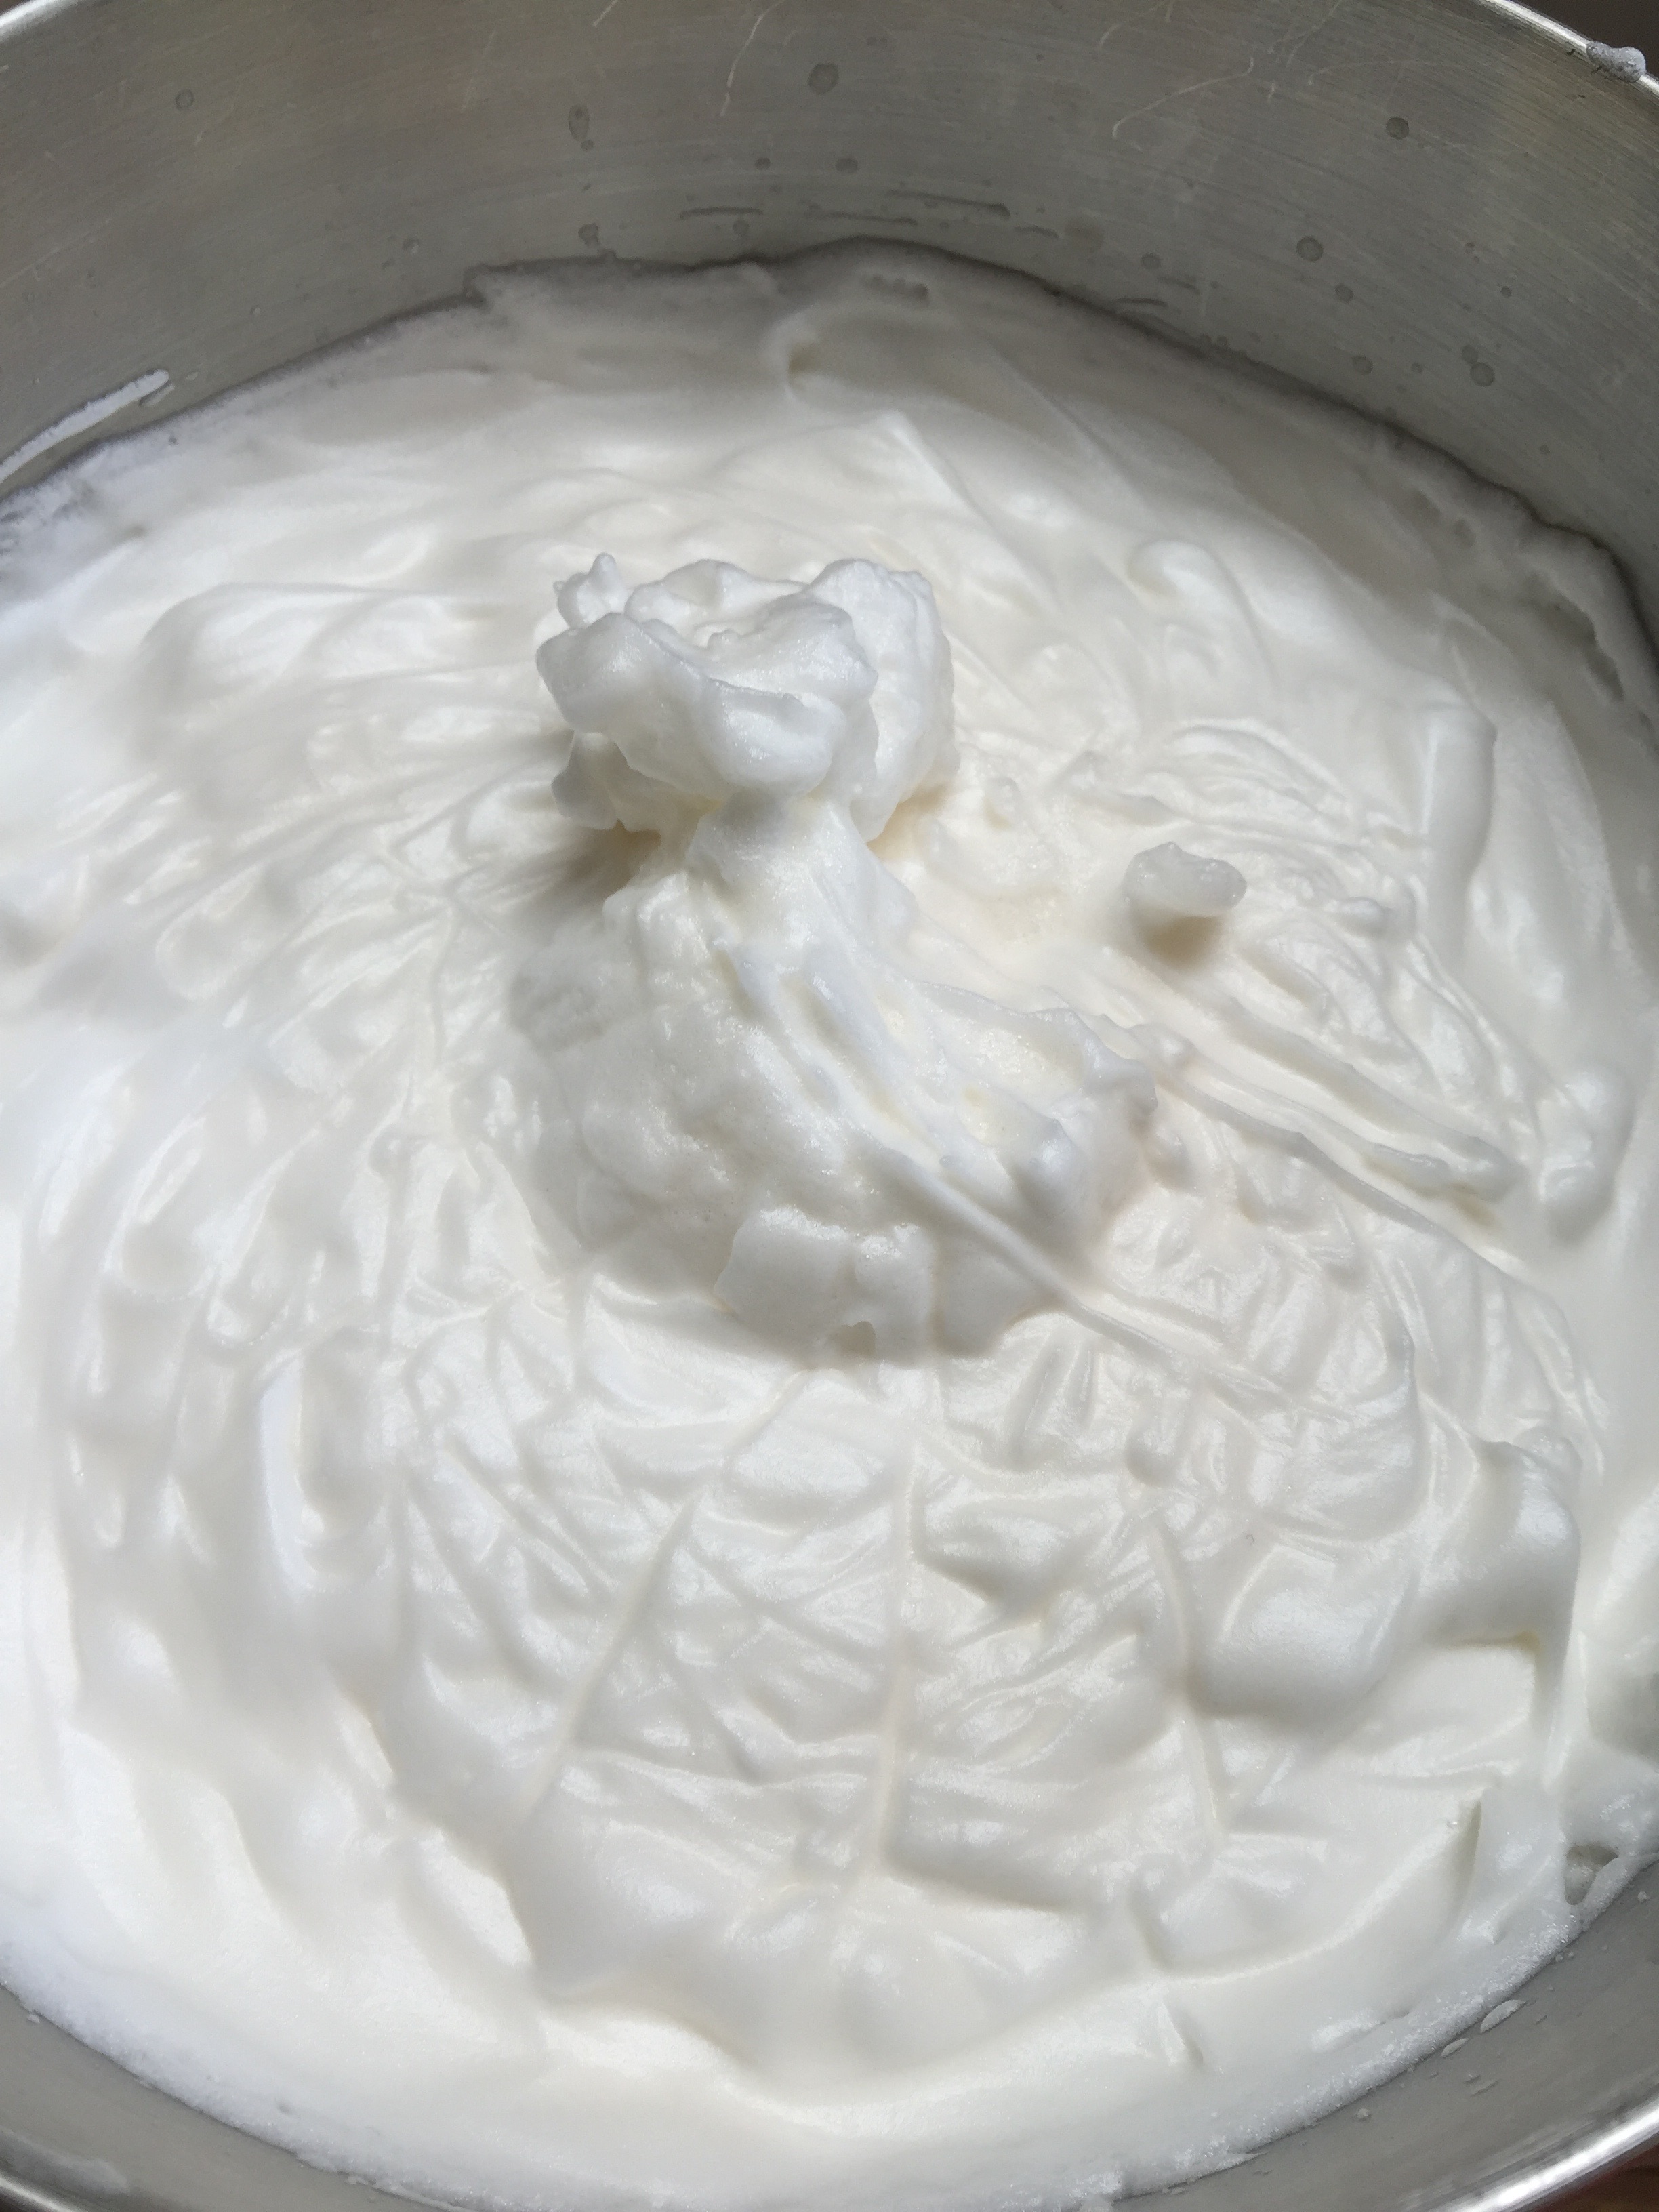
3. In a large, very clean, cold bowl (Preferably a Kitchen Aid mixer bowl) whip your egg whites, cream of tarter and salt. Beat on medium-high to high speed until stiff. Once fairly stiff, add your lemon juice and flavoring. Continue mixing.
I didn’t time this, but it was at least 15 to 20 minutes of whipping. Just let it go. You should be able to turn the bowl over without the egg whites moving.
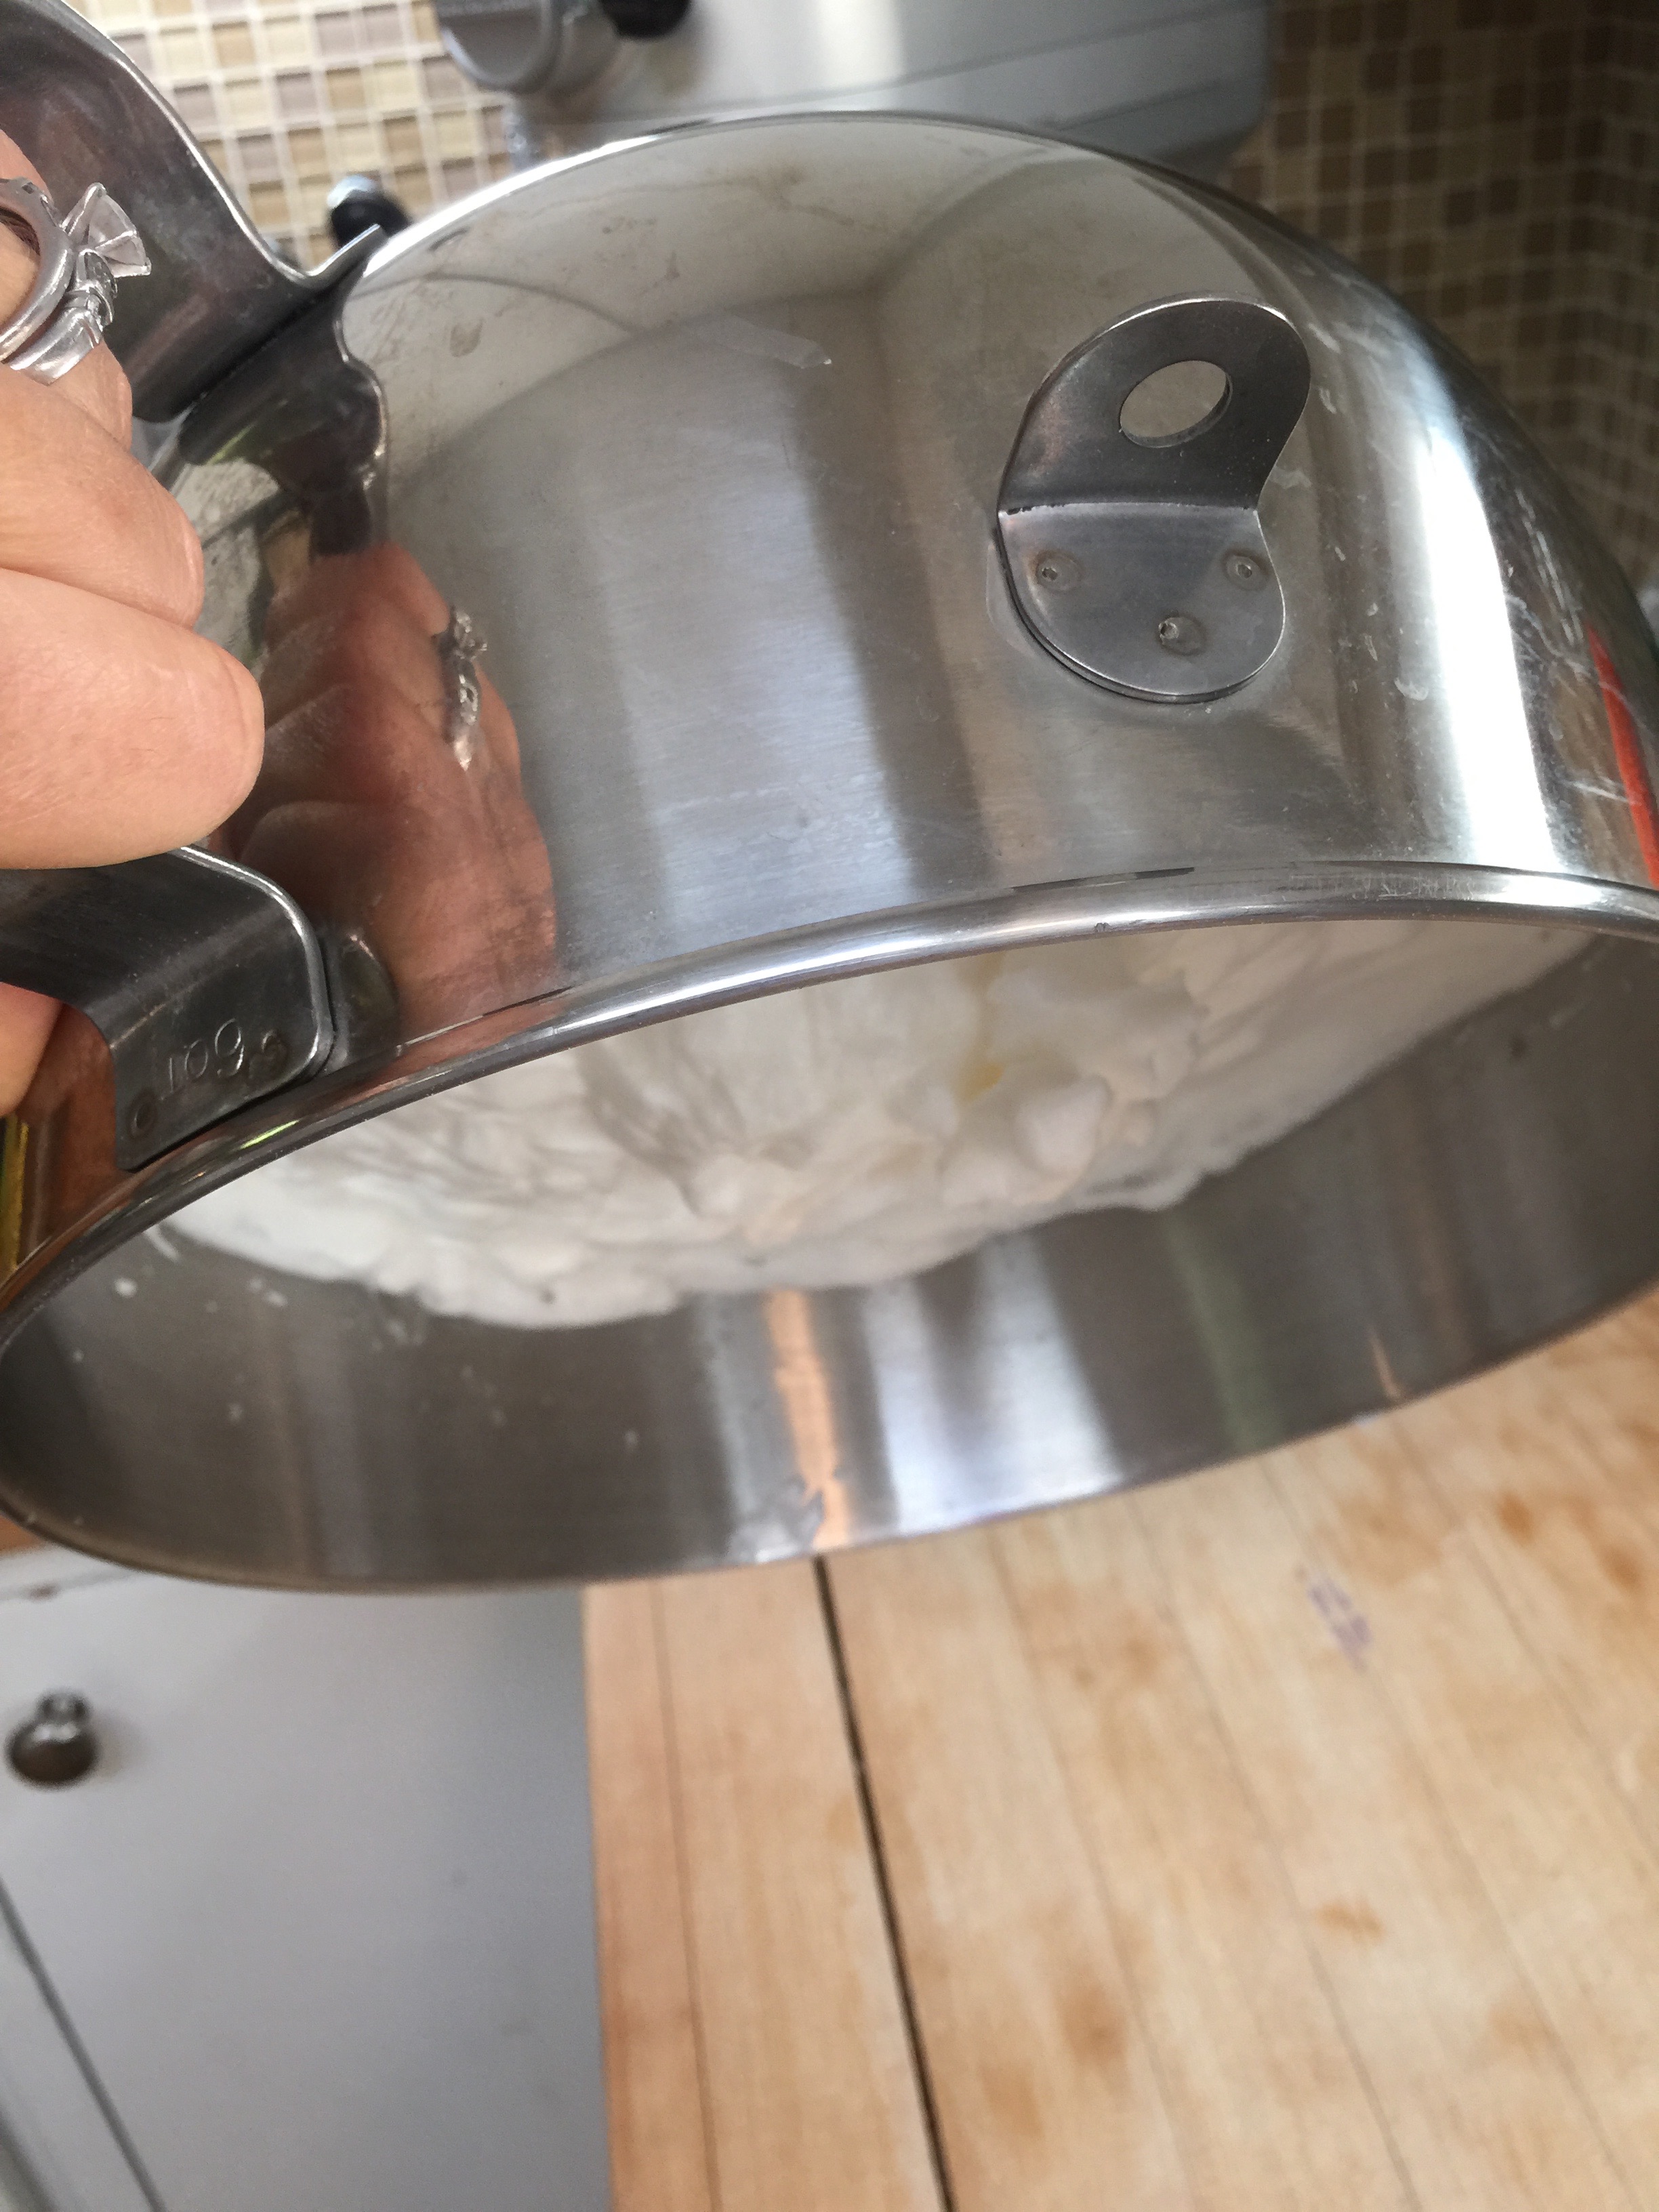
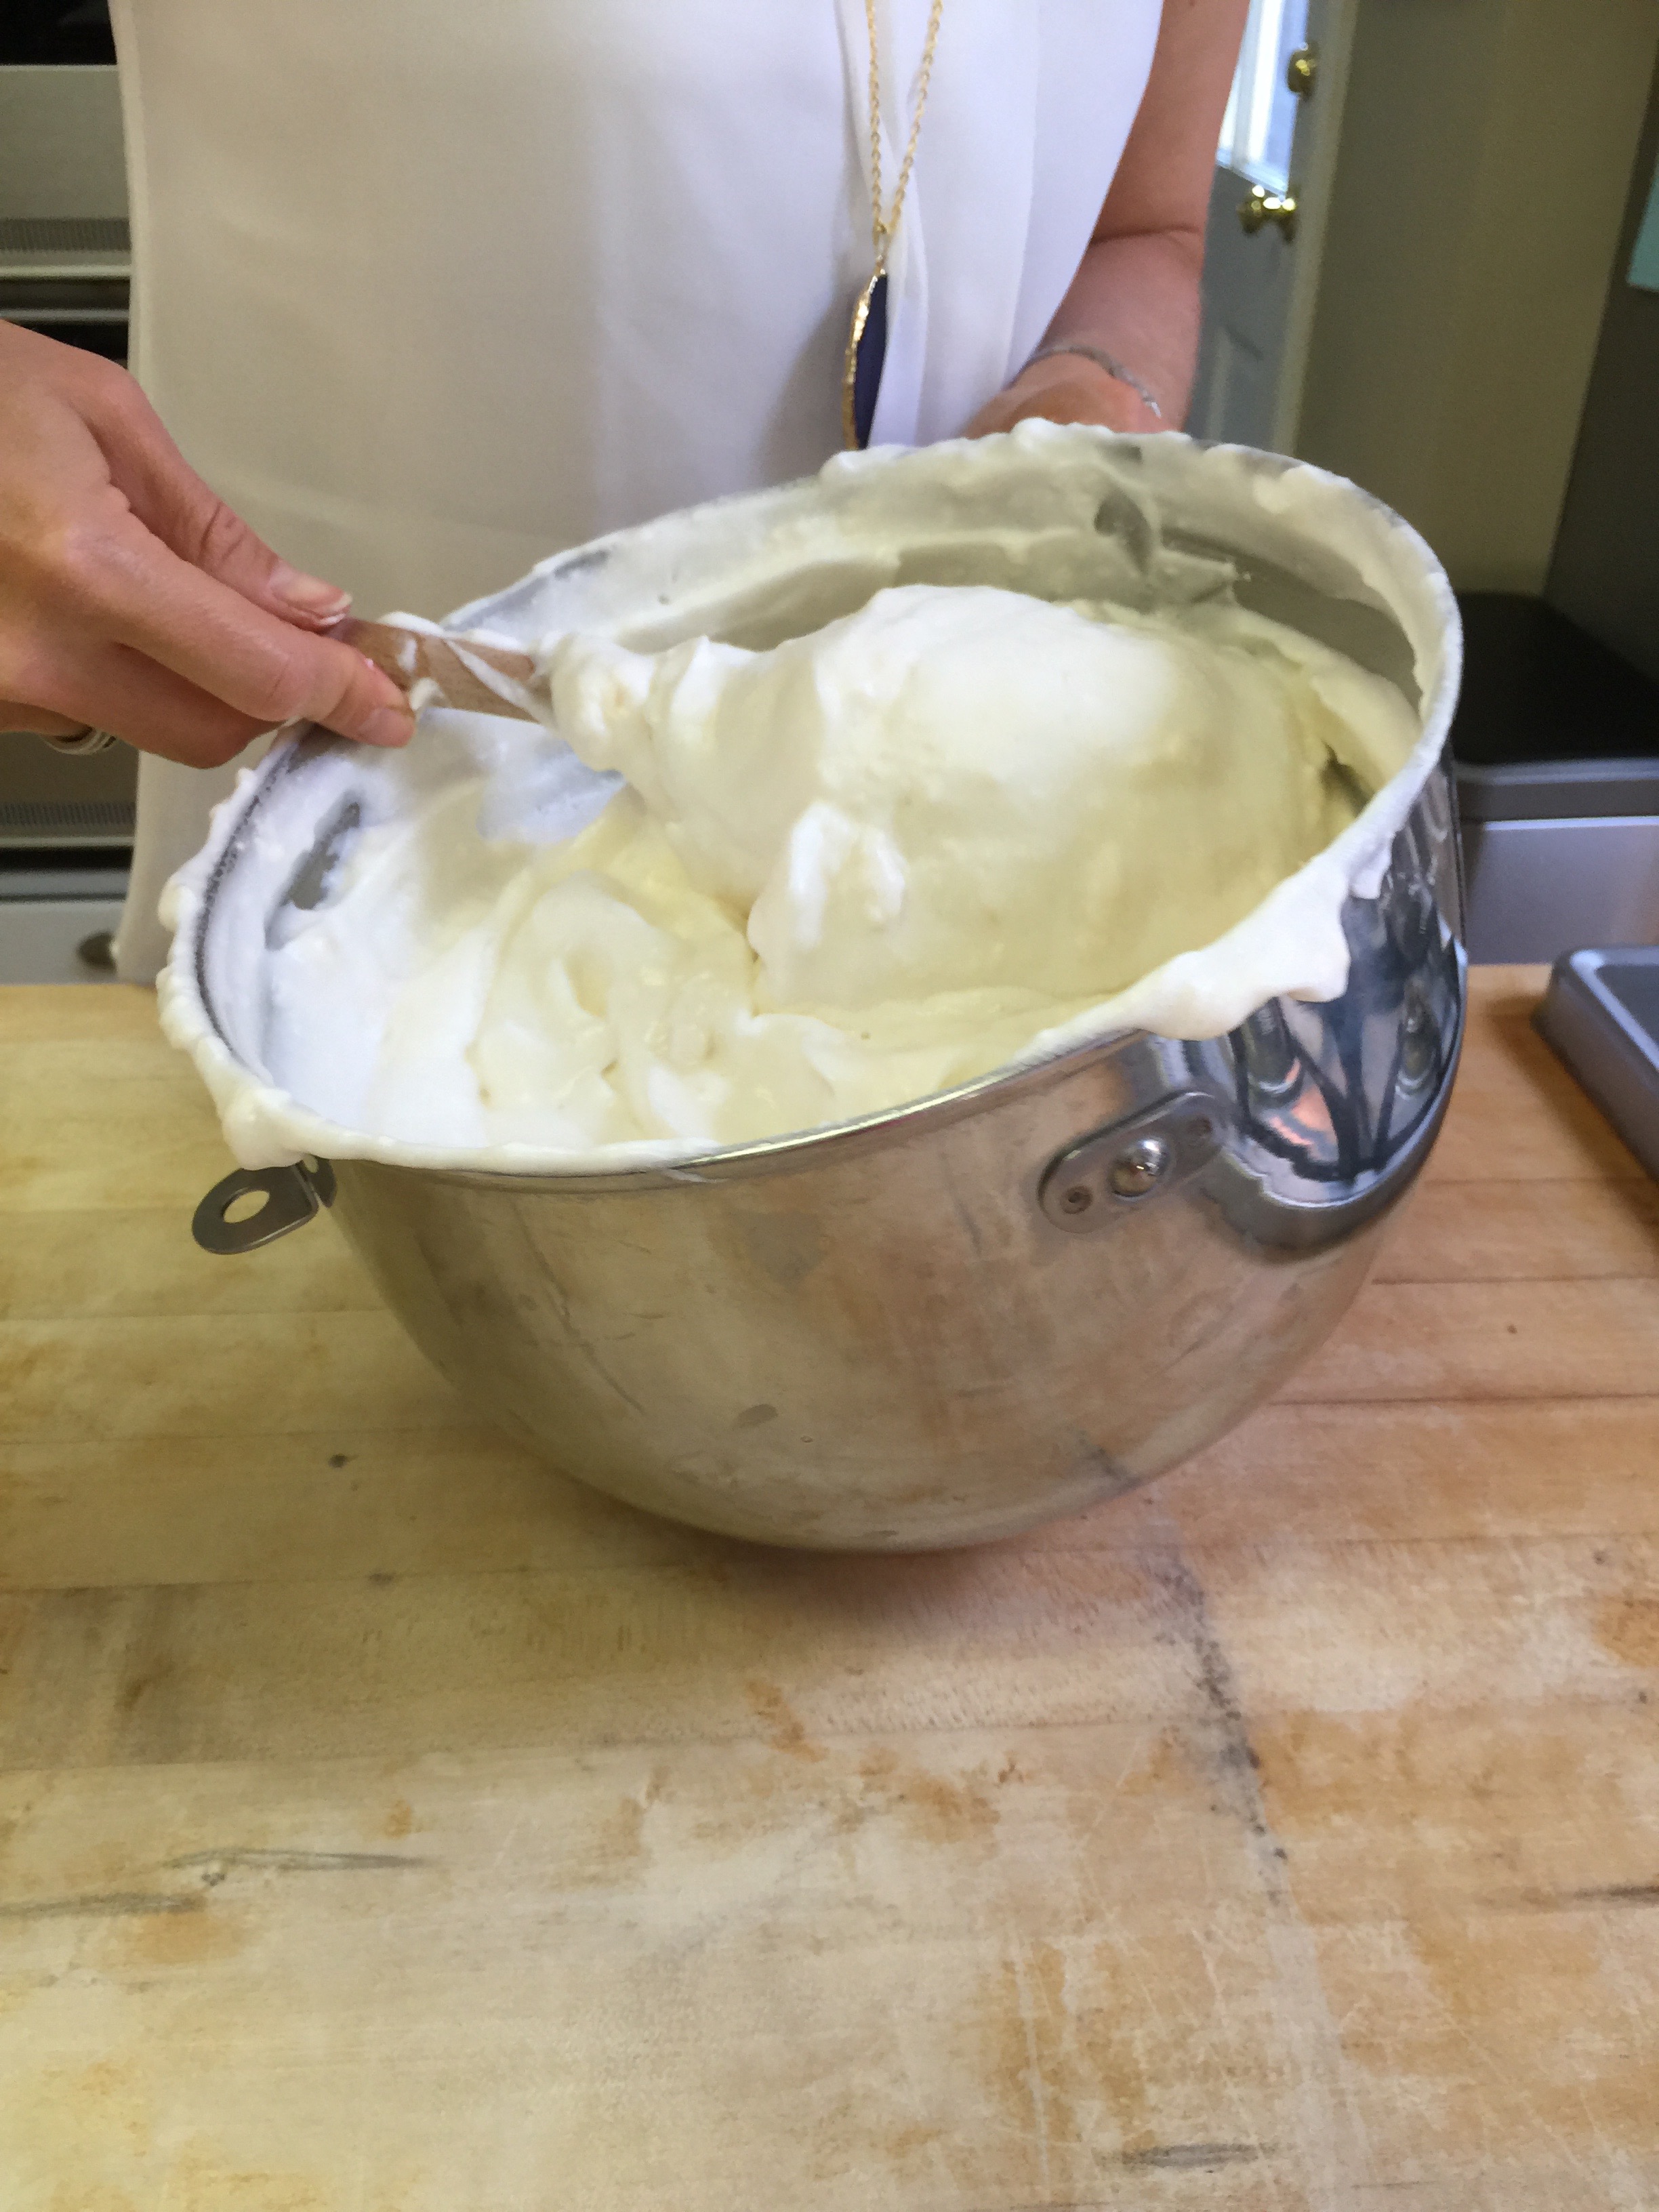
4. Remove the egg white mixture from the stand and slowly and carefully FOLD in your protein powder mixture. Gently fold until completely combined.
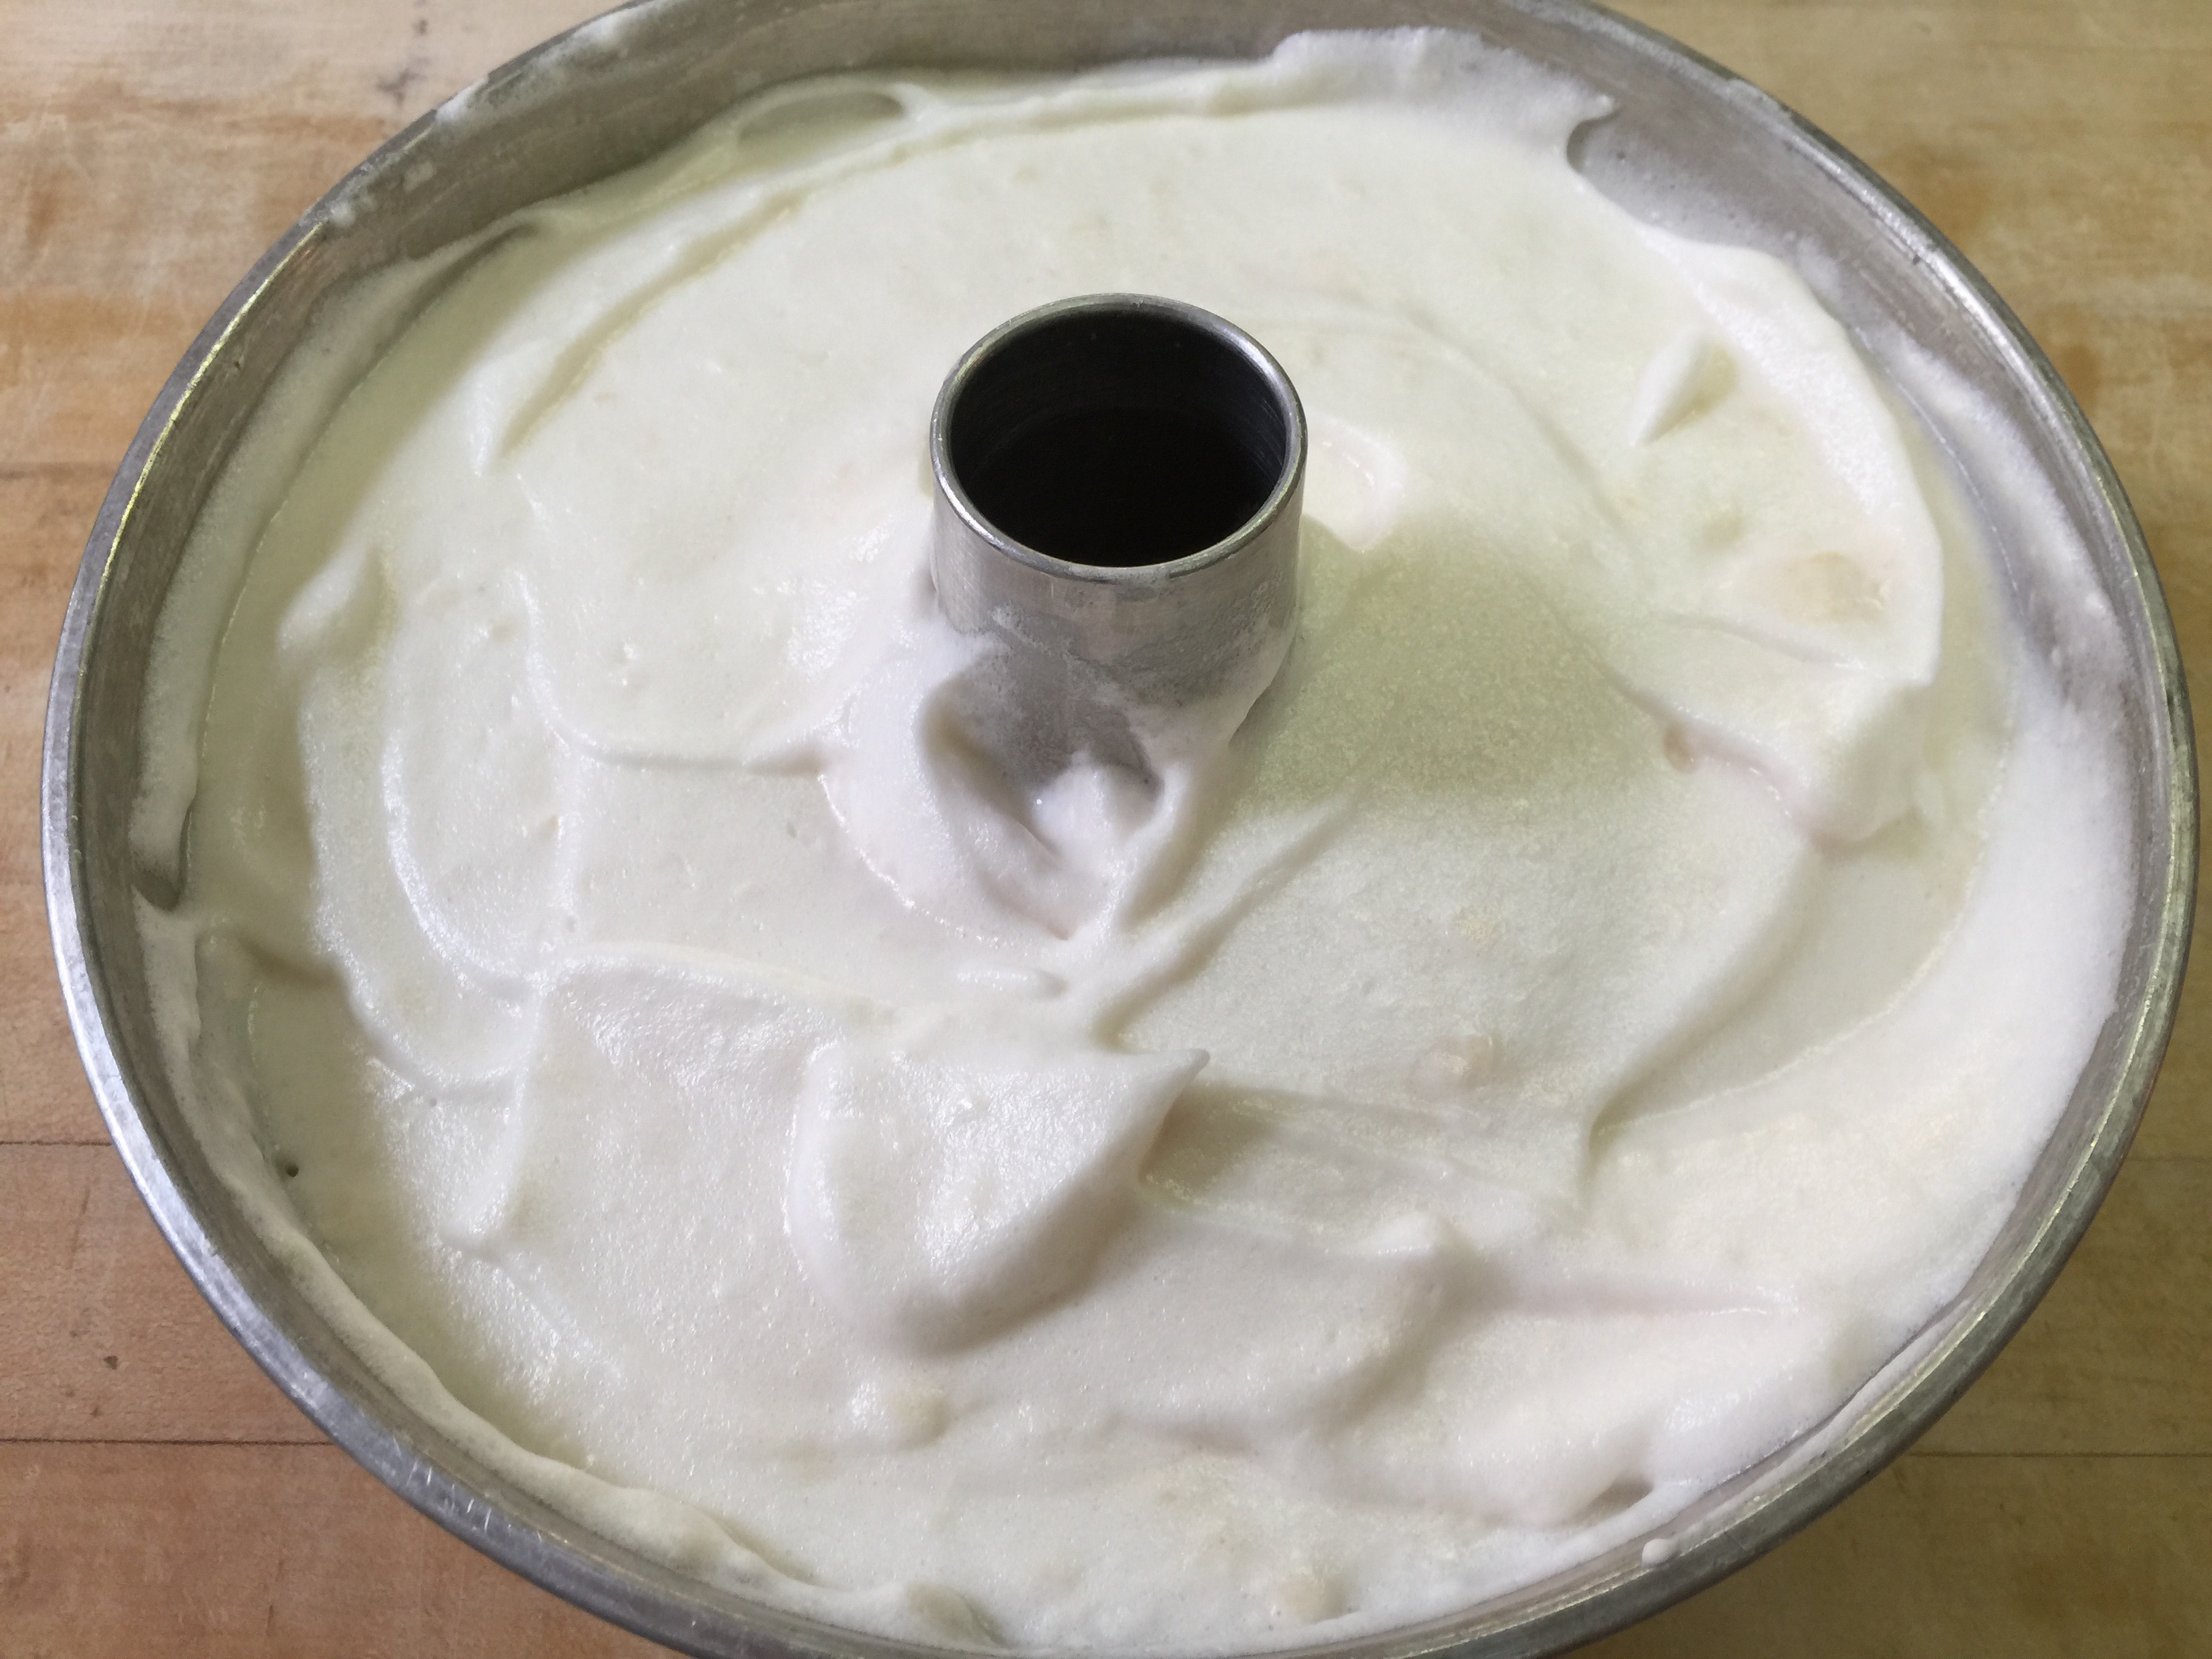
5. After all of your ingredients are mixed, pour into your angel food tube pan – DO NOT GREASE the pan!!! This is super important and you will see why! If you don’t have one, make sure you purchase one with a removable bottom. It should be a two piece pan. This was my grandmother’s pan, and all of the old ones are like this, but you have to look on the new ones.
6. Place in your oven and watch. I had to turn my heat down to 325 degrees because it was getting too brown. It needs to cook for a good 55 minutes so if it is getting too brown after 25 or 30 make sure you turn down your heat. I did another cake afterwards and turned the dial down to about 335 degrees after I placed it in the oven, and it was about right.
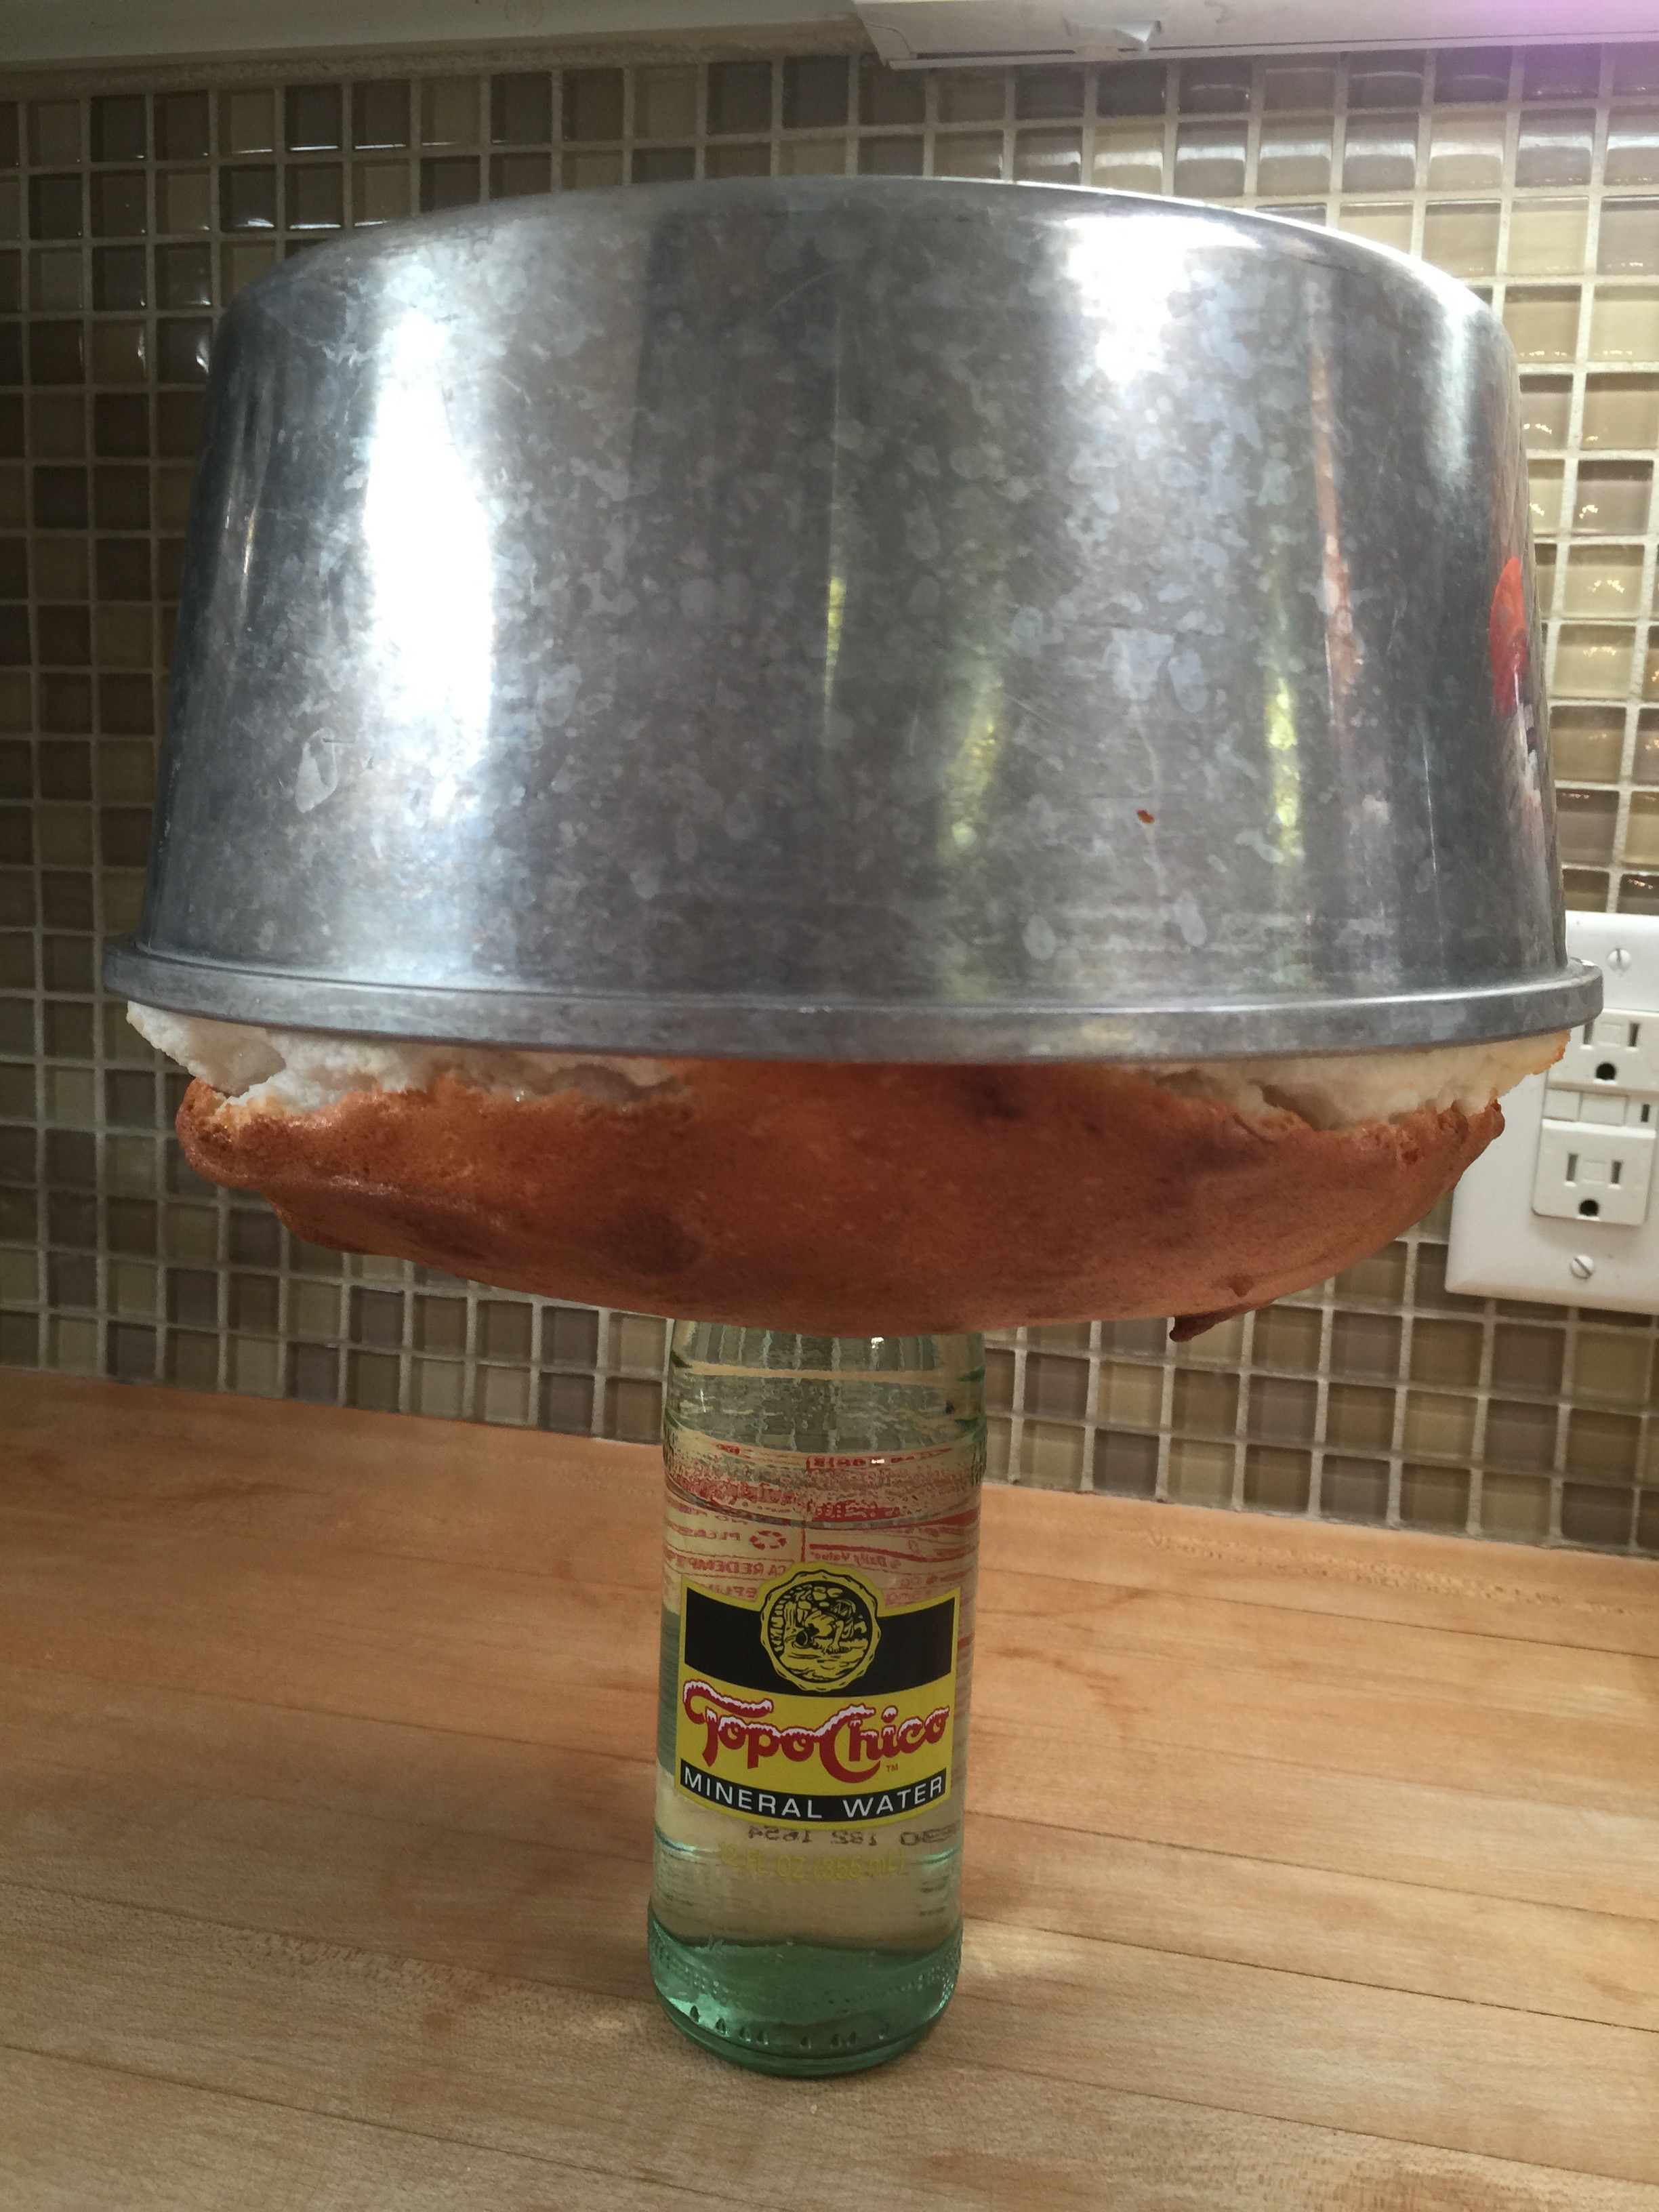
7. Now you will see the “why”. When the cake is super fluffy, high and browned, remove it from the oven, and immediately invert onto a bottle at room temperature. This will keep the cake from sinking.
8. This is why you don’t grease the cake!!!! Otherwise it would be on the counter. Let it cool completely like this.
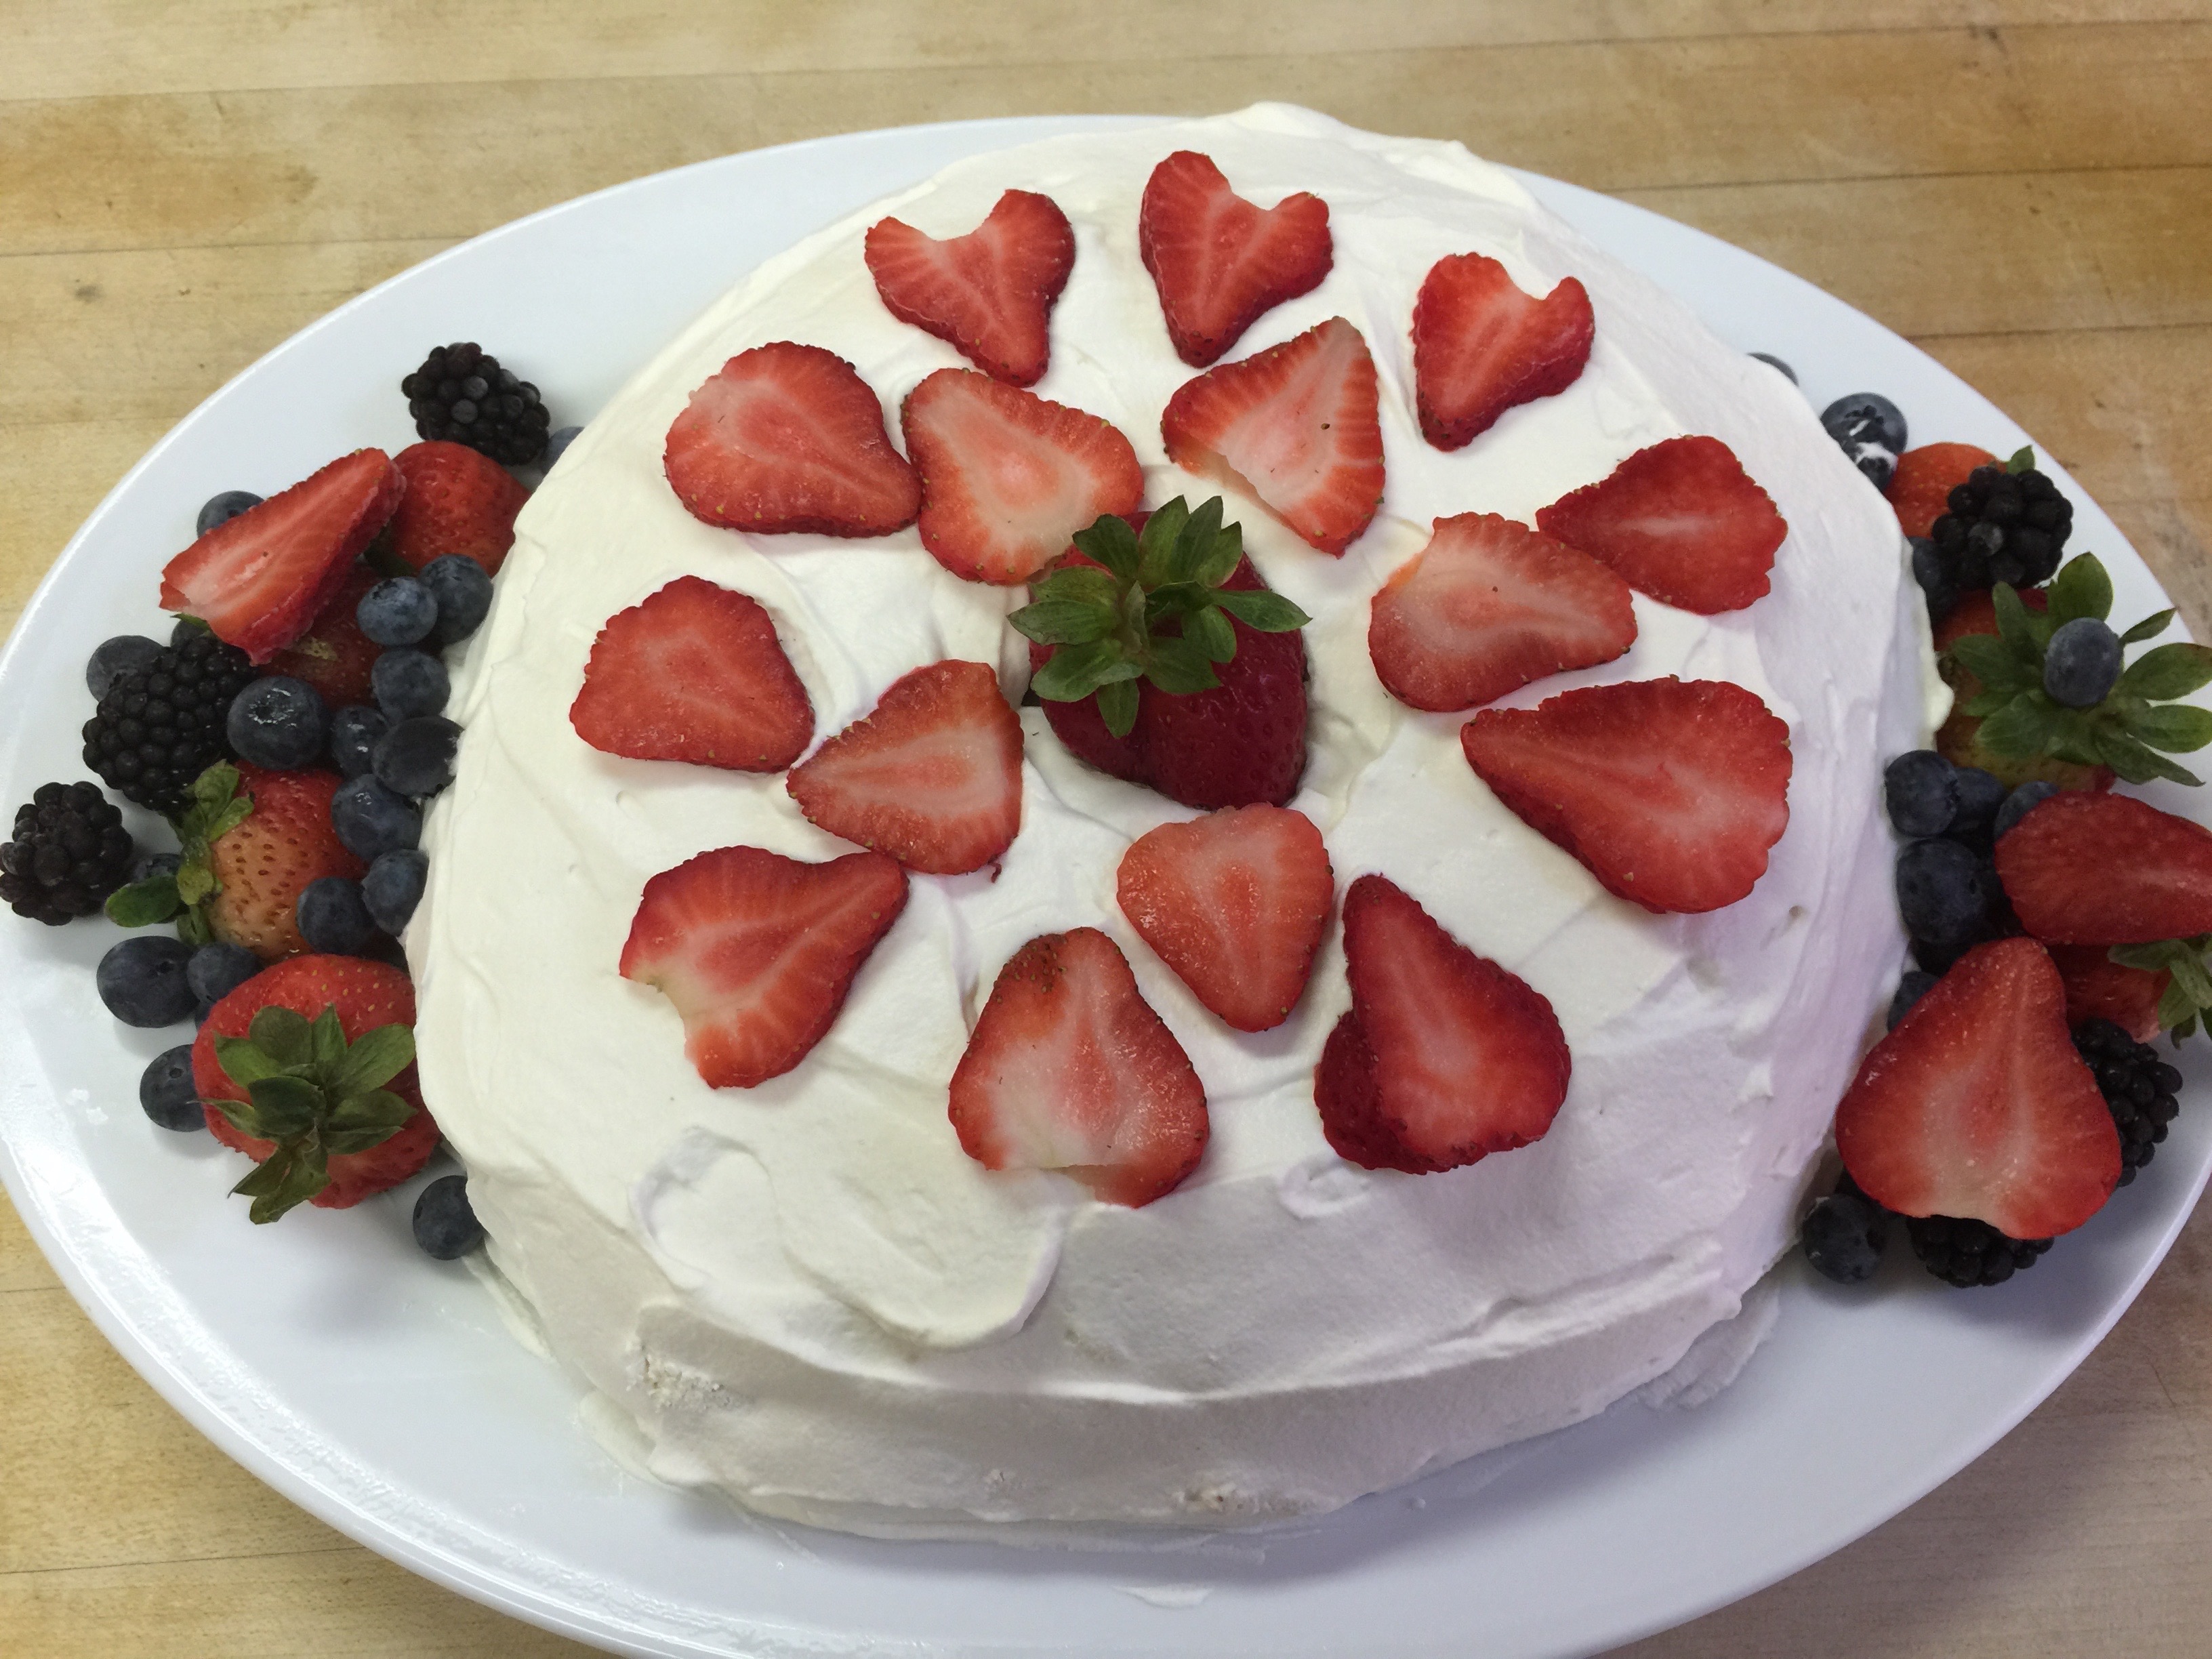
9. After it is cooled, use a sharp knife to go around the edges, and then push the bottom out of the pan. Place on a cake stand, and it is ready to serve with whipping cream and berries.
I also made a prettier one that I iced with whipping cream and arranged berries on top. My kids like it this way frozen. You can do it either way.
You can see in the above picture; I removed the super brown top which basically popped right off.
This one above is actually frozen – berries and all!
That was one happy birthday girl and every bite devoured!
All the whipping in this recipe can be time consuming, but it is so rewarding! Don’t give up, and enjoy every bite!
The school year is off to a start, and Labor Day is here, which means the official end of summer. There are both cheers and boos, pros and cons.
One of the biggest cons is that, all to familiar, morning rush once again. The days of cereal boxes and skim milk are long gone for many of us. If you have heard us speak in a group, you are familiar with our “Trifecta of Sugar” lecture.
A typical morning breakfast cereal topped with fruit has the glucose from the cereal, lactose from the milk and fructose from your fruit. Bad, bad and more bad leading to a day of cravings and carb loading, no doubt. If you start your day with carbs and sugar, you will crave more carbs and sugar as you go through your day, leading to that downward spiral as the day moves on.
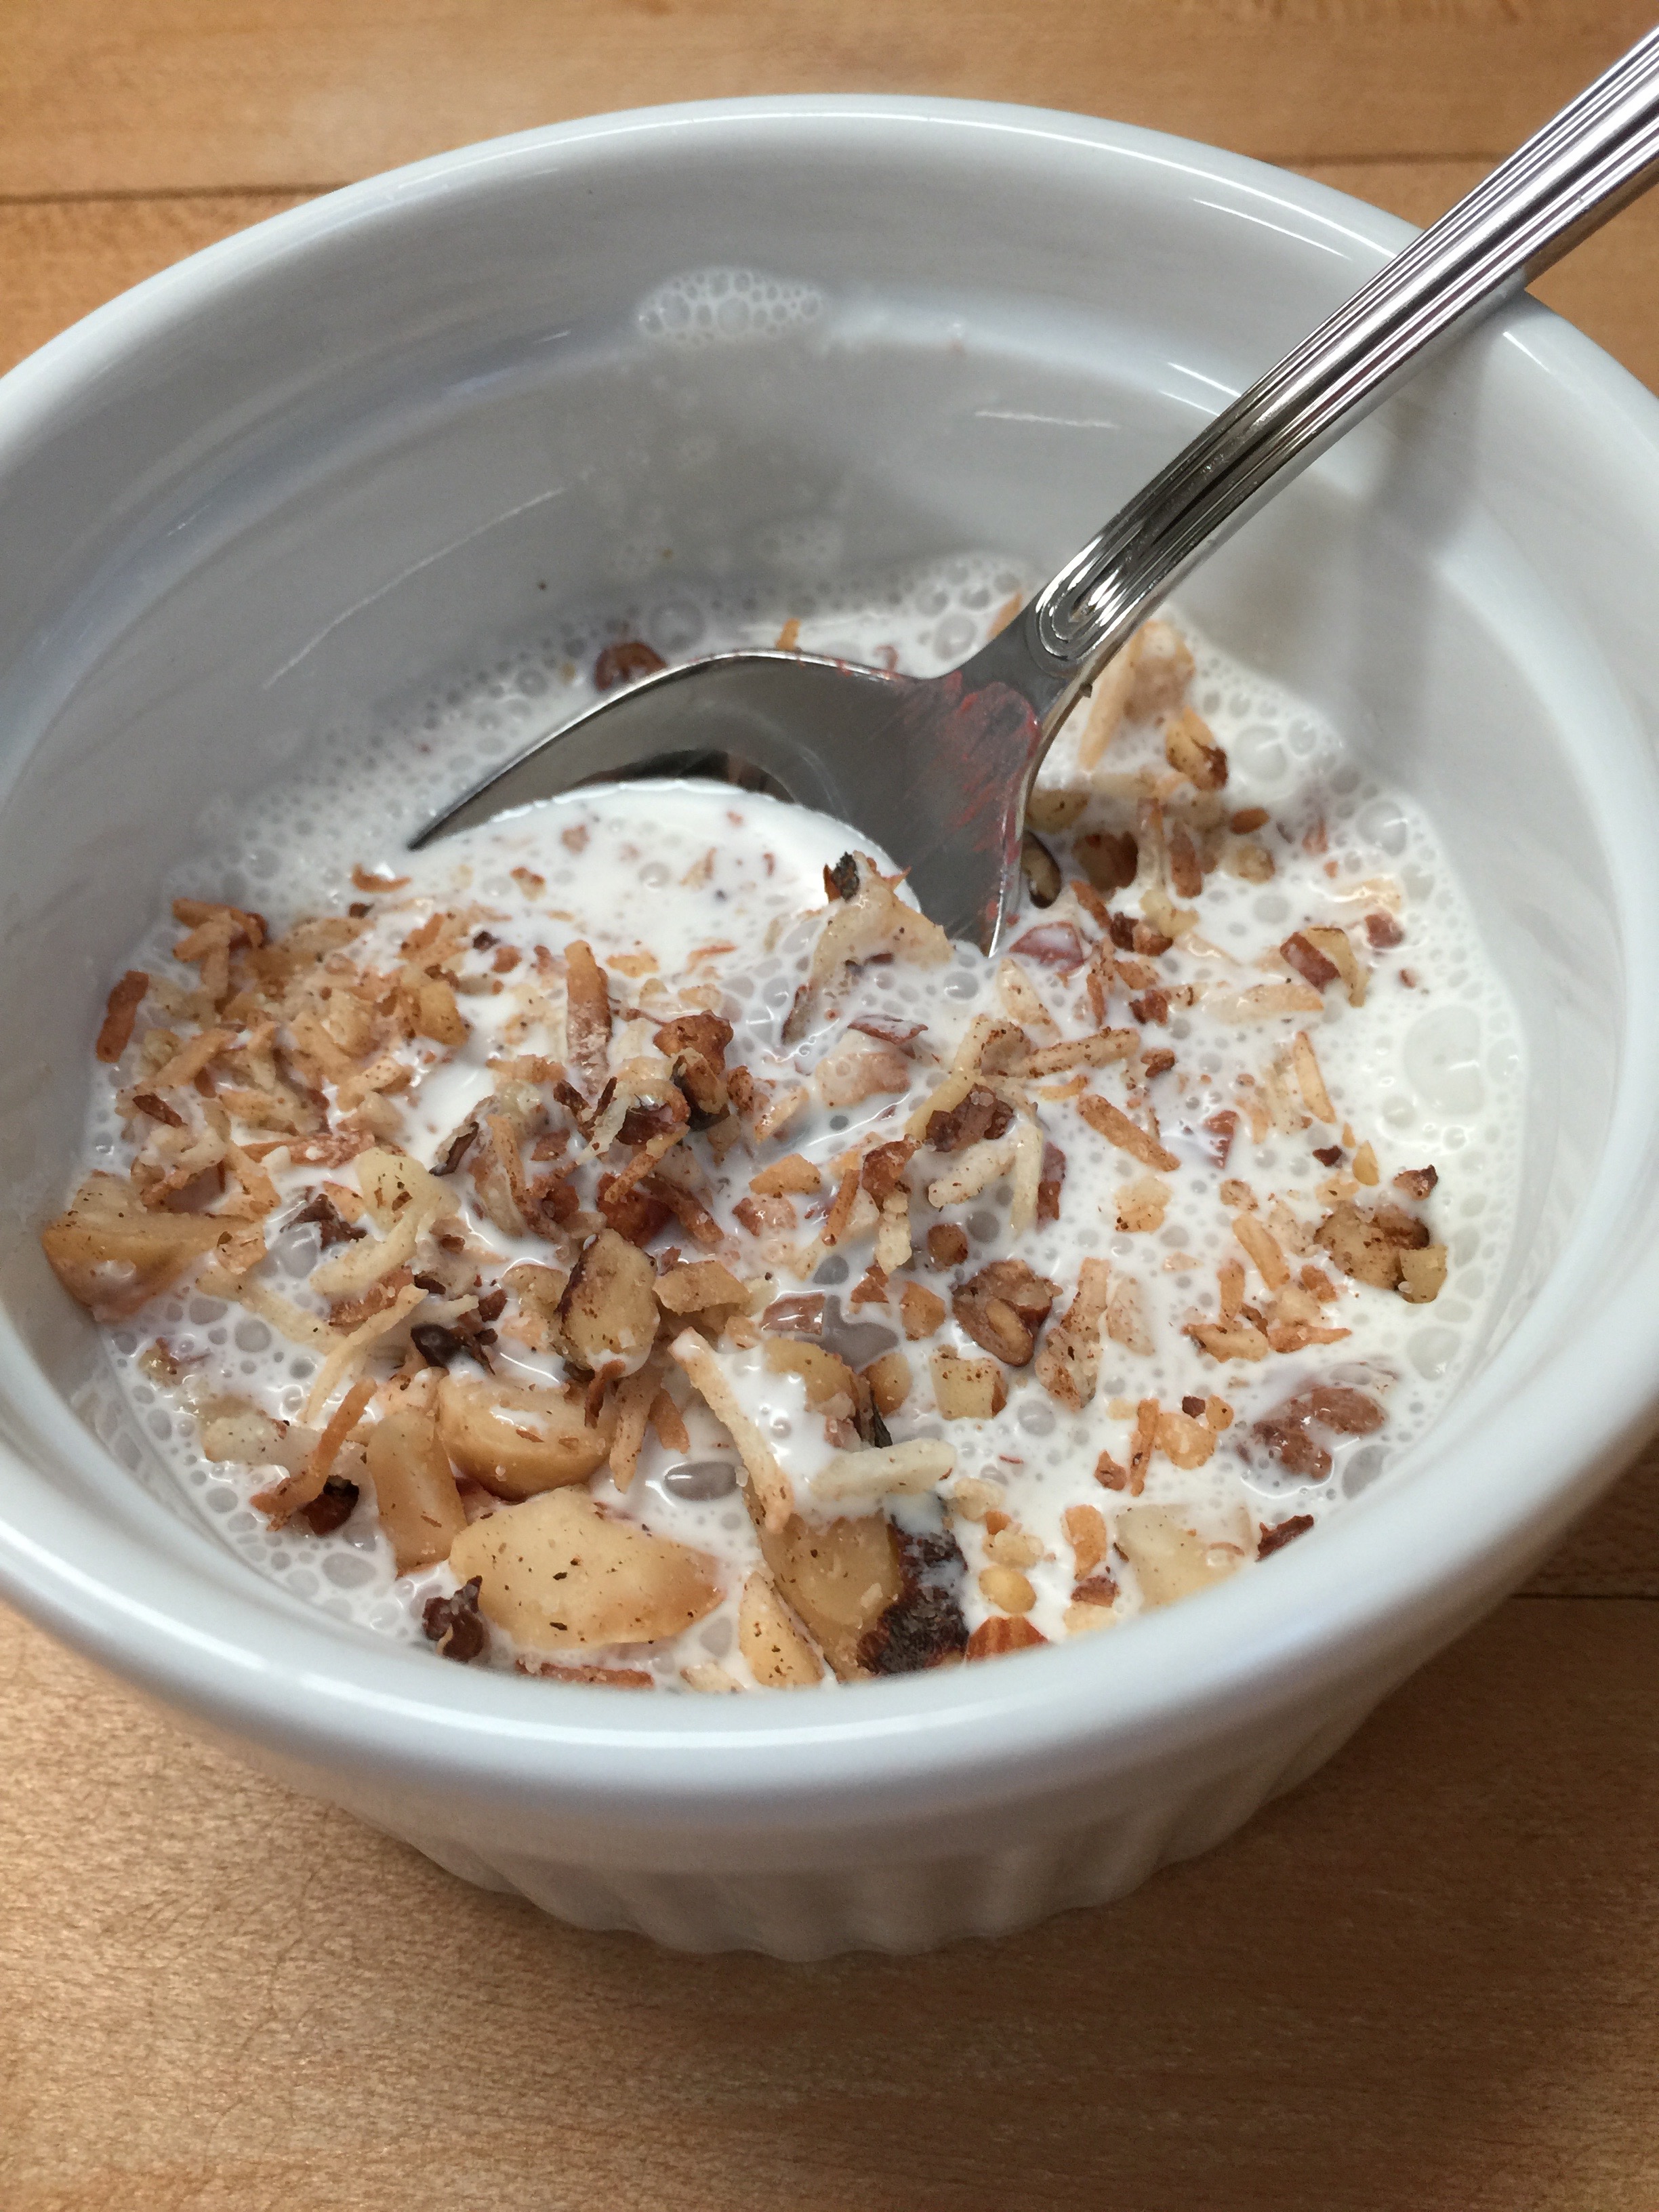
What else can you have for breakfast on those busy mornings when you don’t have time to scramble, fry or poach? Try faux “cereal”! We have tried it, the kids have tried it, and it is family approved. The best part – you can make it ahead and seal it in an air-tight container in the refrigerator. It is ready to go for a breakfast in a hurry! Top with some heavy cream, and you are set for half the day if you eat it along side your bulletproof coffee to tea.
It is super simple to make, and you can really make it your own just by adding your favorite low-carb ingredients. Try a little, and let us know what you think!
Faux Cereal
Your ingredients and portions can vary. Mix it to your liking.
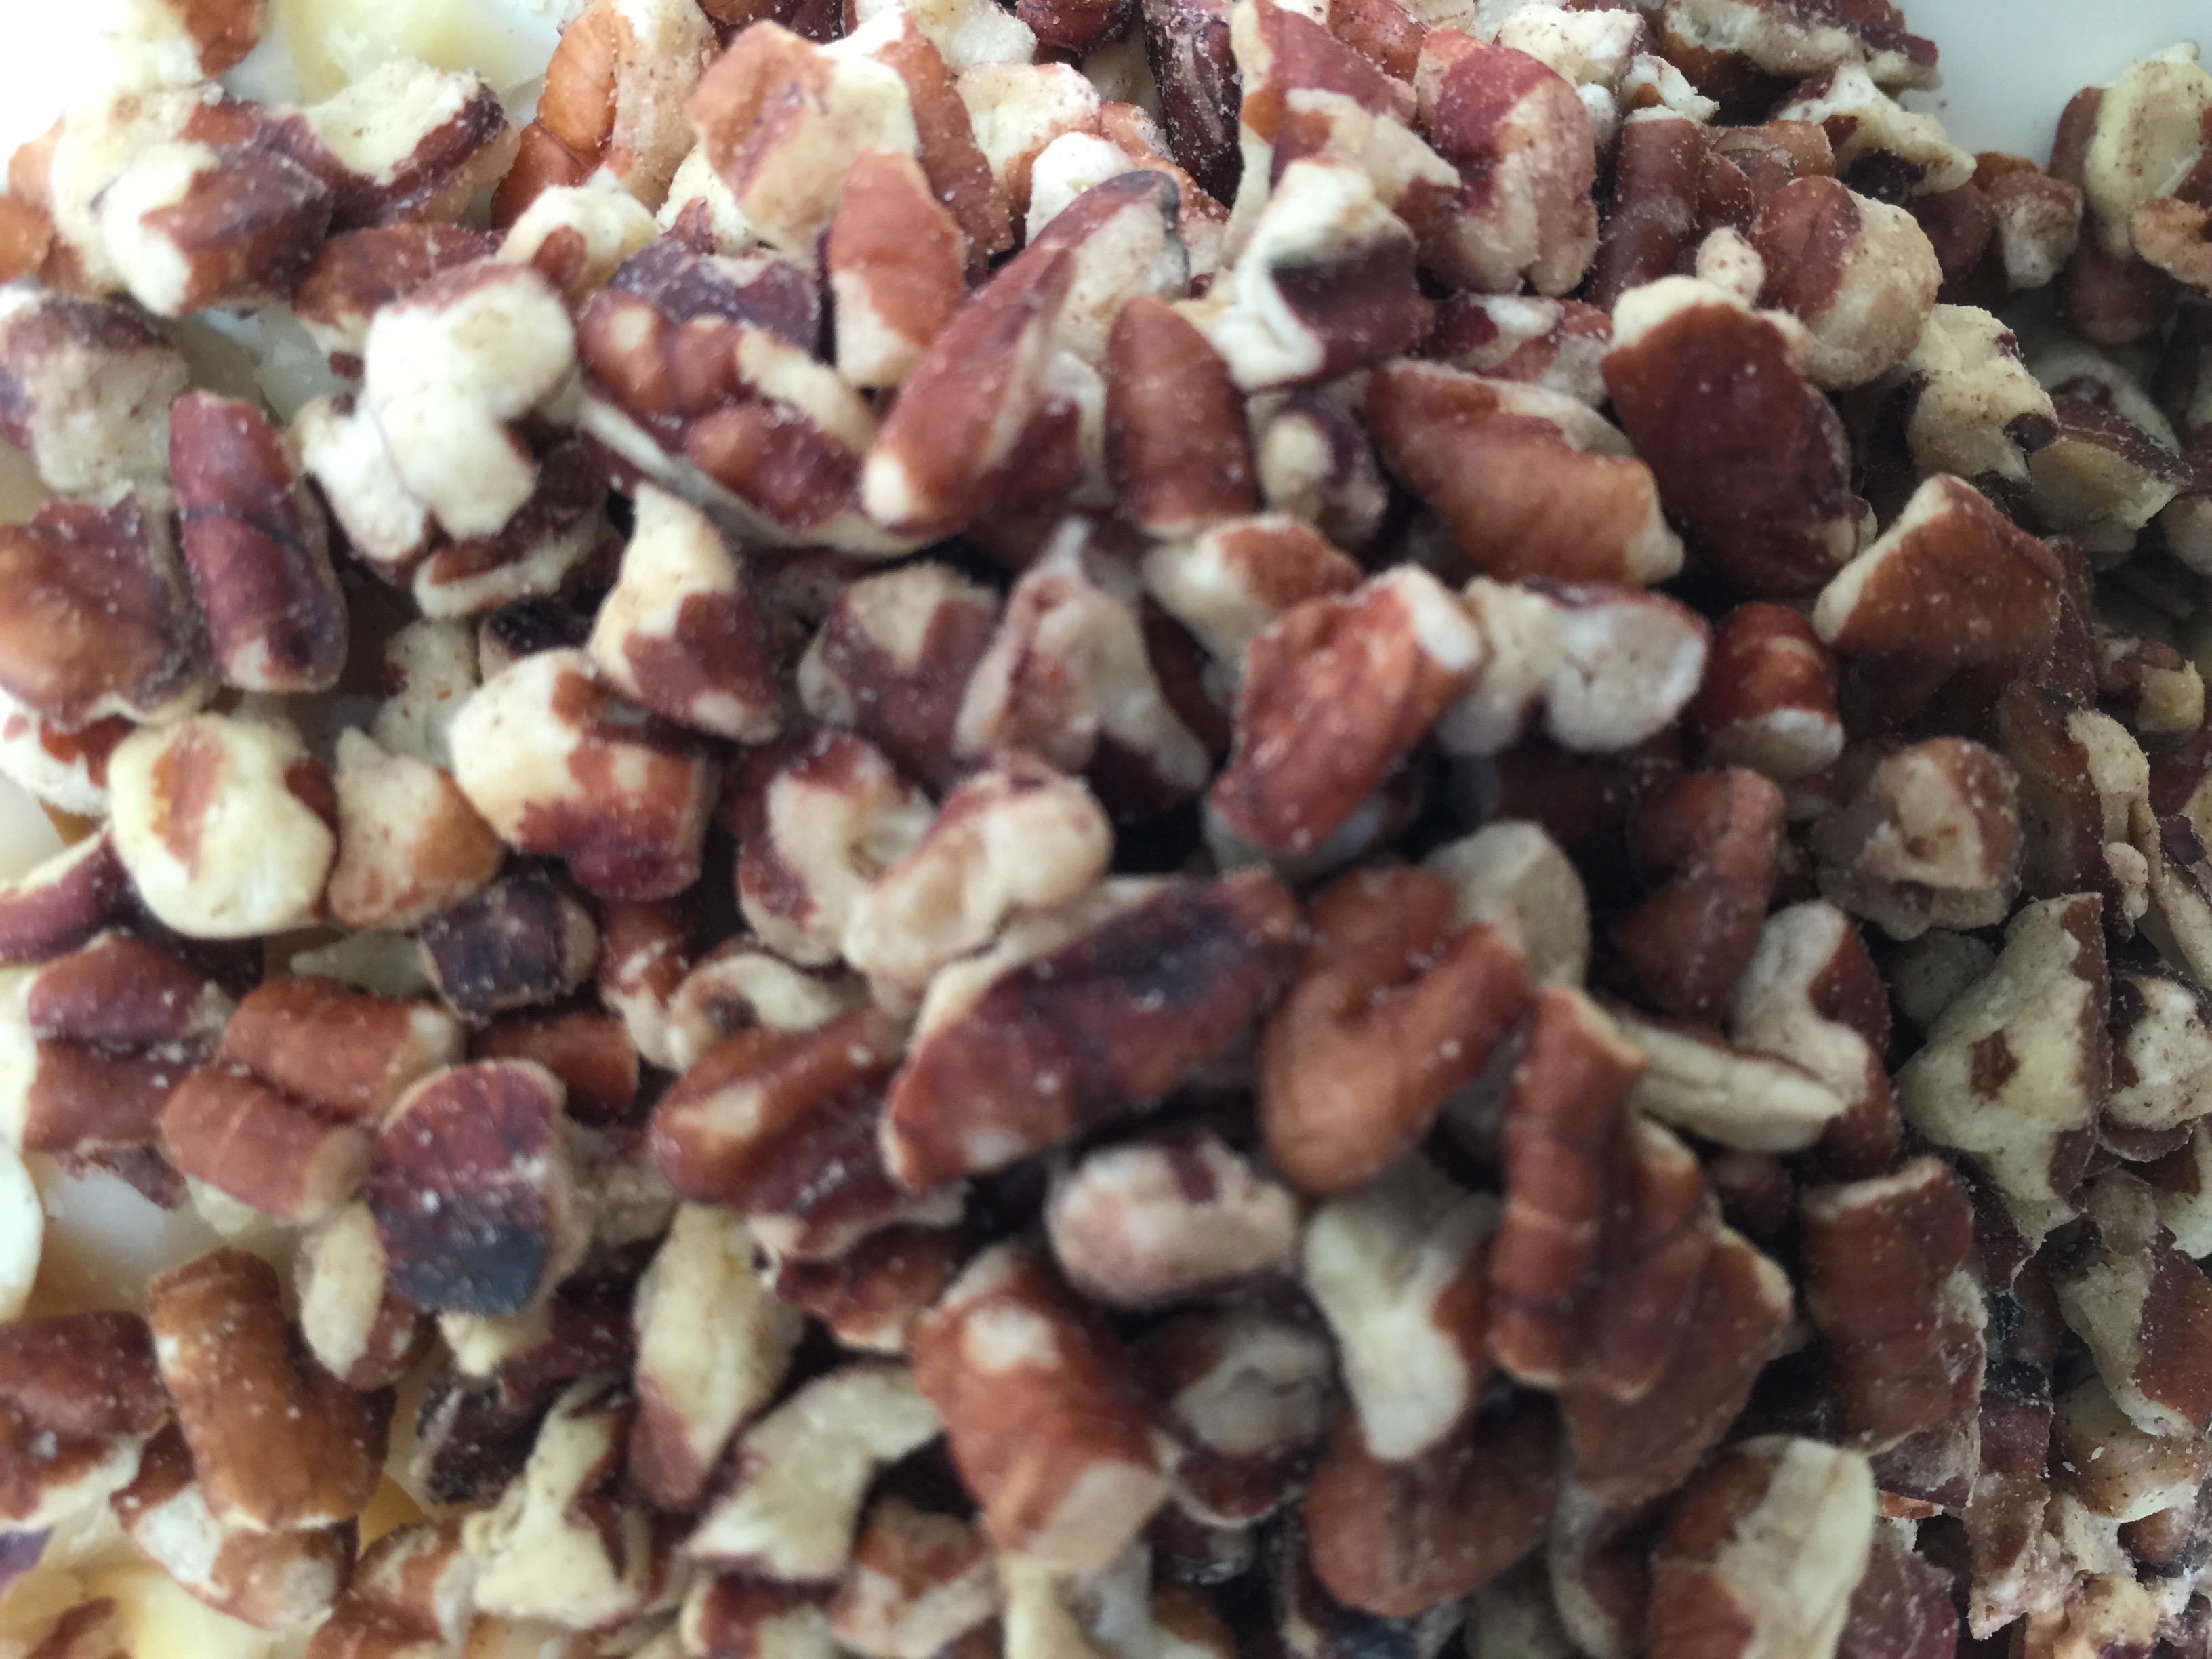
1 cup unsweetened flaked coconut, toasted
1/2 cup chopped macadamia nuts
1/2 cup chopped pecans
3/4 cup chopped walnuts
1/4 cup finely chopped almonds
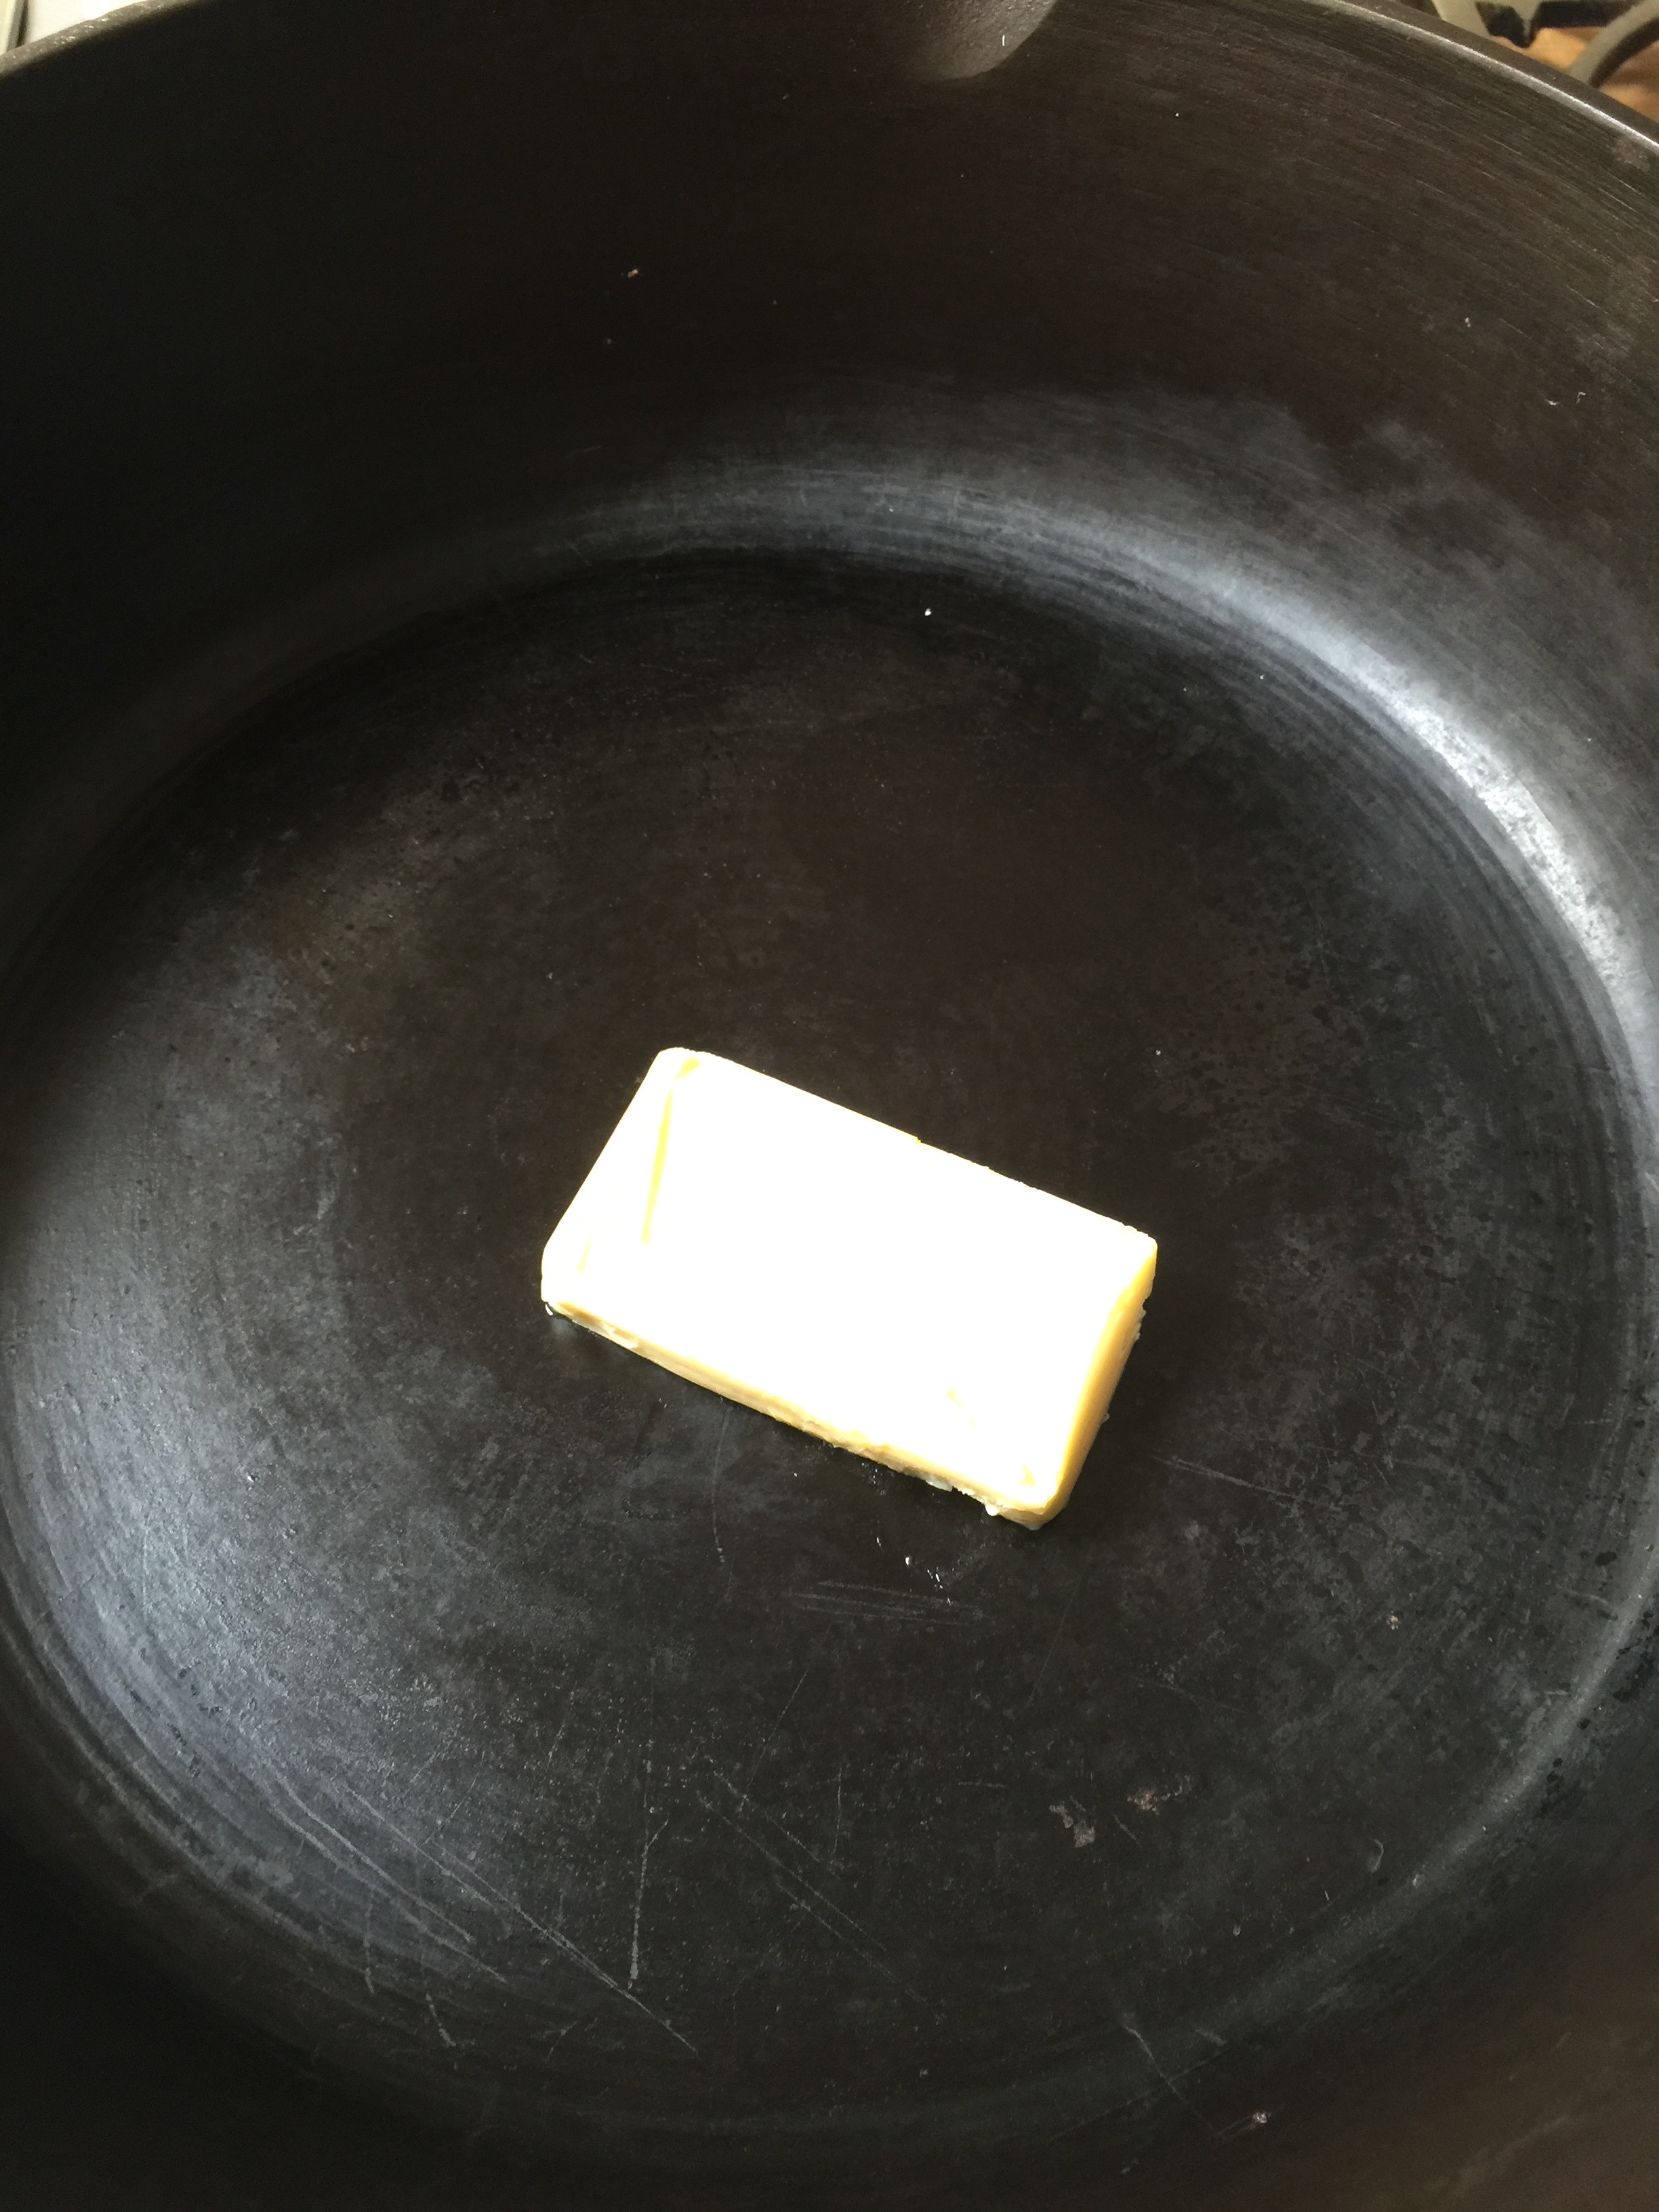
2 Tbsp Kerrygold
1 Tbsp Swerve
1/2 tsp cinnamon
1/4 tsp Celtic salt
Directions:
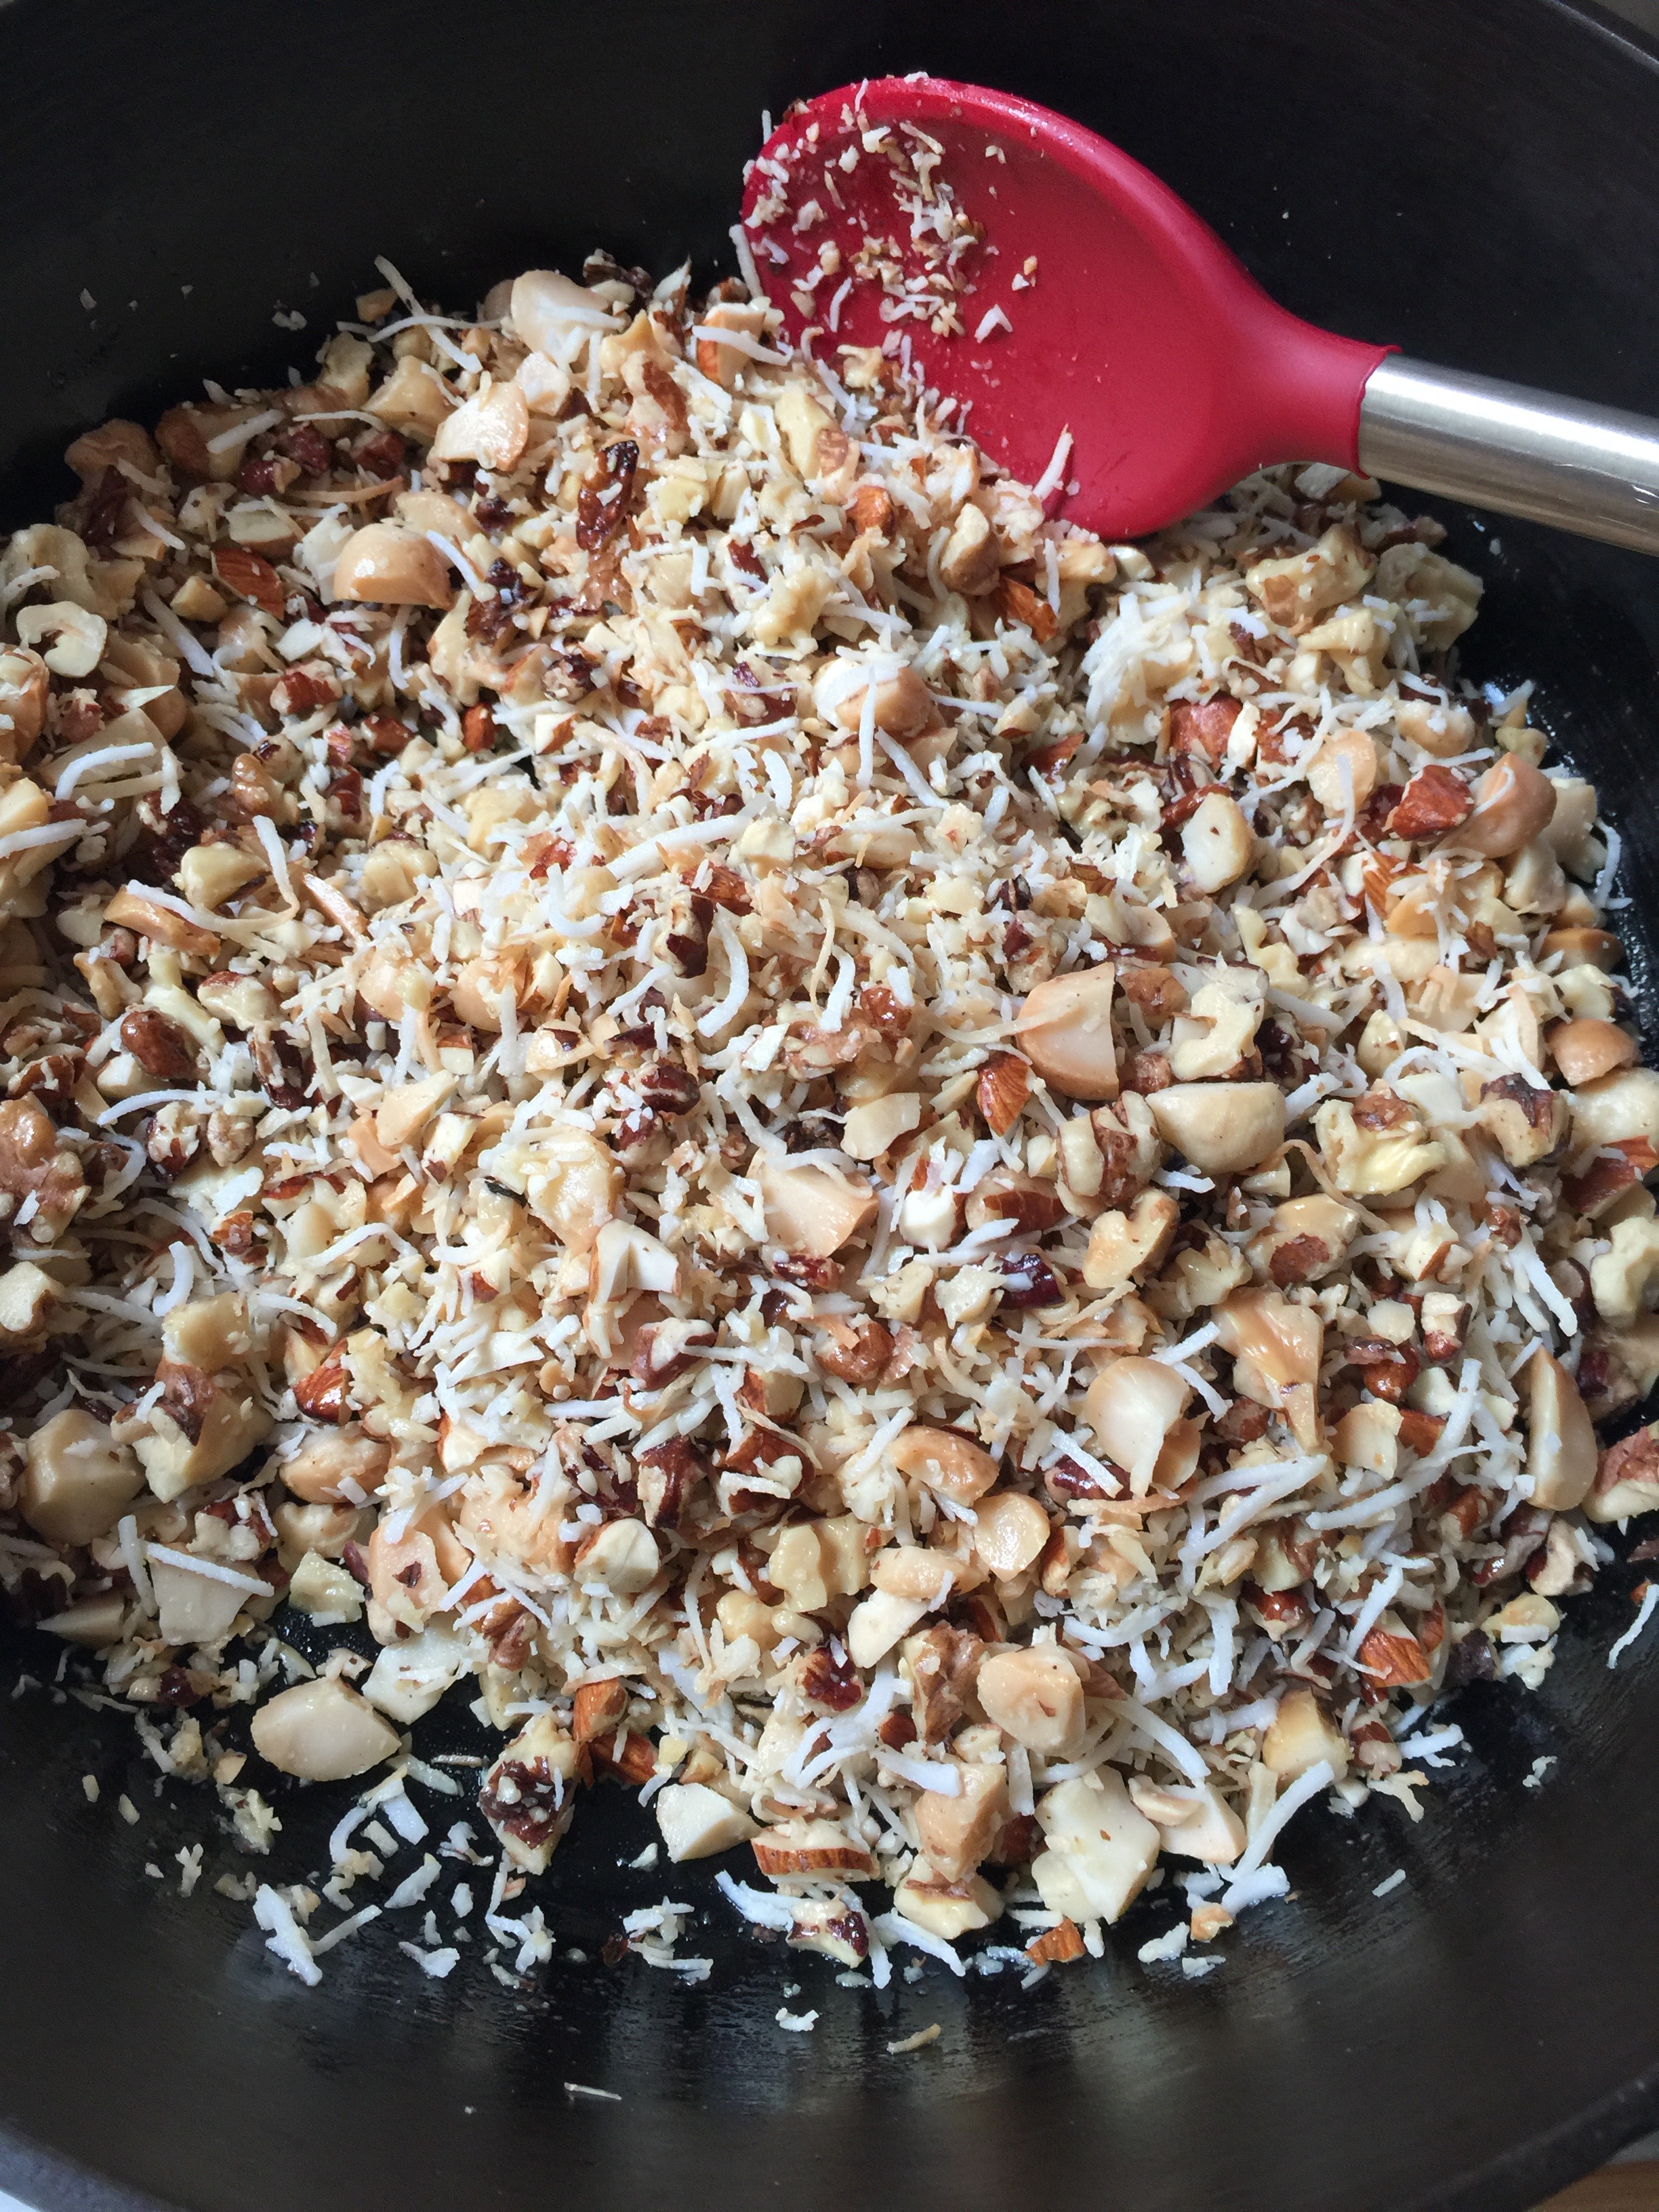
Toast your coconut flakes, watching carefully so not to brown to deeply.
Chop all your nuts finely and lightly toast.
Melt the Kerrygold in a cast iron skillet.
Toss your nuts in the melted butter, and sauté until fragrant. Add your toasted coconut, Swerve and seasonings. Toss all your ingredients in the butter until everything is mixed and coated.
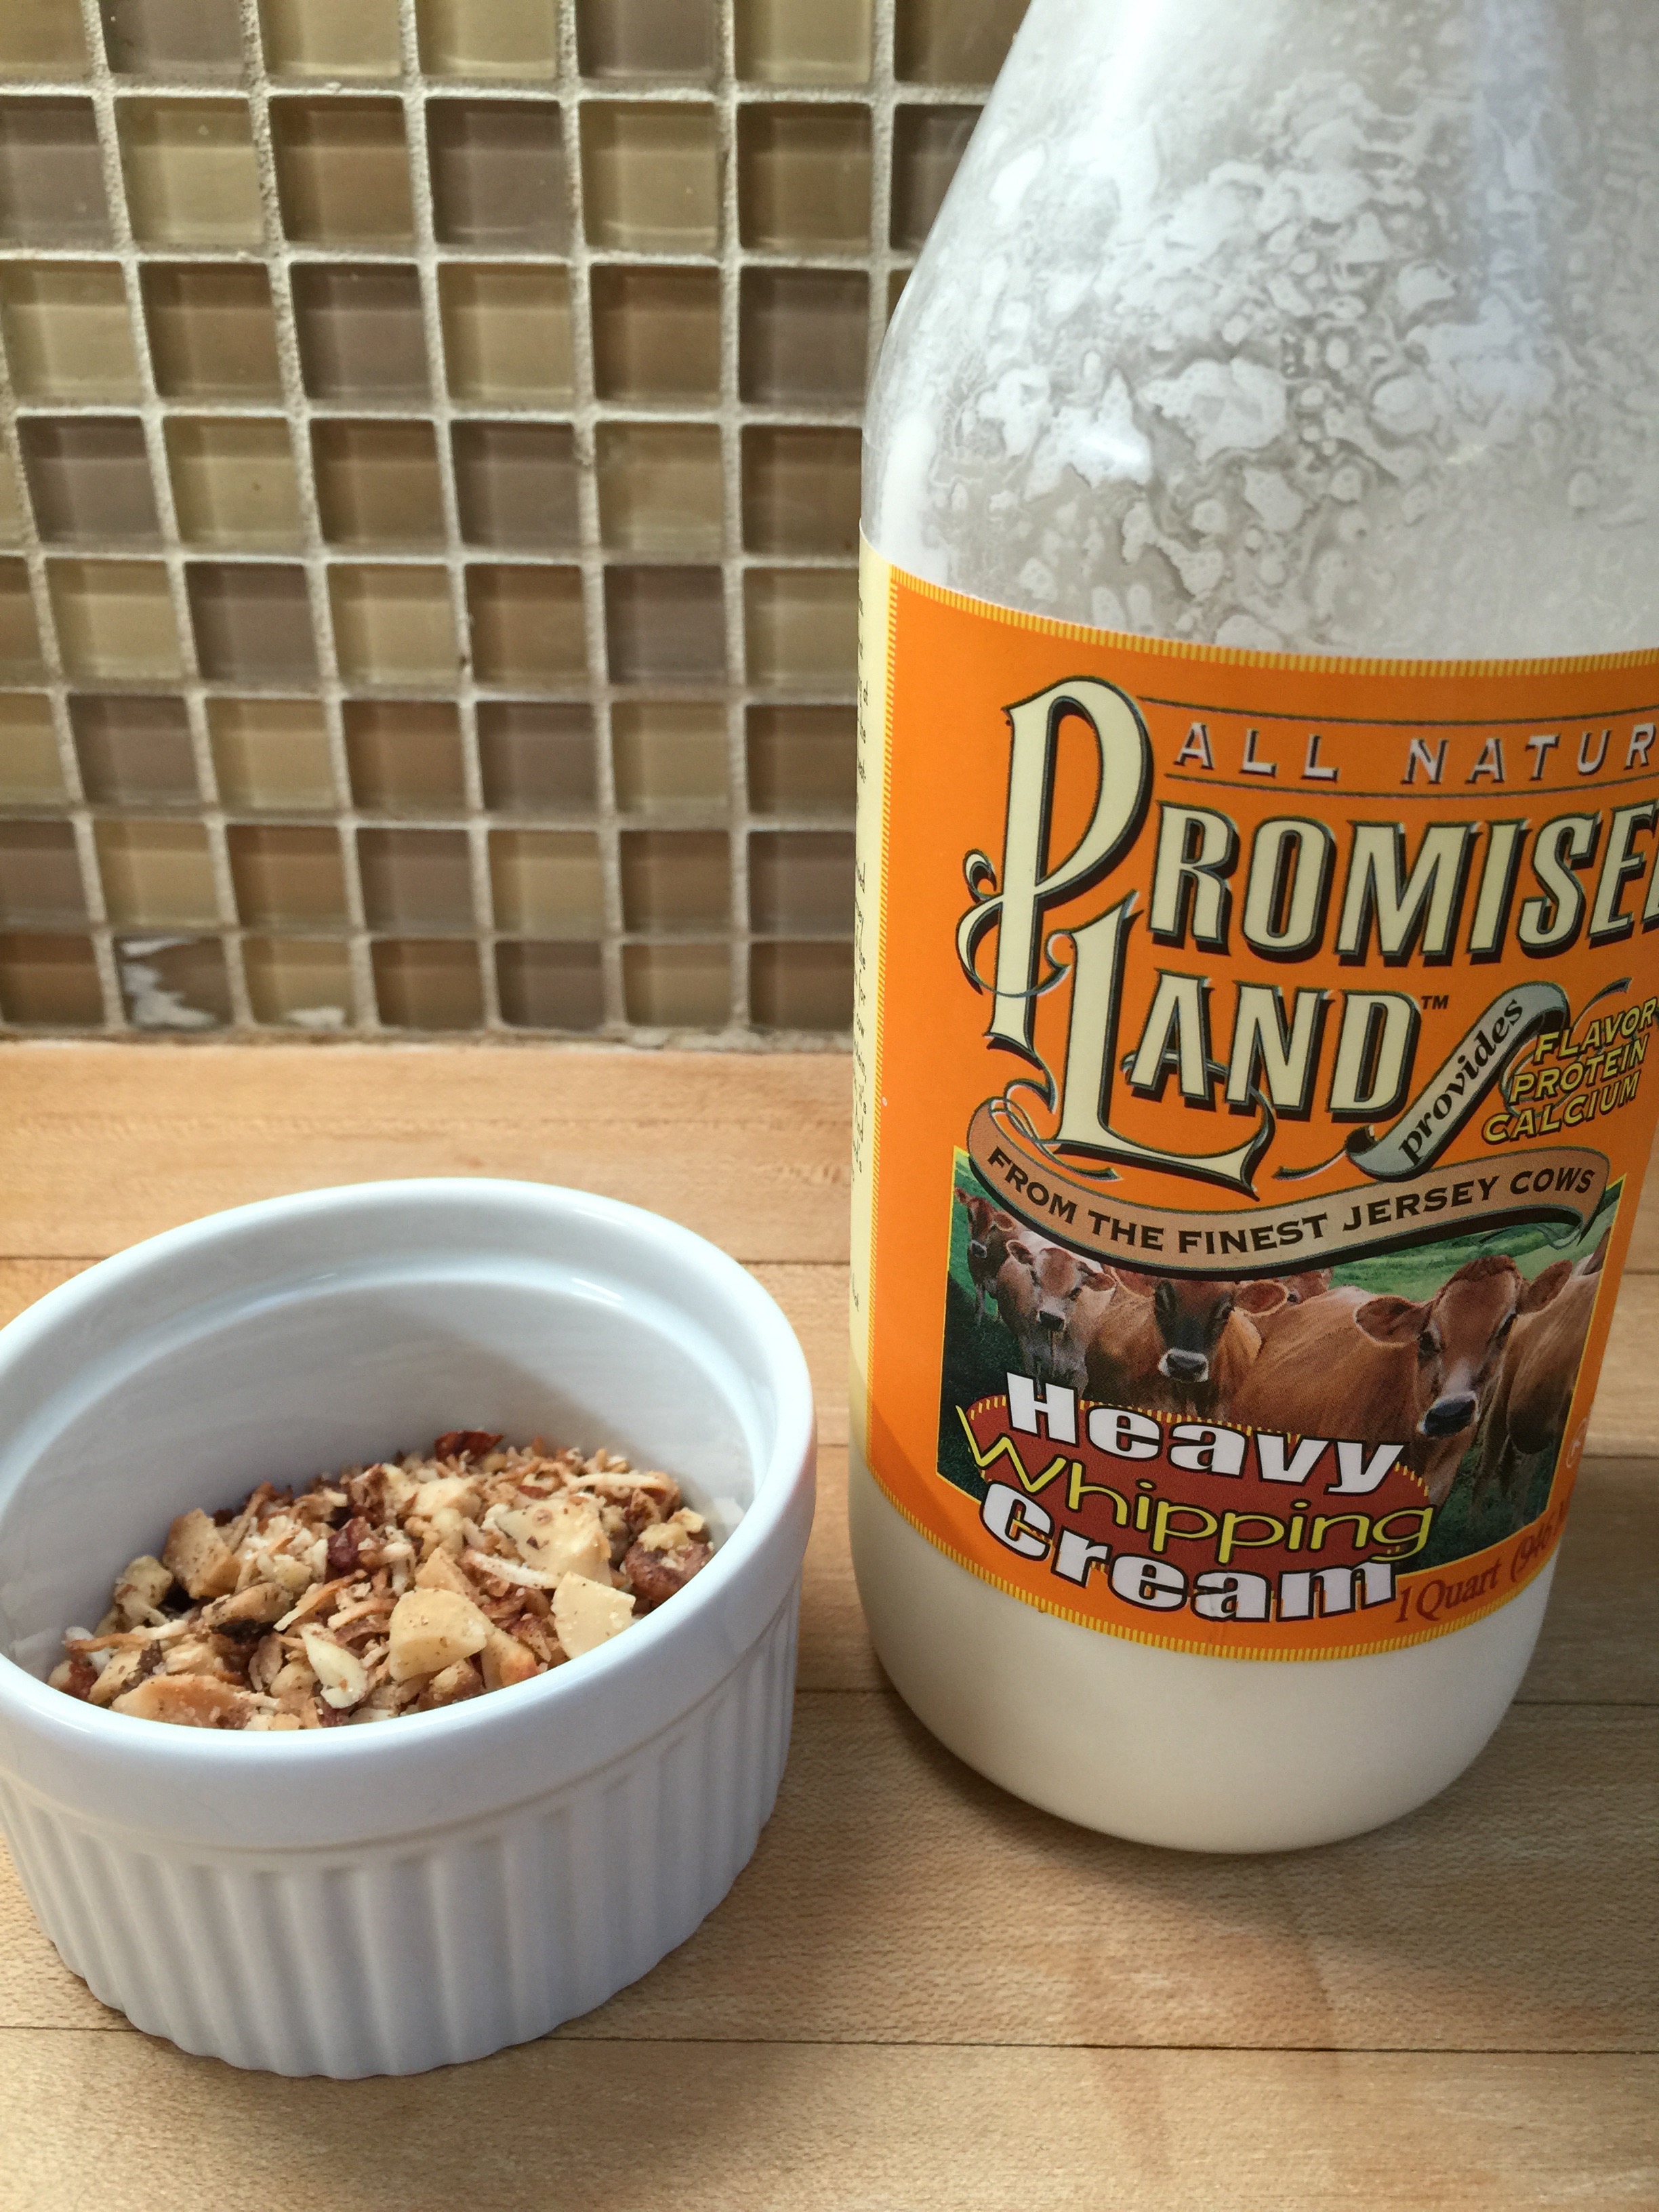
Allow it to cool and then store in an airtight container until ready to serve.
This can be served as a dessert over whipping cream or for a breakfast cereal with cream.
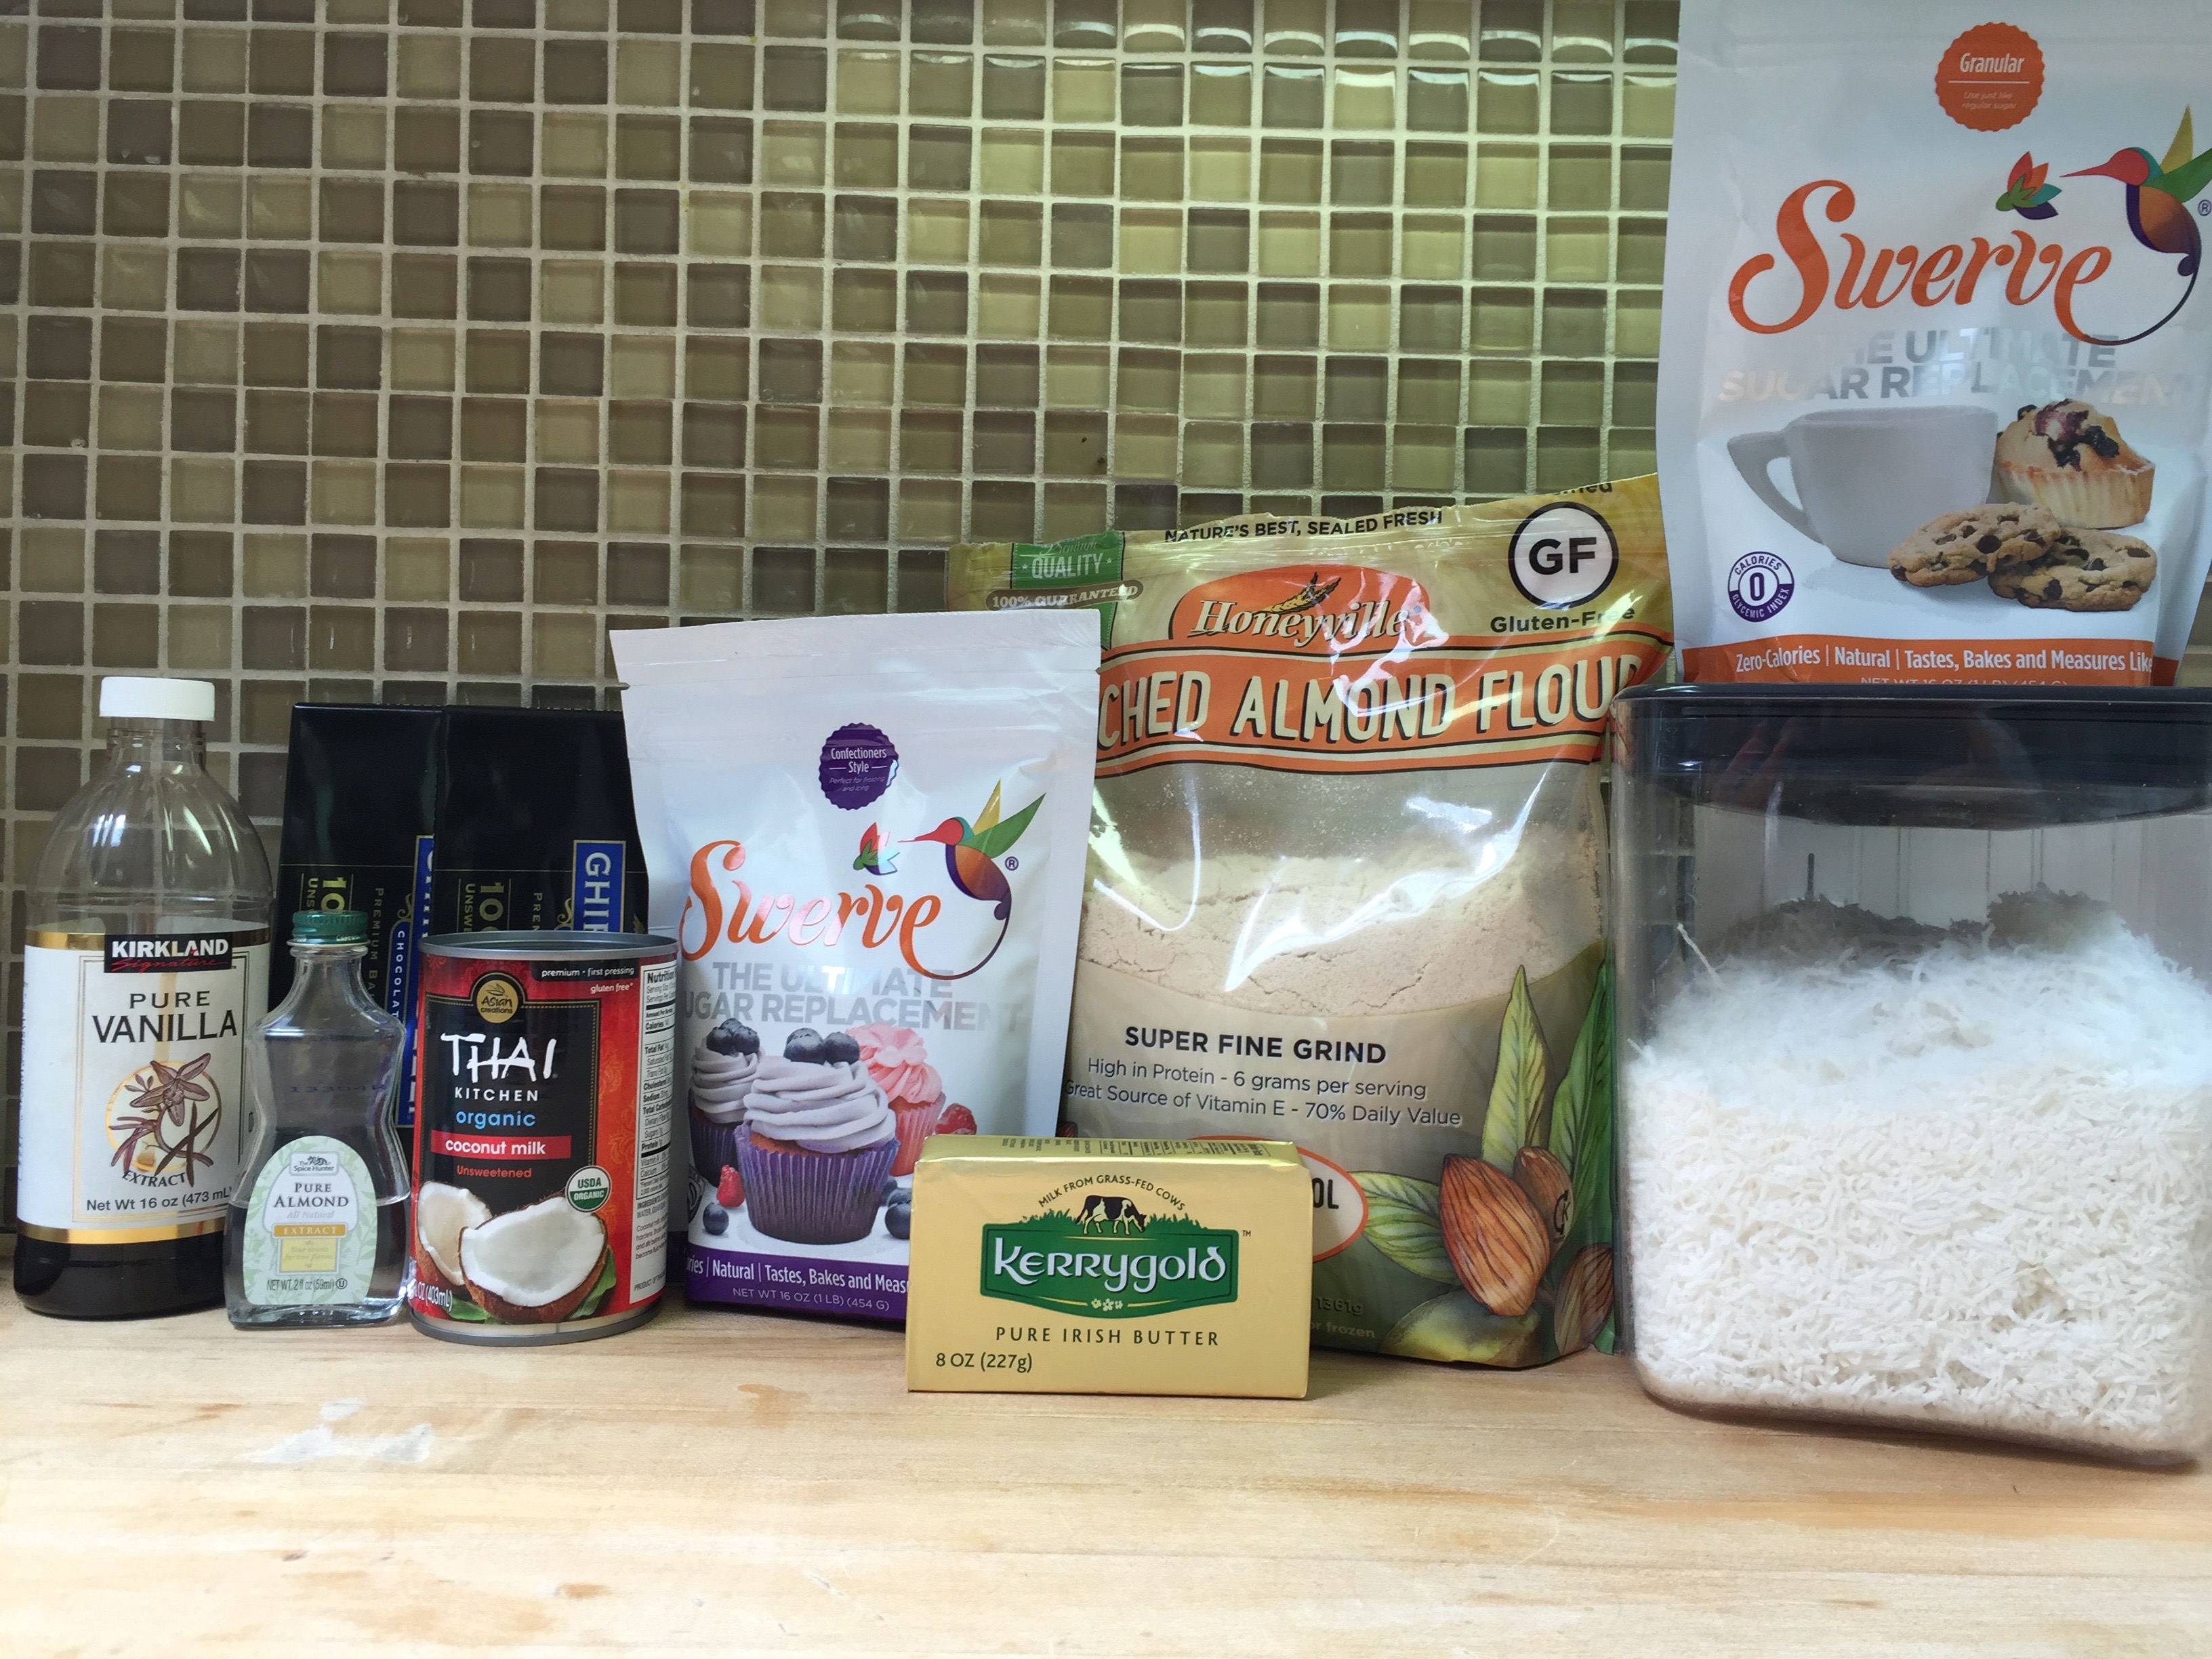
Erin and I were able to take part in a fun party that a friend of mine hosted for about 20 friends. She hired us to come in and talk about the benefits of Keto, the difference it has made in our lives, and how we cook. After our talk, we prepared a complete Keto meal for the whole group. It was a lively discussion filled with great questions and some new foods for most. I always wait for the reaction after dessert. It amazes people that we can make such decadent desserts without sugar. One of the desserts we made was a rich chocolate tart that I have slightly modified from the brilliant Dr. William Davis’ book, Wheat Belly 30-Minute (Or Less) Cookbook. If you don’t already have it, we do recommend it, and it is available for purchase in our Amazon store.
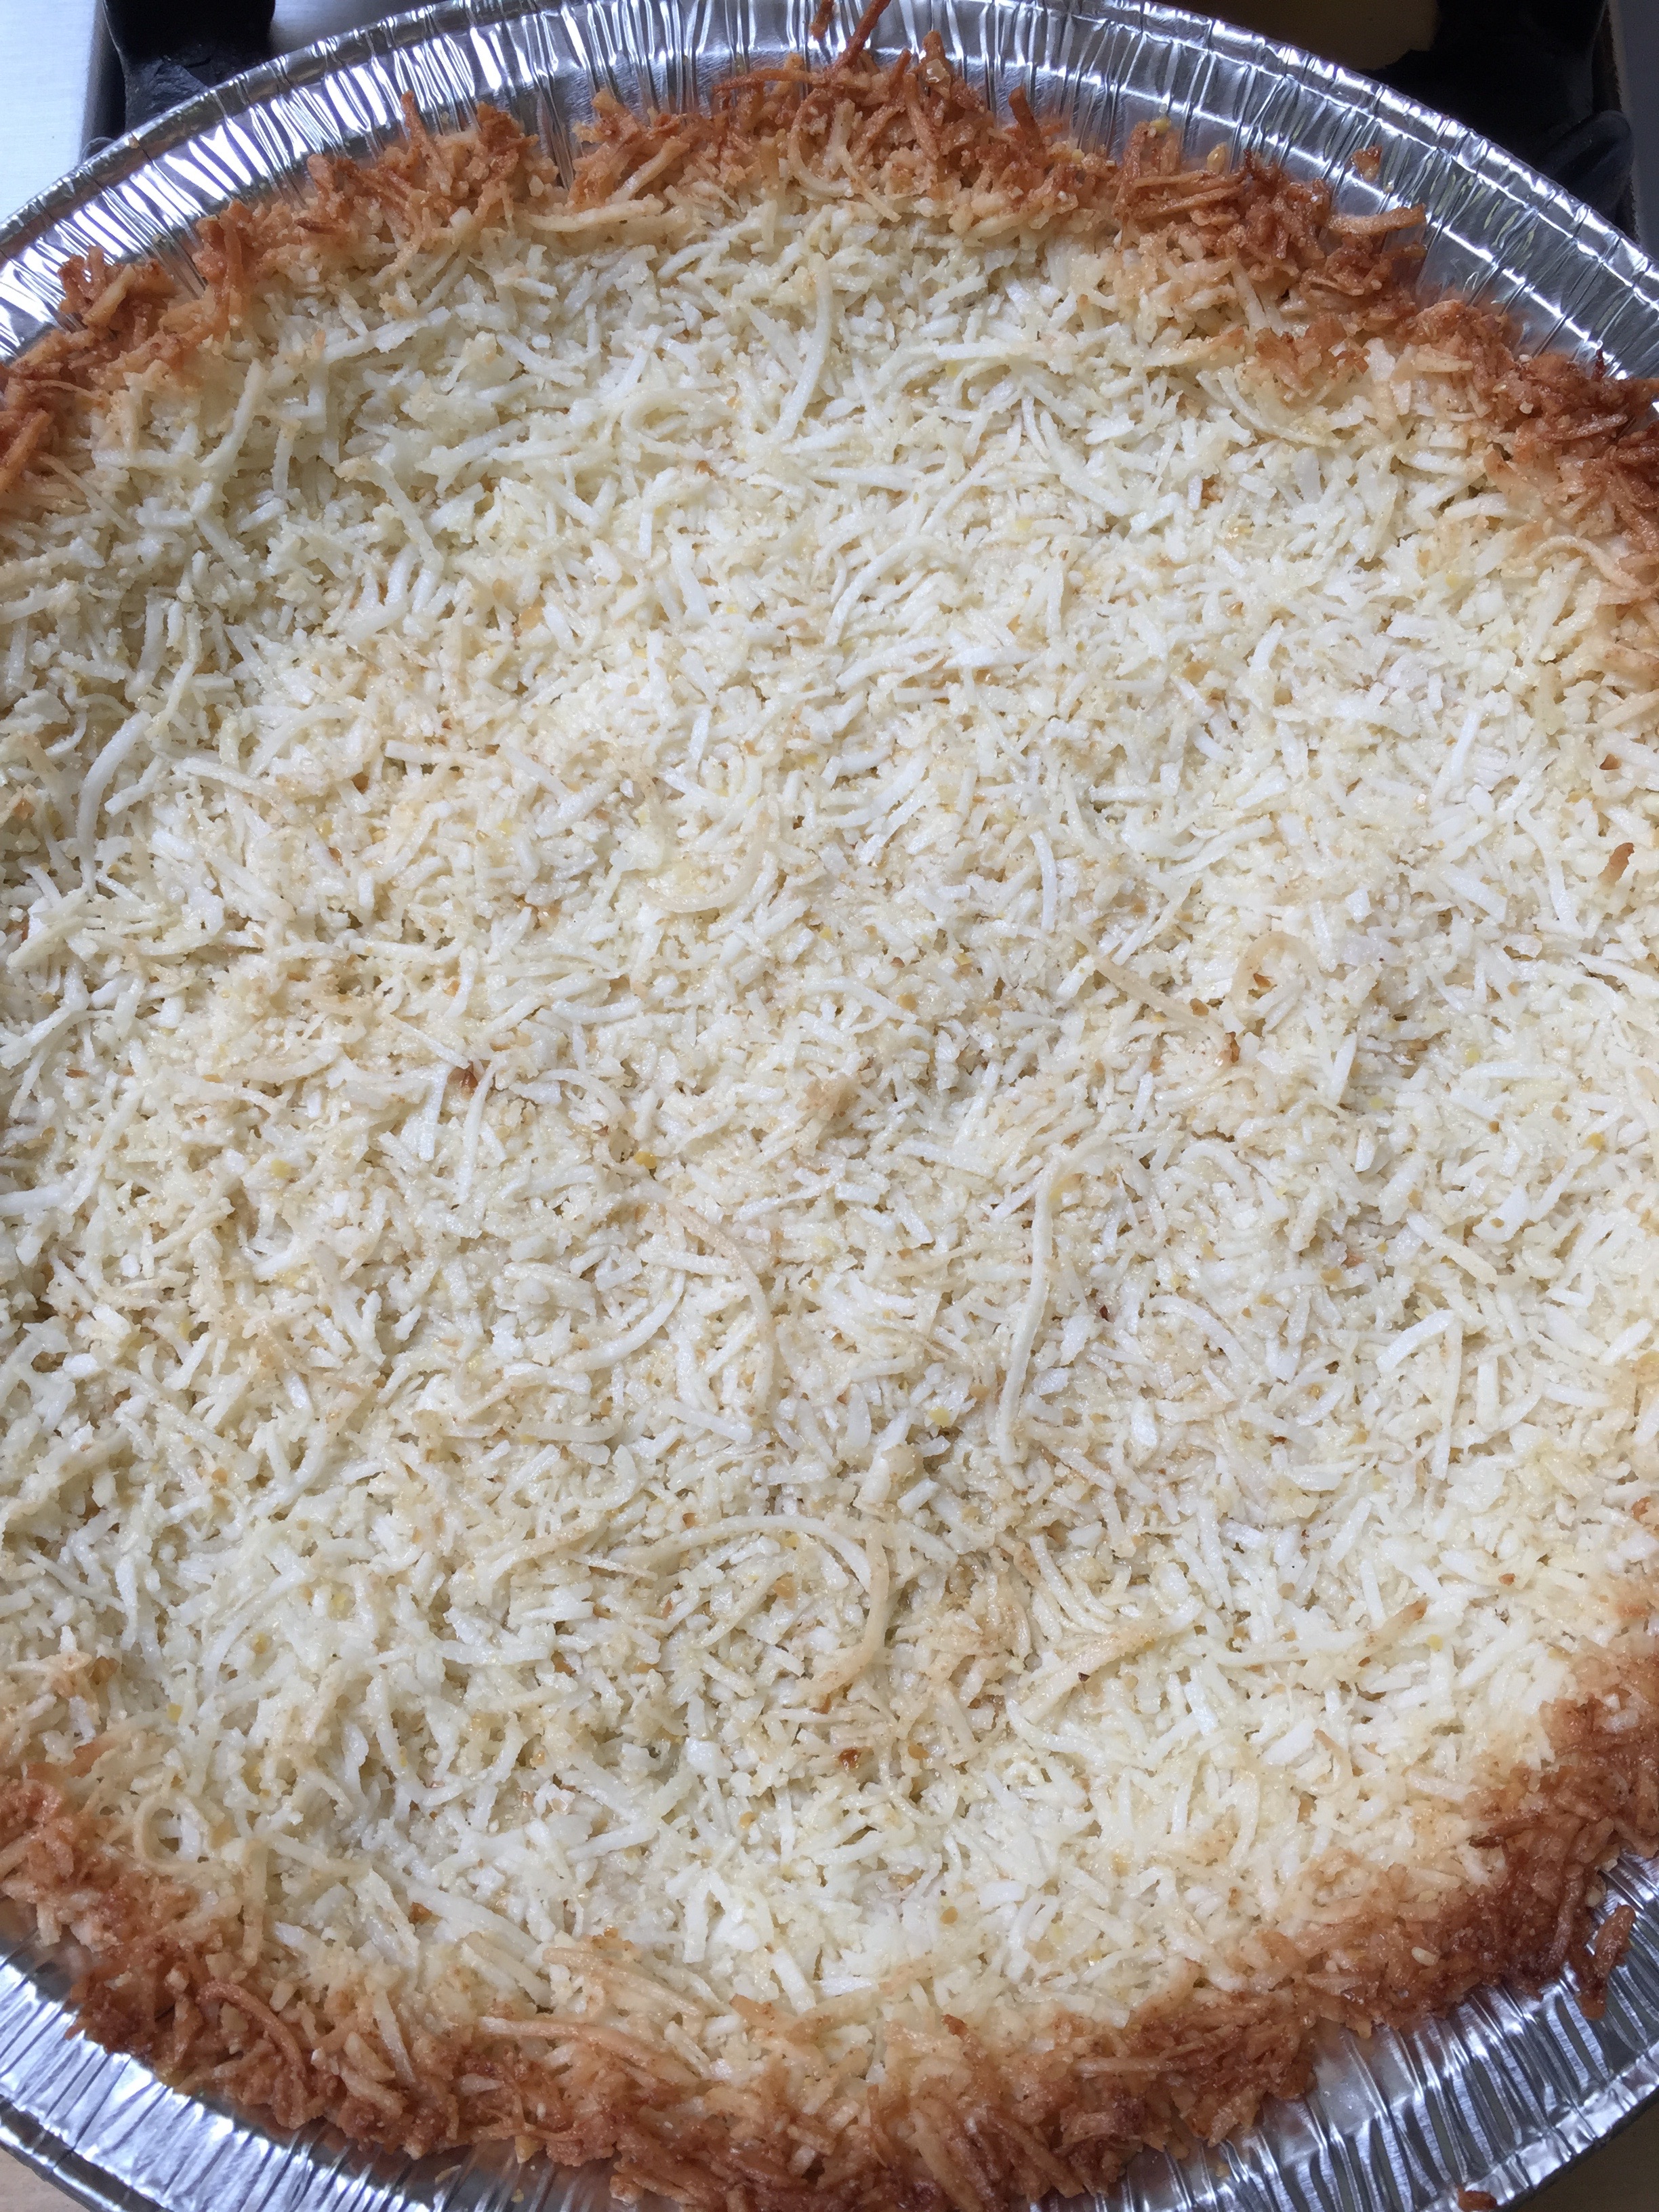
I made two tarts, one primarily the way it is in the cookbook with a coconut crust. In my opinion, the natural taste and texture of the coconut helps cut the bitterness of the dark unsweetened chocolate for a perfectly balanced dessert that is very satisfying. The coconut also provides a nice sturdy crust for the dense chocolate. I do understand that there are some that really don’t like the texture of coconut. For those individuals, I made a regular almond flour crust. Just know that you can always change out your crust in any recipe.
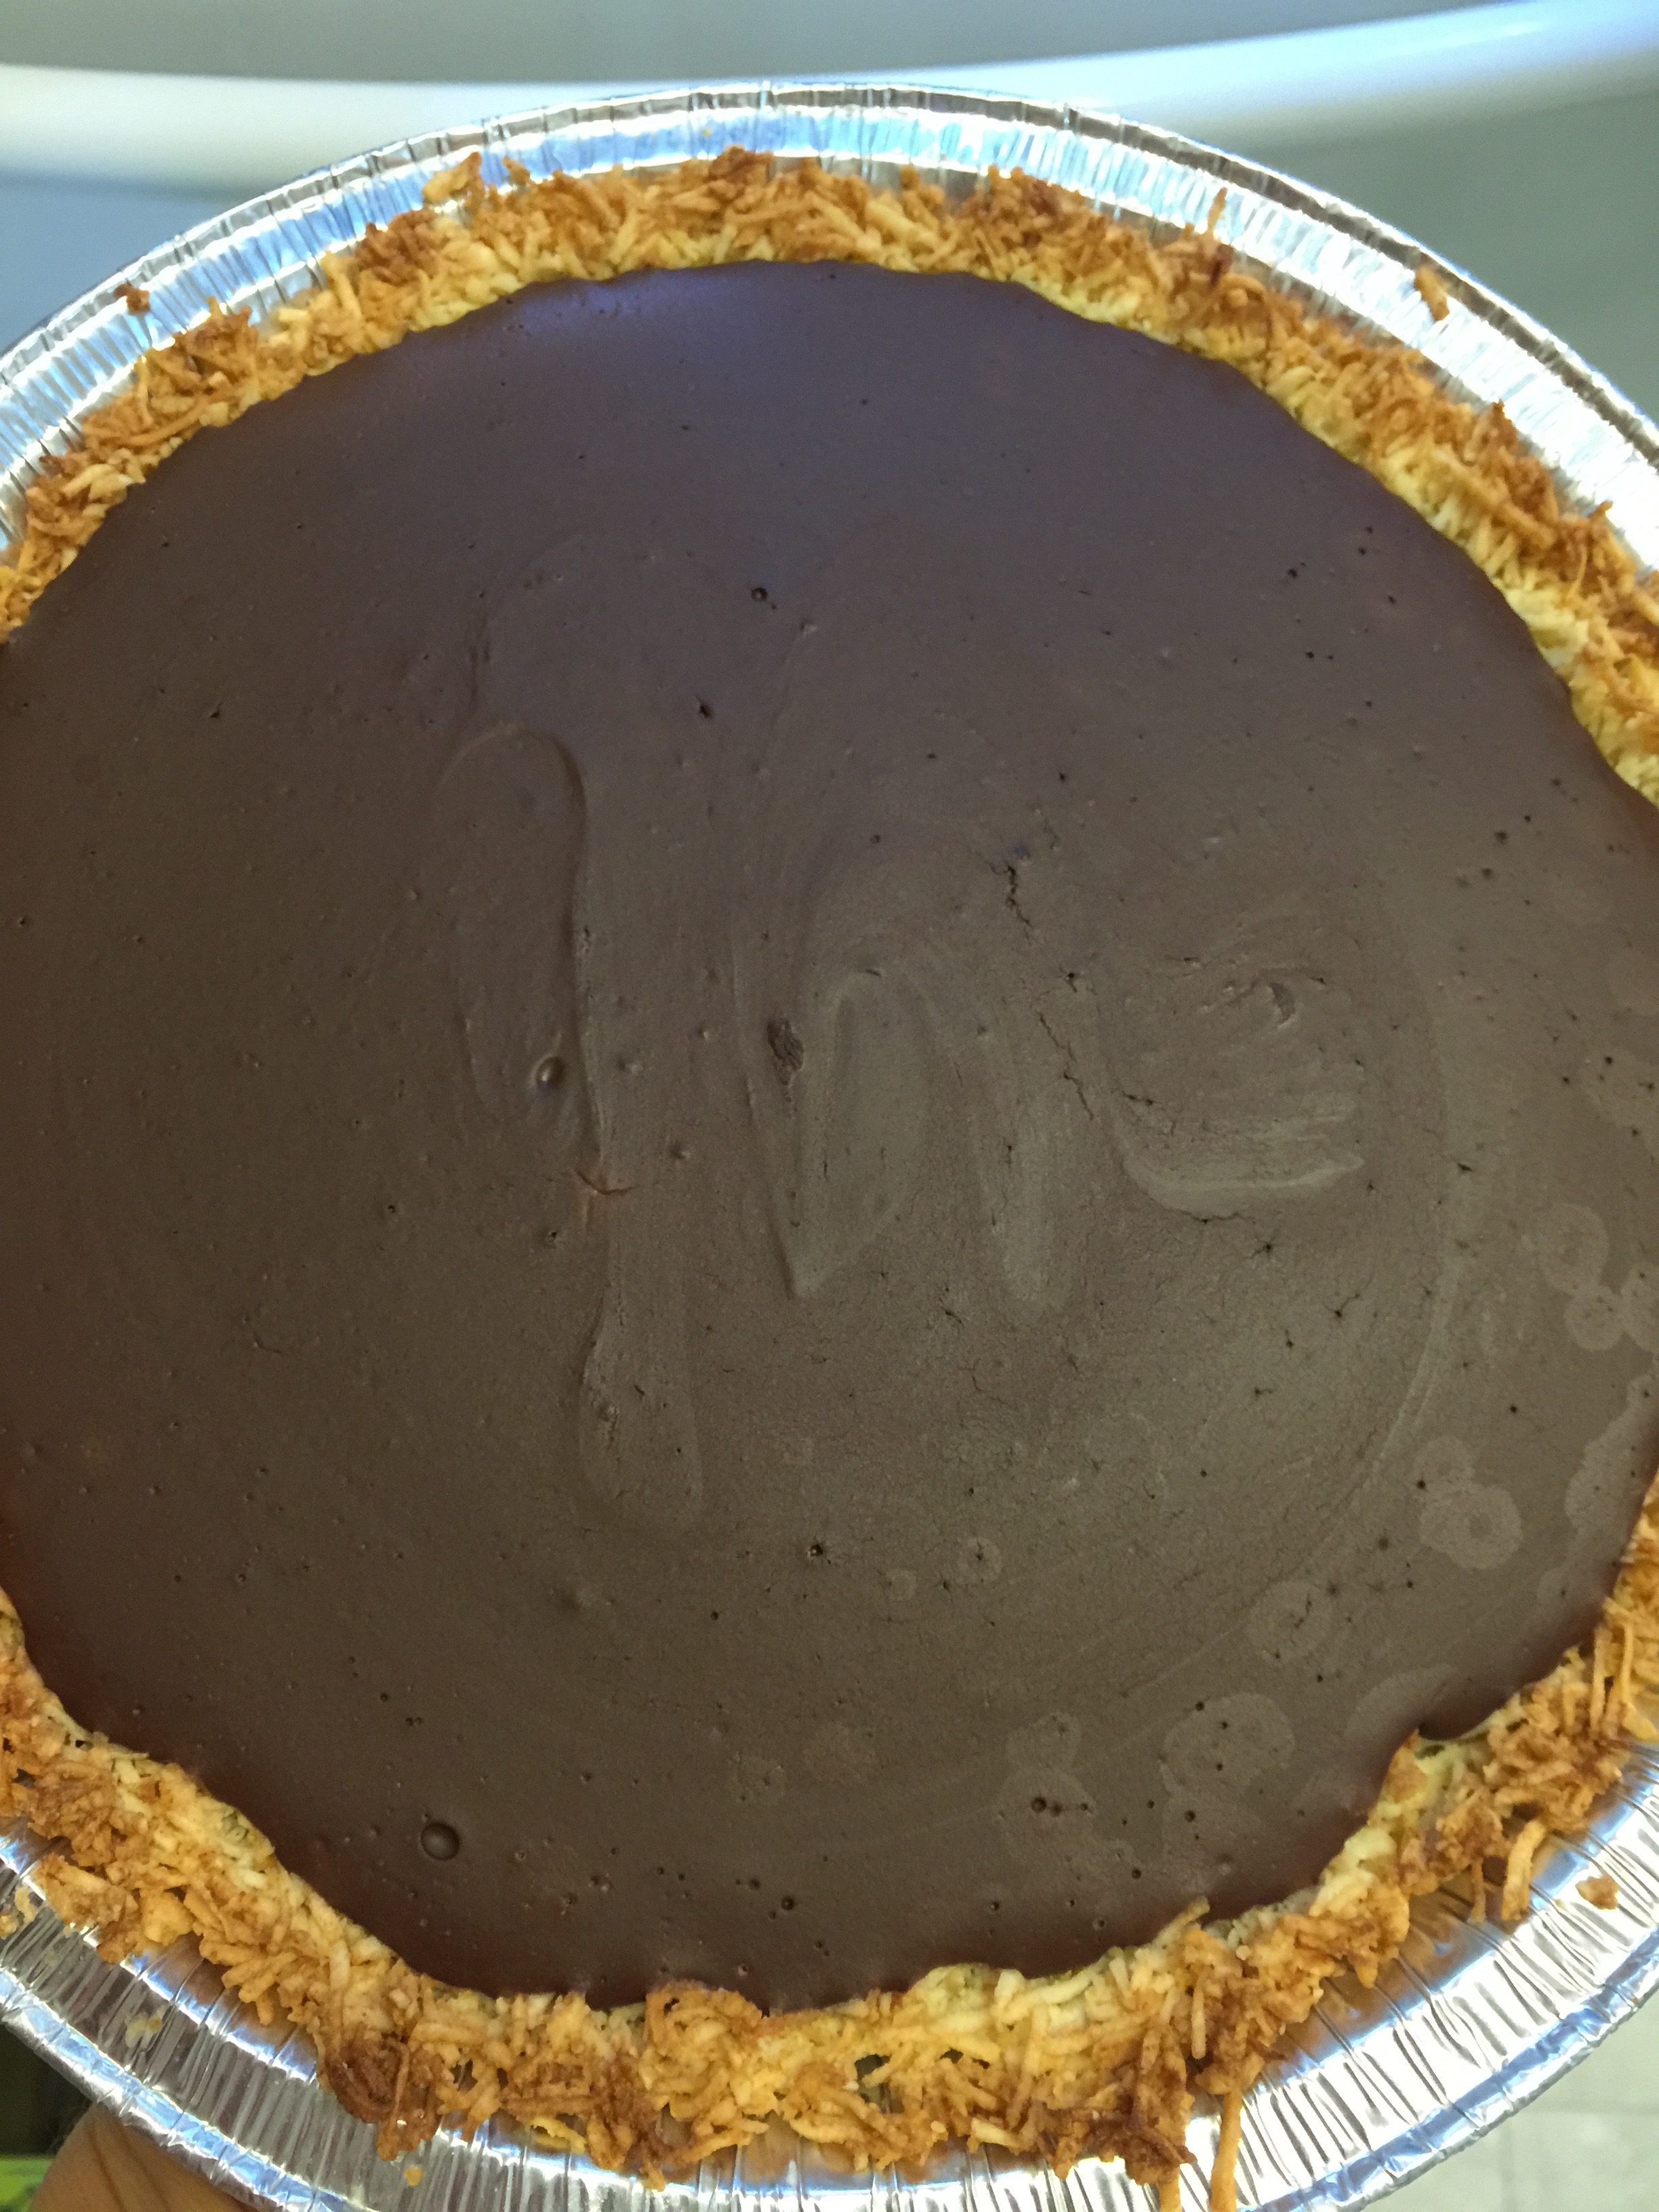
Rich Coconut – Chocolate Tart
Preheat oven to 350 degrees and grease a 9 inch pie plate.
Gather your ingredients:
Crust:
2 cups unsweetened coconut
3 Tbsp almond flour
3 Tbsp Swerve granular
3 Tbsp melted butter
Combine all of the above ingredients. I use my hands to combine and then press into your greased pie plate.
Bake at 350 degrees for 10 minutes.
Let it cool while you prepare your filling.
Filling:
14 ounces of canned full-fat organic coconut milk
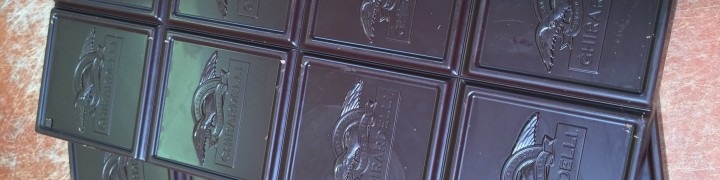
8 ounces of 100% Cocoa (Unsweetened) Chocolate
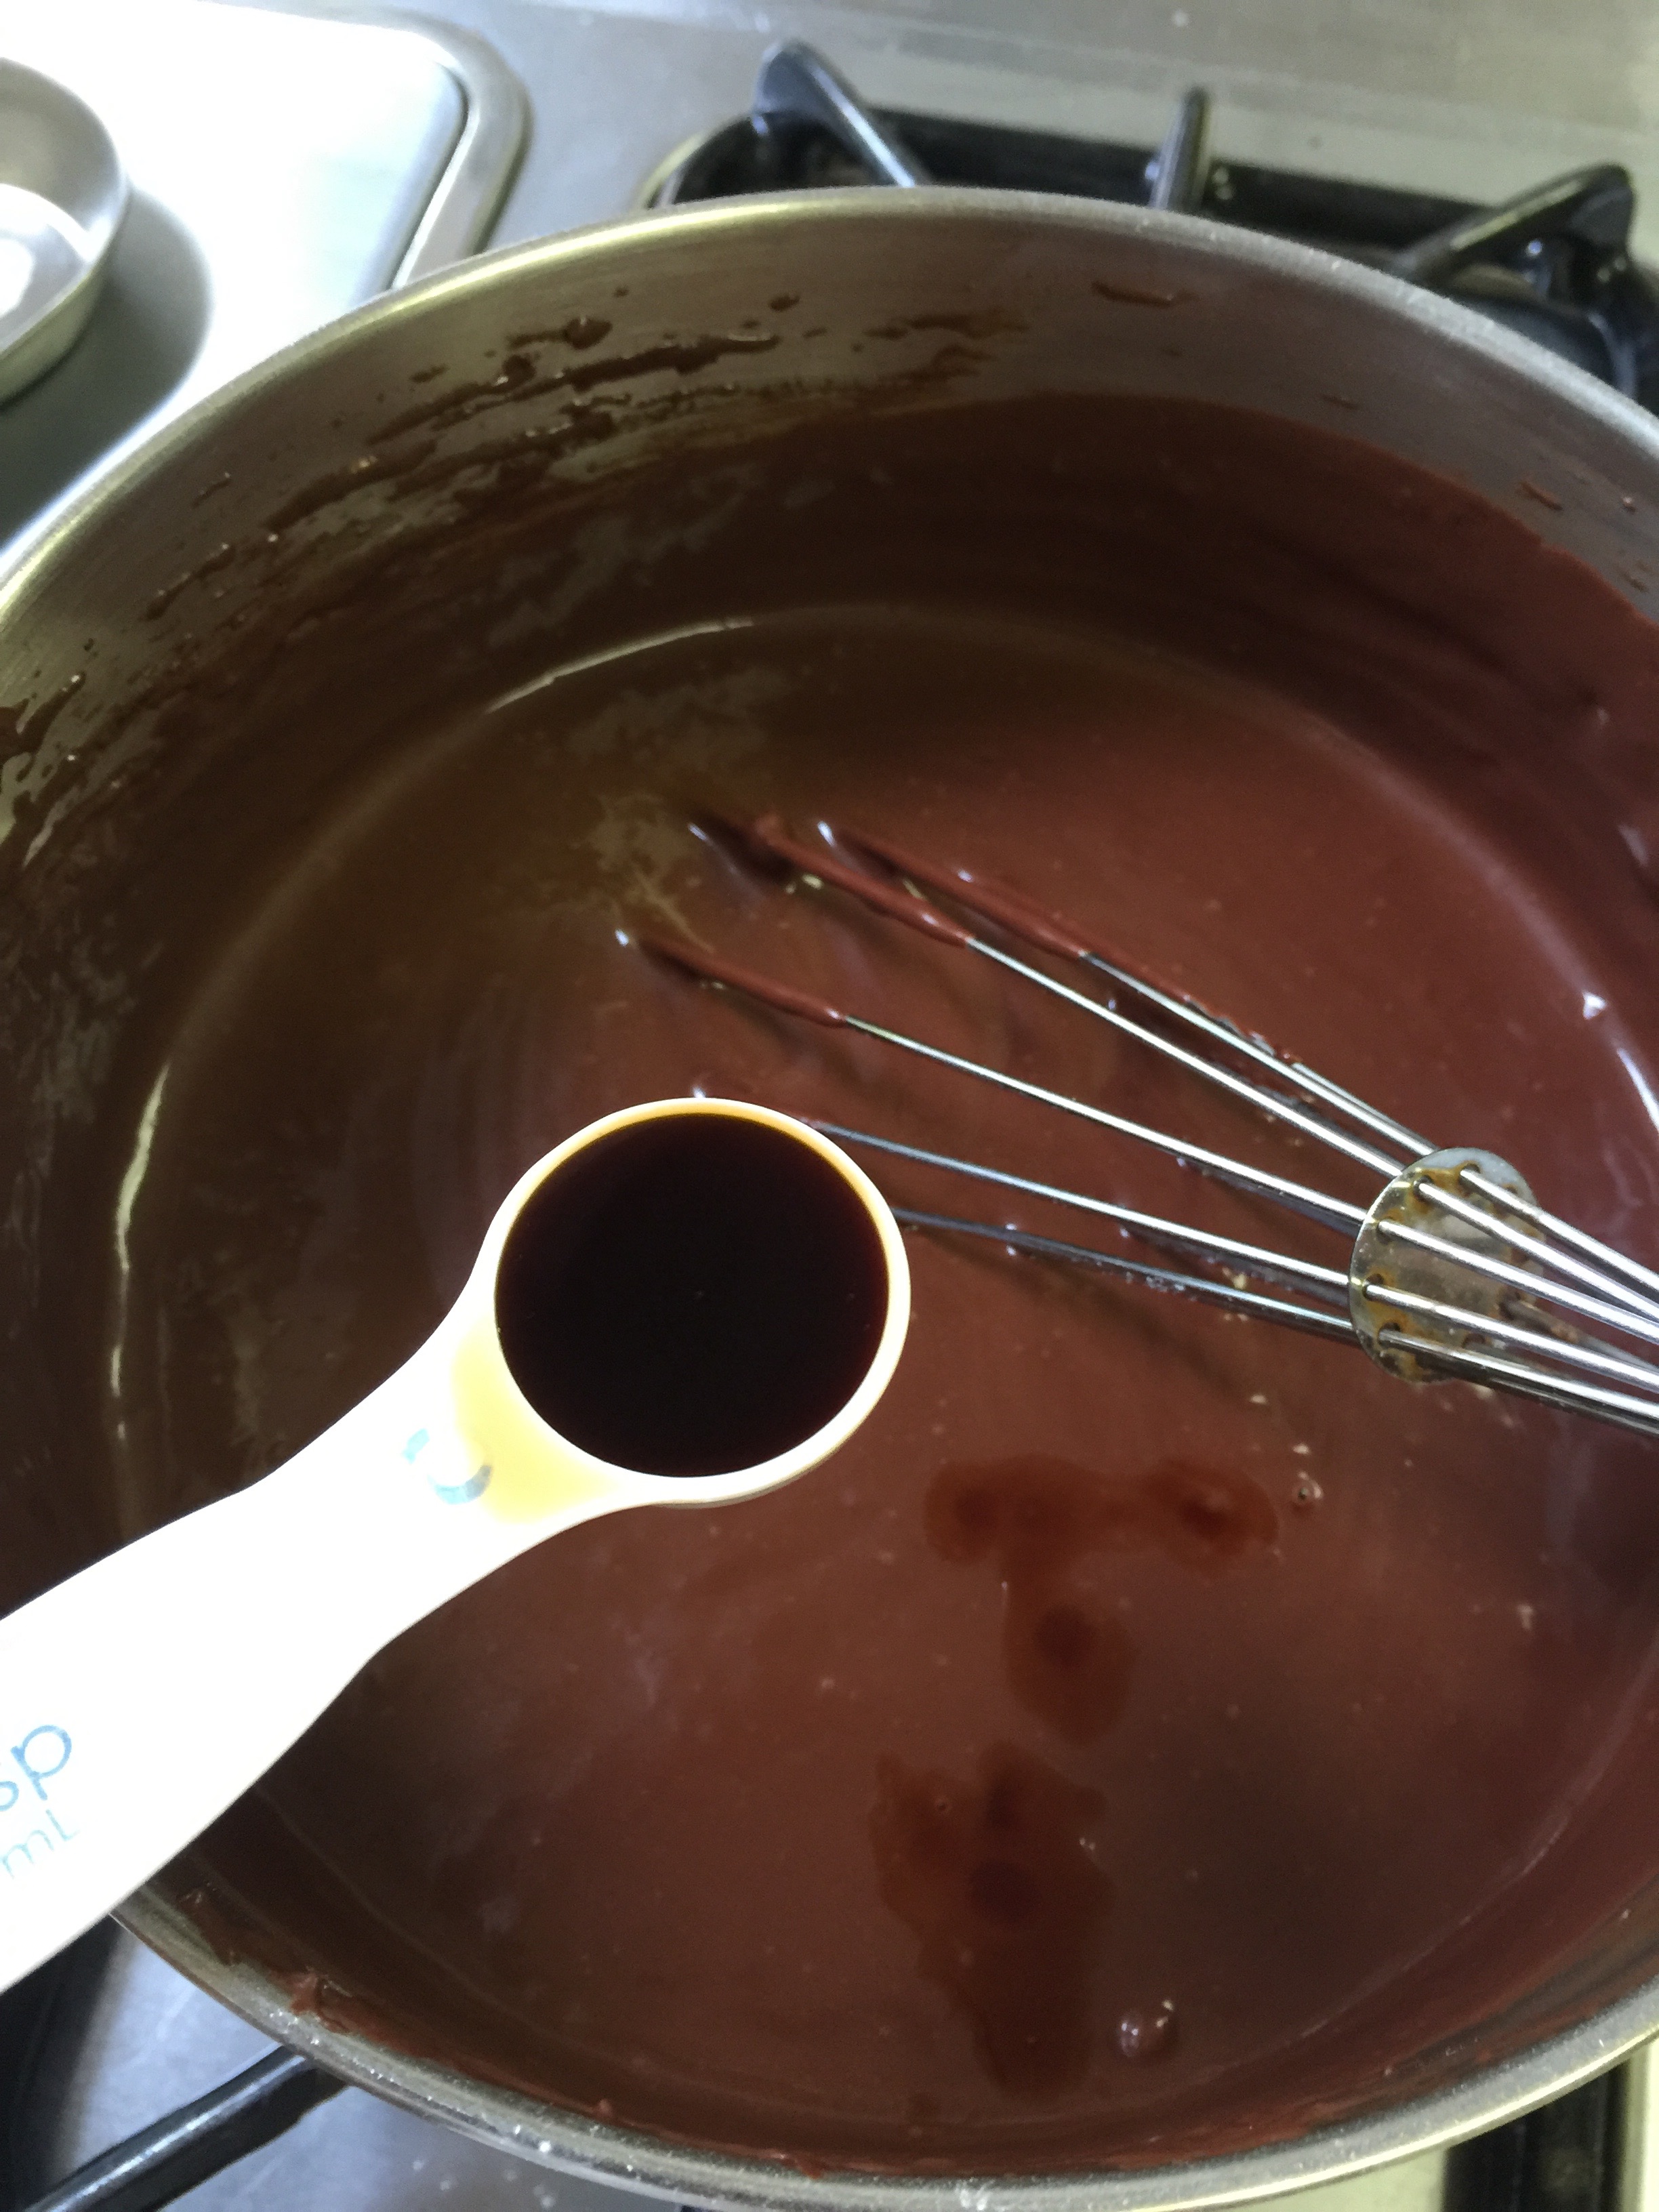
1 tsp of vanilla extract OR 1/2 tsp vanilla extract and 1/4 tsp almond extract
1/2 cup Swerve Confectioners
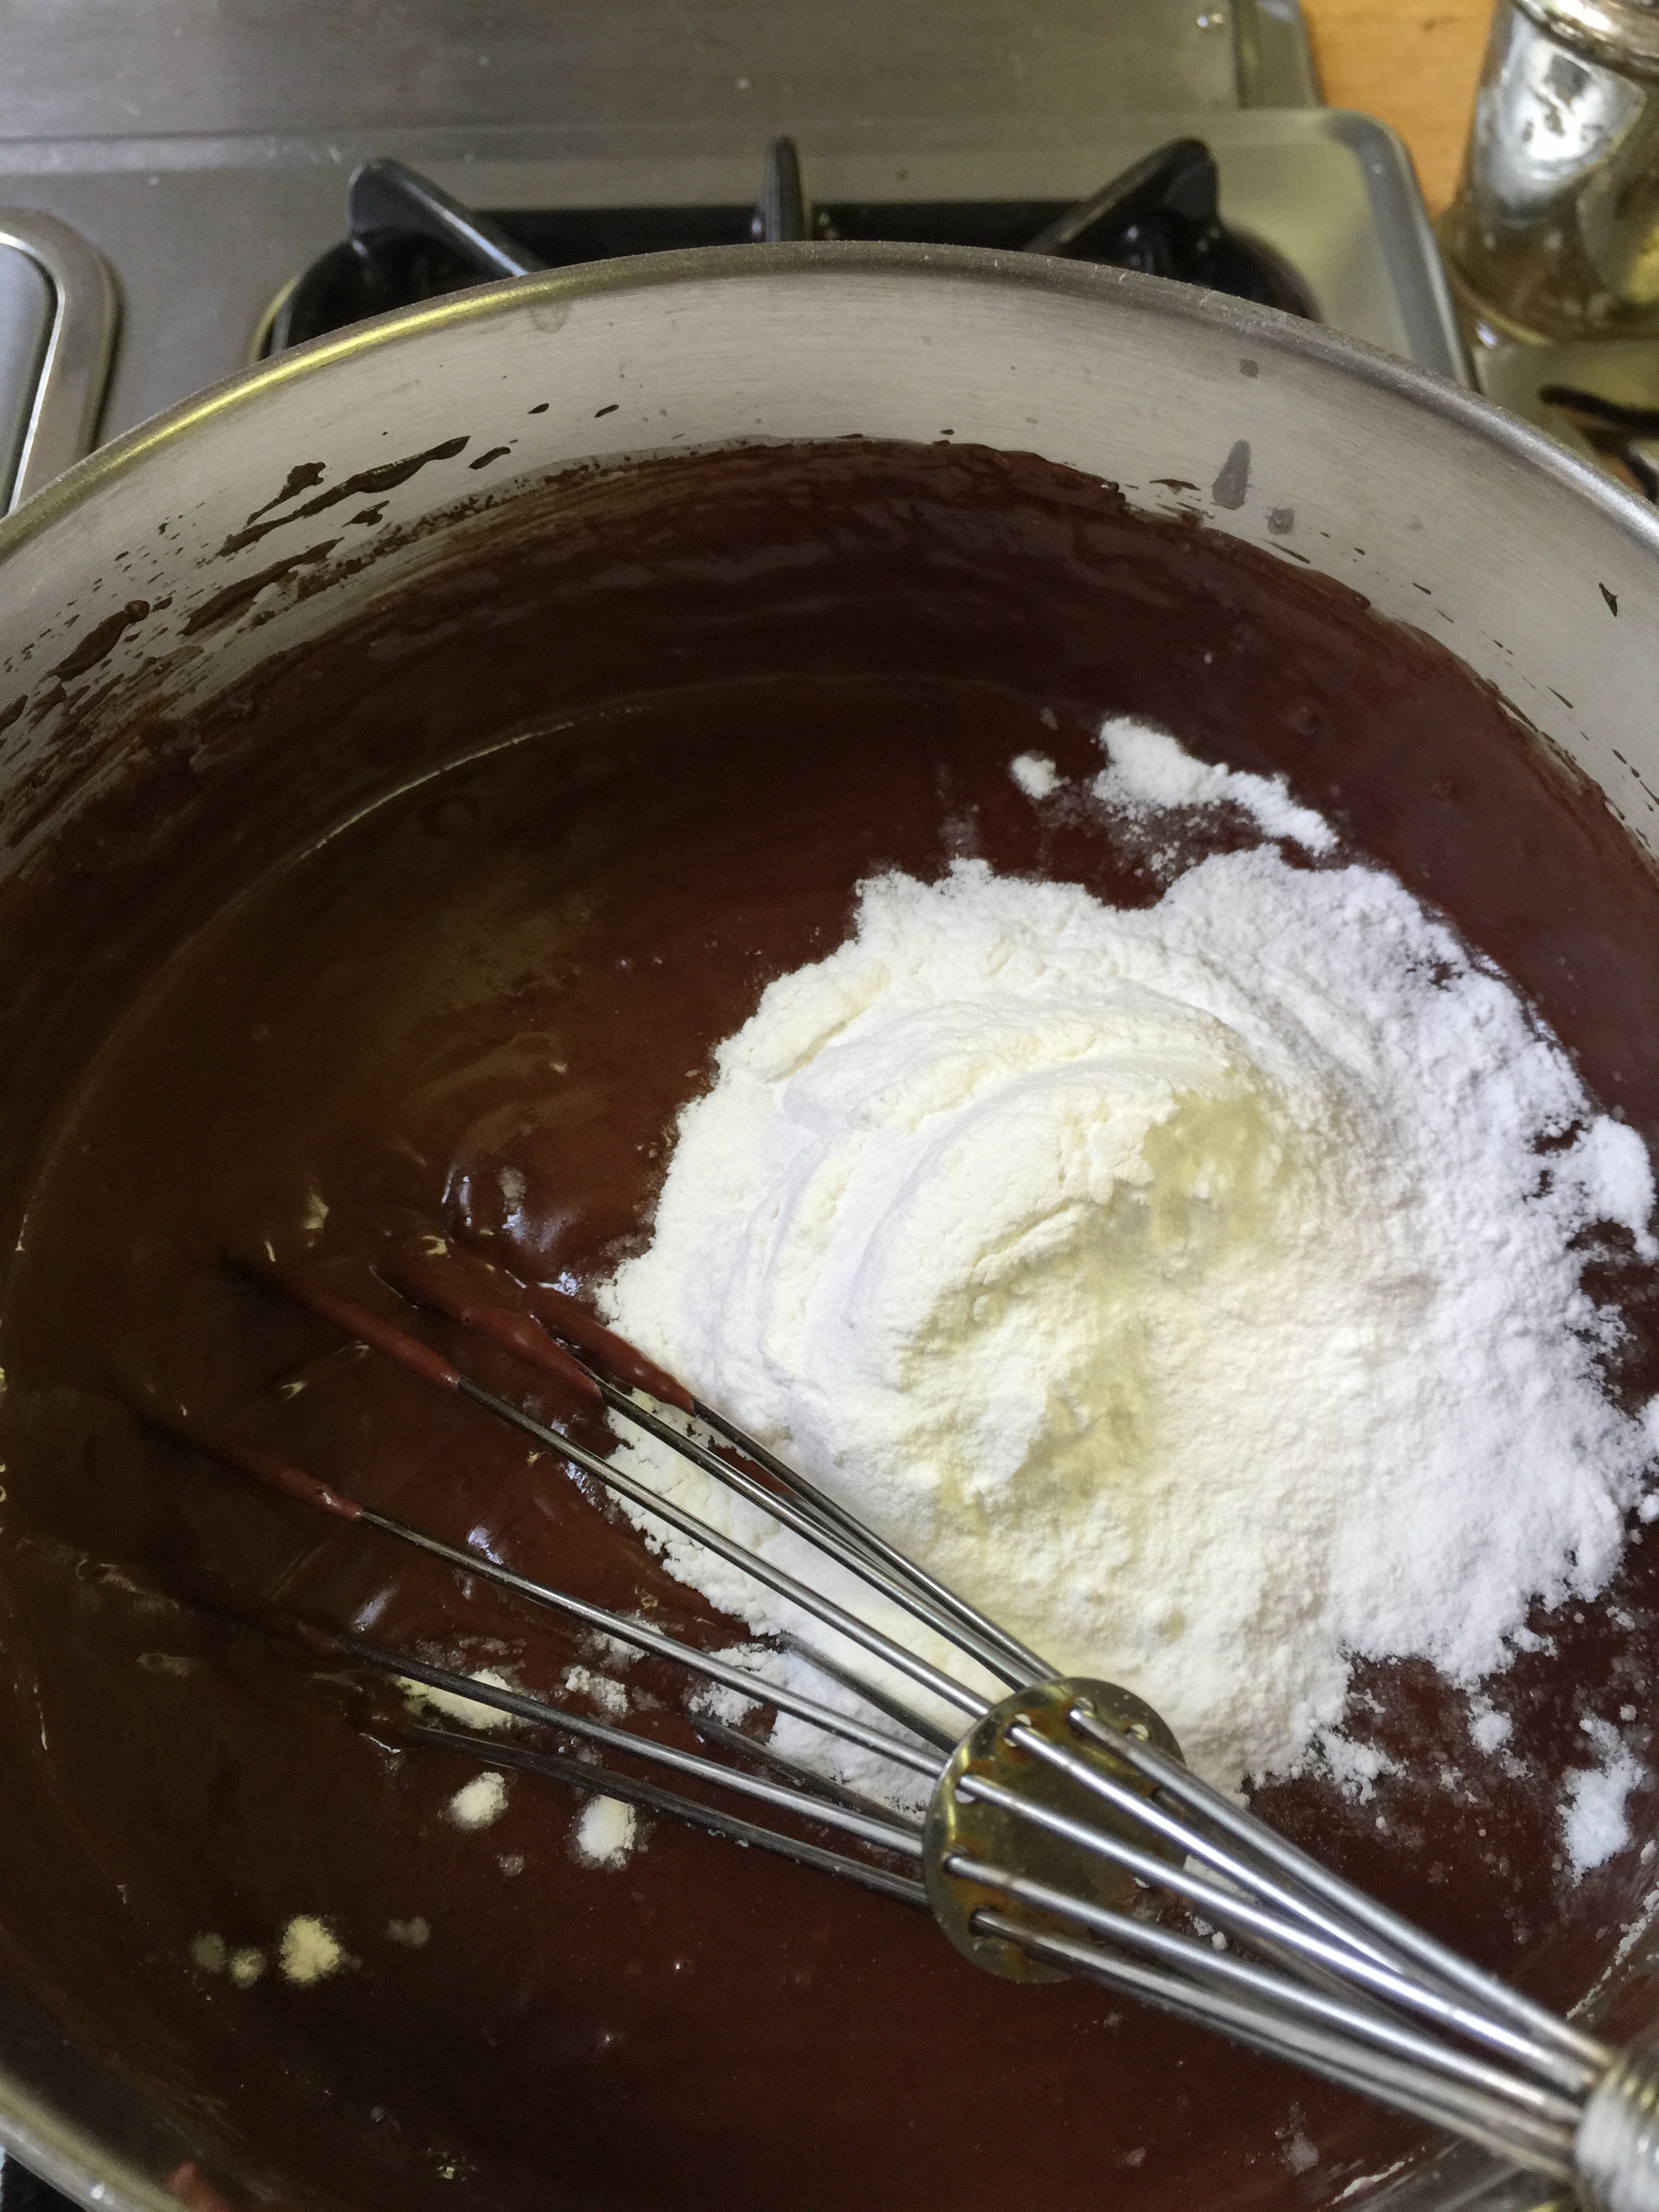
In a saucepan, over medium heat, heat the coconut milk just until bubble form.
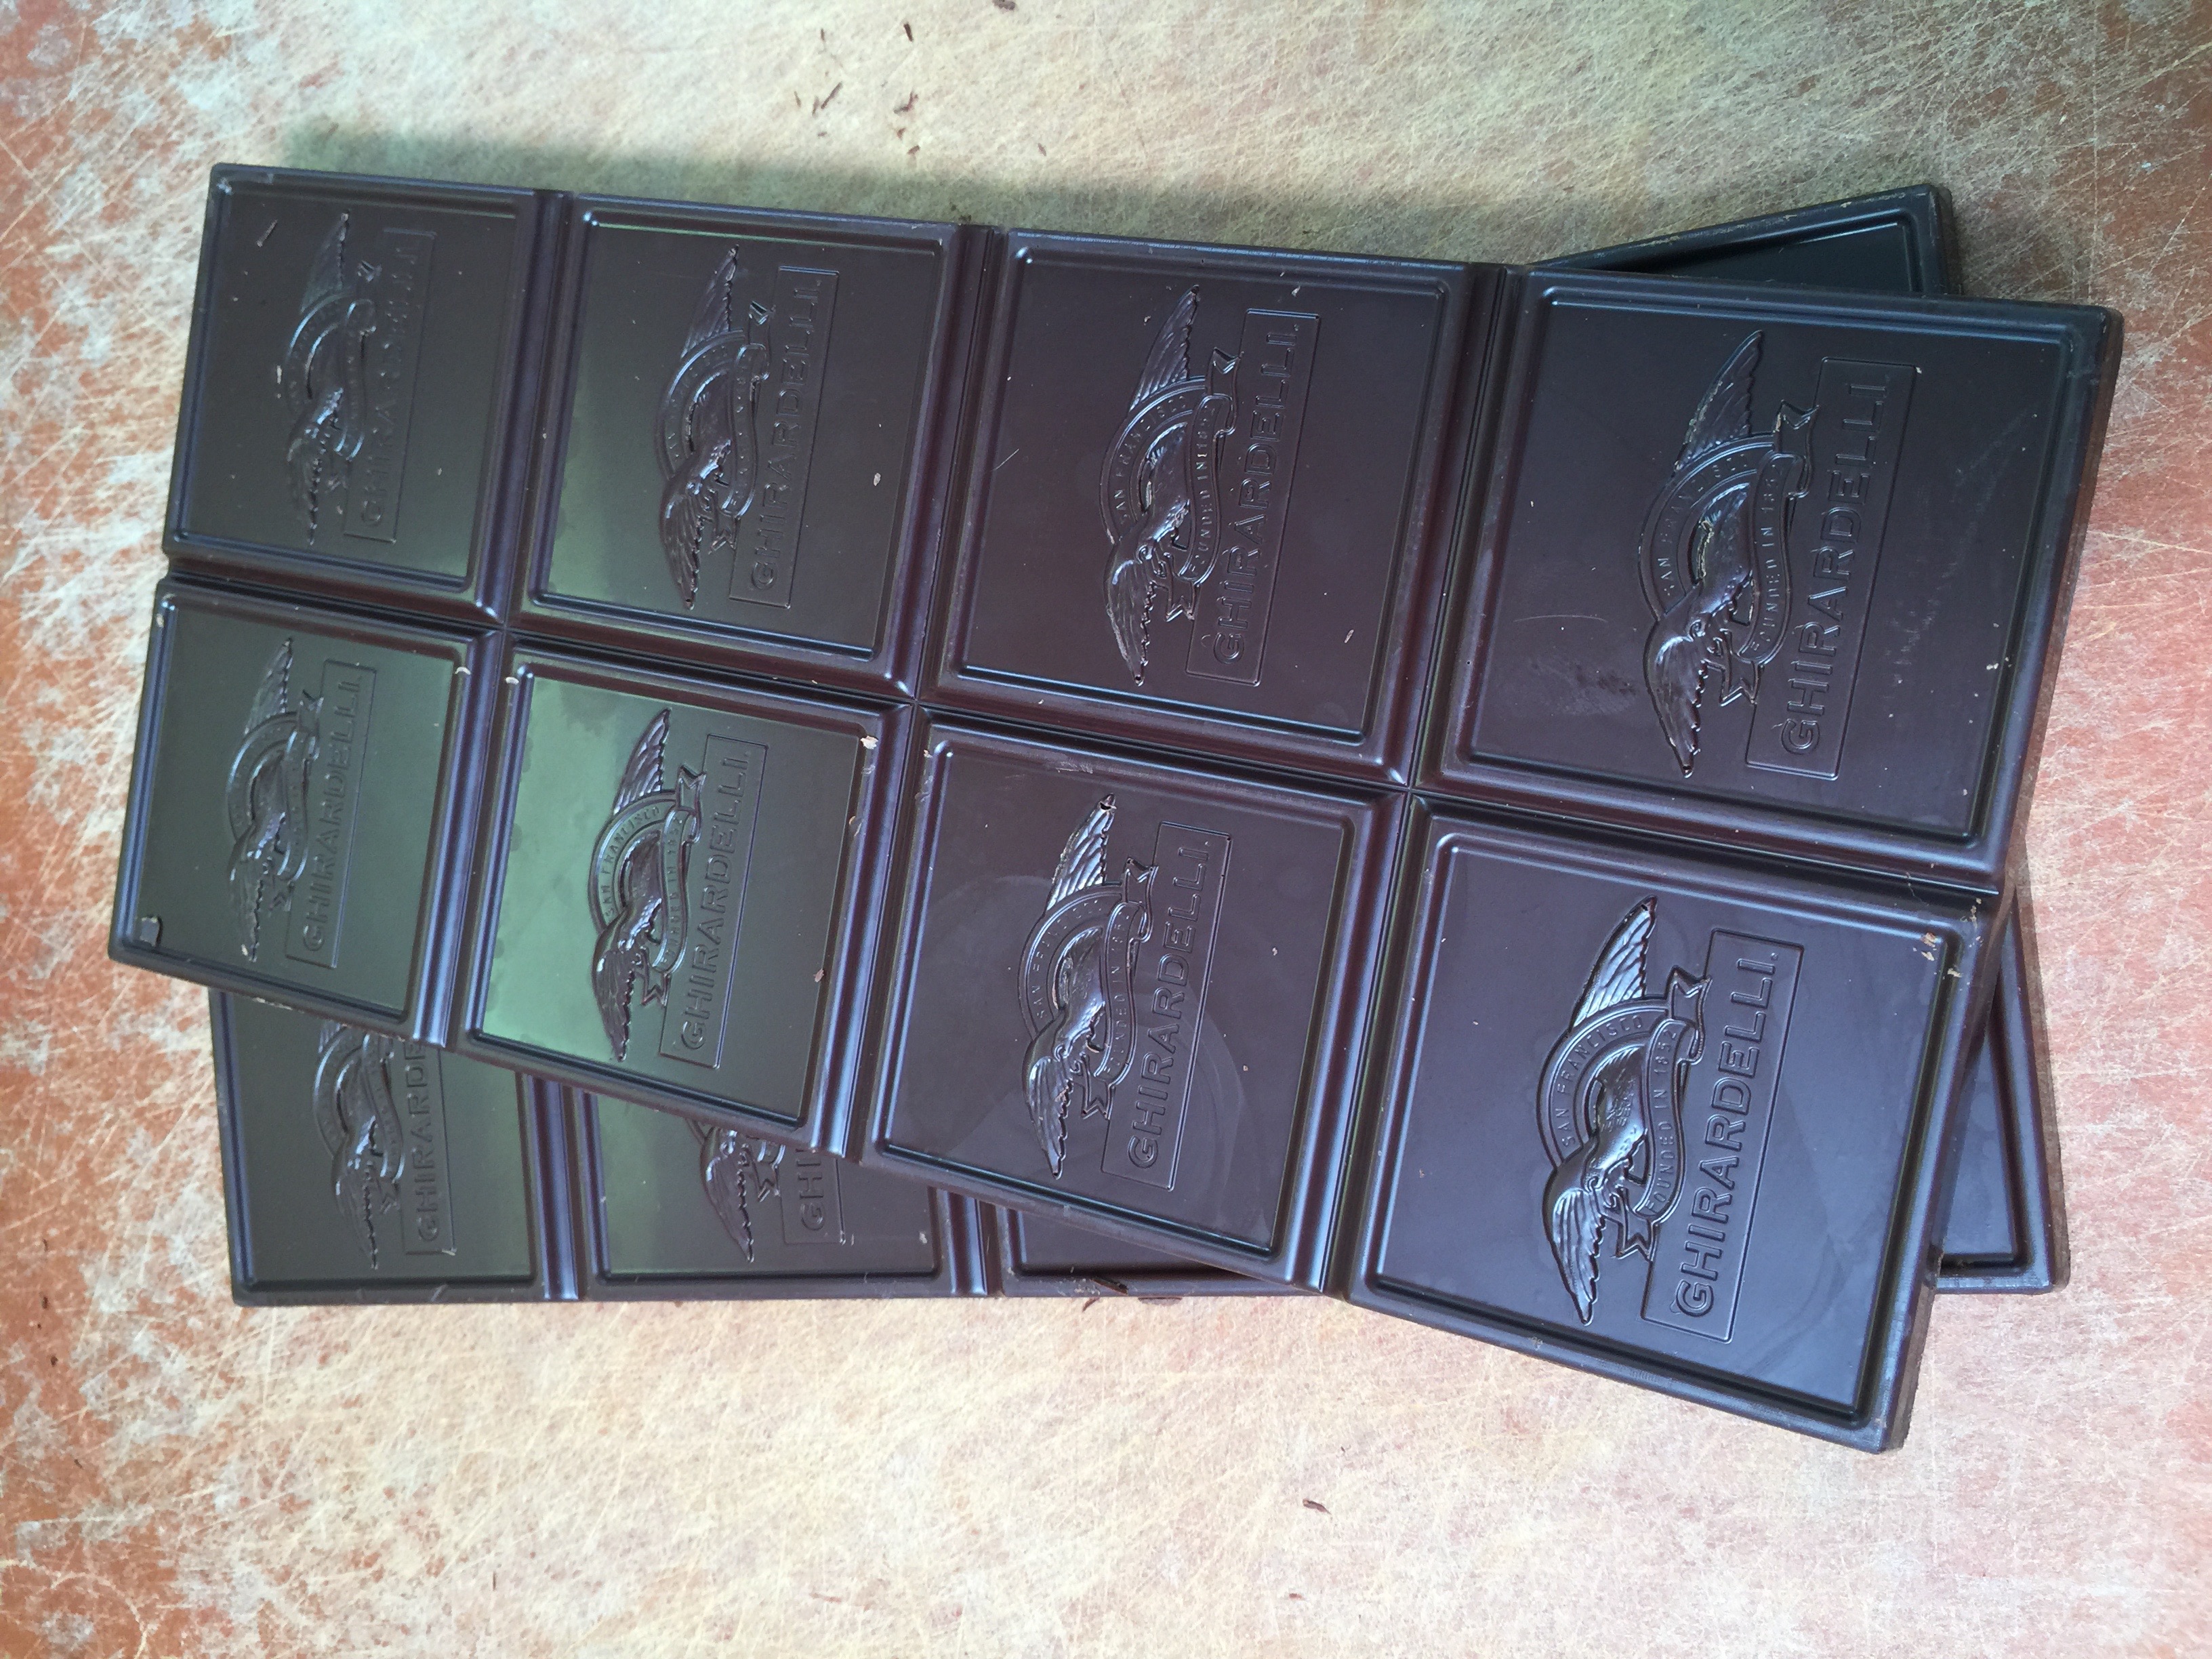
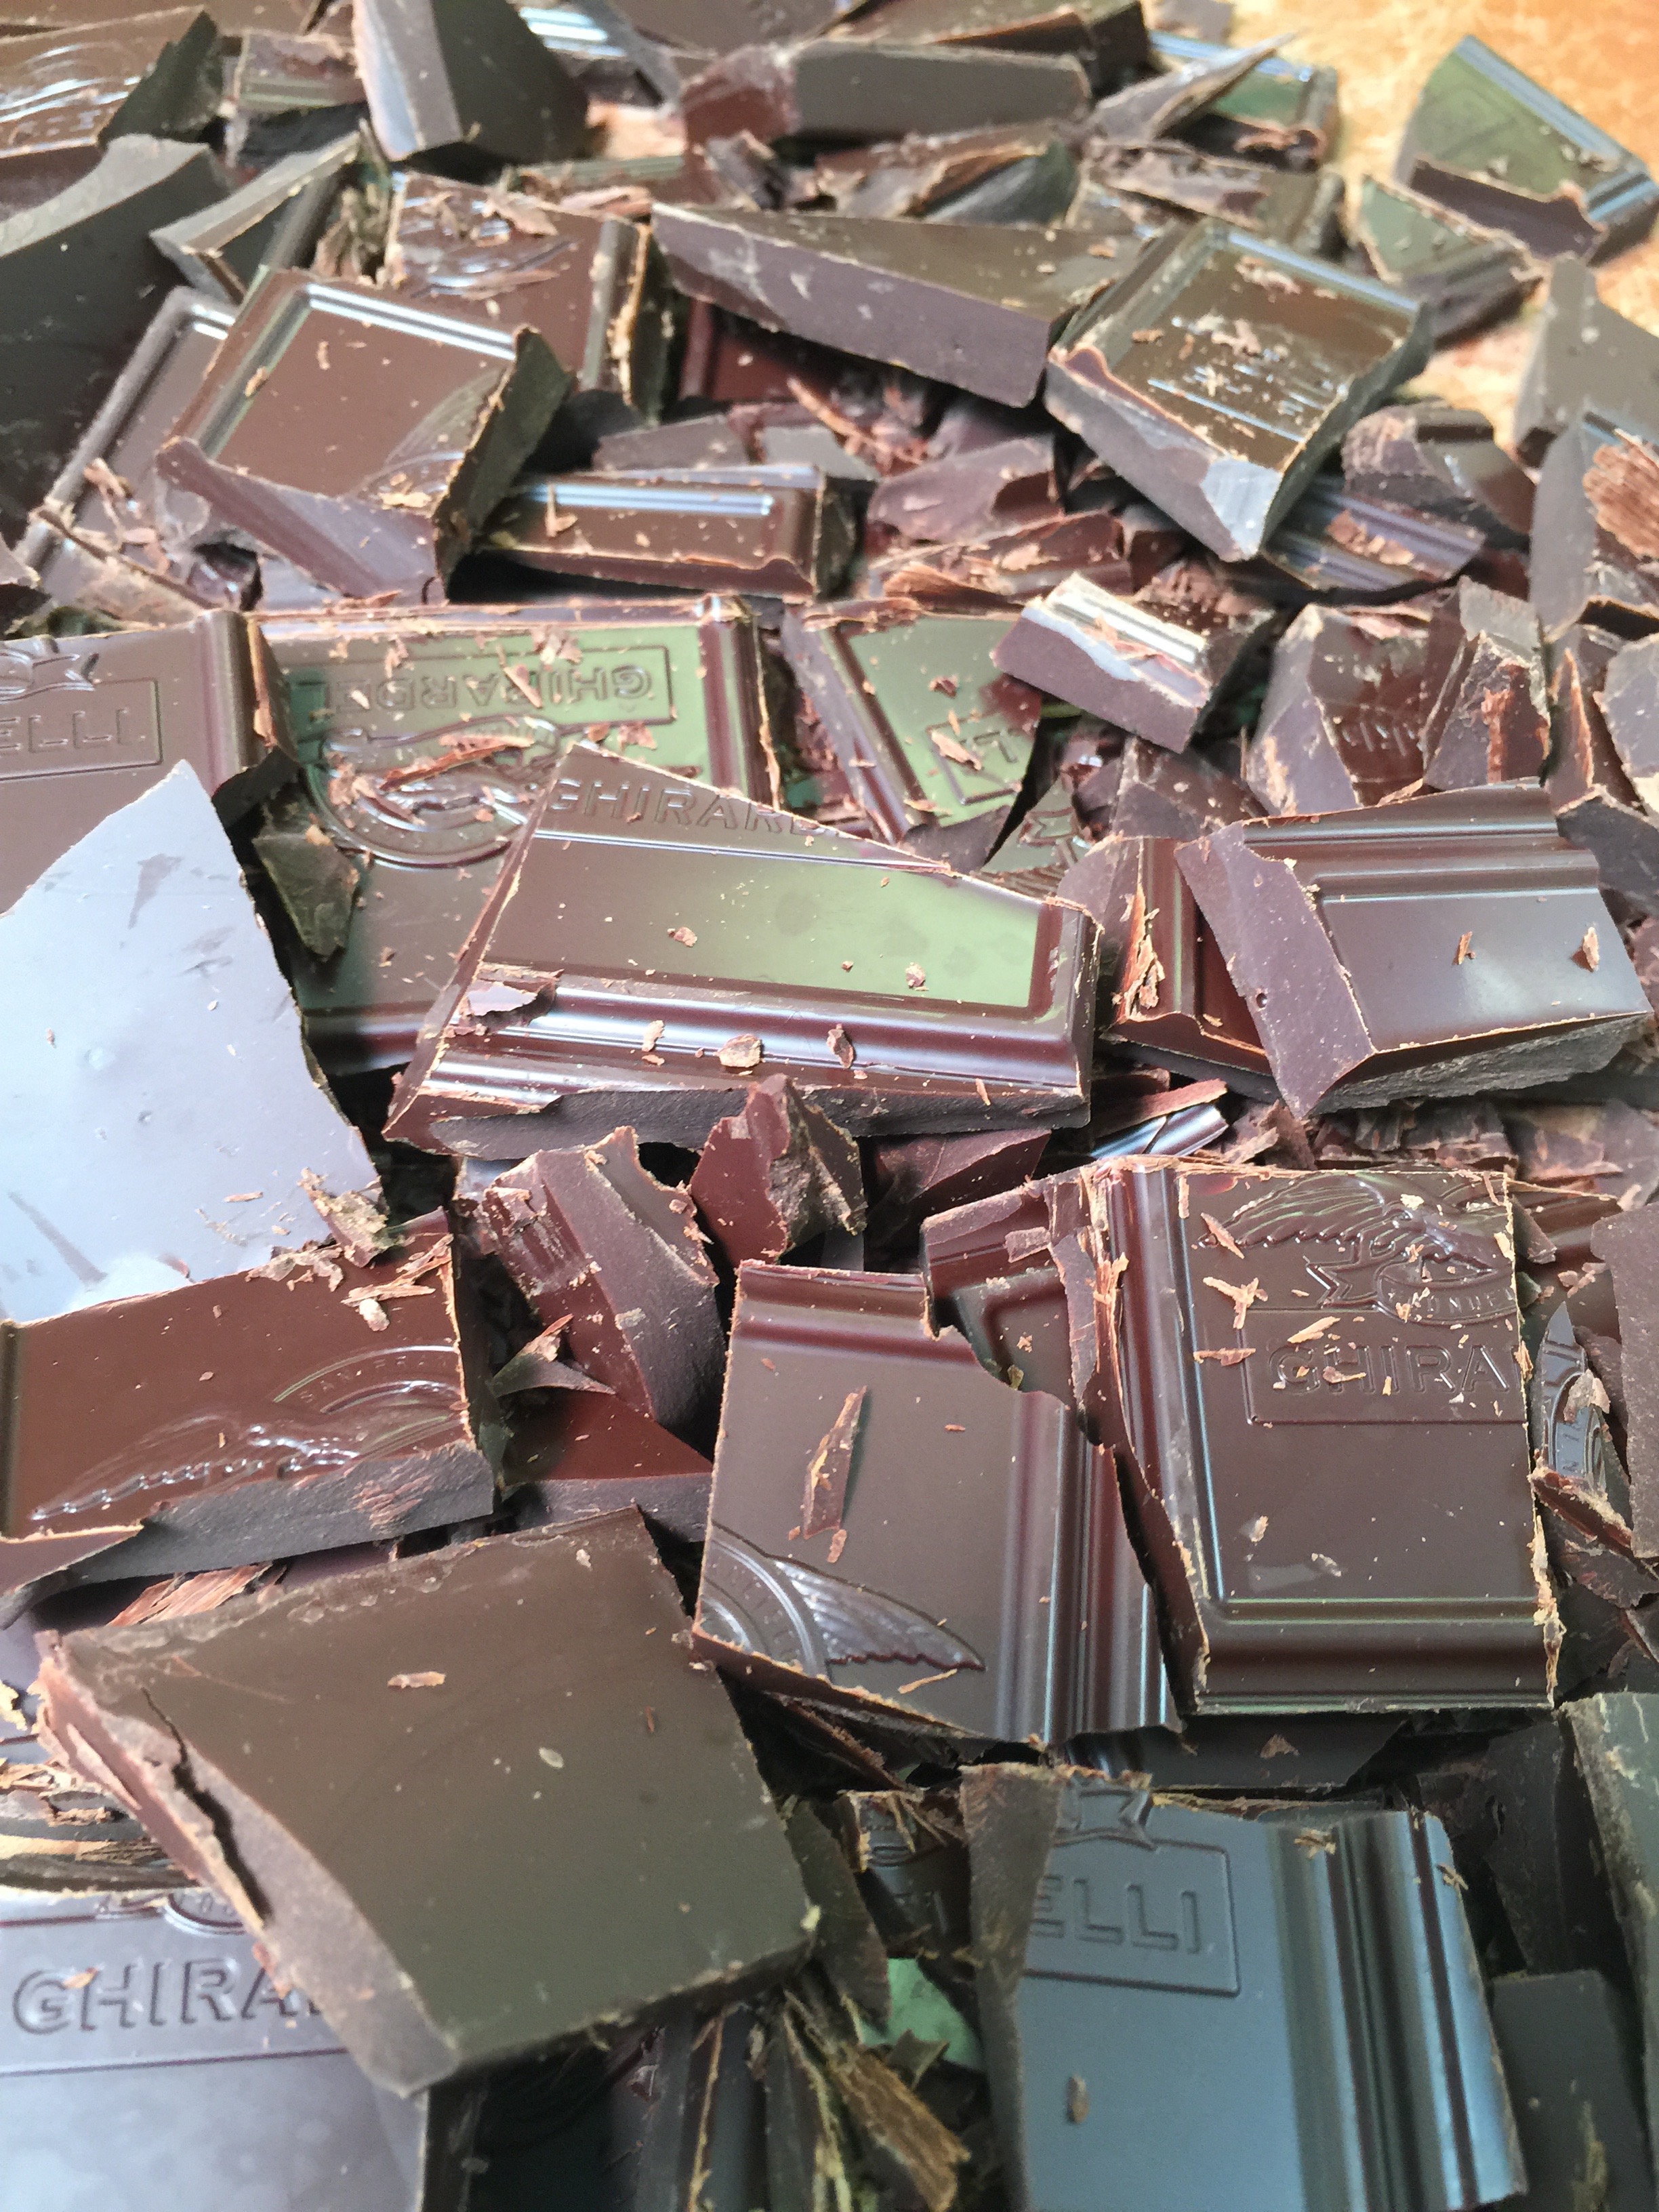
Add the chocolate that you have chopped to the pan.
It will look like the above until it begins to melt, and then it will look beautiful. Once melted, remove from the heat and add the Swerve and Vanilla or other extracts.
Whisk all your ingredients together and then pour in your crust of choice.
Place your pie in the refrigerator for at least 2 hours. You can do it overnight which is great when preparing for a party or event.
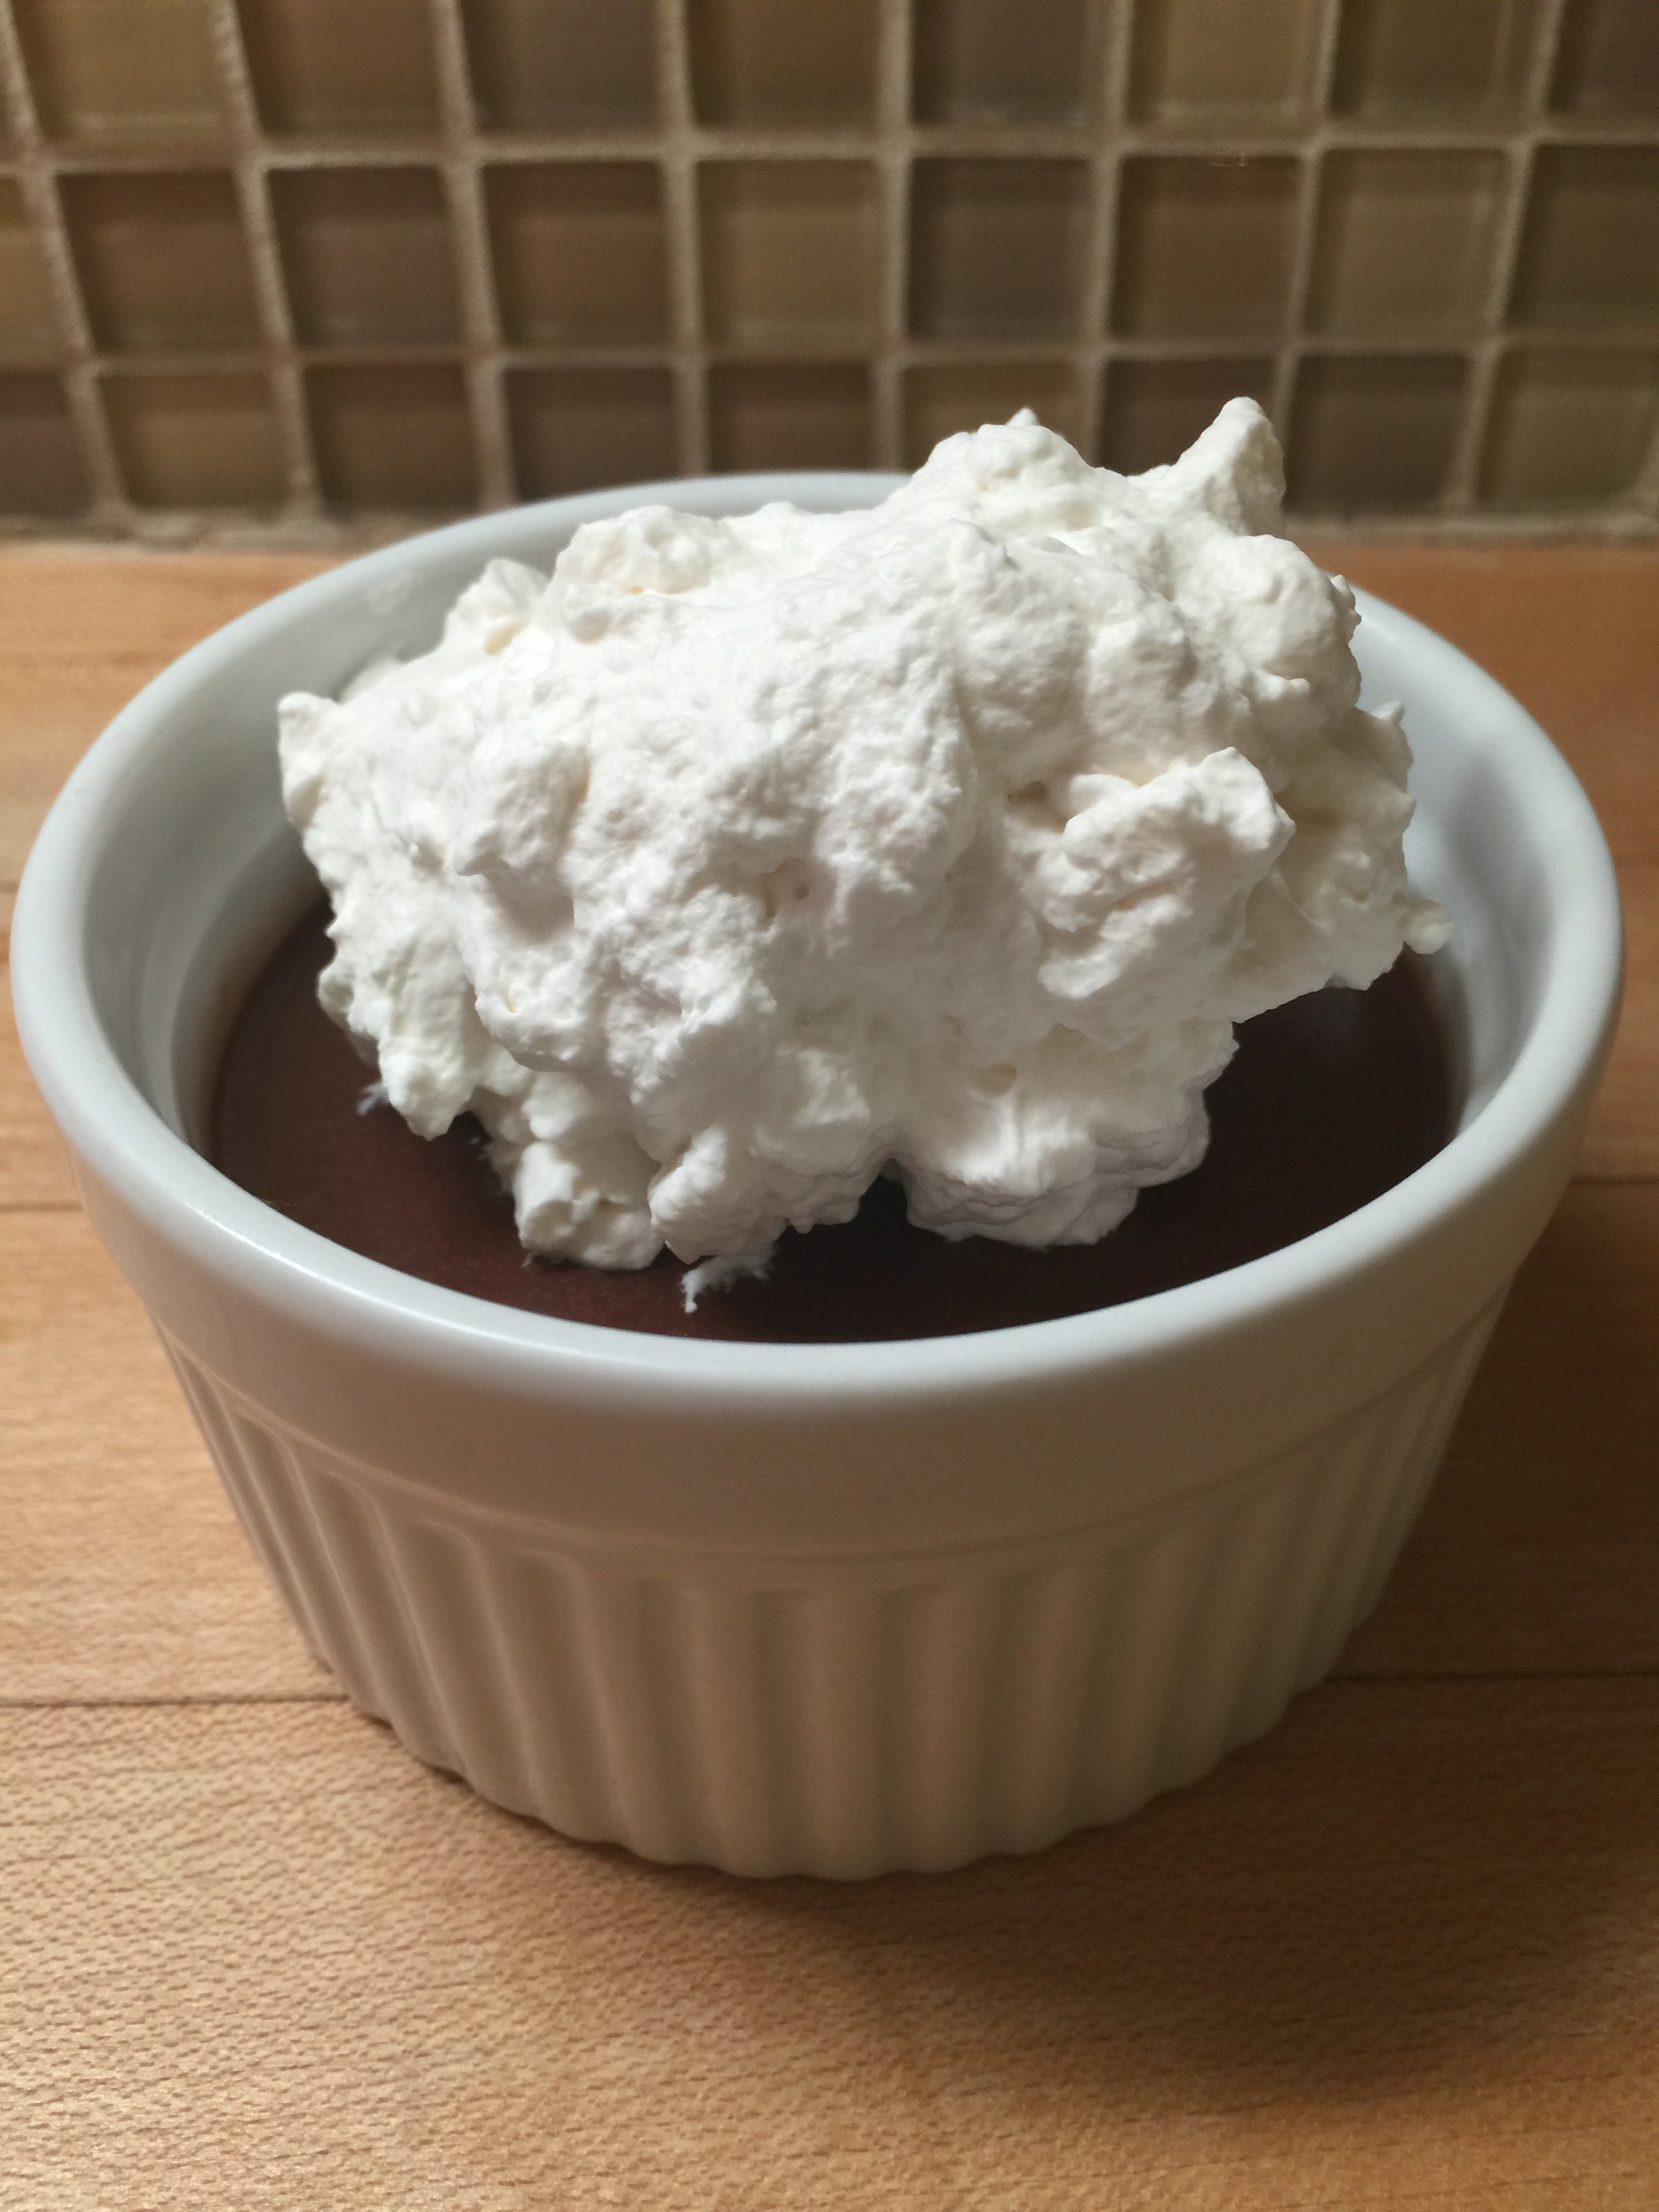
This is your finished product! To add even more to the richness, add a dollop of whipped cream to the top and you are really set! Cut with a sharp knife and enjoy.
Happy Fourth of July!!! Wave that Red, White, and Blue! Show off your stars and stripes! Enjoy your day, and celebrate with friends and family! We love our Independence Day in the Lutz and Stavros households!
We have been over several recipe ideas to keep your day healthy and low carb! Here are a few ideas from the past and the ones we have posted the last few weeks to help you compile your menu into one concise spot…right here! All of these recipes can be found on this webpage on our blog:
Main Courses:
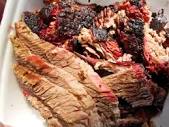
Brisket (You can even pick up or buy a precooked one to bake to make it easy!)
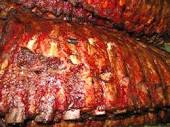
Ribs – Yum!!!
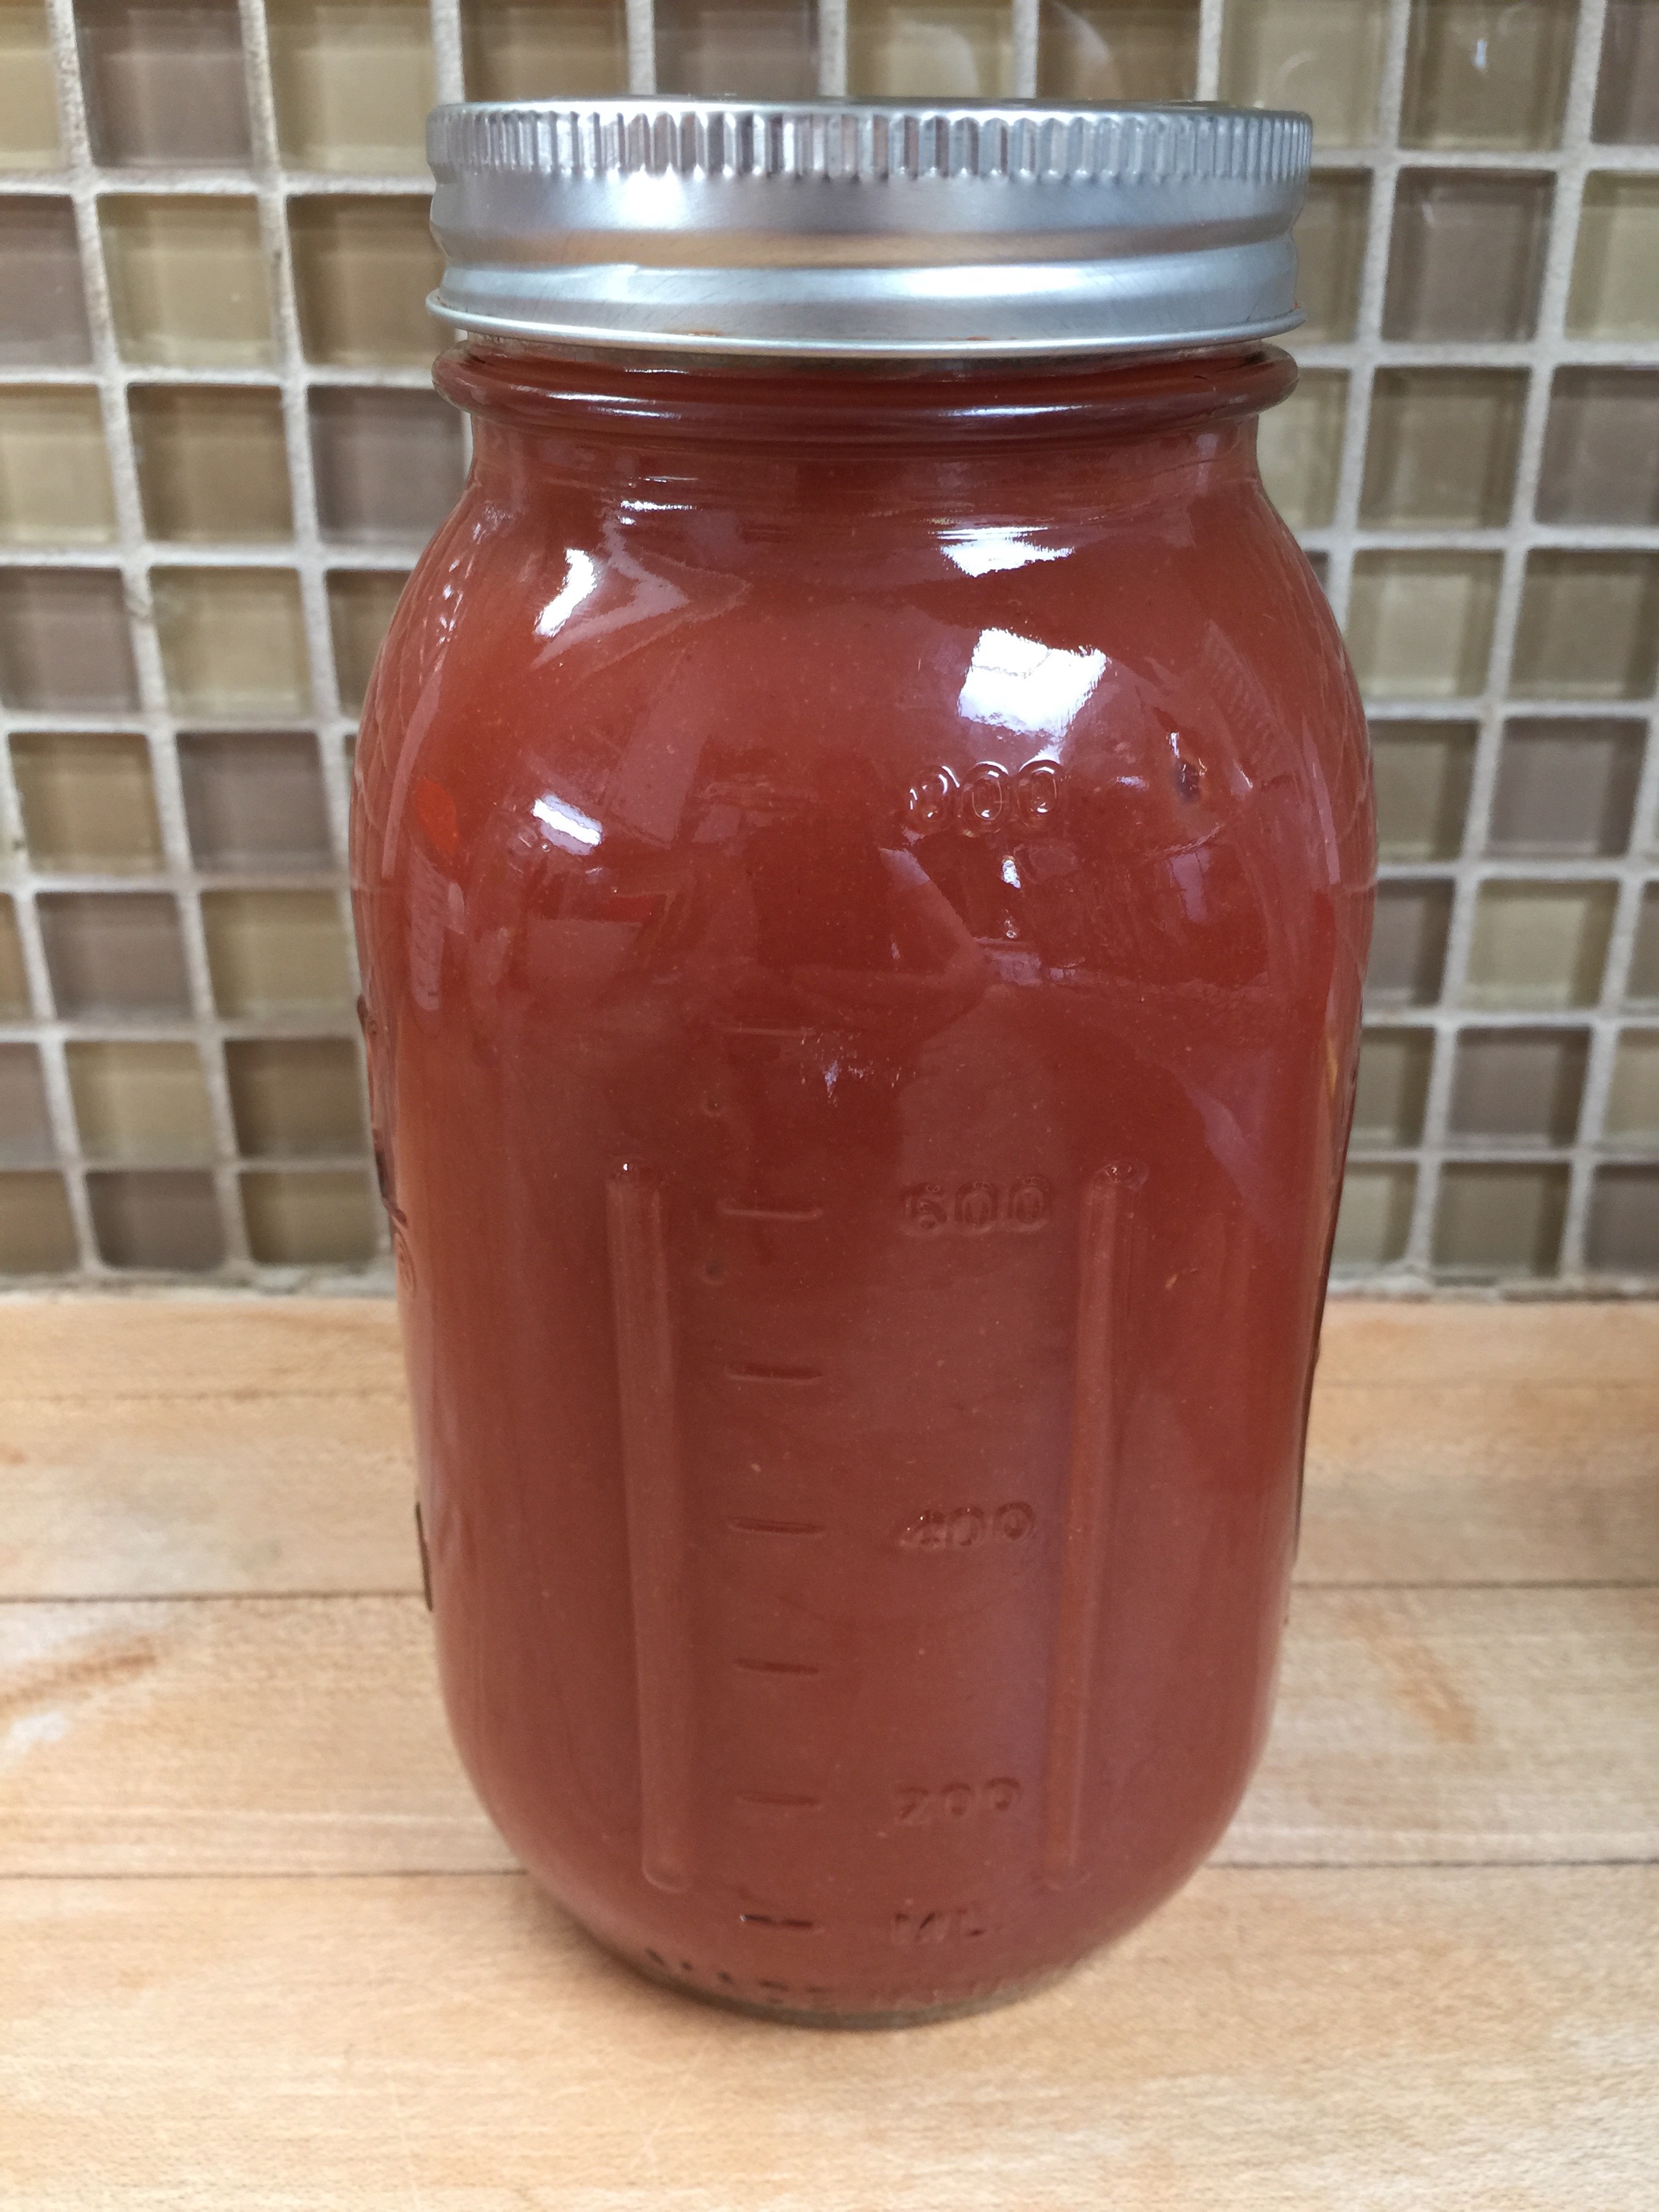
With our sugar-free sauce…
Bunless Burgers (We love our ABC burger – Avocado, Bacon, and Cheddar)
Bunless Hot Dogs or Sausage Links
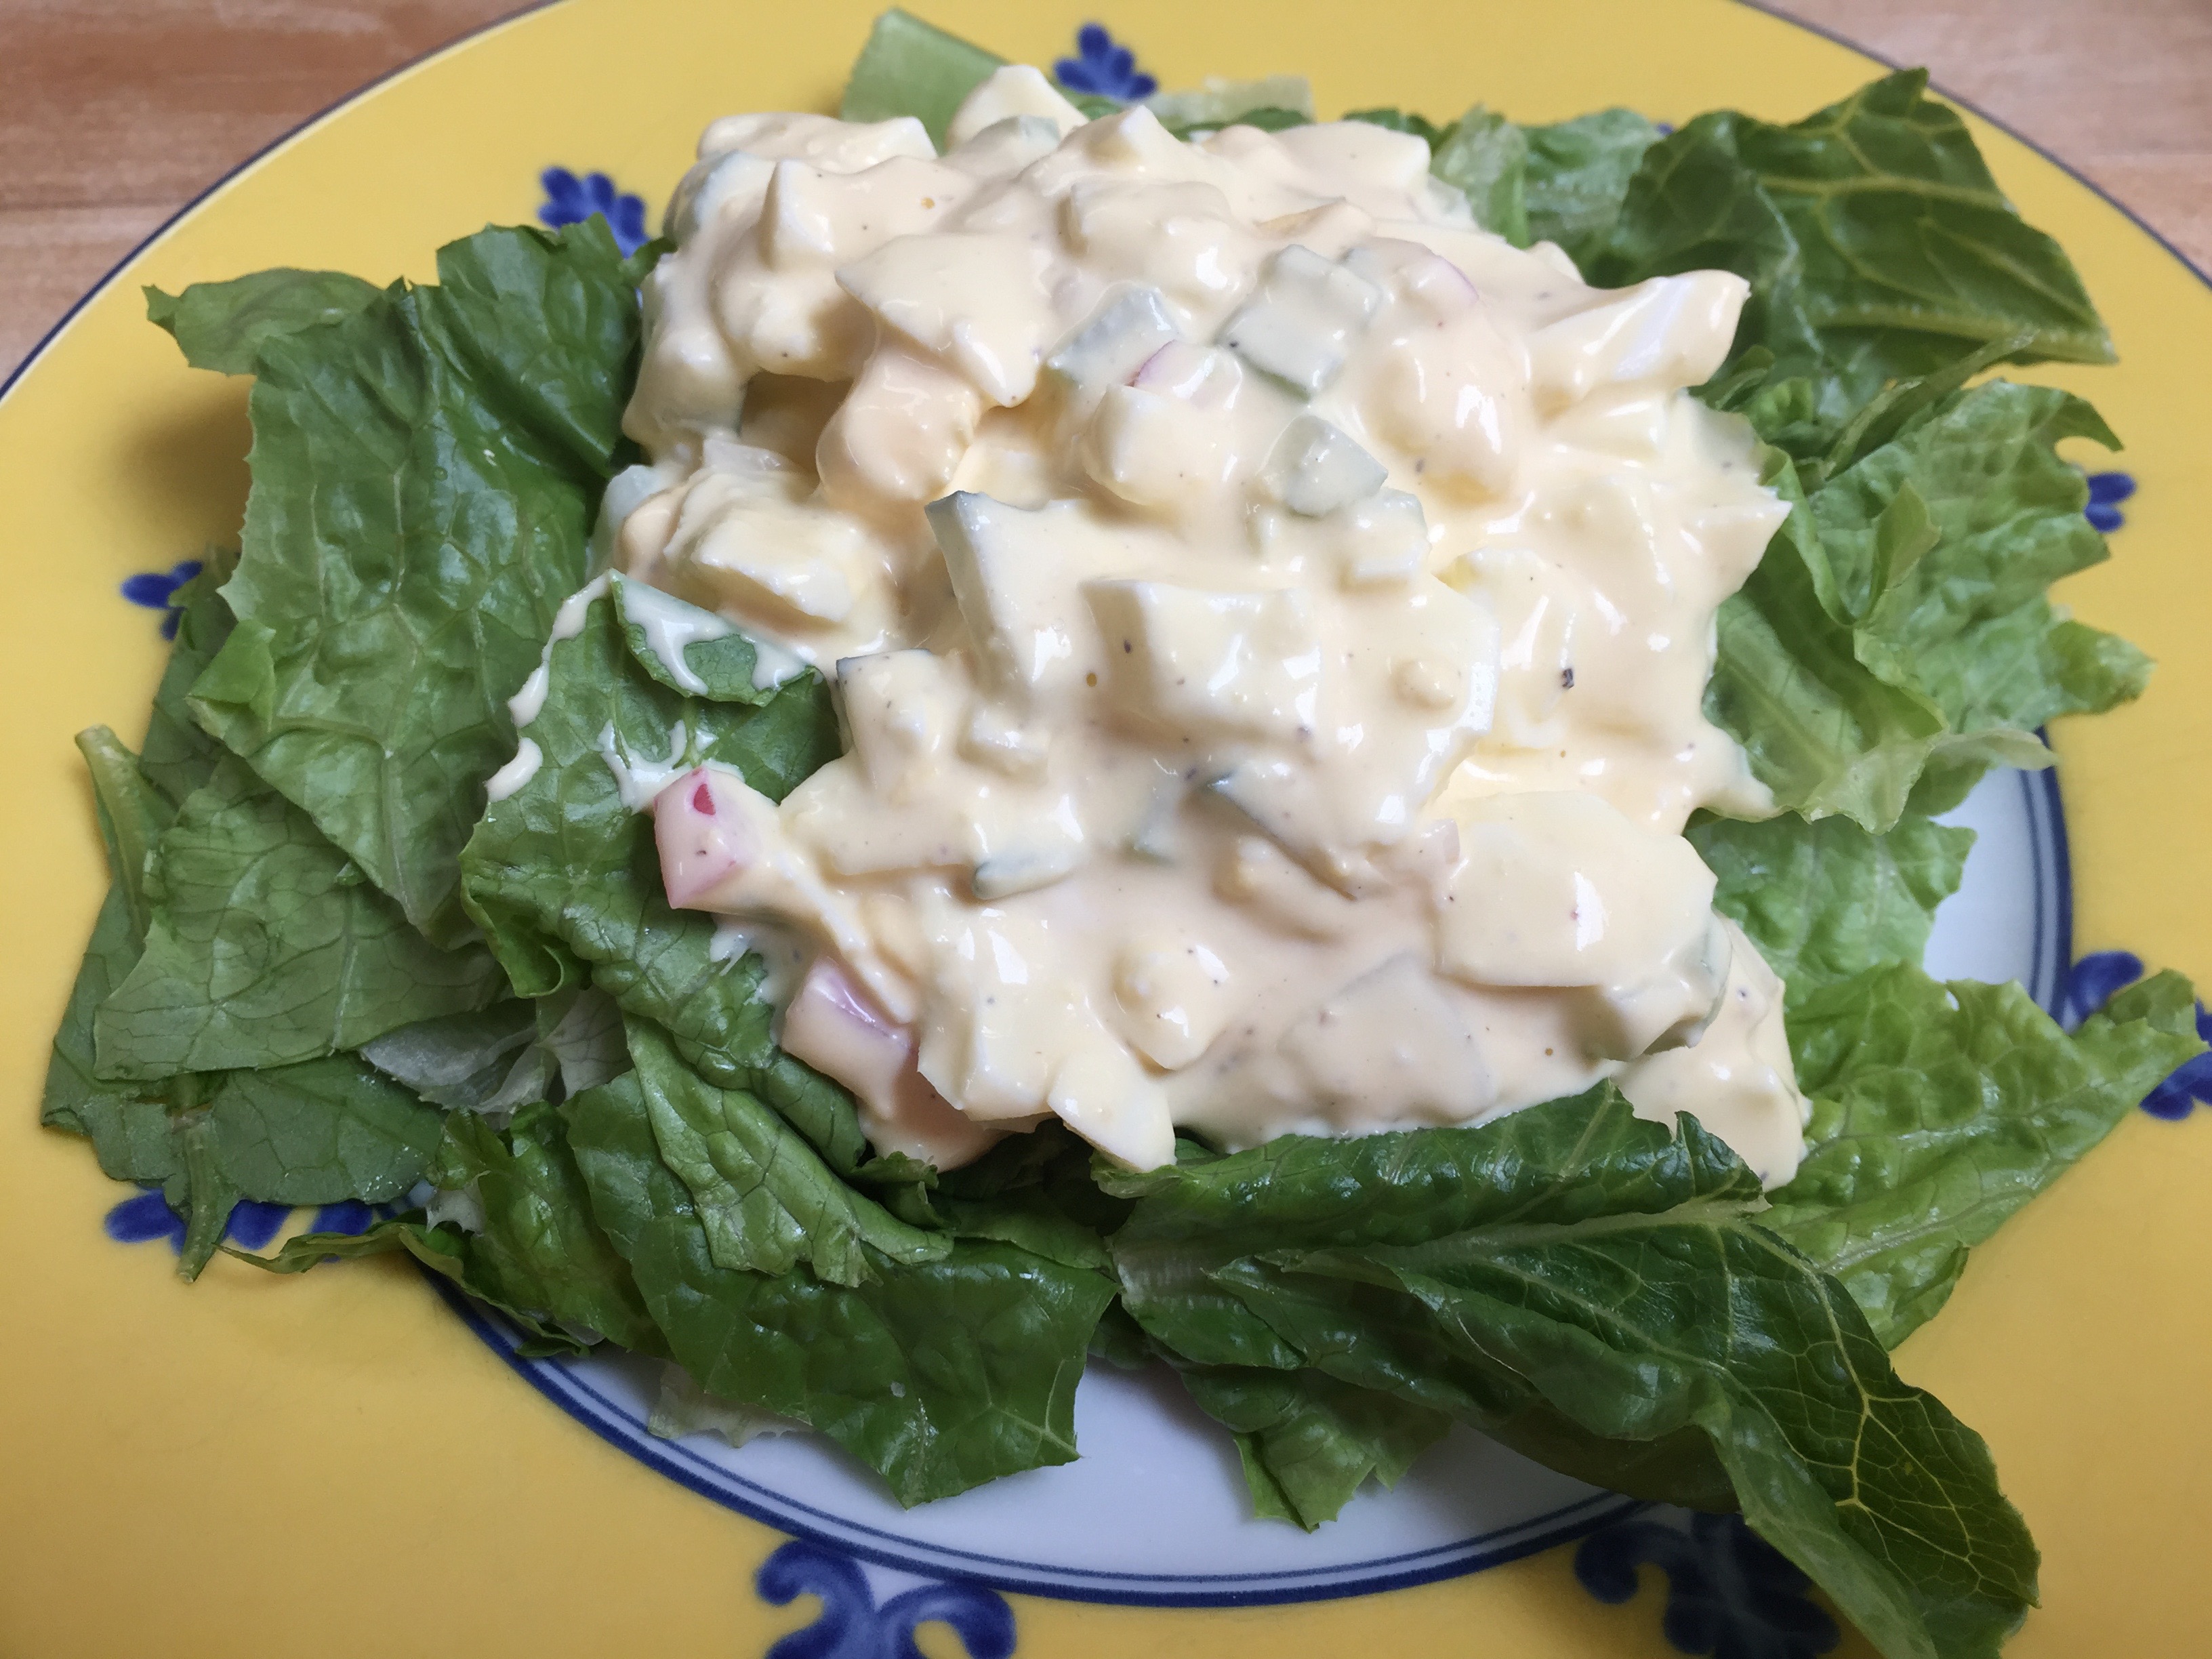
Egg Salad
Sides:
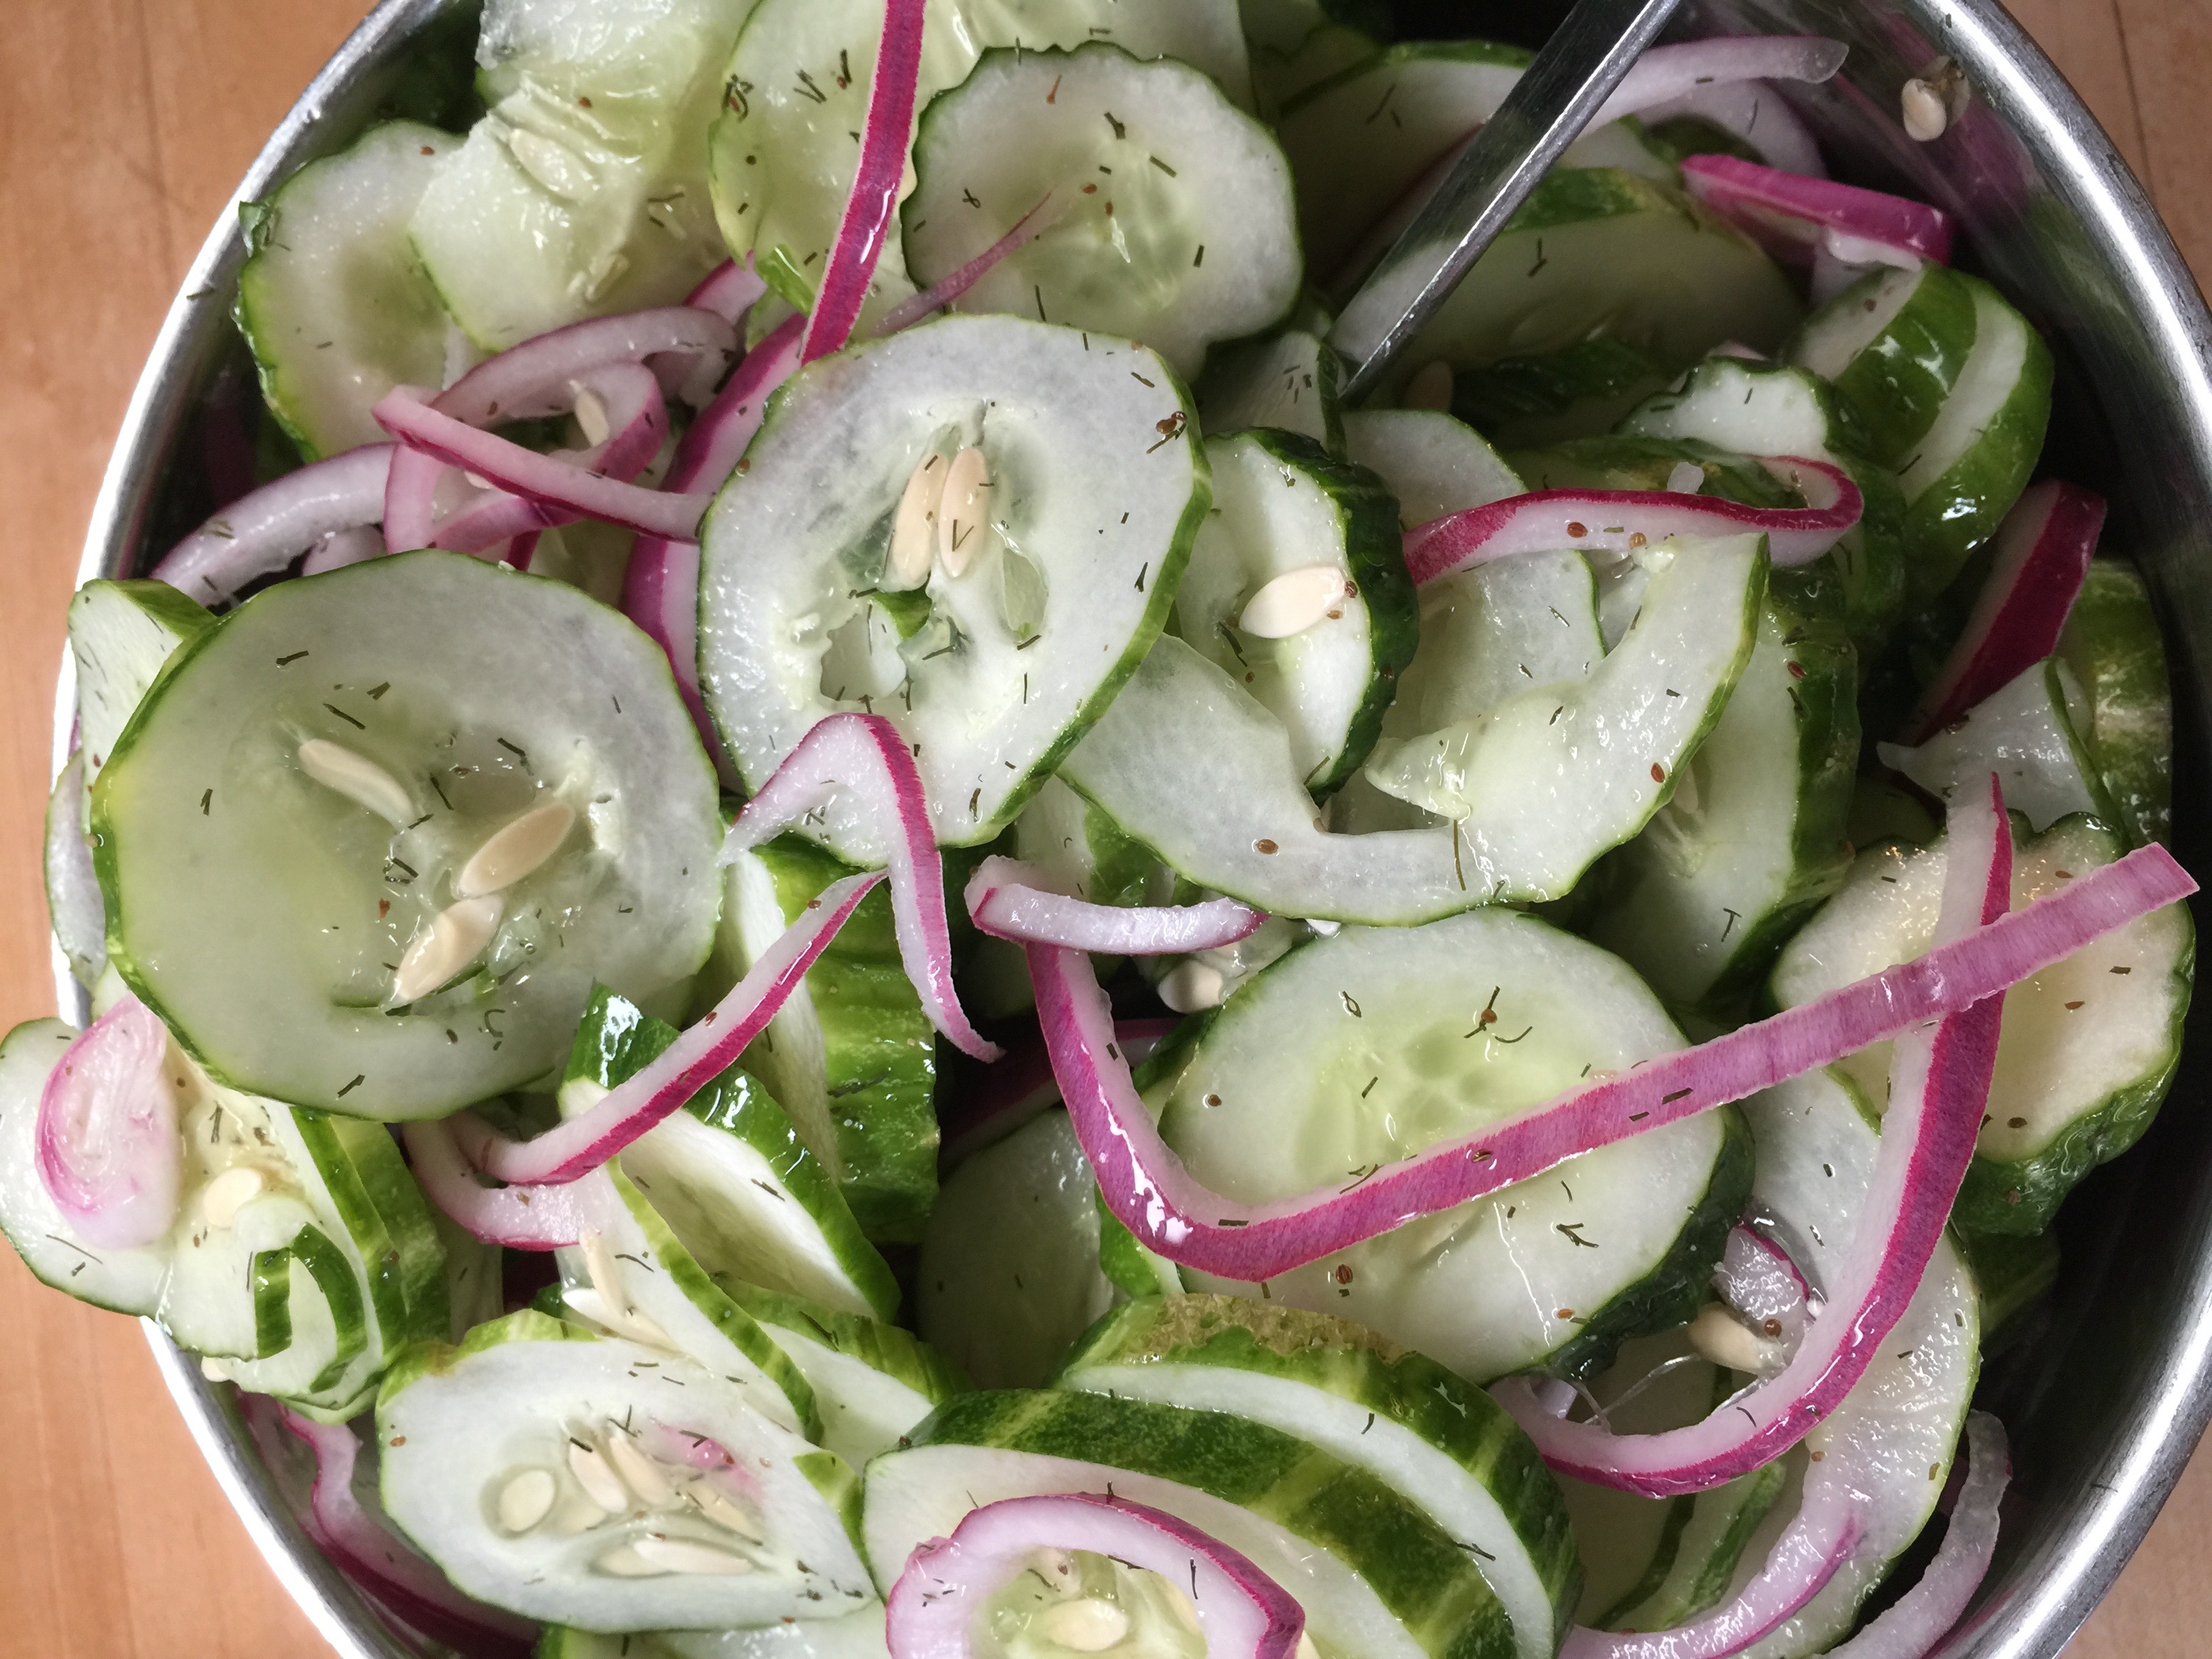
Refreshing Cukes
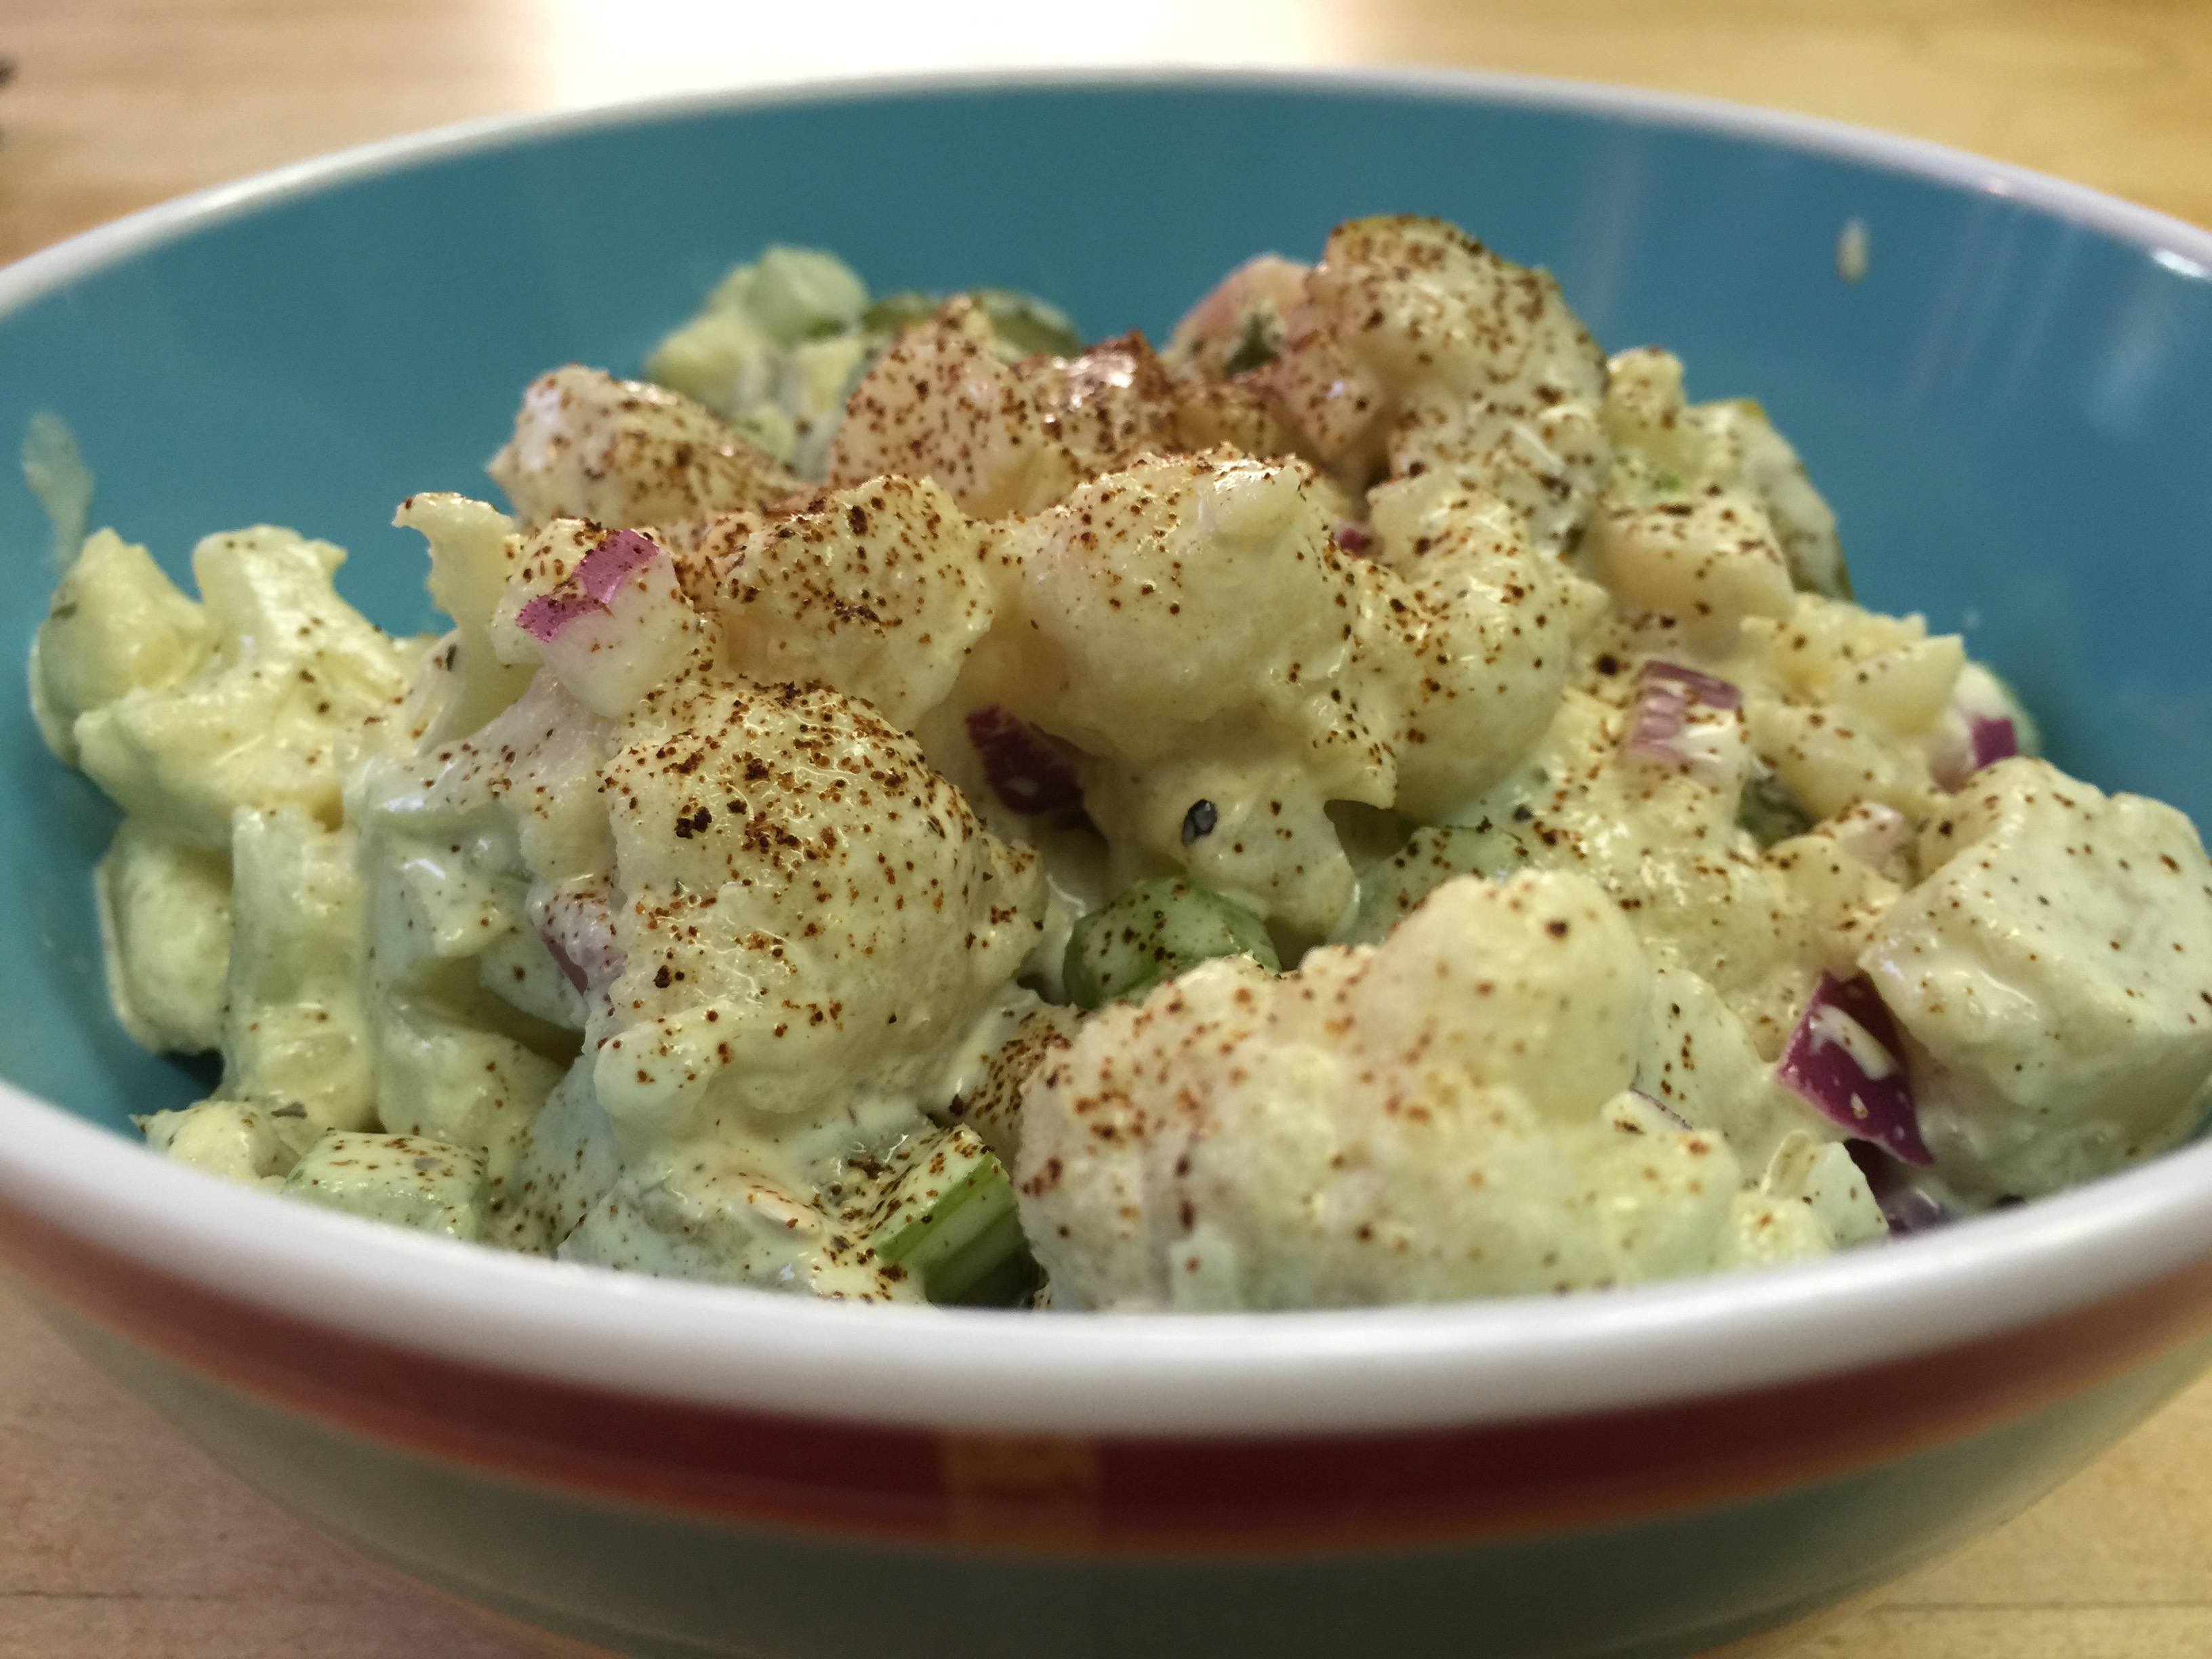
“Potato” Salad”
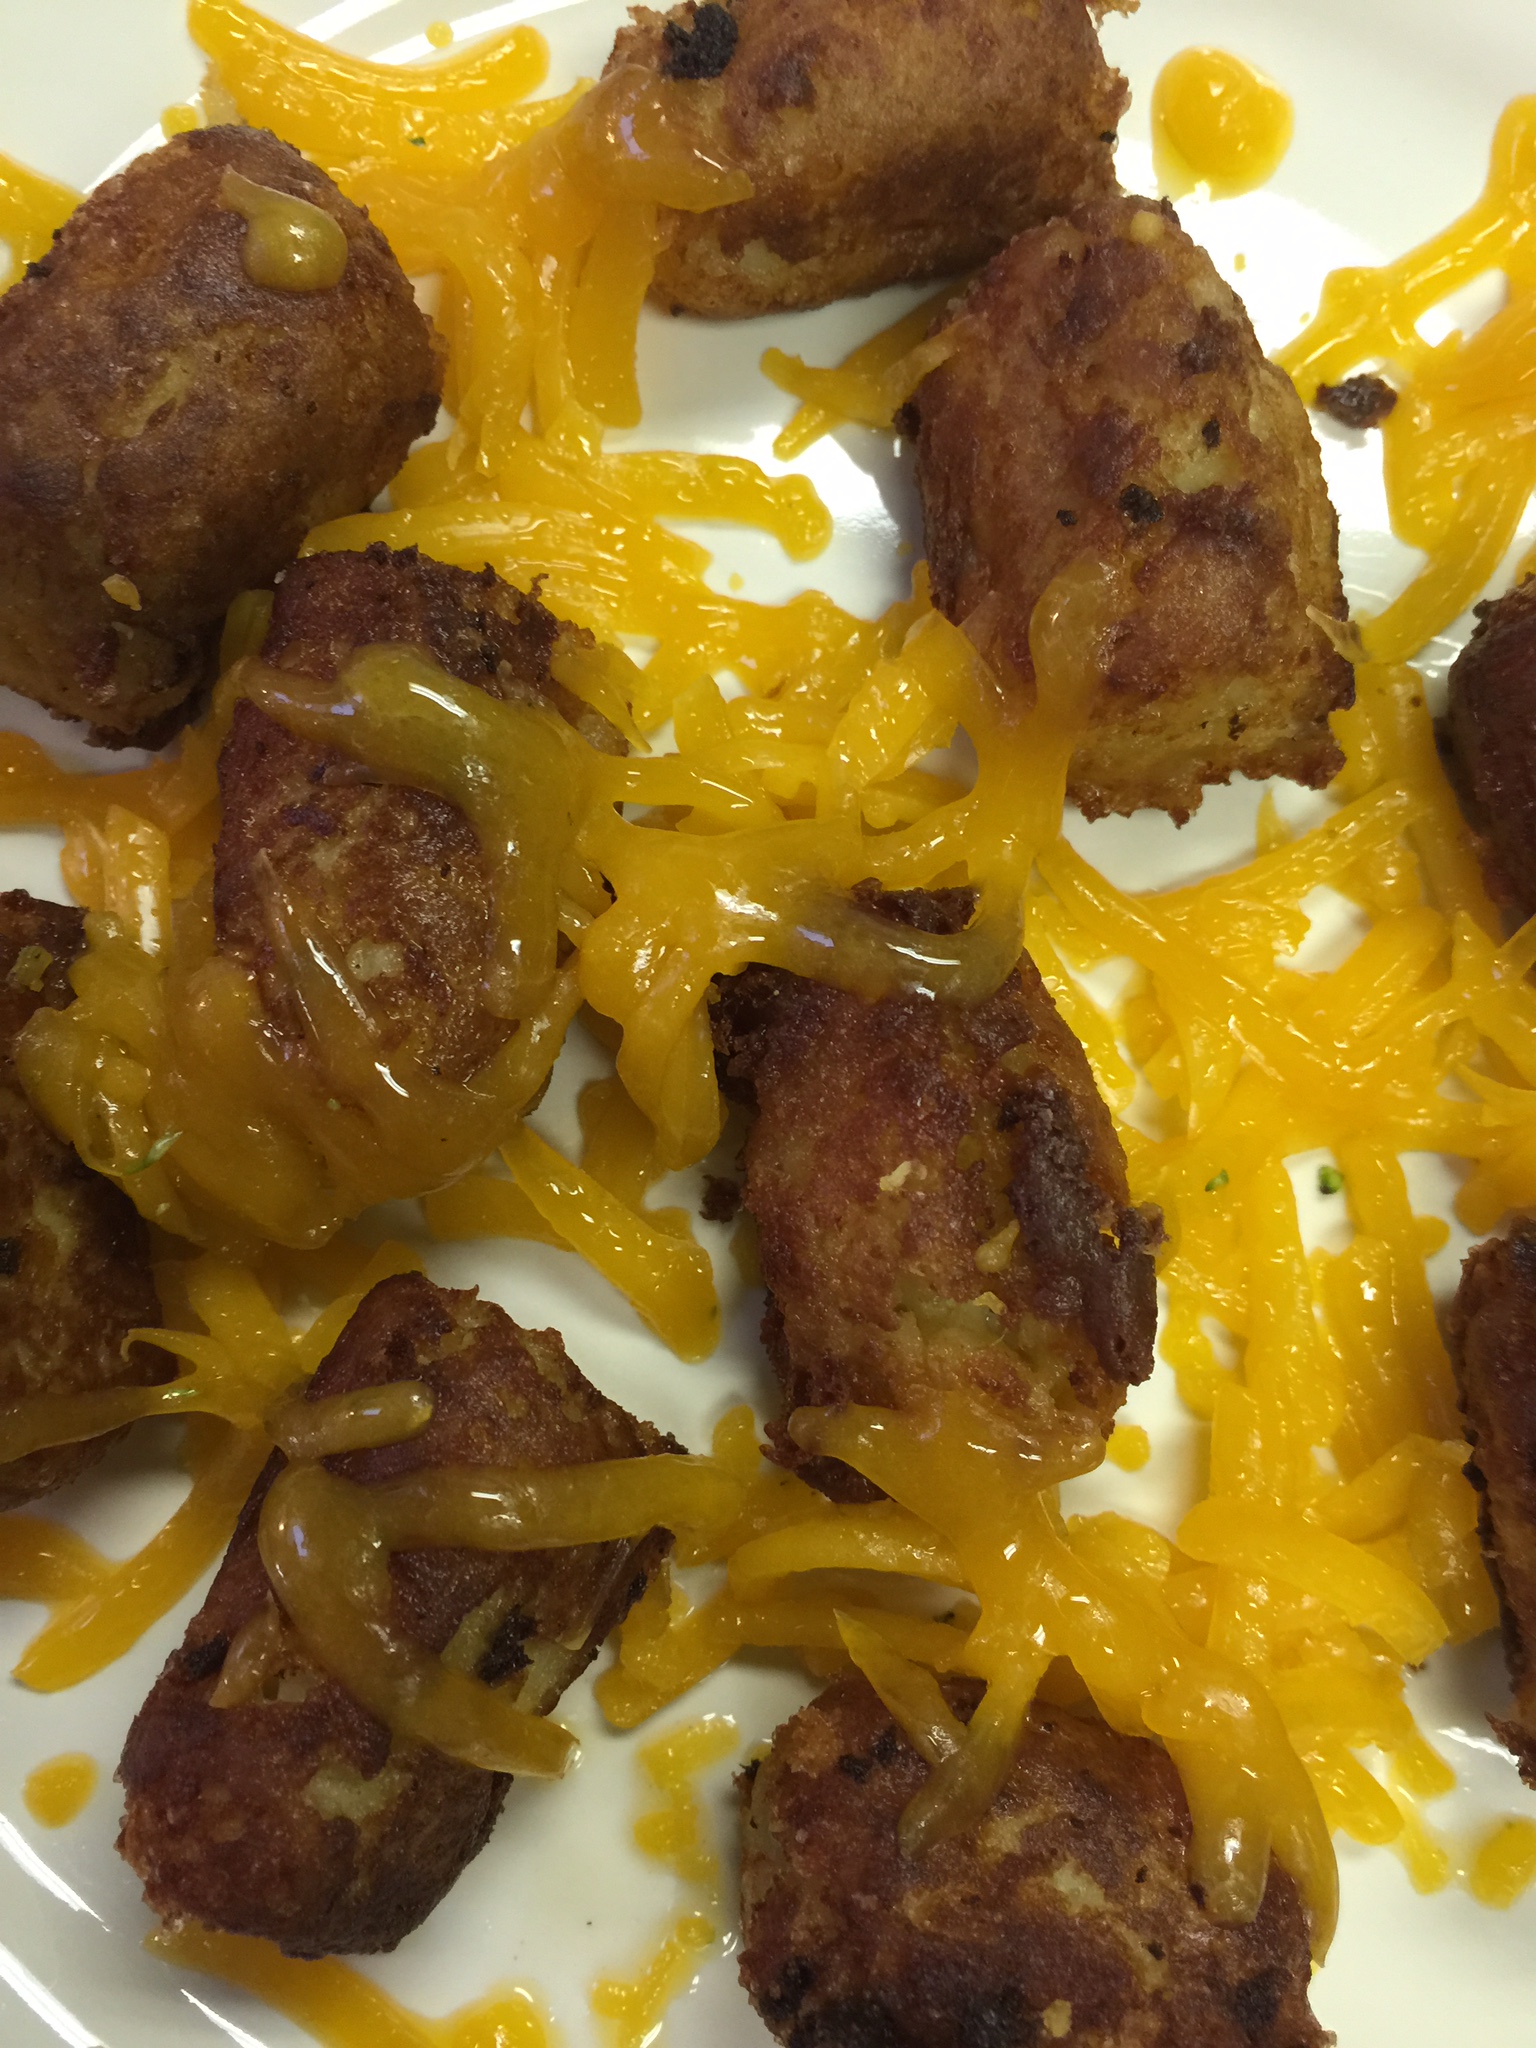
Cheesy Tater Tots
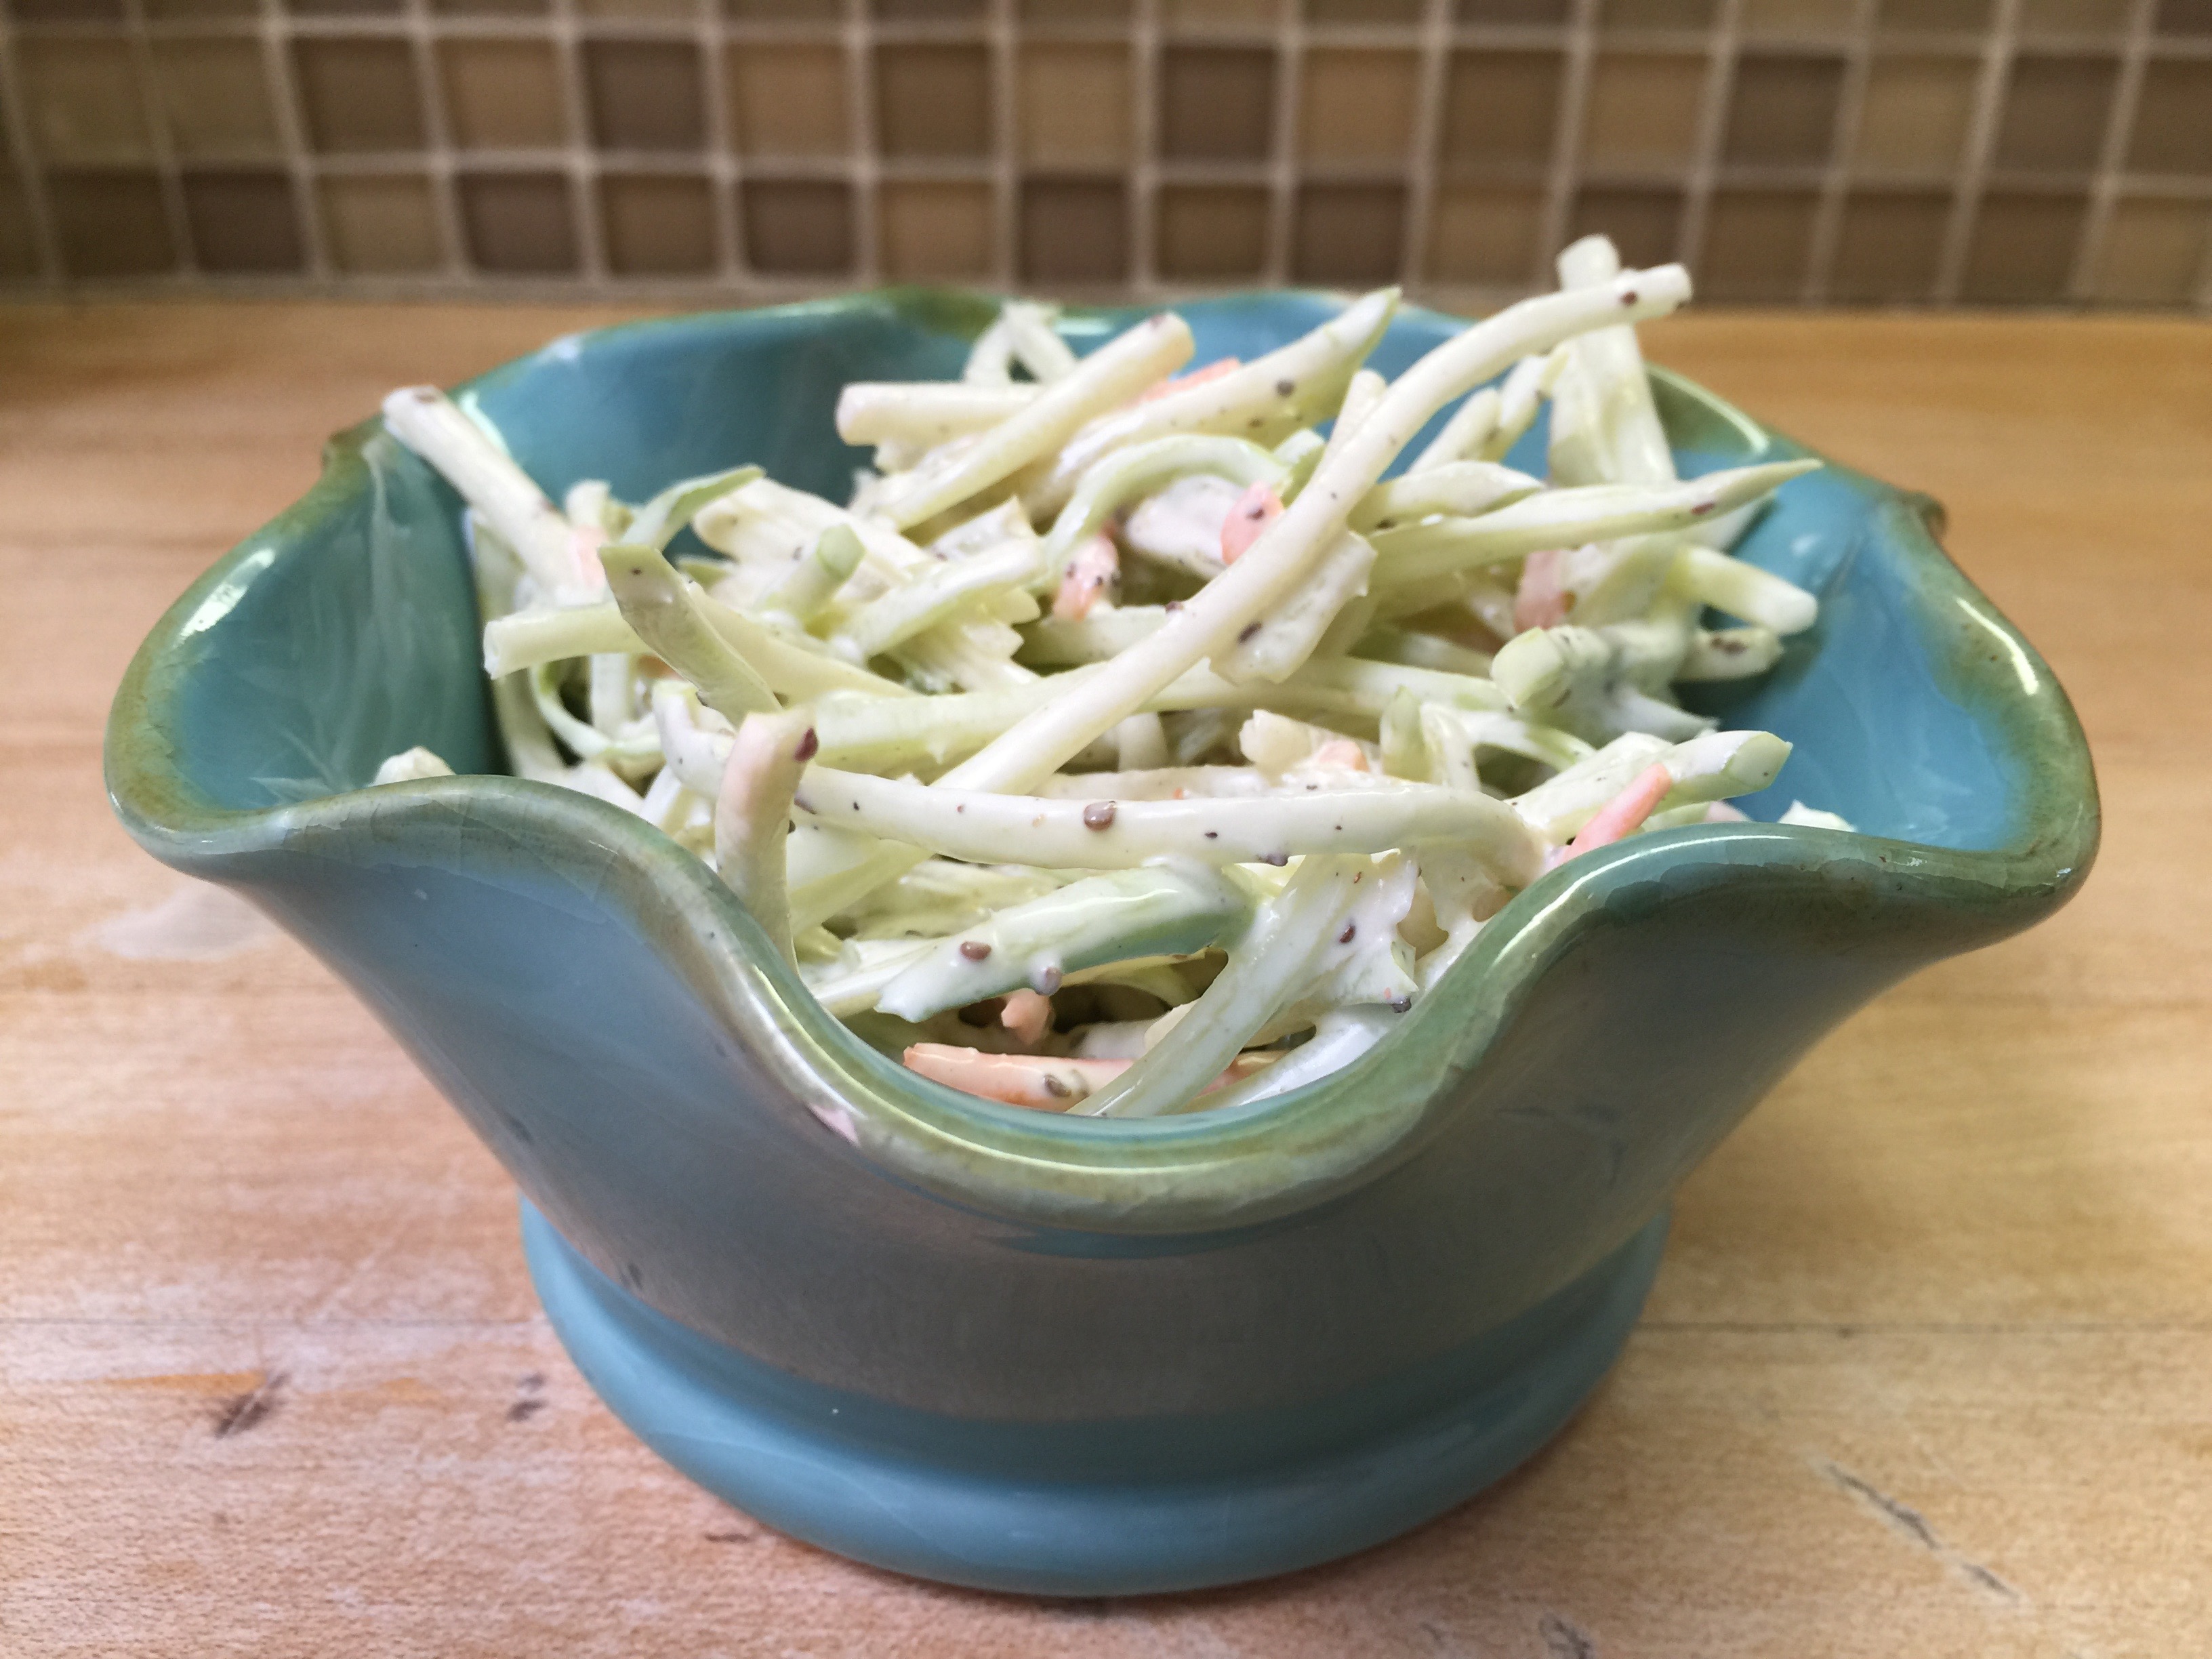
Broccoli Slaw
Broccoli Salad
Appetizers and Snack Ideas:
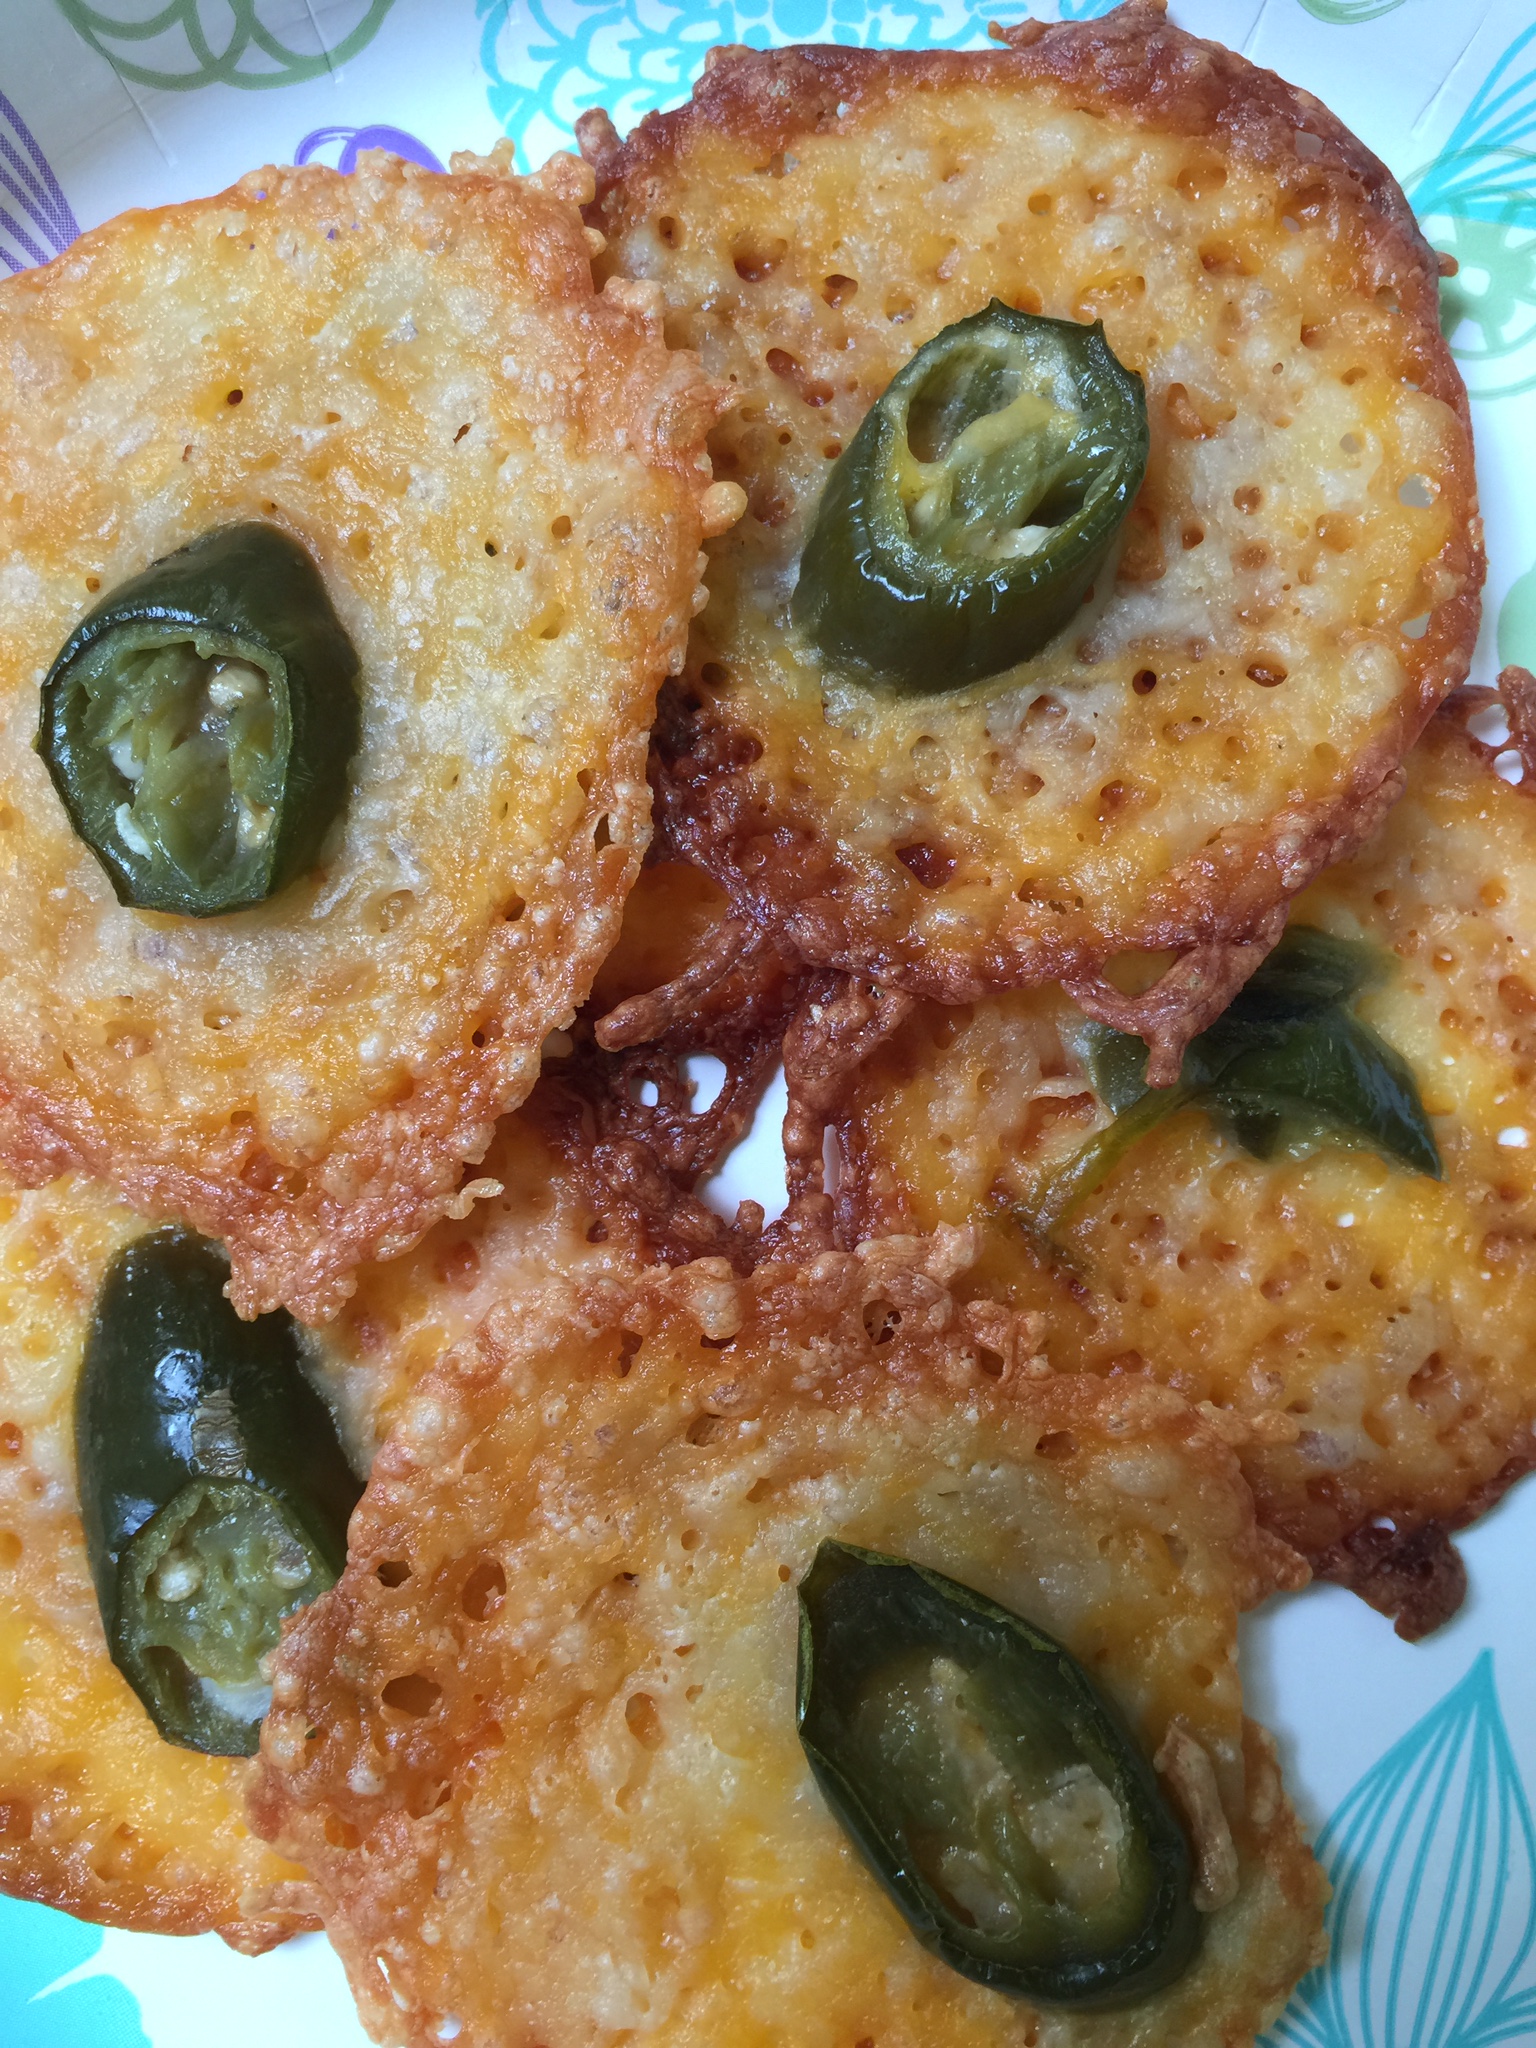
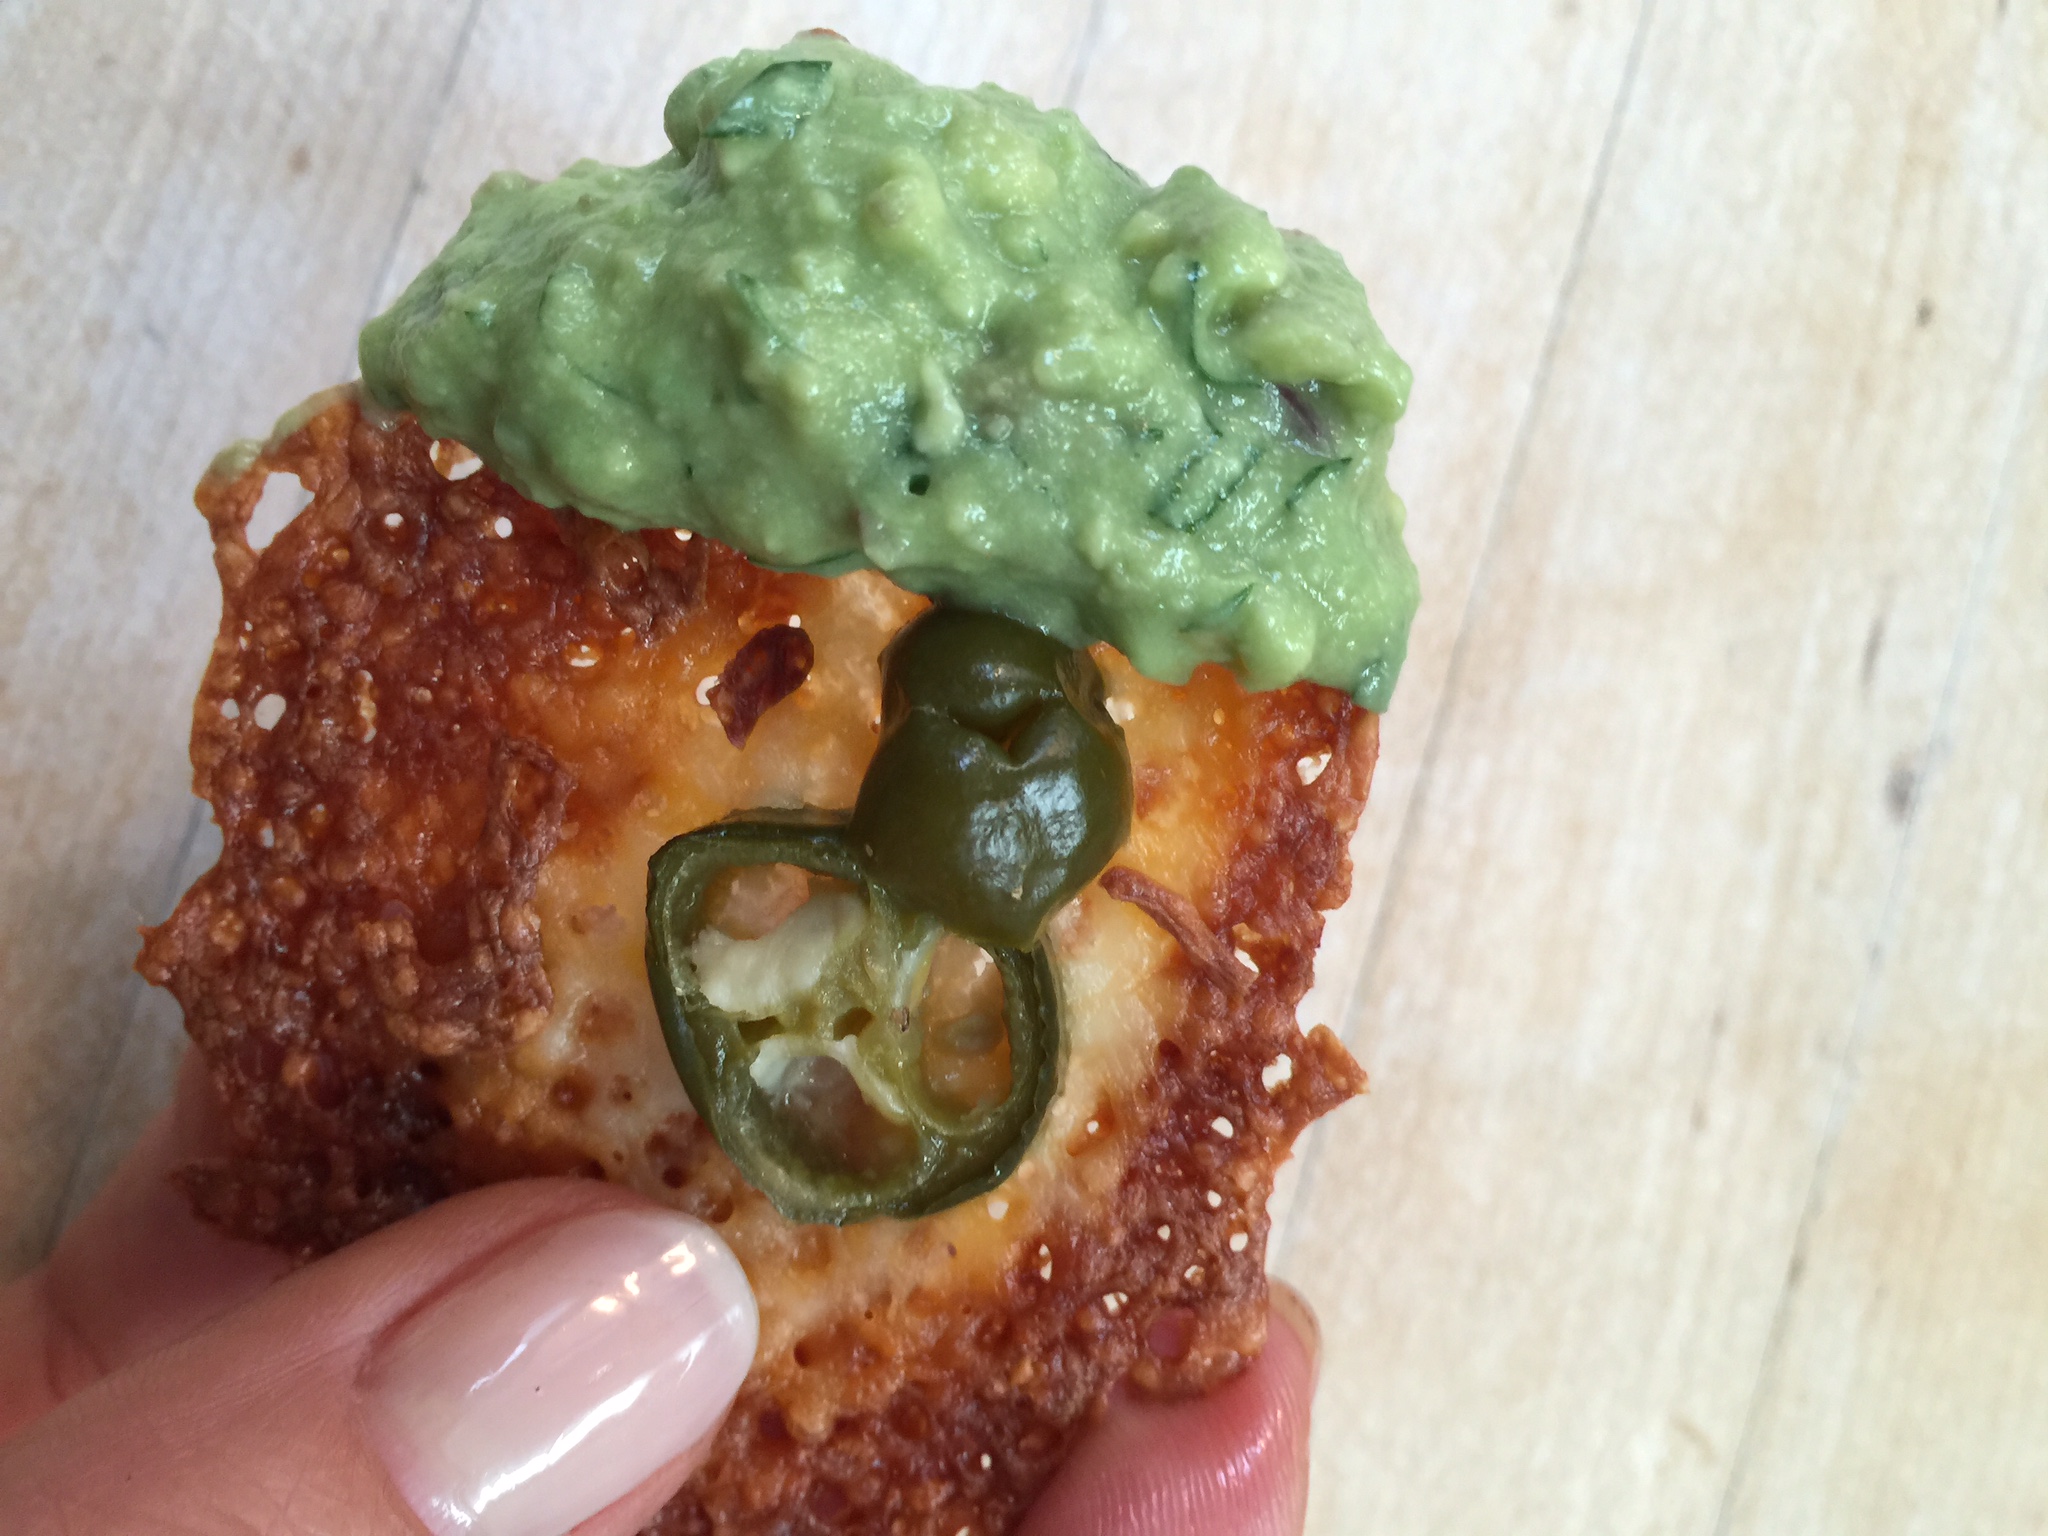
Stuffed Mushrooms
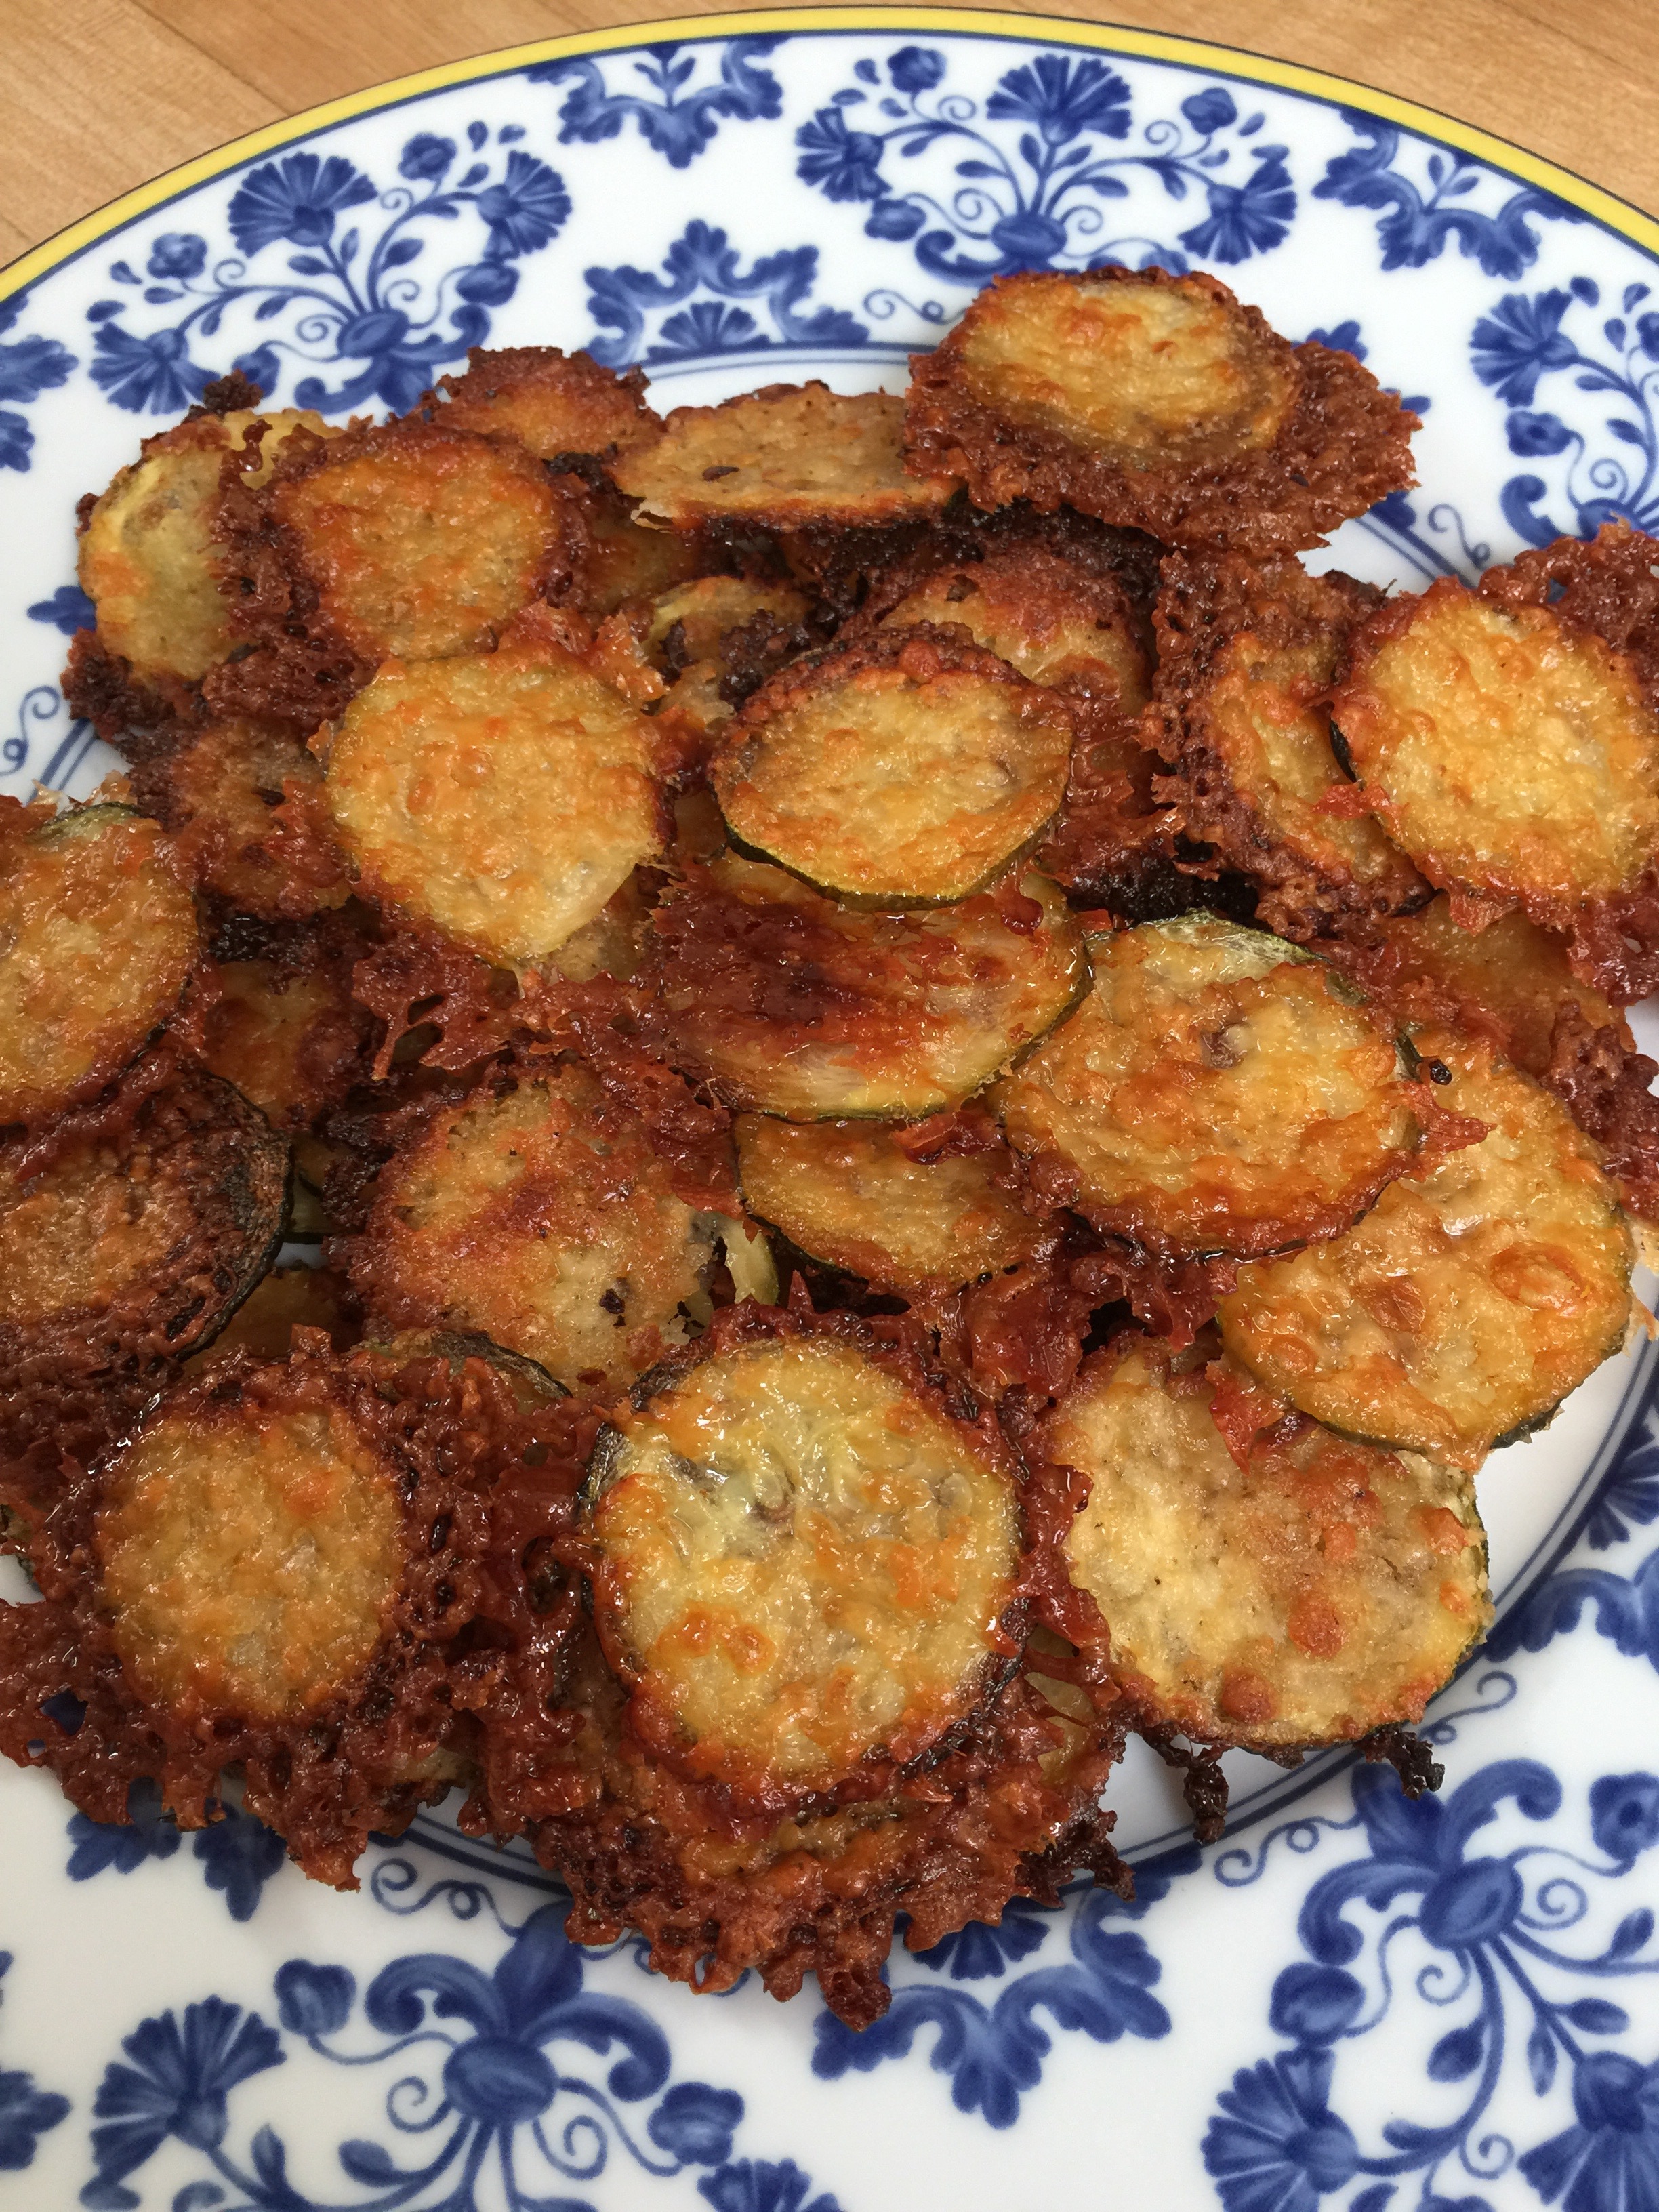
Cheese Crisps
Zucchini Chips
Guacamole
Deviled Eggs:
Dessert:
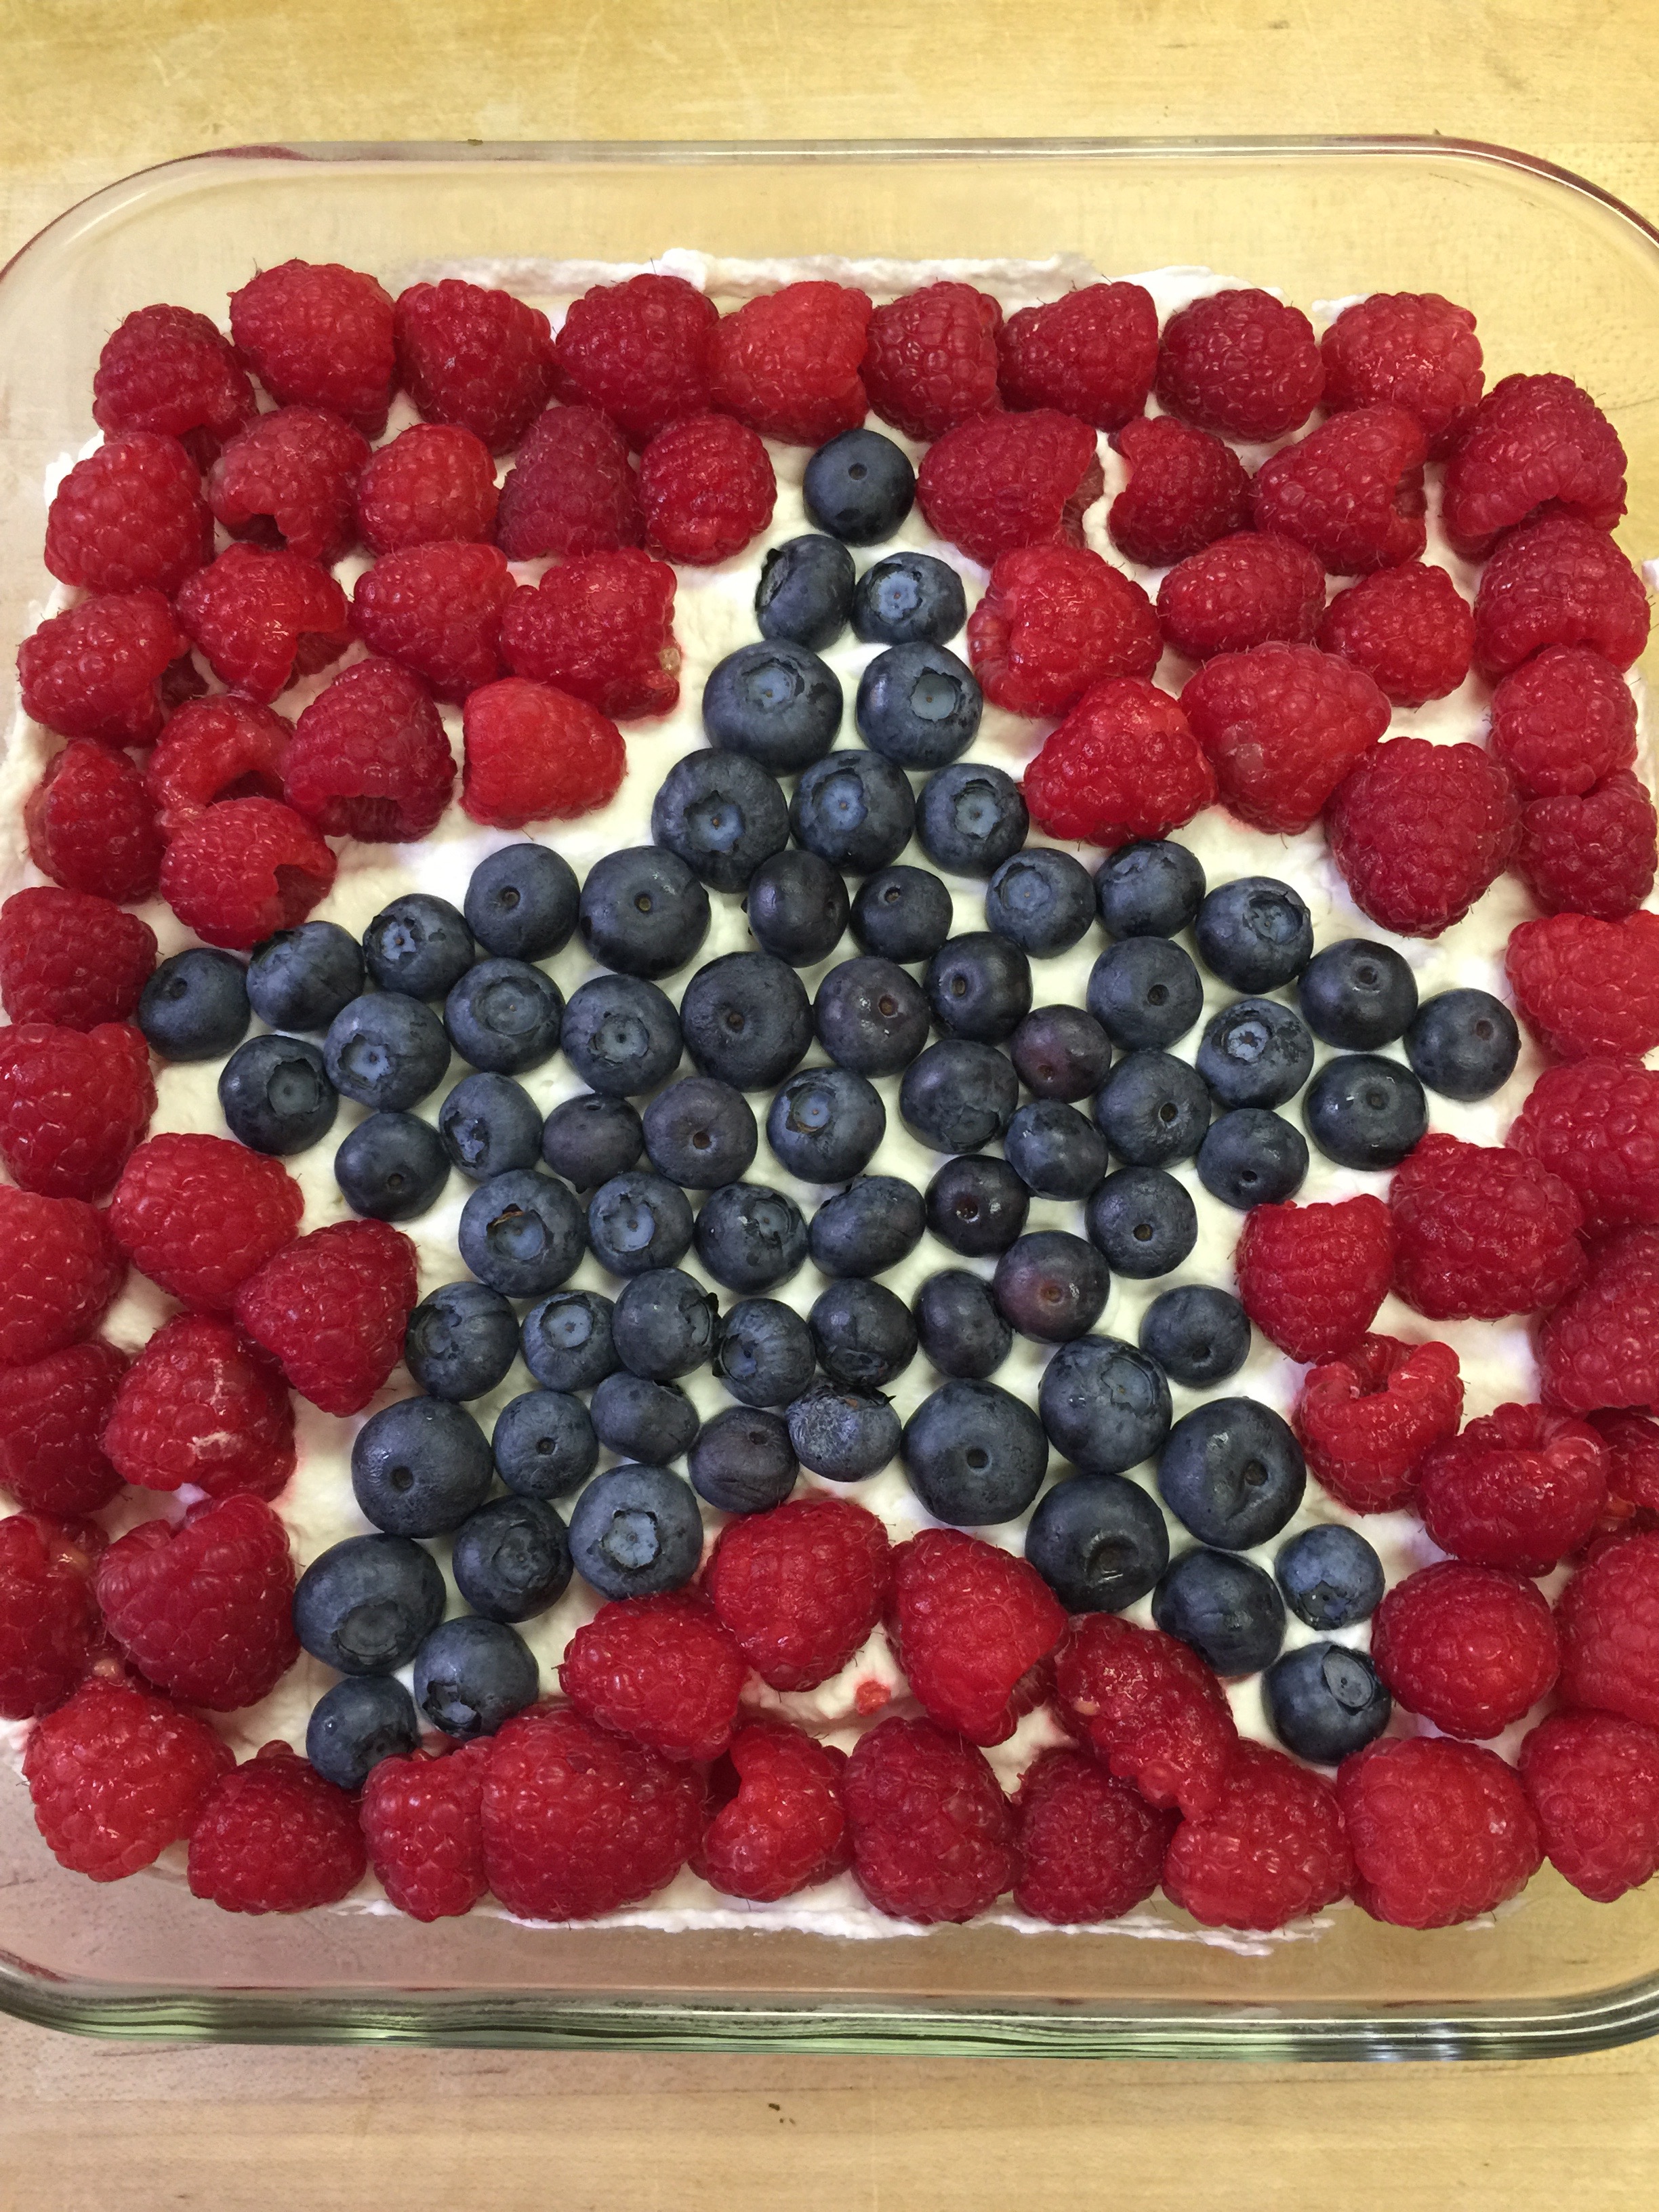
Stars and Stripes Cheesecake with Berries:
Or, if you are a chocolate person, our chocolate pudding.
Drinks:
Refreshing Low-Carb Margarita on the Rocks
Enjoy a wonderful celebratory day filled with healthy food, healthy sun, friends and family.
We all need a little treat every once in a while! Even on Keto, you can make treats that will actually help with weight loss and your desire to stay in Ketosis. We all usually need to up our fat intake. Some recipes are easy, and some require effort. Today’s post is super simple, and was my go-to when I first started on the Ketogenic diet and just needed that little “something”. It is loaded with saturated animal fat (this is good), smooth, creamy, and has just the right amount of sweetness to end a busy day. And…it is so filling – you just need a tad, and you won’t have the urge to eat another thing! The kids beg for it after dinner, and I usually oblige, sometimes selfishly, so I can have a bite too.
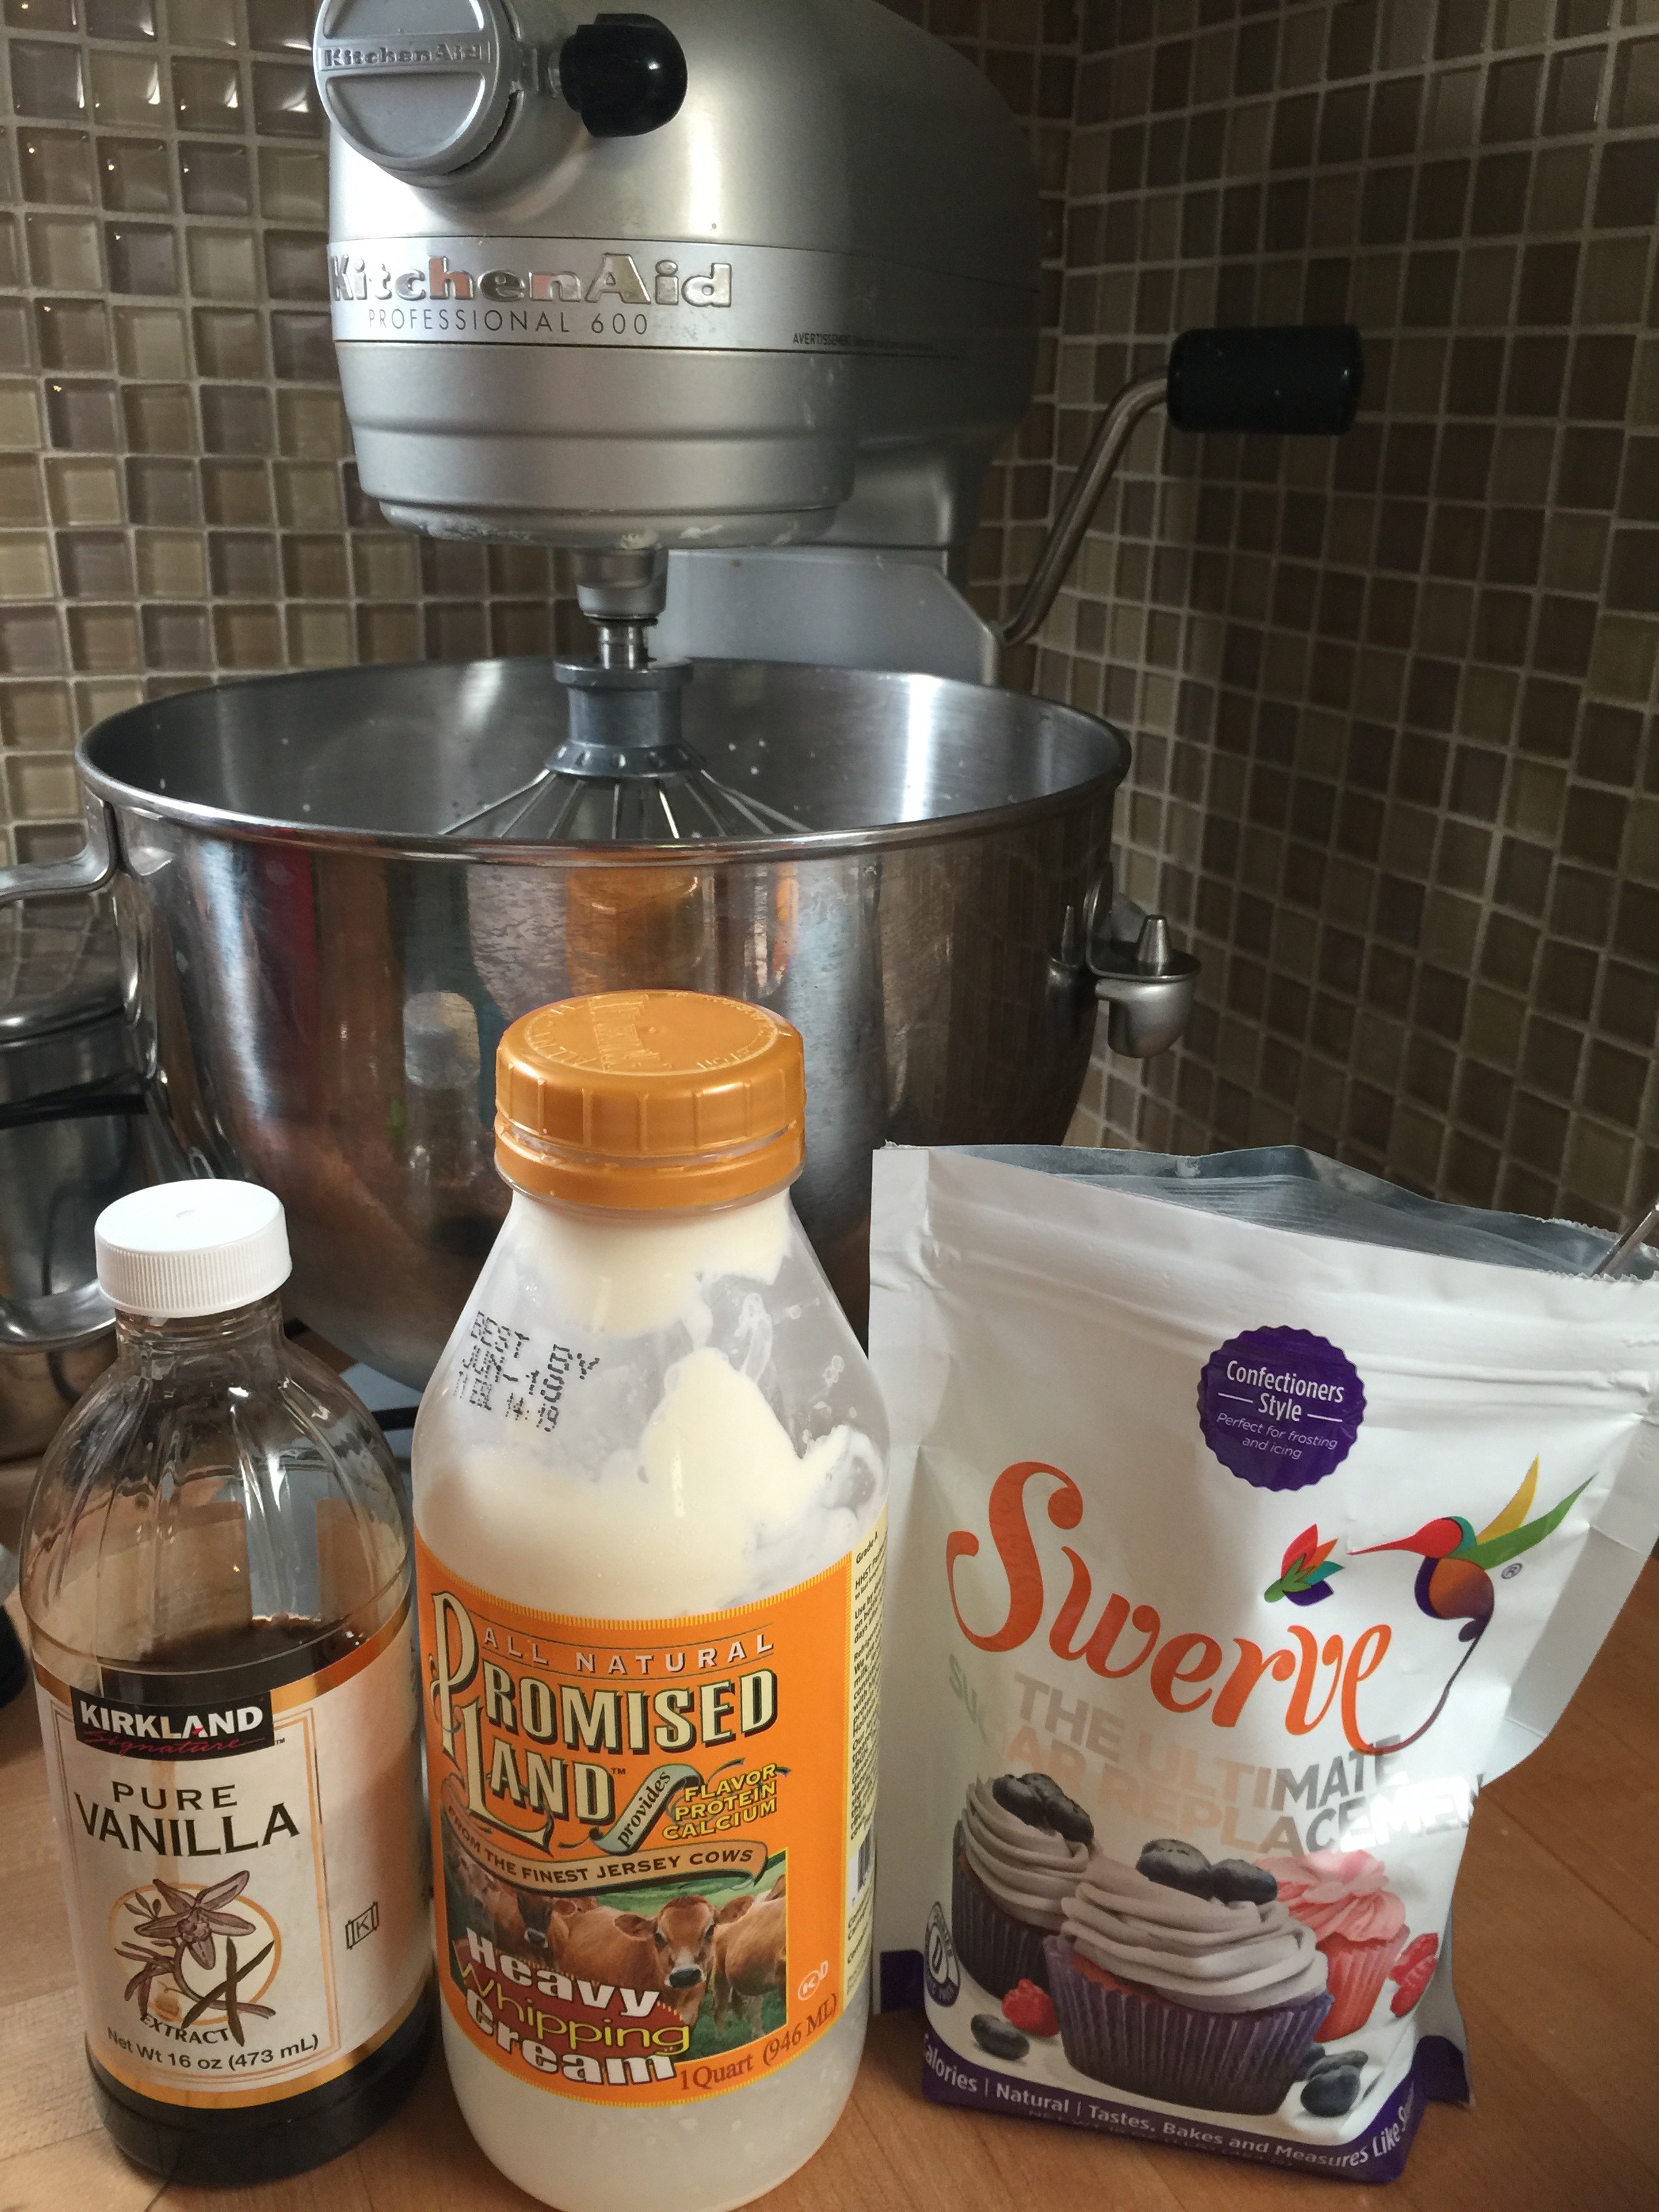
The Keto part of this is simple…Heavy Whipping Cream! I will say that this is where a KitchenAid Stand mixer comes in very handy. Check out the one I have here. It is a nice gift to yourself if you don’t already have one, and makes life faster and easier in the kitchen. I usually get my cream going while I am washing dinner dishes, and we have a fresh dessert in no time.
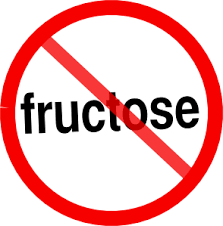
On a Ketogenic diet, we recommend staying away from many fruits. This is due to the natural fructose in fruit that makes a b-line for your liver. It is especially bad for Cancer patients and those with insulin resistance…Read more in this great article! However, there are some fruits that are better than others. My favorite fruits have always been berries! Thank goodness, because they also contain lower amounts of fructose which can spike your blood sugar. I know there is a lot of controversy on this subject, but I have seen it first hand with blood glucose monitoring, so I am on the no/low fruit bandwagon for myself. I do allow my children to have organic berries, and on occasion, I do too in small quantities. The trick for doing this is to make sure you eat your berries with plenty of fat to counteract the fructose in the fruit. Hence, the whipping cream.
What is better in whipped cream than berries. Yum! Now, don’t go crazy! You just need a small handful to do the job. Summer and berries have always gone hand in hand, so this is the perfect season to make yourself a Keto friendly dessert!
It is probably the easiest thing I have posted…
I used:
1 Quart of Promised Land Heavy Whipping Cream (Any will work)
1 Tbsp Pure Vanilla
1/4 – 1/2 cup Swerve Confectioners (Granular is very grainy in this one.)
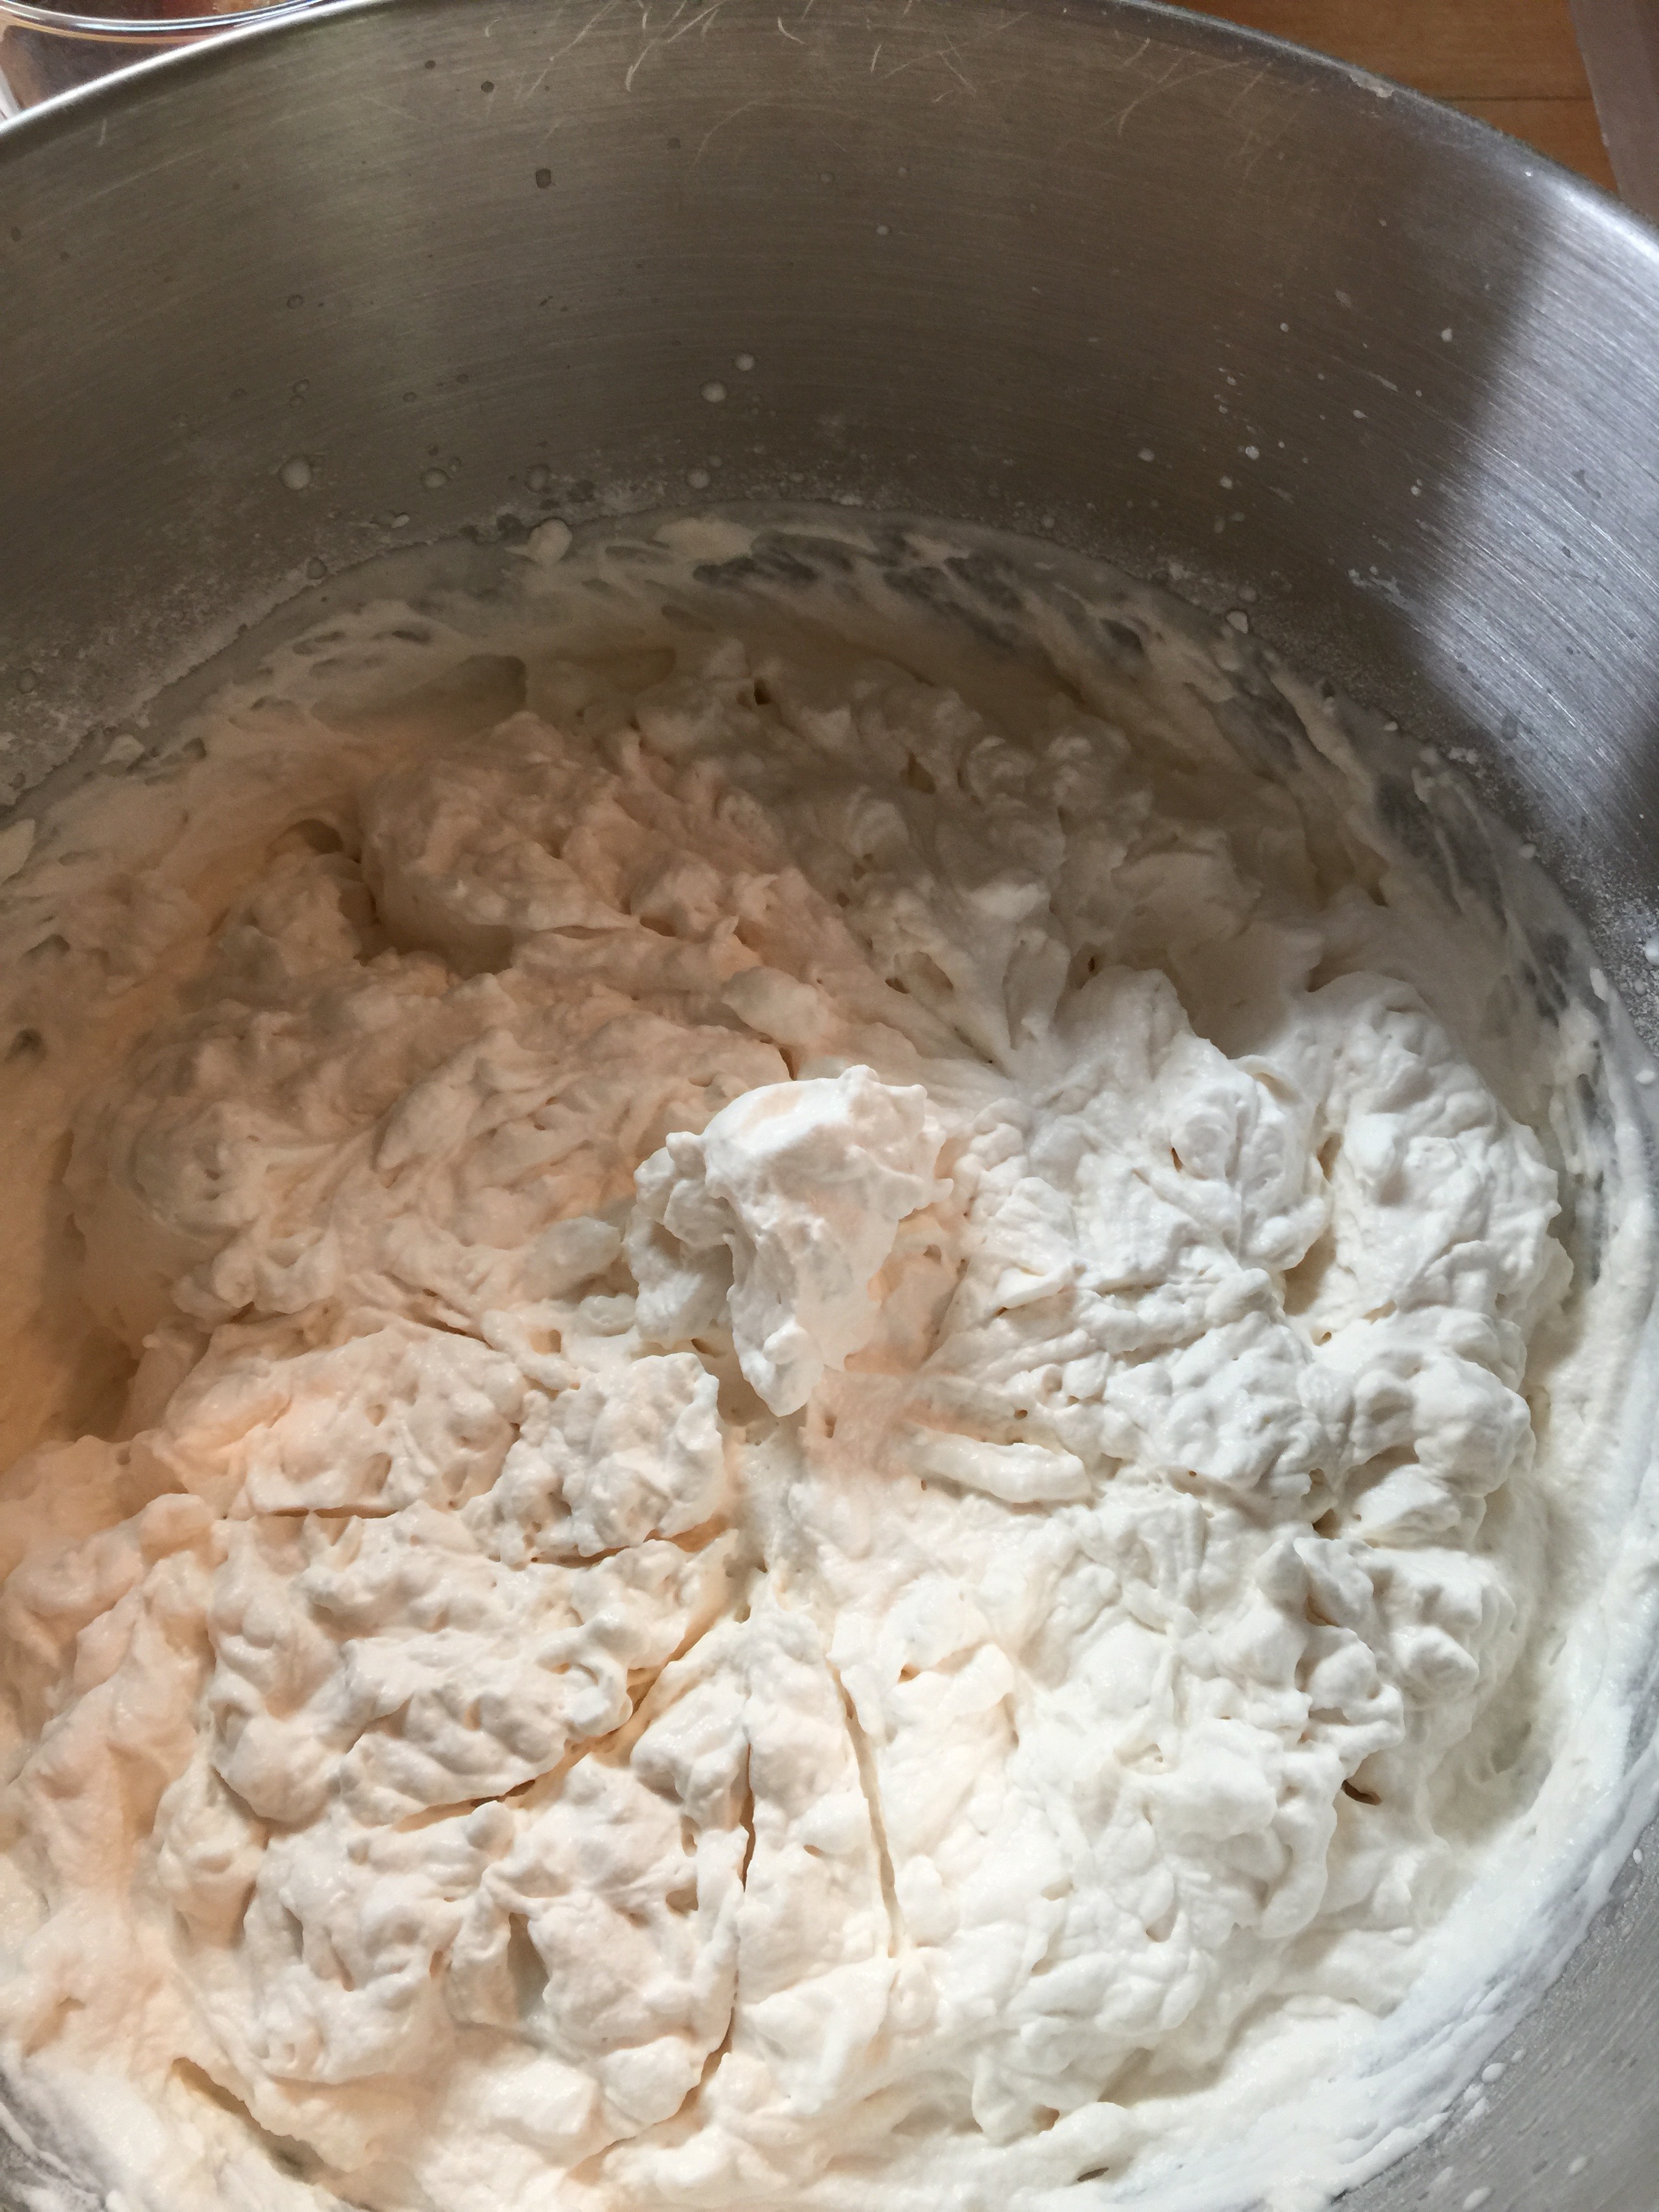
Start by beating your cream until it begins to thicken. Add your Swerve, starting with 1/4 cup. Our taste has changed quite a bit, so that we do not prefer things super sweet anymore, but feel free to add more to your desired taste. Then add your vanilla. Beat until it is very thick, but careful not to beat too much or you will have butter! It is okay to stop and start (tasting as you go). This is a preference treat, so keep an eye on it, and stop beating when it’s to your liking.
Top with a small amount of berries or eat it plain. It is delicious both ways! Enjoy!
This one was for the kiddos. When I have mine, I go with blueberries, blackberries or raspberries with a ratio or 2:1, cream to berries. I skip the strawberries generally. Let the cream work to your benefit!
So, I was ruled out on my dinner choice this evening! My husband wanted steak, and the kiddos wanted potatoes. “Hmmm,” I thought to myself. Let’s see if I can slide those cauli-mashers by them without notice.
Worked like a charm! My super picky four-year old said this was the “best dinner in the world!” She also told me that “these are the best potatoes ever!”
If you missed Erin’s post on Cauli-mashers, they are a breeze to make, even when you get outnumbered at the last minute in the kitchen.
I steamed one bag of Costco fresh Cauliflower florets until fairly soft. I don’t have the emersion mixer like Erin, so I just used my KitchenAid hand mixer, and beat them until they were the consistency of mashed potatoes. I added a half block of Kerrygold, a half block of cream cheese, and a handful of chopped parsley. I then added a generous amount of salt and pepper. Mixed it all together with the mixer, poured into an 8×8 pyrex, and topped with some Colby Jack cheese. I popped it in the oven at 350 degrees for about 20 minutes, and to the delight of everyone, it was devoured.
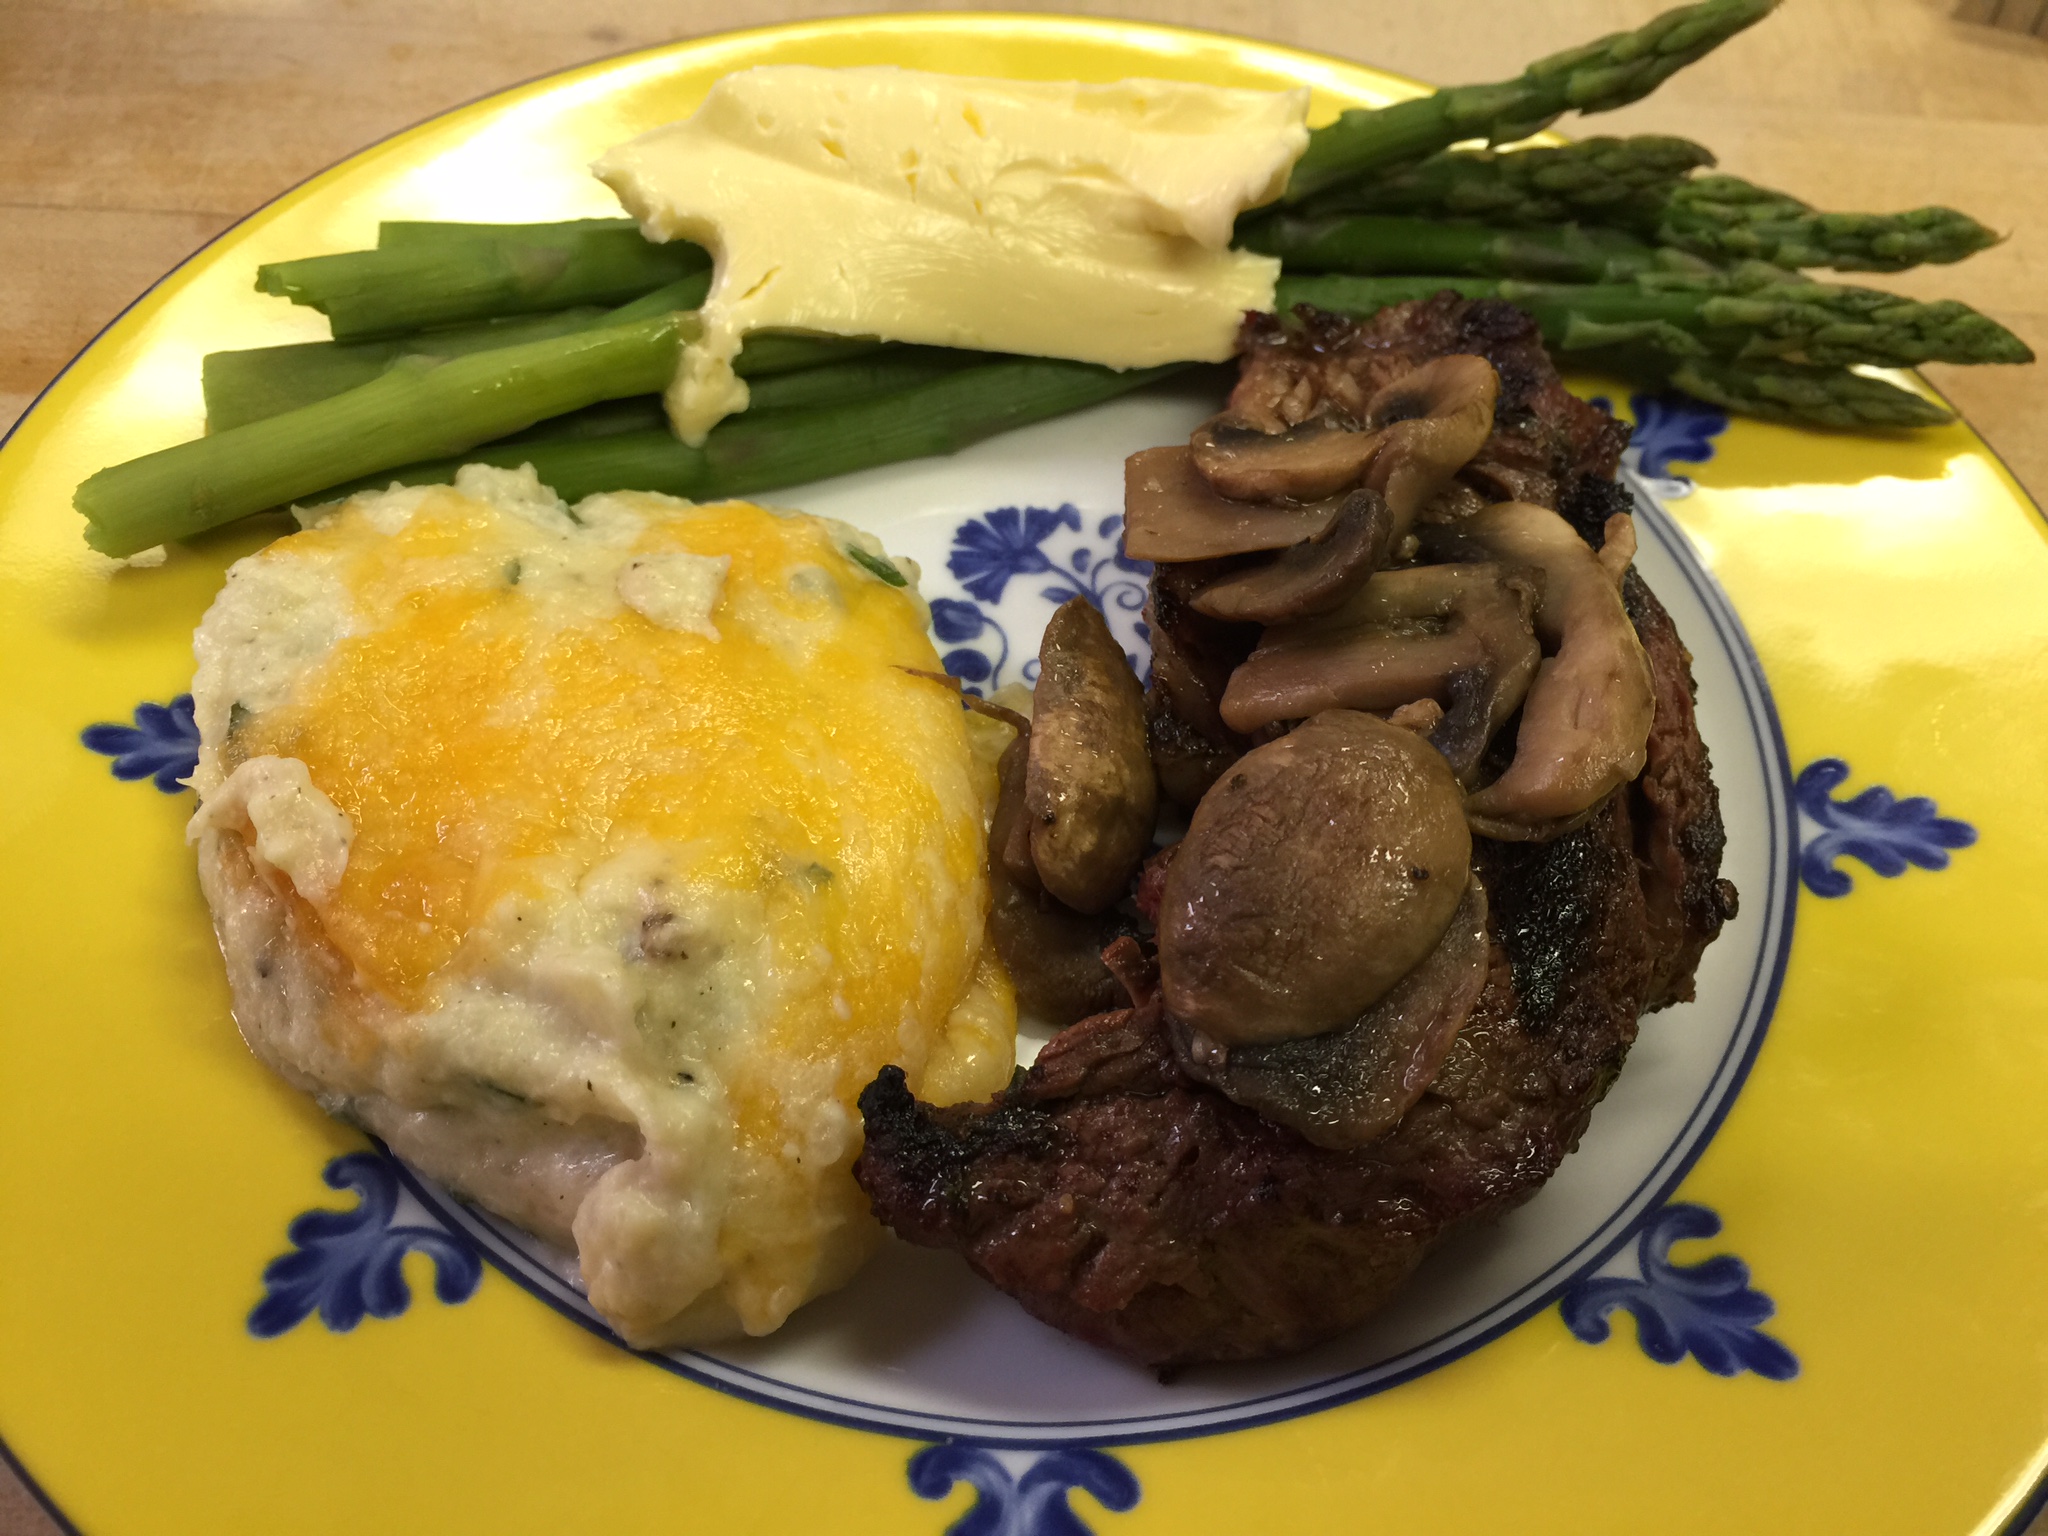
Served with grass-fed New York Strips topped with sautéed mushrooms (in Kerrygold no less), and a side of asparagus topped with Kerrygold!
Every plate was clean, and every face had a smile!
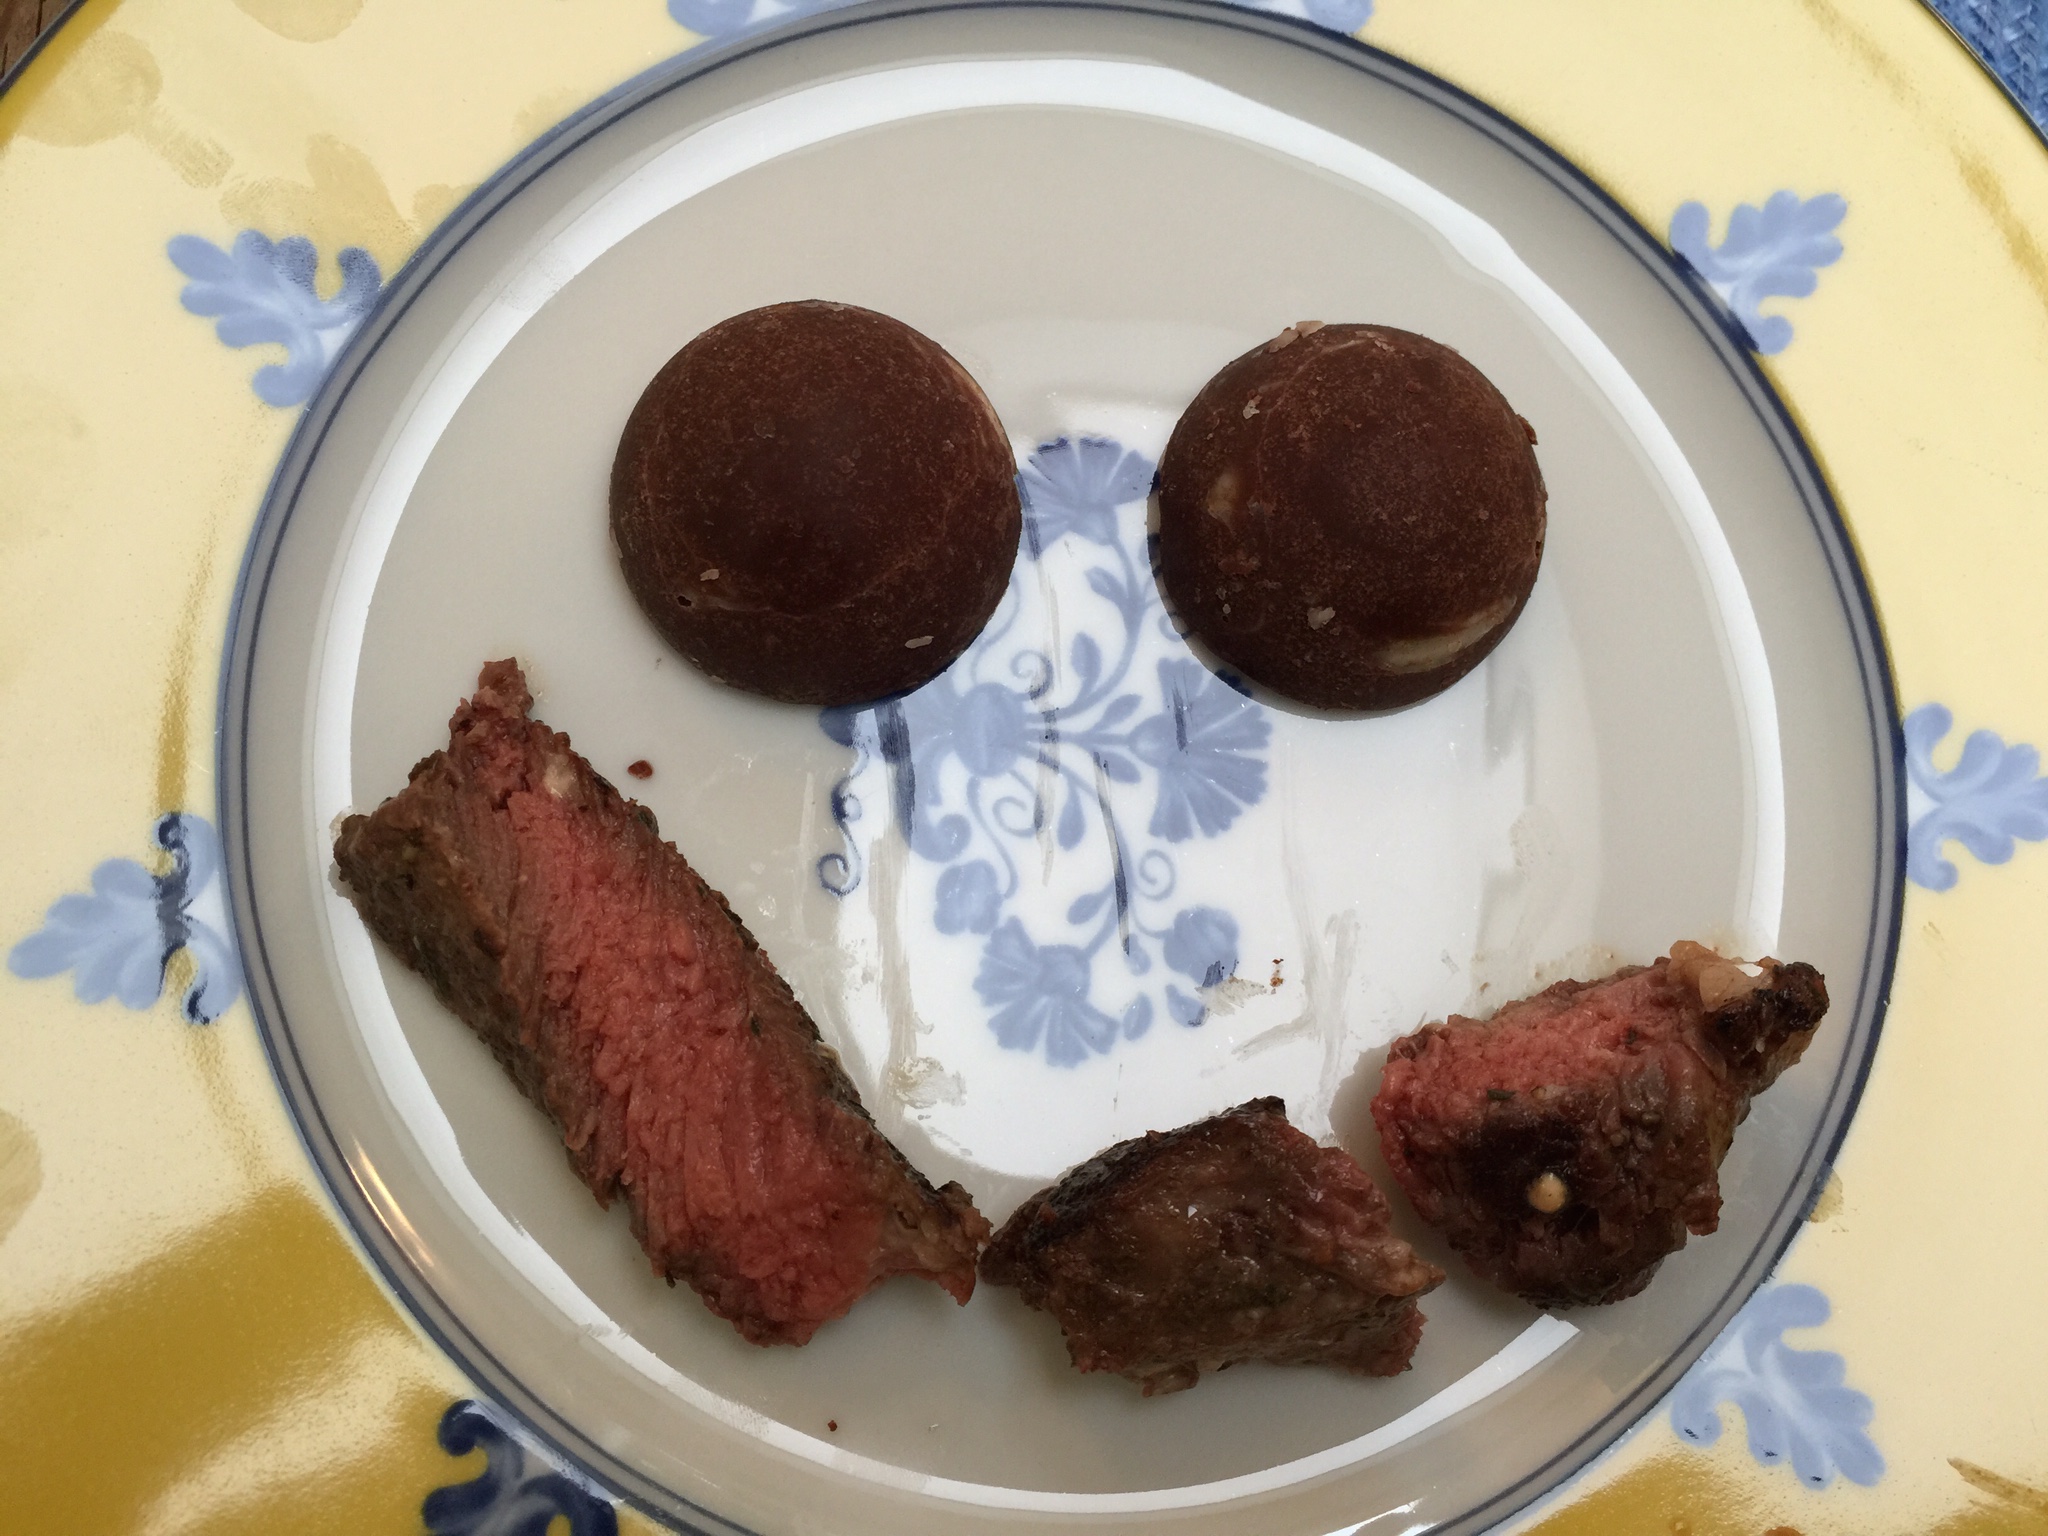
So my sweet 8 year boy (the middle child) wanted me to share his dessert with you tonight! He was very proud of his extra helping of steak and his two dark chocolate-coconut fat bombs (posted last week) that he used to make a smiley face! He said, “This will show your viewers how happy I am right now!” So, how could I refuse? Here is Colton’s sugar-free dessert!
Just because you go low-carb doesn’t mean you can’t ever have sweets again! You just have to think differently!
These “Fat Bombs” are the bomb! They are so easy to make, you get your intake of healthy fats, and take care of that little need for a sweet treat every once in a while.
You can keep them in the fridge, and pop them as you need them.
Fat Bombs
4 oz 100% Cacao
8 Tbsp Grass-Fed Butter (Kerrygold)
3 TBSP Coconut Oil
1 tsp Vanilla
1/3 cup Swerve Confectioners
2 Tbsp Cream
Shredded Unsweetened Coconut
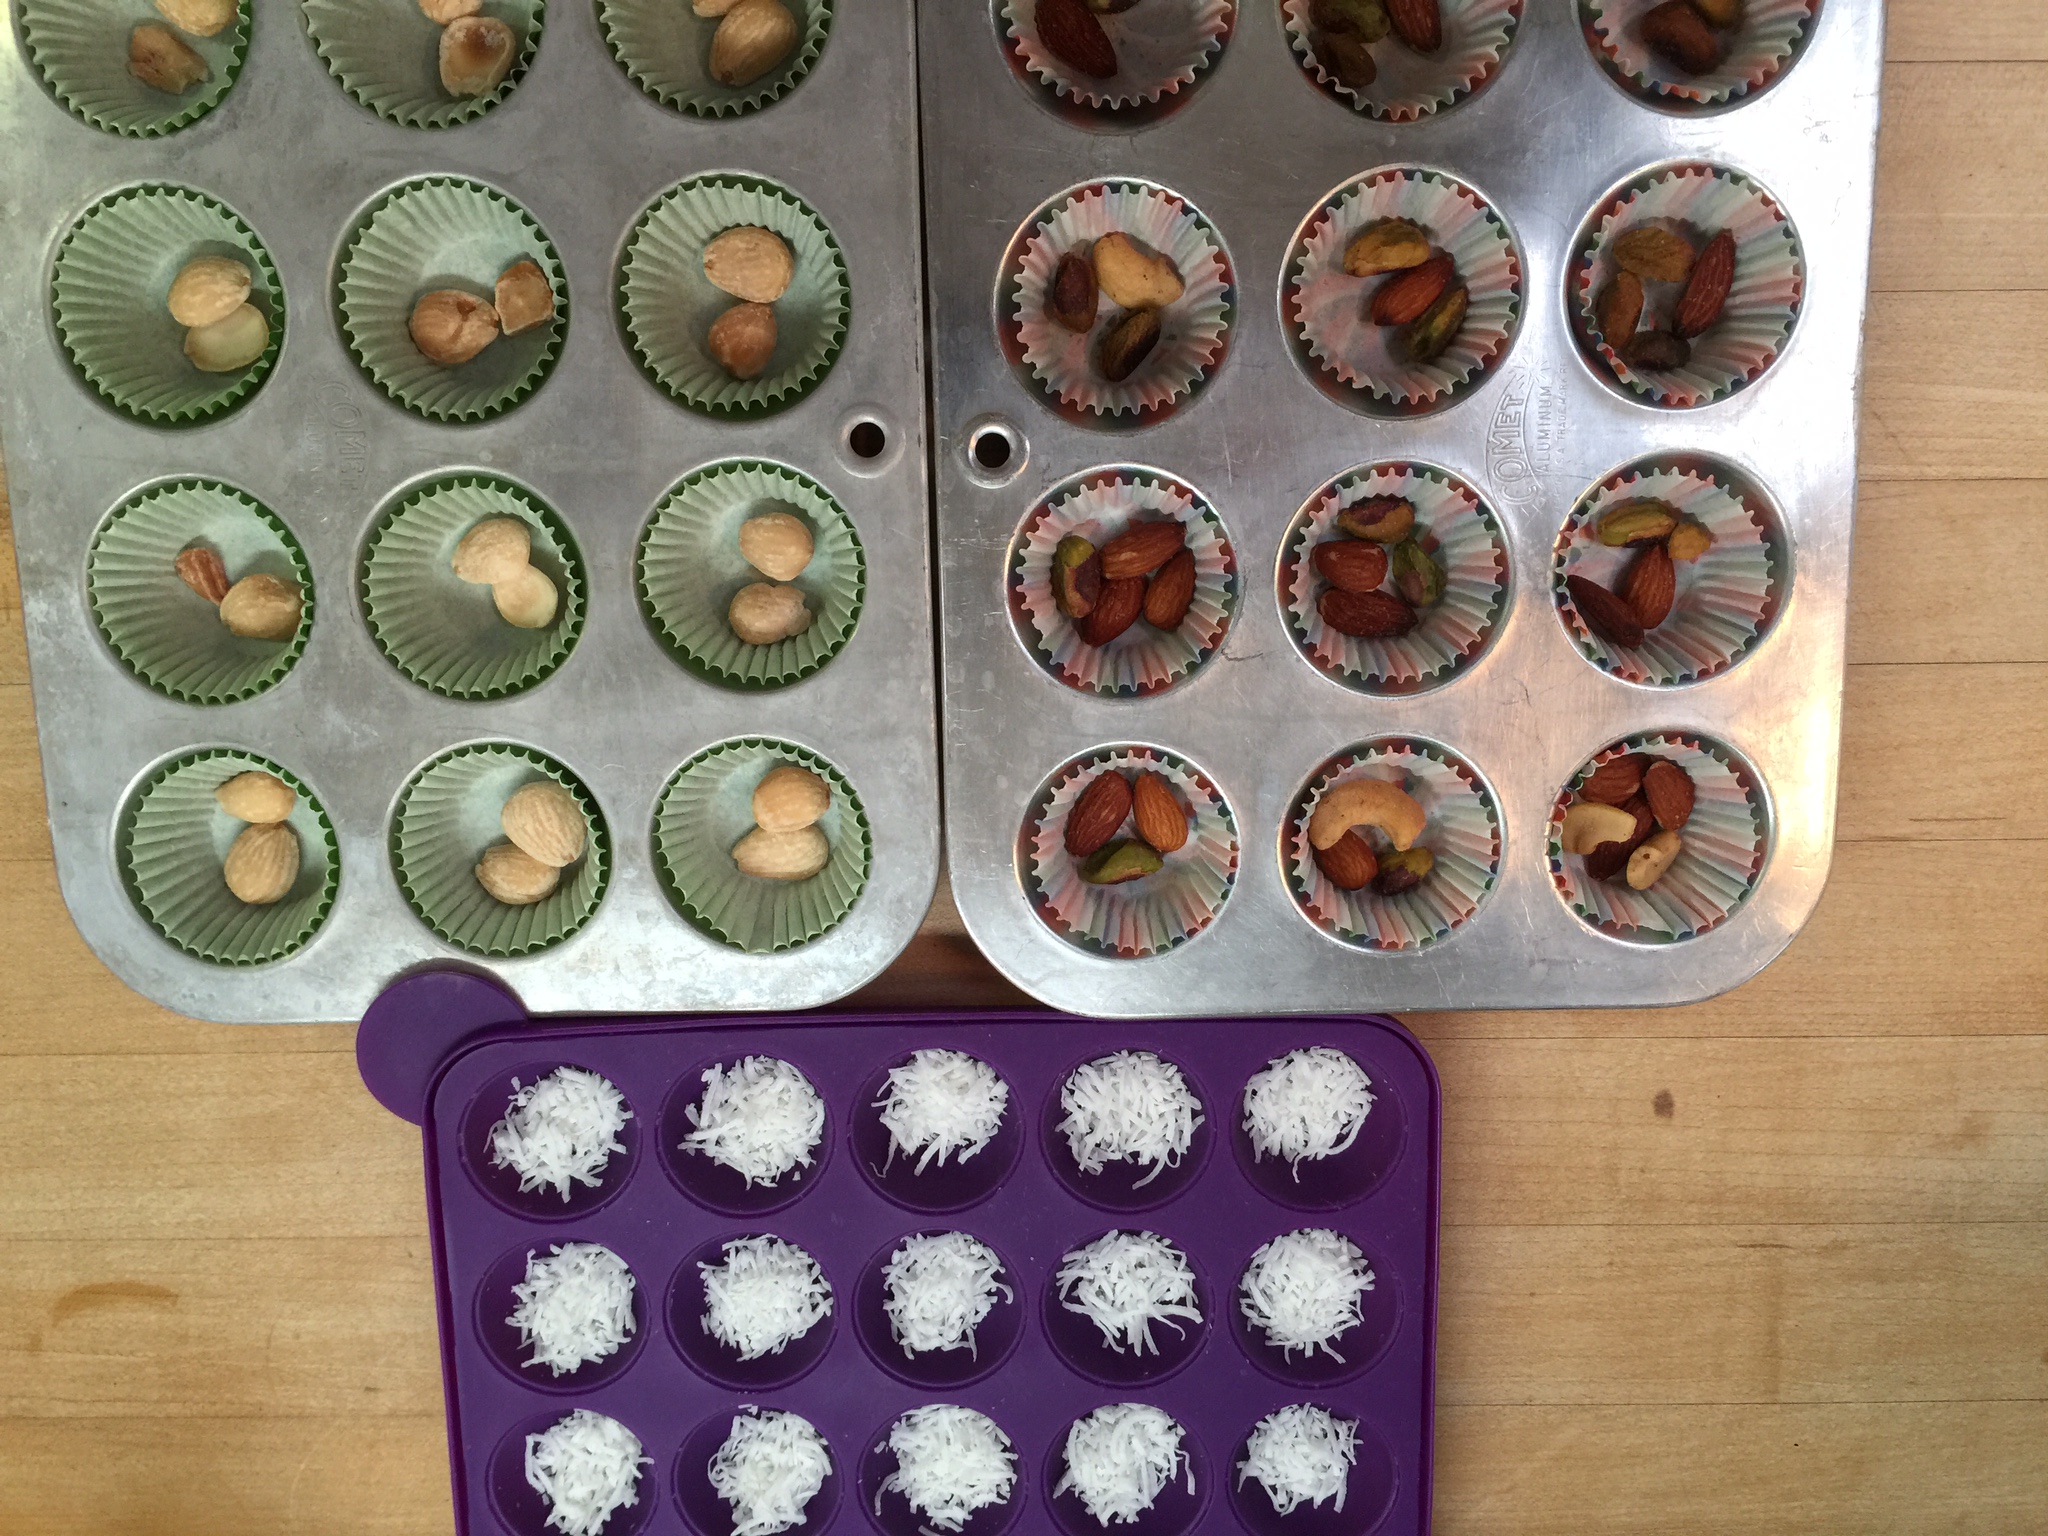
Almonds, Pistachios, Macadamia Nuts
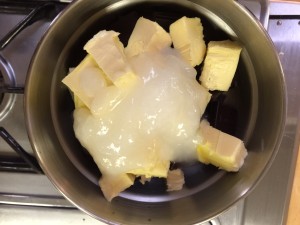
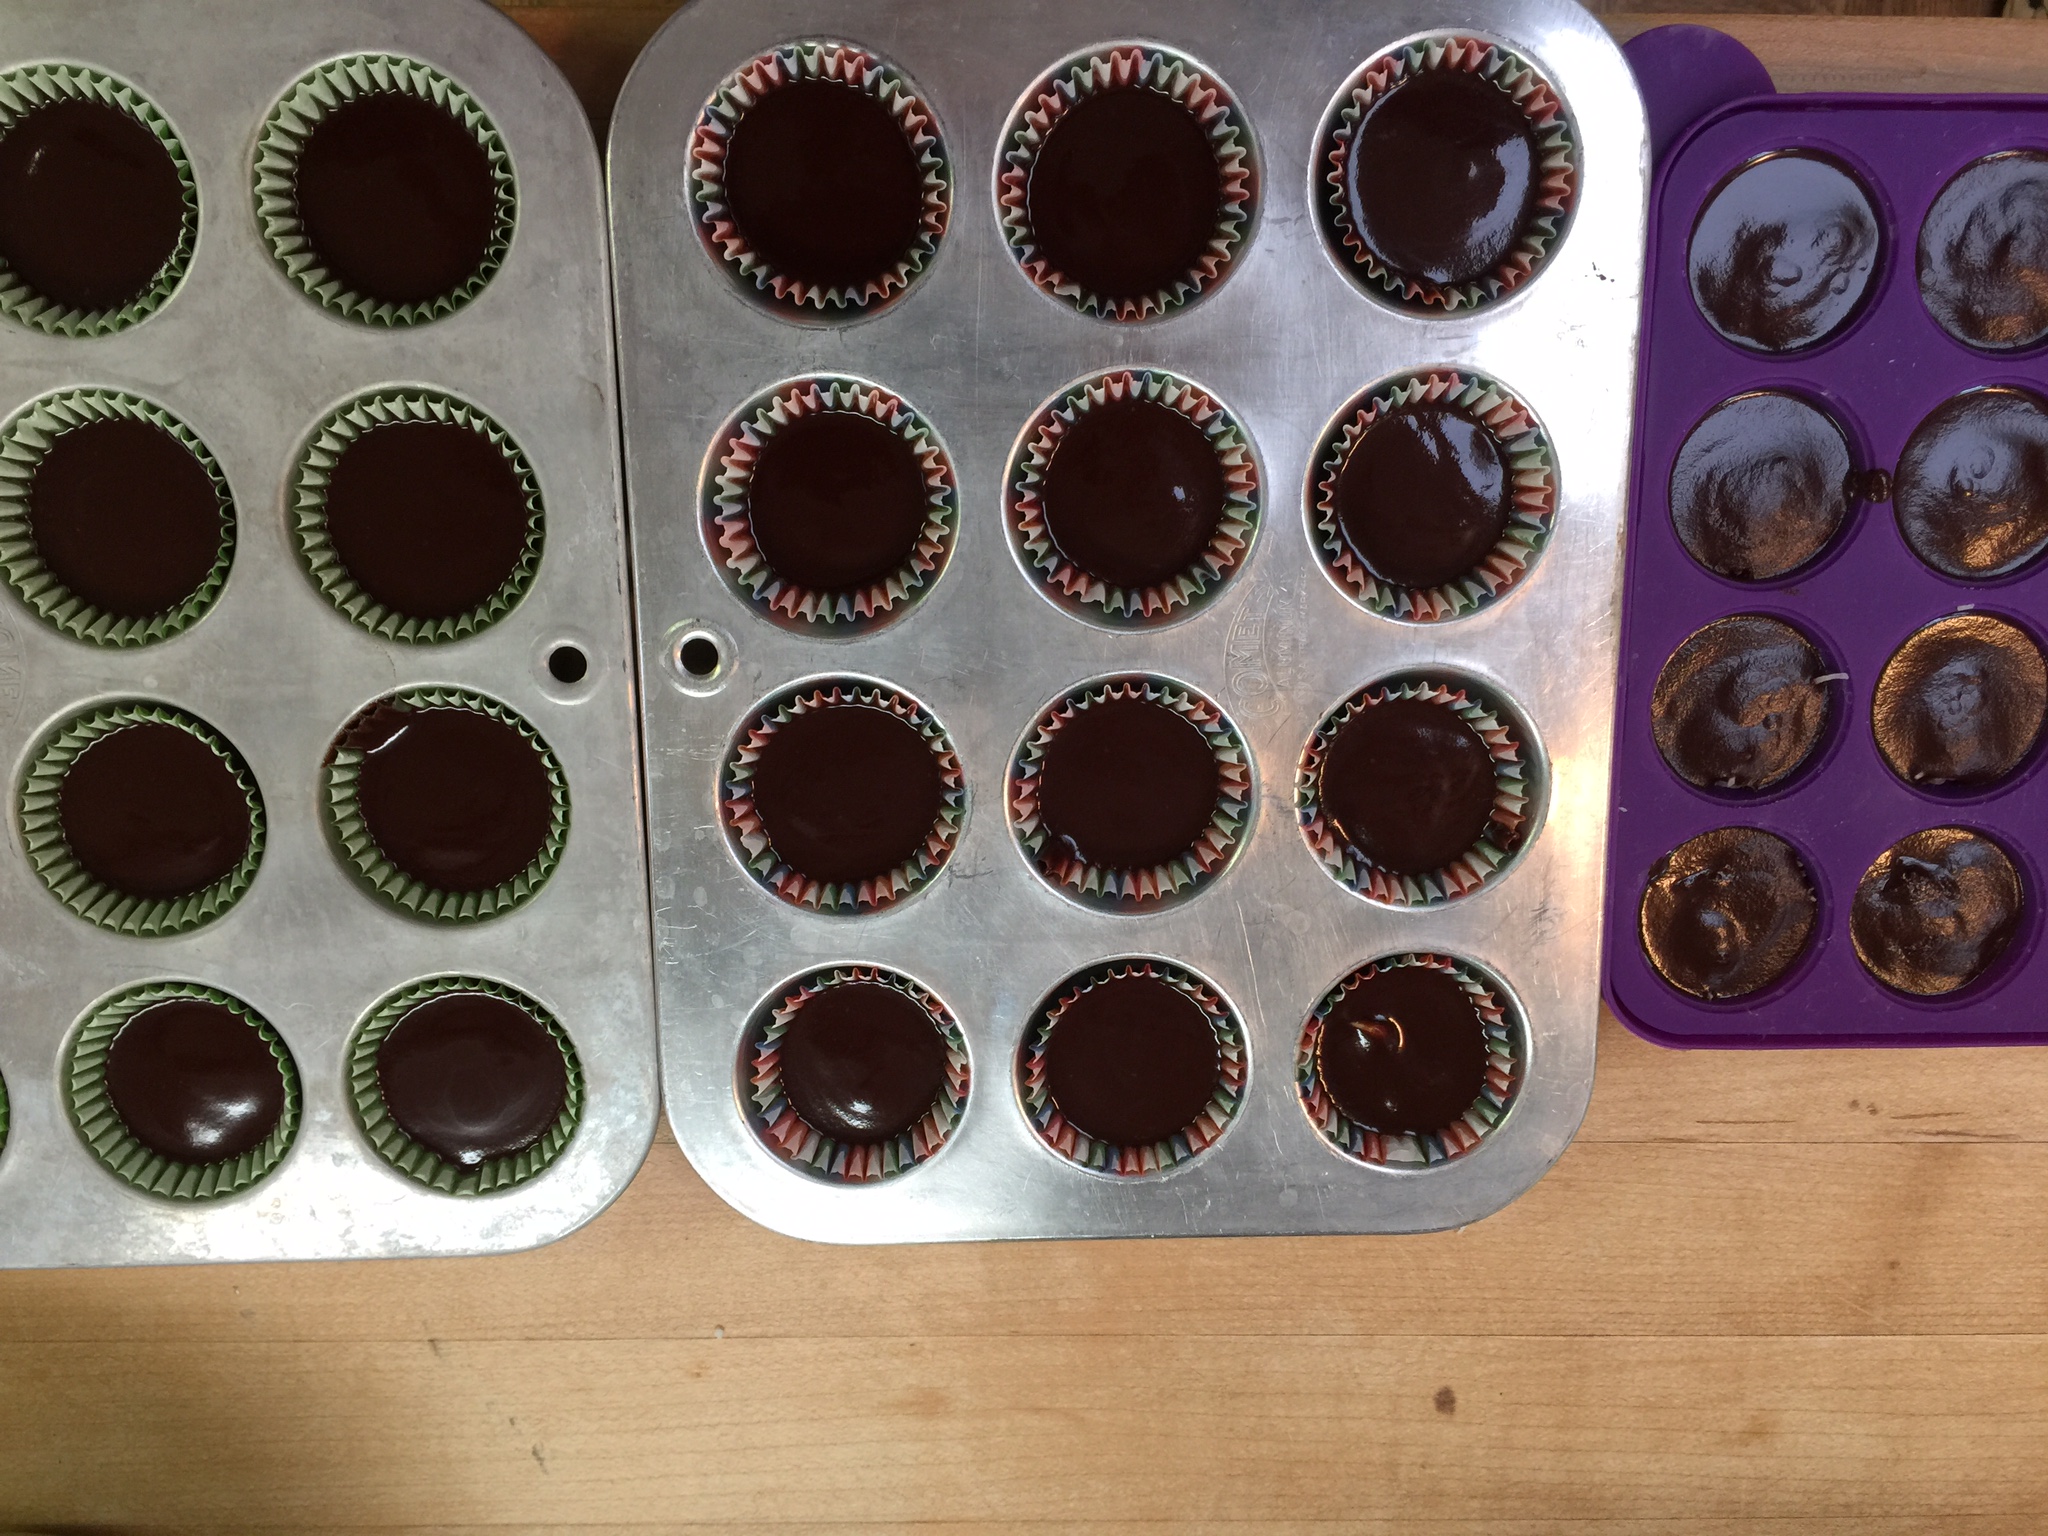
Gather all of your ingredients along with a double boiler, a whisk, and either mini-muffin pans or candy molds.
Directions:
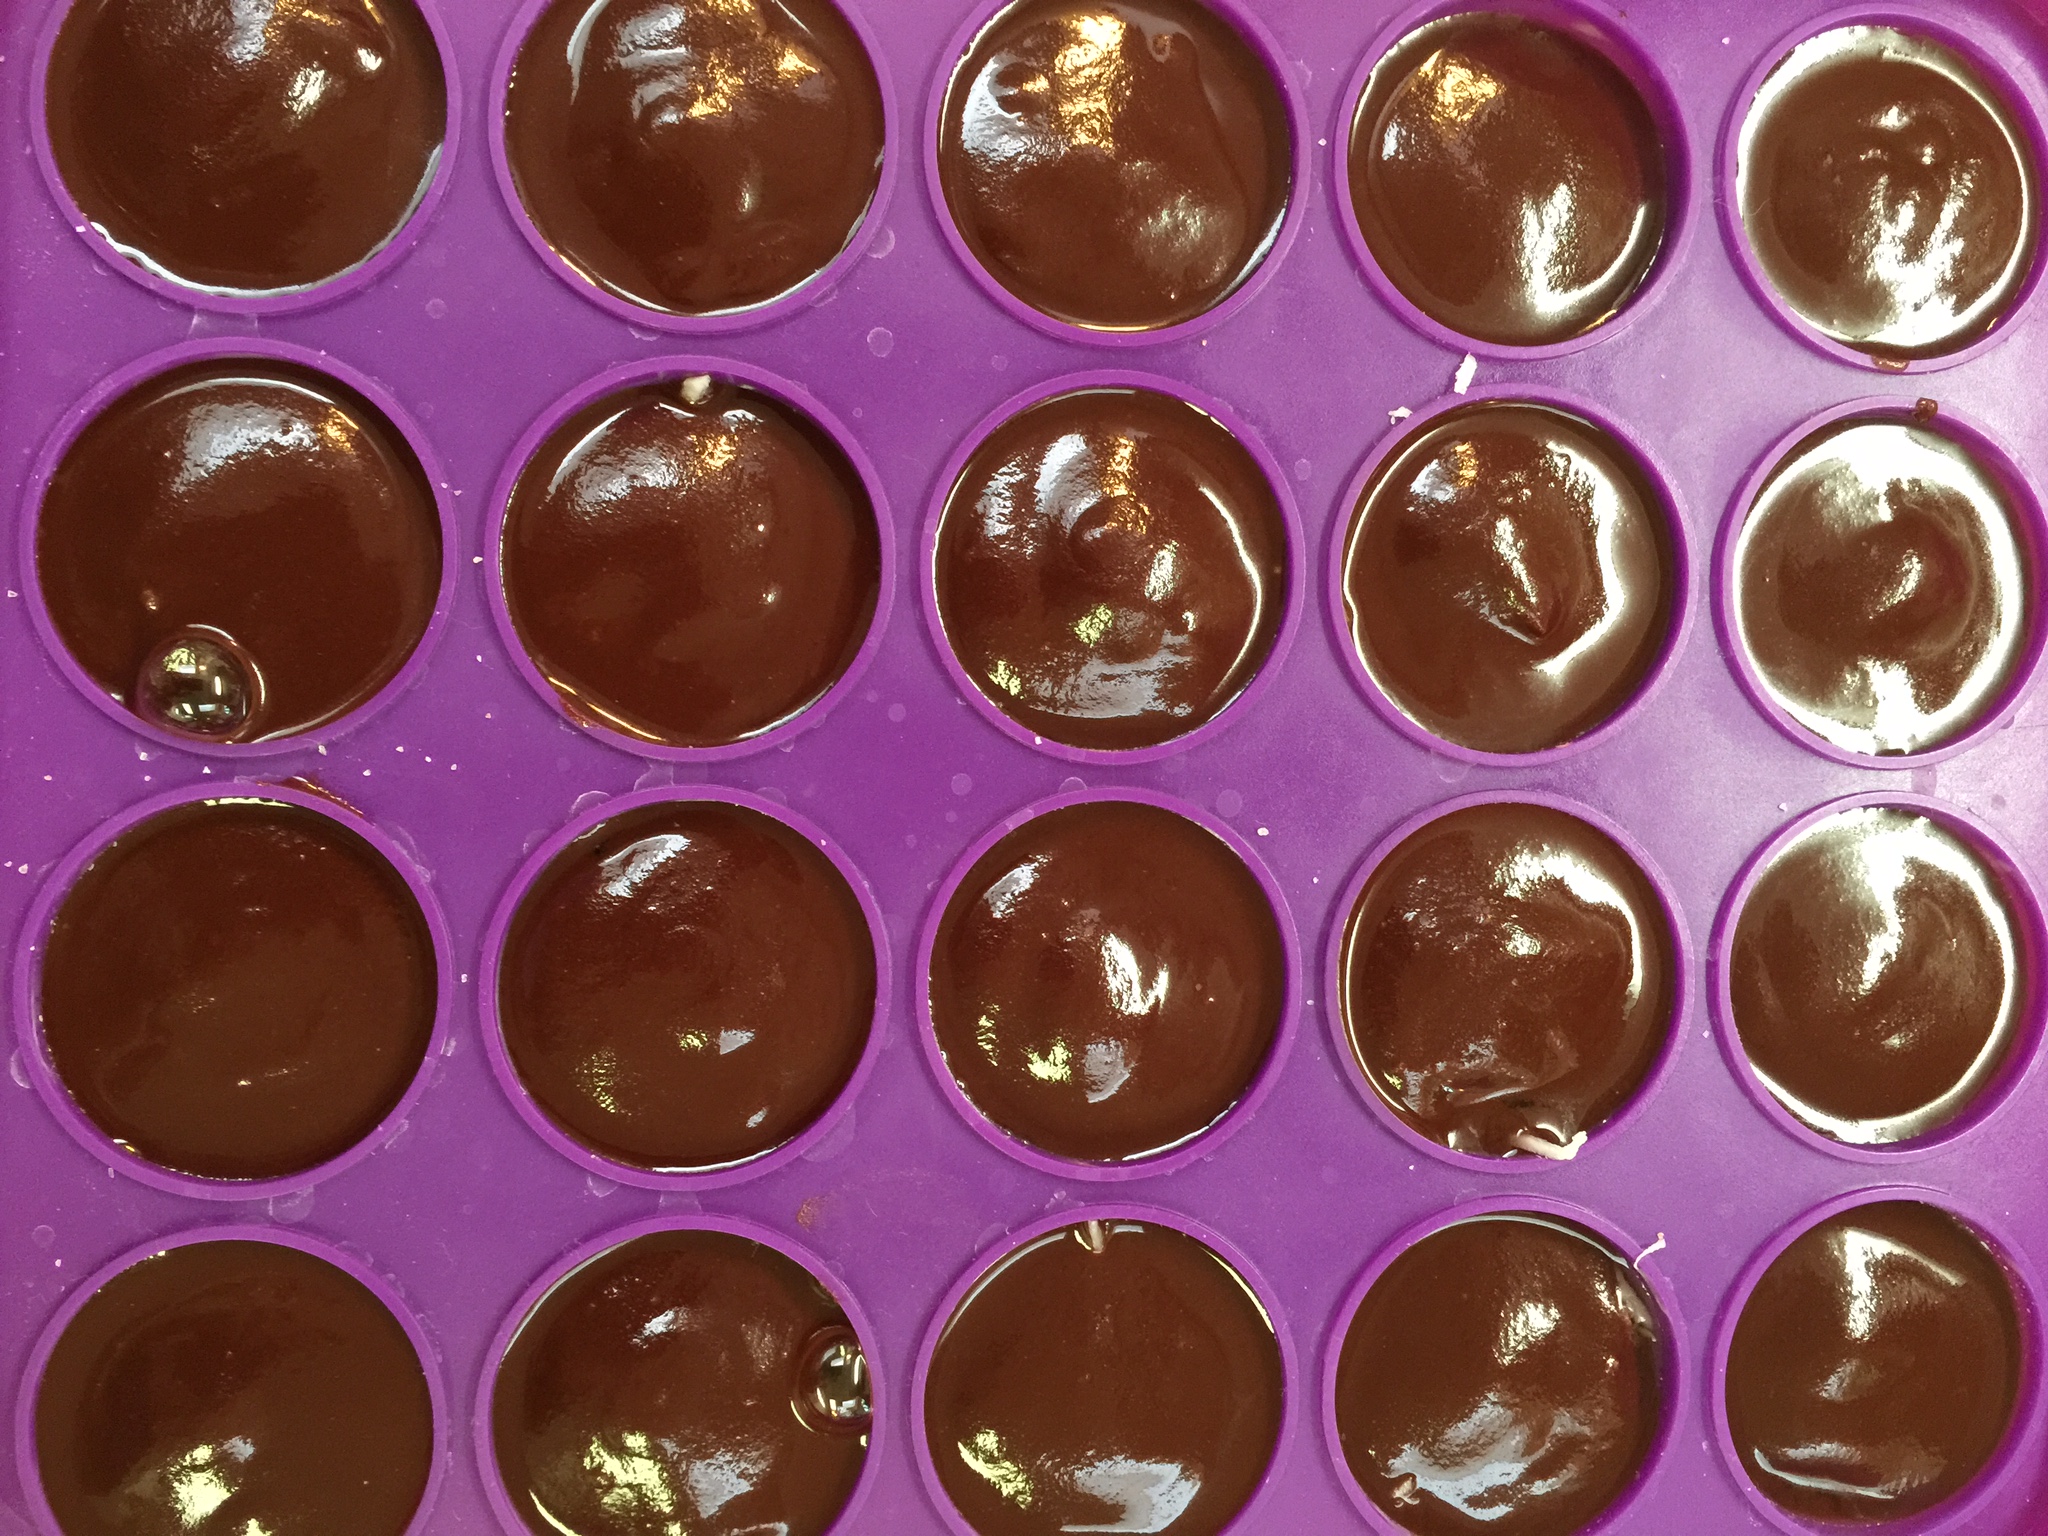
Melt your chocolate, butter, and coconut oil in a double boiler over simmering water, stirring often so it does not burn. (This is a double batch.)
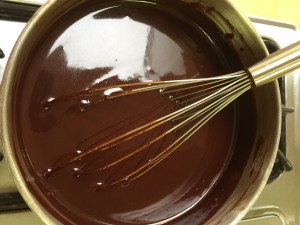
Add the Swerve and whisk together until well combined.
After it is completely melted and smooth, remove from heat and add vanilla and cream.
Whisk until it looks like you have smooth chocolate sauce.
Set aside.
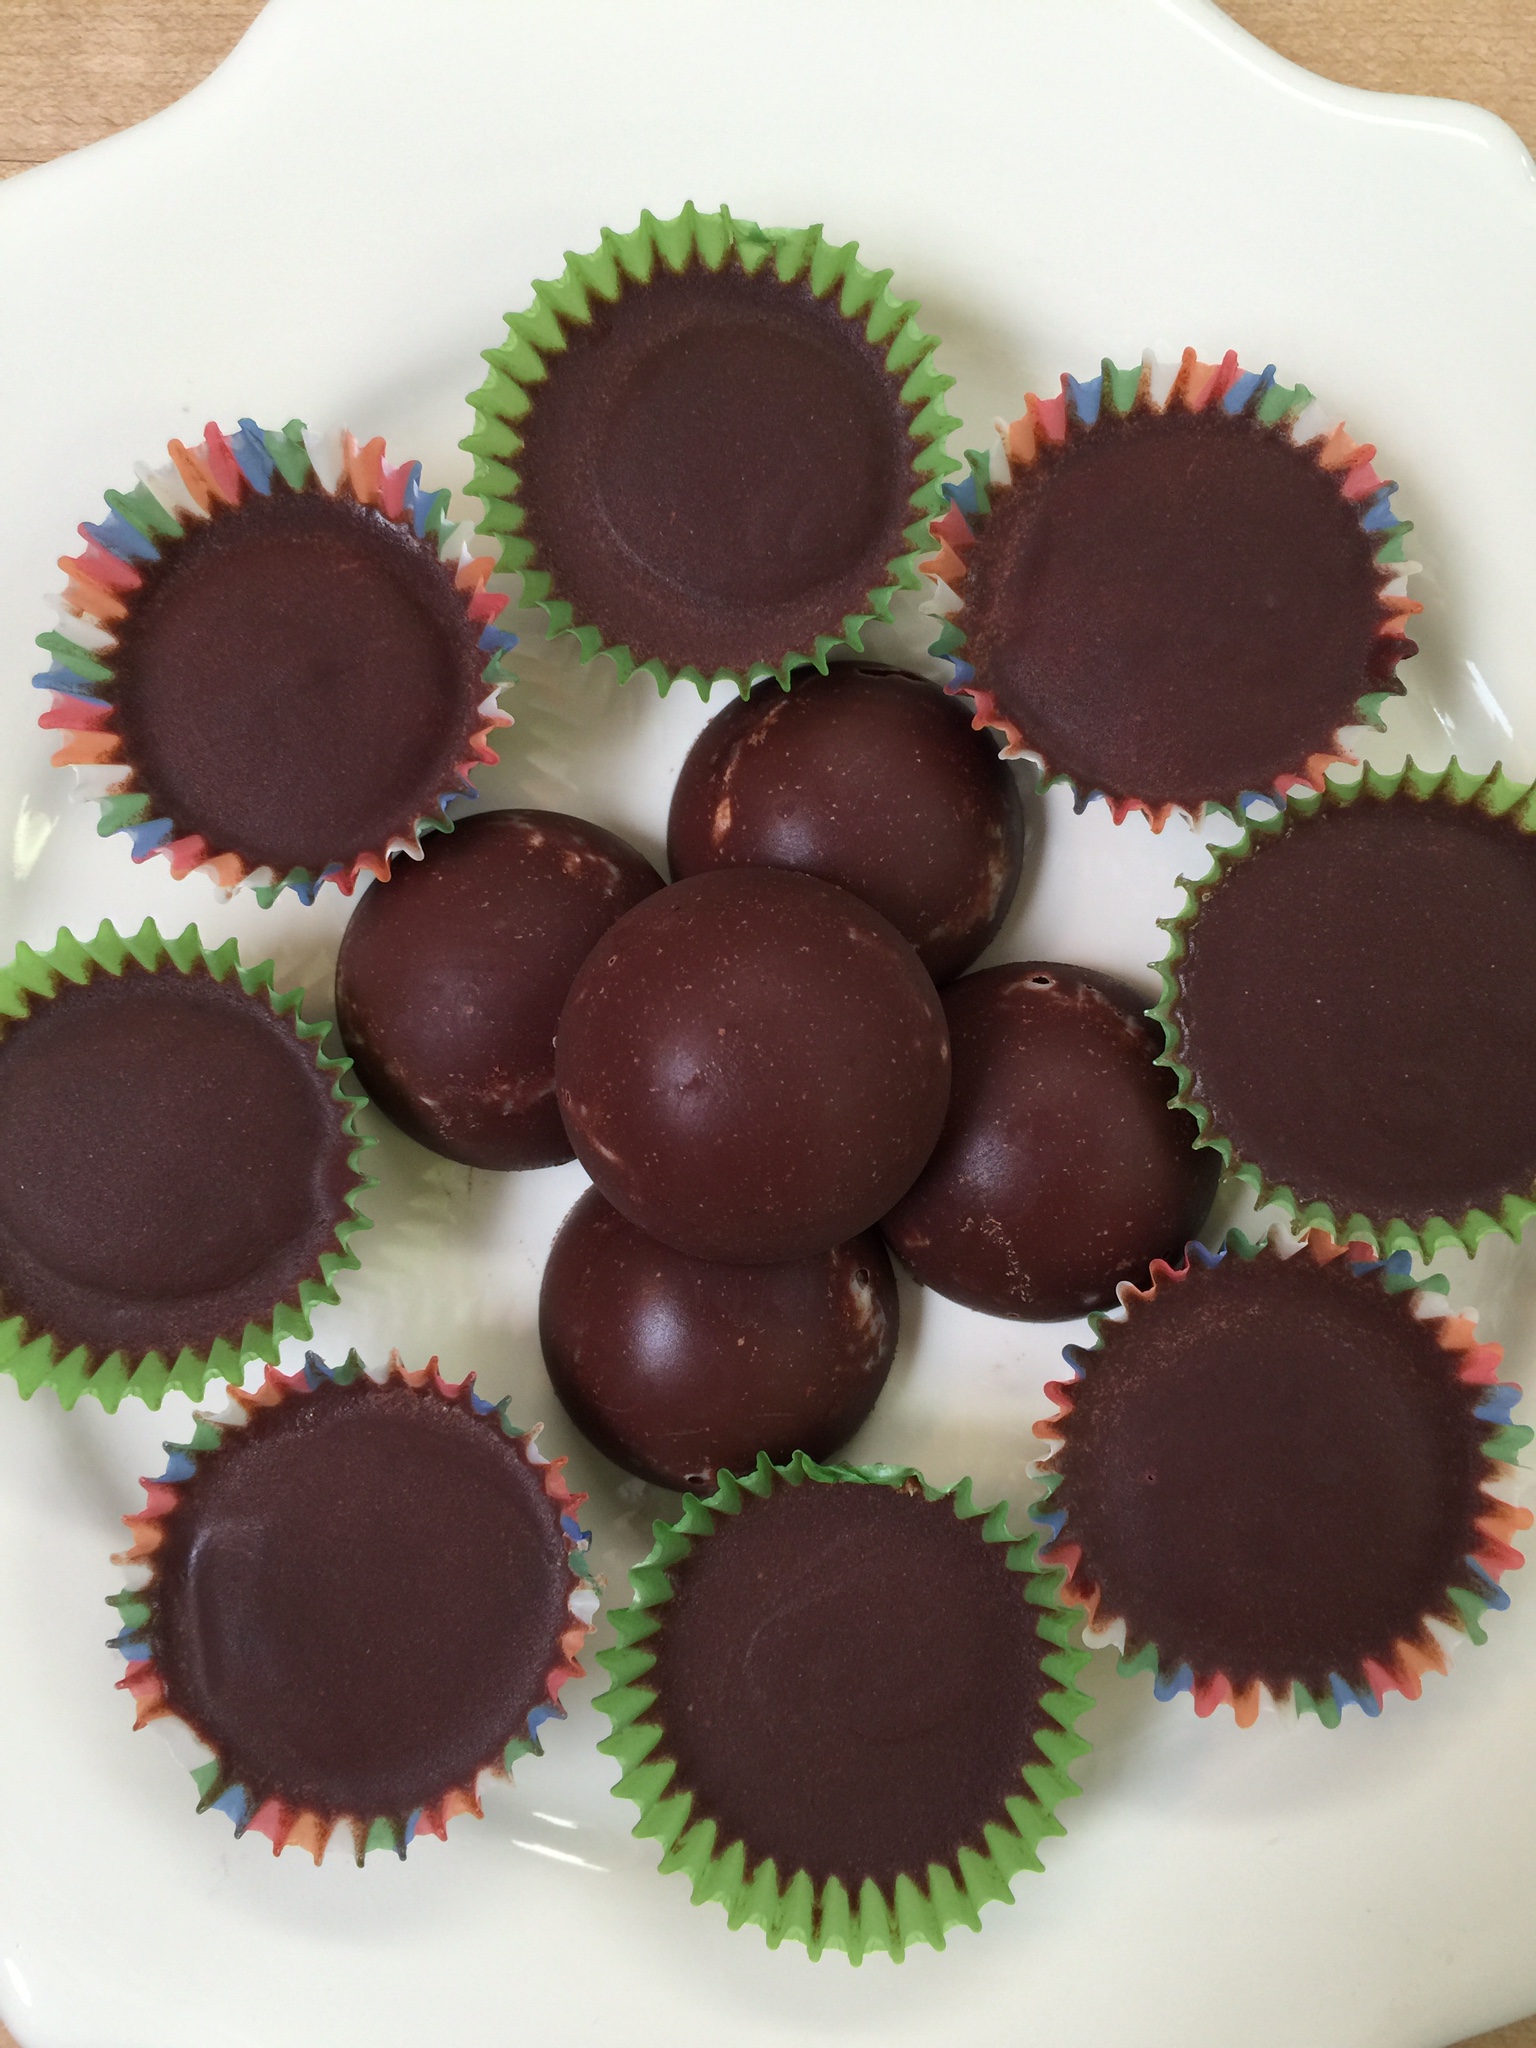
You can either use a mini-muffin pan with paper cups or a silicon candy mold. I use both. If you want a variety of candies, you can tell them apart by using different colored paper cups. For instance, my husband doesn’t like the texture of coconut in his desserts so I always do his candy without coconut in green paper cups because that is his favorite color, and he knows which ones are his. In short, you can color code your candy!
I love the smooth texture of the candy molds though, so of course, I use those for mine!
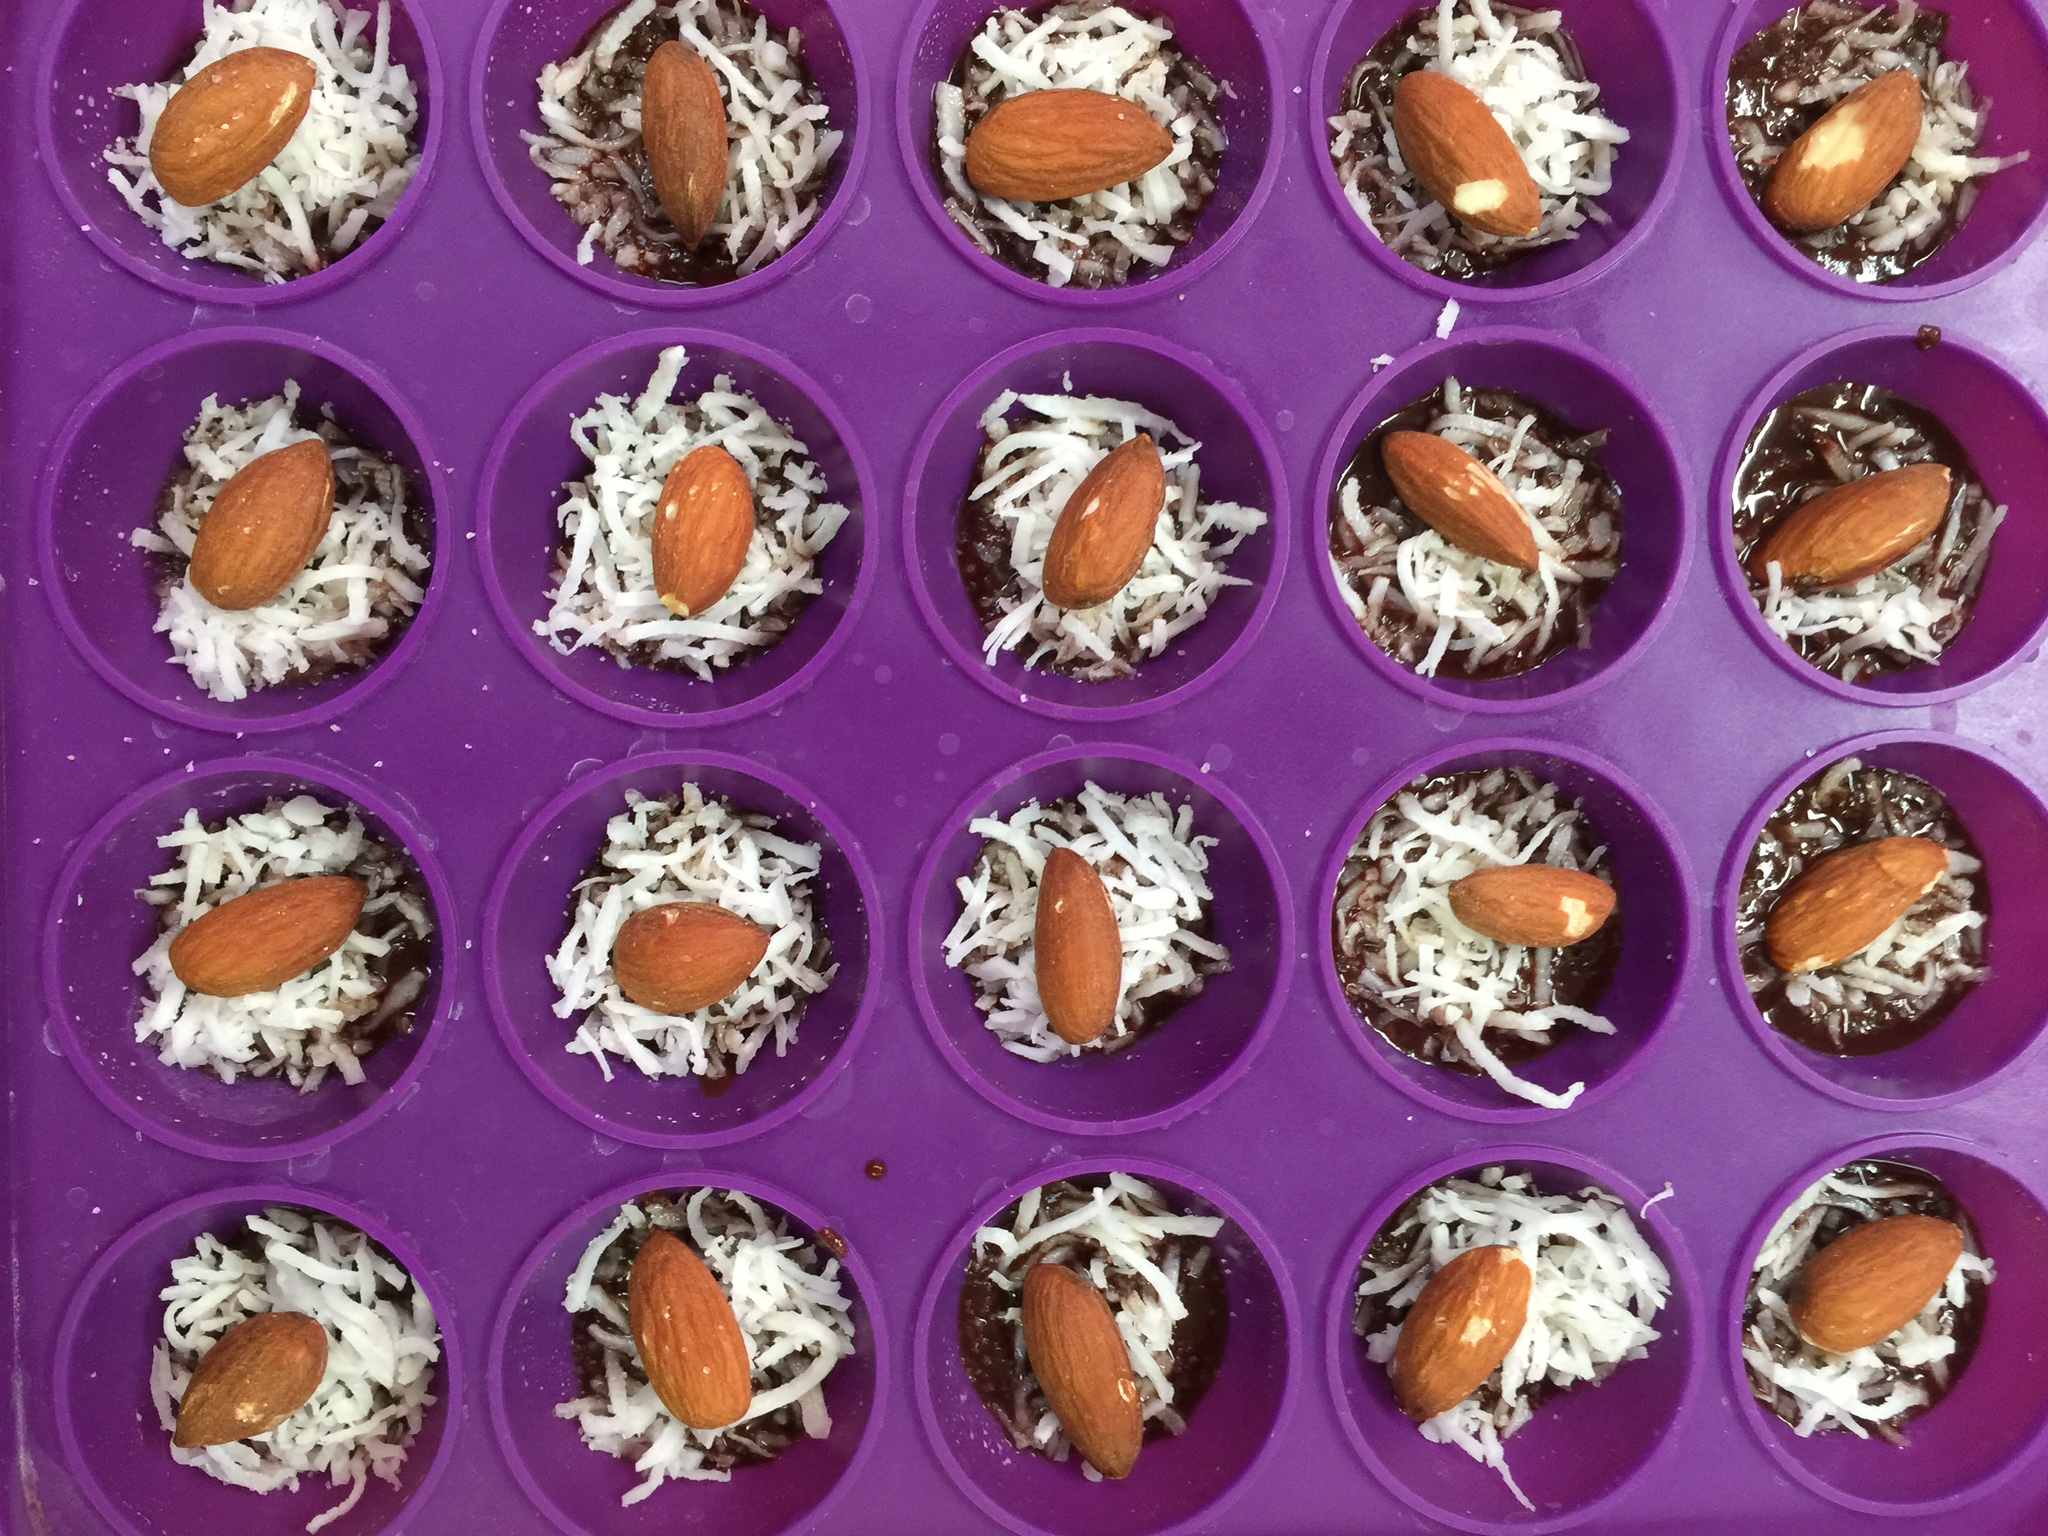
Be creative! I love mine with coconut and almonds! Can you say, “Almond Joy!?!”
The kids like theirs with either macadamia nuts and coconut or plain coconut, and my husband loves his with pistachios. Just have fun with your add-ins!
This is what it looks like when you add your fillings:
On the purple molds, I placed a dab of chocolate right in the center bottom of the circle so it would have a smooth chocolate finish when I popped them out. Then, put the coconut and almonds on top.
Next, add your chocolate by the spoonful:
After your molds are full, place them in the refrigerator to set. This does not take long. Give them about 45 minutes to an hour to set before you try to remove them.
Once they are hard to the touch, you can invert the molds to pop out your candies and remove the paper cups from your muffin pans. I throw them in a ziplock bag, and they are ready to grab when you need a bite!