Tag Archive for side dish

Fire Cracker Potato Salad

images

It’s real, and it’s Keto!  How can you have a July Fourth celebration without potato salad?  We have found a way, and it involves one of our favorite Keto veggies.

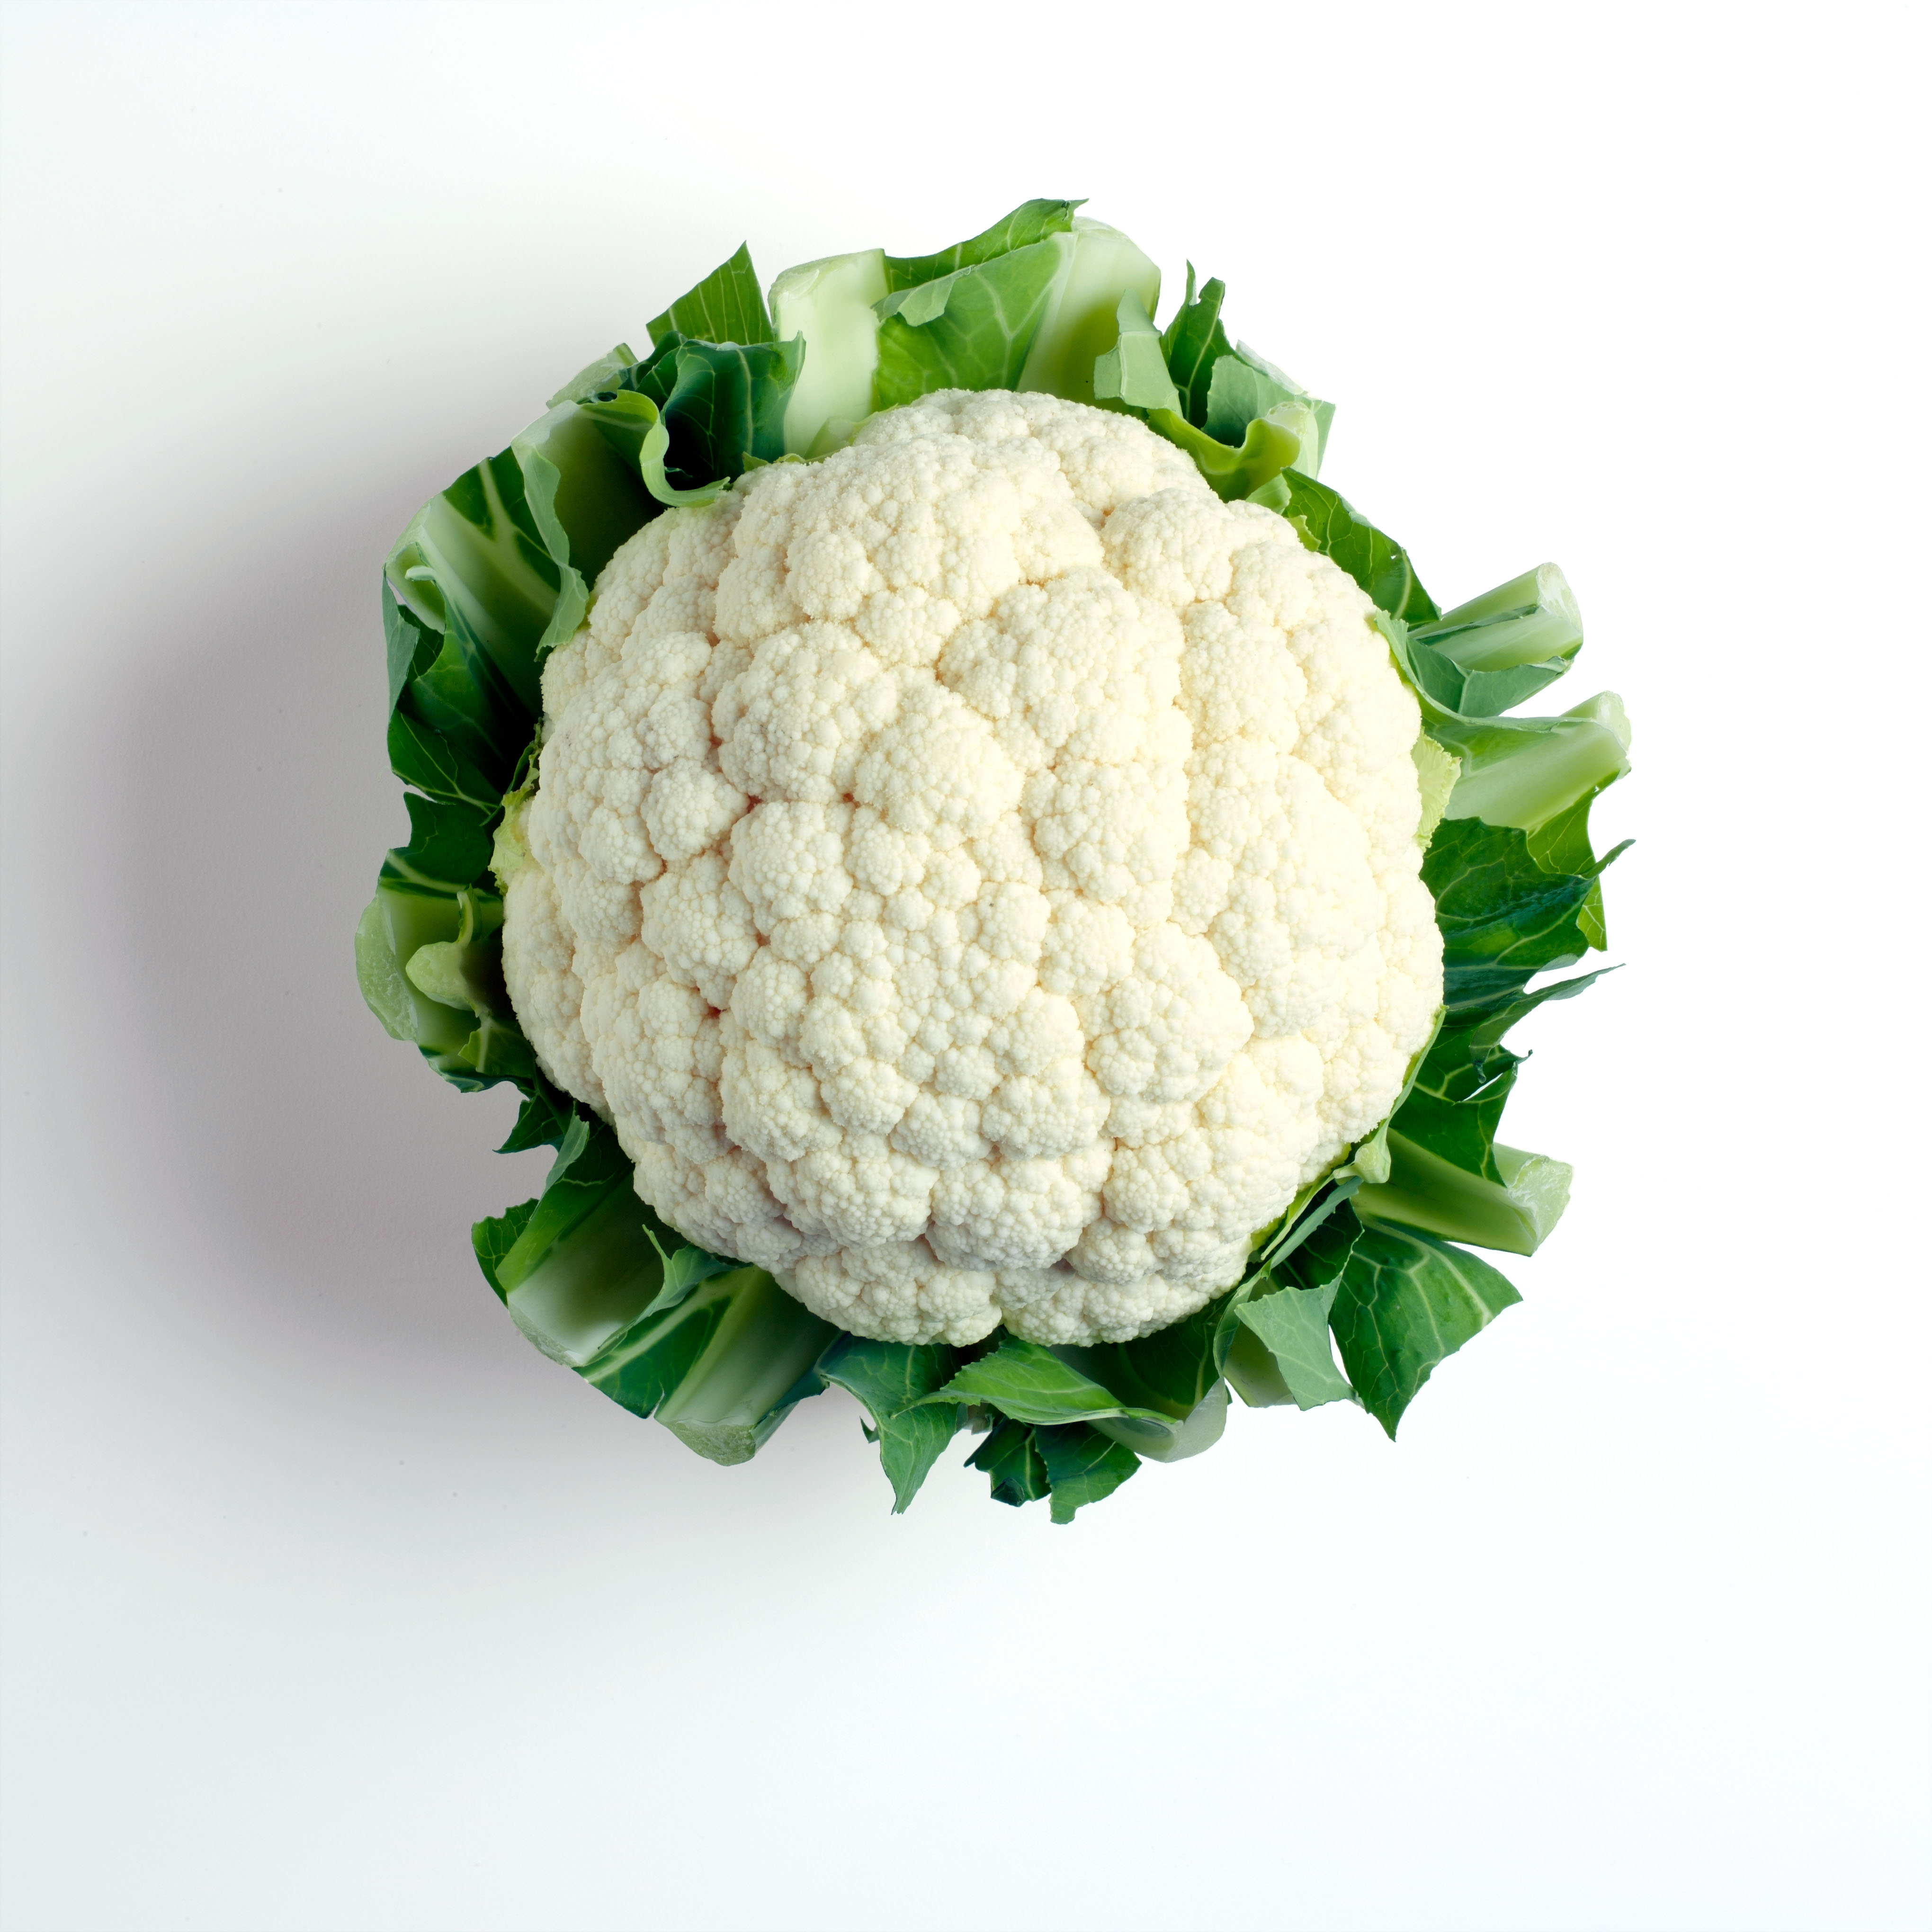
Have you guessed already?  It’s the one that makes rice, mashers, tater tots, and pizza crust.  The incredible, invincible, and transformative cauliflower!  The chameleon of all veggies!  I always have a head of cauliflower in the fridge because it can do just about anything for a meal!  I was wondering if I could slide this past my crew, and it worked like a charm.  You can pretty much use your favorite potato salad recipe by substituting cauliflower for your potatoes.  We prefer a creamy mustard type dressing with a little sweetness. I know some like mayo only, and others like a tart mustard, so take it where you like it.  So many options!

Cauliflower 009

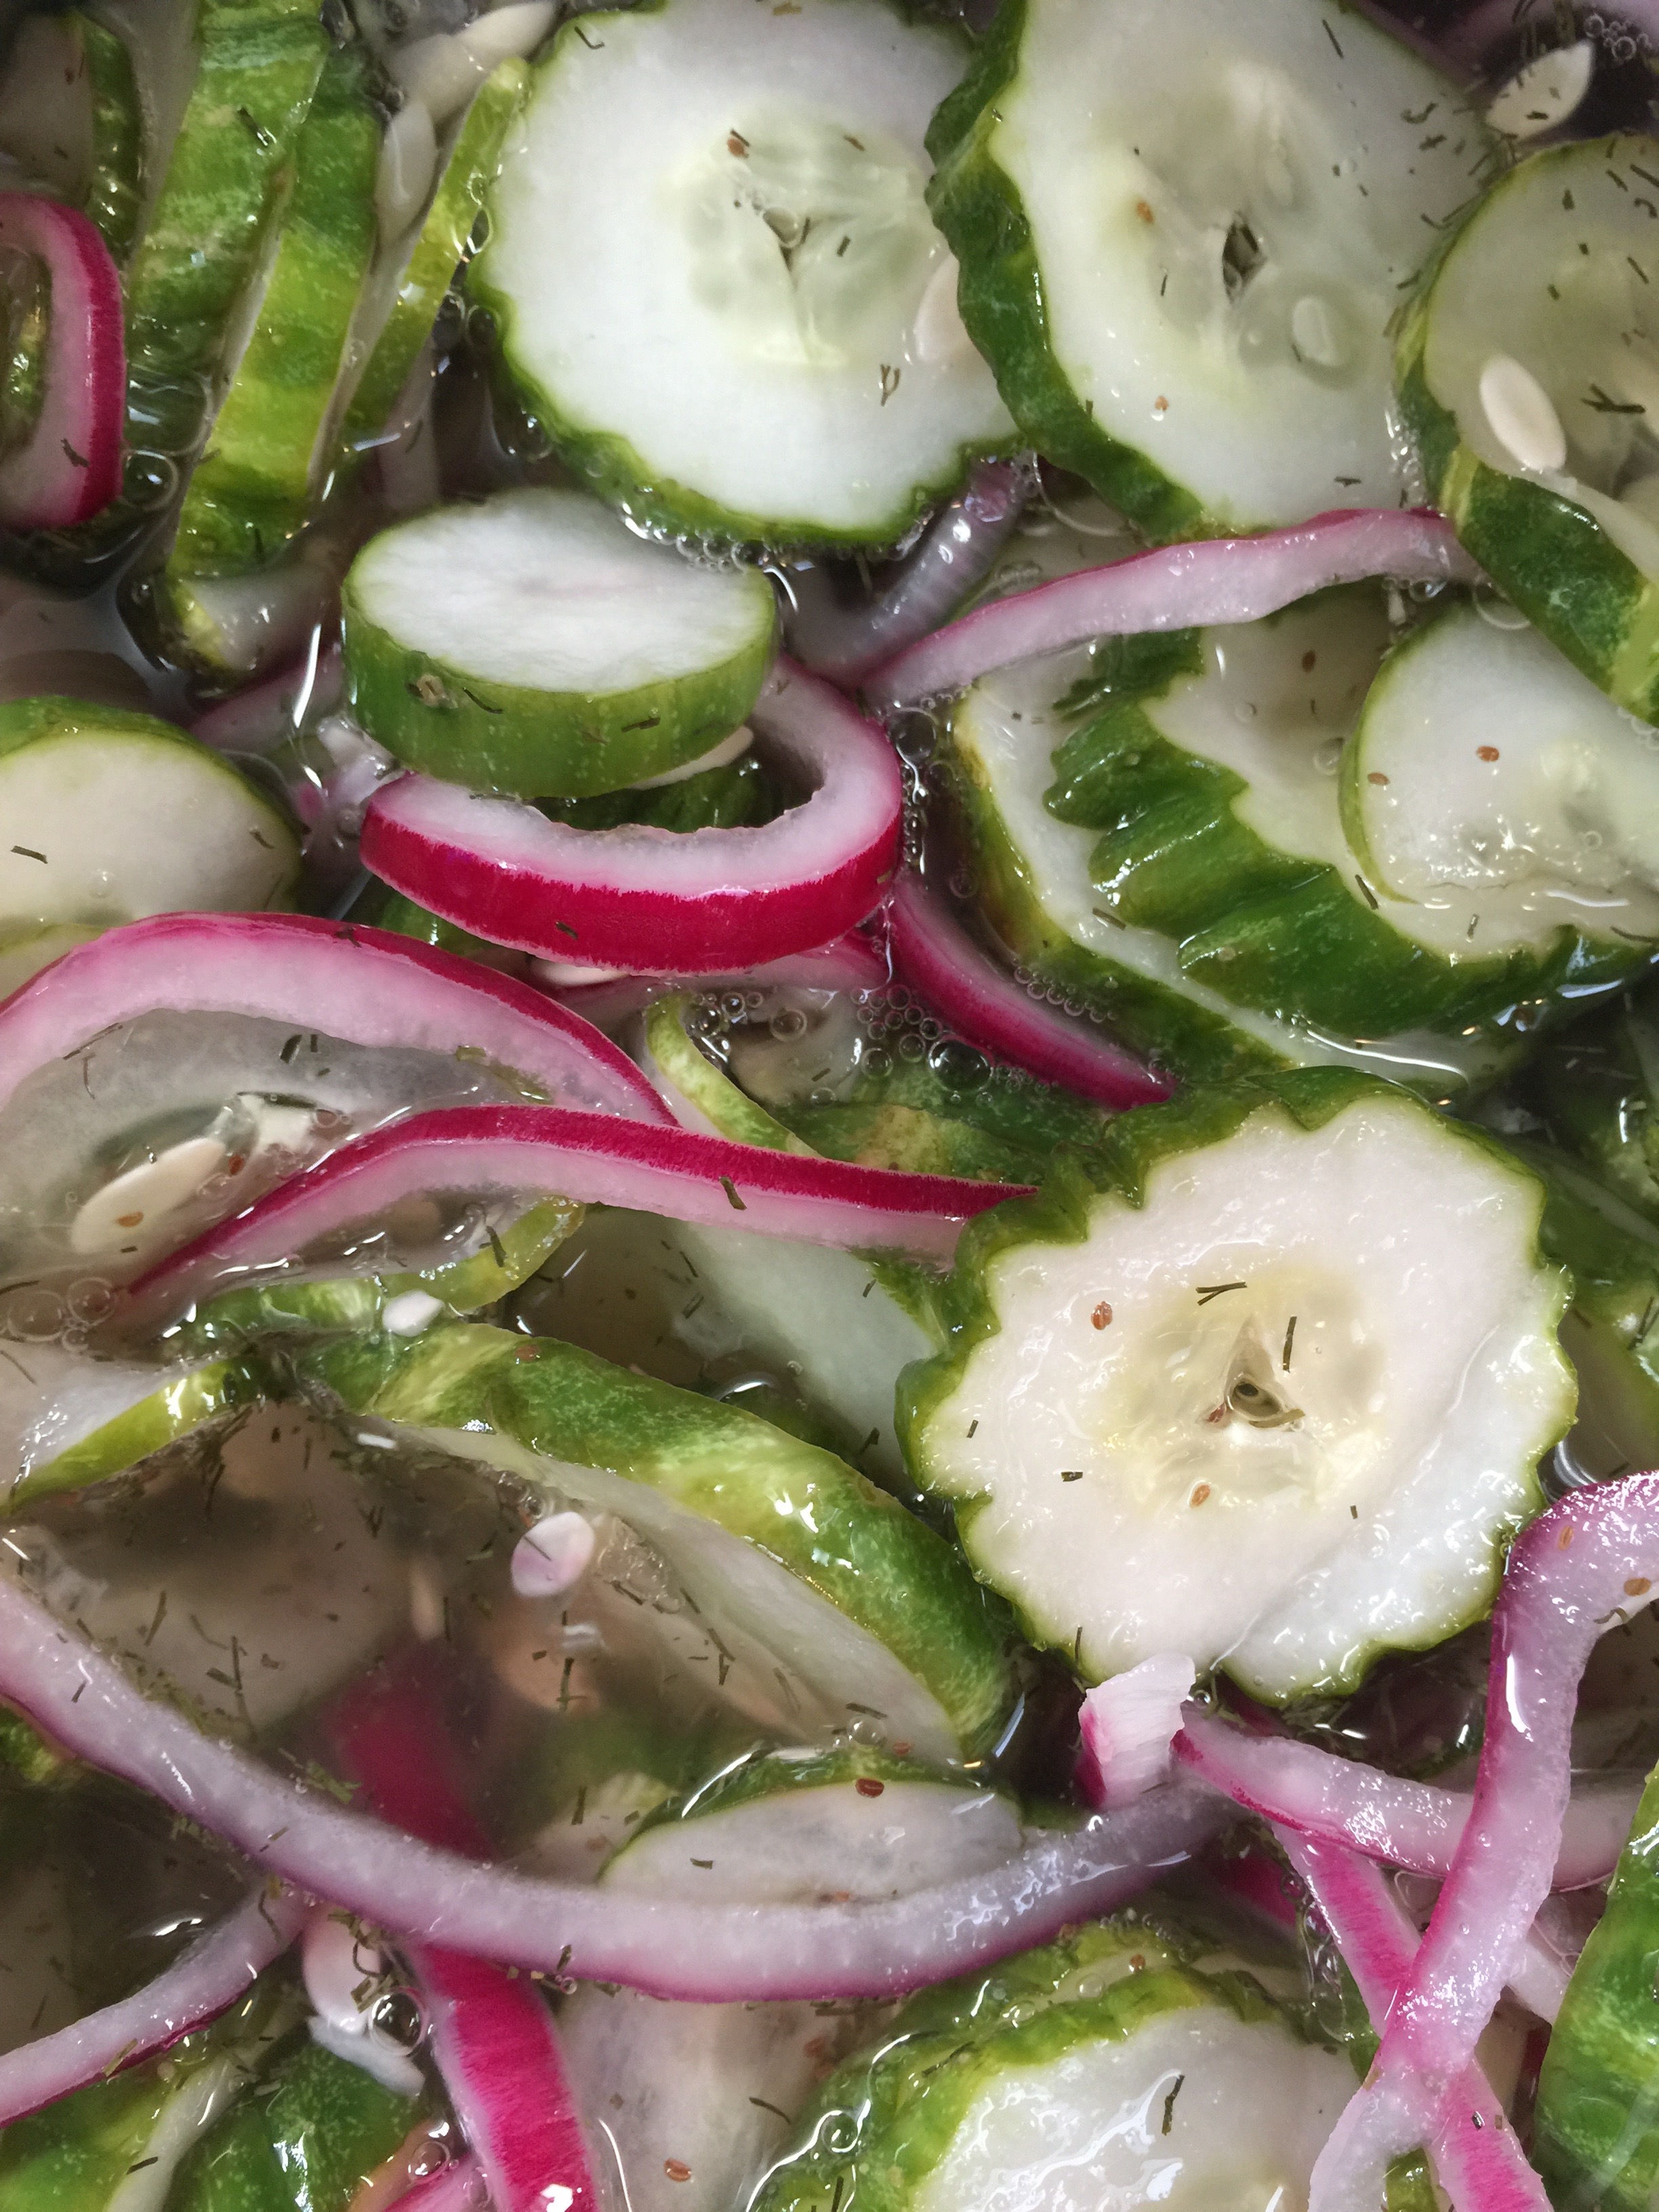
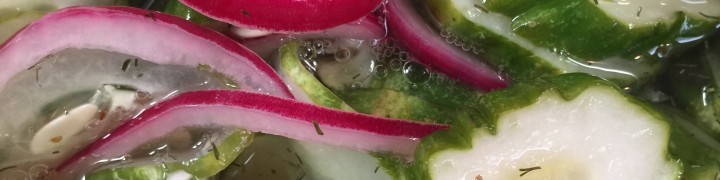
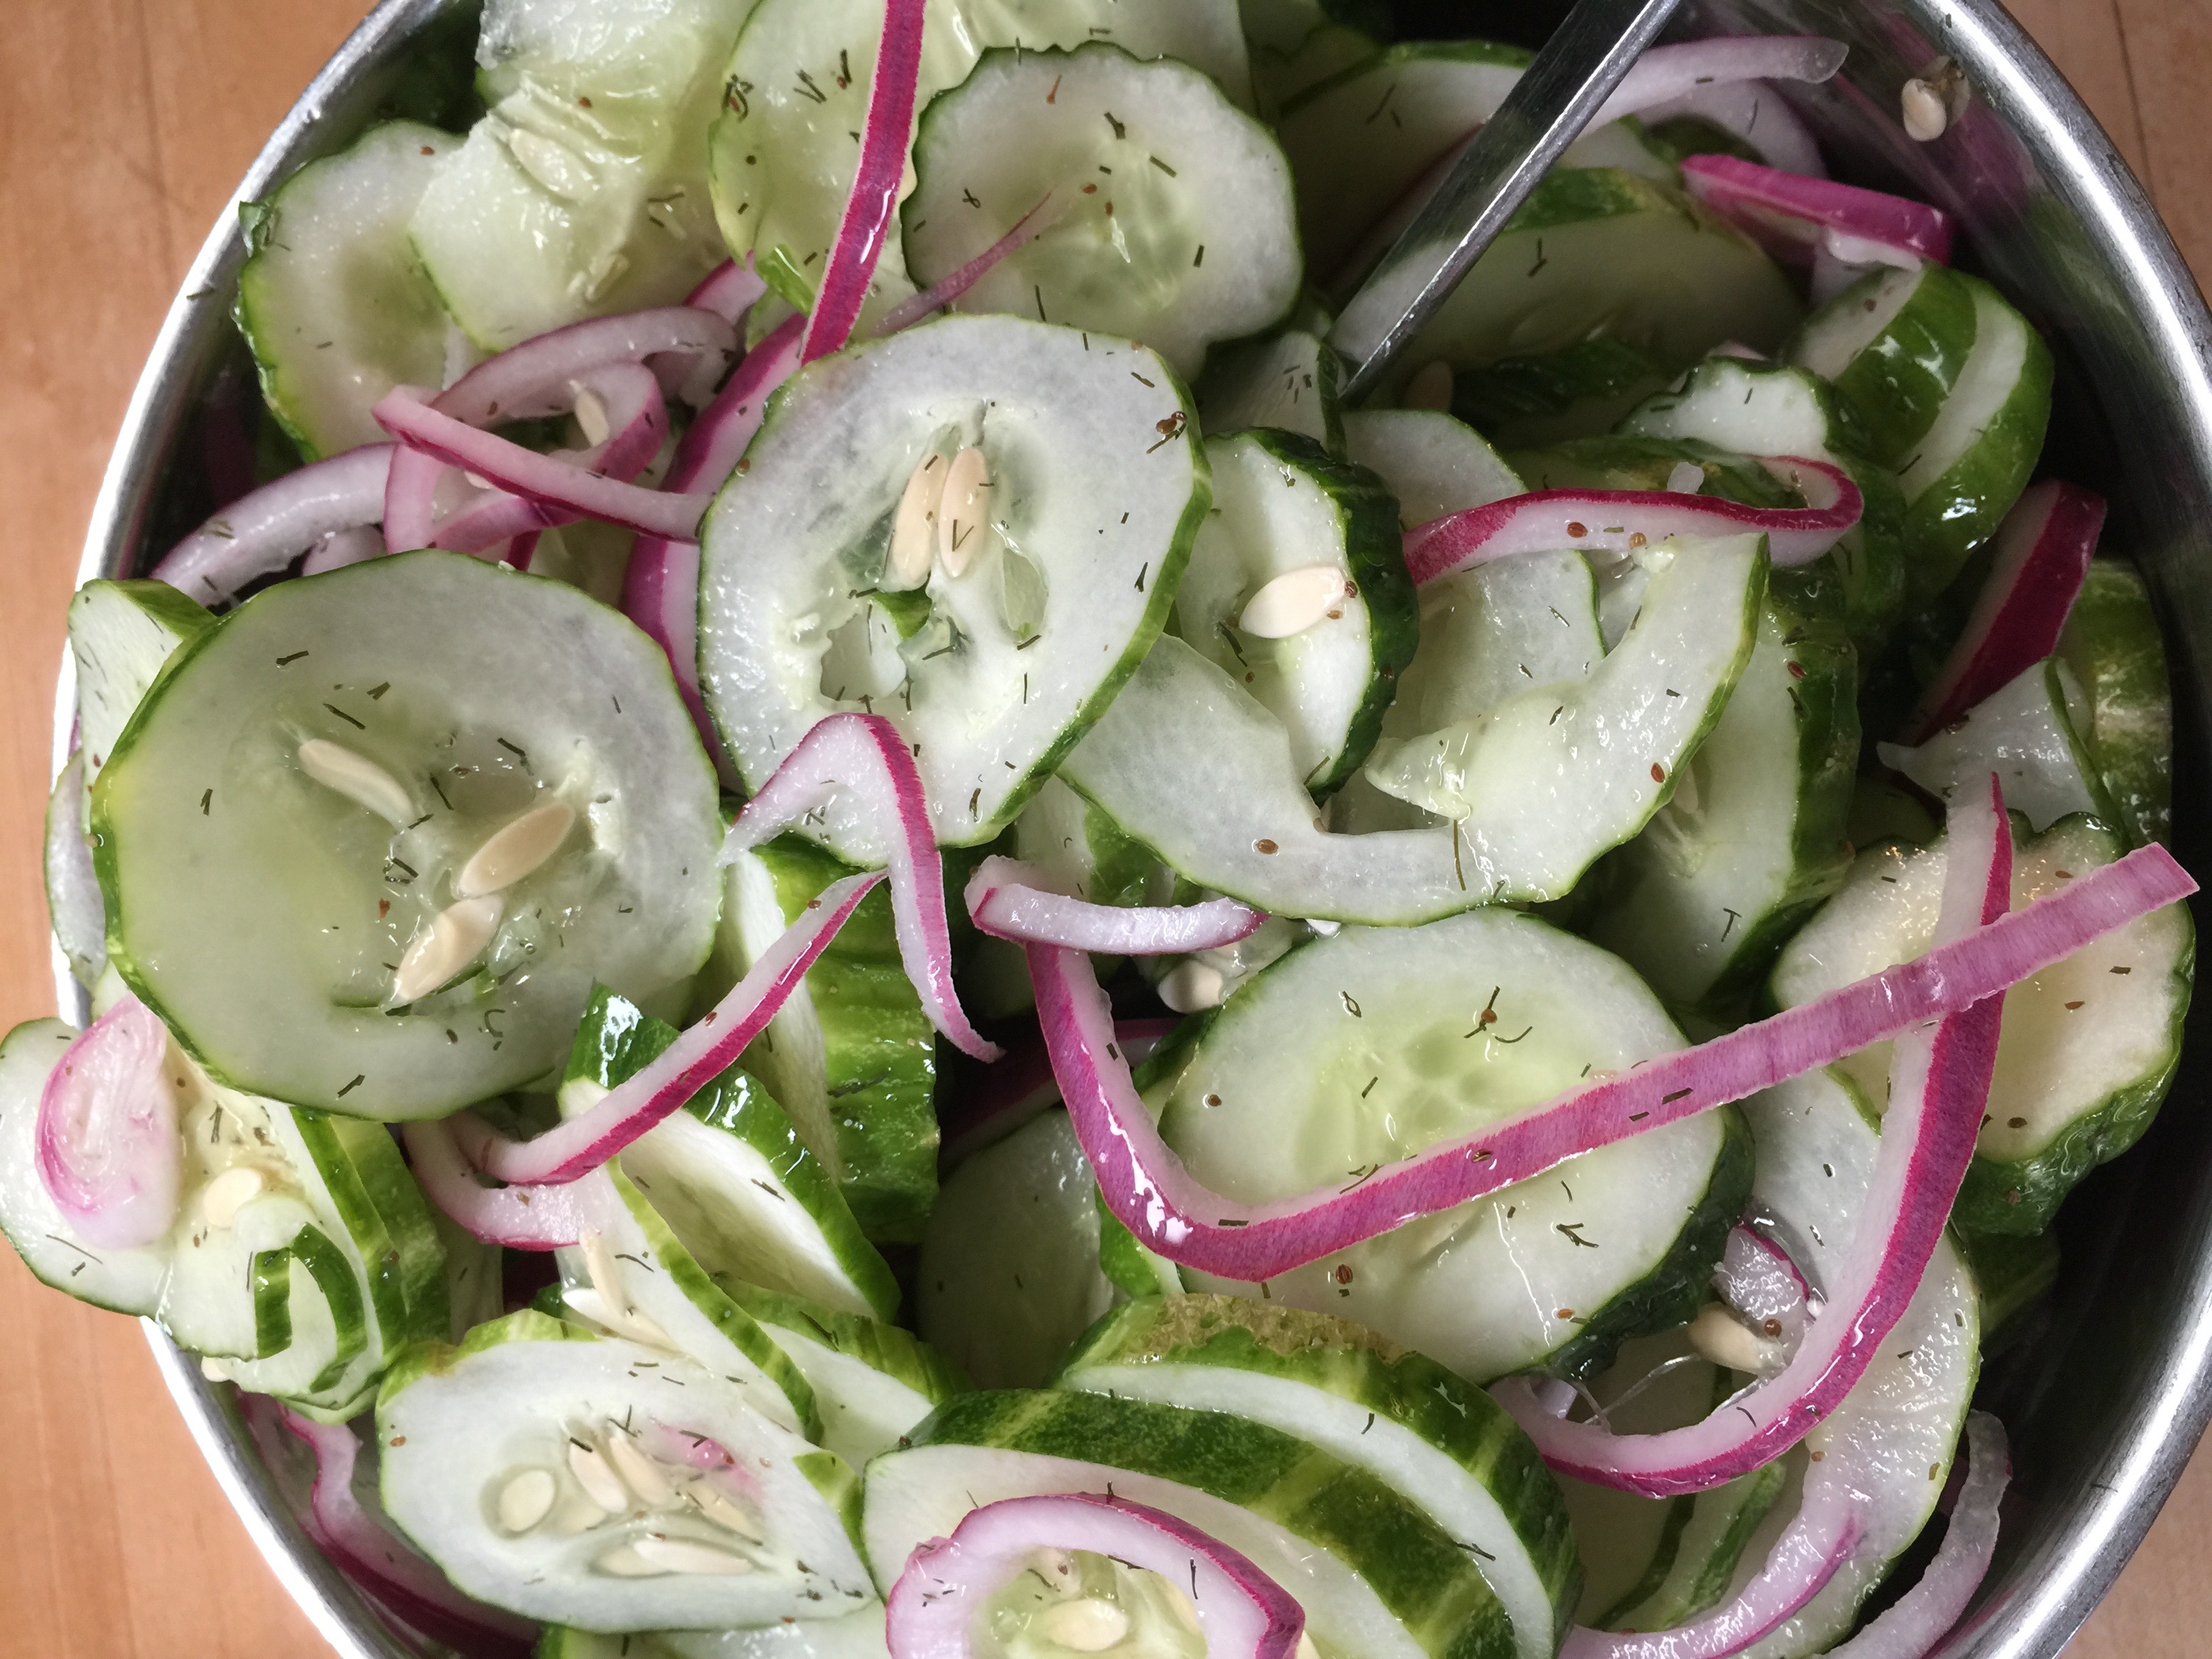
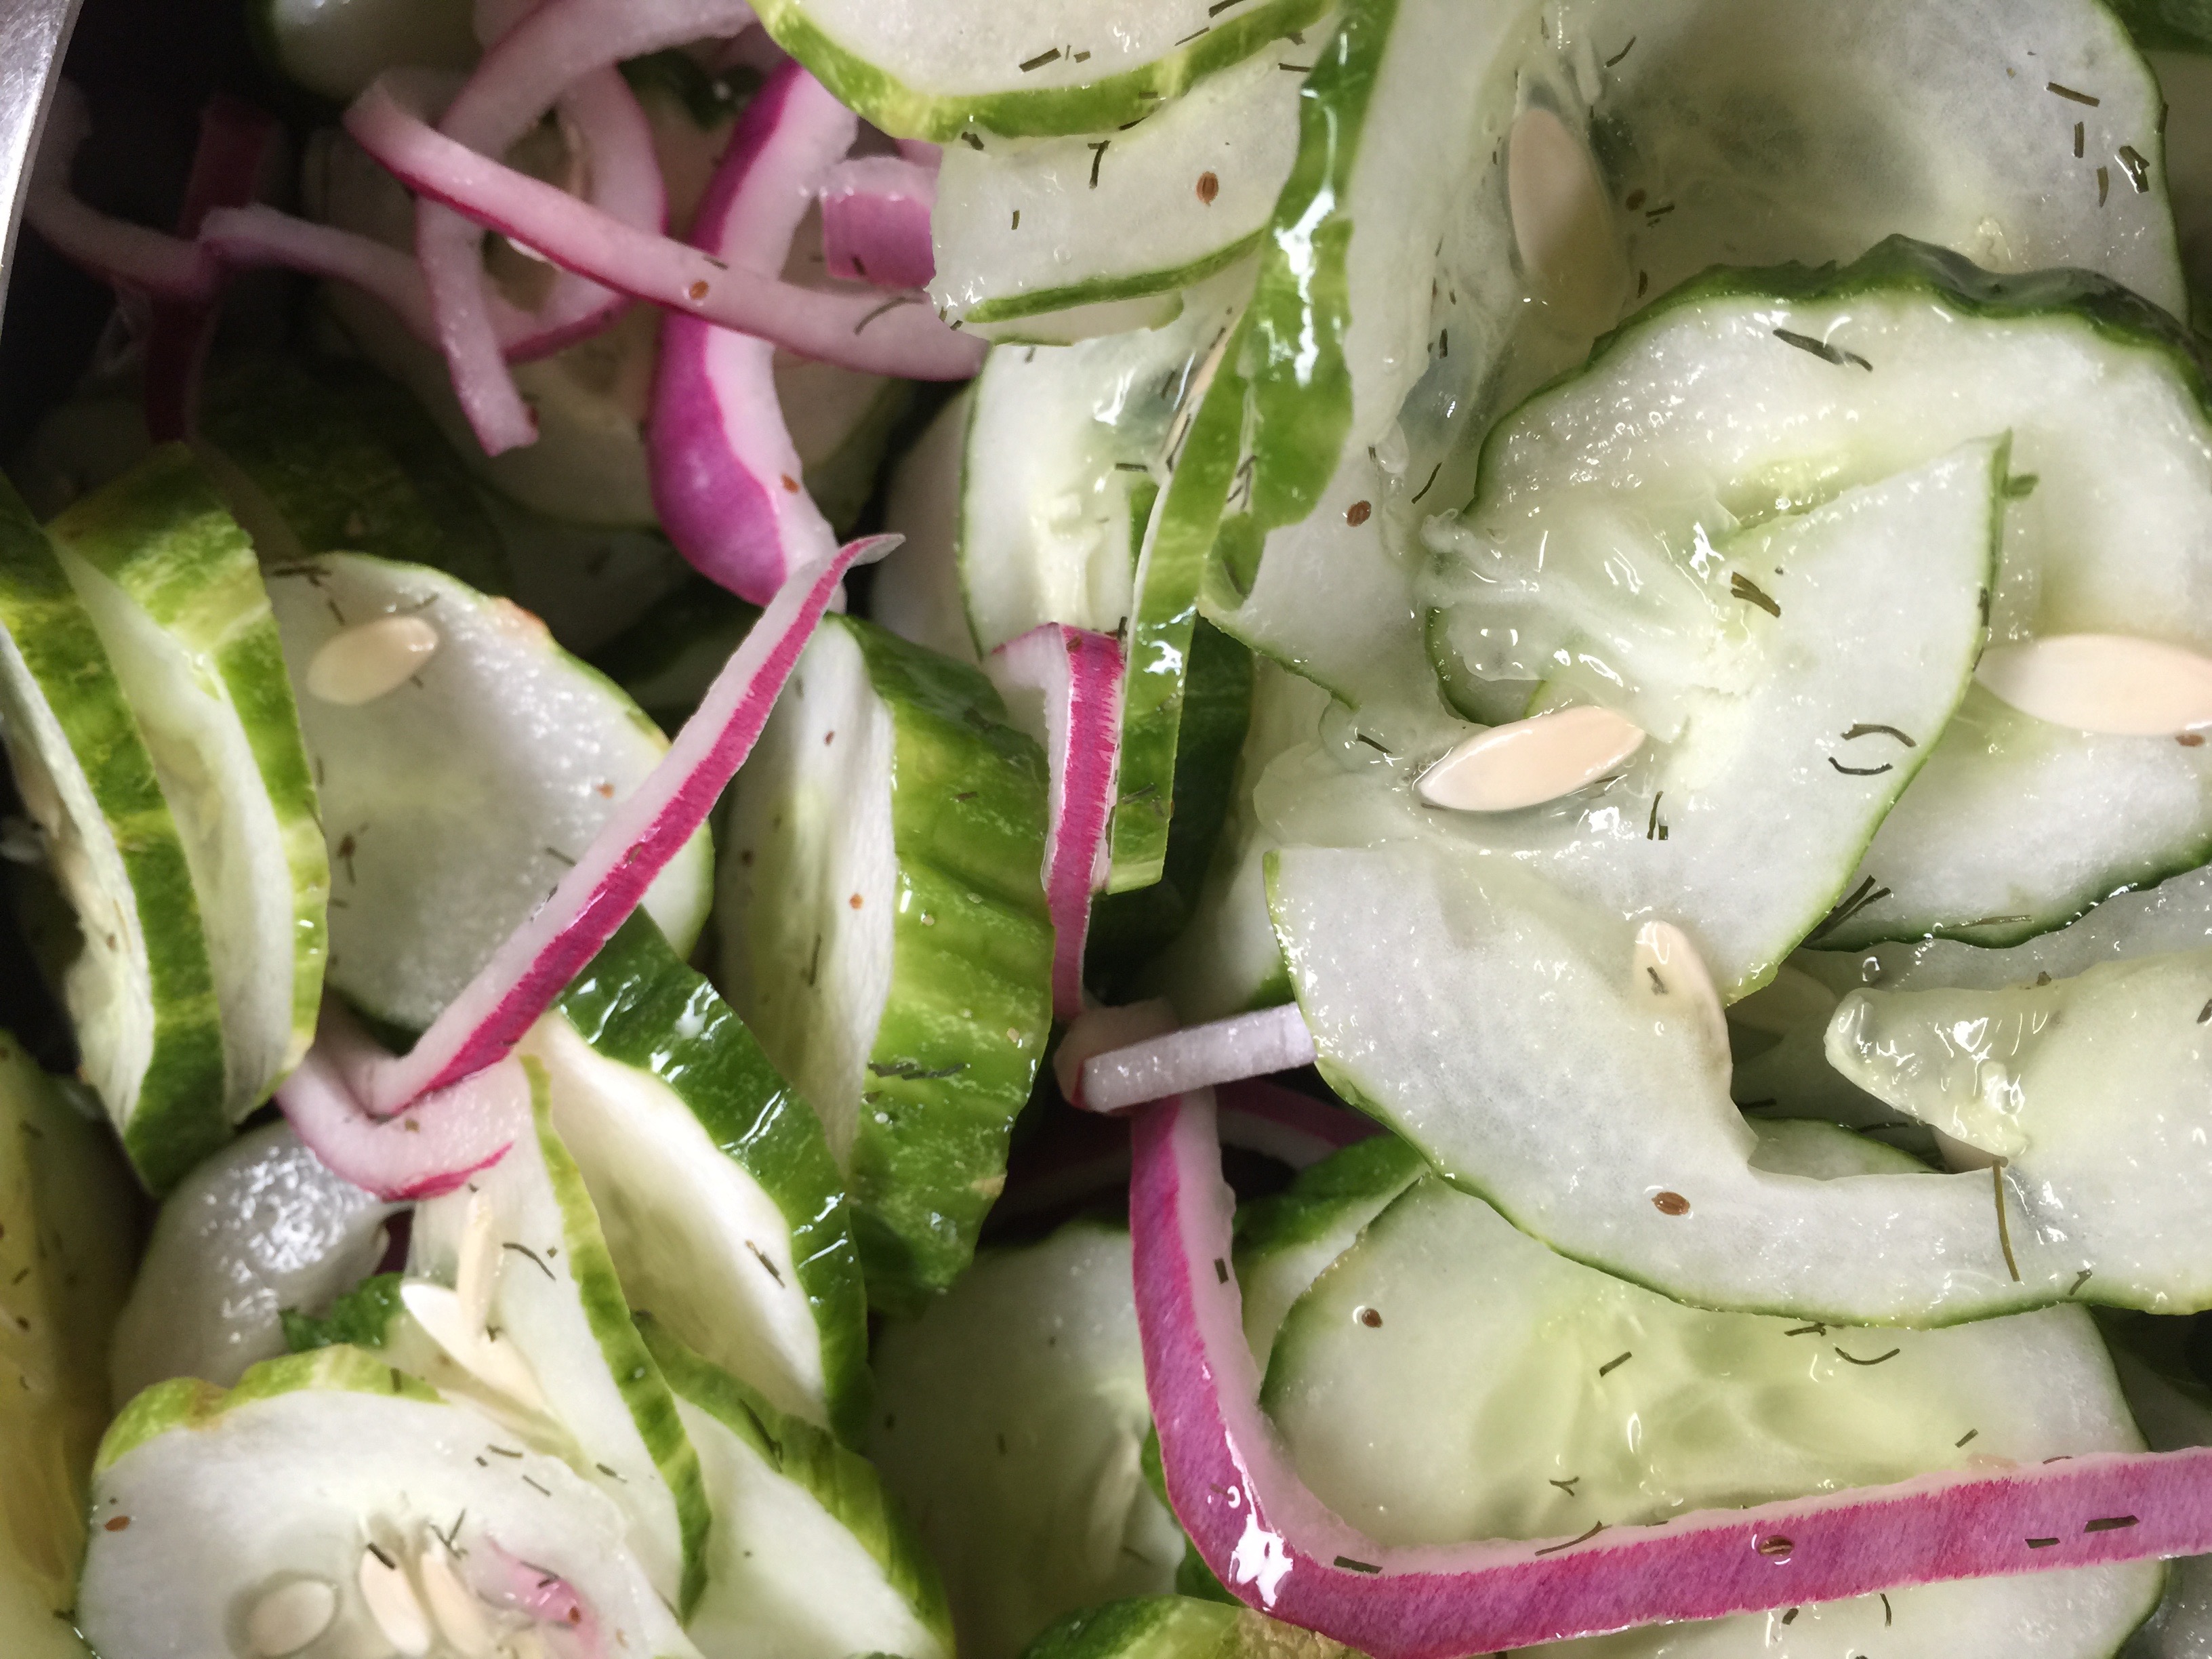
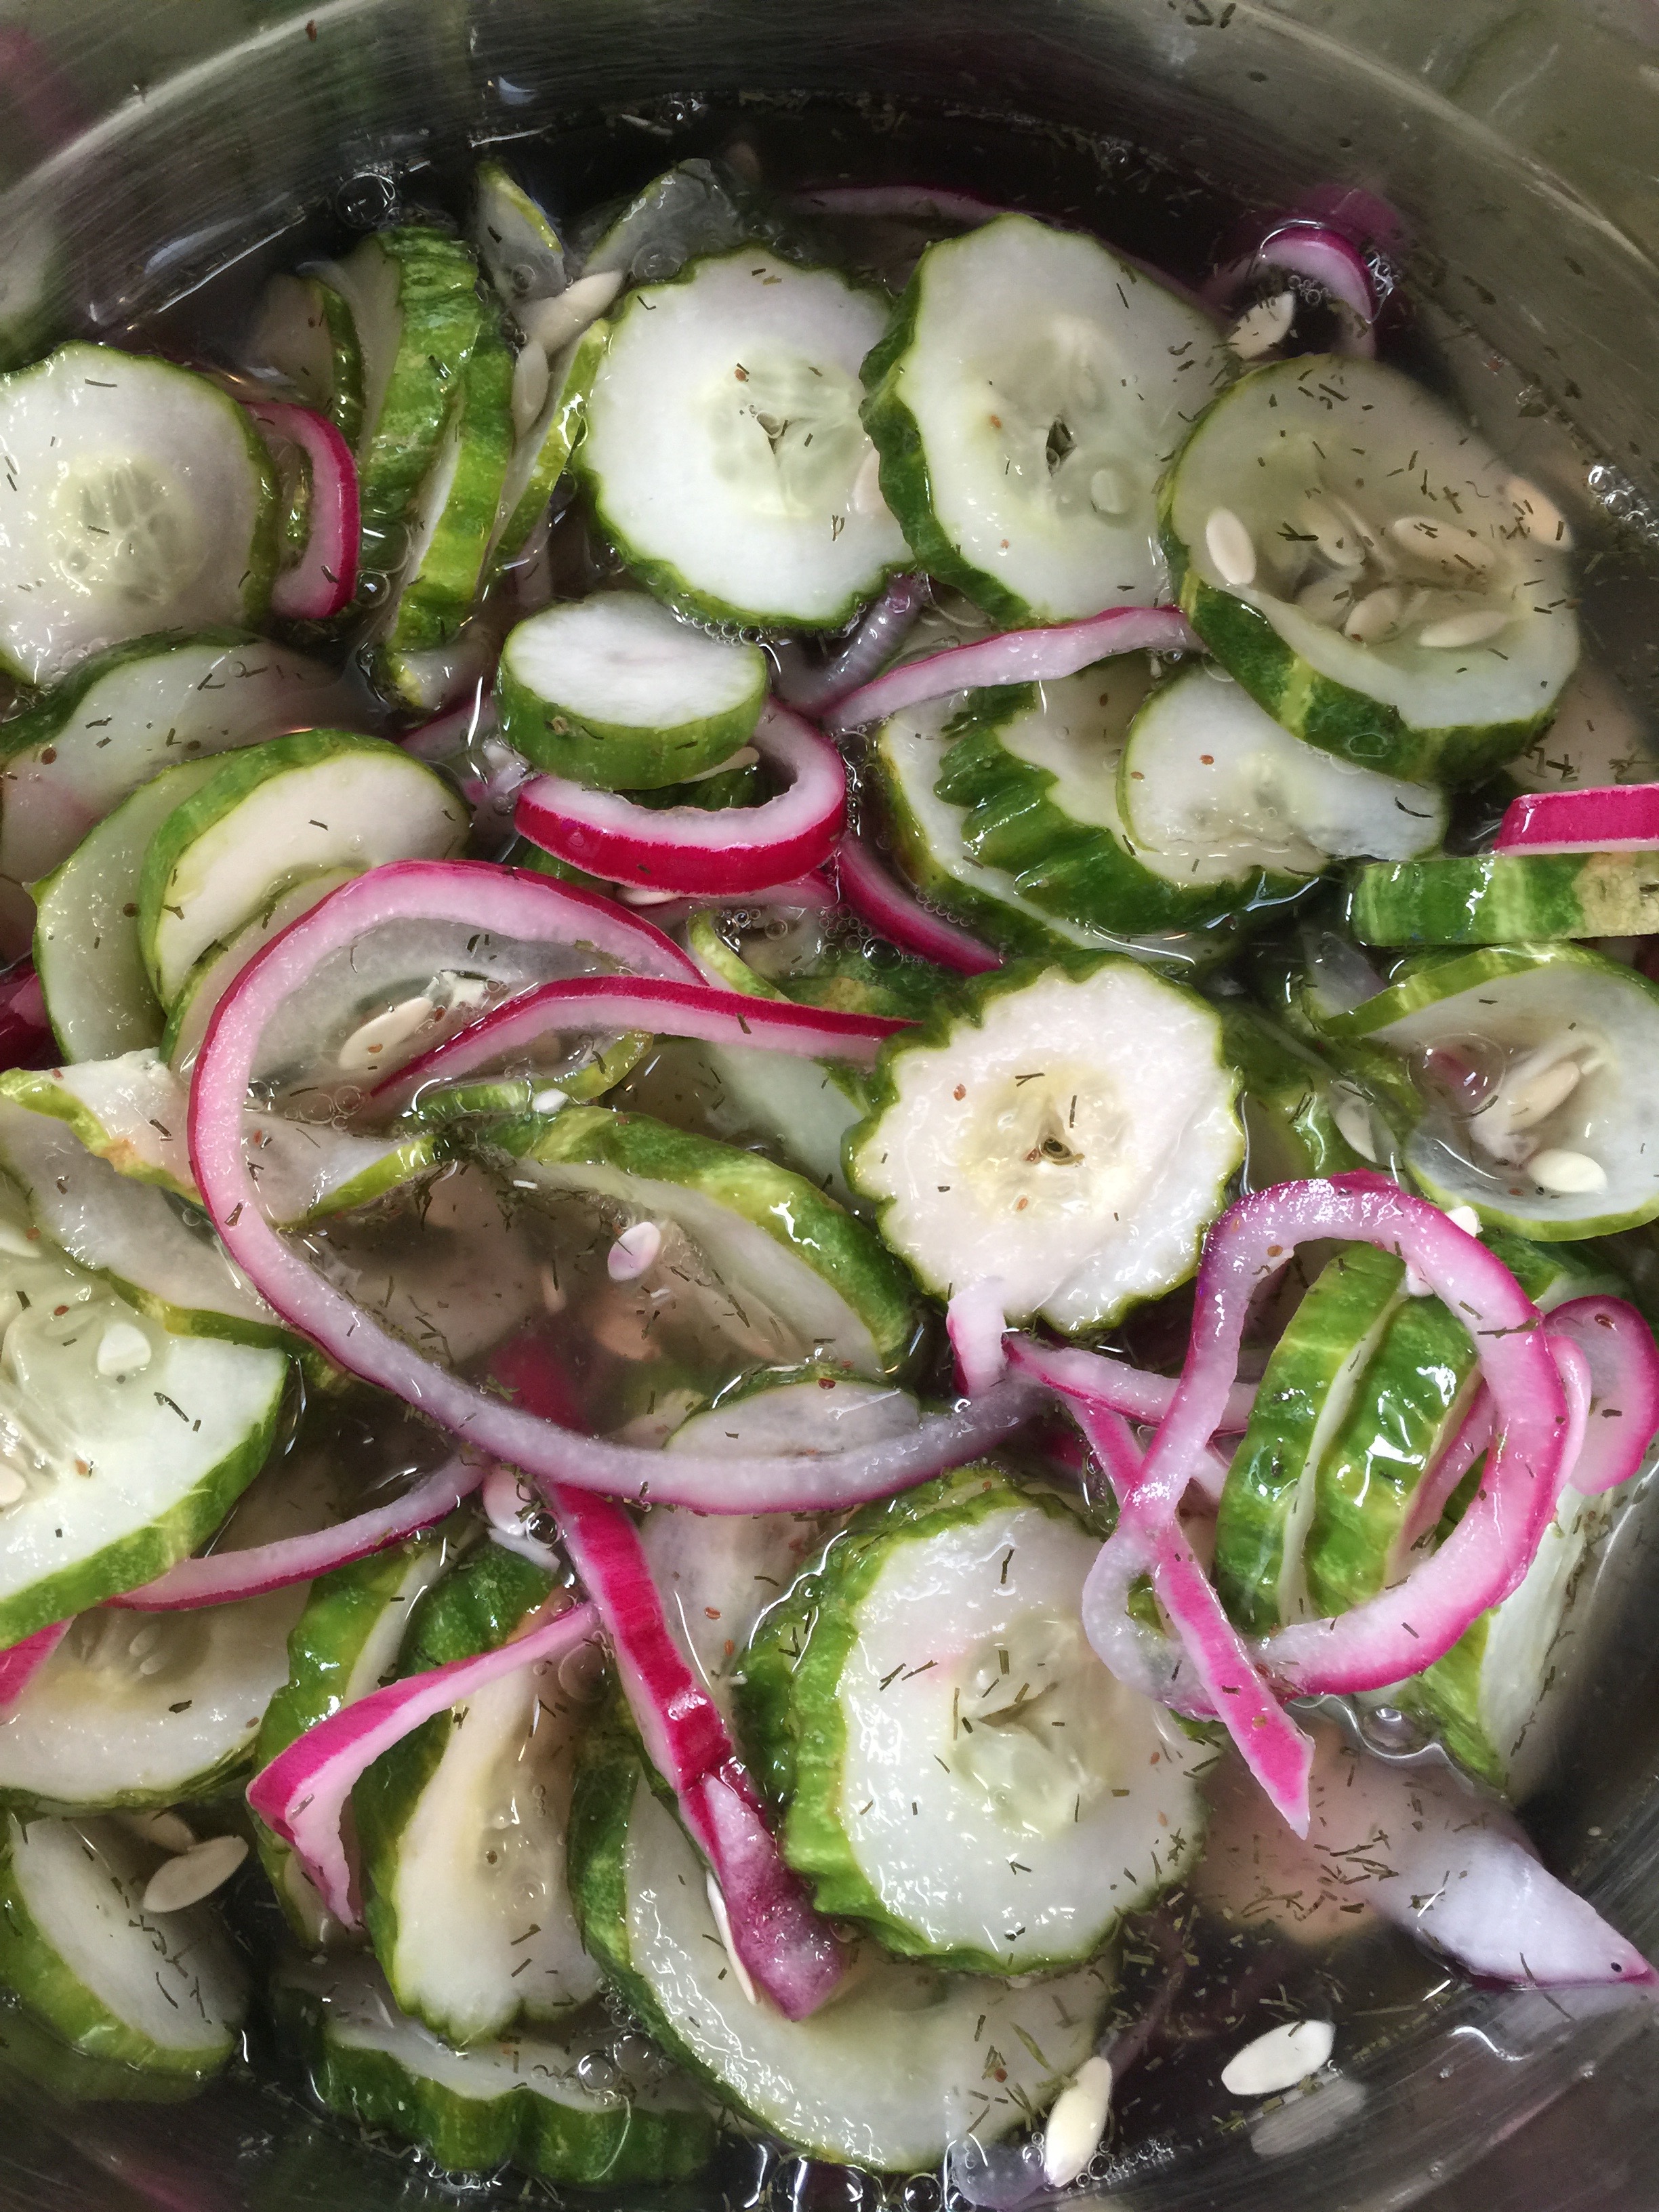
I still had a few of the refreshing cukes in the fridge, so I thought I would give them a try for the touch of sweet.  Worked like a charm.  So if you are planning on making the cucumbers for your July Fourth celebration, save a few extra to throw into your “potatoes”.

IMG_2798

So here is the recipe along with a few variations for your upcoming weekend:

Keto Potato Salad

1 medium to large head of cauliflower

1 cup of diced celery

1/2 cup diced red onion

1/3 cup diced Refreshing Cukes + 5 Tbsp of the “Pickle Juice”
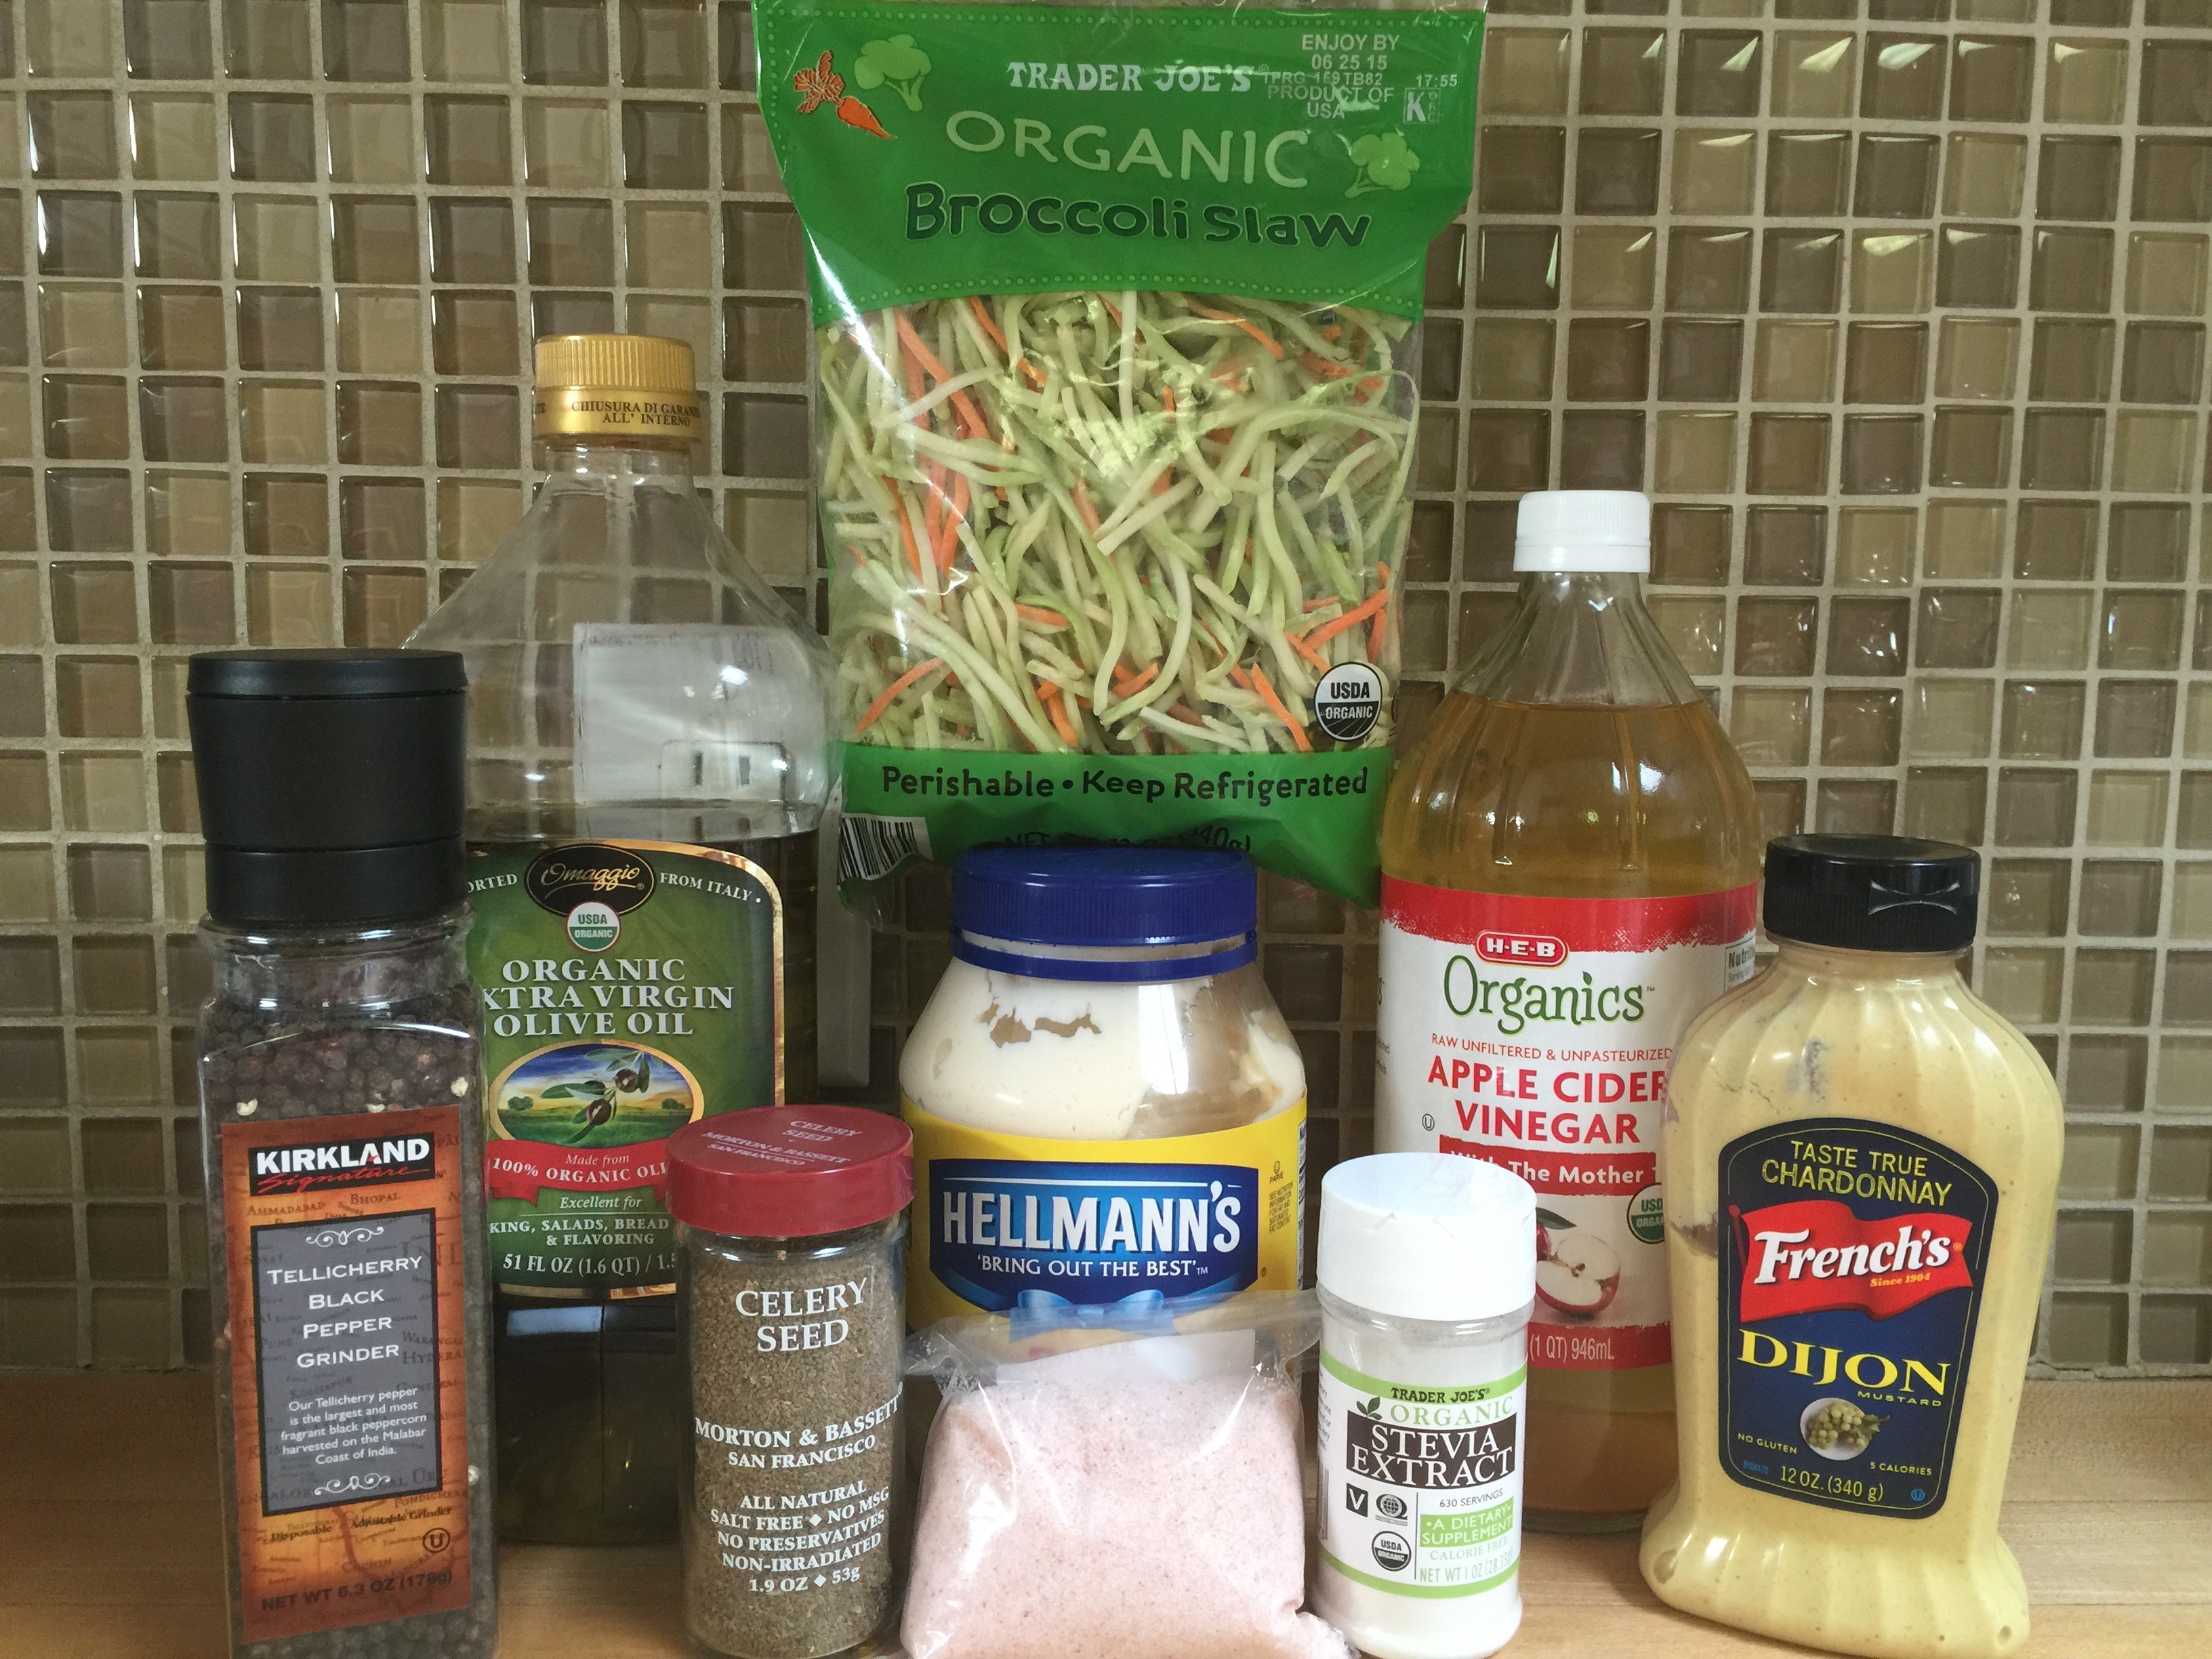
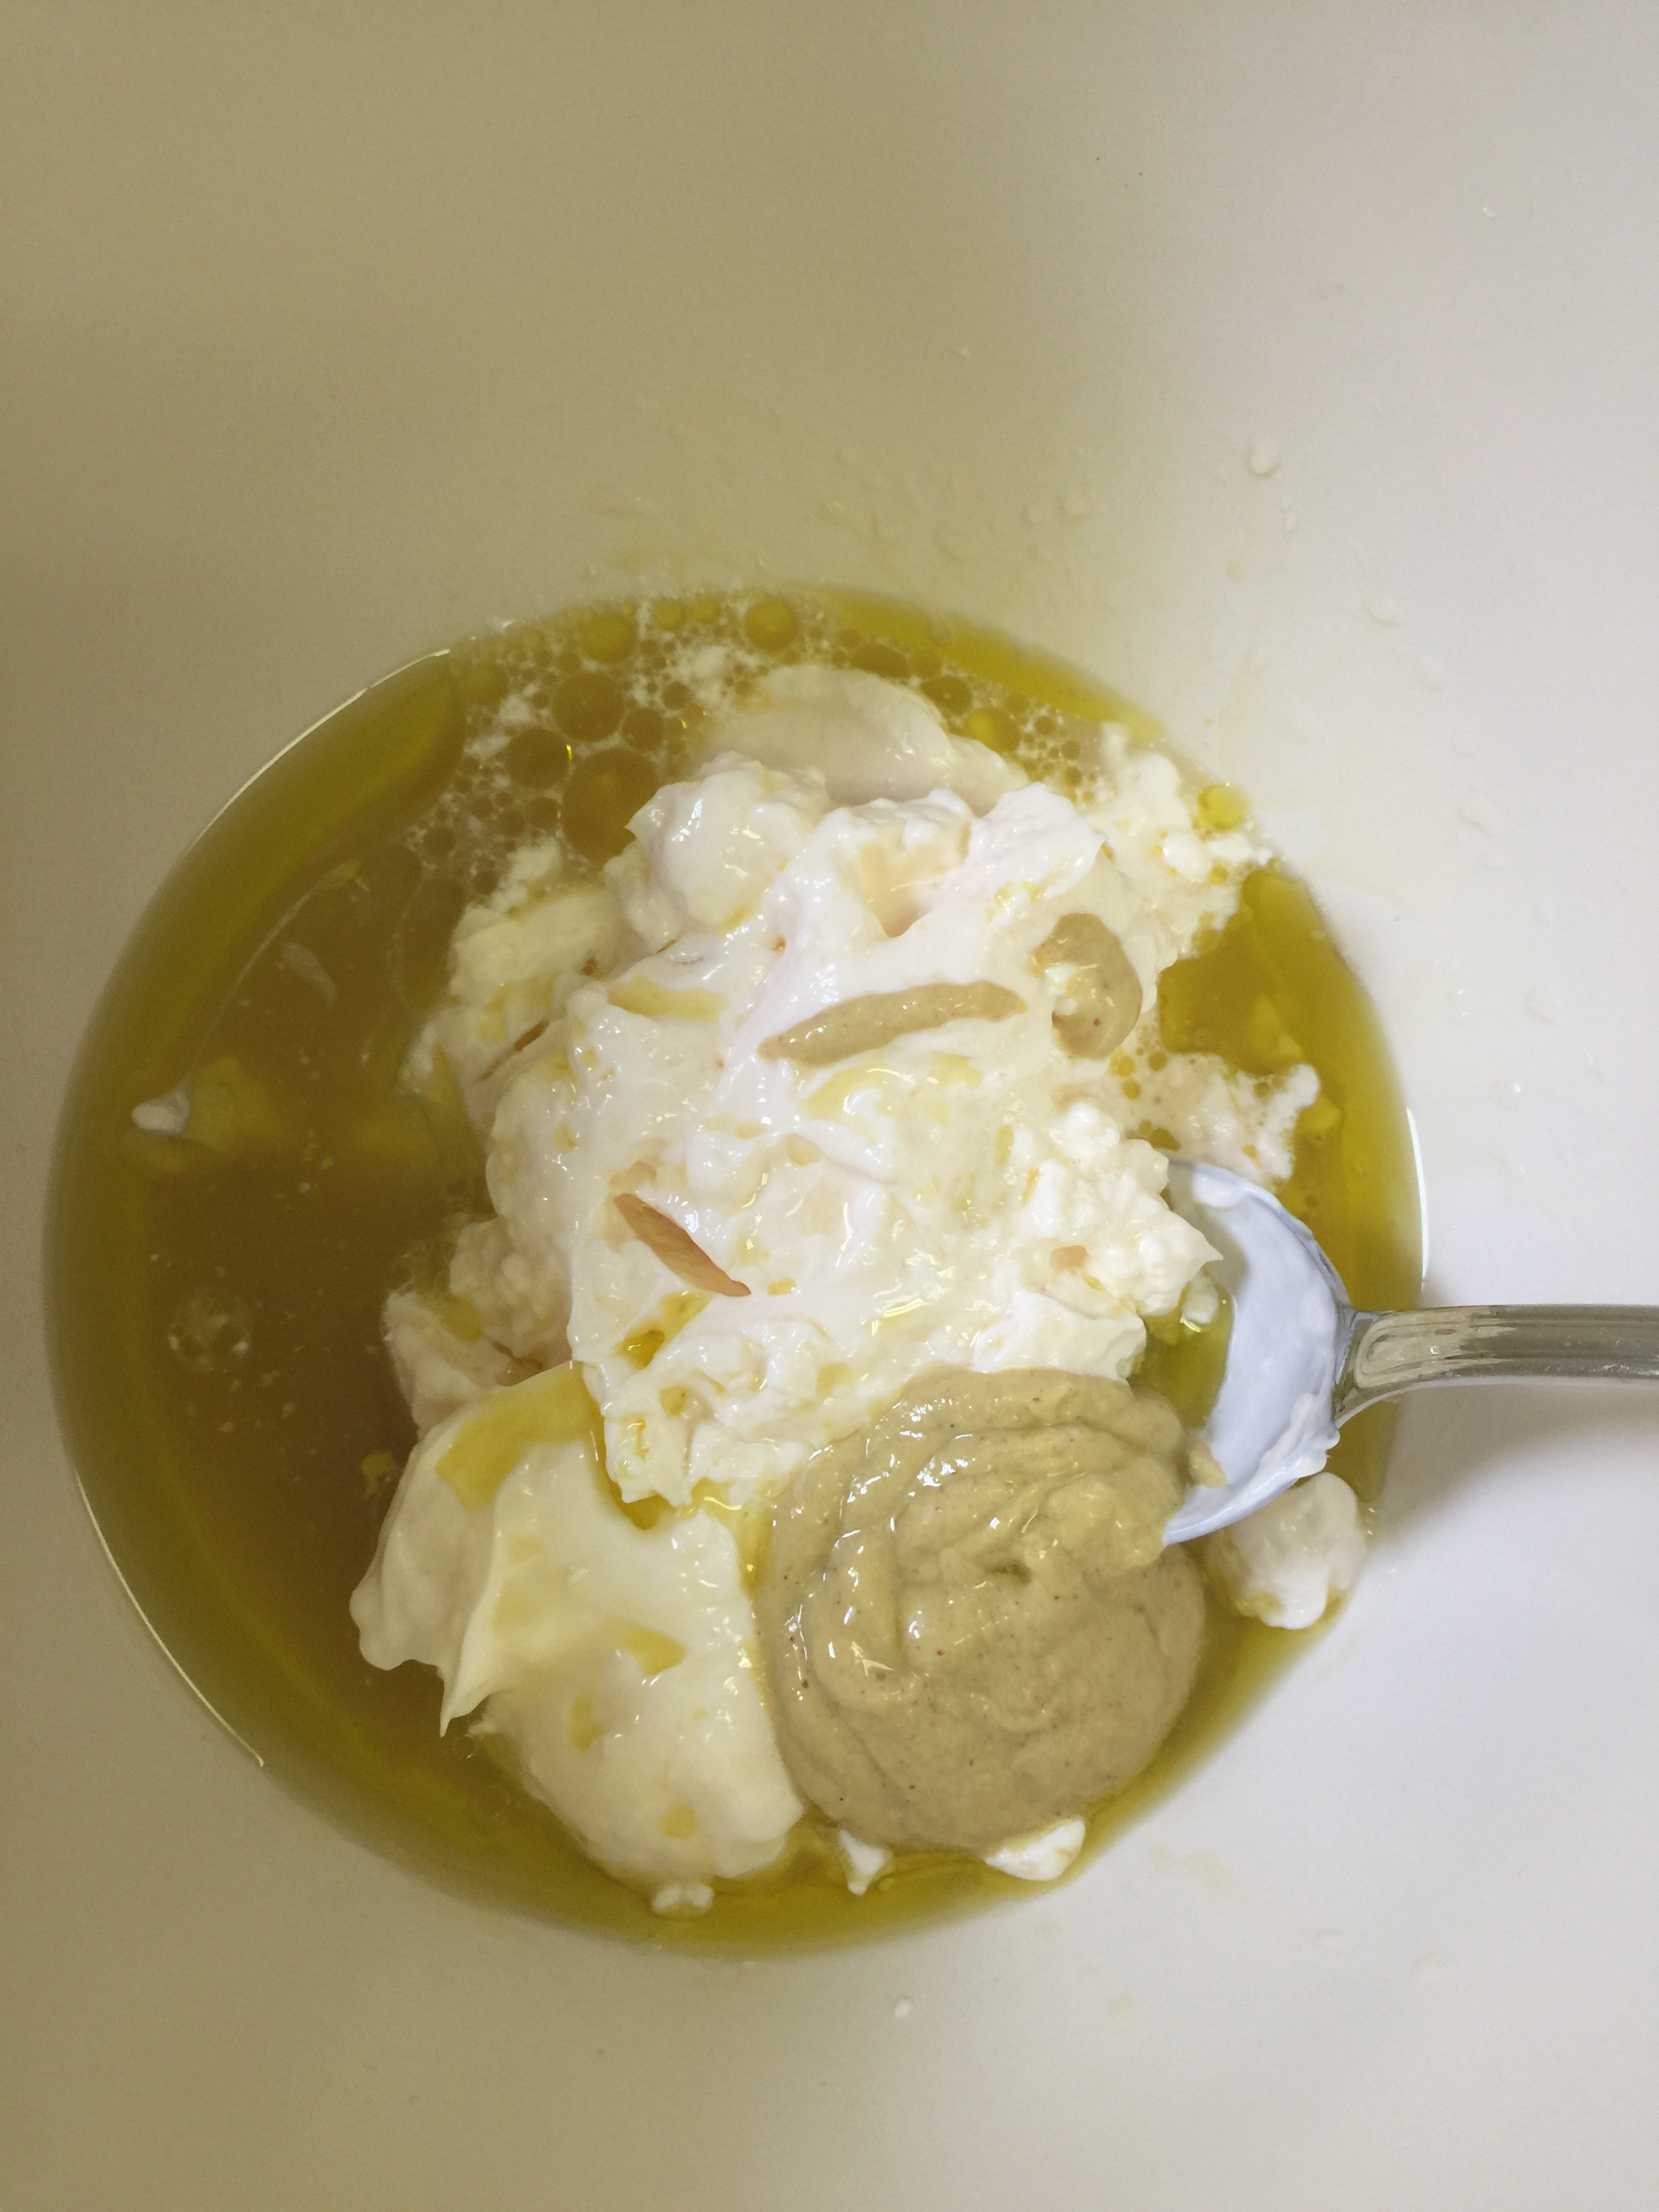
3/4 cup mayonnaise

1/3 cup dijon mustard

1 tsp Himalayan salt

1 tsp black pepper

Dash of paprika


Other Options:

Vinegar for tartness

Boiled Egg (2-3)

Black Olives

Dill Pickles with pickle juice if you don’t have the Cukes, but like the pickle idea.

Lemon juice

Chives


Directions:

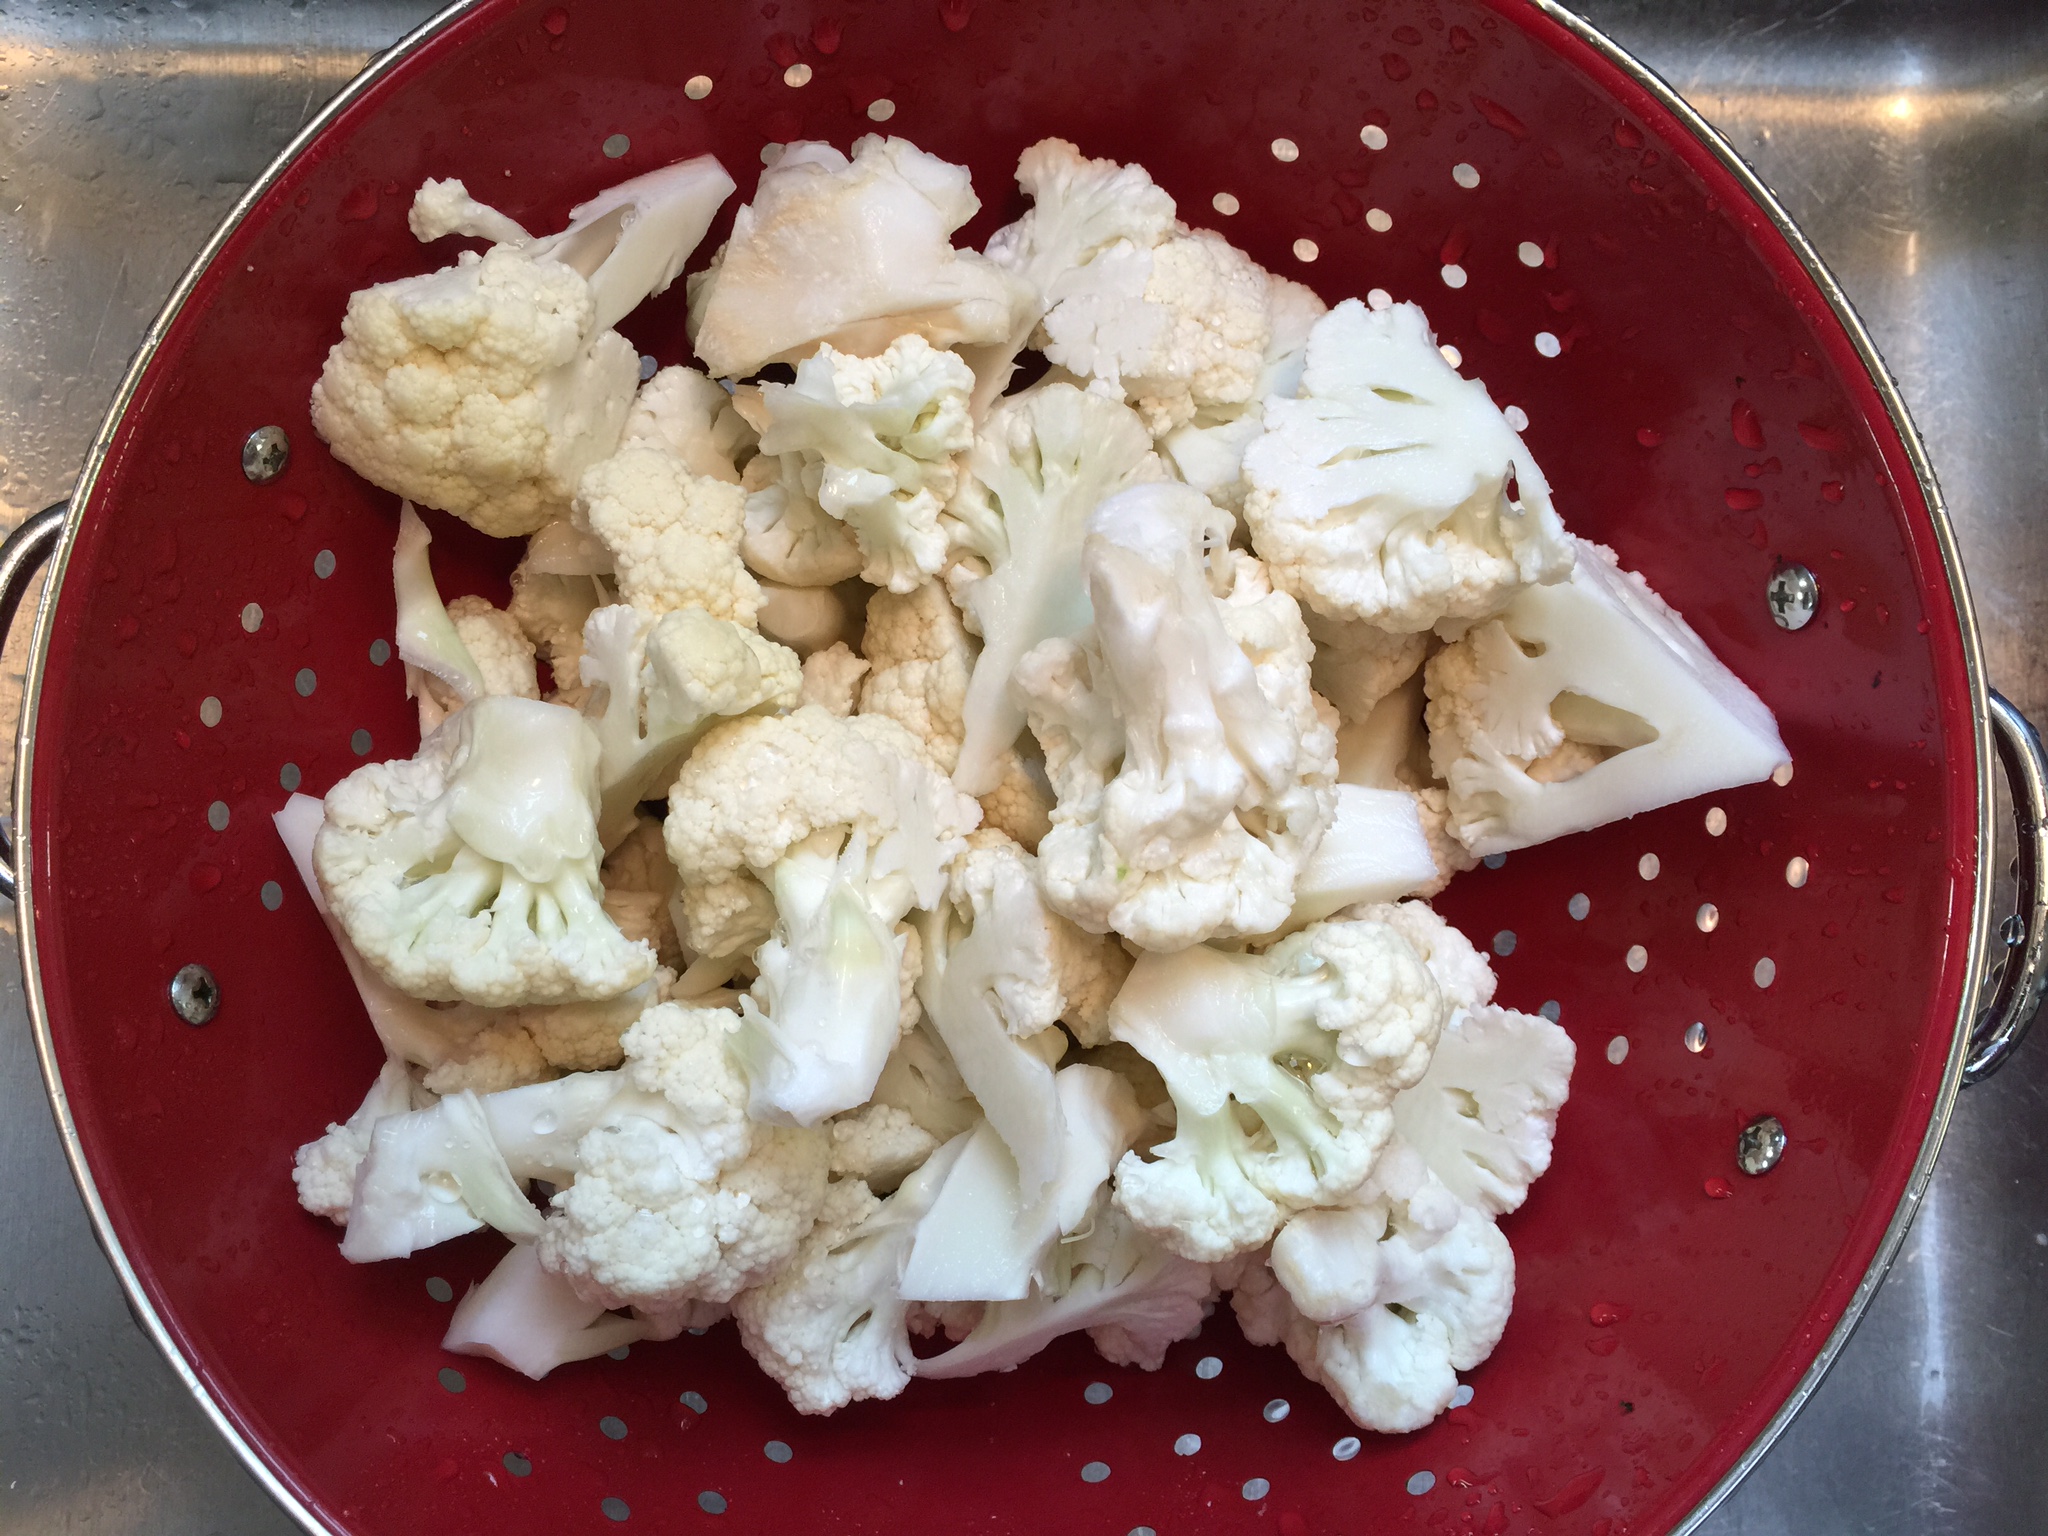
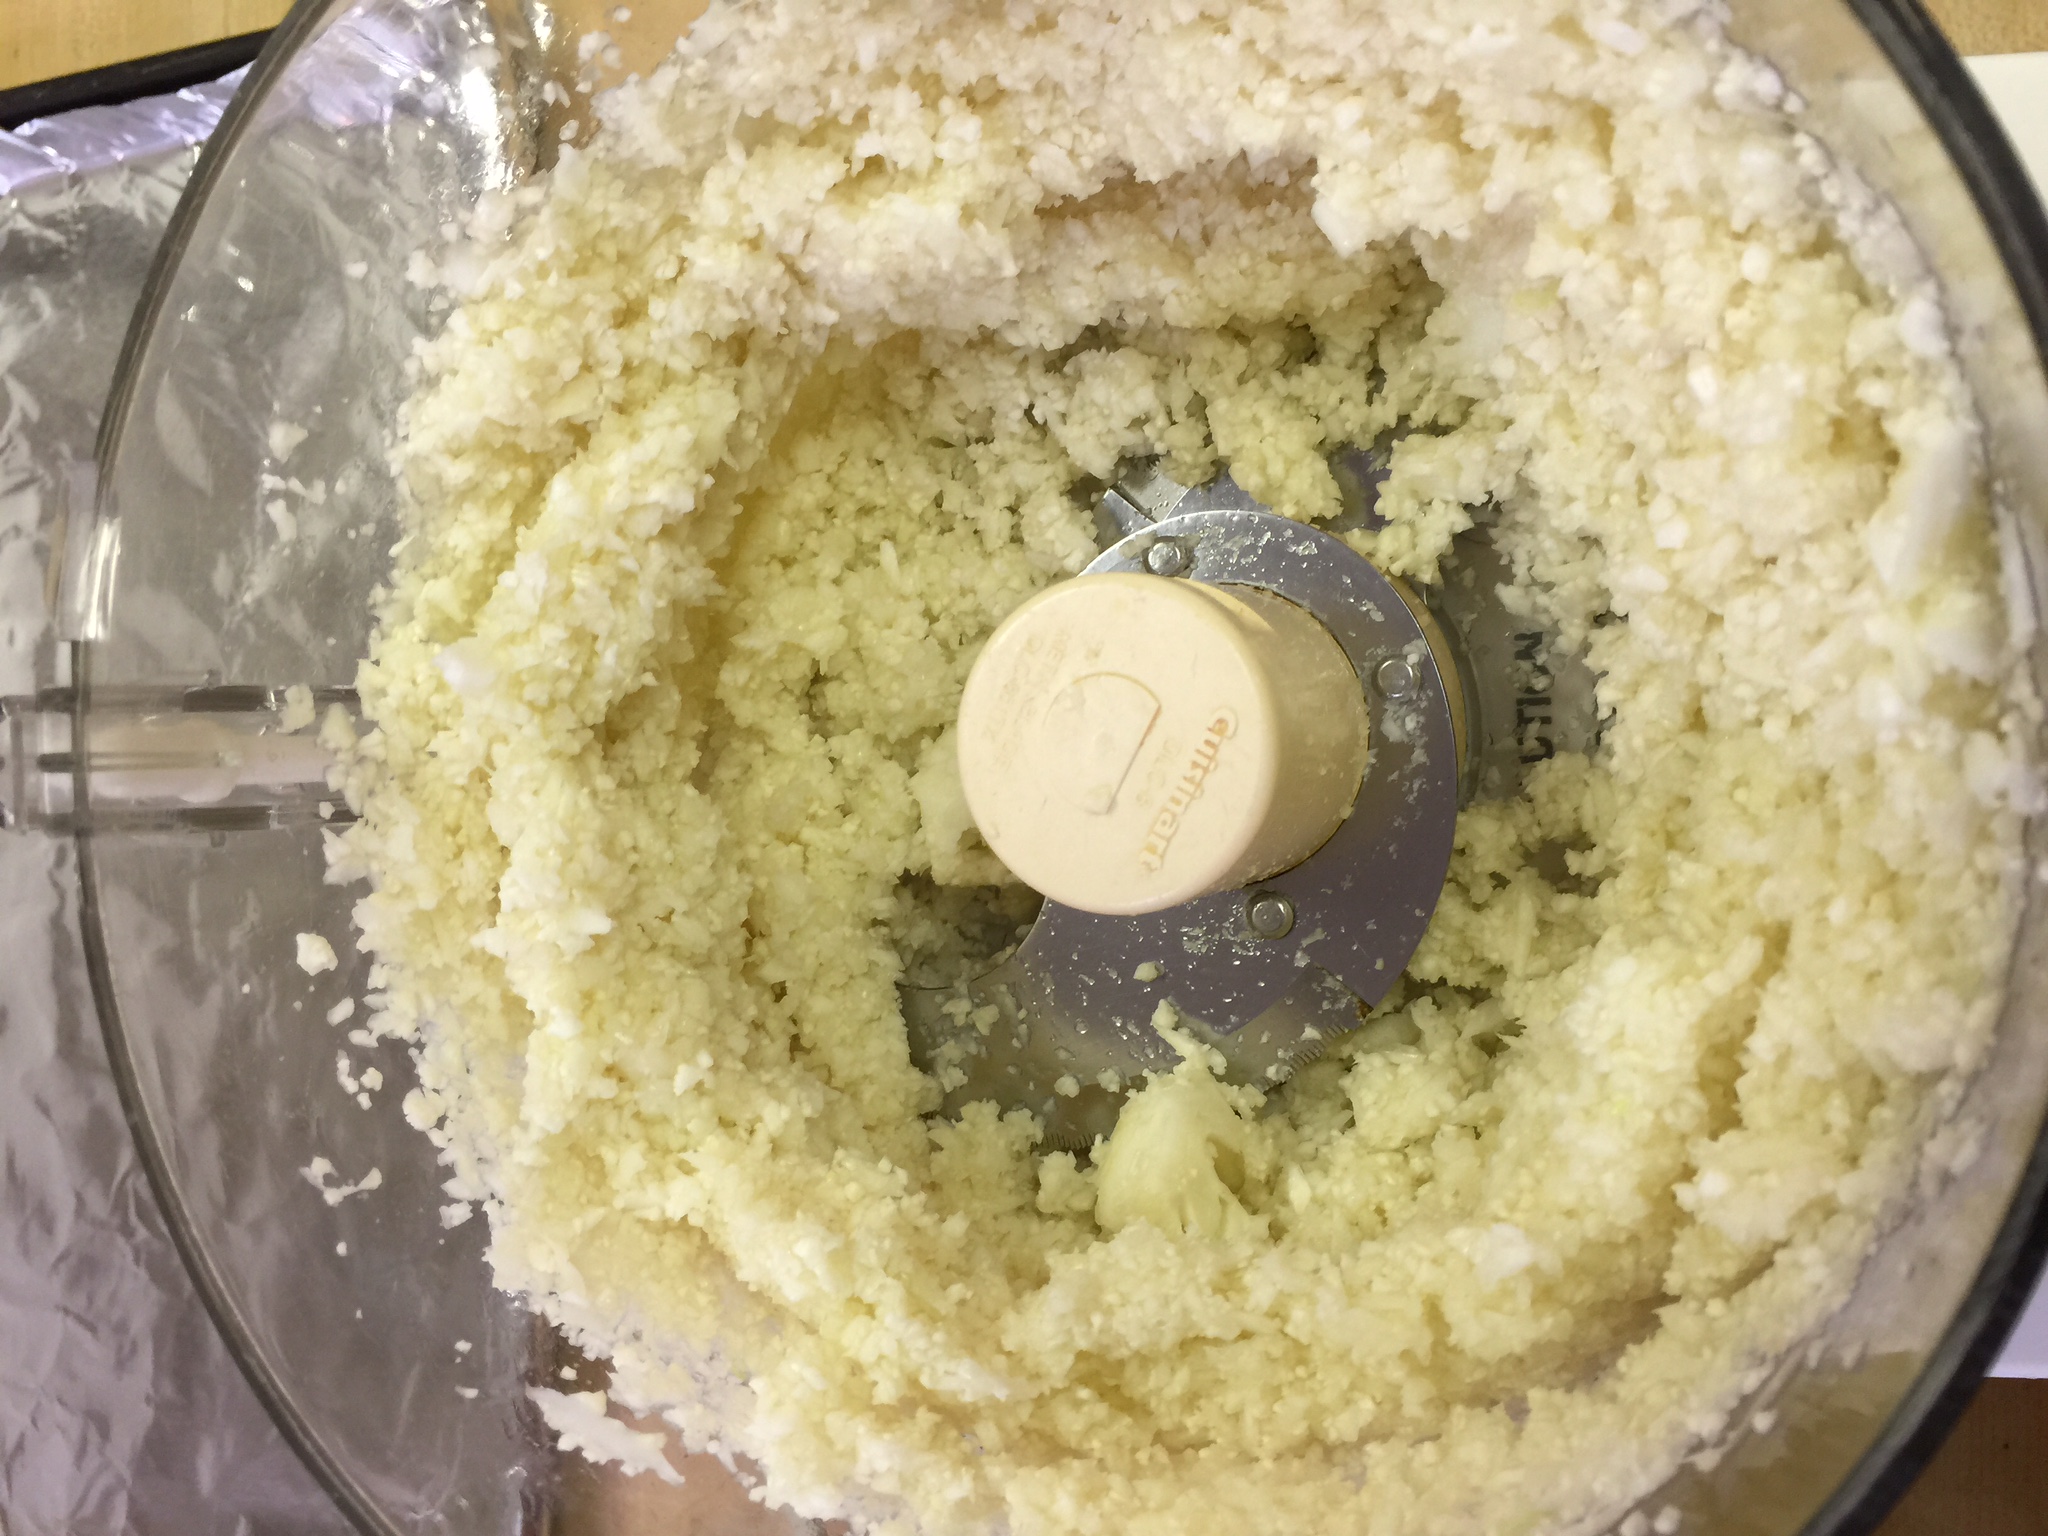
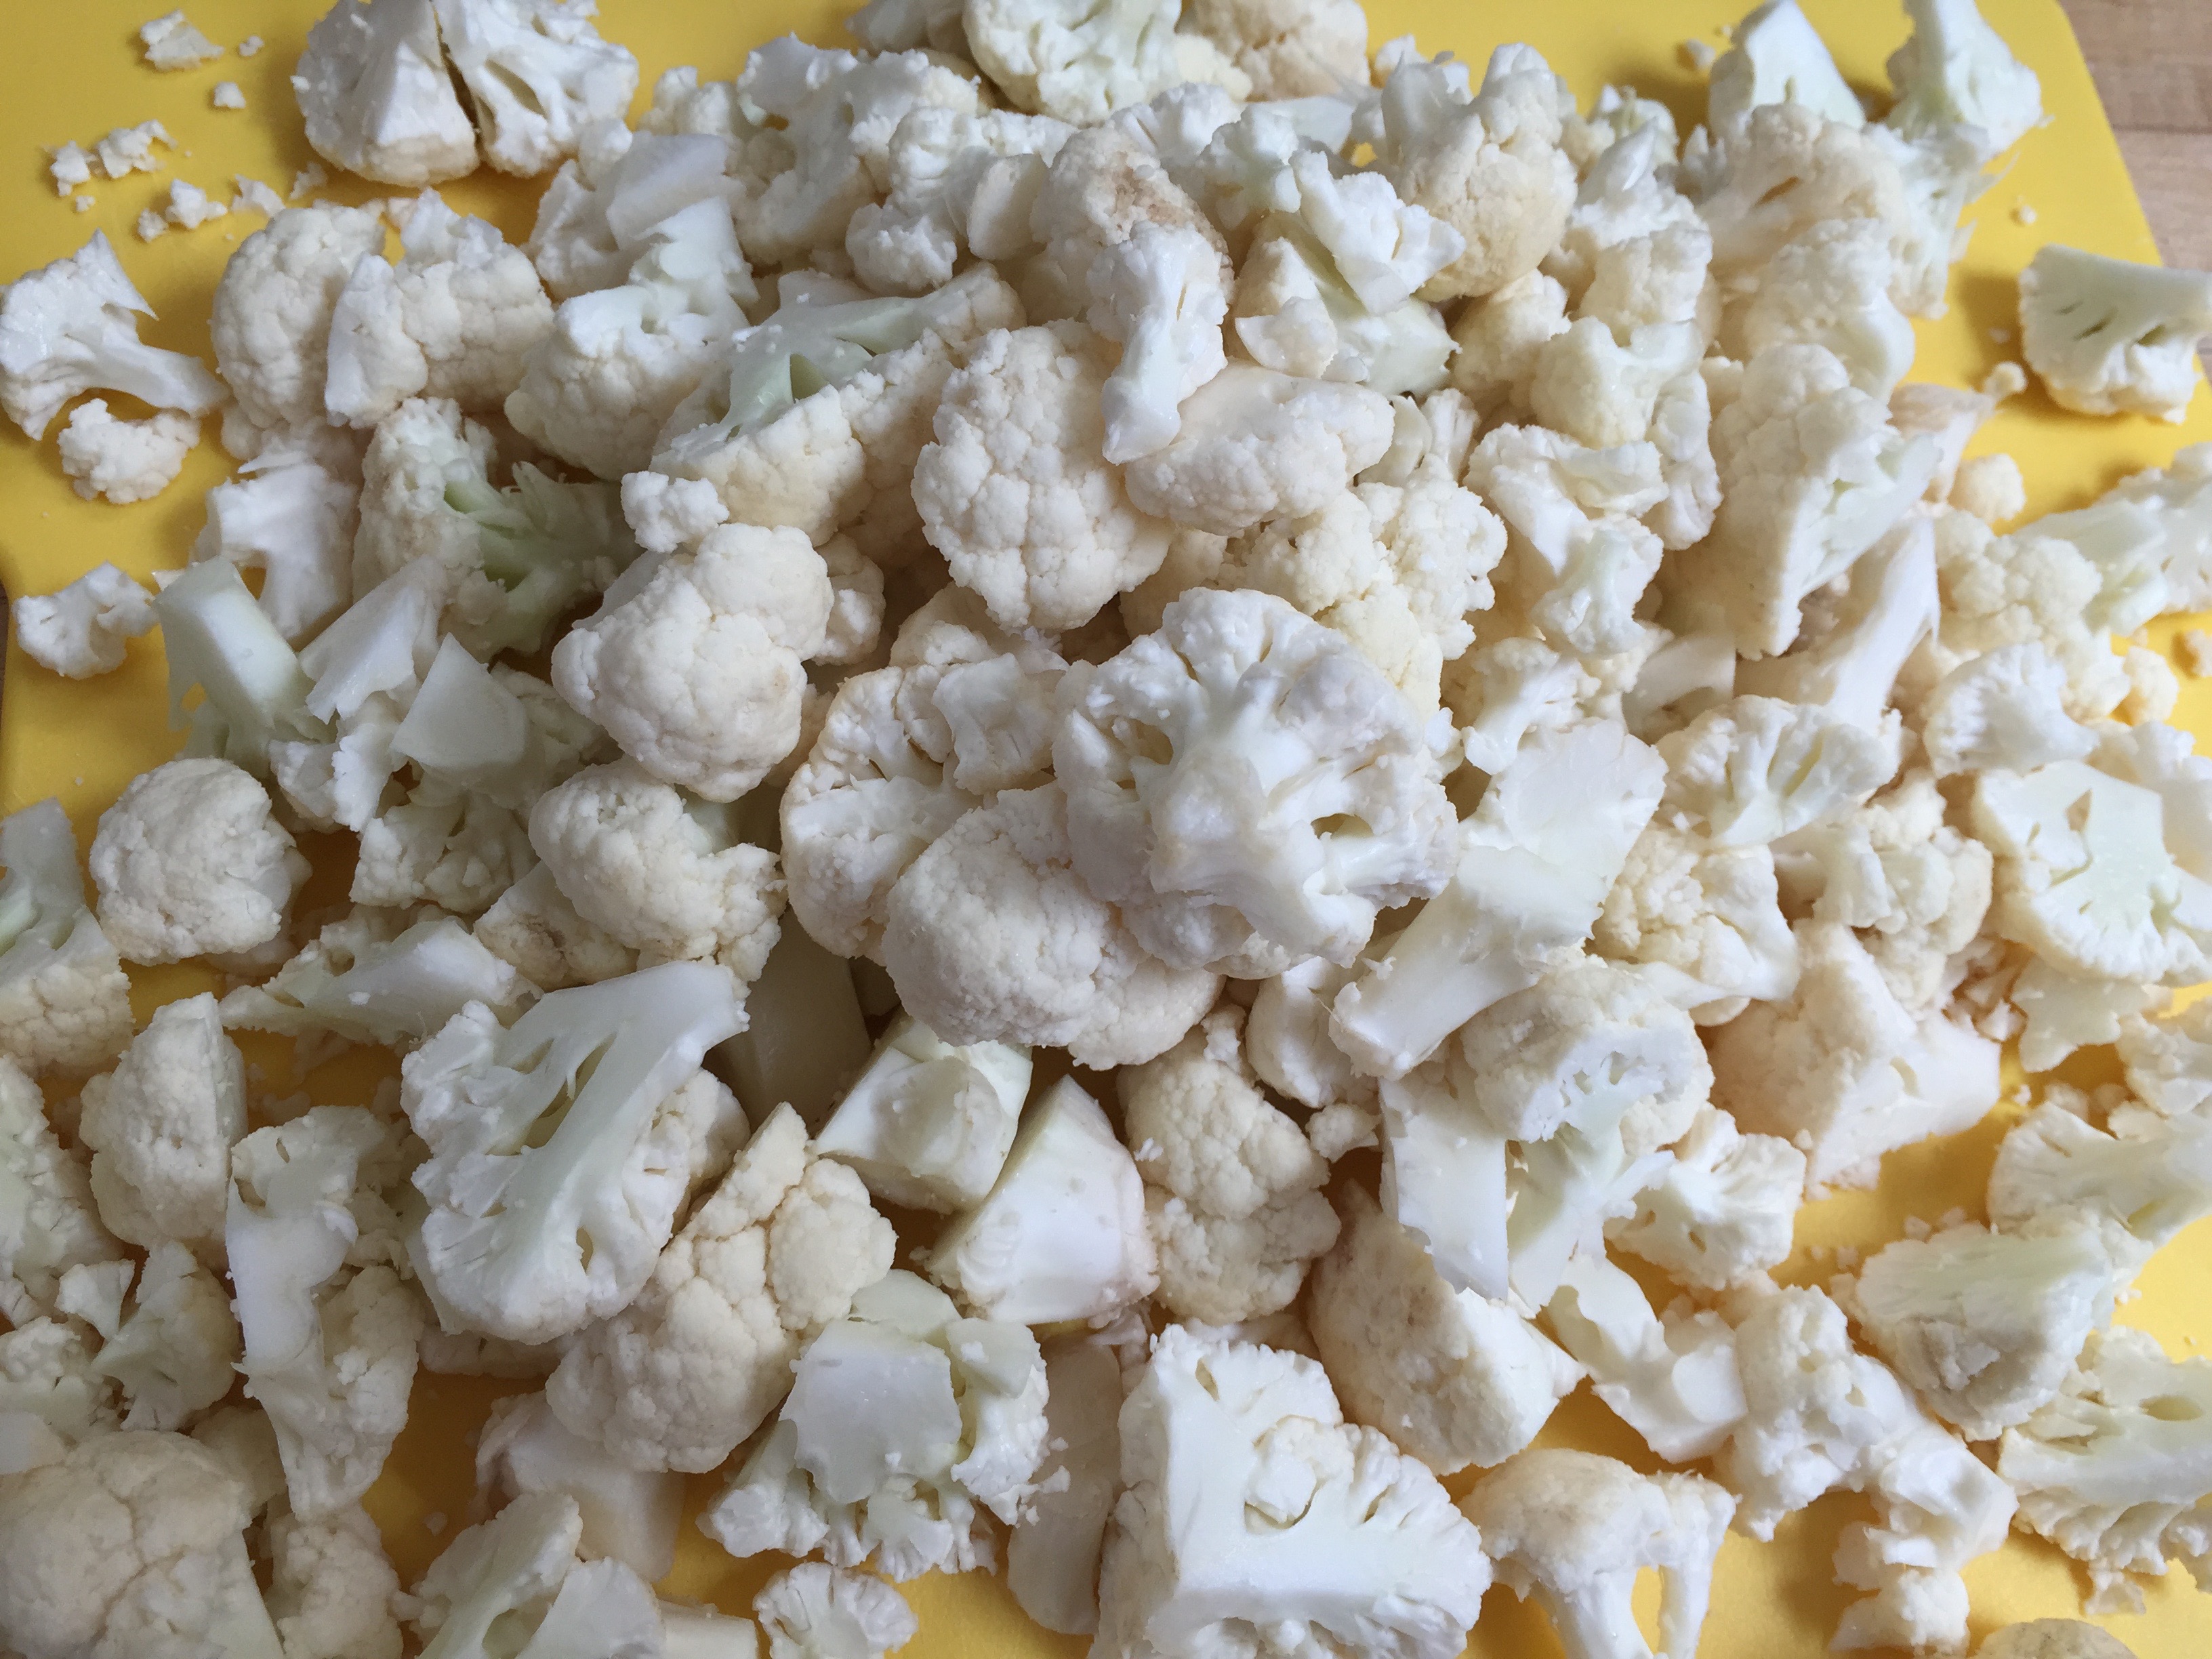
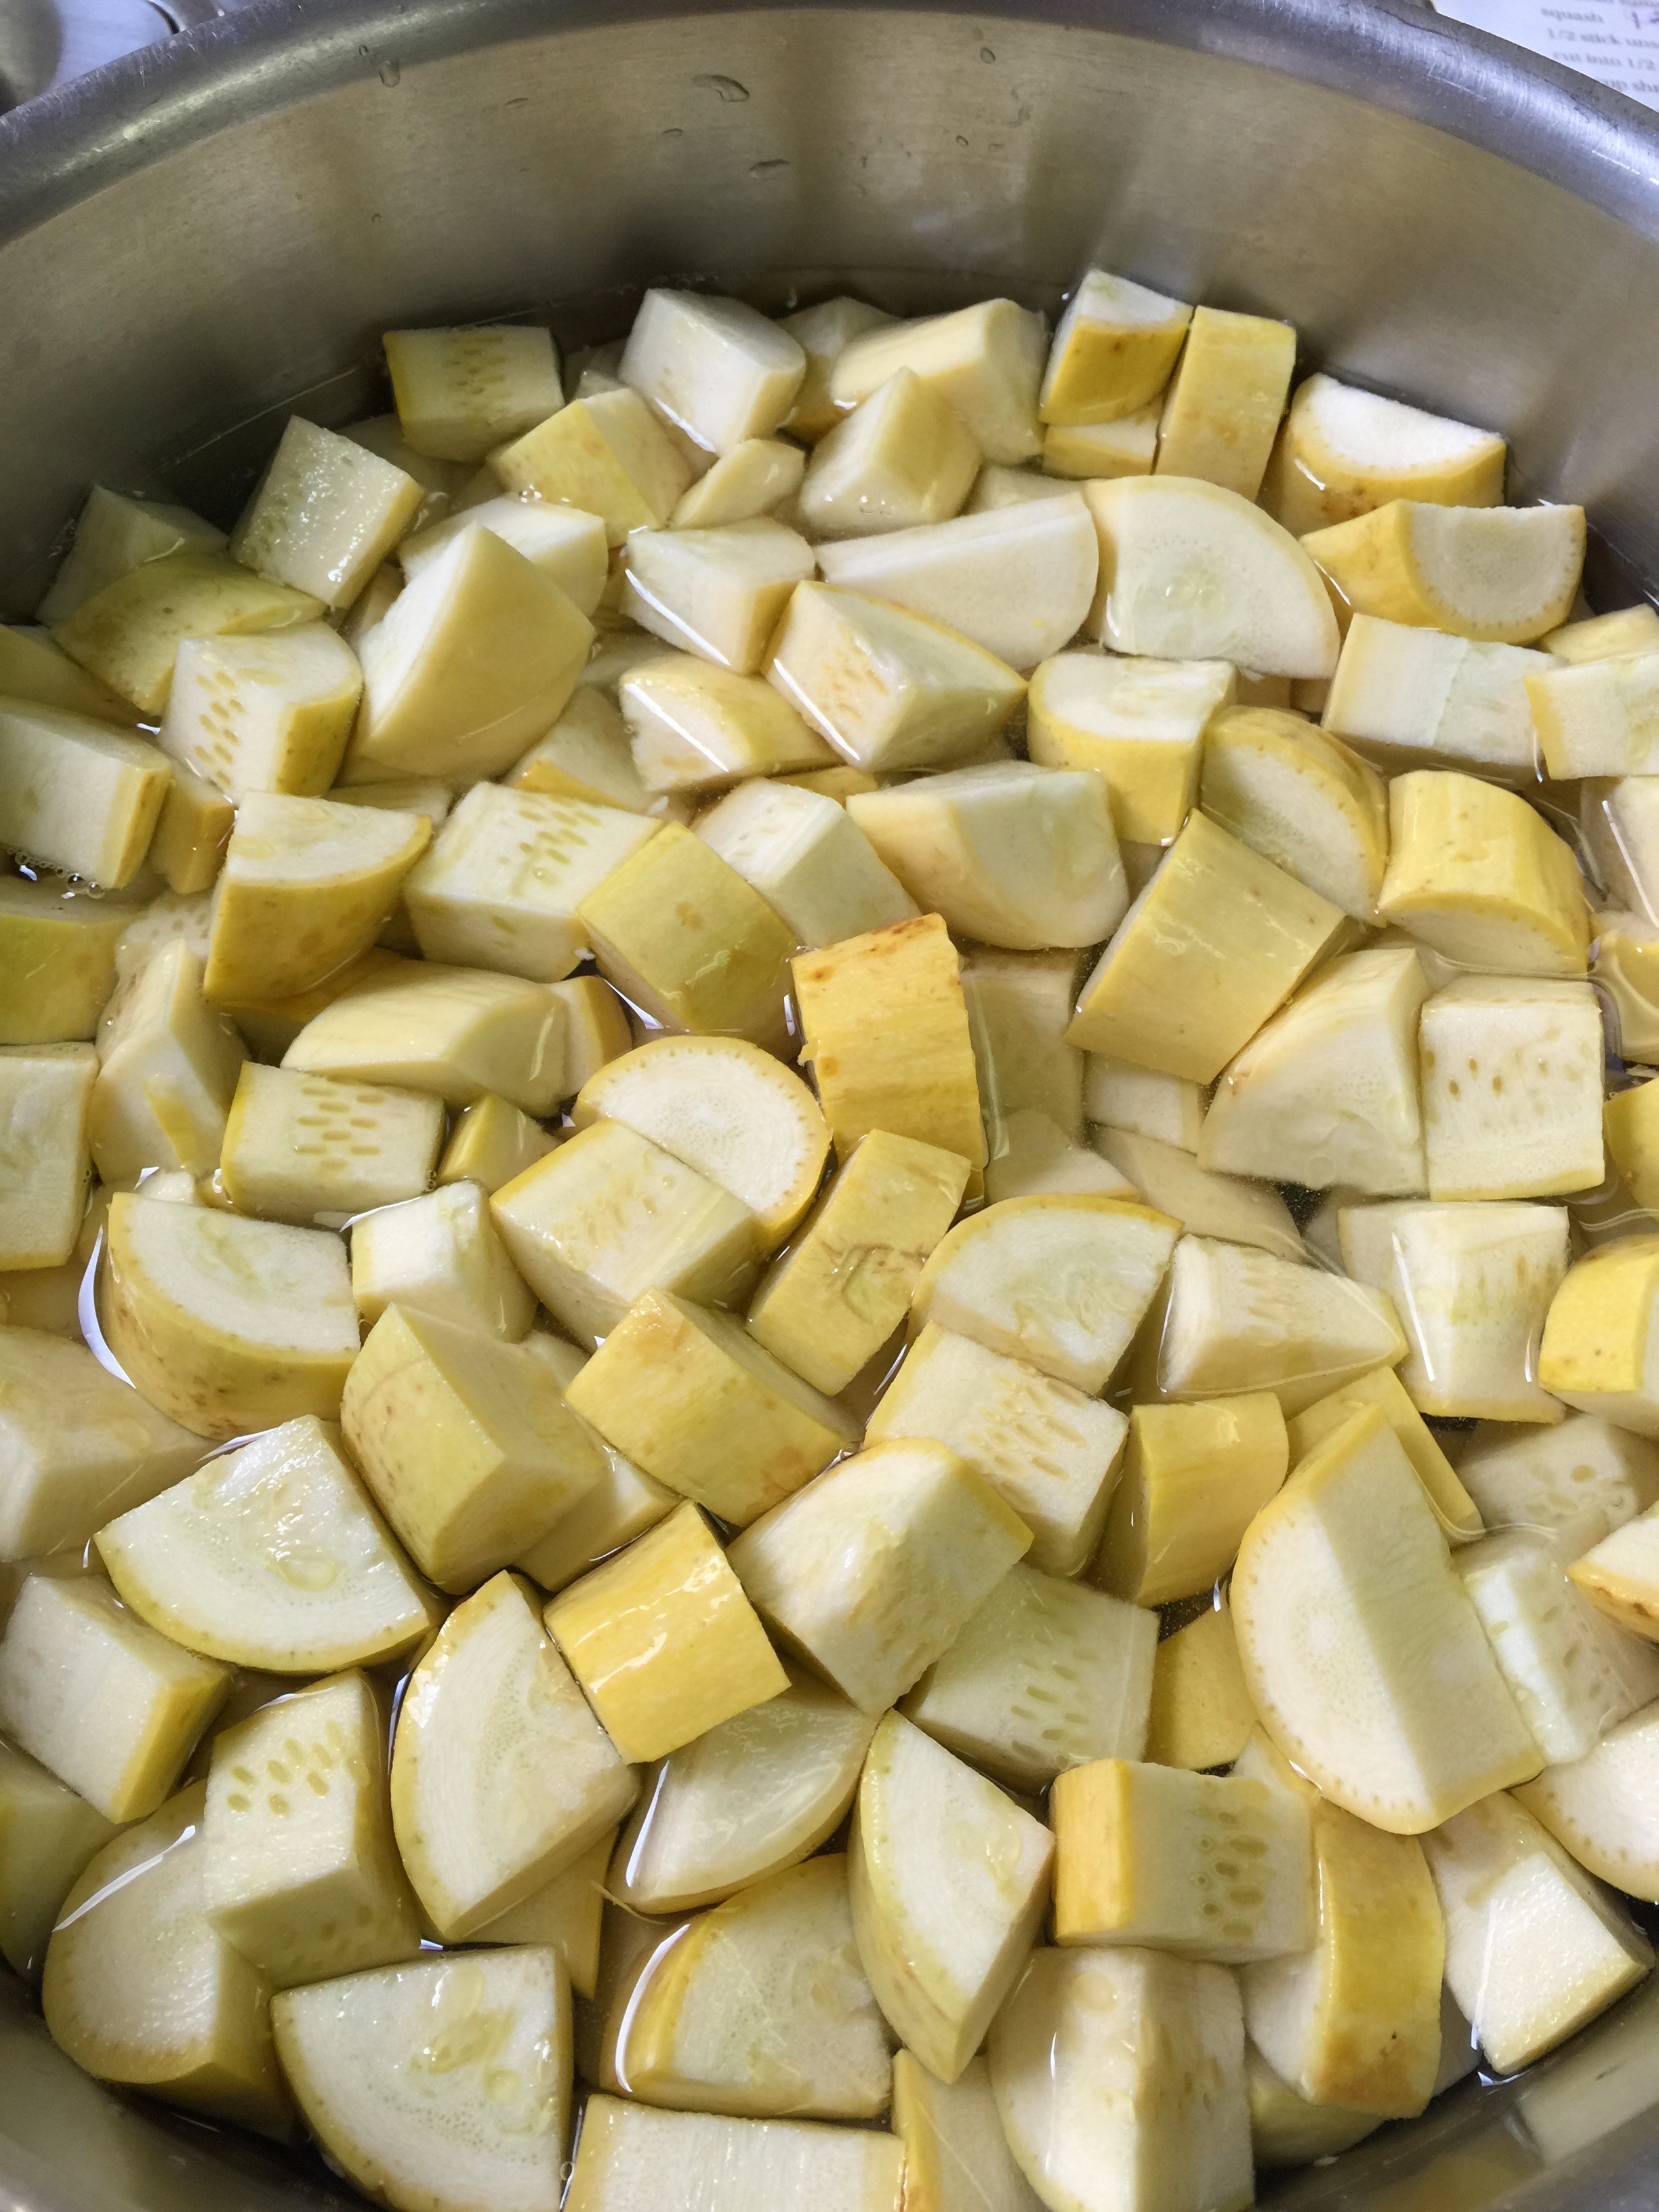
Chop your cauliflower into bite size pieces like you would eat your potatoes.

IMG_3029

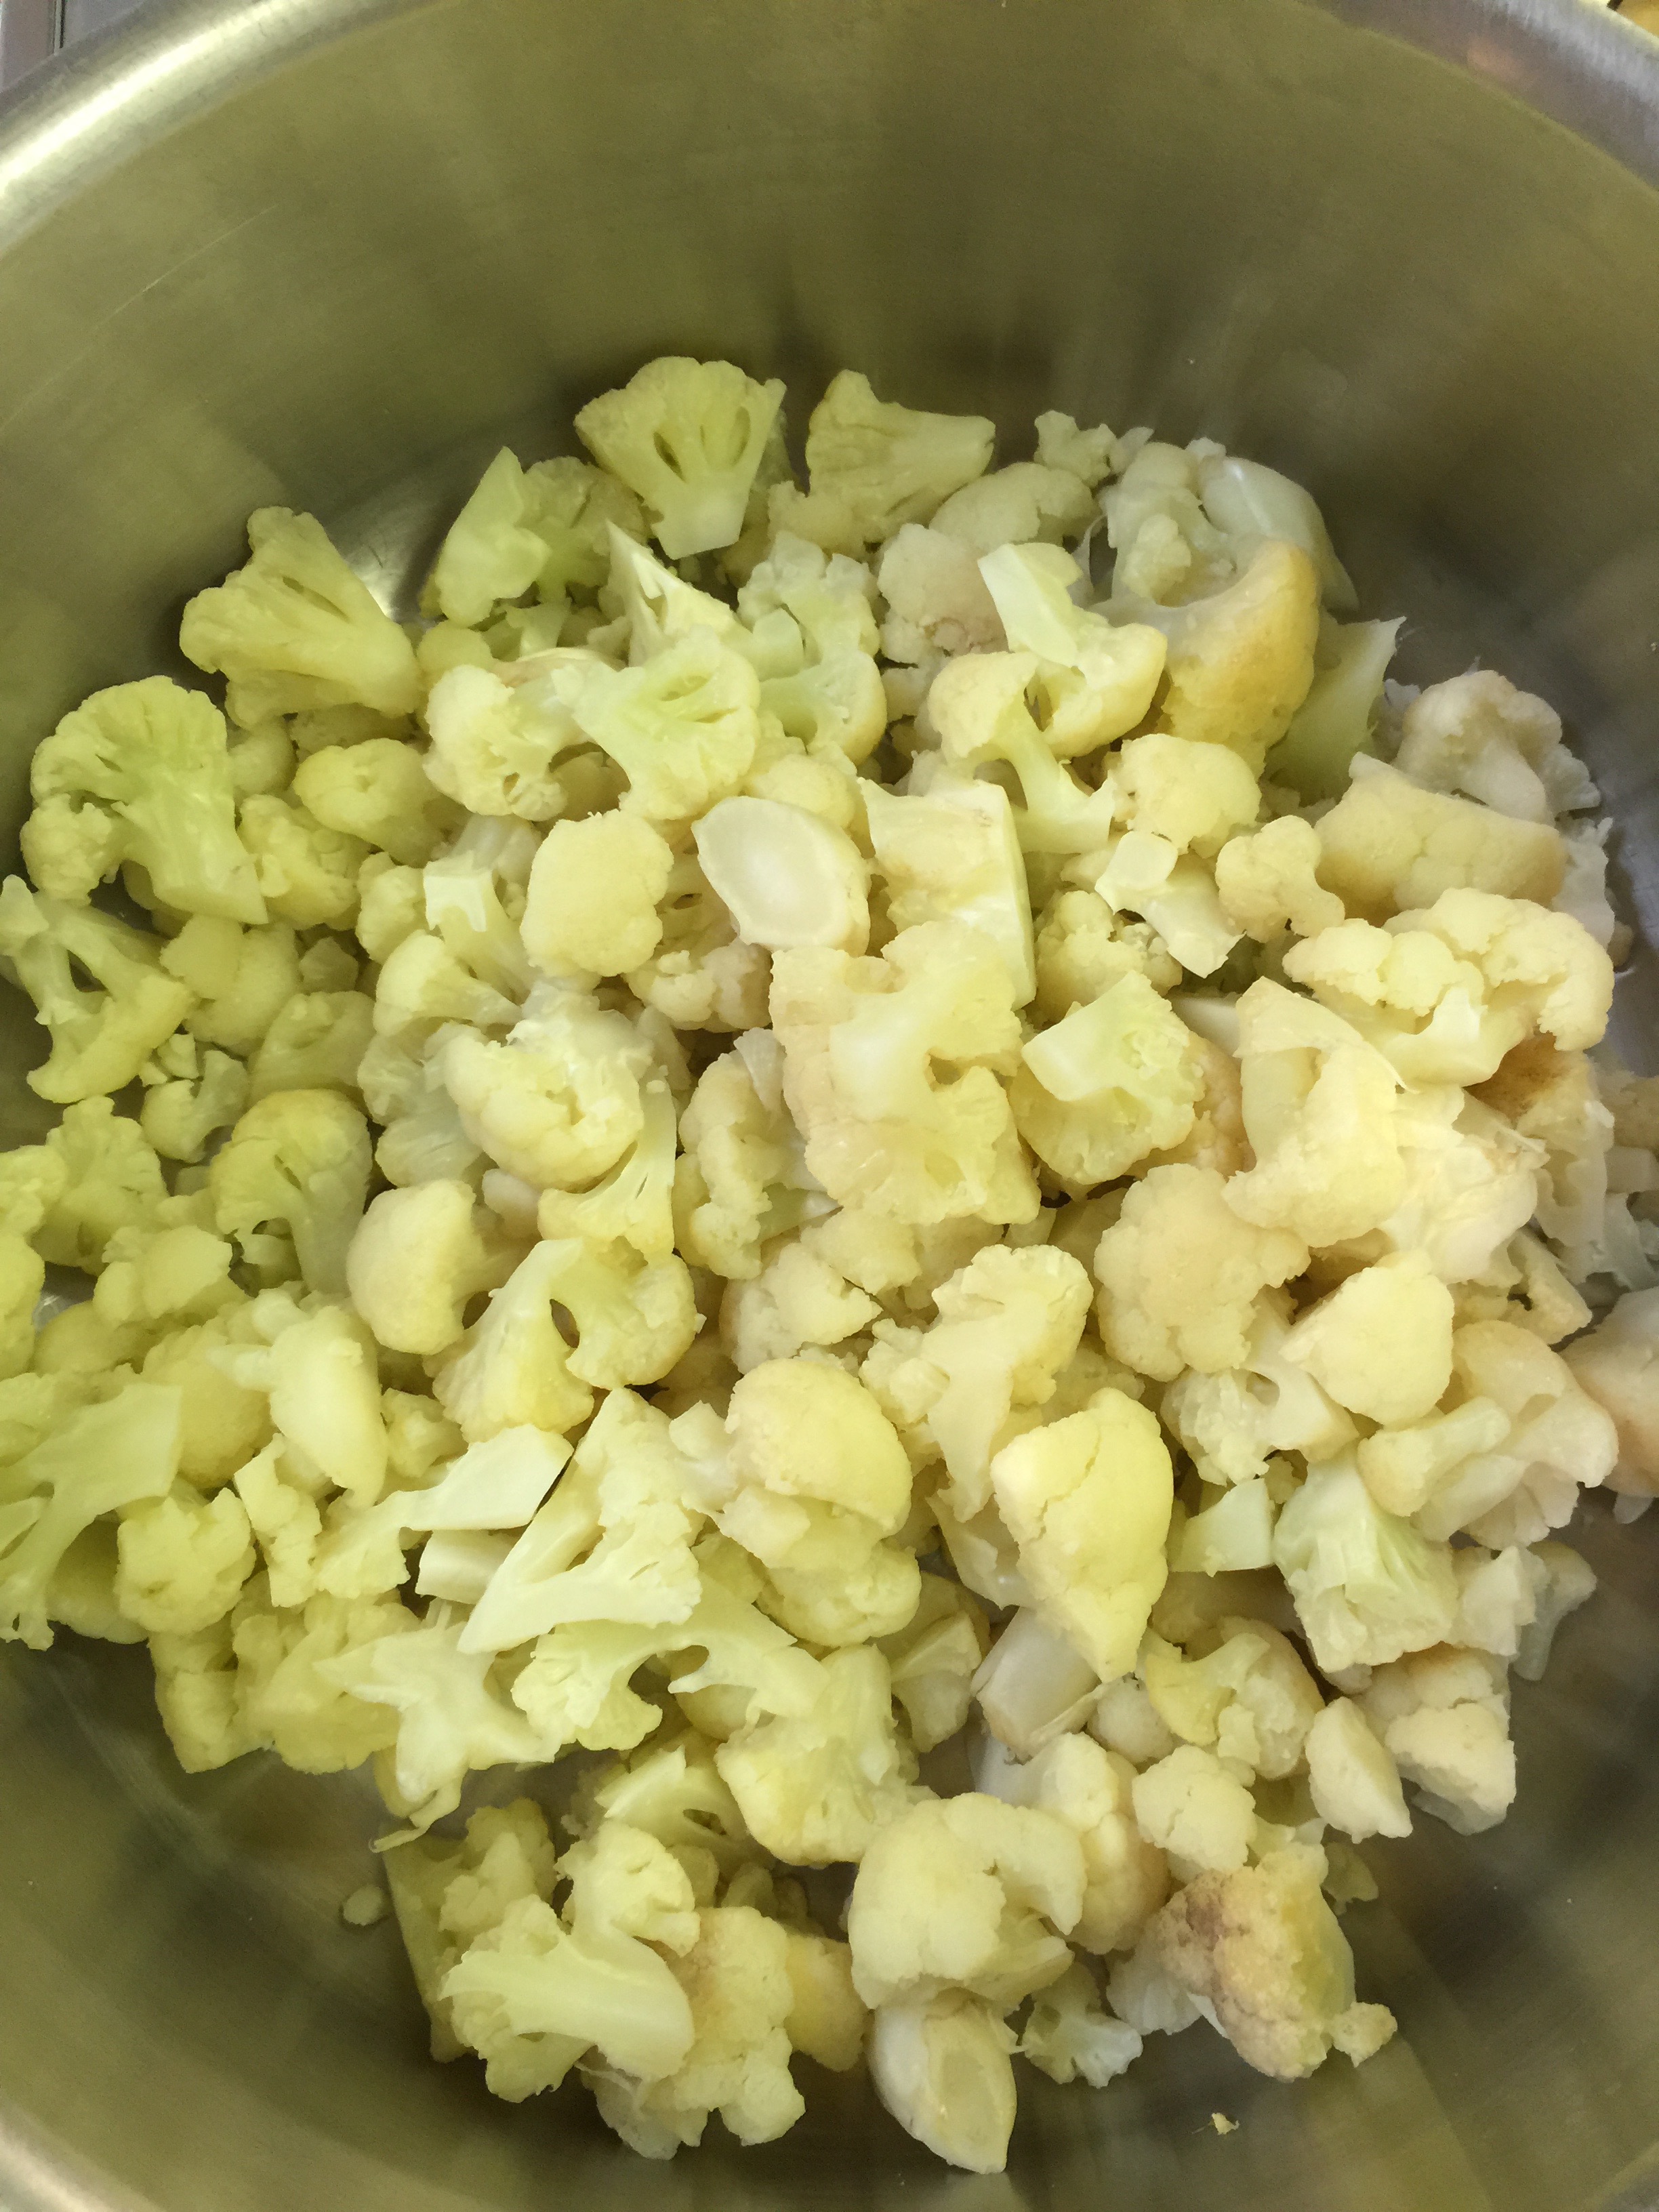
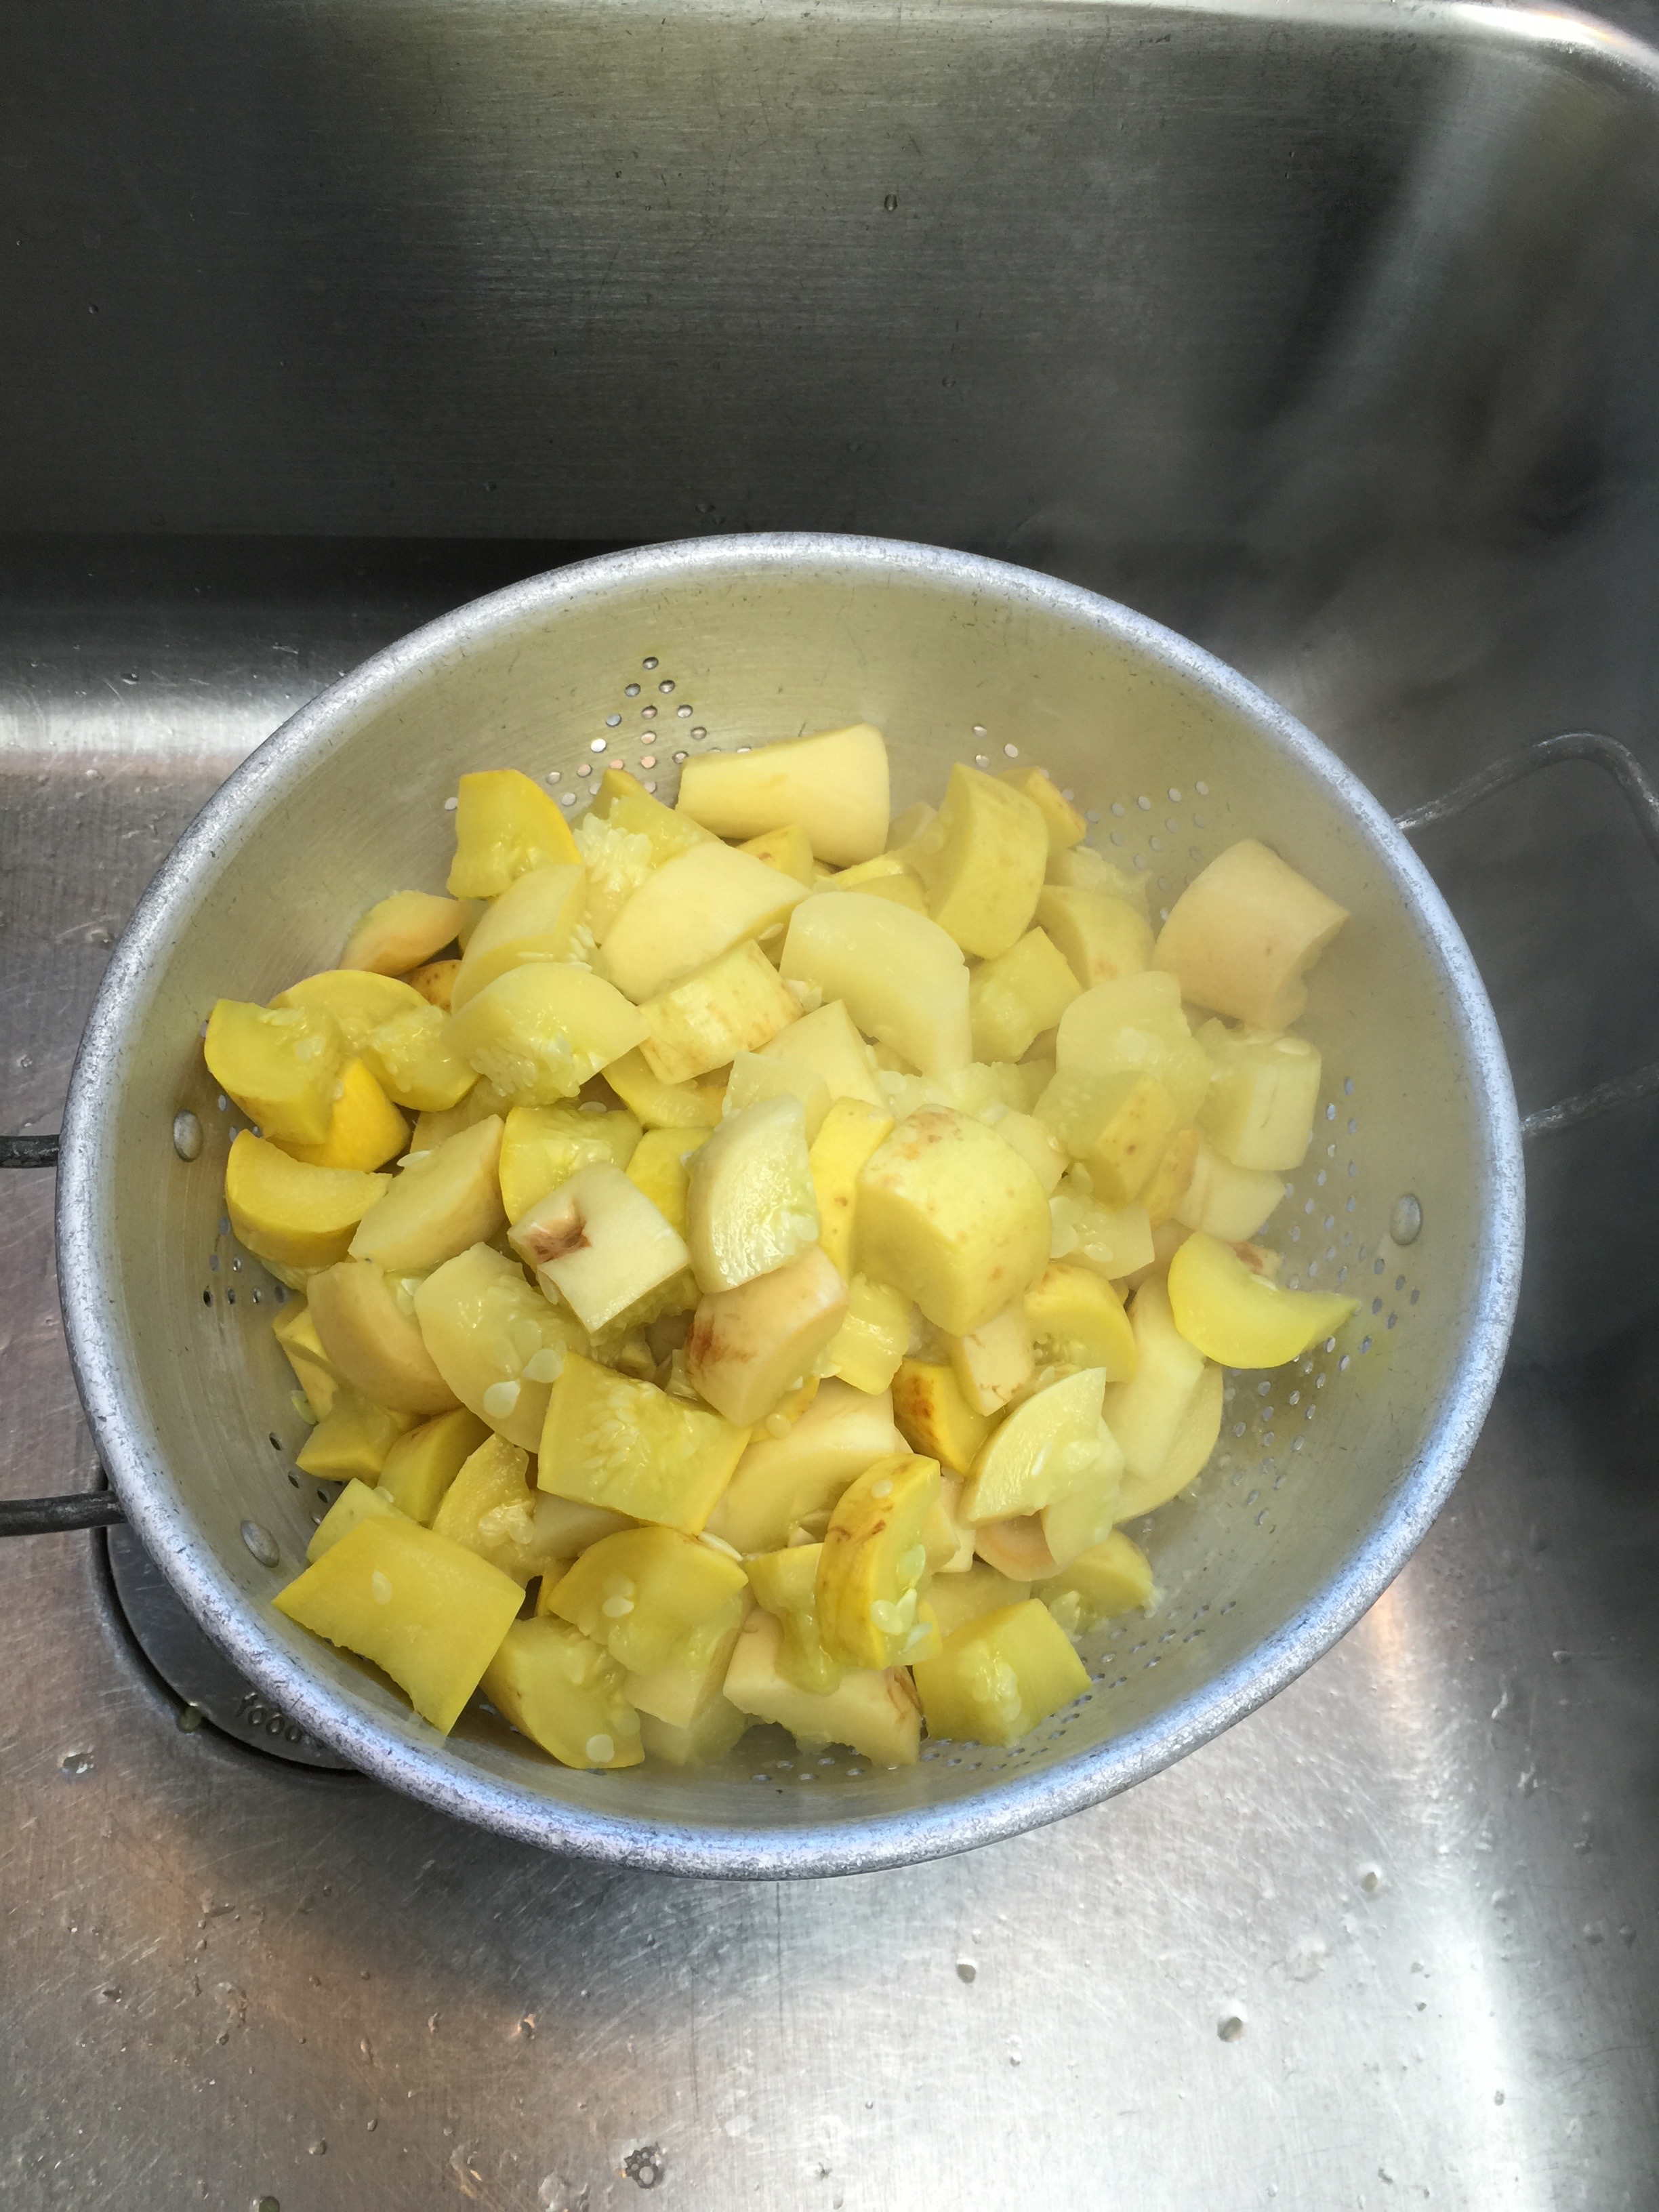
Boil a large pot of water.  Once it comes to a rolling boil, lower the heat to medium and simmer your cauliflower for about 5 to 6 minutes.  Carefully pierce with a fork to check for tenderness.  This is the hardest part…you want it soft enough to mimic the potatoes, but you don’t want it to get mushy once you start mixing your ingredients together.  Once you have it to the correct tenderness, strain in a large colander.  Let it drain and then return to the pot.  If you are worried about the tenderness, (the texture is super important for this recipe) boil them until they are perfect and then immediately submerge in an ice cold water bath to stop the cooking.  Then strain in the colander.

IMG_3032

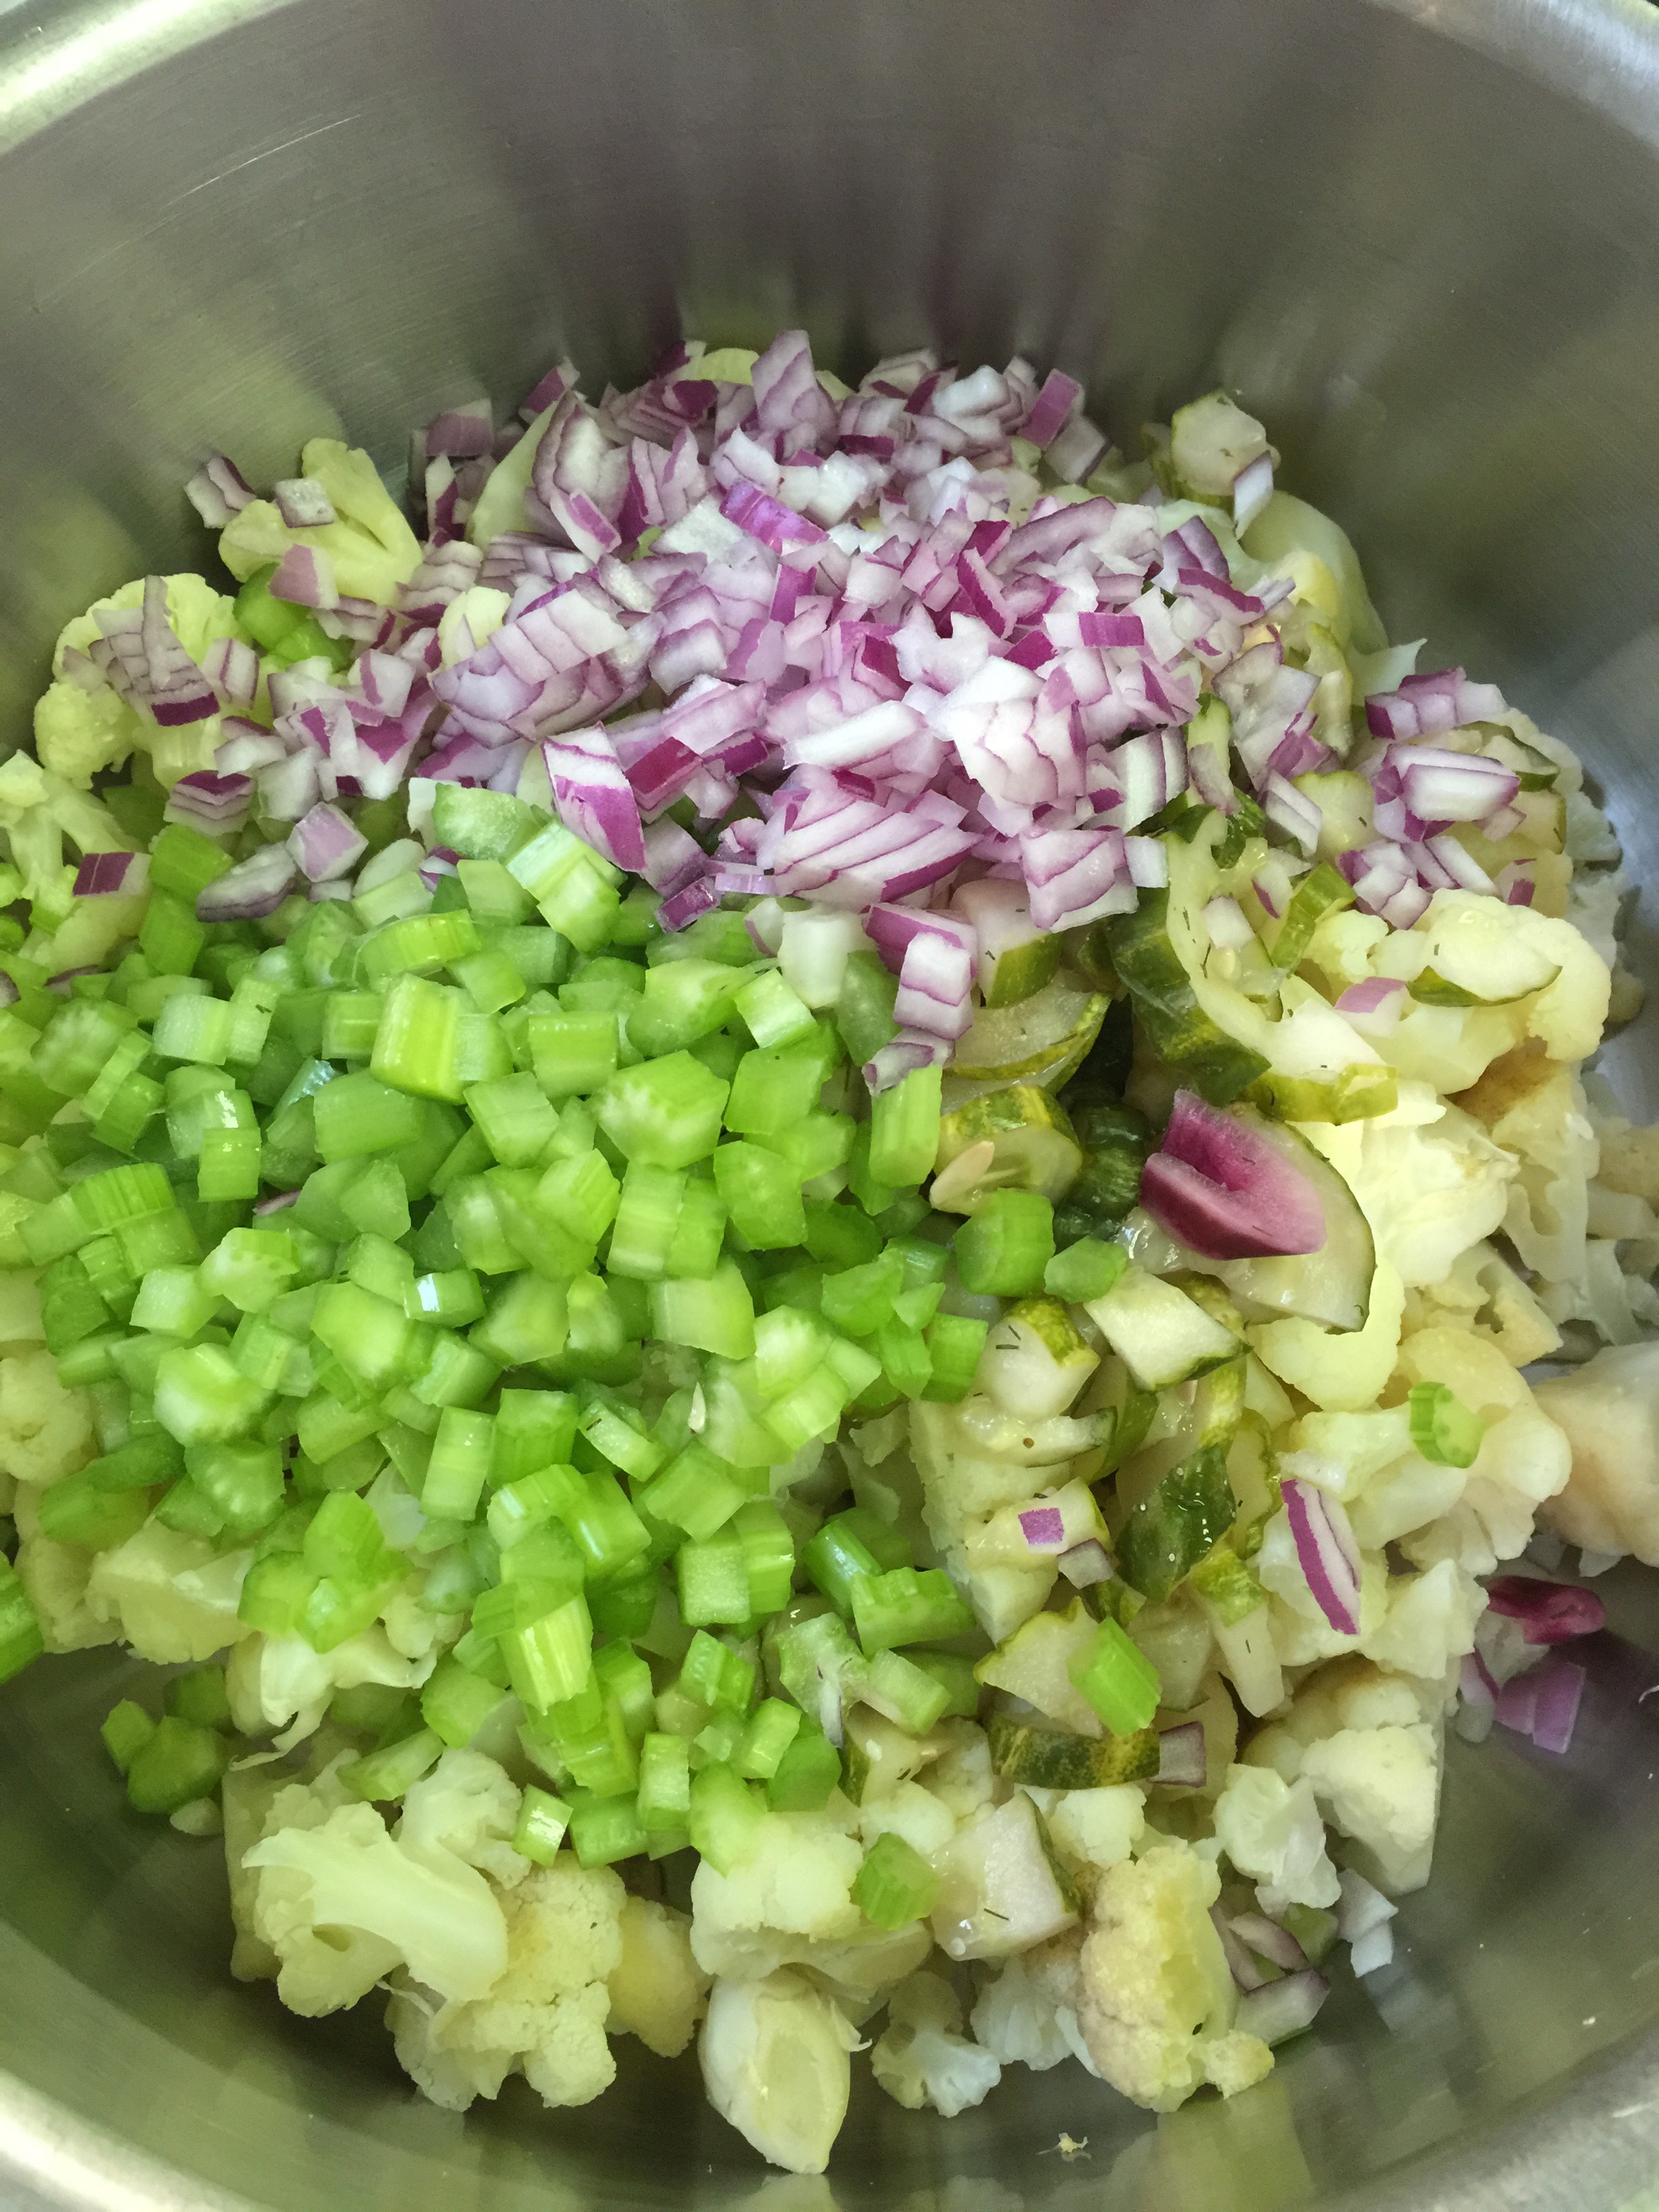
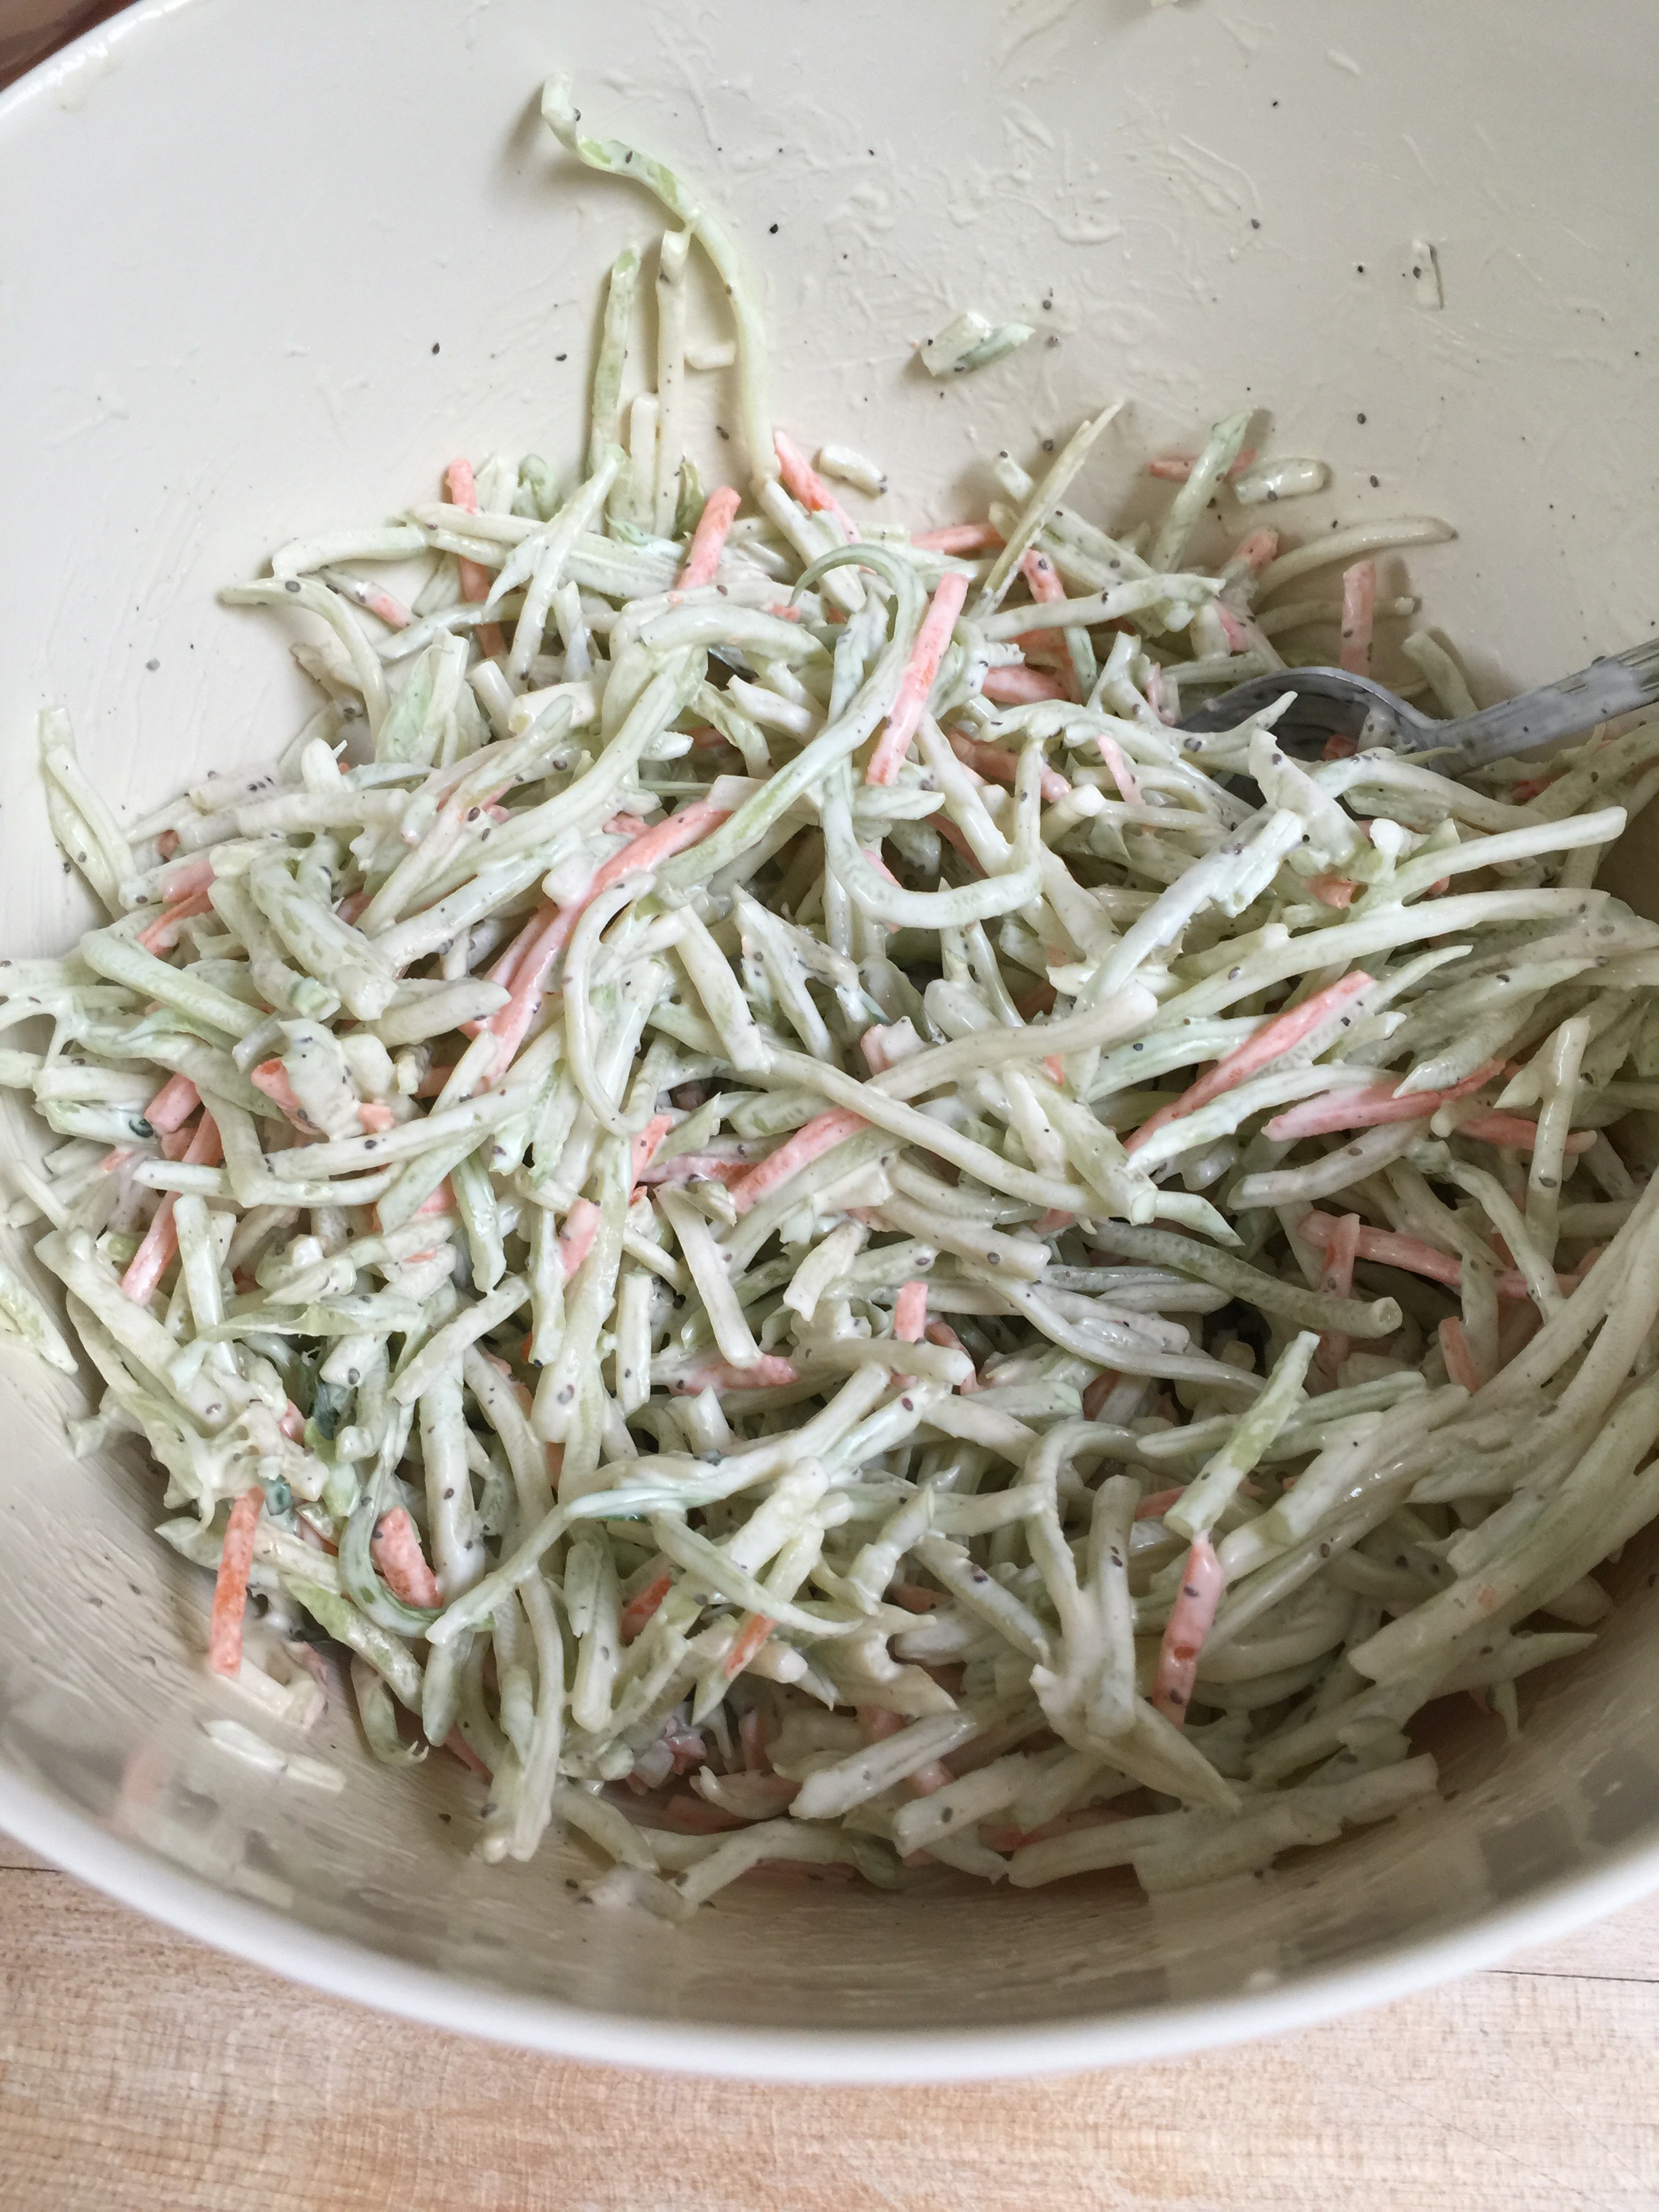
Add your chopped celery, onion, and cucumber or pickles (along with any other solids you choose to add.)  Toss to combine.

IMG_3040

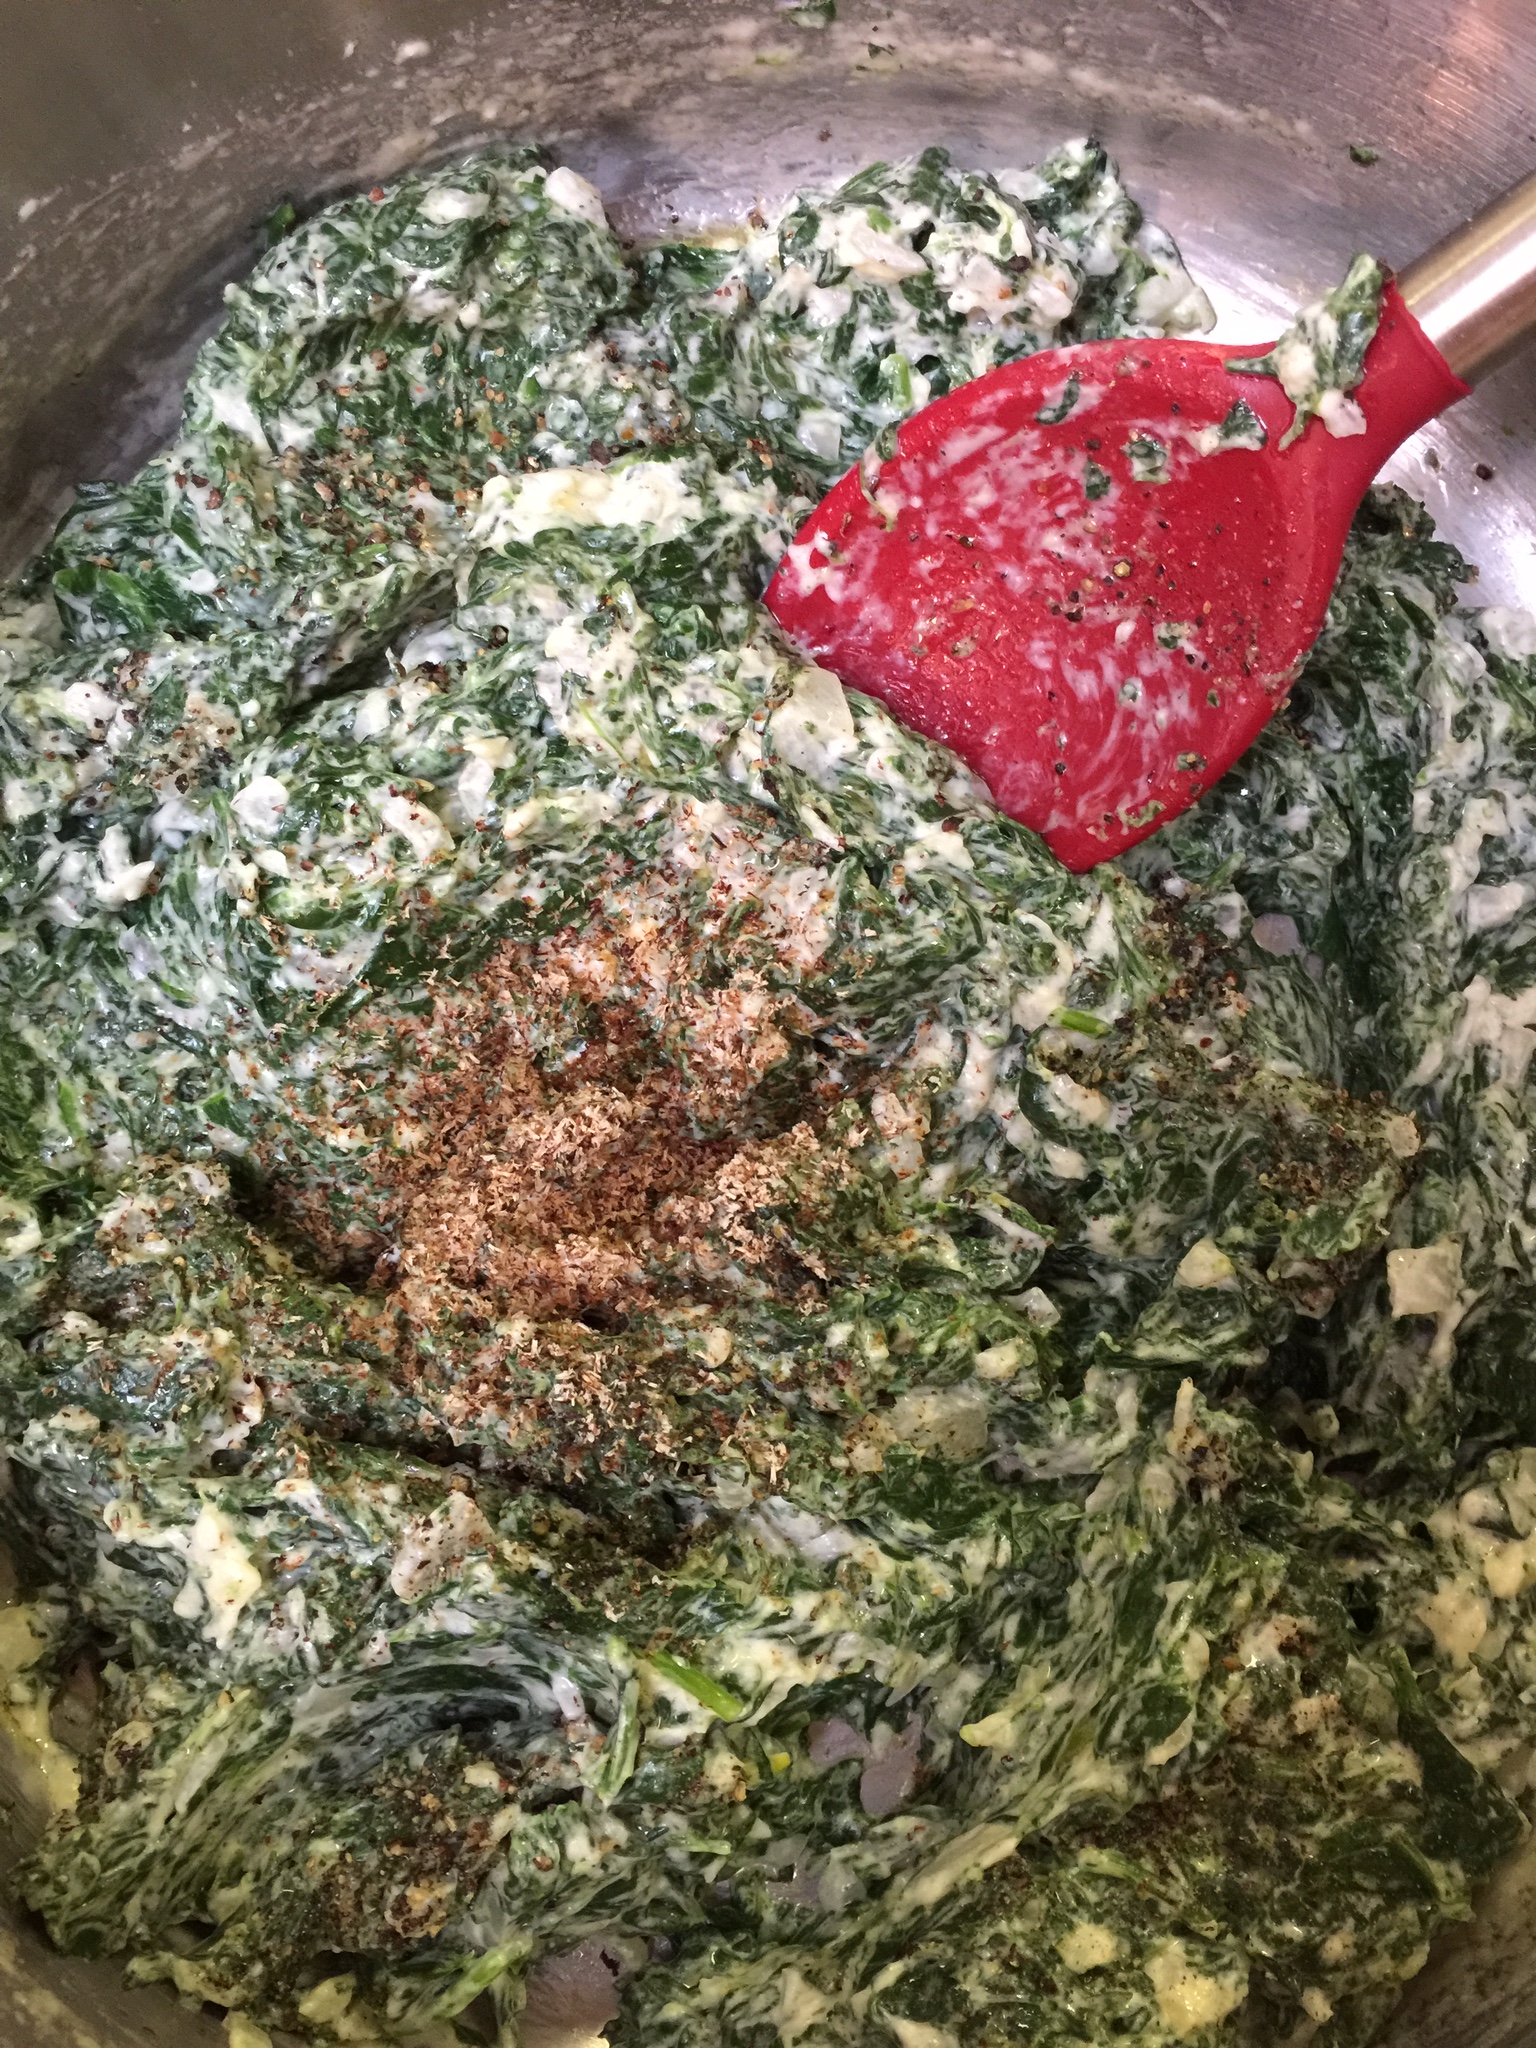
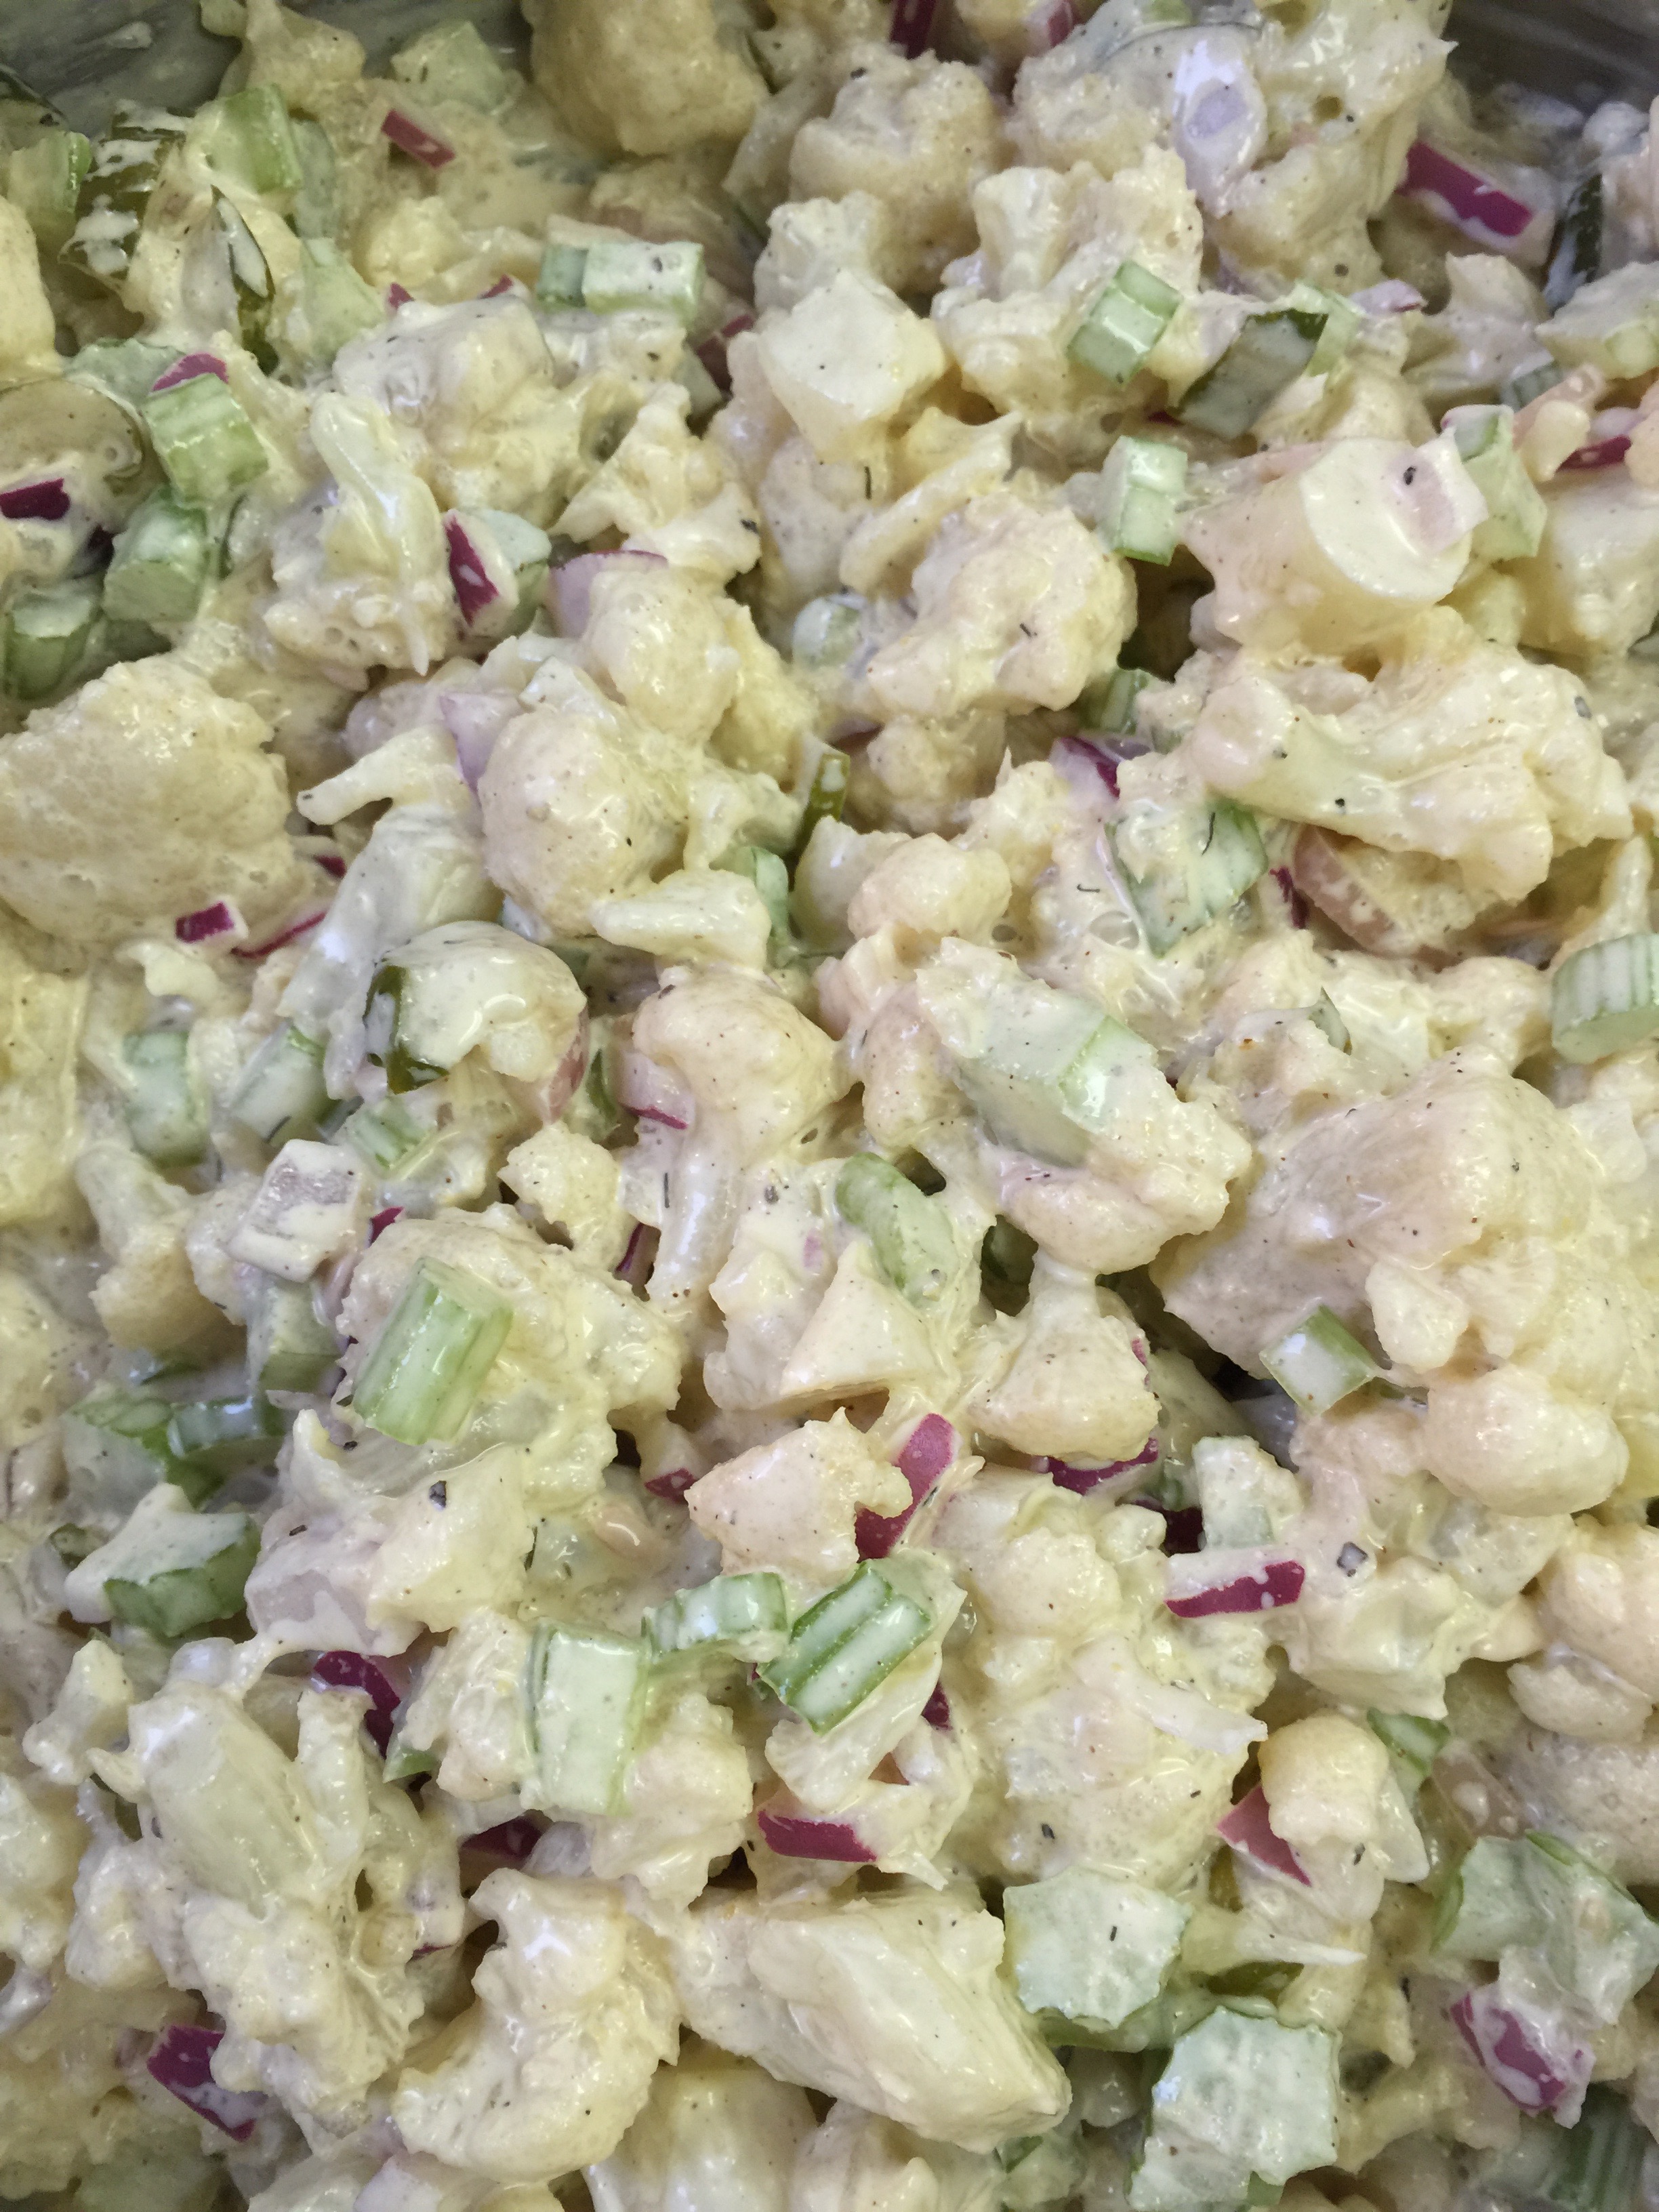
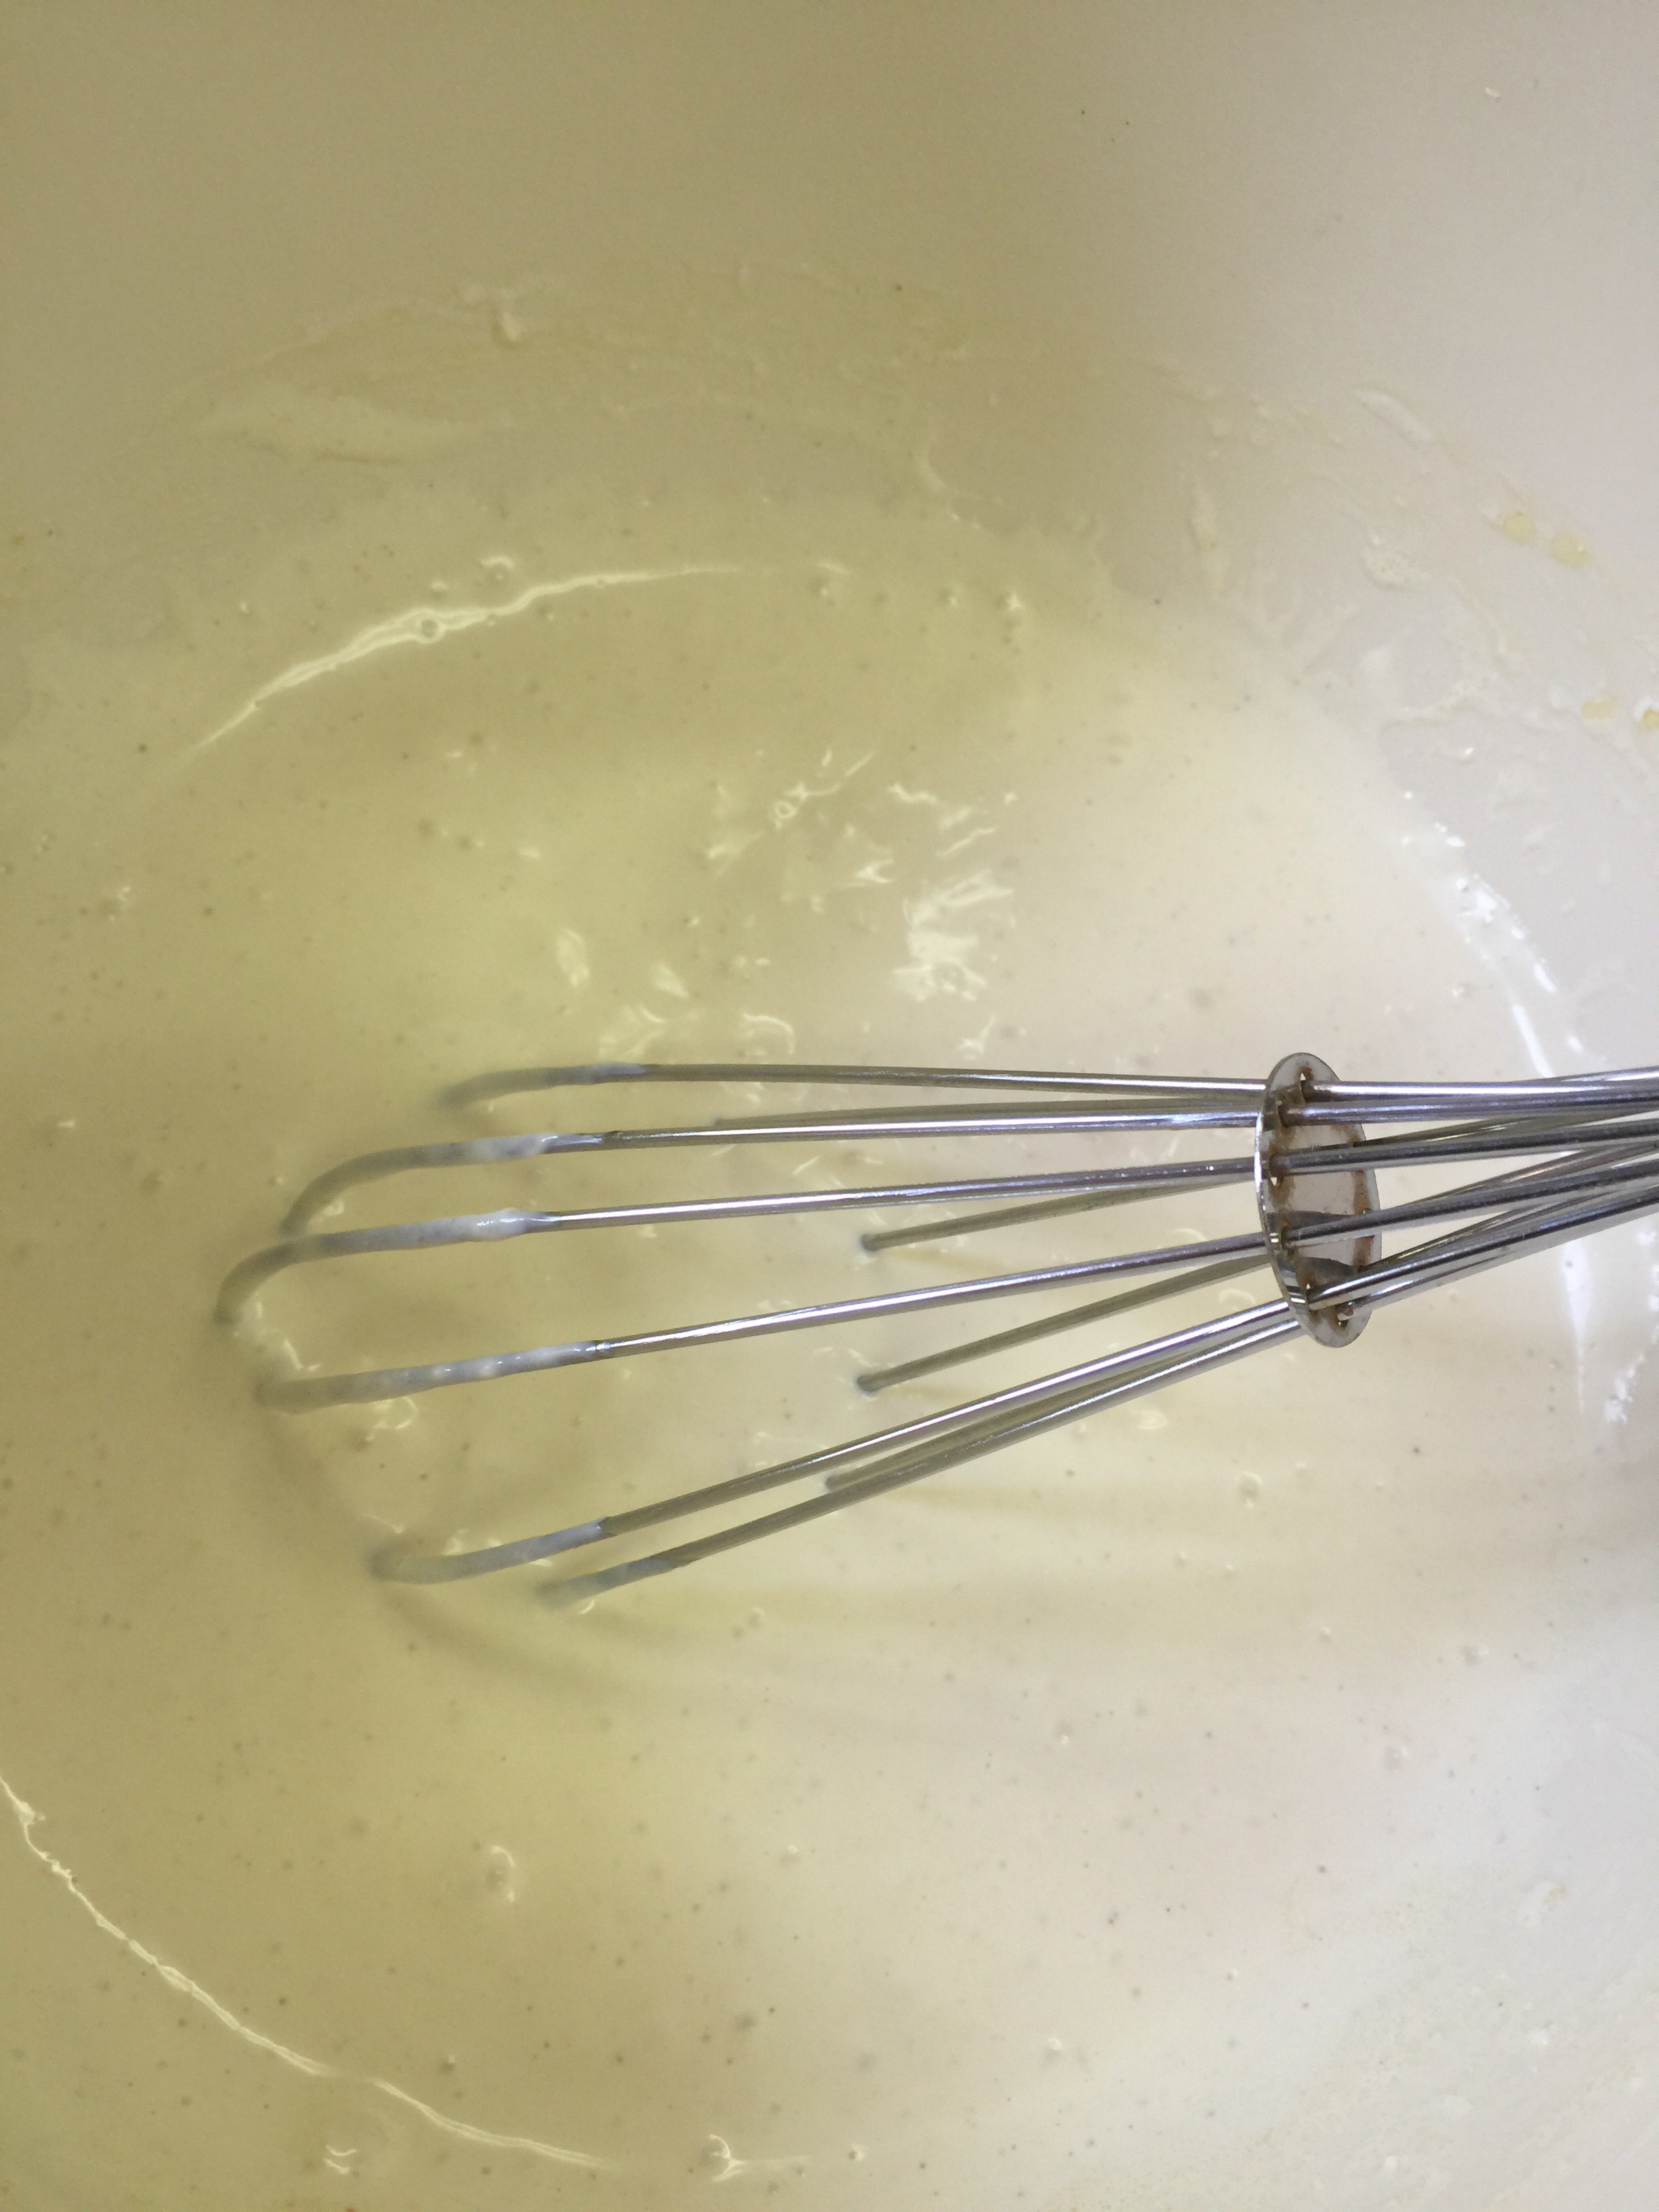
Now add your mayonnaise, mustard and spices, except for the paprika.

IMG_3041


Mix everything together.  You can taste at this point to see if it needs anything, but remember, the flavors will meld in the refrigerator a little more.

IMG_3042

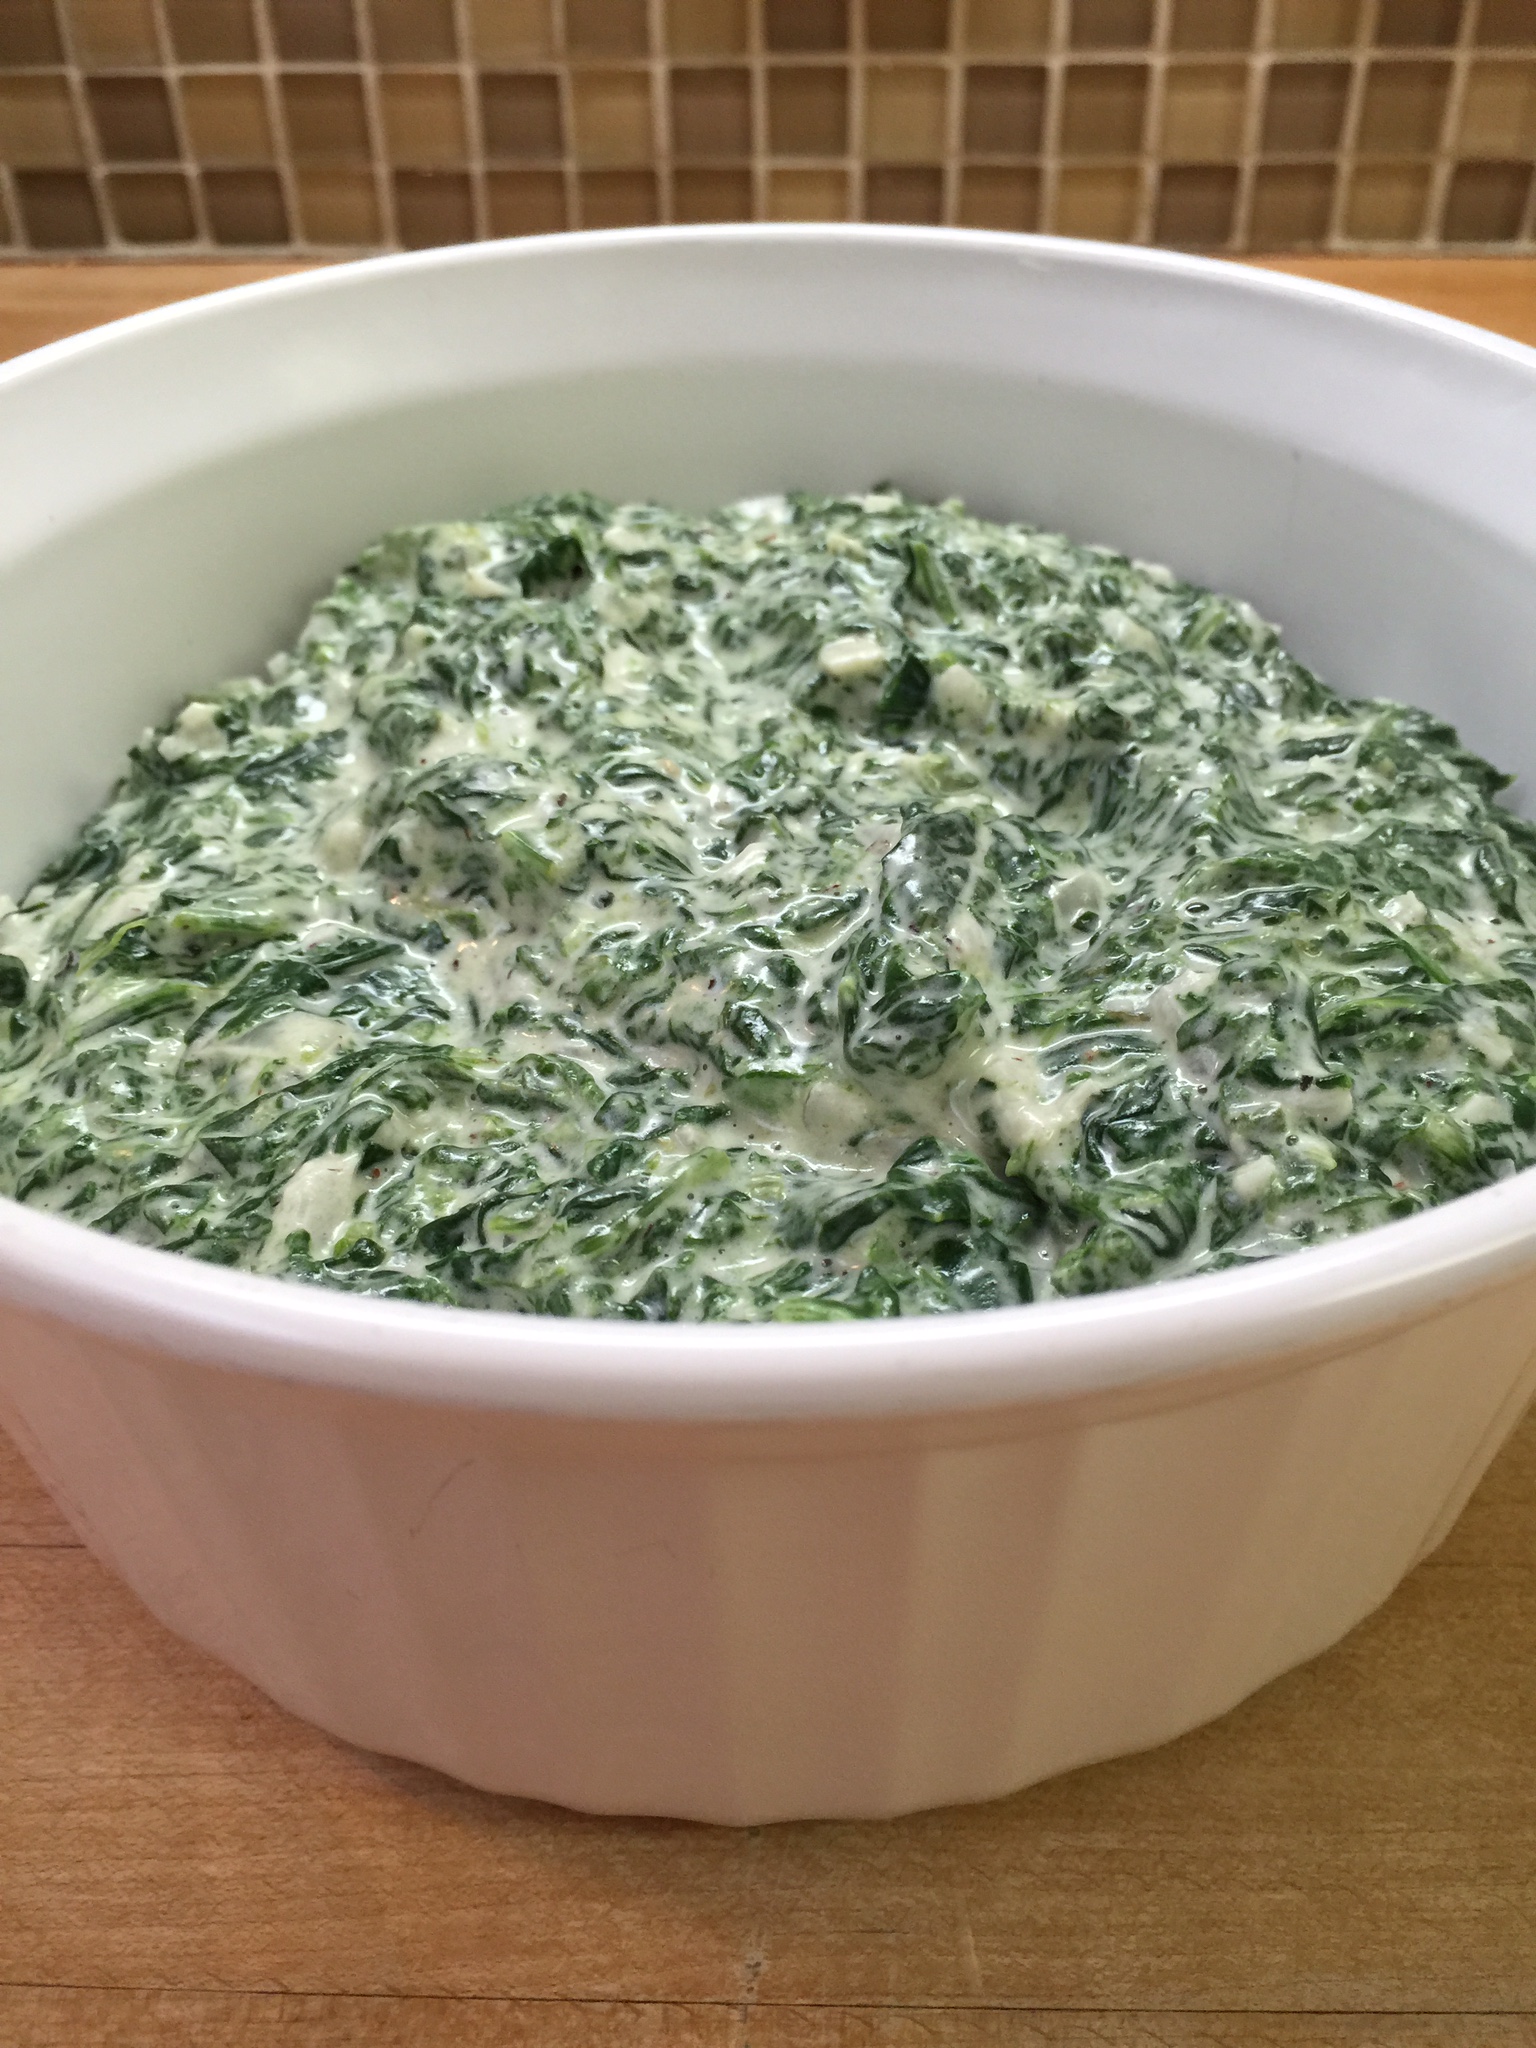
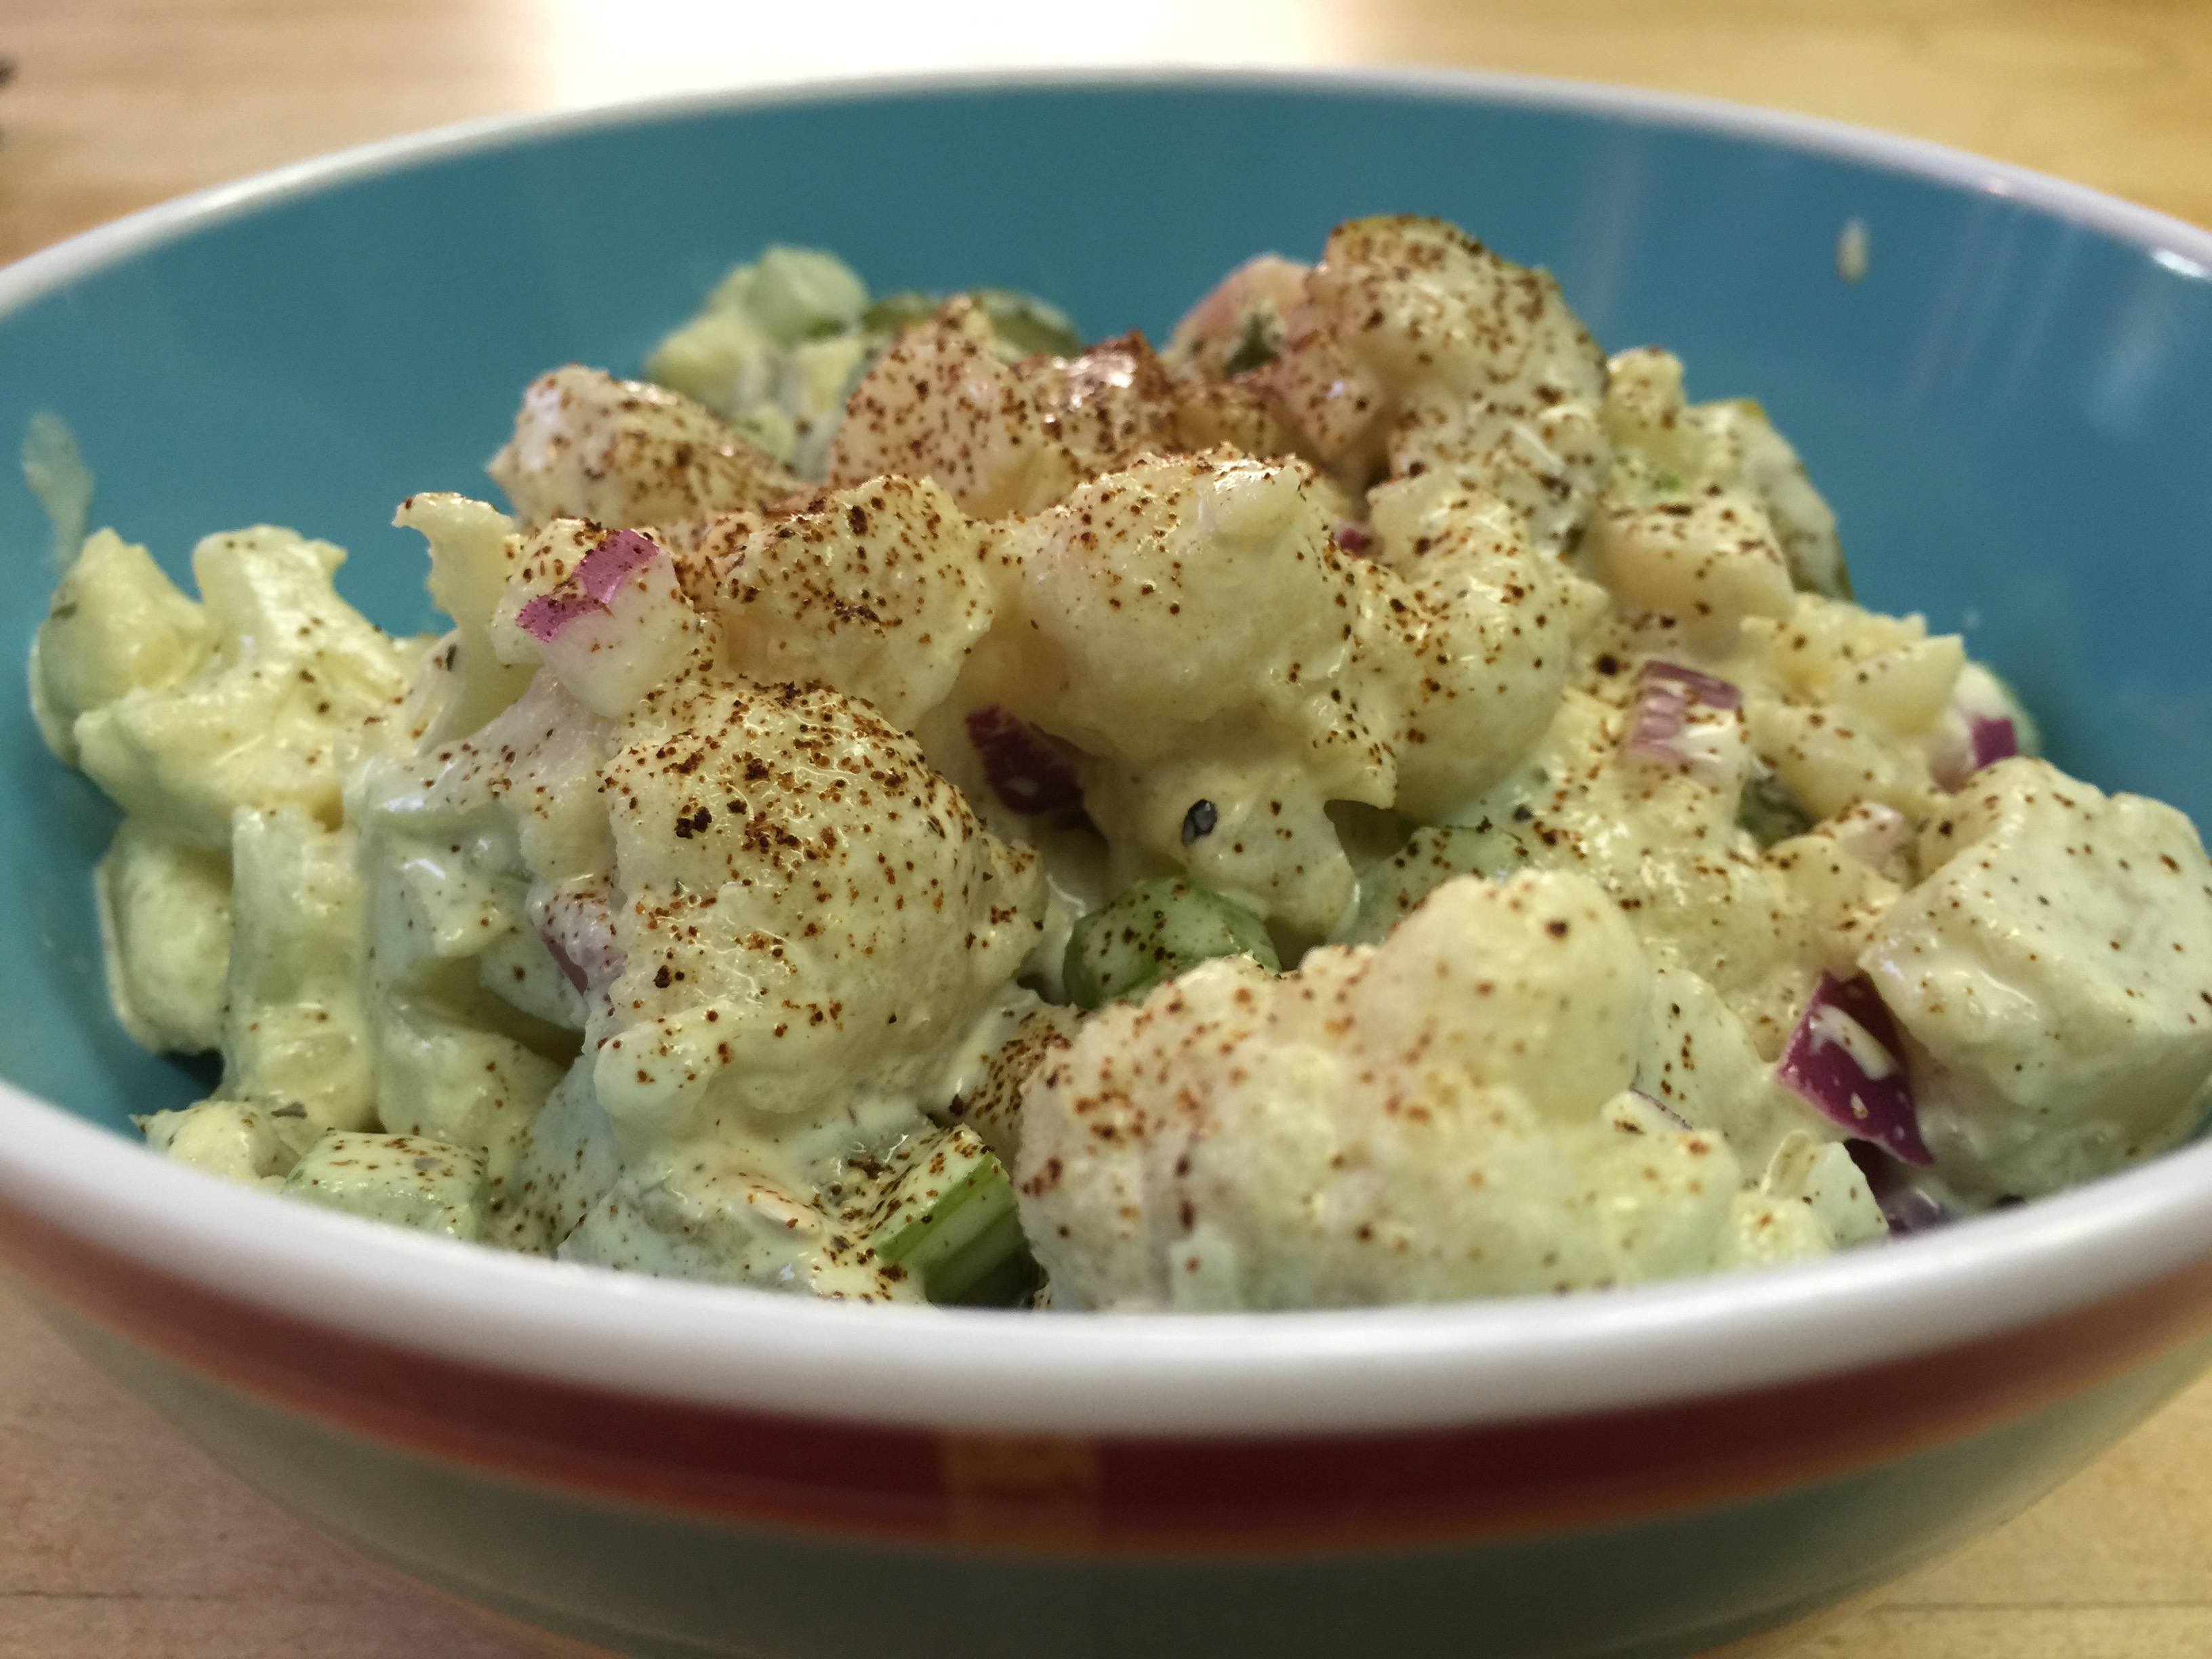
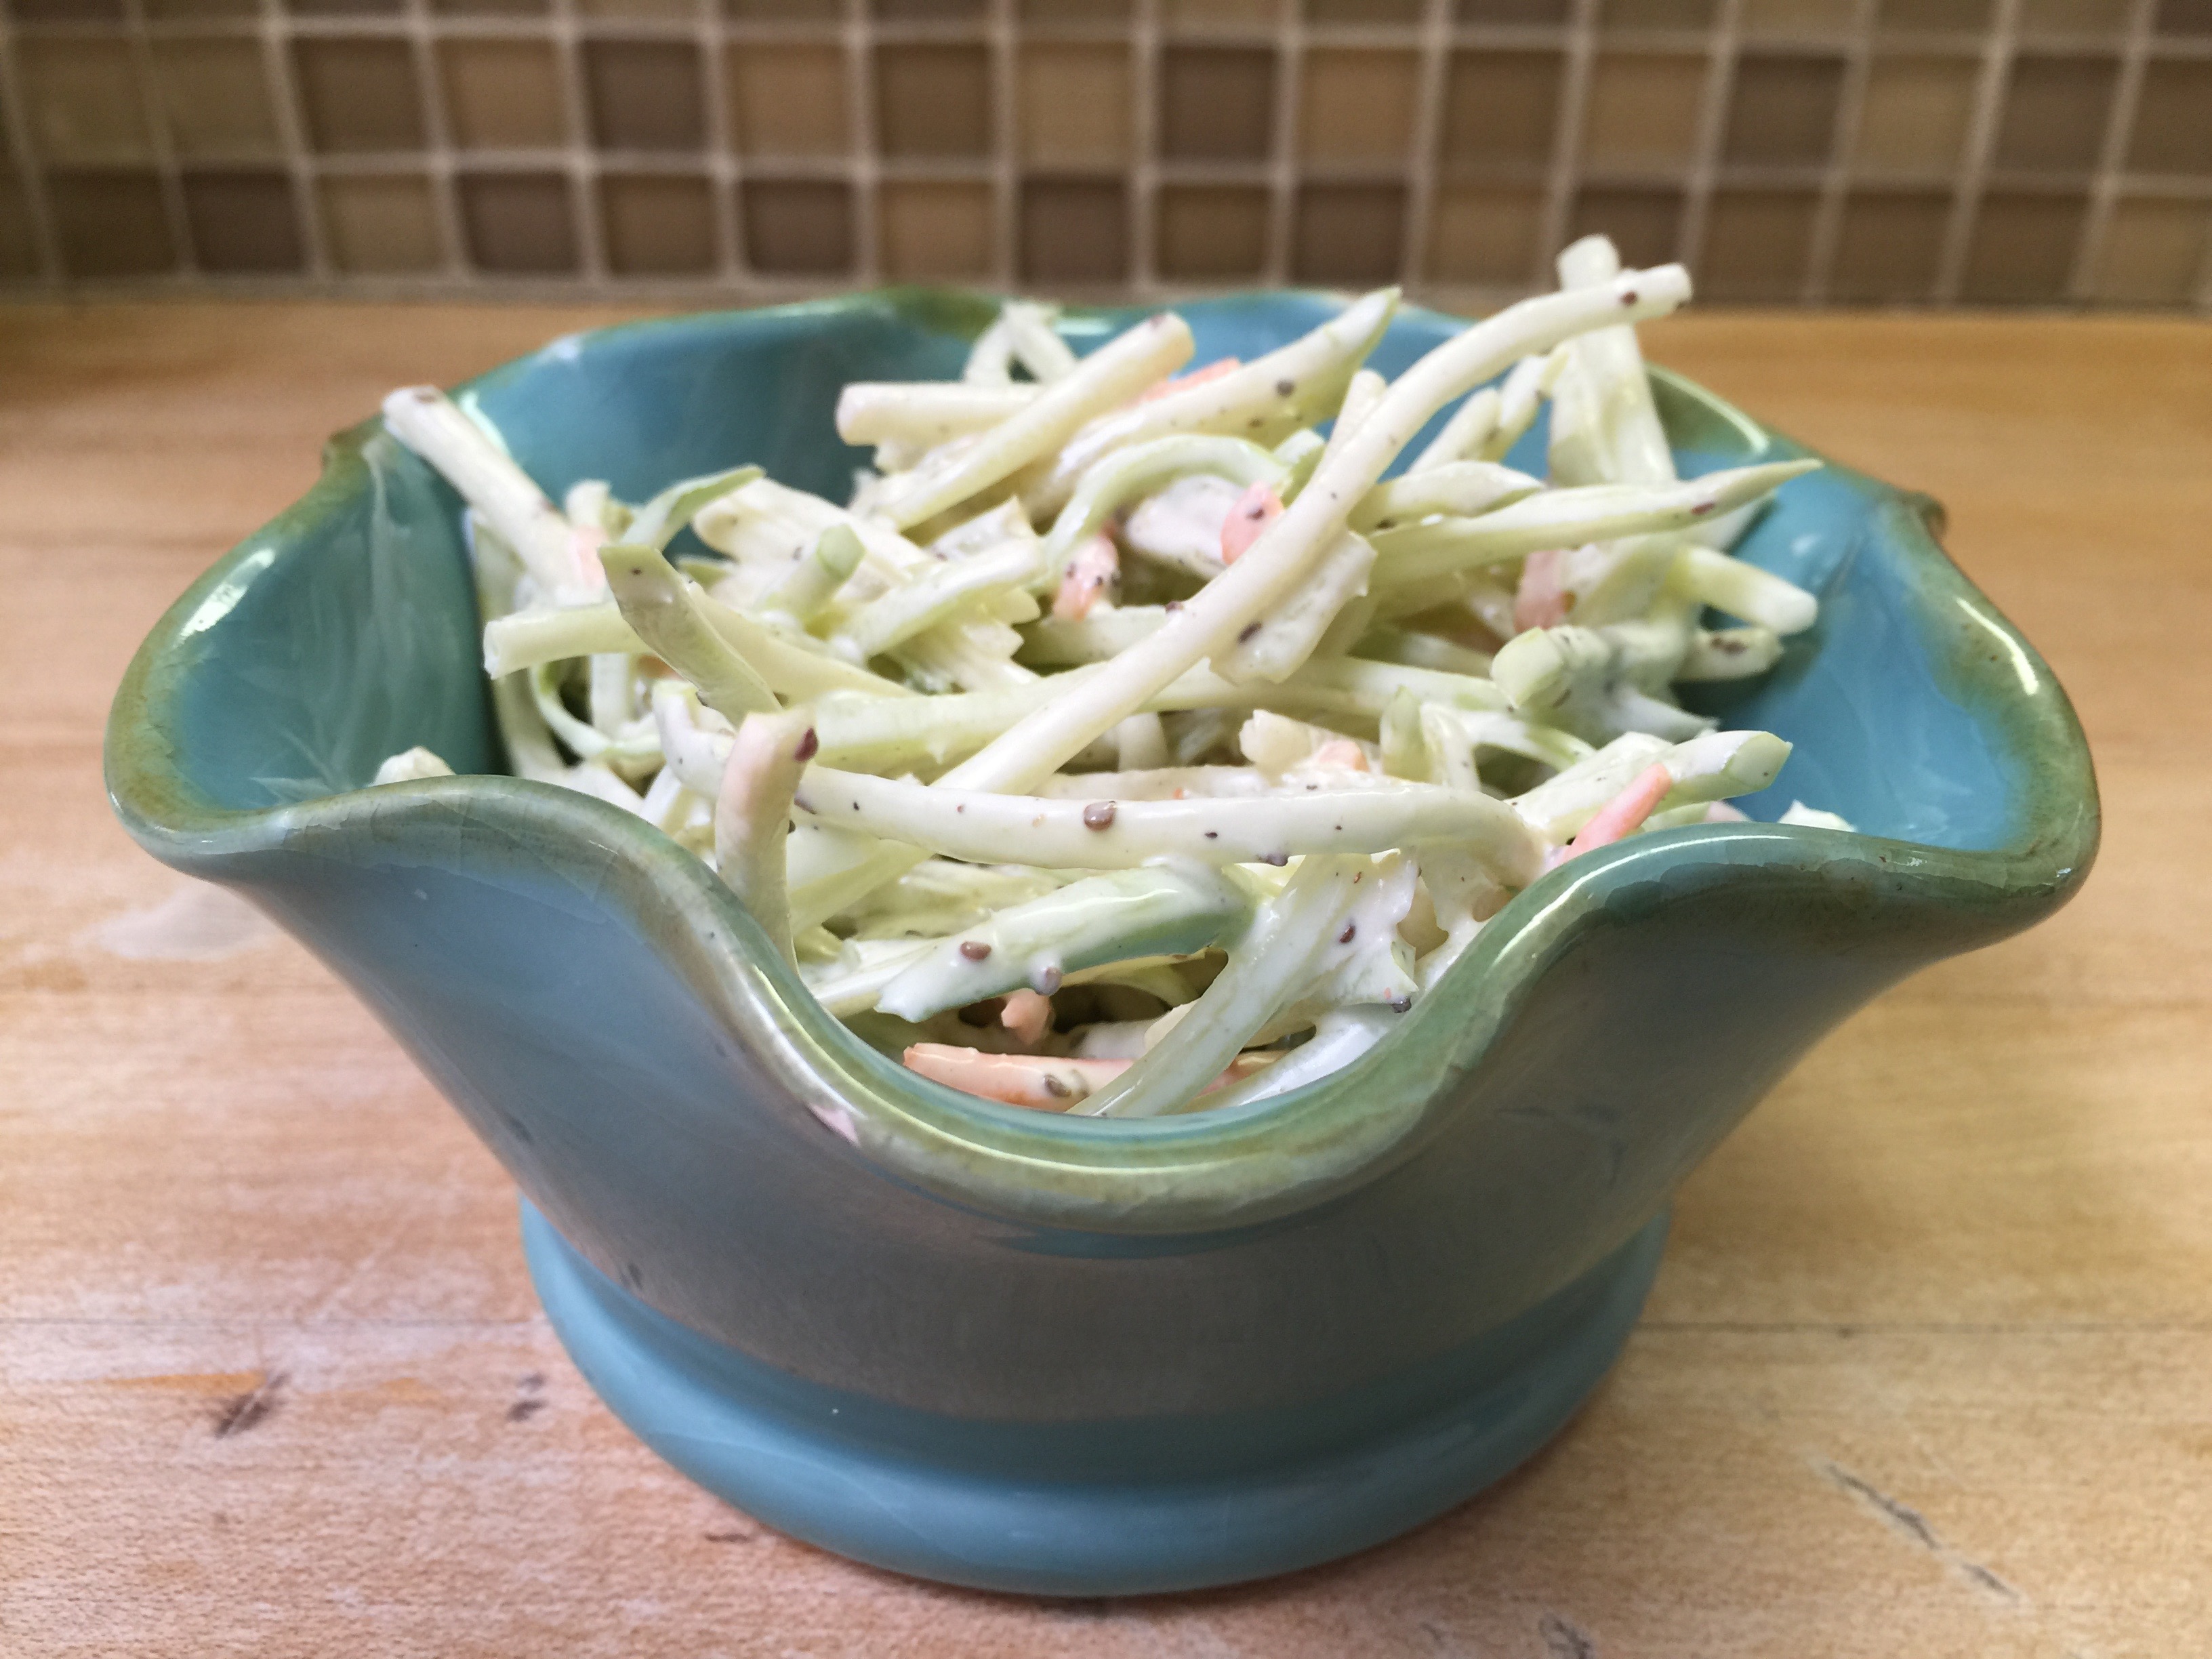
Refrigerate for a few hours.  When you place it in a serving bowl, sprinkle with a little paprika for color and enjoy with your firecrackers!

IMG_3047


Dress It Up!

We are thinking ahead to fireworks and celebration!  It is hard to believe that July 4th is right around the corner.  The other day I posted the “Refreshing Cukes” recipe which would be a great side dish for any Fourth of July celebration.  By the way, they just got better in the fridge for a few days!  The cucumbers were definitely a hit in our house!

Today, I have another side that is easy because all you need to do is prepare the dressing ahead, pour it in a mason jar, throw it in the ice chest, and you have a great nutritious side wherever your travels may take you!  Even better, you can use this tangy dressing as a dip or on any salad with what you have left over.

IMG_2823

Keto Broccoli Slaw Recipe

2 Tbsp Extra Virgin Olive Oil

1 Cup Mayonnaise (I used Hellman’s, but homemade is better)

3 Tbsp Apple Cider Vinegar

1 Heaping Tbsp Dijon Mustarrd

1/8 tsp Trader Joe’s Pure Stevia

1 1/2 tsp Celery Seeds

1 tsp Himalayan Salt

1/2 tsp Black Pepper

2 Bags of Trader Joe’s Organic Broccoli Slaw (I just use one at a time.)

Directions:

Start by combining your Olive Oil and Mayonnaise.  Then add your Apple Cider Vinegar and Mustard.

IMG_2824

Stir well.

IMG_2825


Add your Stevia: This is the best one I’ve found so far:

$_35

Then add the rest of your ingredients except for the slaw.

IMG_2826

Whisk well, and pour into a mason jar once it is completely combined.

IMG_2830

Now it is ready for packing or serving.  Place in the refrigerator until ready to use.  Also, shake well before each use to distribute the celery seeds.

When you are ready, empty the packet of broccoli slaw into a large bowl.  It will make more than you think, so pick a large enough bowl.  Pour about a half cup of dressing over your slaw and mix well.  You can always add more if you like.

IMG_2857

This is excellent served with Bar-B-Que, or served on its own.  Enjoy!IMG_2862


Refreshing Cukes!

Last week, a friend of mine showed up at my door with a trash bag full of homegrown cucumbers.  He had grown them at his office, and thought I could use them since he knows I like to cook.  I had never seen so many cucumbers, and I honestly didn’t have a clue what to do with them.   My husband LOVES cucumbers, so I knew I needed to find something quickly!  I couldn’t let these go to waste!  The search began…

Look at these things…I had never seen anything like them before!  They were the largest Japanese Cucumbers I had ever seen!

IMG_2788 (1)

As you can see, these are huge!

I searched around through cookbooks and on the web.  I didn’t find anything that shouted out at me, but I combined a few recipes, changed out the sugar, and came up with a winner!  They haven’t even finished marinating, and my son said, “These are amazing…Dad is going to love them…This is my new favorite snack.”

So those of you looking for snack ideas, I have a new one!

You will need:

5-6 Cucumbers (I used 4 of these huge ones, so thinking this is the equivalent)

2 1/2 cups White Vinegar

1 Red Onion

1 Cup Xylitol or Sugar Substitute of Choice (See note at bottom)

2 tsp Celtic Salt

1 tsp Celery Seed

1 tsp Dried Dill

Directions:

In a saucepan, combine your vinegar, salt, and sweetener.  Over medium heat, (it’s gonna stink), heat your vinegar until your “sugar” and salt dissolves.

IMG_2789 (1)


Remove from heat, and add your celery seed and dill weed.  Allow to cool a little and place in the refrigerator to cool completely.

IMG_2790

While your marinade is cooling, slice your cucumbers in a mandoline.  I love my De Buyer!  If you don’t have a mandoline, what are you waiting for?  It makes life so much easier!  I bought mine at Williams Sonoma, but you can get yours here too.

IMG_2793

IMG_2792


IMG_2795

I did adjust my mandoline for thicker slices.  I had it set from the zucchini last week, but these needed to be a bit thicker.

Also, slice your red onion into thin rings.  Place your cucumbers and red onion slices in a bowl.

Once you have everything sliced and your marinade is cold, you can pour your marinade over your cucumber and onion.

IMG_2796

IMG_2797

Toss everything together until lightly coated.  Cover with Saran and place in your refrigerator overnight.  At this point you can’t even see the liquid, but just wait!

This is what it looks like in the morning:

IMG_2799

Everything is soaking in the juices!  Yum!

IMG_2798

Let it sit and soak up the deliciousness for 24 to 48 hours!  Enjoy as a snack, a salad, or a side dish!  I am thinking ahead to the July 4th holiday!!!


A note on Xylitol:  You don’t see us using this one very often.  The reason I did on this dish was because it was a cold marinade that also had to be heated so I thought it would work best.  There are many that love Xylitol, and there is nothing wrong with it from a Keto standpoint.  I have two cautions on it though:

1.  It is extremely toxic for dogs!  Keep it away from animals.

2.  It can cause stomach discomfort in a few.

For the quantity of liquid in these in relation to the amount of cucumbers, I did not think it would have much effect since we are not consuming the liquid on it’s own.

If you try different sweeteners or have a different variation on this recipe, we would love to hear about it in the comments section!


Restaurant Worthy Side Dish!

Most of you know by now that I love squash!  All squash, but especially summer squash!  Lucky for me, it is summer, and all those summer squashes are plentiful.  The yellow is my favorite!

header_logo

About a year ago, we celebrated my dad’s birthday at a great restaurant in San Antonio called Bohanan’s.  It is a wonderful special occasion restaurant if you have not tried it!  Most of my family would consider themselves foodies, and really enjoy a great meal.  I am no exception!  You can always count on having a great meal at Bohanan’s.  Not only do they have some of the best steaks in Texas (which is saying a lot), but they have great seafood and side dishes as well.  One of my favorite side dishes we were served that evening was their Baked Squash.  It is melt in your mouth delicious, with just the right amount of savory paired with the sweet.  The sugar in ours is, of course, replaced with Swerve or natural sweetener of your choice.

images

Just a few weeks after my father’s birthday, I found the squash recipe in our local Sunday paper.  I just love restaurants that publish their prized recipes!  It was so close to being Keto, that I knew I could tweak it to make it healthier for our family without the sugar and flour.  I think I have mastered it enough to share:


Sweet Life Baked Squash

Serves 10-12 (Can half, but saves great for leftovers)

3.5 lbs yellow summer squash

1/2 brick of Kerry Gold butter (extra for top)

20 slices of Kraft cheese

4-5 tsp of Swerve granular

1 cup mayonnaise

1/2 tsp Celtic salt

2 tsp fresh ground black pepper

4 eggs

Almond Flour for top

Directions:

Preheat oven to 350 degrees, and gather your ingredients.

IMG_2645

Start by washing the squash, trimming off the ends, and cubing it.

IMG_2643

Place your squash in a large saucepan and cover with water and a pinch of salt.

IMG_2644 (1)

Boil for about 10 minutes until tender when pierced with a fork.

Drain in a colander, place back in the pan, and cook over medium heat to release more of the moisture in the squash. Stir for a few minutes, and then remove from heat.  Most (not all) of the moisture should be evaporated from the pan at this point.

IMG_2647

Stir in your Kerrygold, Kraft cheese, Swerve, mayonnaise, salt, and pepper.

Mix until all the cheese is melted.

Beat the eggs lightly in a small bowl, and temper them by adding a small amount of the squash mixture.  Then pour them into the pan, and mix well.  It will look super runny, but it will firm up when you bake it.

IMG_2651

Pour your mixture into a 9×13 baking dish sprayed with coconut oil.

IMG_2652

Top with a sprinkle of Almond Flour and a few dabs of additional Kerrygold.

IMG_2655

Bake at 350 degrees for 45 minutes.

IMG_2659

IMG_2661

This dish goes great with any kind of bar-b-que, hamburger patties, steak, fish – really anything.  I was going to serve it with some brisket, but my husband was in the mood for burger patties so that is what you see.

IMG_2662

I hope you enjoy this great side dish with your next summer meal!  Enjoy!


It’s the Weekend! Let’s Eat Out!

Another BIG question!

How do you eat out on Keto?  Well, it’s not as hard as you would imagine…

restaurant sign

When we first started cutting carbs, it was a bit intimidating to go out.  I wanted to know the exact source of my food and exactly how it was being prepared.  This is much easier to do at home, but I still wanted to socialize with my friends.  I wasn’t about to give up my few evenings of “adult time” away from the kitchen because of Keto!  I soon learned I didn’t have to give up restaurants and neither do you!

I had always considered myself an easy, low-maintenance restaurant patron.  And, if I must be honest, I was a bit embarrassed when someone at the table was the “difficult one”.  I really love all food, and am a bit of a foodie.  I love trying new things and new preparations, so eating out was always an adventure.  It still is an adventure, but I am a little more cautious when ordering.

I may not be quite as low-maintance, but I have found that restaurants are more than willing to answer questions about preparations, and even more willing to oblige on certain dietary restrictions.  While once an insult to a chef to change his/her dish, it is now all the more common as consumers have more and more dietary restrictions, whether allergies or eating preferences.  Don’t hesitate to ask!

table setting


Here are some of my general questions when asking about a dish:

Is there sugar in the sauce?

Is the dish gluten-free?

What is the side accompaniment?

Is it breaded?

May I substitute the starch for another vegetable?

May I have the protein grilled or sautéed instead of fried or breaded?

You will find that breading, sauces, and sides are the main culprits.


Here are the main things you need to do:

1. Ask for sauce on the side – every time (Unless it is a heavy cream sauce made without flour or a lemon butter sauce – if this is the case, the more the better.)

2.  Ask for extra veggies with butter instead of potatoes, pasta, rice, or risotto.

3.  First thing when you arrive – ask your waiter to hold the bread, but bring the butter (real butter) – you may get a funny look, but they will do it!

4.  Order a bottle of wine, a martini, or vodka soda.  Stay away from the sugary cocktails.

5.  Order your salad without crouton or crisps and stay away from sweet dressings.  Blue Cheese, Ranch, and Caesar are generally safe.  It gets dicey with the vinaigrettes.

6.  Read the menu carefully – learn the code words: crispy or coated usually means fried, seasoned could mean sugar so ask.  Crunchy usually means it has something on top, like fried onions, tortilla chips, panko, etc.  Sweet, glazed, or brushed are almost always code for the dreaded SUGAR.  In short, always read the description, and if you are still unsure, ask!

7.  Good things to look for are: grilled, broiled, steamed, seared, baked, and sautéed.  Savory is usually good, and seasoned is often good as long as the seasoning does not contain sugar.

8.  At the end of the meal, refrain from looking at the dessert menu.  Too much temptation.  Ask for a decaf with heavy cream if you need a little something while your friends order dessert.  They won’t be used to the heavy cream order, but almost any good kitchen has cream, so ask the waiter to check the kitchen.

I promise it is really easy after you get used to ordering Keto.  Restaurants are starting to have more gluten free dishes (I just ate at one that had a gluten-free menu – remember though that gluten-free doesn’t mean carb-free), and many are used to patrons ordering low-carb.  Most of all, don’t be afraid to ask questions.  It is not about weight at this point, it is about your health!

Good places to start are:

Bar-B-Que Restaurants (Have all the meat you want, but watch the sauce and sides)

Steak Restaurants (Steak is great – order with Béarnaise and side salad and veggies – skip the potatoes)

Seafood Restaurants (Shrimp and Fish are great – Add lemon butter and it’s even better)


Here are a few pictures of meals we have ordered out to give you some ideas:

Both dishes below were from Houston Street Bistro.  They were wonderful about substituting the pasta that was supposed to be served with each dish with vegetables instead.  The shrimp is in a lemon butter sauce with broccoli and carrots.  The chicken and mushroom dish is in a flourless cream sauce served with a side of spinach instead of over pasta.

IMG_0664 IMG_0663


These next three are all from different restaurants.

 The first is a high-end restaurant that had calf liver on the specials menu (a top Keto food) and to top it off, it had sauted onion and BACON!

IMG_1238


This is a cup of beanless chili from a local delicatessen.

IMG_1239

Beef Cheeks from a local restaurant.

IMG_1240


This was a fantastic meal from Silo – Lamb with veggies, and they even brought hollandaise on the side.

IMG_0631


Hopefully these give you some ideas of how easy it is to order a delicious meal out on the town!  Have a great weekend!


Quick Rule for Vegetable Picking

One of the very first questions that we get when people start wanting to go low carb is, “What do I eat?!”

The answer can be frustratingly simple because the answer is fat, protein, and vegetables.

The protein is easy enough, the fat raises most eyebrows, but the veggies end up being more difficult than people expect.

Once you start monitoring what you eat, it can be very eye opening the actual carb and sugar count on many foods that you thought were healthier than they are in actuality.

Image result for frustrated foodOf course, dark leafy vegetables are the the clear winners when it comes to the best bang for your buck on nutrients and lowest on the carb count. Side note-some of the best dark leafies are ones you have likely never considered, HERBS!

One super herb is Parsley:

Image result for parsley nutrition

% Daily Value for Parsley, dried 1 tbsp (1.6g)


Additional nutritional information on several herbs can be found here.

But after the dark leafies things get a little fuzzy, and that’s why we have employed the rule of thumb: “An above ground veggie is a good veggie.”

While the rule isn’t 100%, it is a great guideline. The high carb veggies tend to be the root vegetables such as carrots, beets, onion, parsnips, yams, turnip, radish, yucca, and of course, potatoes. While onions are on the underground list, the amount of onion people tend to eat in most recipes will not equate to a full serving size-so these can usually slide.


Image result for root vegetables

Basically, the general rule means that if it’s above the ground, you are likely okay! The exceptions include the starchy squashes, such as butternut, and of course the veggies that are not really veggies, prime example being corn. Despite being found in the fresh, frozen, and canned sections at grocery stores, corn is a grain, and a highly GMOed one at that, but that is an entire other post.


So next time you are considering what side to make, or what vegetable to pick up, just go with the general above ground rule, and you should be in the clear. Oh, and of course, don’t forget to add some healthy fat!


Image result for quality fat


Dress Up Your Summer Veggies with Bacon

IMG_0718

Just about everything is better with BACON!  It is definitely a staple in our house.  We can eat it for breakfast, lunch, and dinner!

Here is an example of eating bacon for dinner; one of many ways!  On days when I make my sheets of bacon, I try to make use of my bacon drippings by doing a dish that requires bacon AND oil.

I mean, really, what isn’t satisfyingly delicious when you cook it in bacon grease?

My Bacon Green Beans are a hit with the whole family!

Start with your sheets of bacon.  I usually try to do two to three cookie sheets of bacon at the beginning of the week.  Search for my bacon blog if you missed it!

Bake a foil lined cookie sheet of bacon on 350 to 375 for 15 minutes.  DO NOT discard your bacon drippings!  Please!

IMG_0782


You can keep going with your bacon on the same sheet to get more drippings (and more bacon).

Meanwhile, prepare your ingredients:

Wash and trim about 2 pounds of green beans.  Set aside.

Chop finely, 1 cup of white onion.

Using a garlic press, mince 5-6 cloves of garlic.  I love, love, love my garlic chopper!  You can find one here, and chop all of your cloves at one time!  My favorite kitchen tool!

Squeeze the juice of 1 lemon into a small bowl, discarding seeds.

Chop your bacon, and get your seasonings: crushed red pepper, black pepper, and Celtic or Himalayan salt.  Parmesan cheese if desired.
IMG_0778IMG_0779

Saute your onion and garlic in your bacon drippings until translucent.


IMG_0783IMG_0780

Add your green beans:


IMG_0781Once your green beans are slightly tender, but still crisp, add your bacon, lemon and seasonings.

IMG_0719

End with a sprinkle of parmesan cheese across the top!  I usually do this step on individual plates.

It’s that easy for a gorgeous, colorful, and delicious side that the whole family will enjoy.


To find items that we use in our posts, such as the All Clad sauté pan, the silicone spatulas and spoons, and cookie sheets, check out our new Amazon store here.

Stuffed Low-Carb Yellow Squash

A Savory Summer Side!

IMG_0743


Perfect for the summer time veggie season!

This is super easy, and so delicious anyone in your family will love it!  Even my picky 4 year old will at least eat out the stuffing!

Ingredients:

5 yellow (summer) squash

1 zucchini squash, steamed, cooked and diced

2 eggs

3/4 cup Parmesan cheese + additional to top squash

1/3 cup melted butter + 2 Tbsp (not melted)

1 bunch green onion

4 Tbsp almond flour

1 tsp oregano

1 tsp garlic powder

Salt & pepper to taste

Instructions:

Start with your yellow squash by washing and cutting off the ends.  Then cut in half lengthwise.

IMG_0735

One squash = two servings.

Lay them cut-side up in a glass pyrex baking dish.  Fill the bottom of the dish with water so you can steam the squash until softened.

IMG_0736Microwave on high for 4 minutes.  Check them after this time…if they are still hard in the middle, then keep cooking them on high in 2 minute increments until they are soft enough to scoop, but not mushy.

When they are tender, remove them and let them cool a bit or you will burn off the tips of your fingers. Maybe not, but it will hurt!

IMG_0738 IMG_0739

When they are cool enough to handle, use a soup spoon, and start hulling out the inside of the squash. Hull all but one half – leaving this one to chop finely.  Be careful not to poke all the way through.  Place the squash you have removed into a mixing bowl, and your now empty “boats” onto a cookie sheet.

Finely chop one half of one yellow squash into small bits, along with one zucchini squash that you have also steamed and finely diced.  Now, you will see a lot of water in the bottom of the bowl.  Try to drain as much of this as possible or it will be too runny.  I press and drain 3 or 4 times.  You could use a mesh colander for this also.  It is okay to be moist, but you don’t want standing water at the bottom of the bowl.

Once most of the water is removed, I use a sharp knife and run it through the squash in the bowl to break up the membranes in the squash.  This is not an exact science.  Just break up the larger pieces that you scooped out.

Add your eggs, 3/4 cup Parmesan cheese, 1/3 cup melted butter, finely chopped green onion with some of the green tops included.  Then add 2 Tbsp of almond flour and your seasonings.  Mix well!

IMG_0740 IMG_0741

Use the mixture to fill your squash “boats” so it is slightly heaping.

IMG_0742Lightly sprinkle with the additional 2 Tbsp of almond flour, put a pat of additional butter on top and finish with as much Parmesan cheese as you desire.  I have also topped with mozzarella cheese as well.  Both are delicious!

Bake in the oven for 25 minutes at 350 degrees, and you have an amazing side dish!

IMG_0743

Enjoy!


Rich and Delicious Creamed Spinach

I don’t know about you, but when we go to a nice steak restaurant, one of our sides is always creamed spinach.  Well, I was determined to duplicate this rich satisfying side dish, and mission accomplished!  Behind my fat bombs, this is my second most requested recipe, and is delicious alongside any meal, but it is our favorite with grass-fed beef!  This dish is good enough for company!


IMG_0790

Ingredients:

Organic Baby Spinach (I used two large containers)

Kerrygold Grass Fed Butter (1/4 to 1/2 stick)

Full Fat Cream Cheese (I package)

Heavy Whipping Cream (1/4 to 1/2 cup)

White Onion (Quartered)

Garlic (4-5 cloves)

Salt and Pepper

Whole Nutmeg


Preparation:

Bring a full pot of water to a boil.  Add spinach and cook for 3 to 5 minutes.  You want it cooked down, but not completely wilted.

IMG_0791

Drain in a colander, and let it sit while you prepare the rest of the ingredients.

IMG_0792


Back in the same pot, melt your butter over medium heat.  I used a half of a Kerrygold brick.  If you are using a regular stick of butter, you will need 1 whole stick.

Add a quarter to a half of a white onion, finely chopped with 4-5 minced garlic cloves, and sauté until translucent.  (We like a bit more onion and garlic which is higher in carbs so take that into account.)

IMG_0793


Turn your heat down to low.  Add your cream cheese cubed and stir well until incorporated with the butter. It may separate slightly and this is okay.  When you add your spinach it will combine well.

IMG_0794

Press all the remaining water out of your spinach.  Dump it out on a cutting board and chop roughly.  Then add it to your butter mixture on the stove.

IMG_0795


Next, add your heavy cream.  This is up to you.  Start with 1/4 cup, and if you want it creamier, add a little at a time.  It will thicken slightly after about 5 minutes over low heat.

IMG_0798


Now, all you have left is your seasoning!  Spinach is amazing with nutmeg, especially freshly grated.  I also add freshly ground Himalayan salt and black pepper.

IMG_0796 IMG_0797

Mix all your seasonings in and let it simmer over low heat for about 5 minutes.  Then serve and enjoy!  It is just as good left over for lunch too!

IMG_0799

Low Carb Rice?

IMG_0648

Yes, low carb rice indeed!

This is one of our favorite tricks for sprucing up dishes with a little extra texture.

I have to admit that I was skeptical at first, but it really works, and the kids love it, while getting their veggies at the same time.  Mine can’t tell the difference!


Cauliflower Rice

Start with a large head of cauliflower, a nice sharp knife, a food processor and a foil lined baking sheet.

IMG_0659Cut your cauliflower into small florets and rinse in a colander.

IMG_0658Let the cauliflower dry for a bit and then add to your food processor a little at a time.  If you do too much at once you will get some clumps.

IMG_0650Then PULSE your food processor until the cauliflower resembles snow.  Don’t over pulse or you will get a puree.

IMG_0649After each batch, scrape the pulsed cauliflower out onto your cookie sheet.  If you have larger pieces, just throw them back in with the next batch.

When it is all “snow” you should have a nice full cookie sheet of “rice”!

IMG_0648Bake in the oven on 350 degrees until the top is just starting to turn golden.  I take it out a few times and toss it around to make sure it is all getting cooked through.  This will remove the rest of the moisture and you will have a great side dish in about 25 to 30 minutes.

We generally use the rice under Indian dishes like Tiki Marsala or Curry, but we also serve as a side topped with Kerrygold!

Enjoy!IMG_0647

« Older Entries