Archive for recipe

I Scream, You Scream, We All Scream for Ice Cream!

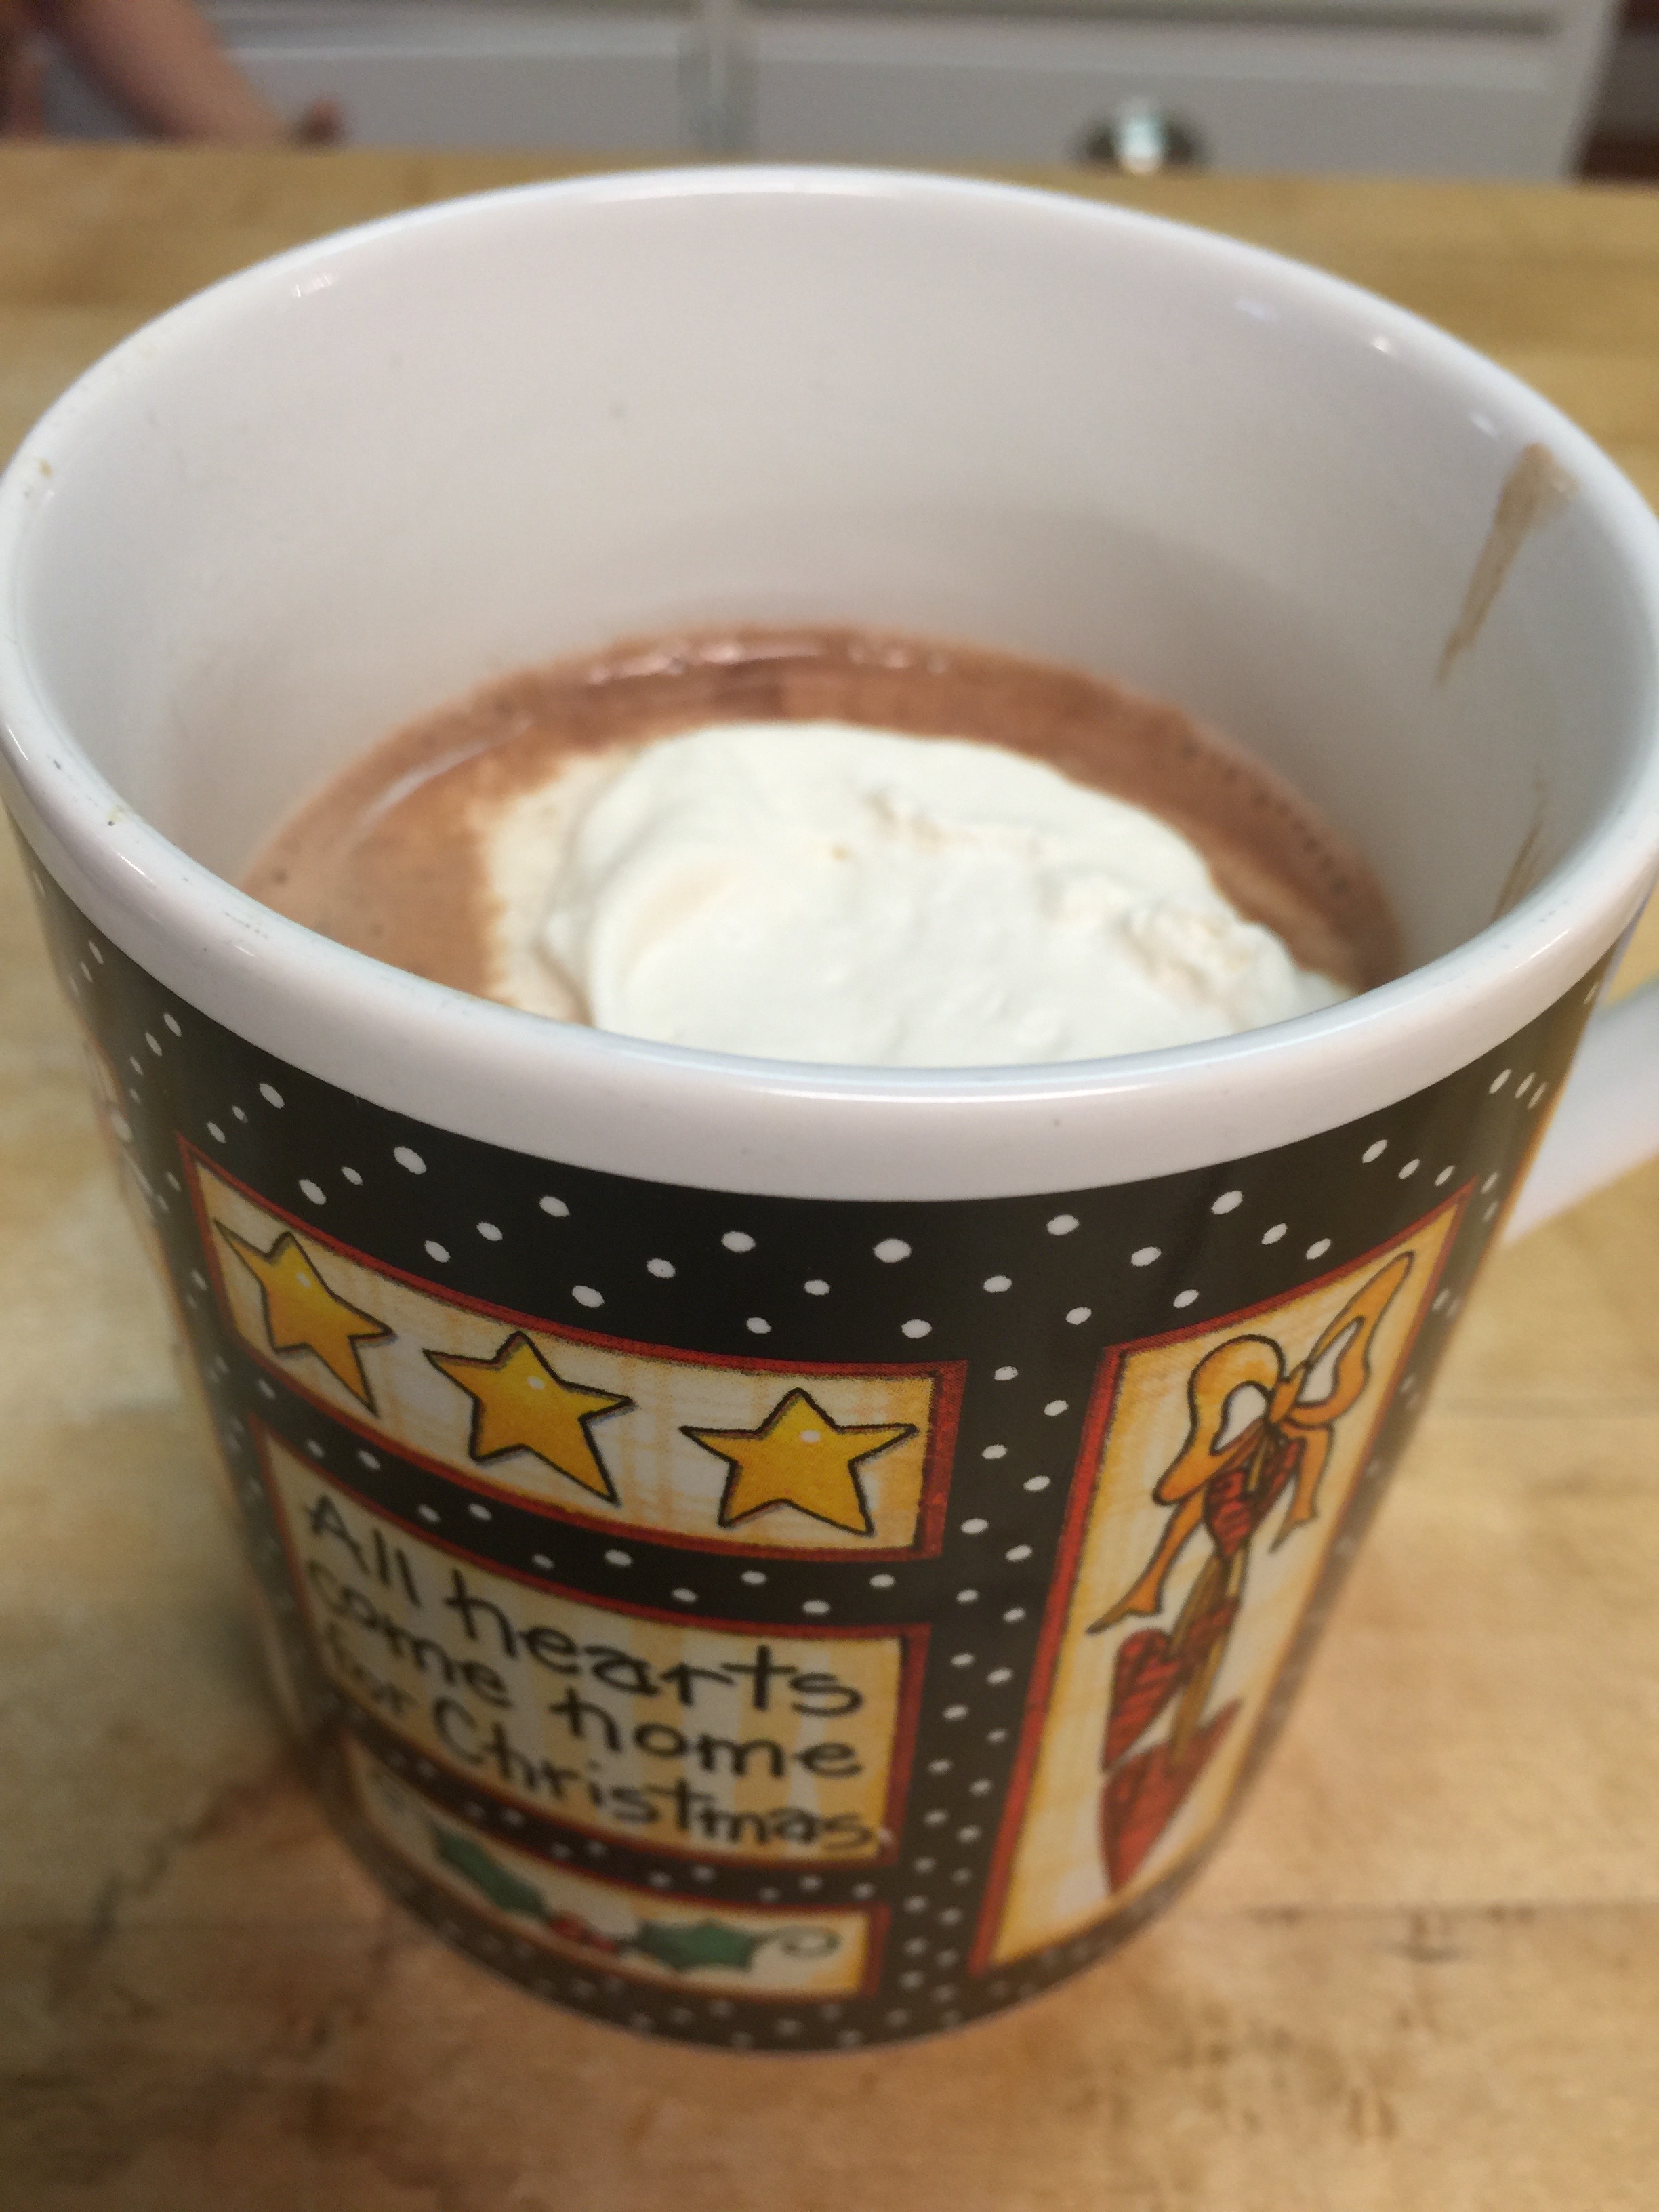
That’s right!  I said Ice Cream!  Chocolate Ice Cream!

I’ve been experimenting all summer, and not only do I have a great recipe for you, but it is an excellent activity to keep the kiddos entertained at the same time (if you choose to do this method.)


images-1

The best part, other than the amazing taste, is the simplicity!  Just a few simple, pure, ingredients that you probably have on hand, a little waiting time, and dessert is prepared!  A creamy, delicious dessert that no one would ever guess is SUGAR FREE!

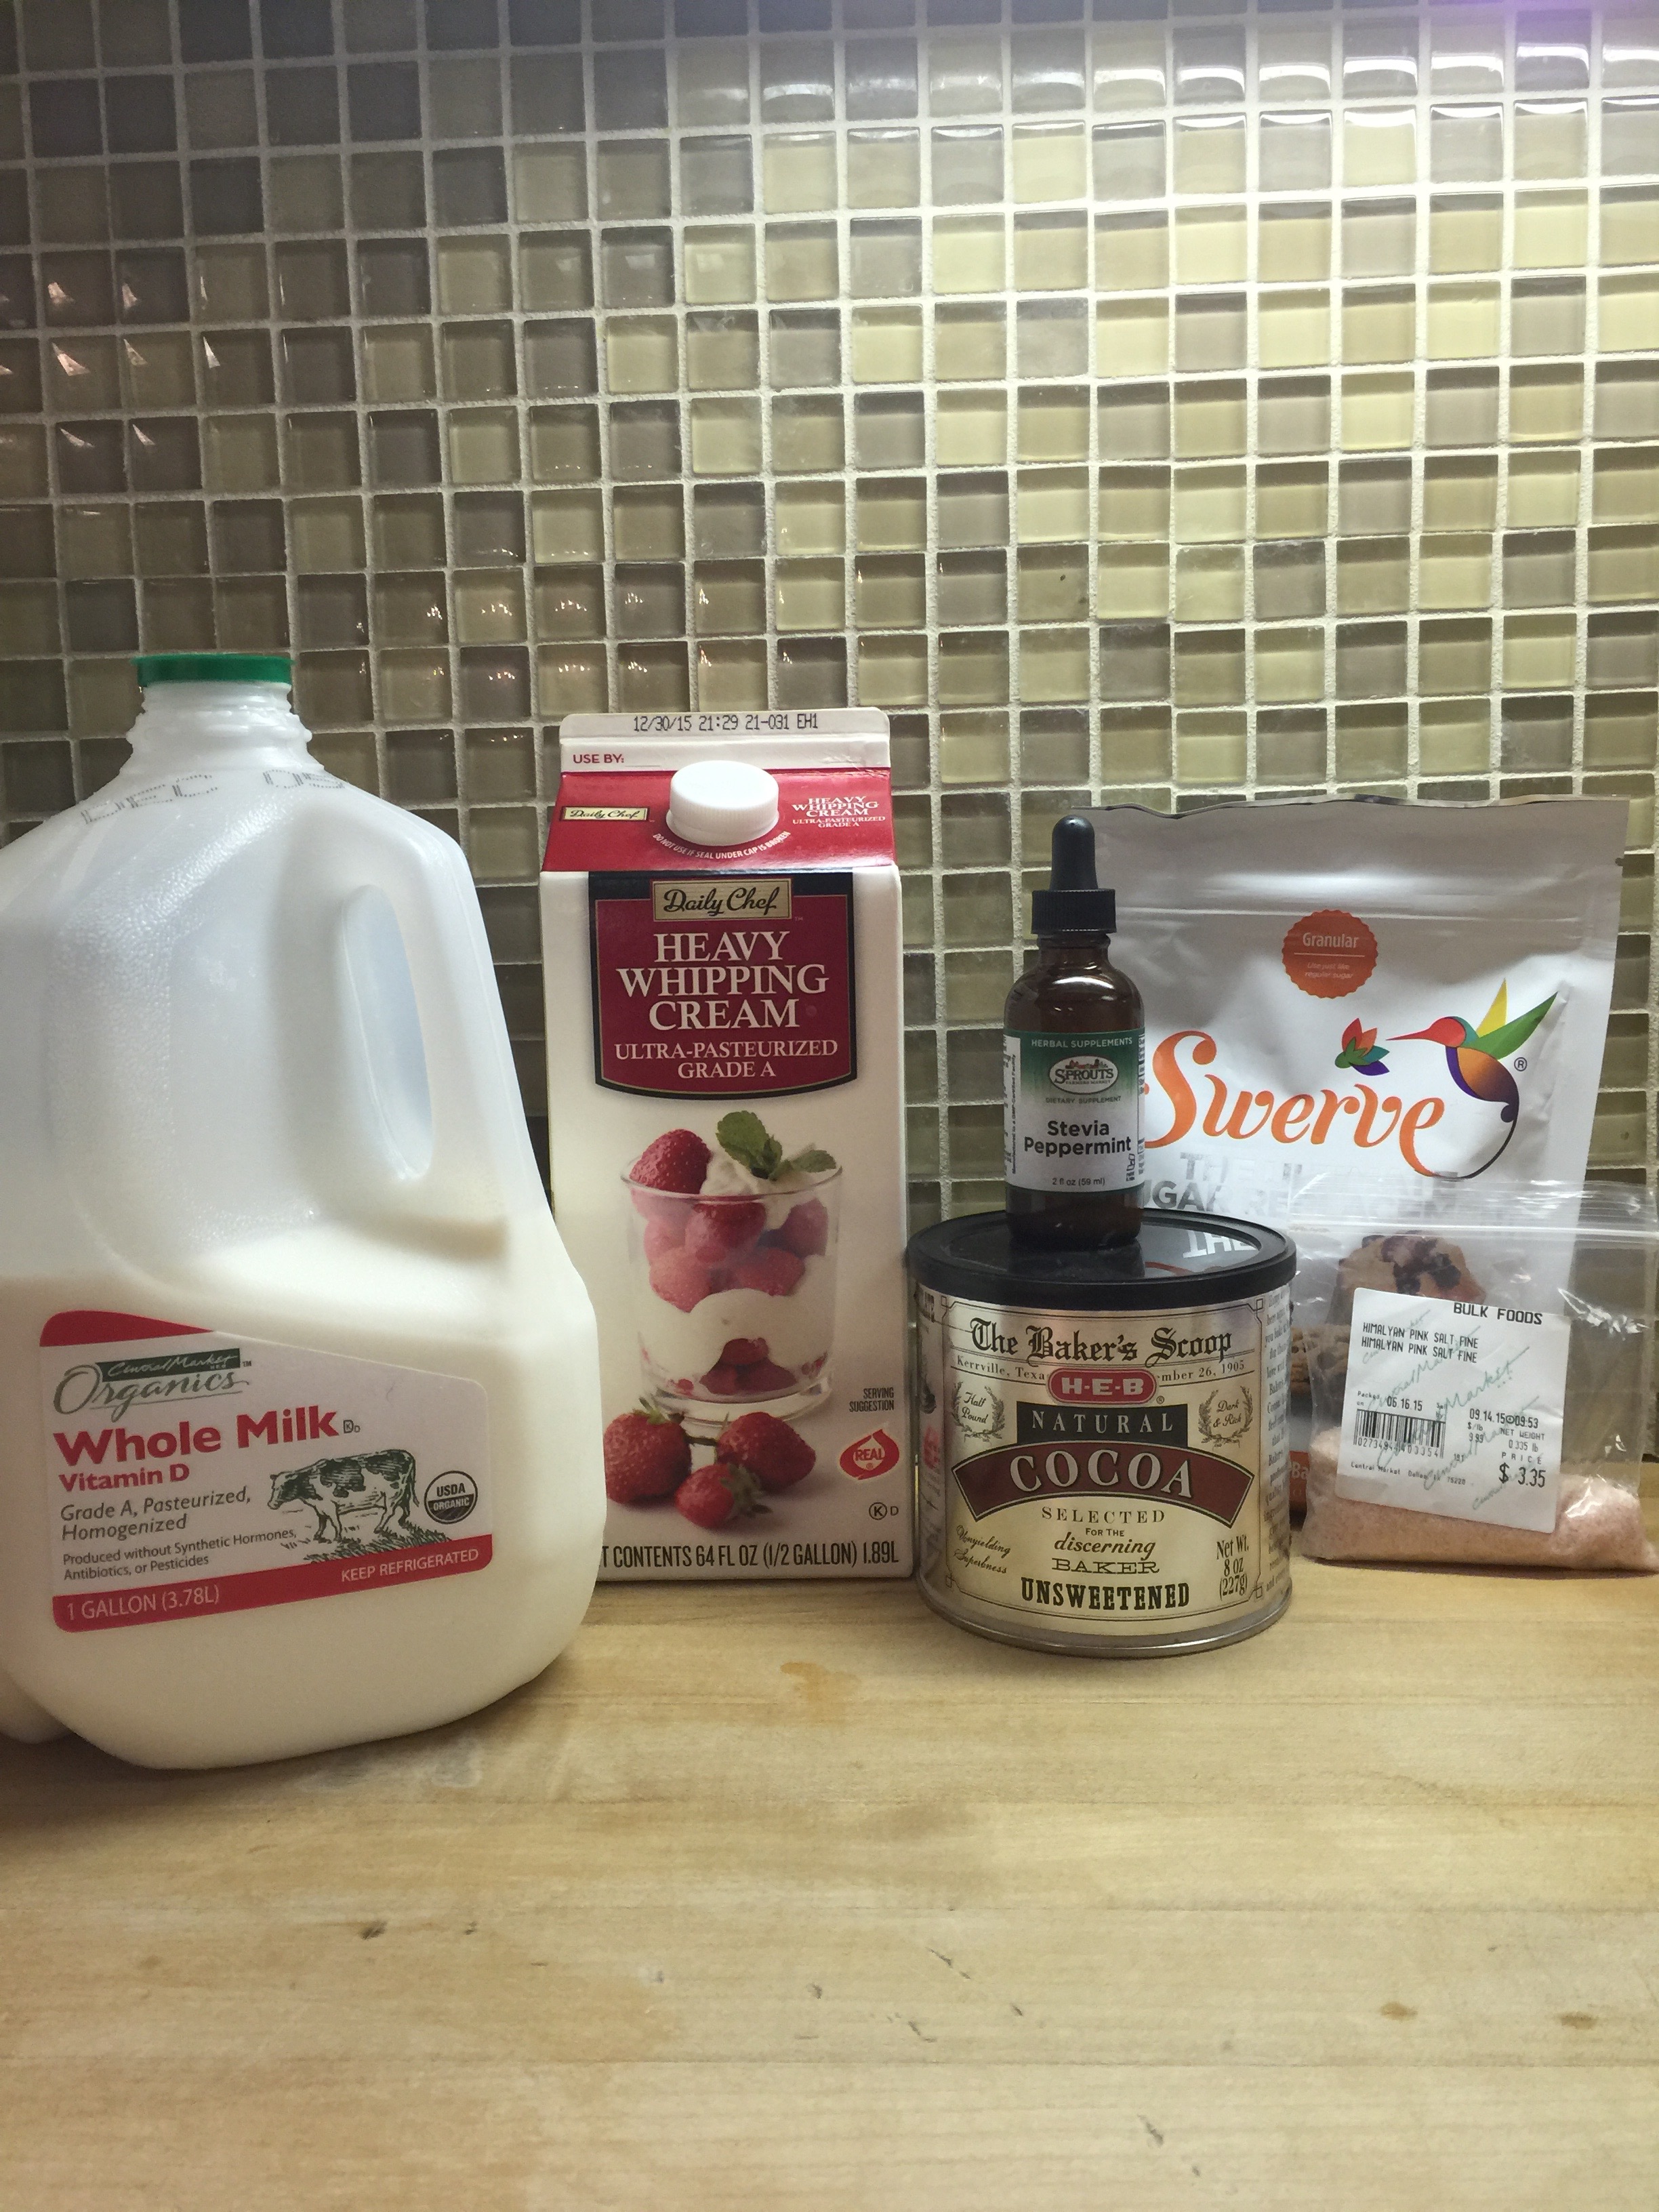
Here’s what you need:

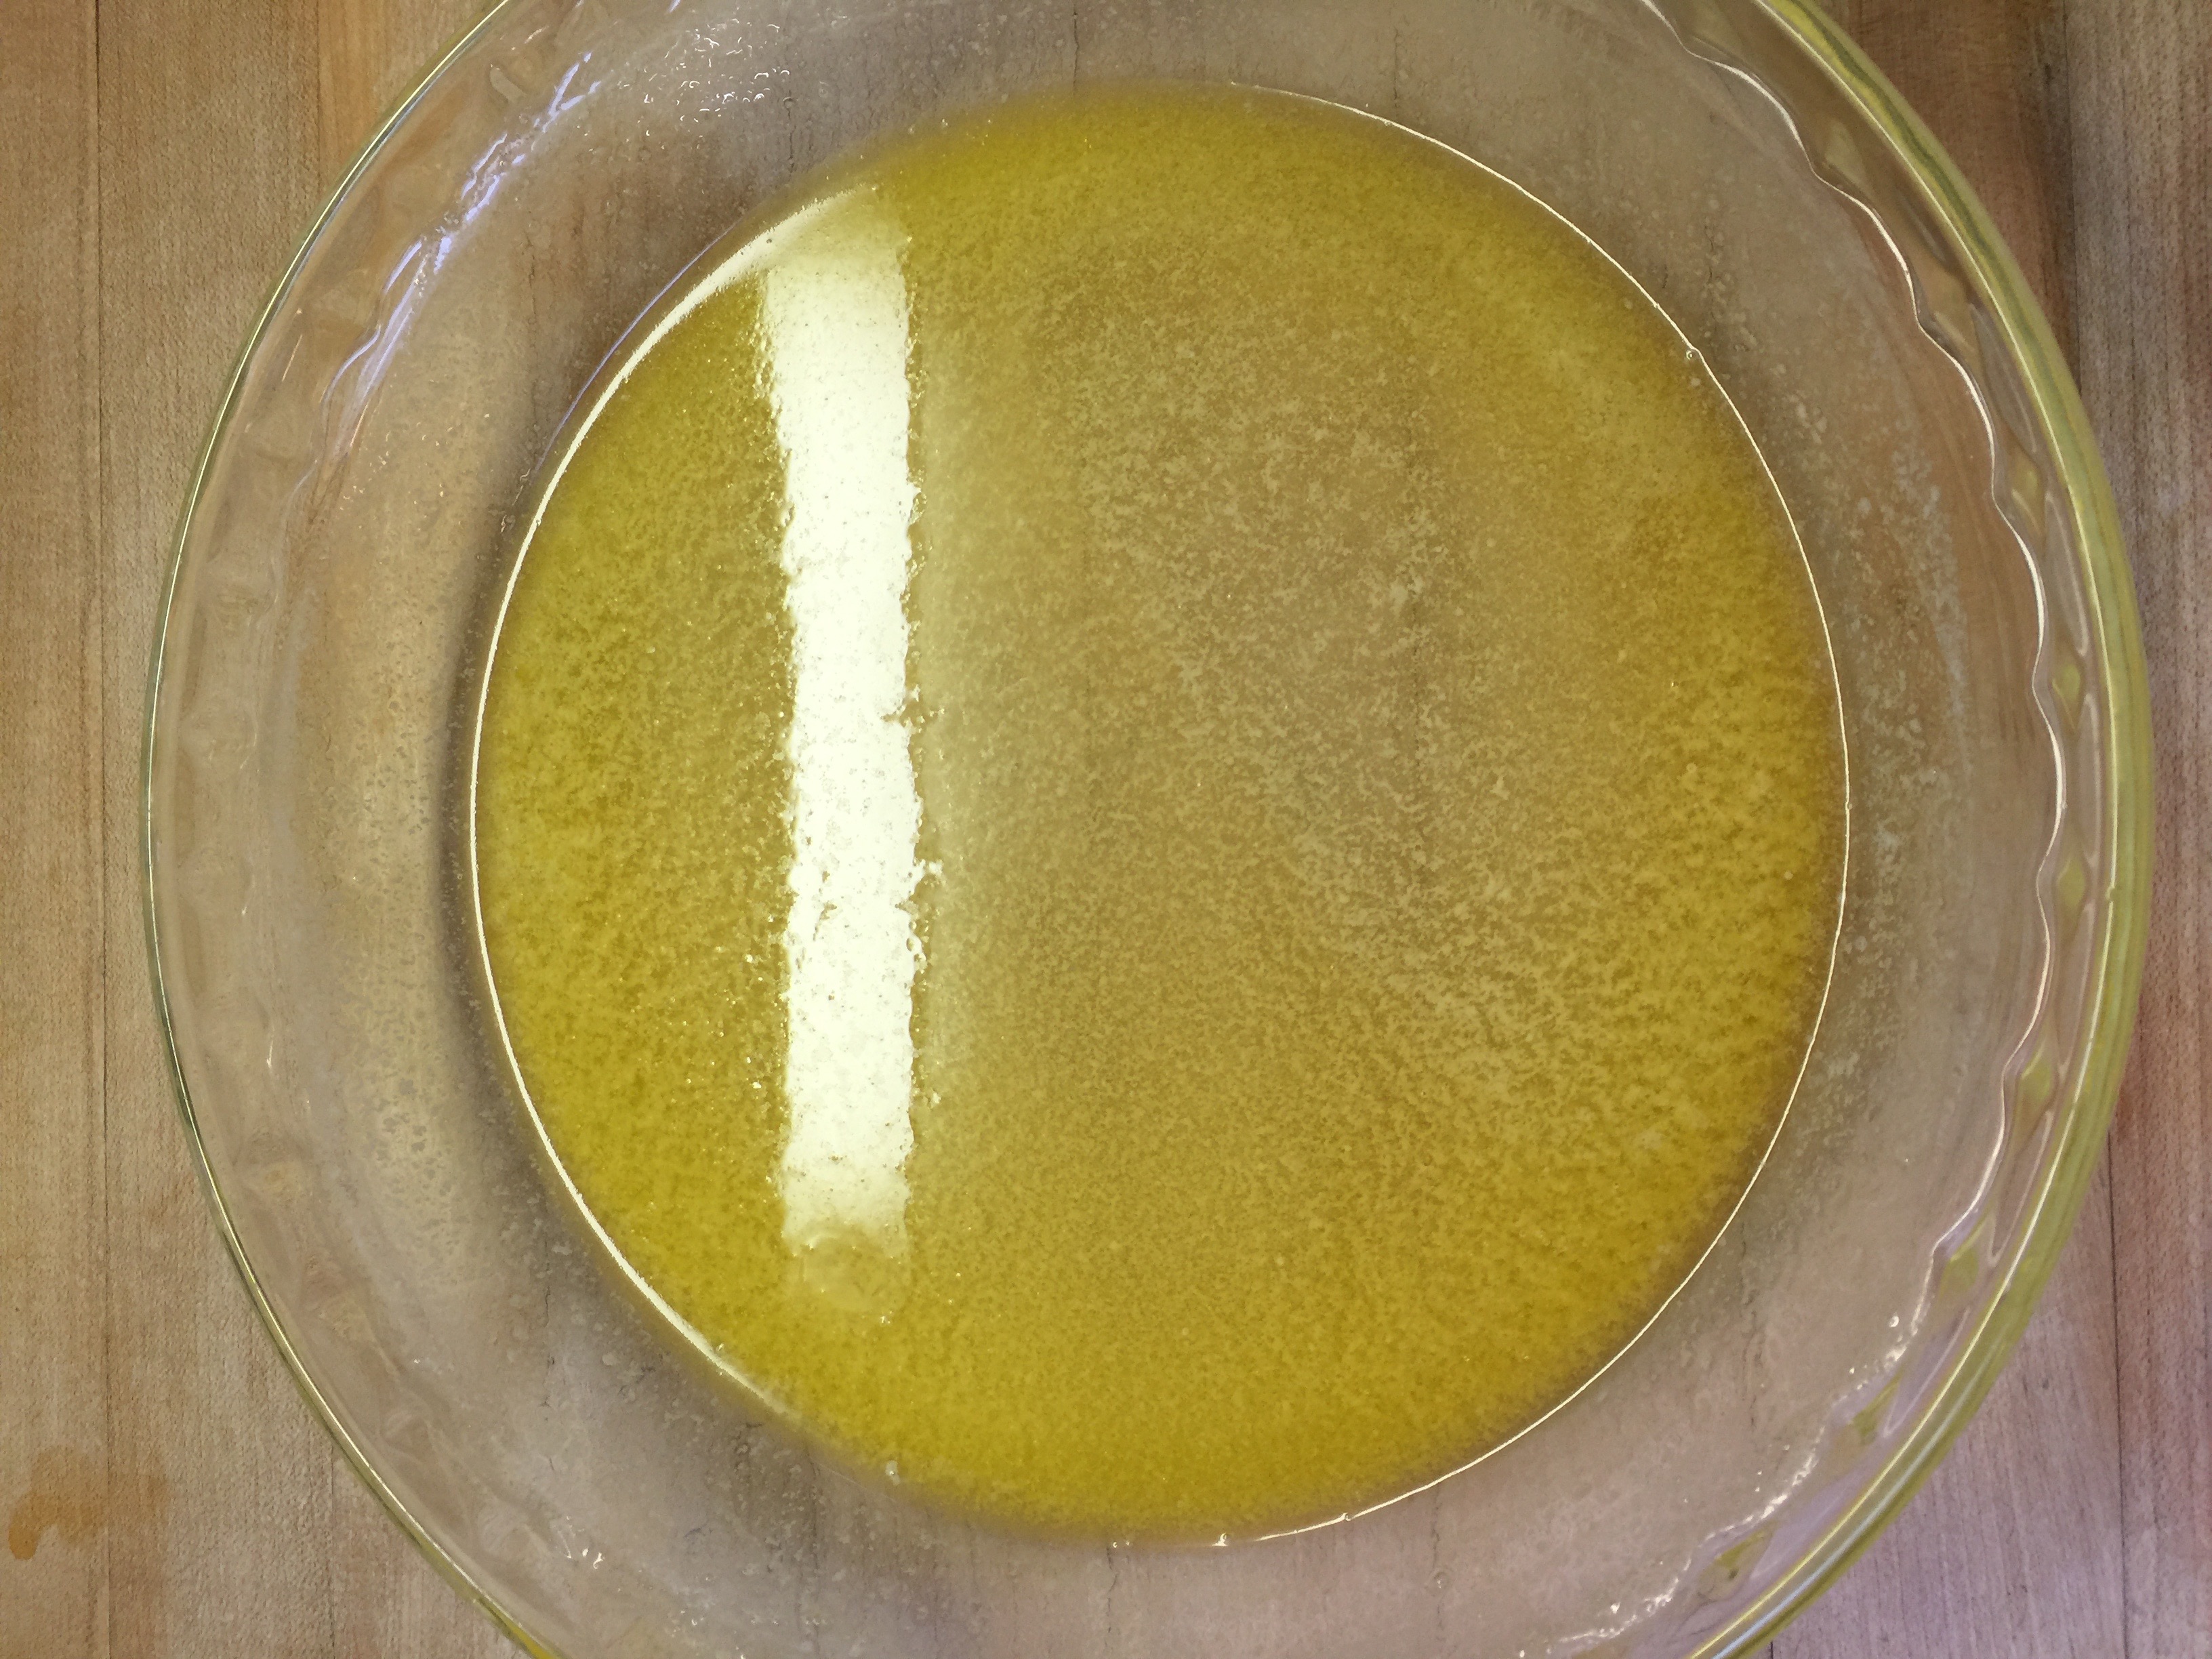
3 Cups Heavy Whipping Cream

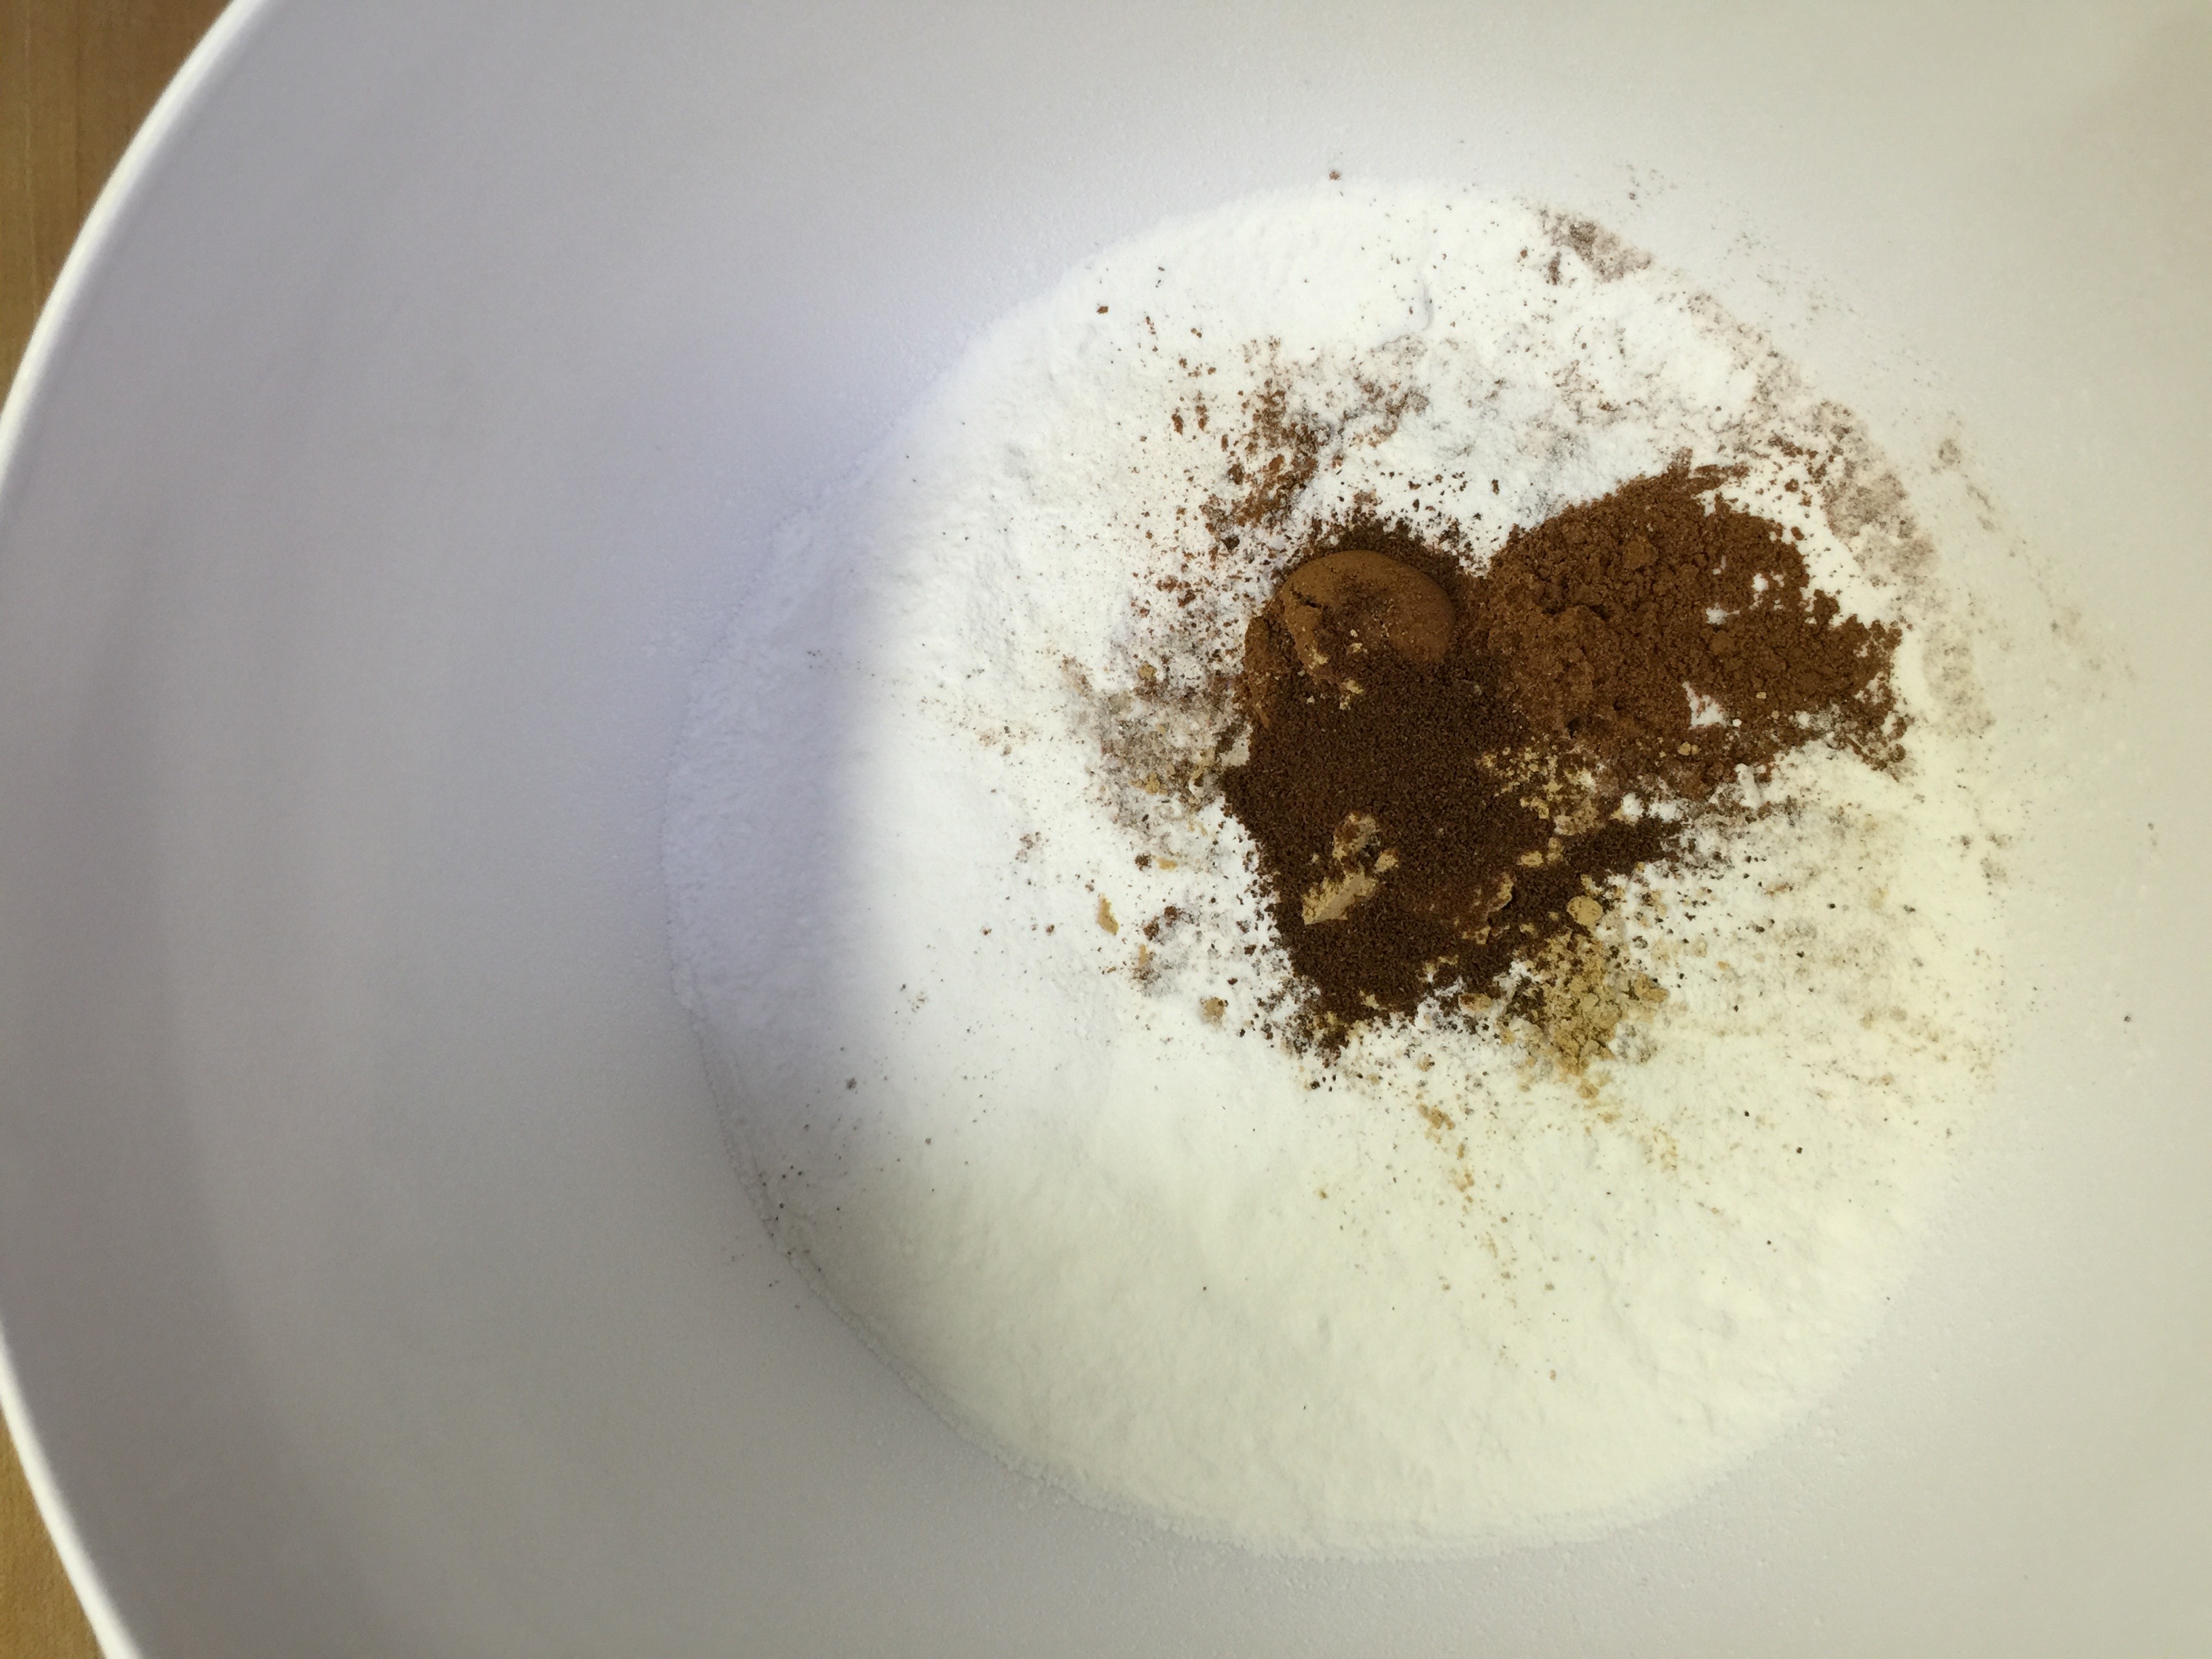
1/4 c Pyure Sweetener

1/2 c Unsweetened Cocoa

1 1/2 tsp pure vanilla

IMG_4700


Optional:

Ice cream salt

Ziplock Bags

or

Ice Cream Maker


Directions:

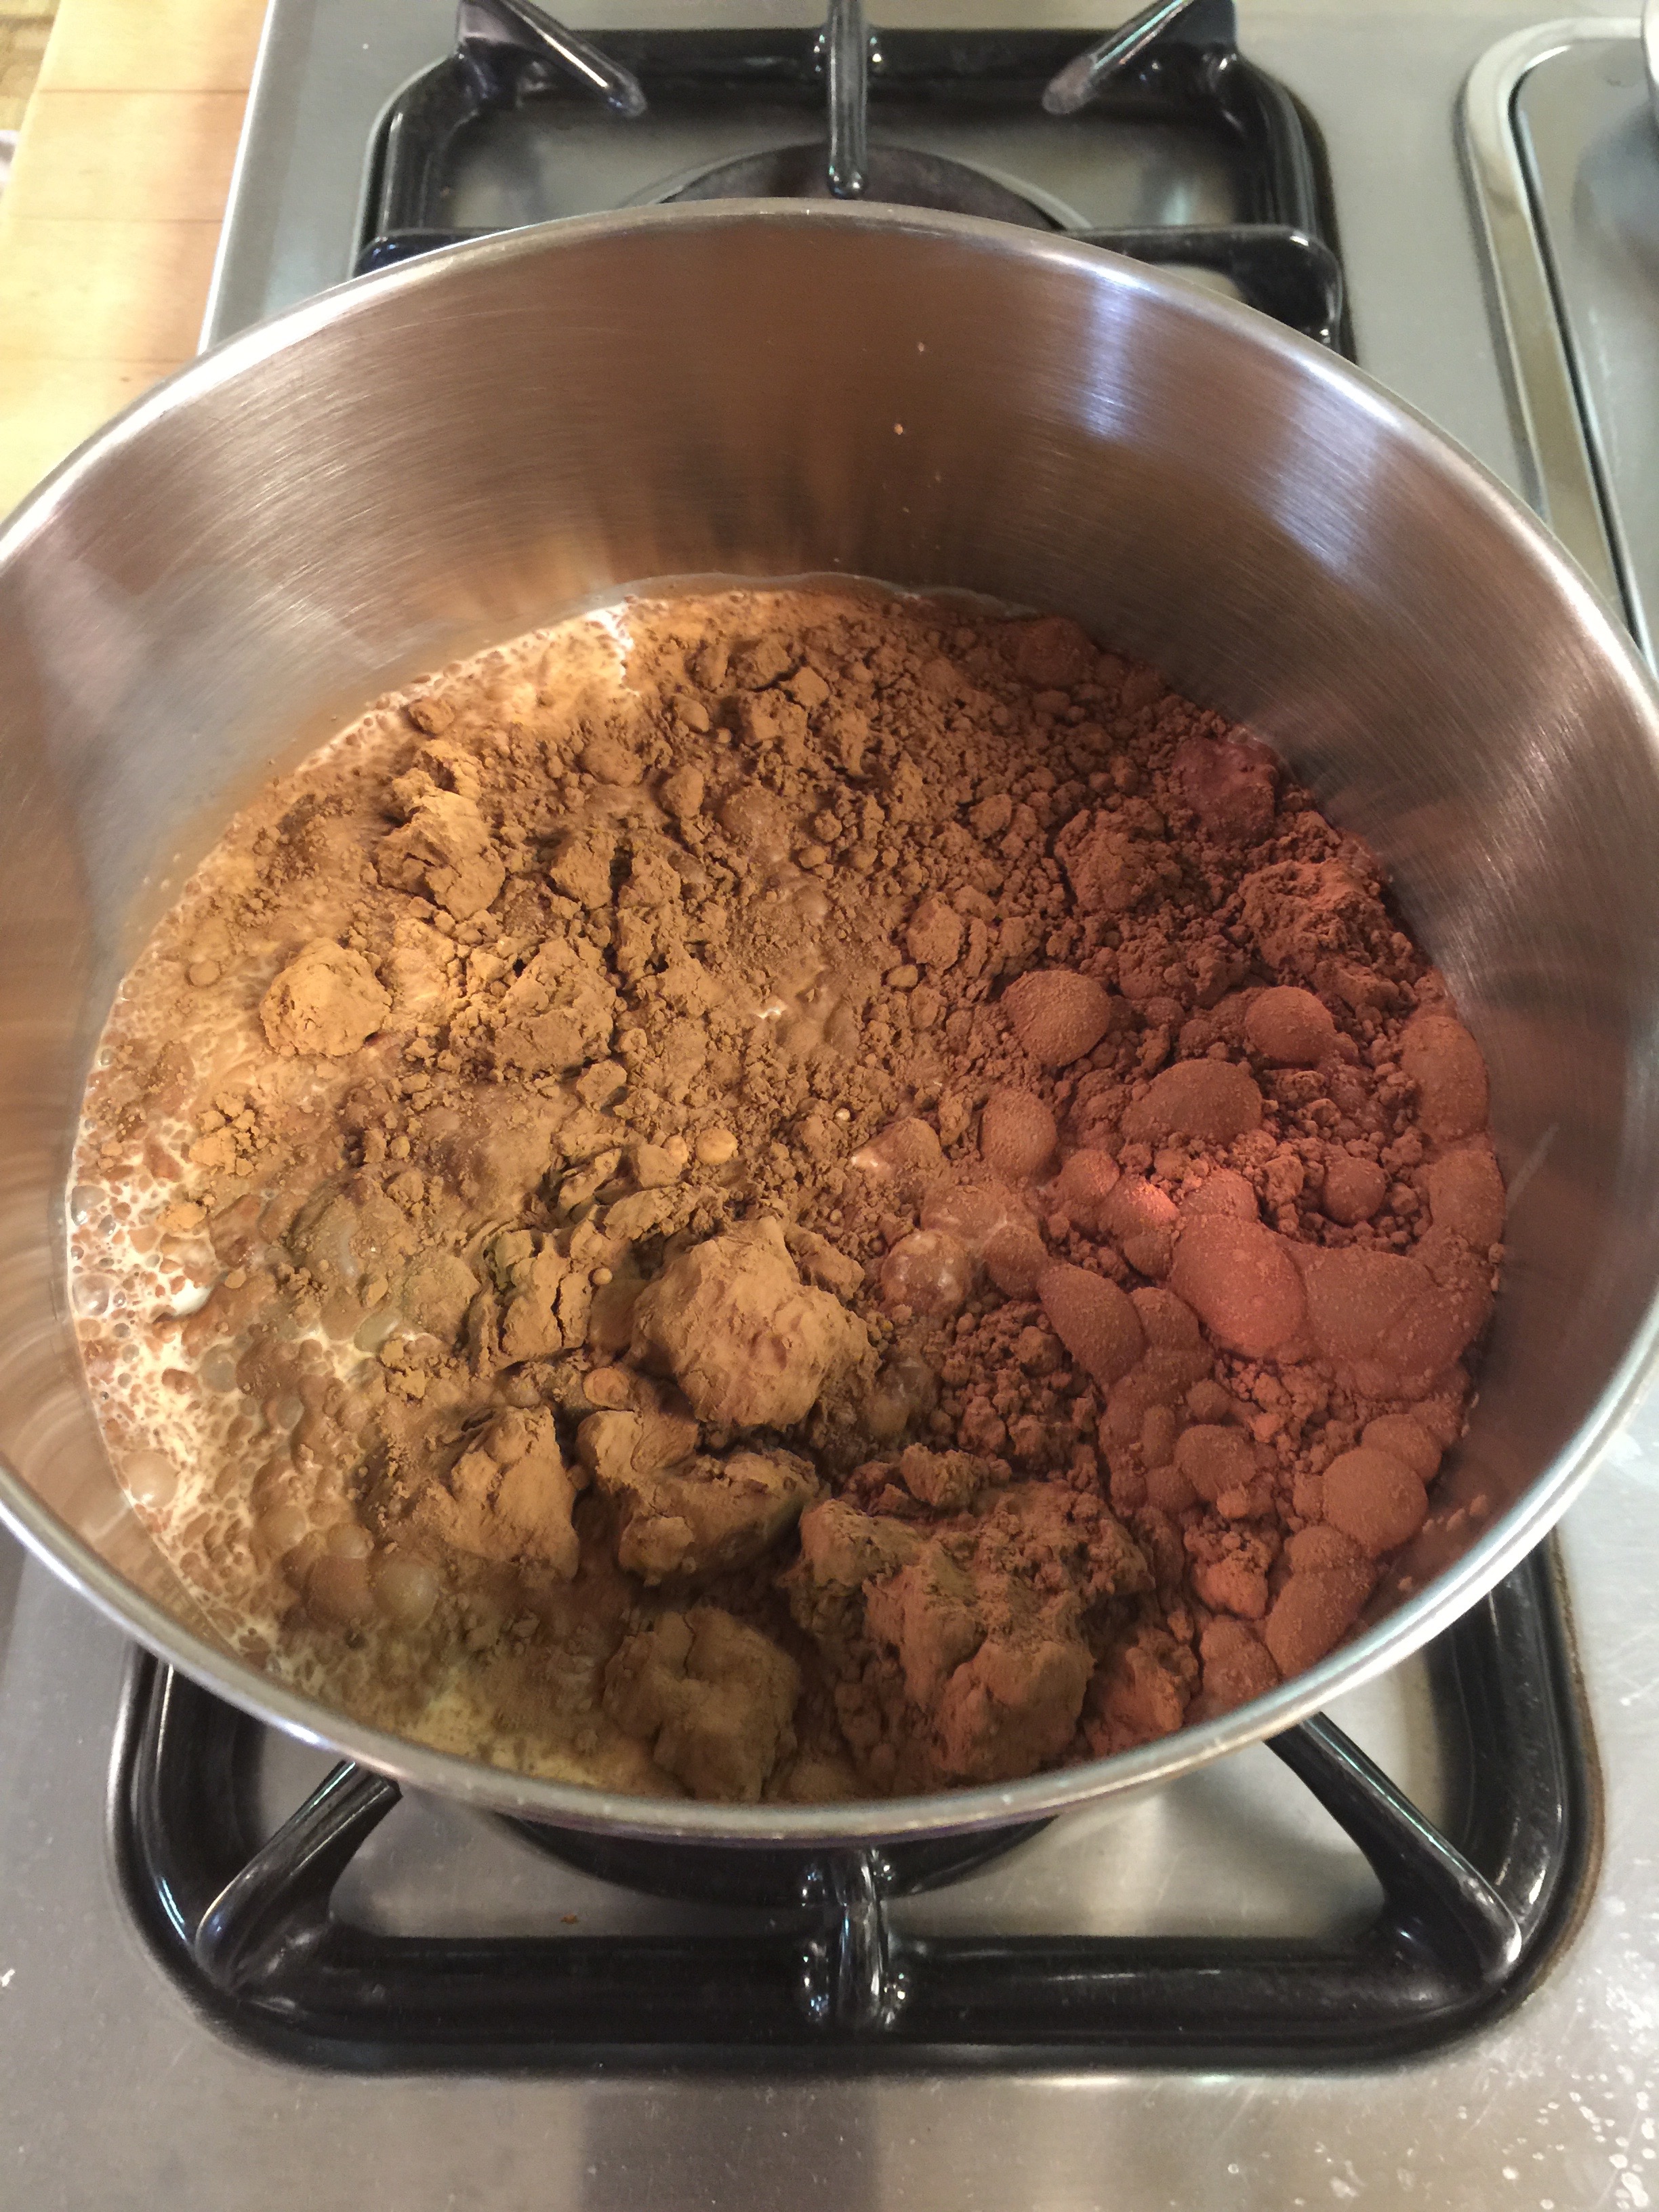
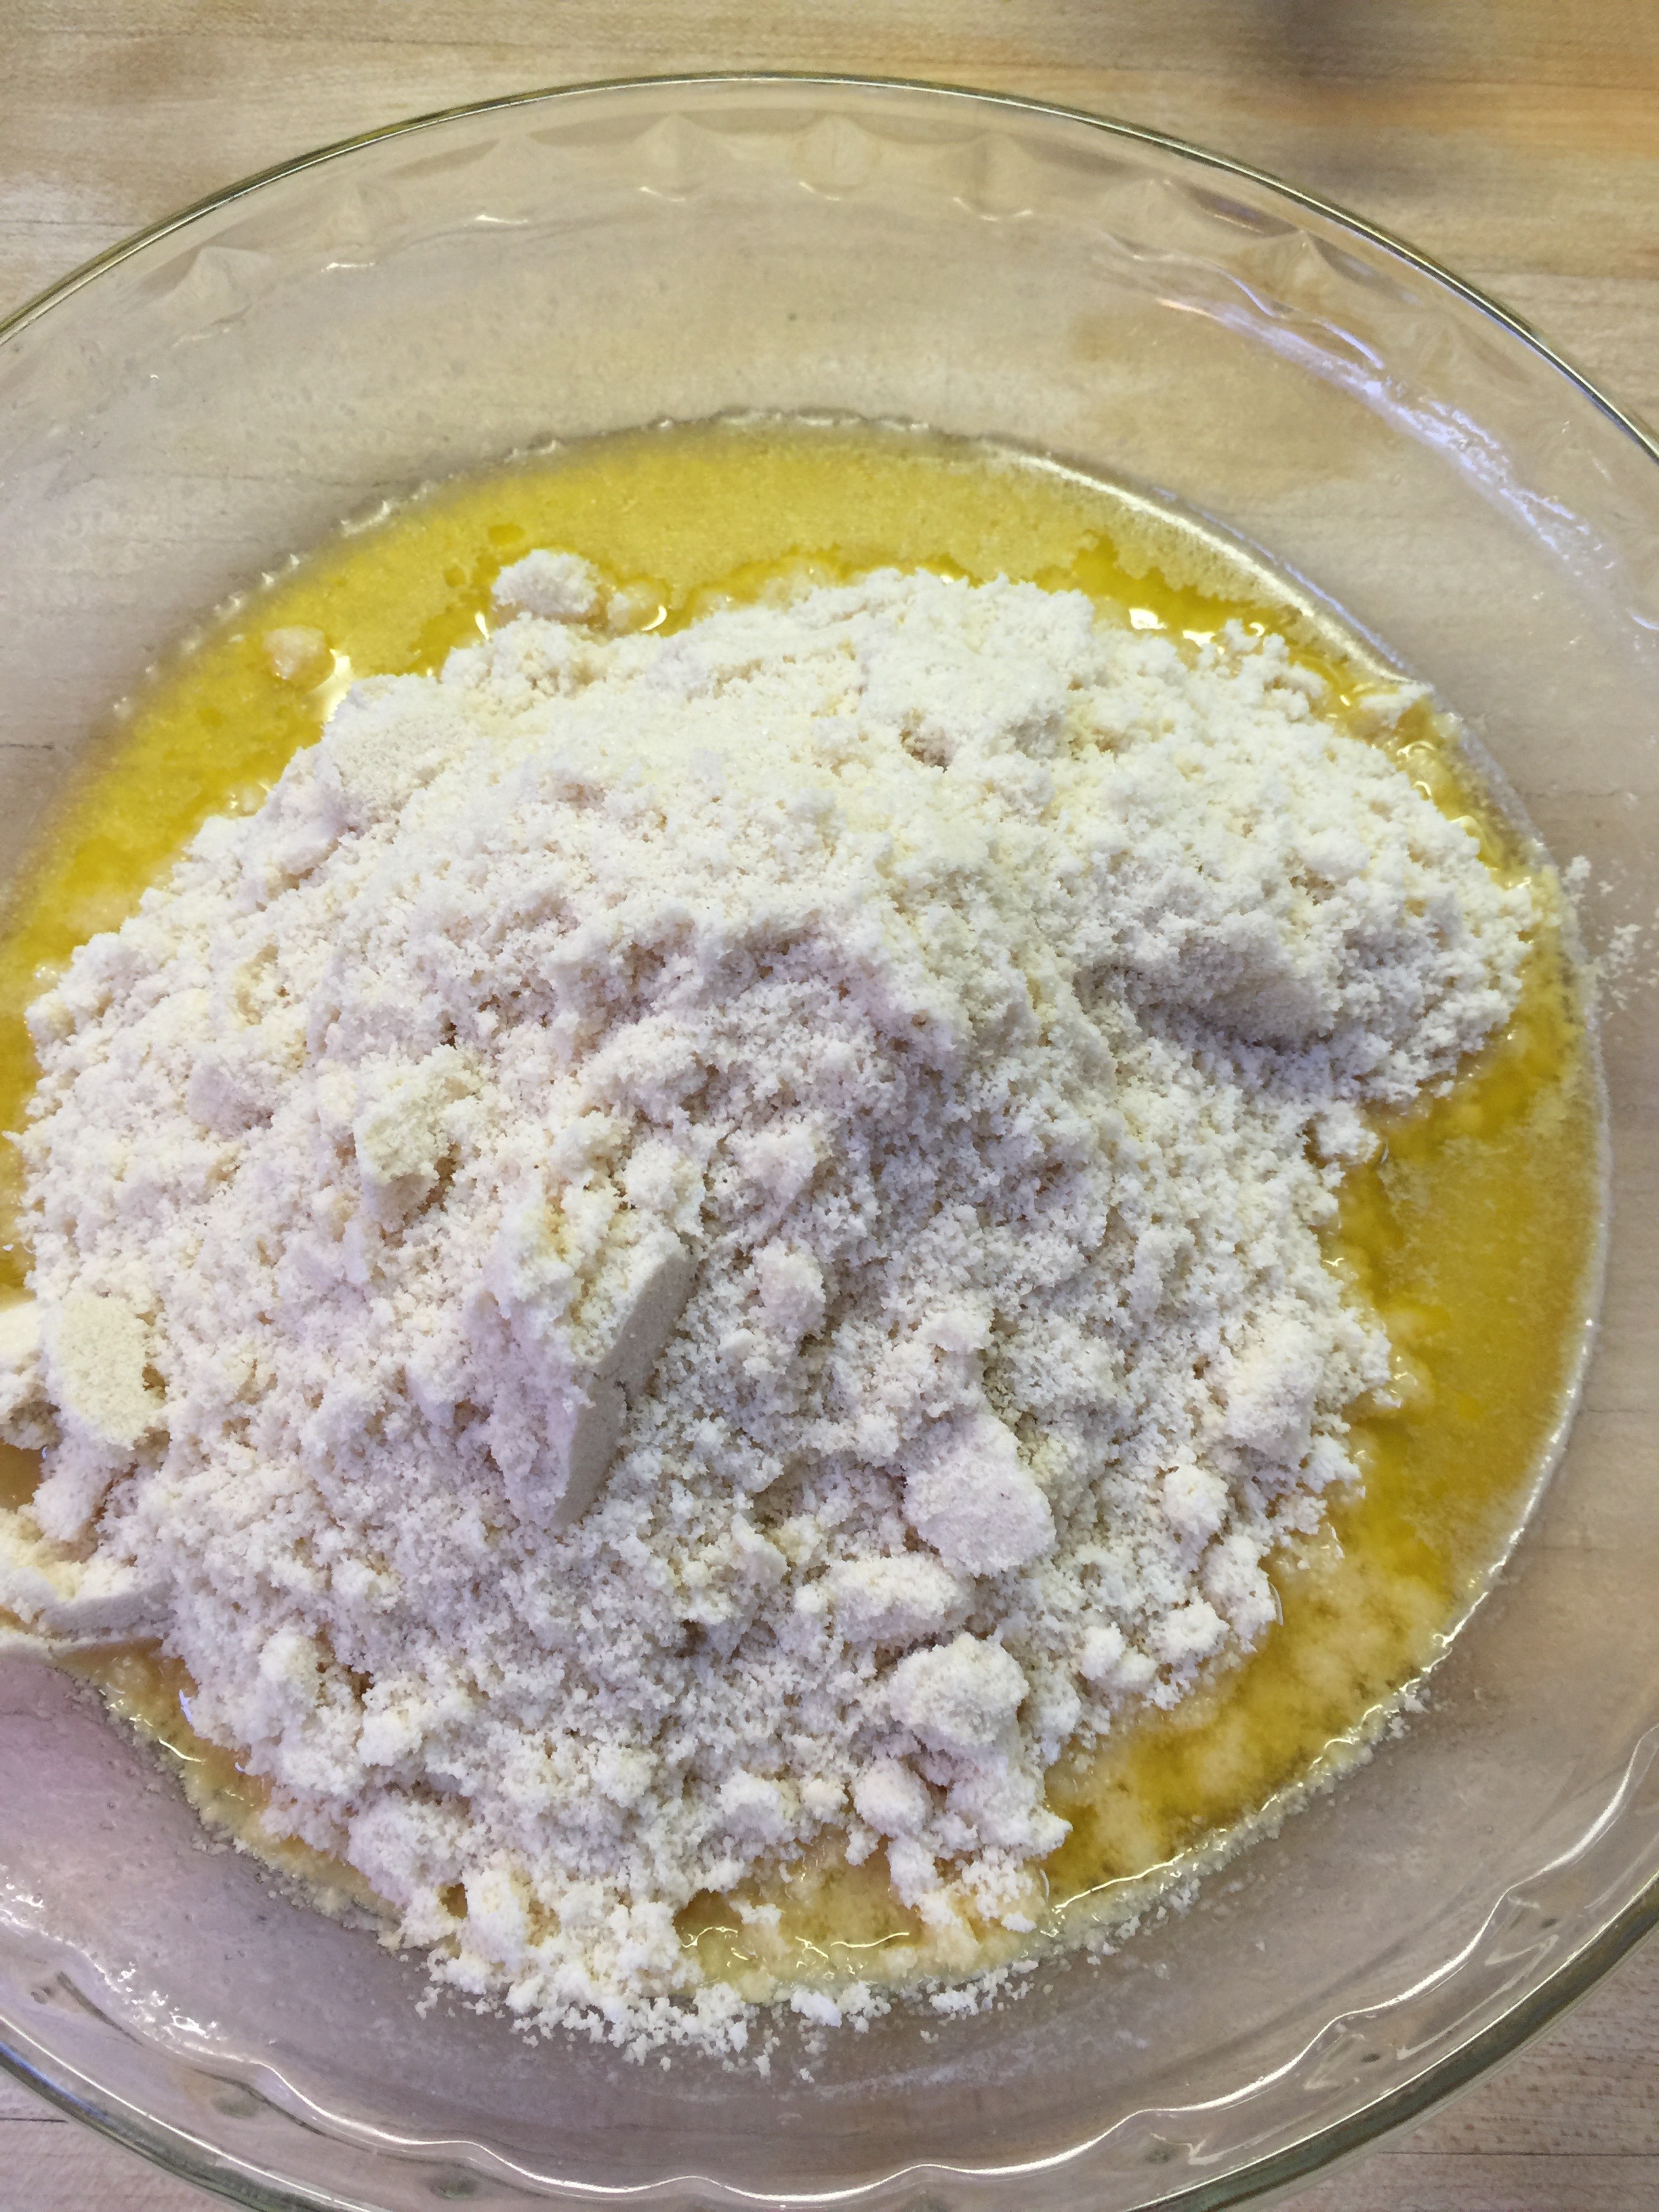
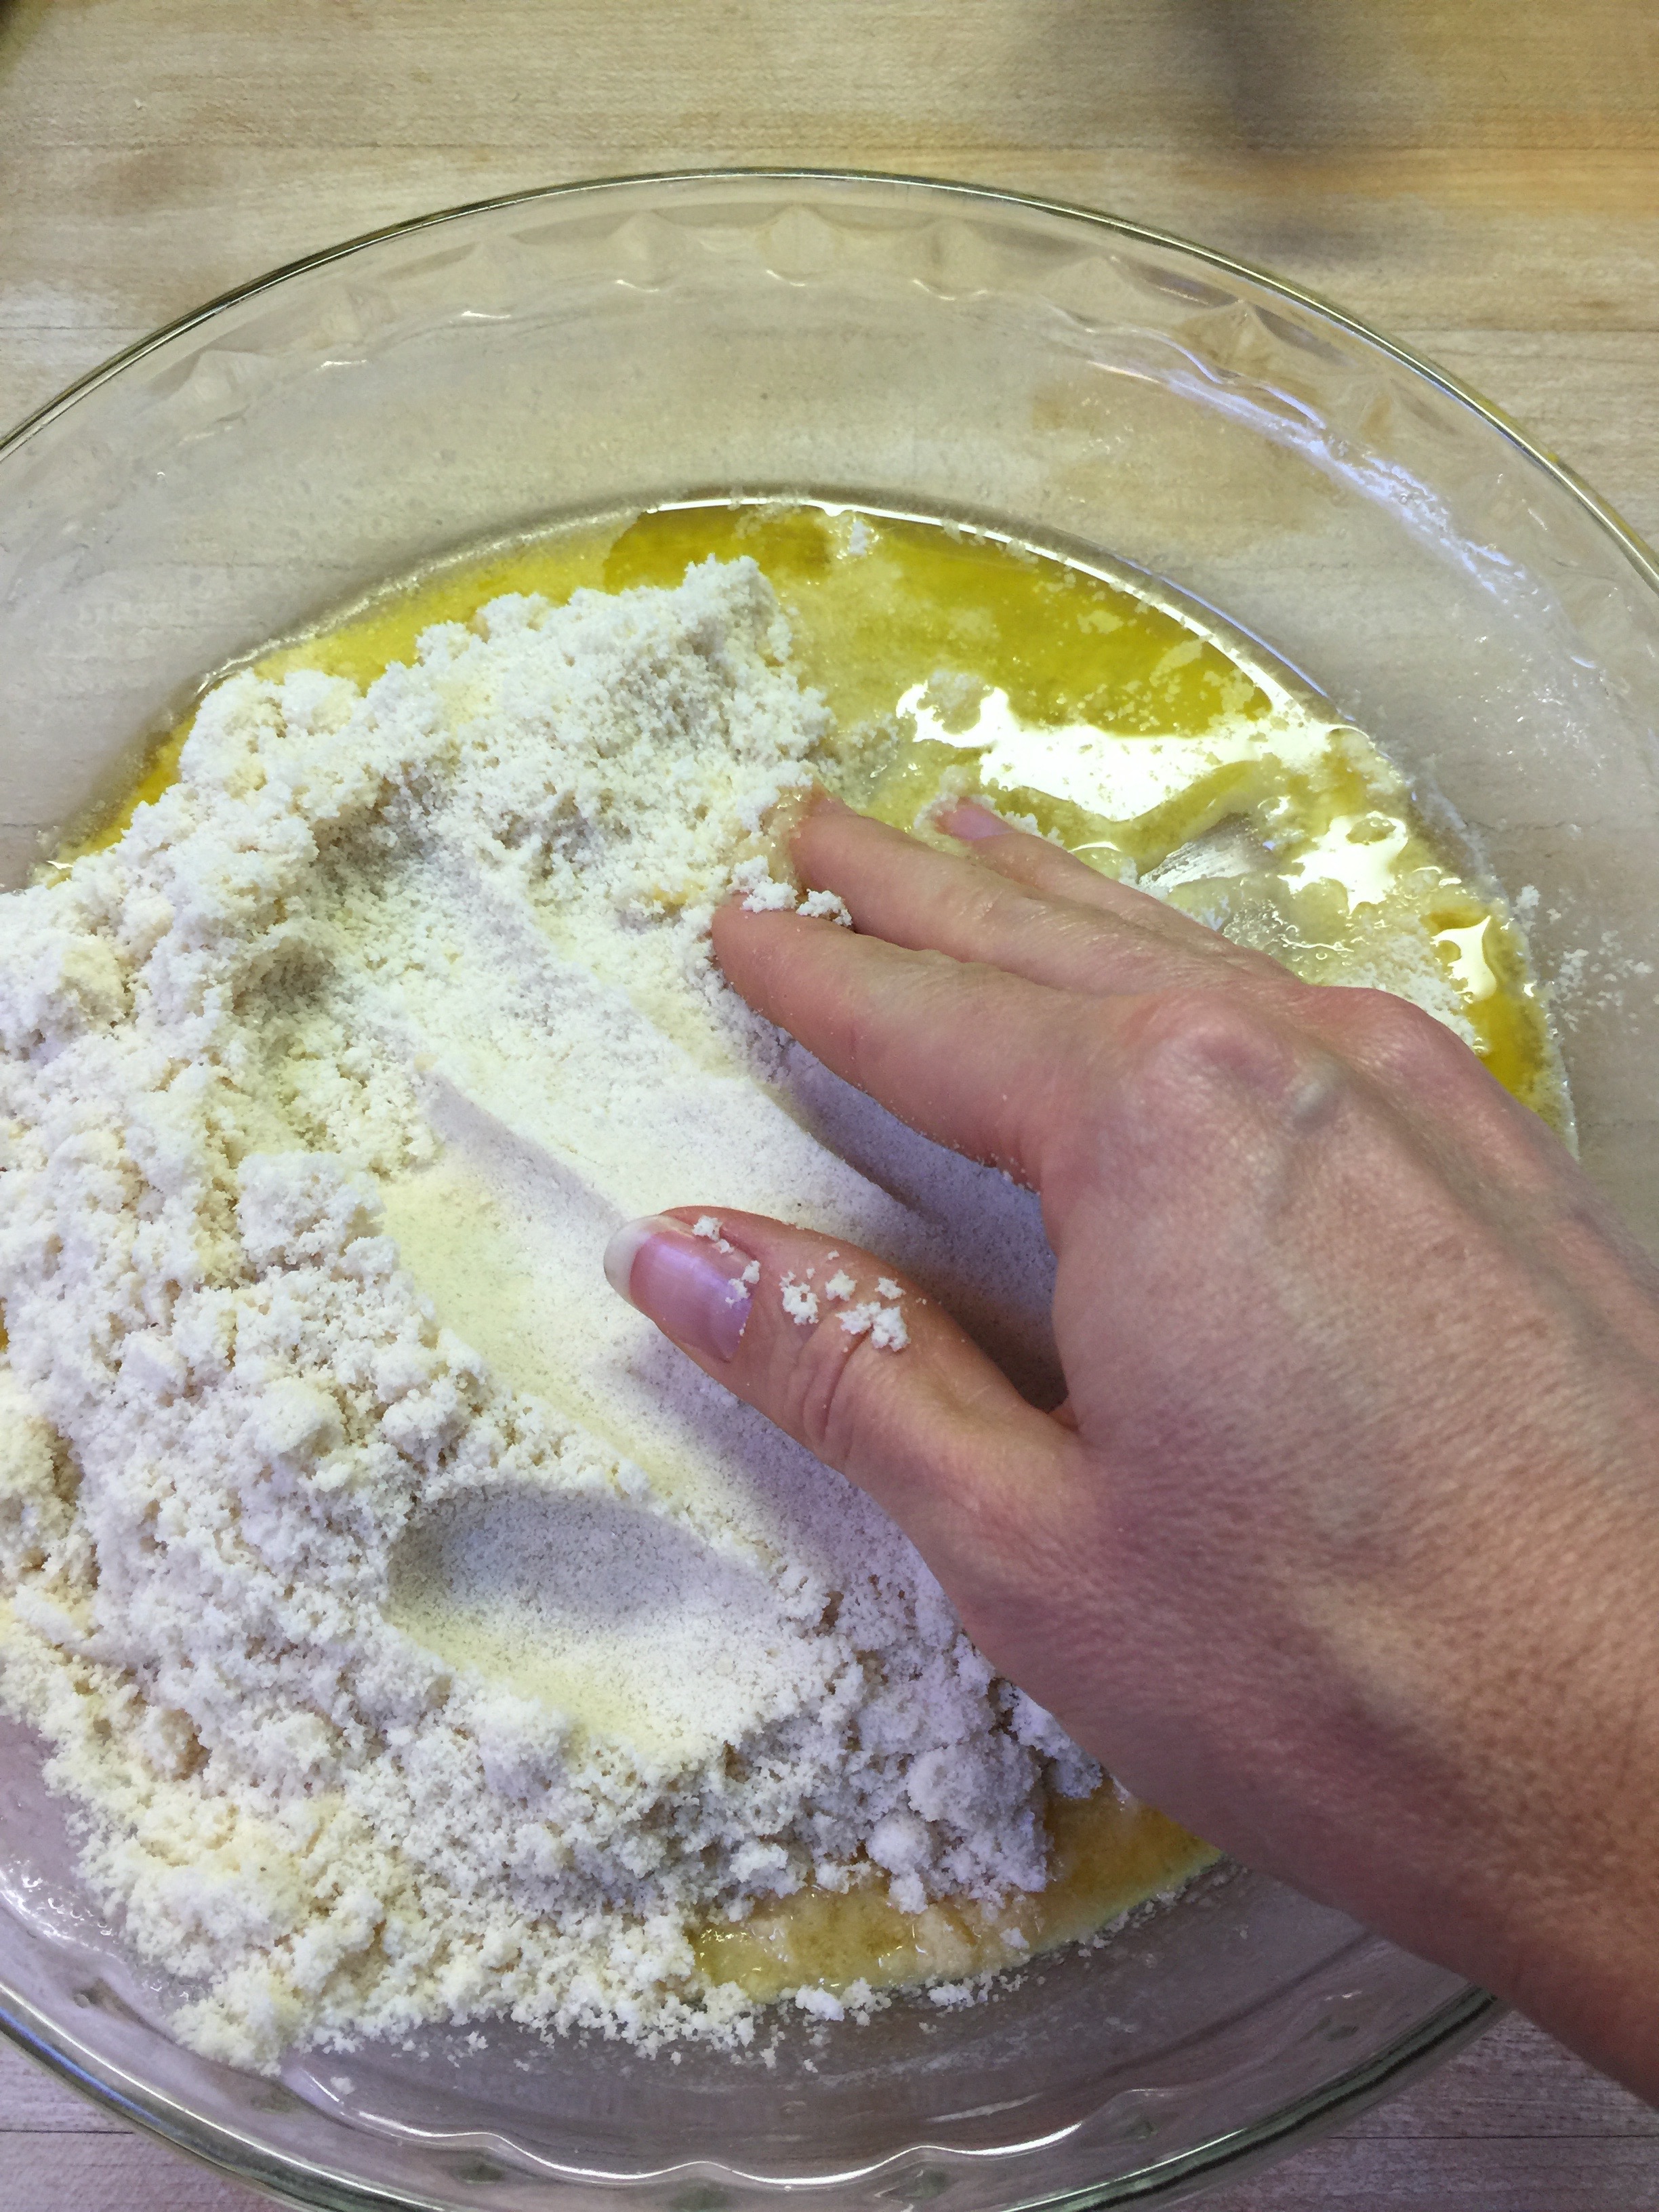
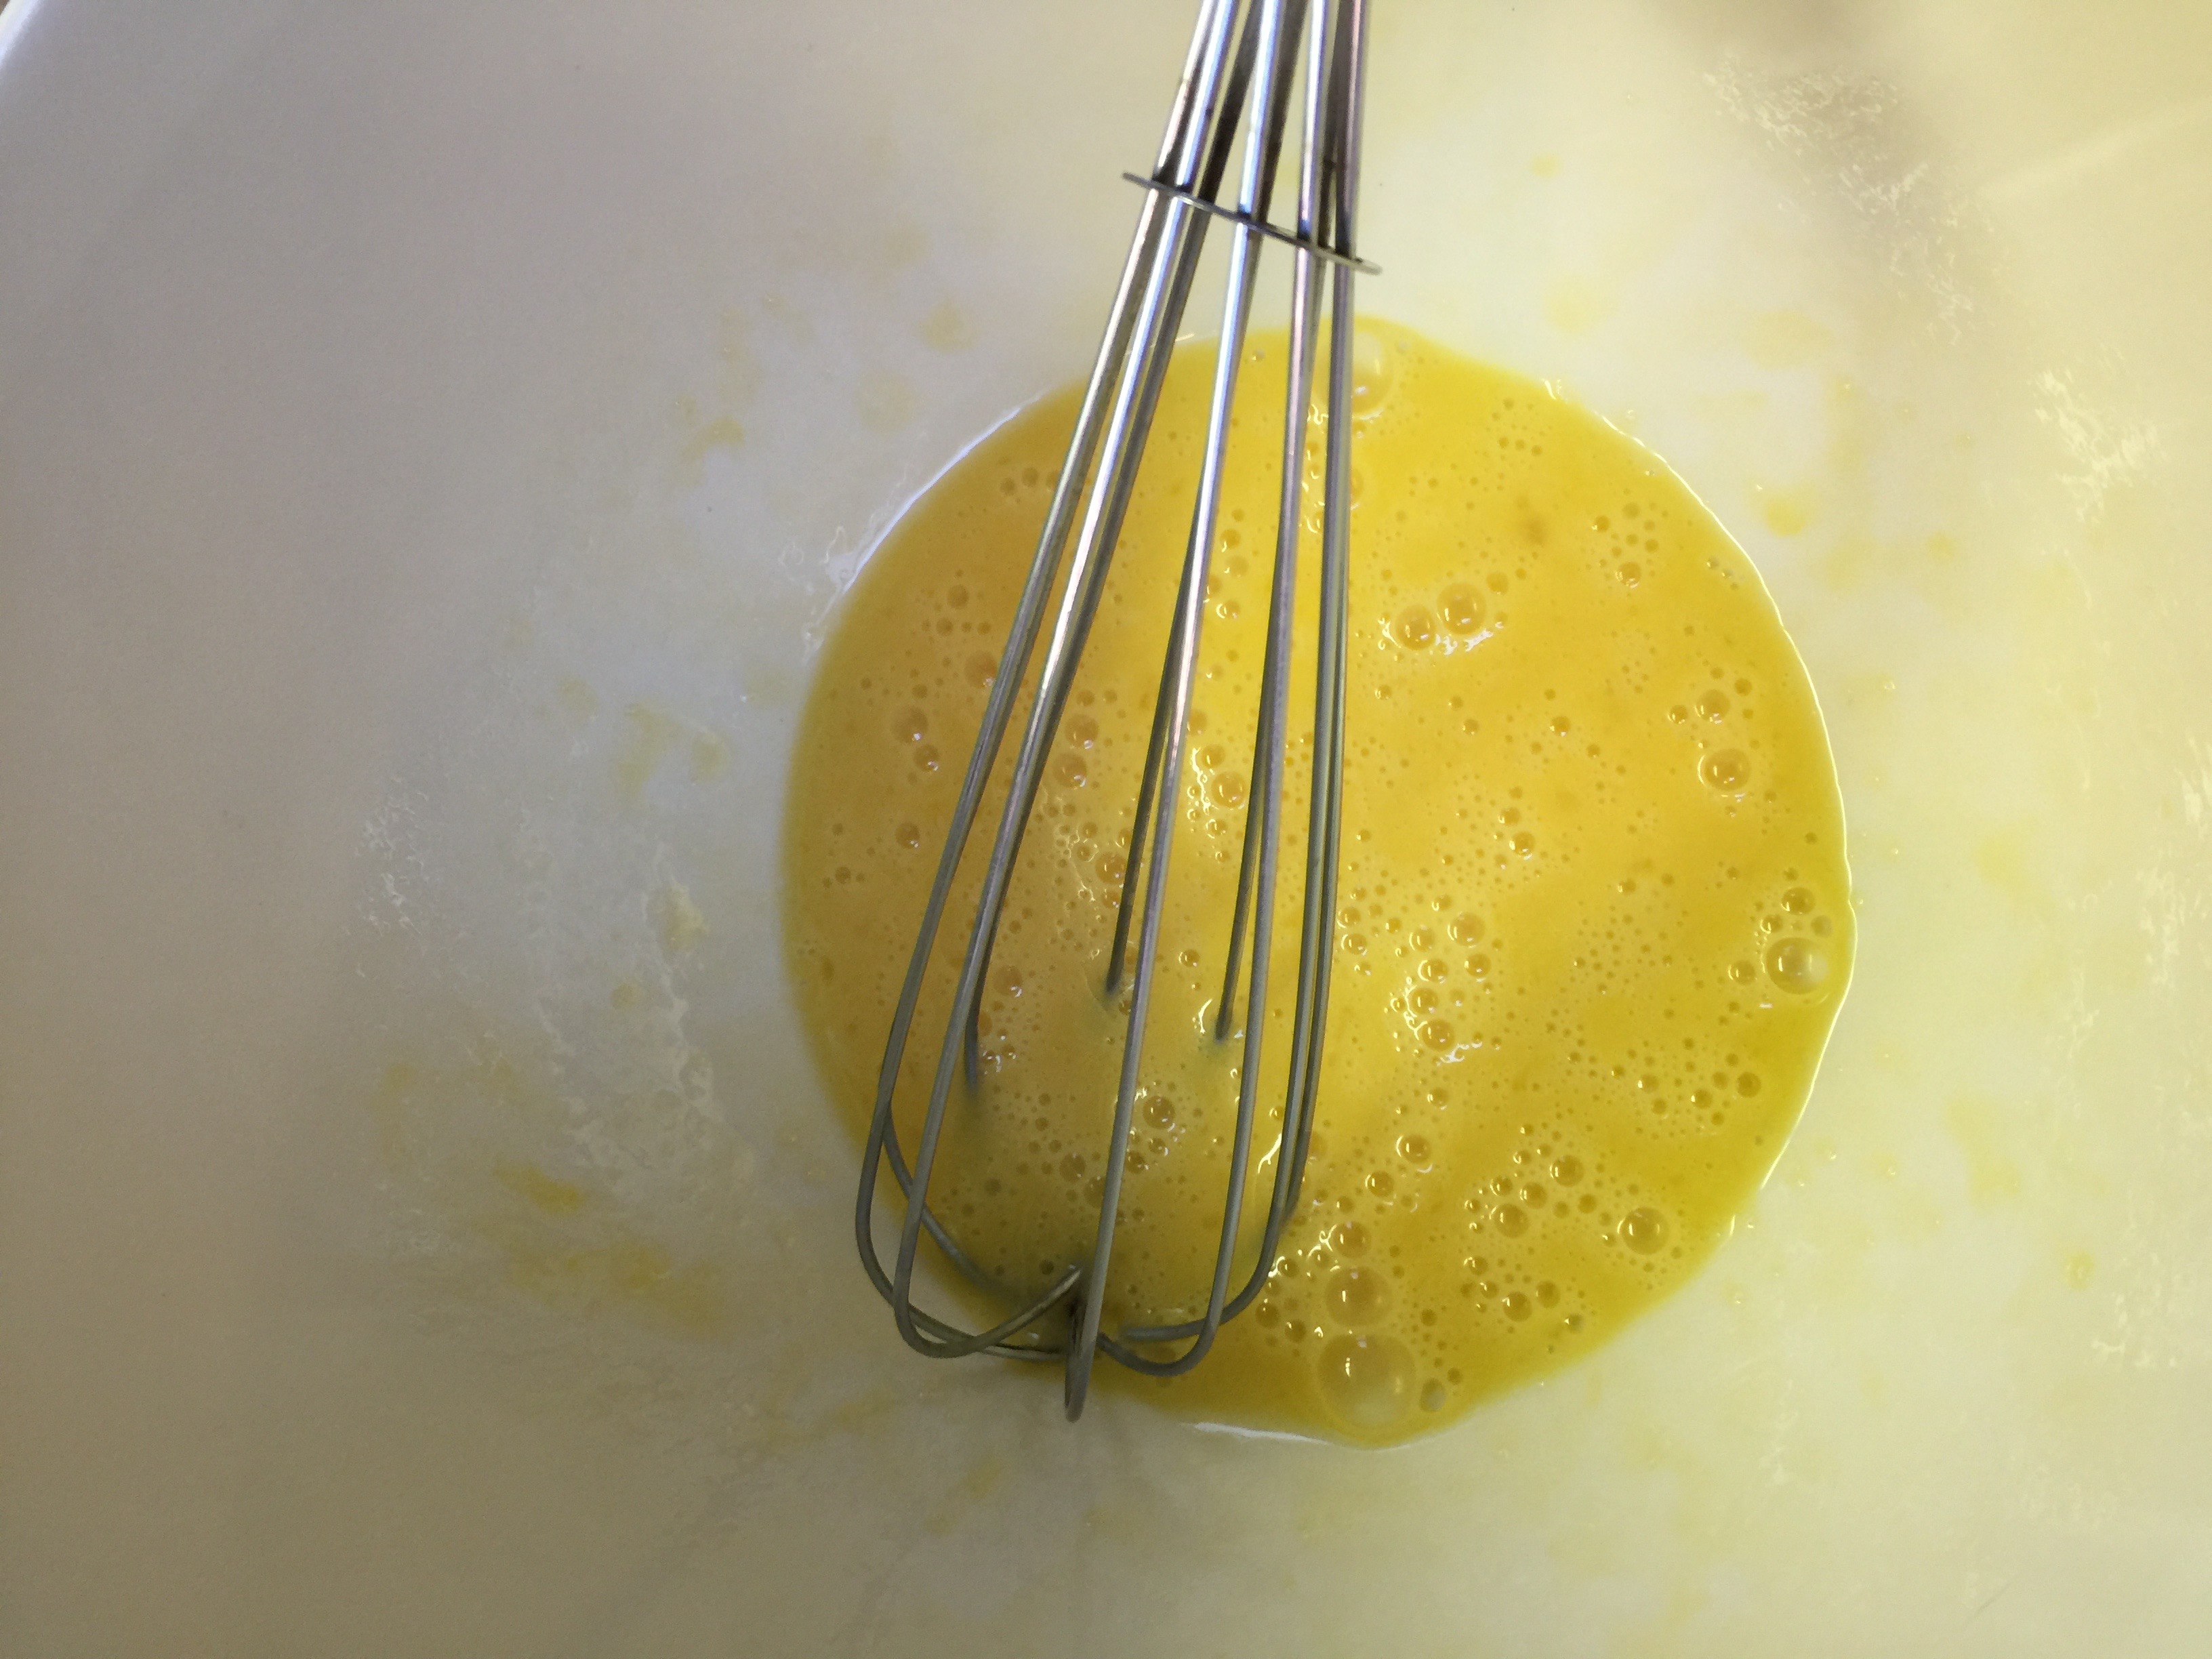
Whisk together cream, sweetener, and cocoa in a saucepan until it barely starts to simmer.  Add vanilla and remove from heat.

IMG_6822

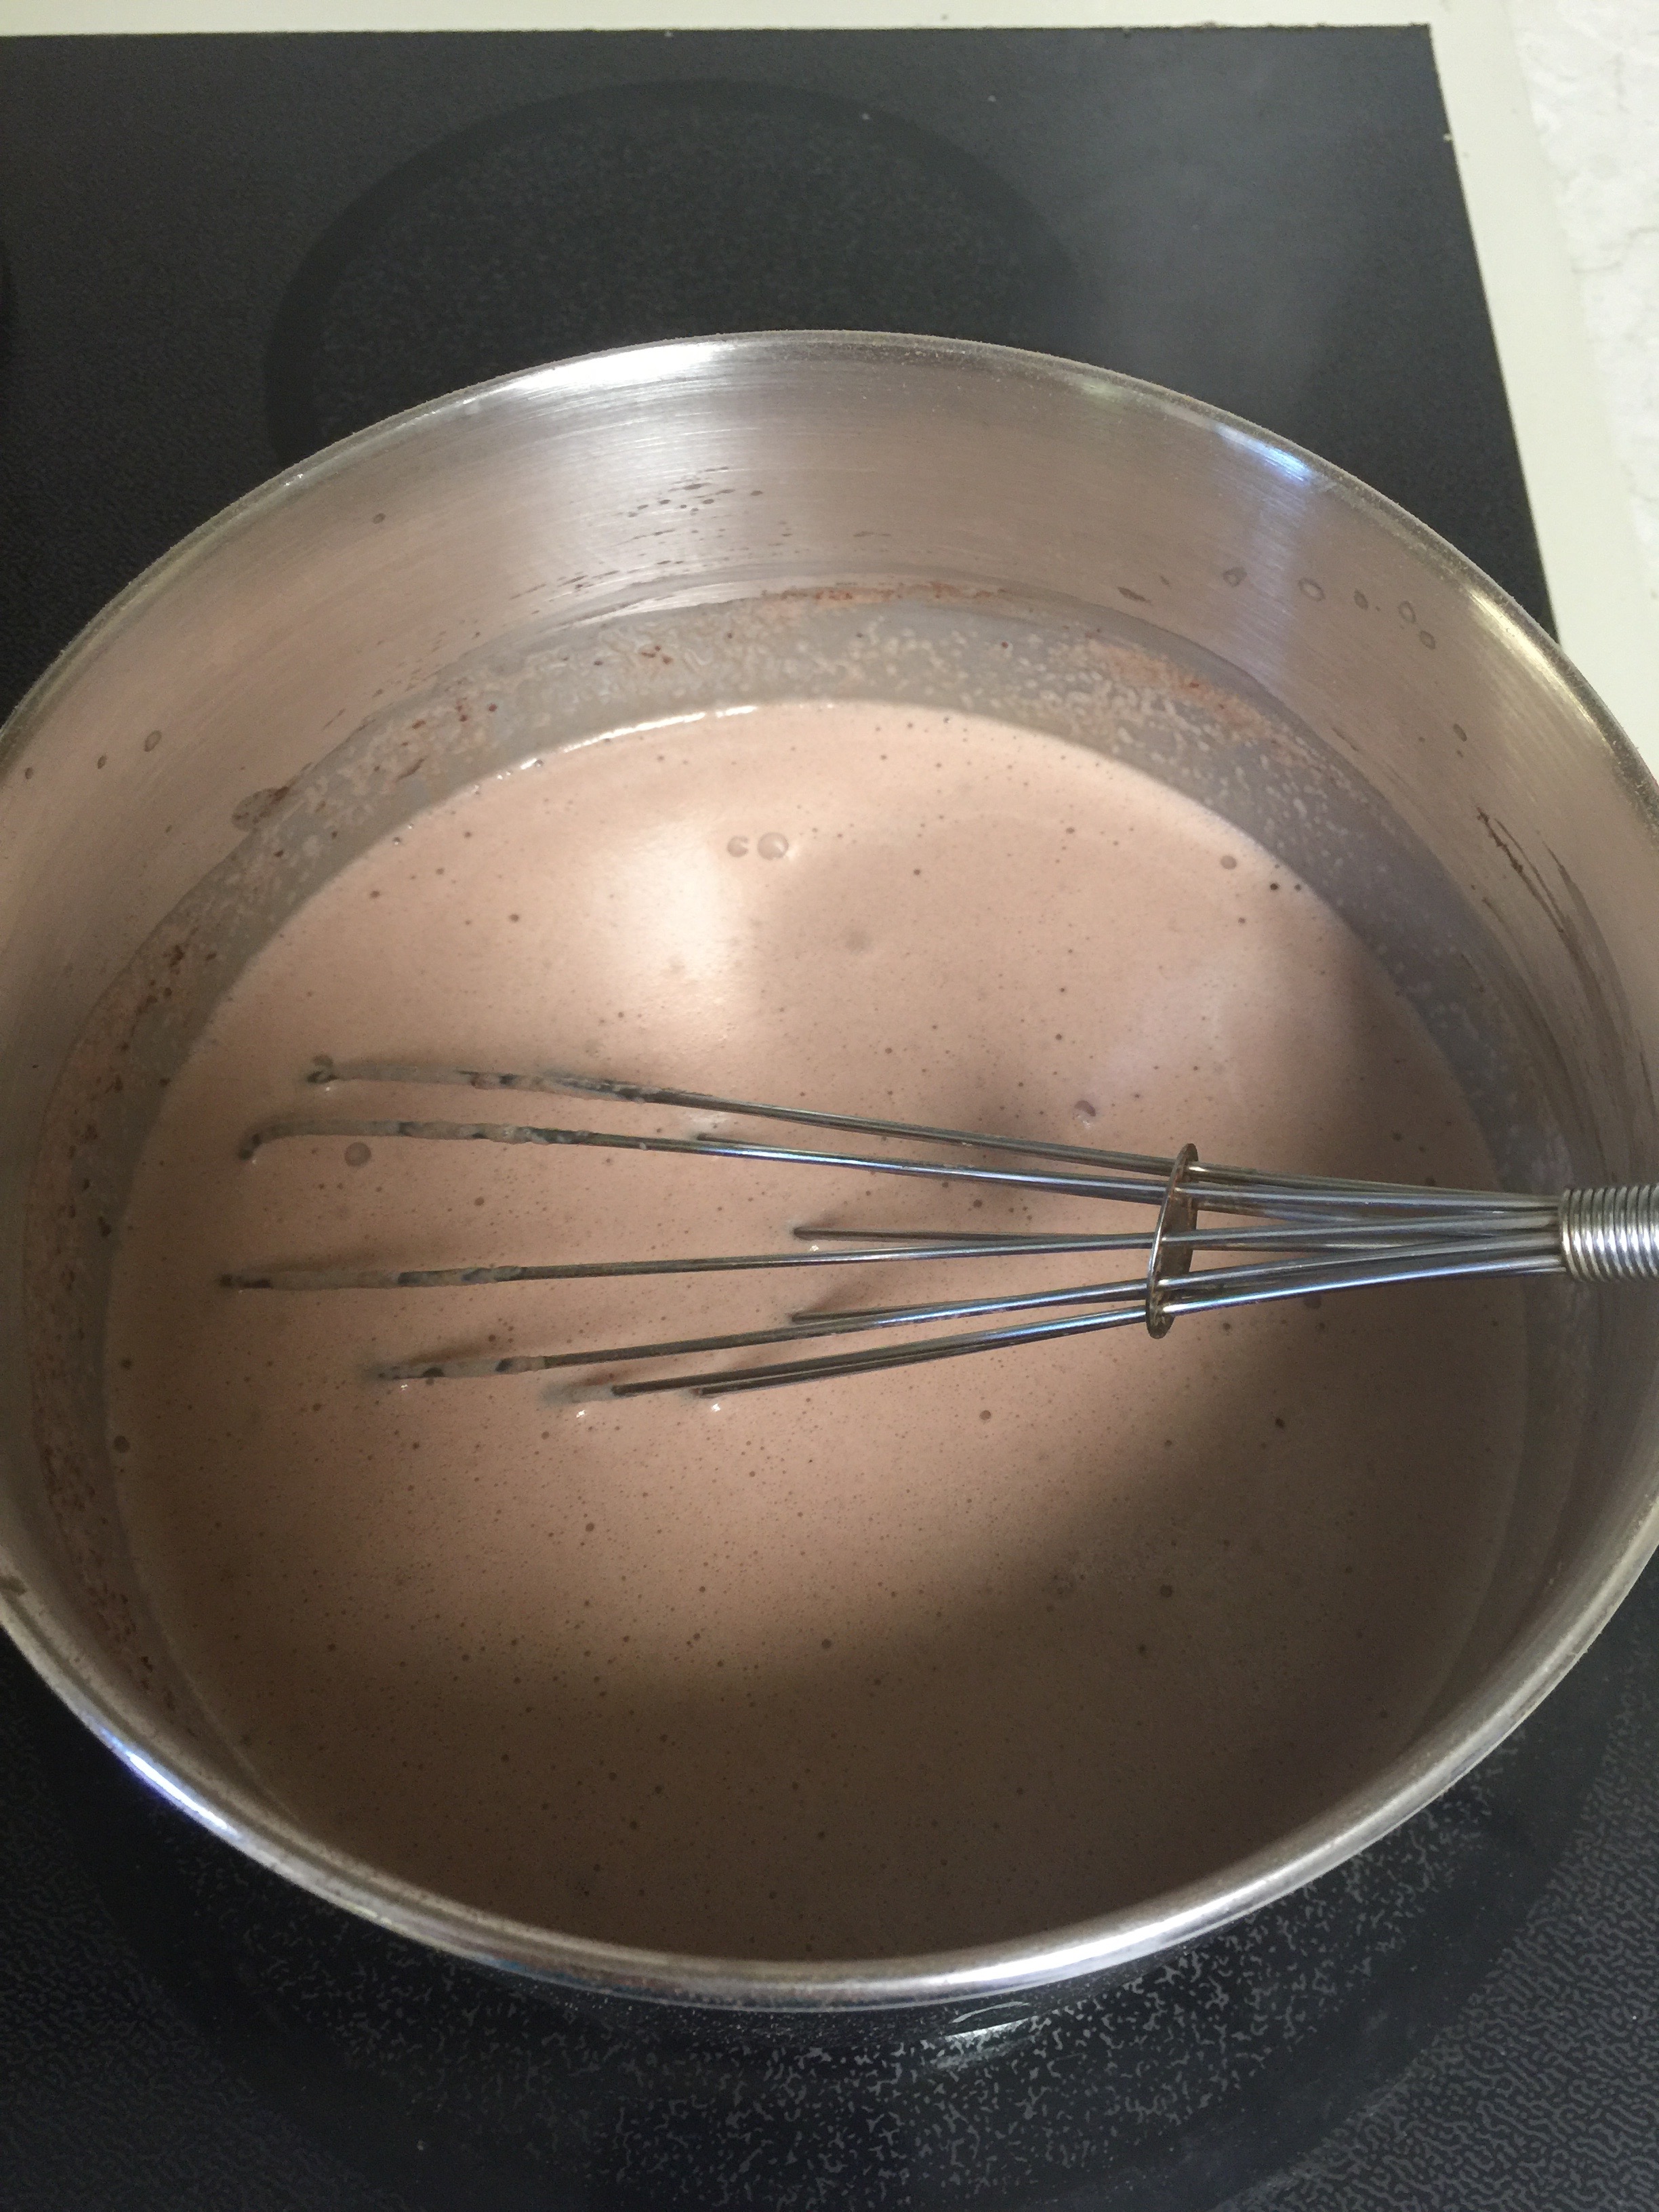
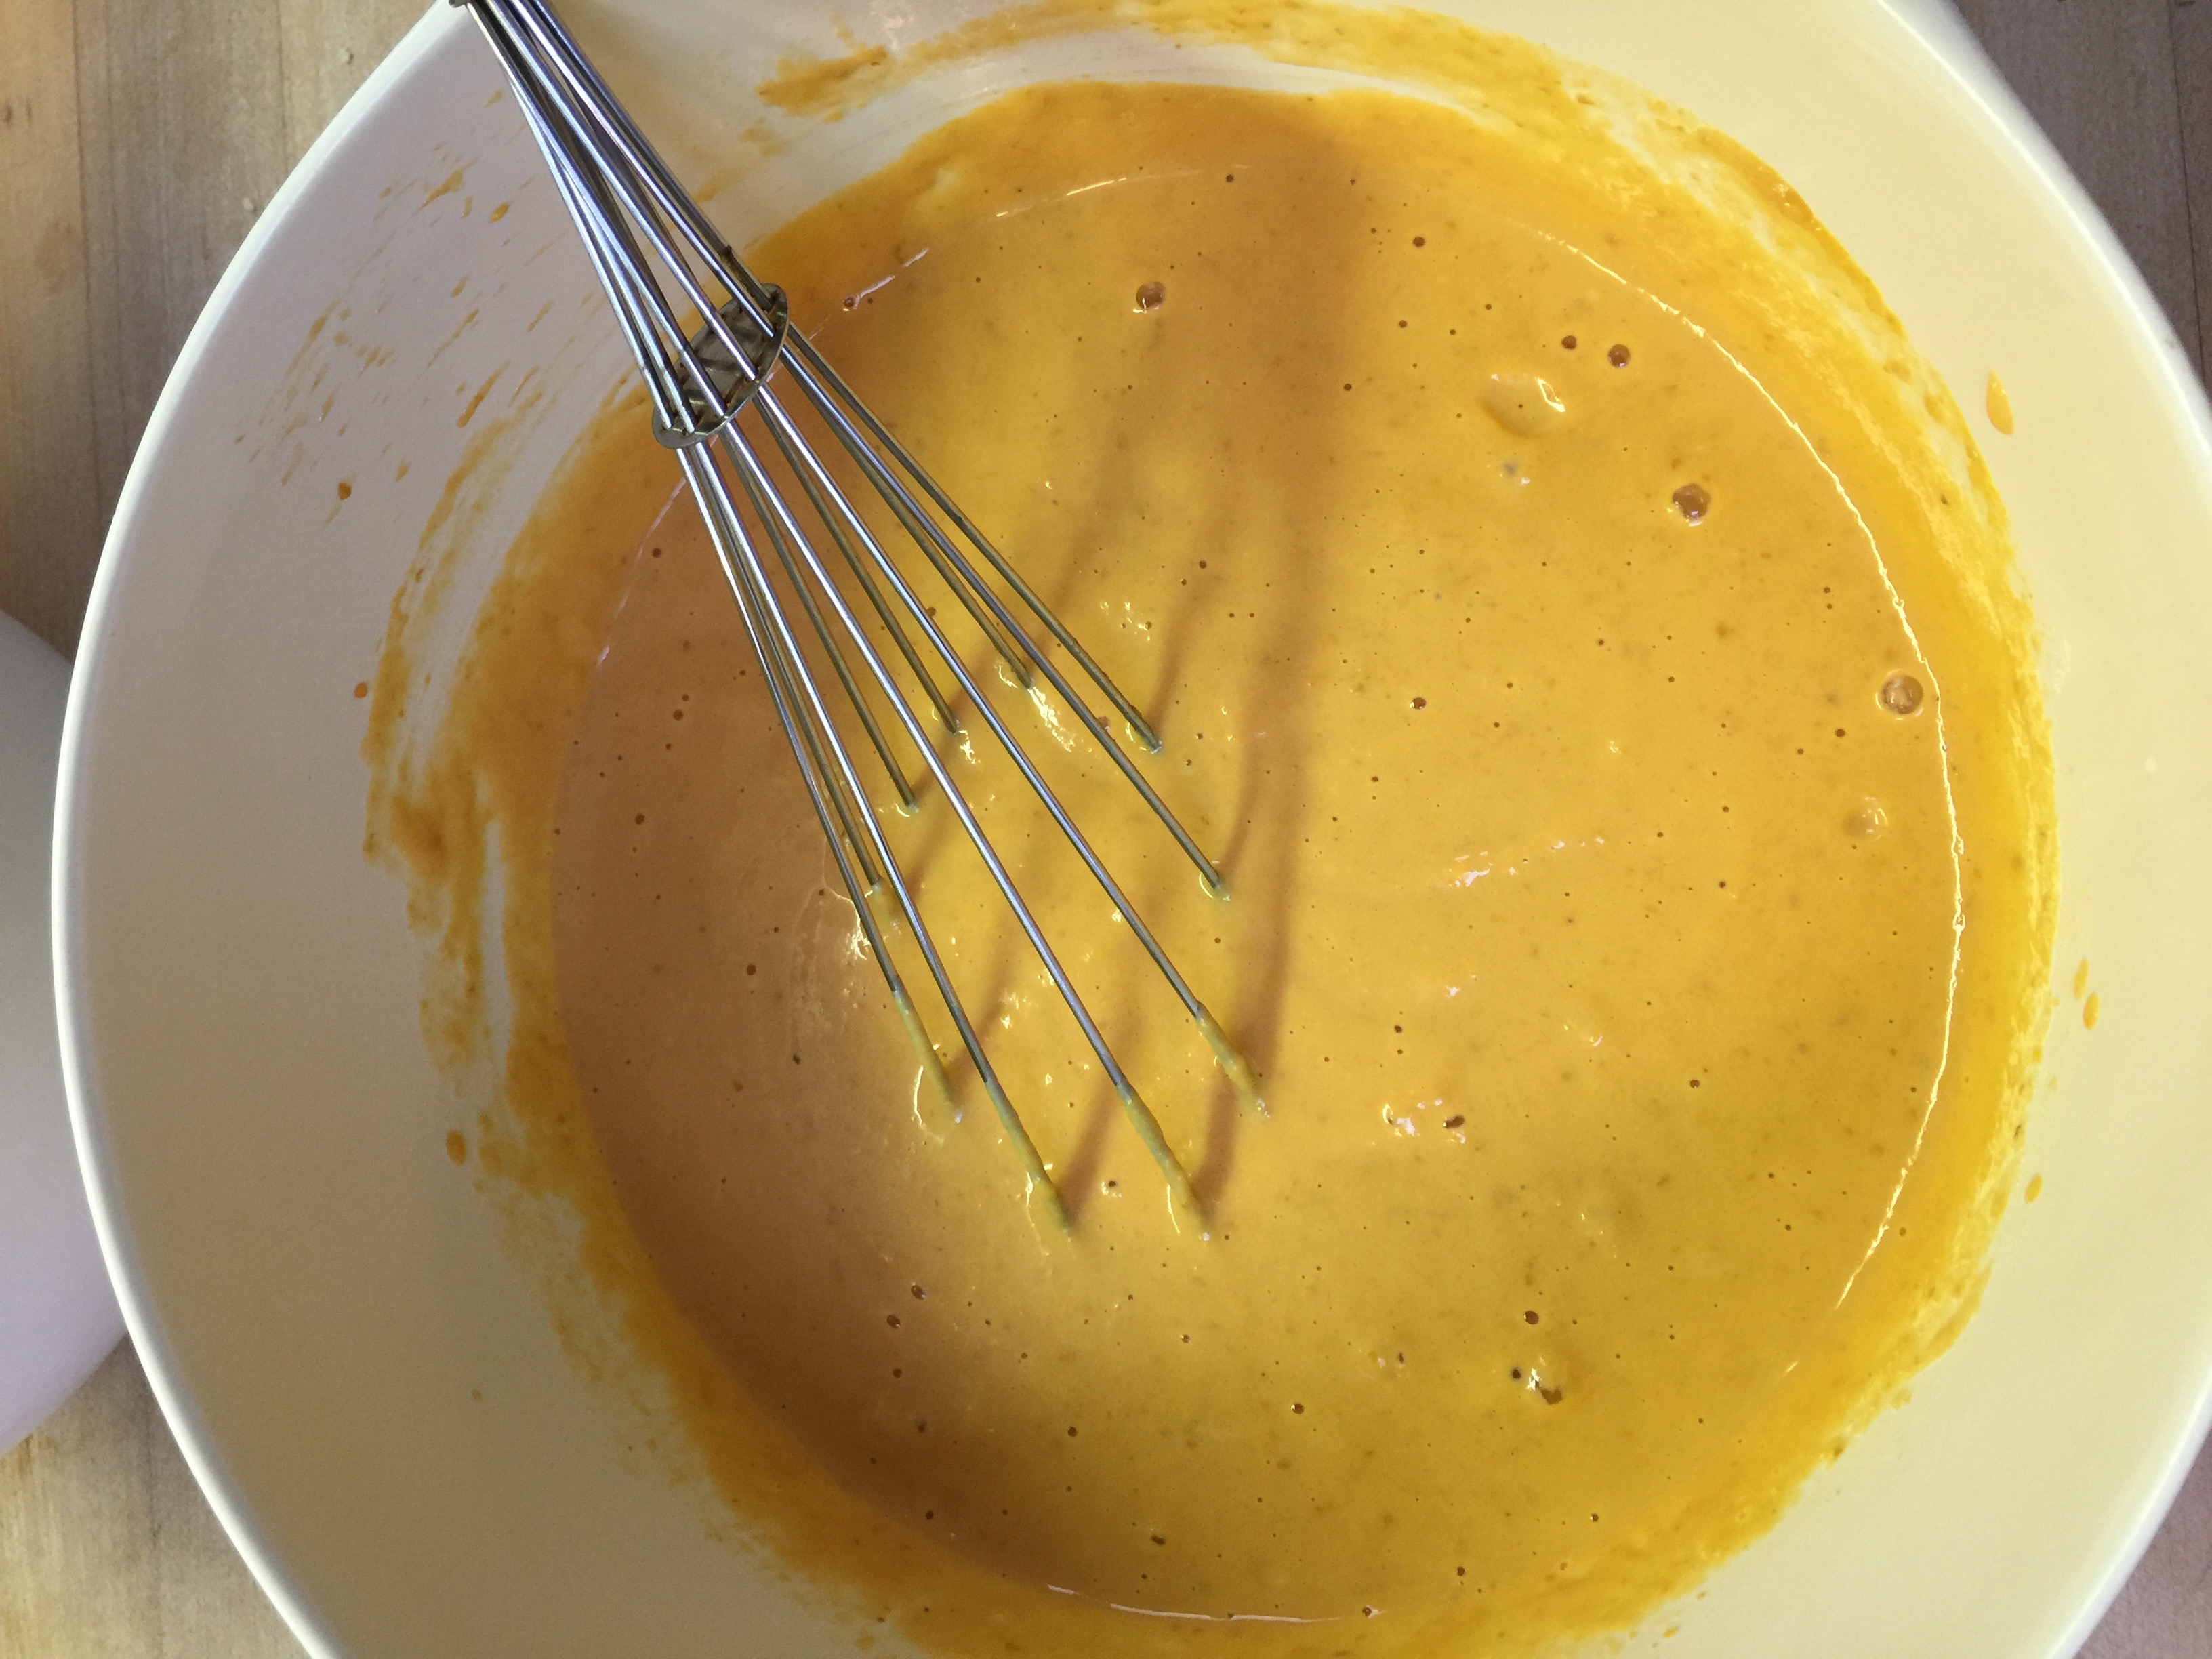
Let it cool on the stovetop until the pan is not scalding.  Place in the refrigerator to bring down to at least room temperature. (You don’t want to add the mixture to the ice cream maker or plastic bags at a high heat.)

Here are your options:

Kids version:

Pour 1/2 cup of mixture in a quart size Ziplock bag.  Seal well!  Place that bag in a gallon size ziplock filled with several cups of ice and 1/4 cup ice cream salt.  Seal the gallon size bag.  Hand it to your child with a dish towel and have them shake it until exhaustion or until the ice cream is the consistency of soft serve.  Enjoy!


No mess version:

Pour your saucepan of cream mixture into an ice cream maker, turn on, and walk away.  It should be nice and creamy in about 30 to 45 minutes!  Enjoy.


I hope your family enjoys this as much as ours!  Happy summer!!!

images-2


What to do with all those EGGS?

easter-wallpaper-1

We love Easter in our home!

We love the reason behind it, and the celebration of Christ’s resurrection. We love the excitement of the Easter egg hunt, the wonderment, the family, the traditions, and yes, the FOOD.

What oh what to do with all those eggs you dyed?  We used to hunt those dyed eggs as kids until the dog got sick on them :-).

Our children just hunt the plastic kind, but I still love the tradition of dying the boiled eggs on Good Friday!  They love it too!  But what do you do with all of them?  This is where I can help!  They are just sitting in your fridge, right?  Well, don’t let them go bad.  I have ideas for you!  And, yes, they are still good to eat!

basket-of-easter-eggs-A

Take those beautiful pastel eggs and use them – ketofy them!

There are numerous uses for boiled eggs such as adding them to salads, (especially tuna salad and cobb salad), deviled eggs (an Easter favorite), add them to sautéed spinach or asparagus with hollandaise, or even just eat them for breakfast or a snack with a little salt and pepper.

My favorite Easter memory is creamed eggs though!  Creamed eggs just scream Easter morning breakfast for me, and this is how my mom used our dyed eggs on Easter morning.  She literally just used a Béchamel sauce and added the chopped boiled eggs.  Of course she served it over well-buttered toast, and it was delicious, but when you are eating against the grain you need to modify.  What do you do when you can’t use flour in your Béchamel?  Did you know that if you simmer cream long enough, it will naturally thicken?  This trick I did not know until I went Keto!

This is what I did:

Peel and cut up your boiled eggs and set aside.

images

Allow about 45 minutes for your cream to thicken.

Using 4 cups of heavy whipping cream, (add a Bay Leaf if you like), and bring to a rolling boil over medium-high heat.  Keep an eye on it because it will make a mess if it boils over, and it does have a tendency to do this.  Keep the cream at a low boil for about 45 minutes stirring frequently over medium heat.  When it reaches the consistency of a cream sauce, turn it off.  It can take a little longer, but not more than an hour.  (Yes, I would say this is a weekend treat unless you get up really early.)

starburst-sauce-and-dilly-bars-068-1

Now, you can add salt (1 tsp Pink Himalayan) and pepper (1/2 – 3/4 tsp freshly ground) and keep it as it is or add some more flavor.

Now, plain is delicious, but I took it a step further:

I added a couple of Tbsp of fresh chopped parsley and 1/2 cup of fresh parmesan.  Stir until melted.  Lastly, add your eggs and gently mix them in.  You can also add a few TBSP of butter for extra decadence.

My family loved it, but couldn’t figure it out the new taste with the cheese until I told them what I added.  It was deliciously creamy and decadent.  You don’t even need bread!  Spoon it into a bowl and enjoy your new tasty, gluten free treat!

Unknown


Easiest Dinner Ever!

8f13089806ded9dc49d92b71e26bac58

Well life just got super crazy in our house!  We were just getting into the swing of basketball season, and the craziness of baseball season smacked us upside the head.  Little did we know that baseball started the day after the draft and looks to be 7 days a week between the two boys.

Pile that onto 3 ongoing basketball teams and a move!  My head is spinning.  We are regrouping to some very easy, fast meals that can be prepped ahead and thrown into the oven at go time.

This is something I made on a ski trip on the fly so I pulled it out today.  It doesn’t get much easier than chicken, sauce and cheese!

Green Enchilada Casserole

2 Chickens or 6 Chicken Leg Quarters

1 jar of 505 Roasted Green Chili Sauce

3 cups Monterrey Jack Cheese

Sour Cream

Hot Sauce

Yes!  It is that easy.  I bought the precooked chicken quarters at Costco (Not the best quality, but as well as I could do in a pinch) and just peeled the chicken.  We prefer the fattier dark meat chicken, but you can also use a rotisserie chicken, chicken breasts or boil or roast a couple of chickens.  I was able to get about 5 -6 cups of chicken out of the Costco pack.  I used 4 in my casserole dish and saved the rest for chicken salad.

IMG_5946

Pile the chicken in your dish and cover with about 2 to 3 cups of the green chili sauce and mix throughout the chicken. (I used 1/2 a large jar)  I even mixed it in the baking dish.

IMG_5949 IMG_5947 IMG_5950


Top with cheese!


IMG_5948

That is it.  Now you can either throw it in the oven or cover and refrigerate until you are ready to cook.
I cooked it on 325 degrees for 45 minutes.  You could do 350 degrees for 30 minutes, but I had carpool and needed the time!

DSC_0033

We like to top it with a healthy portion of sour cream, and if you like it spicy, add some hot sauce too.

It goes beautifully with broccoli and Kerrygold.

IMG_5961


There you have it!  A hot great dish in less than an hour!

Enjoy!

Home Cooking on a Cold Winter’s Eve

I don’t know about you, but getting back into the swing of things has been tough this week.

mombalancing-act

We returned from vacation, had another Christmas at home, entertained family, Happy New Year, undecorated, reorganized, and now back to school and after-school activities!  It’s a lot to jump into after a couple of weeks off!

The last thing I always want to do when we return from vacation, is go to the dreaded grocery store.  This means a lot of experimenting and improvisation in our house because my crew expects three hot meals a day out of me, and Mom is pooped right now.

What to do?  The freezer!  This is a word I rarely use because really, all we use our freezer for is ice and meat.  We purchased a half of a grass-fed cow in August, and we still have quite a bit left.  We always crave red meat when we have been traveling which was obviously the case, because I went to the freezer and pulled out stew meat, a roast, and some steaks.  The steaks we grilled right away, but the others required a little more effort.  Not much though.  On undecorating day, I knew I would be busy so I pulled out an old recipe, made a few changes, and prayed we would have something tummy warming good for dinner.

61nGZkpNKNL._SL1500_

It was amazing! In fact, my ten year old has asked for stew in his thermos for lunch every day since that he has needed a lunch.  We have had some moist bone-chilling days in South Texas recently, and there is nothing better than good, warm you up from within, home-cooked meals from the heart!

This takes a little forethought, but get it going, and forget about it all afternoon.  Before you know it, it is dinner time and it’s ready to go.  Perfect for those basketball practice nights when everyone is coming home at different times.

Hearty Beef Stew

3 lbs Stew Meat chopped

16 oz bacon

2 cups beef broth

14.5 oz can petite diced tomatoes, drained

1 green bell pepper

1 cup baby carrots

1 small onion

6 cloves garlic, minced

2 Tbsp tomato paste

2 Tbsp Worcestershire Sauce

2 tsp pink Himalayan salt

2 tsp black pepper

1 tsp garlic powder

1 tsp onion powder

1 tsp dried oregano


Instructions:

Slice your bacon into small pieces and cook in a large dutch oven.

20131121_203219

Once your bacon is cooking and you have a nice layer of grease, add your stew beef.  Cook until browned, and then add your onion, pepper and garlic.

cooking-beef-300x225

Cook these for about 5 minutes.  Add your remaining ingredients, stir, and bring to a boil.  Once boiling, reduce the heat to low.  Cover and simmer for 3 hours or until you are ready to serve.

spicy-beef-stew_andrew-mccaul

My family prefers their stew runny, almost like a beef soup.

If you are used to a stew with potatoes and a thicker sauce, this will not turn out like that.  If your family likes the thicker stew, dust the top of your stew with just a pinch of xanthan gum.  As it sits and you stir, it will slowly thicken.  This will give you a more stew like consistency.

Enjoy!


Christmas Morning Traditions

large_christmasmorning

It is hard to believe that Christmas is only a week away.  We are all busy preparing for the day, and I have had questions about what to serve for Christmas morning breakfast.  Growing up, we always had the same thing.  We started with grapefruit that my grandfather bought at the produce market.  Then, we moved on to breakfast casserole and either coffee cake or cinnamon roles.  I carried on this tradition with my own family, but need to revamp the pastry portion.

You can always make the breakfast casserole which is a favorite around here!  Check out that recipe here.  You can use any meat…bacon, chorizo, crumbled browned breakfast sausage or grilled links.  They are all delicious.  You can use many breakfast casserole recipes.  Just swap out the milk for cream and do not add any bread.  I promise it will cook just as well.

PB1305H_breakfast-casserole-recipe_s4x3

Now for the pastry!  I have dabbled around with a few recipes, and we have found a winner for a special occasion.  It takes a little time, and is a little different, but it turned out “amazing”, and that quote is coming from the kiddos!  I hope you enjoy it!

Cream Cheese Coffee Cake

Crust:

2 cups almond flour

2 T coconut flour

3 T Swerve granular

6 T butter softened

6 egg white whipped very stiff (you want those mountain tops)

1/4 tsp salt

1 tsp baking powder

1 tsp xanthan gum


Filling:

12 oz cream cheese

3/4 cup Swerve confectioners

1 egg

2 tsp vanilla extract


Topping:

1 1/2 tsp ground cinnamon

1/4 cup Swerve granular

2-3 T melted butter


Instructions:

Preheat oven to 350 degrees.

Combine all your dry crust ingredients:

IMG_5312

Cut in your butter:

IMG_5314

IMG_5315

Meanwhile, beat your egg whites:

IMG_5313

They should be very stiff!

Once beaten, fold in your eggs whites.  Losing the volume is normal as you fold, but be gentle.  You want it even and fluffy.

IMG_5317

Place half of your “dough” in a parchment lined 8×8 pyrex or other baking dish.

Bake for 10 minutes, just until it is slightly firm.

IMG_5316

IMG_5319

To prepare your filling:

Combine your softened cream cheese, vanilla and Swerve. Beat until it is smooth and creamy.

After your crust has baked 10 minutes, remove and let cool for 5 minutes.

Spread your cream cheese filling on top of your crust.

Then add the rest of your “dough” and smooth over the top.

Finally, sprinkle the cinnamon sugar topping over the dough, and drizzle the butter over the top.

IMG_5326

Bake at 350 for 30 to 40 minutes until you have a deep golden brown crust.  It should get dark and crispy.  The “sugar” will caramelize!  YUM!!!!

IMG_5327

Let cool for 30 minutes before serving or it can sit overnight at room temperature.

IMG_5328

Slice and serve!


Just as a note, we will be taking the next two weeks off to spend time with our families.  We wish you each a safe, joyous, and blessed Christmas filled with lasting memories, new family traditions, and most of all, love!  God bless, and Merry Christmas!

Merry_christmas-8


What’s in a Mason? Christmas Giving Continued…

il_340x270.532078627_jbxe

We are still going along with the theme of Christmas gifting!

My mother always told me, “It is better to give than to receive,” and I truly believe that giving someone a gift from the heart is a tremendous blessing!  It really is better to give!

My problem…What to give when you don’t give sugar or bake?

Since I was a small child, I baked with my mother, and then more recently on my own and with my own children.  It is a Christmas tradition.  I have given homemade cookies as gifts for as long as I can remember.   This will be the first year that I do not hand out over 35 dozen iced sugar cookies for Christmas, and I am already hearing about it!  I am known as the “Cookie Lady”, “the friend that gives us the green trees” and am often told, “My (fill in the blank) looks forward to your cookies all year long.”  So, for those of you expecting cookies from me, I apologize in advance.  I just felt it was hypocritical to deliver something that I know is harmful to your body.  I am on track for a healthier gift this year.

Erin talked about things to give that are not necessarily edible.  I want to talk about things that can be delivered in a mason jar.  Why mason jars?  First, they are practical, stay fresh, and reusable. Second, they can be dressed up with cute ribbons, bows, stickers, you name it – go for it on the creativity!  That is, at least, half the fun.  Lastly, the options are endless!  We have posted many recipes that you can use in a mason jar that I will link you to below. Have fun trying out some new fun recipes that you can give to others to enjoy.

So go get your mason jars, and get ready to get creative!

546x546_product_category_jars

I have loaded up on tomatoes, Serrano peppers, cilantro, garlic and onion for some red hot Texas salsa.  This will be my main gift for teachers, helpers and neighborhood friends this year.  You can find the salsa recipe here.

images-2


Another great one is the Refreshing Cukes!

IMG_2799

They look gorgeous in a mason jar!


Another favorite is some Sugar Free Bar-B-Que Sauce!  Yum!!!

images-2


Or how about a homemade salad dressing or Ranch Dip?

Ranch Dip Picture


One of Erin’s family favorites is the Marinated Black Olives.  They were amazing and gorgeous in a mason jar!

IMG_3695


Of course you always have mixed nuts or some kind of nut medley.  You can always season a roast your nuts as well.  There are some fabulous recipes out there for roasted nuts.

mixed nuts unsalted


You can also season up some cream cheese or pimento cheese and place it in the mason jar.

images-3


Last, but not least, is a touch of sweet!  We can’t leave out the fat bombs!

These are so delicious, it is hard to just eat one.  Best of all, you can tailor these to your needs based on what you or your friends like.

images-4


There really is no going wrong.  Who ever receives your gift will certainly love it, and you will know it is healthy as well.  Enjoy the holiday season filled with miracles, joy, love, and best of all, giving from the heart.  Rejoice in this season of wonderment!

images-1


Baby, It’s Cold Out There!

It’s starting to FEEL (and look) a lot like Christmas!  My favorite season of the year!

We had such a hot fall in San Antonio, I was beginning to think it would never get cooler around here, but ‘lo and behold, we finally had a great cold front!  Finally!

The first cold morning around here, the kids were begging for HOT CHOCOLATE!!!

Can hot chocolate be Keto?

Absolutely!

Look at these smiling faces!

IMG_5386IMG_5382 (1)

There is nothing better on a cold morning than curling up in your cozy chair with a steaming hot cup of cocoa!  The kids were cozy, happy, and warm!

So how to?

Keto Hot Chocolate

IMG_5374

Do you see that half-gallon of cream????  Oh, yes it is!  Sam’s Club!

You can use more cream and less milk for more keto cocoa and thin with some more water, however, for the kiddos, I don’t mind them having whole milk.

Ingredients:

1 cup water

1/2 cup 100% cocoa

1/4 tsp himalayan salt

3/4 cup Swerve granular

2 cups milk

2 cups heavy whipping cream

peppermint flavored Stevia to taste – I used 2 droppers full

The kids especially liked the peppermint flavor added, but you could use any flavor Stevia drops.

71YvxSgqO9L._SY355_

In a heavy large saucepan, combine all your ingredients and whisk well.  Keep watch as you heat over medium heat.  At the end, when everything is combined, it can boil up quickly and make a huge mess, so keep and eye on your sweet treat.  When everything is combined and comes to a light boil, pour in mugs and top with sugar-free whipping cream!  Yum yum delicious!

IMG_5375IMG_5377

IMG_5378 IMG_5379


Happy Thanksgiving! Gravy Anyone?

Happy Thanksgiving!  I hope you are with those that you love this year.  It is one of my favorite holidays for so many reasons: family, friends, cooking, eating, games, and time to thank God for all of our precious and often overlooked gifts in life!  We are all so blessed in countless ways!

thanksgiving-dinner


How do we do this time of year?  It is a production!  Lots of food, lots of prep, and LOTS of modification on my part.  The menu is planned, I know what I am taking (both by request, and by Keto necessity).  I just panicked though, when I realized I didn’t have a plan for the gravy!  What to do?  I have been researching, and I have two ideas for you folks!

YK_072611_FNM_Turkey_032.tif

If you are doing the turkey, this is the preferred method:

Use your pan drippings!  Do NOT use flour.  Instead use Xanthan Gum.  Just add a little at a time until it had reached the thickness of a roux.  Whisk quickly.  This is the one I use:
4398034471_ca968b9c6b_b

This will act as your thickener and then you can add broth, wine, butter, you choose slowly, all while whisking.  Add a few herbs, whisk, and you should have a traditional gravy.


I, however, am not doing the turkey and will prepare the gravy at home because we have all heard the saying, “Too many cooks in the kitchen”.  There is so much going on already, and it’s not my kitchen, so I am modifying!  Now, I haven’t tried this, so if you are just looking at this after Turkey Day, this would be a go-to for the leftovers, and I will definitely let you know if it doesn’t work.

  1. Sauté an onion and a few cloves of garlic in LOTS of butter – a whole block of Kerry Gold will do.  Keep sautéing until the onions are very limp.
  2. Next, add your herbs: I like fresh rosemary, thyme, parsley, and a bay leaf.  Salt and pepper to taste.
  3. Now add stock, preferable homemade chicken or bone broth.  You can add a bit of white wine too.  Simmer over medium low heat until mixture is reduced.
  4. Transfer to a food processor, and process until you have a smooth gravy texture.
  5. If it still needs thickening, add a touch of Xanthan Gum and you should have a delicious flavorful gravy!

a713bda8-6dba-4997-9a87-a12b0778a5fd

I’m  keeping my fingers crossed because I really like gravy on my turkey!


So what else am I making?  That has been the question of the week.

Everything I am taking is listed on this blog except for the veggie tray!

I am taking:

Cauliflower Mashed Potatoes with garlic and cream cheese

Bacon Brussel Sprouts

A vegetable tray with cilantro dip, ranch dip and spinach dip

Pumpkin Muffins that I have modified into cupcakes by adding cream cheese frosting to the top.

Pumpkin Pie with Whipping Cream

Kerry Gold and Pink Himalayan salt


We will enjoy the turkey, salad, squash and other veggies that other family members are preparing as well.  Needless to say, we will have full bellies, full hearts, and count our many blessings!

God bless each of you, and have a safe, happy and very healthy Thanksgiving!


Make a Pie and Eat it too!

24304 Betty Crocker's Guide to Your First Thanksgiving

We are on the countdown to Thanksgiving!

Wow!  I don’t know about you, but it really snuck up on me this year.

The Thanksgiving menu is not too tough on Ketoers for the most part.  We can have turkey, brussel sprouts, swap the potatoes for cauliflower mashed potatoes, and the list goes on.  What to do about dessert though?

I have great news!  I have perfected the Keto Pumpkin Pie!  It is as simple as following the Libby’s recipe on the back of the pumpkin can.  My grandmother (who was a wonderful cook) always said to go with the recipe on the back of the can.  Why mess with a good thing that professionals have spent endless hours perfecting?

I stick with my basic almond flour and butter crust, and it is Keto perfection for a Thanksgiving treat!  Make it even better with Keto whipped cream!  Yum!!!!

29fbe32a-bc9a-410b-90b5-6c879acd1a47


Keto Pumpkin Pie

Crust:

IMG_5202

1 1/2 cups almond flour

3 TBSP melted butter

3 TBSP Swerve Granular

1/4 tsp salt

Melt the butter in a glass pie pan in the microwave.

IMG_5203

IMG_5204 (1)

Combine all your dry ingredients in a bowl and then add to the butter.

IMG_5205

IMG_5206

Mix with your hands directly in the pie dish forming a crust up the sides.


IMG_5207

IMG_5208

IMG_5209

Place in a preheated 350 degree oven for 8 minutes.  Remove and set aside.

IMG_5211


Now for a Modified Libby’s Pie Filling:

IMG_5210

1 Cup Swerve granular

1/2 tsp salt

1 tsp cinnamon

1/2 tsp ground ginger

1/4 tsp ground cloves

2 large eggs

1 can (15 oz) Libby’s 100% Pure Pumpkin

1 can (12 fl oz) Carnation Evaporated Milk

Mix your Swerve and spices in a small bowl.

IMG_5212IMG_5213

In a separate bowl, beat your eggs.  Then add your pumpkin and mix well.

IMG_5214 IMG_5215

Finally add your dry ingredients while whisking and then add your evaporated milk.

IMG_5216 IMG_5217

Once all your ingredients are combined well, add to your pie shell.

IMG_5218

Bake at 425 degrees for 15 minutes.  Reduce temperature to 350 degrees and continue baking for 40 to 50 minutes.

Let cool for a few hours before serving or chilling.

Top with whipped cream, and serve warm or cold.

IMG_5229

IMG_5230

She gobbled this huge piece down in no time!  It was delicious!

Enjoy!

A Fast and Delicious Weeknight Favorite!

winterfriday food frenzy

‘Tis the season for crazy weeknights!  We are all in the thick of school and sports, but add the holidays to the mix, and you are about ready to pull out your hair.  Let’s just say, dinner sometimes becomes a hassle, more than a featured event this time of year!

Before I give you the recipe, I need to preface it with the fact that I used to detest salmon.  I LOVE fish, but never ever wanted salmon if I saw it on the menu.  I don’t know if I had it poorly prepared in the past or if my tastes have changed, but it is now a staple around here.  Not only is it perfectly amazing in healthy fats, but it is SO tasty and E-A-S-Y!!!  Many are afraid to cook fish at home, but this one is a no brainer.  Up until last night, we were a split family on the salmon.  Three of us can’t get enough, but the daddy and one middle child (who shall remain nameless) would eat it, but didn’t love it.  Things have changed due to one simple addition: Herb Butter!  The best news; you can make it ahead, and you can have dinner on the table in less than 20 minutes!  I kid you not!!!

Herbed Butter Salmon

Prepare your butter ahead of time and wrap it up for later.

1 cup butter (I used one block of Kerry Gold – yes, it makes a difference)

1 lemon zested (just the zest)  you can save the lemon juice for later.

1 TBSP dried dill (or 3 TBSP fresh)

5 cloves garlic, minced

1/4 tsp ground pepper

1/4 tsp pink Himalayan salt

Bring your butter to room temperature.  Zest your lemon and mince your garlic.  Combine all of your ingredients.

IMG_5220 IMG_5219

Stir and mash everything together.

IMG_5221

Scrape onto a piece of waxed paper or parchment paper.

IMG_5222 IMG_5223

Form it back into a block on parchment, seal in a bag, and keep in the refrigerator until ready to use.

Now for the Salmon:

I used a wild caught whole filet. There are many many kinds from farm raised to the cold waters of Alaska.  I always ask for the fattiest version of salmon at the seafood counter.  Just like everything else, the food industry is actually trying to make salmon “low fat” because of our fat phobic society.  I figure the fatty one is the most natural since salmon IS a fatty fish!

Preheat your oven to 425 degrees.

On a cookie sheet sprayed with coconut oil, lay out your filet skin side down.

Sprinkle your salmon with your favorite seasoning.  There are several that I love, but this was a favorite last night:

IMG_5231

You know how I love my bulk spices!  They are such a bargain, and so many from which to choose!  This one is the Colorado Spice from Central Market, but take a stab at something new!  This is the fun part of grocery shopping!

IMG_5224

Once you have your fish seasoned, place in a preheated 425 degree oven.  Watch it carefully!  Depending on the size, cook for 10 to 15 minutes until the fish flakes.  I did this one for 12 minutes.  It is always best to ere on the less done side for fish.

I sautéed a box of fresh spinach in butter to go under the salmon while the fish was in the oven, and in under 20 minutes, dinner was served.  Top with your fun new herb butter, and it is just perfect!

IMG_5225


Enjoy!!!


« Older Entries