Archive for recipe

A Taste of New England in the Lone Star State!

images


I am imagining cooler weather at this point in San Antonio.  The humidity is unbearable at the moment, but the sight of pumpkins, falling leaves, and mums make me pretend it’s cold outside and dream of the cool crisp mornings to come.


fall-leaves-hq-2


I am piggy backing off of Erin’s post earlier in the week.  She posted our recipe for bone-broth, which if you haven’t tried, you must.  I didn’t make it for about a year after I heard about it, and then, once made, I was kicking myself for all those months without.  It is an automatic pick-me-up, arthritis healer, sore throat cure, and overall, just an incredible remedy for almost anything.  During flu season, everyone in our house gets a cup everyday to boost the immune system – and it works.


So what else is great when cooler weather arrives or you are feel sub-par?  Soups, chowders, stews – anything piping hot!  Now, I have to come clean…I was really skeptical about this one.  First, I have never made clam chowder before.  Second, this was a far deviation from the original version I have seen.  Third, would my children eat something with clams?  My reaction was, why not?  Wow!  And…Oh YES, they will!  In fact, three out of four went back for seconds!  So, in thinking positive thoughts about cooler weather, here is a brand new one for you!  This is another one that you can make ahead on a busy afternoon and dinner is prepared for later!


e7faa46c-fe97-4a20-8be0-35e0dc36ee44


Creamy New England Clam Chowder With Bacon

Ingredients:

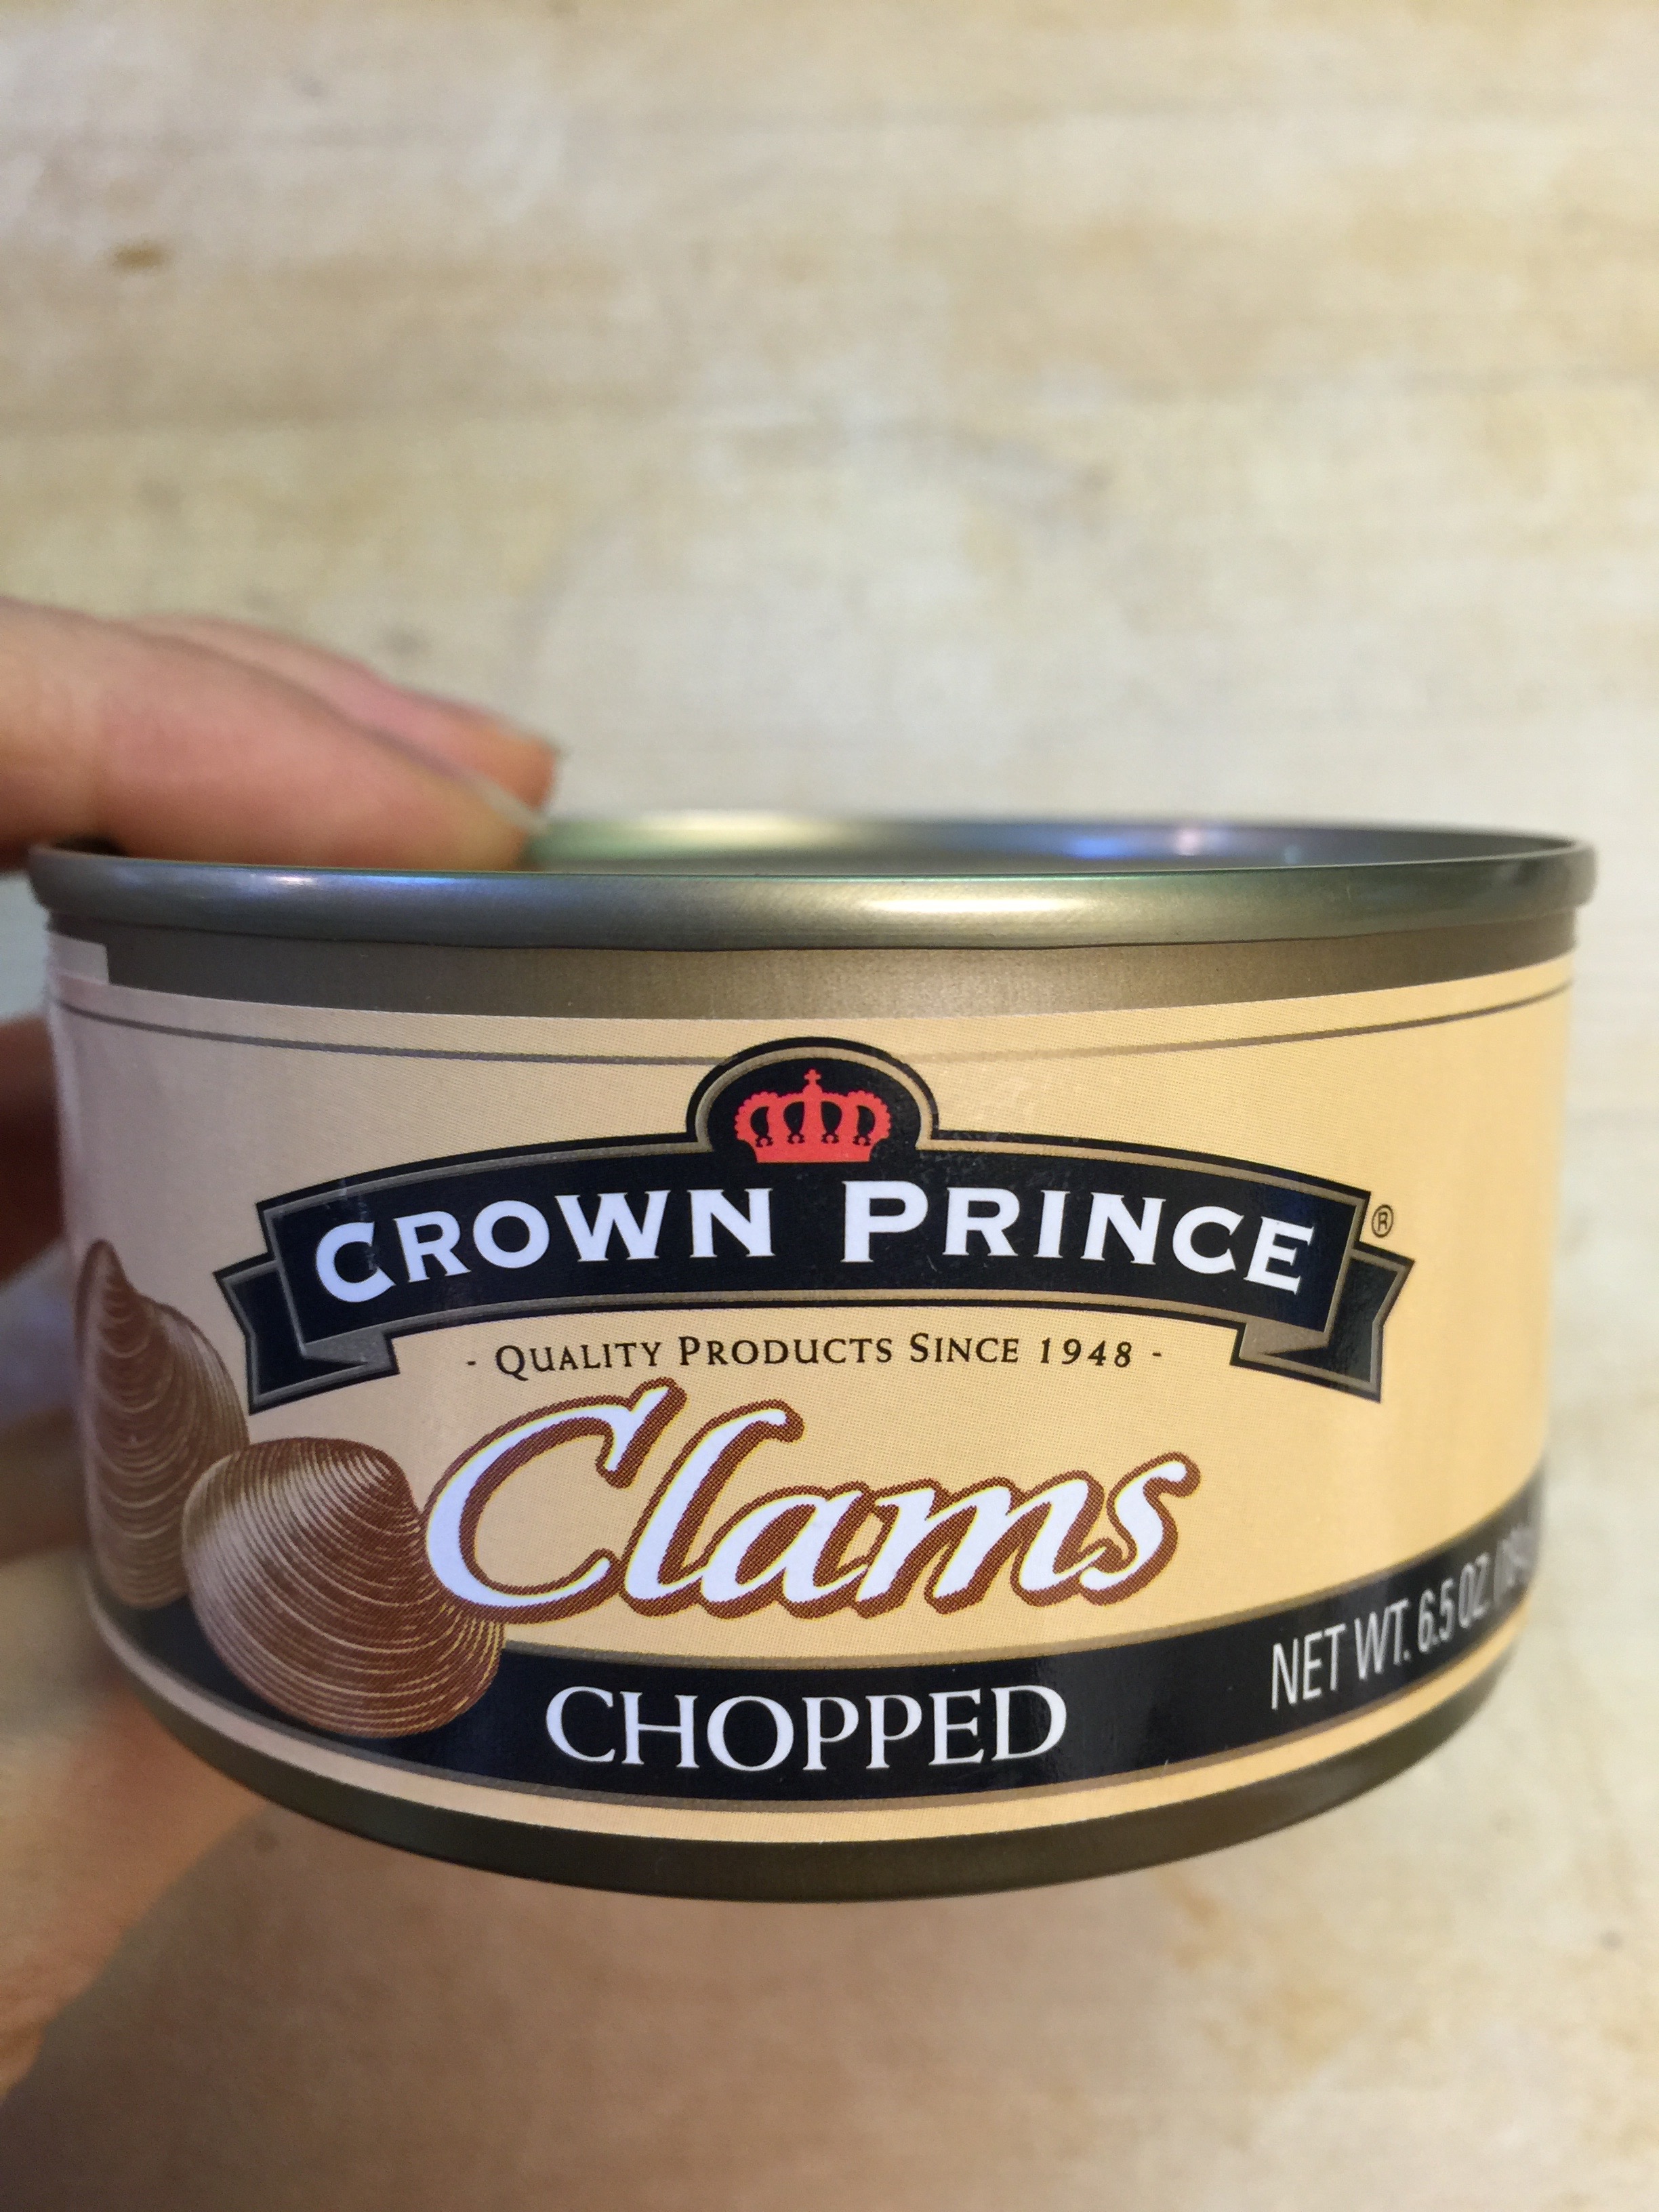
4 – 6.5 oz cans of chopped clams packed in clam juice

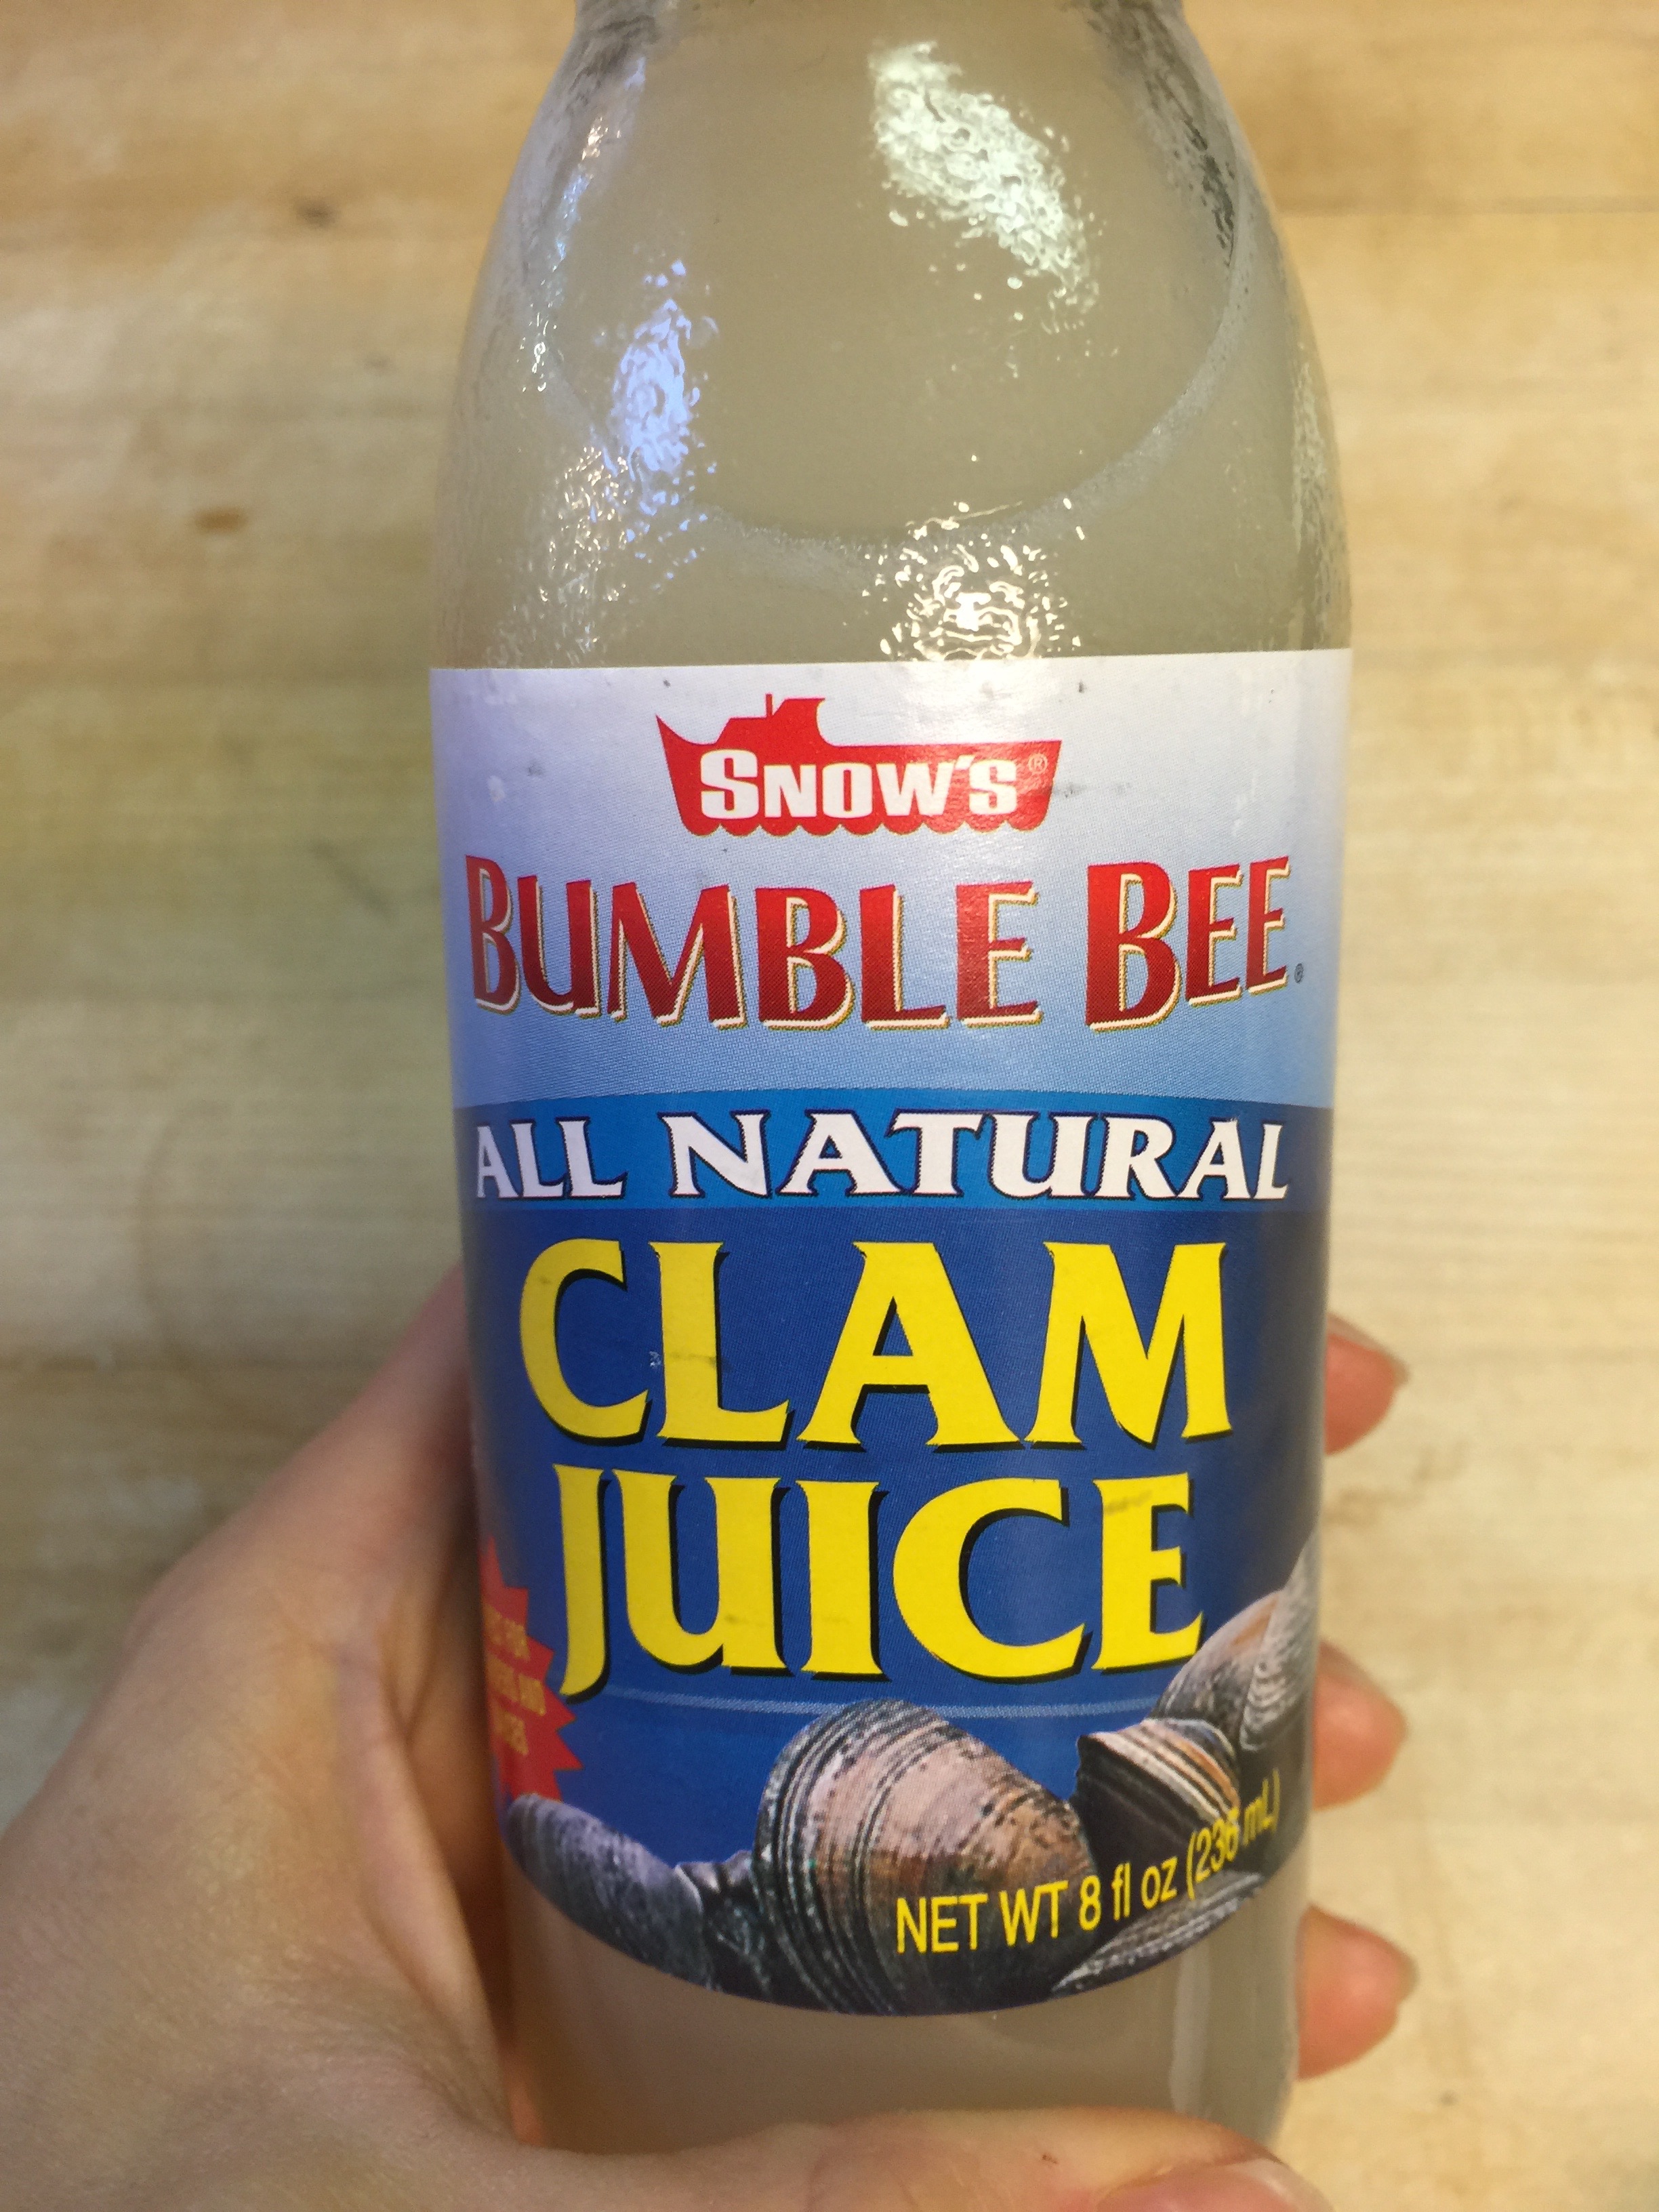
2 – 8 oz bottles of clam juice

2 cups chopped leeks (white and light green parts – this was 5 leaks for me)

1 large head of cauliflower chopped into chunks

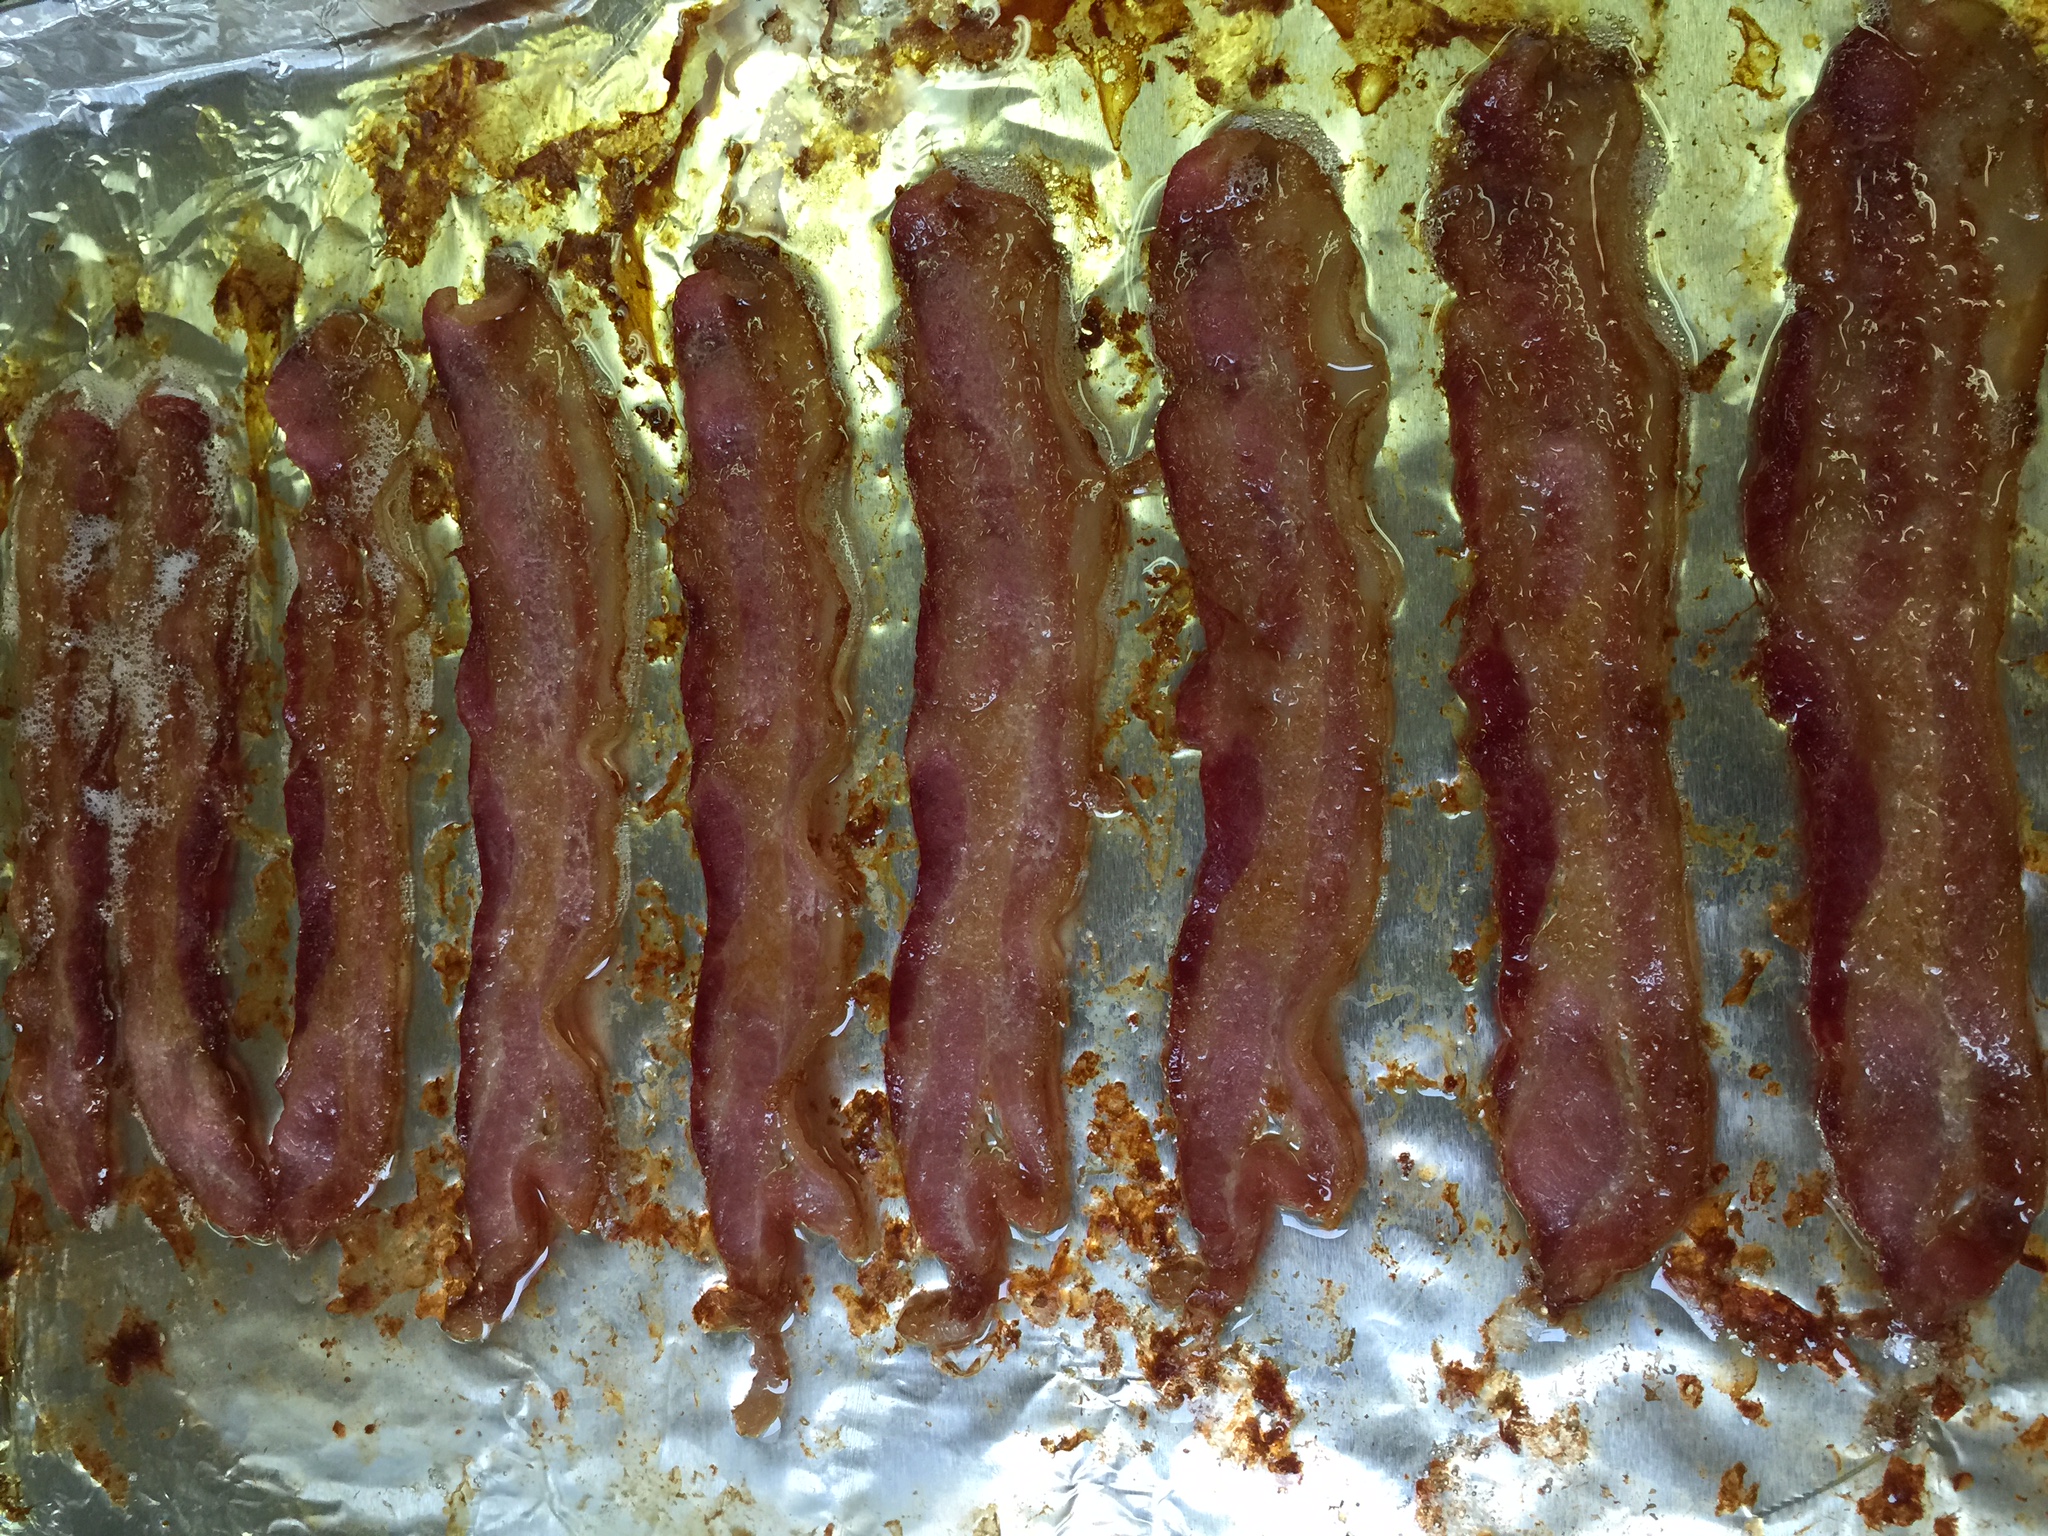
8 – 10 slices of bacon chopped into pieces

1 cup broth

1/2 tsp dried thyme or 2 tsp fresh

3 TBSP fresh minced Italian parsley

1/2 tsp fresh black pepper or more to taste

1 tsp Himalayan salt
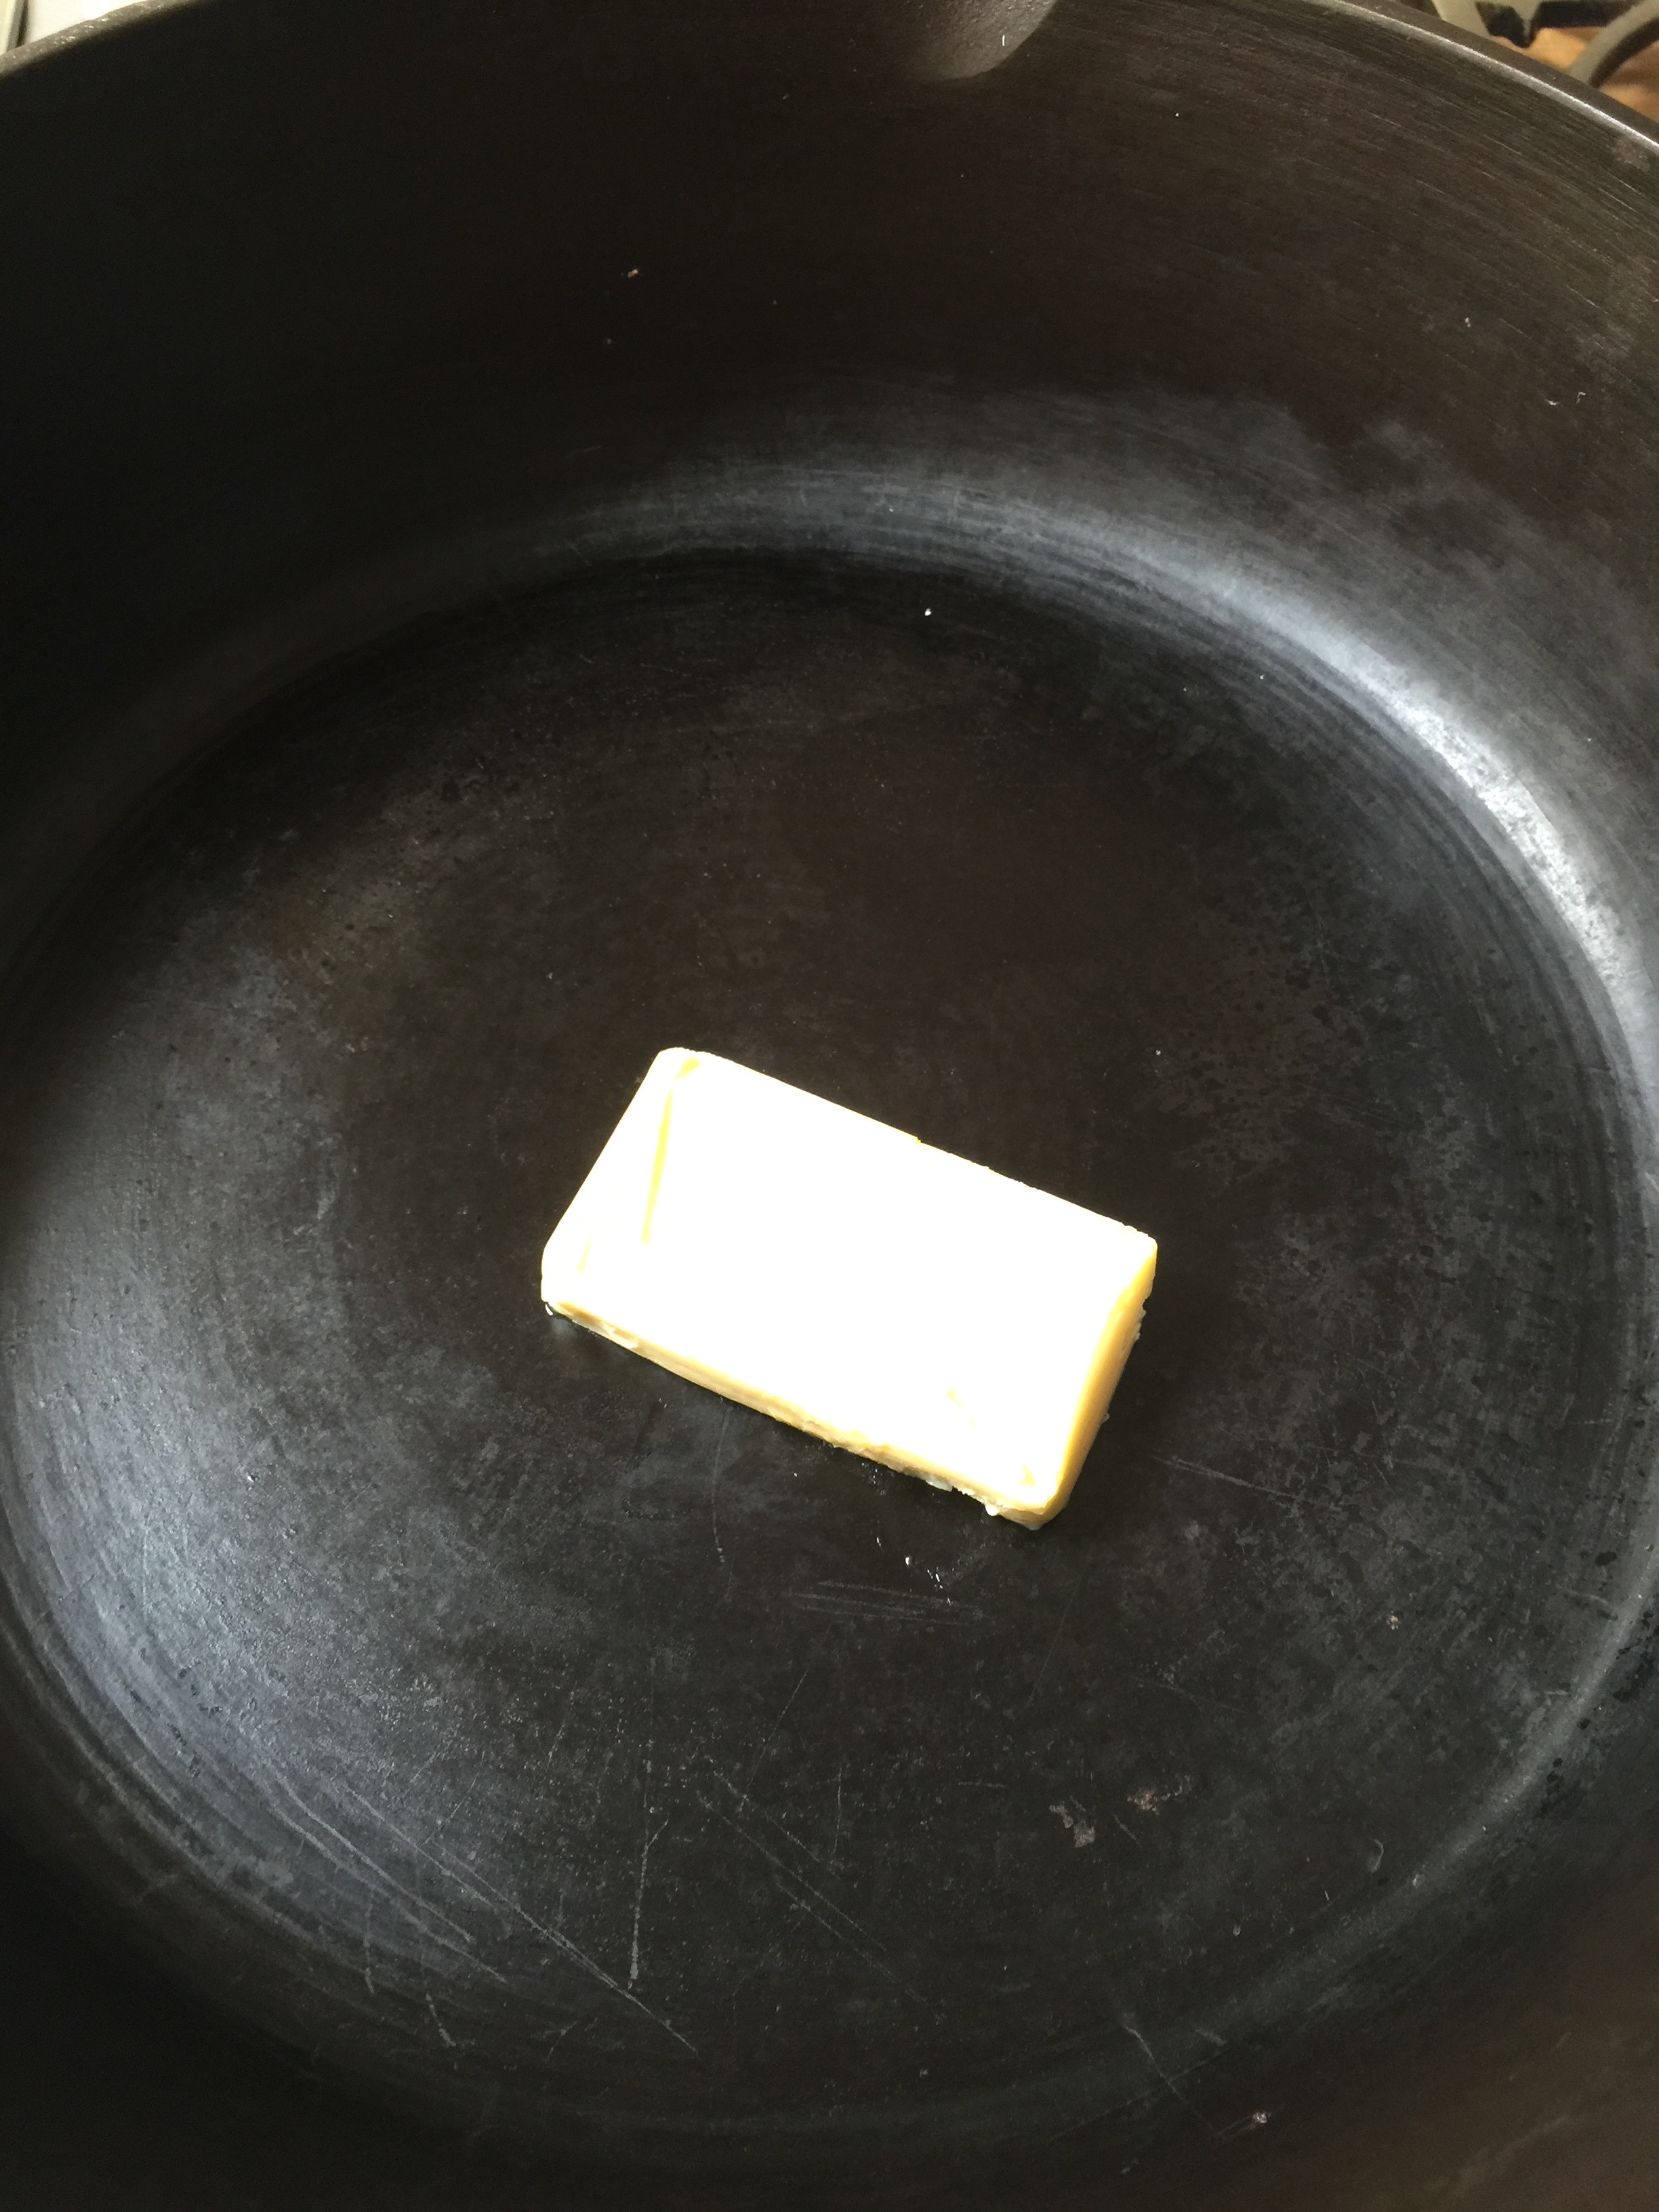
1/2 cup butter


IMG_5172 IMG_5171


Directions:

In a large soup pot, cook your bacon over medium heat until just starting to brown.  Add you leeks and sauté until wilted and soft.

Remove half of your mixture and set aside.


IMG_5174


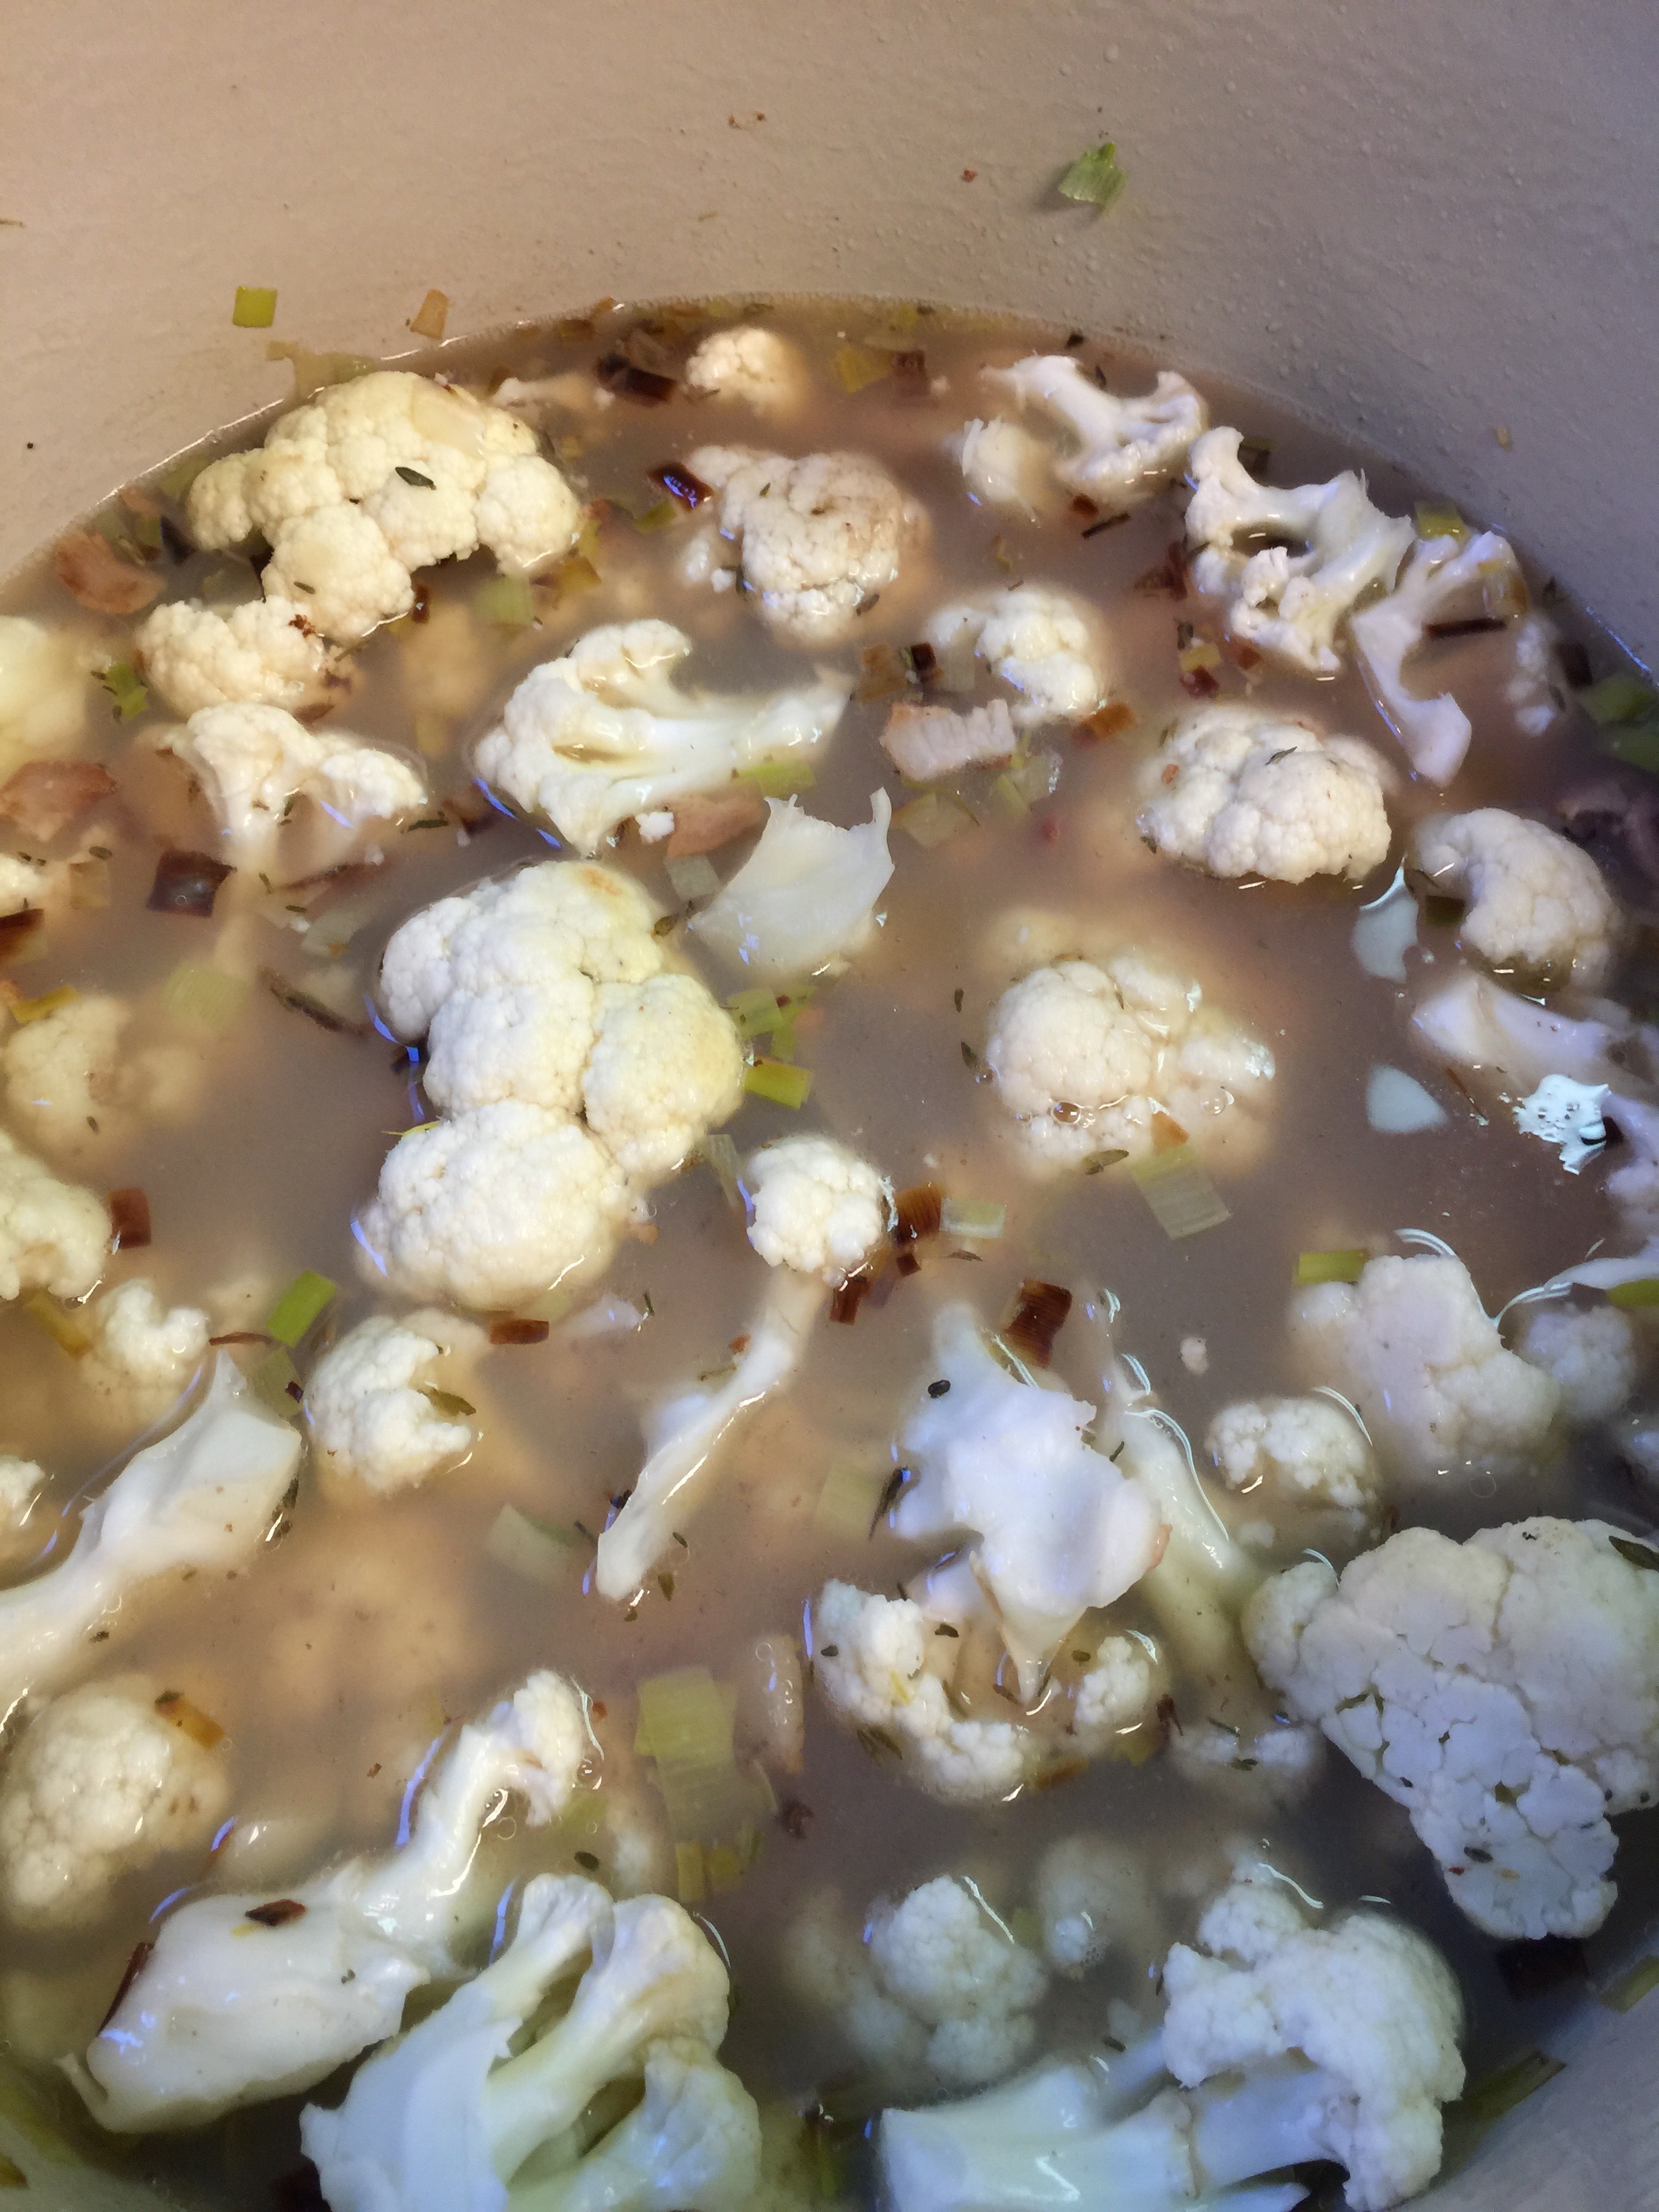
Add your cauliflower, clam juice, juice from the canned clams (save the clams though), water and thyme.  Increase heat to high and bring to a boil.  Then reduce heat to low, cover, and simmer for 30 to 40 minutes until the cauliflower is very soft.

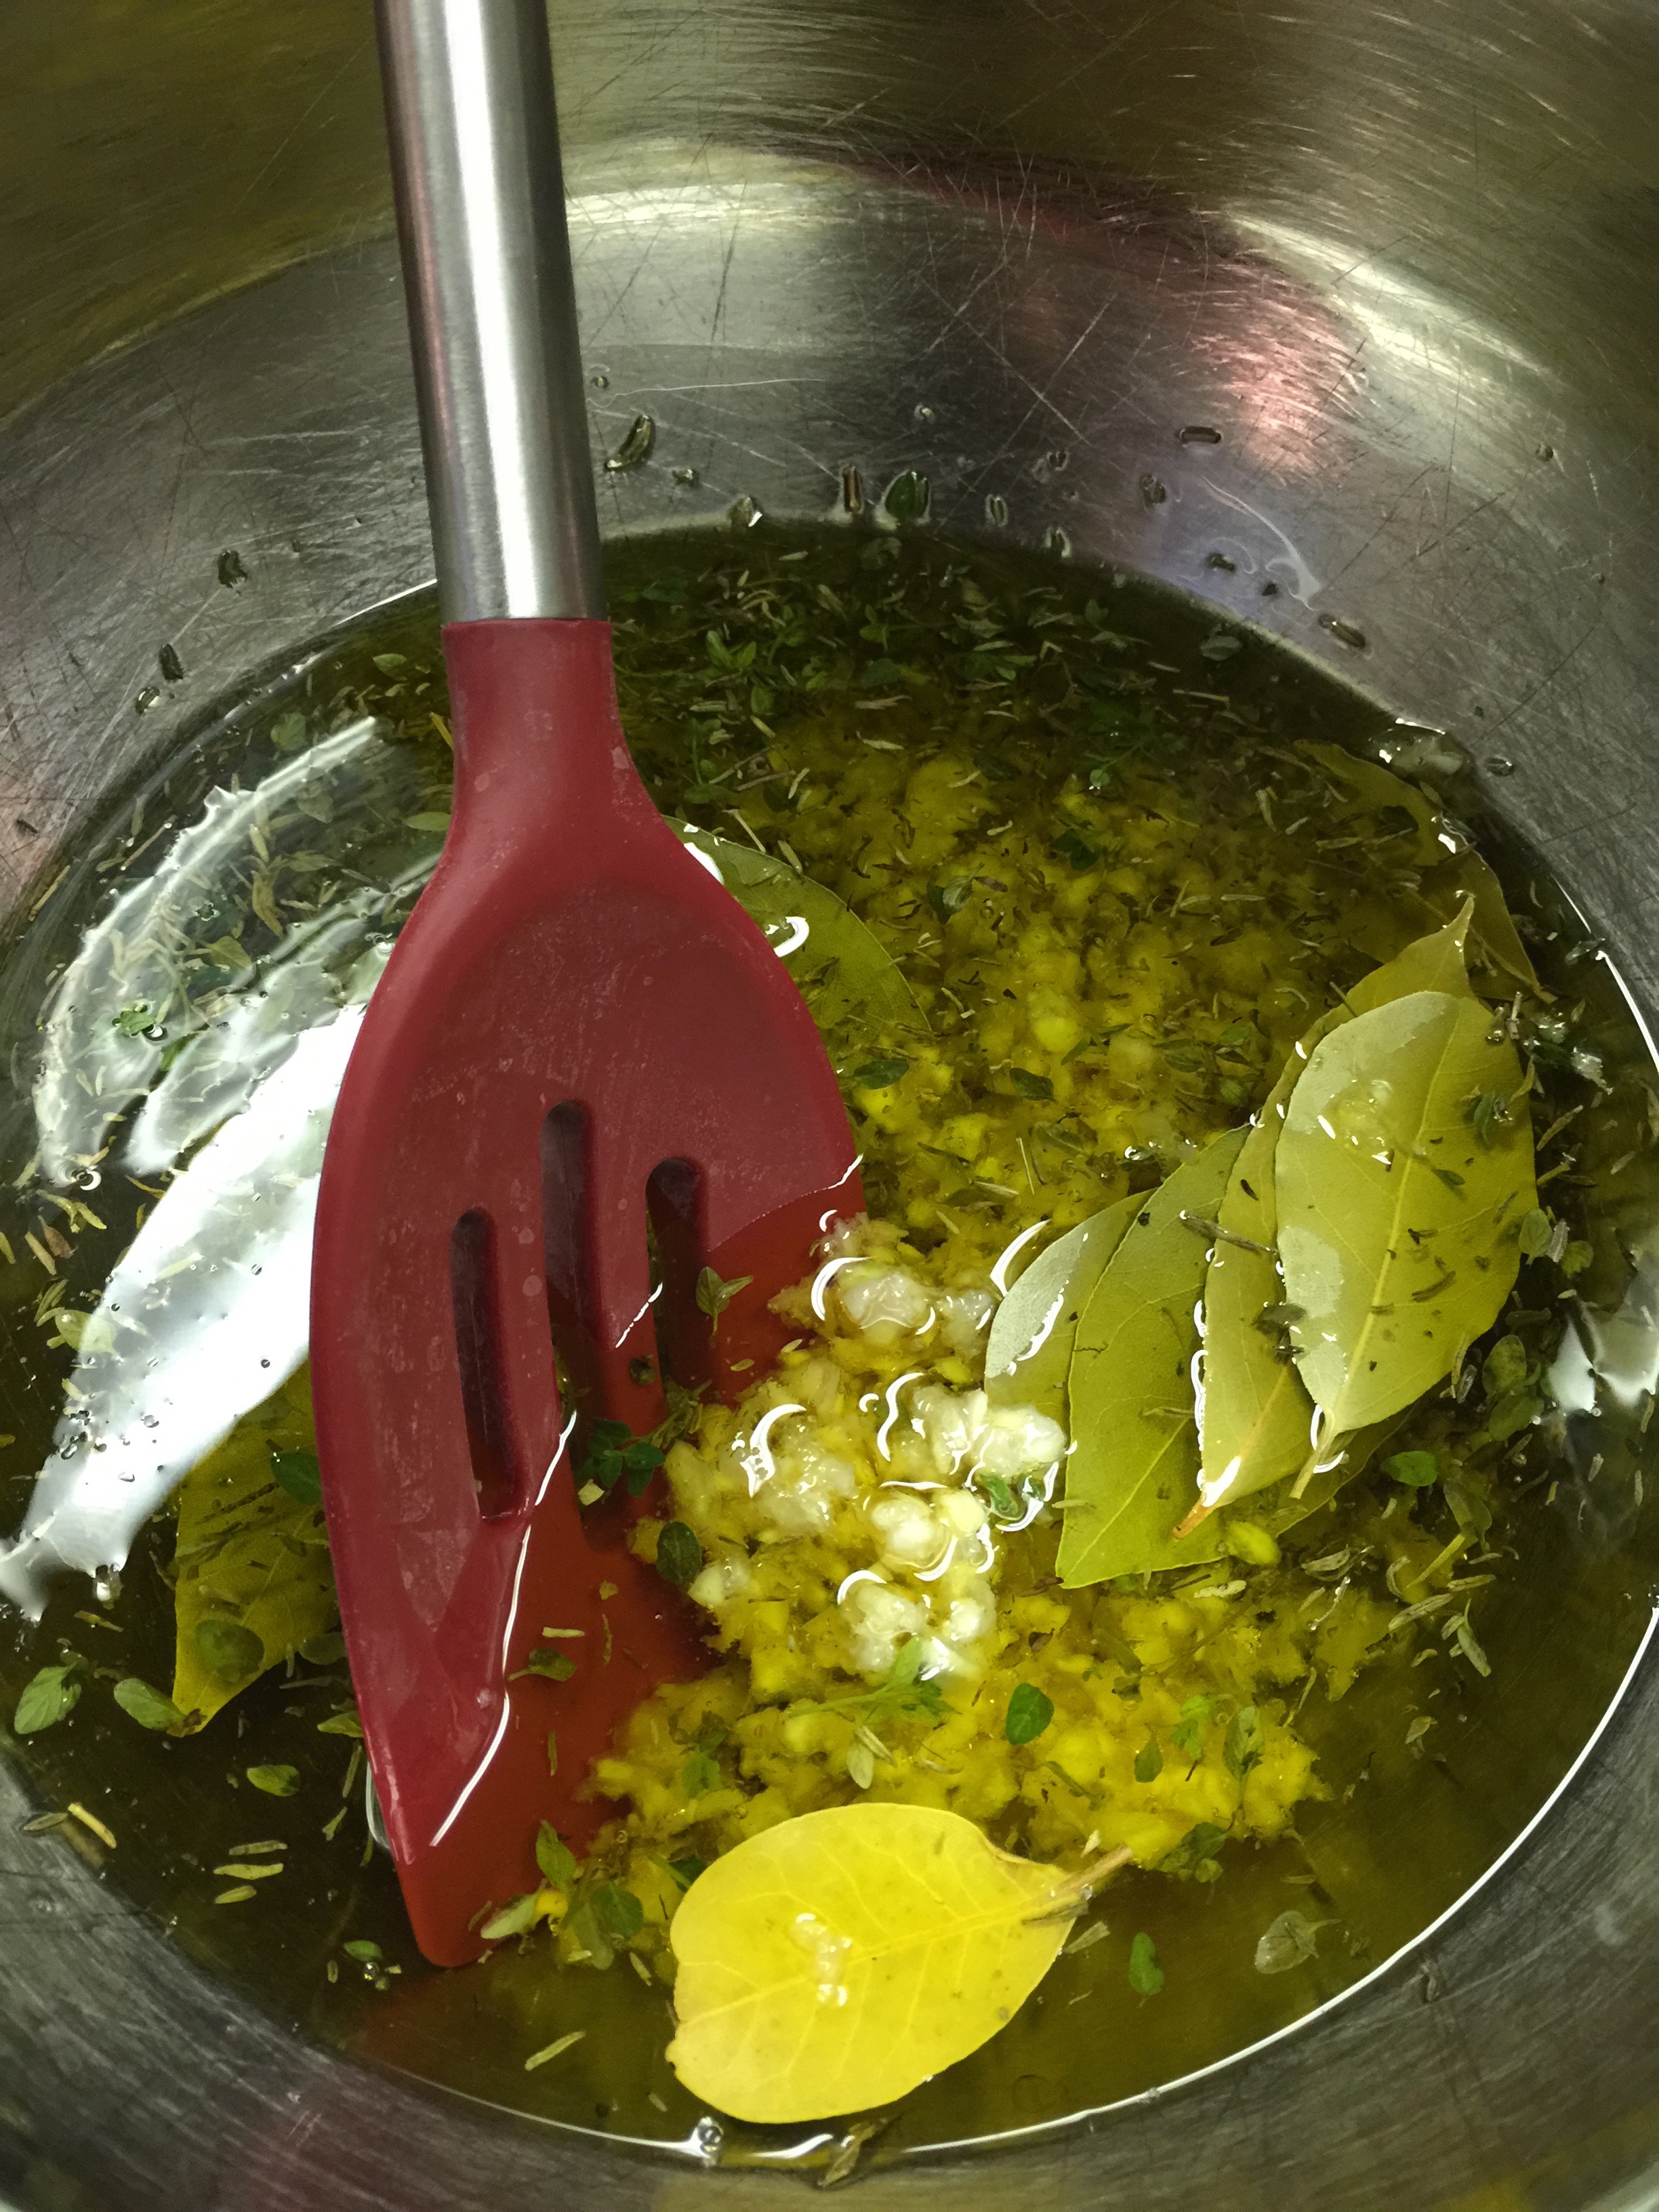
Using an immersion blender, puree the soup until it is light and creamy.  It should start to resemble clam chowder now.  I love my Cuisinart Immersion Blender!


IMG_5176


Now, just add the clams, the rest of your leeks and bacon, butter, salt, pepper, and parsley.  Simmer for 20 minutes.  You can always add cream, or more butter, salt and pepper to taste.  At this point, you can turn off the heat and save it for later or serve piping hot with a little cheese on top if you like.

Enjoy!


A New Twist on the Breakfast Casserole

Unknown

Today is Grandparent’s Day at my children’s school, which means a rushed morning so we make sure to have a parking space.  It is a day for a breakfast casserole to throw in the oven so I have time to get dressed myself!

I was preparing last night…I went to the fridge to get my ingredients, and of course the breakfast sausage that I had checked for before grocery shopping earlier in the day turned out to be expired!  Now what to do?  I definitely needed a meat to throw in with the eggs, and was DEFINITELY not going to the grocery store with three children at 5:00 PM.  Soooo….we are improvising!  We all love beef bar-b-que sausage which I had purchased to throw in some spaghetti sauce to serve over zucchini noodles, so what about that?  It was fresh, ready to go, and how yummy in eggs!

I did change up the recipe a tad to account for the extra grease from the sausage so here you go:


Bar-B-Que Beef Sausage Breakfast Casserole

1 3/4 pound Beef Sausage

10 eggs

2 cups grated sharp cheddar cheese

3 1/2 cups heavy cream

2 tsp ground mustartd

1 tsp salt

fresh ground pepper


Steps:

Cut and brown your sausage in a pan.

IMG_4994

IMG_4997

IMG_4999

Spray your pyrex or ceramic baking dish with coconut oil or butter.  I like this one from Trader Joes.

IMG_4998

Add your sausage to your greased dish.  It should line the bottom of the dish.

IMG_5001

Sprinkle your grated cheese over your sausage.  I did the grating the old fashioned way for this one.  My kids love to serve themselves slices of this cheese while we have it out in the kitchen.


IMG_4995 (1)

IMG_5002

Whisk your eggs, cream, and spices together.

IMG_4996 IMG_5003 IMG_5004 (1) IMG_5005 IMG_5008 IMG_5006

Once your ingredients are thoroughly mixed, pour this over your sausage and cheese.

IMG_5007

Place saran over your unbaked casserole and let it set overnight.  Bake this for 1 hour 15 minutes in a 350 degree oven or until it is set in the center.  You don’t want any jiggling.

Happy Friday, Y’all!


Here is the outcome:

No complaints about breakfast this morning!

IMG_5010


Topped with sour cream and homemade salsa:


IMG_5011


Every bite was devoured!


IMG_5013


Enjoy!


Southern Comfort Food – Keto Style!

I am trying to pretend that it is fall here in San Antonio!  Sure doesn’t feel like it, but I heard a rumor that it might be coming soon :).

fall-festival-clipart-fall-festival-clip-art2-300x214

With fall approaching, we start to crave more comfort foods and home cooking.  I’m not sure there is anything more comforting in cooler weather than some good ol’ southern cooking.  The trick is trying to create southern comfort food lower on the carb scale.

While at Costco last week, I noticed that they had some huge, delicious, bone-in pork chops on sale.  I bought them, put them in the fridge, and then began to wonder what on earth I was going to do with all these beauties.

Driving around, looking at all the fall wreathes on doors and pumpkins on stoops really made me want to try something southern good!

images
I searched, tweaked, and nailed it – gravy and all!

I just had to share so you can plan for this cooler weather we are rumored to have soon.

Best of all, I cooked this entire meal on my kids crazy sports day because it can all be prepared ahead!


Slow-Cooker Pork Chops with Herbed Gravy

3-4 pounds bone-in pork chops (6 chops)

1/2 cup butter

1 white onion

6-8 cloves garlic

1 tsp dried thyme

1 tsp ground mustard

Salt and Pepper to taste

1/2 cup fresh Italian parsley

2 cups chicken broth

1/2 cup bacon drippings

1 pound mushrooms, sliced

Sauce:

1 1/2 cup cream

3 tsp xantham gum

1/2 – 3/4 cup fresh basil chopped


Instructions:

Lay out your pork chops and coat each side with salt, pepper, thyme and ground mustard.  Be generous with your seasoning.

Chop onion and mince your garlic.

IMG_4749 IMG_4750

Saute your onion and garlic in the butter until softened.

IMG_4751

Press softened veggies to the side and add your seasoned pork chops.  Brown slightly on each side over medium heat. (2-3 minutes per side)

IMG_4752 IMG_4754

Pour everything from your pan into your crockpot.  Then add chicken broth and bacon drippings.

IMG_4756 IMG_4757

Add your parsley and mushrooms last, cover, and cook on low 6 to 8 hours.

When you are almost ready to serve, remove the pork chops and cover to keep warm while you make your gravy – YUM!

IMG_4763

These were so tender, they fell off the bone!

For the gravy:

Turn your crockpot up to high.  Add your cream and basil.  Stir with a whisk.  Very carefully, lightly sprinkle the xantham gum over the top while whisking quickly.  This has to be added very carefully with a fine sprinkle or it will clump similarly to corn starch.

Continue to whisk and you will see it thicken – be patient, it will take about 5 minutes.

IMG_4761

We served this wonderful mushroom herbed gravy over the pork chops which we placed on a bed of garlic cauliflower mashers with a side of okra.  It was a huge hit with the entire family just in time for fall!

IMG_4760


Enjoy – and Happy Fall, Y’all!!!


Some Angel Cake for My Angel!

Our little angel (youngest child and only girl – say some prayers) just celebrated her fifth birthday.  She was counting down the months until her birthday…”I’m four and 8/12, I/m four and 11/12).  You get the picture.

17283867-Birthday-cake-Stock-Vector-happy

When her week finally rolled around, I asked her what kind of cake she wanted for her birthday.  You may remember, I was quite the baker before my Keto days, so birthday time is always fun!  In actuality, Keto baking is just as fun as regular baking once you get the hang of it.  For birthdays, I let the children choose what ever they like for their one special day of the year.  Keto or not!  Low and behold, she said she wanted Angel Cake, which to the rest of us is Angel Food Cake.  I was ecstatic!  This is one recipe for dessert where Keto style tastes just like the real thing.  In fact, my parents had no idea that it was sugar and grain free!  That is the ultimate test in my opinion.  It is also a great dessert for warm weather because it is quite refreshing.  Even though it is September, in South Texas, it feels like July!

Save this cake for a day when you have time, because just like any other Angel Food Cake, the whipping of the egg whites is time consuming.  This is not a difficult cake, but it is a little different from typical baking and patience is a must.


Keto Angel Cake

(Carolyn Style)

Ingredients:

IMG_4363

Yes, this is correct!  It is much different from traditional cake.

Start with 12 very cold egg whites or the equivalent of such (like I did) which is about 3 cups.

I Cup Jay Robb Protein Powder (Vanilla or Strawberry)

1 1/3 Cup Swerve Confectioners

1 1/2 tsp cream of tartar

1/2 tsp salt

1 TBSP fresh lemon juice

1 tsp vanilla (or lemon, strawberry or flavor of your choice)

Directions:

1. Preheat your oven to 350 degrees.

2. Sift your Protein Powder and Swerve Confectioners together 2 times.  Set aside.

IMG_4365

3. In a large, very clean, cold bowl (Preferably a Kitchen Aid mixer bowl) whip your egg whites, cream of tarter and salt.  Beat on medium-high to high speed until stiff.  Once fairly stiff, add your lemon juice and flavoring.  Continue mixing.

IMG_4366

I didn’t time this, but it was at least 15 to 20 minutes of whipping.  Just let it go.  You should be able to turn the bowl over without the egg whites moving.

IMG_4367

IMG_4369


4.  Remove the egg white mixture from the stand and slowly and carefully FOLD in your protein powder mixture.  Gently fold until completely combined.

IMG_4370IMG_4374

5.  After all of your ingredients are mixed, pour into your angel food tube pan – DO NOT GREASE the pan!!!  This is super important and you will see why!  If you don’t have one, make sure you purchase one with a removable bottom.  It should be a two piece pan.  This was my grandmother’s pan, and all of the old ones are like this, but you have to look on the new ones.


IMG_4376


6.  Place in your oven and watch.  I had to turn my heat down to 325 degrees because it was getting too brown.  It needs to cook for a good 55 minutes so if it is getting too brown after 25 or 30 make sure you turn down your heat.  I did another cake afterwards and turned the dial down to about 335 degrees after I placed it in the oven, and it was about right.

7.  Now you will see the “why”.  When the cake is super fluffy, high and browned, remove it from the oven, and immediately invert onto a bottle at room temperature. This will keep the cake from sinking.

IMG_4377 IMG_4379

8.  This is why you don’t grease the cake!!!!  Otherwise it would be on the counter.  Let it cool completely like this.

9.  After it is cooled, use a sharp knife to go around the edges, and then push the bottom out of the pan.  Place on a cake stand, and it is ready to serve with whipping cream and berries.

I also made a prettier one that I iced with whipping cream and arranged berries on top.  My kids like it this way frozen.  You can do it either way.

IMG_4403

You can see in the above picture; I removed the super brown top which basically popped right off.

IMG_4408

This one above is actually frozen – berries and all!

IMG_4428 (1) IMG_4430


That was one happy birthday girl and every bite devoured!

All the whipping in this recipe can be time consuming, but it is so rewarding!  Don’t give up, and enjoy every bite!


Miss Cereal? Try This…

Back to School

The school year is off to a start, and Labor Day is here, which means the official end of summer.  There are both cheers and boos, pros and cons.

One of the biggest cons is that, all to familiar, morning rush once again.  The days of cereal boxes and skim milk are long gone for many of us.  If you have heard us speak in a group, you are familiar with our “Trifecta of Sugar” lecture.

cereal bowl

cheeriosA typical morning breakfast cereal topped with fruit has the glucose from the cereal, lactose from the milk and fructose from your fruit.  Bad, bad and more bad leading to a day of cravings and carb loading, no doubt.  If you start your day with carbs and sugar, you will crave more carbs and sugar as you go through your day, leading to that downward spiral as the day moves on.

how-to-stop-sugar-cravingsWhat else can you have for breakfast on those busy mornings when you don’t have time to scramble, fry or poach?  Try faux “cereal”!  We have tried it, the kids have tried it, and it is family approved.  The best part – you can make it ahead and seal it in an air-tight container in the refrigerator.  It is ready to go for a breakfast in a hurry!  Top with some heavy cream, and you are set for half the day if you eat it along side your bulletproof coffee to tea.

It is super simple to make, and you can really make it your own just by adding your favorite low-carb ingredients.  Try a little, and let us know what you think!


Faux Cereal

Your ingredients and portions can vary.  Mix it to your liking.

1 cup unsweetened flaked coconut, toasted

1/2 cup chopped macadamia nuts

1/2 cup chopped pecans

3/4 cup chopped walnuts

1/4 cup finely chopped almonds

2 Tbsp Kerrygold

1 Tbsp Swerve

1/2 tsp cinnamon

1/4 tsp Celtic salt

Directions:

Toast your coconut flakes, watching carefully so not to brown to deeply.

Chop all your nuts finely and lightly toast.

IMG_3765 (1)

Melt the Kerrygold in a cast iron skillet.

IMG_3767 (1)

Toss your nuts in the melted butter, and sauté until fragrant.  Add your toasted coconut, Swerve and seasonings.  Toss all your ingredients in the butter until everything is mixed and coated.


IMG_3769 (3) IMG_3768 IMG_3766 (1)


Allow it to cool and then store in an airtight container until ready to serve.

This can be served as a dessert over whipping cream or for a breakfast cereal with cream.

IMG_3803 IMG_3804

Enjoy!


A Dip to Rival Hidden Valley Ranch

ranch image

Well, by now, if you have been following us, you know how we feel about artificial sweeteners and those other sneaky names used so you won’t know that sugar is in the ingredient list.

Believe it or not, those sneaky names are in the fine print of many pantry items you never would have imagined.  For instance, my family used to love it when I mixed in the little seasoning packet of Hidden Valley Ranch Dip and Dressing mix with sour cream for a yummy dip to serve with vegetables.  One of the main ingredients I discovered, as soon as I went Keto and started looking at the back of packages, is Maltodextrin.

hidden valley

A little about Maltodextrin: It is a food additive derived from corn, rice, potatoes, or wheat and therefore a carbohydrate.  It ranks higher than table sugar on the glycemic index – 106 to 136 depending on the derived source and is in a TON of packaged foods!  This means that it will spike your blood sugar levels so beware and read those labels.

It became a mission of mine and that of a few of our followers to find a better way to make ranch dressing and dip.  One of the best parts of Keto is freeing yourself from all of those tasteless, chemical ridden low-fat salad dressings!  You actually get to eat the real thing as long as it is real food.  The Maltodextrin kind of ruined that for us though.  Thanks to one of my friends and fellow ketoers, Kelley, we have found the solution!  This may be even better than Hidden Valley Ranch, and it is a seasoning blend that can be used in other sauces or dressings as well.  I did some minor tweaking, and we all think it is delicious.  We hope you enjoy!

Ranch Dip Picture

Ranch Dressing Seasoning

1 1/4 tsp Celtic sea salt

1/2 tsp black pepper

1 TBSP Onion Powder

1 tsp garlic powder

1 TBSP dried parsley

1/4 tsp celery seed

1/2 tsp dried dill weed (with a little extra for garnish)

1/2 tsp dried mustard seed

To mix into a dressing or dip, the possibilities are endless.

For a dip, I use the traditional 1 cup mayonnaise and 1 cup sour cream.

If you want to make it into a dressing, you can put all of the above ingredients into a blender and add some half and half or cream to liquify it slightly.

Modifications you can make are to add some fresh parsley instead of the dry, add some cilantro to the dressing, or even spice it up with some jalapeños or your favorite peppers.  This is super easy if you use the blender!  The possibilities for making this your own are endless, nutritious, and beautifully Ketogenic! Have fun with it, and enjoy!

IMG_1694

These are Cindy’s boys!  This dip with mini peppers is one of their favorite after school snacks!


A Tasty Snack for All Occasions

Family gatherings are so fun, and a great way to pick up new recipes.  At every family event over at Erin’s house her mother would bring these amazing olives.  I finally asked for the recipe and have made them several times now.  Her mom gave us permission to use this recipe in our catalog of many.  They are a great Keto/Paleo appetizer or snack.  Everyone is always looking for snack ideas, and this is a great one you can leave out on the counter after school if you have olive eaters in the house!

IMG_3695

Marinated Olives

2 cans medium to large (not jumbo) black, green, or a mixture of olives (Drained)

2 tsp red wine vinegar

1/2 cup extra-virgin olive oil

8 cloves garlic, minced

2 tsp fresh thyme or 1 tsp dried

4 bay leaves

Directions:

Mix together your oil and vinegar.

IMG_3688

Mince or chop your garlic and thyme.  I really prefer the fresh thyme on these.

IMG_3689

IMG_3691


Add all your spices to your oil mixture and combine well.

IMG_3692


Drain and add your cans of olives.

IMG_3693

These are beautiful and yummy to serve.  The garlic gives them a nice kick.  Bring them to room temperature before serving.  You can also invert the jar occasionally to let the spices cover all the olives.

IMG_3695

We store these in a mason jar for a couple of weeks in the fridge if they last that long.


Makin’ Bacon!

Do you need a bunch of bacon? Or maybe just enough to feed the fam on a Saturday morning?


Have you thought about doing it the oven?

Image result for happy bacon

Here is a quick and easy way to get your bacon cooked, and you can do as much or as little as you would like. PLUS, you will also be able to get a good amount of bacon grease for any other dishes you may be working on later in the day.


Cookie Sheet Bacon

Preheat your oven to 375 degrees.

Line a cookie sheet with sides (jelly roll pan) with heavy duty aluminum foil.

Lay your bacon out without the sides touching.  I can usually get 10 to 12 pieces on a sheet.IMG_0777The cooking time really depends on how thick your bacon is, how you are going to use it, and how cooked you like it!  If you are going to keep cooking it in another dish, I do it par-baked which just means I remove it before it is thoroughly cooked through.

I use pretty thick bacon and usually cook it about 20 minutes.  For thinner bacon, start checking it at about 12 to 14 minutes.

This is about 20 minutes for thick bacon:
IMG_0782

Remove your bacon to a paper towel lined plate to drain and crisp.

Do not discard your drippings.  I almost always try to make a dish using the bacon drippings the day I make bacon such as the Bacon Brussels or Bacon Green Beans.  If I am not cooking a dish, I save the drippings in a mason jar.  (Yes, just like Grandma used to save hers!)  Make sure you strain the bits out if you are using a jar – I use bits and all when preparing a dish the same night.

I reuse the tray over and over until I have enough bacon (and drippings) for my immediate and future bacon needs!  Then, when you are finished, drain your drippings and toss the foil!

IMG_0783


A Decadent Dessert in Under 30 Minutes

Erin and I were able to take part in a fun party that a friend of mine hosted for about 20 friends.  She hired us to come in and talk about the benefits of Keto, the difference it has made in our lives, and how we cook.  After our talk, we prepared a complete Keto meal for the whole group.  It was a lively discussion filled with great questions and some new foods for most.  I always wait for the reaction after dessert.  It amazes people that we can make such decadent desserts without sugar.  One of the desserts we made was a rich chocolate tart that I have slightly modified from the brilliant Dr. William Davis’ book, Wheat Belly 30-Minute (Or Less) Cookbook.  If you don’t already have it, we do recommend it, and it is available for purchase in our Amazon store.

I made two tarts, one primarily the way it is in the cookbook with a coconut crust.  In my opinion, the natural taste and texture of the coconut helps cut the bitterness of the dark unsweetened chocolate for a perfectly balanced dessert that is very satisfying.  The coconut also provides a nice sturdy crust for the dense chocolate.  I do understand that there are some that really don’t like the texture of coconut.  For those individuals, I made a regular almond flour crust.  Just know that you can always change out your crust in any recipe.

Rich Coconut – Chocolate Tart

Preheat oven to 350 degrees and grease a 9 inch pie plate.

Gather your ingredients:

IMG_3698

Crust:

2 cups unsweetened coconut

3 Tbsp almond flour

3 Tbsp Swerve granular

3 Tbsp melted butter

Combine all of the above ingredients.  I use my hands to combine and then press into your greased pie plate.

Bake at 350 degrees for 10 minutes.

Let it cool while you prepare your filling.

IMG_3699

Filling:

14 ounces of canned full-fat organic coconut milk

8 ounces of 100% Cocoa (Unsweetened) Chocolate

1 tsp of vanilla extract OR 1/2 tsp vanilla extract and 1/4 tsp almond extract

1/2 cup Swerve Confectioners

In a saucepan, over medium heat, heat the coconut milk just until bubble form.

IMG_3705


Add the chocolate that you have chopped to the pan.

IMG_3703

IMG_3704

IMG_3706

It will look like the above until it begins to melt, and then it will look beautiful.  Once melted, remove from the heat and add the Swerve and Vanilla or other extracts.

IMG_3707

IMG_3708


Whisk all your ingredients together and then pour in your crust of choice.

IMG_3709

Place your pie in the refrigerator for at least 2 hours.  You can do it overnight which is great when preparing for a party or event.

IMG_3713

This is your finished product!  To add even more to the richness, add a dollop of whipped cream to the top and you are really set!  Cut with a sharp knife and enjoy.


A Natural Way to Settle a Tummy

We have all been there – you know you’re not sick but your stomach is just… off.

Image result for feeling unwell stomach

I remember when growing up, the go-to would be 7-Up. Not exactly Keto Friendly.


There are a TON of medicinal remedies, and back before being diagnosed with the Big C, I would have reached for the “pink stuff.” But these days I’m trying to be nicer to my insides and make healthier and more natural choices.

Today has been one of those days, and I have been sipping on Ginger Tea. There are MANY varieties that can be found in the coffee and tea aisle, but it is also incredibly easy to make at home.


What you need for a single serving of super simple Ginger Tea:

  • 1 12 cups boiling water
  • 1 12 teaspoons freshly grated or sliced ginger root

Boil your water, add the grated ginger, and let it steep for roughly 10 minutes.

Strain out the ginger, and you are ready to sip!Image result for ginger tea  images


**This is a starting point – adjust the amount of ginger to your taste.


Ginger is great for you, and while for some it can be an acquired taste, it’s ability to settle a tummy is amazing. I absolutely loved ginger ale, but once I cut out sugar, it had to go.


The source of my recent onset of nausea is related to my radiation treatment. I was told that due to the location of the radiated tumor I would likely experience nausea and vertigo. This is all new territory for me! I was extremely lucky to not experience morning sickness, but I have several friends who are dealing with not just morning but all day sickies. Y’all are troopers!! This is NO FUN!  The ginger tea is great for that too though.


I will post more about my treatment in the future. I have completed radiation but have several other balls still in the air about the next steps.


http://dailynaturalremedies.com/10-health-benefits-of-ginger/


« Older Entries Recent Entries »