That’s right! I said Ice Cream! Chocolate Ice Cream!
I’ve been experimenting all summer, and not only do I have a great recipe for you, but it is an excellent activity to keep the kiddos entertained at the same time (if you choose to do this method.)
The best part, other than the amazing taste, is the simplicity! Just a few simple, pure, ingredients that you probably have on hand, a little waiting time, and dessert is prepared! A creamy, delicious dessert that no one would ever guess is SUGAR FREE!
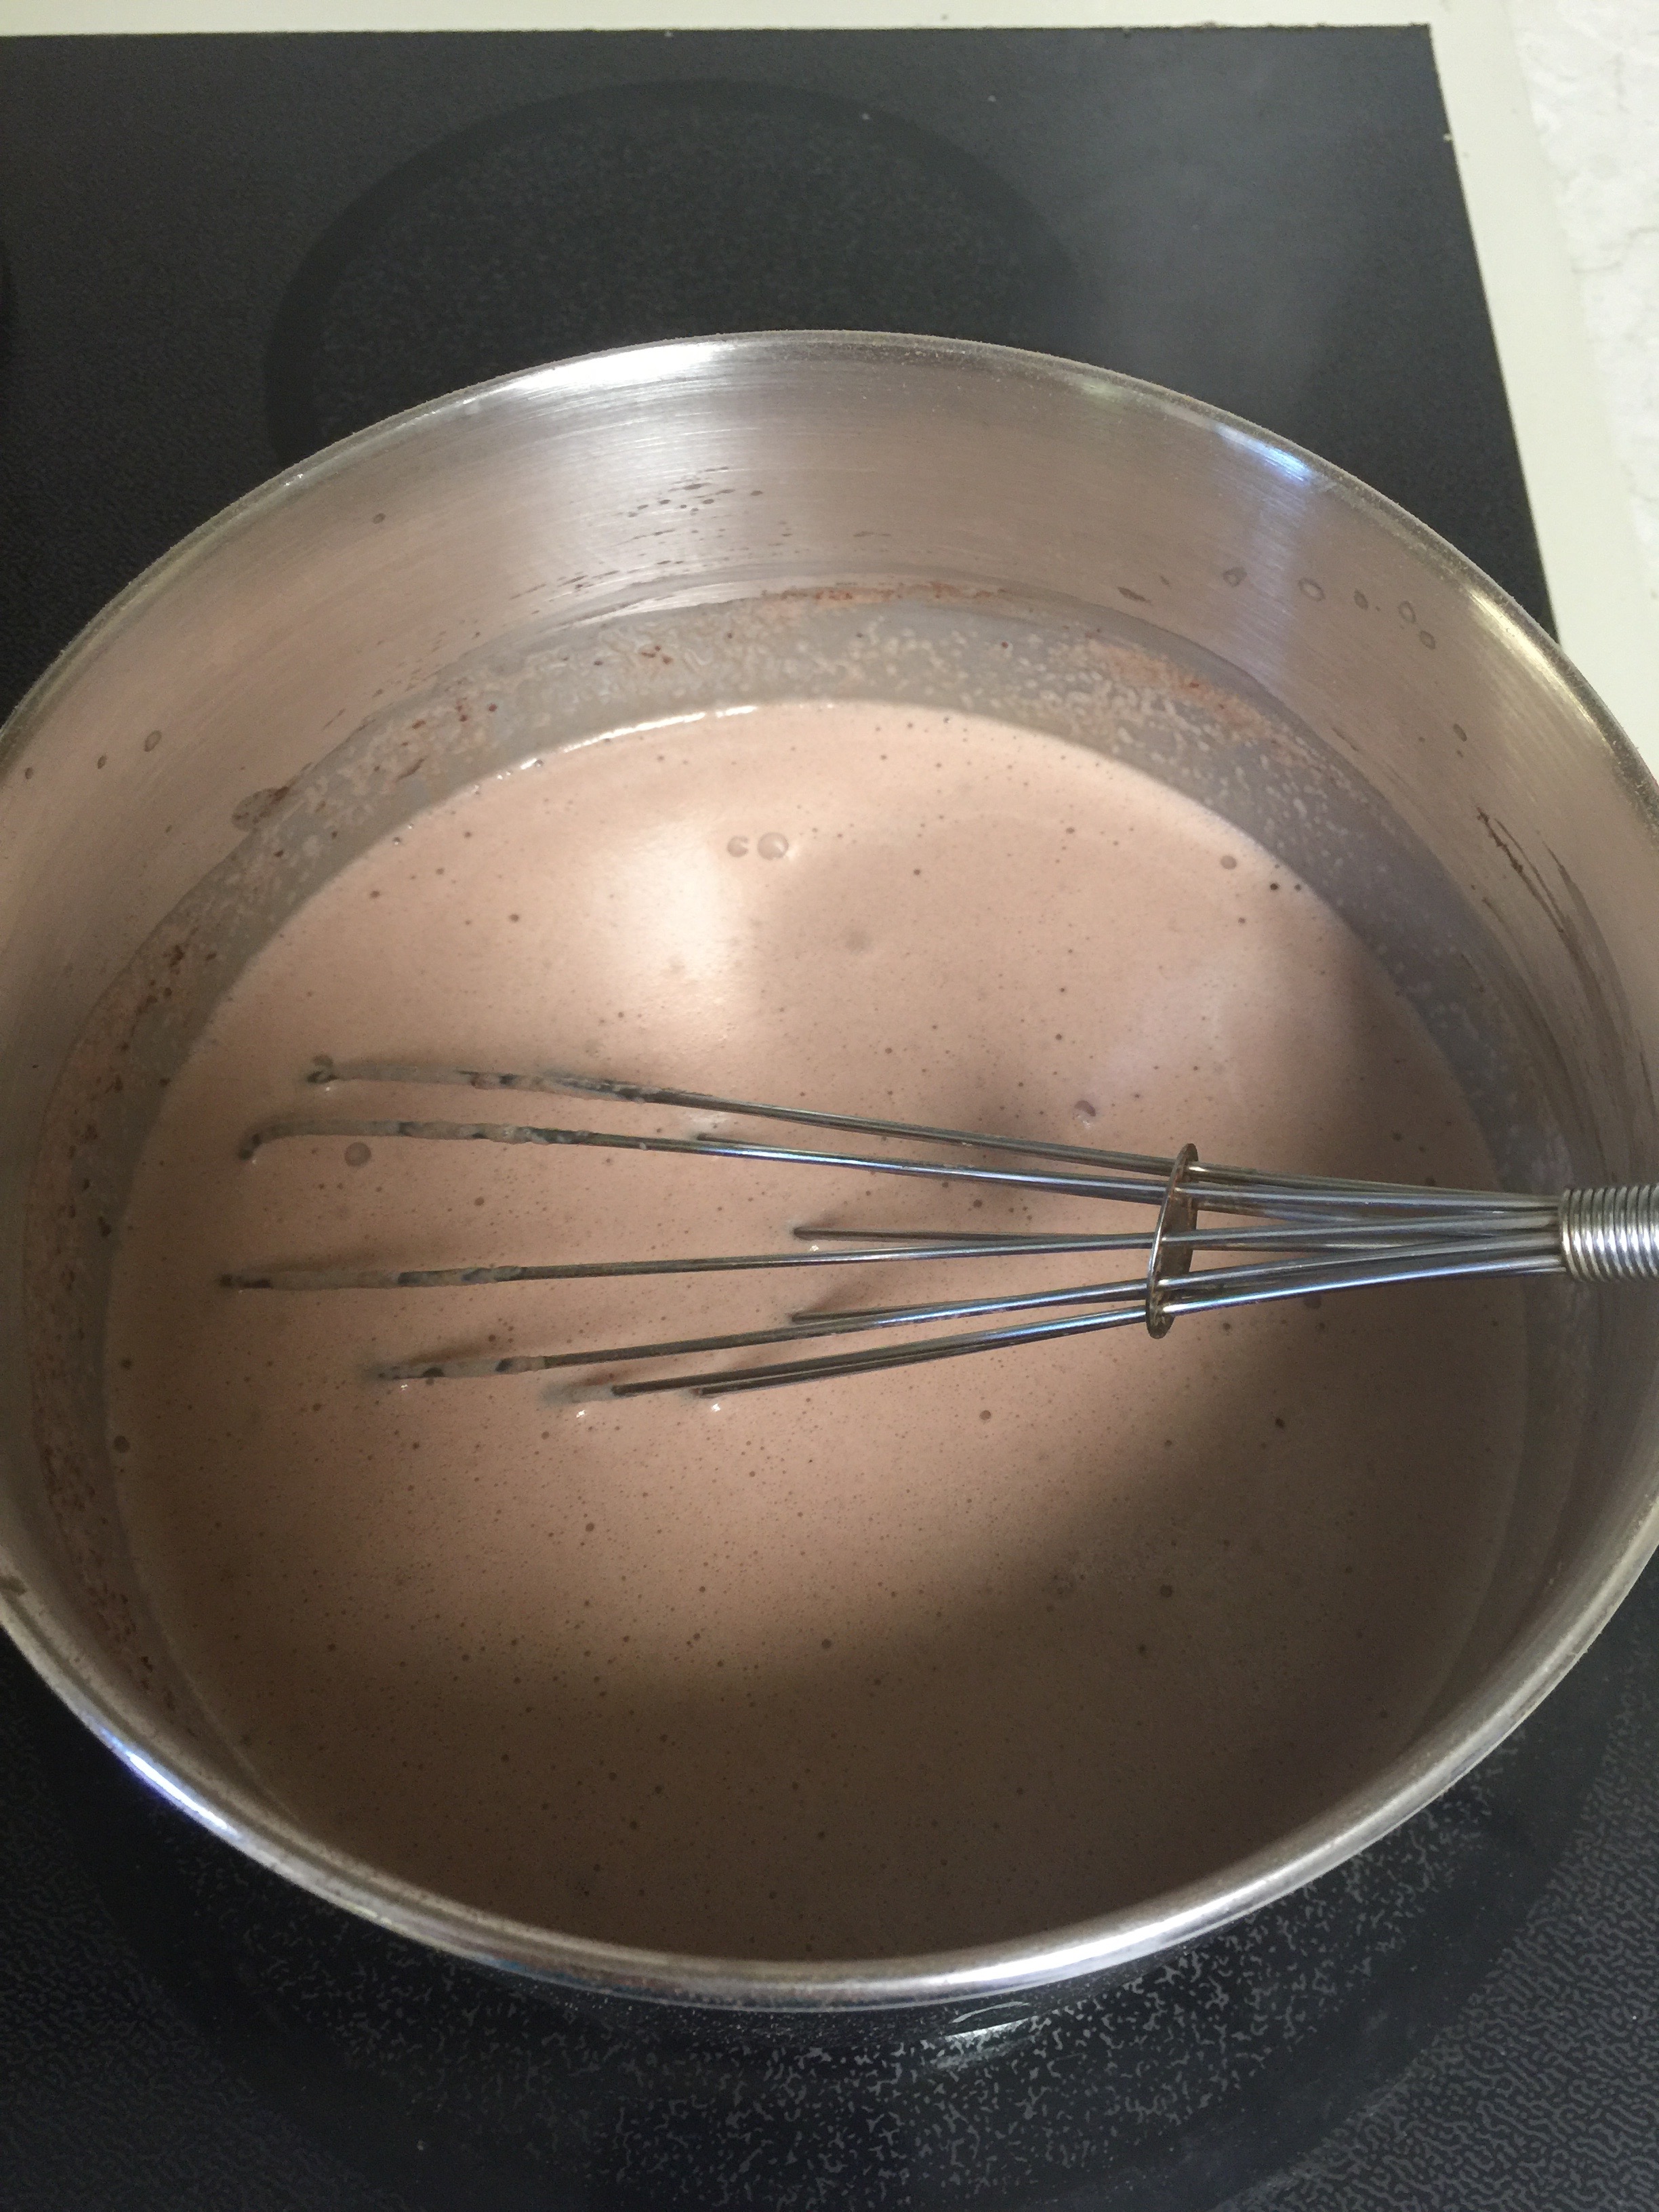
Whisk together cream, sweetener, and cocoa in a saucepan until it barely starts to simmer. Add vanilla and remove from heat.
Let it cool on the stovetop until the pan is not scalding. Place in the refrigerator to bring down to at least room temperature. (You don’t want to add the mixture to the ice cream maker or plastic bags at a high heat.)
Here are your options:
Kids version:
Pour 1/2 cup of mixture in a quart size Ziplock bag. Seal well! Place that bag in a gallon size ziplock filled with several cups of ice and 1/4 cup ice cream salt. Seal the gallon size bag. Hand it to your child with a dish towel and have them shake it until exhaustion or until the ice cream is the consistency of soft serve. Enjoy!
No mess version:
Pour your saucepan of cream mixture into an ice cream maker, turn on, and walk away. It should be nice and creamy in about 30 to 45 minutes! Enjoy.
I hope your family enjoys this as much as ours! Happy summer!!!
Last Sunday I sent my two oldest children off to camp in another state. They were super excited about their time at camp except for one thing…the food!
It is kind of funny that this was somewhat upsetting to them considering other children look forward to the pancakes at breakfast, chicken fried steak, and the candy store. Other children that go to this camp rave about the food, but mine, of course, were anxious. I have to admit, it makes me a little anxious too, but so proud of them at the same time for knowing that they understand the foods that fuel their bodies best. If you read my post recently about my children refusing the almond flour muffins it makes sense.
My oldest is definitely Keto-adapted. The other two have a way to go, but my middle child would be closer if not given outside choices. As parents, it is virtually impossible to keep our children healthy at all times. Erin and I have a 90/10 rule. If you are sugar-free and Keto-adapted 90% of the time, forgive yourself for the other 10%. Many times it can’t be helped if you are away from home also. If my children are 75%/25%, I am happy. I can’t control everything that happens at birthday parties, grandparent’s homes, and eating out with friends, nor do I try. Don’t get me wrong, I am a bit of a control freak, but I know a bad ending when I see it coming! The last thing we want to create is the forbidden fruit syndrome. They need to experience the difference in how food makes them feel to make them WANT to eat healthy. This takes time, just as it does for us. My goodness, it took me over 35 years to figure it out! Hopefully with our guidance it won’t take our children as long.
Once they figure out that carbs and sugar make them feel badly, it becomes much easier. That is, until camp time; or really anytime they are away from home for a prolonged period of time! I tried to counsel them about food choices before they left. I thought about requesting no sugar from the camp, but my husband talked me out of it saying this is their time to be kids. Again, the 75/25 for them, and he was right. My prayer is that they always make good choices, and just like most other bad choices, they will feel the consequences of them quickly if they decide to buy three candy bars and a gatorade at the camp store for snack. I have to admit, I am really curious to see how it goes. This is a lot of freedom for them.
The best advice I could give them was to remember the foods we eat at home and try to mimic them. If everything is fried or brown, go for the salad bar option and pile on the proteins and full-fat salad dressings to make sure you are energized. Instead of the cinnamon rolls and waffles at breakfast, remember how much better and energized you feel when you choose eggs and bacon for breakfast. They can skip the extra bread, have two patties instead of a bun, and go for extra veggies instead of the mashed potatoes. Pick the bag of nuts or sunflower seeds in the camp store instead of a candy bar or crackers. They know how food makes them feel now, so now is the time to put that into play. I think we all realize there will be days when there may not be a better choice, but that is okay too.
As many of us send our kids off for a few weeks, we pray for their safety, lasting friendships, spiritual growth, and growth as individuals. Encourage them to make good choices in all aspects of life including nutrition. Know, however, that if they can’t always make good healthy eating decisions, it is okay. The most important thing that you can do as a parent in teaching them, as in so many other aspects of life, is modeling. If you are making good eating choices in front of them, and cooking good healthy, low-sugar meals for them when they are sitting at YOUR table, you are making a world of difference in their futures. They will have those memories of dinnertime rituals at your table forever and carry those on to future generations. So set those examples at home, and with a little hope and a lot of prayer, let’s look forward to a future generation of very healthy eaters that can make great decisions on their own.
It’s the weekend, and what is better than taking a night off from the kitchen to have a wonderful meal out? For those of you not local to San Antonio, you will have to make the trip down here. We know many of our readers are local though, so we have some great tips you can try for an evening out!
The kids are off to camp this week so we decided to try some new restaurants we had heard about. We ventured out four nights this week which I think is a record! Of the four, two were very much post worthy.
The first one worth mention was Cured, which is located in the Pearl area near downtown San Antonio. I went with Erin and another Keto friend, Kelley, where we decided to get three different dishes and serve them family style.
We ordered a great variety.
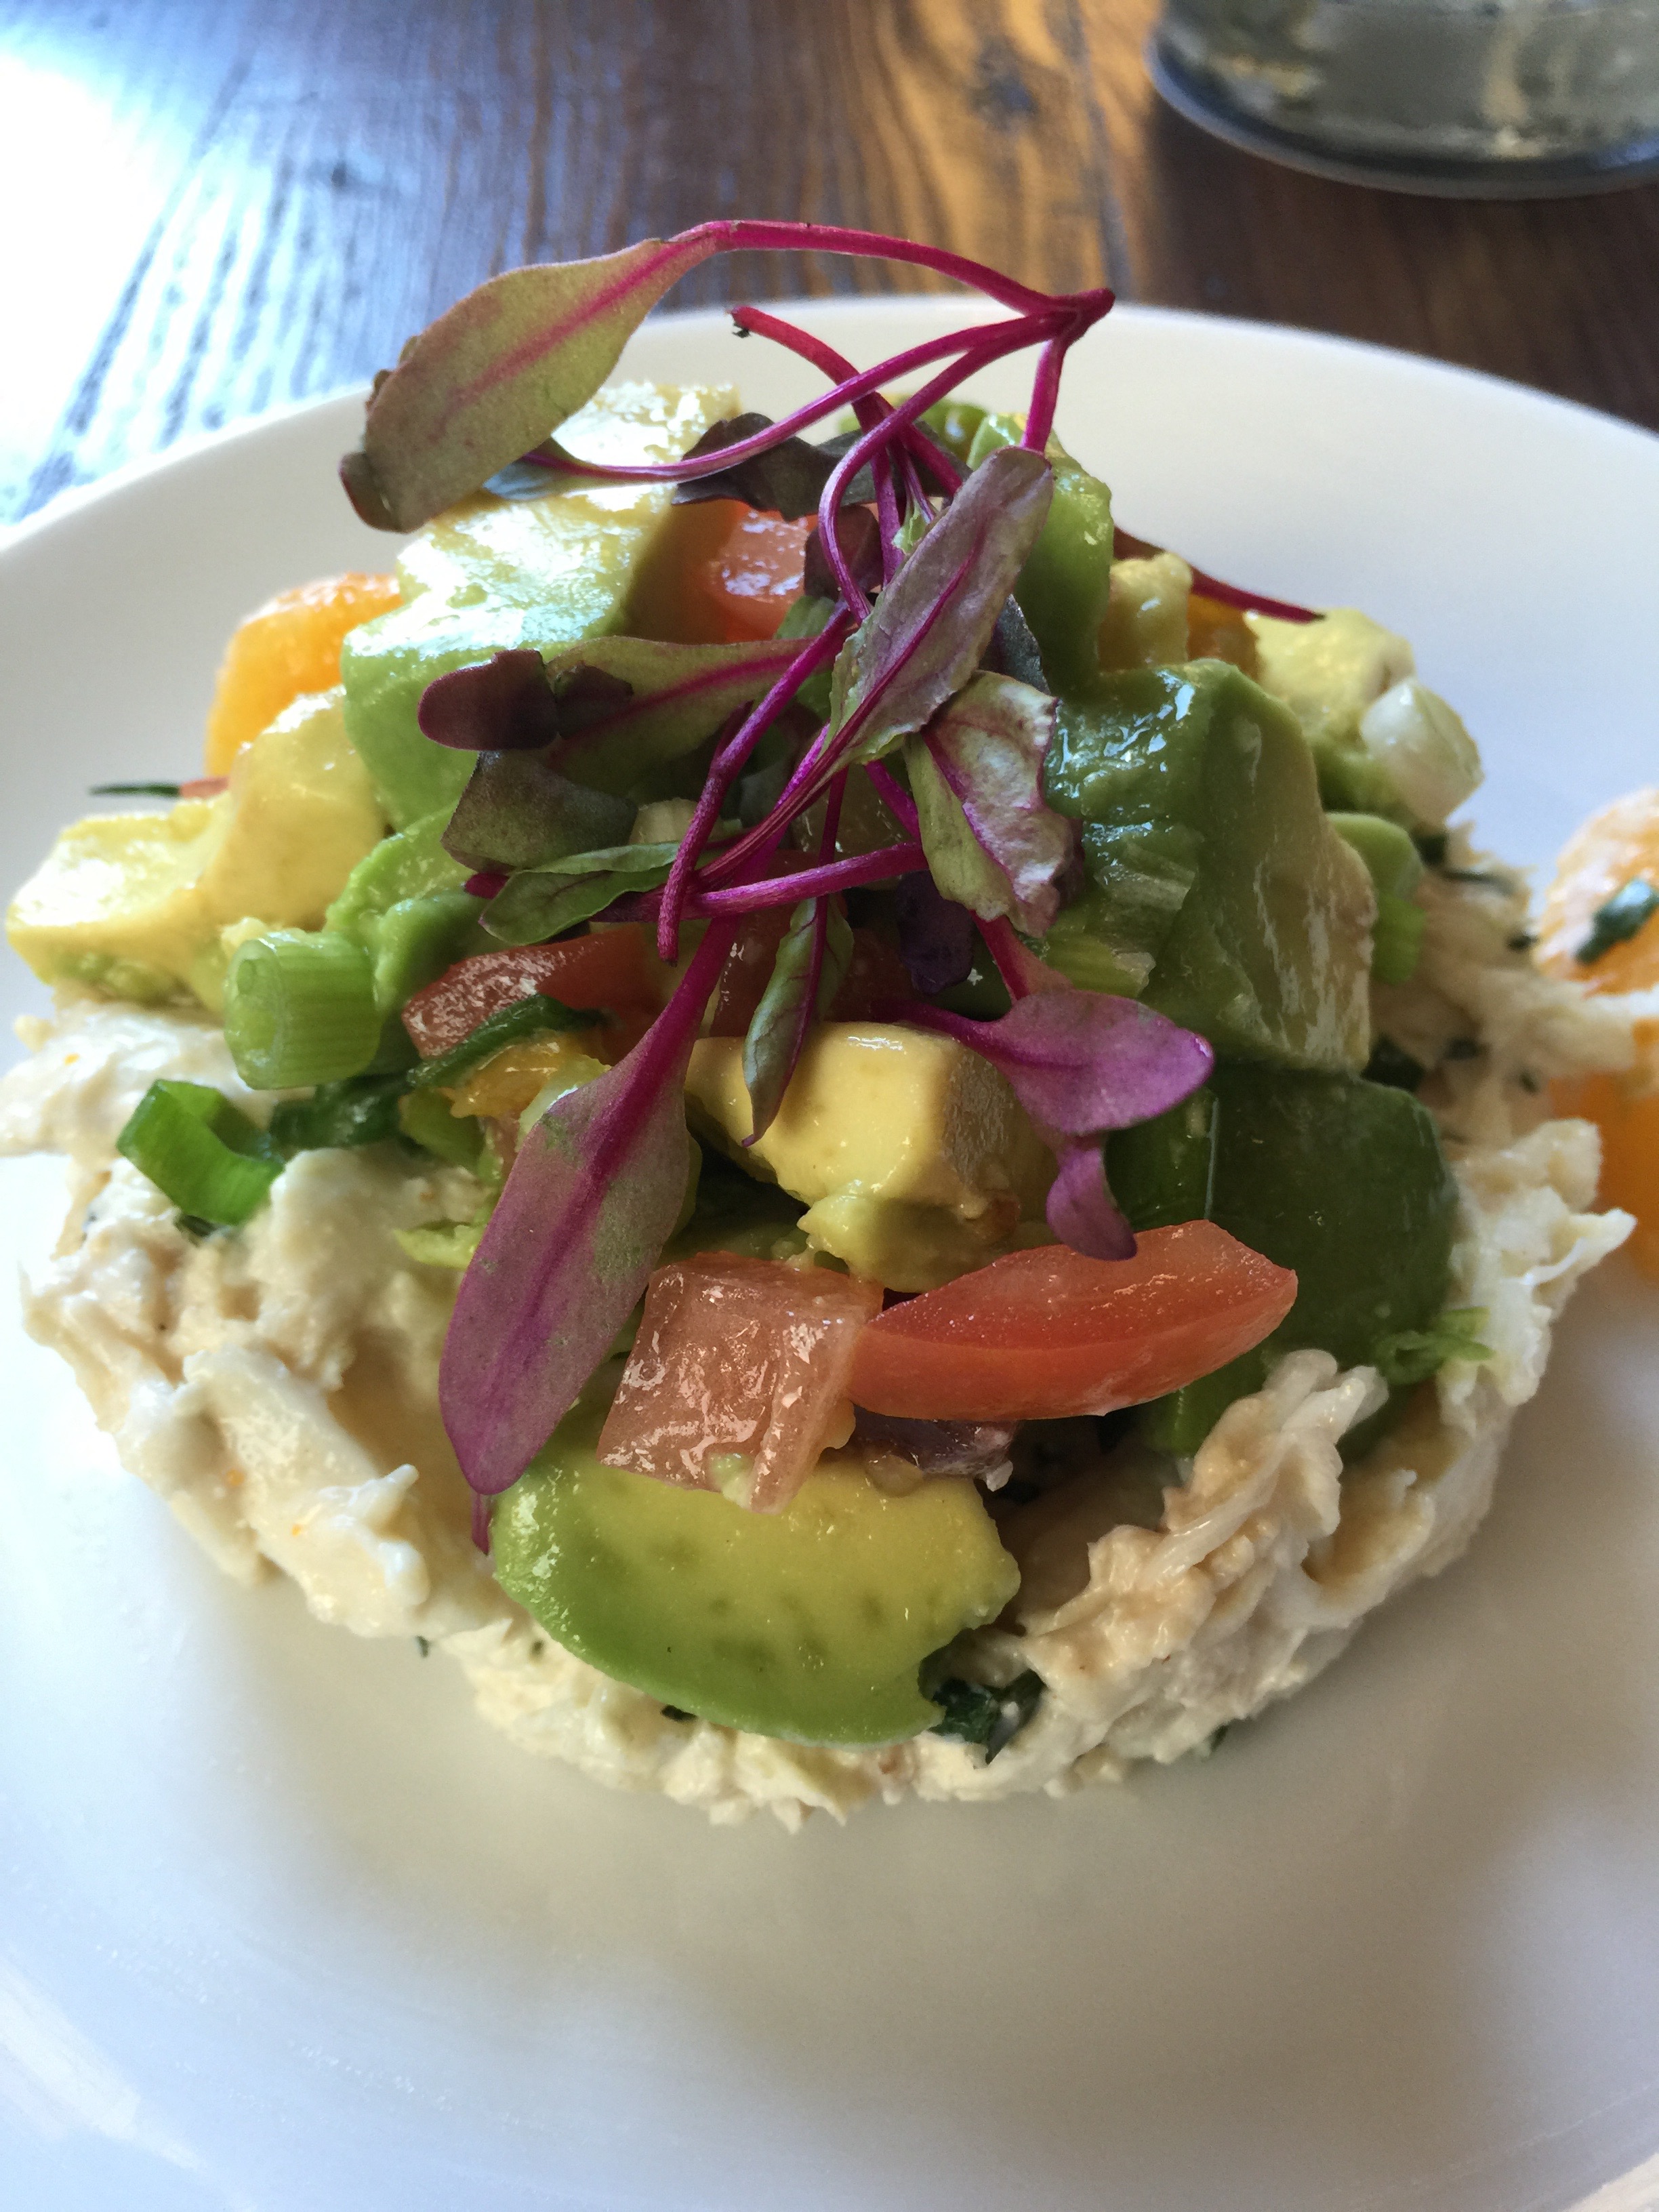
The first was the Crabmeat Ravigote:
It is basically lump crabmeat in a mayonnaise base topped with a ton of avocado and salad fixings. I asked them to leave off the beets. It was a delightful summer dish, not to mention beautiful!
The second was the Wagyu Brisket Sandwich:
Of course, without the bun! Another delicious dish. Look at the Herb Creme Fraiche and picked onions! And…the wonderful natural beef fat could only help to make it perfectly KETO!
The third dish was a hands down favorite with all three of us. Pork Cheeks Poutine:
I am still salivating over this one! I had never had pork cheeks or any kind of cheeks for that matter, but I guarantee I will have them again. They are melt in your mouth tender with wonderful flavor. They braise these and then slow cook them for hours. It was topped with gobs of flavorful cheddar cheese, pickled cauliflower, and we chose to add the fried egg. Can you say Keto, Keto, Keto! AMAZING!!! I can’t say it loudly enough!
Over all Cured got 5 Stars from all of us for food, atmosphere, staff, and Keto friendly!
The other restaurant we tried was The Cookhouse! This one is located off of St. Mary’s on Mistletoe in a cute little restored house. Make sure you have a reservation! We went on Tuesday night and the only reservation they had left was 6:00 pm. We probably watched them turn away 7 or 8 parties while we were there. Another advantage of this restaurant is their corking policy. You can bring your favorite wine to enjoy for a $20 corkage fee.
The Cookhouse is a New Orleans style restaurant so we were a little anxious going in because of all the heavy carb dishes usually associated with New Orleans. They could not have been more friendly about substitutions here even though they had a large party that evening. Everything is prepared fresh while you wait, and we were able to have a perfectly Keto Low-Carb meal.
We tried a lot of different dishes, and realized we ordered too much once the entrees arrived. They are massive so go hungry!
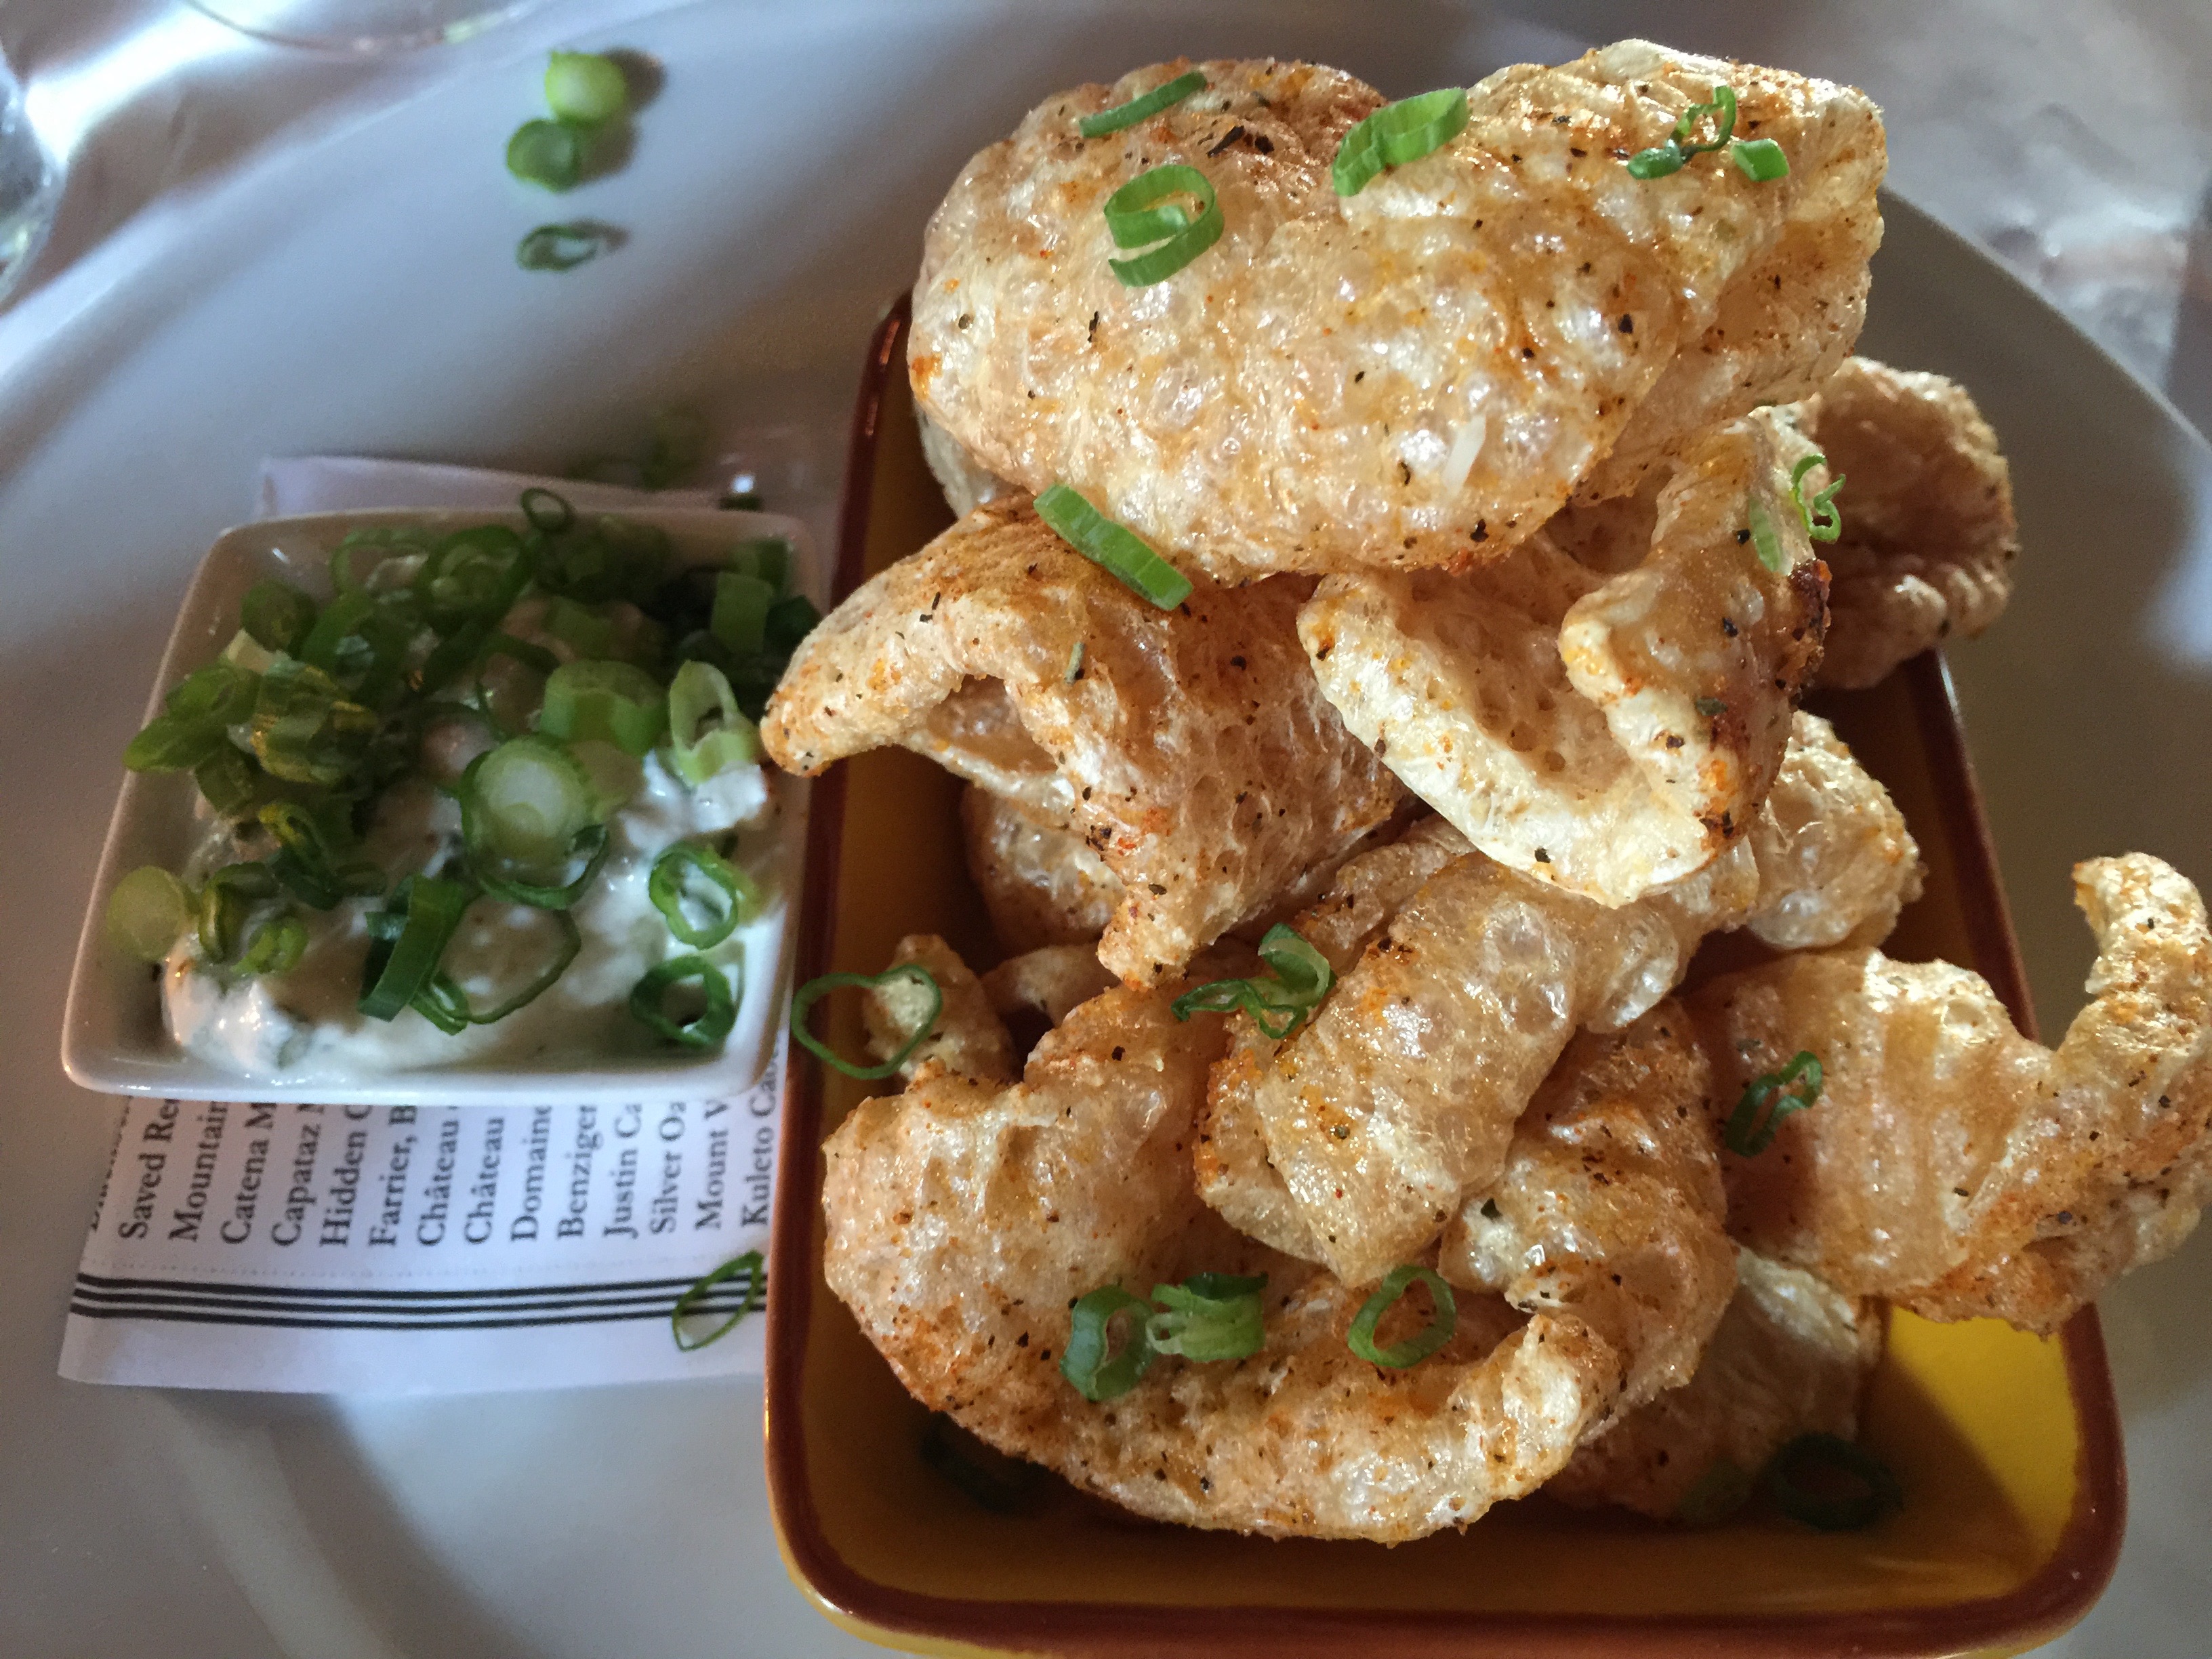
We started with the Shrimp Remoulade Salad and Pork Cracklins:
The Pork Cracklins are you guessed it, Pork Rinds served with an incredible cream cheese, sour cream and chive dip. These are a far cry from the pork rinds at the gas station!
Above is the Shrimp Remoulade Salad-A meal in itself but watch out for the fried green tomatoes.
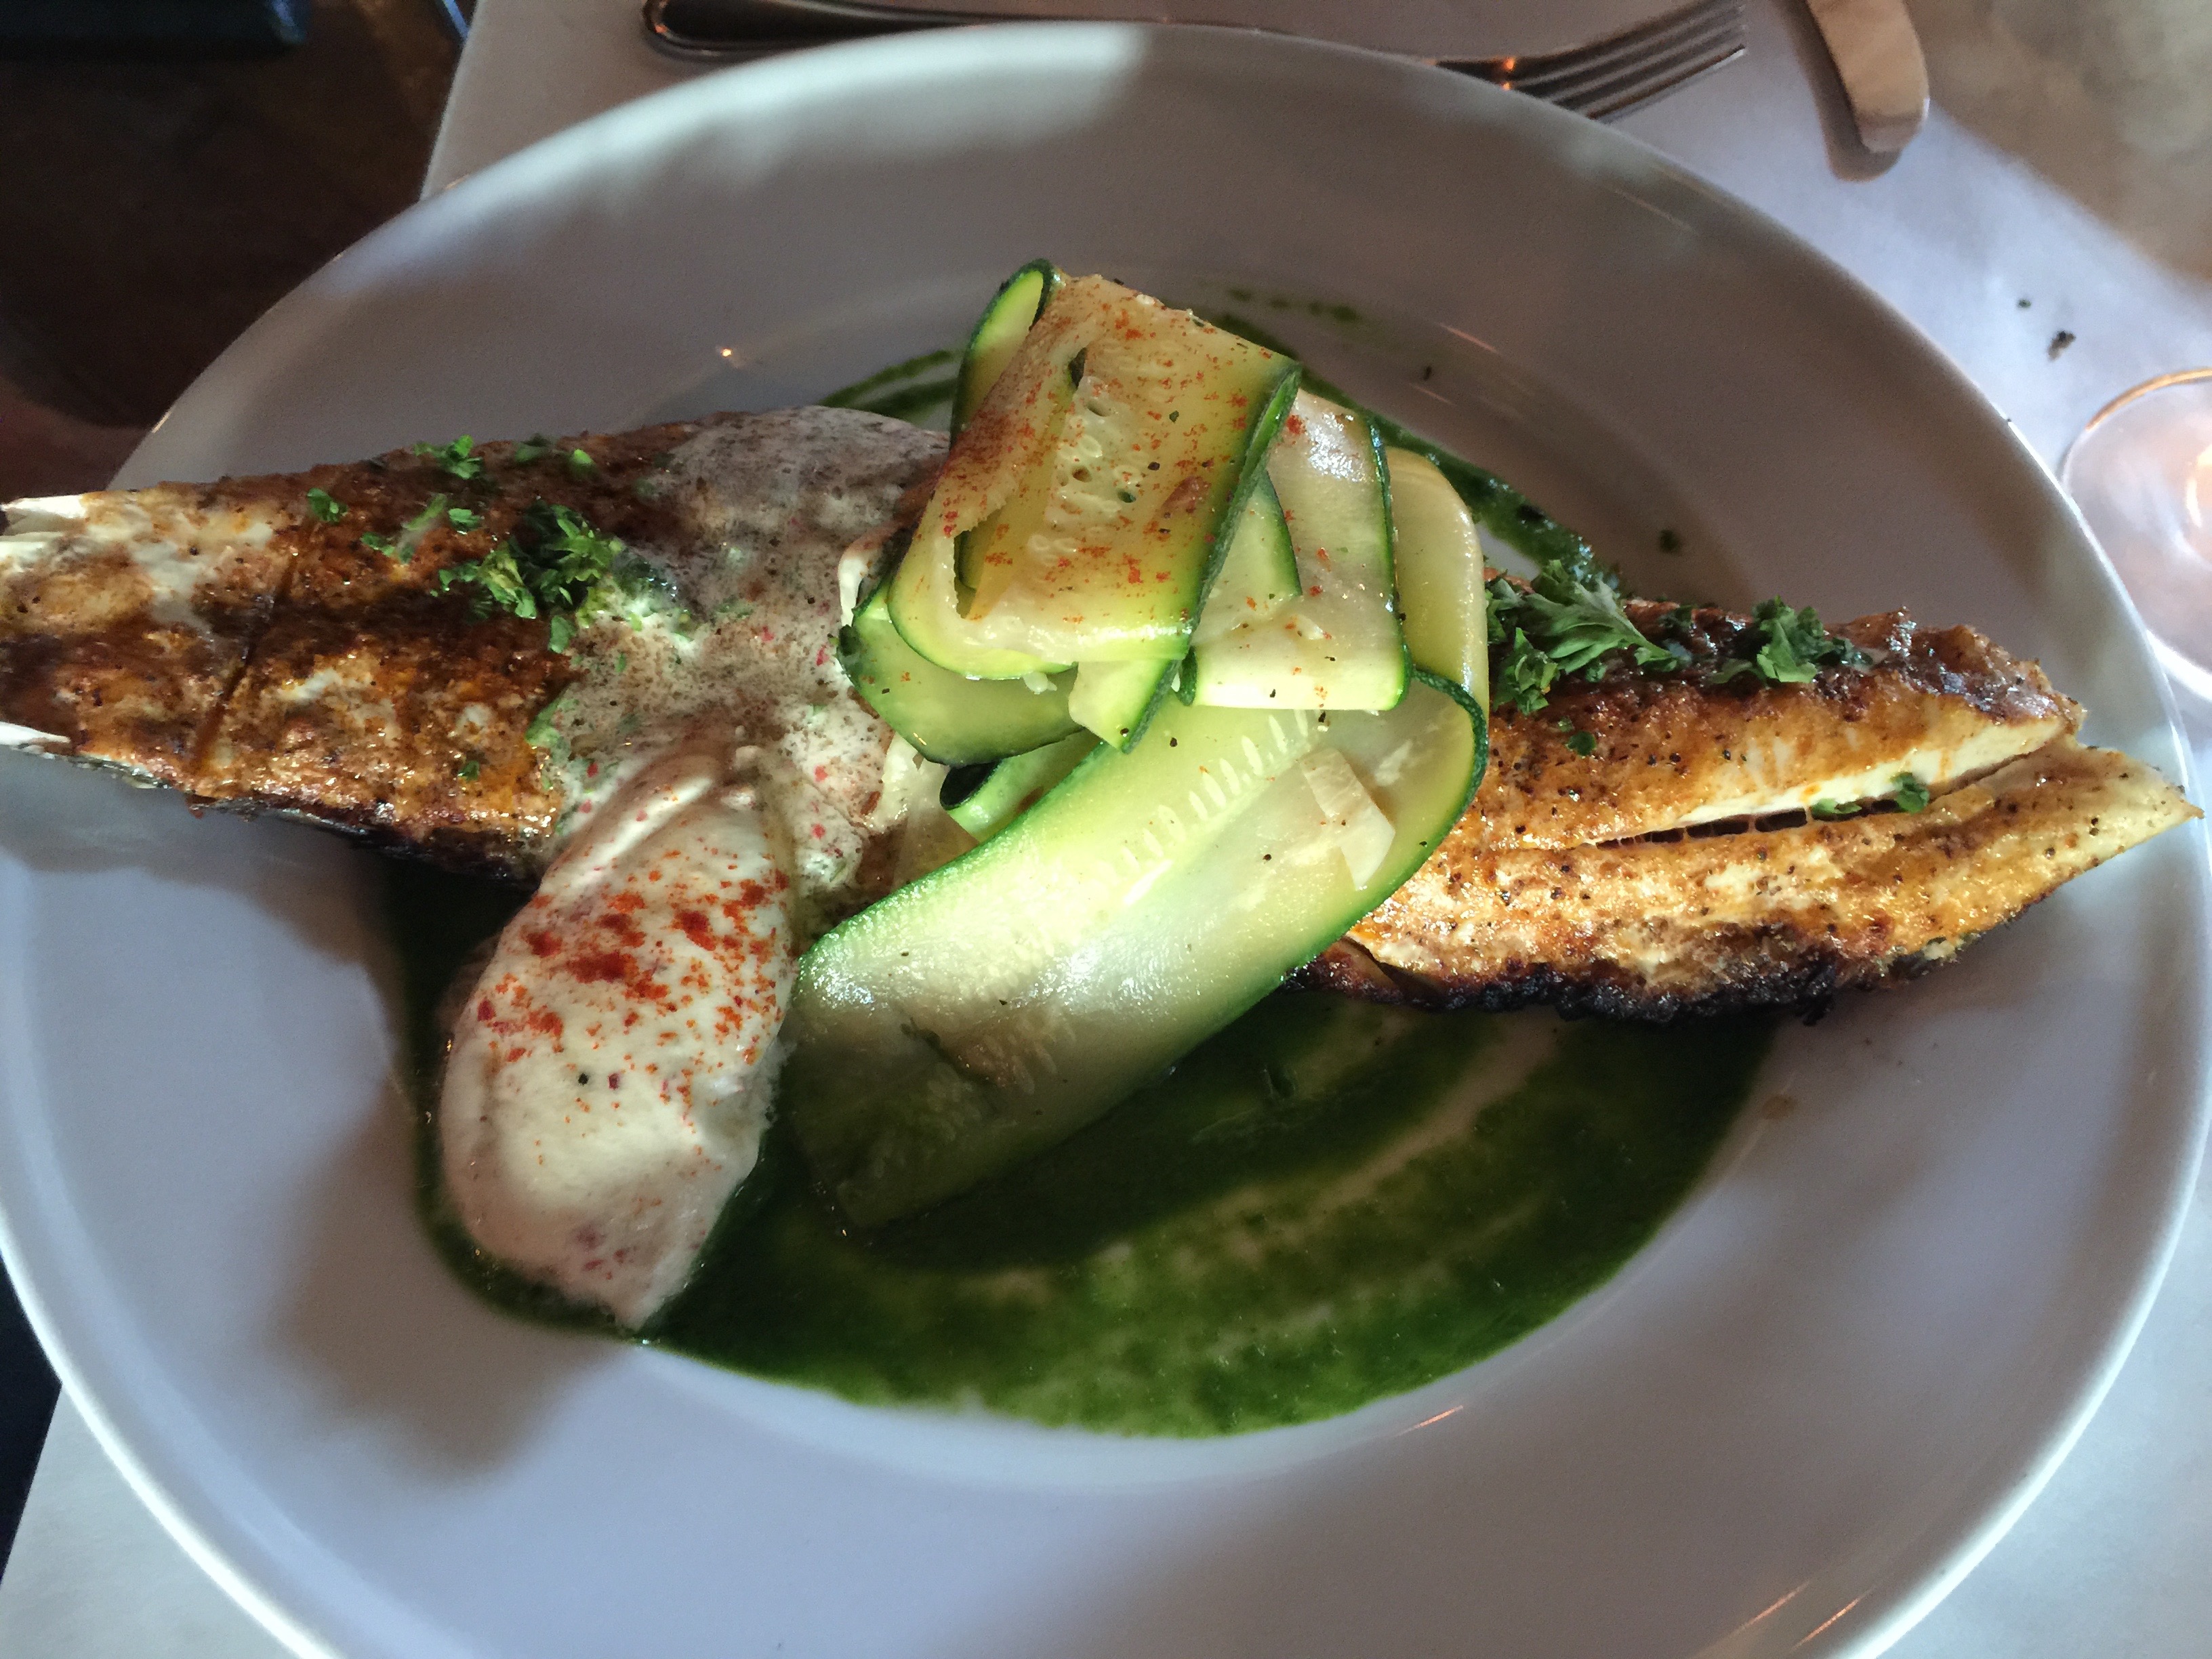
Trout Almandine above
Braised Pork Shoulder with zucchini.
This was in place for the Blackened Drum in the menu, I believe it was a red fish.
When you think of cajun often the first thought after spicy and gumbo is grits. None of the four of us had grits and none of us missed them.
The Cookhouse was super accommodating and the objects on your screen are about three times larger than they appear. 🙂
We all need a little treat every once in a while! Even on Keto, you can make treats that will actually help with weight loss and your desire to stay in Ketosis. We all usually need to up our fat intake. Some recipes are easy, and some require effort. Today’s post is super simple, and was my go-to when I first started on the Ketogenic diet and just needed that little “something”. It is loaded with saturated animal fat (this is good), smooth, creamy, and has just the right amount of sweetness to end a busy day. And…it is so filling – you just need a tad, and you won’t have the urge to eat another thing! The kids beg for it after dinner, and I usually oblige, sometimes selfishly, so I can have a bite too.
The Keto part of this is simple…Heavy Whipping Cream! I will say that this is where a KitchenAid Stand mixer comes in very handy. Check out the one I have here. It is a nice gift to yourself if you don’t already have one, and makes life faster and easier in the kitchen. I usually get my cream going while I am washing dinner dishes, and we have a fresh dessert in no time.
On a Ketogenic diet, we recommend staying away from many fruits. This is due to the natural fructose in fruit that makes a b-line for your liver. It is especially bad for Cancer patients and those with insulin resistance…Read more in this great article! However, there are some fruits that are better than others. My favorite fruits have always been berries! Thank goodness, because they also contain lower amounts of fructose which can spike your blood sugar. I know there is a lot of controversy on this subject, but I have seen it first hand with blood glucose monitoring, so I am on the no/low fruit bandwagon for myself. I do allow my children to have organic berries, and on occasion, I do too in small quantities. The trick for doing this is to make sure you eat your berries with plenty of fat to counteract the fructose in the fruit. Hence, the whipping cream.
What is better in whipped cream than berries. Yum! Now, don’t go crazy! You just need a small handful to do the job. Summer and berries have always gone hand in hand, so this is the perfect season to make yourself a Keto friendly dessert!
It is probably the easiest thing I have posted…
I used:
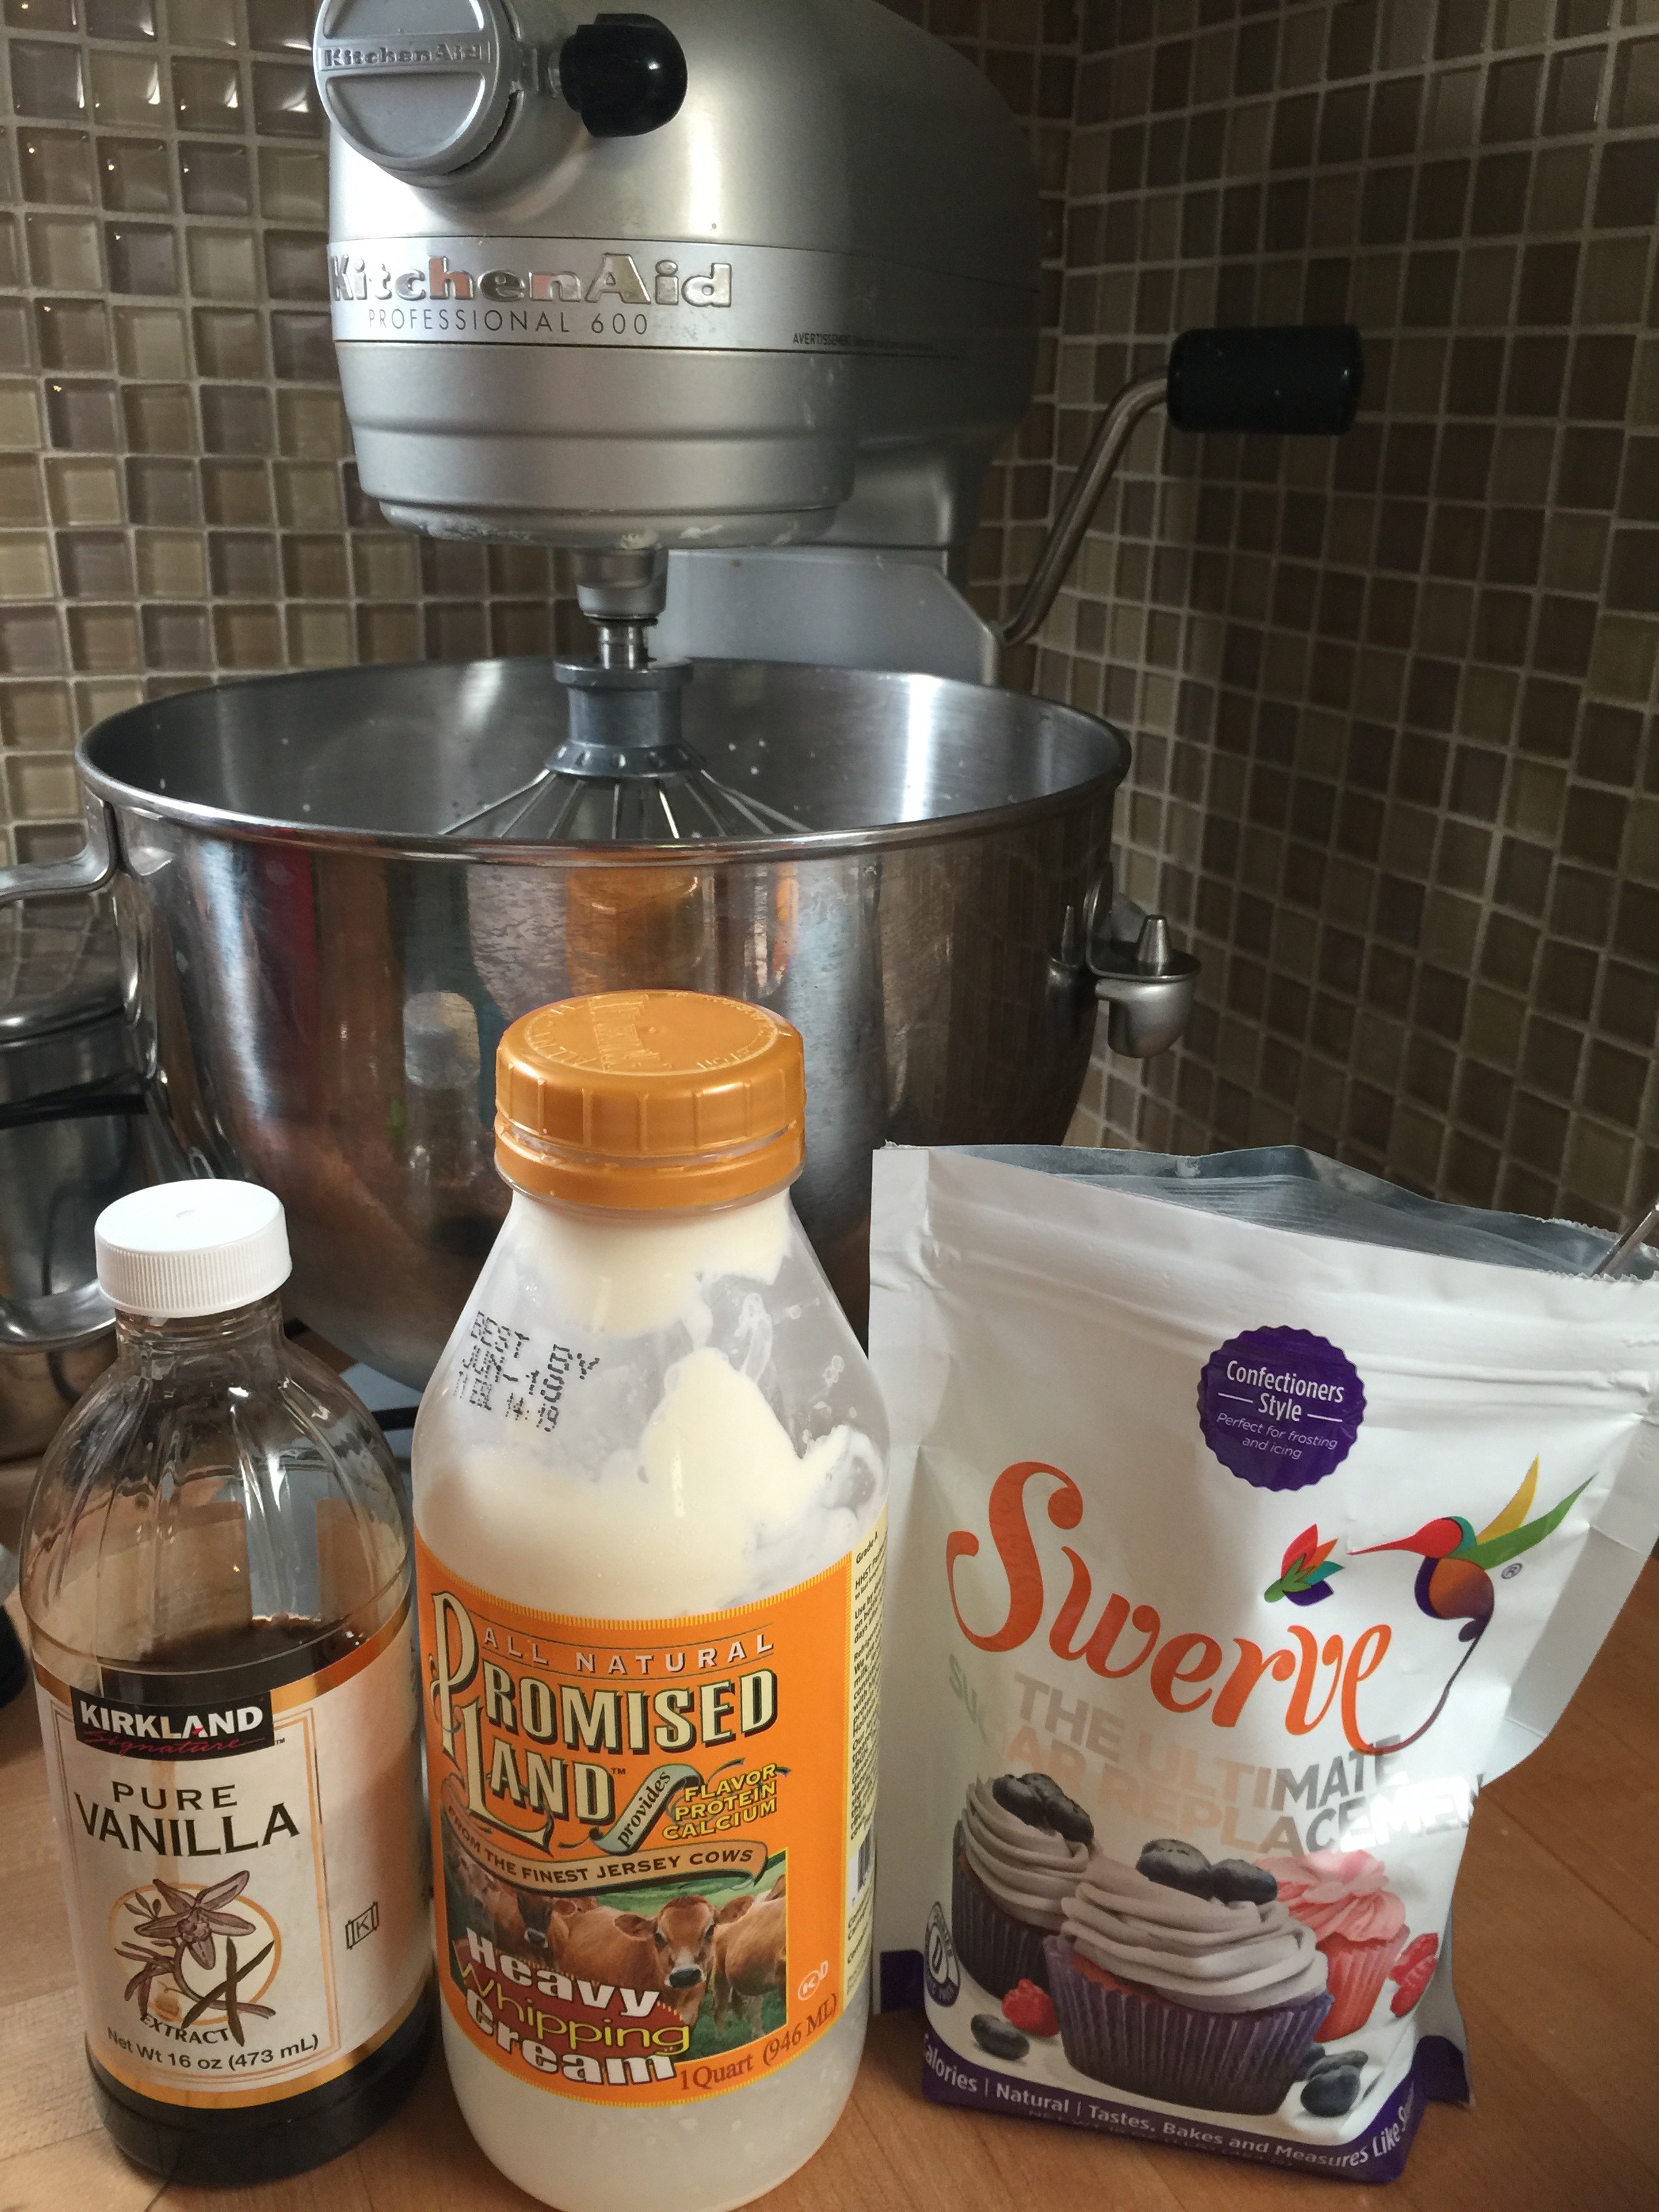
1 Quart of Promised Land Heavy Whipping Cream (Any will work)
1 Tbsp Pure Vanilla
1/4 – 1/2 cup Swerve Confectioners (Granular is very grainy in this one.)
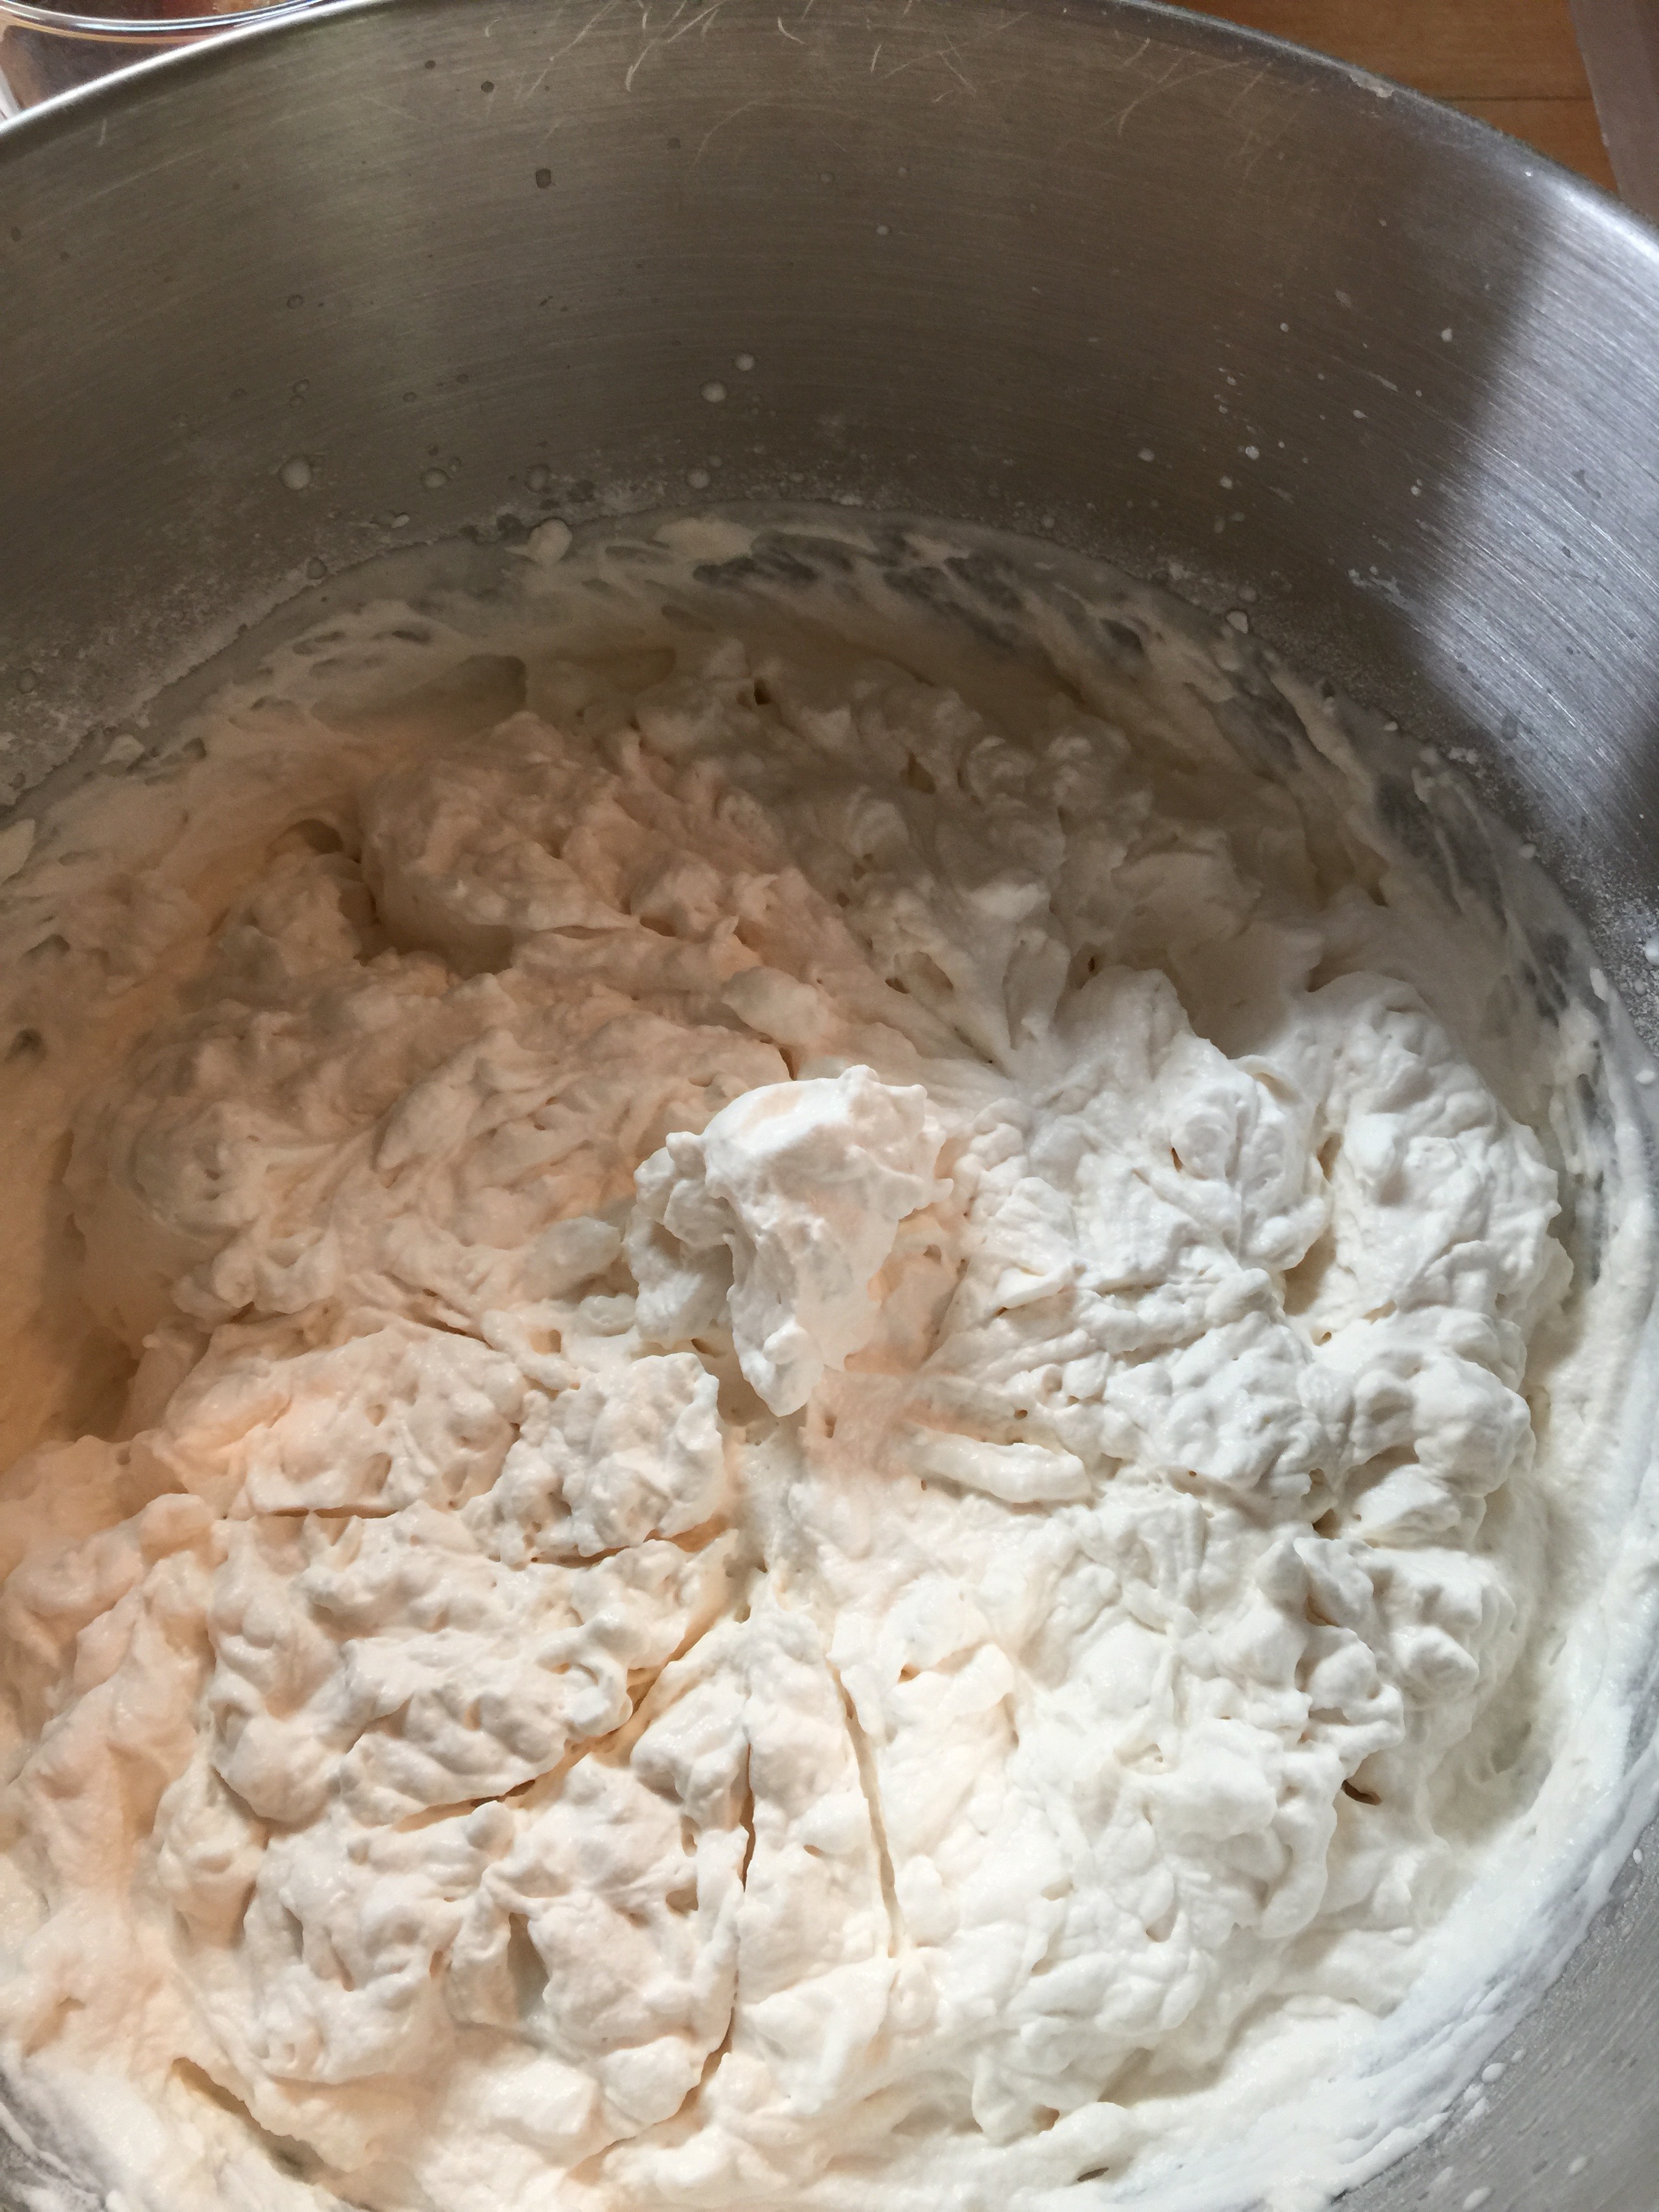
Start by beating your cream until it begins to thicken. Add your Swerve, starting with 1/4 cup. Our taste has changed quite a bit, so that we do not prefer things super sweet anymore, but feel free to add more to your desired taste. Then add your vanilla. Beat until it is very thick, but careful not to beat too much or you will have butter! It is okay to stop and start (tasting as you go). This is a preference treat, so keep an eye on it, and stop beating when it’s to your liking.
Top with a small amount of berries or eat it plain. It is delicious both ways! Enjoy!
This one was for the kiddos. When I have mine, I go with blueberries, blackberries or raspberries with a ratio or 2:1, cream to berries. I skip the strawberries generally. Let the cream work to your benefit!
Most of you know by now that I love squash! All squash, but especially summer squash! Lucky for me, it is summer, and all those summer squashes are plentiful. The yellow is my favorite!
About a year ago, we celebrated my dad’s birthday at a great restaurant in San Antonio called Bohanan’s. It is a wonderful special occasion restaurant if you have not tried it! Most of my family would consider themselves foodies, and really enjoy a great meal. I am no exception! You can always count on having a great meal at Bohanan’s. Not only do they have some of the best steaks in Texas (which is saying a lot), but they have great seafood and side dishes as well. One of my favorite side dishes we were served that evening was their Baked Squash. It is melt in your mouth delicious, with just the right amount of savory paired with the sweet. The sugar in ours is, of course, replaced with Swerve or natural sweetener of your choice.
Just a few weeks after my father’s birthday, I found the squash recipe in our local Sunday paper. I just love restaurants that publish their prized recipes! It was so close to being Keto, that I knew I could tweak it to make it healthier for our family without the sugar and flour. I think I have mastered it enough to share:
Sweet Life Baked Squash
Serves 10-12 (Can half, but saves great for leftovers)
3.5 lbs yellow summer squash
1/2 brick of Kerry Gold butter (extra for top)
20 slices of Kraft cheese
4-5 tsp of Swerve granular
1 cup mayonnaise
1/2 tsp Celtic salt
2 tsp fresh ground black pepper
4 eggs
Almond Flour for top
Directions:
Preheat oven to 350 degrees, and gather your ingredients.
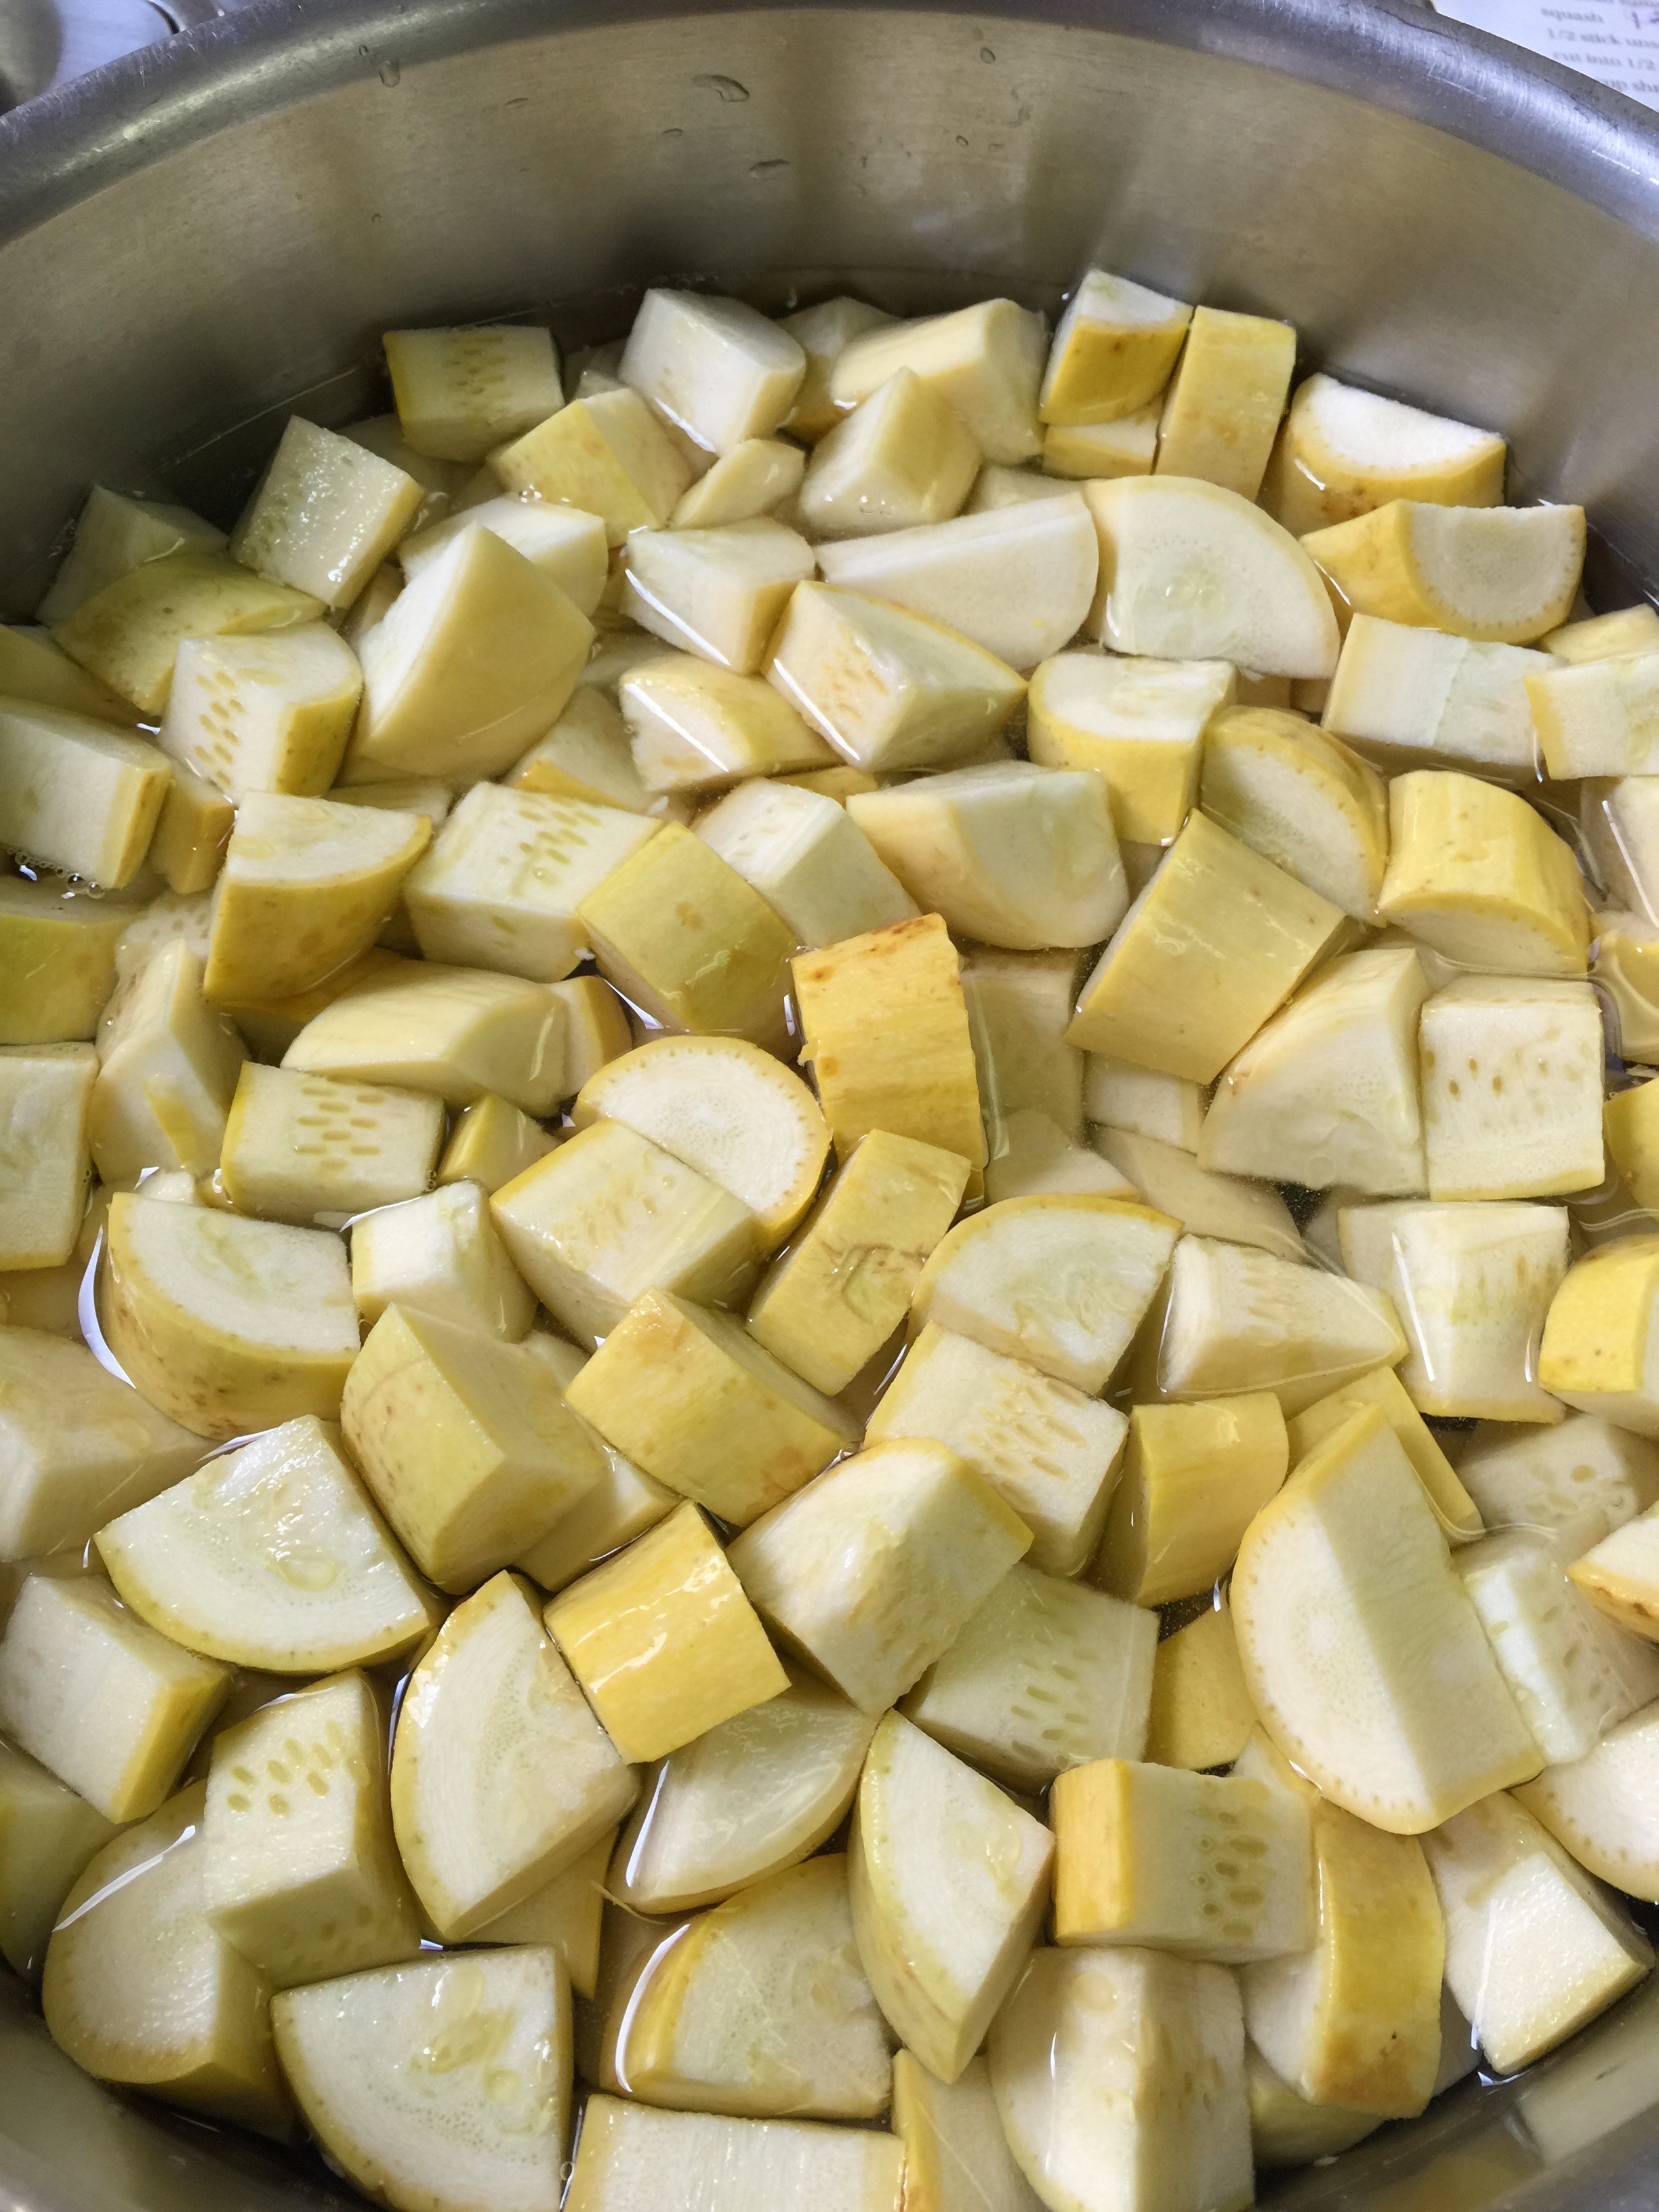
Start by washing the squash, trimming off the ends, and cubing it.
Place your squash in a large saucepan and cover with water and a pinch of salt.
Boil for about 10 minutes until tender when pierced with a fork.
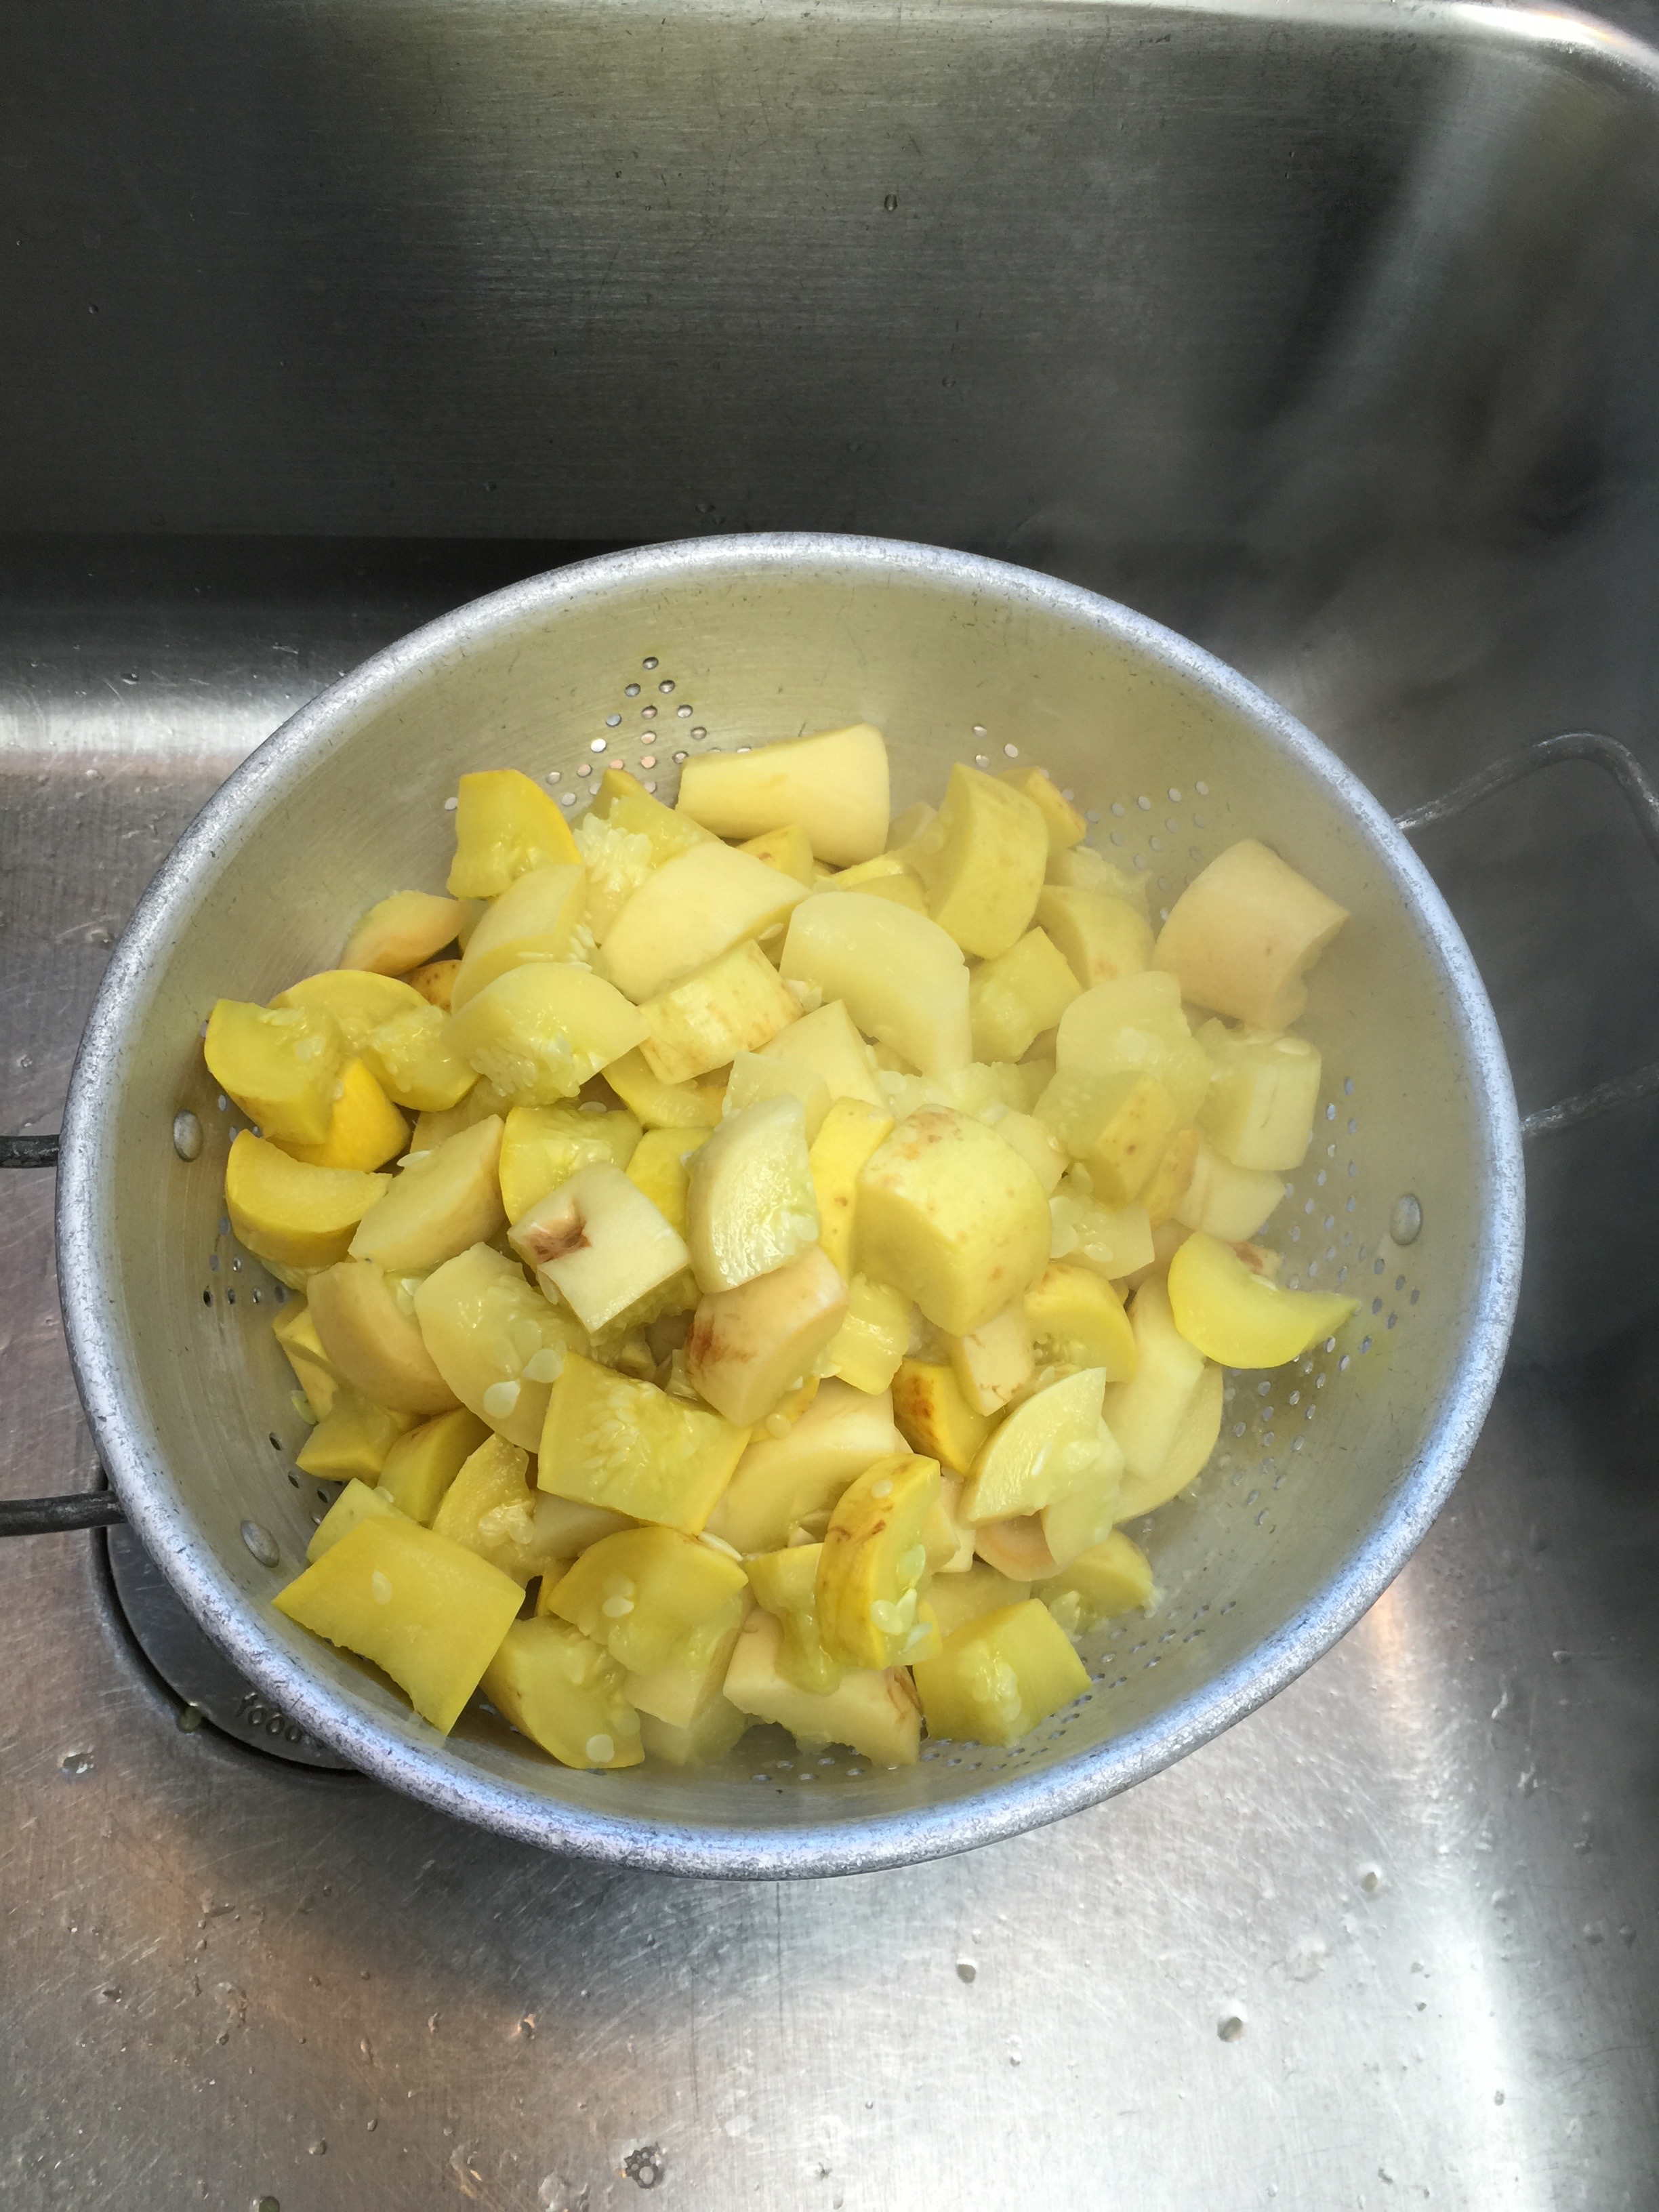
Drain in a colander, place back in the pan, and cook over medium heat to release more of the moisture in the squash. Stir for a few minutes, and then remove from heat. Most (not all) of the moisture should be evaporated from the pan at this point.
Stir in your Kerrygold, Kraft cheese, Swerve, mayonnaise, salt, and pepper.
Mix until all the cheese is melted.
Beat the eggs lightly in a small bowl, and temper them by adding a small amount of the squash mixture. Then pour them into the pan, and mix well. It will look super runny, but it will firm up when you bake it.
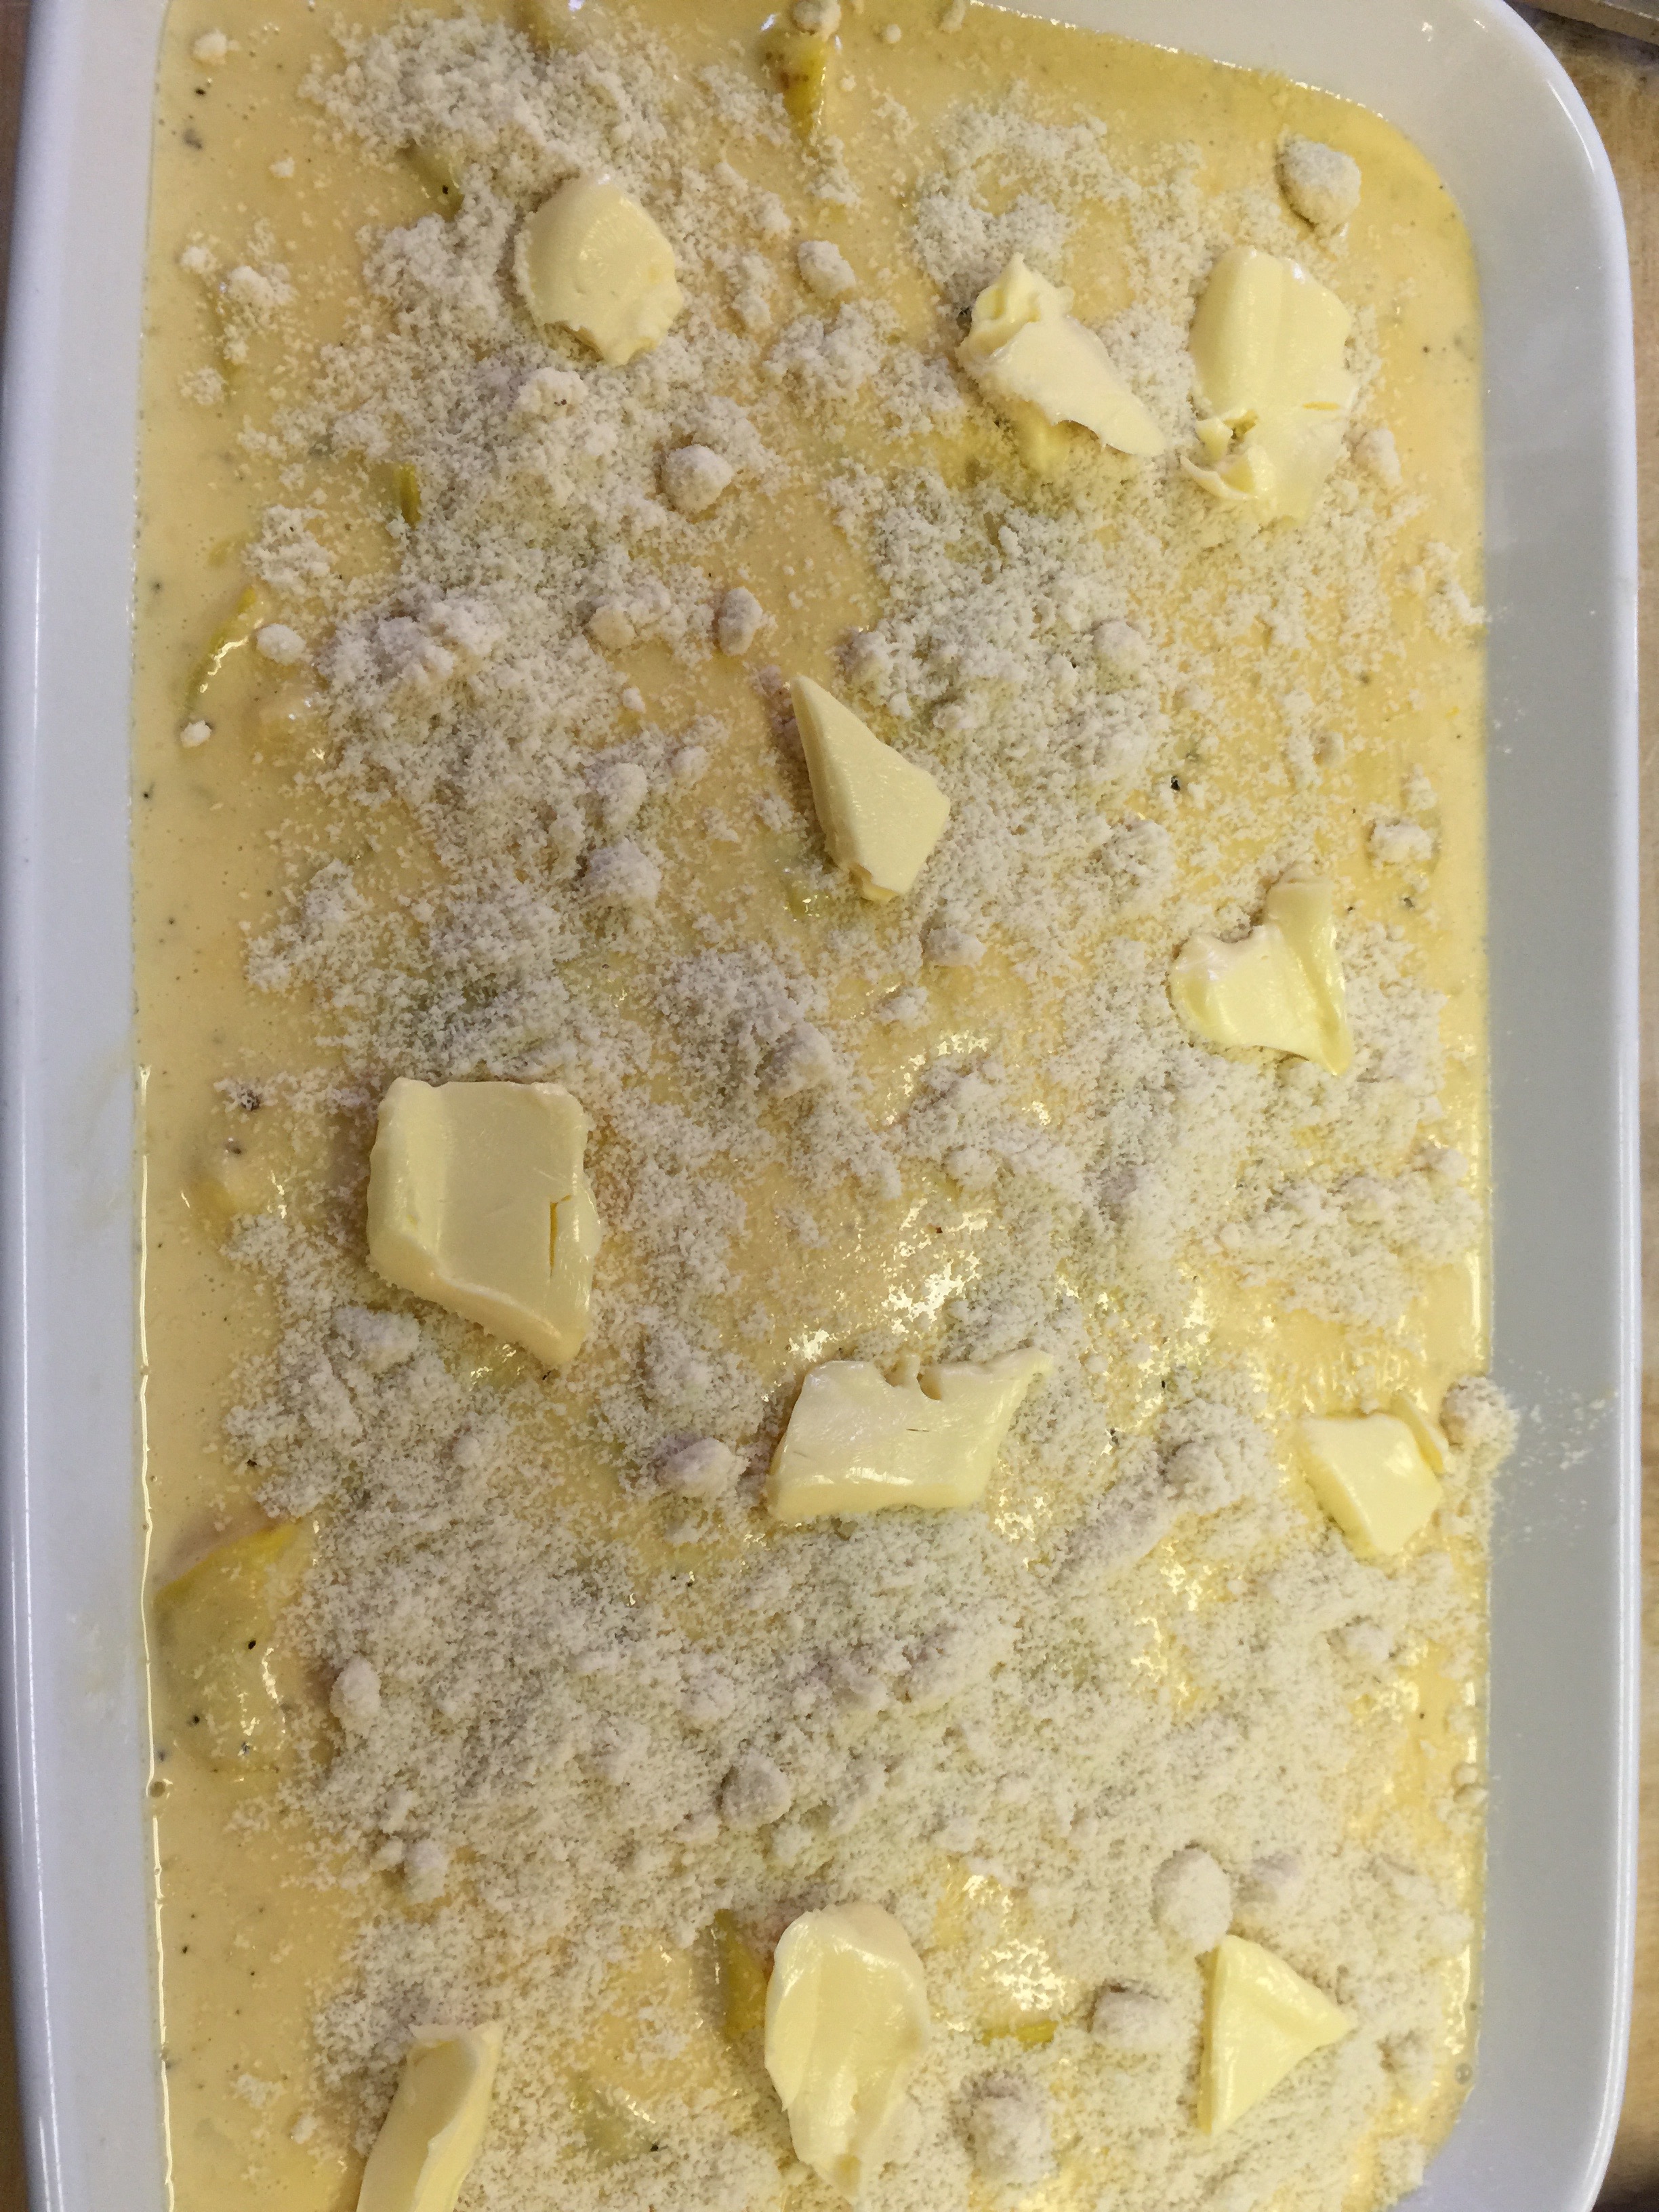
Pour your mixture into a 9×13 baking dish sprayed with coconut oil.
Top with a sprinkle of Almond Flour and a few dabs of additional Kerrygold.
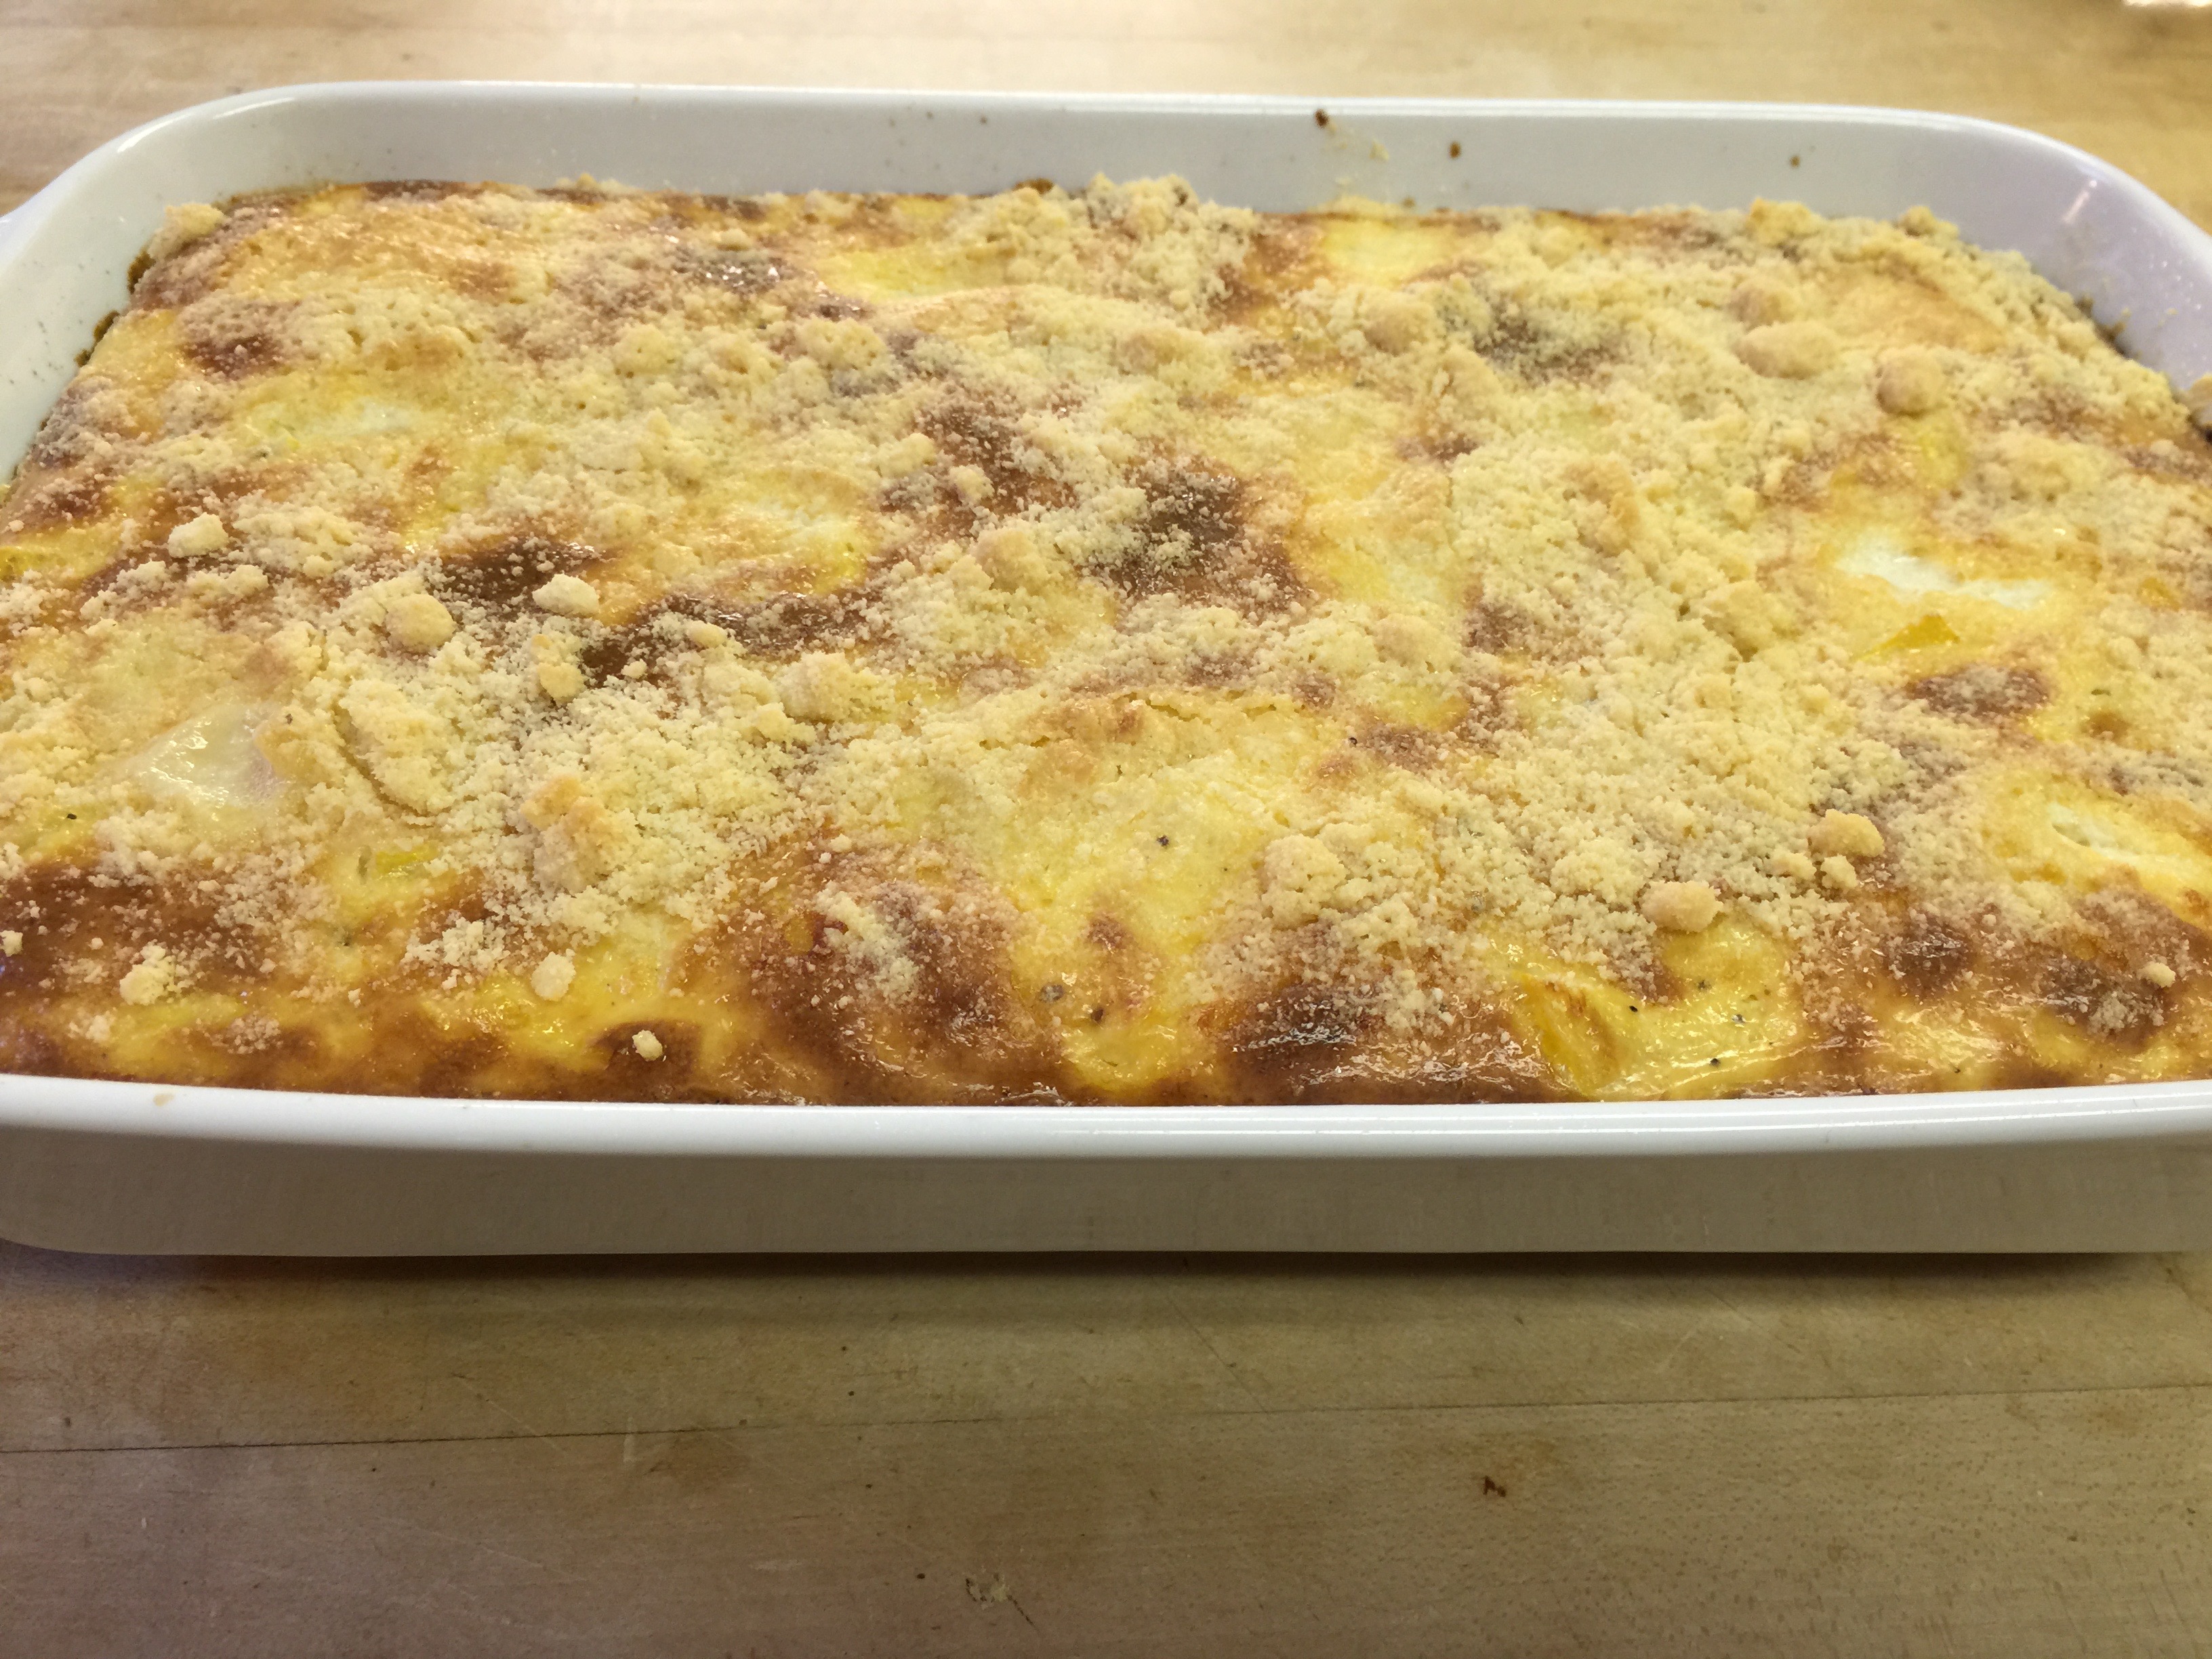
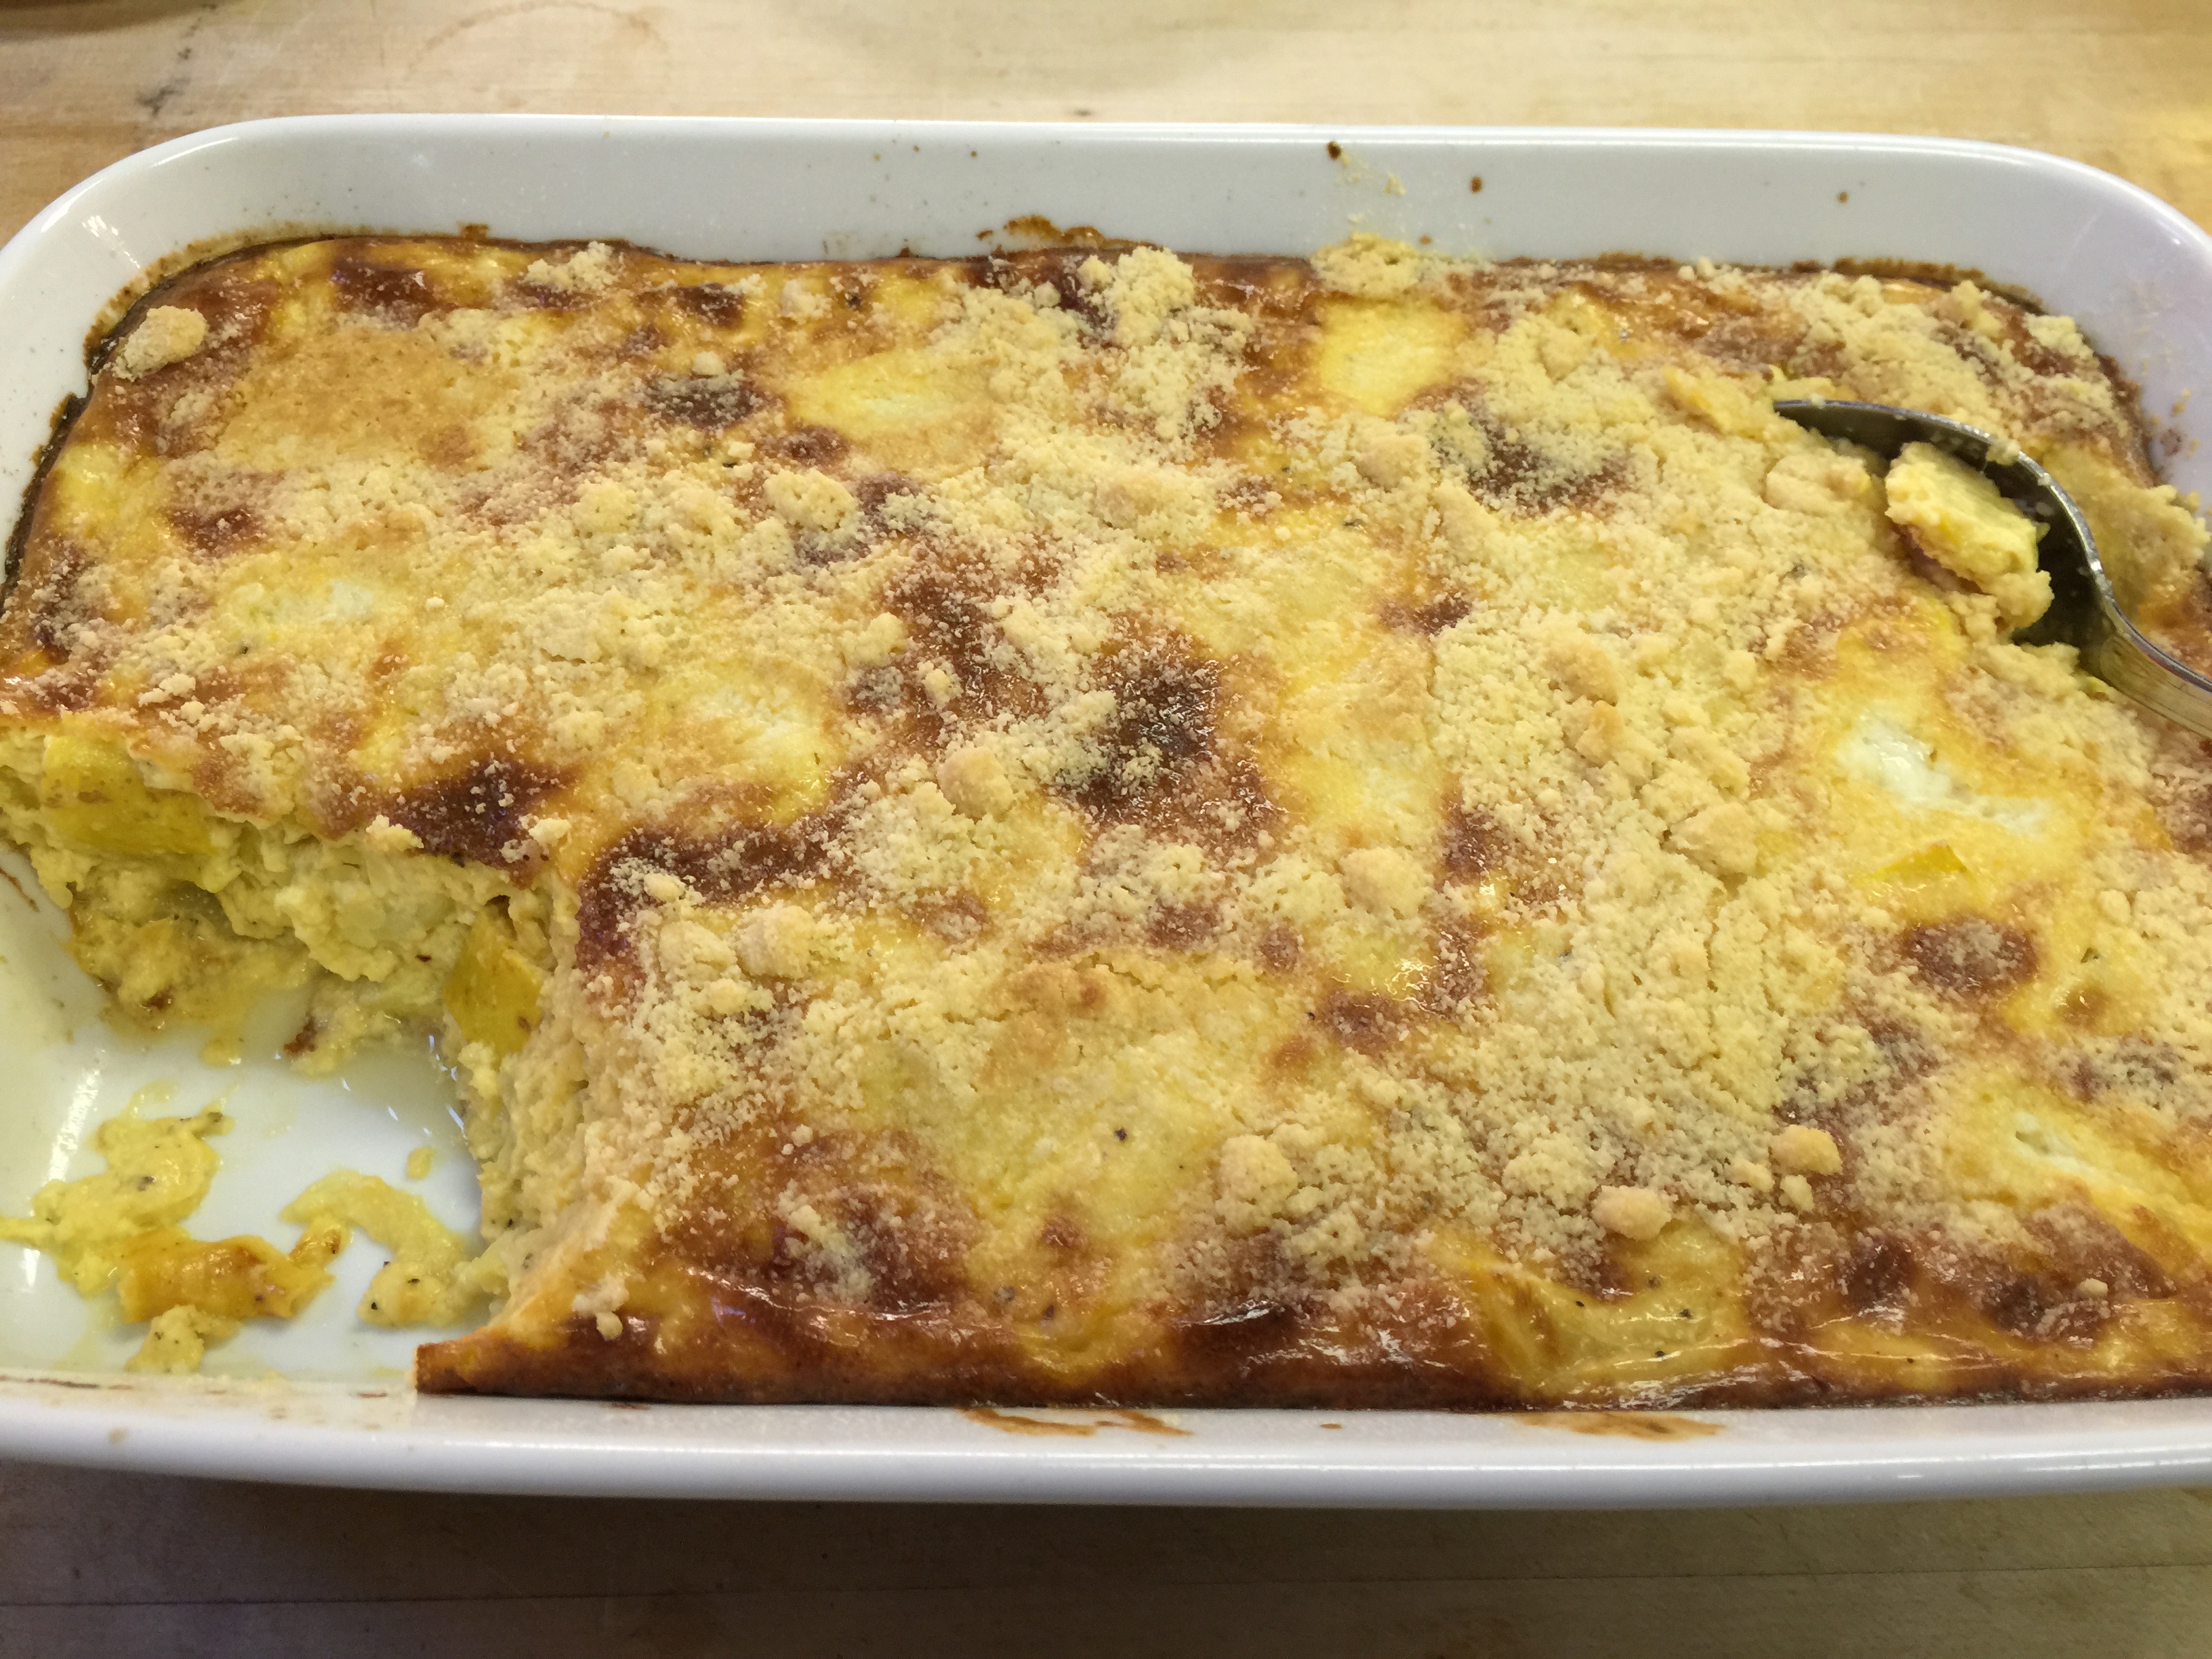
Bake at 350 degrees for 45 minutes.
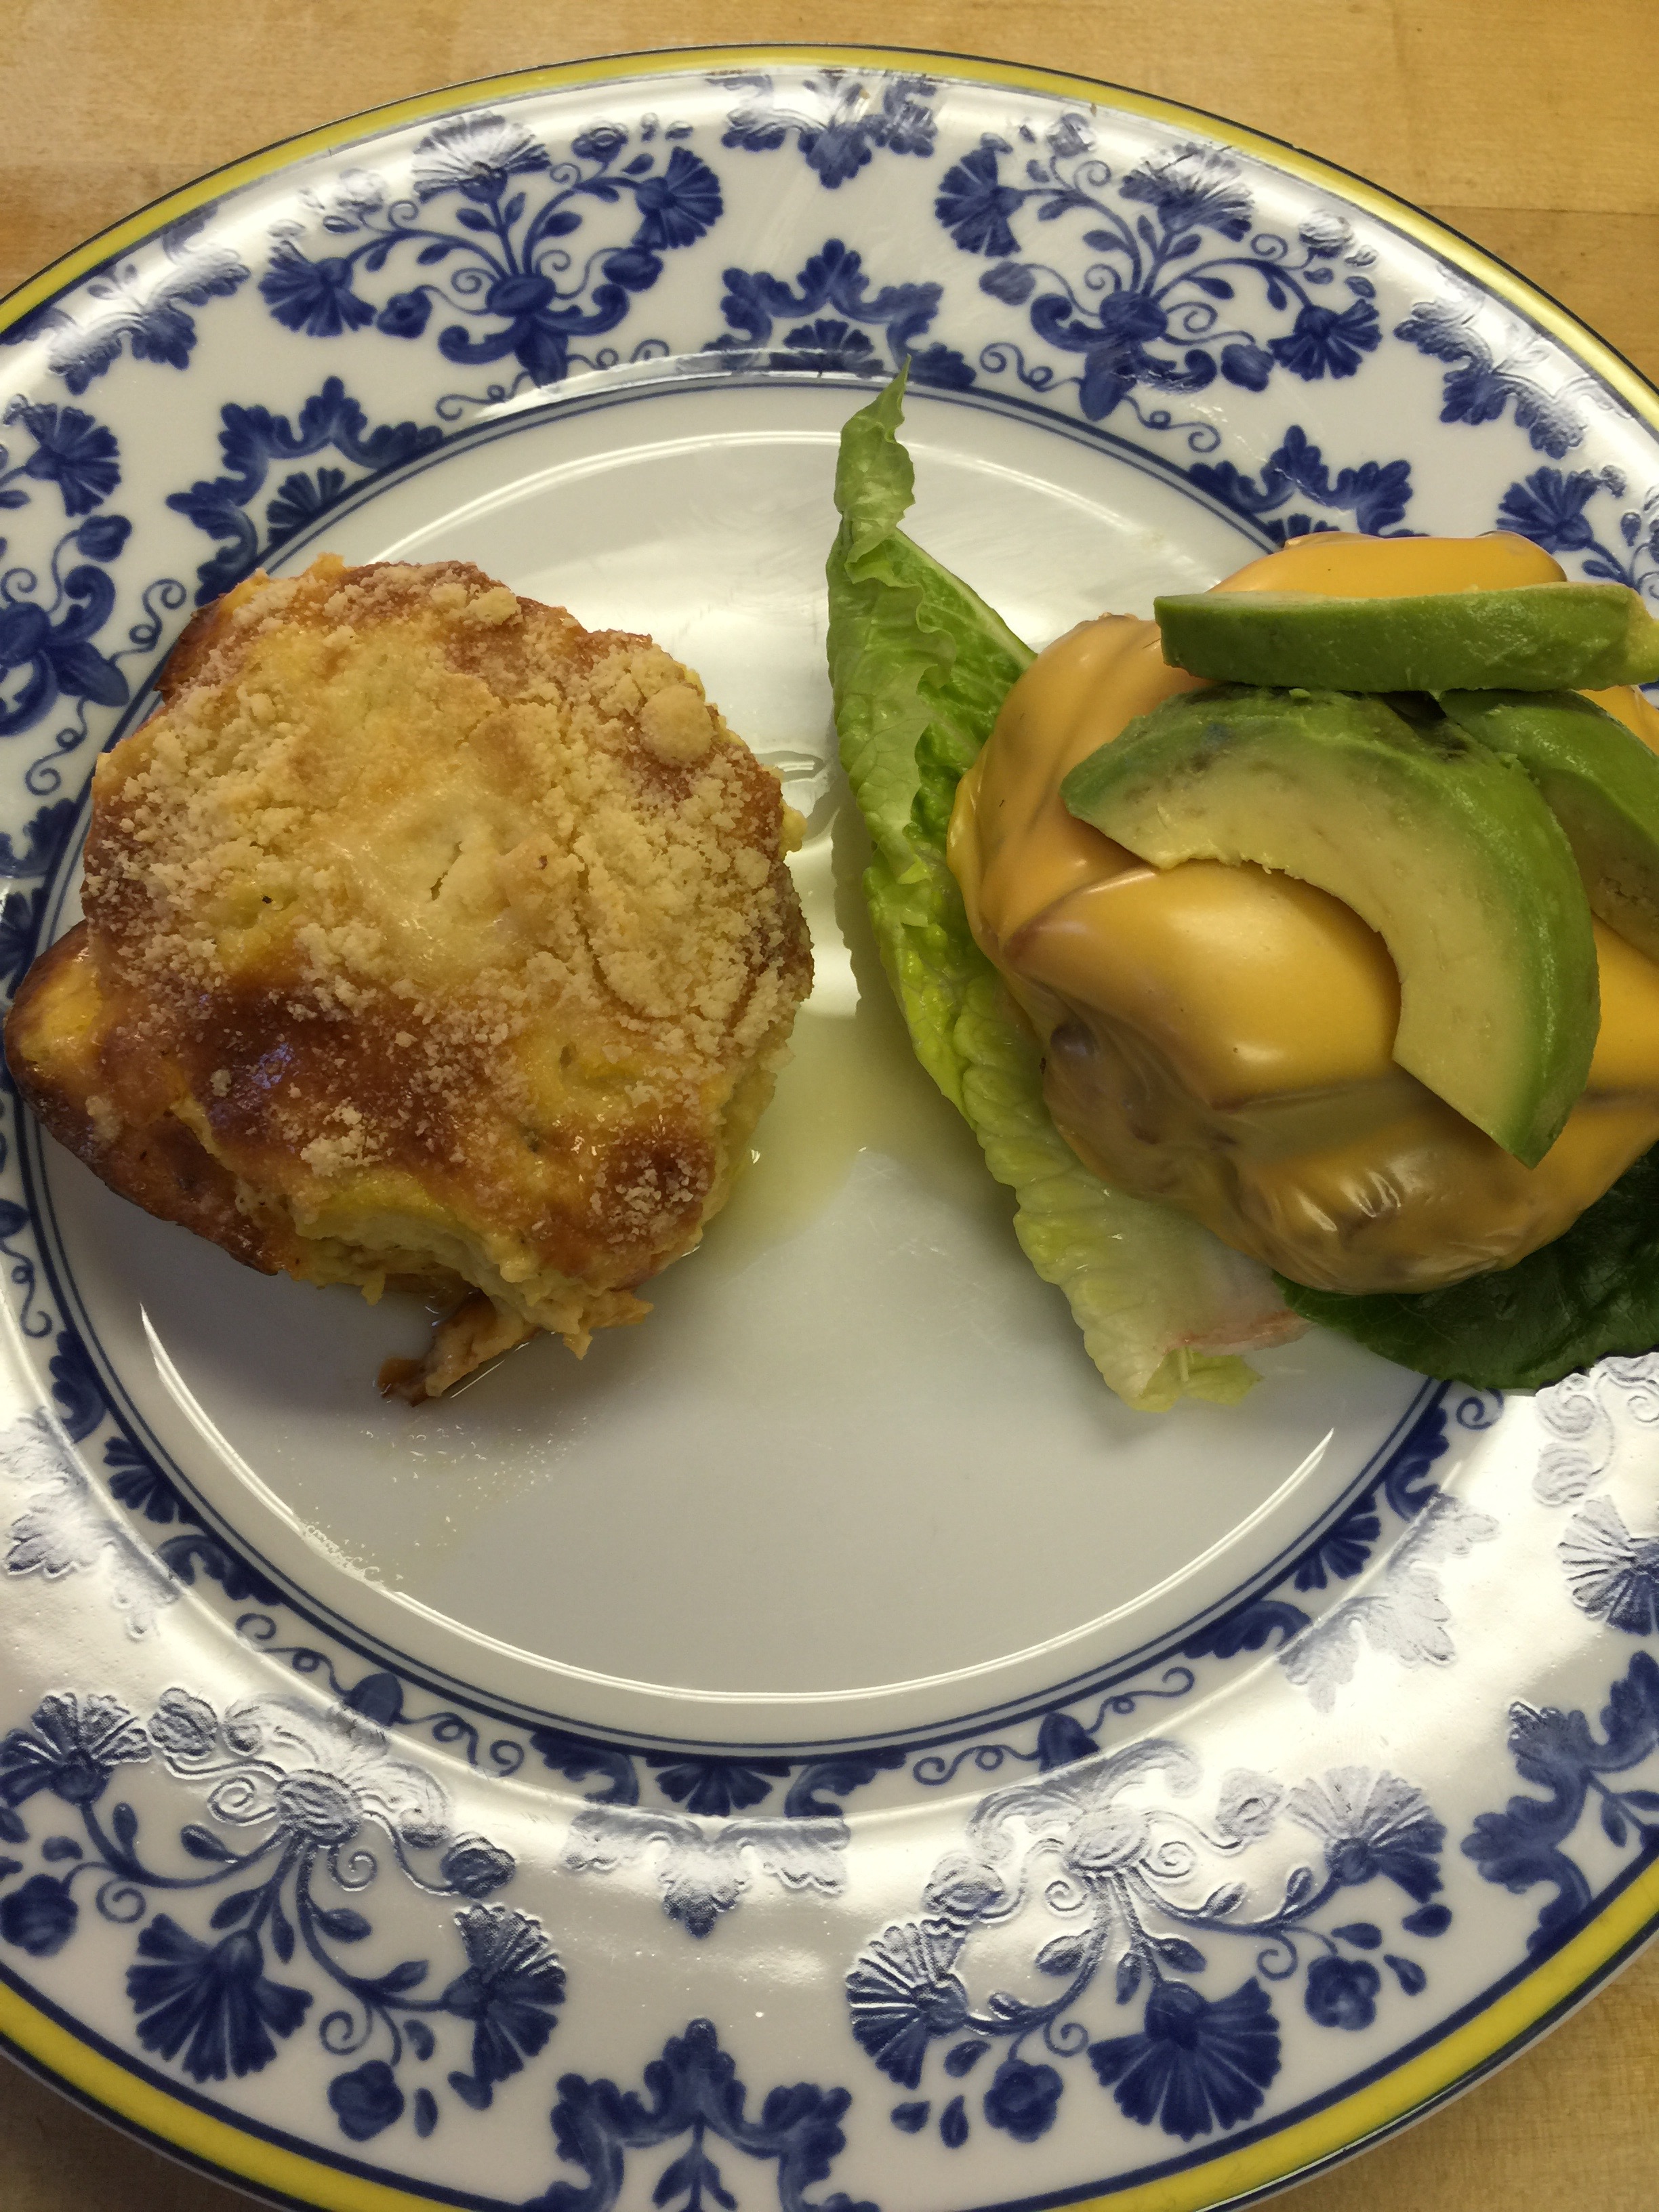
This dish goes great with any kind of bar-b-que, hamburger patties, steak, fish – really anything. I was going to serve it with some brisket, but my husband was in the mood for burger patties so that is what you see.
I hope you enjoy this great side dish with your next summer meal! Enjoy!
Summer has arrived, and so has burger and hot dog season! We all love a good cookout in the more relaxing summer months. Of course, what goes hand in hand with burgers? Some sort of fried potato off limits to us low-carbers! Going Keto means no more fries and tots, right? Wrong! I told my children I was making tater tots, (which they have missed) and they started doing cheers!
I did NOT tell them how I was making them, however, and they could not tell the difference. These suckers were good, and there was nothing left to save after dinner. Bummer!
Keto tater tots take a little preparation and forethought, but overall they are pretty easy – and I don’t even fry – before or during Keto, until now. This was a game changer for our family!
CheesyTaterTots
1 large head of Cauliflower
1/3 cup Parmesan Cheese
1/2 cup Mozzarella Cheese, shredded
1 Egg
2 tsp Psyllium Husk Powder
1 tsp garlic salt
1-2 cups Bacon Fat
Salt and Pepper to taste
Shredded Cheddar to melt on top (I used sharp cheddar)
Directions:
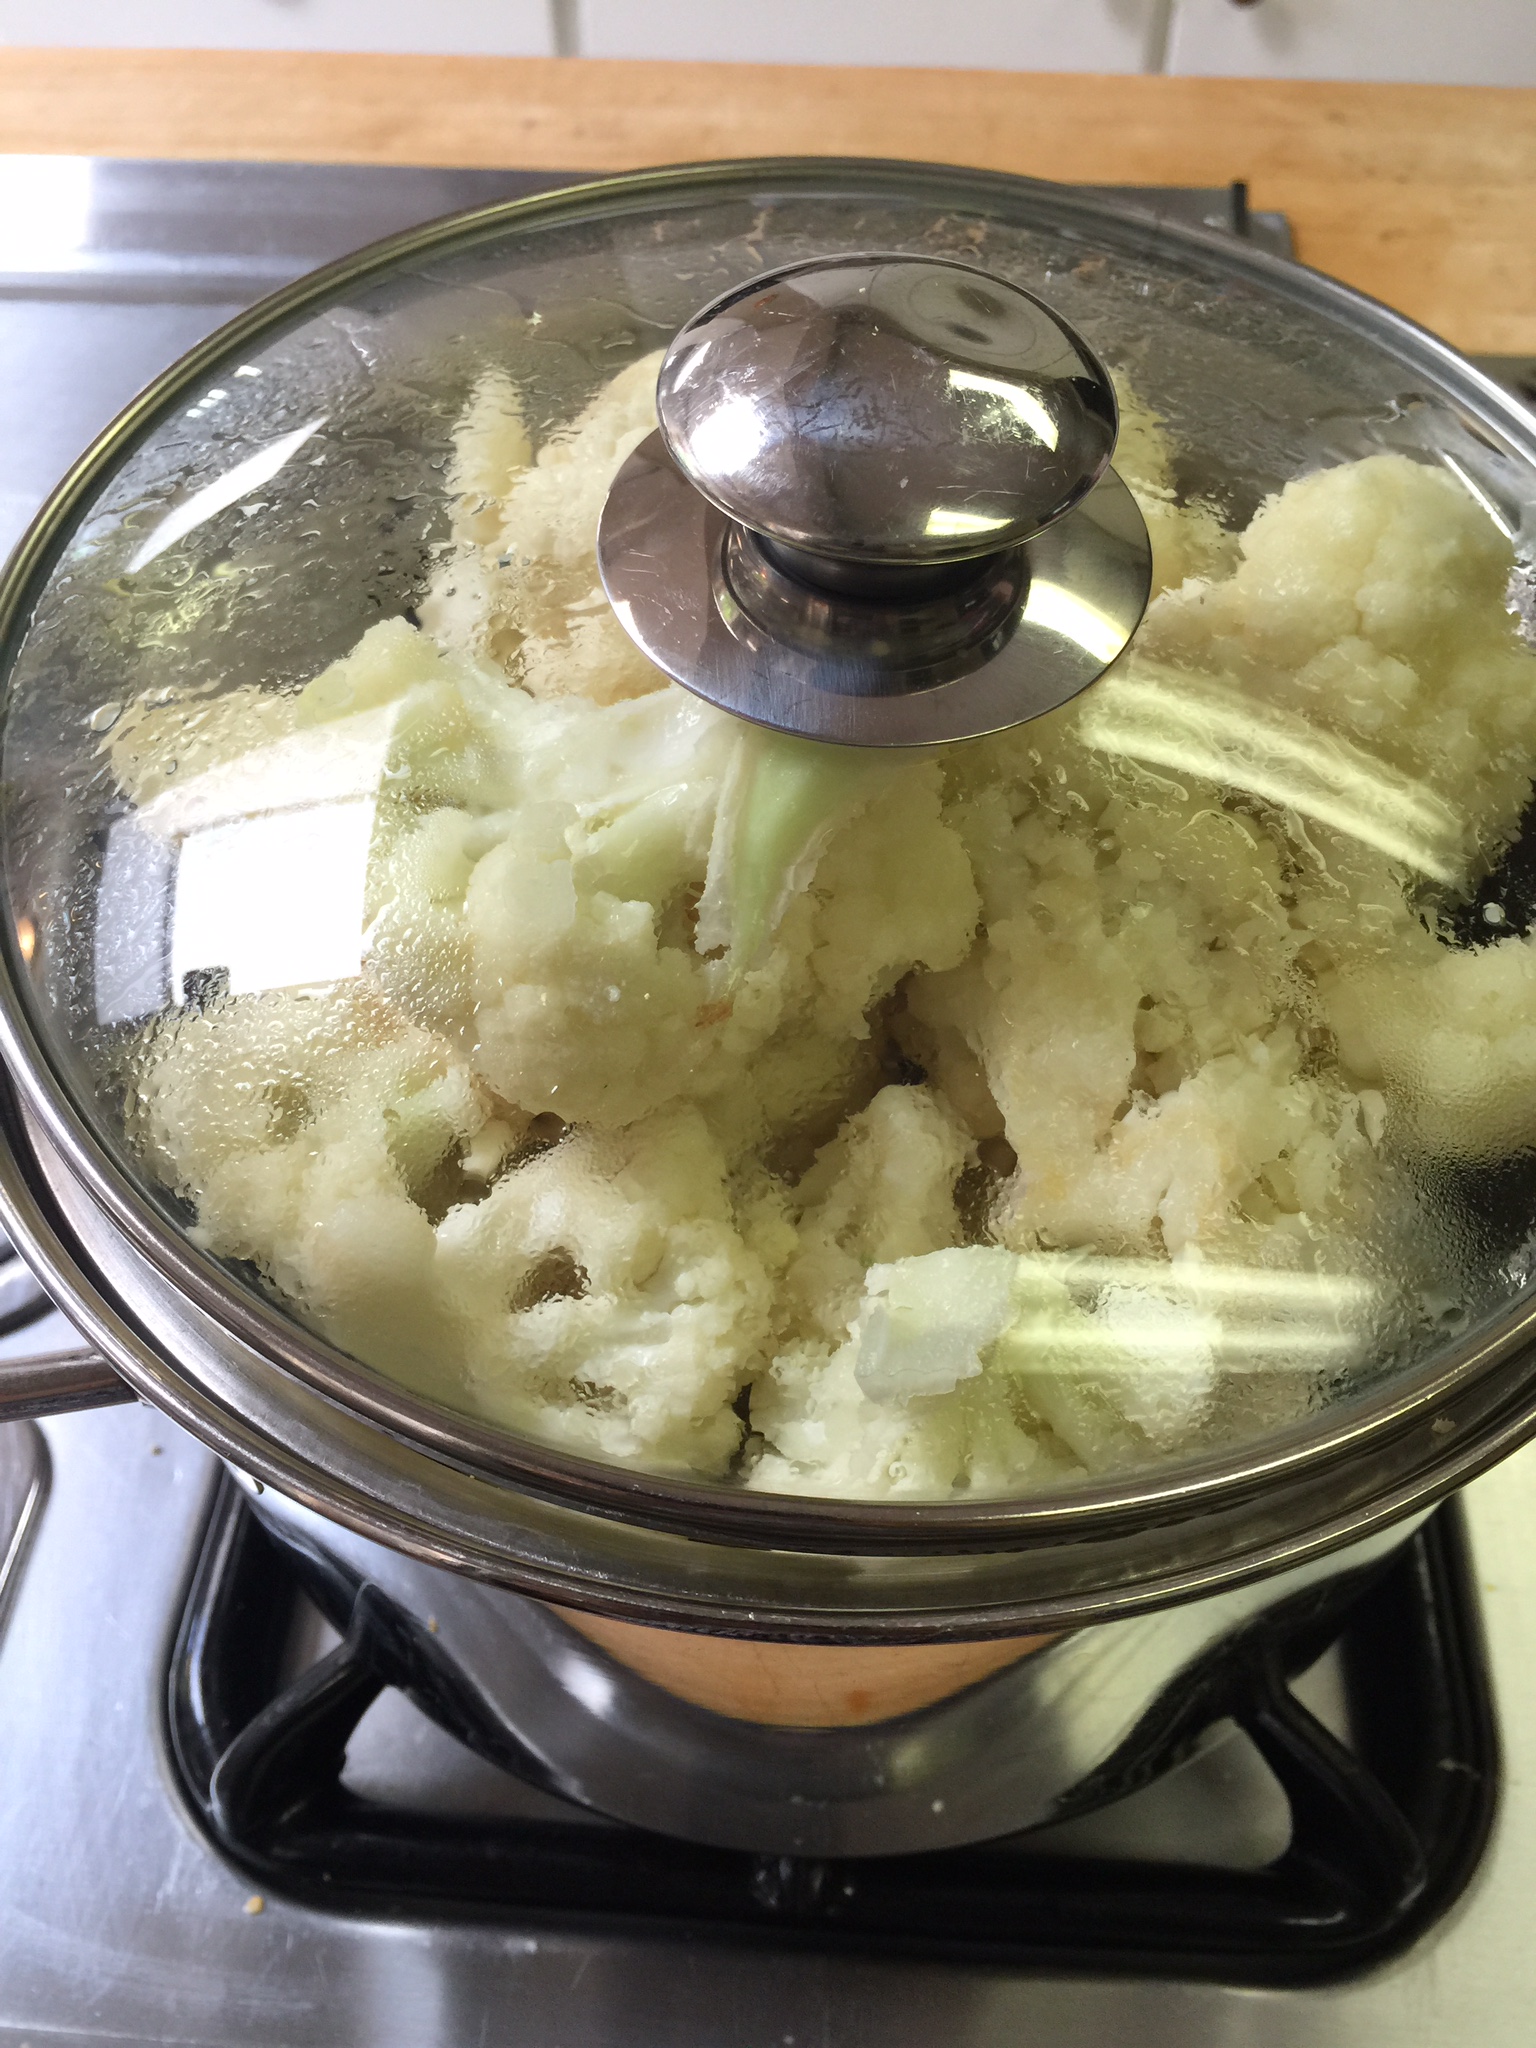
Cut your cauliflower into small pieces to steam. Place in your steamer and steam until tender but not too soft.
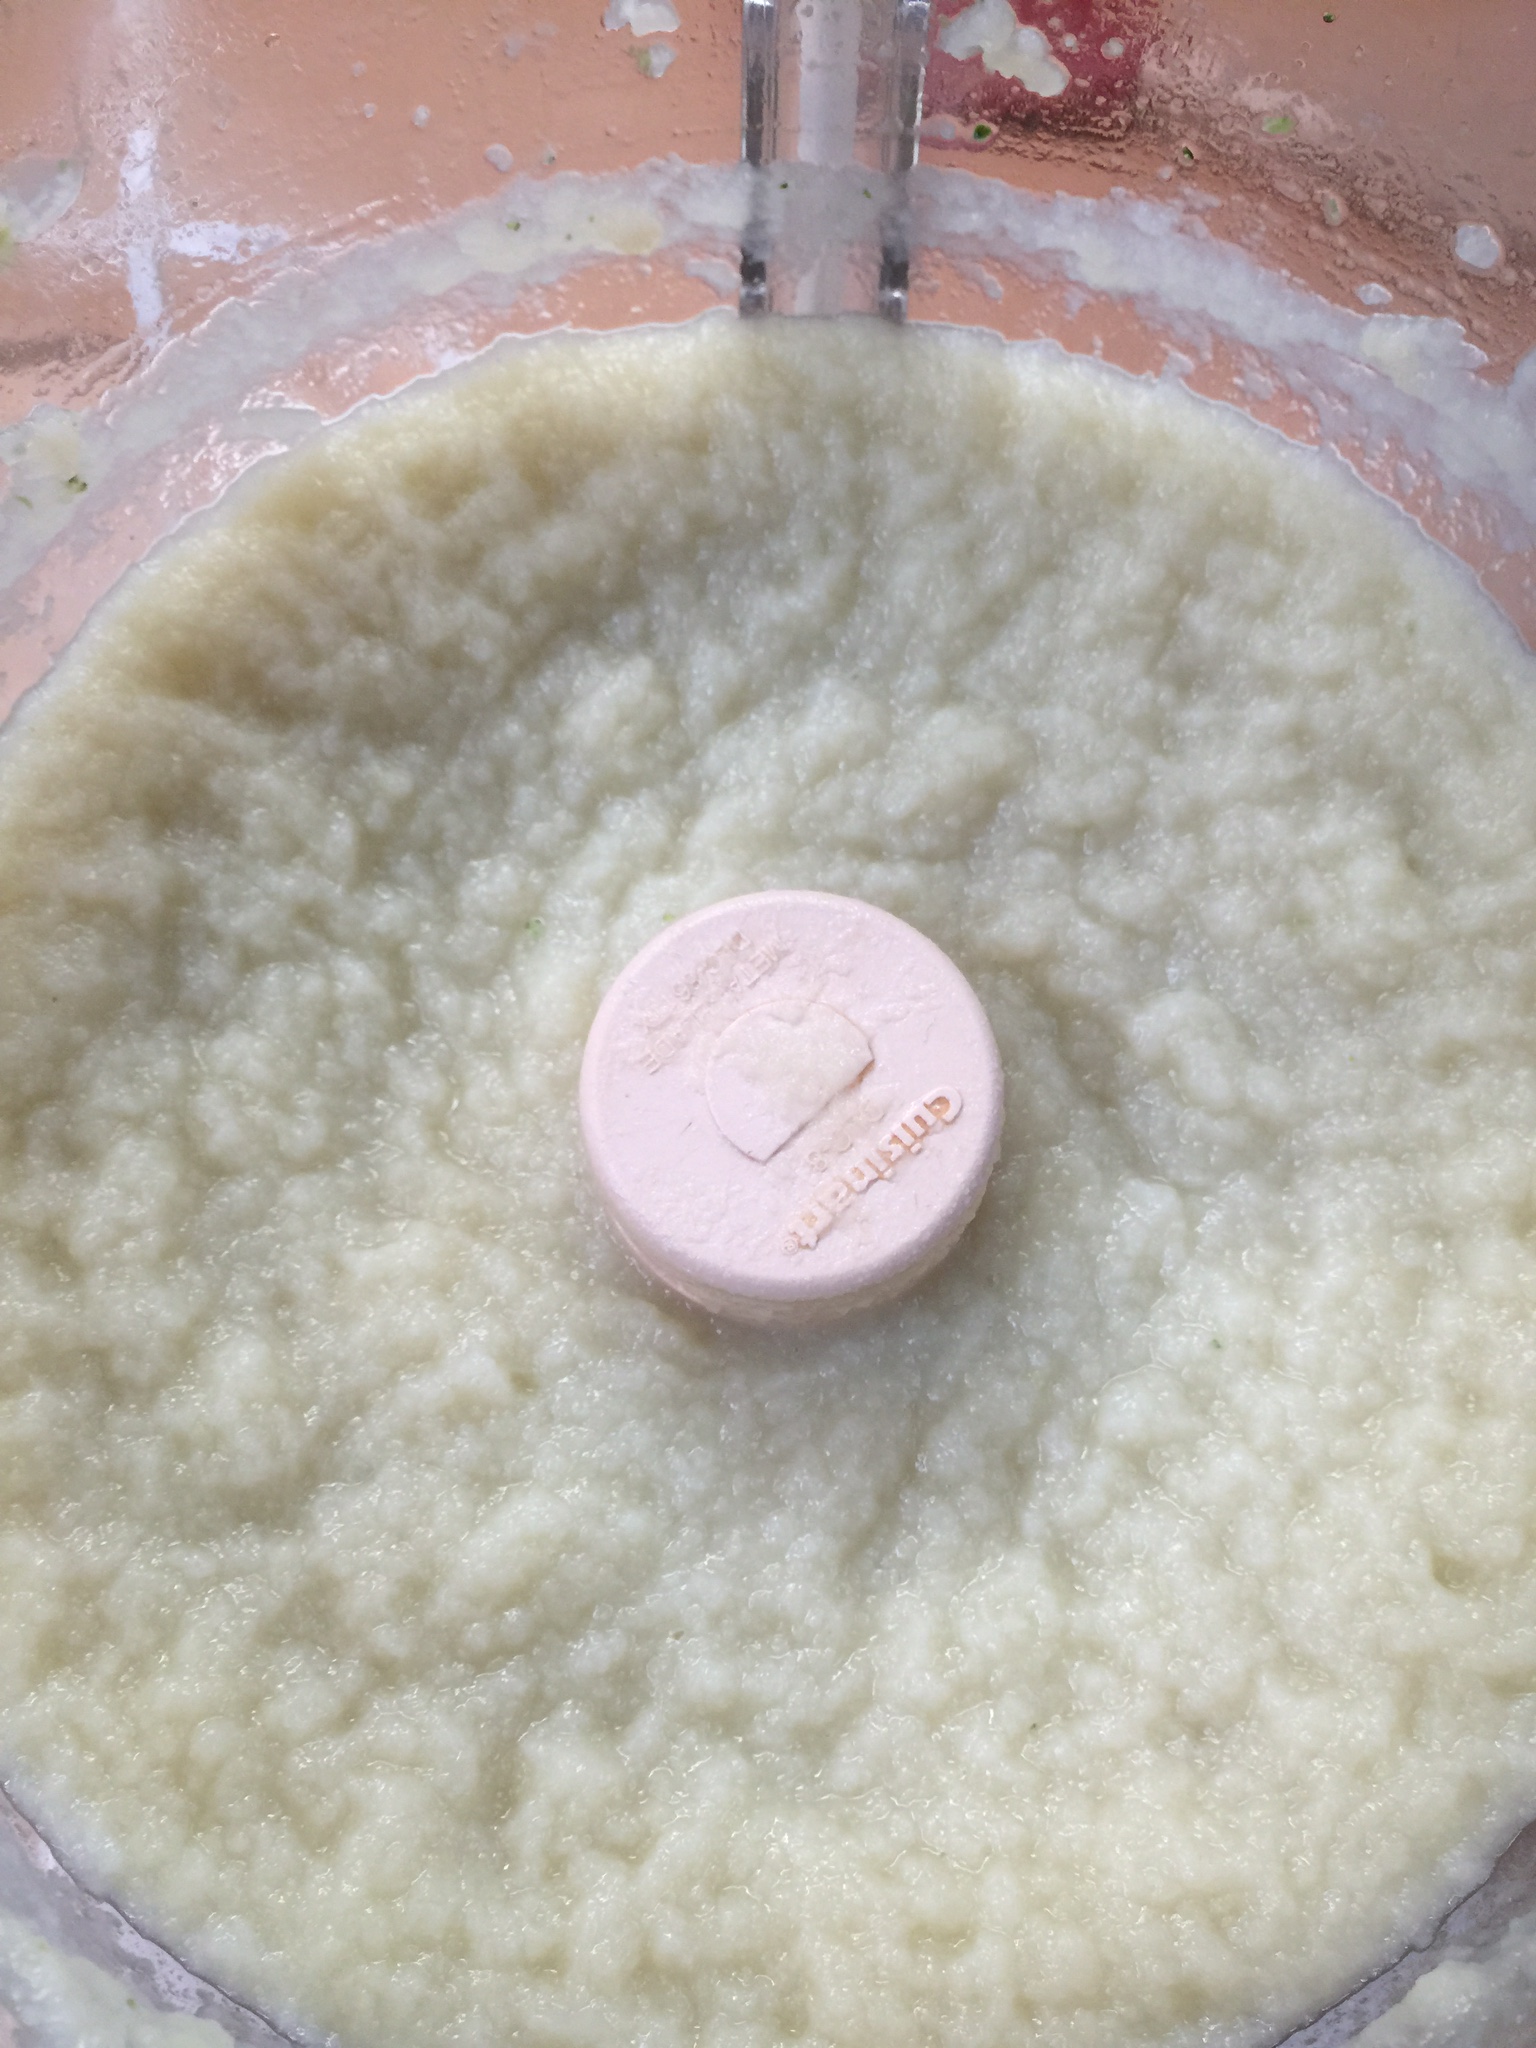
Place in your food processor, and pulse until it is smooth without any chunks.
This is not enough, above ^.
This is how it should look below:
At this point you can make mashers or tots!:) I’m going for tots!
After you get your cauliflower to this consistency, you are going to want to wring out the excess water – and there is a LOT!!!
This is the time consuming part, and you will want to make sure your cauliflower is cool, or you will burn off your finger tips. Trust me – I didn’t quite burn mine off, but it was close! Make sure you allow time for your cauliflower to cool either right after steaming or after processing.
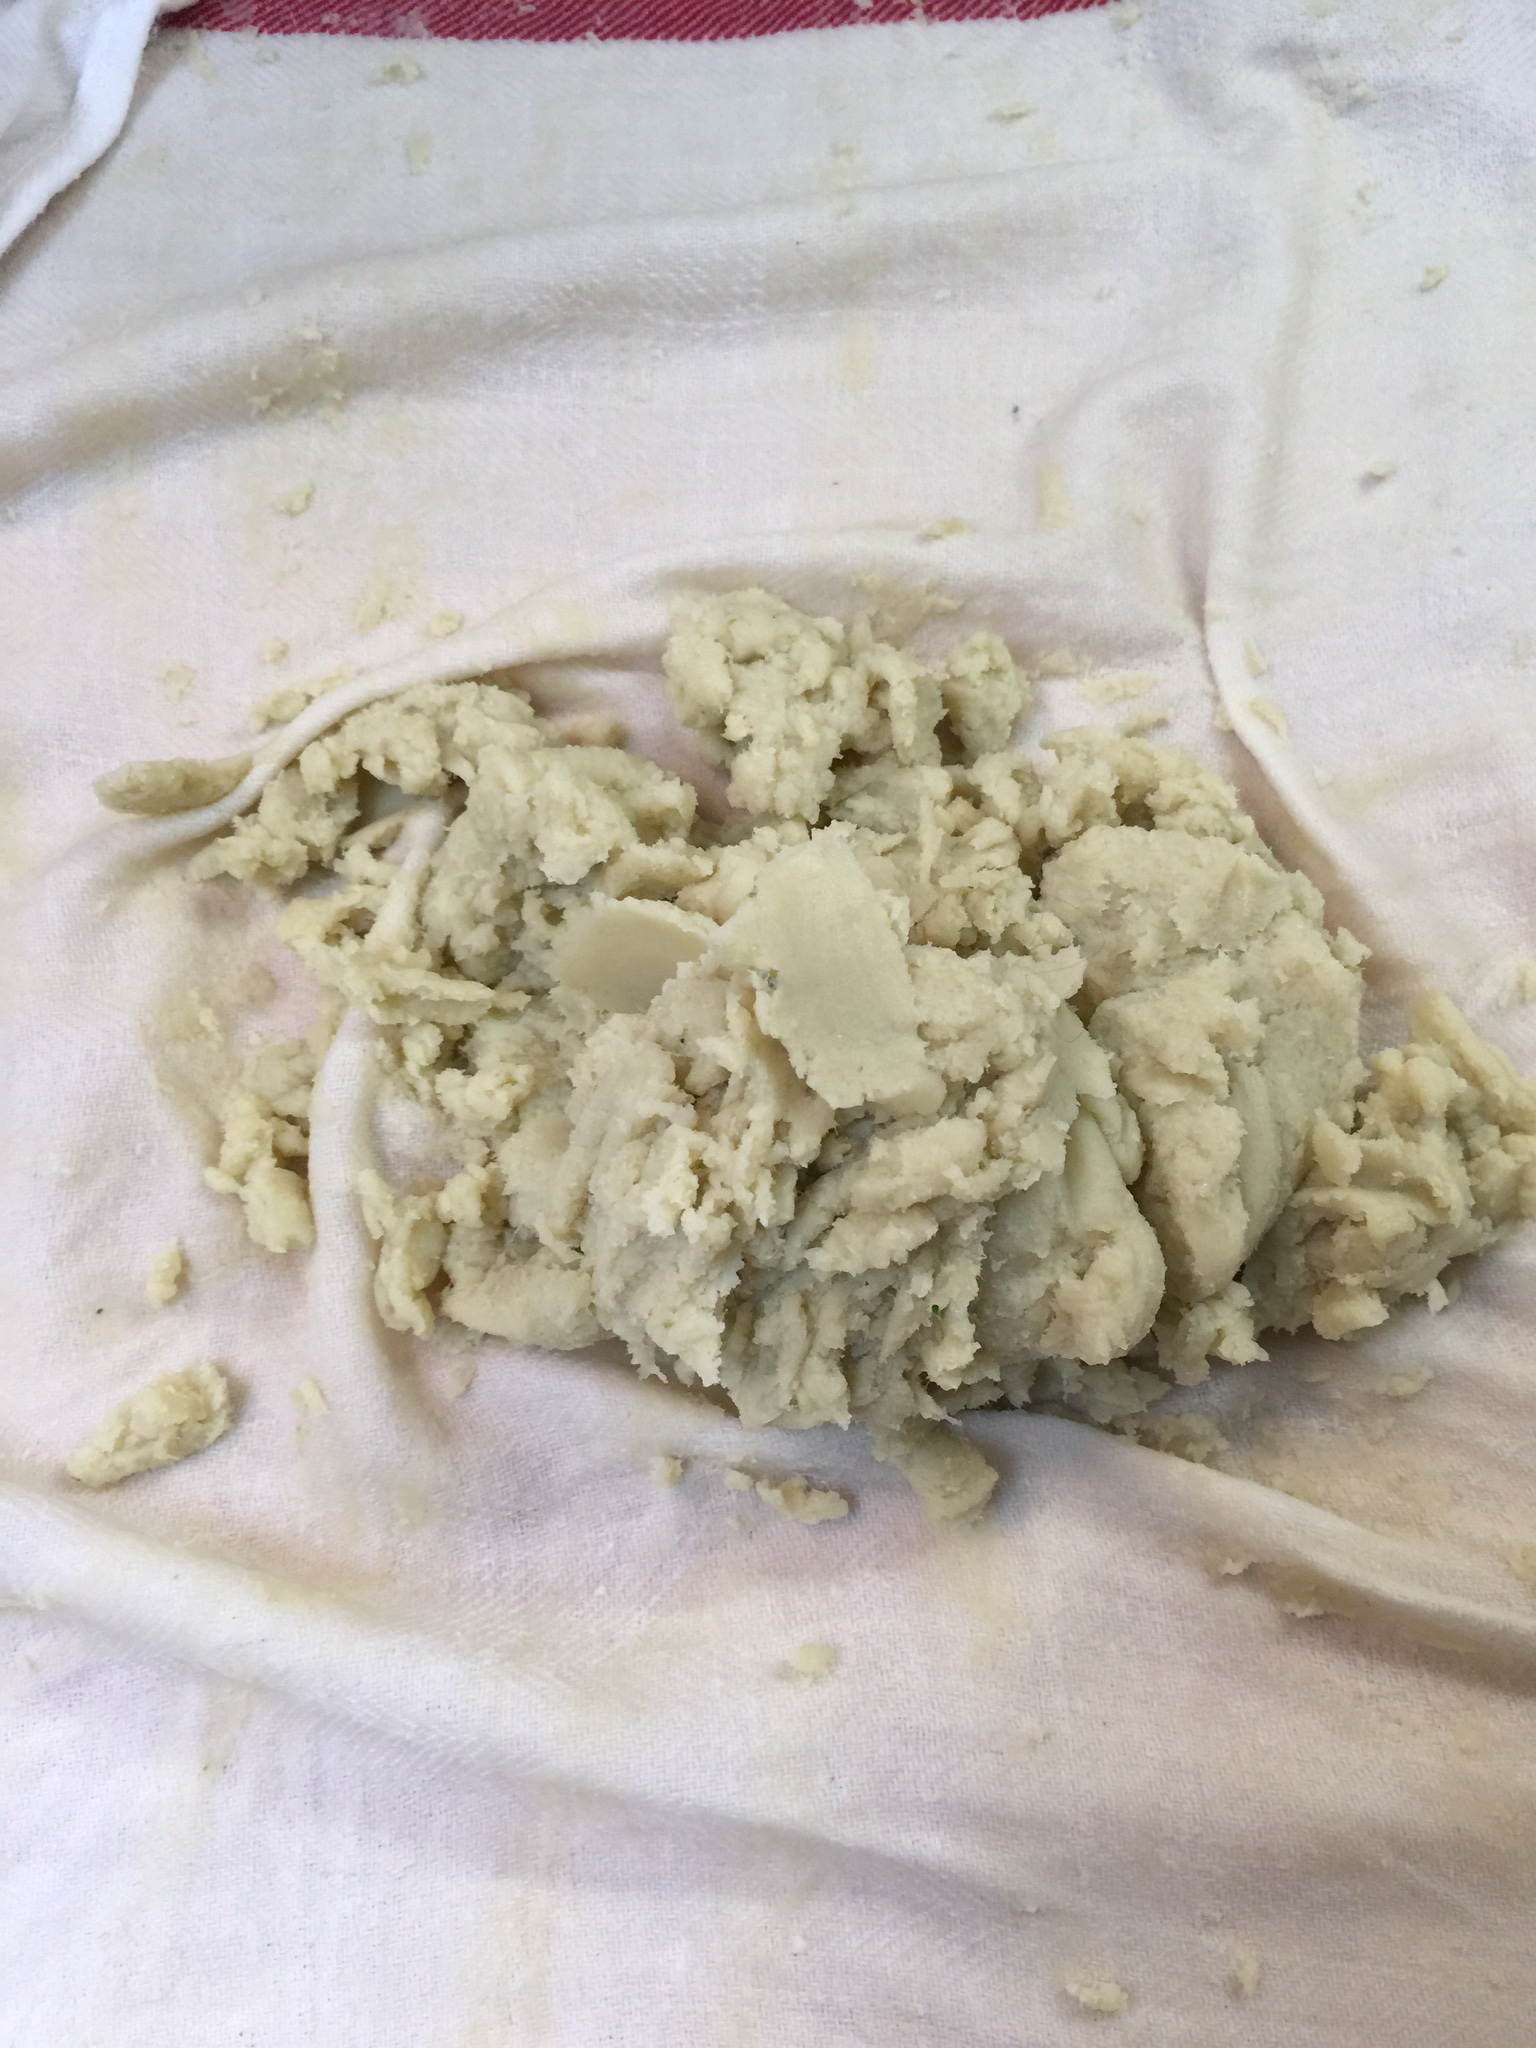
Once cool, I use a light dish towel to wring out the excess water. You can use a cheese cloth as well. The cauliflower will slip right through a colander.
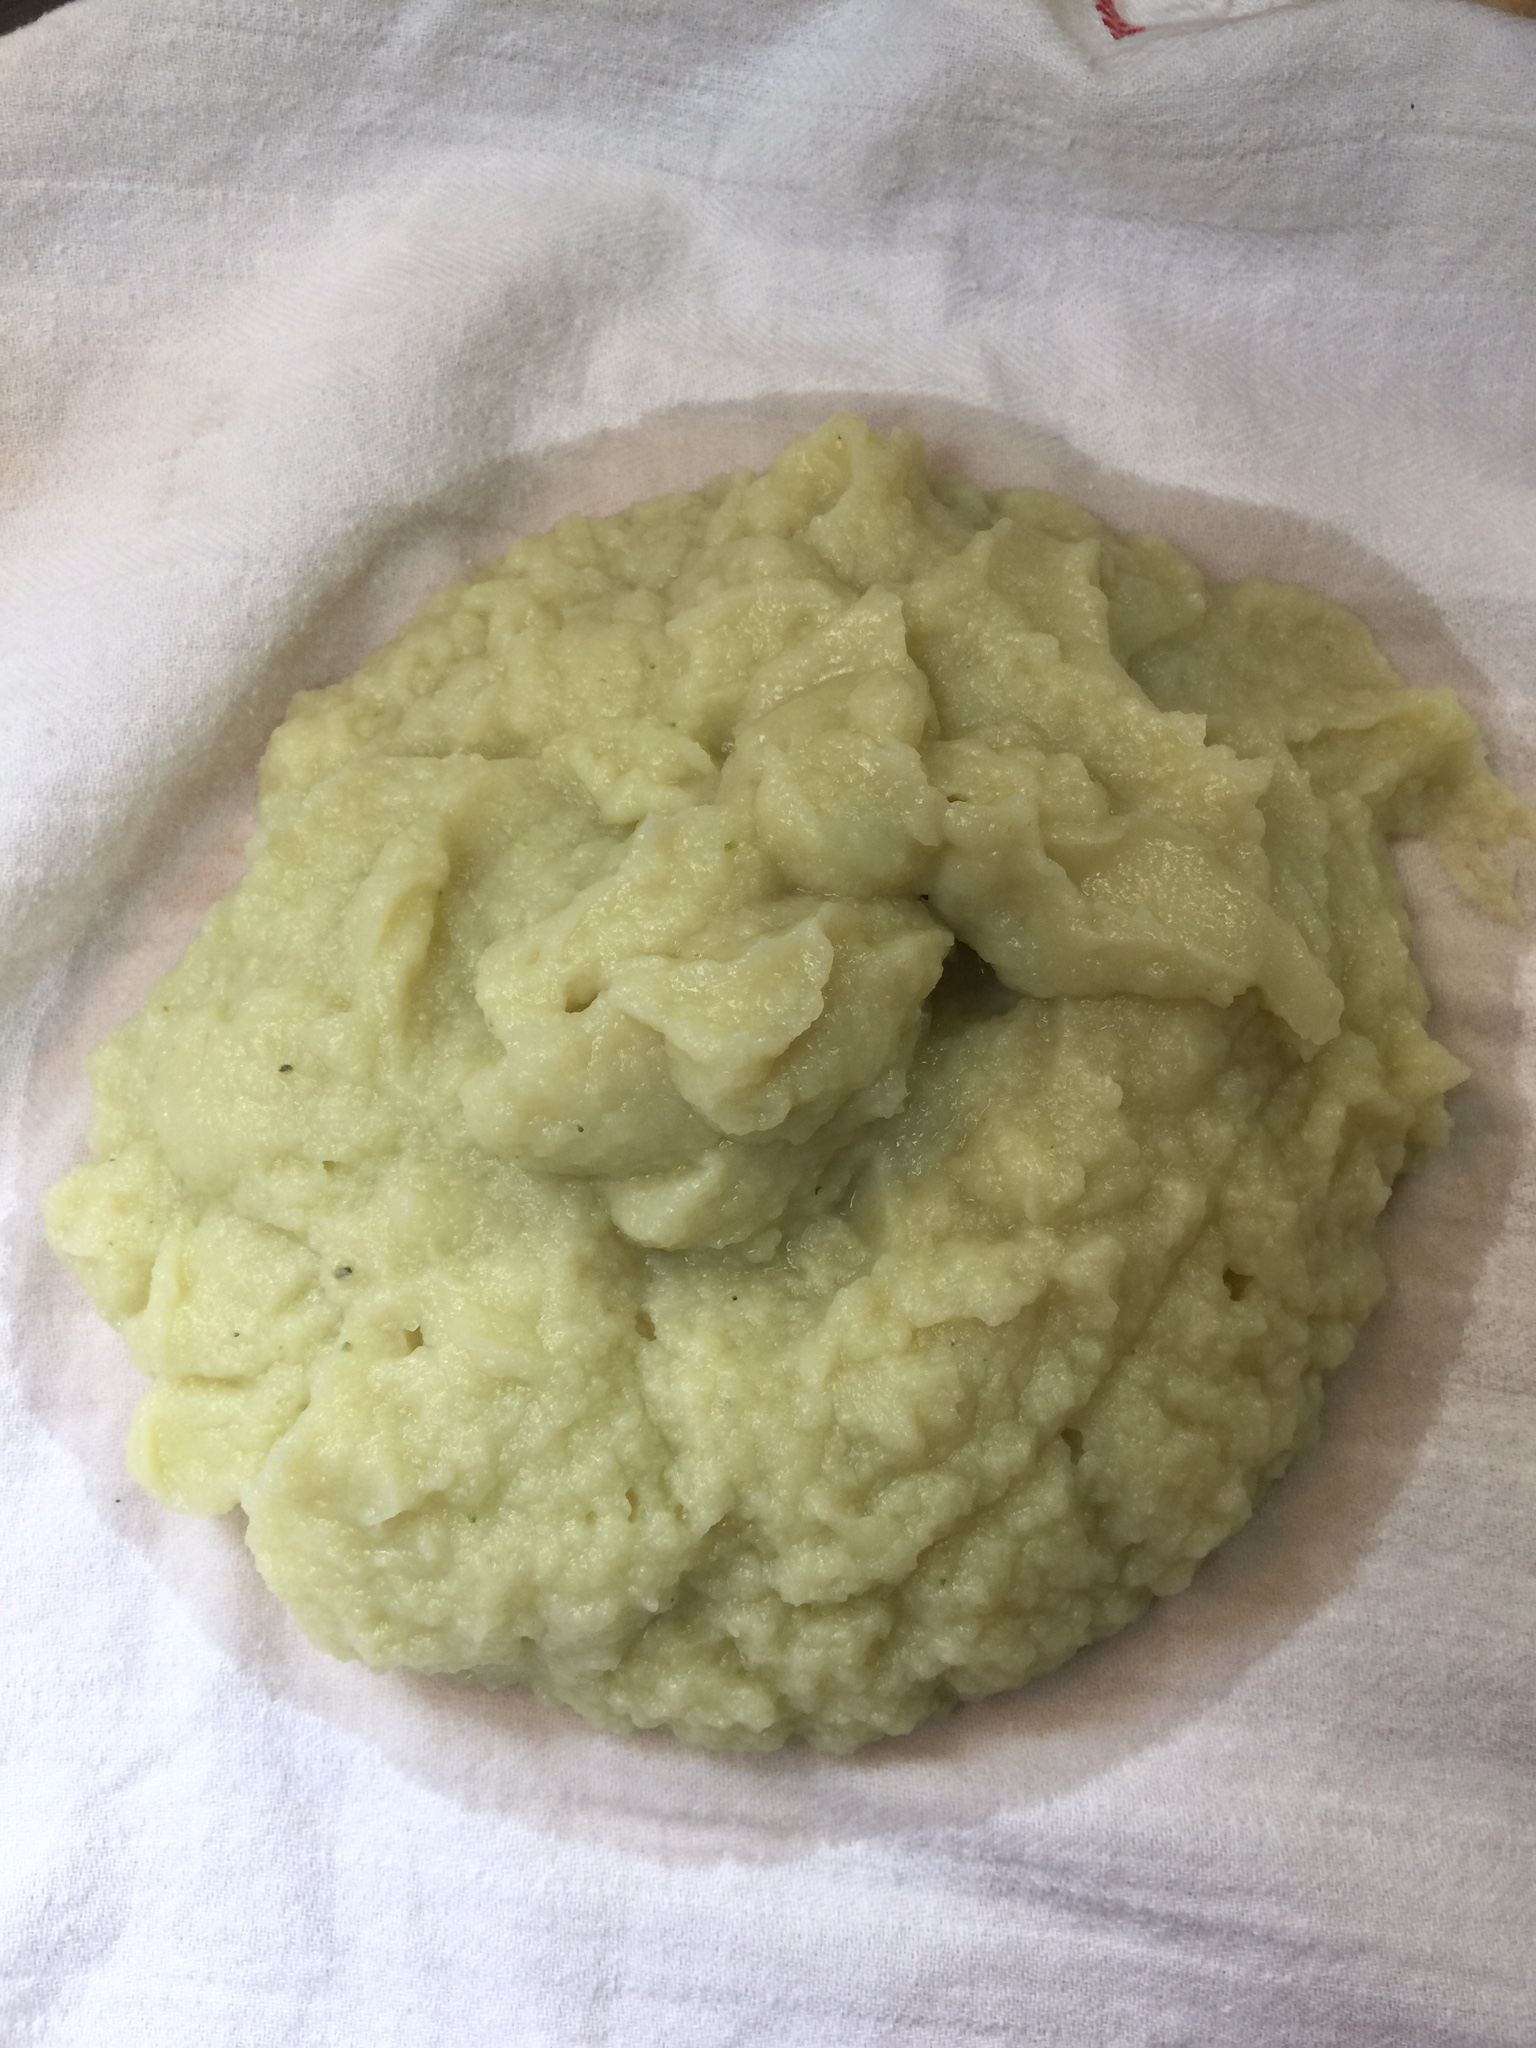
When you place it on the dish towel, be ready to start wringing. See the water spreading…It will look like this:
After you squeeze and squeeze, and wring and wring, it will look like this:
Doesn’t look verry appetizing, but just wait!
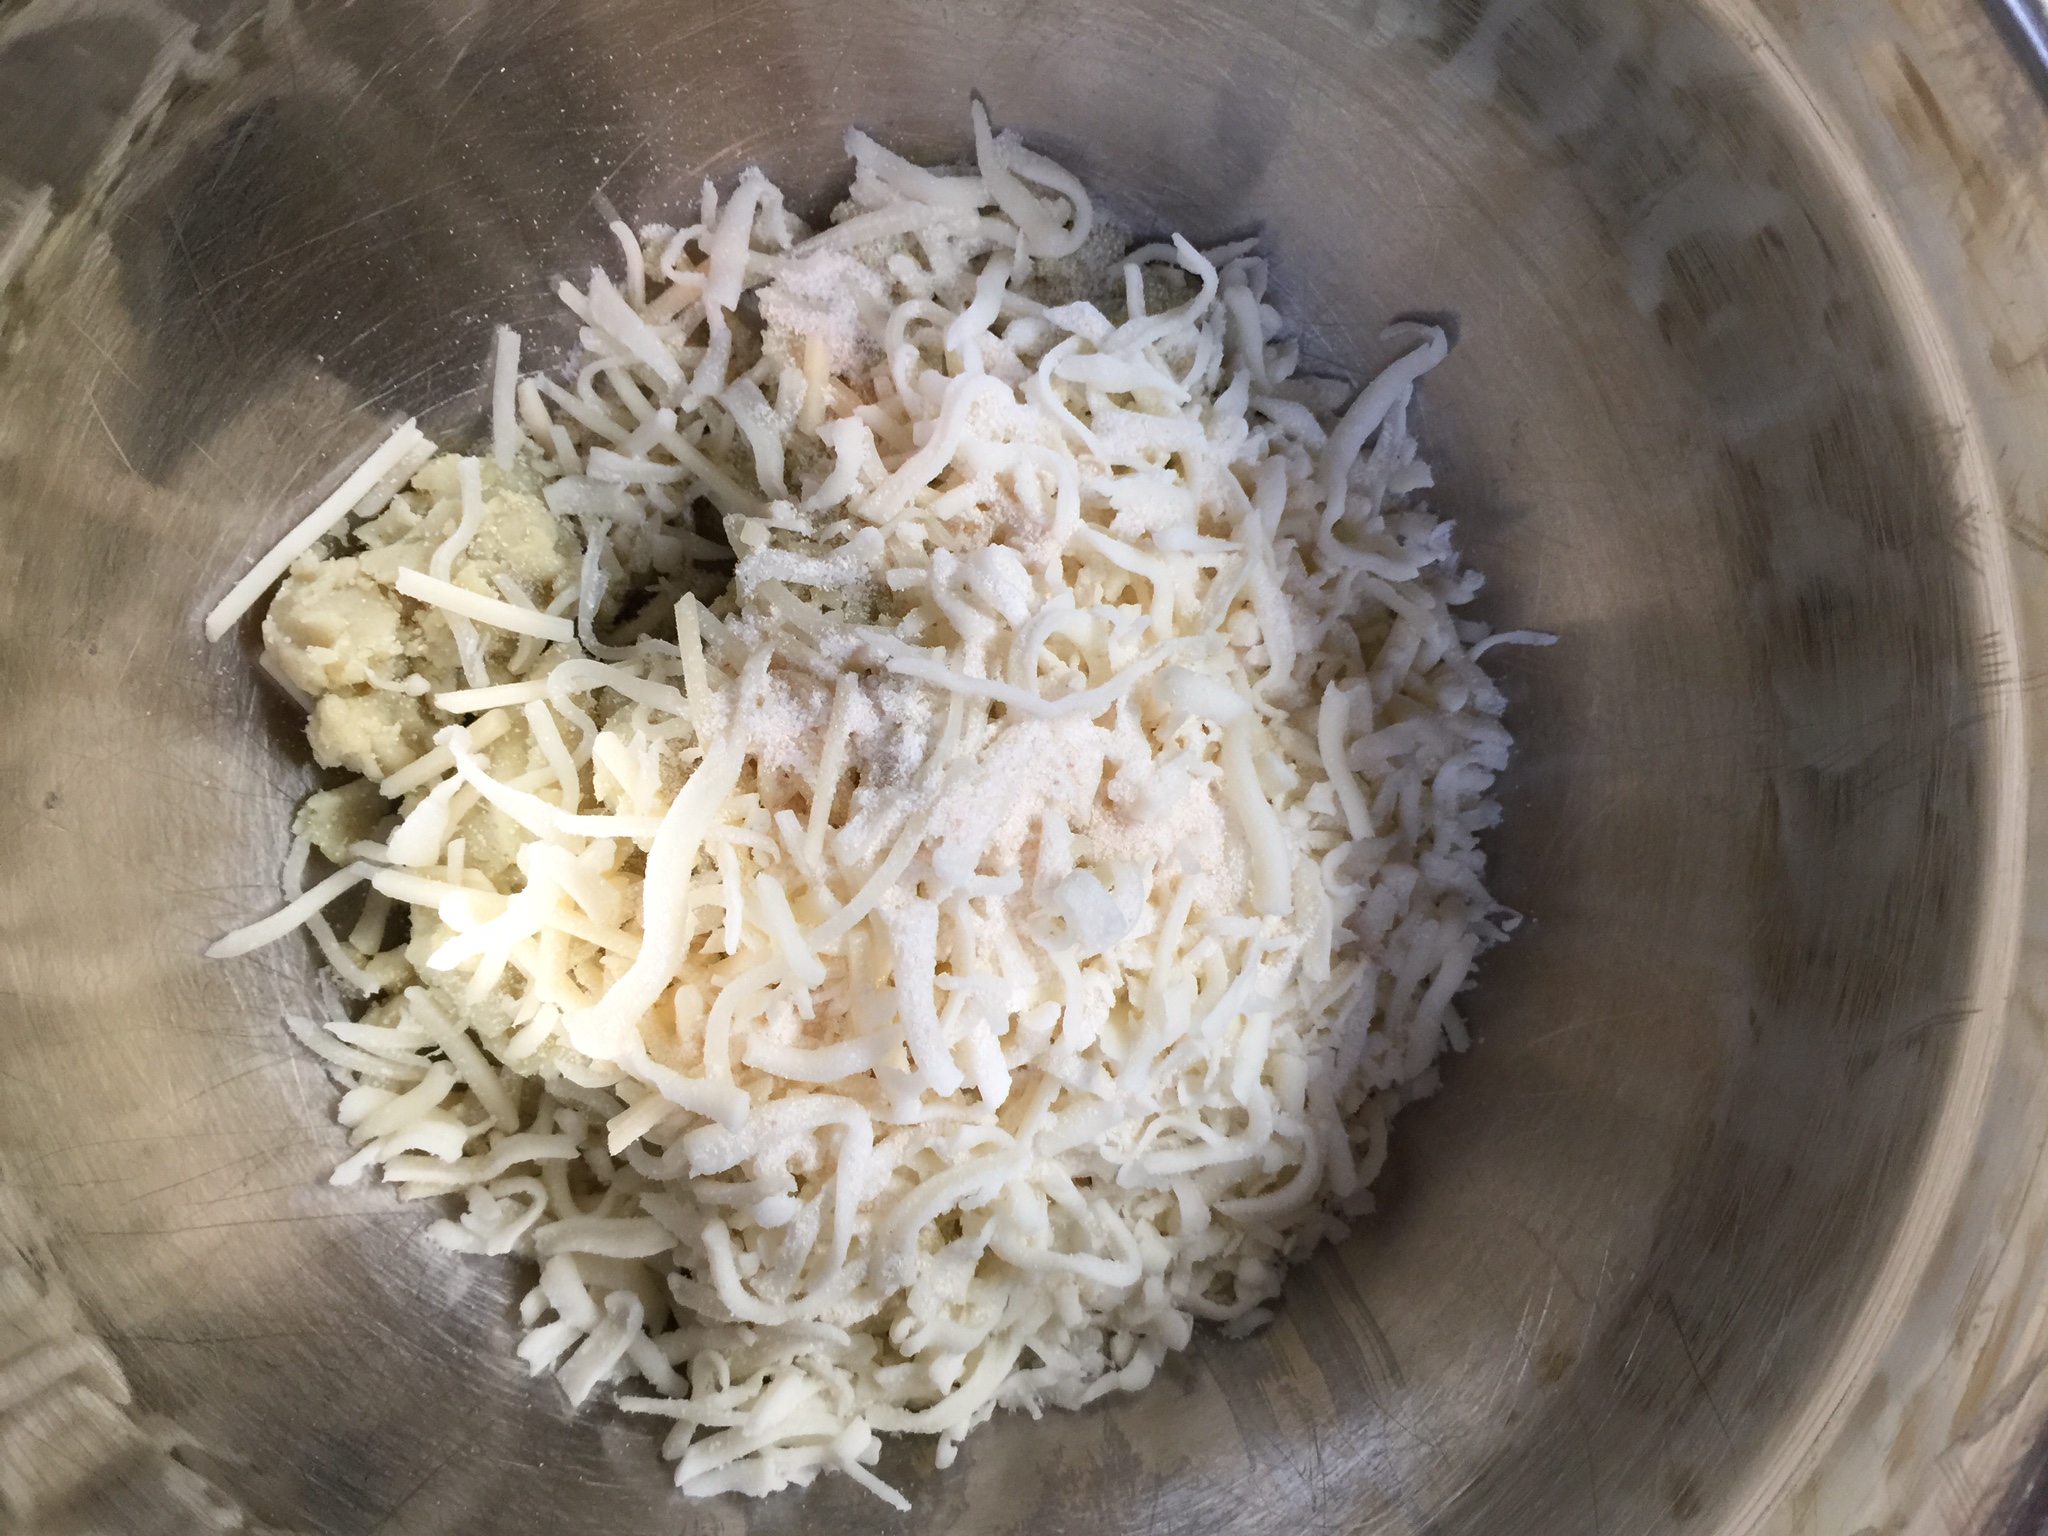
Now, take your cauliflower “paste”, and add your cheeses, egg, and garlic salt. You may have to use a dull knife to scrape the dry cauliflower off the towel.
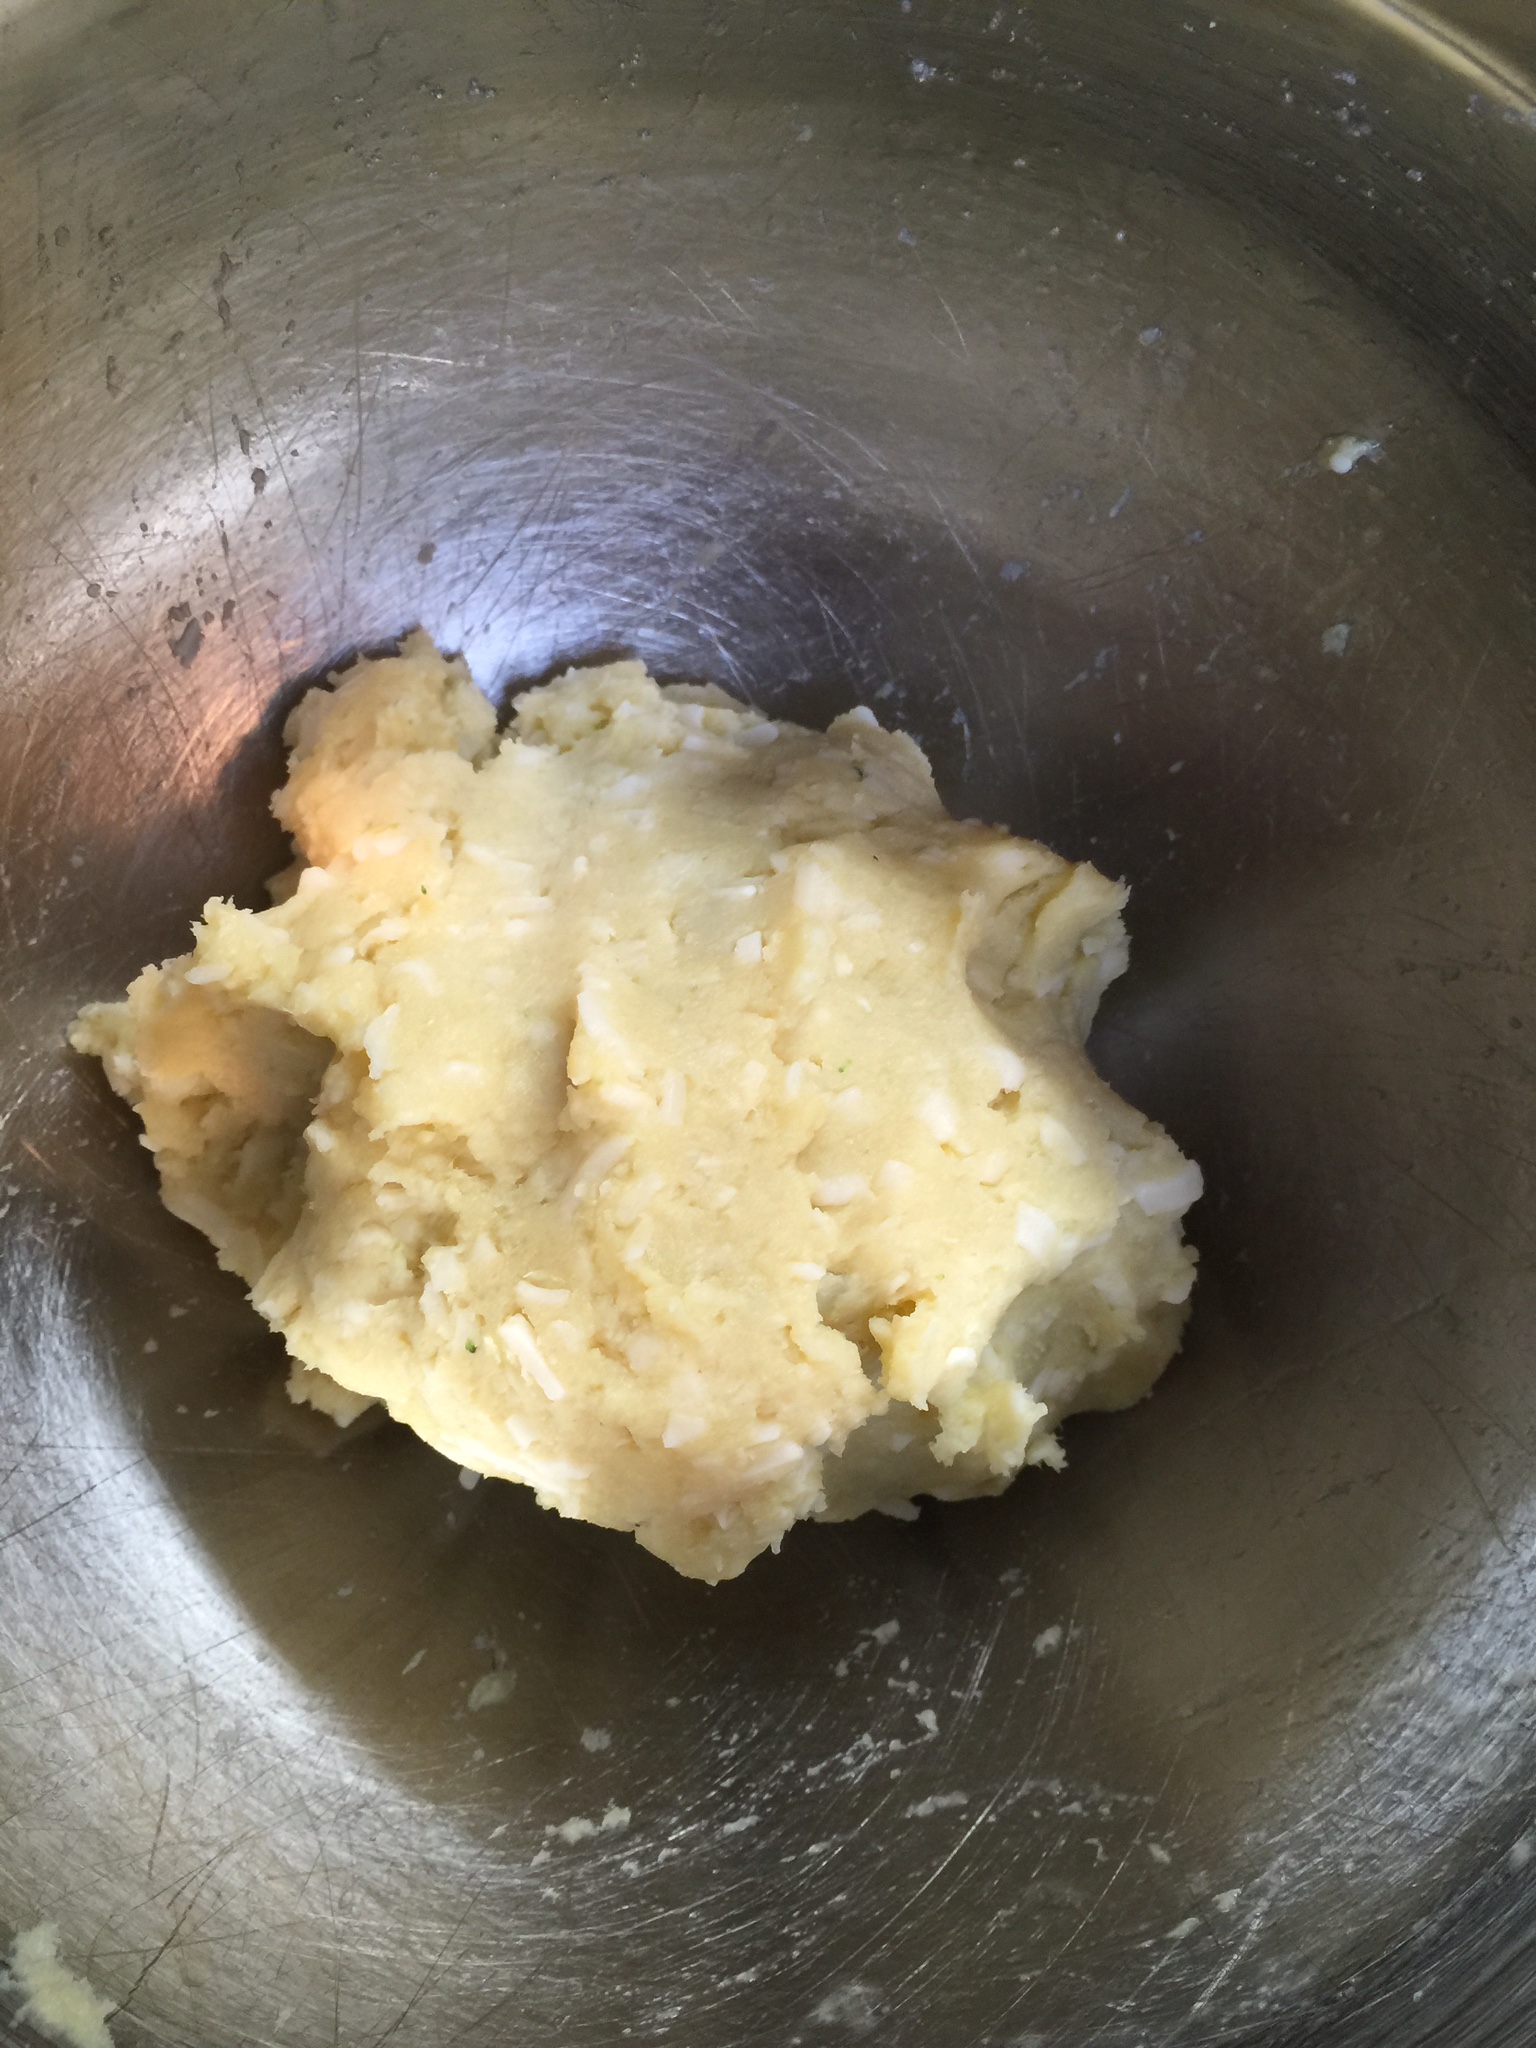
Mix well. It should be a very thick mixture. If it is too runny to roll, then add your psyllium husk powder a little at a time.
It should look like this:
Take out about a teaspoon of “dough” at a time and roll into your tots! This is fun for the kids too!
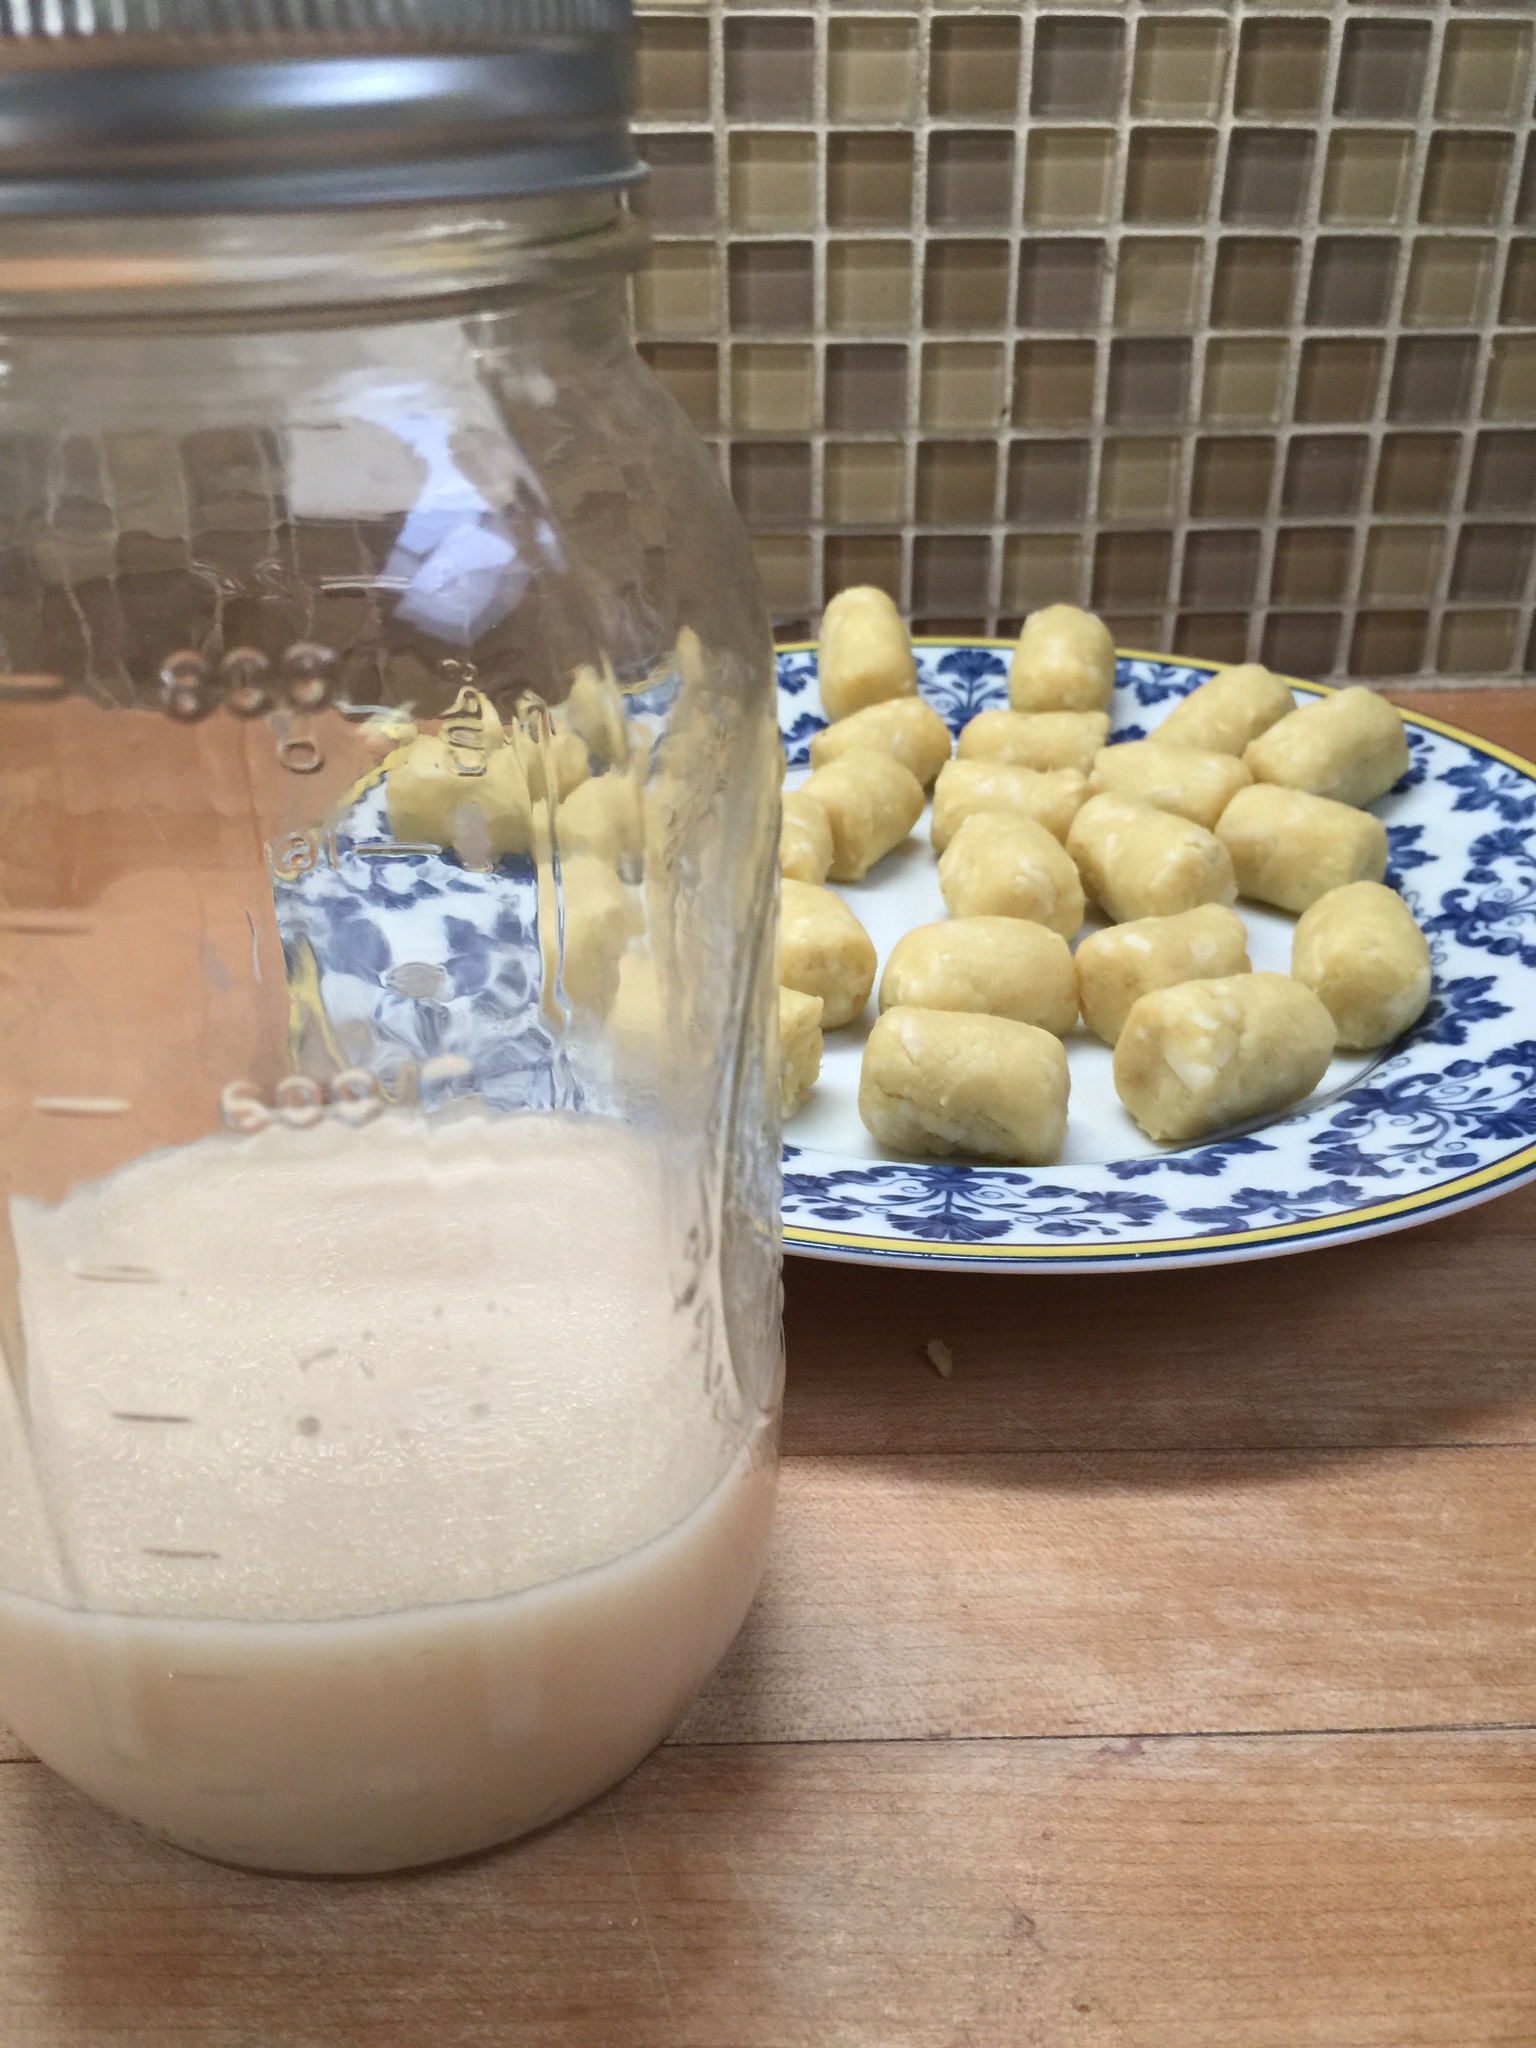
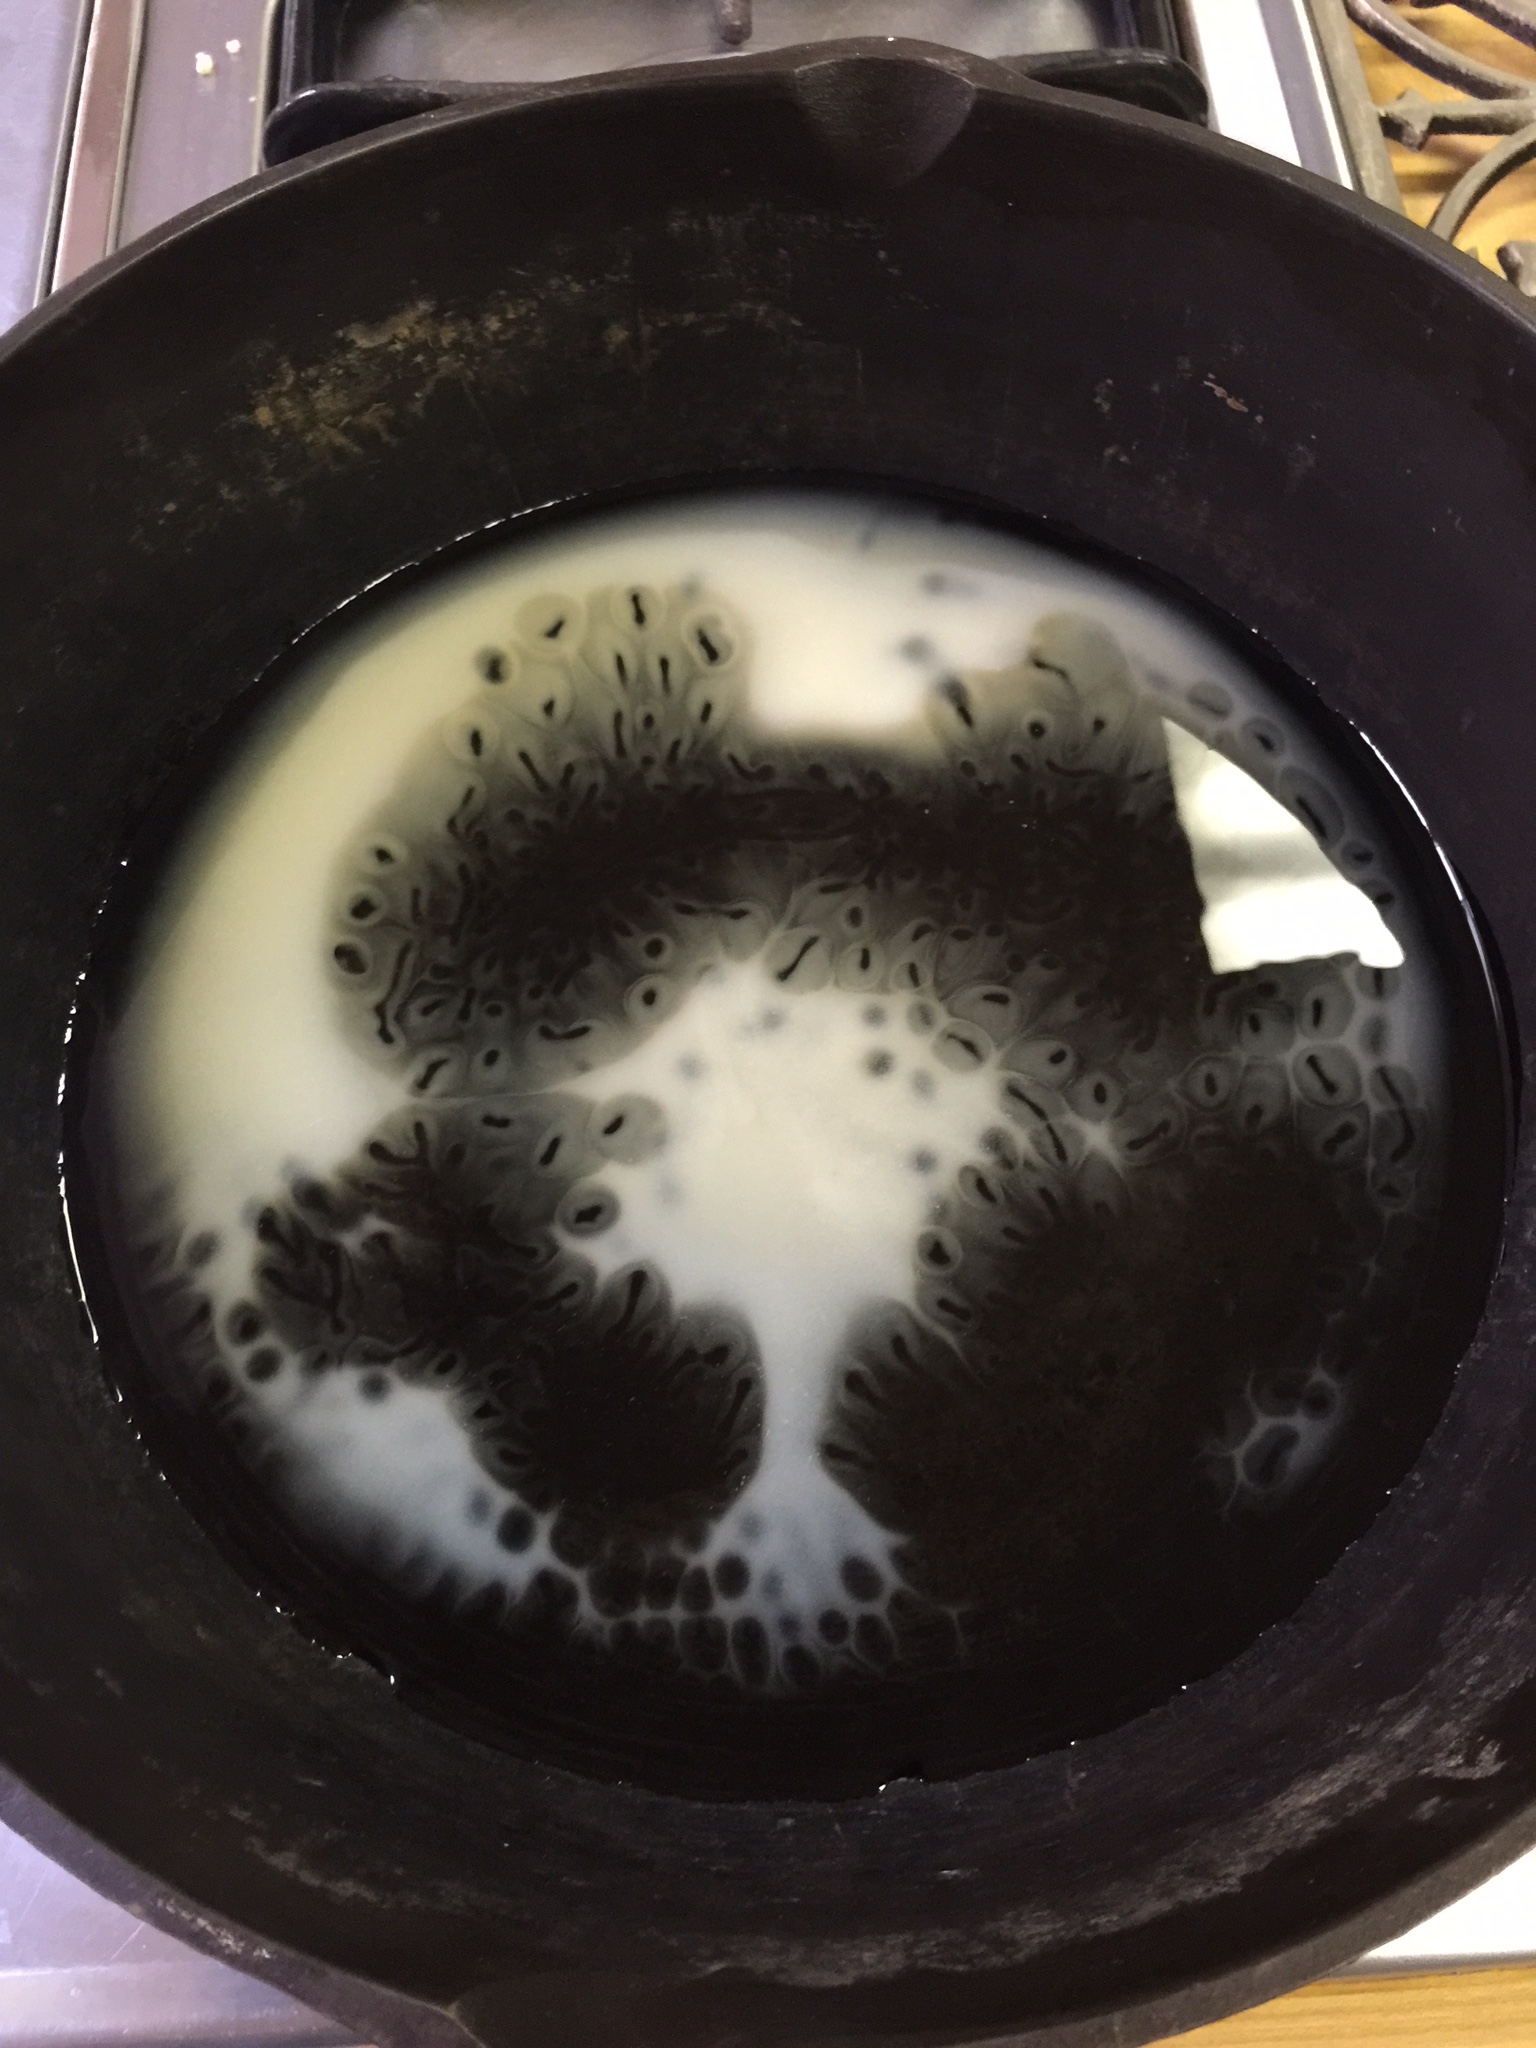
Now, get your yummy bacon grease ready (that you have saved from all those batches of bacon, right?) Remember that cast iron skillet that Erin posted about? This is the perfect time to pull that big daddy out as well!
Start heating your fat in your skillet over medium heat! Your grease really needs to be perfect. If it is too hot, they will burn, but if it is not hot enough, the tots will stick to the bottom of the skillet. Keep it on medium, and be patient. The first picture is my mason jar of grease. The second is the grease melting in my cast iron skillet. Yum!!!!
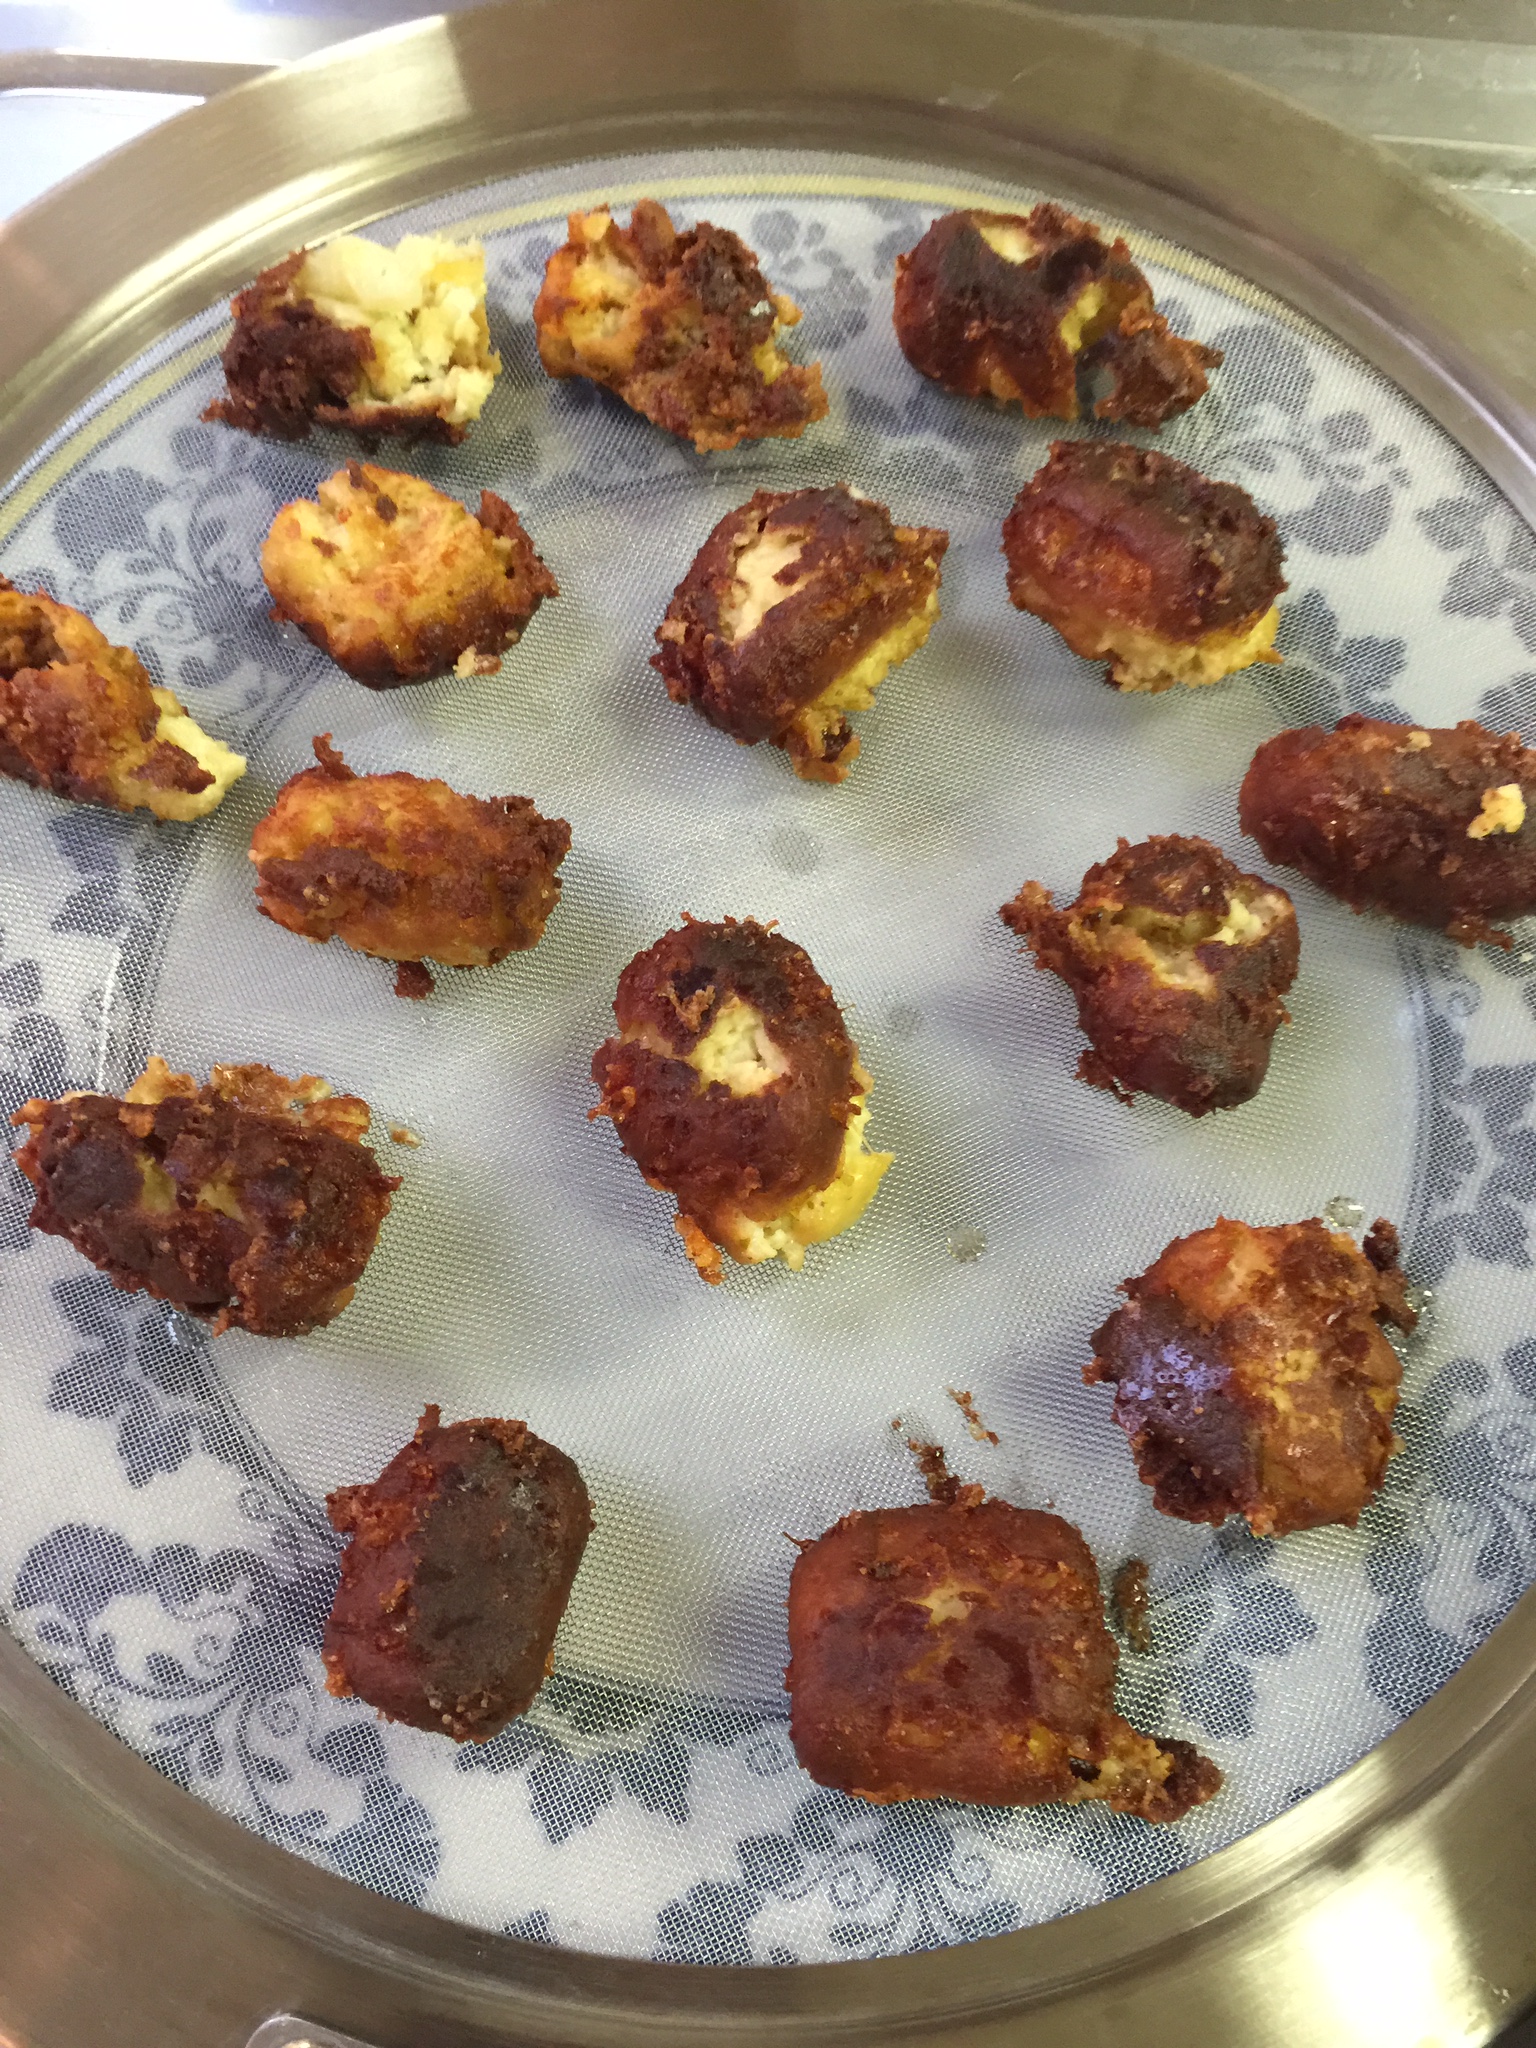
You will also need to set up a plate with either paper towels or a mesh splatter shield to drain your tots after they cook so they start to crisp. I used a splatter shield over a plate, and had it ready to go before frying.
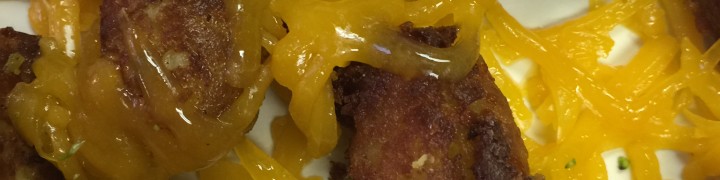
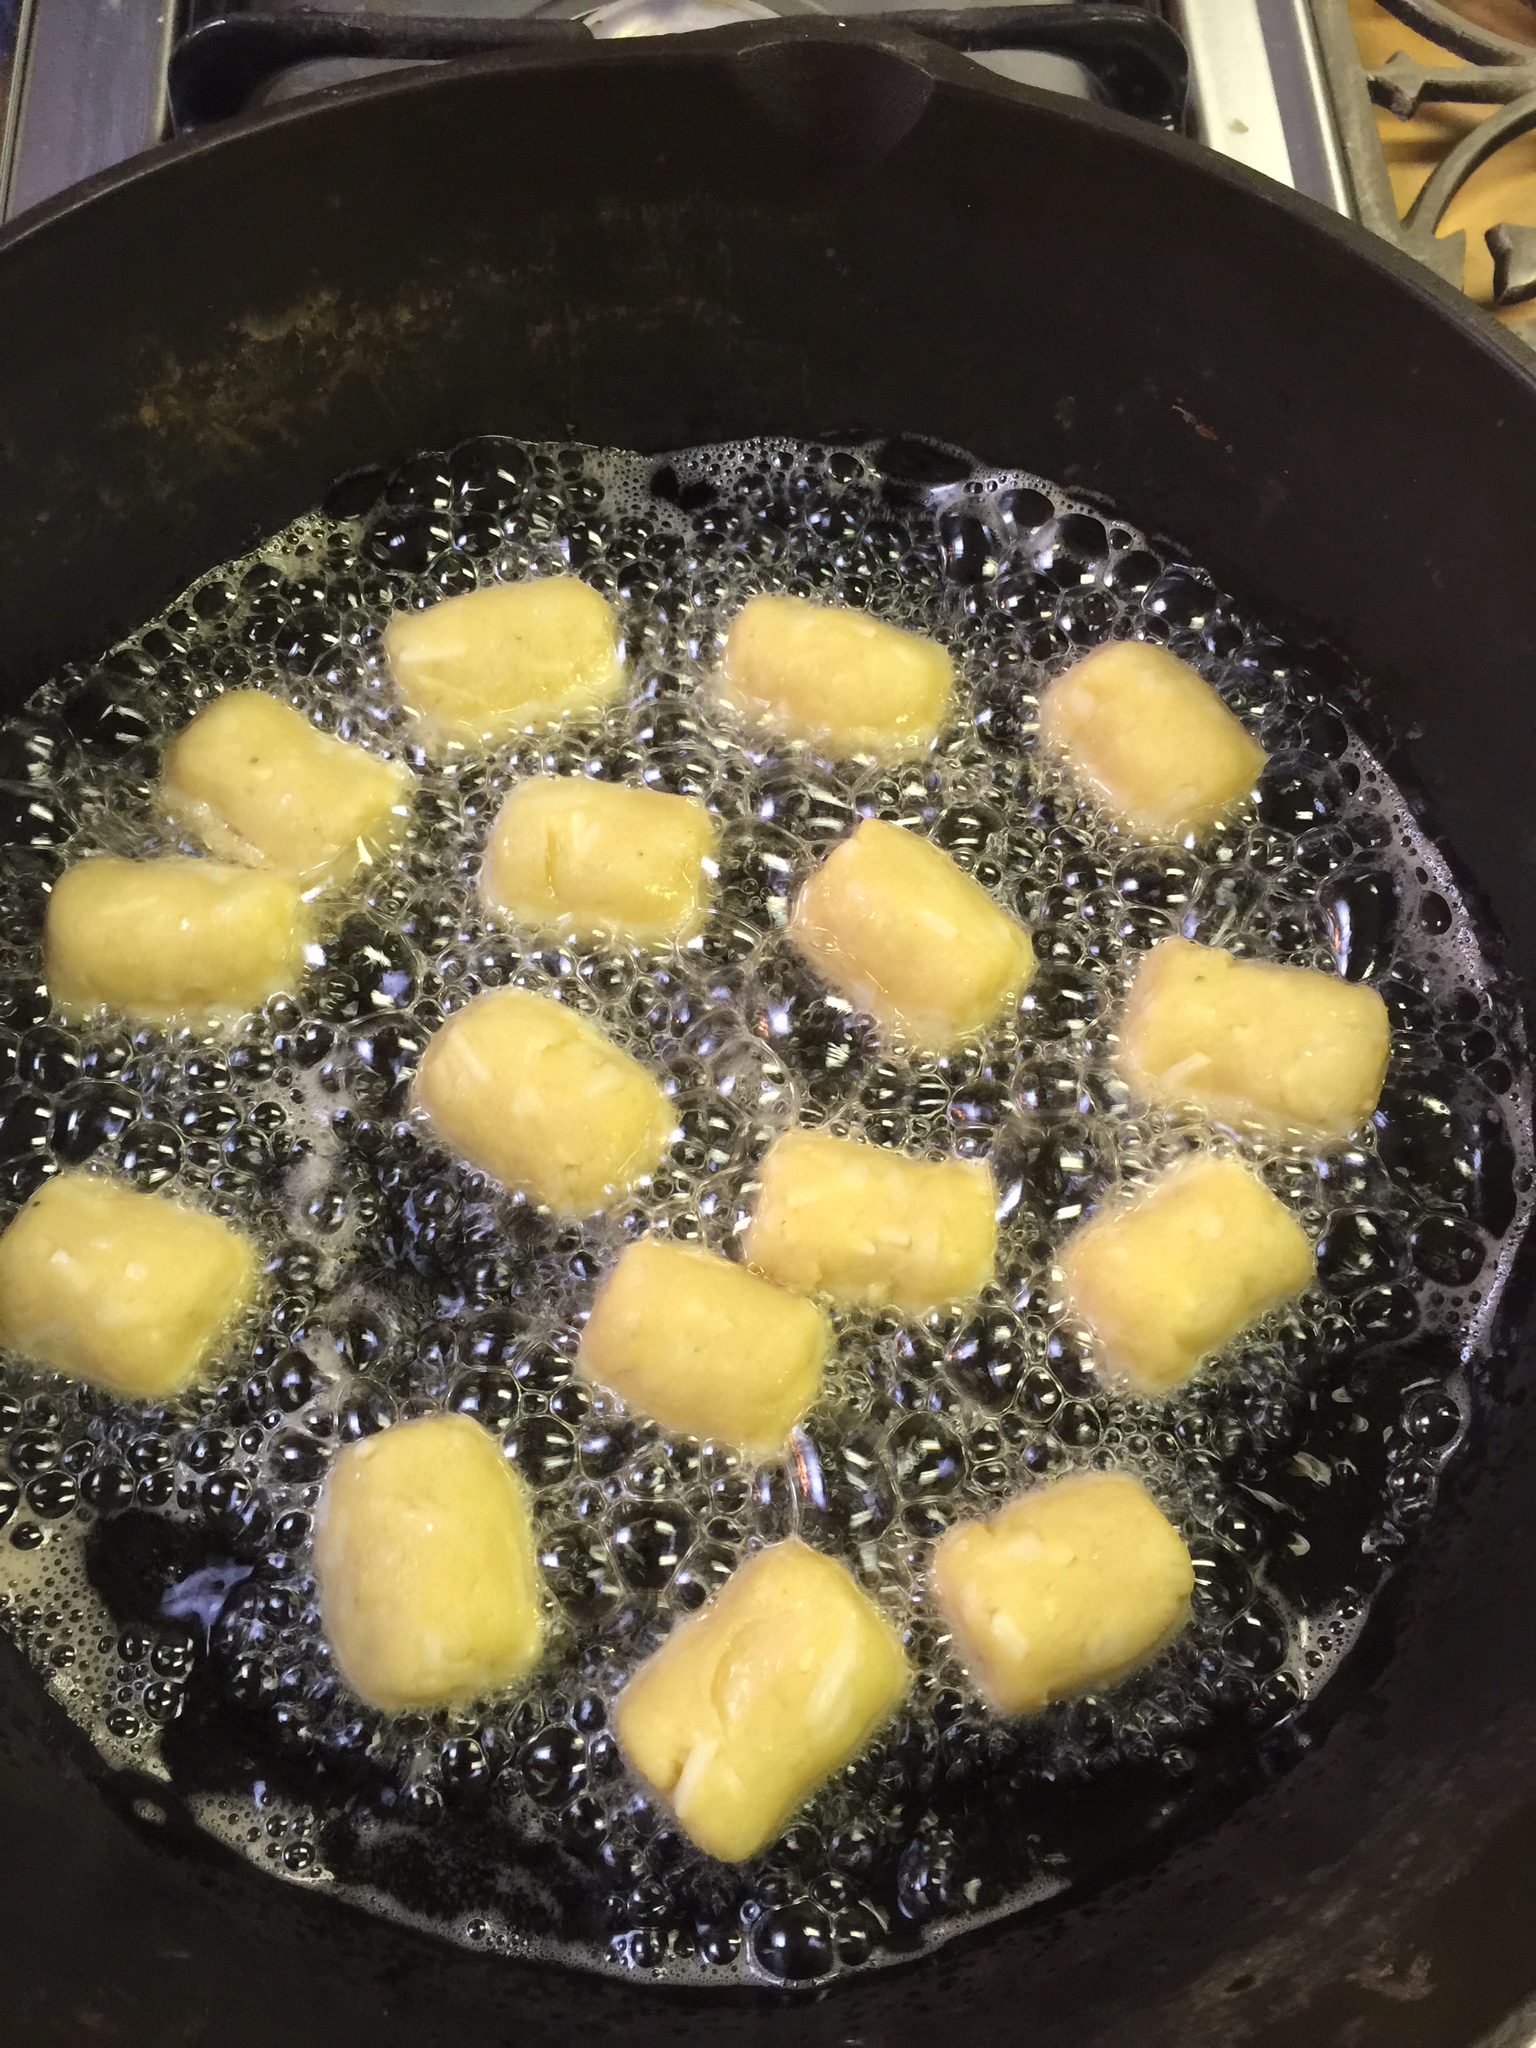
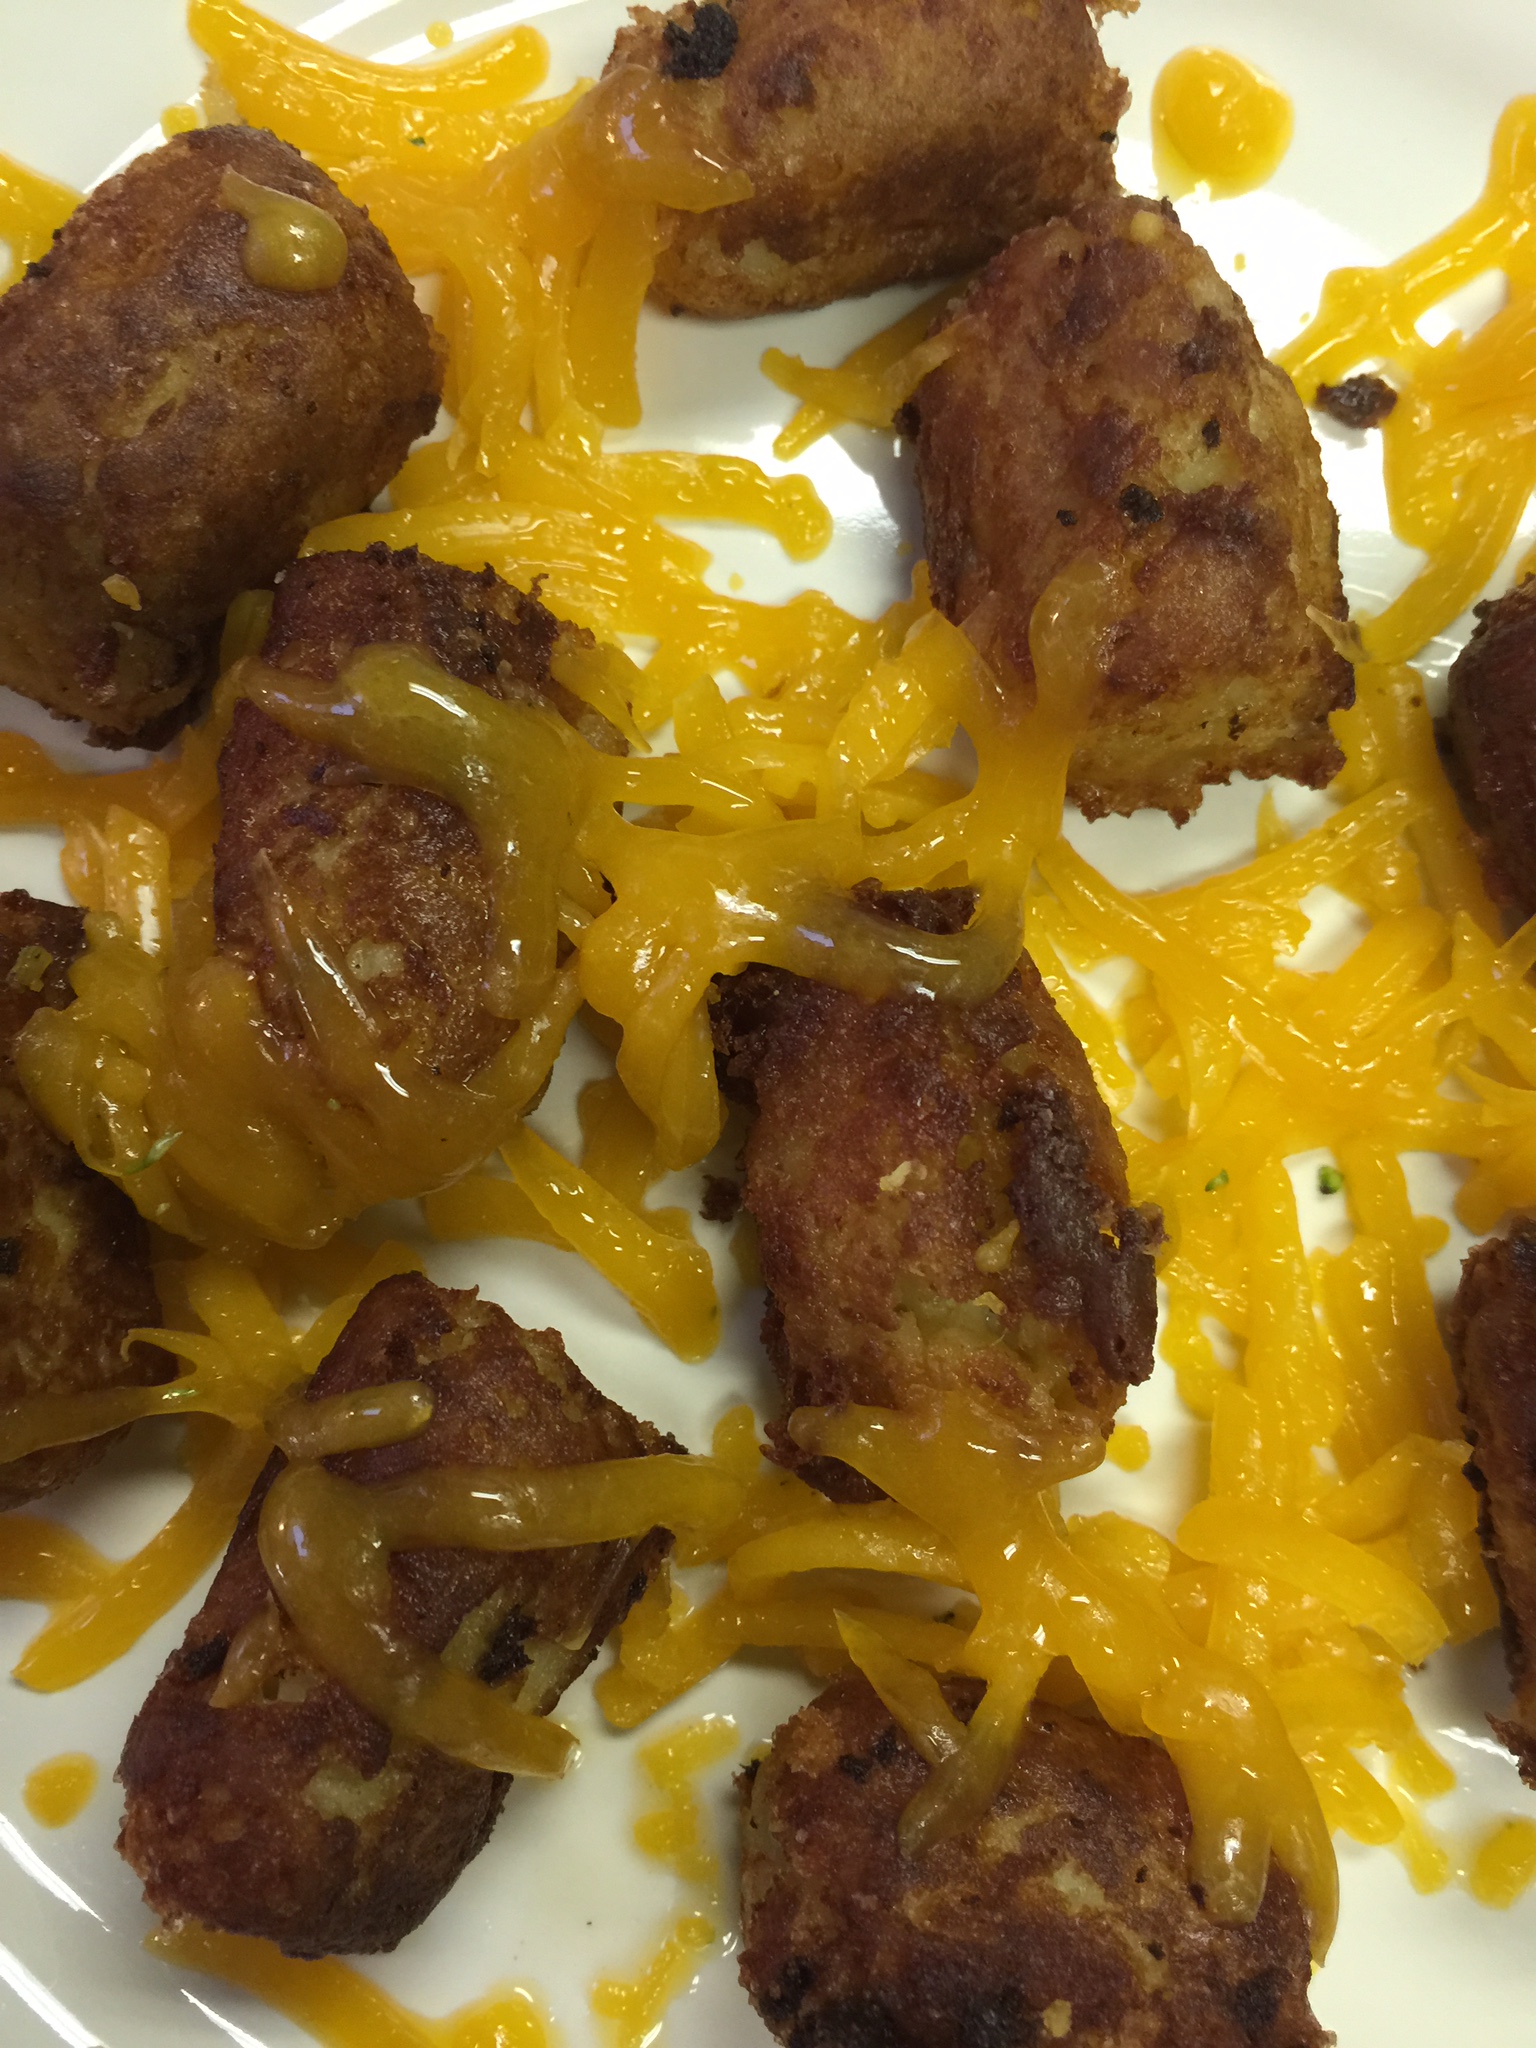
When your grease is hot, gently drop your tots into the grease, and move them around so they don’t stick to the bottom. Continue to rotate until they are golden brown on all sides:
When they are cooked on all sides, remove to your plate.
This was my first batch, before my oil was hot enough so you can see where some stuck. I was not very patient:).
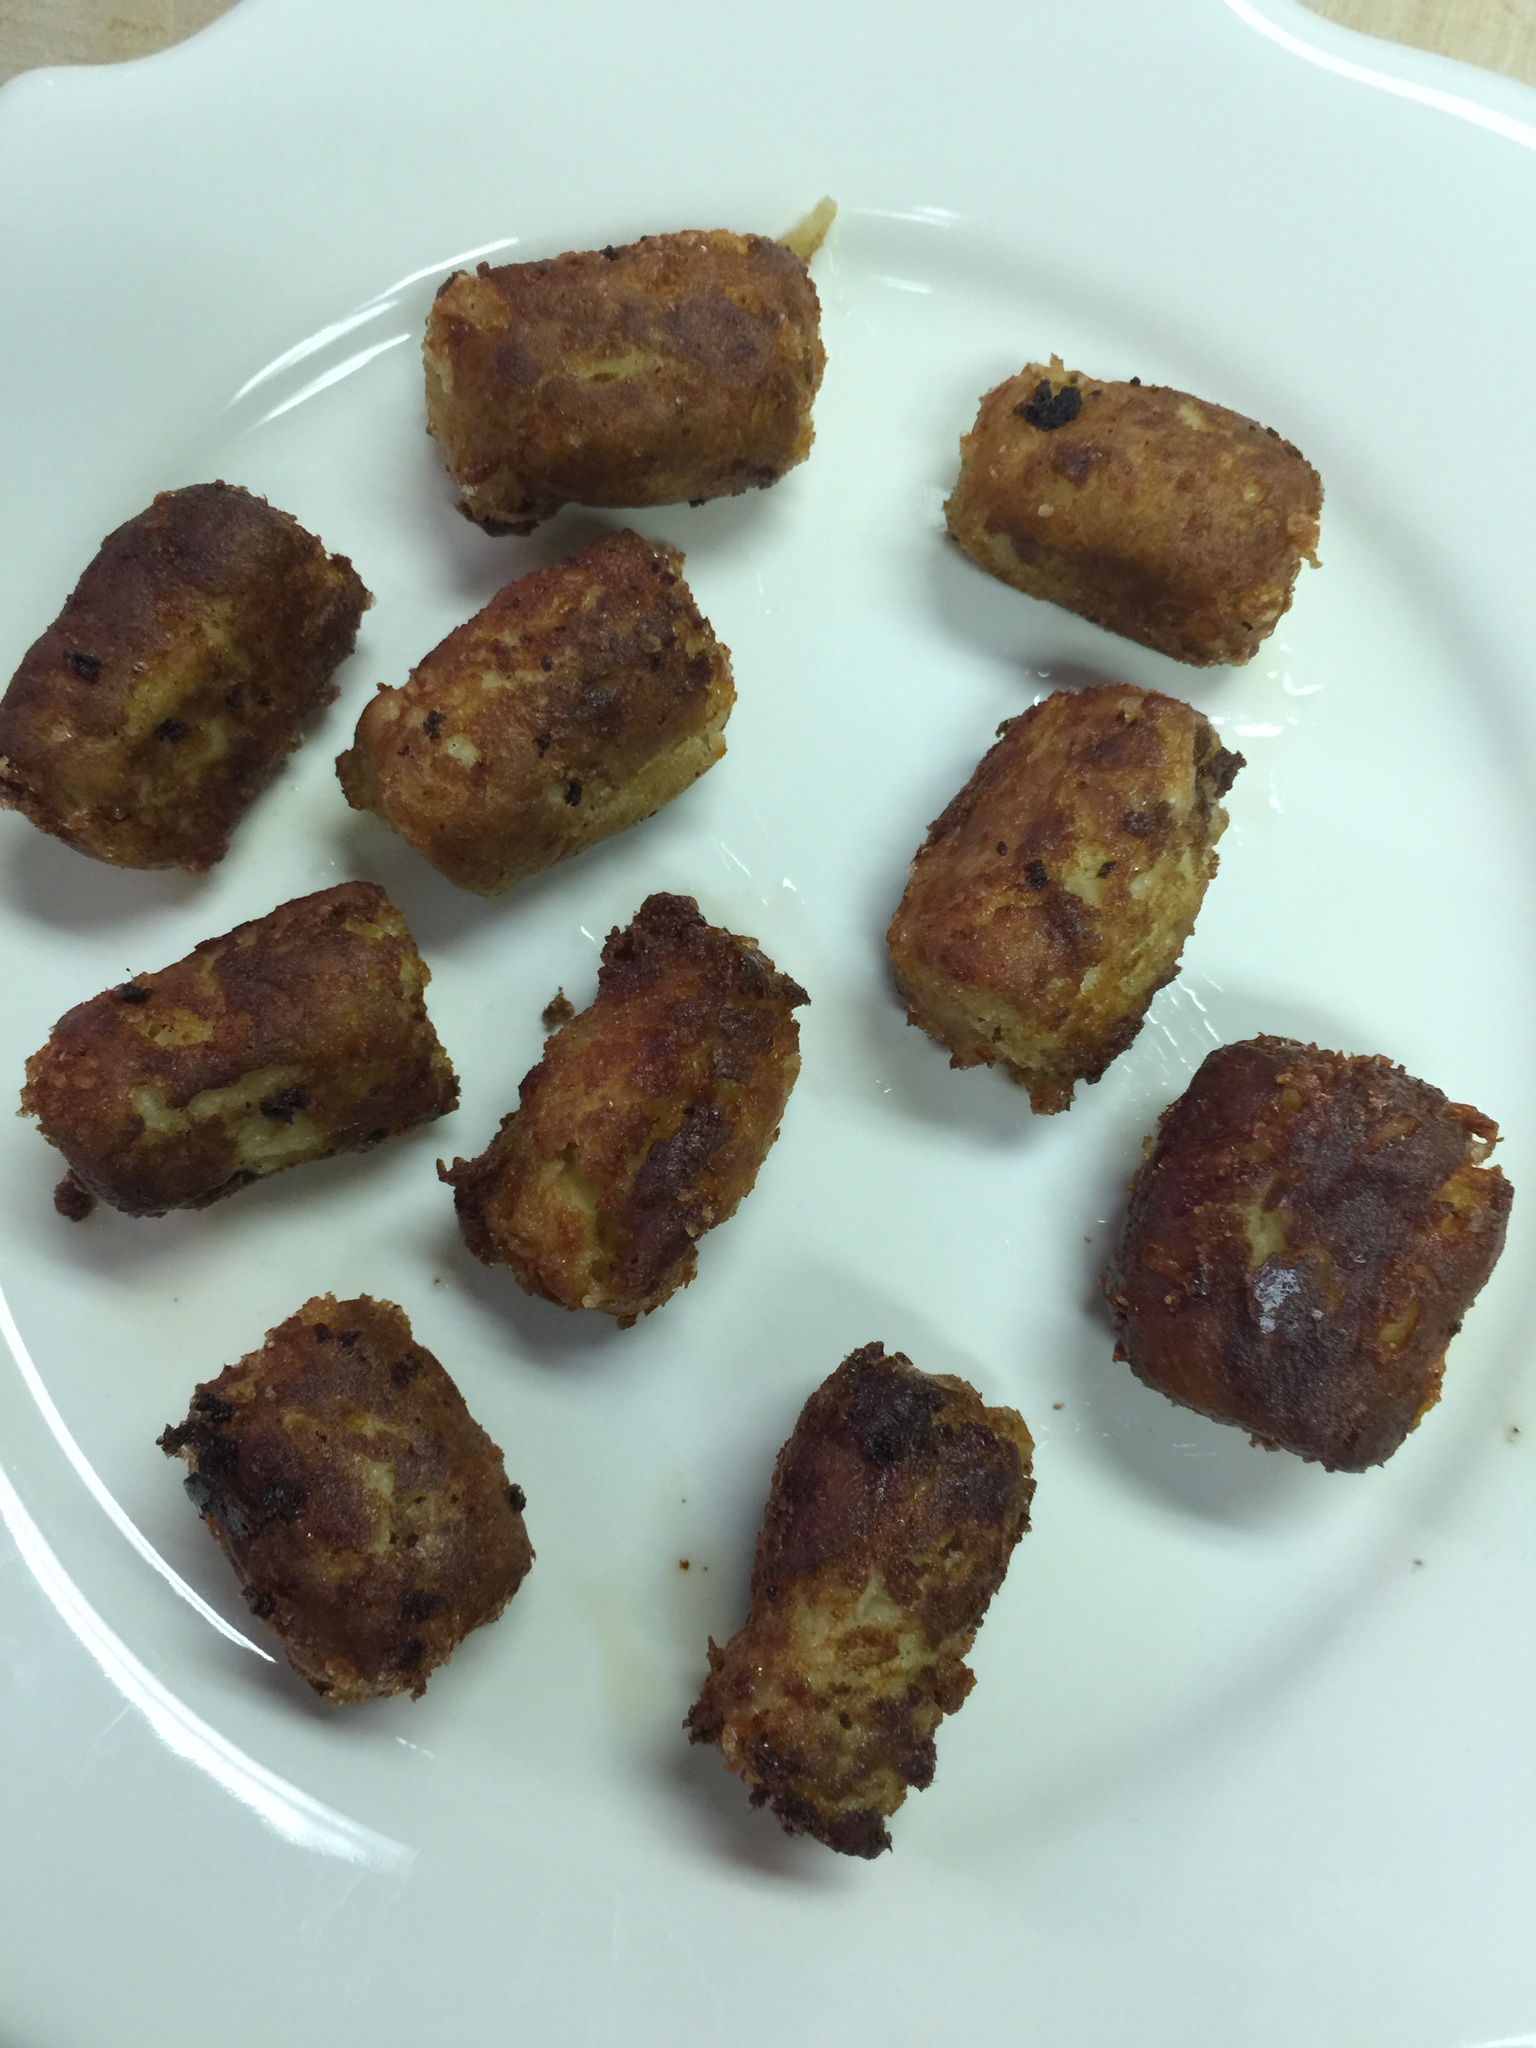
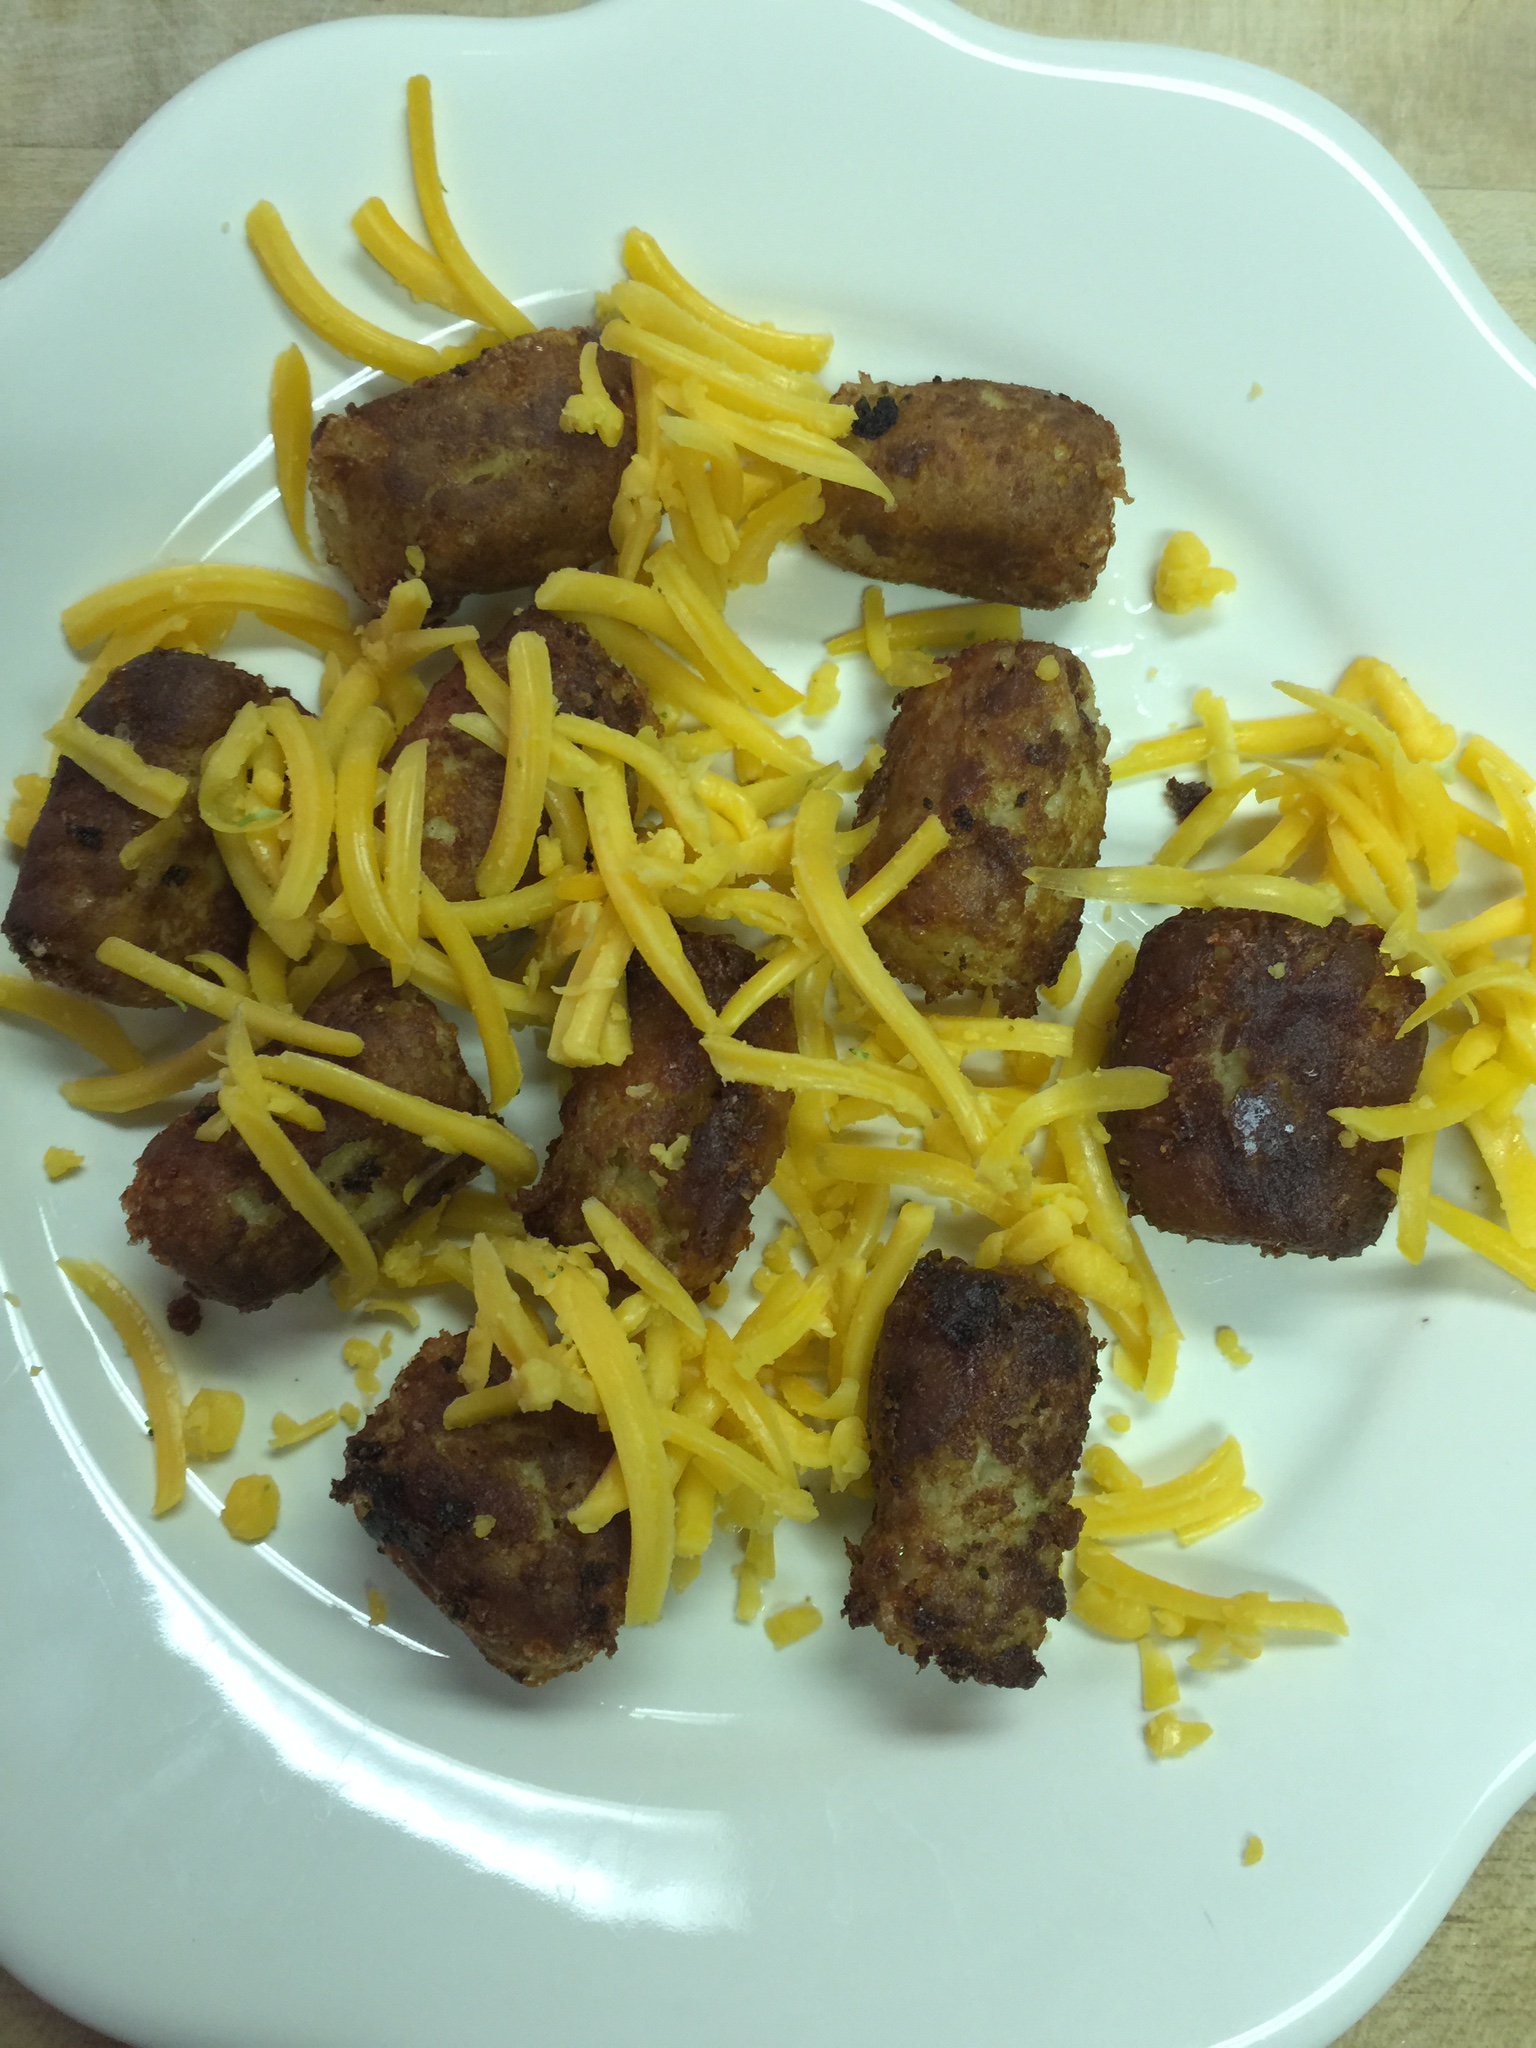
Once you remove them, you can add salt and pepper, if you like, or cover with cheese.
Let them cool slightly and serve! I hope you enjoy these beauties as much as we did!
This is super easy, and so delicious anyone in your family will love it! Even my picky 4 year old will at least eat out the stuffing!
Ingredients:
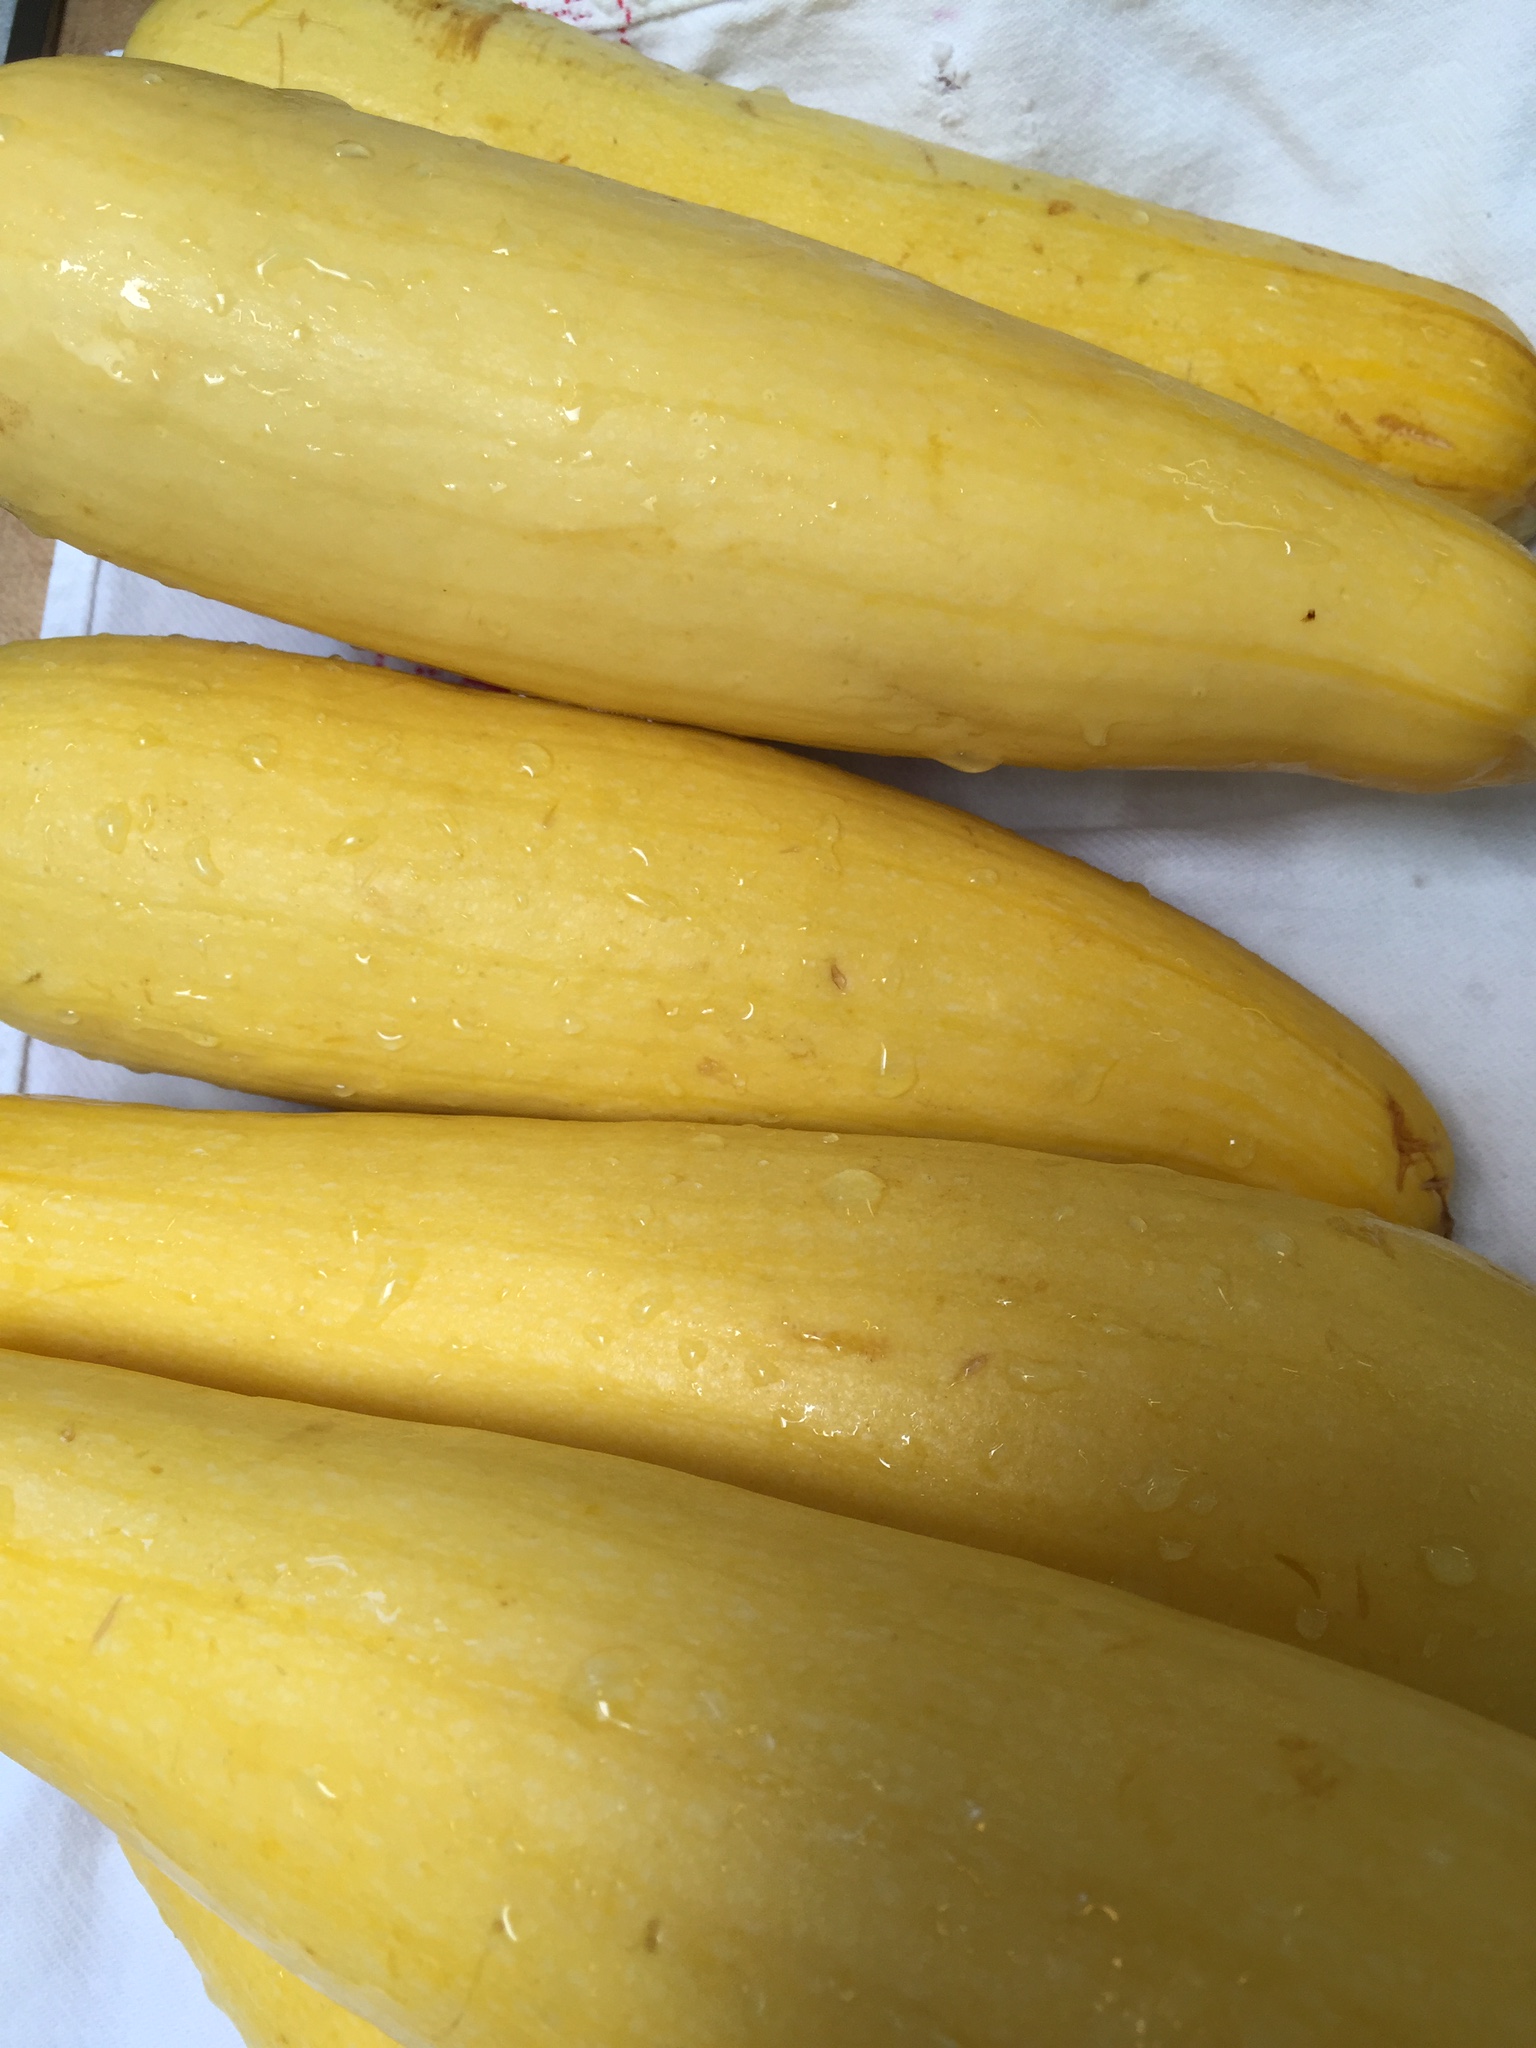
5 yellow (summer) squash
1 zucchini squash, steamed, cooked and diced
2 eggs
3/4 cup Parmesan cheese + additional to top squash
1/3 cup melted butter + 2 Tbsp (not melted)
1 bunch green onion
4 Tbsp almond flour
1 tsp oregano
1 tsp garlic powder
Salt & pepper to taste
Instructions:
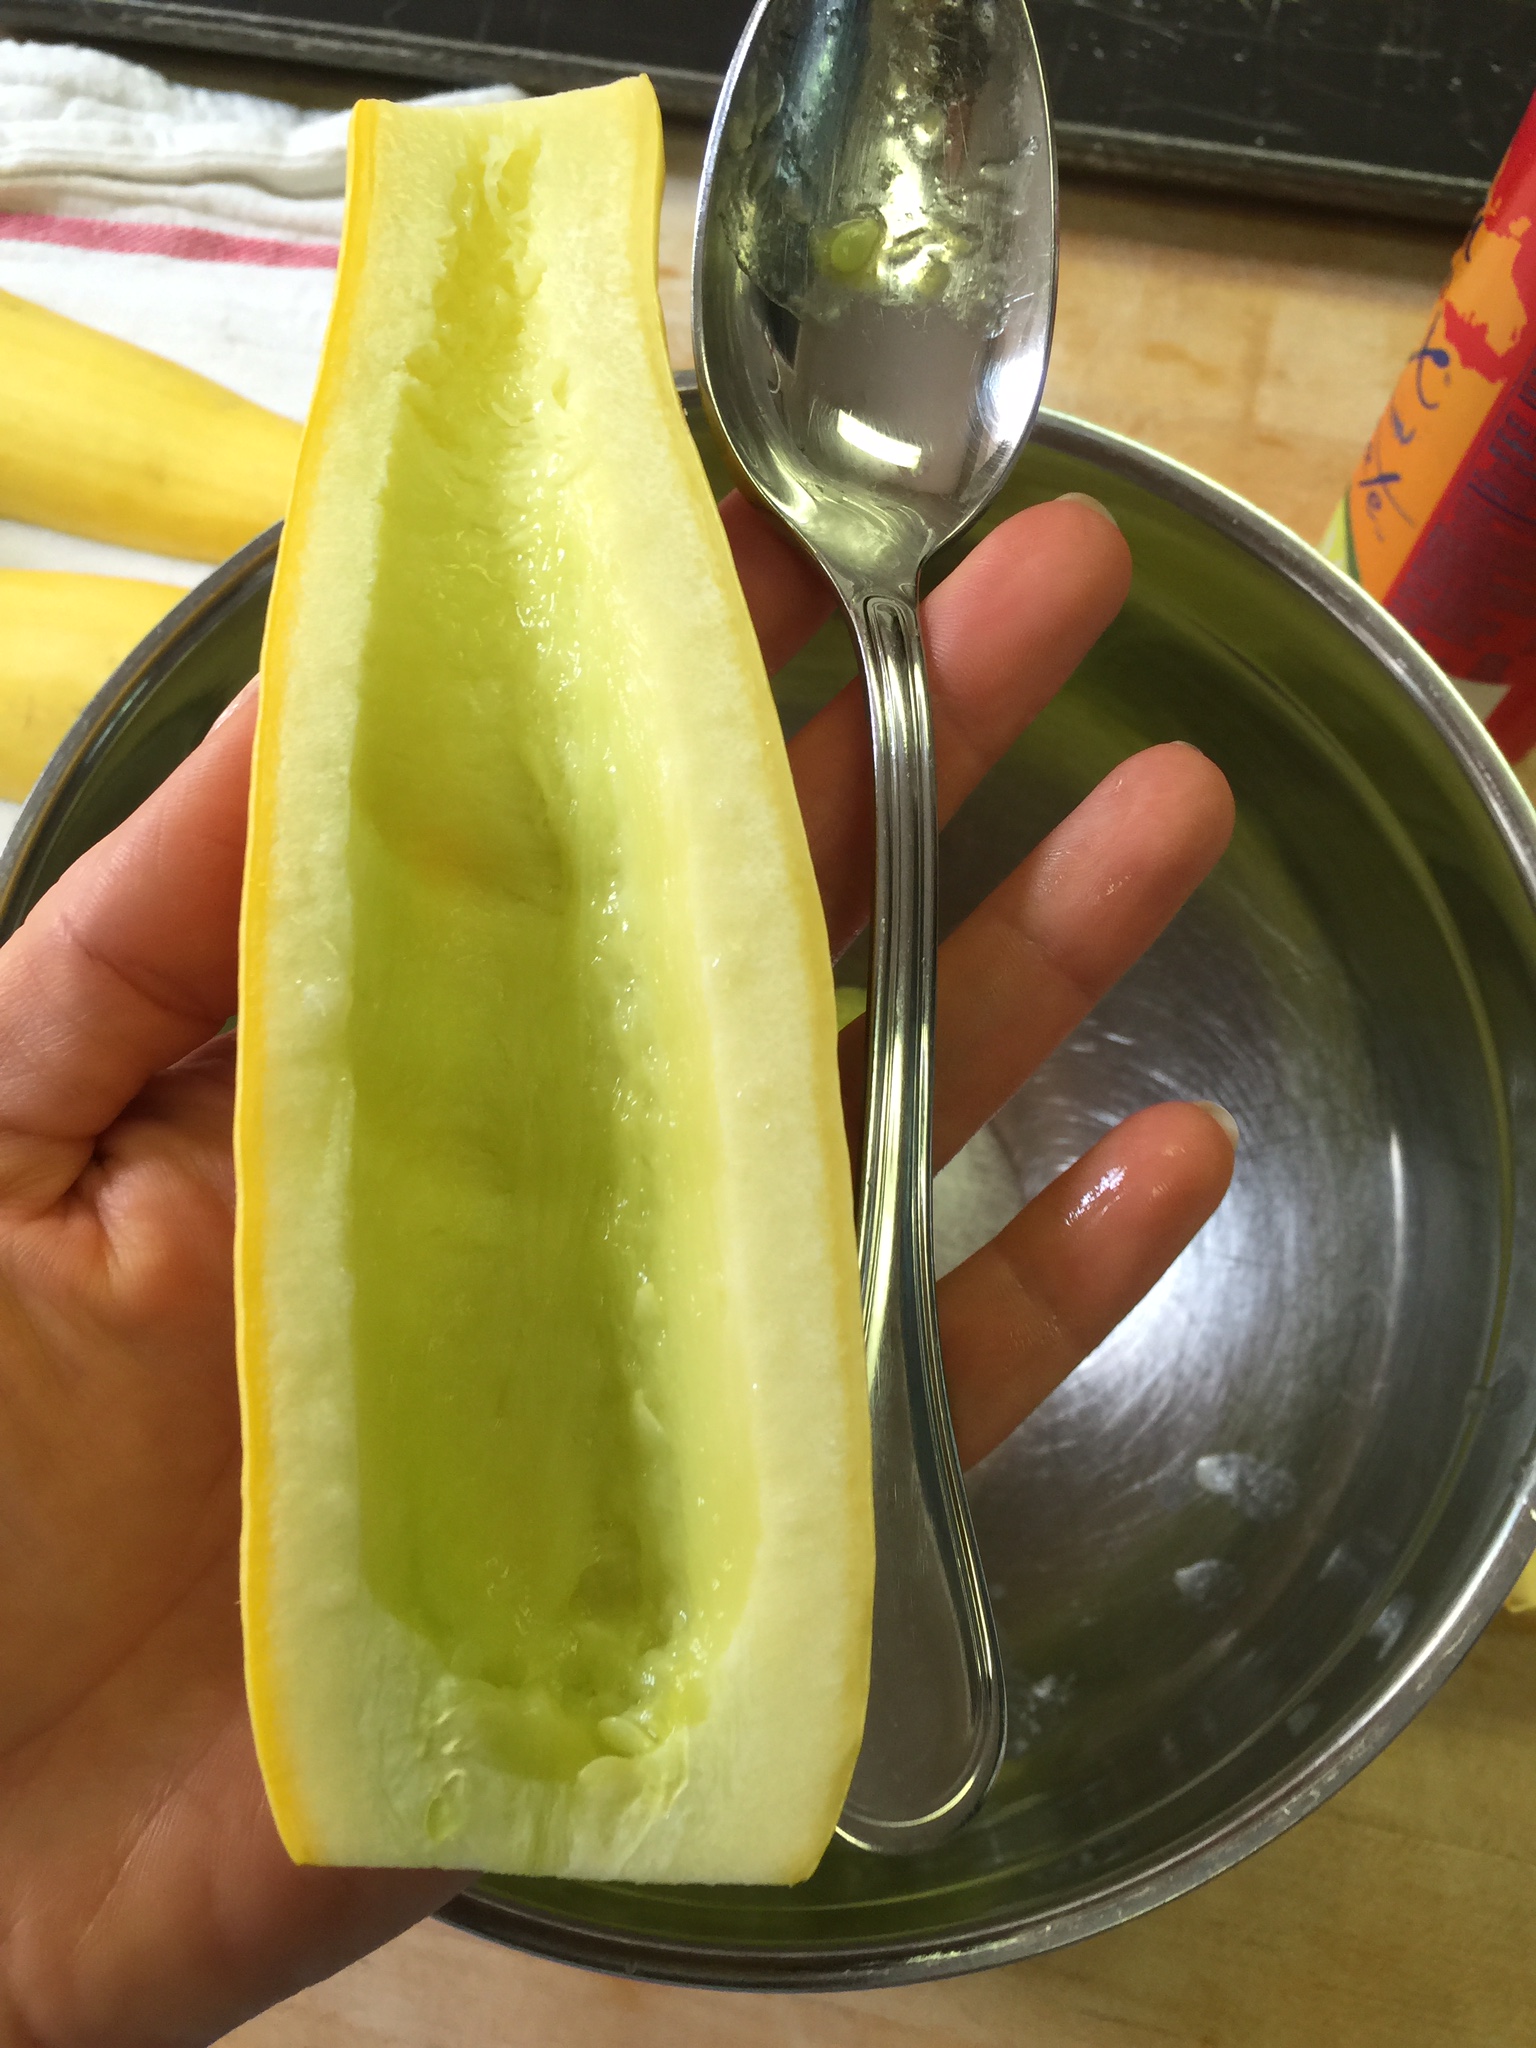
Start with your yellow squash by washing and cutting off the ends. Then cut in half lengthwise.
One squash = two servings.
Lay them cut-side up in a glass pyrex baking dish. Fill the bottom of the dish with water so you can steam the squash until softened.
Microwave on high for 4 minutes. Check them after this time…if they are still hard in the middle, then keep cooking them on high in 2 minute increments until they are soft enough to scoop, but not mushy.
When they are tender, remove them and let them cool a bit or you will burn off the tips of your fingers. Maybe not, but it will hurt!
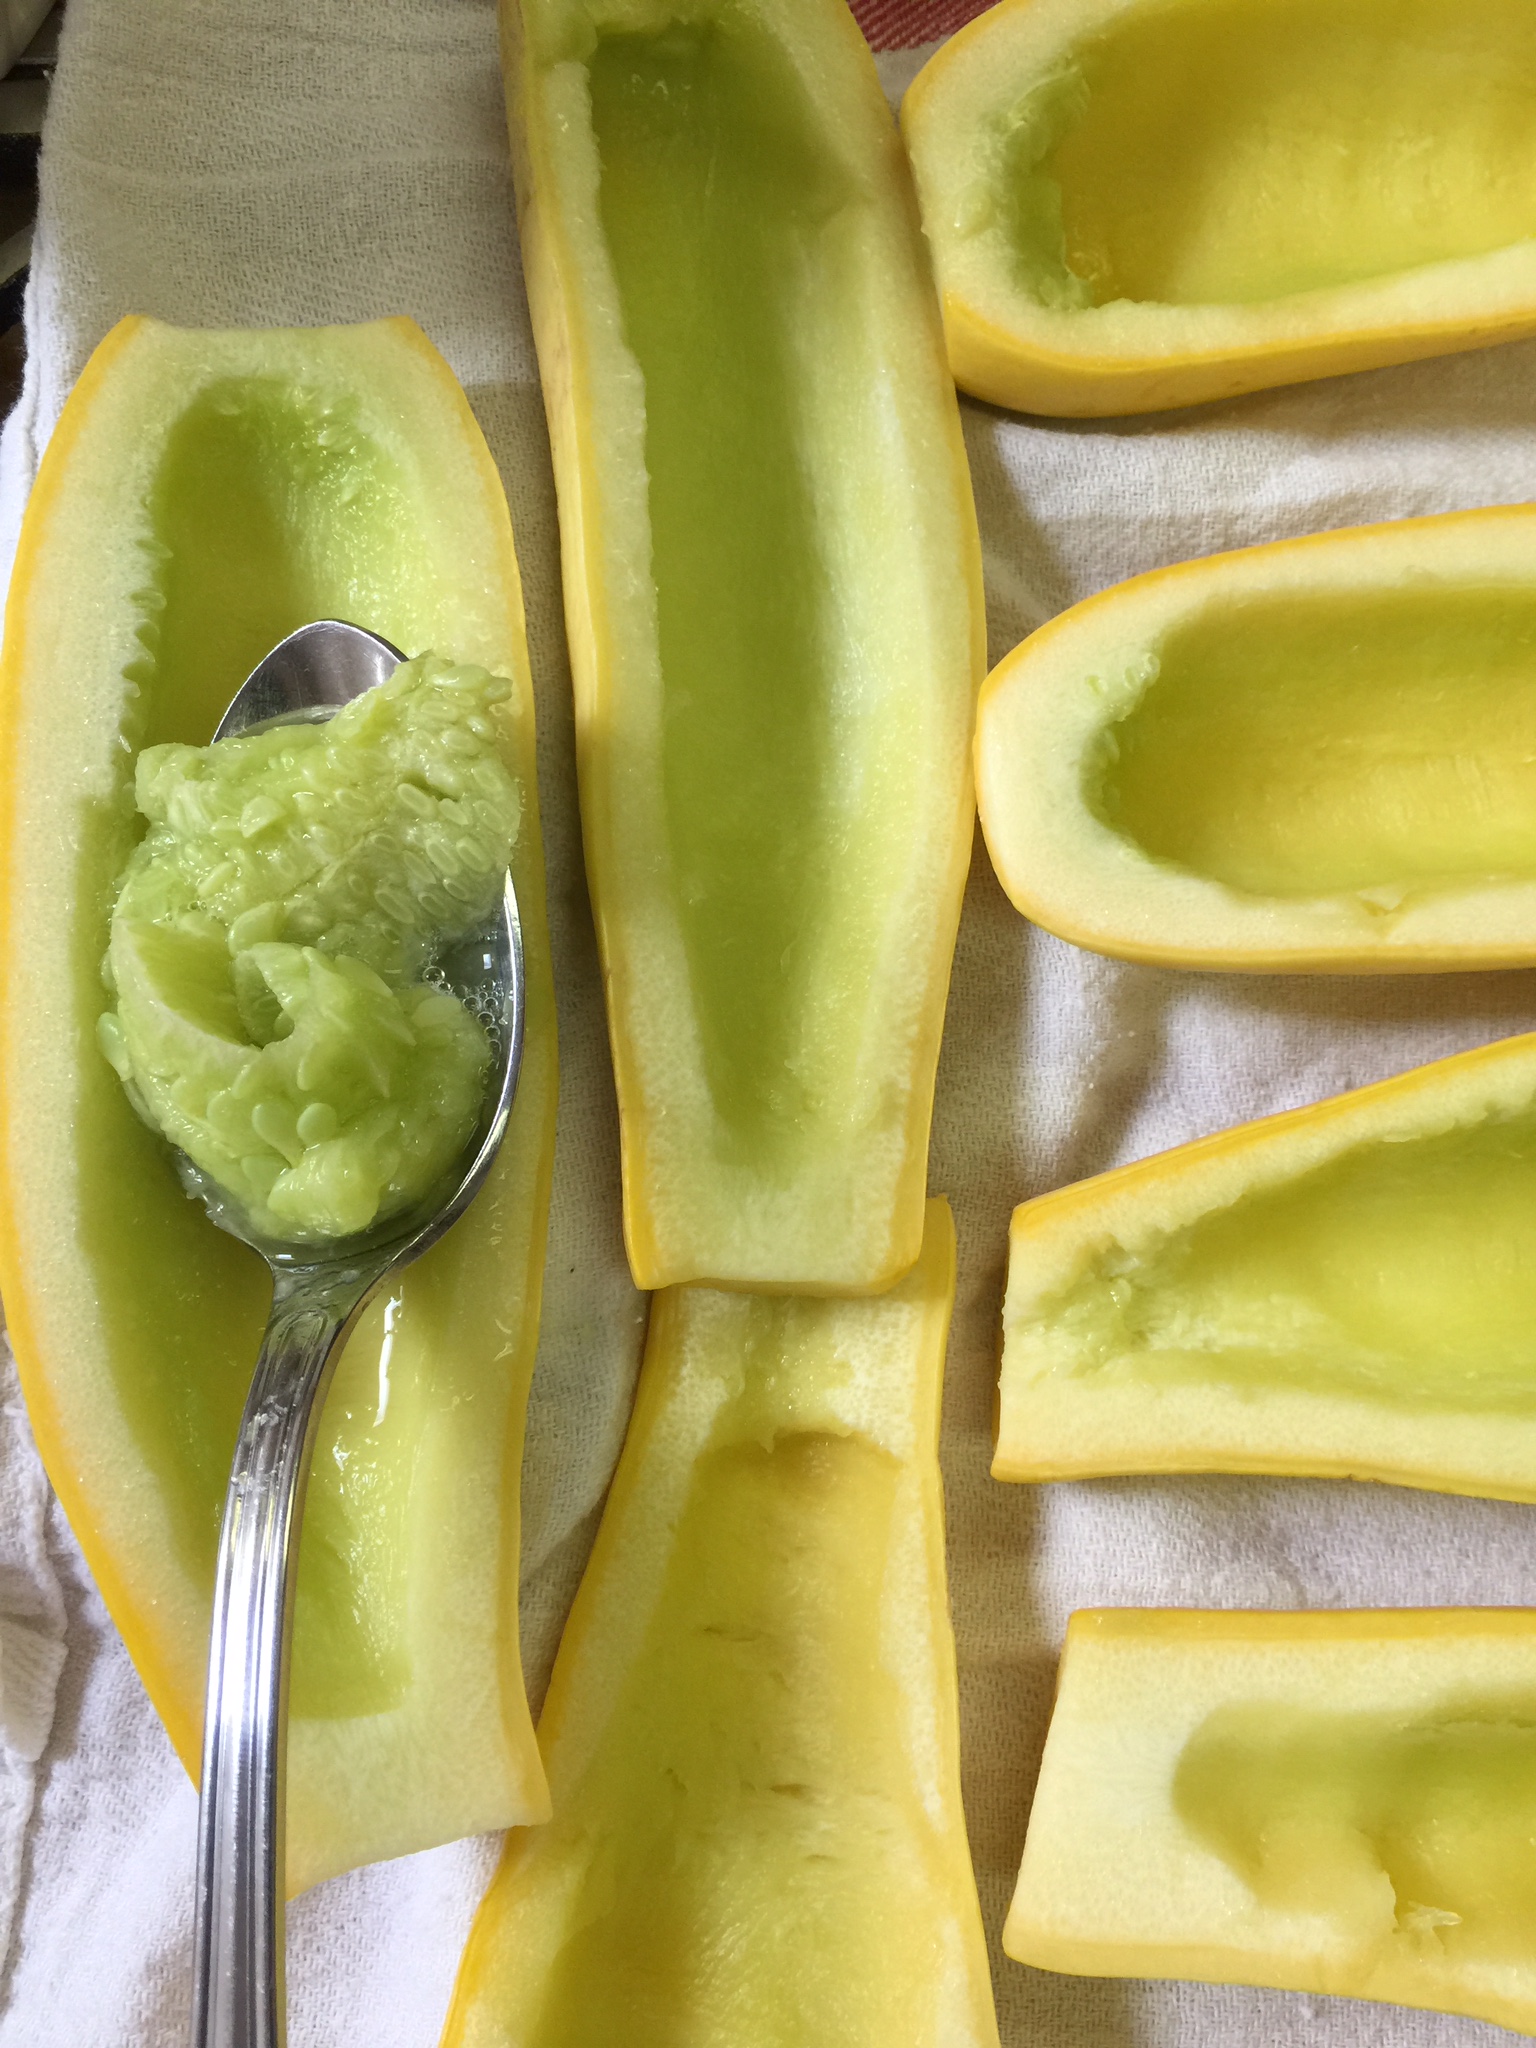
When they are cool enough to handle, use a soup spoon, and start hulling out the inside of the squash. Hull all but one half – leaving this one to chop finely. Be careful not to poke all the way through. Place the squash you have removed into a mixing bowl, and your now empty “boats” onto a cookie sheet.
Finely chop one half of one yellow squash into small bits, along with one zucchini squash that you have also steamed and finely diced. Now, you will see a lot of water in the bottom of the bowl. Try to drain as much of this as possible or it will be too runny. I press and drain 3 or 4 times. You could use a mesh colander for this also. It is okay to be moist, but you don’t want standing water at the bottom of the bowl.
Once most of the water is removed, I use a sharp knife and run it through the squash in the bowl to break up the membranes in the squash. This is not an exact science. Just break up the larger pieces that you scooped out.
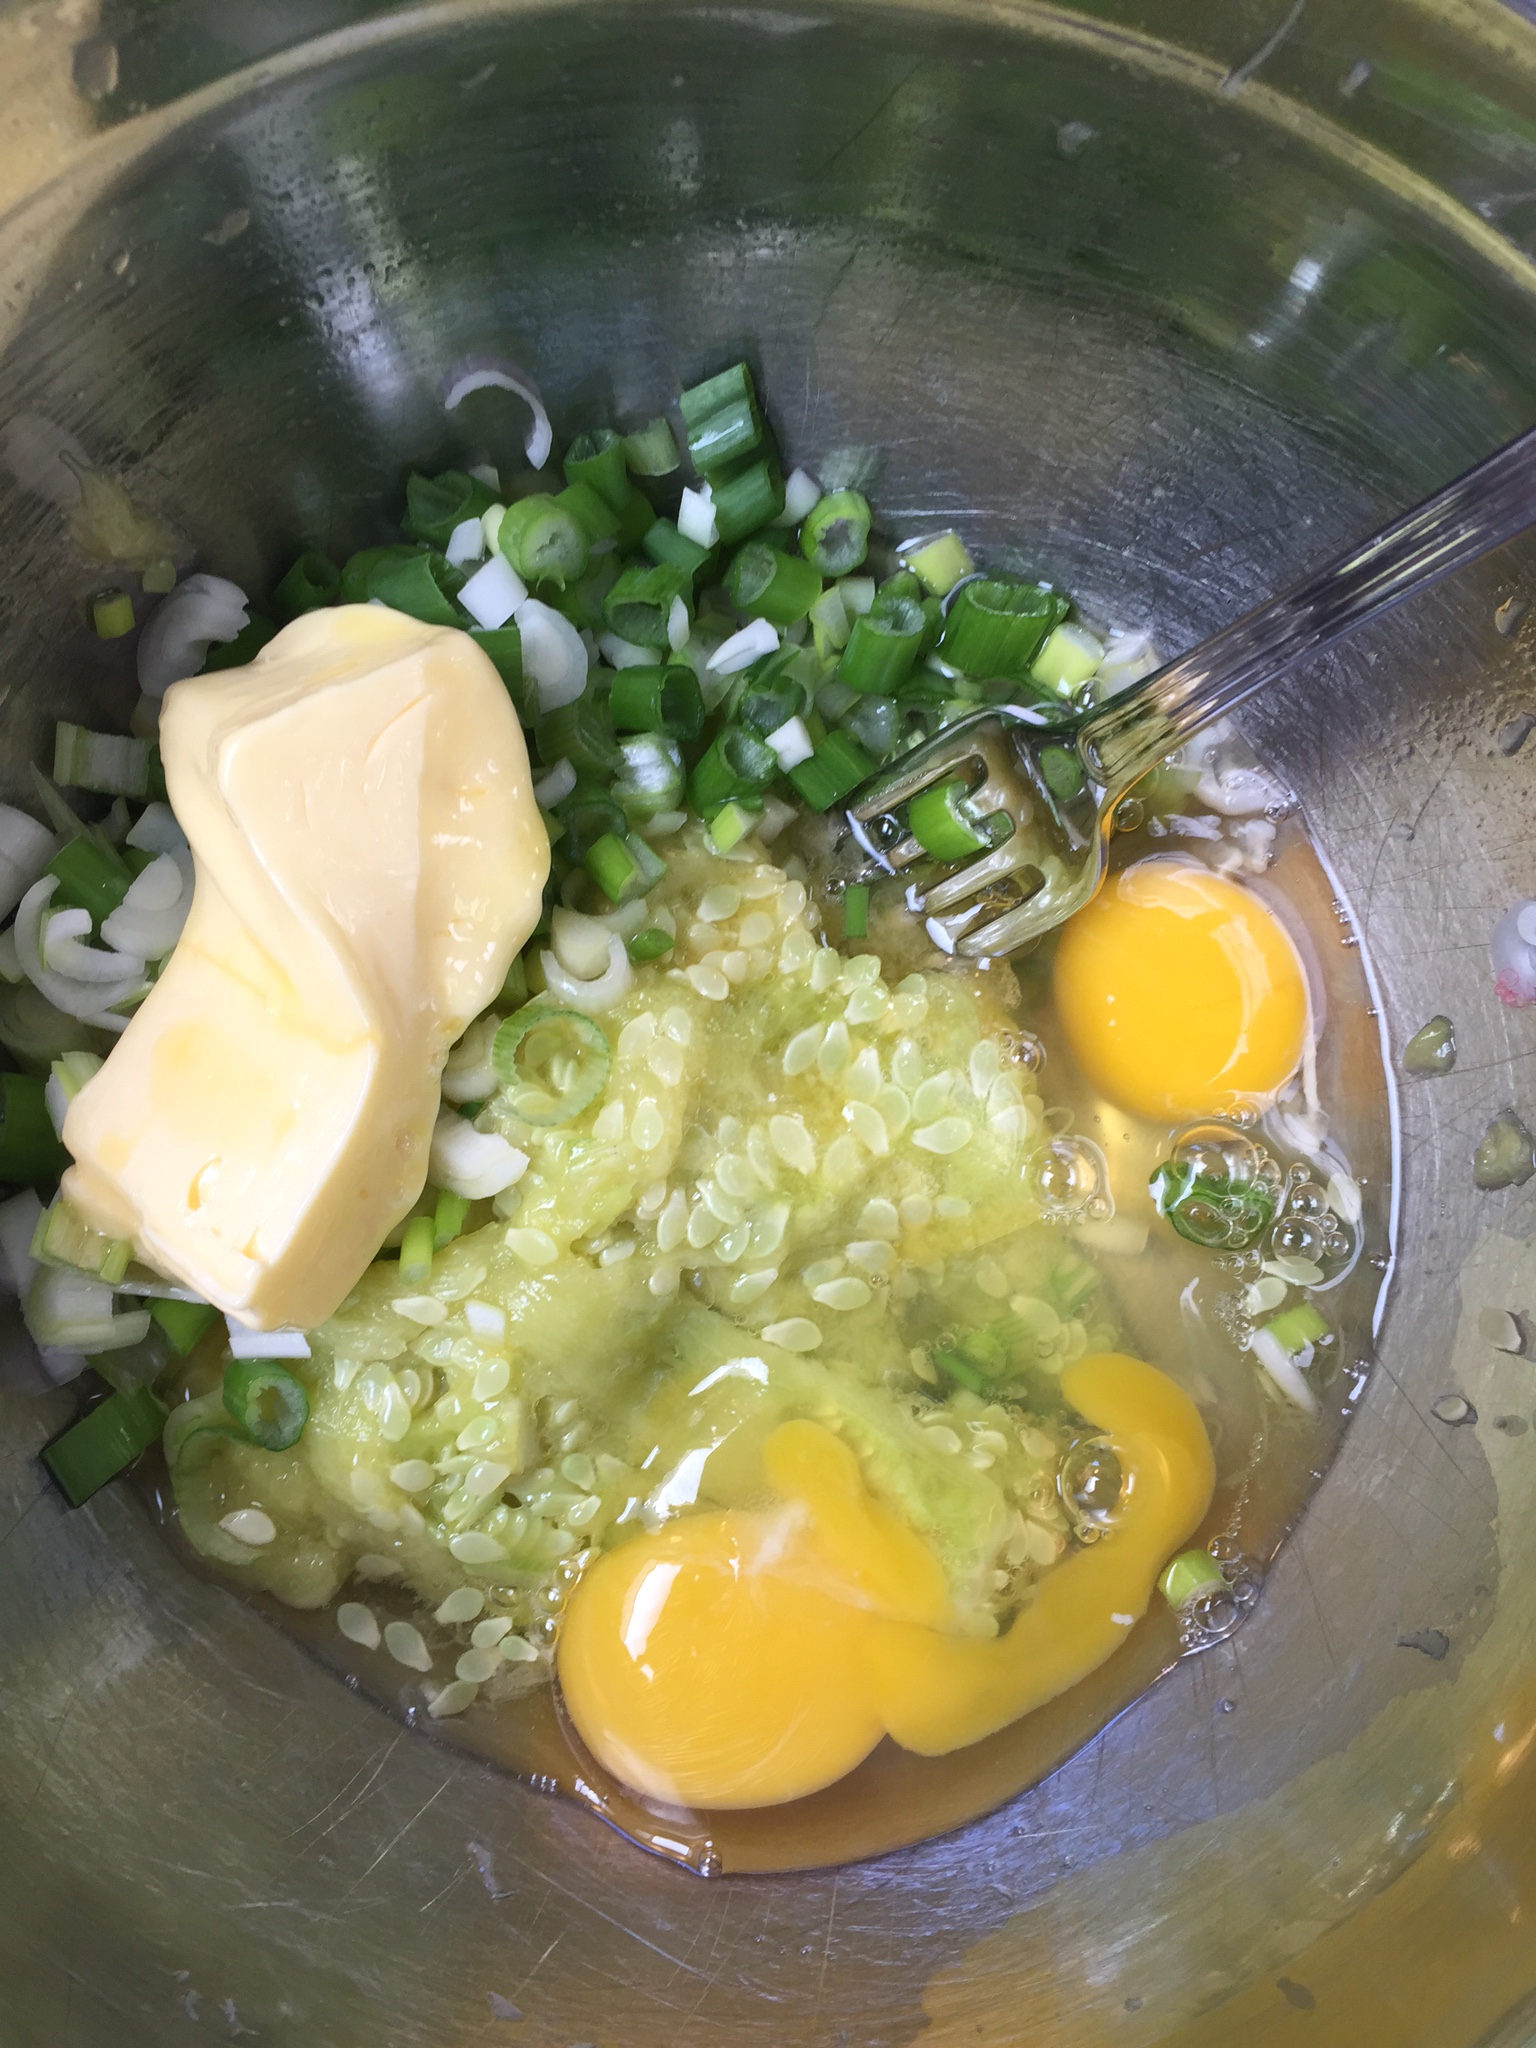
Add your eggs, 3/4 cup Parmesan cheese, 1/3 cup melted butter, finely chopped green onion with some of the green tops included. Then add 2 Tbsp of almond flour and your seasonings. Mix well!
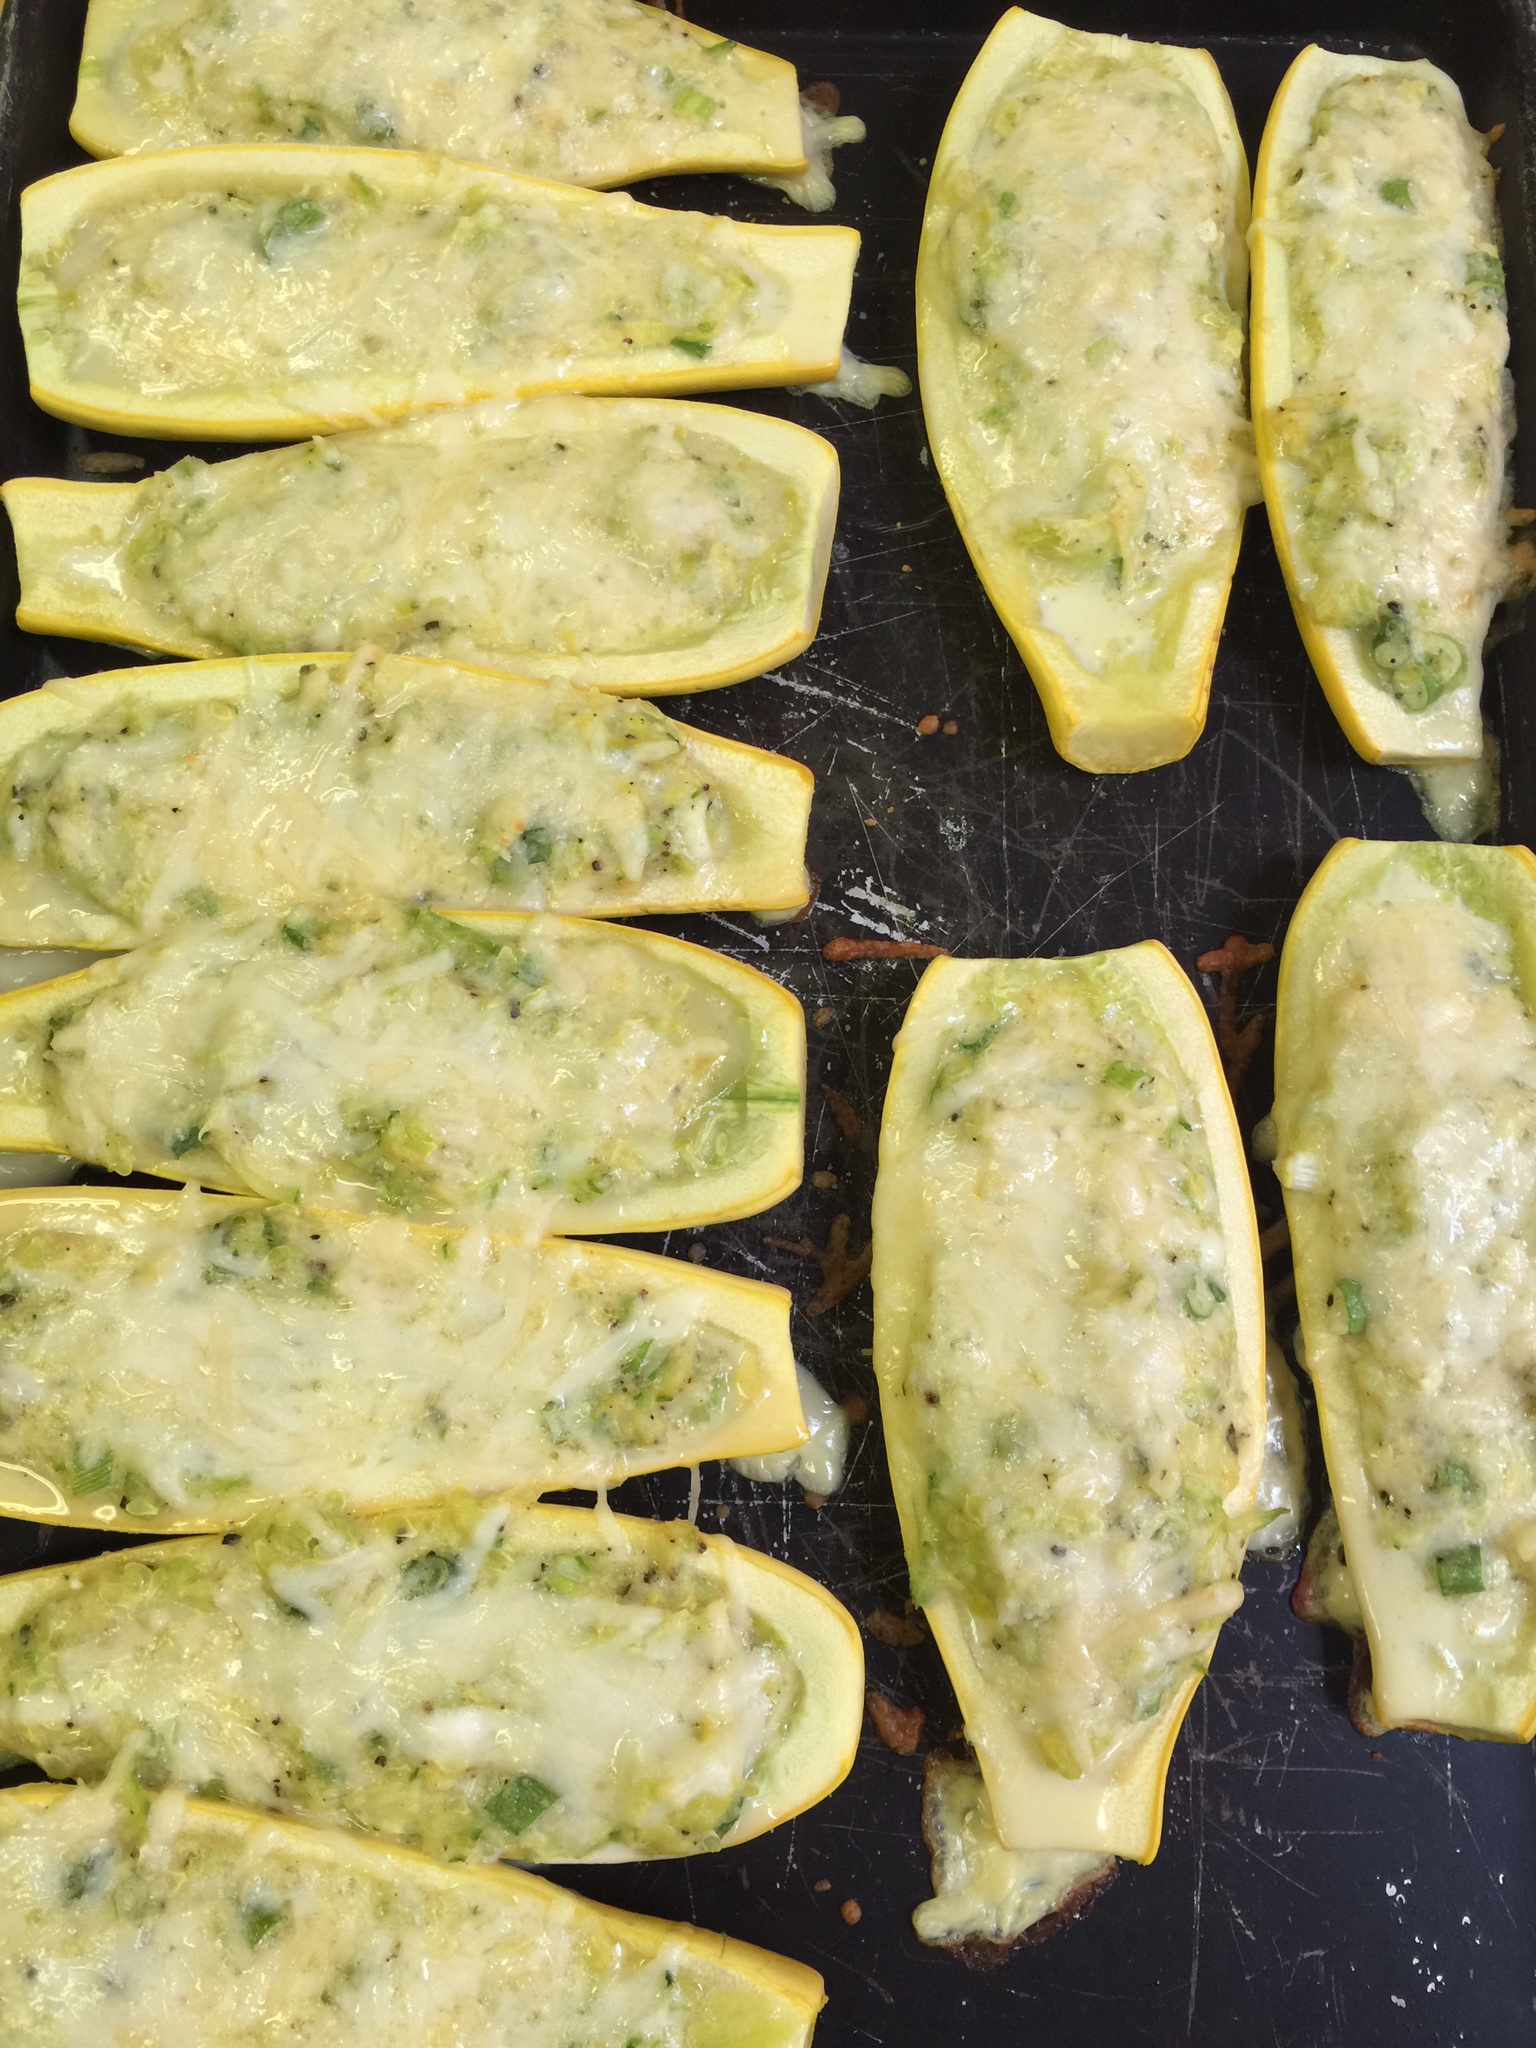
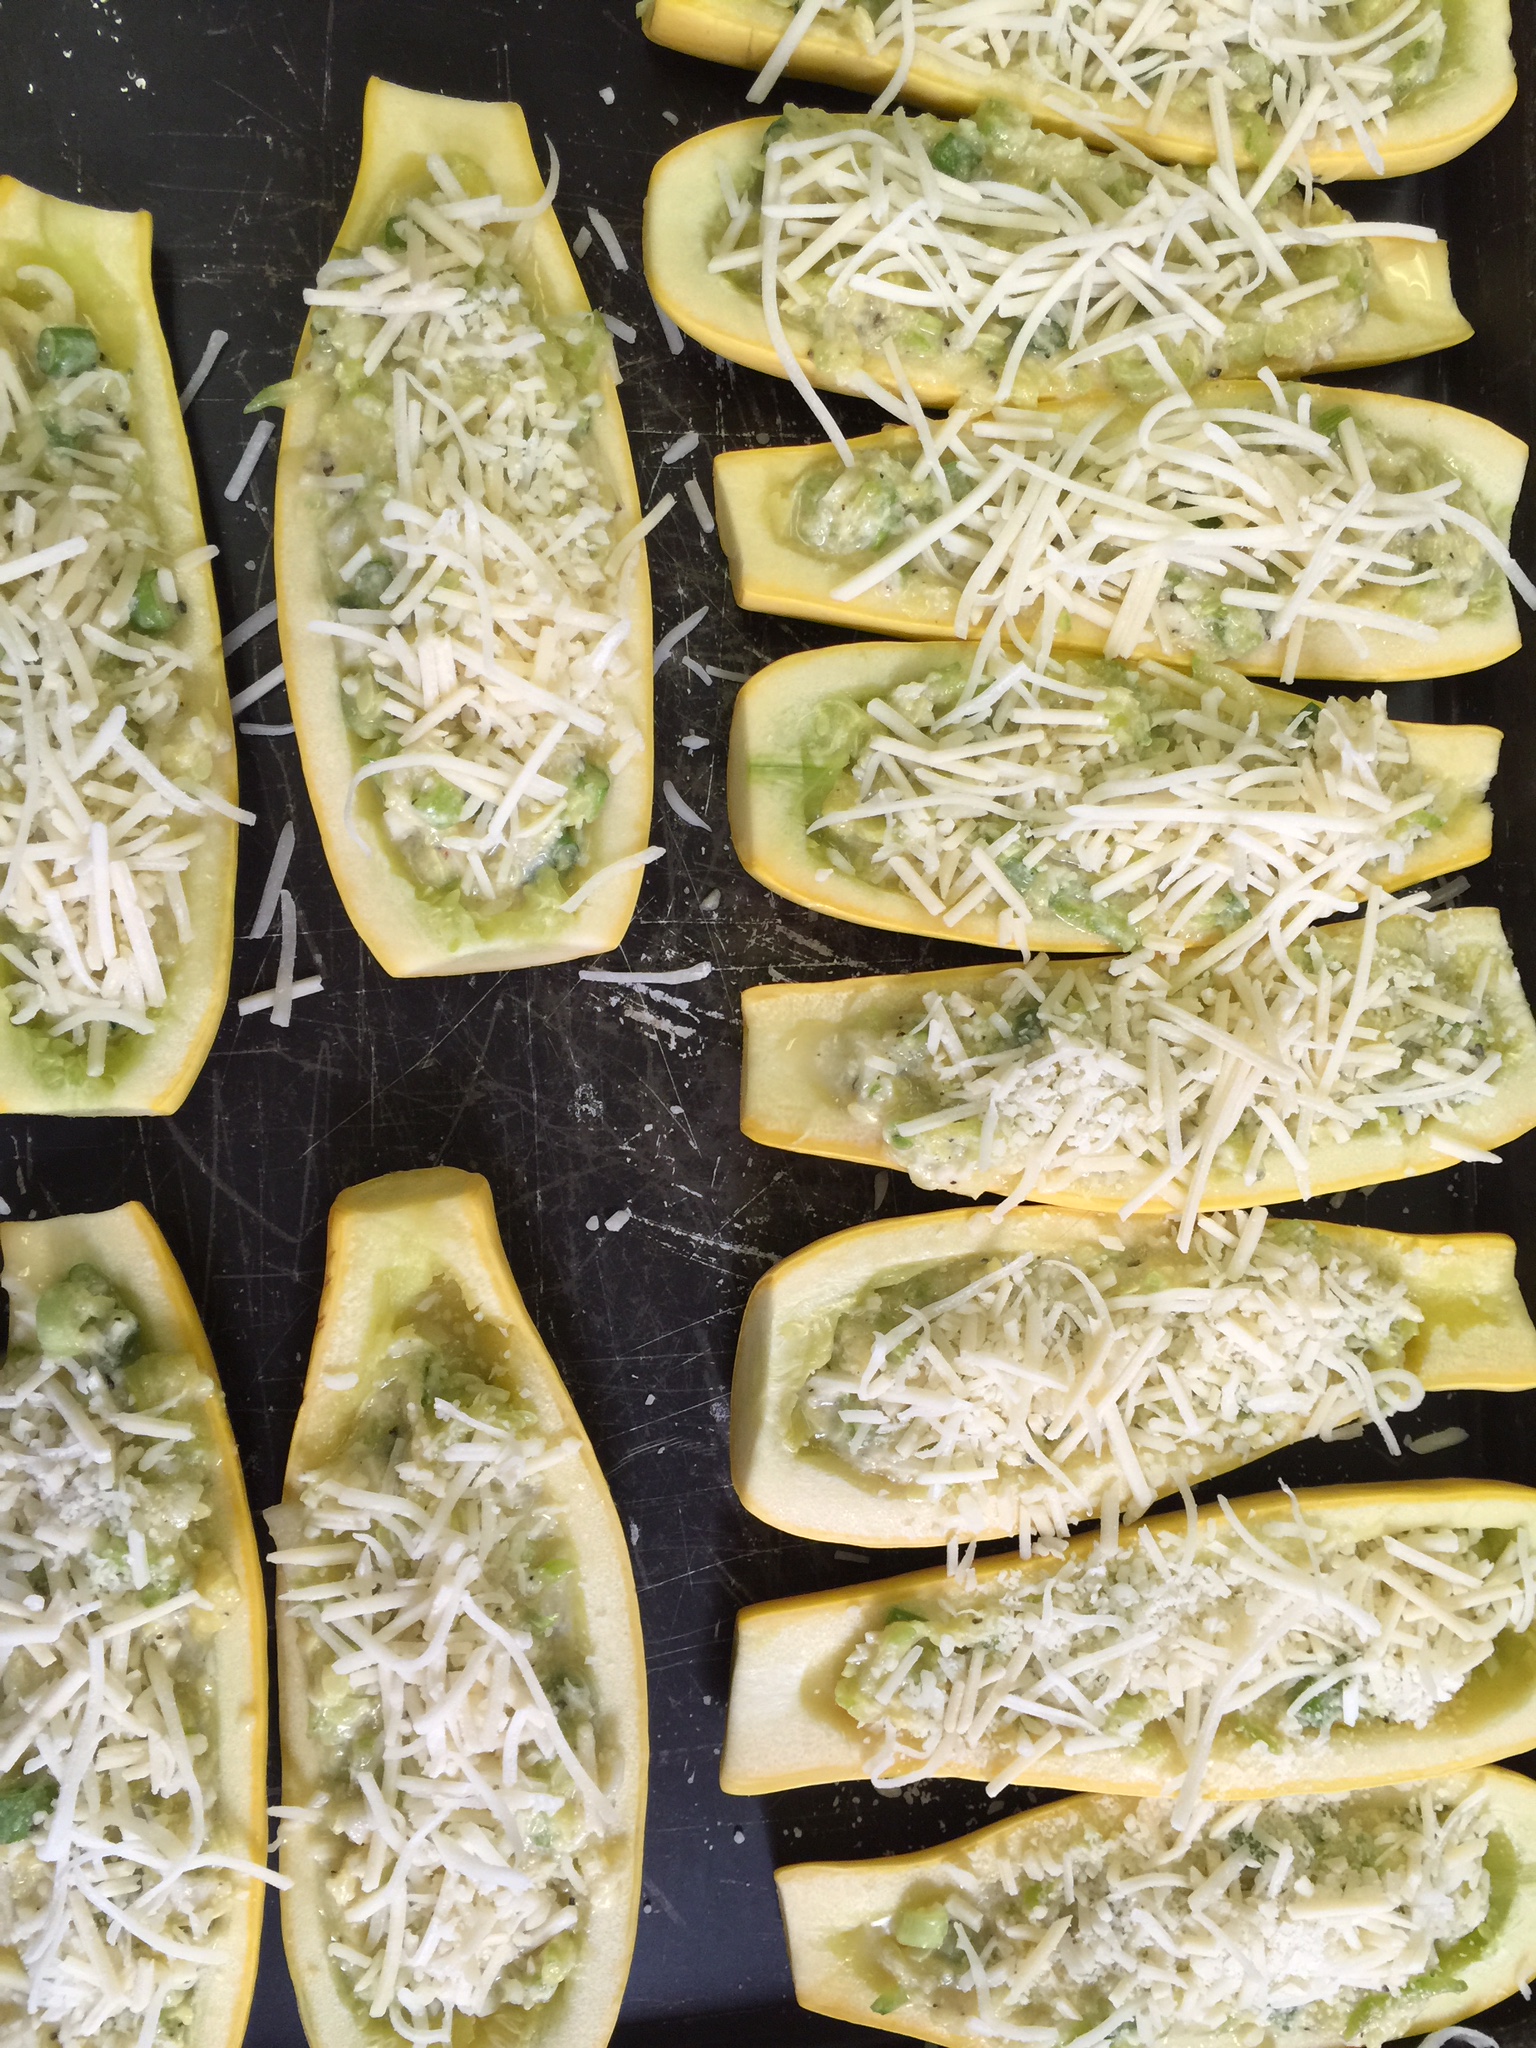
Use the mixture to fill your squash “boats” so it is slightly heaping.
Lightly sprinkle with the additional 2 Tbsp of almond flour, put a pat of additional butter on top and finish with as much Parmesan cheese as you desire. I have also topped with mozzarella cheese as well. Both are delicious!
Bake in the oven for 25 minutes at 350 degrees, and you have an amazing side dish!