Archive for Appetizer

Feeling Good and Grateful

This week is Thanksgiving! Yay! Another year has (almost) flown by and I have to say this is one of my favorite holidays.

Image result for give thanks


I realize that may come off a little crazy given how strict the Ketogenic Diet can sound especially when you list off the traditional Thanksgiving dishes.  But the Ketogenic way of living has given me so much more than any slice of pie ever has.


Really, I try not focus on enjoying what don’t eat and instead really enjoy every bite I put in my mouth. I no longer feel that I have to have a little of every single dish that entered the house. Thanks but no thanks on the Jellomold.

I mean, it’s pretty but…. 🙂


This year we are celebrating at my parent’s house. So, what am I going to eat?


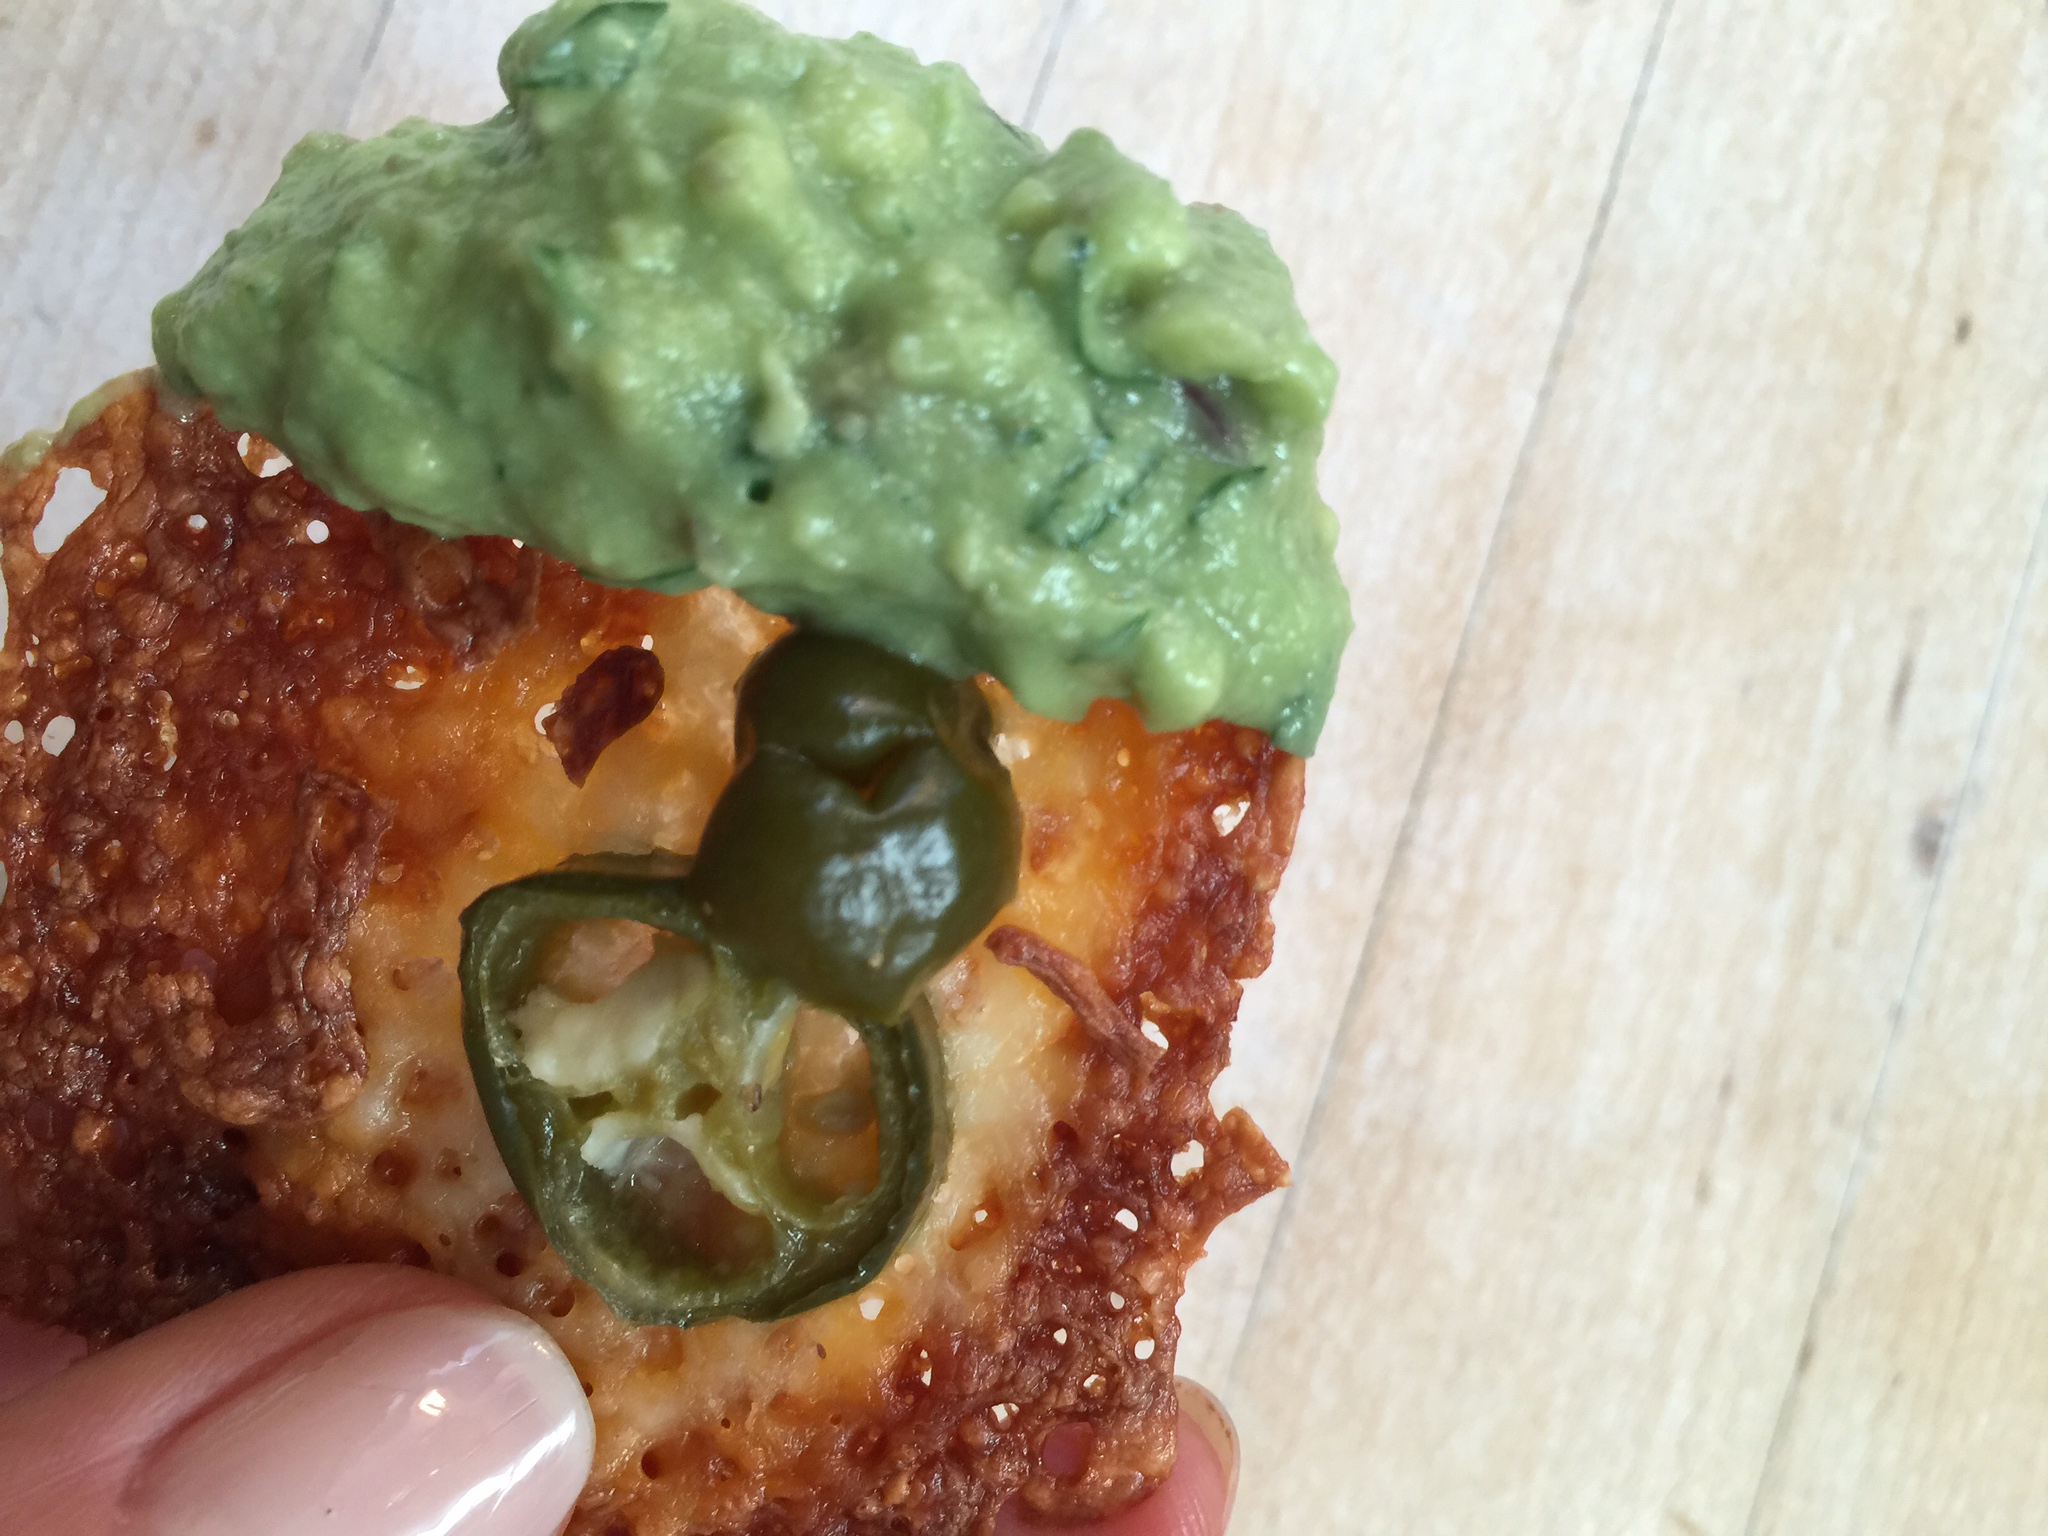
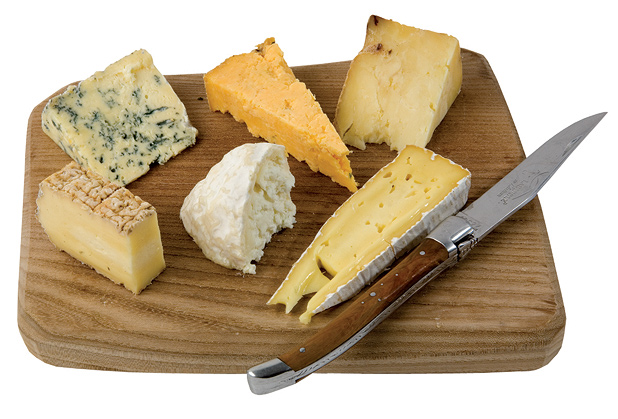
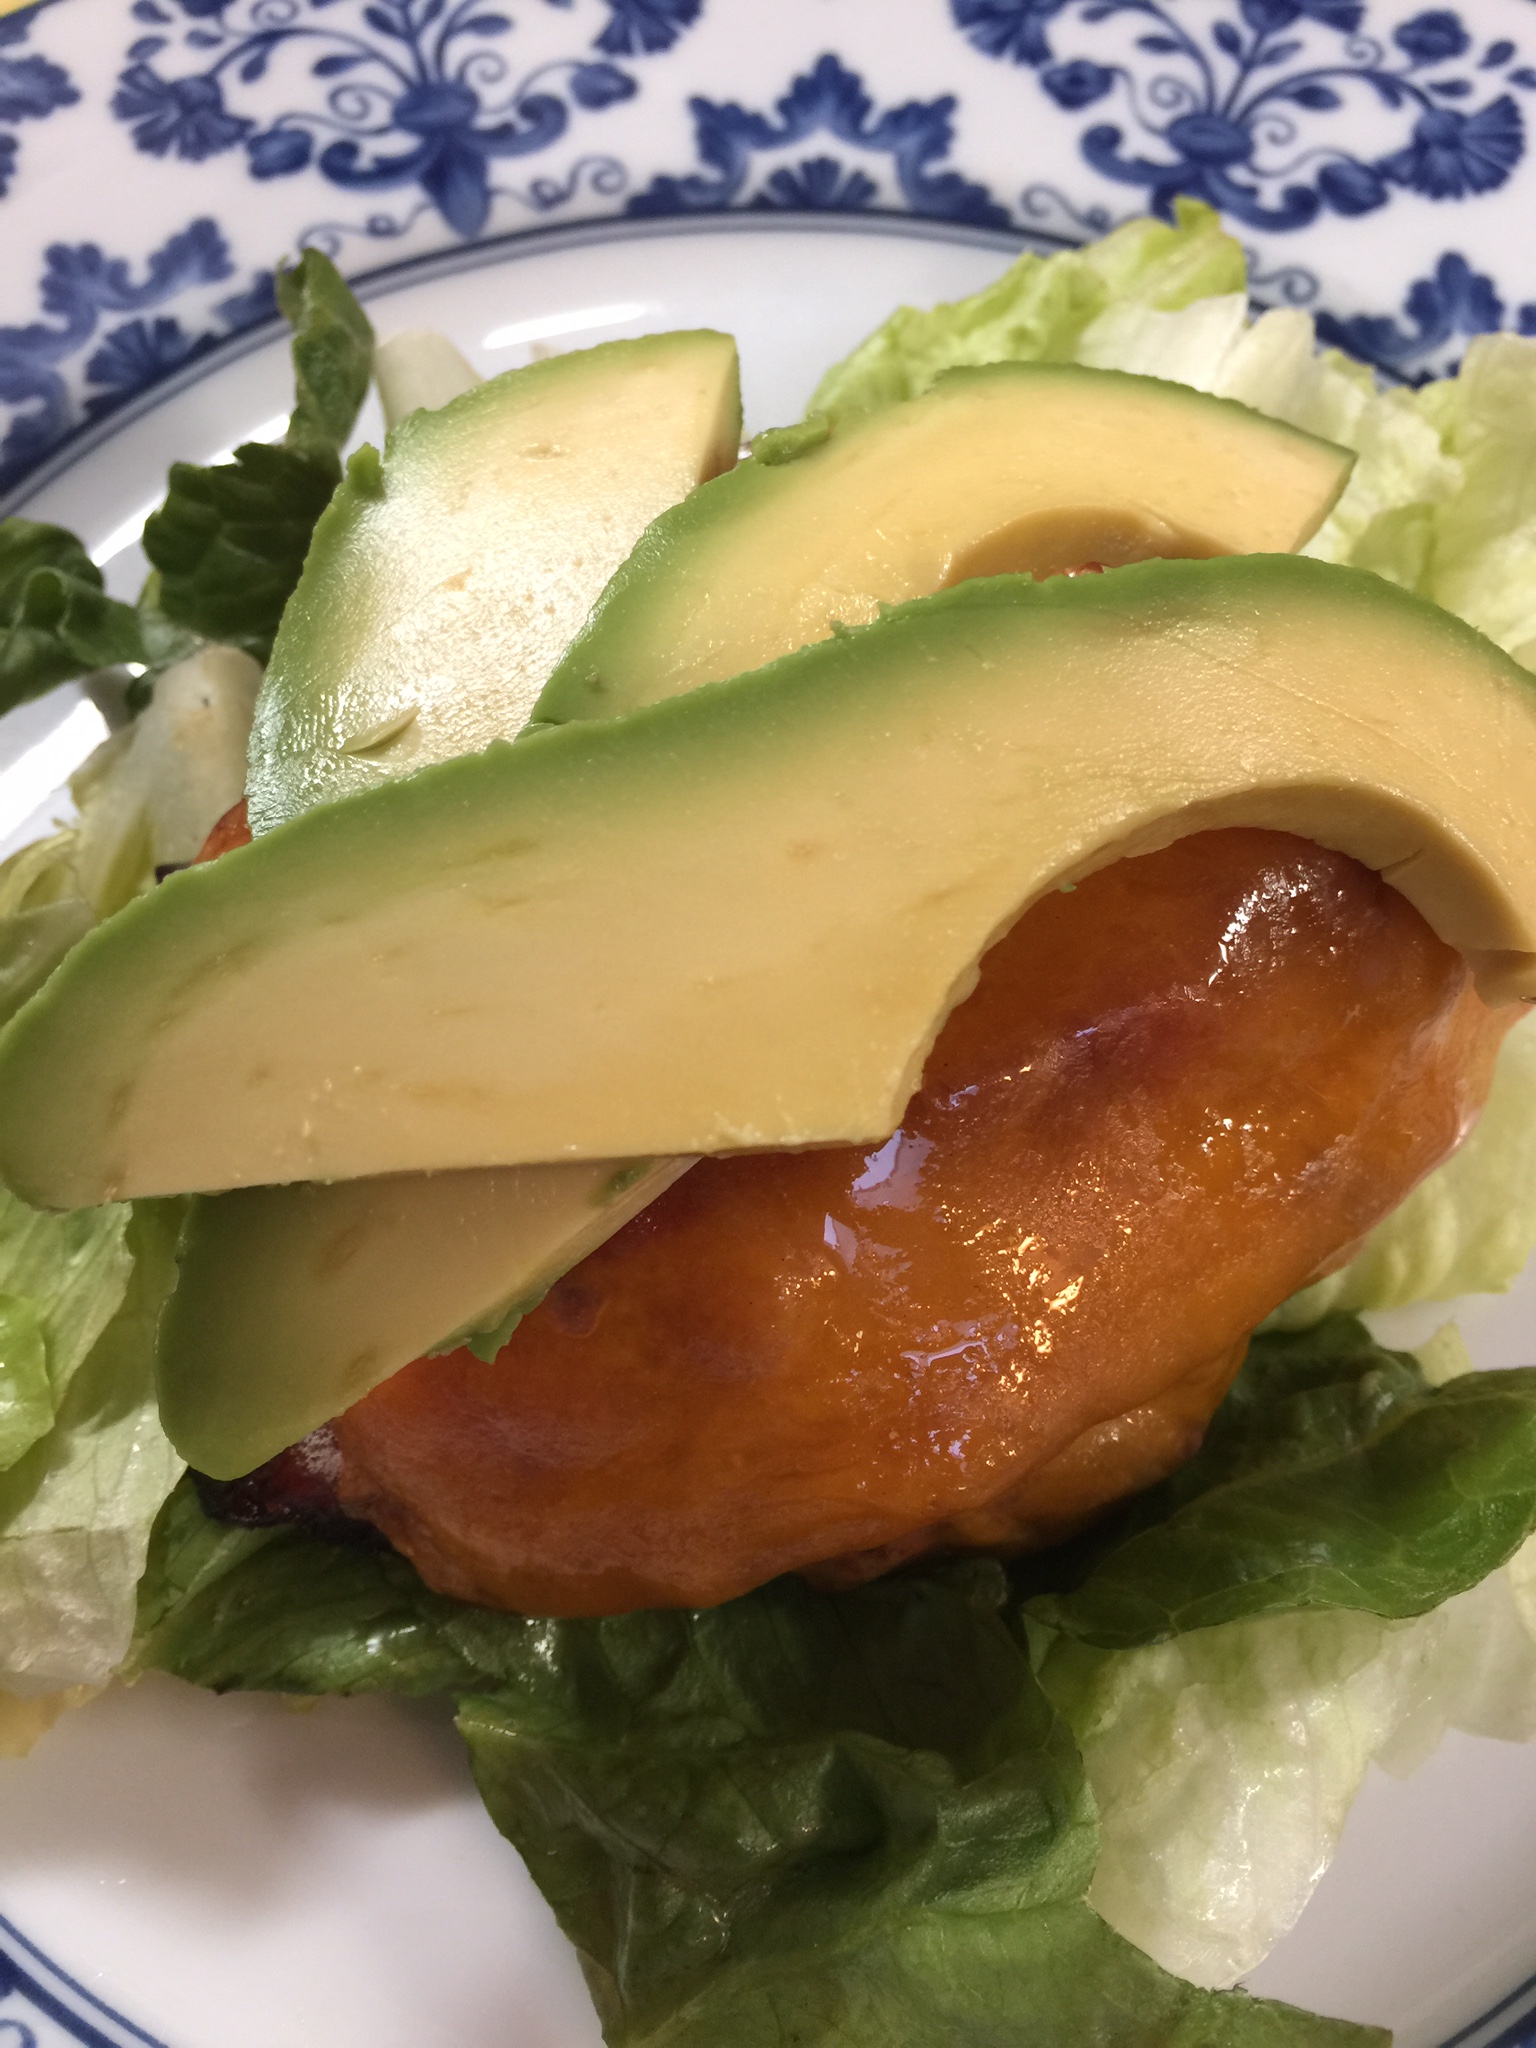
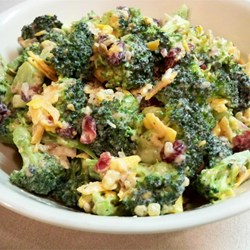
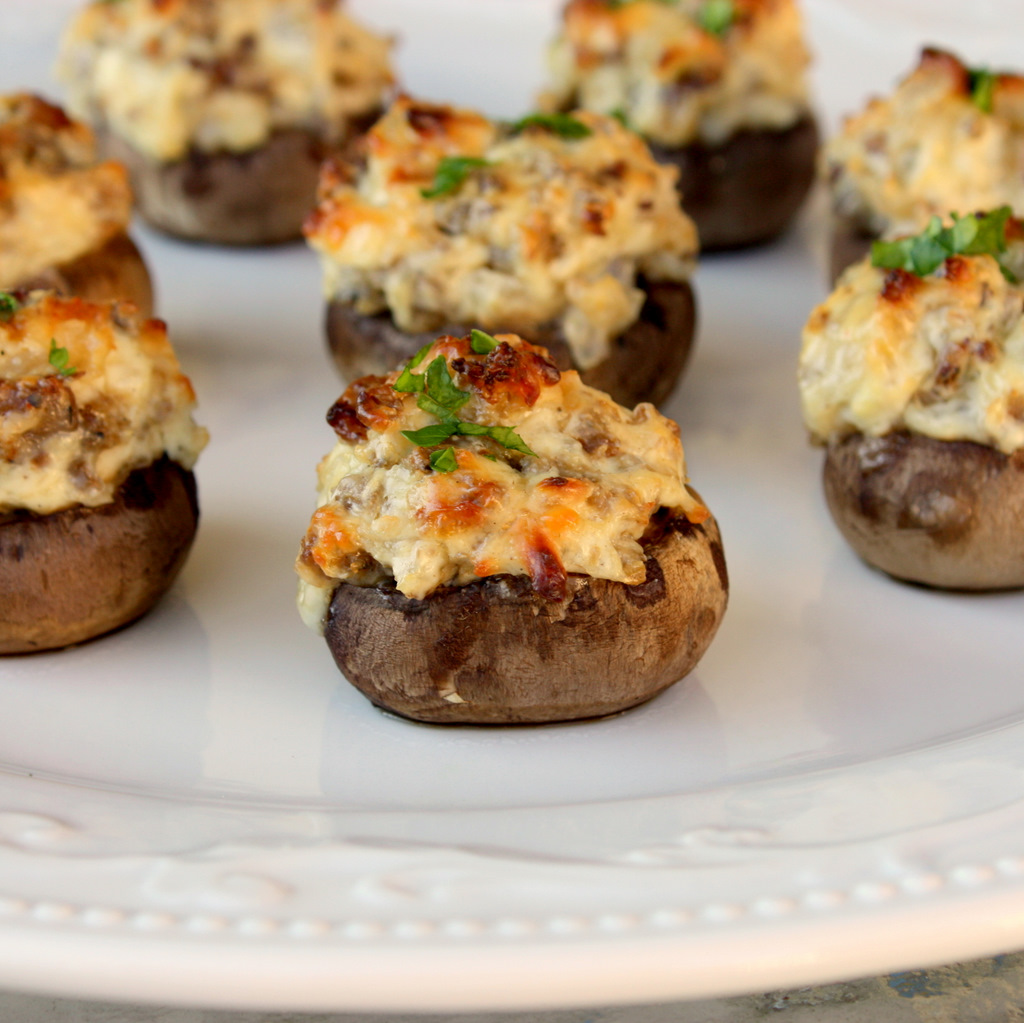
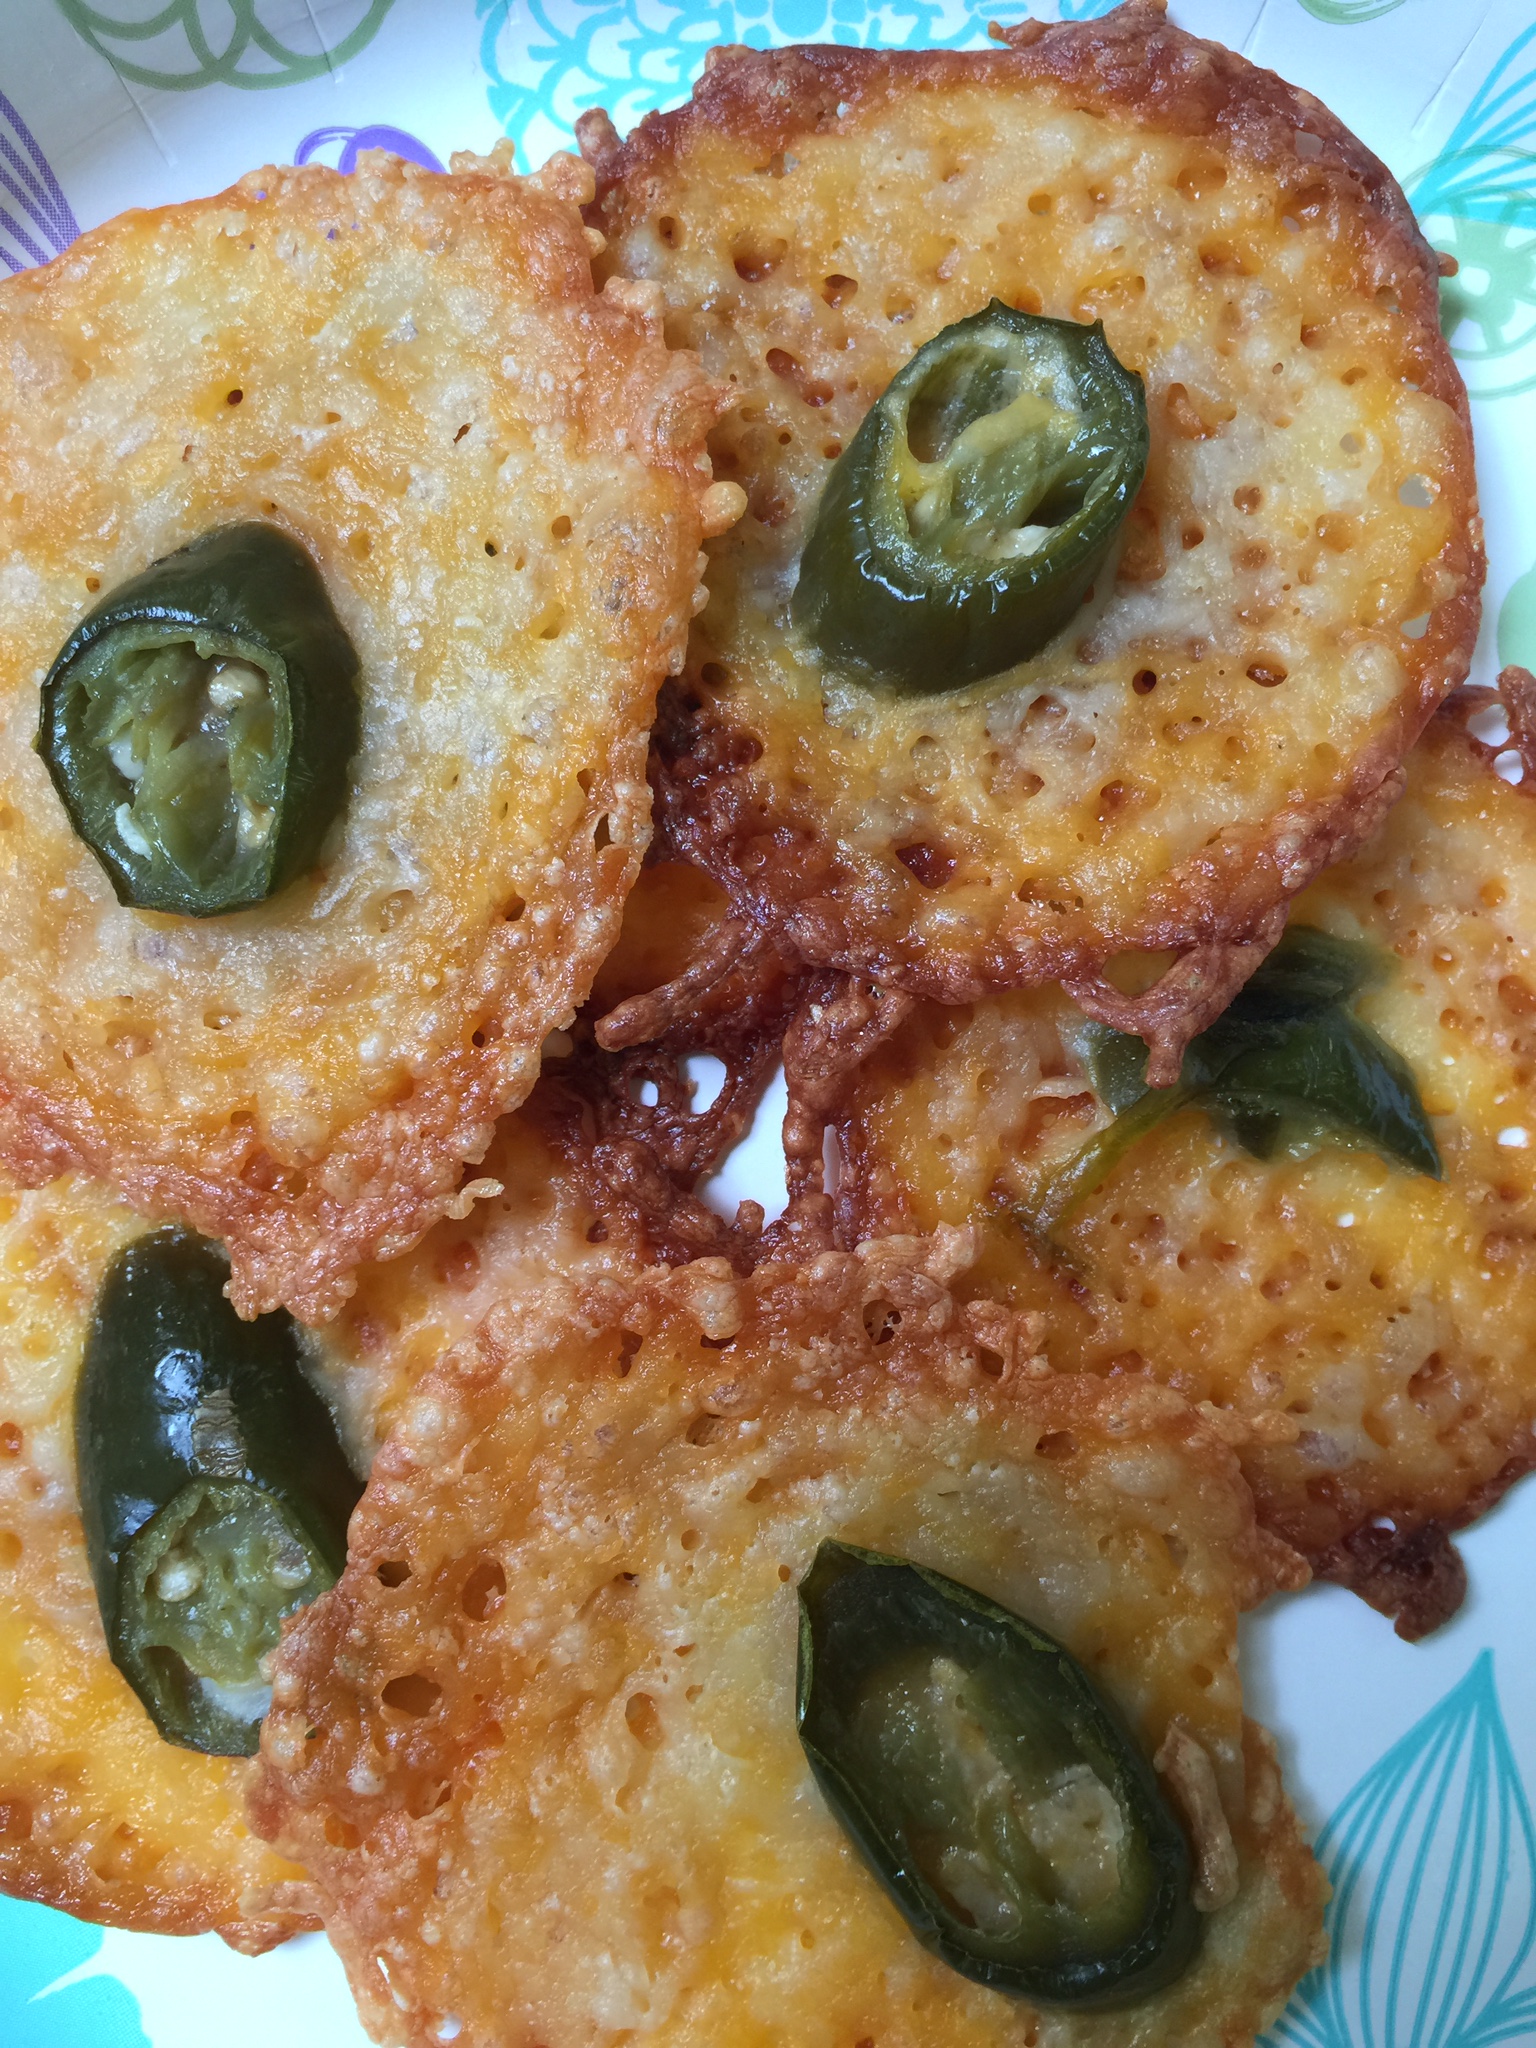
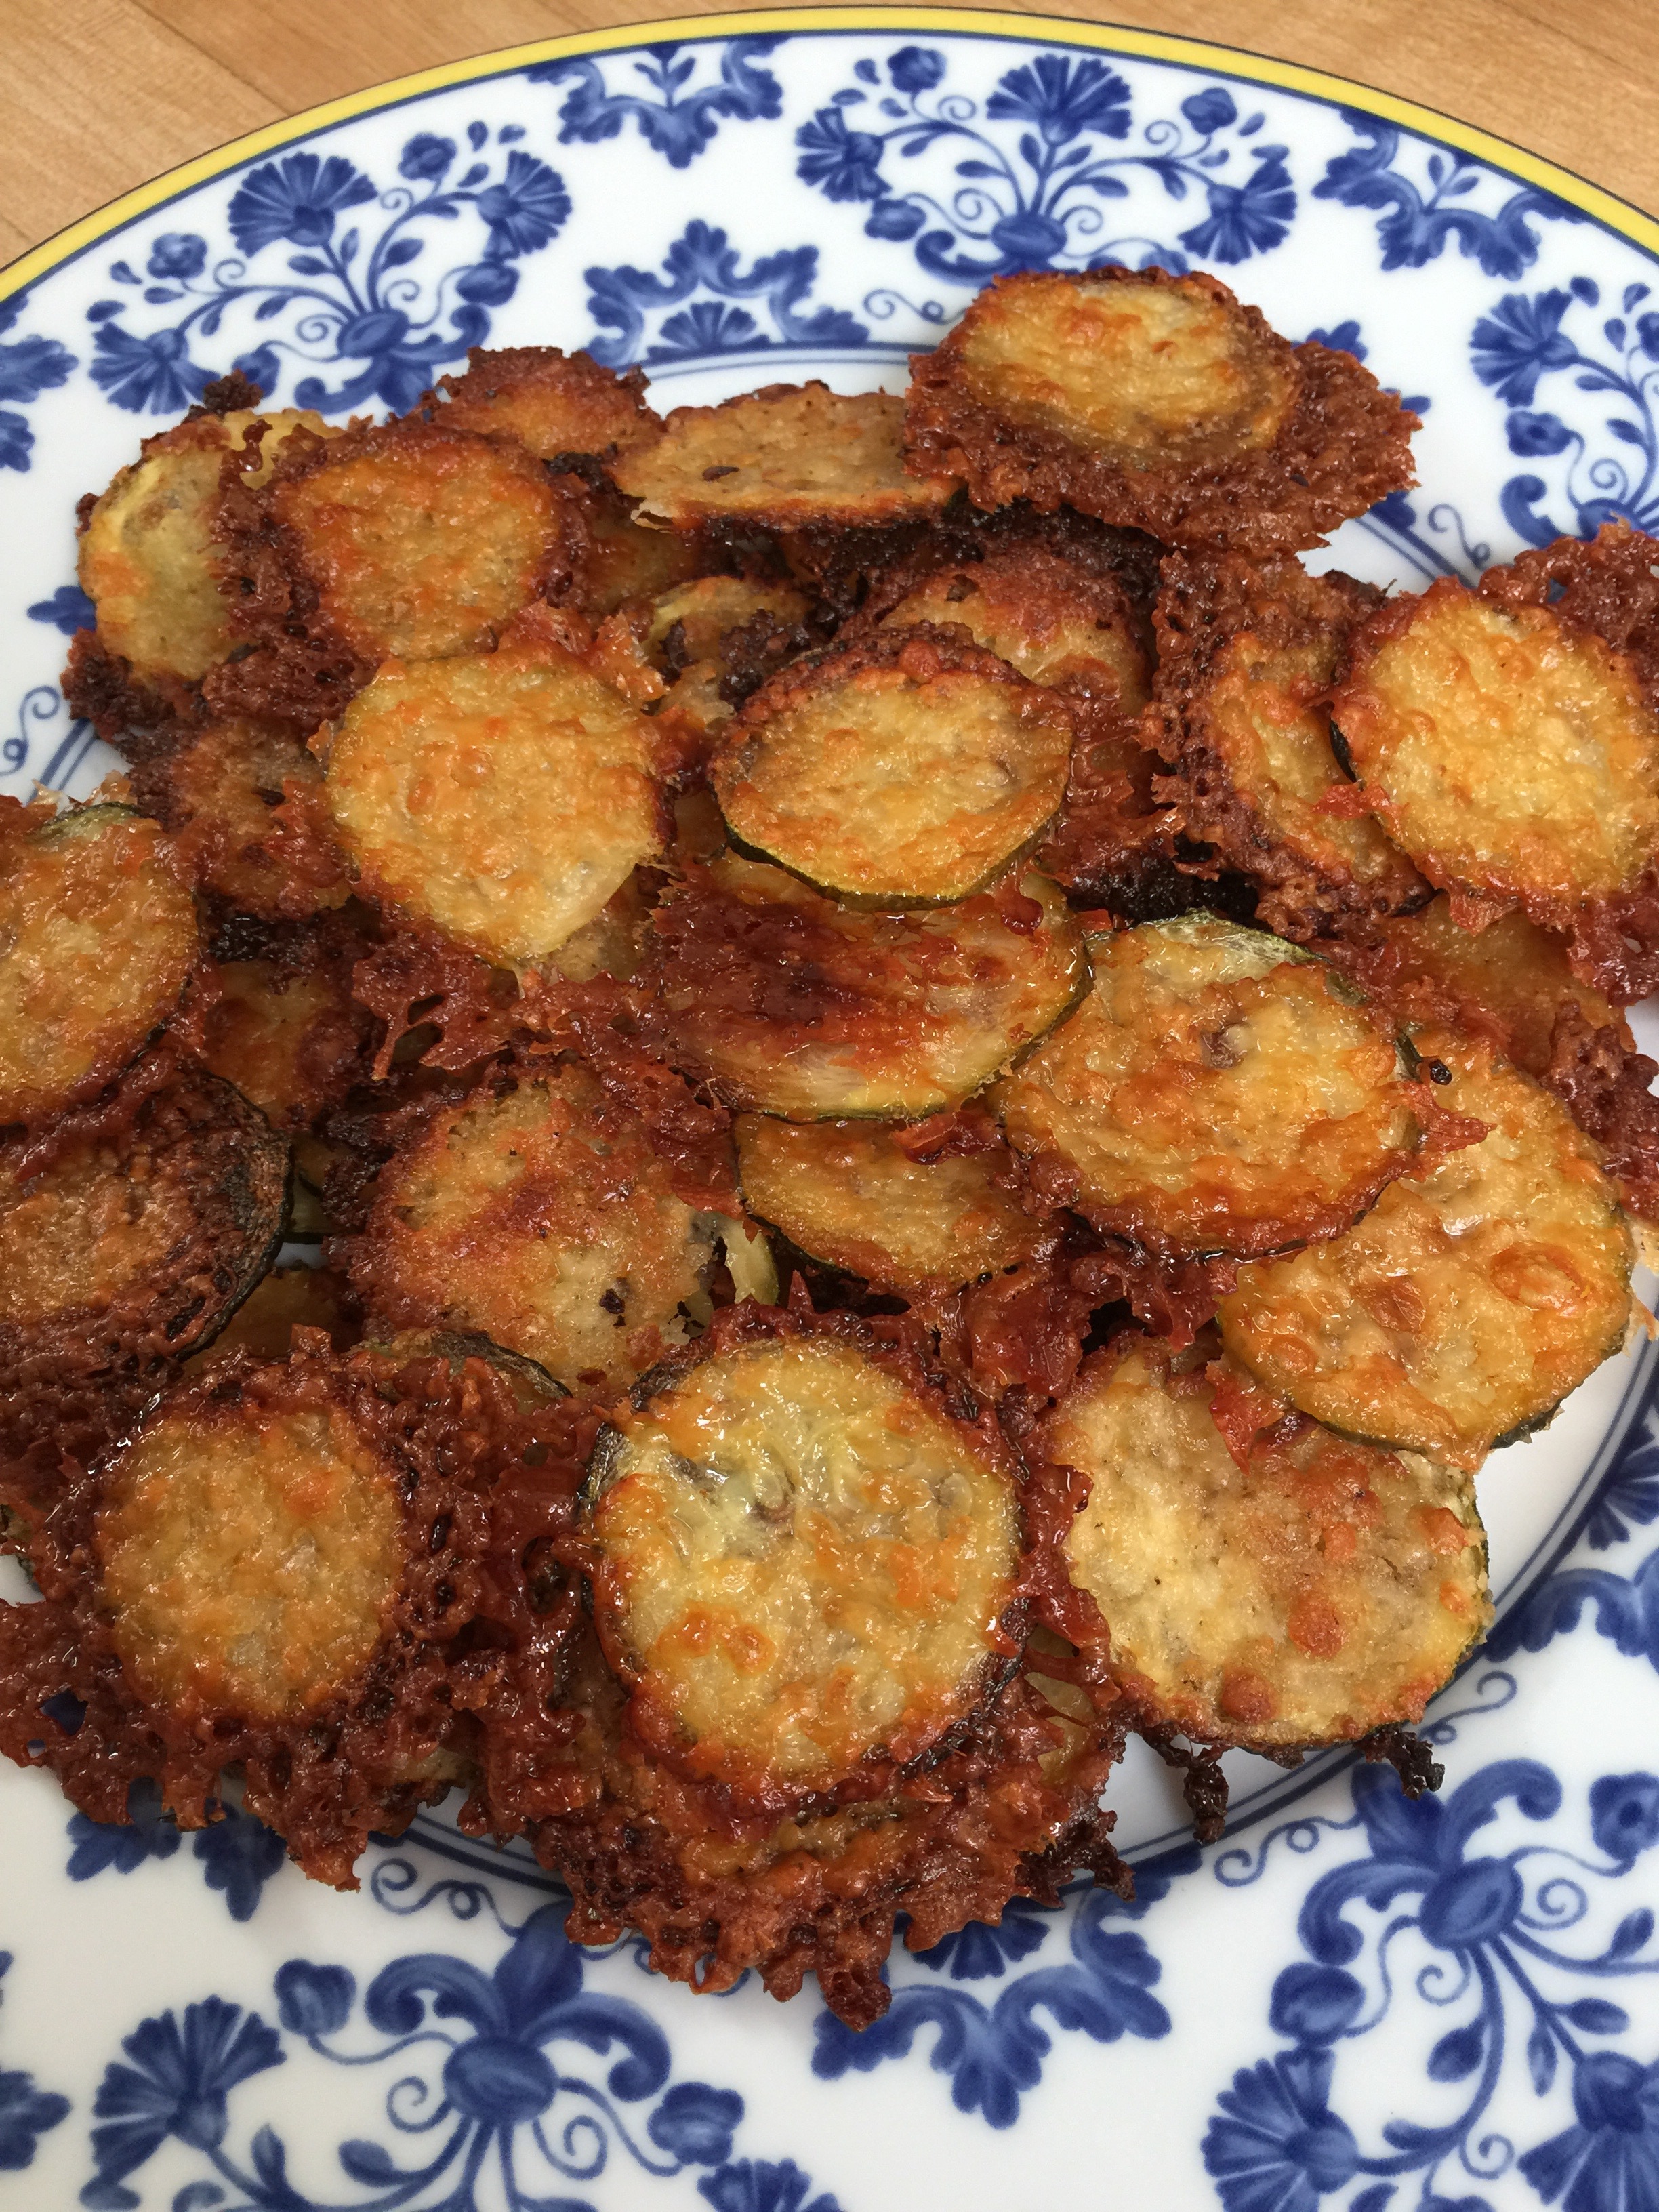
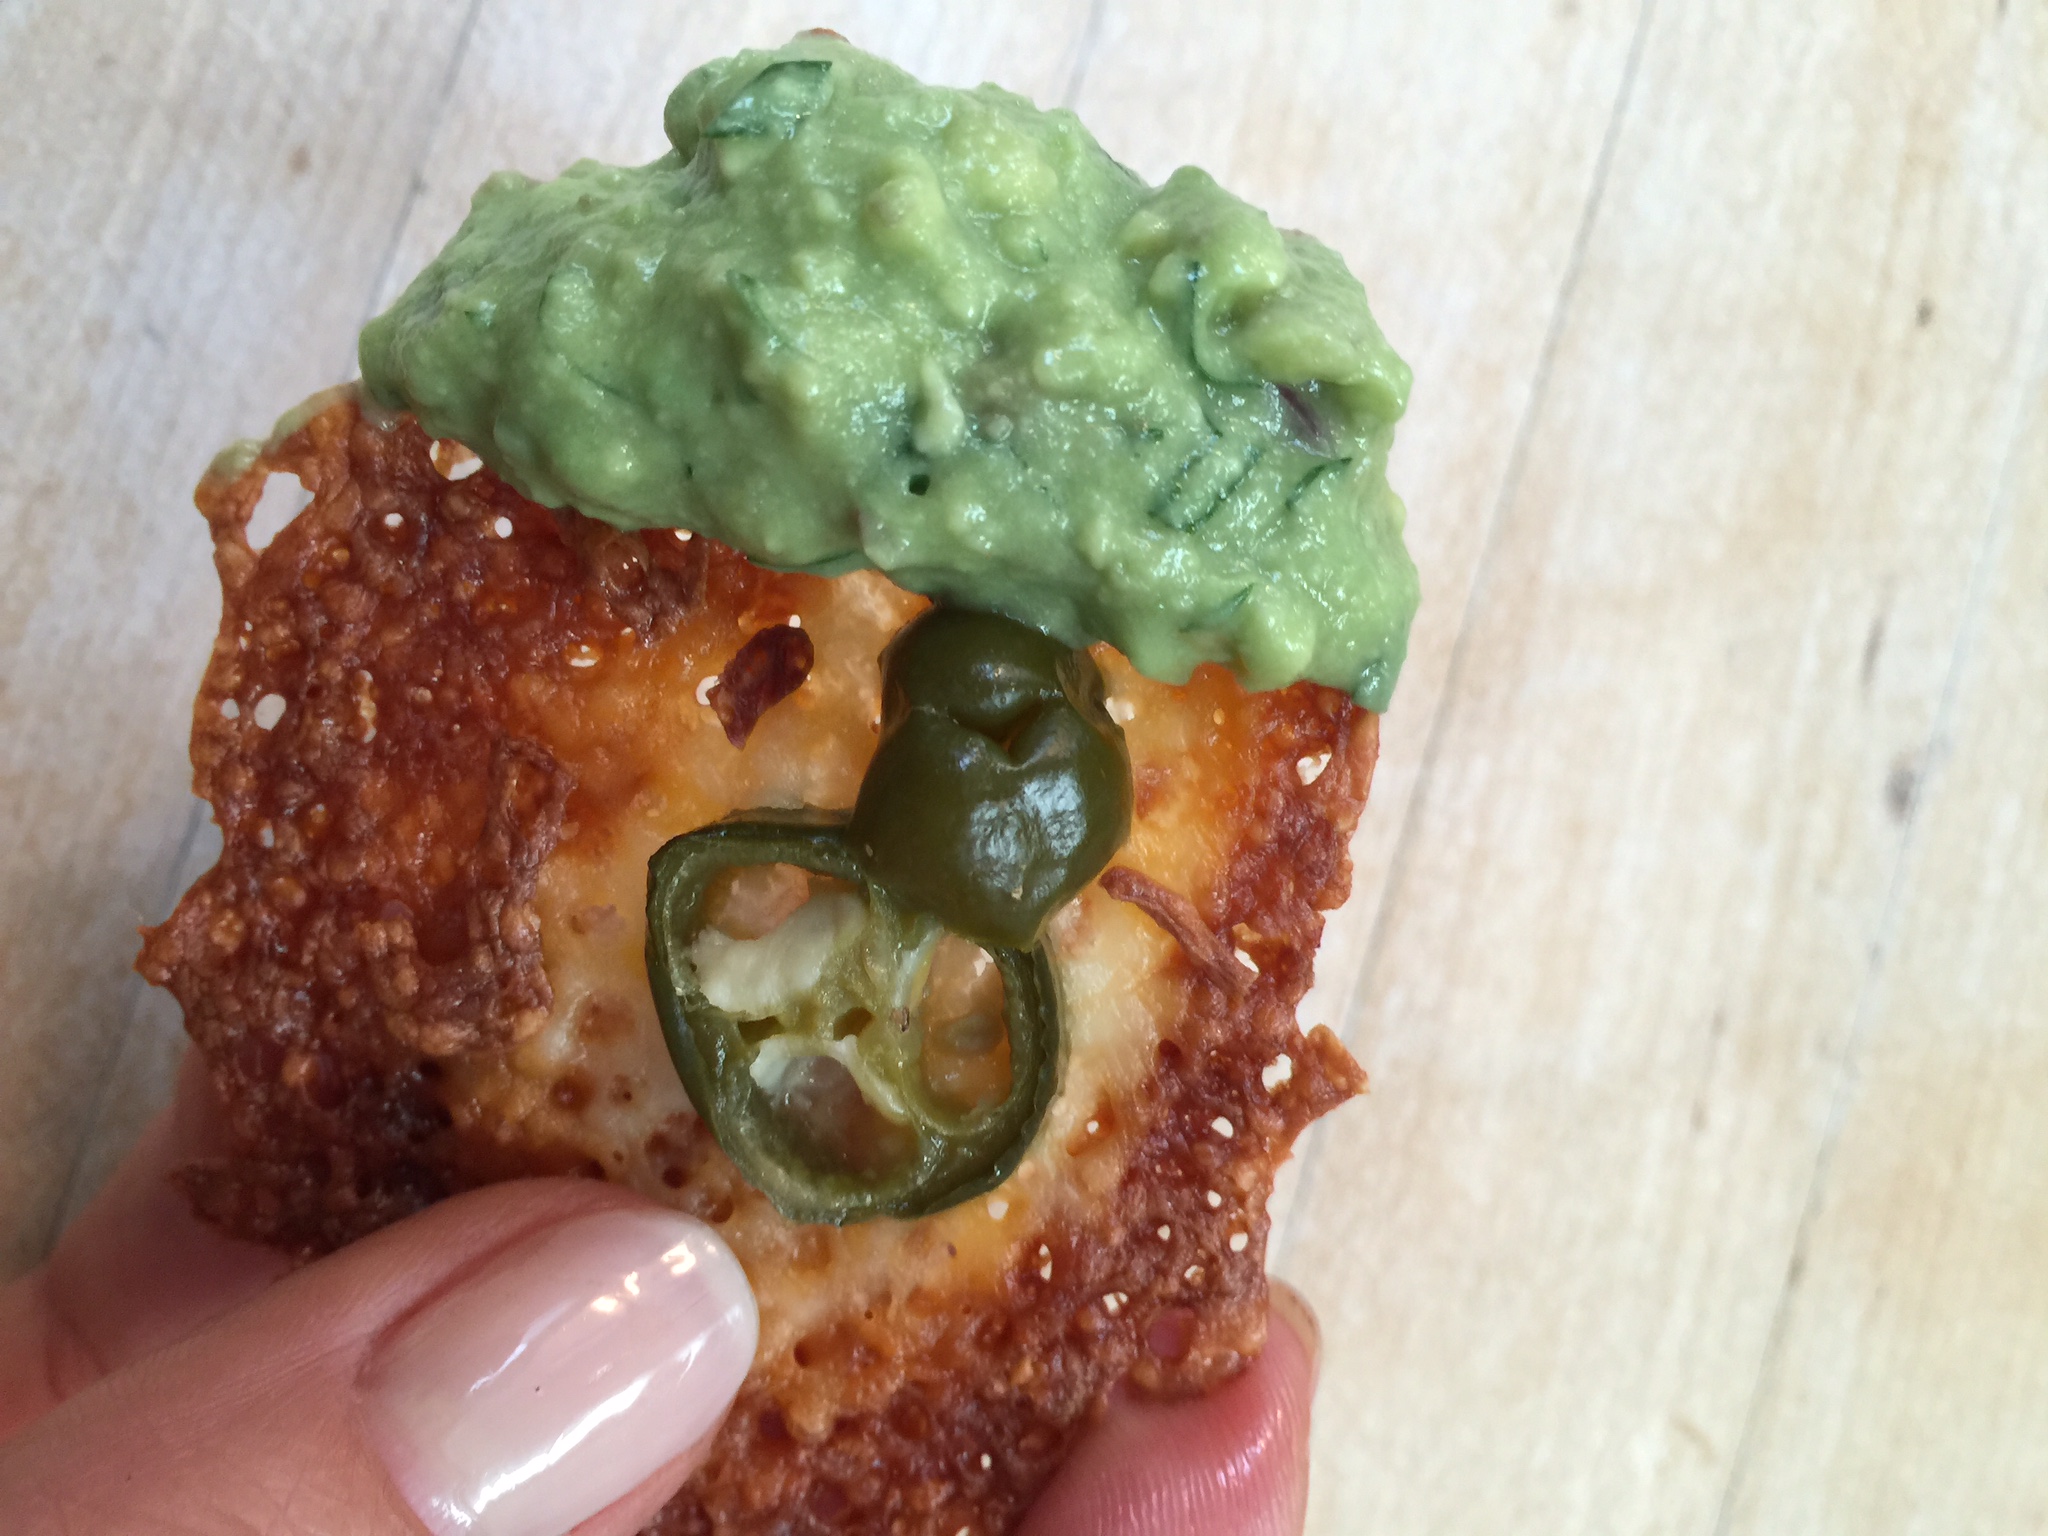
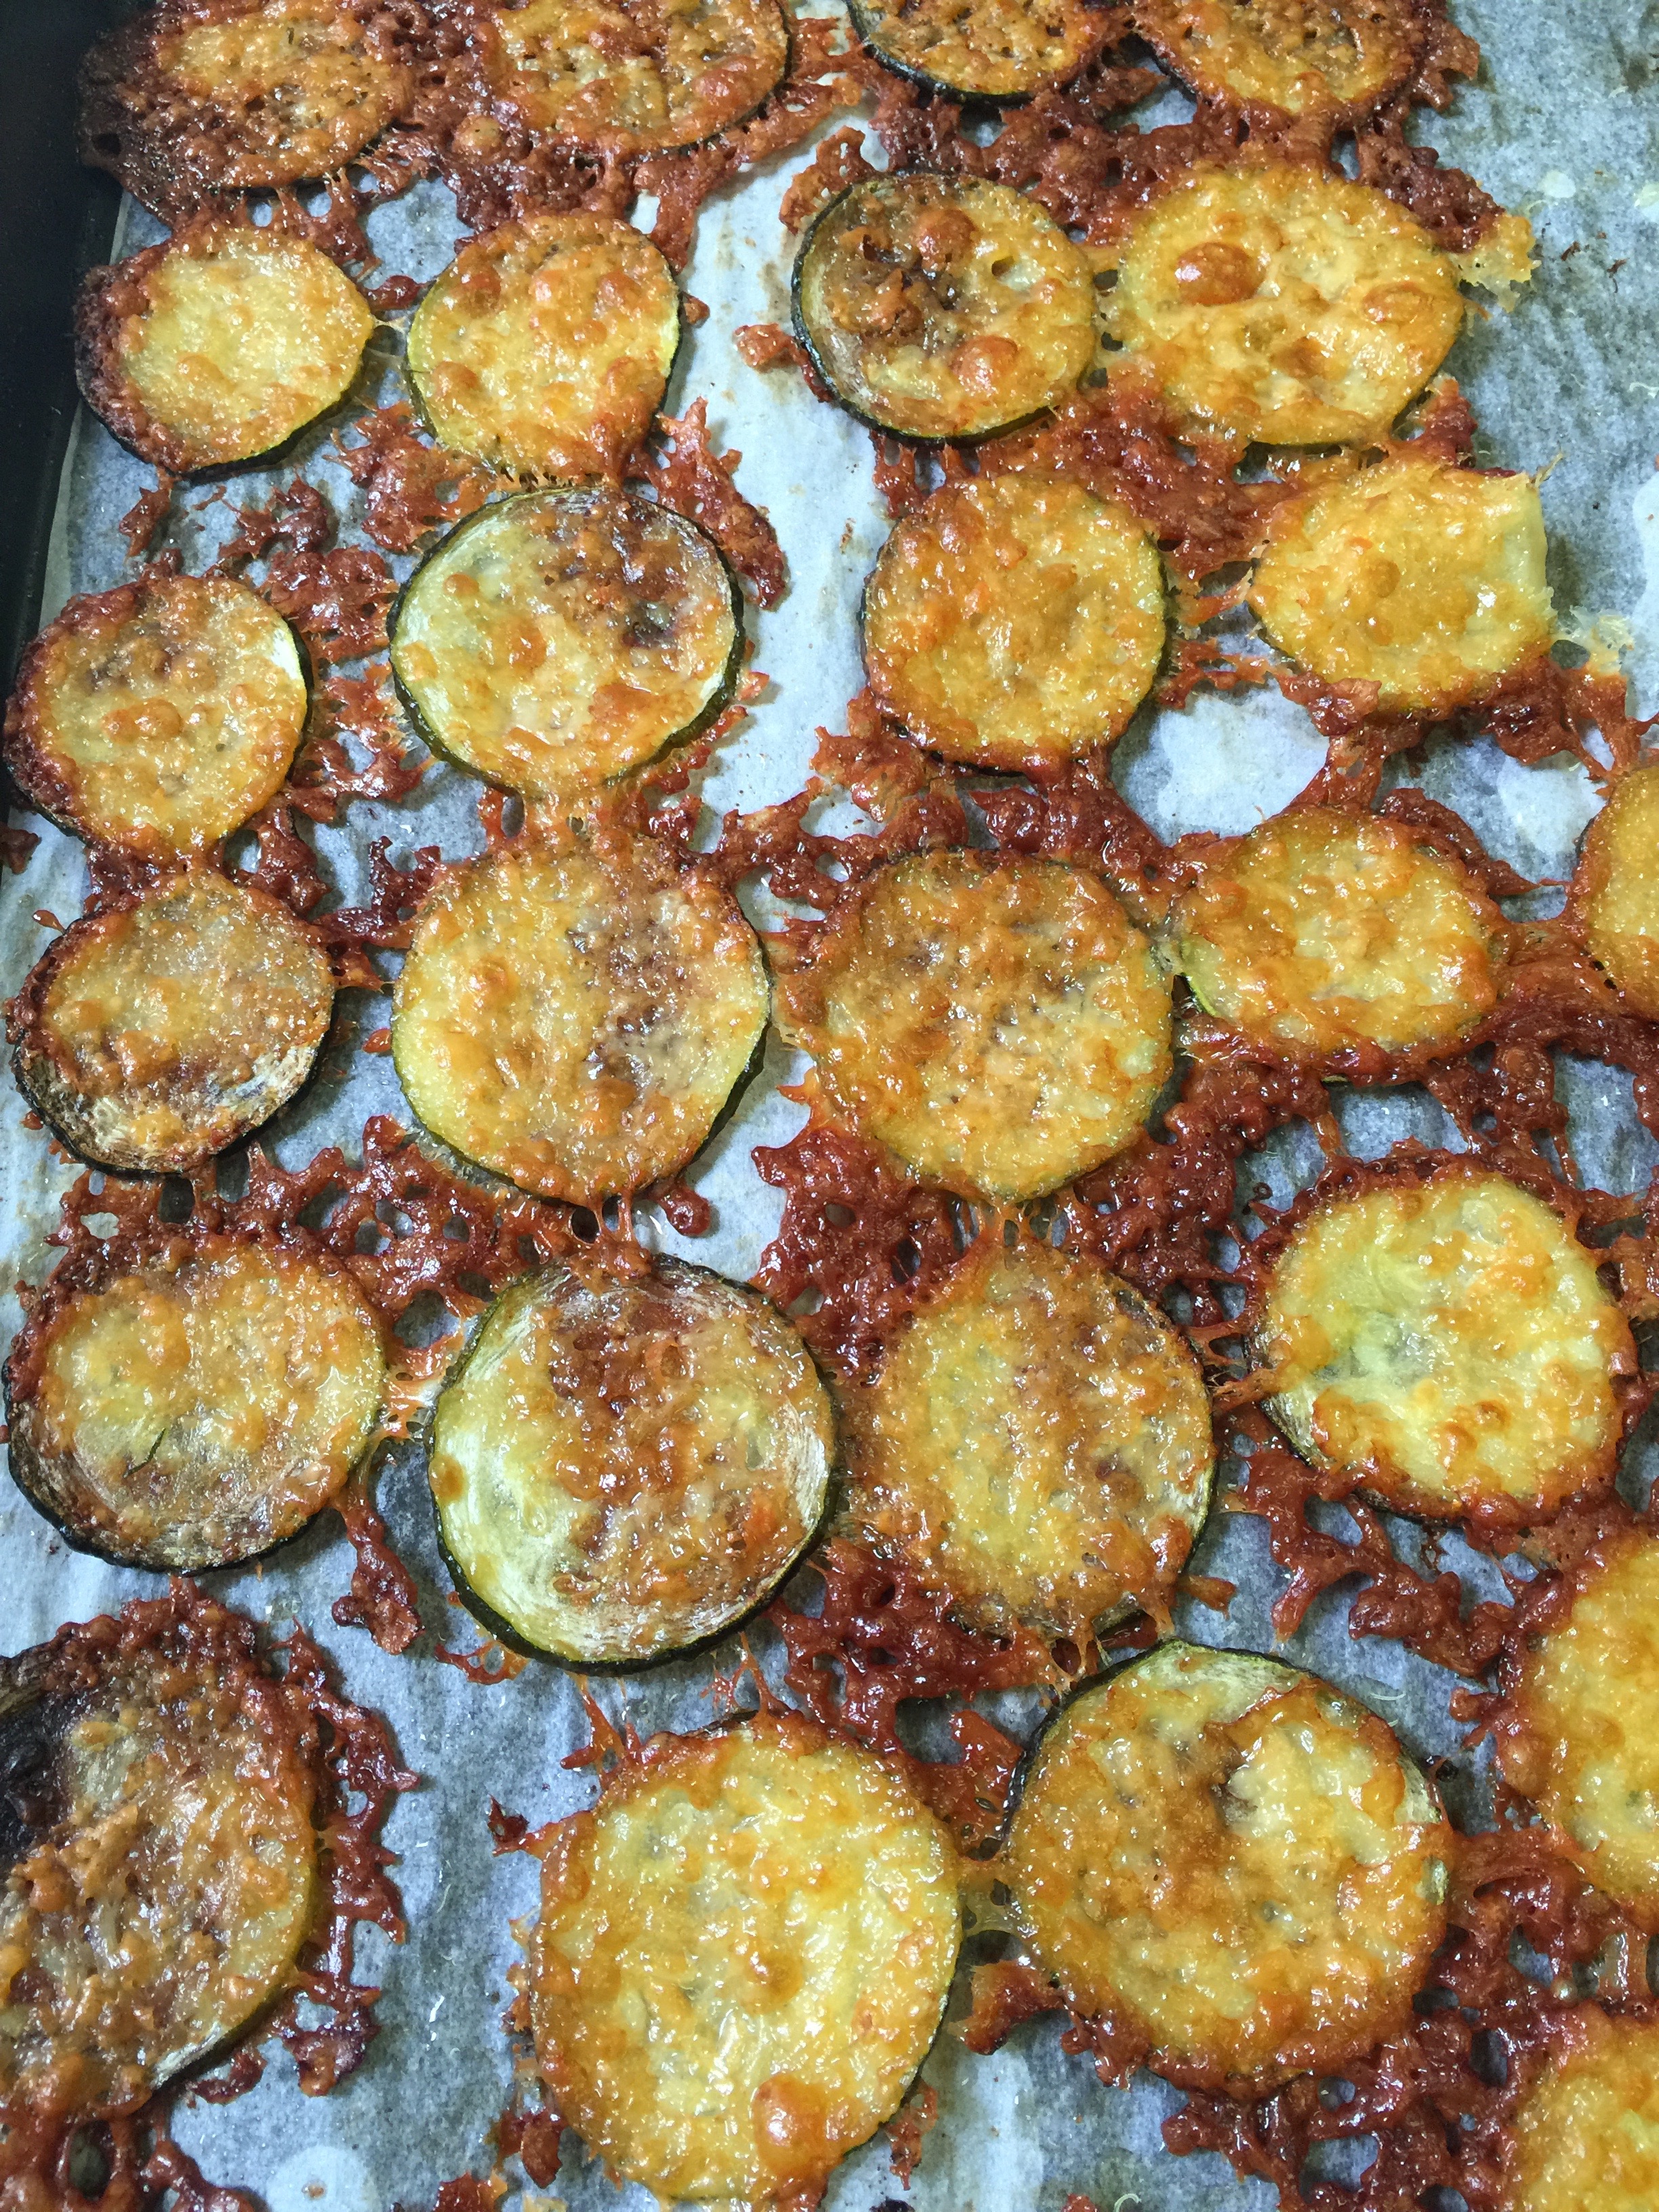
I will likely bring a few tasty low carb options-artichoke dip, cheese crisps, full fat ranch dip, guacamole, and accompanying veggies for dipping.


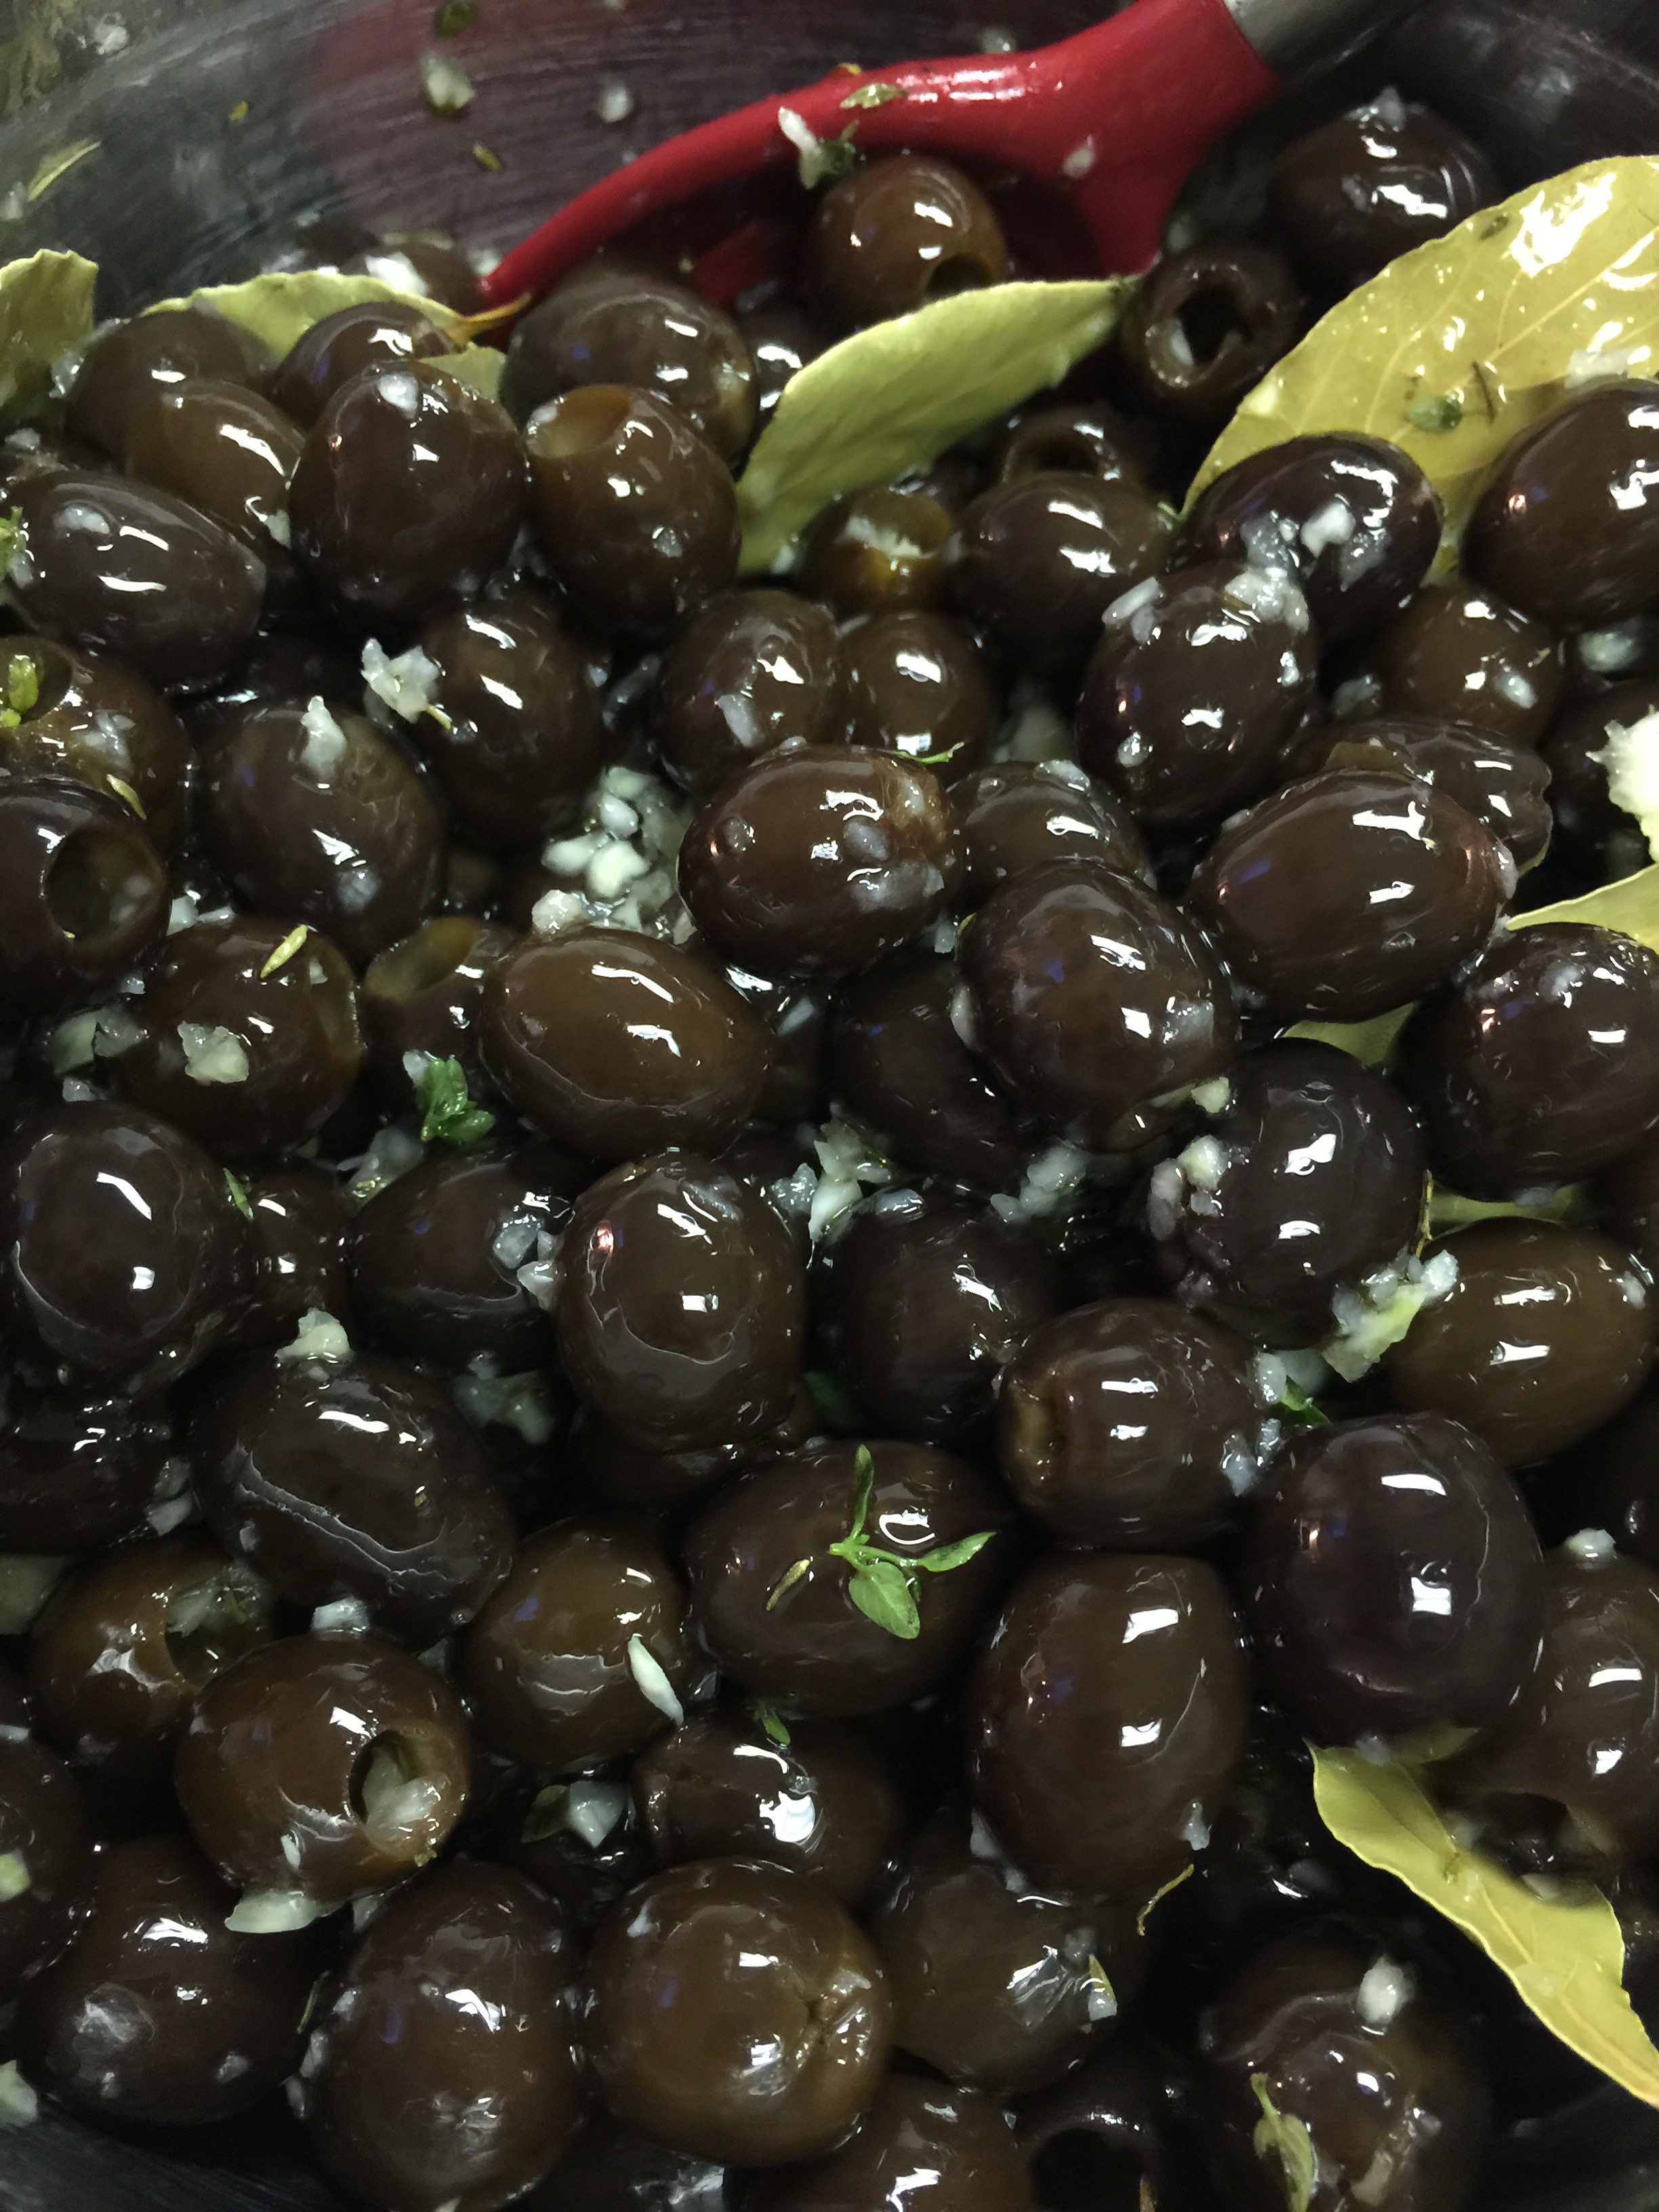
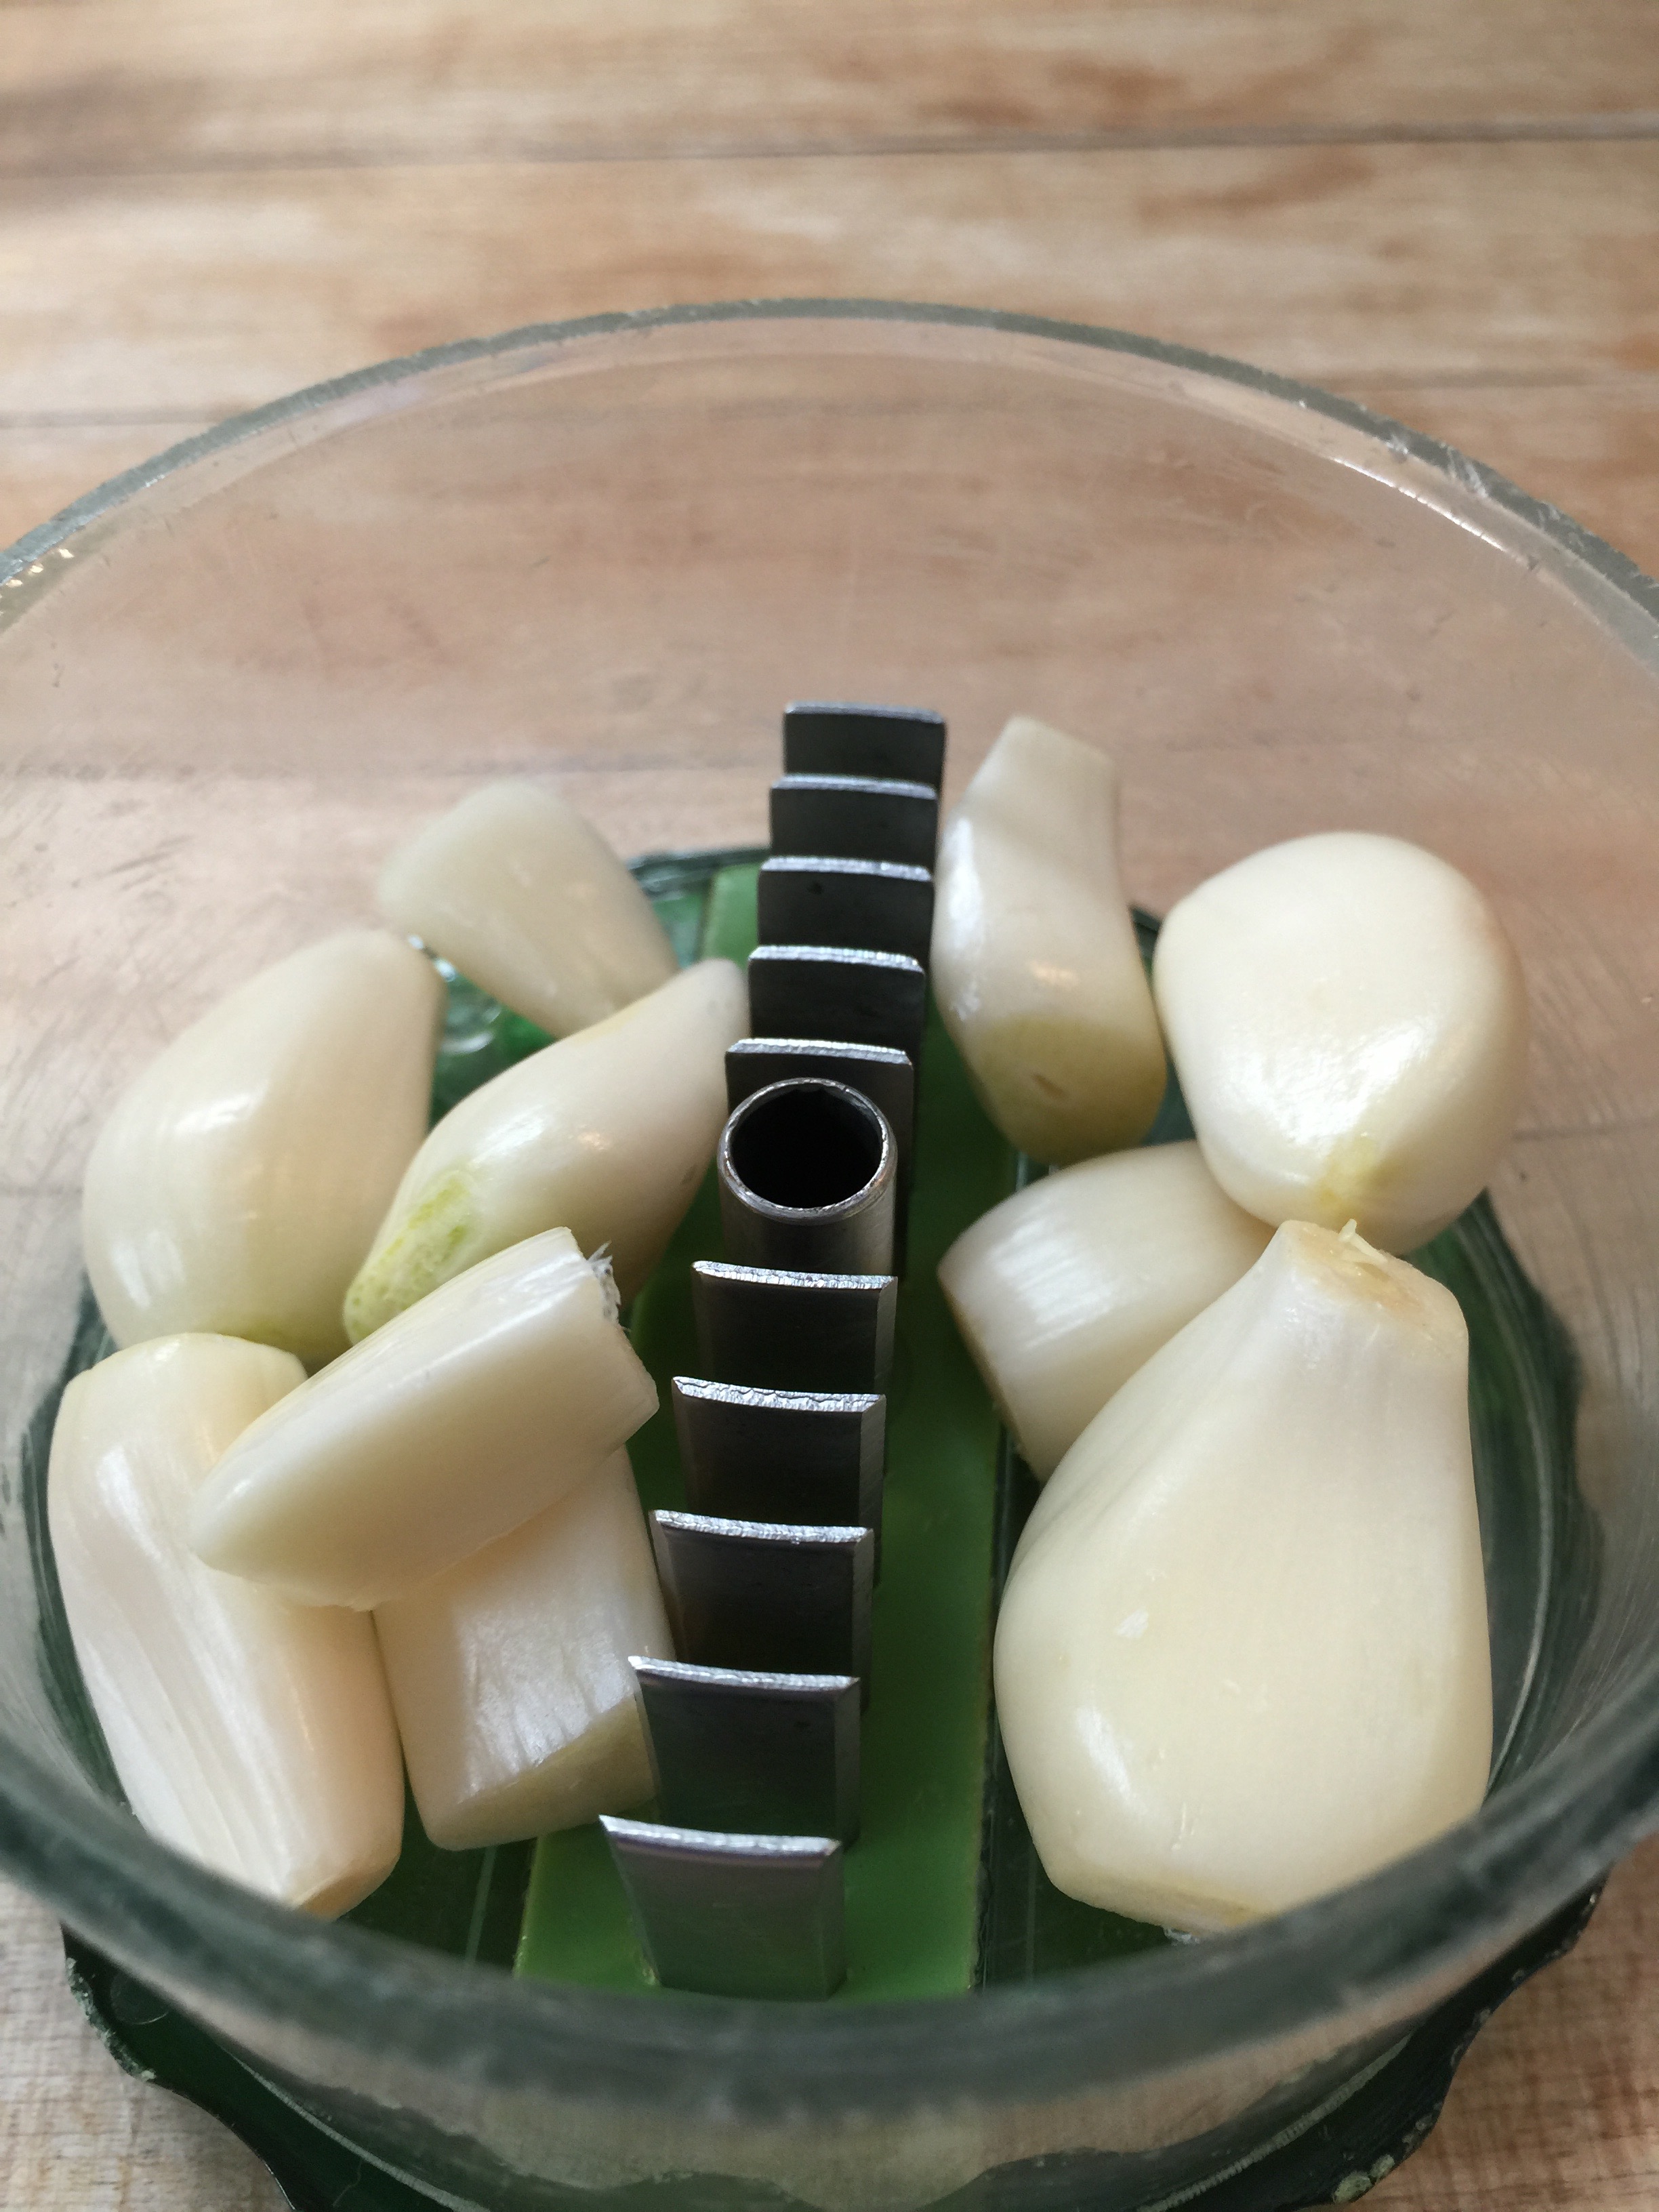
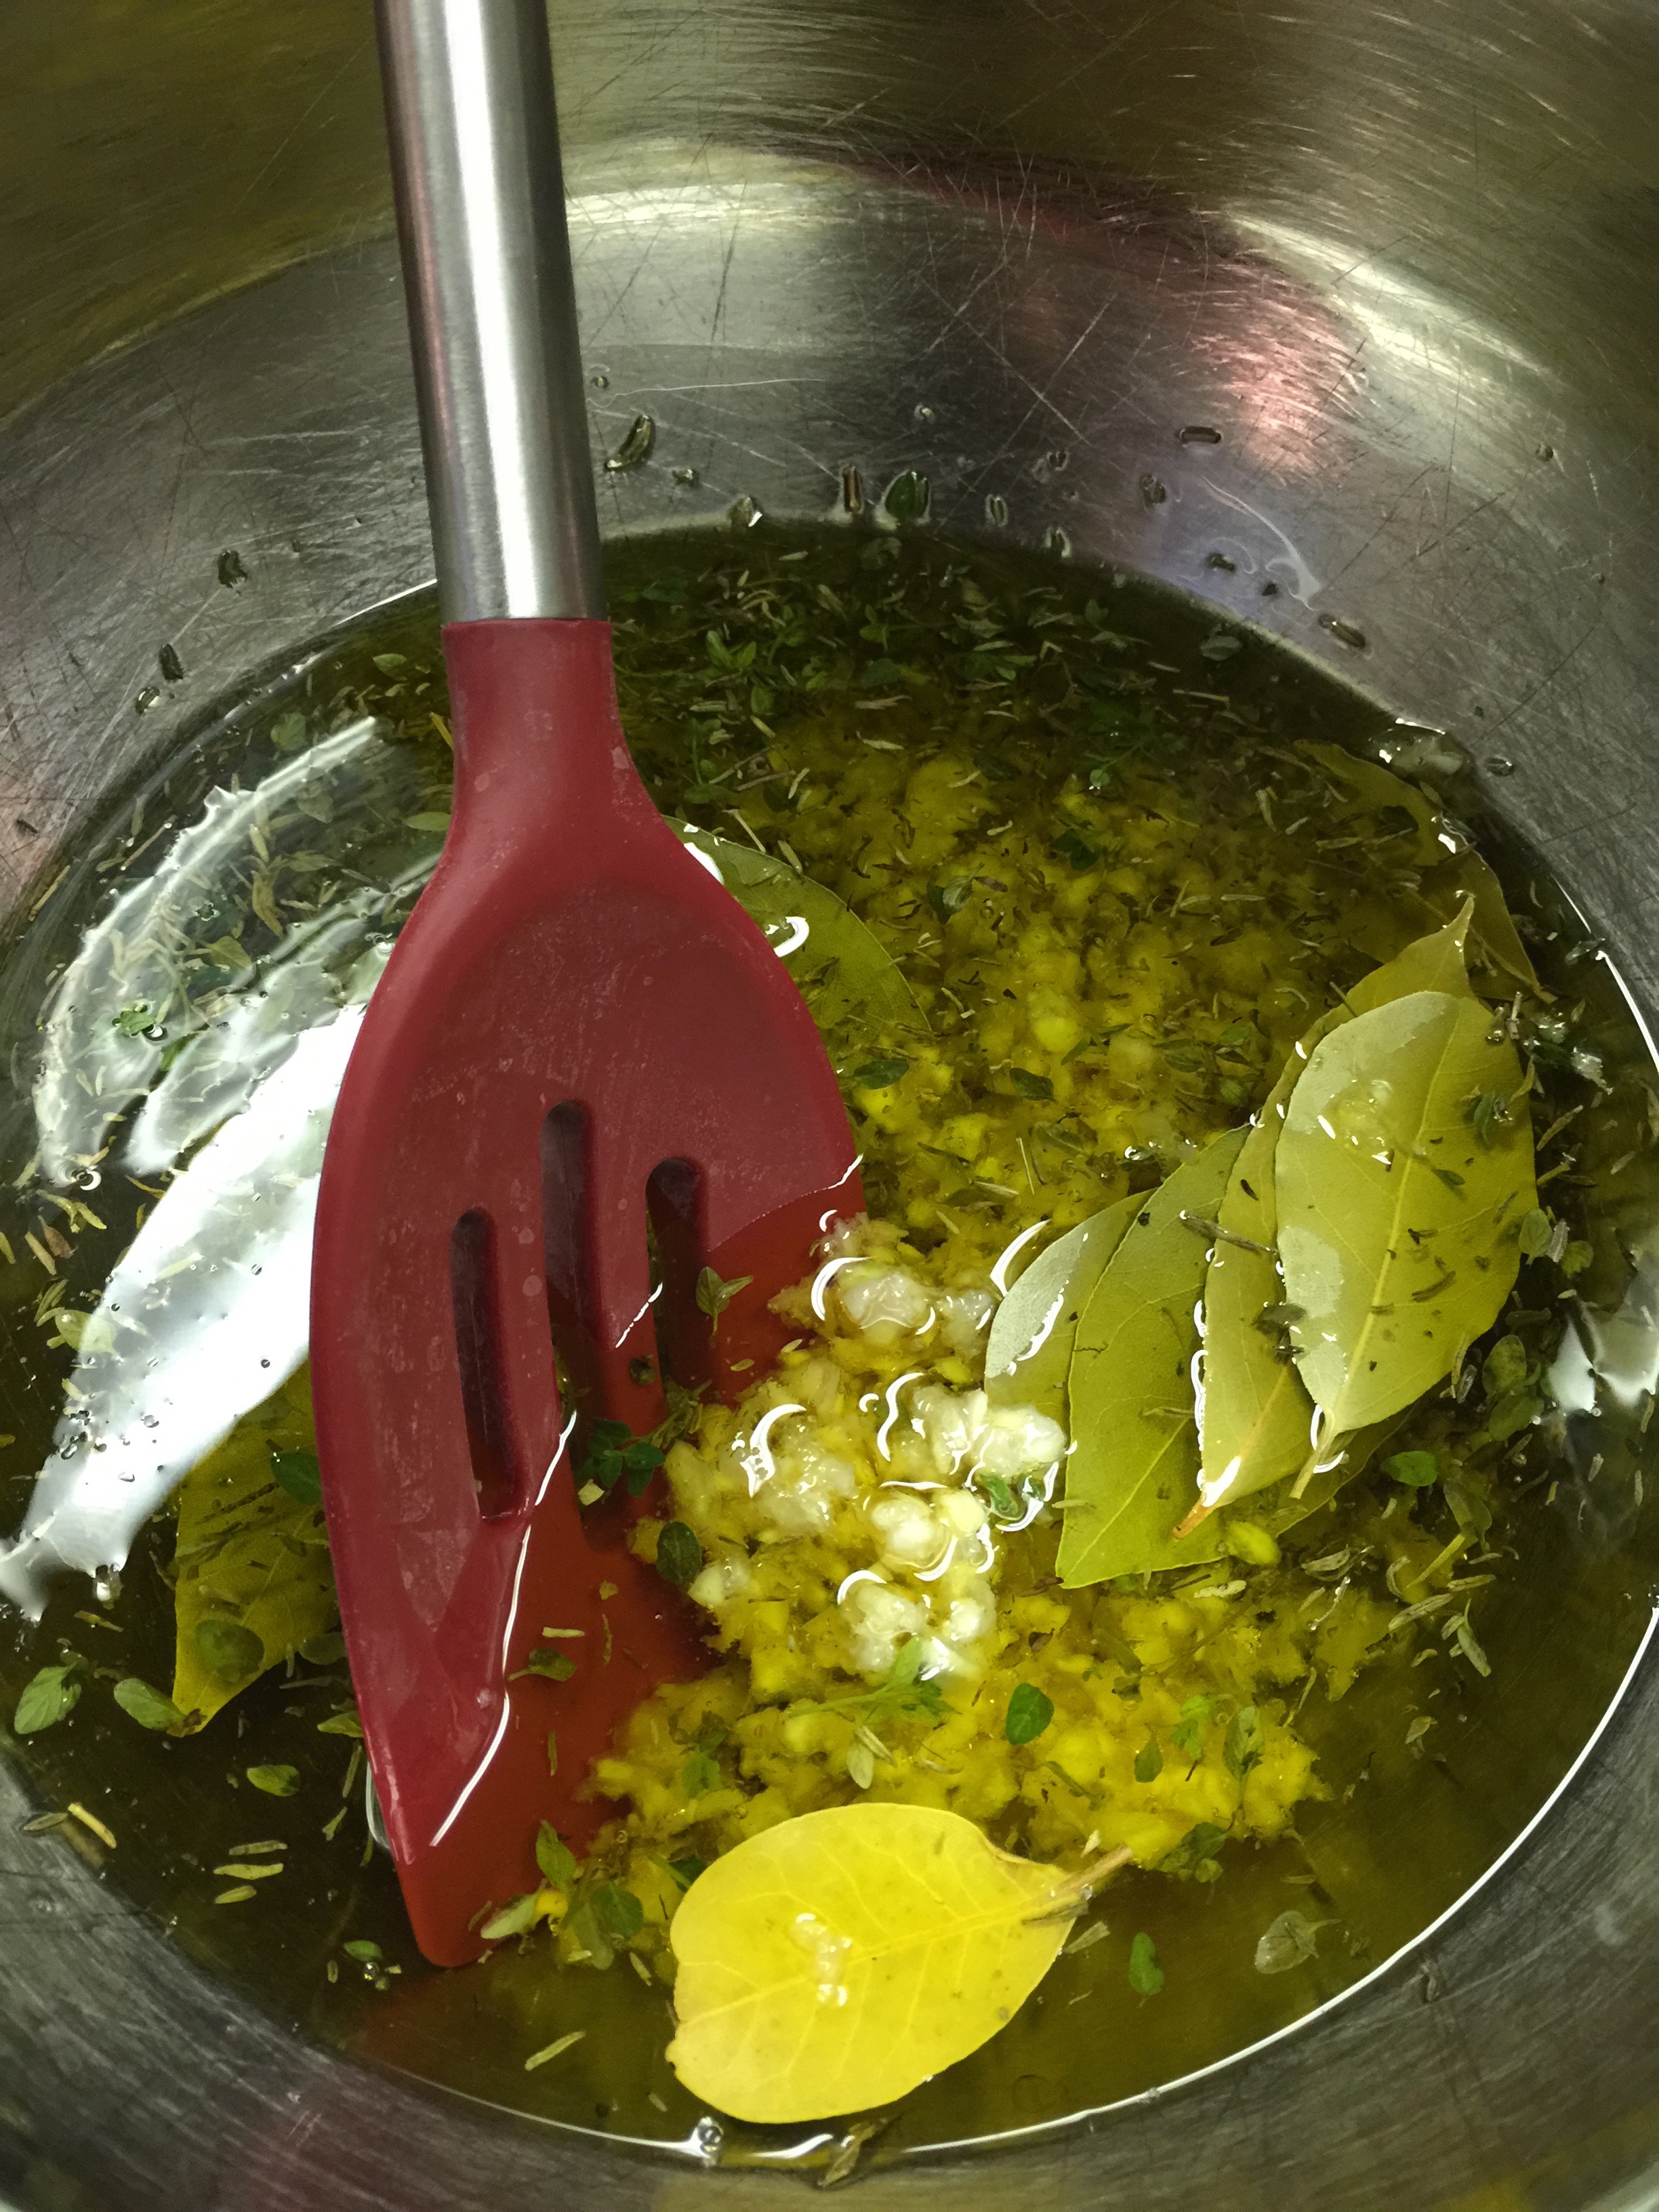
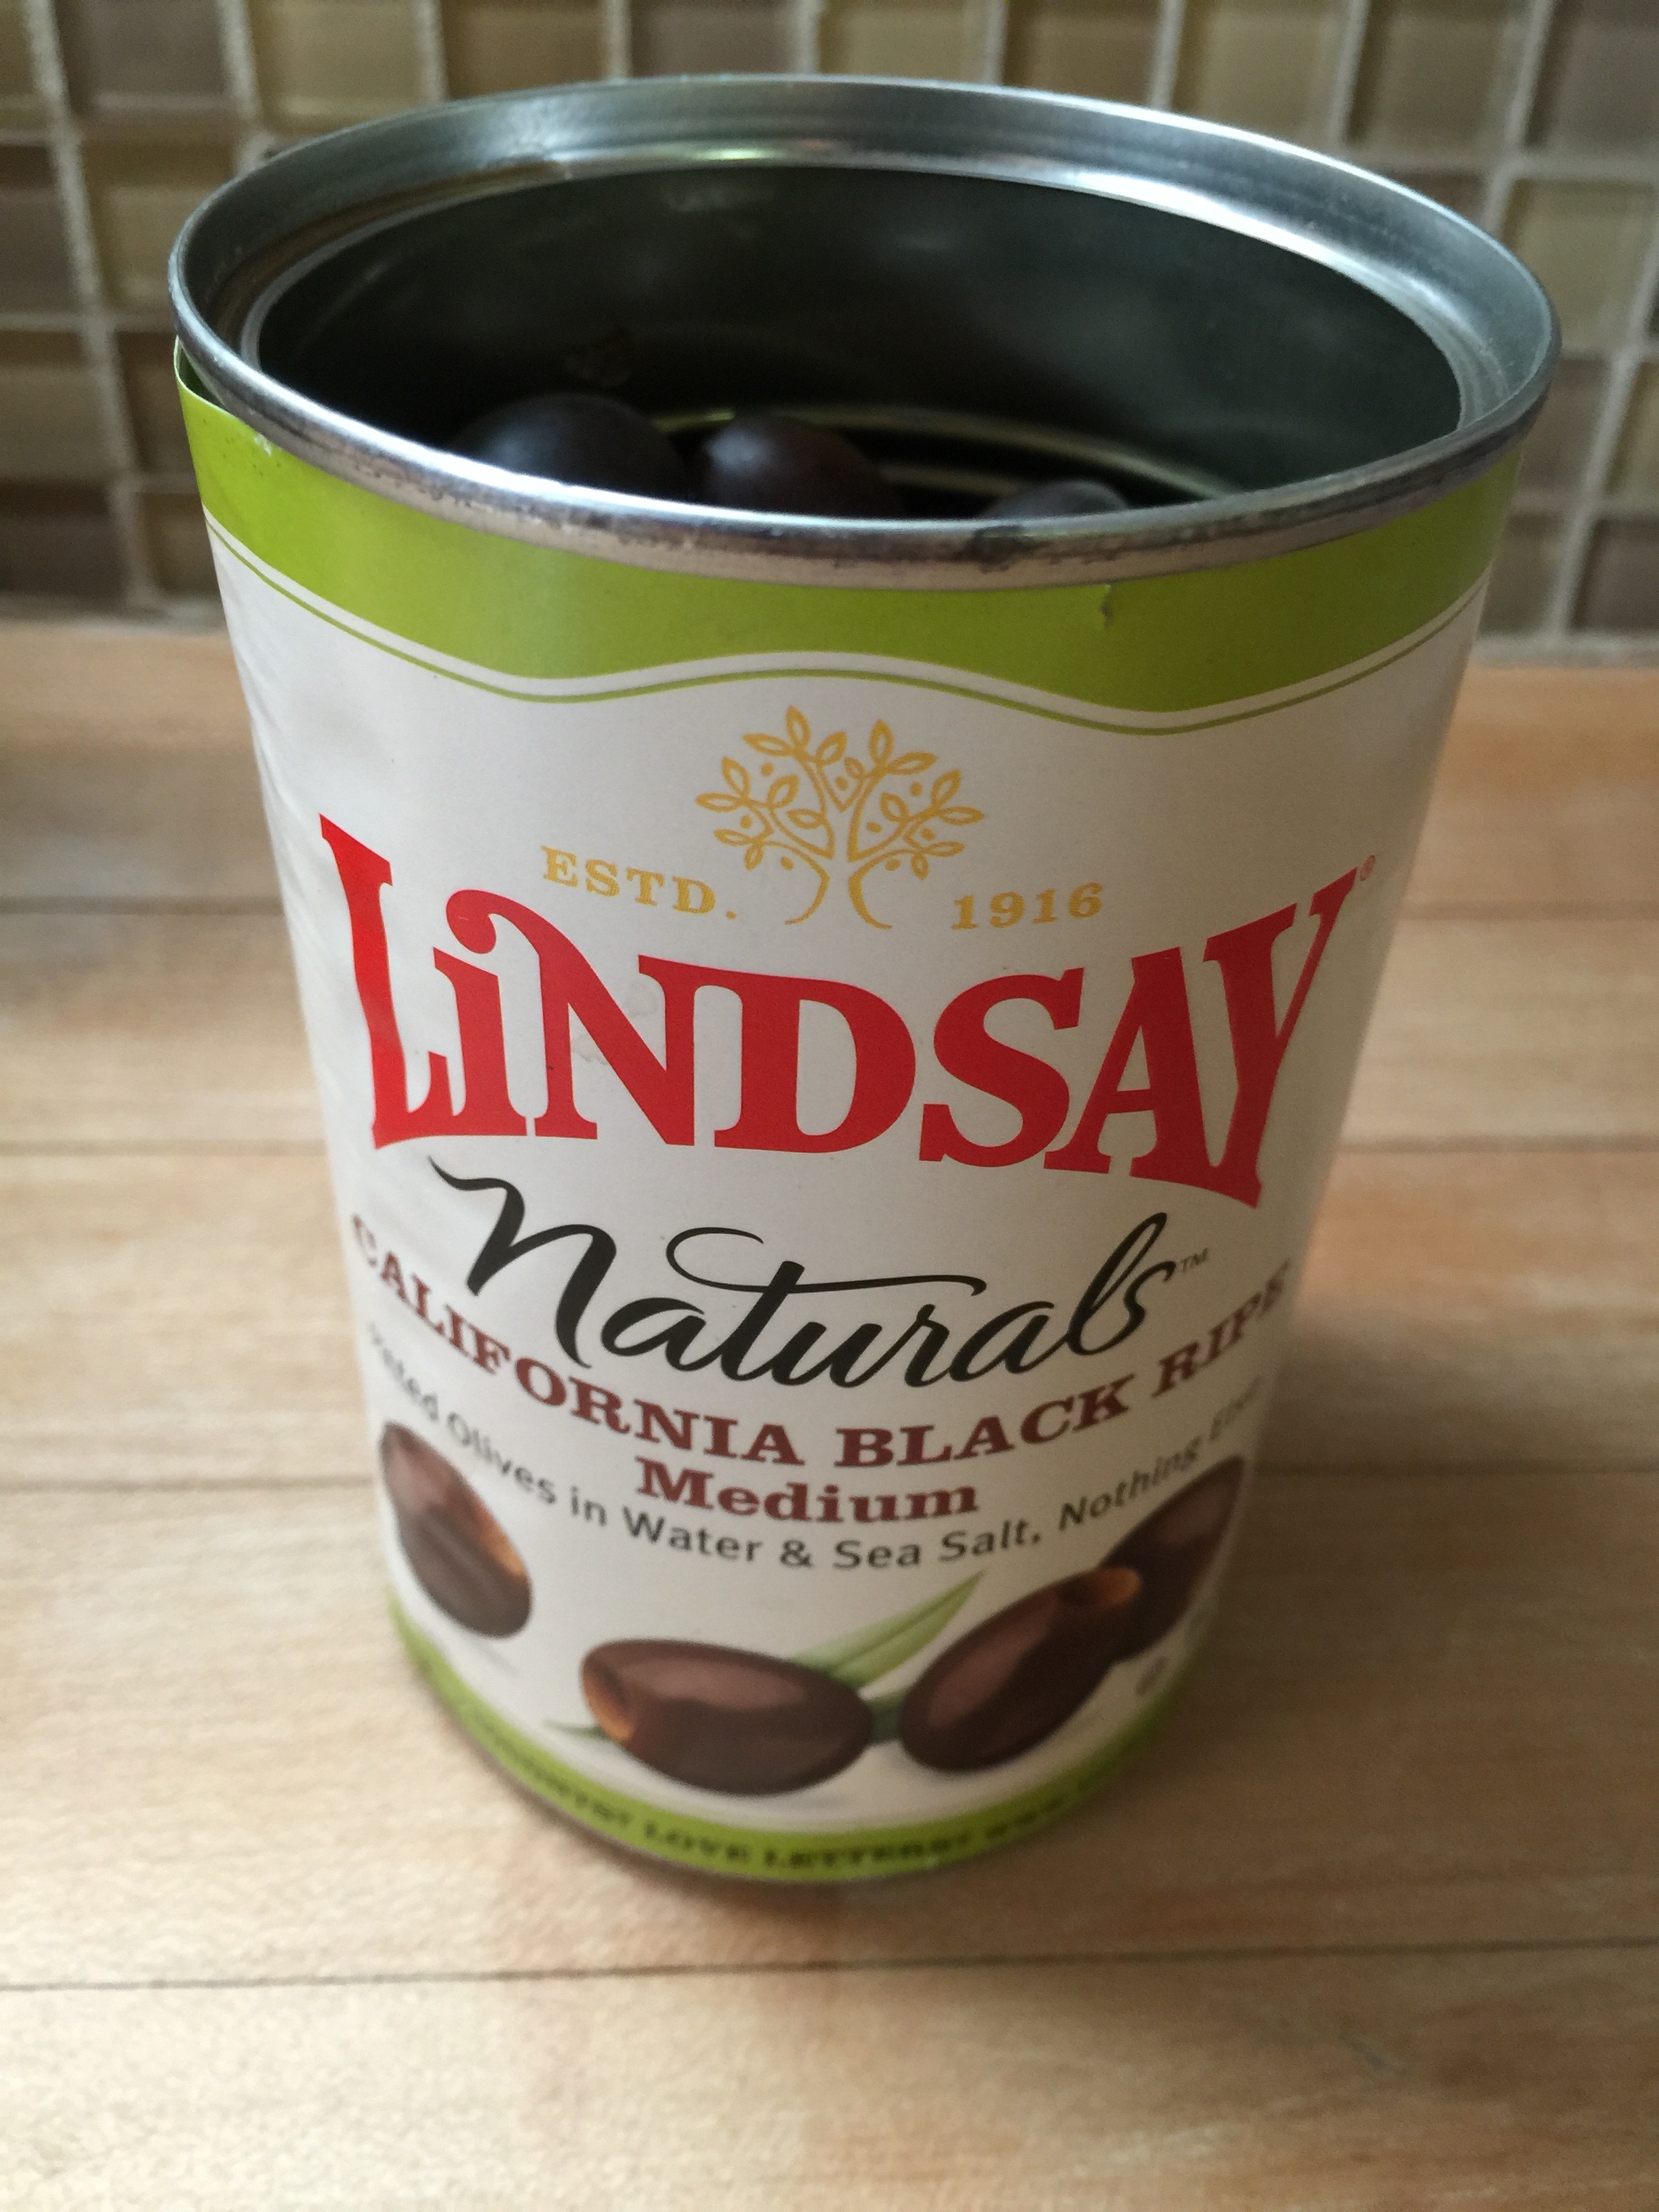
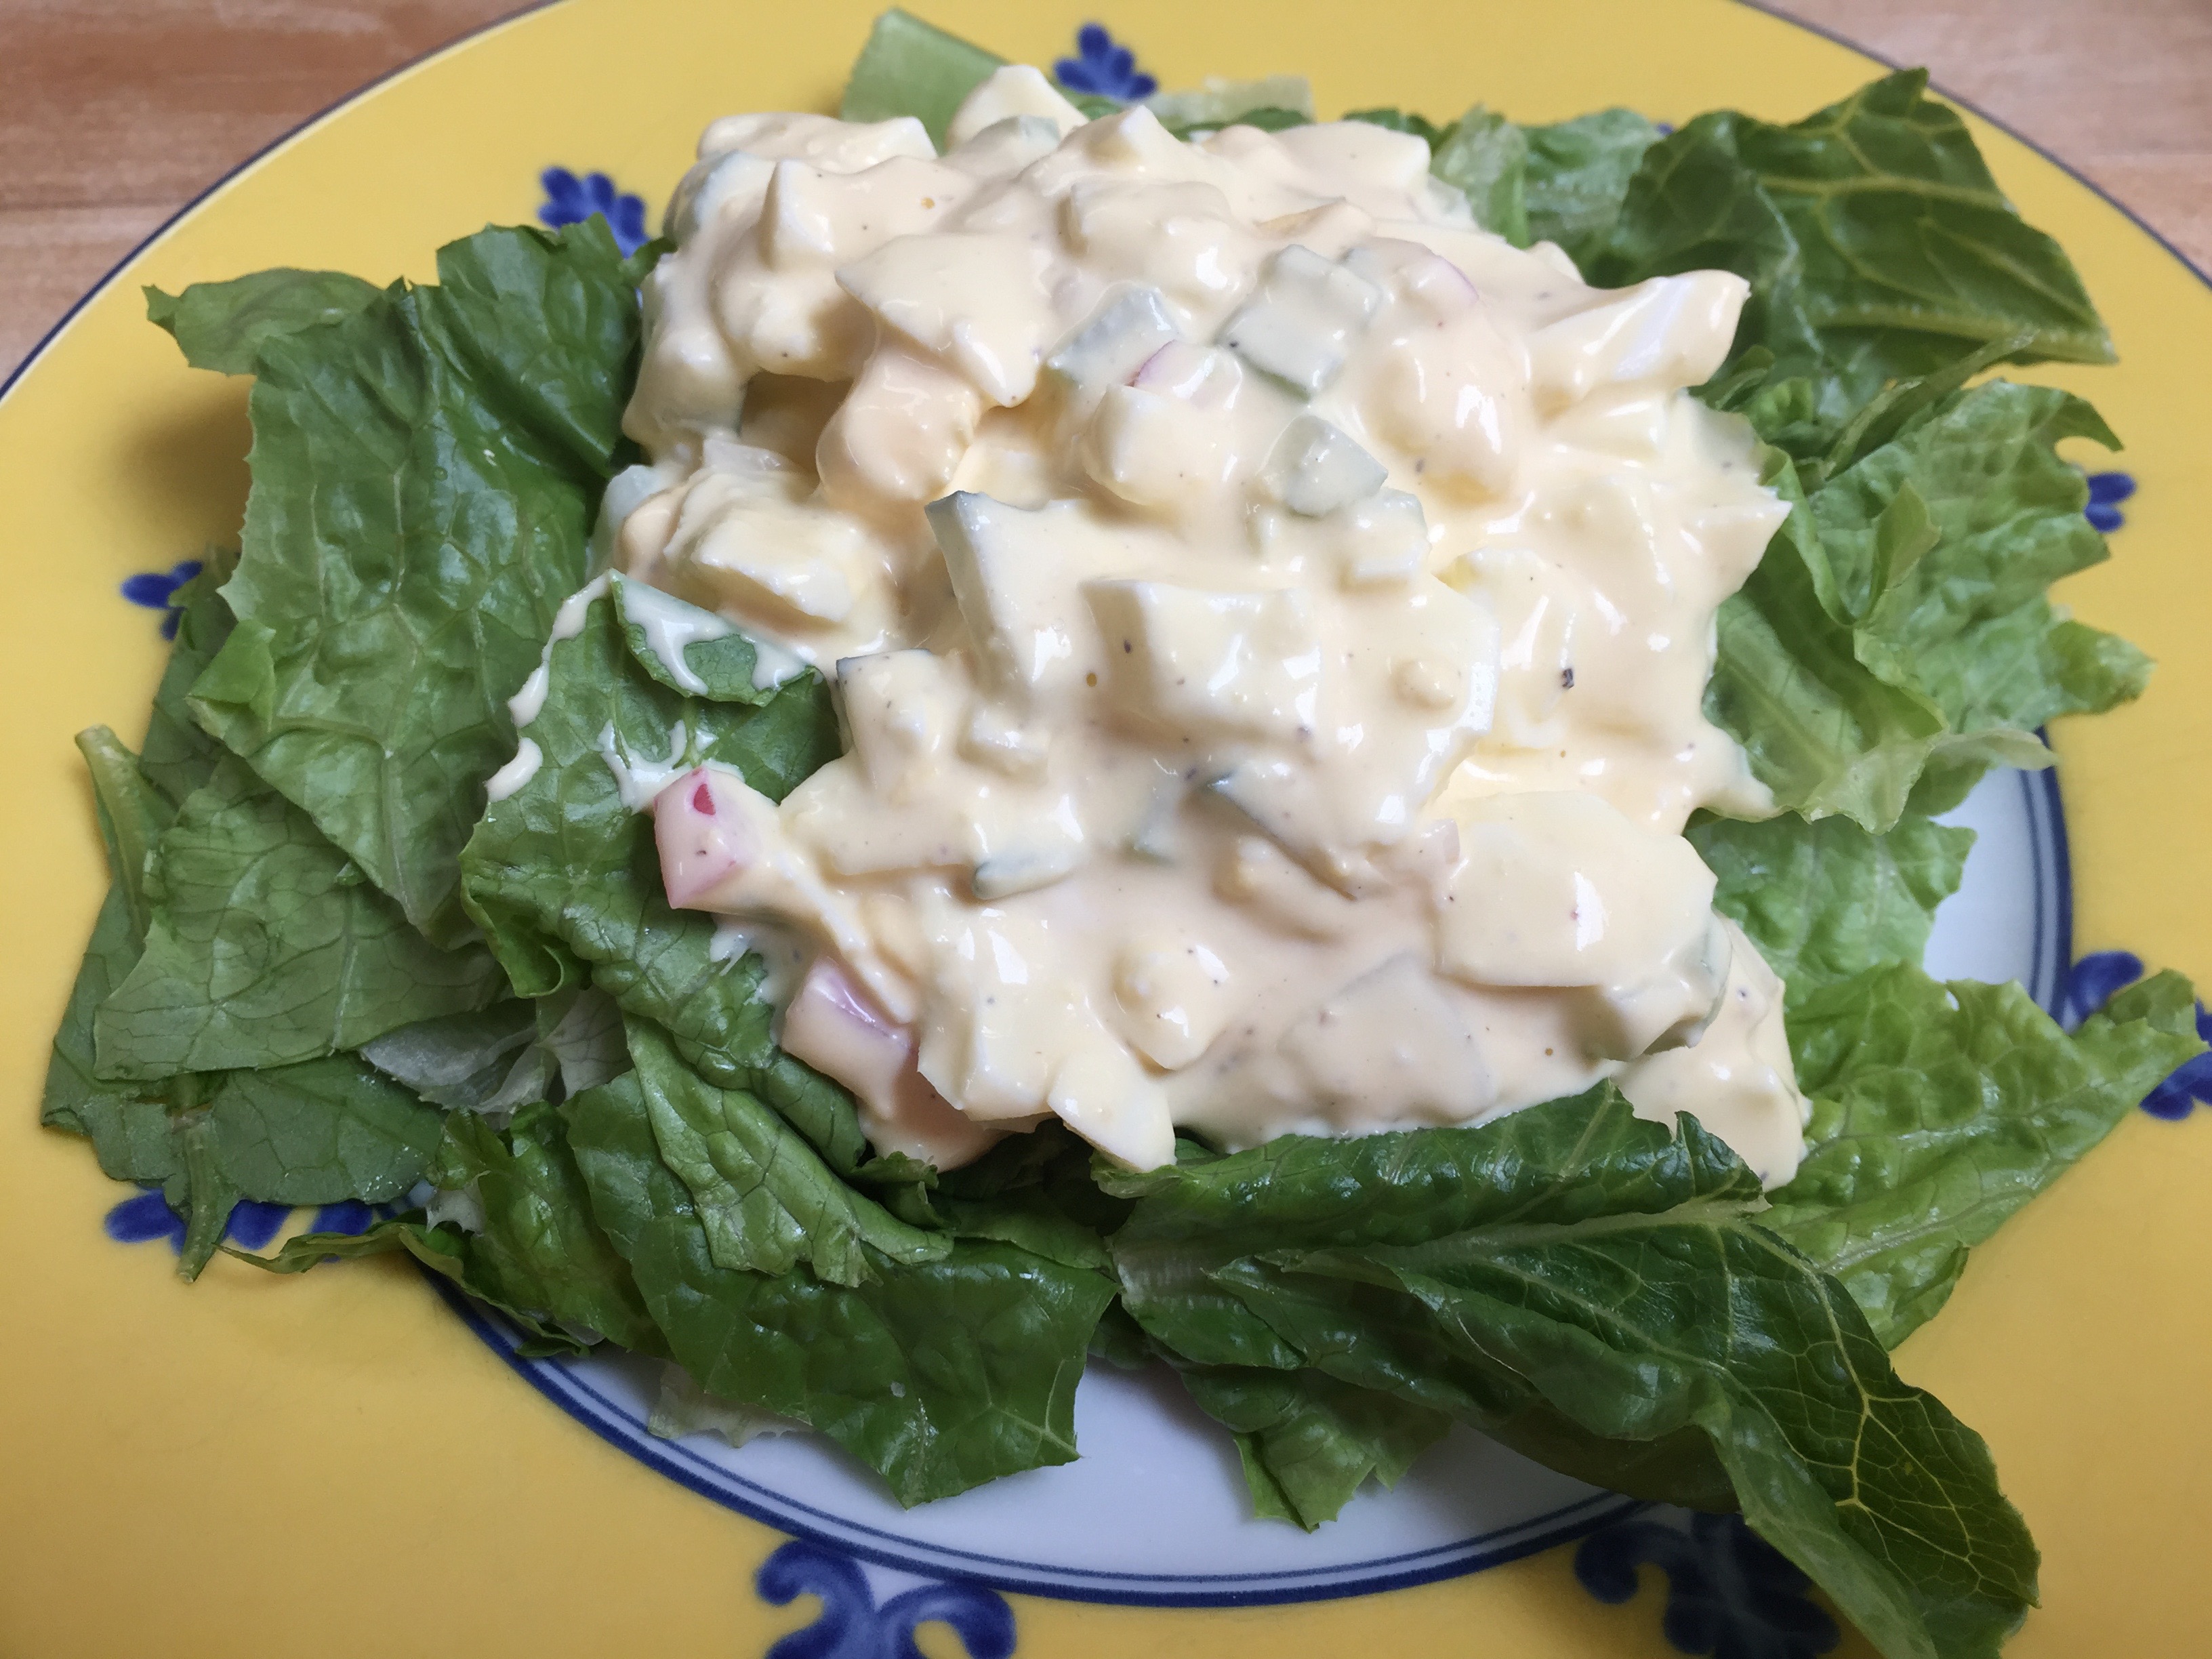
I know my mom makes the best deviled eggs and marinated olives both of which are 1,000% keto friendly.

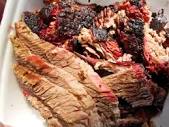
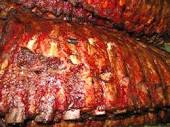
Turkey-dark meat please 🙂 I’ll pack some Kerrygold to replace the gravy if its not low carb

Image result for turkey drumstick thanksgiving

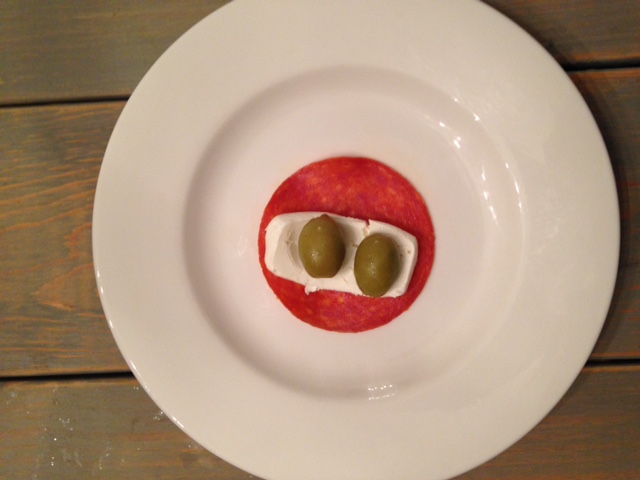
my daughter calls these meat popsicles


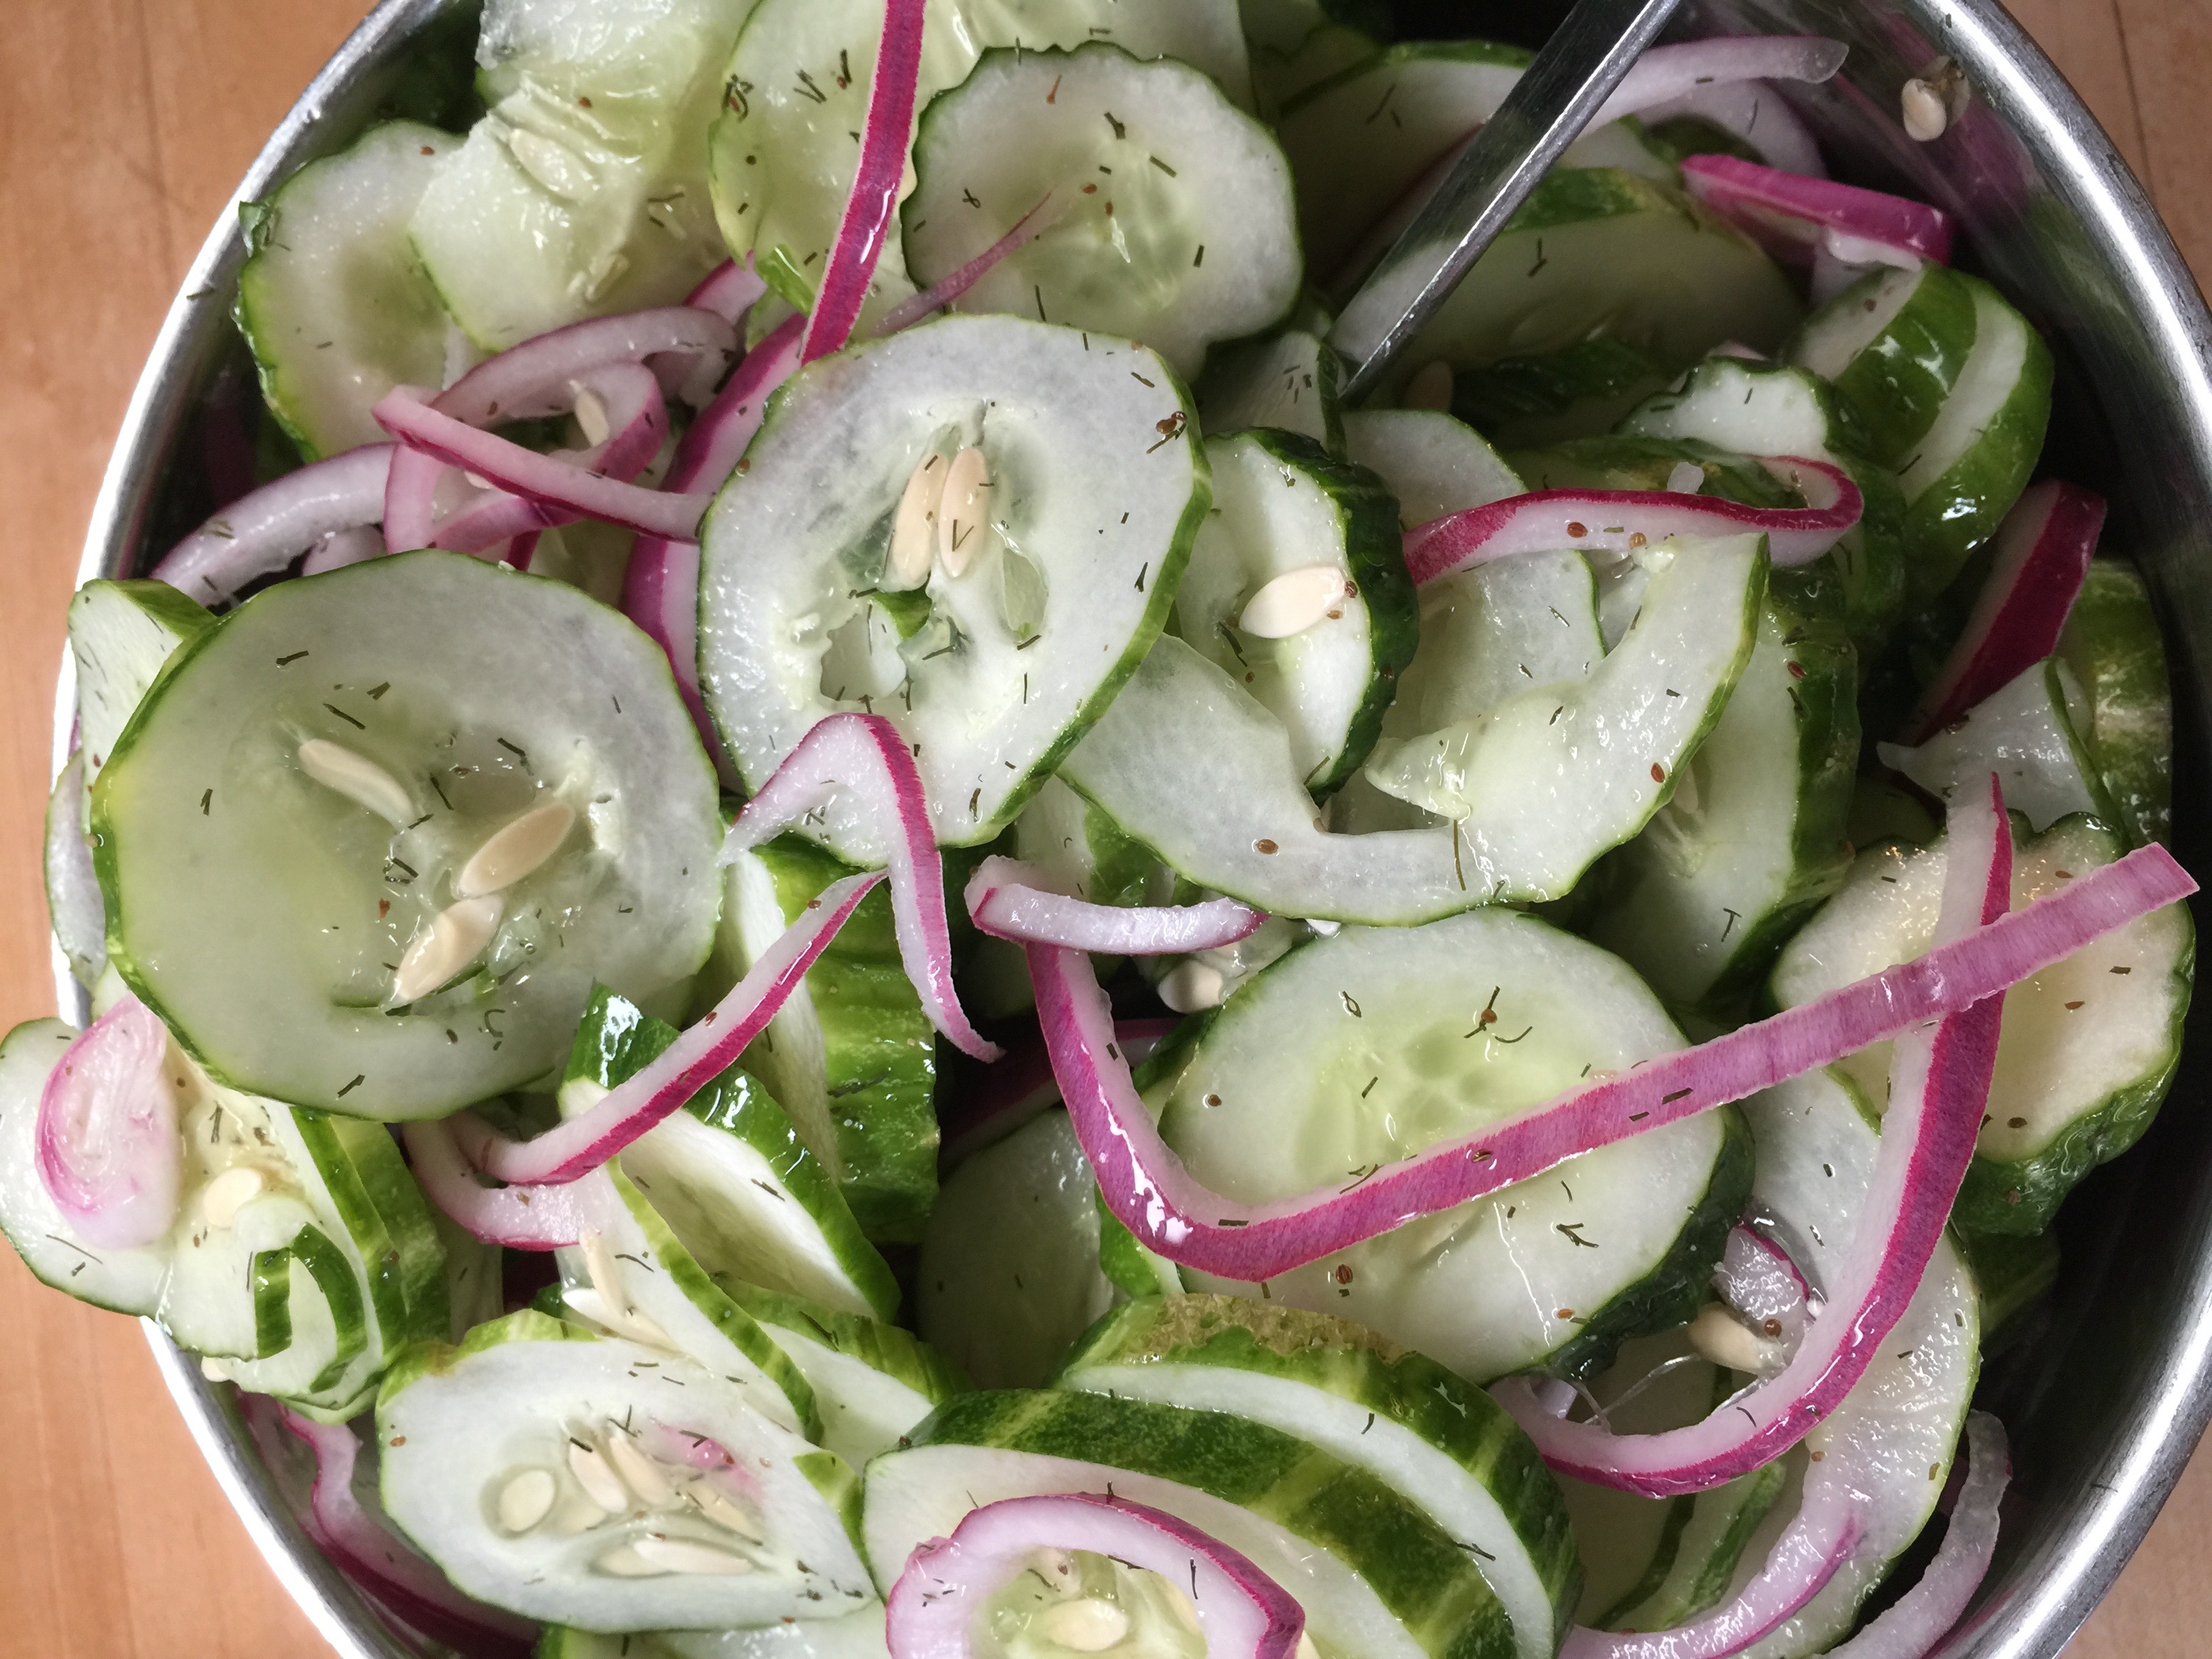
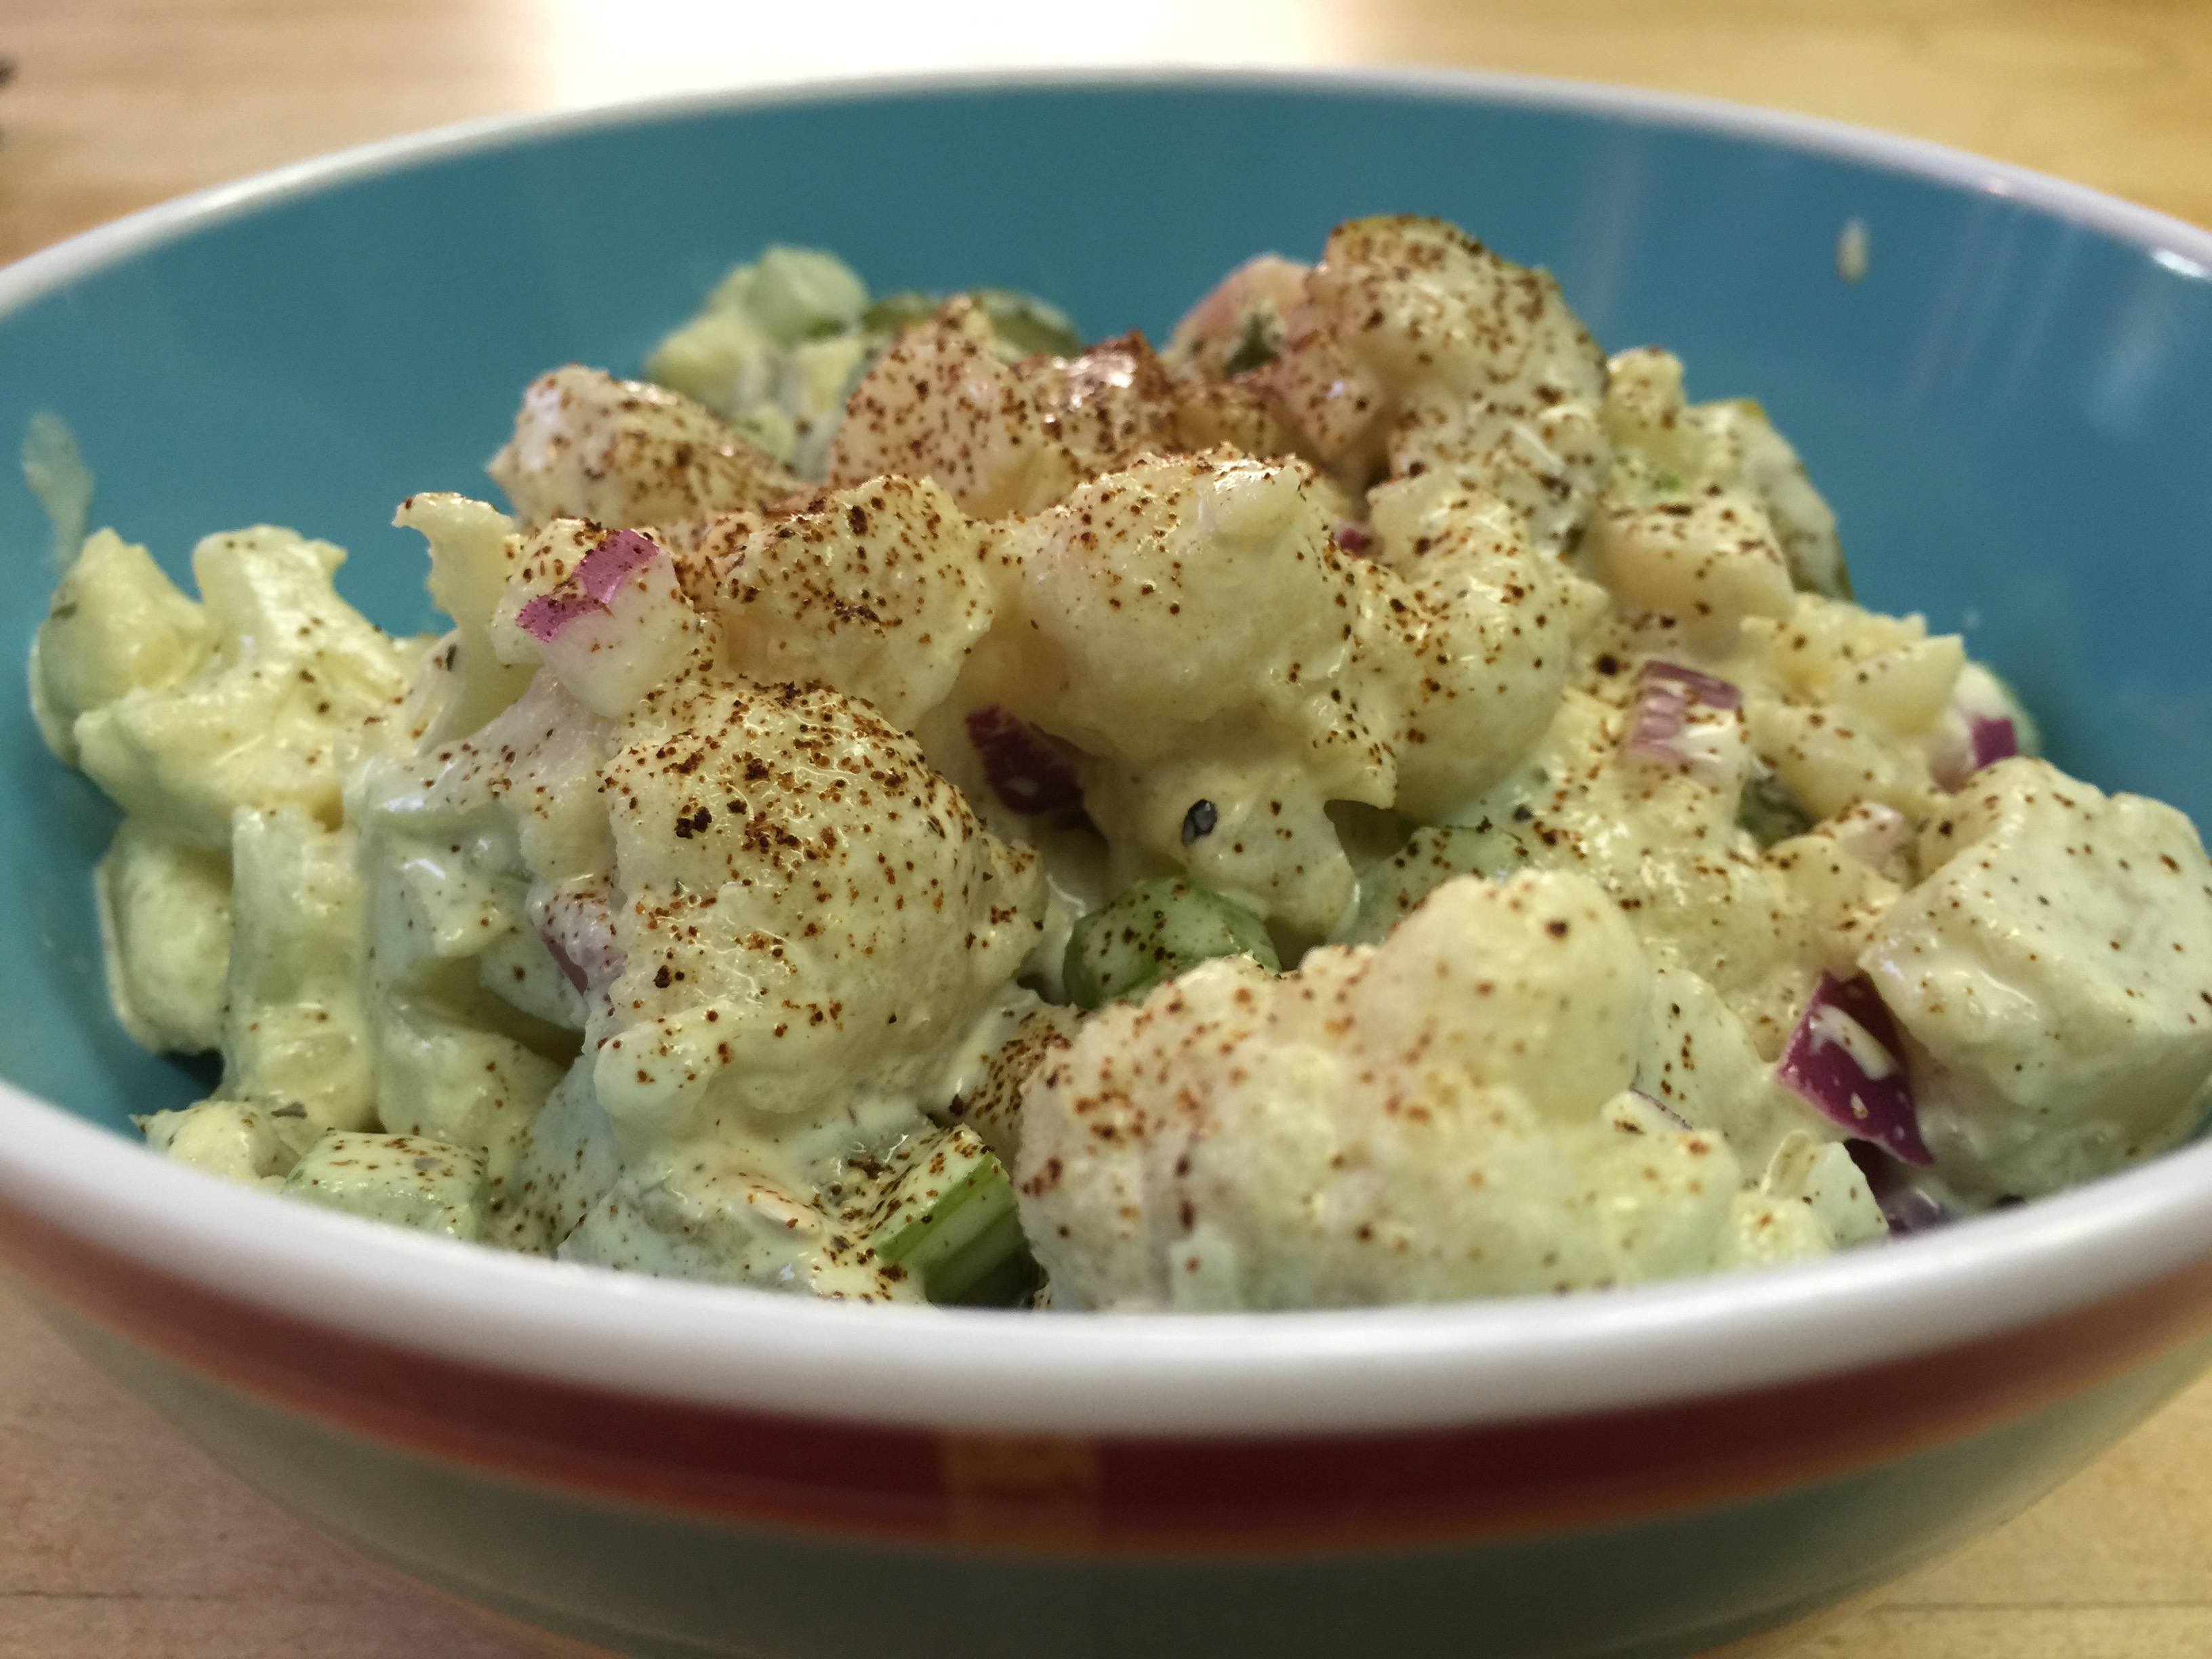
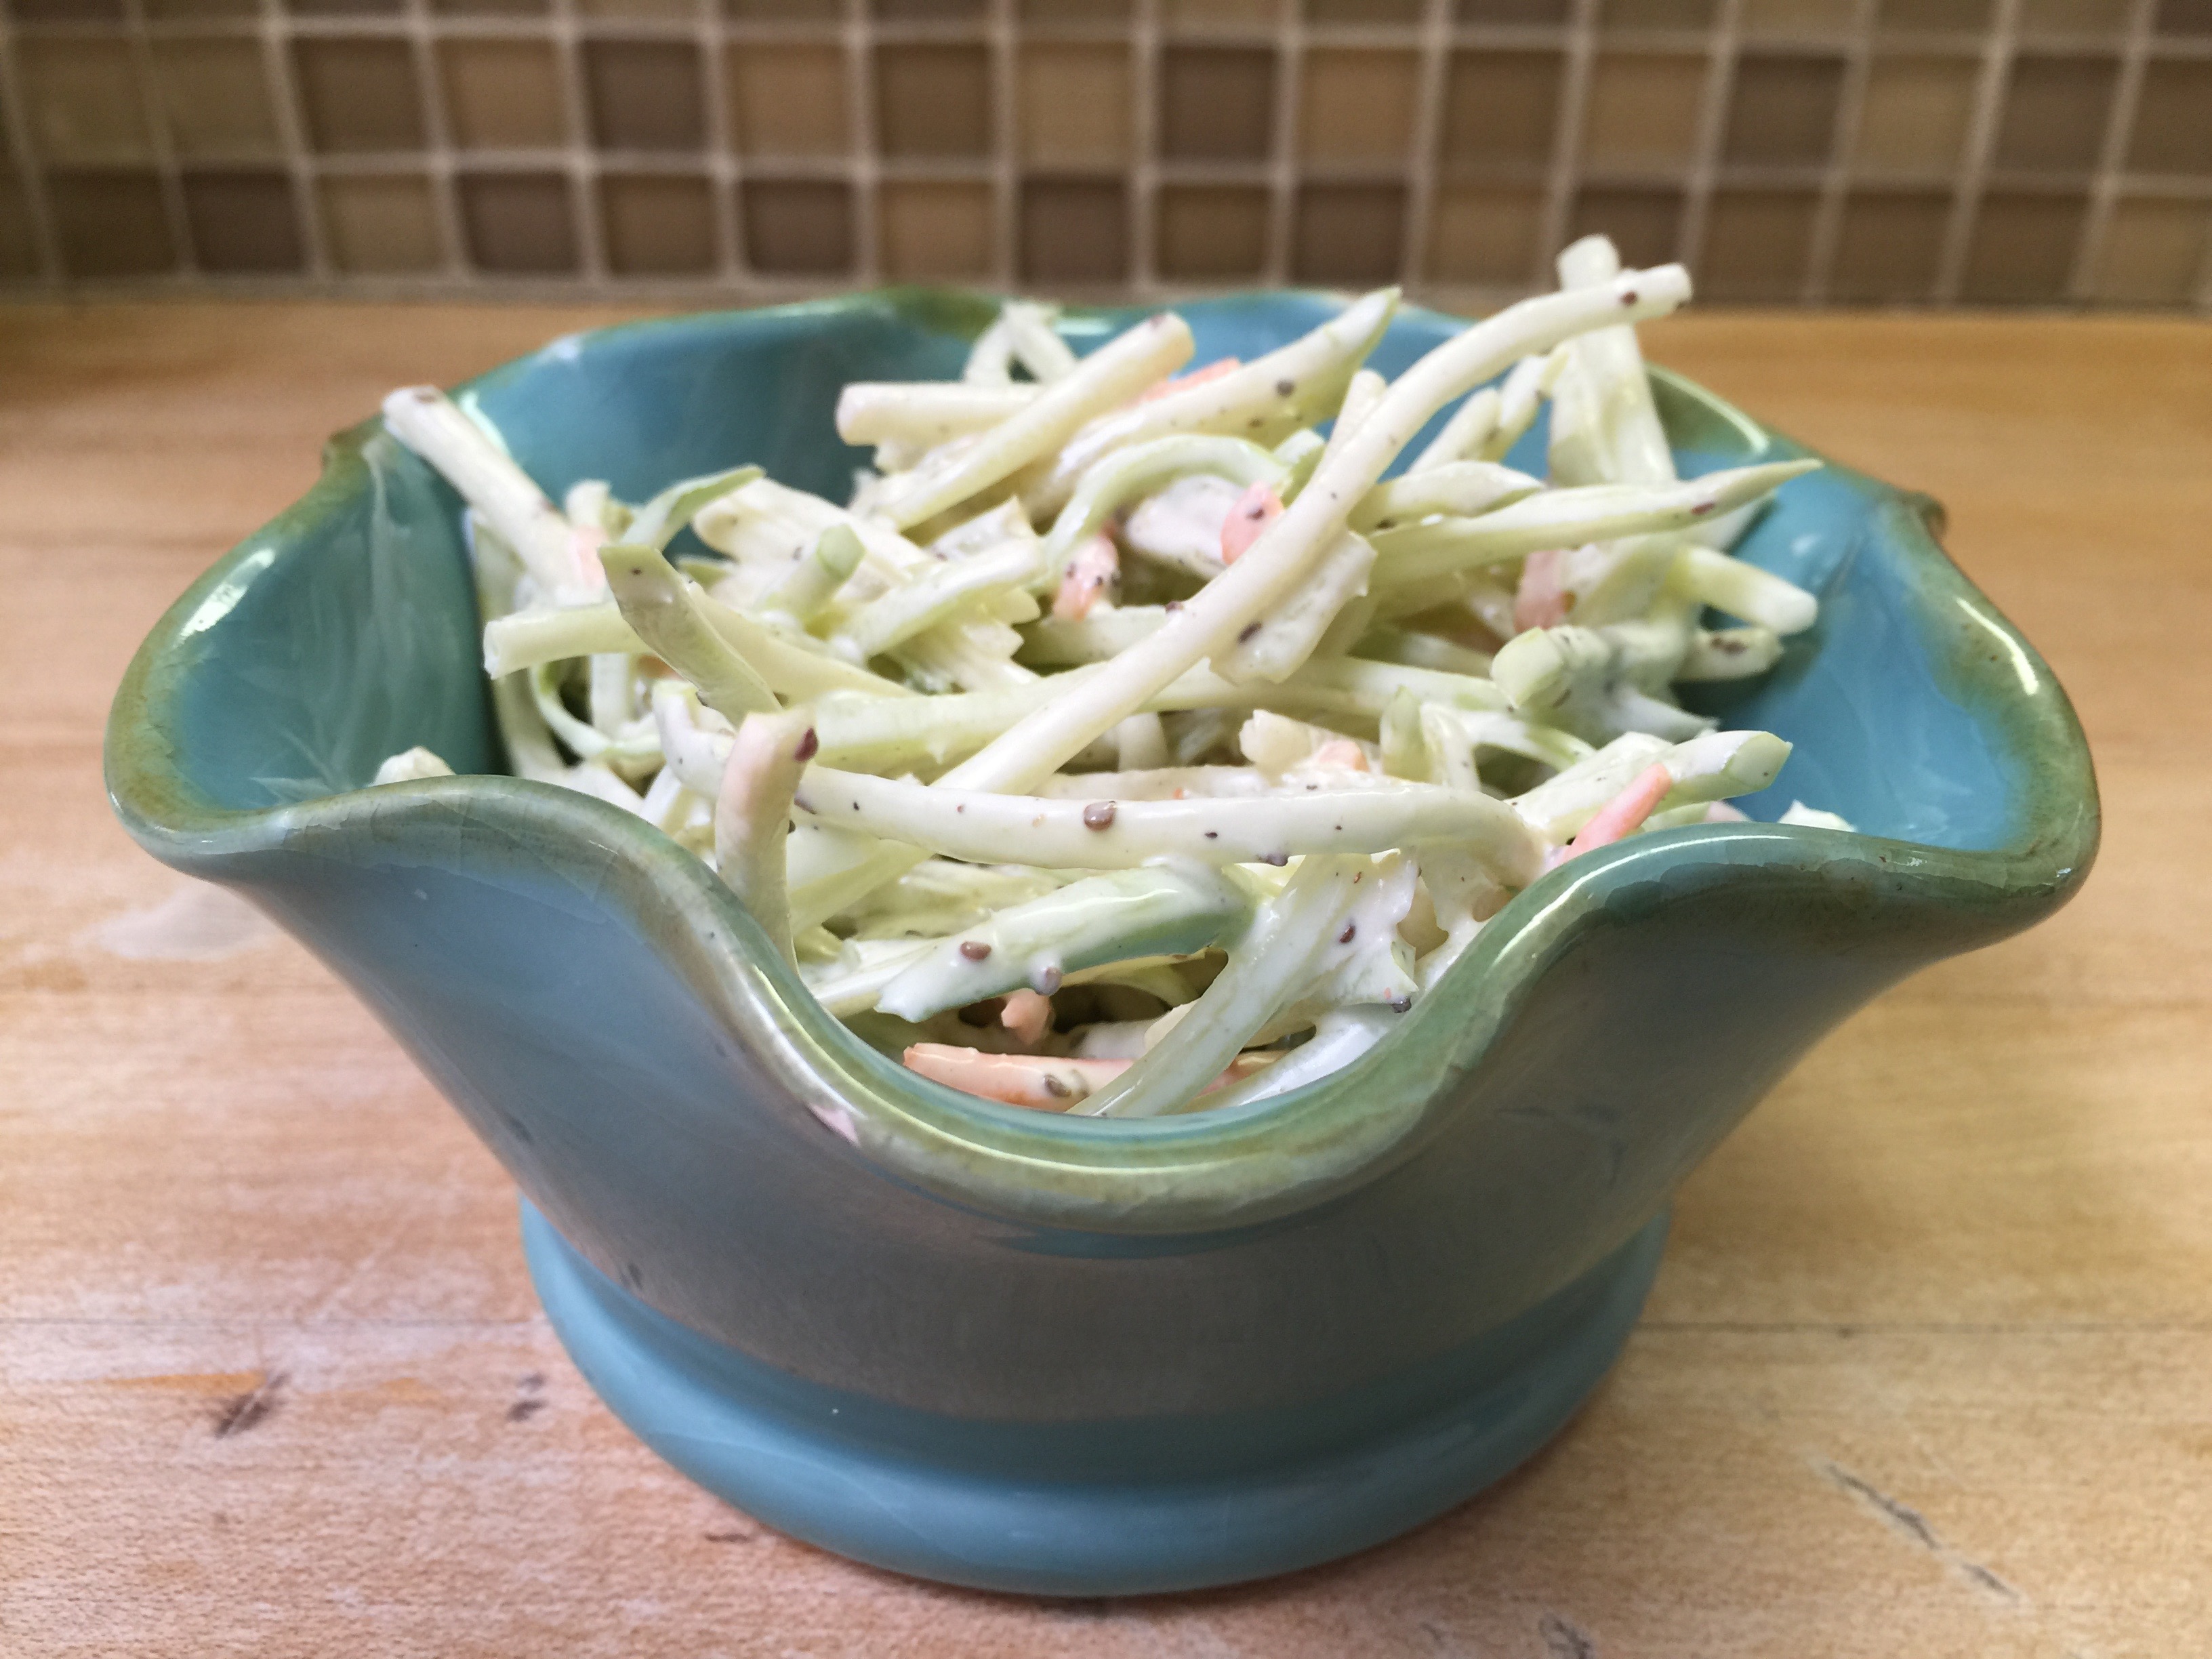
All the veggies and salads (less anything candied or marshmallow topped.)


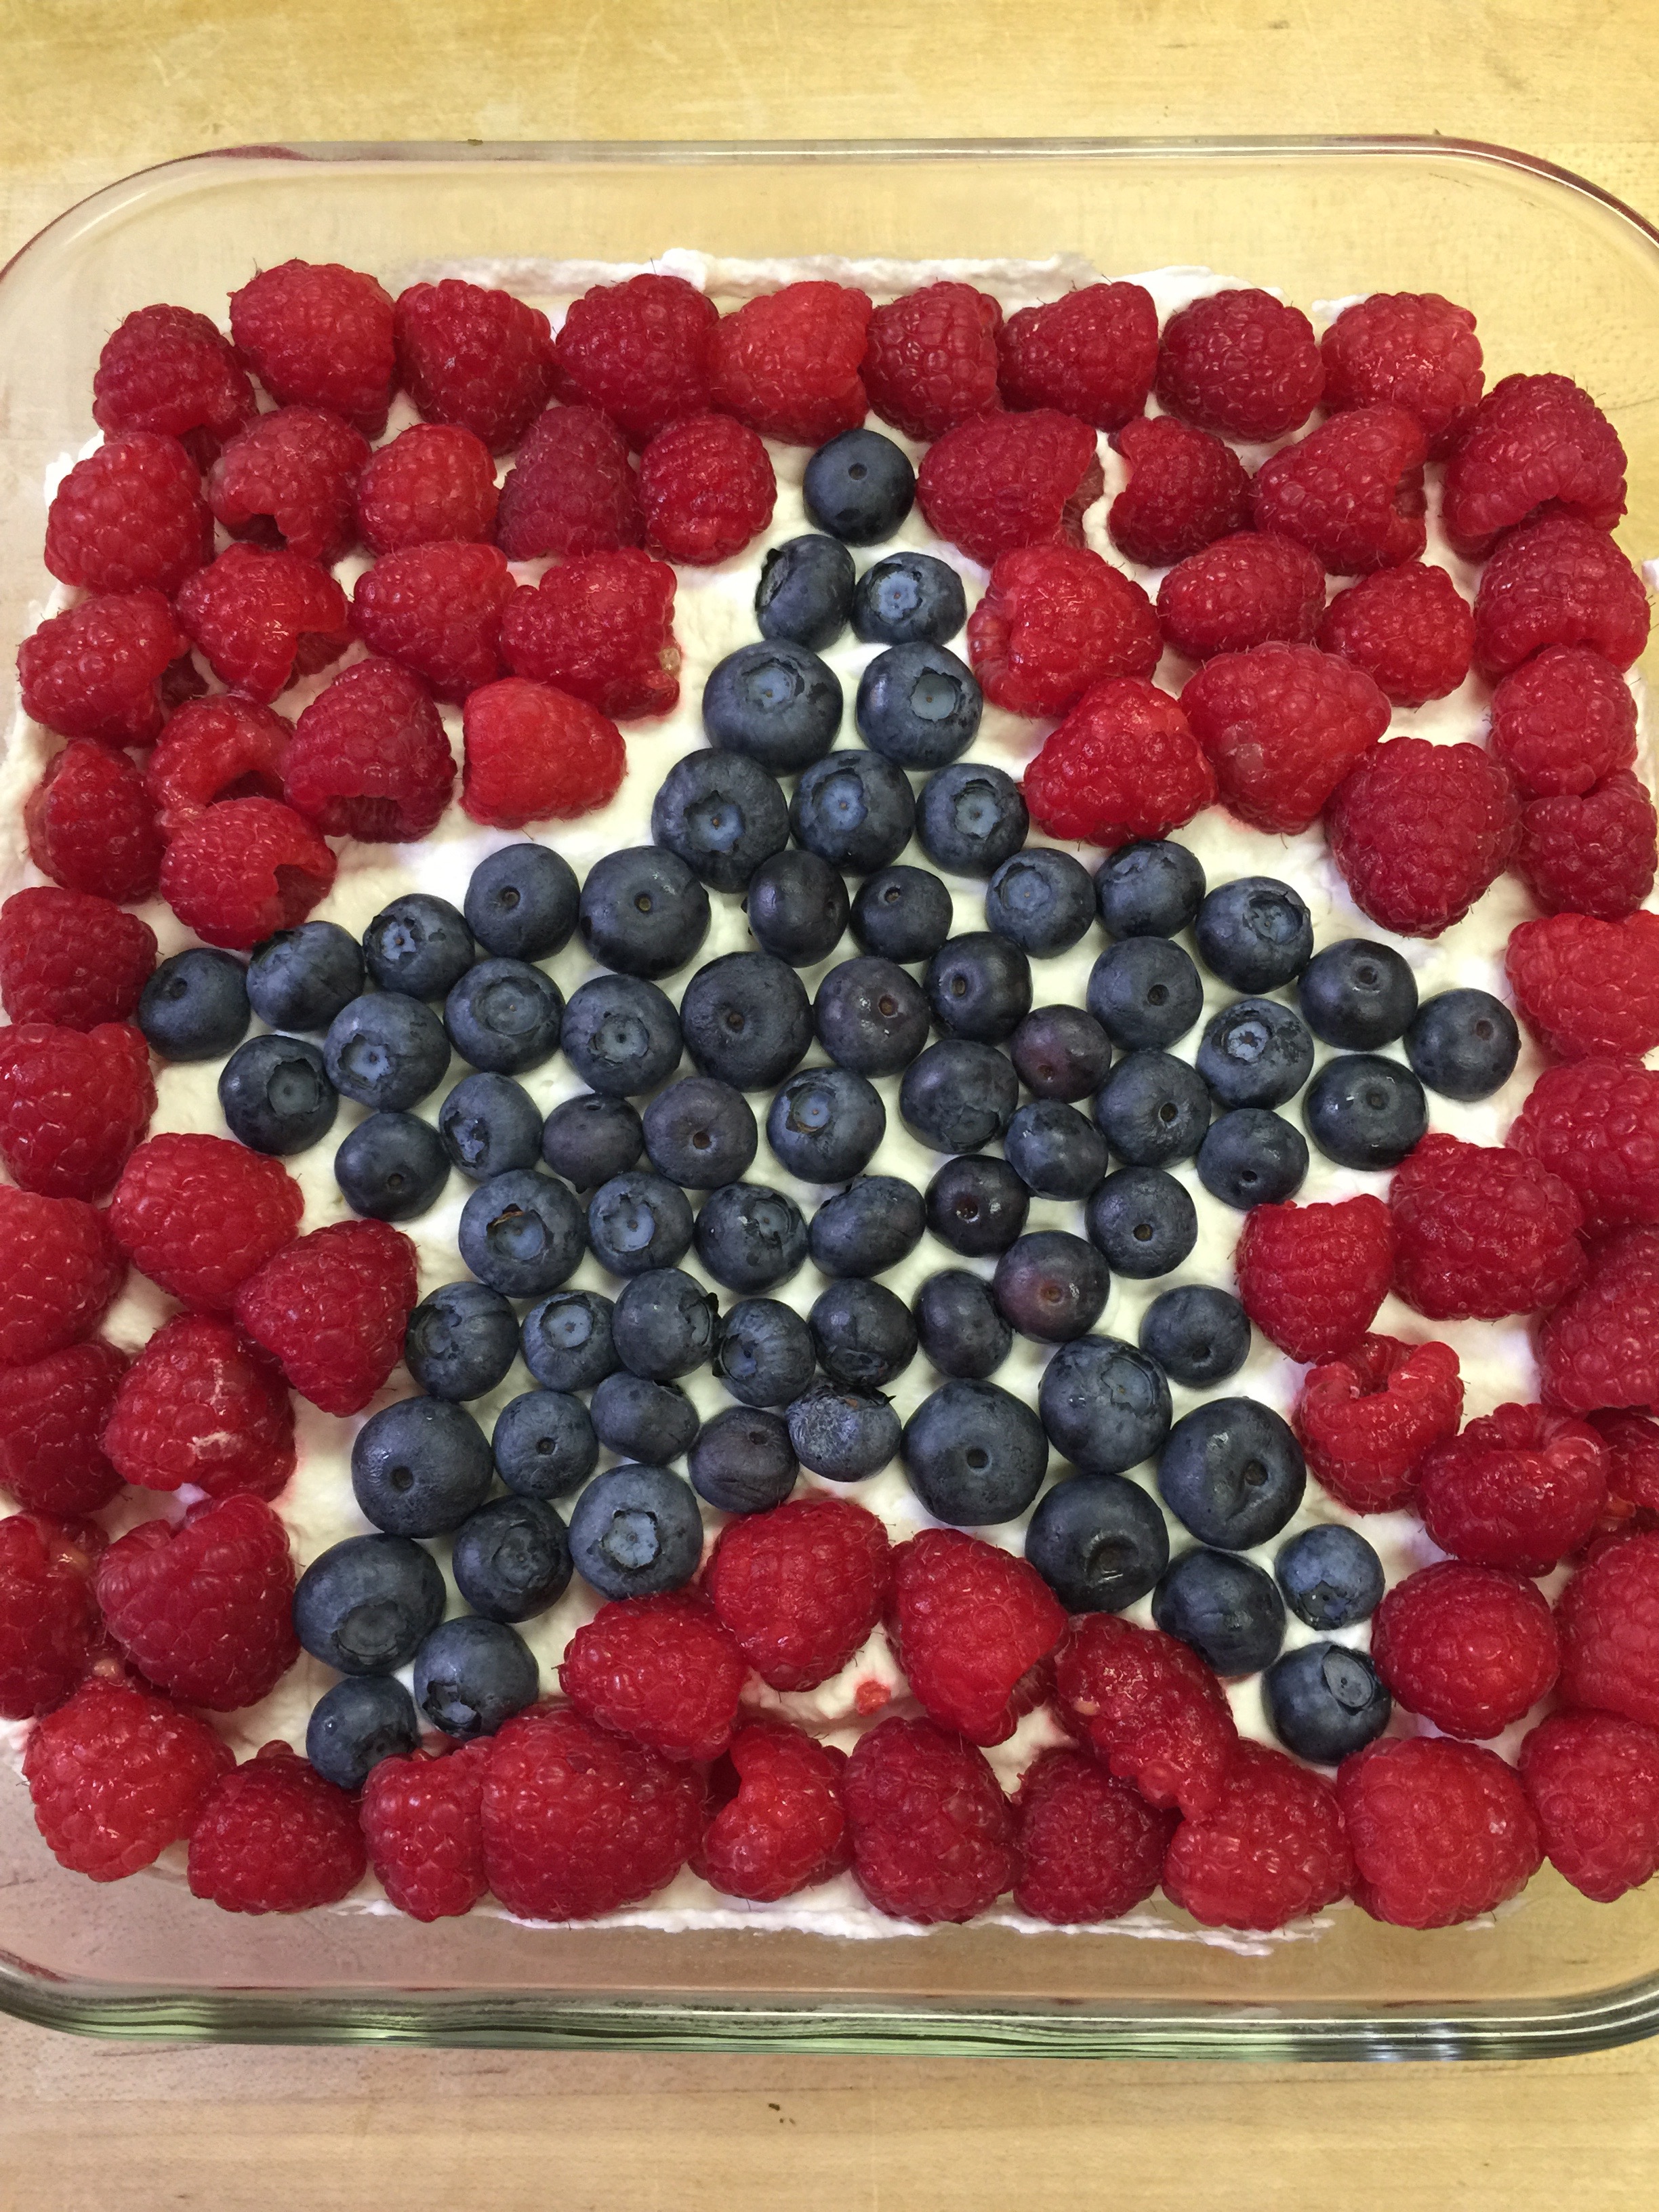
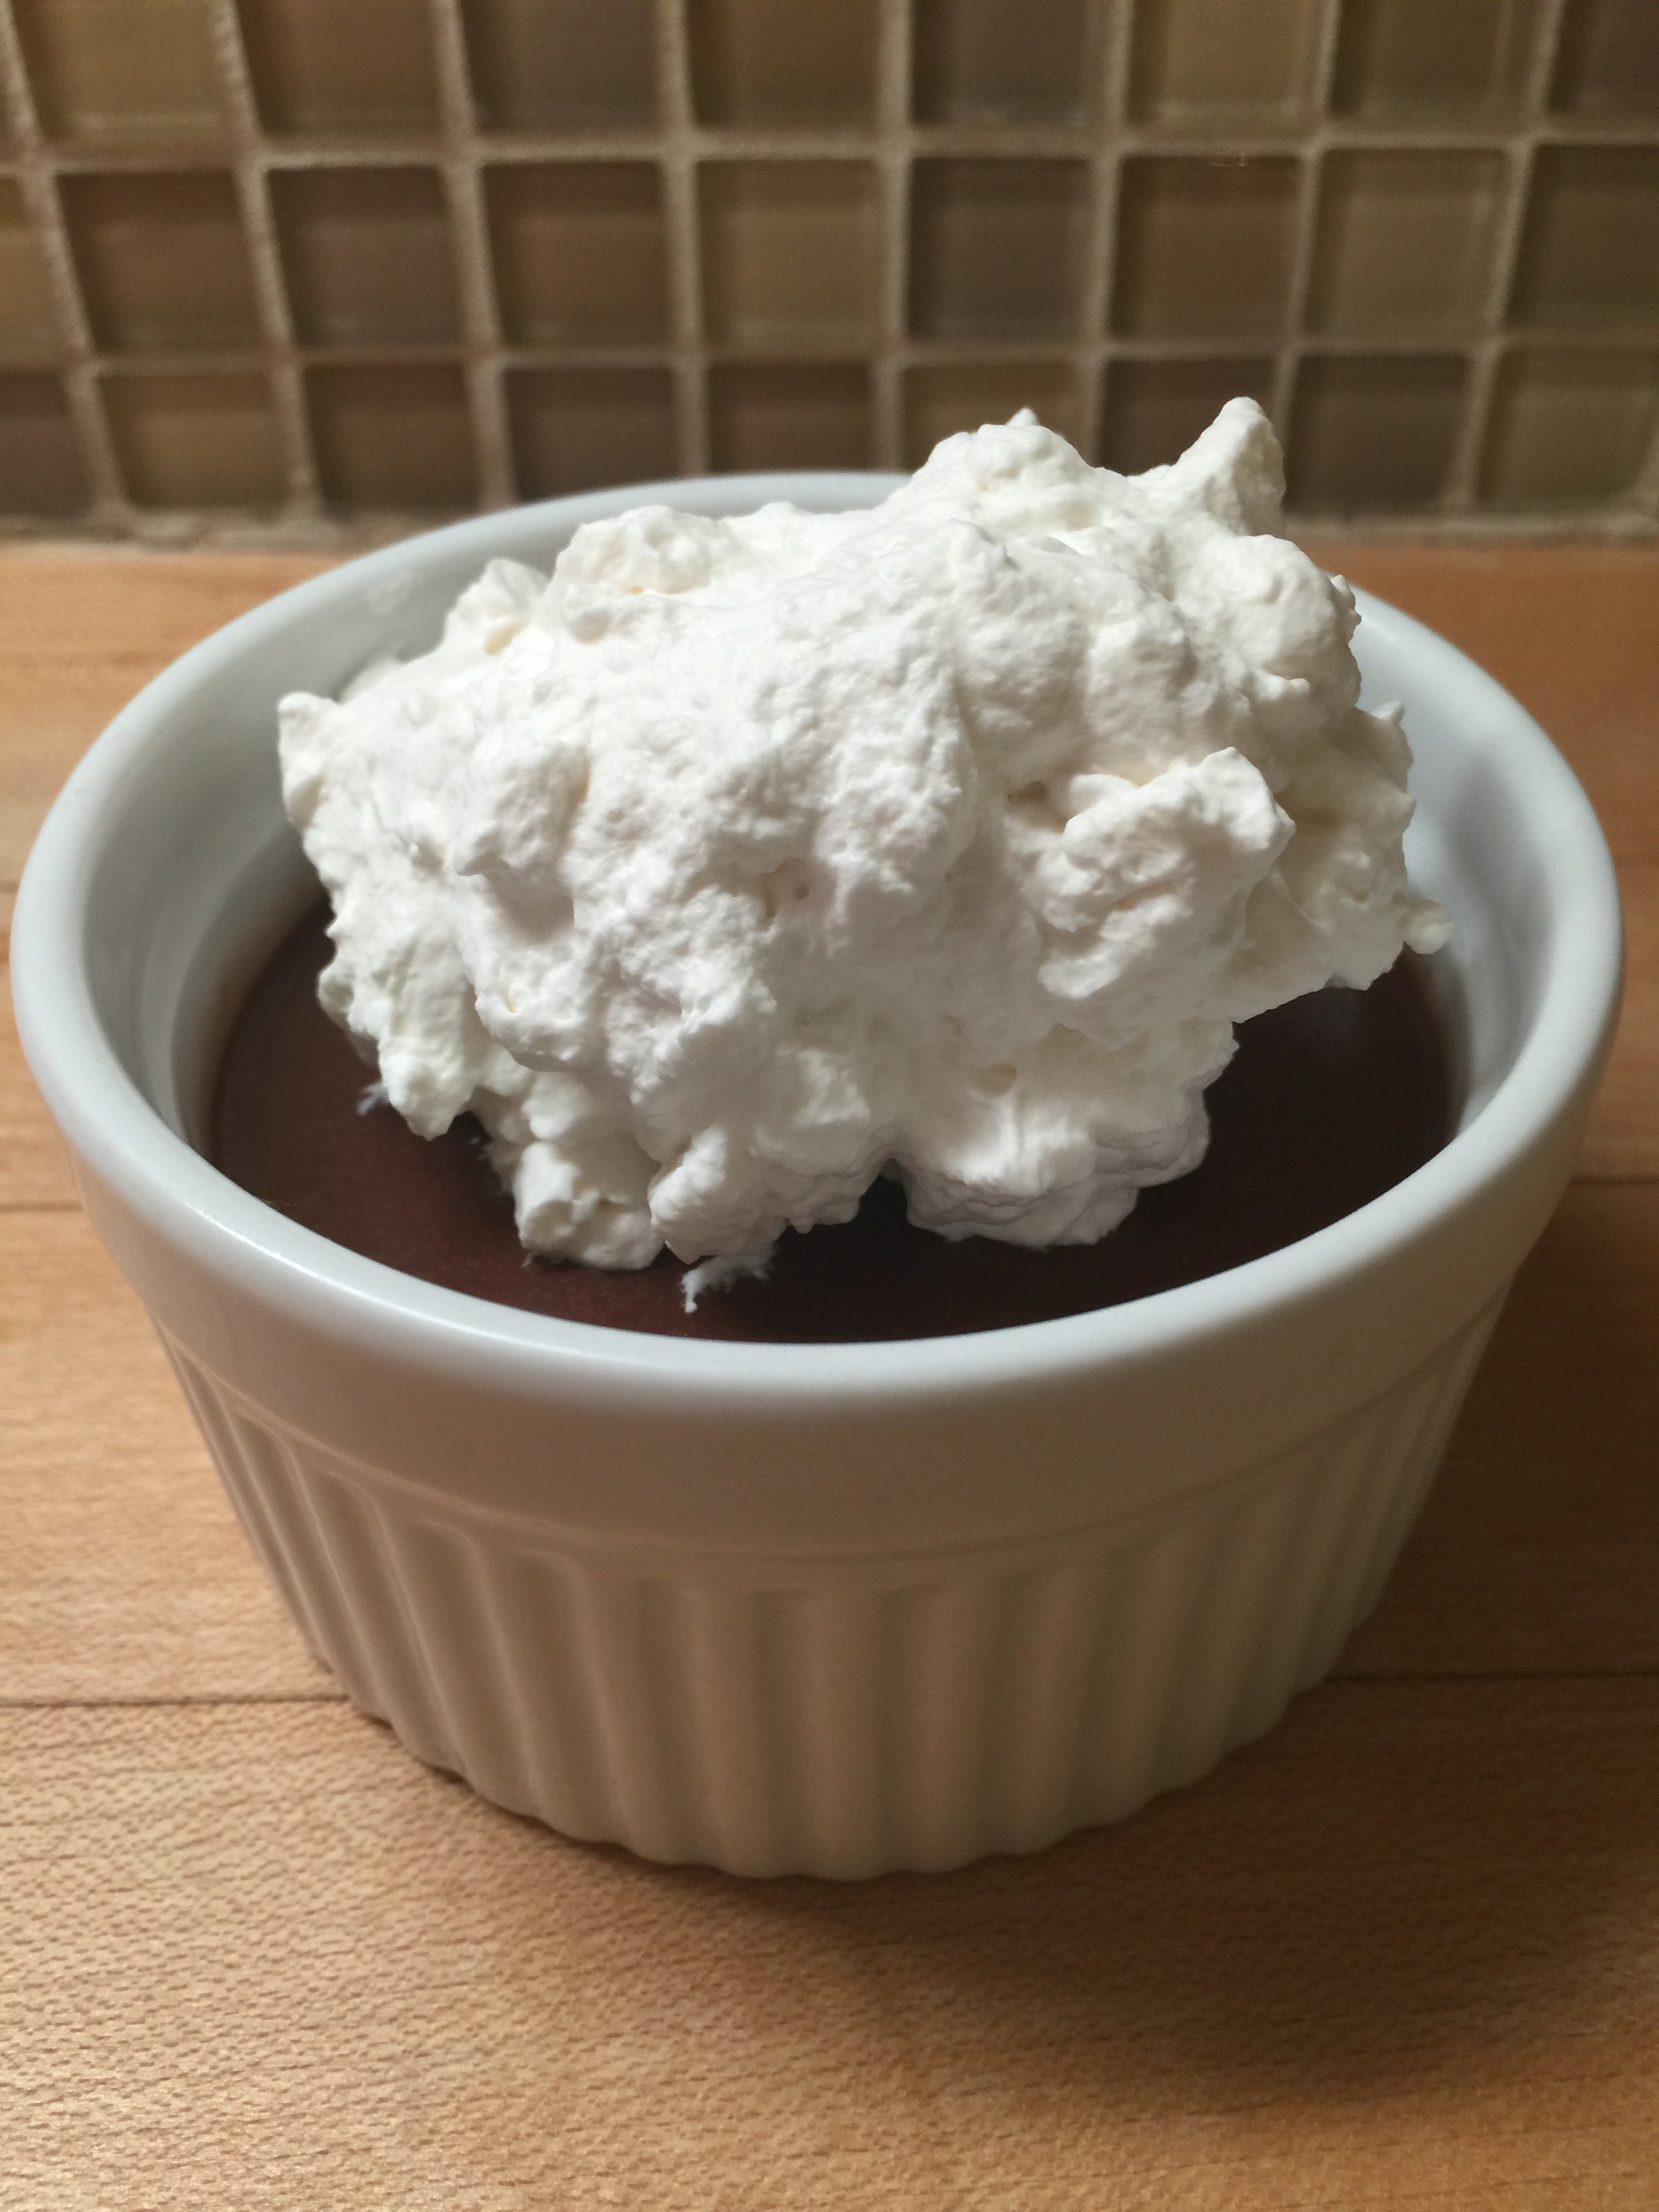
Maybe I will bring a sugar free cheesecake or whipped cream…


Image result for whipped cream


I’m considering using the pizza recipe to make low carb Rosemary bread sticks-Totally fooled my dad with this on my mom’s birthday. He had no idea I was the one who made the “bread.”   I love those “Gotcha! It’s low carb!” moments.


I’m actually getting fairly full thinking about all this food.


Honesty, the real plan is to enjoy the holiday, spend time with the people I love, eat, give thanks, and appreciate what life has to offer. My family actually does a super cheesy tradition where we go around the table and each person has to say what they are thankful for. It’s always interesting what people say, in the past it’s gotten a little silly,a little rowdy, and of course teary.


I can almost guarantee my four year old will be thankful for Elsa, unicorns, her kitties, and her dogs. But I can’t wait to actually hear what she has to say, fingers crossed I make the cut.

The reality is I am actually quite thankful for the Ketogenic Diet, what it has done for me, for my health, and that of my families. I am also supremely thankful for everyone that has supported me through it.


Have a wonderful Thanksgiving everyone. We all have a lot to be thankful for.

Image result for be thankful


Back to School – Snack Time!

back-to-school

It is hard to believe that school has arrived once again!

I have one that started today and two that start in a couple of weeks.  It is funny how that same old routine starts immediately.  The one thing that stumps people the most in this rut of a routine is SNACK time!  What do you serve for snacks when you don’t eat carbs?  This one was tough at first, but it is much of the same foods that I pack in a low-carb lunchbox, so you can use this article as a means for both.

First off, toss the juice boxes – PLEASE!  Those are loaded with sugar!

What about just water?  If your child refuses plain water, try infusing it with fruit or cucumbers, or see if they like a sparkling water like La Croix.  Mine think it is a treat!  There are a ton of flavors from which to choose, so your family will never get bored.

Next, go through your pantry (or call us to do it) and toss the chips, cookies, crackers, pretzels, and goldfish – yep, I said it – even the goldfish.  They are all carbs and carbs = sugar!

Your body doesn’t even know the difference between the two!


So, what do you feed the kiddos when you don’t have goldfish?


There are a ton of options, many of which we have posted before, but we will remind you!

This is the number one favorite in the Lutz household:

Veggies with Ranch Dip

IMG_1694

Obviously, mine love the mini-peppers!

Other great dips to serve with vegetables are spinach dip, artichoke dip and pimento cheese.  The later is a great lunch option as well!


Cheese crackers with salsa or guacamole is another favorite in our house.

IMG_0857


Don’t forget about the yummy olives we posted last week too!

IMG_3695


Sometimes if I want to dress things up a bit, I will do a nice cheese sampler tray.  This is great for the little tastebuds too and fancy enough for company!

cheese board

Another fun snack is the savory fat bombs.  I was able to find some great snacks at Costco that were cheese and meat wrapped up together similar to a fat bomb.  They are cute and would work great in a lunchbox as well.

IMG_4617


A few other great options:

Cheese sticks or Baby Bells

Lunch meat (or the two together!)  Choose your meat carefully.  Stay away from the pre-sliced – get the quality meat (Such as Boar’s Head) in the deli and have it sliced thinly for wrapping.  Watch for Nitrates and other additives.

Pickles

Refreshing Cukes

Celery and Queso

Whole milk yogurt (for the kids)

Jerky or beef sticks

A variety of nuts (w/out peanuts)

Stuffed mushrooms

Celery and nut butter

Deviled or Boiled Eggs

Sausage on a Stick


These are just a few of many options!  Hopefully this will get you started in this back-to -school rush time!  Don’t be afraid to try new things and push your kiddos to expand their palates a little.  We hope everyone has a great beginning to the school year.  Remember to be strong and eat right!  You (and your children) need to eat healthy to be healthy!  Happy Back-to-School week!


HEALTH. Word cloud concept illustration. Wordcloud collage.


Feel free to drop us a note in the comments section if you have a question about lunch or snacks.  Chances are, someone else is wondering the same thing!  Also, feel free to share some of your favorites!


A Dip to Rival Hidden Valley Ranch

ranch image

Well, by now, if you have been following us, you know how we feel about artificial sweeteners and those other sneaky names used so you won’t know that sugar is in the ingredient list.

Believe it or not, those sneaky names are in the fine print of many pantry items you never would have imagined.  For instance, my family used to love it when I mixed in the little seasoning packet of Hidden Valley Ranch Dip and Dressing mix with sour cream for a yummy dip to serve with vegetables.  One of the main ingredients I discovered, as soon as I went Keto and started looking at the back of packages, is Maltodextrin.

hidden valley

A little about Maltodextrin: It is a food additive derived from corn, rice, potatoes, or wheat and therefore a carbohydrate.  It ranks higher than table sugar on the glycemic index – 106 to 136 depending on the derived source and is in a TON of packaged foods!  This means that it will spike your blood sugar levels so beware and read those labels.

It became a mission of mine and that of a few of our followers to find a better way to make ranch dressing and dip.  One of the best parts of Keto is freeing yourself from all of those tasteless, chemical ridden low-fat salad dressings!  You actually get to eat the real thing as long as it is real food.  The Maltodextrin kind of ruined that for us though.  Thanks to one of my friends and fellow ketoers, Kelley, we have found the solution!  This may be even better than Hidden Valley Ranch, and it is a seasoning blend that can be used in other sauces or dressings as well.  I did some minor tweaking, and we all think it is delicious.  We hope you enjoy!

Ranch Dip Picture

Ranch Dressing Seasoning

1 1/4 tsp Celtic sea salt

1/2 tsp black pepper

1 TBSP Onion Powder

1 tsp garlic powder

1 TBSP dried parsley

1/4 tsp celery seed

1/2 tsp dried dill weed (with a little extra for garnish)

1/2 tsp dried mustard seed

To mix into a dressing or dip, the possibilities are endless.

For a dip, I use the traditional 1 cup mayonnaise and 1 cup sour cream.

If you want to make it into a dressing, you can put all of the above ingredients into a blender and add some half and half or cream to liquify it slightly.

Modifications you can make are to add some fresh parsley instead of the dry, add some cilantro to the dressing, or even spice it up with some jalapeños or your favorite peppers.  This is super easy if you use the blender!  The possibilities for making this your own are endless, nutritious, and beautifully Ketogenic! Have fun with it, and enjoy!

IMG_1694

These are Cindy’s boys!  This dip with mini peppers is one of their favorite after school snacks!


A Tasty Snack for All Occasions

Family gatherings are so fun, and a great way to pick up new recipes.  At every family event over at Erin’s house her mother would bring these amazing olives.  I finally asked for the recipe and have made them several times now.  Her mom gave us permission to use this recipe in our catalog of many.  They are a great Keto/Paleo appetizer or snack.  Everyone is always looking for snack ideas, and this is a great one you can leave out on the counter after school if you have olive eaters in the house!

IMG_3695

Marinated Olives

2 cans medium to large (not jumbo) black, green, or a mixture of olives (Drained)

2 tsp red wine vinegar

1/2 cup extra-virgin olive oil

8 cloves garlic, minced

2 tsp fresh thyme or 1 tsp dried

4 bay leaves

Directions:

Mix together your oil and vinegar.

IMG_3688

Mince or chop your garlic and thyme.  I really prefer the fresh thyme on these.

IMG_3689

IMG_3691


Add all your spices to your oil mixture and combine well.

IMG_3692


Drain and add your cans of olives.

IMG_3693

These are beautiful and yummy to serve.  The garlic gives them a nice kick.  Bring them to room temperature before serving.  You can also invert the jar occasionally to let the spices cover all the olives.

IMG_3695

We store these in a mason jar for a couple of weeks in the fridge if they last that long.


Let’s Salsa!

a85563ad4817904a5e806f55e241dfb4

Salsa!

Not just a favorite in Texas, but a STAPLE!

We eat salsa on everything!  It adds an extra punch to eggs in the morning, salads at lunch, guacamole, and many other dishes throughout the day.  The mason jar was running on empty, and my husband just didn’t know what to do!  Tragedy, I tell you!

I whipped some up last night in no time.  It literally takes about 15 minutes, 5 of which are active.

Everyone has their favorite way of making salsa.  I have tried steaming the tomatoes and peppers, sautéing them, browning them, but by far, the easiest is boiling.  I used to use a hot skillet and brown the tomatoes, peppers, and onion, but it would smoke up the house to the point that I would have to open all the doors and windows to air out.  So boiling it is!  This is my newest way, and I’m sticking to it!

I don’t have a specific amount of anything, but I can tell you what I did.  It is a little different each time because the heat of peppers varies so greatly.  Always start small and add in small increments.

These are your basics:

Cilantro (To your liking – about 1 cup)

Onion (I used a half of an onion)

Garlic (5-6 cloves)

Celtic Salt (1 TBSP)

Jalapeño or Serrano Peppers (I only used 3)

Tomatoes (10 for this batch)


IMG_3231 IMG_3230


Directions:

Wash your tomatoes, peppers, and cilantro well!

Place your tomatoes and peppers (I did wayyyy too many peppers!) in a pan and fill with water not quite covering the tomatoes and peppers.

Bring to a boil and reduce to a simmer on medium heat.  Simmer until the skins start to peel back on the tomatoes stirring frequently.

IMG_3232

IMG_3234


Remove the tomatoes with tongs and squeeze gently to release any water.  Place in your blender.

IMG_3235

IMG_3236


Remove the peppers from the water and detach the stems.

IMG_3233

I started with 3 peppers and it was plenty!  These little things were HOT!  I blended the tomatoes and peppers on high for a few seconds, then added the onion, garlic, and salt.

IMG_3237

Add your cilantro last.  I blended everything together for about 10 seconds on high, and ended up with a large mason jar and medium mason jar of salsa that was some of my best!

IMG_3238 (1)


This is a great healthy sauce full of vitamins and antioxidants that will spice up your food, literally!  It will keep in your fridge for about 2 weeks.


Happy Fourth of July!

images

Happy Fourth of July!!!  Wave that Red, White, and Blue!  Show off your stars and stripes!  Enjoy your day, and celebrate with friends and family!  We love our Independence Day in the Lutz and Stavros households!

We have been over several recipe ideas to keep your day healthy and low carb!  Here are a few ideas from the past and the ones we have posted the last few weeks to help you compile your menu into one concise spot…right here!  All of these recipes can be found on this webpage on our blog:

Main Courses:

Brisket (You can even pick up or buy a precooked one to bake to make it easy!)

Unknown-1

Ribs – Yum!!!

Unknown-2

With our sugar-free sauce…

IMG_2863

Bunless Burgers (We love our ABC burger – Avocado, Bacon, and Cheddar)

IMG_0785Bunless Hot Dogs or Sausage Links

images-3

Egg Salad

IMG_3086


Sides:

Refreshing Cukes

IMG_2796“Potato” Salad”

IMG_3047

Cheesy Tater Tots

IMG_0994Broccoli Slaw

IMG_2862


Broccoli Salad

Broccoli Salad

Appetizers and Snack Ideas:

Stuffed Mushrooms

stuffed-mushrooms

Cheese Crisps

IMG_0849

Zucchini Chips

IMG_2711

Guacamole

IMG_0858

Deviled Eggs:

IMG_3081

Dessert:

Stars and Stripes Cheesecake with Berries:

IMG_2970Or, if you are a chocolate person, our chocolate pudding.

IMG_2815


Drinks:

Refreshing Low-Carb Margarita on the Rocks

images-4


Enjoy a wonderful celebratory day filled with healthy food, healthy sun, friends and family.

God Bless America!


When Life Tosses you Eggs….

Well…this was not my intended post for today, but it worked out well!

We have all heard the term, “When life gives you lemons, make lemonade!”

My theme for today, is “When your eggs won’t peel, make egg salad!”

The intention of the post for today was yummy deviled eggs to finish off the menu for Independence Day!  However, I did not plan well enough ahead!

This was a good lesson!  Anytime you want pretty peeled eggs, plan ahead!  I did not know we were so low on eggs (because I always have several dozen.)  When you do boiled eggs, they are much easier to peel when they are not fresh.  You want to buy them 5 to 7 days ahead of when you need them.  I bought mine yesterday, boiled them, and tried to peel them.  This is what happened:

IMG_3074

Not so pretty!  So…we had a very fast change of plans.  Since we have dinner pretty much planned with Bar-B-Que (with sauce), “Potato” Salad, and Refreshing Cukes, I thought why not make egg salad for a Keto lunch!  It was simple, and we still got to use those delicious and nutritious eggs.

I did get a few of the eggs to turn out, so I will share how to do both just in case you plan ahead better than I, or if you have some eggs stored in your fridge that you want to use.


First, start by boiling your eggs.  I have a gas stove, and have had great success by placing my eggs in a large pot, covering with cold water with a tsp of salt, and bringing it to a rumbling boil.  Once it is at a full boil, turn your heat down to a simmer for 1 minute, cover, and turn the heat off completely for 10 to 12 minutes.  As soon as the timer goes off, dunk them in a cold water bath.  Let them cool, and then place in the refrigerator until you need them.

IMG_3062


You can peel your eggs now or later.  For deviled eggs you will want to slice your pretty eggs lengthwise, hull out the yolk and place on a flat surface.

IMG_3077I put the yolks in a bowl, and mash with mayo, dijon mustard, a little lemon juice, salt, pepper, and if you have them, some chopped Refreshing Cukes.  You can also add some fresh dill or dill pickle if you like savory.  If you like sweet, you can add a teeny tiny pinch of Stevia.  Mash it all together and stuff your eggs.  Refrigerate immediately.

IMG_3079 IMG_3081

If you get a bunch of eggs that look like they were in a massacre like mine did, just chop them up and no one will be the wiser.

IMG_3076

Add to a bowl with:


Egg Salad

12 eggs – boiled, peeled and chopped

1/2 lemon – squeezed

1/2 cup petite diced celery

3/4 cup mayonnaise

2 Tbsp dijon mustard

1/2 cup diced “Refreshing Cukes”

2 tsp juice from above

Salt and pepper to taste

Stir everything together until combined and either put in the fridge for later or serve over lettuce.  It was quite a delicious mistake!

IMG_3083 IMG_3086We hope that everyone has a safe and delicious Fourth of July!

Remember those that sacrificed for the freedoms that we hold so precious today.  We are so fortunate to live in a place that allows us to speak and write what we believe and hold true to our hearts, even if not everyone agrees.

Remember on your holiday to plan ahead, drink plenty of water, take your supplements, and stay healthy!  Holidays and parties can be difficult, but with planning you can be strong and live Keto!  We know you can!

Have a wonderful long weekend, and enjoy those fireworks!!!

ColorfulFireworks


Refreshing Cukes!

Last week, a friend of mine showed up at my door with a trash bag full of homegrown cucumbers.  He had grown them at his office, and thought I could use them since he knows I like to cook.  I had never seen so many cucumbers, and I honestly didn’t have a clue what to do with them.   My husband LOVES cucumbers, so I knew I needed to find something quickly!  I couldn’t let these go to waste!  The search began…

Look at these things…I had never seen anything like them before!  They were the largest Japanese Cucumbers I had ever seen!

IMG_2788 (1)

As you can see, these are huge!

I searched around through cookbooks and on the web.  I didn’t find anything that shouted out at me, but I combined a few recipes, changed out the sugar, and came up with a winner!  They haven’t even finished marinating, and my son said, “These are amazing…Dad is going to love them…This is my new favorite snack.”

So those of you looking for snack ideas, I have a new one!

You will need:

5-6 Cucumbers (I used 4 of these huge ones, so thinking this is the equivalent)

2 1/2 cups White Vinegar

1 Red Onion

1 Cup Xylitol or Sugar Substitute of Choice (See note at bottom)

2 tsp Celtic Salt

1 tsp Celery Seed

1 tsp Dried Dill

Directions:

In a saucepan, combine your vinegar, salt, and sweetener.  Over medium heat, (it’s gonna stink), heat your vinegar until your “sugar” and salt dissolves.

IMG_2789 (1)


Remove from heat, and add your celery seed and dill weed.  Allow to cool a little and place in the refrigerator to cool completely.

IMG_2790

While your marinade is cooling, slice your cucumbers in a mandoline.  I love my De Buyer!  If you don’t have a mandoline, what are you waiting for?  It makes life so much easier!  I bought mine at Williams Sonoma, but you can get yours here too.

IMG_2793

IMG_2792


IMG_2795

I did adjust my mandoline for thicker slices.  I had it set from the zucchini last week, but these needed to be a bit thicker.

Also, slice your red onion into thin rings.  Place your cucumbers and red onion slices in a bowl.

Once you have everything sliced and your marinade is cold, you can pour your marinade over your cucumber and onion.

IMG_2796

IMG_2797

Toss everything together until lightly coated.  Cover with Saran and place in your refrigerator overnight.  At this point you can’t even see the liquid, but just wait!

This is what it looks like in the morning:

IMG_2799

Everything is soaking in the juices!  Yum!

IMG_2798

Let it sit and soak up the deliciousness for 24 to 48 hours!  Enjoy as a snack, a salad, or a side dish!  I am thinking ahead to the July 4th holiday!!!


A note on Xylitol:  You don’t see us using this one very often.  The reason I did on this dish was because it was a cold marinade that also had to be heated so I thought it would work best.  There are many that love Xylitol, and there is nothing wrong with it from a Keto standpoint.  I have two cautions on it though:

1.  It is extremely toxic for dogs!  Keep it away from animals.

2.  It can cause stomach discomfort in a few.

For the quantity of liquid in these in relation to the amount of cucumbers, I did not think it would have much effect since we are not consuming the liquid on it’s own.

If you try different sweeteners or have a different variation on this recipe, we would love to hear about it in the comments section!


Need a Refreshing Keto “Adult Beverage”?

images-4

Get ready for this Keto friendly, sugar free, refreshing adult beverage.  This is my go-to after a long summer week with the kids, work, and errands.  It’s really nice at the beach too!

Before we start, let me remind you that we advise alcohol in very limited amounts.  Your body will always process the alcohol before it processes your food, so be mindful.

There are options, and I can’t say that I prefer one over the other.  The staple ingredients in all three are ice (preferably crushed), fresh lime juice, Stevia, and salt.

Start with your limes.  You need a bunch.  If you can find fresh squeezed lime juice at Central Market or a local farmers market that makes it easier, but I usually squeeze fresh at home.

Unknown-3

Pour about a 1/4 cup of lime juice over your crushed ice in your glass, or even better, a shaker.

Now are your choices:  If you want strong, go with Tequila mixed with Topo Chico.

tequila-bottlesPicture_750_1


If you prefer a milder spritzer, I really like a summer wine that is low in carbs called Vinho Verde. It is a bubbly Portuguese wine that is very inexpensive and easy to find.  There are two I prefer, but these are popular in the summer so get what you can find.  I like the Casal Garcia and the Santola.  These are refreshing without too much alcohol, and great mixed like a margarita.images-6images-5


Then, add your little sweet if you like.  You may not need it, but if you want it to be more like a sweet margarita, I like to add a packet of Sweet Leaf Stevia.

sweetleaf-stevia-35

Mix it all together, and you have a great refreshing drink after a long week!  Squeeze a little extra lime and rim your glass with salt.  You have yourself a sugar free margarita.

Side note, since we have been talking about fruit: Limes contain the absolute lowest amount of fructose of any fruit.  It is one of the few I eat (or drink).  They still have natural sugar so use in moderation, but it should not effect your blood sugar too much, if at all.

Unknown-2

Enjoy, and have a great weekend, all!

A Snack to Crunch!

images-1

No, not that kind of crunch!

The type of crunch I am talking about is the loud tortilla chip kind of crunch!  On Keto, I think it is safe to say, that one of the things we miss the most is that crunch of a chip or cracker.  One of my summer-time favorites was corn chips and salsa.  Needless to say, the corn is gone forever, but the salsa is here to stay.  So what does one do for that crunch, scoop, or dip?

blog-salsa

For a long time, I used a ton of celery, and still do for many things.  It can scoop, it’s refreshing, full of fiber, and I can have it for all those wonderful Keto dips out there.  It is not good for salsa though.  Then I discovered the cheese crisps we posted a few weeks ago.  Love those, especially for guacamole.  The cheese is the perfect accompaniment with avocado.

But, what about the salsa?  Well…zucchini was again on sale at Sprouts last week, so I bought a bunch to experiment.  Over the weekend I tried three different recipes for zucchini crisps.  I will share two of them with you, and you can choose which you prefer.

The first is a simple chip, and when I say simple, all you need is time and a few ingredients:

Crispy Chips

Ingredients:

2 Zucchini Squash

1/2 Cup Coconut Oil

Pink Himalayan Salt

Mandoline

Parchment Paper

Jelly Roll Pans

Directions:

Wash and dry your zucchini.  When I say wash, I mean wash with soap and water!

IMG_2686

I used a Mandoline to slice my zucchini very thin.  This also makes it a fast process.  You want them very thin.  Mine were probably less than 1/8 inch thick.

IMG_2689 (1)


IMG_2690

Now, I will tell you what I did, and also how you can do it differently.

The first thing I would change is to either slice my zucchini on the diagonal or lengthwise.  The reason being, they shrink tremendously when they dehydrate so if the purpose is for dipping, these left very little surface area to do such.

Line your jellyroll pan with parchment paper.  I used a slip mat, and it was a huge chore to clean, so go with parchment on these.  Just pretend this slip mat is parchment paper.

IMG_2691

Pour your coconut oil into a small pyrex or similar bowl.  Just something shallow will do.

Dip each “chip” into the oil and place on your parchment. They can be close together.  Variation: You can lay all your zucchini out and then brush them with the oil.  You just have to flip them half way through baking.

IMG_2694

Once you have dipped or placed all your zucchini on your parchment, sprinkle a very scant amount of salt on top.  This was a huge mistake of mine.  I used a normal amount of salt, but they shrank so much, they were literally coated in salt.  A little goes a long way on these!

IMG_2695

Place in a 200 degree oven for 2 hours.  Yes, two hours.  This will dehydrate and crisp them.  I flipped my cookie sheet around about half way through so they cook evenly.

This is how much they will shrink, and why I recommend slicing the opposite direction for dipping chips:

IMG_2696IMG_2708

Place on a paper towel to absorb the remaining oil.  Once dry, seal them in a ziplock bag or they will get soggy.


Method 2:

Cheesy Chips

These were described as tasting just like a “Cheez It”.  In other words, a great snack for the kids looking for that healthy crunch without any grain!!!

These are similar to above, except for the cheese.  Follow the same directions until you finish with your oil.

Ingredients:

2 Zucchini Squash

2 Cups Parmesan Cheese

1/2 Cup Coconut Oil

Mini-Cuisinart

Mandoline

Parchment Paper

Directions:

Slice your zucchini as described above using a Mandoline.

IMG_2690

Place the Parchment paper on your jelly roll pan (make sure it has sides.)

Grind your parmesan cheese in your Mini-Prep Cuisinart (unless you have already dirtied your big one.)  The parmesan adheres to the squash much easier when it is a bit finer, but still melts well, unlike the super fine ground you buy off the shelf.

IMG_2698

IMG_2699

IMG_2701

IMG_2702


Pour your finely grated cheese into a bowl.

Take your squash one by one and dip into the oil first, and then into the cheese.  Place each on a lined cookie sheet.

IMG_2694

IMG_2707


These will not need salt because your cheese is already salty.  You can add pepper if you like for taste.  You can always add extra cheese to the top if you have extra left over.

Bake at 425 degrees for 20 to 25 minutes.  They should be a little darker than golden brown to ensure they are crisp.  Serve immediately with your favorite dip or eat just as they are.

IMG_2709

IMG_2711


Store in a sealed container or Ziplock in the refrigerator.


« Older Entries