

No, not that kind of crunch!
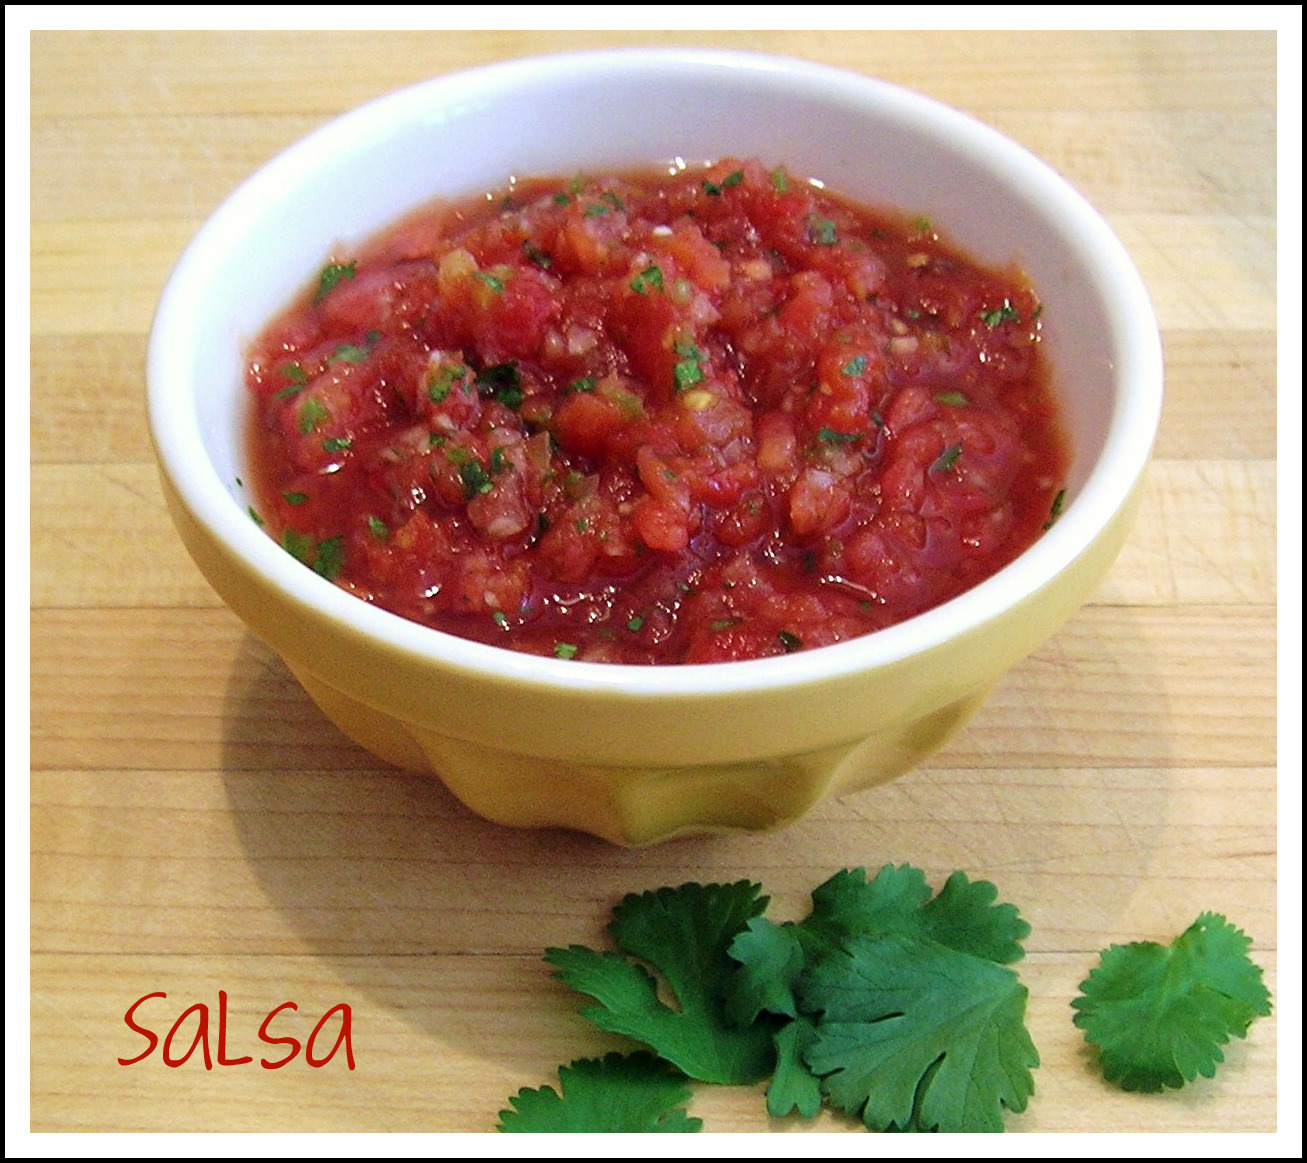
The type of crunch I am talking about is the loud tortilla chip kind of crunch! On Keto, I think it is safe to say, that one of the things we miss the most is that crunch of a chip or cracker. One of my summer-time favorites was corn chips and salsa. Needless to say, the corn is gone forever, but the salsa is here to stay. So what does one do for that crunch, scoop, or dip?
For a long time, I used a ton of celery, and still do for many things. It can scoop, it’s refreshing, full of fiber, and I can have it for all those wonderful Keto dips out there. It is not good for salsa though. Then I discovered the cheese crisps we posted a few weeks ago. Love those, especially for guacamole. The cheese is the perfect accompaniment with avocado.
But, what about the salsa? Well…zucchini was again on sale at Sprouts last week, so I bought a bunch to experiment. Over the weekend I tried three different recipes for zucchini crisps. I will share two of them with you, and you can choose which you prefer.
The first is a simple chip, and when I say simple, all you need is time and a few ingredients:
Crispy Chips
Ingredients:
2 Zucchini Squash
1/2 Cup Coconut Oil
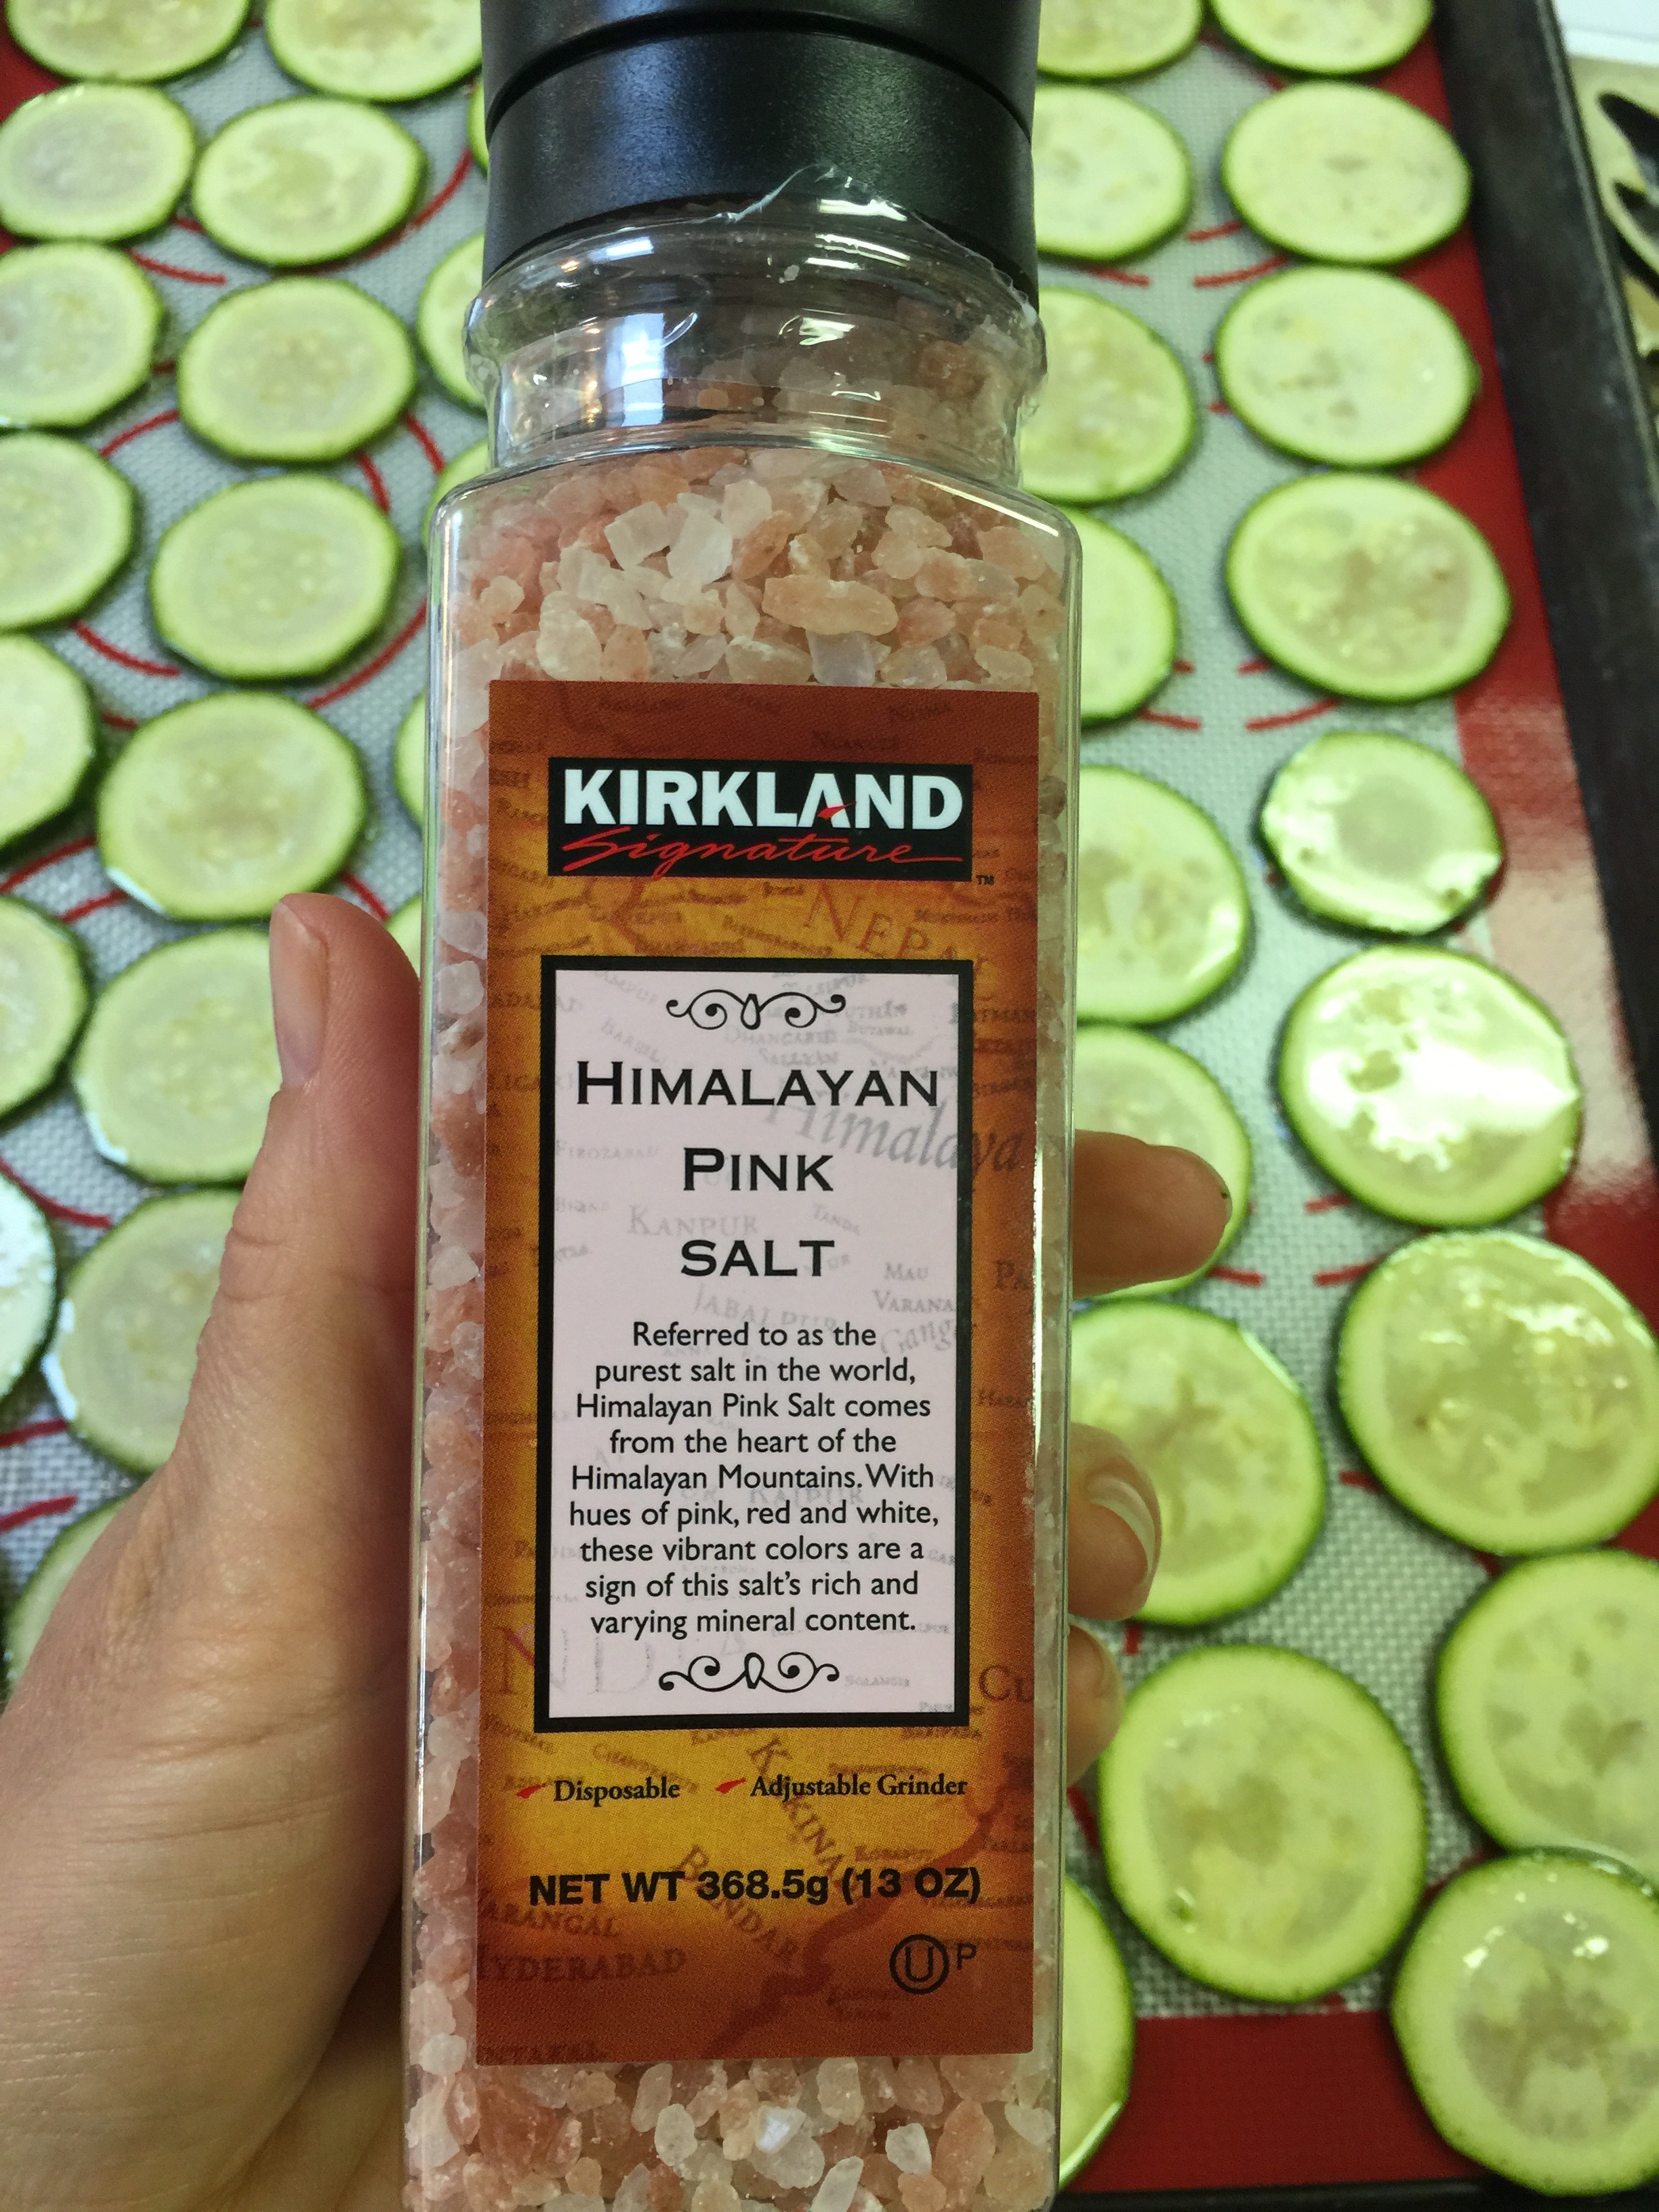
Pink Himalayan Salt
Directions:
Wash and dry your zucchini. When I say wash, I mean wash with soap and water!

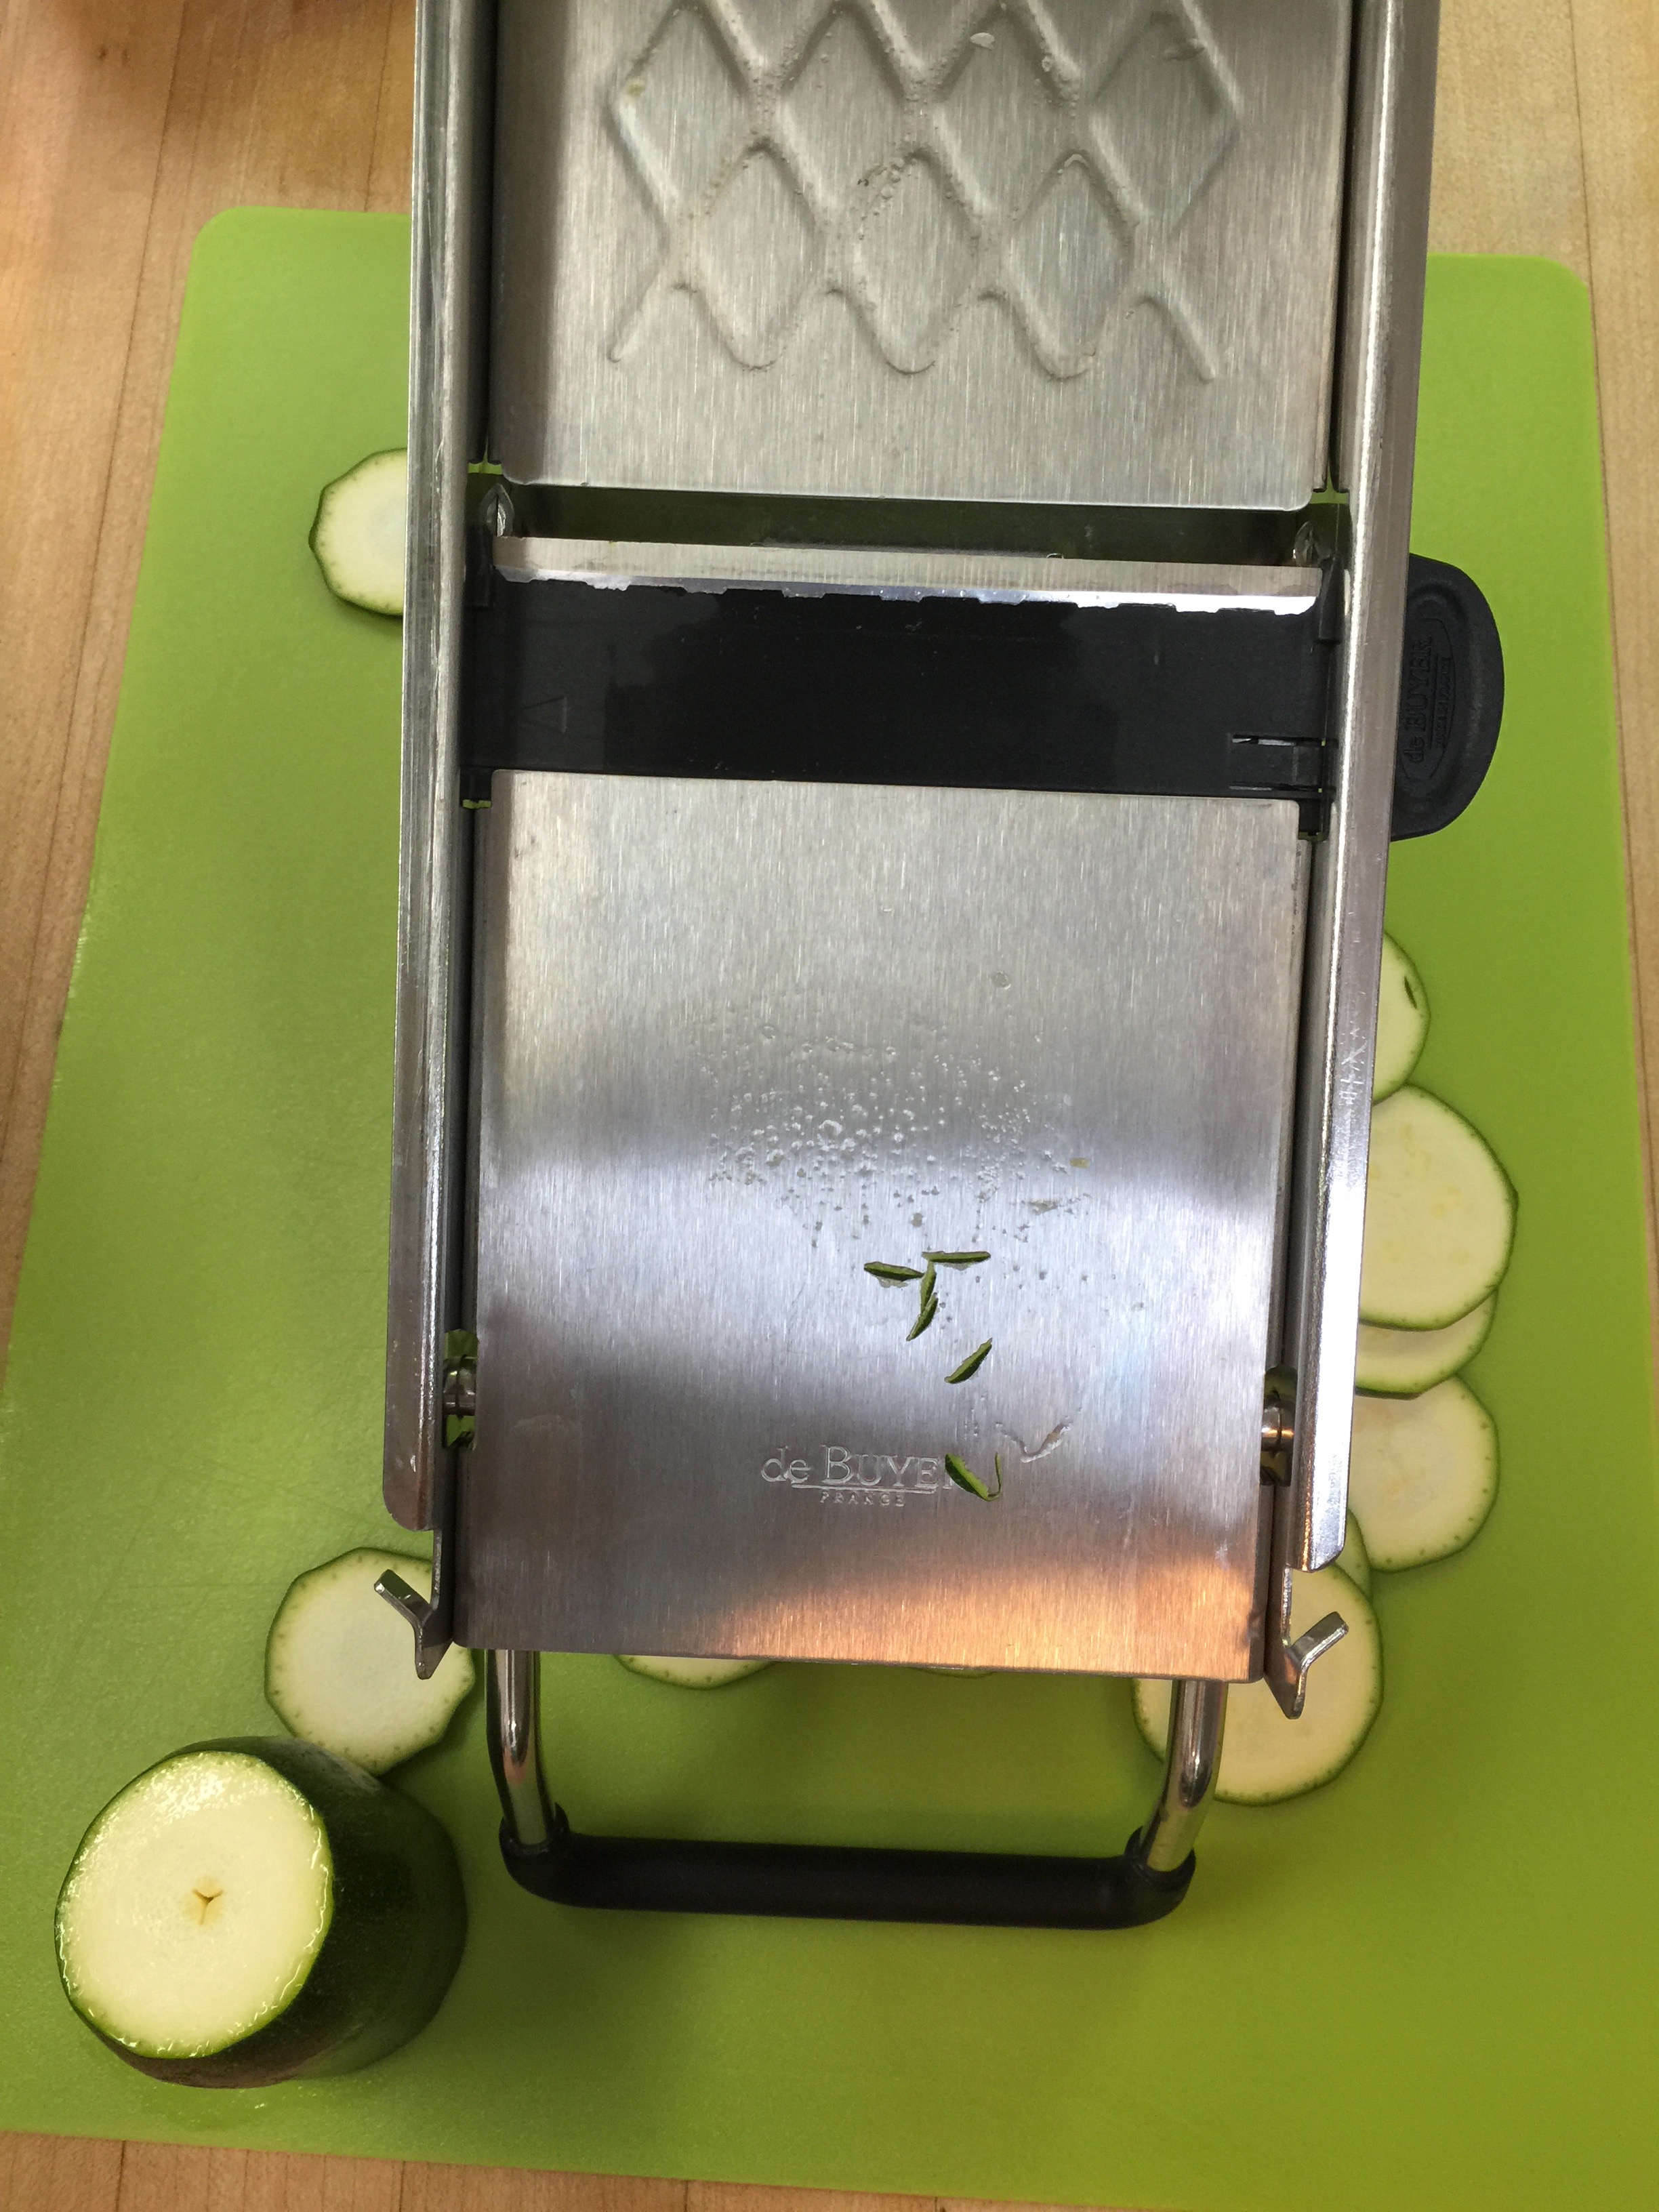
I used a Mandoline to slice my zucchini very thin. This also makes it a fast process. You want them very thin. Mine were probably less than 1/8 inch thick.

Now, I will tell you what I did, and also how you can do it differently.
The first thing I would change is to either slice my zucchini on the diagonal or lengthwise. The reason being, they shrink tremendously when they dehydrate so if the purpose is for dipping, these left very little surface area to do such.
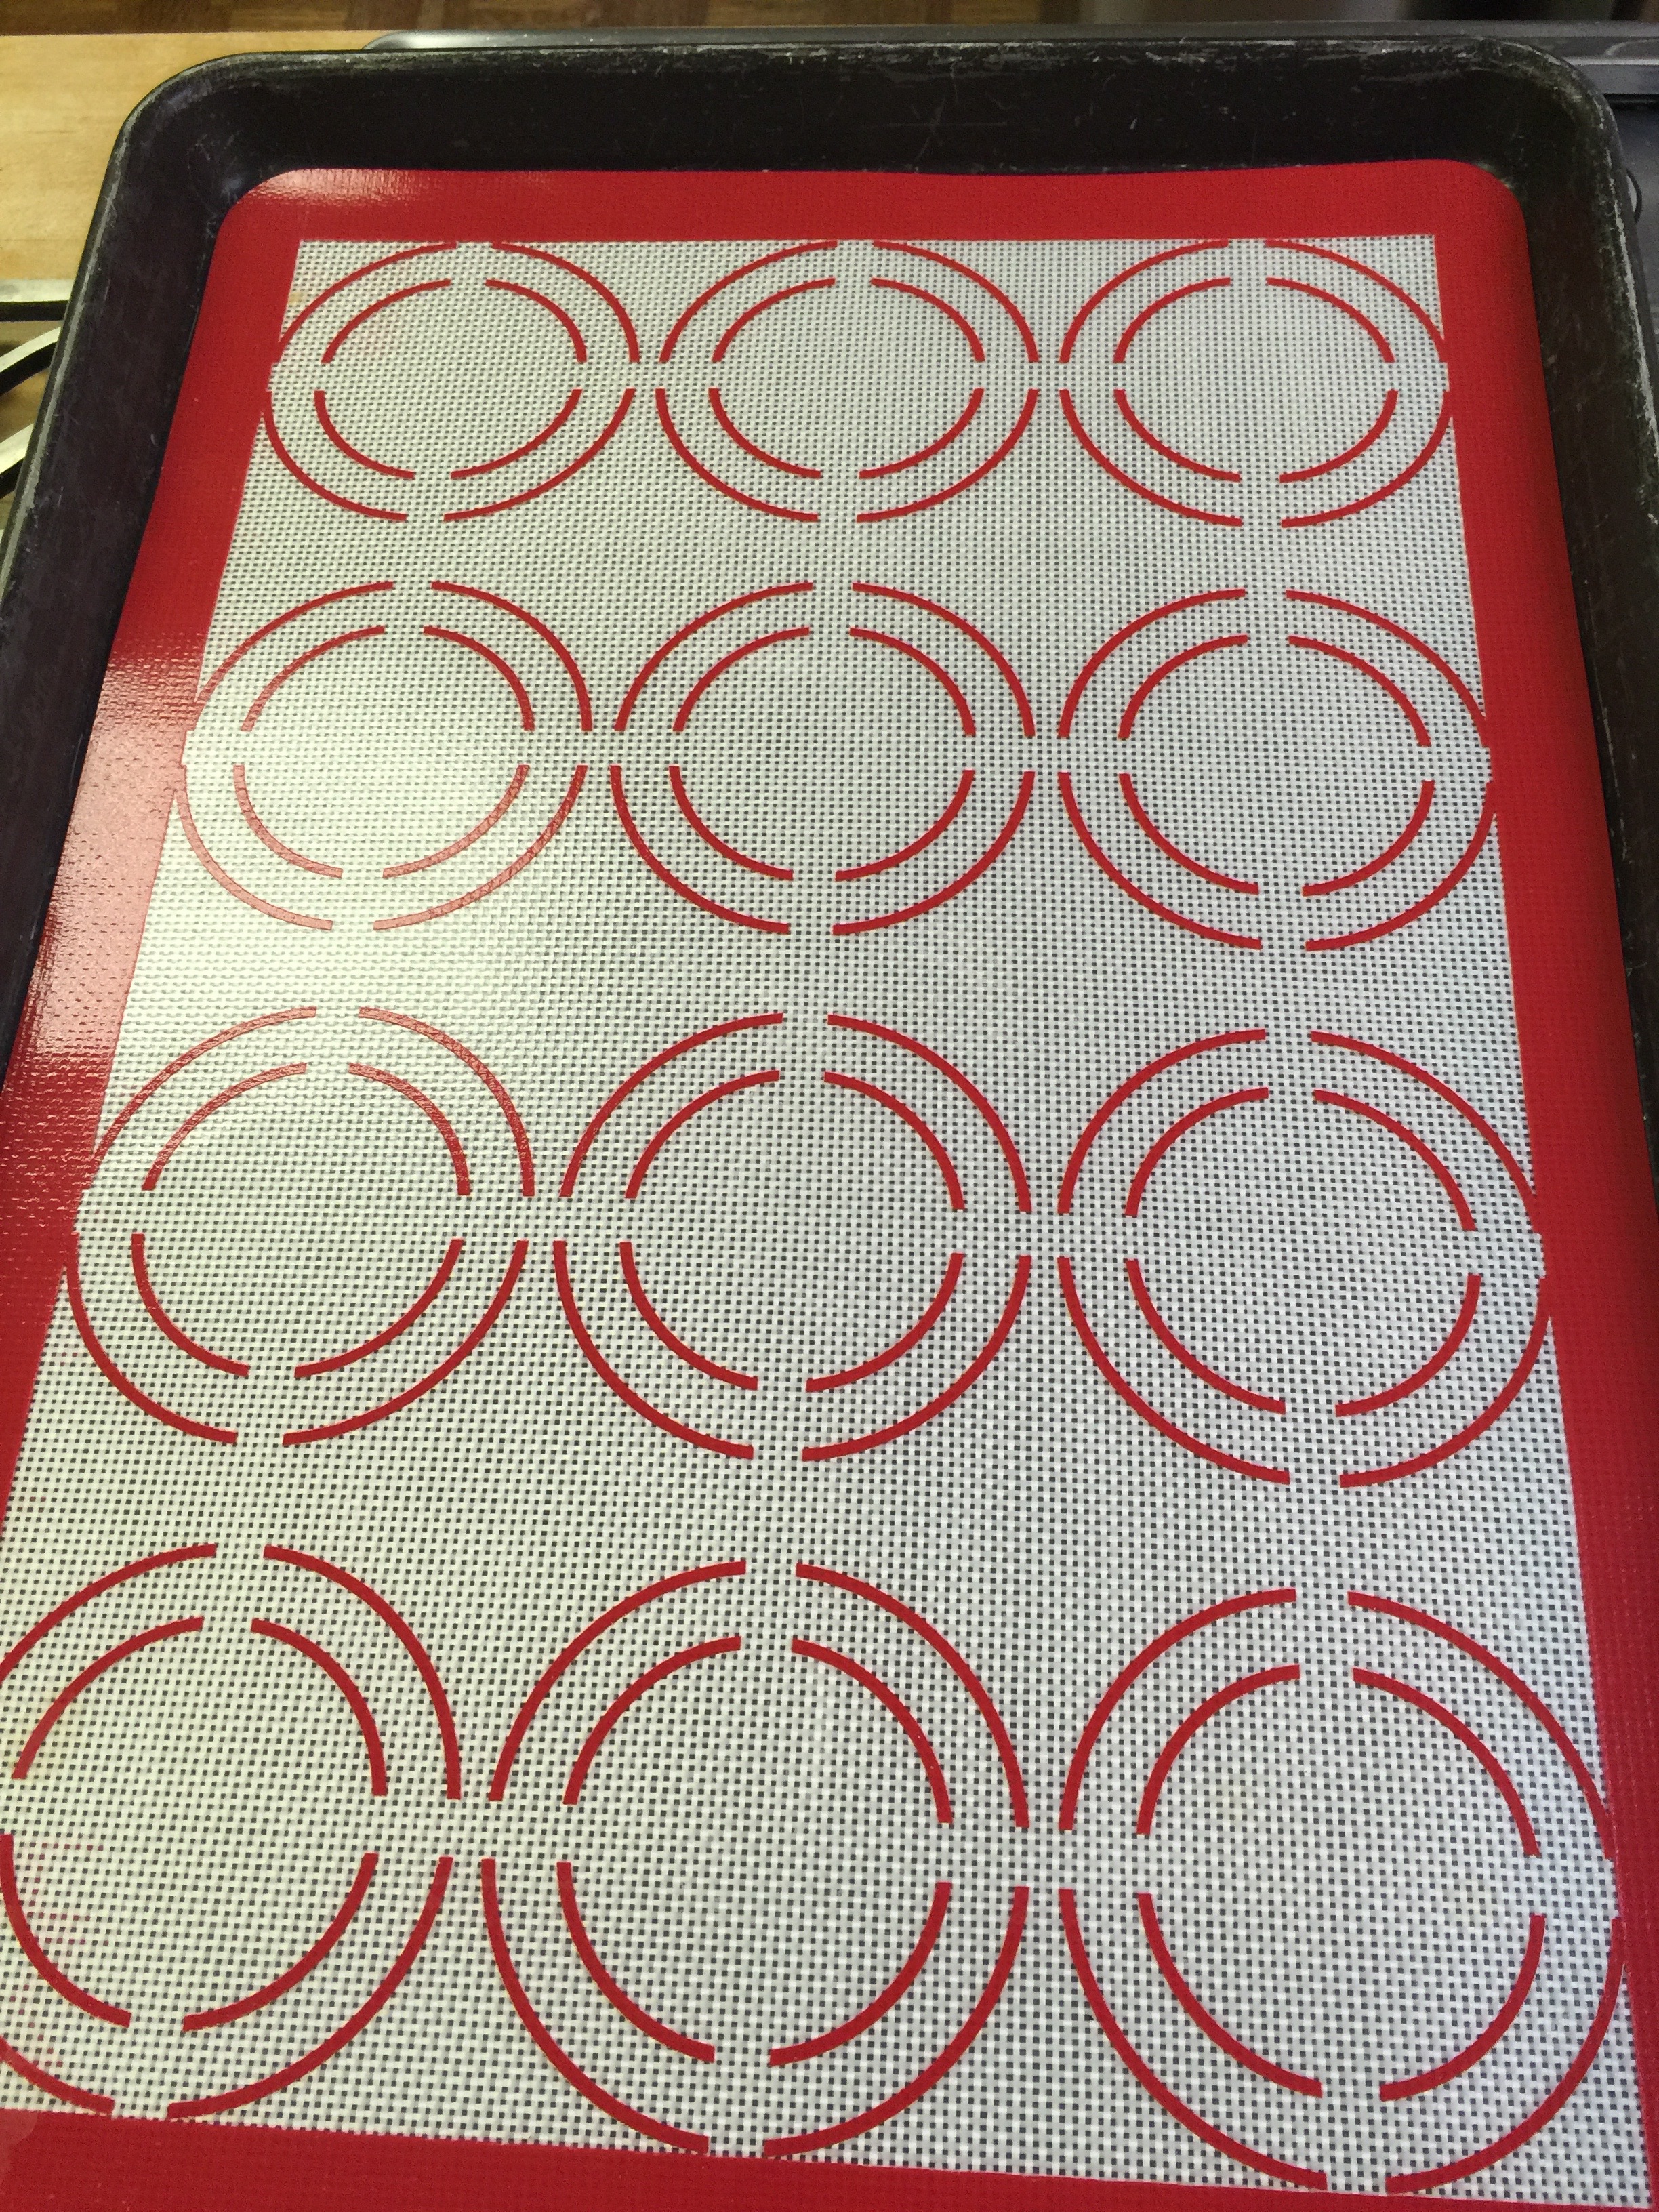
Line your jellyroll pan with parchment paper. I used a slip mat, and it was a huge chore to clean, so go with parchment on these. Just pretend this slip mat is parchment paper.
Pour your coconut oil into a small pyrex or similar bowl. Just something shallow will do.
Dip each “chip” into the oil and place on your parchment. They can be close together. Variation: You can lay all your zucchini out and then brush them with the oil. You just have to flip them half way through baking.
Once you have dipped or placed all your zucchini on your parchment, sprinkle a very scant amount of salt on top. This was a huge mistake of mine. I used a normal amount of salt, but they shrank so much, they were literally coated in salt. A little goes a long way on these!
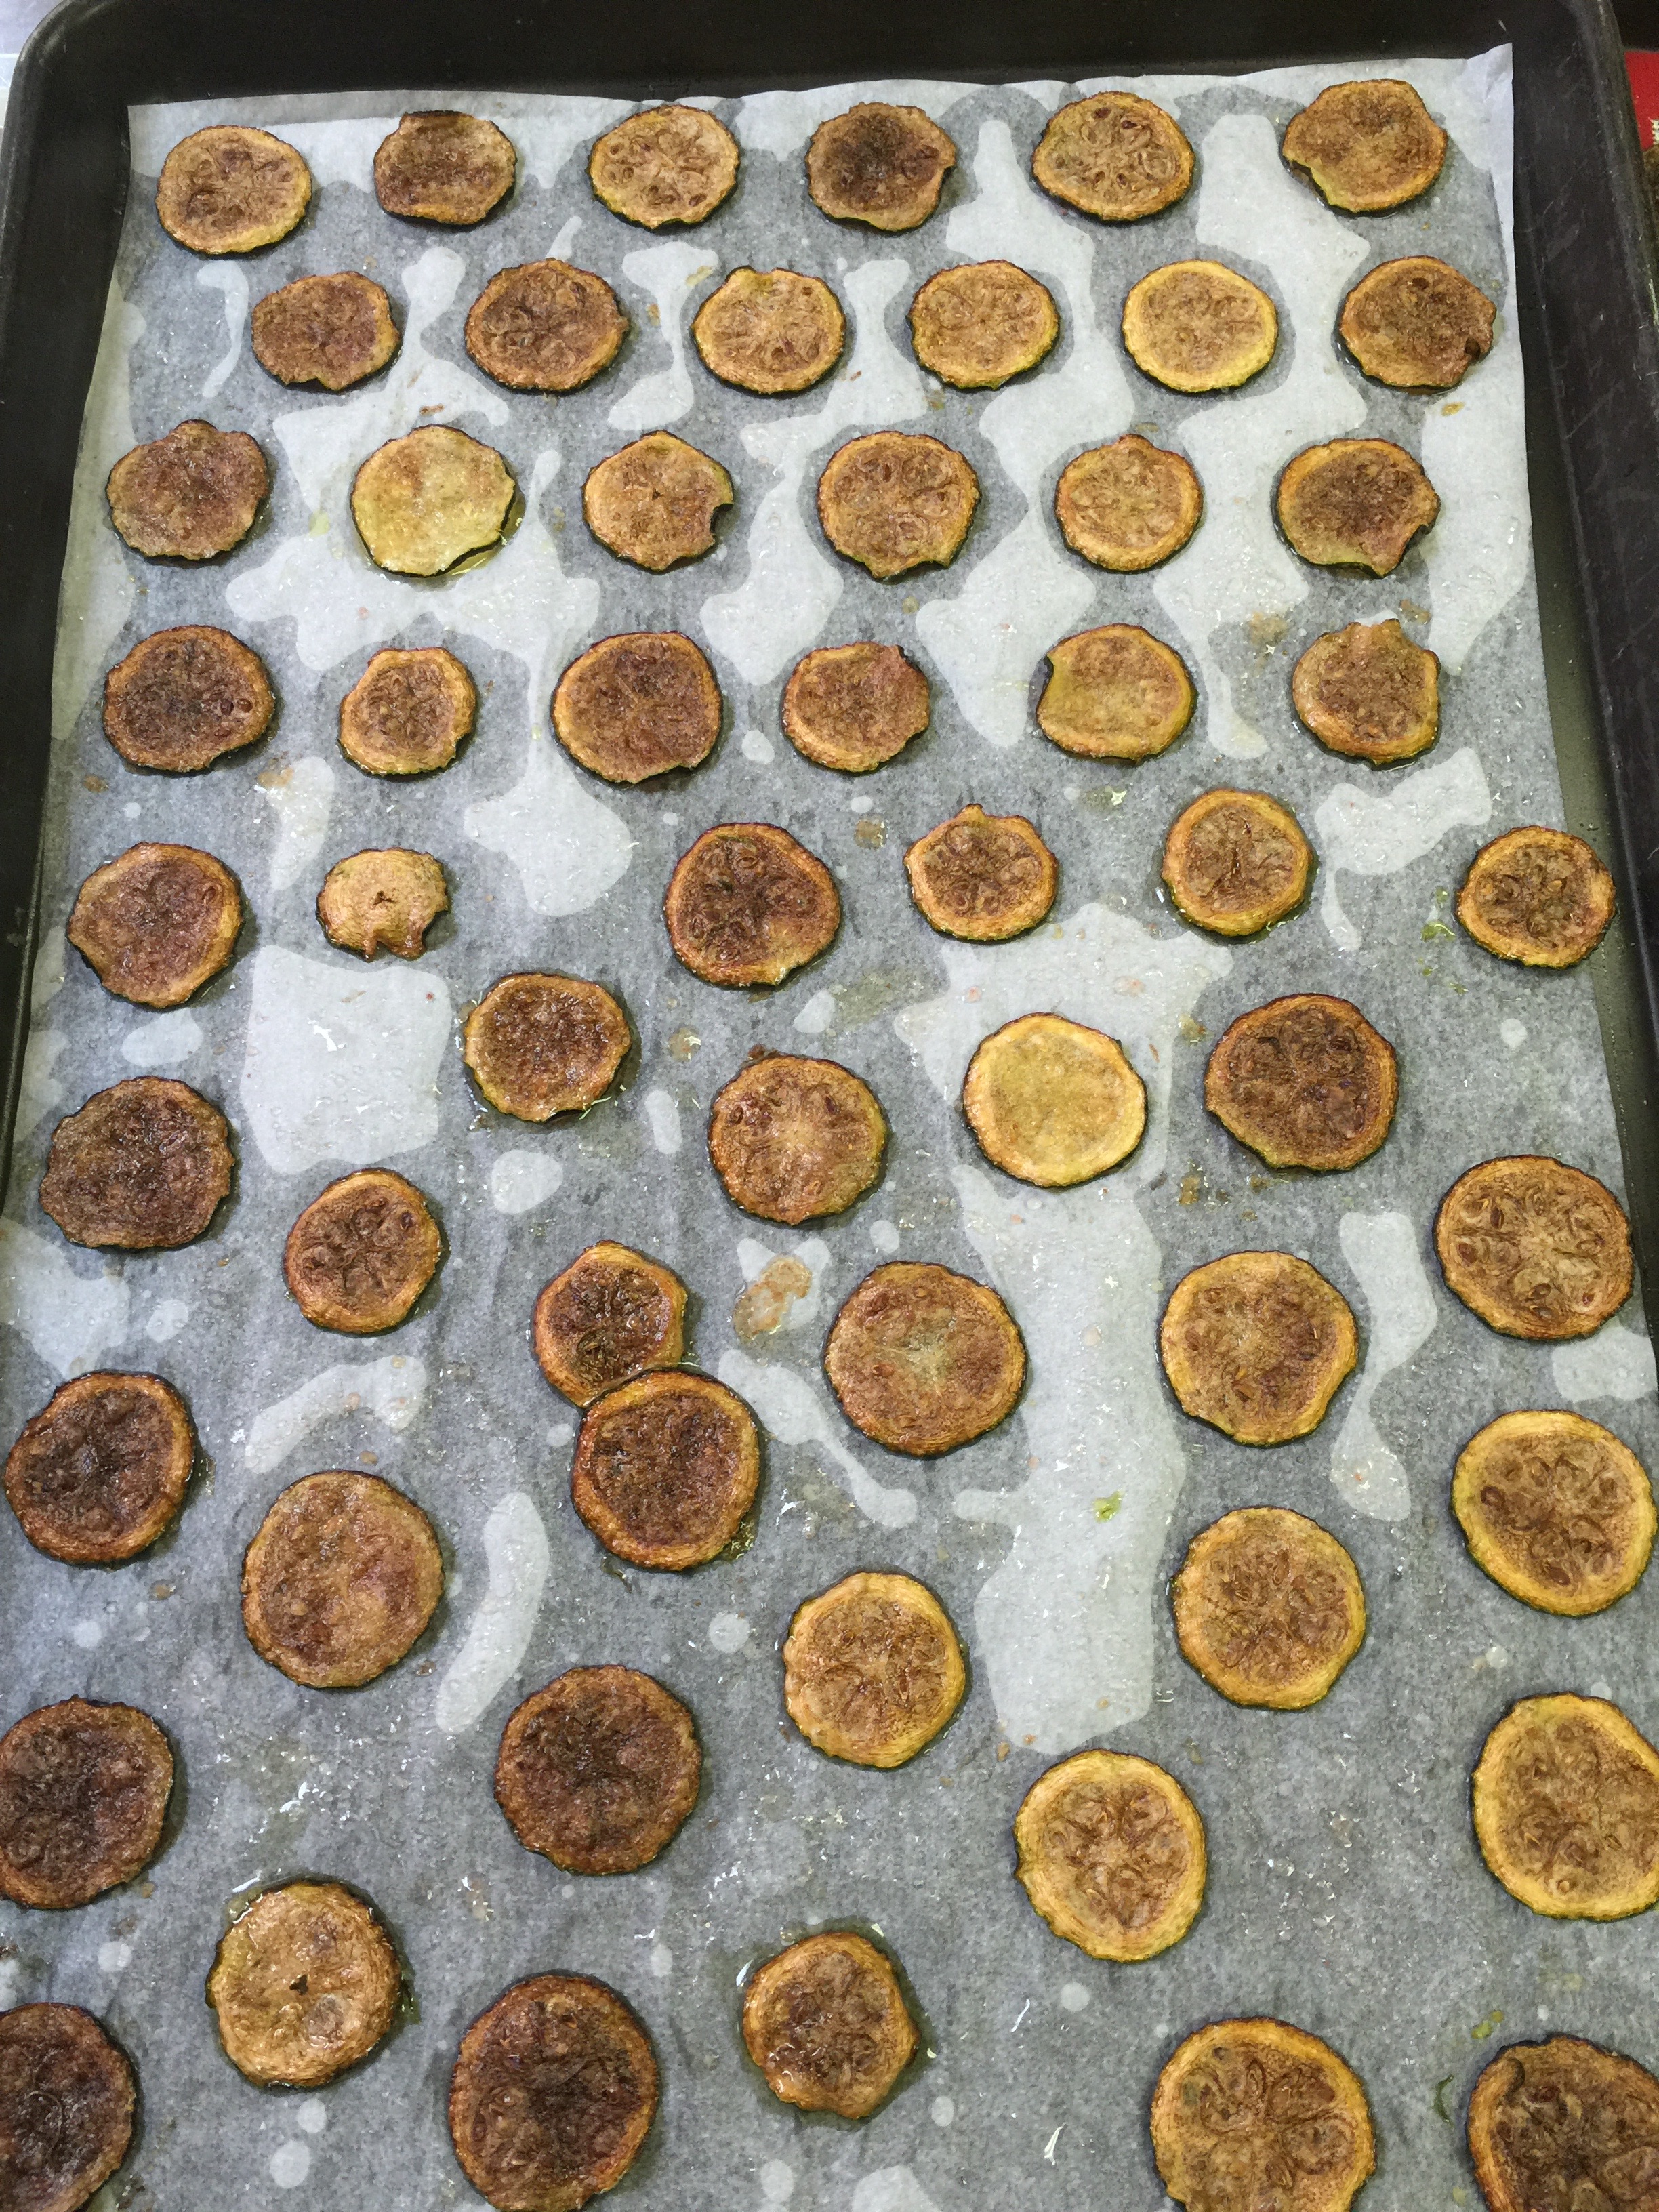
Place in a 200 degree oven for 2 hours. Yes, two hours. This will dehydrate and crisp them. I flipped my cookie sheet around about half way through so they cook evenly.
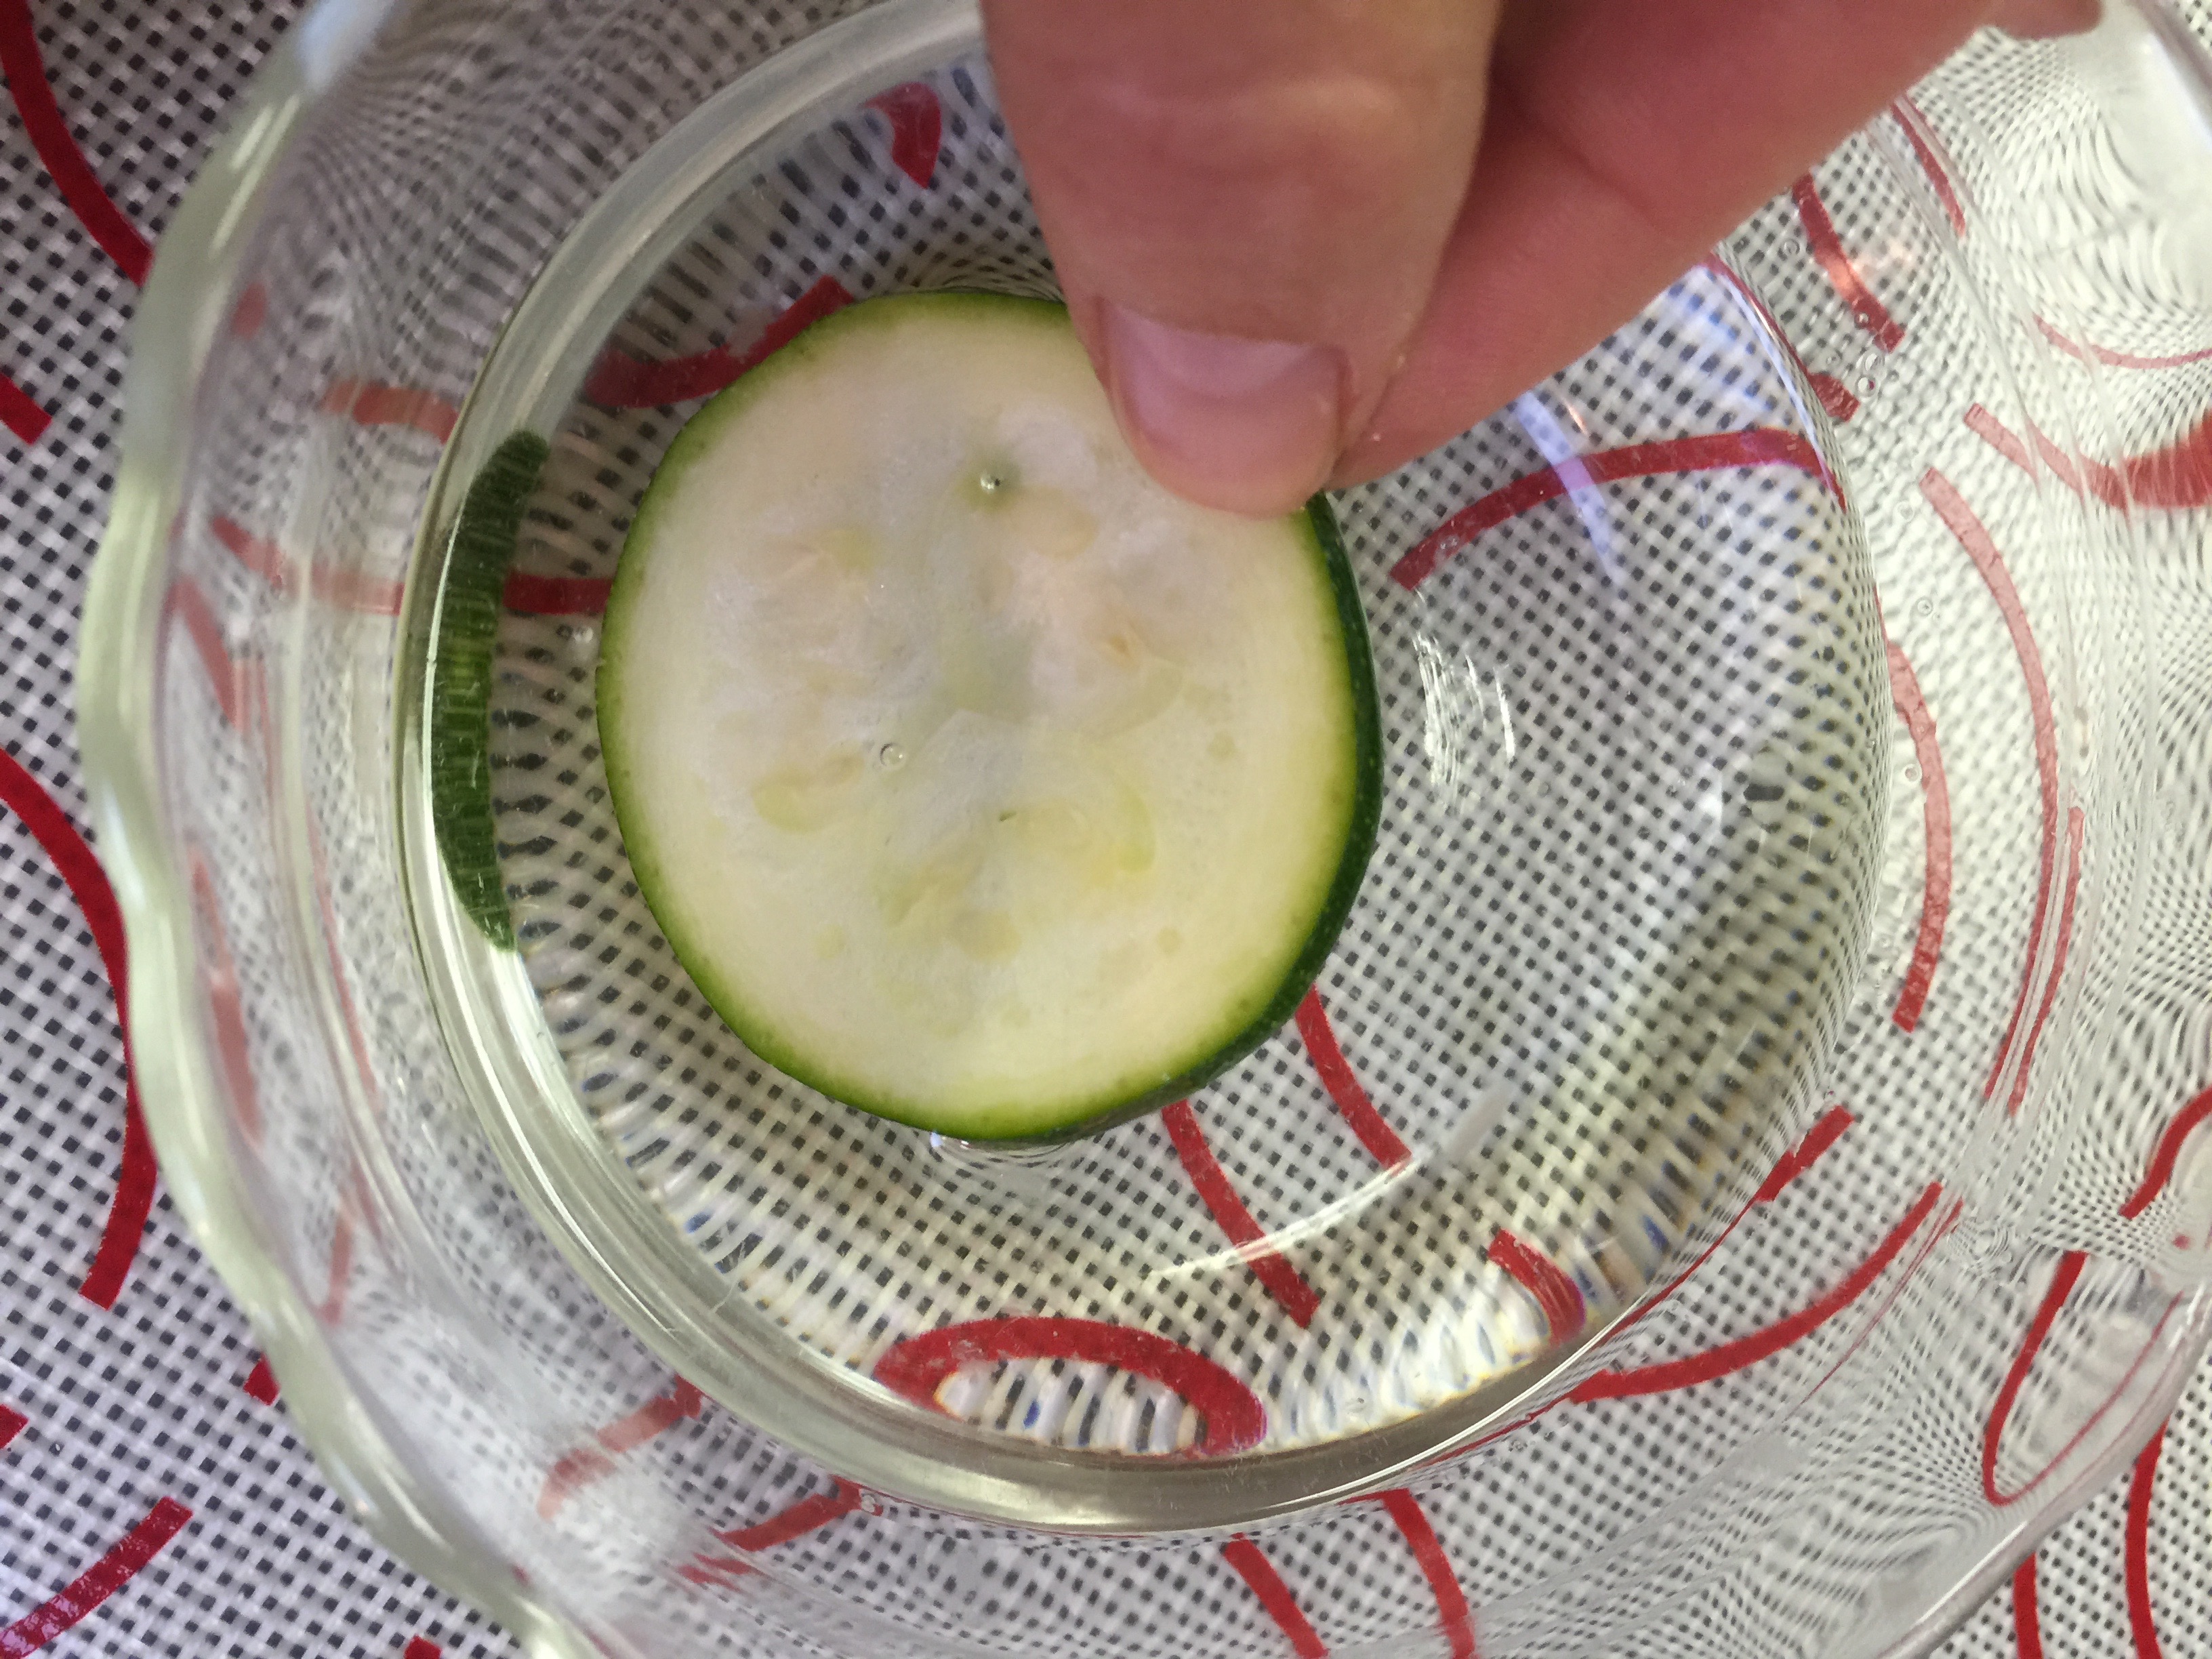
This is how much they will shrink, and why I recommend slicing the opposite direction for dipping chips:
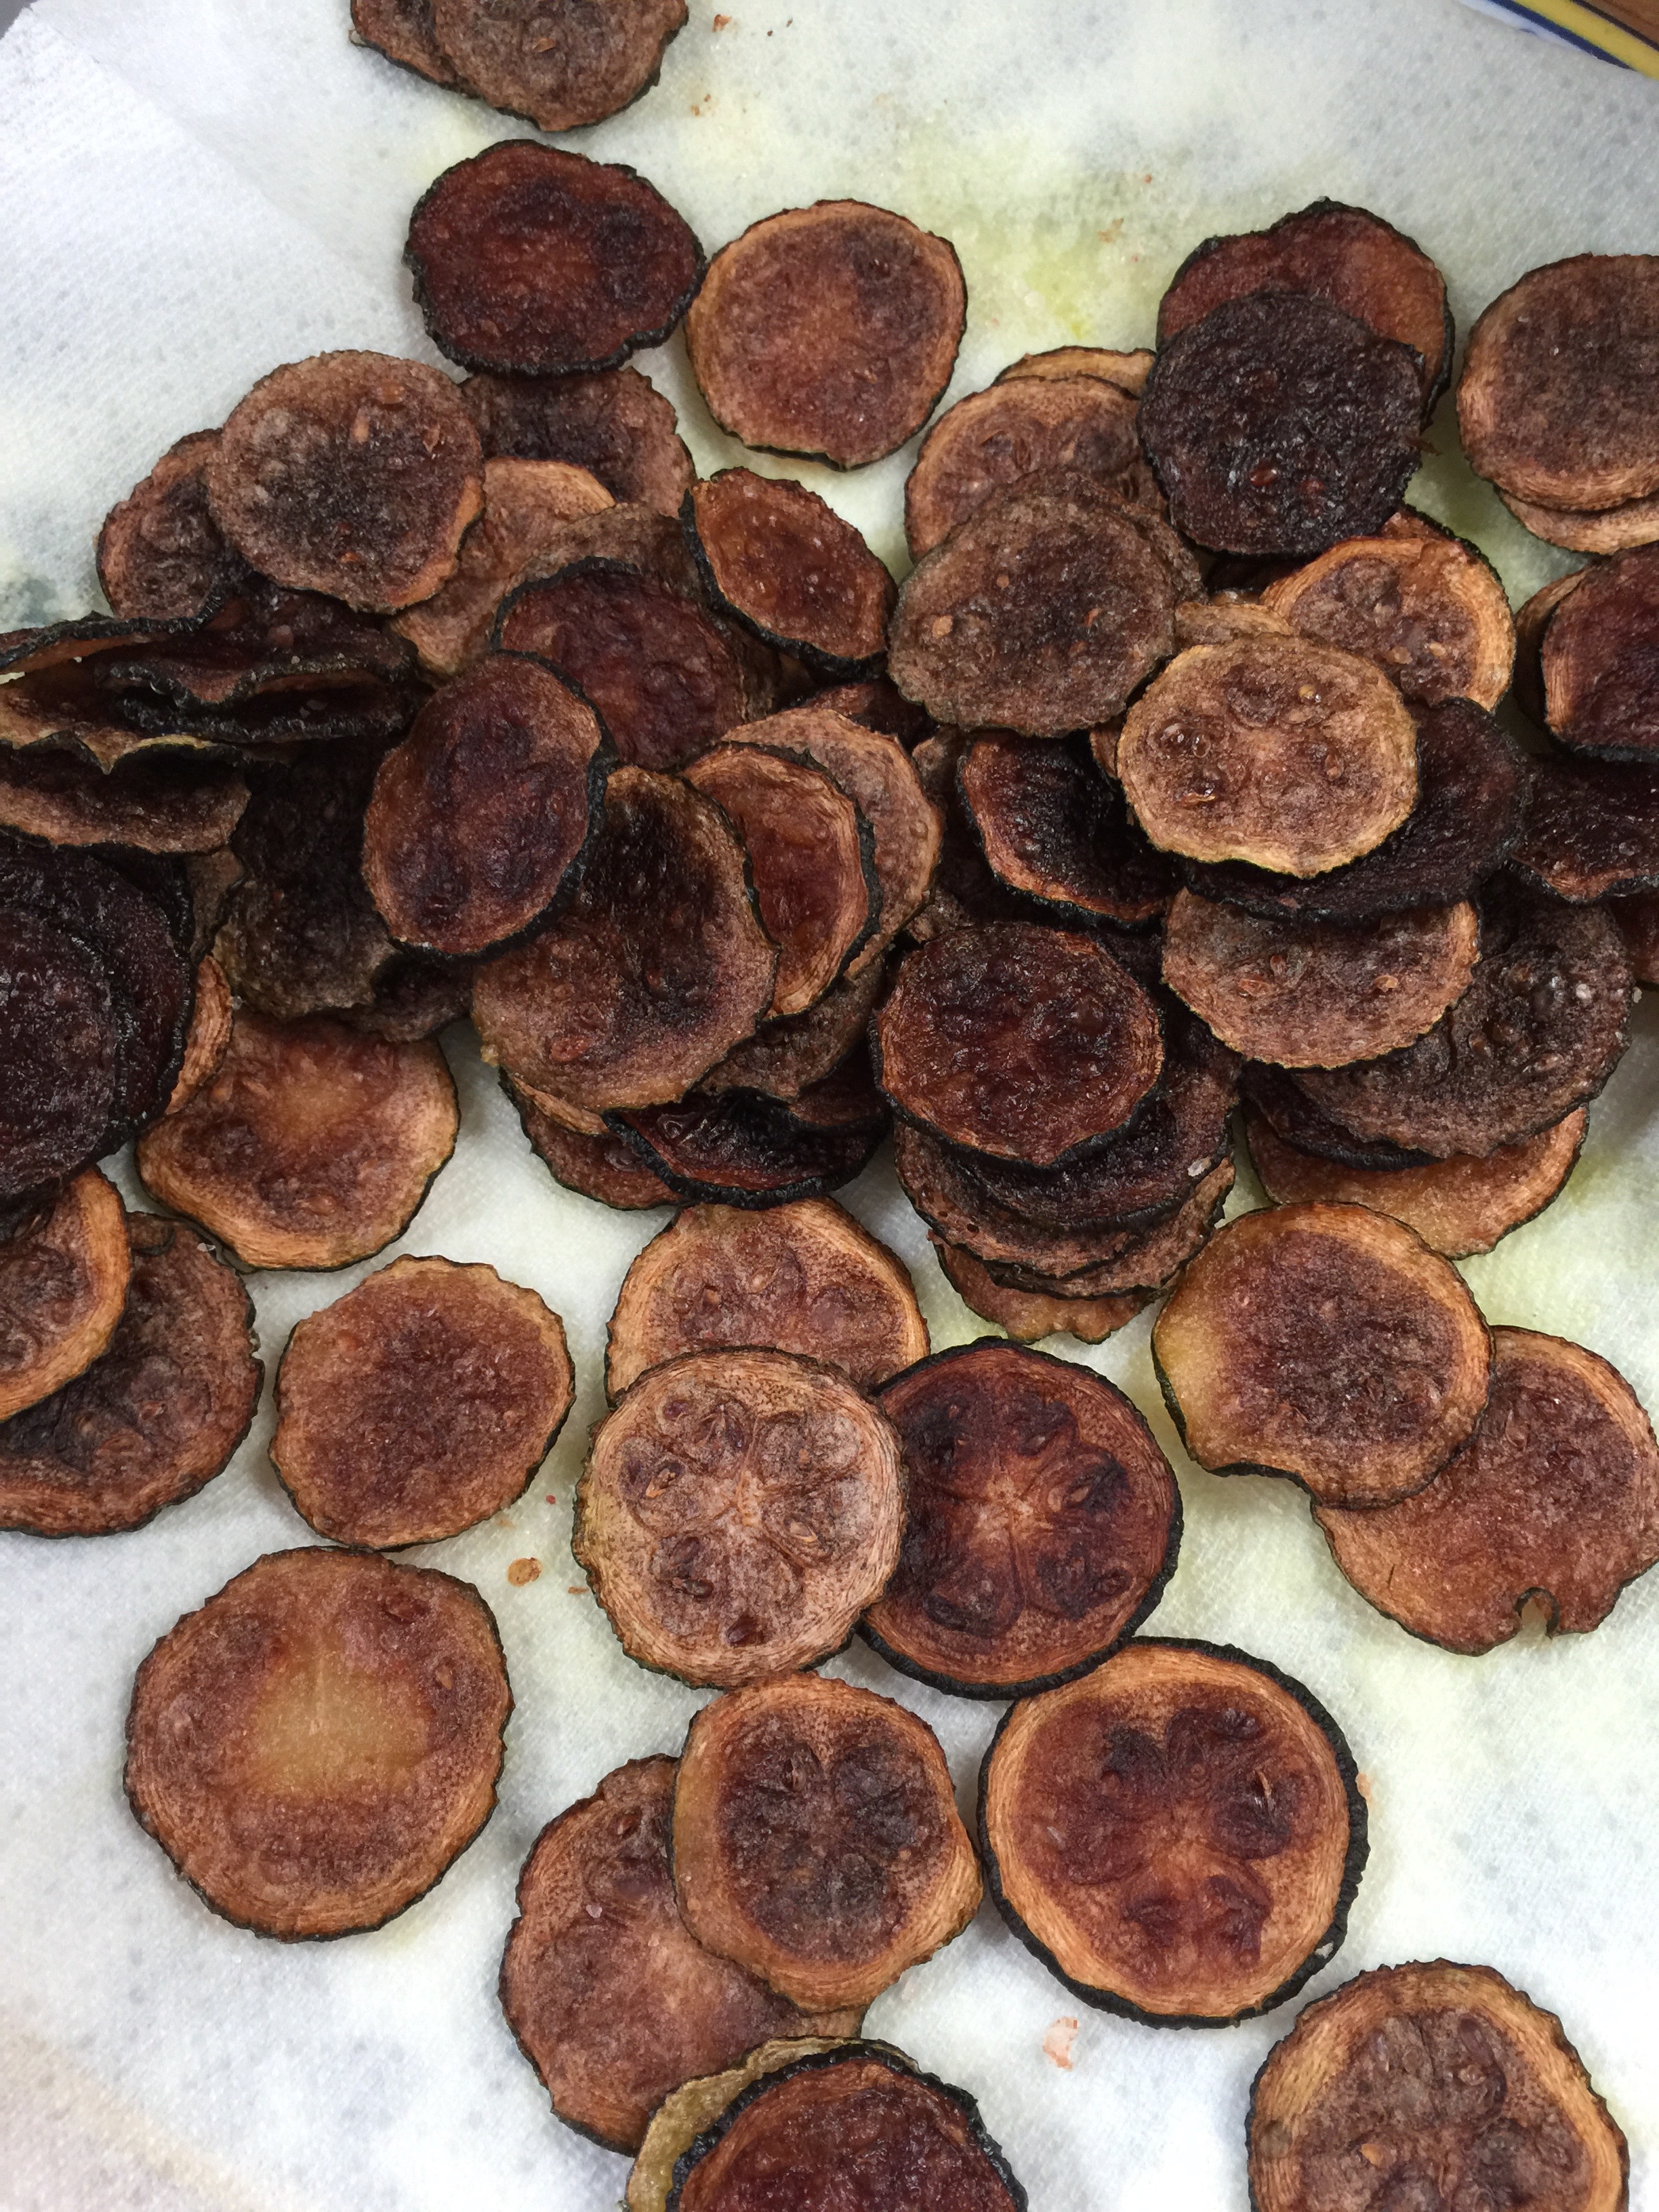
Place on a paper towel to absorb the remaining oil. Once dry, seal them in a ziplock bag or they will get soggy.
Method 2:
Cheesy Chips
These were described as tasting just like a “Cheez It”. In other words, a great snack for the kids looking for that healthy crunch without any grain!!!
These are similar to above, except for the cheese. Follow the same directions until you finish with your oil.
Ingredients:
2 Zucchini Squash
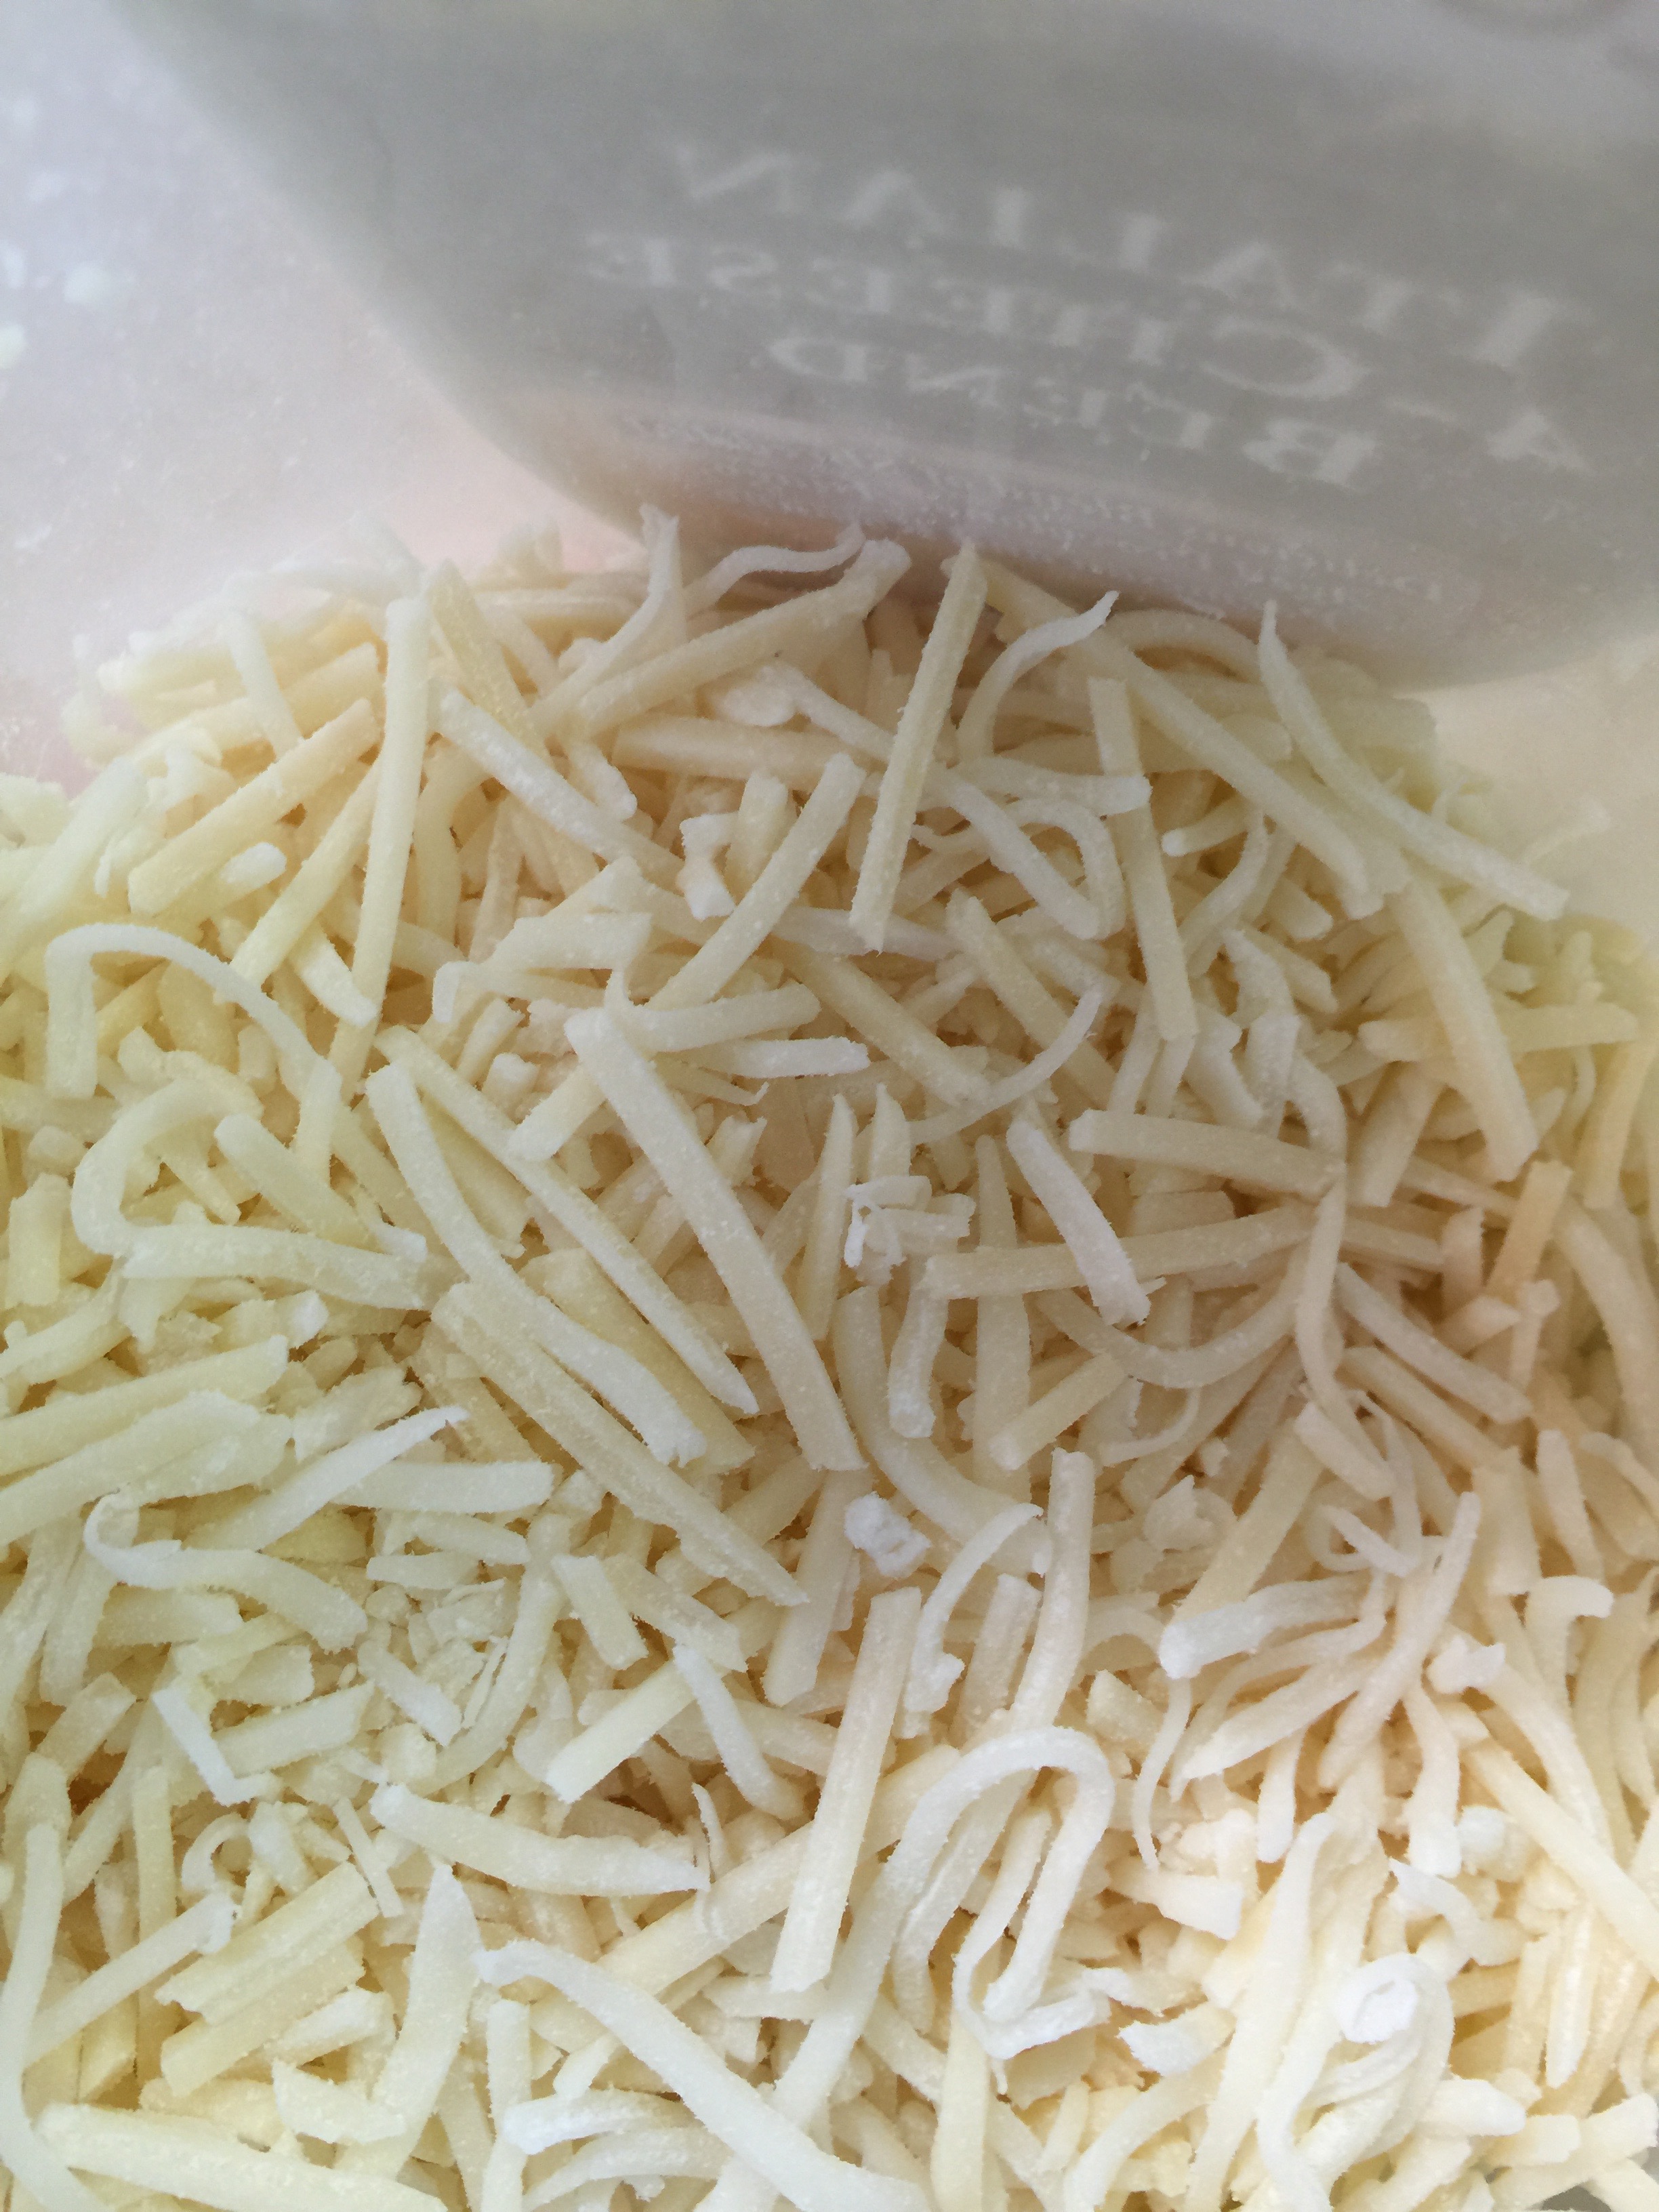
2 Cups Parmesan Cheese
1/2 Cup Coconut Oil
Directions:
Slice your zucchini as described above using a Mandoline.
Place the Parchment paper on your jelly roll pan (make sure it has sides.)
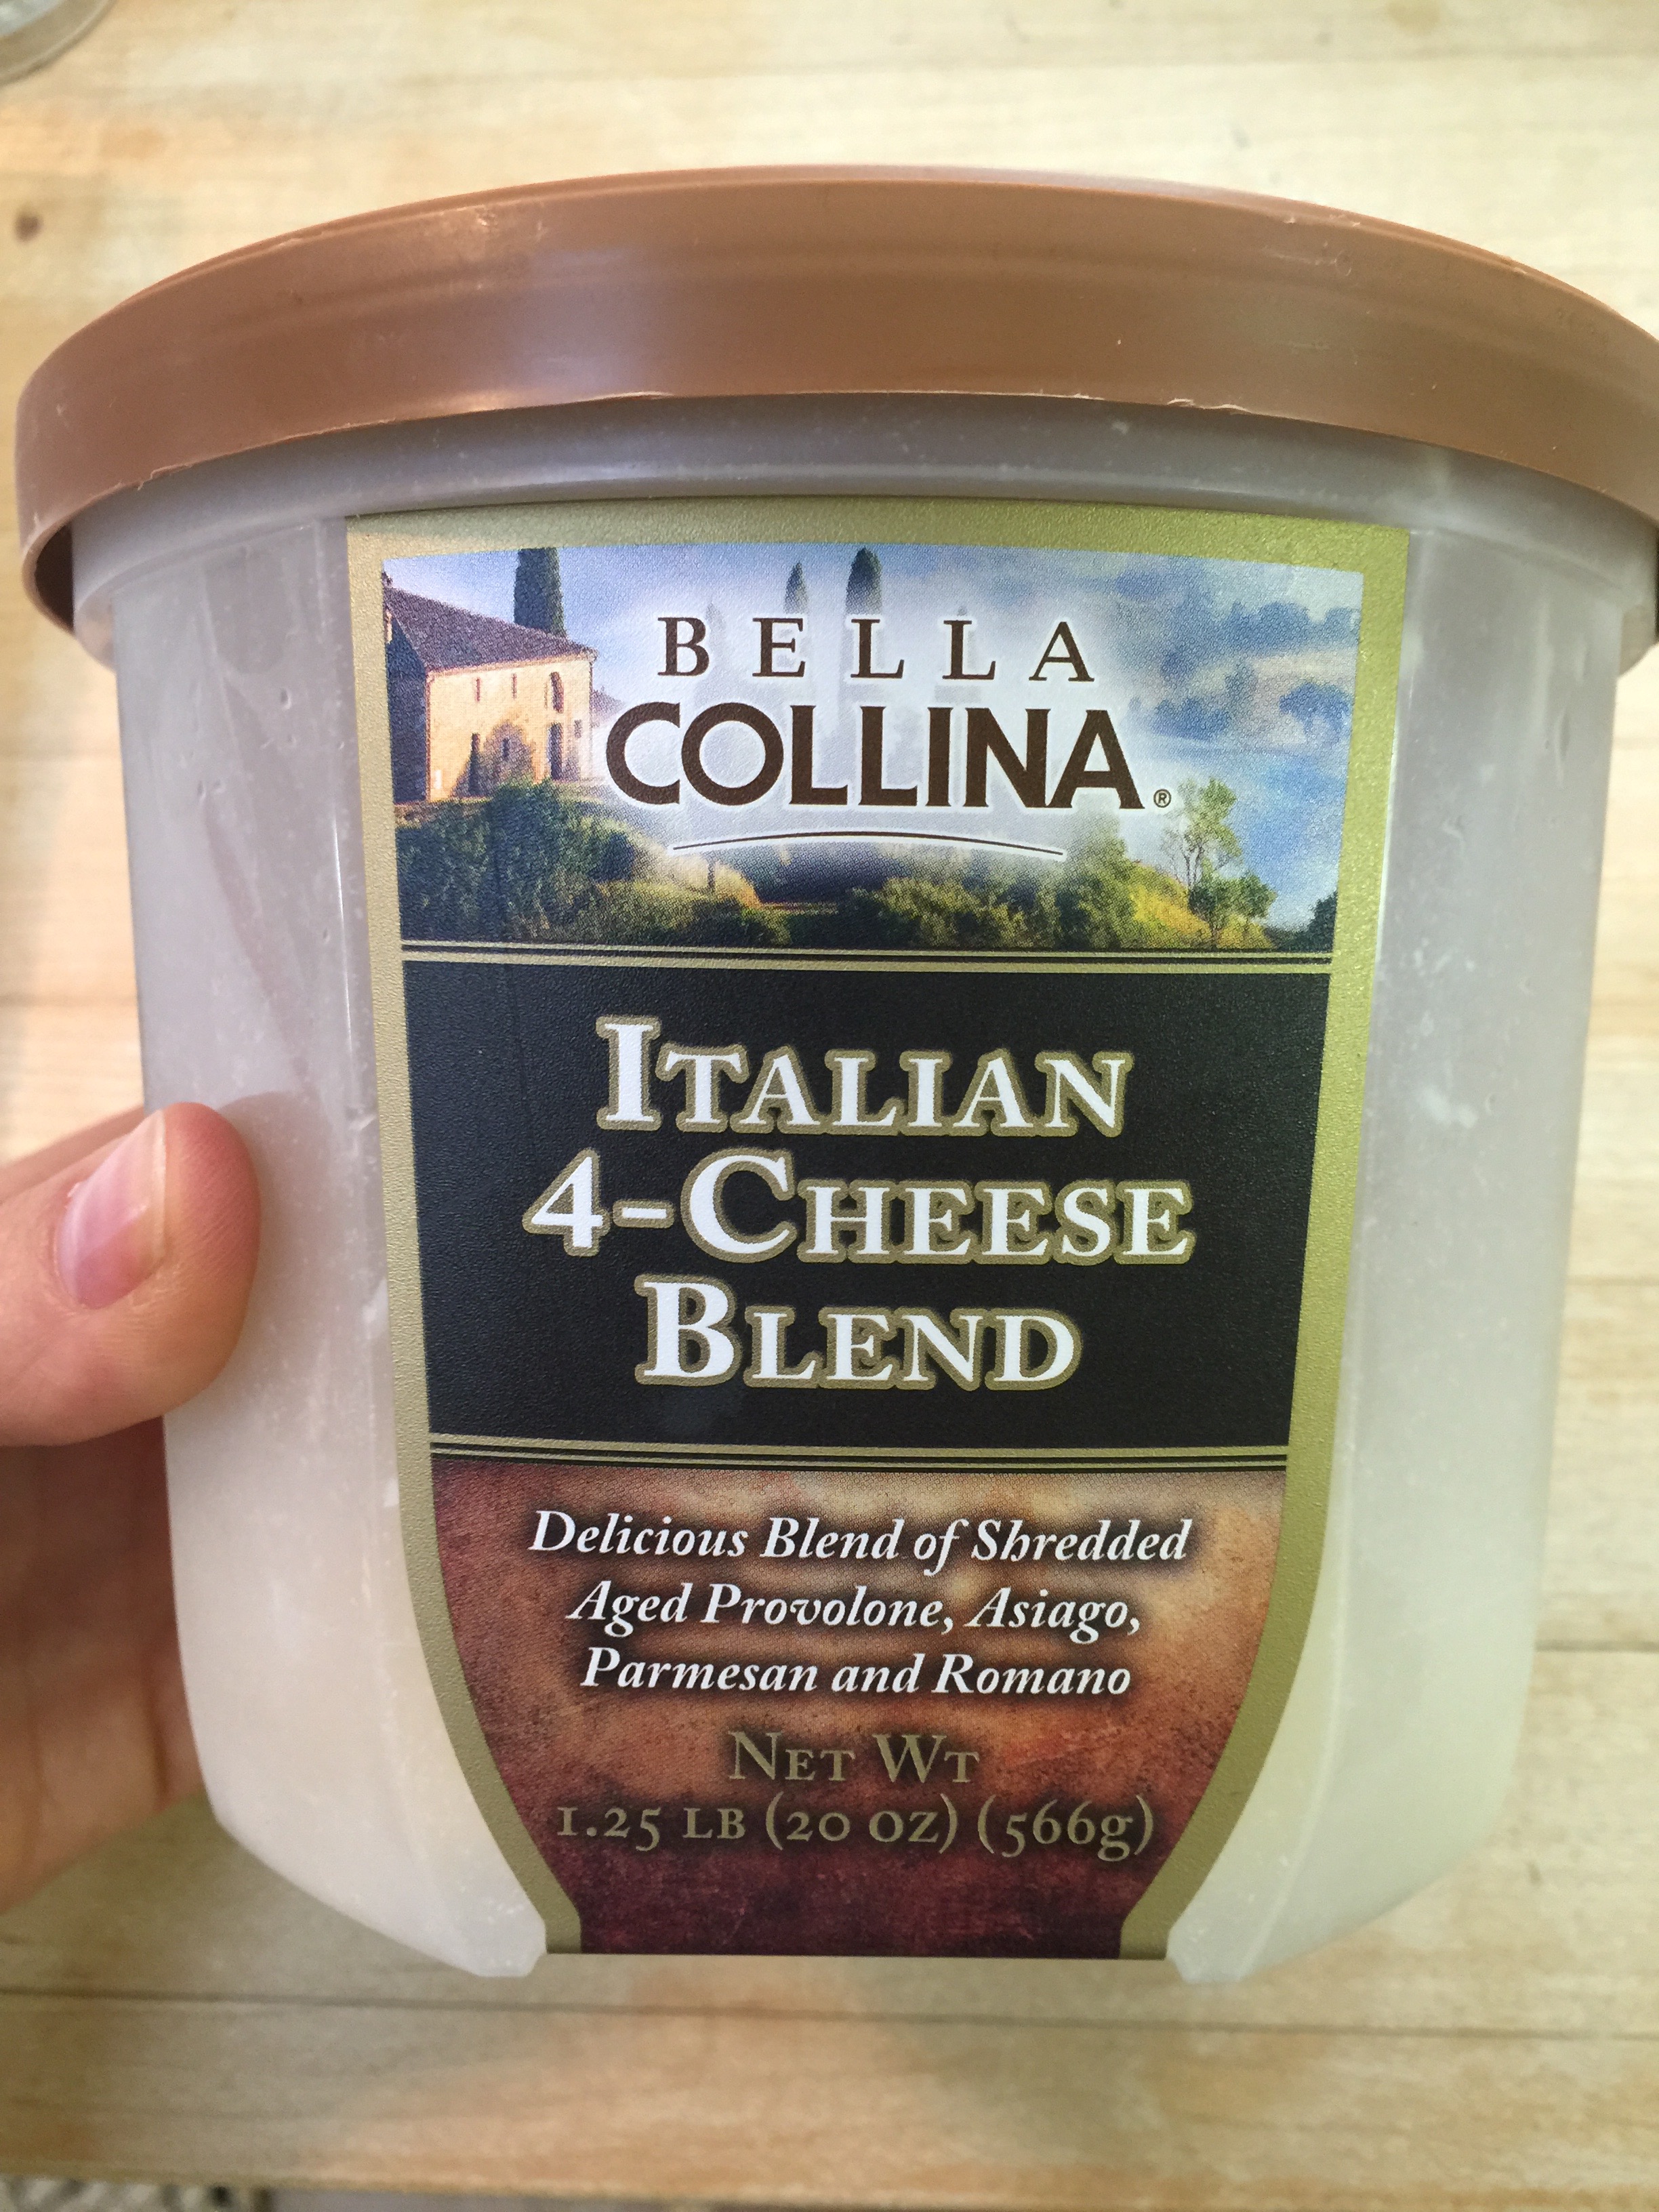
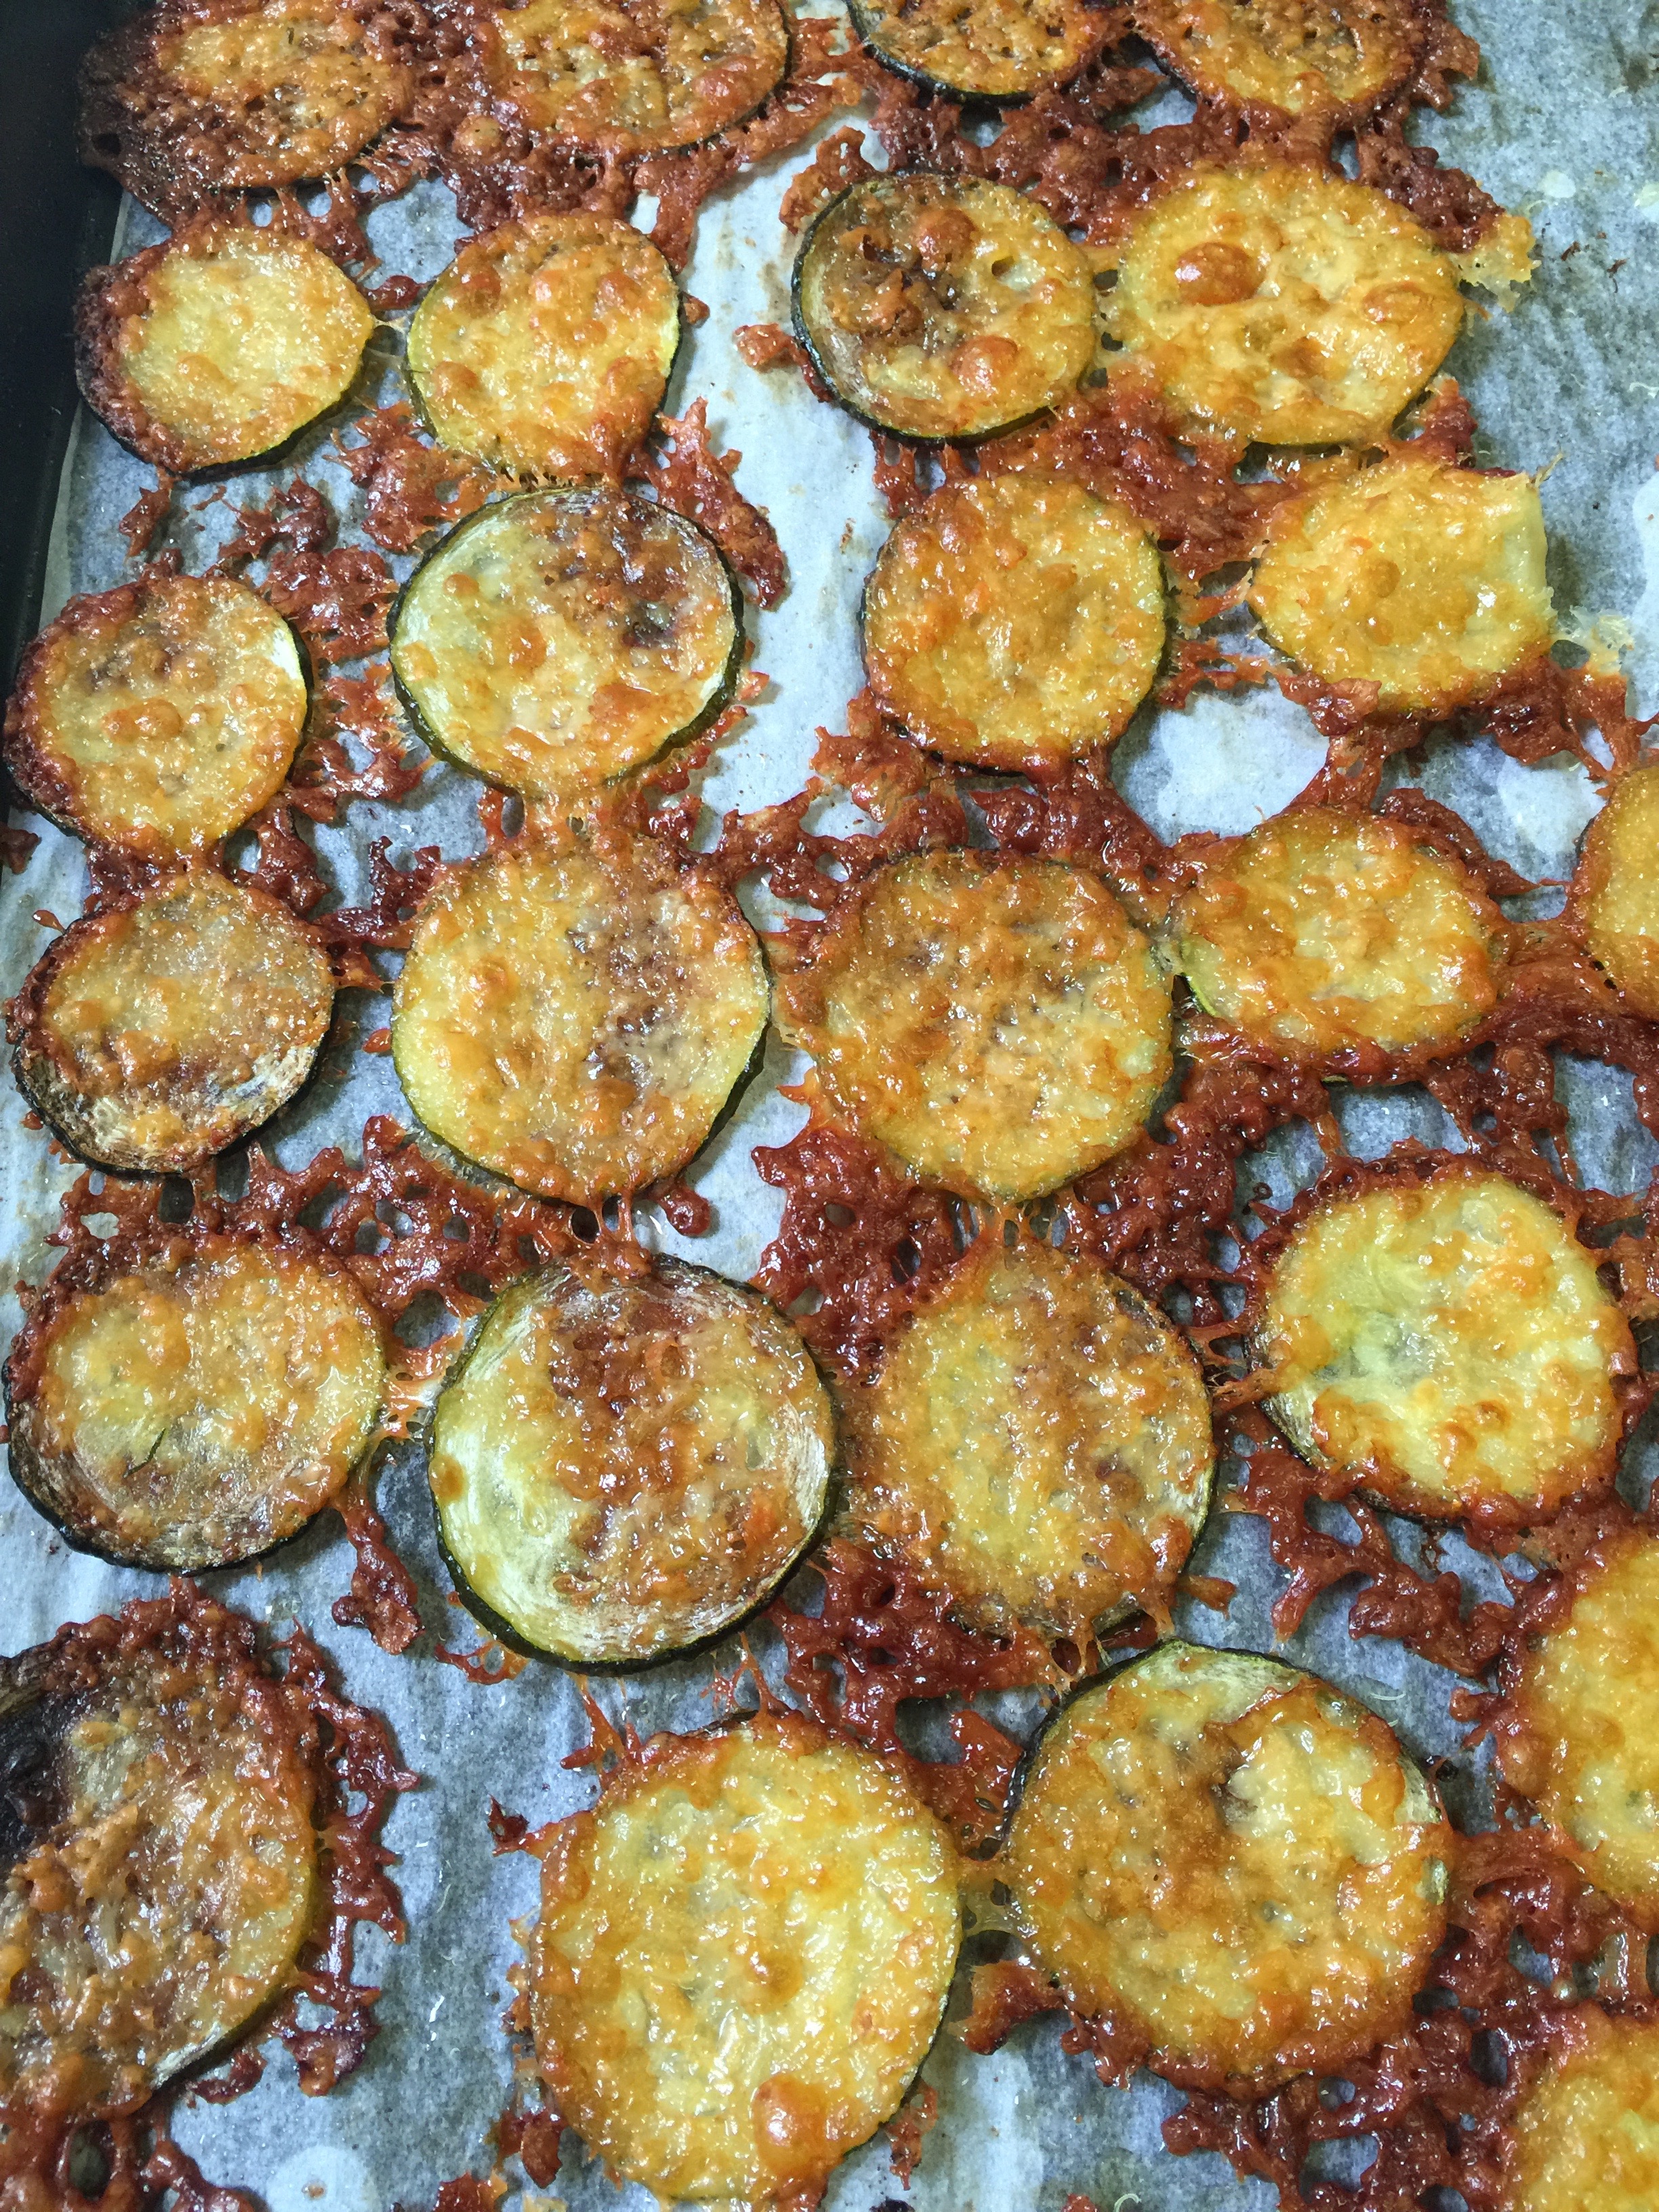
Grind your parmesan cheese in your Mini-Prep Cuisinart (unless you have already dirtied your big one.) The parmesan adheres to the squash much easier when it is a bit finer, but still melts well, unlike the super fine ground you buy off the shelf.
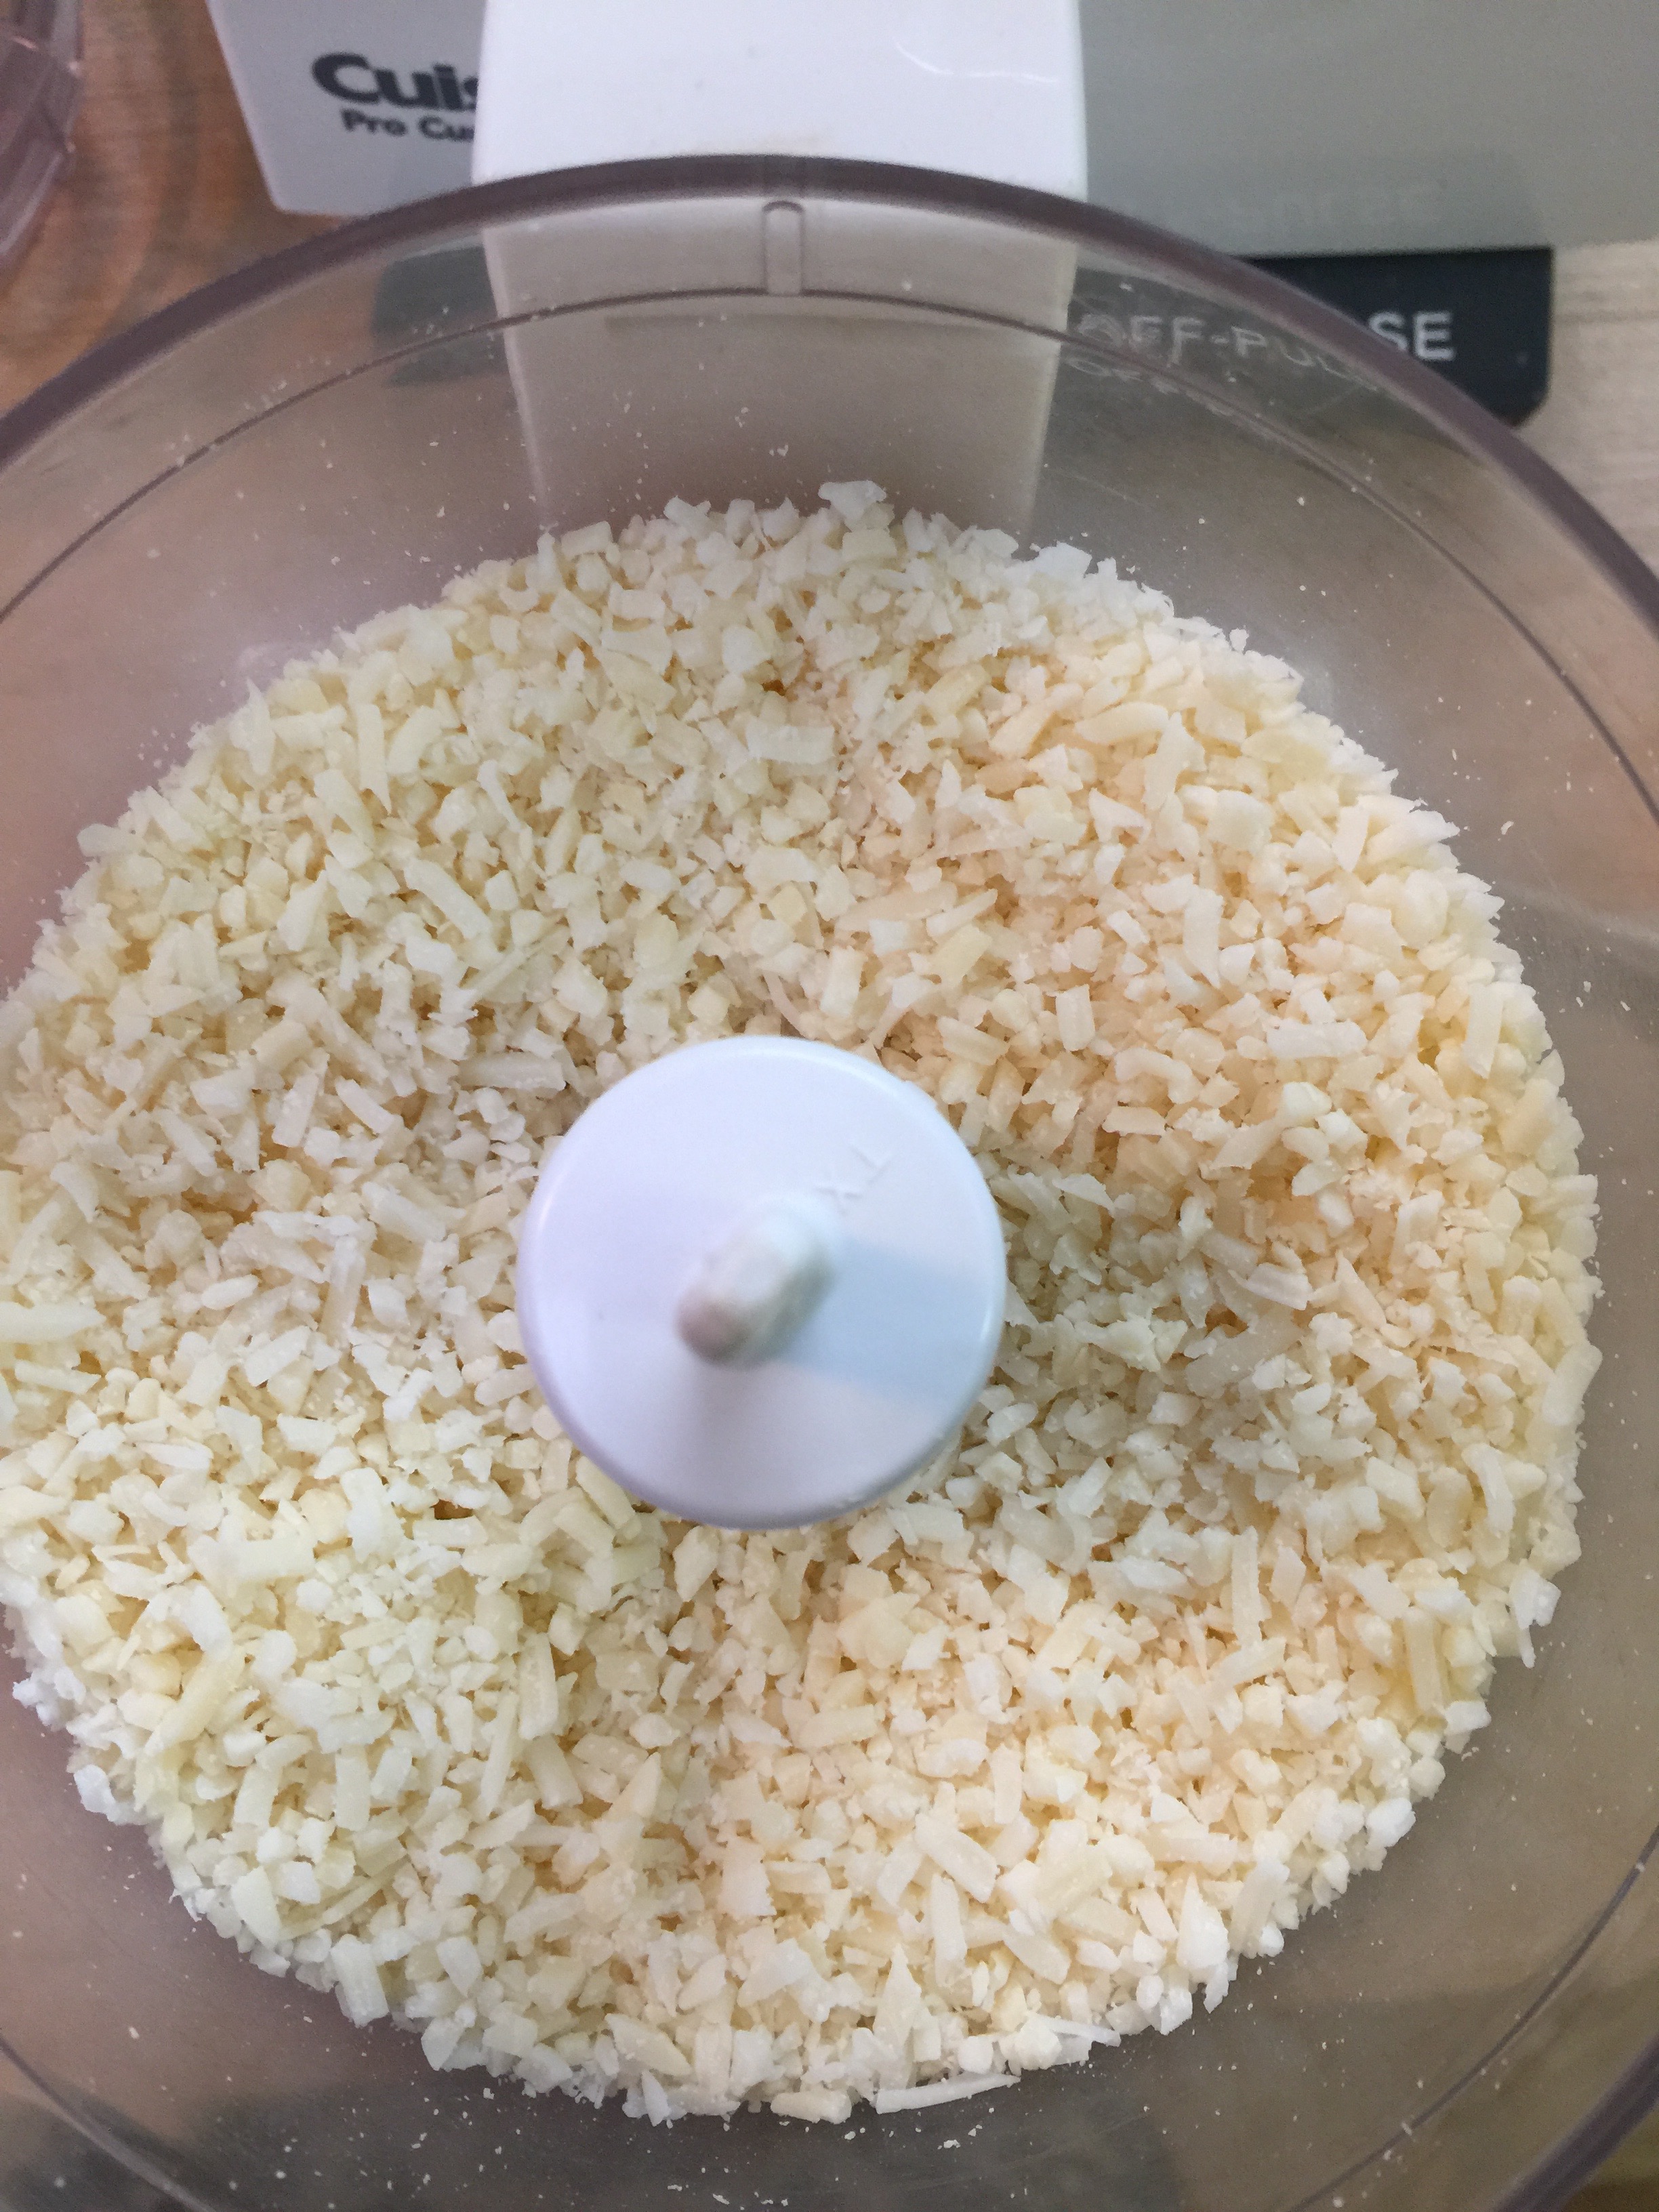
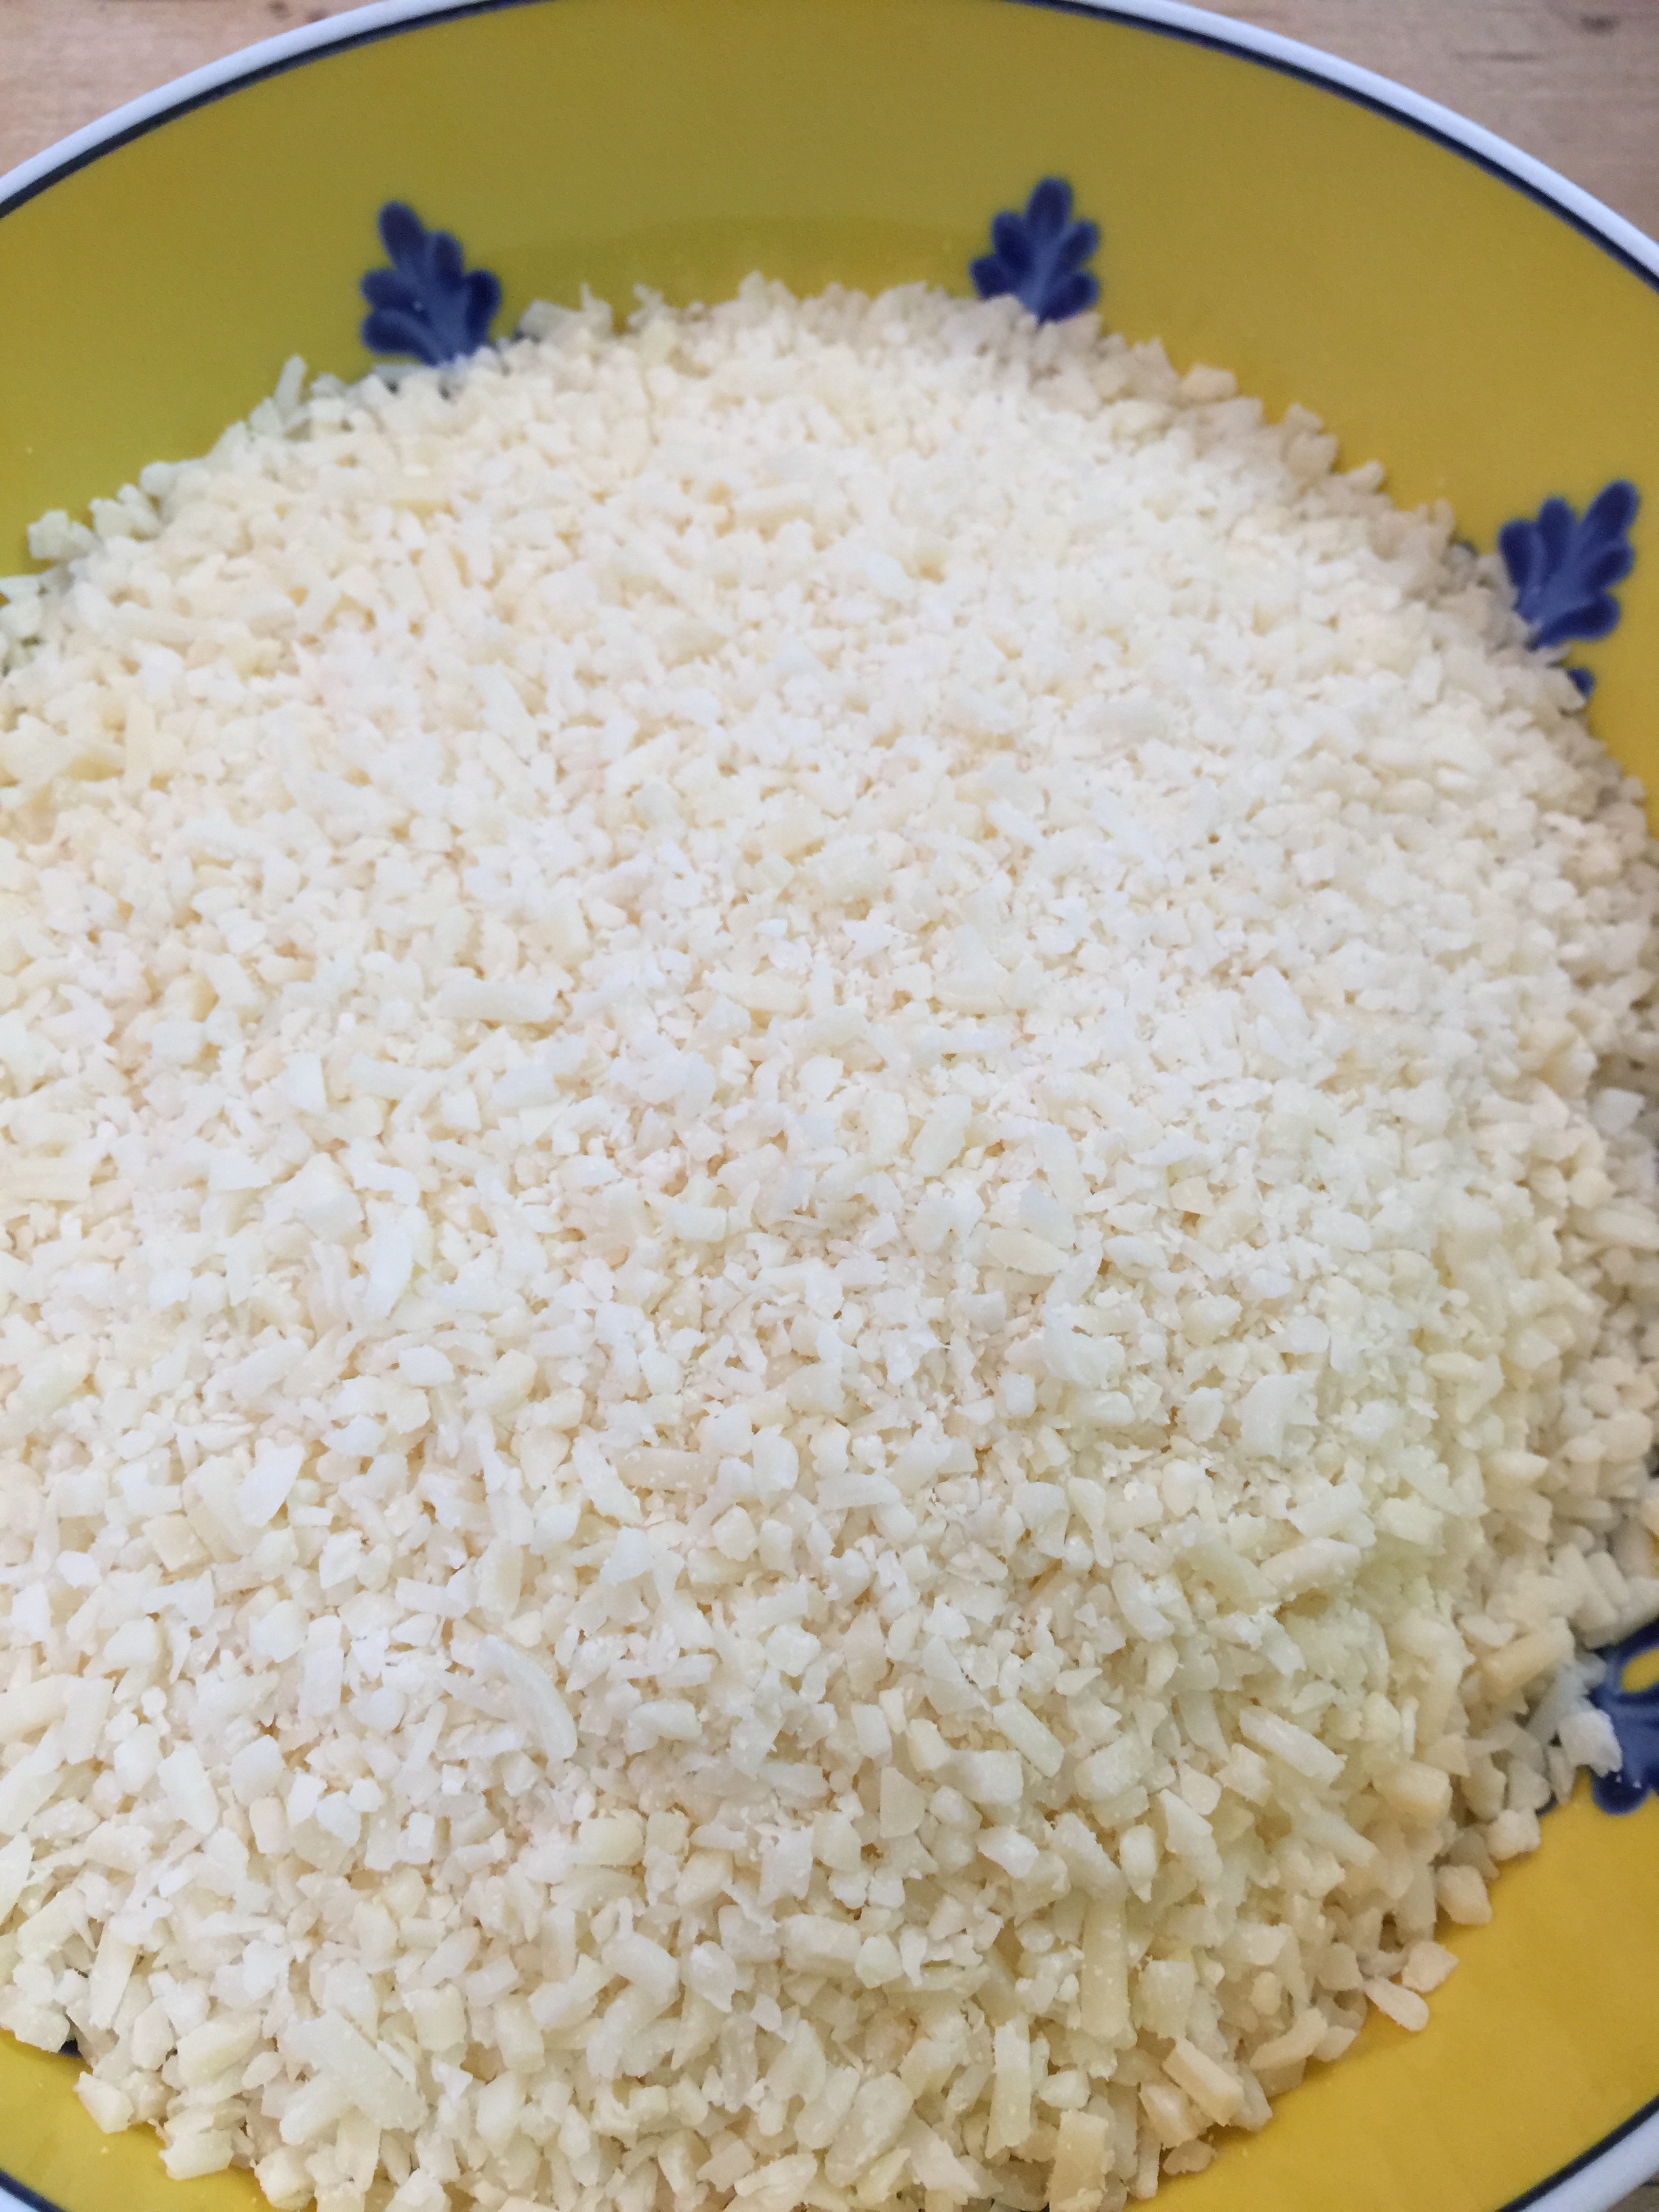
Pour your finely grated cheese into a bowl.
Take your squash one by one and dip into the oil first, and then into the cheese. Place each on a lined cookie sheet.
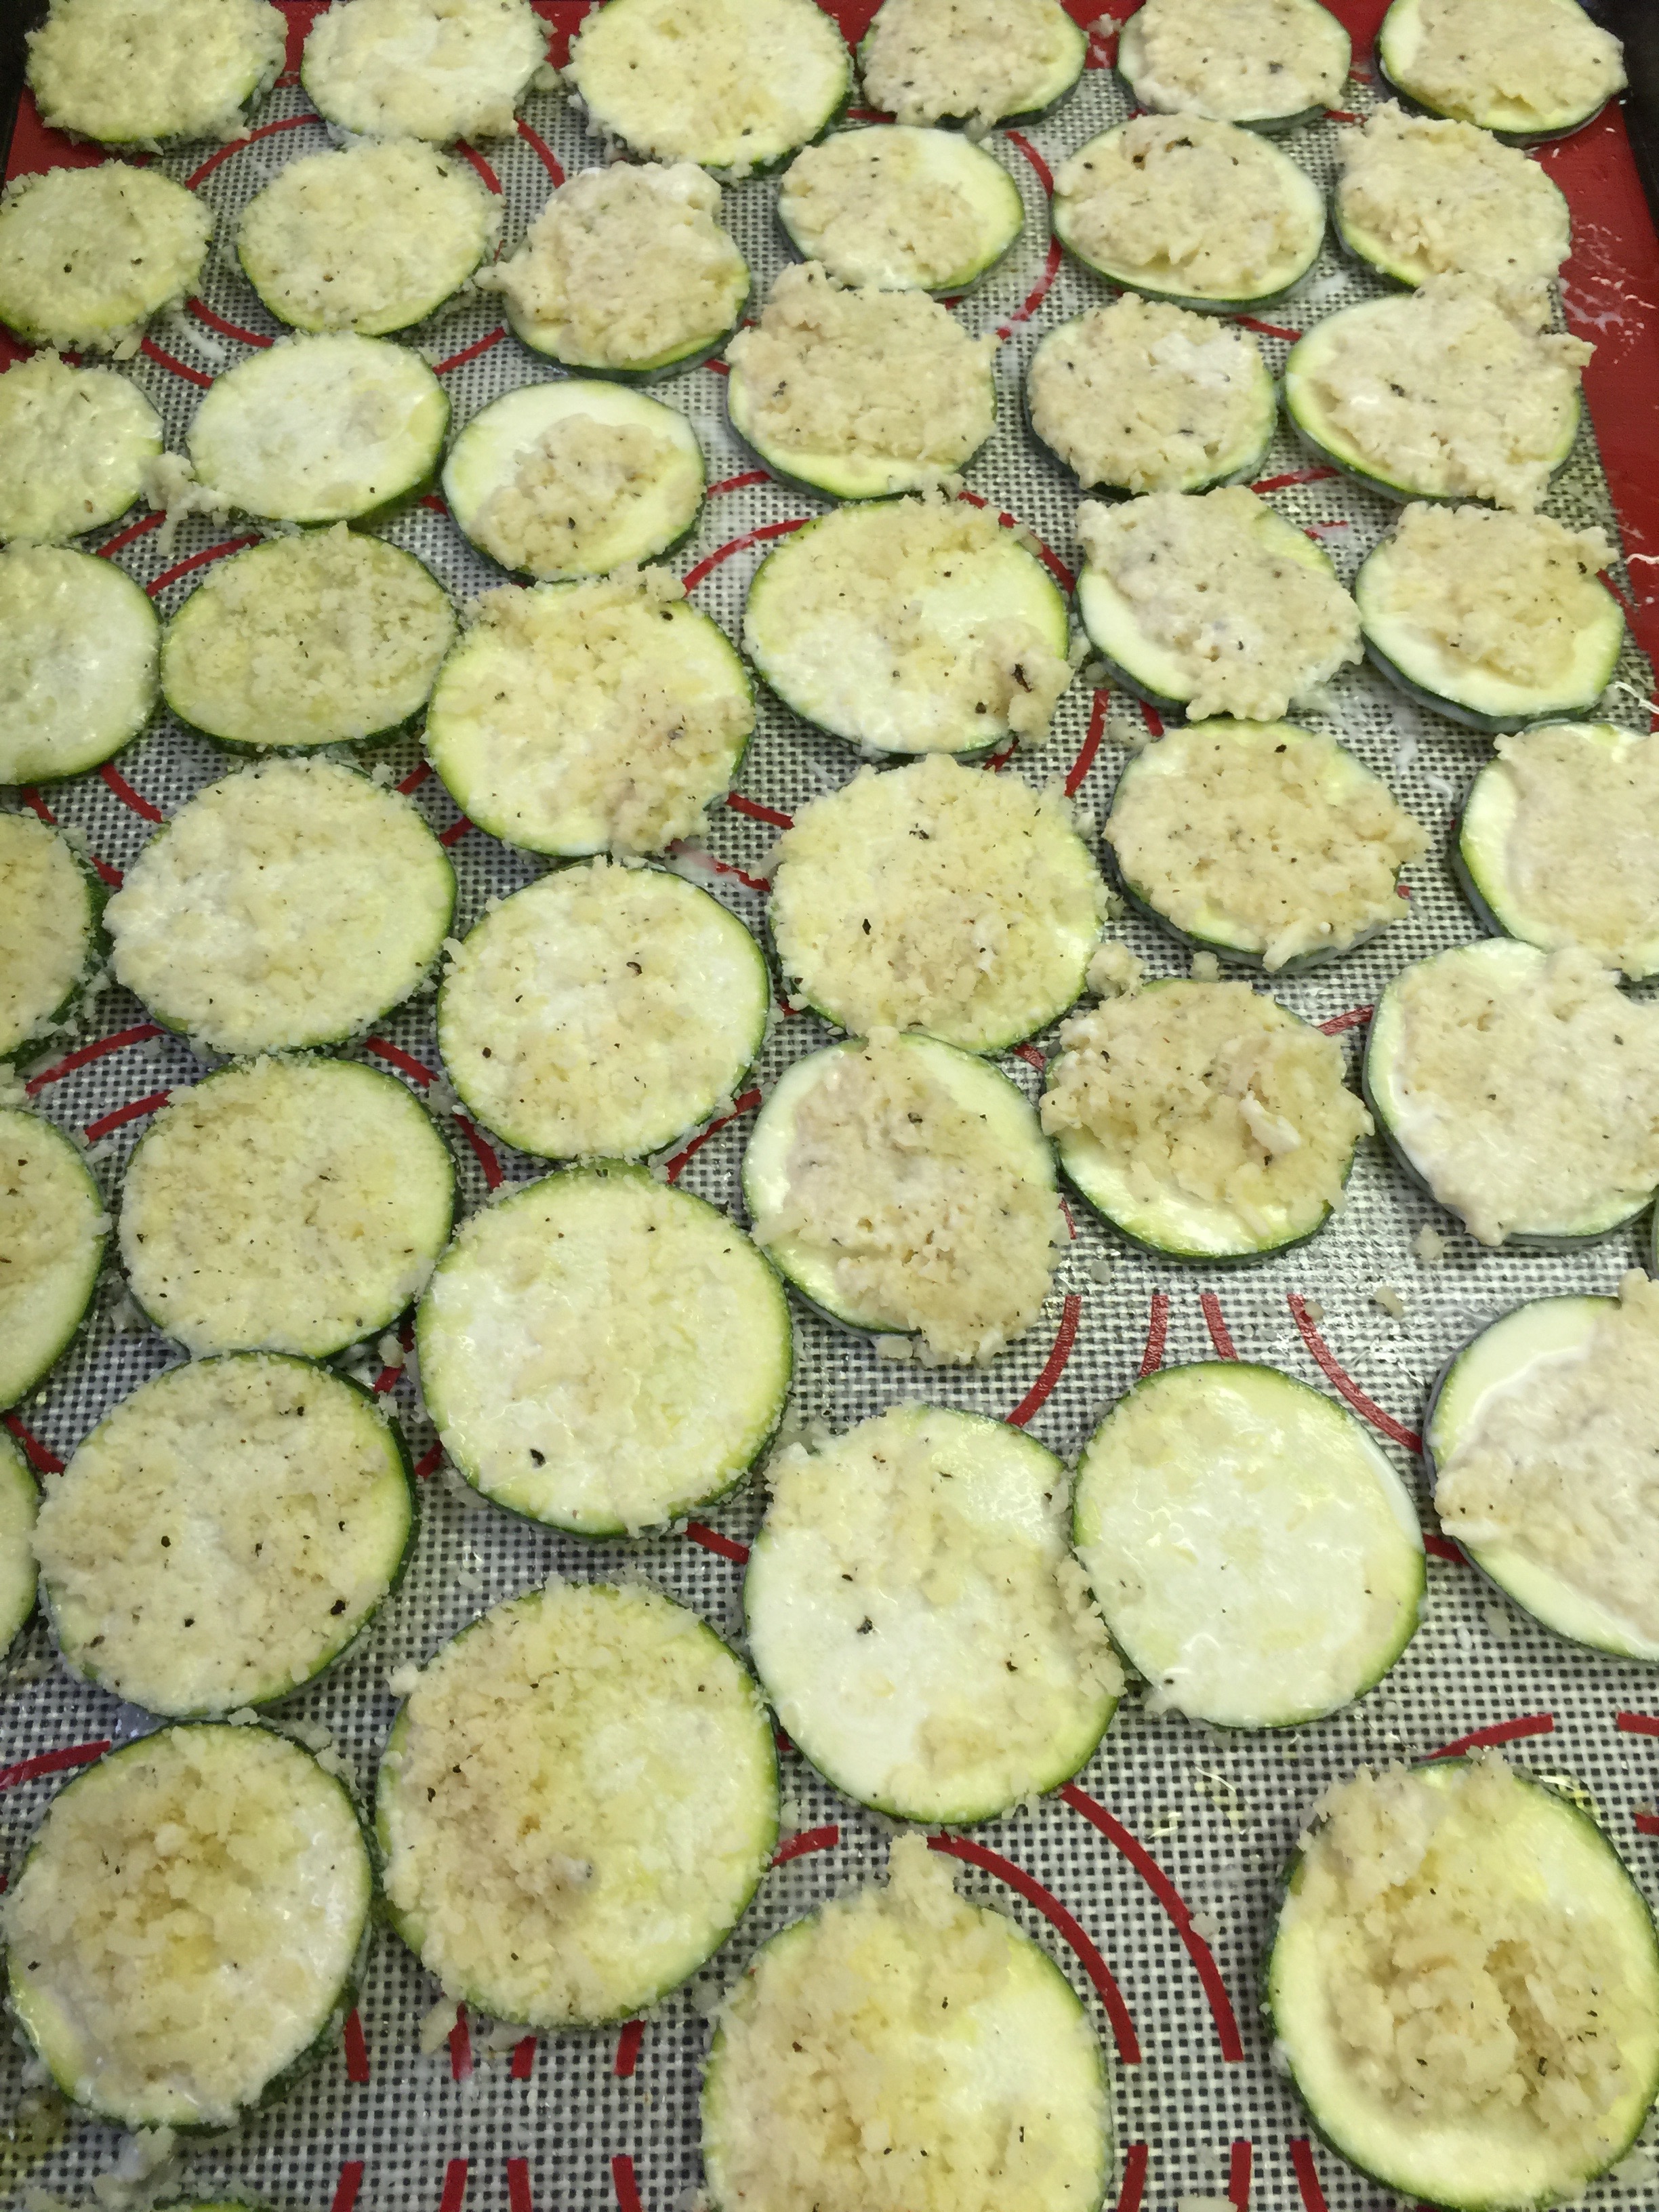
These will not need salt because your cheese is already salty. You can add pepper if you like for taste. You can always add extra cheese to the top if you have extra left over.
Bake at 425 degrees for 20 to 25 minutes. They should be a little darker than golden brown to ensure they are crisp. Serve immediately with your favorite dip or eat just as they are.
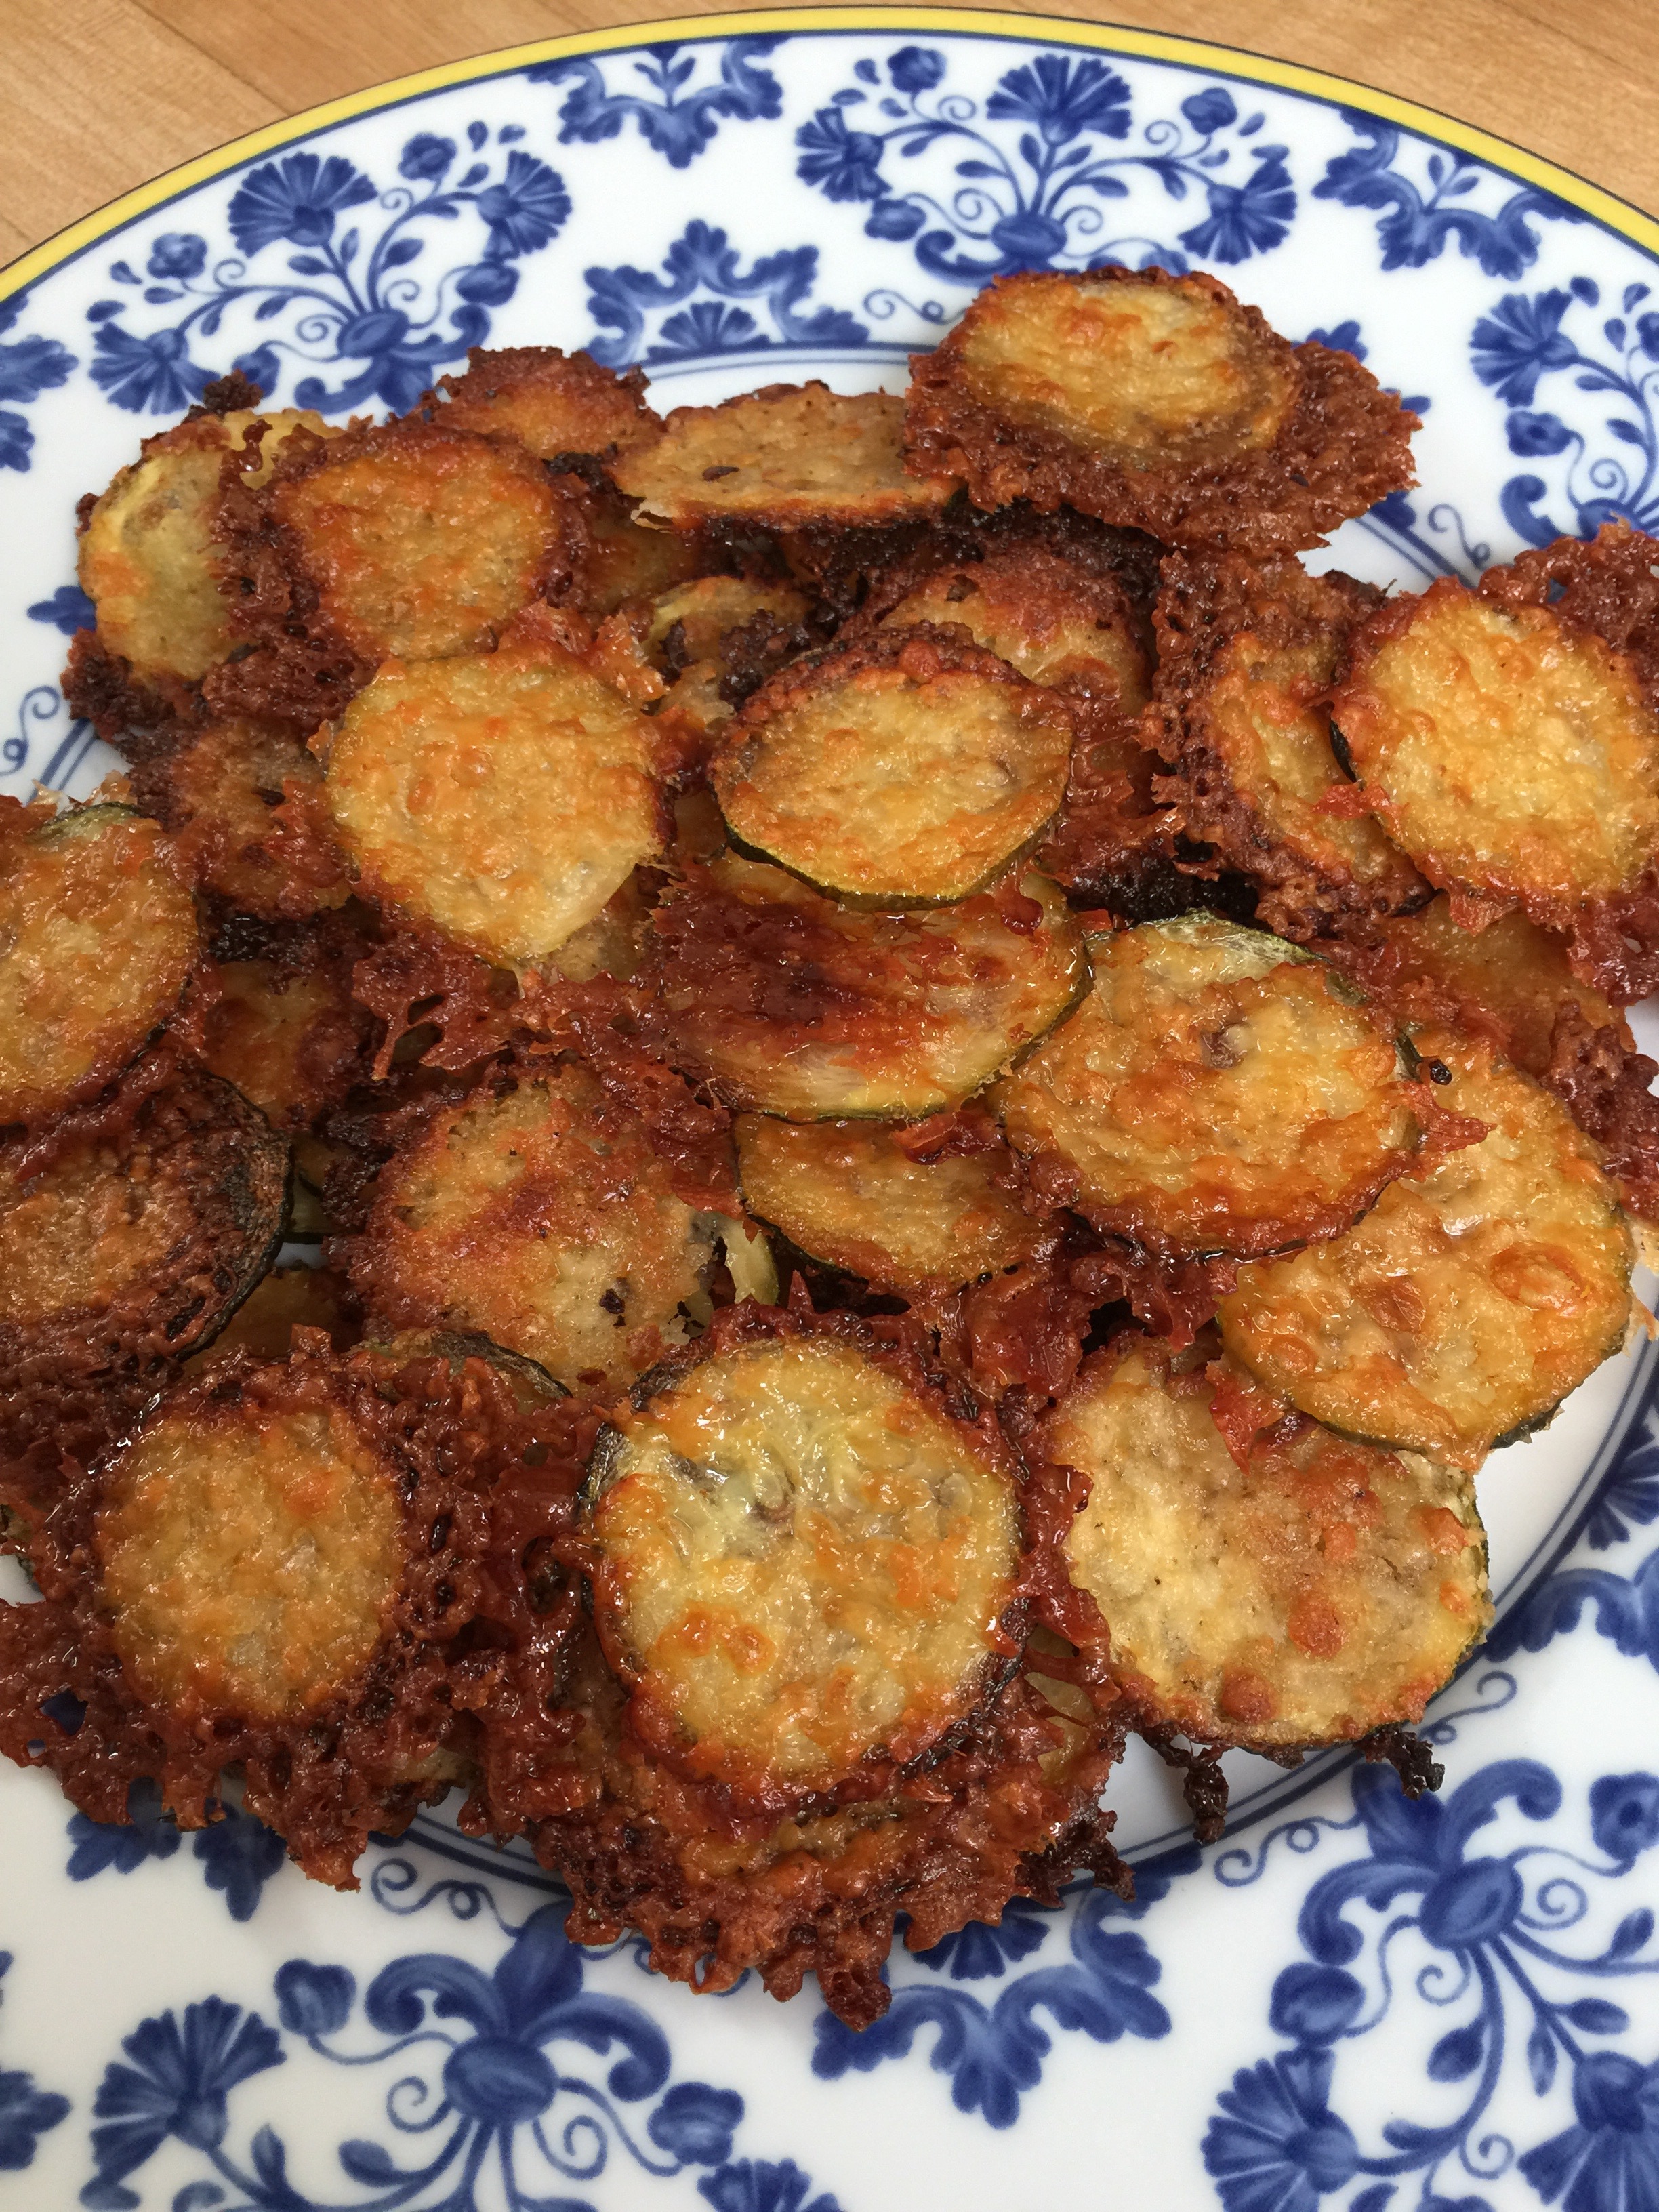
Store in a sealed container or Ziplock in the refrigerator.