Tag Archive for brunch

What to do with all those EGGS?

easter-wallpaper-1

We love Easter in our home!

We love the reason behind it, and the celebration of Christ’s resurrection. We love the excitement of the Easter egg hunt, the wonderment, the family, the traditions, and yes, the FOOD.

What oh what to do with all those eggs you dyed?  We used to hunt those dyed eggs as kids until the dog got sick on them :-).

Our children just hunt the plastic kind, but I still love the tradition of dying the boiled eggs on Good Friday!  They love it too!  But what do you do with all of them?  This is where I can help!  They are just sitting in your fridge, right?  Well, don’t let them go bad.  I have ideas for you!  And, yes, they are still good to eat!

basket-of-easter-eggs-A

Take those beautiful pastel eggs and use them – ketofy them!

There are numerous uses for boiled eggs such as adding them to salads, (especially tuna salad and cobb salad), deviled eggs (an Easter favorite), add them to sautéed spinach or asparagus with hollandaise, or even just eat them for breakfast or a snack with a little salt and pepper.

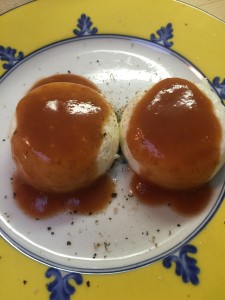
My favorite Easter memory is creamed eggs though!  Creamed eggs just scream Easter morning breakfast for me, and this is how my mom used our dyed eggs on Easter morning.  She literally just used a Béchamel sauce and added the chopped boiled eggs.  Of course she served it over well-buttered toast, and it was delicious, but when you are eating against the grain you need to modify.  What do you do when you can’t use flour in your Béchamel?  Did you know that if you simmer cream long enough, it will naturally thicken?  This trick I did not know until I went Keto!

This is what I did:

Peel and cut up your boiled eggs and set aside.

images

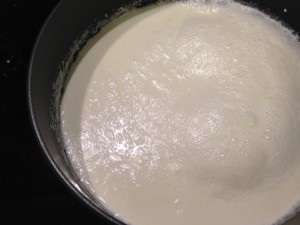
Allow about 45 minutes for your cream to thicken.

Using 4 cups of heavy whipping cream, (add a Bay Leaf if you like), and bring to a rolling boil over medium-high heat.  Keep an eye on it because it will make a mess if it boils over, and it does have a tendency to do this.  Keep the cream at a low boil for about 45 minutes stirring frequently over medium heat.  When it reaches the consistency of a cream sauce, turn it off.  It can take a little longer, but not more than an hour.  (Yes, I would say this is a weekend treat unless you get up really early.)

starburst-sauce-and-dilly-bars-068-1

Now, you can add salt (1 tsp Pink Himalayan) and pepper (1/2 – 3/4 tsp freshly ground) and keep it as it is or add some more flavor.

Now, plain is delicious, but I took it a step further:

I added a couple of Tbsp of fresh chopped parsley and 1/2 cup of fresh parmesan.  Stir until melted.  Lastly, add your eggs and gently mix them in.  You can also add a few TBSP of butter for extra decadence.

My family loved it, but couldn’t figure it out the new taste with the cheese until I told them what I added.  It was deliciously creamy and decadent.  You don’t even need bread!  Spoon it into a bowl and enjoy your new tasty, gluten free treat!
Unknown


A New Twist on the Breakfast Casserole

Unknown

Today is Grandparent’s Day at my children’s school, which means a rushed morning so we make sure to have a parking space.  It is a day for a breakfast casserole to throw in the oven so I have time to get dressed myself!

I was preparing last night…I went to the fridge to get my ingredients, and of course the breakfast sausage that I had checked for before grocery shopping earlier in the day turned out to be expired!  Now what to do?  I definitely needed a meat to throw in with the eggs, and was DEFINITELY not going to the grocery store with three children at 5:00 PM.  Soooo….we are improvising!  We all love beef bar-b-que sausage which I had purchased to throw in some spaghetti sauce to serve over zucchini noodles, so what about that?  It was fresh, ready to go, and how yummy in eggs!

I did change up the recipe a tad to account for the extra grease from the sausage so here you go:


Bar-B-Que Beef Sausage Breakfast Casserole

1 3/4 pound Beef Sausage

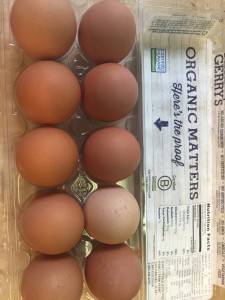
10 eggs

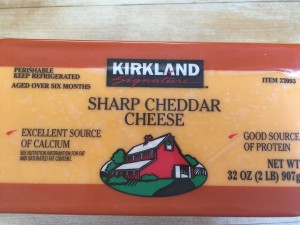
2 cups grated sharp cheddar cheese

3 1/2 cups heavy cream

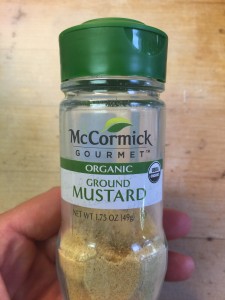
2 tsp ground mustartd

1 tsp salt

fresh ground pepper


Steps:

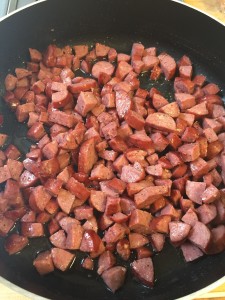
Cut and brown your sausage in a pan.

IMG_4994

IMG_4997

IMG_4999

Spray your pyrex or ceramic baking dish with coconut oil or butter.  I like this one from Trader Joes.

IMG_4998

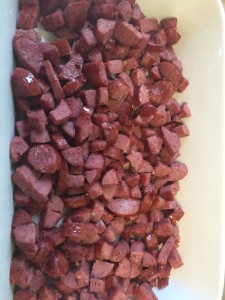
Add your sausage to your greased dish.  It should line the bottom of the dish.

IMG_5001

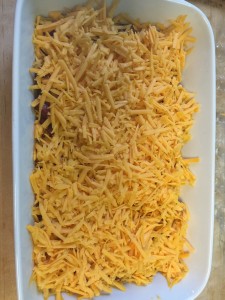
Sprinkle your grated cheese over your sausage.  I did the grating the old fashioned way for this one.  My kids love to serve themselves slices of this cheese while we have it out in the kitchen.


IMG_4995 (1)

IMG_5002

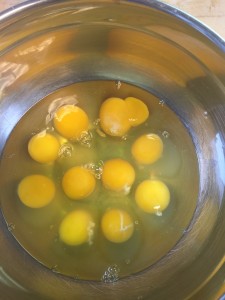
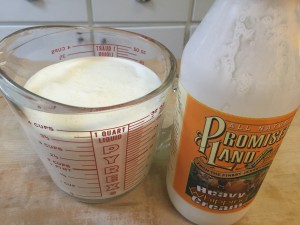
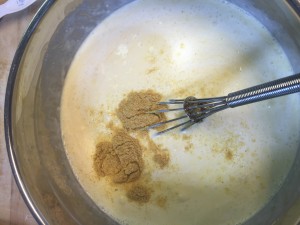
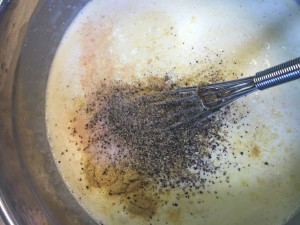
Whisk your eggs, cream, and spices together.

IMG_4996 IMG_5003 IMG_5004 (1) IMG_5005 IMG_5008 IMG_5006

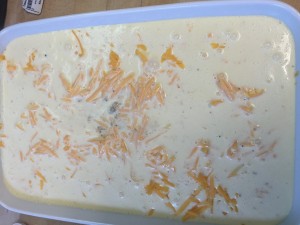
Once your ingredients are thoroughly mixed, pour this over your sausage and cheese.

IMG_5007

Place saran over your unbaked casserole and let it set overnight.  Bake this for 1 hour 15 minutes in a 350 degree oven or until it is set in the center.  You don’t want any jiggling.

Happy Friday, Y’all!


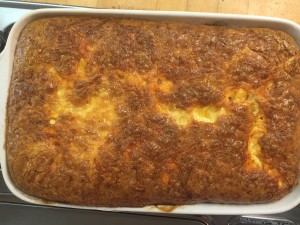
Here is the outcome:

No complaints about breakfast this morning!

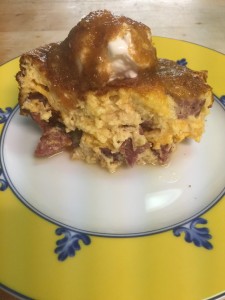
IMG_5010


Topped with sour cream and homemade salsa:


IMG_5011


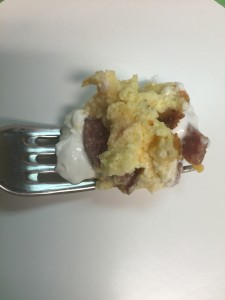
Every bite was devoured!


IMG_5013


Enjoy!


Miss Cereal? Try This…

Back to School

The school year is off to a start, and Labor Day is here, which means the official end of summer.  There are both cheers and boos, pros and cons.

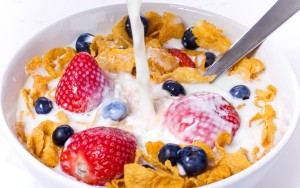
One of the biggest cons is that, all to familiar, morning rush once again.  The days of cereal boxes and skim milk are long gone for many of us.  If you have heard us speak in a group, you are familiar with our “Trifecta of Sugar” lecture.

cereal bowl

cheeriosA typical morning breakfast cereal topped with fruit has the glucose from the cereal, lactose from the milk and fructose from your fruit.  Bad, bad and more bad leading to a day of cravings and carb loading, no doubt.  If you start your day with carbs and sugar, you will crave more carbs and sugar as you go through your day, leading to that downward spiral as the day moves on.

how-to-stop-sugar-cravingsWhat else can you have for breakfast on those busy mornings when you don’t have time to scramble, fry or poach?  Try faux “cereal”!  We have tried it, the kids have tried it, and it is family approved.  The best part – you can make it ahead and seal it in an air-tight container in the refrigerator.  It is ready to go for a breakfast in a hurry!  Top with some heavy cream, and you are set for half the day if you eat it along side your bulletproof coffee to tea.

It is super simple to make, and you can really make it your own just by adding your favorite low-carb ingredients.  Try a little, and let us know what you think!


Faux Cereal

Your ingredients and portions can vary.  Mix it to your liking.

1 cup unsweetened flaked coconut, toasted

1/2 cup chopped macadamia nuts

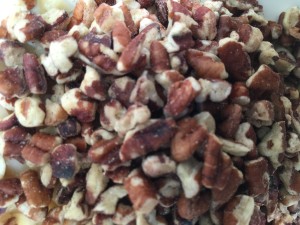
1/2 cup chopped pecans

3/4 cup chopped walnuts

1/4 cup finely chopped almonds

2 Tbsp Kerrygold

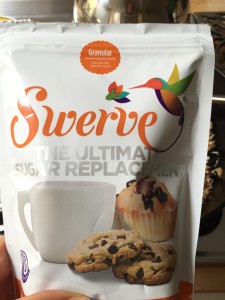
1 Tbsp Swerve

1/2 tsp cinnamon

1/4 tsp Celtic salt

Directions:

Toast your coconut flakes, watching carefully so not to brown to deeply.

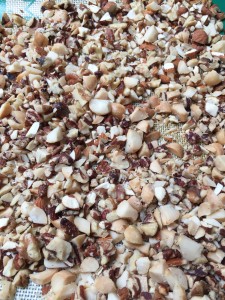
Chop all your nuts finely and lightly toast.

IMG_3765 (1)

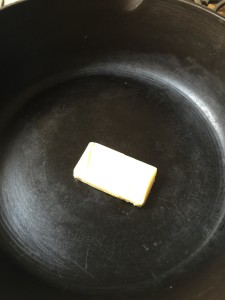
Melt the Kerrygold in a cast iron skillet.

IMG_3767 (1)

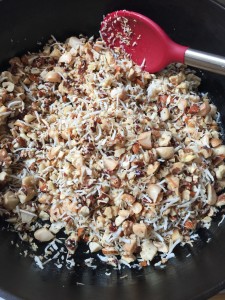
Toss your nuts in the melted butter, and sauté until fragrant.  Add your toasted coconut, Swerve and seasonings.  Toss all your ingredients in the butter until everything is mixed and coated.


IMG_3769 (3) IMG_3768 IMG_3766 (1)


Allow it to cool and then store in an airtight container until ready to serve.

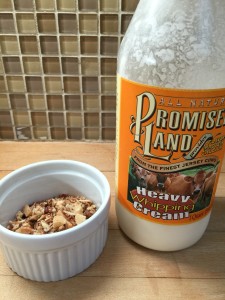
This can be served as a dessert over whipping cream or for a breakfast cereal with cream.

IMG_3803 IMG_3804

Enjoy!


The Golden Sauce

There is a golden sauce so delicious, it is worth the price of gold!

It was just yesterday that I mentioned the amazingly delectable Hollandaise Sauce as a favorite of mine on poached eggs.  The best part – it is easier than you can ever imagine!

One of the things we have to be mindful of while living in a state of nutritional ketosis is our intake of protein.  We all know that carbs will take us down, but did you know that protein can as well?

When there is a significant intake of protein, the body converts the protein into sugars during a process called Gluconeogenesis.  This is a metabolic process that makes glucose, a simple sugar, that provides the body with energy from non-carbohydrate sources when you are a carb burner.

This is why it is super important to make sure you are getting ample healthy fats when you are consuming meats and vegetables in order to stay a fat burning machine.  We don’t want those proteins turning into carbs in our body so make sure you have the fat to counteract the carbs and proteins.

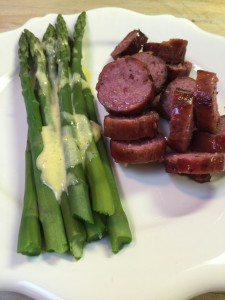
And…this is why I love Hollandaise!  You can put it on your veggies, your meat, your eggs – pretty much anything your heart desires!  My favorites are eggs, spinach and asparagus.  It is wonderful tasting, and as long as you are using our favorite grass-fed butter, it is a great source of fat!  You can also ask for it at many restaurants that will gladly bring you a side of this delicious sauce.


Blender Hollandaise

IMG_2930

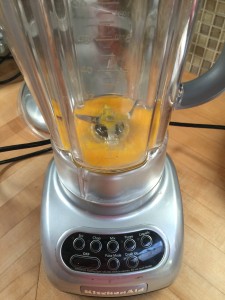
Place in your blender:

2 Egg Yolks

1 TBSP Lemon Juice

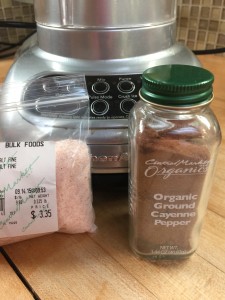
Salt and Cayenne to taste

IMG_2932

Turn your blender on low for 5 seconds.

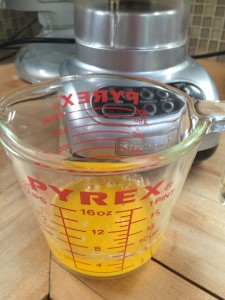
Melt 1/2 cup butter (Kerrygold) in a pyrex glass measuring dish.

IMG_2931 IMG_2934

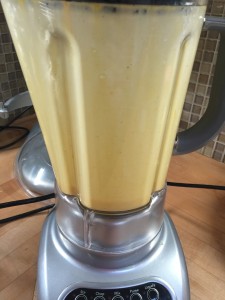
In a very low stream on the lowest speed, gently pour your butter into your egg yolk mixture.

IMG_2935

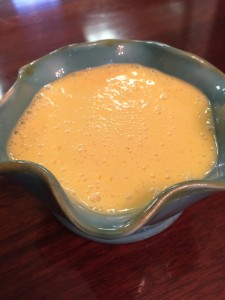
As soon as it is combined – you have hollandaise.

IMG_2937

I have never had it curdle, but if it does, add two egg yolks on high speed with whipping cream one TBSP at a time.

Enjoy!

IMG_2939


The Easiest Way to Cook an Egg!

So many of us that follow the Ketogenic Lifestyle often eat eggs for breakfast.  It is easy to quickly become tired of plain old scrambled eggs.  We can mix them with chorizo, serve them with bacon or cheese, but underneath, they are still the same old scrambled eggs.  Anytime you eat the same thing over and over again, it becomes tiresome.  So what to do?

Mix it up with different cooking methods.  This one is especially easy and fast with little mess, so it is a staple on busy weekday mornings.  You can also gourmetify it with a little extra effort on the weekend.

Today, I am going to show a family favorite, and it only takes 7 minutes from start to finish with one dirty pan.  By the way, the pan is extremely important unless you are only cooking for one, in which case, you can just use boiling water.

How to cook a poached egg:

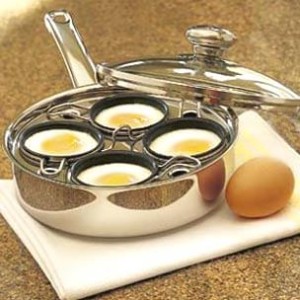
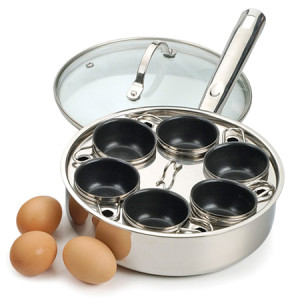
Start with an egg poaching pan and great eggs from pasture raised and fed hens.  I have two pans, one with 4 inserts and another with 6, just depending on how many want one or two eggs.  You can buy the larger 6 egg poacher here where I purchased mine.


img16l


6-egg_poacher


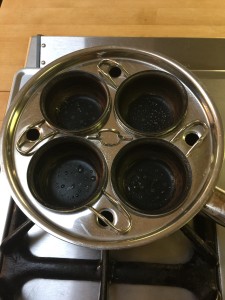
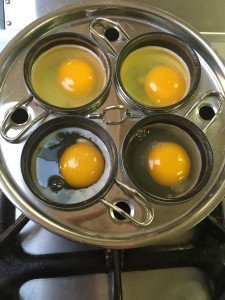
Today I used the four egg poacher.  I purchased this one years ago from Williams Sonoma.  Lift one cup out and pour about a 1/4 inch layer of water to cover the bottom of the pan to create the steam.


IMG_3218


Spray each cup with coconut oil spray.


IMG_3219


Place the lid on the pan, and turn your heat to high.  It should start steaming with boiling water in no more than two minutes.

Once it is boiling, turn your heat down to Medium, and crack eggs one at a time, placing them in a cup insert.


IMG_3220


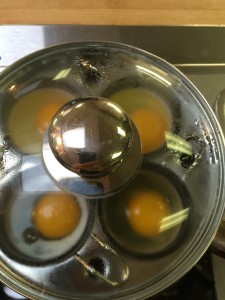
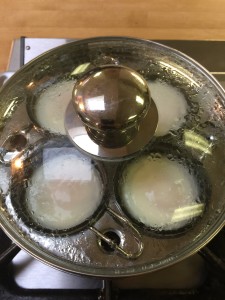
Place your lid on, and set your timer for 4 1/2 to 5 minutes.  Depending on how you like your yolk, you may need to adjust your time.  This time gives us a nice somewhat runny center but firm white.


IMG_3221


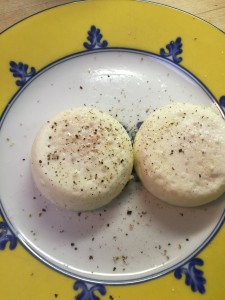
Once the eggs are set, and don’t jiggle if you nudge the pan a little from side to side, remove from heat and empty each egg onto your plates.  Be sure to use a hot pad to protect your finger tips.  I usually run a knife along the outside edge of the insert, but it is not always needed.


IMG_3222


My husband likes his plain with salt, pepper and sometimes a little homemade salsa.


IMG_3223 IMG_3224


I love mine with a little hollandaise.  Stay tuned this week for this awesome recipe!


hqdefault


Poached eggs are so versatile.  Here are a few other ideas that I love to try when we have a bit more time:

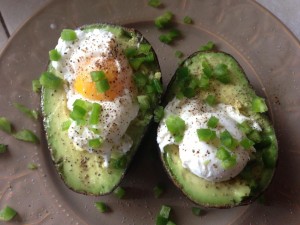
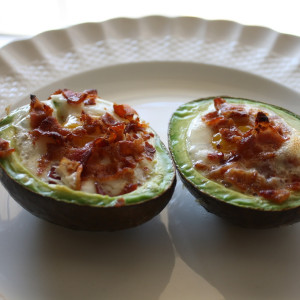
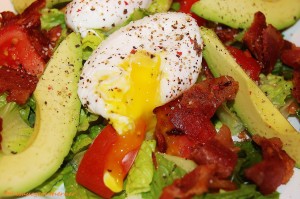
Place in an avocado with or without bacon:


avoegg IMG_2524


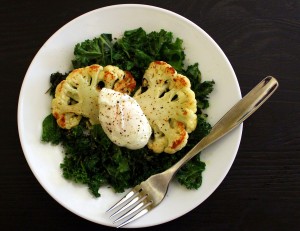
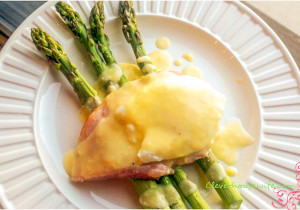
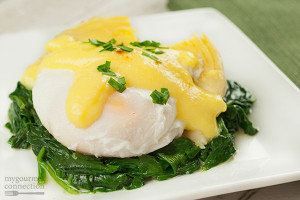
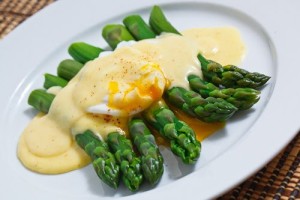
Get your greens too by serving over spinach or asparagus:


cauliflower-with-poached-egg-4 hollandaise1 eggs-sardou Asparagus with a Poached Egg and Hollandaise Sauce 1 500


You can even eat them over a salad!


4886


Enjoy your wonderful healthy eggs!


When Life Tosses you Eggs….

Well…this was not my intended post for today, but it worked out well!

We have all heard the term, “When life gives you lemons, make lemonade!”

My theme for today, is “When your eggs won’t peel, make egg salad!”

The intention of the post for today was yummy deviled eggs to finish off the menu for Independence Day!  However, I did not plan well enough ahead!

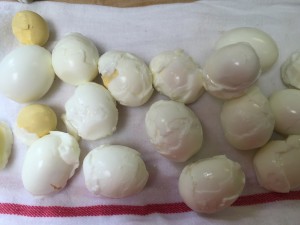
This was a good lesson!  Anytime you want pretty peeled eggs, plan ahead!  I did not know we were so low on eggs (because I always have several dozen.)  When you do boiled eggs, they are much easier to peel when they are not fresh.  You want to buy them 5 to 7 days ahead of when you need them.  I bought mine yesterday, boiled them, and tried to peel them.  This is what happened:

IMG_3074

Not so pretty!  So…we had a very fast change of plans.  Since we have dinner pretty much planned with Bar-B-Que (with sauce), “Potato” Salad, and Refreshing Cukes, I thought why not make egg salad for a Keto lunch!  It was simple, and we still got to use those delicious and nutritious eggs.

I did get a few of the eggs to turn out, so I will share how to do both just in case you plan ahead better than I, or if you have some eggs stored in your fridge that you want to use.


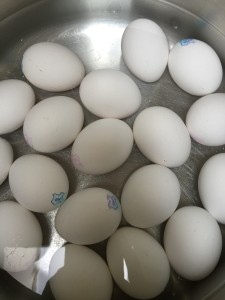
First, start by boiling your eggs.  I have a gas stove, and have had great success by placing my eggs in a large pot, covering with cold water with a tsp of salt, and bringing it to a rumbling boil.  Once it is at a full boil, turn your heat down to a simmer for 1 minute, cover, and turn the heat off completely for 10 to 12 minutes.  As soon as the timer goes off, dunk them in a cold water bath.  Let them cool, and then place in the refrigerator until you need them.

IMG_3062


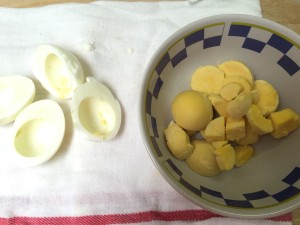
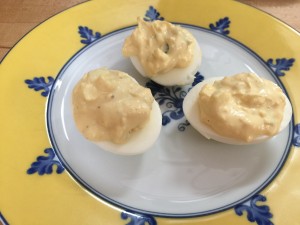
You can peel your eggs now or later.  For deviled eggs you will want to slice your pretty eggs lengthwise, hull out the yolk and place on a flat surface.

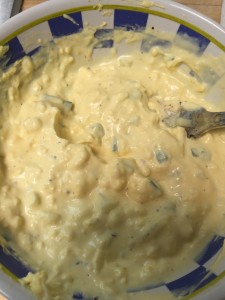
IMG_3077I put the yolks in a bowl, and mash with mayo, dijon mustard, a little lemon juice, salt, pepper, and if you have them, some chopped Refreshing Cukes.  You can also add some fresh dill or dill pickle if you like savory.  If you like sweet, you can add a teeny tiny pinch of Stevia.  Mash it all together and stuff your eggs.  Refrigerate immediately.

IMG_3079 IMG_3081

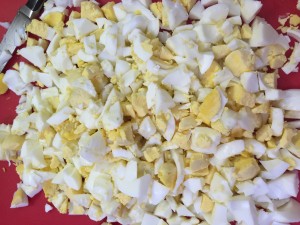
If you get a bunch of eggs that look like they were in a massacre like mine did, just chop them up and no one will be the wiser.

IMG_3076

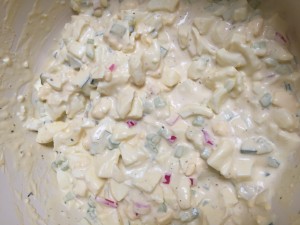
Add to a bowl with:


Egg Salad

12 eggs – boiled, peeled and chopped

1/2 lemon – squeezed

1/2 cup petite diced celery

3/4 cup mayonnaise

2 Tbsp dijon mustard

1/2 cup diced “Refreshing Cukes”

2 tsp juice from above

Salt and pepper to taste

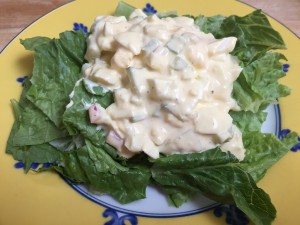
Stir everything together until combined and either put in the fridge for later or serve over lettuce.  It was quite a delicious mistake!

IMG_3083 IMG_3086We hope that everyone has a safe and delicious Fourth of July!

Remember those that sacrificed for the freedoms that we hold so precious today.  We are so fortunate to live in a place that allows us to speak and write what we believe and hold true to our hearts, even if not everyone agrees.

Remember on your holiday to plan ahead, drink plenty of water, take your supplements, and stay healthy!  Holidays and parties can be difficult, but with planning you can be strong and live Keto!  We know you can!

Have a wonderful long weekend, and enjoy those fireworks!!!

ColorfulFireworks


Breakfast, Lunch, or Dinner Quiche

What else can I make besides scrambled eggs and bacon?  This is in the Top 10 list of questions we receive.

Eggs are great!  We know that, but we also get tired of the same old thing every day!
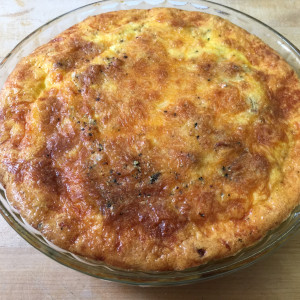
A Quiche is a great way to dress up your eggs in a beautiful way that the whole family can enjoy for any meal of the day.  It is filled with all the great nutrients that eggs provide, and anything else you wish to add to give it that special touch.  It is also a method to hide vegetables if you have picky eaters!  And…best of all, it cooks great without a crust.  No need to add carbs to something so savory and wonderful already!

These are great with the end of school approaching because you can prepare it a day ahead, and it reheats quickly and perfectly.  It is also delicious as a weekend dish straight out of the oven!  Fresh quiche just melts in your mouth.  Prepare to be creative and enjoy!


Crustless Broccoli Garlic Bacon Quiche

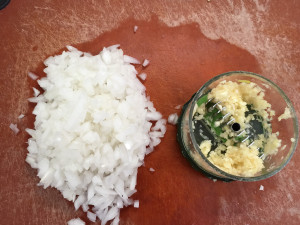
1 cup chopped onion

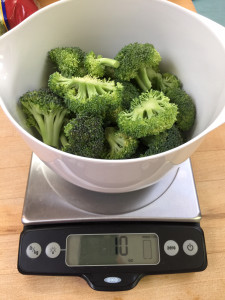
10 ounces chopped broccoli florets (approx. 3 cups)

5 cloves garlic

4 Tbsp butter

6 large eggs

1 1/2 cups cream

2 cups shredded sharp cheddar cheese (I didn’t have so I used a Colby/Monterrey Jack)

6 slices of cooked bacon

1/4 tsp cayenne

1 tsp ground mustard

1/2 tsp salt

1/2 tsp fresh ground pepper

1/4 tsp freshly ground nutmeg

9 1/2 inch deep dish pie plate

Preheat oven to 400 degrees.

Gather your ingredients, and chop your onion, garlic, and broccoli.  This is my favorite garlic chopper!

IMG_1010

IMG_1009


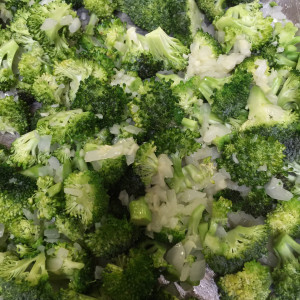
Sauté your onion and garlic in the butter.  Then add your broccoli to soften slightly.

IMG_1012


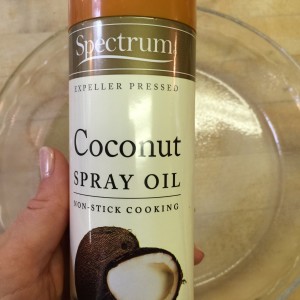
Spray your pie dish with coconut oil spray (you can find it here).

IMG_1014

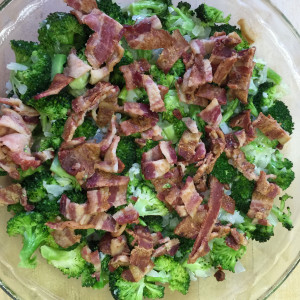
For a Quiche, you want to layer your ingredients.  Start with your sautéed vegetables, and then top with bacon.  This goes for any type of quiche – veggies on the bottom, then your meat, then cheese, then top with your egg mixture.

IMG_1016


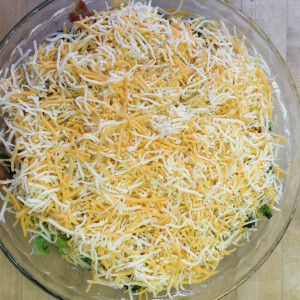
Sprinkle the cheese on top of the bacon.

IMG_1017Mix your eggs, cream, nutmeg, ground mustard, cayenne, salt and pepper.

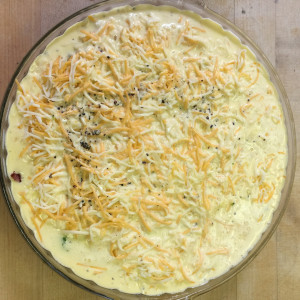
Pour over the cheese.

IMG_1018

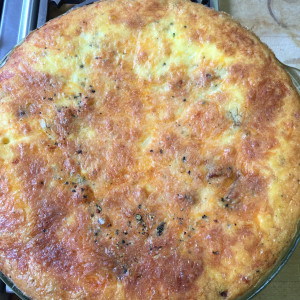
Place your quiche in your preheated 400 degree oven for 15 minutes.  Reduce heat after 15 minutes to 325 degrees and bake for an additional 30 minutes.

It should look puffy and delicious when you remove from the oven:

IMG_1020

As it cools, it will sink slightly.  Allow to cool for 20 minutes or so if you want to enjoy it right away.  If you are preparing ahead, allow to cool completely, cover with saran, and store in the refrigerator until ready to use.  This will keep for up to 5 days in the refrigerator.  Reheat in the oven or in the microwave for about 30 seconds a slice.

IMG_1021

Be creative with your ingredients.  My children have requested ham and cheese for the next one.  You can do spinach and parmesan, vegetable, bacon and cheese, or any other combination you can imagine.  Just remember to layer in the order above and cook accordingly!  Enjoy!