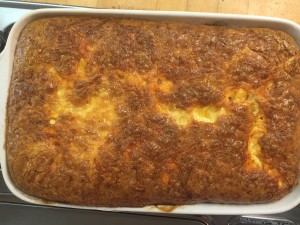
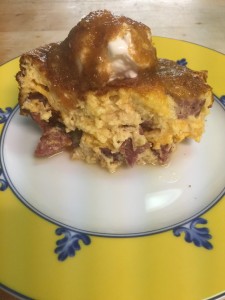
Archive for Author thesweetlifesugarfree

A Fast and Delicious Weeknight Favorite!

winterfriday food frenzy

‘Tis the season for crazy weeknights!  We are all in the thick of school and sports, but add the holidays to the mix, and you are about ready to pull out your hair.  Let’s just say, dinner sometimes becomes a hassle, more than a featured event this time of year!

Before I give you the recipe, I need to preface it with the fact that I used to detest salmon.  I LOVE fish, but never ever wanted salmon if I saw it on the menu.  I don’t know if I had it poorly prepared in the past or if my tastes have changed, but it is now a staple around here.  Not only is it perfectly amazing in healthy fats, but it is SO tasty and E-A-S-Y!!!  Many are afraid to cook fish at home, but this one is a no brainer.  Up until last night, we were a split family on the salmon.  Three of us can’t get enough, but the daddy and one middle child (who shall remain nameless) would eat it, but didn’t love it.  Things have changed due to one simple addition: Herb Butter!  The best news; you can make it ahead, and you can have dinner on the table in less than 20 minutes!  I kid you not!!!

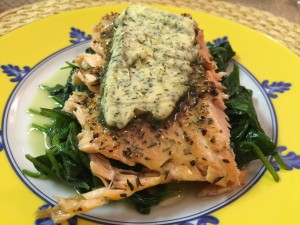
Herbed Butter Salmon

Prepare your butter ahead of time and wrap it up for later.

1 cup butter (I used one block of Kerry Gold – yes, it makes a difference)

1 lemon zested (just the zest)  you can save the lemon juice for later.

1 TBSP dried dill (or 3 TBSP fresh)

5 cloves garlic, minced

1/4 tsp ground pepper

1/4 tsp pink Himalayan salt

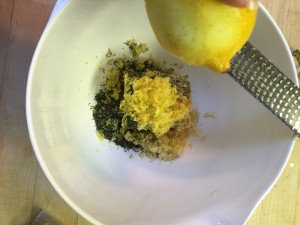
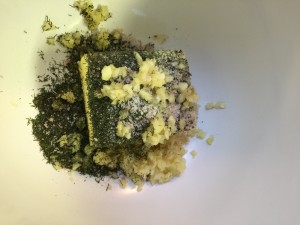
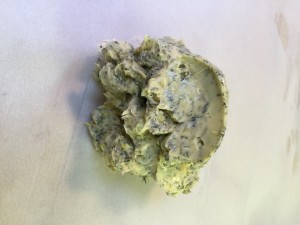
Bring your butter to room temperature.  Zest your lemon and mince your garlic.  Combine all of your ingredients.

IMG_5220 IMG_5219

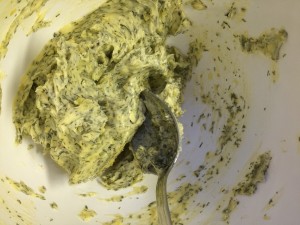
Stir and mash everything together.

IMG_5221

Scrape onto a piece of waxed paper or parchment paper.

IMG_5222 IMG_5223

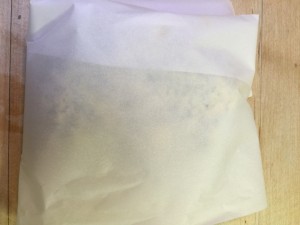
Form it back into a block on parchment, seal in a bag, and keep in the refrigerator until ready to use.

Now for the Salmon:

I used a wild caught whole filet. There are many many kinds from farm raised to the cold waters of Alaska.  I always ask for the fattiest version of salmon at the seafood counter.  Just like everything else, the food industry is actually trying to make salmon “low fat” because of our fat phobic society.  I figure the fatty one is the most natural since salmon IS a fatty fish!

Preheat your oven to 425 degrees.

On a cookie sheet sprayed with coconut oil, lay out your filet skin side down.

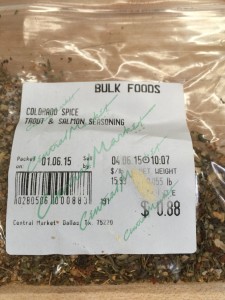
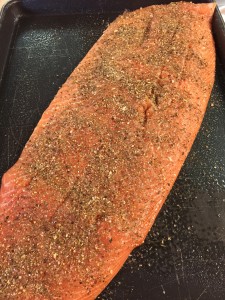
Sprinkle your salmon with your favorite seasoning.  There are several that I love, but this was a favorite last night:

IMG_5231

You know how I love my bulk spices!  They are such a bargain, and so many from which to choose!  This one is the Colorado Spice from Central Market, but take a stab at something new!  This is the fun part of grocery shopping!

IMG_5224

Once you have your fish seasoned, place in a preheated 425 degree oven.  Watch it carefully!  Depending on the size, cook for 10 to 15 minutes until the fish flakes.  I did this one for 12 minutes.  It is always best to ere on the less done side for fish.

I sautéed a box of fresh spinach in butter to go under the salmon while the fish was in the oven, and in under 20 minutes, dinner was served.  Top with your fun new herb butter, and it is just perfect!

IMG_5225


Enjoy!!!


Atkins Vs Keto


The reason we started consulting with individuals, families, and groups is because we absolutely love the positive changes we have been able to make in our lives and those around us. Really, we just had to share.
Image result for any questions

One of the most common questions we get is, “What is the difference between this (Keto) and Atkins?


Many aspects are similar between Keto and the Phase 1 and 2 of Atkins.


I actually really like the book, The New Atkins for a New You, by Colette Heimowitz. This book was my reference for this post.

The New Atkins Made Easy: A Faster, Simpler Way to Shed Weight and Feel Great -- Starting Today!


Dr. Robert Atkins gained a significant amount of weight after starting his medical practice, and through research, created a diet that was based on the removal of sugar and starch from meals. Atkins believed that starchy carbohydrates were the main culprit of weight gain.

Dr Atkins

Atkins has four phases:

Phase 1 Induction: Dropping the carbs, increasing the healthy fats, and watching the calendar. Keep carb count between 18 and 22–Basically totally Keto!


Phase 2 Balancing: Add carbs back into your diet in 5 gram increments until weight loss levels slow. For some people, this can mean as high as 70 to 80 grams of carbs per day. (Kinda Keto depending on where you fall)


Phase 3 Pre-Maintenance: Add more carbs back into the diet in 5 to 10 gram increments until you are in your weight happy place.


Phase 4 Life time Maintenance: Transition to a way of eating that you can do forever. Adjust carbs as needed, hormonal changes, age, etc.


Dr. Atkins, in my humble opinion, was brilliant and way ahead of his time. He also did not die of a heart attack or stroke, he died from a Traumatic Brain Injury. He died after slipping on ice at the age of 72.


I also believe he is likely doing summersaults in his grave with all these Atkins boxes, bars, and packaged meals (oh my!)  These were not his intention at all!  Let’s stay away from pre-packaged please!


The Ketogenic Diet, on the other hand, came to be much earlier, around the 1920’s and was established more for therapeutic reasons, initially for Pediatric Epilepsy. The Ketogenic diet being prescribed to seizure prone children has since declined with the rise of anti-convulsion drugs that have been developed.


The Ketogenic Diet is wonderfully effective for weight loss, but has so many more benefits.


I personally started this diet once I was diagnosed with breast cancer.  Cindy started after struggling with PCOS and being diagnosed as pre-diabetic.  The therapeutic benefits of the Ketogenic Diet can help most people, if they chose to do it for a short amount of time or even decide to become “lifers” like we have.


On Keto, you limit your sugar and carb intake to roughly 20 grams or try to keep it at 5% of your food. 70% of what you eat should be fat, and the remaining 25% protein.


The way I have approached Keto was to consume fat and above the ground veggies. I do not worry too much about the actual macro nutrient counts (grams.)


Keto and the beginning phases of Atkins have the same theme. However, Adkins on face value, does not stress the importance of adding high quality fat and keeping people feeling satisfied.

Fats that fight fat

Cindy and I both also feel very strongly about the quality of our food. While neither of us are perfect, we try to consume and serve our families as little processed food as possible.


The benefits of our new way of life have truly been astounding. I believe we have added years to our lives, become so much more efficient, and all around feel a ton better. Having clearer skin and weight loss were just an amazing bonus.


If you would like to learn more about our way of living, the therapeutic benefits of Ketosis, or just how to quit the sugar addiction please contact us.

Health Nuts

Health Nuts


A Taste of New England in the Lone Star State!

images


I am imagining cooler weather at this point in San Antonio.  The humidity is unbearable at the moment, but the sight of pumpkins, falling leaves, and mums make me pretend it’s cold outside and dream of the cool crisp mornings to come.


fall-leaves-hq-2


I am piggy backing off of Erin’s post earlier in the week.  She posted our recipe for bone-broth, which if you haven’t tried, you must.  I didn’t make it for about a year after I heard about it, and then, once made, I was kicking myself for all those months without.  It is an automatic pick-me-up, arthritis healer, sore throat cure, and overall, just an incredible remedy for almost anything.  During flu season, everyone in our house gets a cup everyday to boost the immune system – and it works.


So what else is great when cooler weather arrives or you are feel sub-par?  Soups, chowders, stews – anything piping hot!  Now, I have to come clean…I was really skeptical about this one.  First, I have never made clam chowder before.  Second, this was a far deviation from the original version I have seen.  Third, would my children eat something with clams?  My reaction was, why not?  Wow!  And…Oh YES, they will!  In fact, three out of four went back for seconds!  So, in thinking positive thoughts about cooler weather, here is a brand new one for you!  This is another one that you can make ahead on a busy afternoon and dinner is prepared for later!


e7faa46c-fe97-4a20-8be0-35e0dc36ee44


Creamy New England Clam Chowder With Bacon

Ingredients:

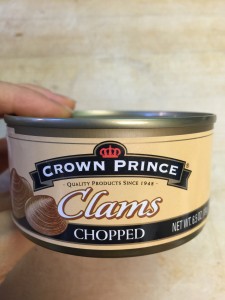
4 – 6.5 oz cans of chopped clams packed in clam juice

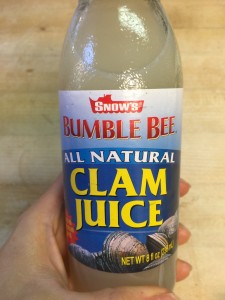
2 – 8 oz bottles of clam juice

2 cups chopped leeks (white and light green parts – this was 5 leaks for me)

1 large head of cauliflower chopped into chunks

8 – 10 slices of bacon chopped into pieces

1 cup broth

1/2 tsp dried thyme or 2 tsp fresh

3 TBSP fresh minced Italian parsley

1/2 tsp fresh black pepper or more to taste

1 tsp Himalayan salt

1/2 cup butter


IMG_5172 IMG_5171


Directions:

In a large soup pot, cook your bacon over medium heat until just starting to brown.  Add you leeks and sauté until wilted and soft.

Remove half of your mixture and set aside.


IMG_5174


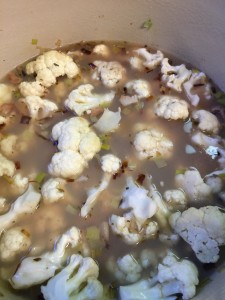
Add your cauliflower, clam juice, juice from the canned clams (save the clams though), water and thyme.  Increase heat to high and bring to a boil.  Then reduce heat to low, cover, and simmer for 30 to 40 minutes until the cauliflower is very soft.

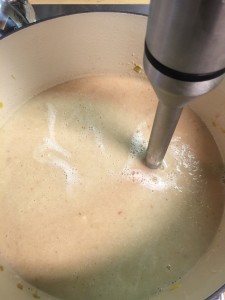
Using an immersion blender, puree the soup until it is light and creamy.  It should start to resemble clam chowder now.  I love my Cuisinart Immersion Blender!


IMG_5176


Now, just add the clams, the rest of your leeks and bacon, butter, salt, pepper, and parsley.  Simmer for 20 minutes.  You can always add cream, or more butter, salt and pepper to taste.  At this point, you can turn off the heat and save it for later or serve piping hot with a little cheese on top if you like.

Enjoy!


‘Stock’ Pile Your Health Arsenal!

I have started hearing some sounds of fall, football, leaves crunching,squirrels scurrying all across my roof, way too early Christmas commercials, and those raspy sniffly coworkers.

That’s right.

It’s that time of year! 


Dealing with those under-the-weather-friends is similar to most everything else; meaning that the best offense, is a great defense.


Image result for go broncos

Sorry, I had to throw in some football.


One of the absolute best ways to take care of yourself this time of year is to regularly drink grass-fed bone broth. The vitamins, minerals, and overall good health feeling of this wonder drink can really make a difference in your immune system function.

I usually have a solid stock pile of my broth as well bones in my freezer. I have purchased ‘just’ bones before from a grass-fed farmer as well as buffalo bones from Whole Foods. Yes I am that serious about my broth. But more recently, when Cindy and I had our cow butchered, we had them box the bones for us as well. These bones are AMAZING!

Right now, we have enough bones to last us a very long time. Annnddd provide us with ample to share with friends and family that might need help getting over one thing or another.  I love sharing this stuff.  Plus, here in south Texas, we are predicted to have a nice wet fall this year, so really you can’t have too much in your keeping healthy arsenal!


Making broth/stock is SUPER simple, and not at all, labor intensive. The hardest part is finding storage space once you realize how great this stuff makes you feel.


Here is my super simple Bone Broth recipe:

Image result for bone broth

Bone Broth

Ingredients:

  • 3 to 5 pounds grass-fed beef bones (soup bones) and/or knuckle bones
  • ½ cup raw apple cider vinegar (ACV)
  • filtered water
  • 3 celery stalks,
  • 3 carrots, halved
  • 3 onions, quartered
  • Sachet of herbs (parsley, peppercorns, thyme, rosemary, Bay leaf, etc)-you can also omit here and just add to your mug when you drink.

Method:

  1. Roast Bones at 400 for 30 minutes to 1 hour until fragrant
  2. In a large stock or crock pot, place roasted bones, and pour in cool filtered water to cover.  Add your apple cider vinegar.  Do not heat yet.
  3. Allow mixture to rest for 30 minutes to an hour.  This will allow the vinegar to pull the nutrients from bones.
  4. Bring the pot to a boil, and add more water if needed
  5. Reduce to a low simmer, cover, and cook for 24-72 hours – just leave it going!
  6. With about four hours remaining, add the vegetables
  7. During the last 30 minutes of cooking, toss in the herb sachet-or omit and add as you drink.
  8. Remove bones, veggie, and herb sachet (knock out any remaining marrow back into broth)
  9. Pour broth through a strainer or cheese cloth into a glass container

Drink with generous amounts of quality Himalayan or Celtic salt, or use in any recipe calling for broth, stock, or added water.

The broth can be consumed immediately and stored in the fridge up to 5 to 7 days.  You can also store in the freezer up to 6 months.  We like to freeze into ice cubes so we can pop them in a mug to reheat when needed.

When reheating, bring broth back up to boiling for one minute.

Enjoy!


Image result for keep healthy


What to Do About Those Little Ghosts and Goblins?

happy-halloween-clipart_3-1

Happy almost Halloween!  I have to admit, this is not my favorite occasion.  For obvious reasons, the sugar aspect causes issues in our family, but the doorbell that makes the dog go crazy, kids out in the dark, and then the after effect for the next two days isn’t so much fun either.  I LOVE fall, but I am always happy when the 31st of October has come and gone, and there is an official start to the holiday season that awaits around the corner.

The holidays are a whole other ball game, but let’s get through Halloween first.  Erin posted earlier in the week about how she handles Halloween for her daughter.  We do things slightly differently, mainly because we have older children.  The age/s of the child/ren in your household can make a big difference.  My children are 10, 8 and 5 if that helps at all.  They range from being all about Halloween and the candy, to really  just wanting to be with their friends.

IMG_0216 (1)

We are extremely fortunate to be invited to the same party with the same people every year.  This helps me because I don’t have to have my internal struggle about handing out candy at my house.  I have a voice in me that screams, “How can you hand out candy when you preach about sugar?”  Luckily, I get to turn that recording OFF!  The kids (and adults) are fortunate because we are all with friends and the focus turns to playing and visiting instead of tracking down the best candy in the neighborhood.  Don’t get me wrong, I let the kids trick-or-treat, but that is not our sole focus of the evening.  This helps a TON!

IMG_0208

I do have  a few ideas for your weekend:

  1. Watch the forbidden food syndrome.  Unless sugar is going to have severe health consequences on your child (sort term), let them partake in trick-or-treating.  These years fly by, and if they enjoy it, it is one night out of 365.
  2. Give them a time period that candy will be allowed in the house.  I tell my kids (you are not going to believe this one), “Eat what you want on Halloween, pick out a few for tomorrow, and on the third day it will magically disappear.”
  3. Find a place to donate the candy.  Yes, I know it is bad for everyone, but there ARE people that deserve a treat every once in while like our troops overseas.  There are places around that will take donations (Schools, banks, etc.).  They collect unwanted Halloween candy and ship it to the troops.
  4. My friend, Mona, recently told me about the Switch Witch.  You can give your kids a choice (or not) to leave their pumpkin full of candy on the front porch on Halloween night, and the Switch Witch will take the candy and exchange it for (you fill in the blank – some toy they want, baseball or football cards, dark chocolate, an iTunes gift card just to give examples).  Start planning now if you want to use this idea.
  5. Divy out a certain number of pieces for each day – and specify the number of days.  Then stick to it!
  6. Use the candy for teaching any number of things.  For younger children, it is great for sorting, patterns, and counting.  It is always fascinating to people how much sugar is in those little pieces of candy.  This is a great time for the older children to understand conversions.  Read the labels.  Remember, for every 4 grams of sugar or carbs, that equals 1 teaspoon of sugar.  This is a great multiplication and division activity for the older ones.  You can even make up word problems about the candy.  Tina, that one was for you!

set_halloween_candy_640

No matter what you decide to do with your candy, you, just like I, will get through this day.  It is one of my most dreaded, but we always power through.  Your kids will be on a sugar high, but then we will be there to catch them on the way down to lift them back up with healthy foods.  The best thing you can do is to have a plan in place.  Figure out how and when you are going to dispose of that white powdery substance disguised as candy and follow through.  Then life returns to normal.

Have a very safe and memory filled Halloween!

God Bless!

A Trick for Trick or Treating

I have been talking a bunch about how October is Breast Cancer awareness month, and I realize I need to address the elephant of the month. H A L L O W E E N.

So what on earth does a person who cuts out all added and almost all natural sugar do on the holiday known for candy begging?


I pony it up and go with it. The reality is, my daughter is going to have enough stories for her future therapist, and I don’t really want to add, “And my mother never let me Trick or Treat.”

IMG_1151

My Favorite Doctor Halloween 2013

All kidding aside, Halloween is for kids. It’s super fun to dress up and knock on your neighbors’ door, shout Trick or Treat (and hopefully thank you!), and at the end of the evening gorge on your goodies.


Here’s where I change things up a bit though; my plan is to give my now 4 year old her choice of three treats the night of Halloween. The rest is going to magically disappear-she is still young enough that I can hopefully get away with this. We often give to little girls that don’t have anything, (Goodwill) and she is good with that. Hopefully this will go somewhat similar.


I am also going to purchase some dark chocolate, so if she would rather have that as a trade, or perhaps a homemade sugar-free mini cheesecakes with whipped cream. So be it.

Pretty wrapper is key

While it may be hard to believe that she would pass up a fun size Snickers or little M&M baggie, she does not get candy often, and actually really likes the dark chocolate due to that being the rare treat in the fridge that mommy shares. The less you have, the less you want.  Starting super young doesn’t hurt either!


As for me, as crazy as it may sound, I have ZERO desire for such junk at this point. I even remember thinking back when I was the one doing the Trick or Treating how some of the stuff was just plain not good. That junk would likely still be eaten just after all the good candy was gone. Really? Does anyone like WarHeads or banana flavored Now and Laters? Likely not.

Who actually likes black licorice?

If I’m going to eat something that is not keto-friendly, you can bet I have decided that it is going to be worth it. And the second after I put a small bite in my mouth, I will decide again if it’s truly is worth it. Honestly, I have decided on more than one occasion that the one tiny bite was plenty.  For me, there will be nothing in that orange plastic pumpkin that will be worth it.


Pumpkin and Spice and Everything Nice!

Pumpkin Patch

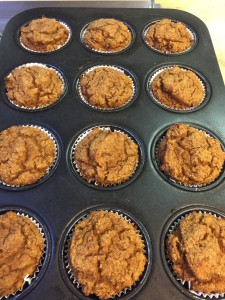
This is the time of year when we hope for cooler weather, and start to crave those fall comfort foods mom used to make!  There is something about pumpkin…everything pumpkin, and the spices that go along with it, that just bring back warm thoughts of autumn and the holidays around the corner.  This recipe is a huge treat for the kiddos.  They beg for them.  Serve these with a side of eggs for breakfast or top with sugar-free whipping cream for dessert.  Delicious!!!
 

coconut-flour-pumpkin-muffins


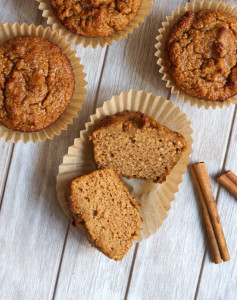
Pumpkin Spice Muffins

1 3/4 cup almond flour

1/4 cup coconut flour

1 1/2 tsp baking soda

2 tsp cinnamon

3/4 tsp nutmeg

1/4 tsp ground ginger

1/4 tsp cardamom

1/4 tsp cloves

1/2 tsp sea salt

1 cup canned pumpkin

1/2 cup Swerve granular

3 large eggs

4 Tbsp melted butter

1 tsp vanilla

1 Tbsp cream


Directions:

Preheat oven to 350 degrees.

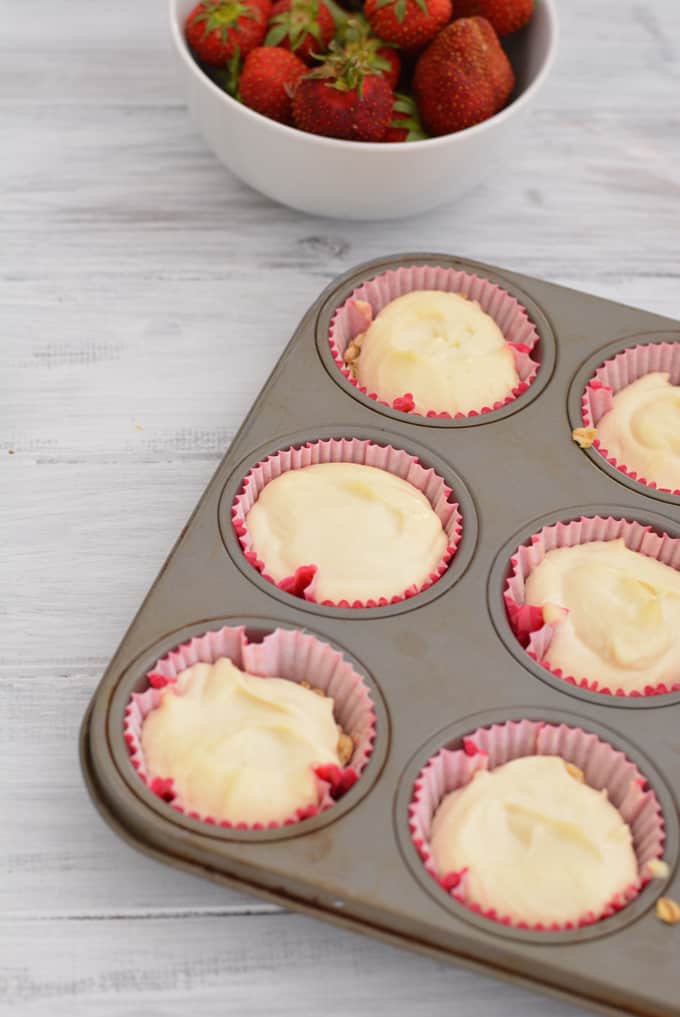
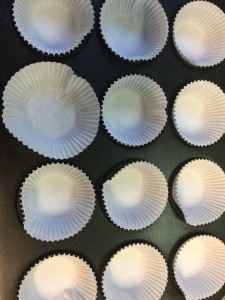
Line muffin pan with baking cups:

IMG_5036

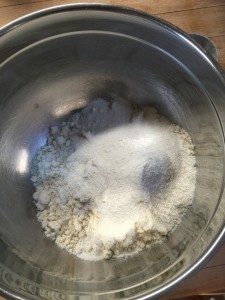
Mix together your flours, baking soda, spices, and salt.

IMG_5039

Combine your wet ingredients in a mixer (hand held or stand).  Once combined, add your dry ingredients and mix well.


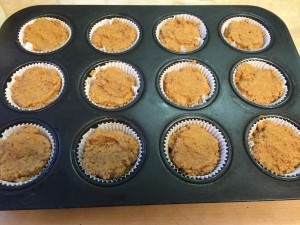
Using a spoon, fill each muffin cup 3/4 full.  The batter is thick so try to smooth out the top.

IMG_5042


Bake for 25 minutes until a toothpick comes out clean.

IMG_5043


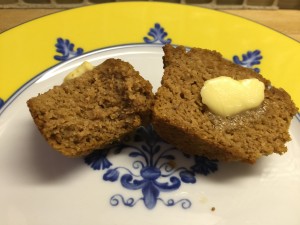
Enjoy!
IMG_5047


Taco Thursday!

It really could be any day of the week, but one thing is for sure – it is the kids’ favorite dinner without a doubt.

Going back to what we seem to bring up over and over again…the dreaded packaged foods!  How many of you use the little packet of taco seasoning you find on the grocery store shelves?  You are not alone – I used to be one of them too.  It is so easy to brown some ground meat, throw a packet in with a little water, simmer, and call it dinner!

images

Have you ever looked at the ingredients?  You will find things like maltodextrin, potatoes starch, sugar, and yellow corn flour along with a lot of other things I can’t even try to pronounce.

What if I told you it could still be that easy, but so much better – and healthier without all the preservatives and seasonings that are who knows how old?  Better?  You bet!

I have blended a combination of spices that will wake up your senses and make the healthiest best tasting tacos ever!

large-batch-taco-seasoning-2-600

First off, I buy jar and bulk spices just depending on where I am when I need them.  If you find yourself somewhere with bulk spices (Central Market, Whole Foods, Sprouts all have them) – buy them!  They are fresher, easier to measure and a much better buy – a bargain in fact!  You can buy what you need, or buy a little extra.  Label them (name and date) with a Sharpie and discard after a year and refresh.  Fresh spices make all the difference in your recipes!  They don’t necessarily go bad, but they do lose a lot of flavor over time.


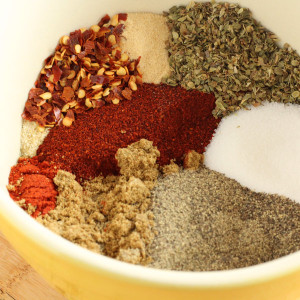
For the spices, you will need:

12 TBSP Chili Powder (as fresh as you can find)

6 TBSP Onion Powder

2 TBSP Pink Himalayan Salt

8 tsp Paprika

8 tsp Garlic Powder

4 tsp Red Pepper Flakes

6 tsp Ground Cumin

4 tsp Dried Oregano

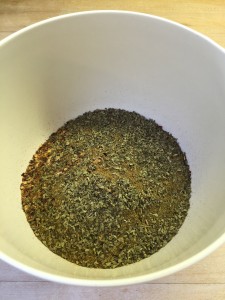
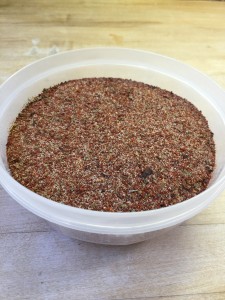
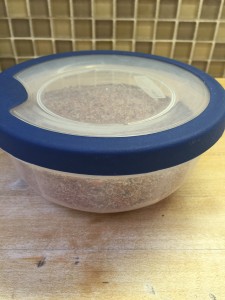
Gather all your spices, mix well, and store in an airtight container in the refrigerator.

IMG_5032

IMG_5034

IMG_5035


For the tacos:

We are a grass-fed beef family so I have the butcher package all of our ground meat in 3 pound portions for our family of 5.  This gives us plenty for a couple of dinners and lunches.  This is a meal that saves well so make extra!

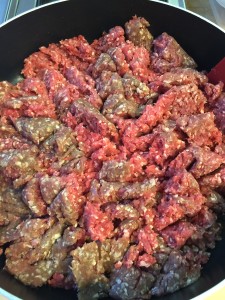
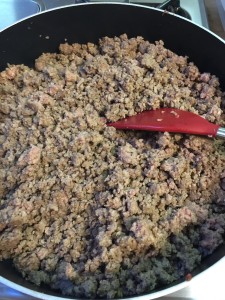
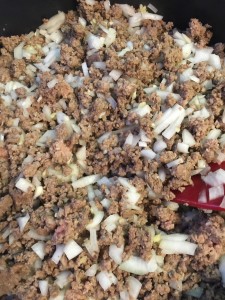
Brown 3 lb ground meat over medium heat.

IMG_5049 IMG_5051

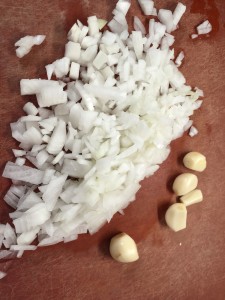
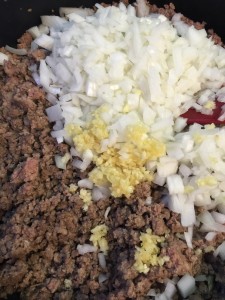
Add one chopped onion and 5-6 cloves of minced garlic:

IMG_5050 IMG_5052 IMG_5053

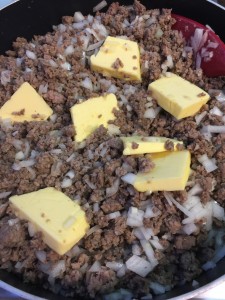
Now, most people at this stage drain the fat, but we add our healthy fat – Kerrygold of course.  You could add bacon grease as well.  Grass-fed beef is super lean so you need to add a little grease.

IMG_5055

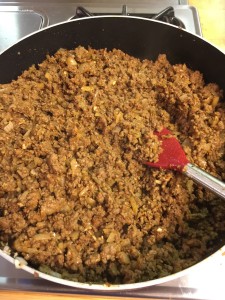
Lastly, add in your seasoning to your liking.  I used 6 TBSP of the seasoning mix above to the 3 pounds of meat and it was perfect for us!

IMG_5058

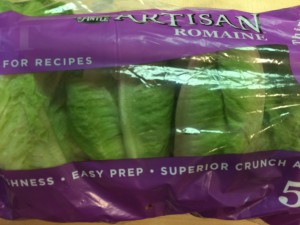
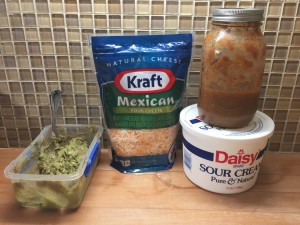
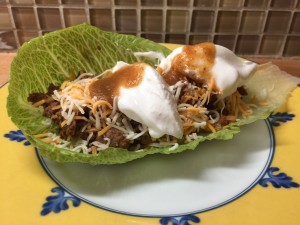
Now, all you have to do is wash your lettuce and prepare your sides.  My family likes guacamole, sour cream, salsa, and cheese.  Queso and jalapeños are excellent as well!

IMG_5056

IMG_5057

And that’s dinner folks!  You will have a lot of spices left over, so keep them in the fridge for an even easier dinner the next time!

IMG_5060 IMG_5063

IMG_3779

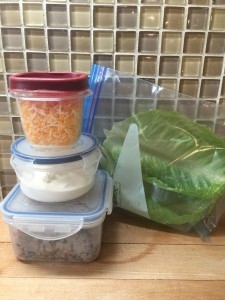
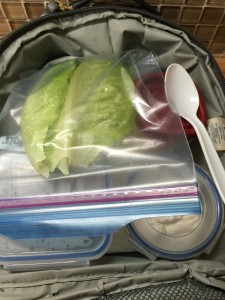
And…to make it even better…this is how I pack it up for lunch boxes the next day!

IMG_5066 IMG_5067

Dinner (and lunch) in a flash!

Enjoy!


Someone I Love Just Diagnosed, Now What?

There are so many articles and videos about what to and what not to say to certain people- Pregnant women, someone who just lost a spouse, first time parents, stay at home moms, working moms, and the list goes on.

Here is MY version of what to say or do when someone you love has just been diagnosed with cancer. There are actually full books on this topic-but like any thing not 100% universal. I’ve read to not tell a cancer patient they look, “Too healthy to have cancer.”  I actually loved hearing that.


Say:


“I love you.” This is universal and easy 🙂 Cancer can feel extremely isolating, but knowing that people are still thinking about you as they carry on with their day-to-day is nice.


“Can I help  you with _____?” Be specific, for example: When can I bring over dinner? Do you want me to watch the kiddos for an evening? Can I come over Wednesday afternoon if you want to get out of the house or take a nap.


“Let me know when your next treatment is, I’ll come sit with you.” HUGE! Having that friend or loved one sitting next to you is so nice. You can even Be that super friend and bring a blanket and a trashy magazine. Very few (if anyone) wants to be the alone person in the treatment room. Honestly, you don’t have to stay the whole time or even talk the whole time – just having you there is AMAZING.

Positive stories – DO NOT tell the story of someone that died or got this crazy infection after surgery.  Seriously?!  We are already scared, even if we don’t say it. Yes, this happens – A LOT!


If you stick your foot in your mouth (SO EASY TO DO) just apologize and move on.


DO:


Pray.


Send a card or a note- I still have all of mine in a box.


Call/text. Even if your reach out doesn’t get returned, try again a few days or week later. Even let them know in your message that the call doesn’t have to be returned, you just wanted to say hi and see how it was going.


Bring over dinner, do laundry. Try to be helpful, but not intrusive.


Please don’t complain about little things that the person getting treatment would be grateful for – needing your hair done was something I overheard in a treatment room once.  Grrrrrrr…


Remember the whole family is affected, not just the one getting chemo. Think about the spouses and kids – this is REALLY hard on them too.  A book, some golf balls, small toy, coloring book; these things can uplift in a matter of moments.


Do NOT start looking up statistics and diagnosis outcomes on Google – you can, and likely will, end up in some very dark places.

Image result for google no


Cancer is incredibly hard on the person going through treatment and the ones that love them. Being there for your friend or the one you love is really all they want. I was absolutely amazed by the love and thoughtfulness that my family and I received when we went through diagnosis, treatment, and recovery.


I can speak from first-hand experience that I did lose friends when they found out I had cancer.  I get it.  Crummy, but I get it.  Being a friend or loved one of someone going through cancer is hard.  Watching them morph before your eyes is hard.  Not knowing if they will be okay is hard.  They may, and likely will, be a different person after they have traveled this road.


The reality is – being there for a loved one or friend is not always easy, it’s not always sunshine moments. Sometimes it’s just hot sad tears. But being that solid person that sticks around through the really hard and low times makes those laugh-til-you-cry moments even better.

A New Twist on the Breakfast Casserole

Unknown

Today is Grandparent’s Day at my children’s school, which means a rushed morning so we make sure to have a parking space.  It is a day for a breakfast casserole to throw in the oven so I have time to get dressed myself!

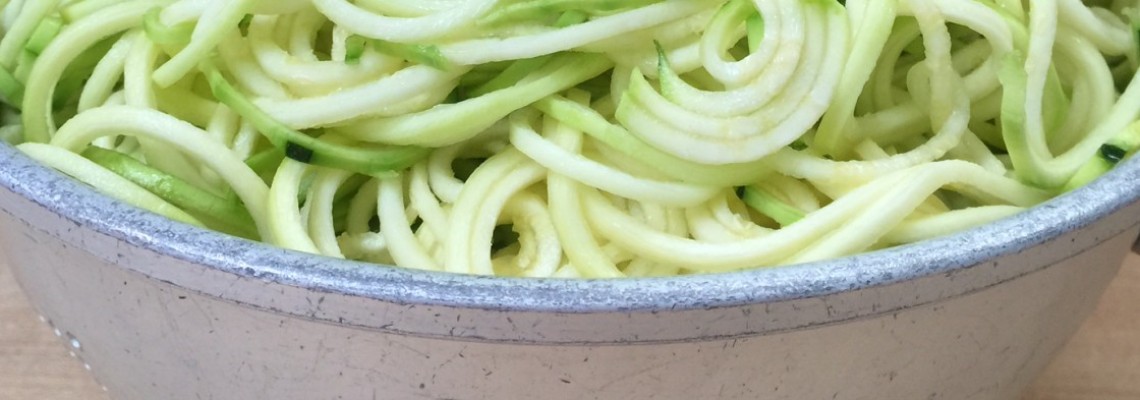
I was preparing last night…I went to the fridge to get my ingredients, and of course the breakfast sausage that I had checked for before grocery shopping earlier in the day turned out to be expired!  Now what to do?  I definitely needed a meat to throw in with the eggs, and was DEFINITELY not going to the grocery store with three children at 5:00 PM.  Soooo….we are improvising!  We all love beef bar-b-que sausage which I had purchased to throw in some spaghetti sauce to serve over zucchini noodles, so what about that?  It was fresh, ready to go, and how yummy in eggs!

I did change up the recipe a tad to account for the extra grease from the sausage so here you go:


Bar-B-Que Beef Sausage Breakfast Casserole

1 3/4 pound Beef Sausage

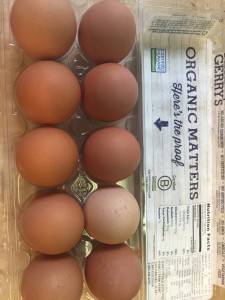
10 eggs

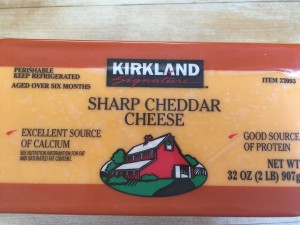
2 cups grated sharp cheddar cheese

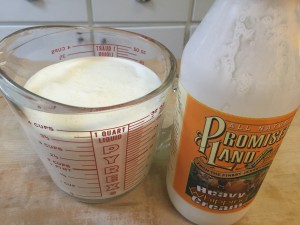
3 1/2 cups heavy cream

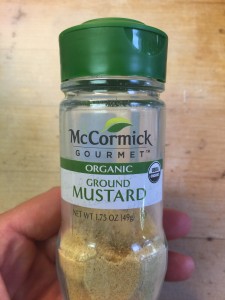
2 tsp ground mustartd

1 tsp salt

fresh ground pepper


Steps:

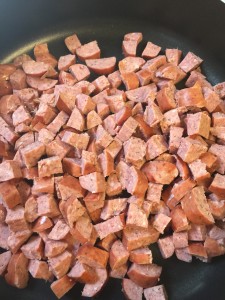
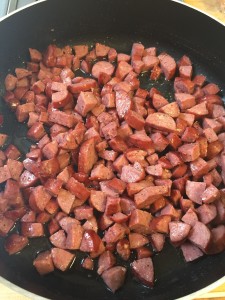
Cut and brown your sausage in a pan.

IMG_4994

IMG_4997

IMG_4999

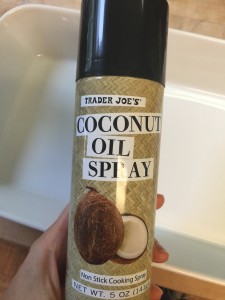
Spray your pyrex or ceramic baking dish with coconut oil or butter.  I like this one from Trader Joes.

IMG_4998

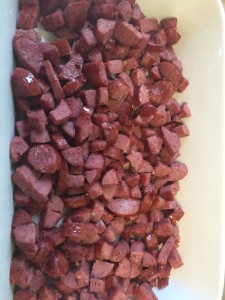
Add your sausage to your greased dish.  It should line the bottom of the dish.

IMG_5001

Sprinkle your grated cheese over your sausage.  I did the grating the old fashioned way for this one.  My kids love to serve themselves slices of this cheese while we have it out in the kitchen.


IMG_4995 (1)

IMG_5002

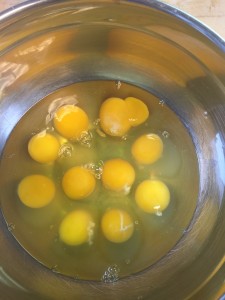
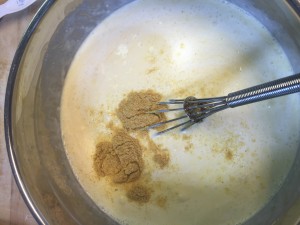
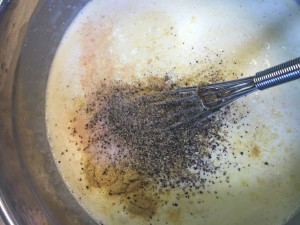
Whisk your eggs, cream, and spices together.

IMG_4996 IMG_5003 IMG_5004 (1) IMG_5005 IMG_5008 IMG_5006

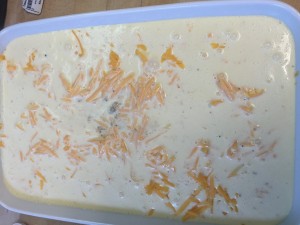
Once your ingredients are thoroughly mixed, pour this over your sausage and cheese.

IMG_5007

Place saran over your unbaked casserole and let it set overnight.  Bake this for 1 hour 15 minutes in a 350 degree oven or until it is set in the center.  You don’t want any jiggling.

Happy Friday, Y’all!


Here is the outcome:

No complaints about breakfast this morning!

IMG_5010


Topped with sour cream and homemade salsa:


IMG_5011


Every bite was devoured!


IMG_5013


Enjoy!


« Older Entries Recent Entries »