Our little angel (youngest child and only girl – say some prayers) just celebrated her fifth birthday. She was counting down the months until her birthday…”I’m four and 8/12, I/m four and 11/12). You get the picture.

When her week finally rolled around, I asked her what kind of cake she wanted for her birthday. You may remember, I was quite the baker before my Keto days, so birthday time is always fun! In actuality, Keto baking is just as fun as regular baking once you get the hang of it. For birthdays, I let the children choose what ever they like for their one special day of the year. Keto or not! Low and behold, she said she wanted Angel Cake, which to the rest of us is Angel Food Cake. I was ecstatic! This is one recipe for dessert where Keto style tastes just like the real thing. In fact, my parents had no idea that it was sugar and grain free! That is the ultimate test in my opinion. It is also a great dessert for warm weather because it is quite refreshing. Even though it is September, in South Texas, it feels like July!
Save this cake for a day when you have time, because just like any other Angel Food Cake, the whipping of the egg whites is time consuming. This is not a difficult cake, but it is a little different from typical baking and patience is a must.
Keto Angel Cake
(Carolyn Style)
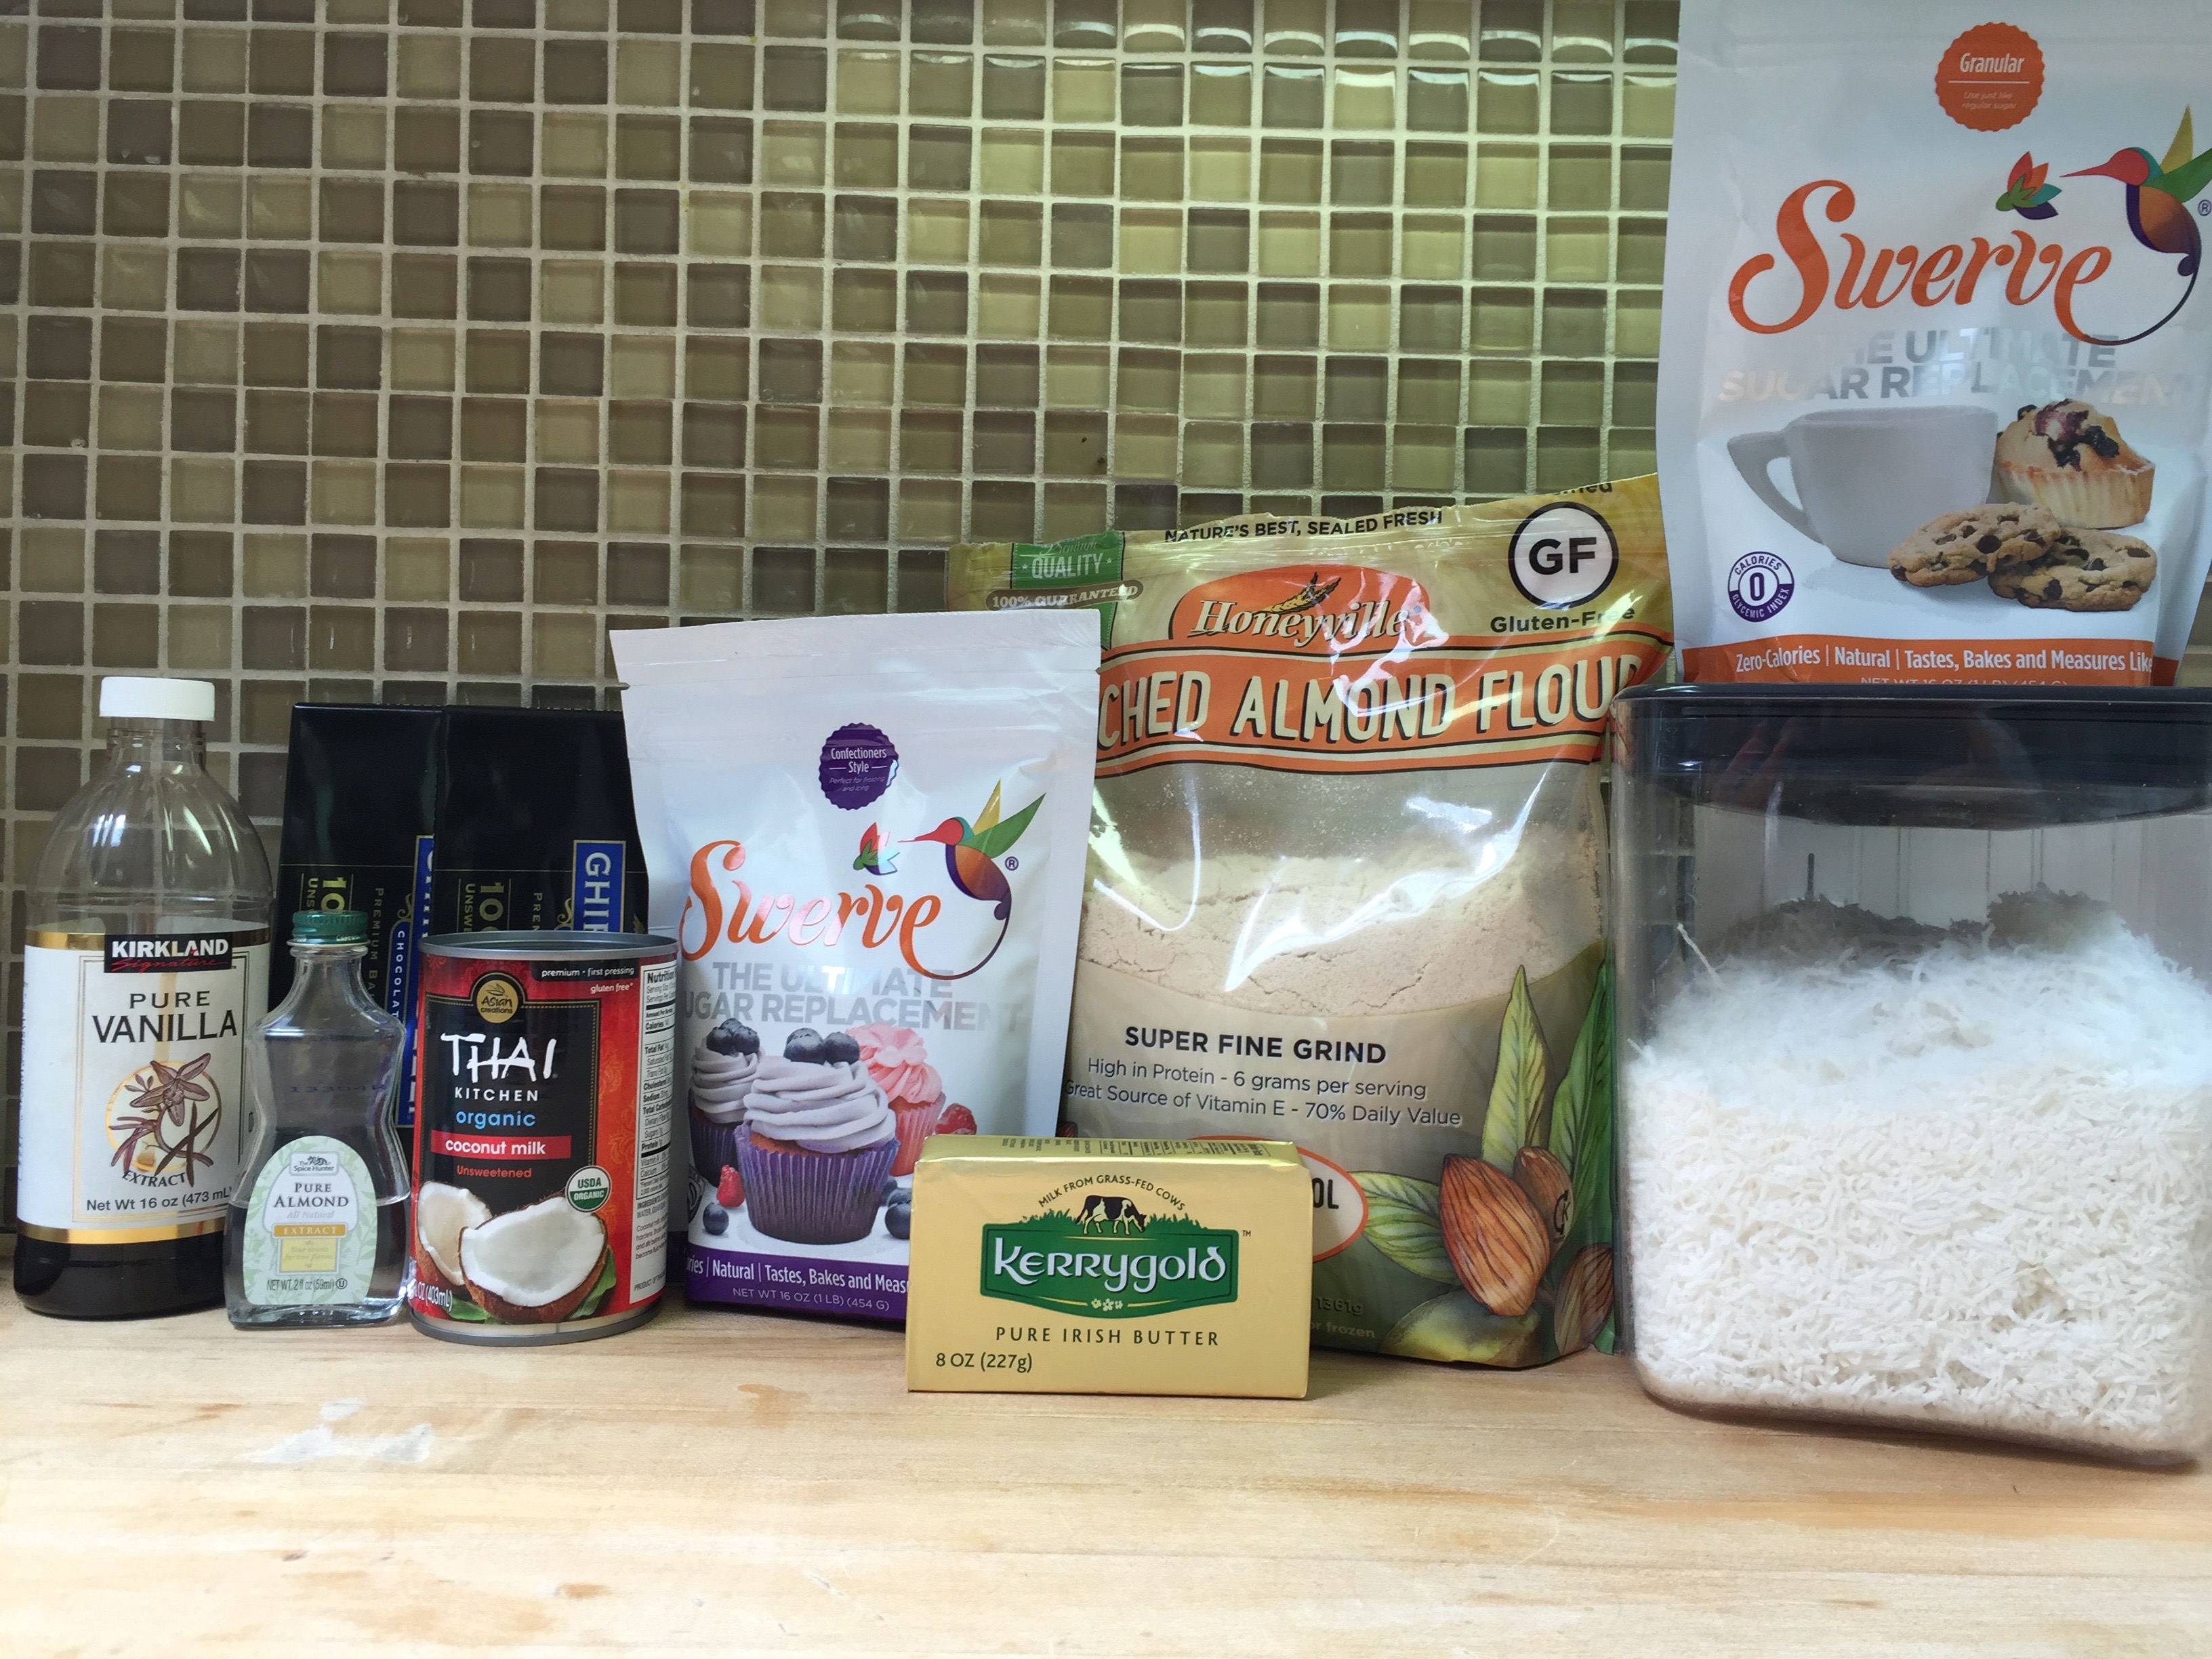
Ingredients:
Yes, this is correct! It is much different from traditional cake.
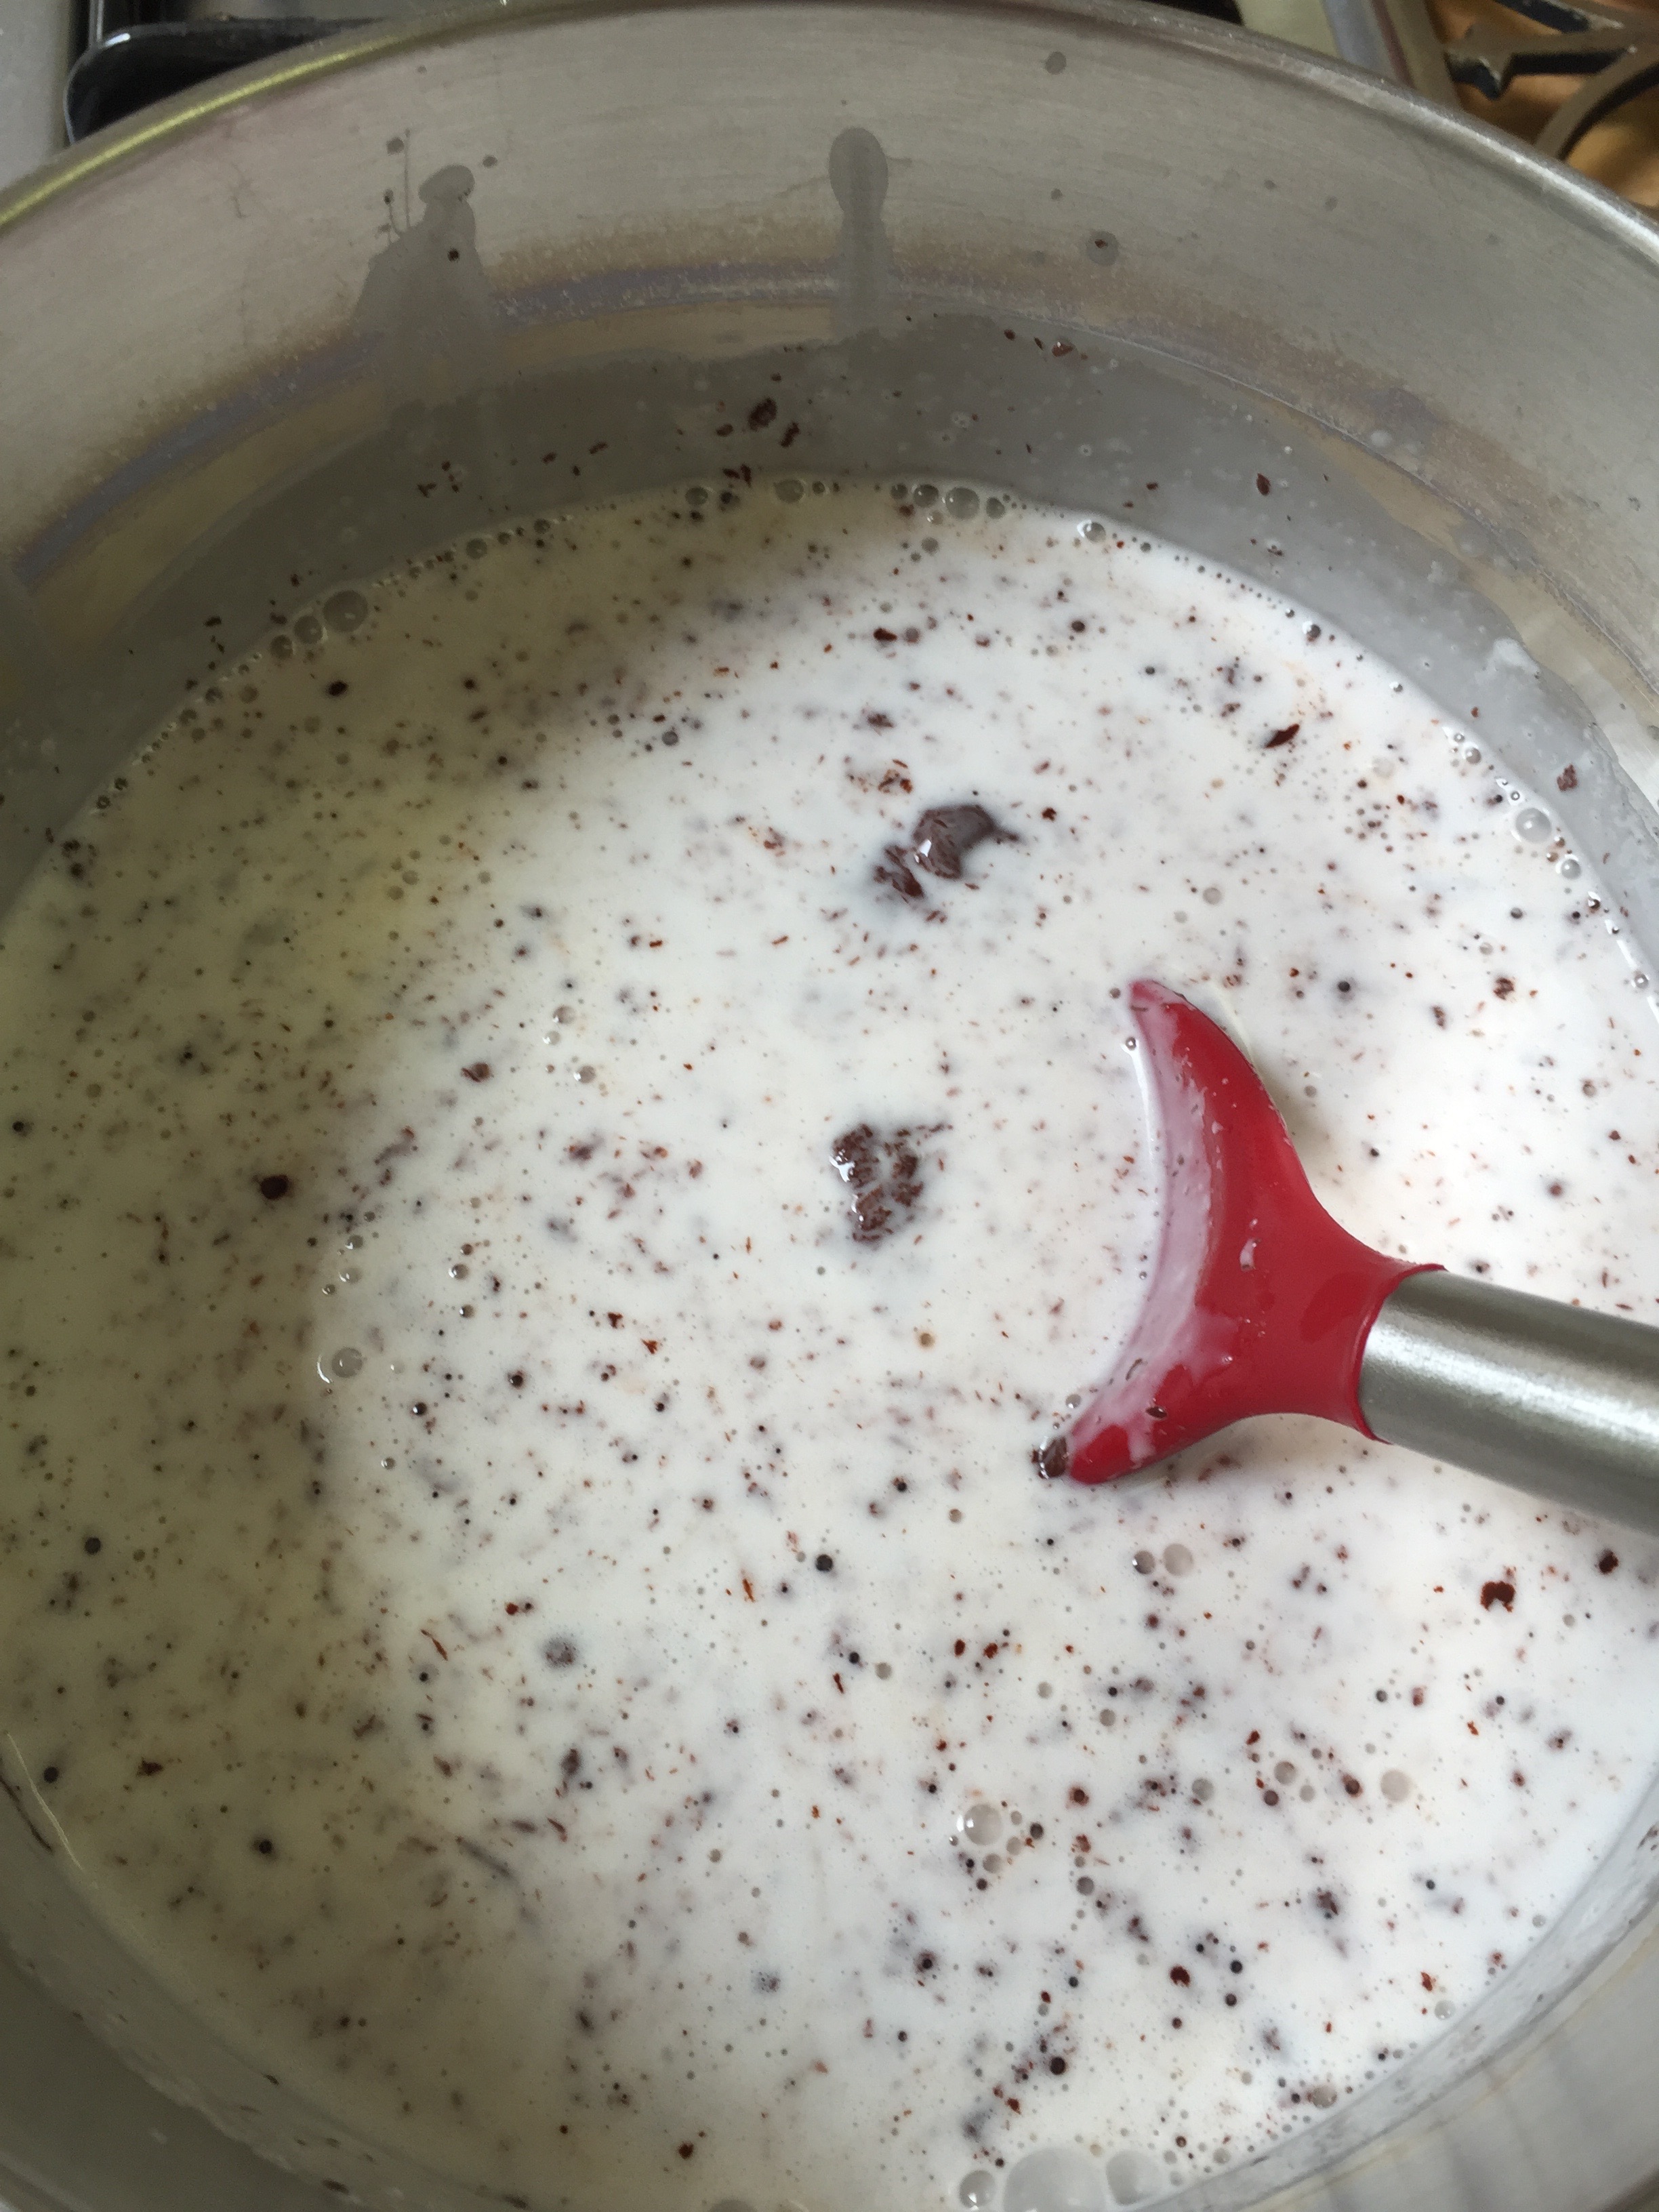
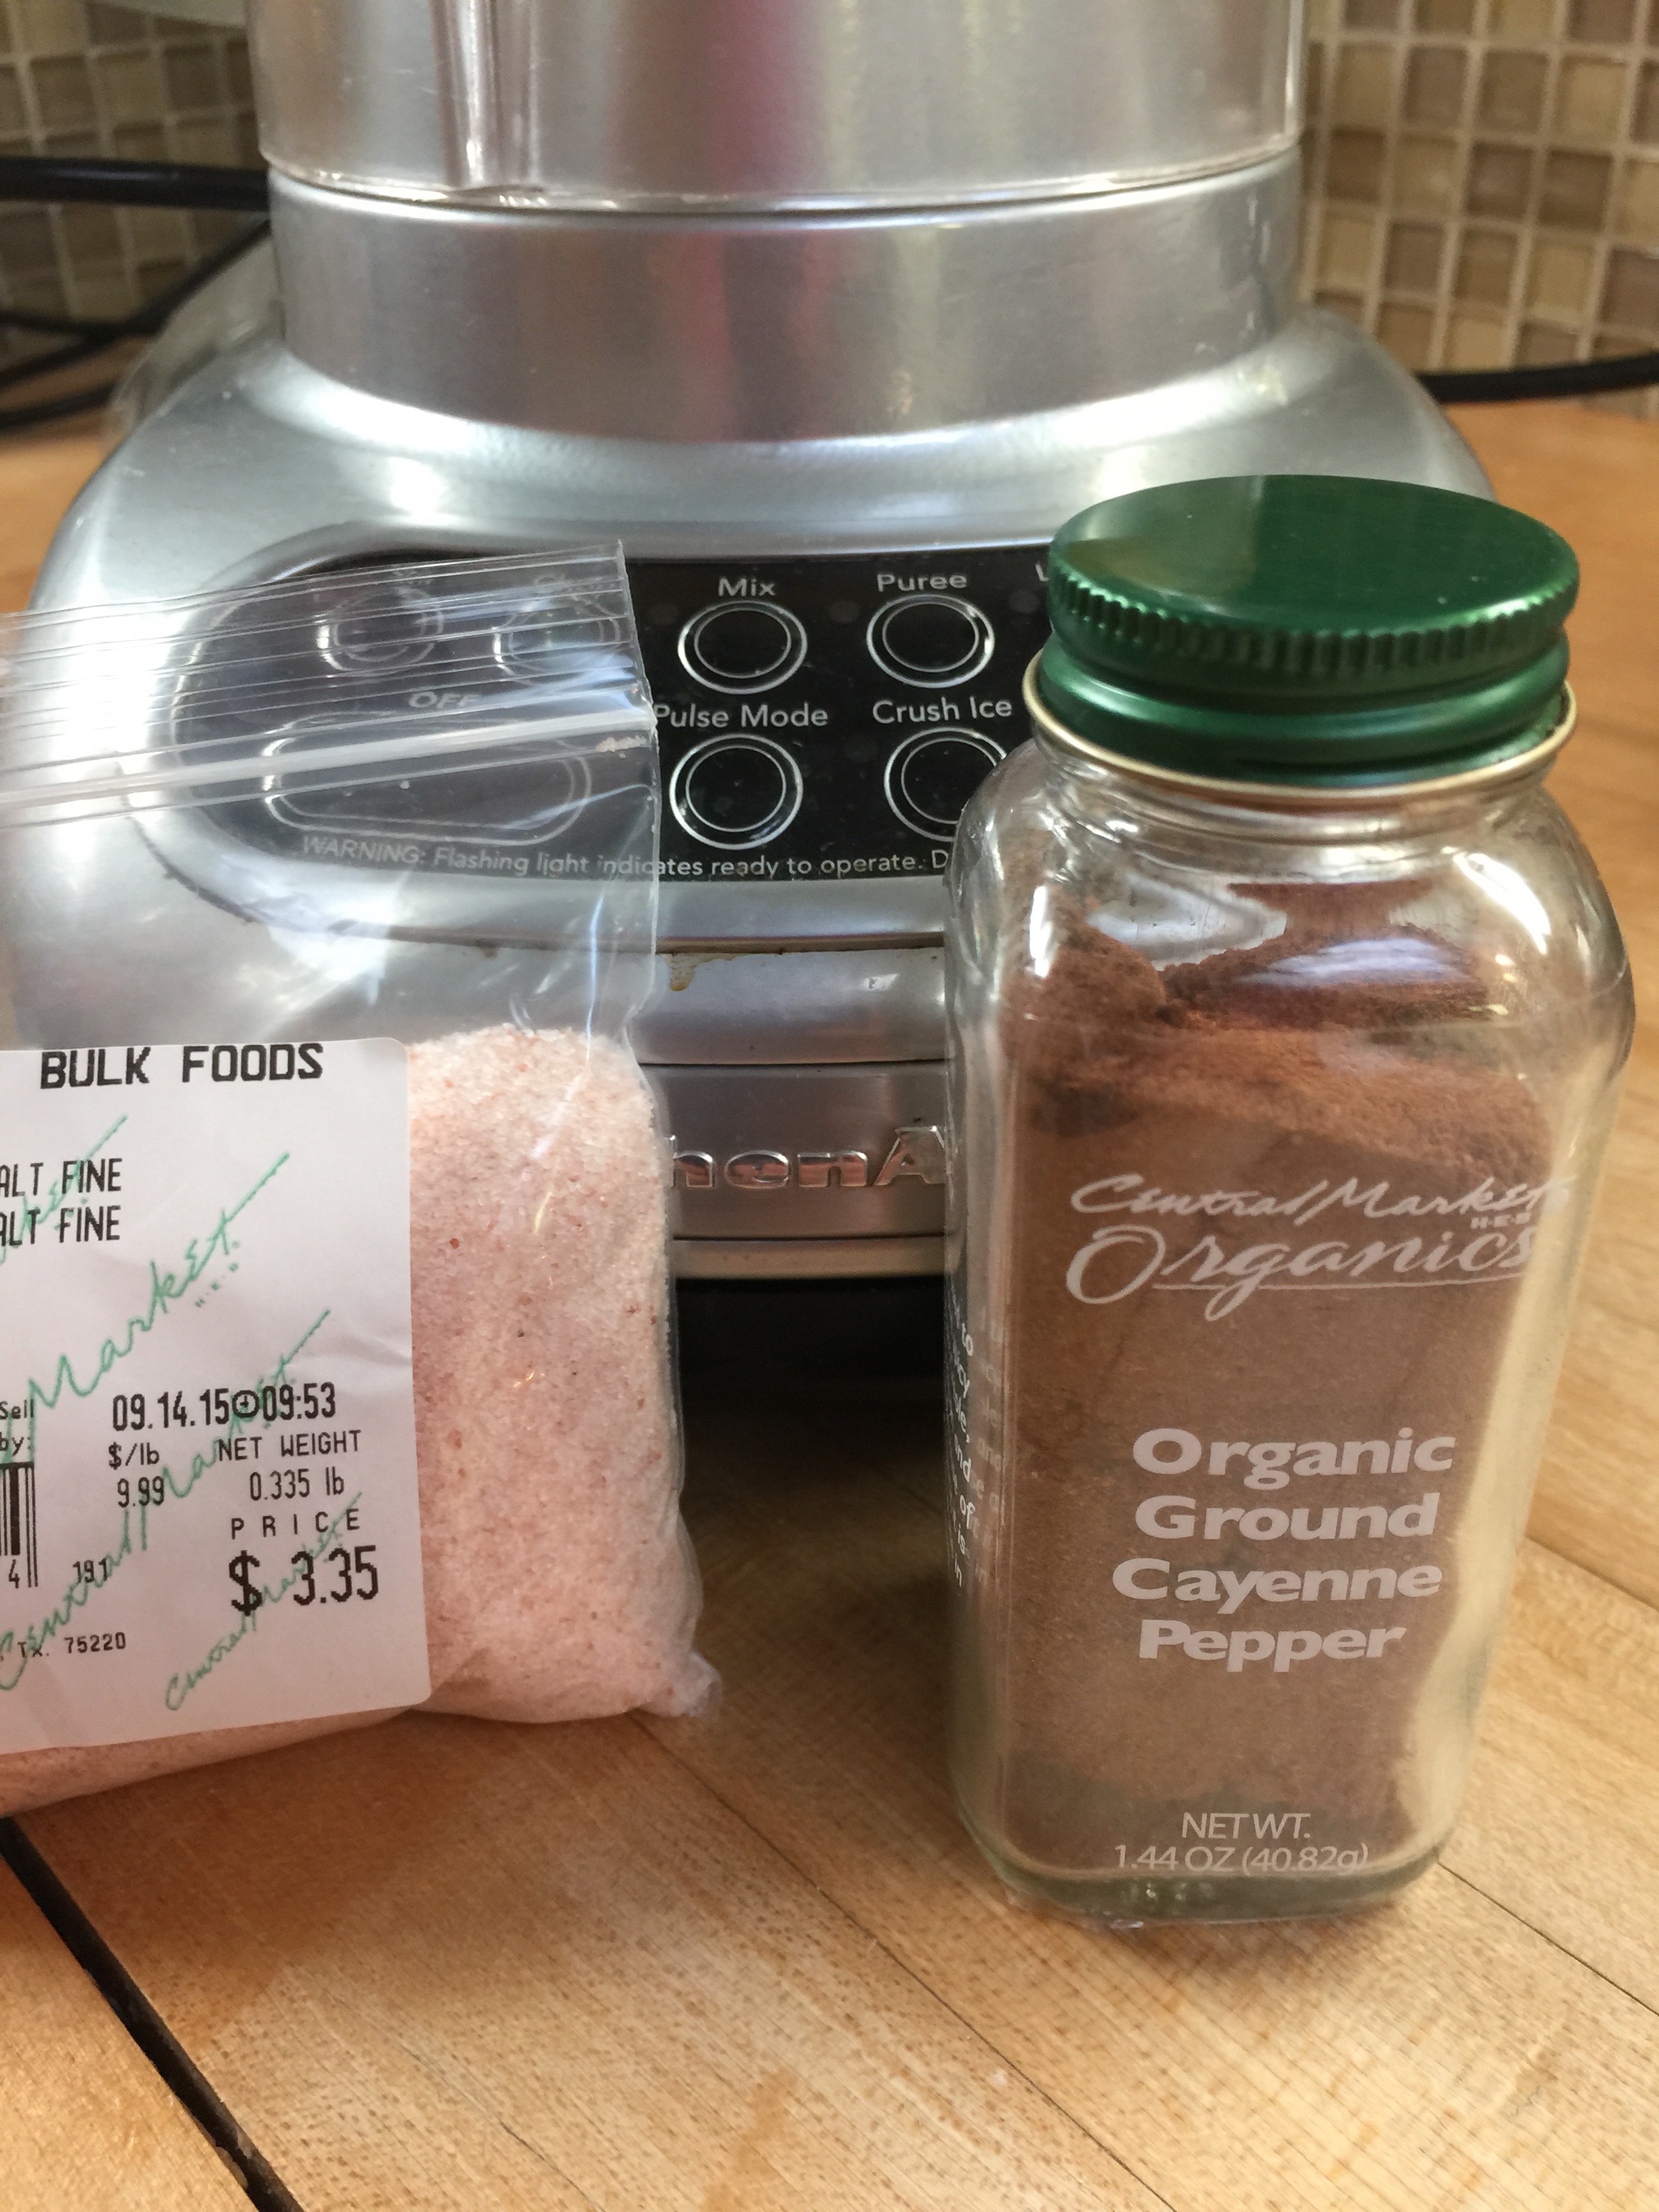
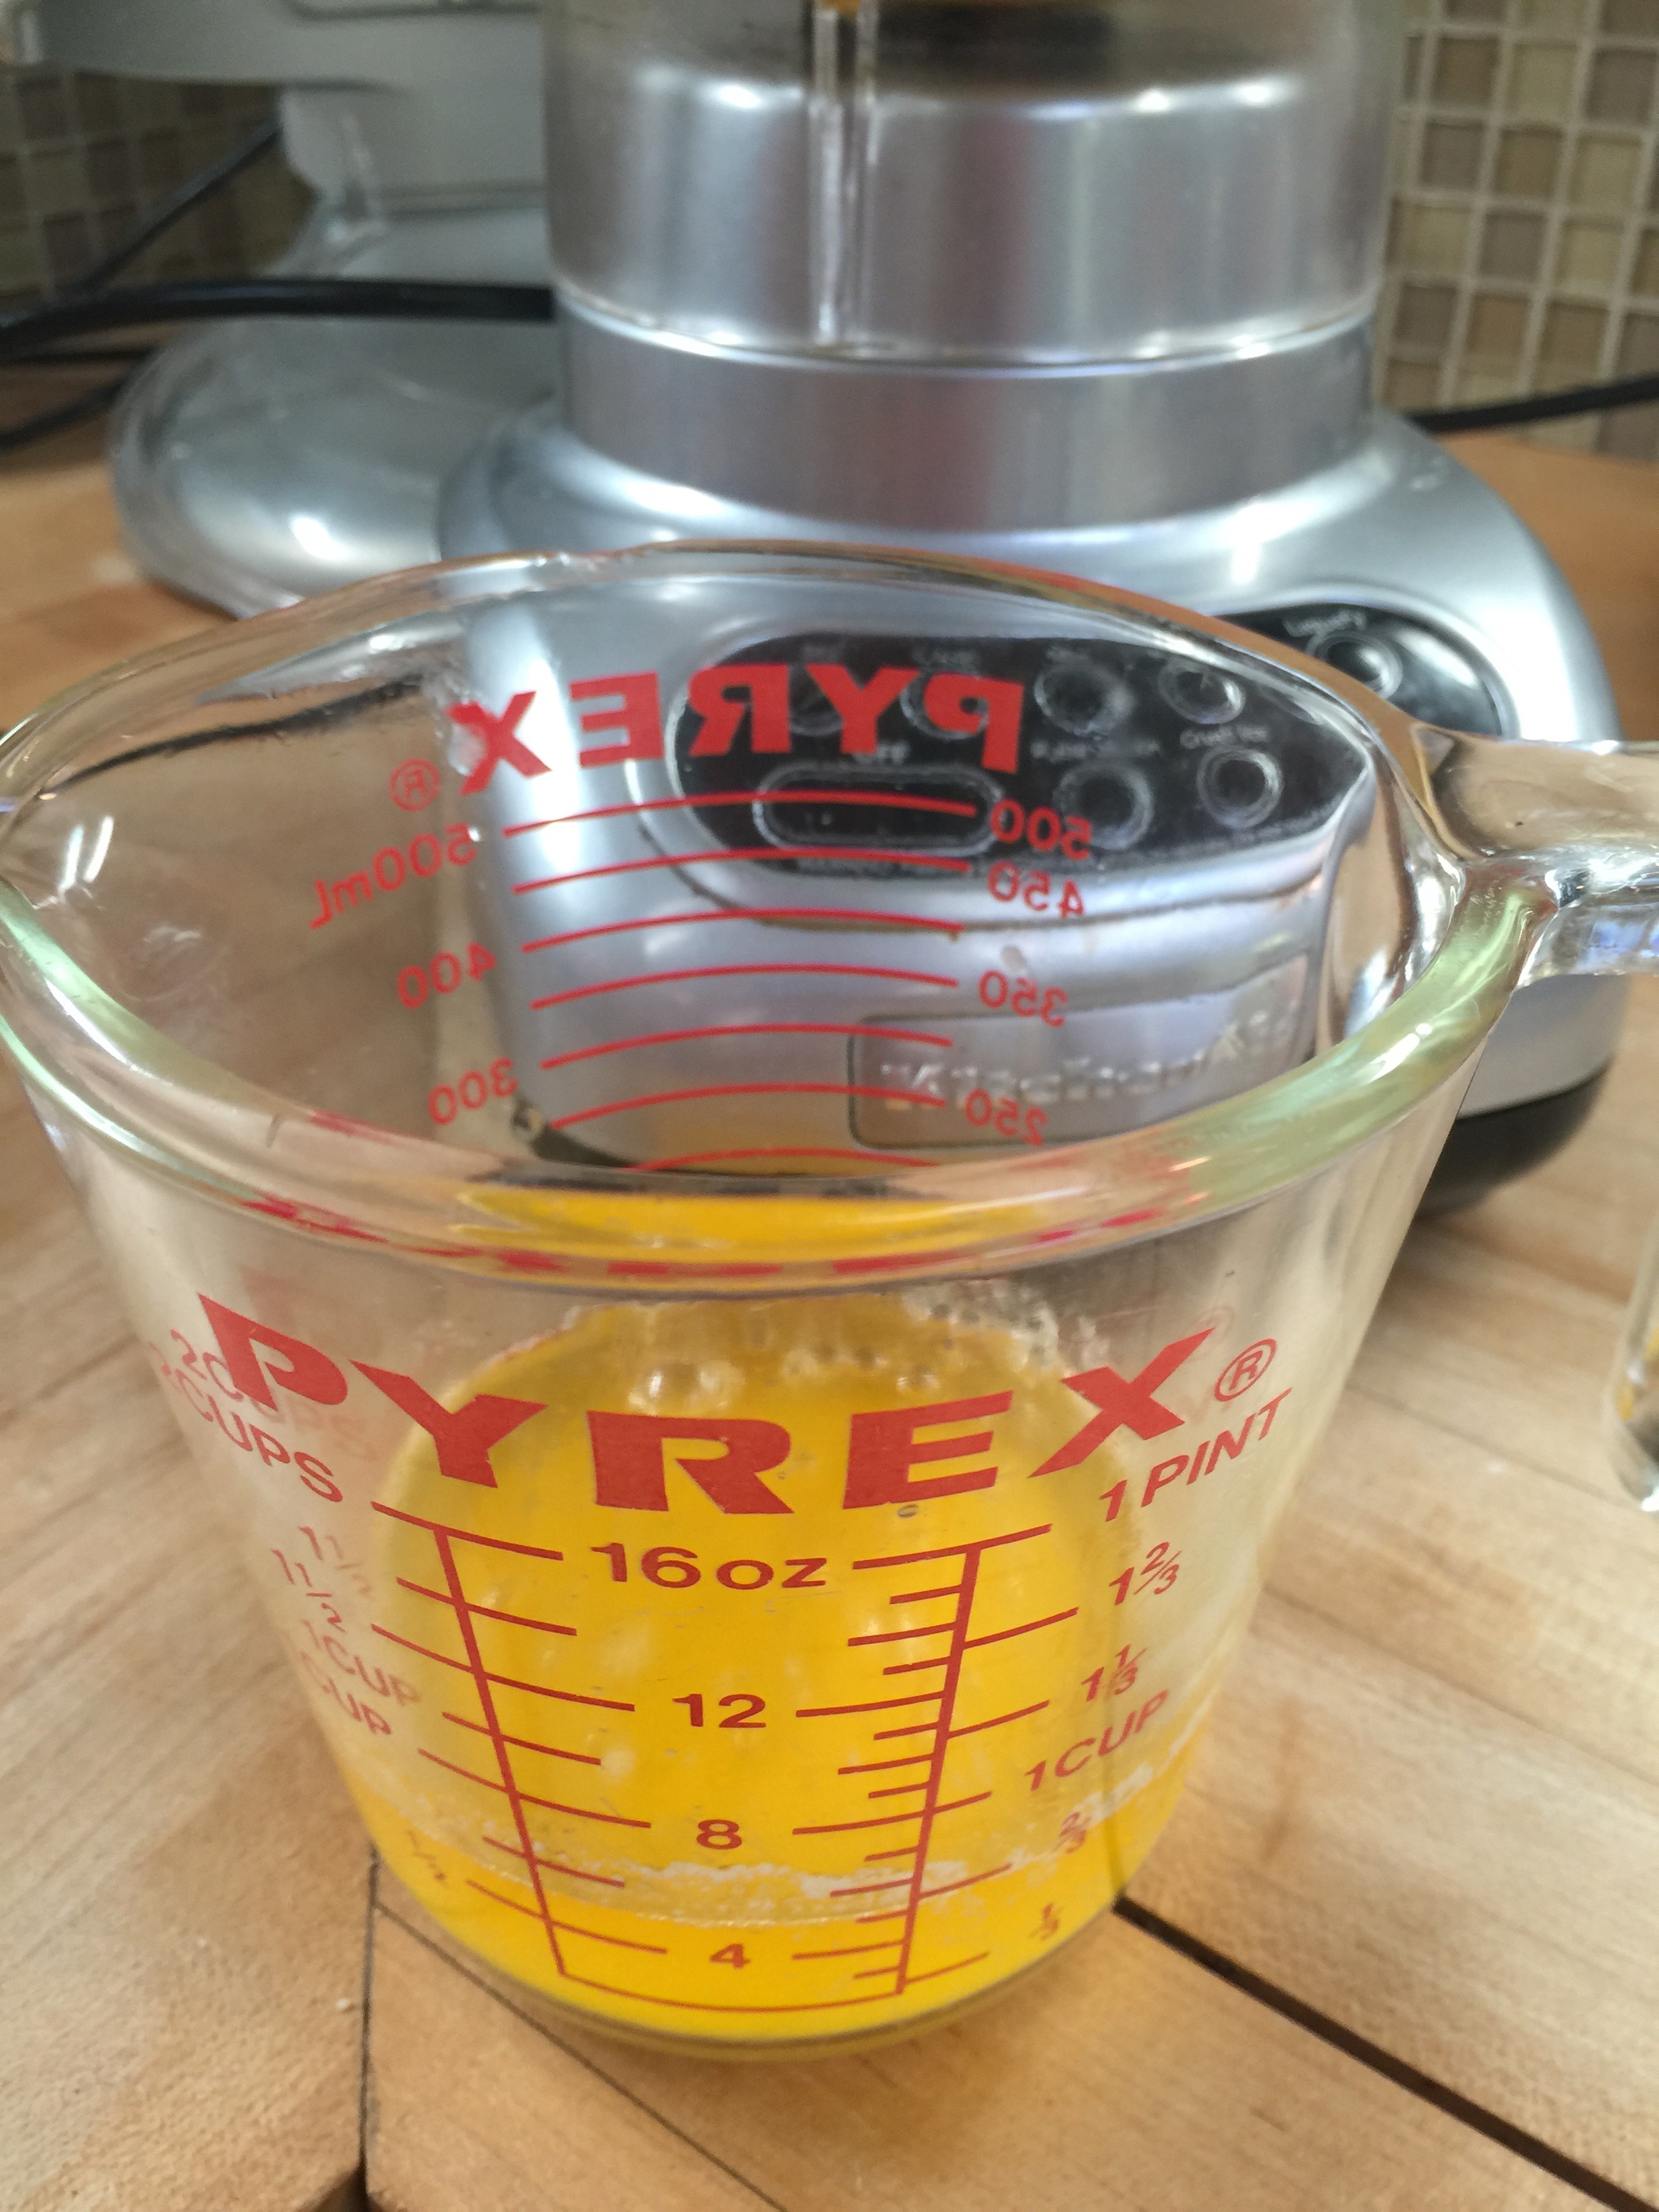
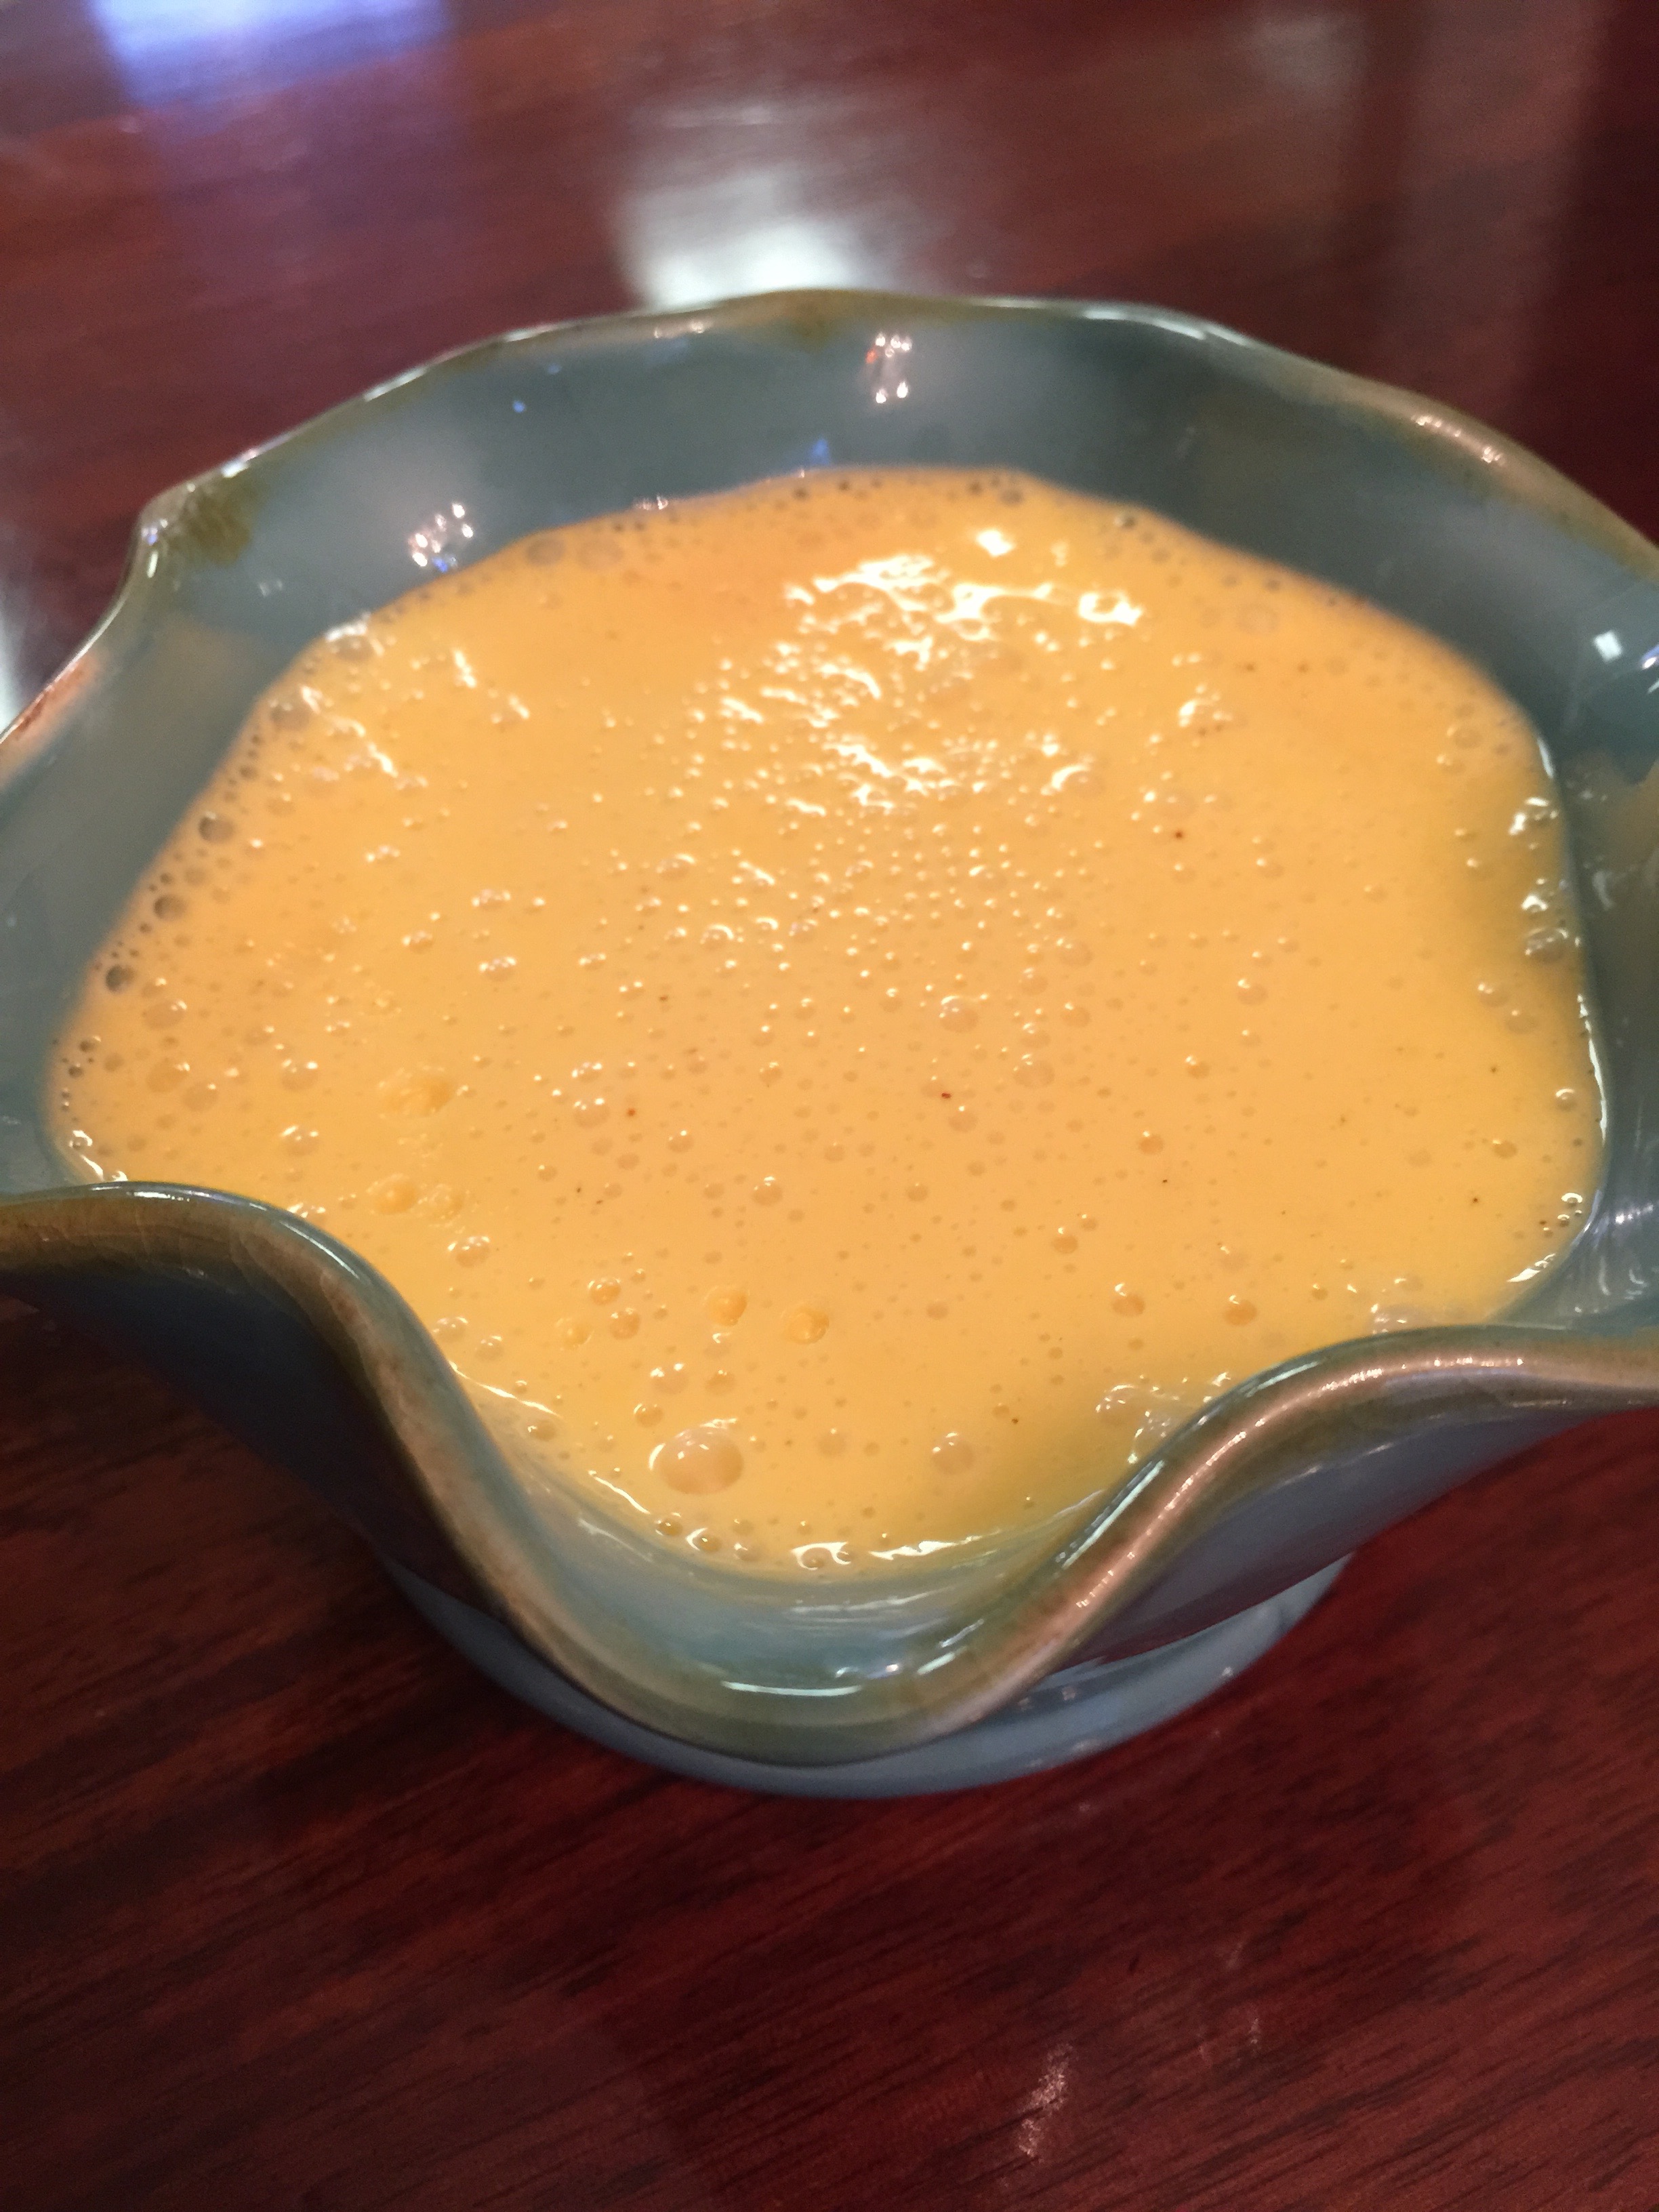
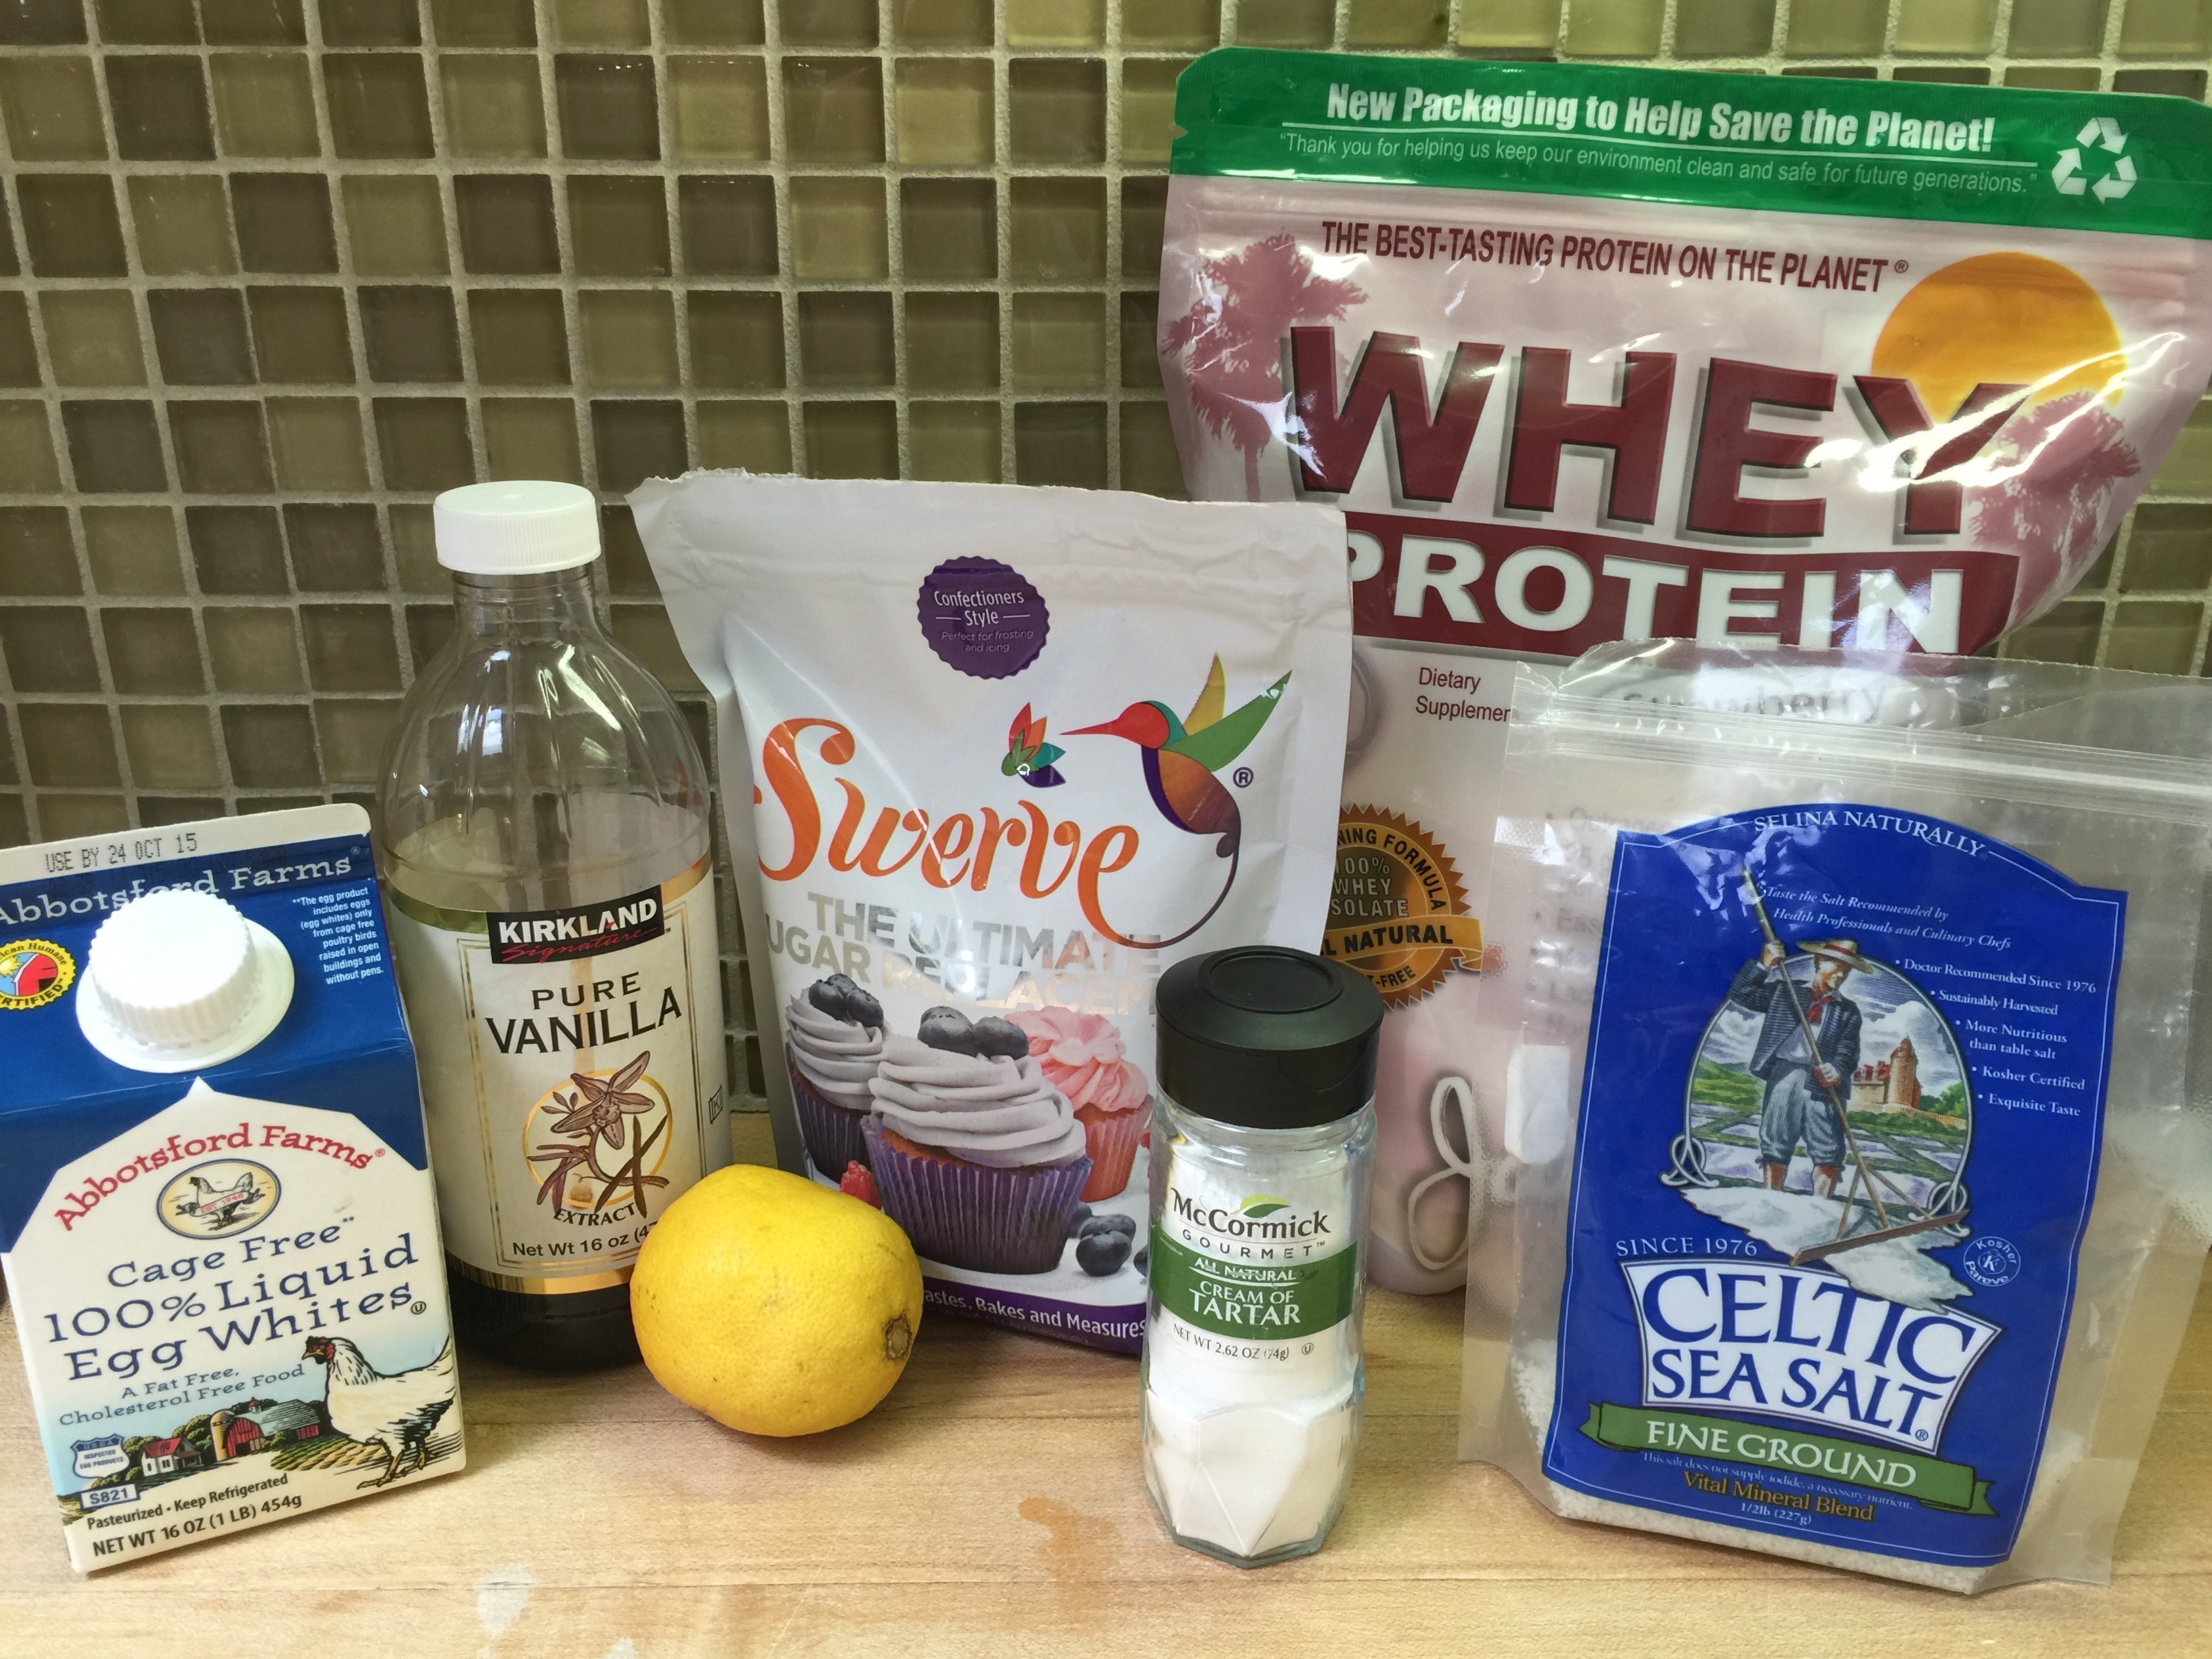
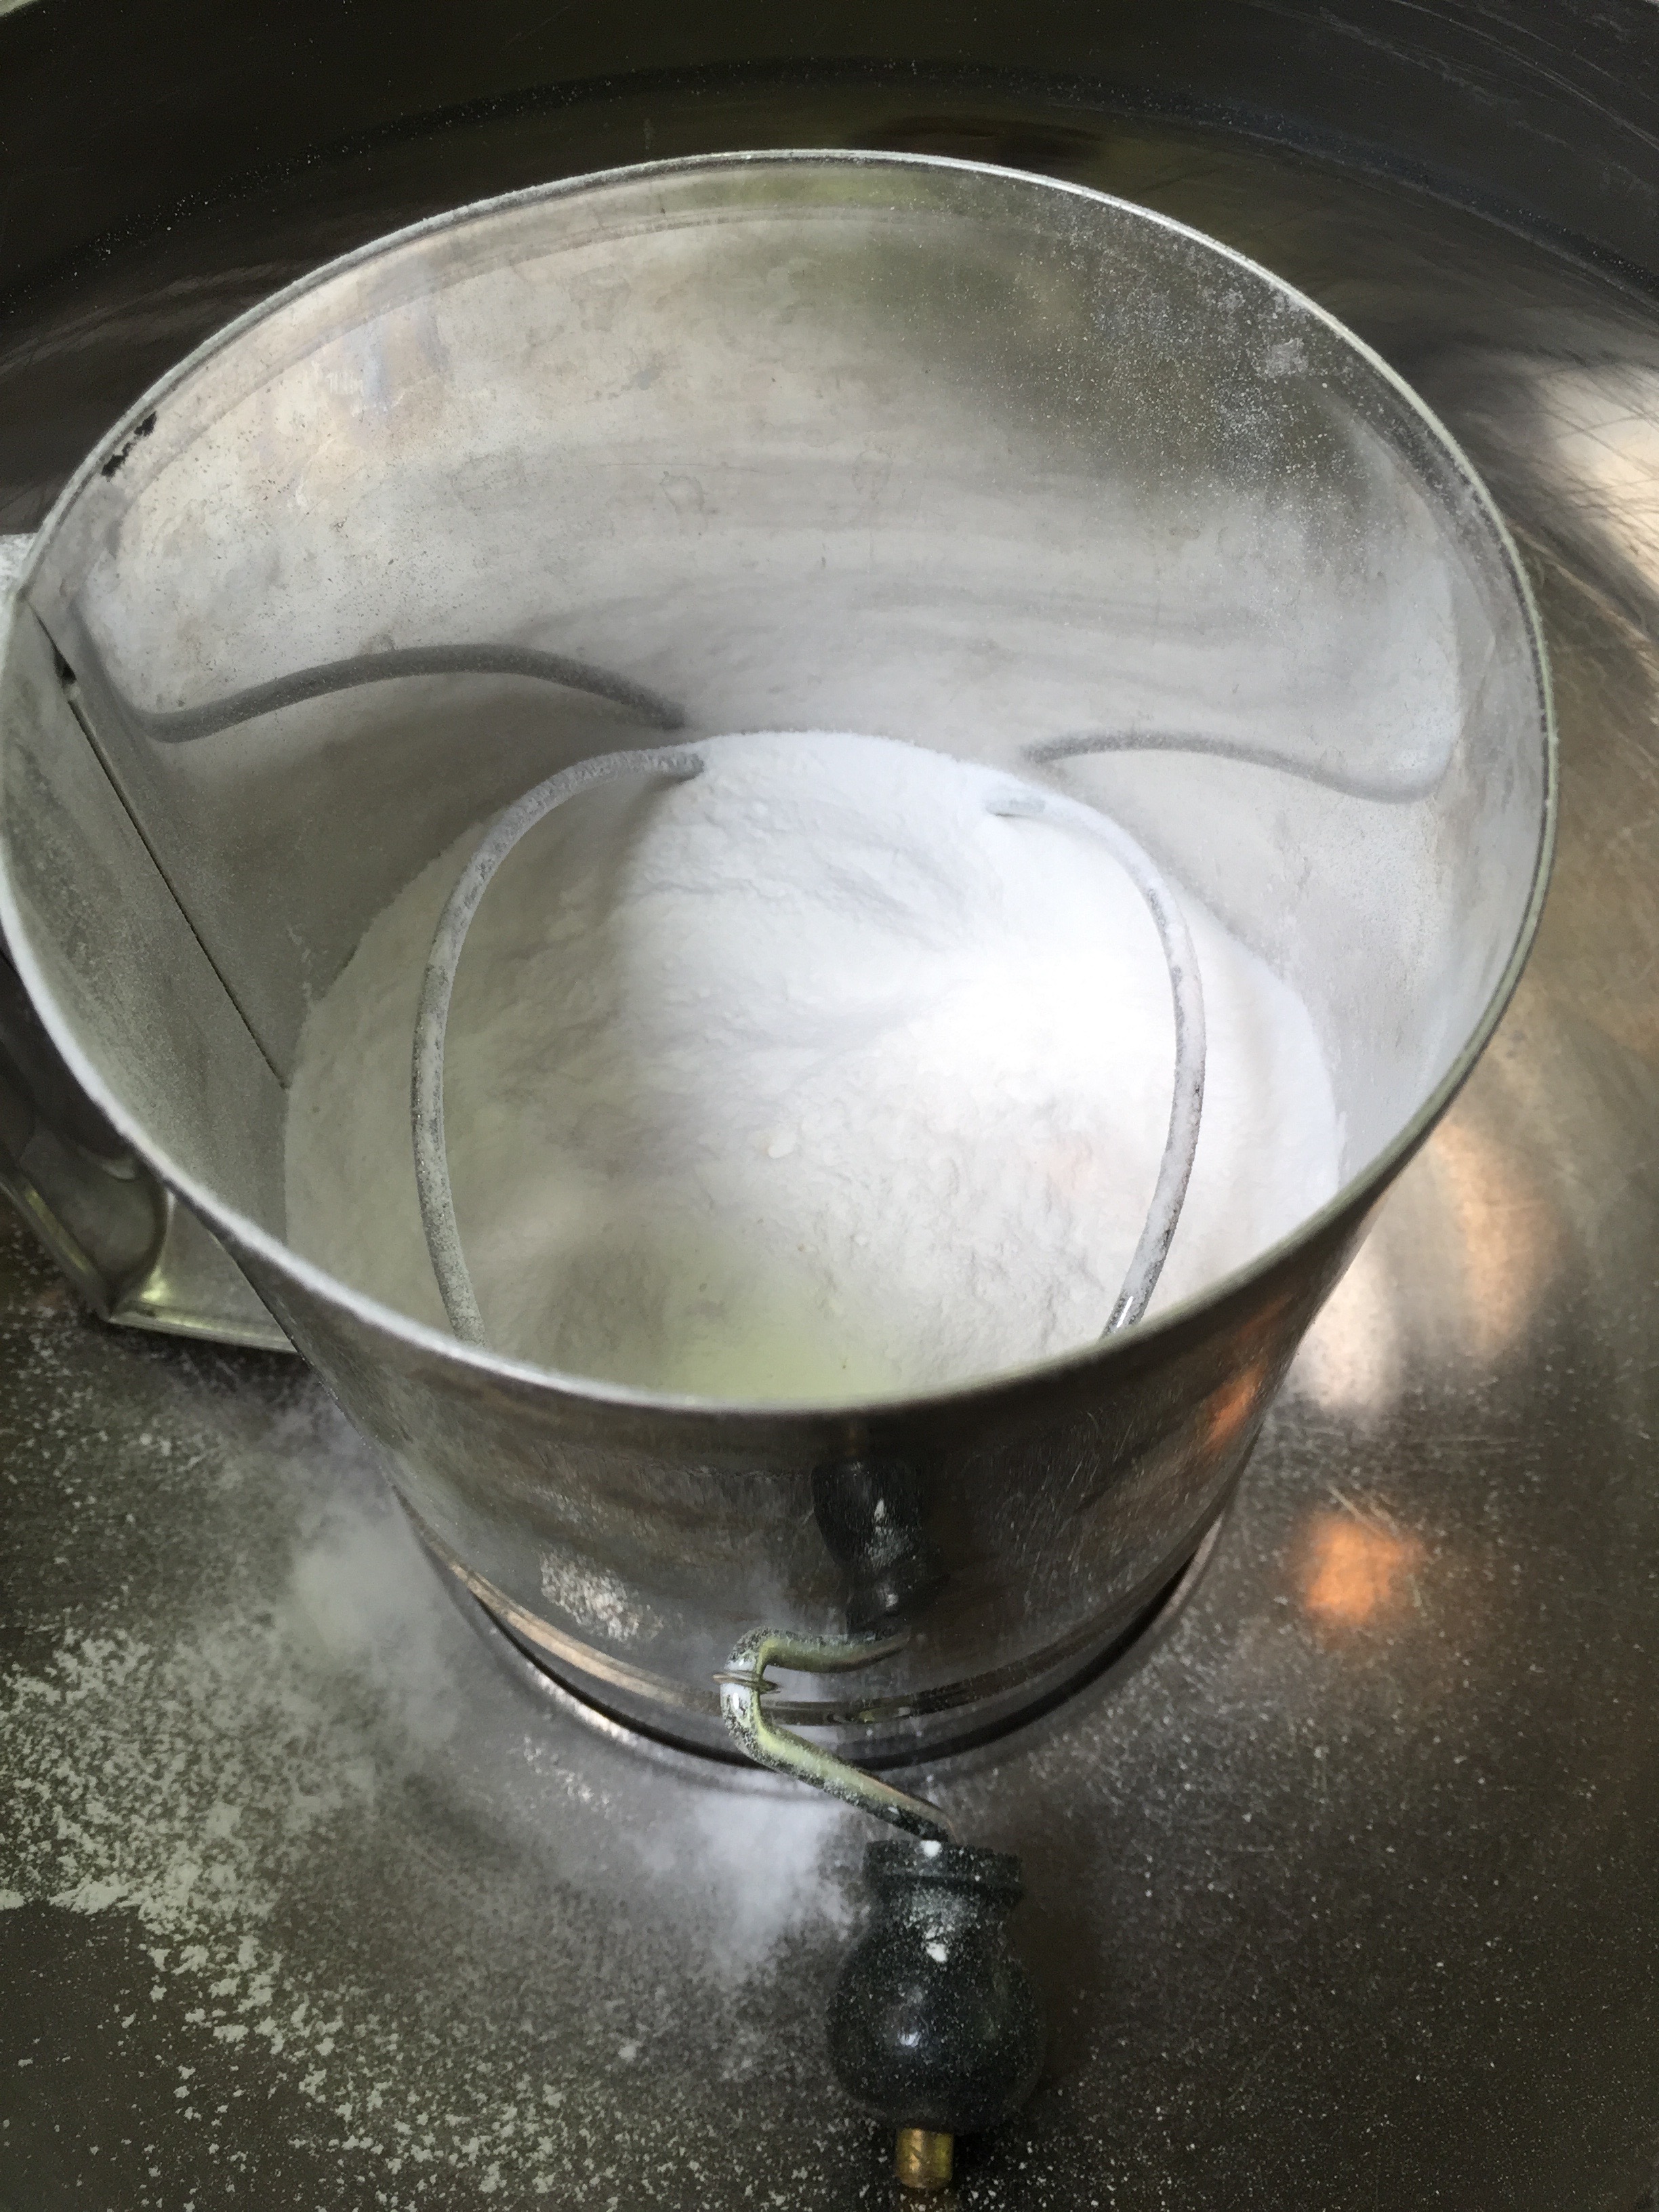
Start with 12 very cold egg whites or the equivalent of such (like I did) which is about 3 cups.
I Cup Jay Robb Protein Powder (Vanilla or Strawberry)
1 1/3 Cup Swerve Confectioners
1 1/2 tsp cream of tartar
1/2 tsp salt
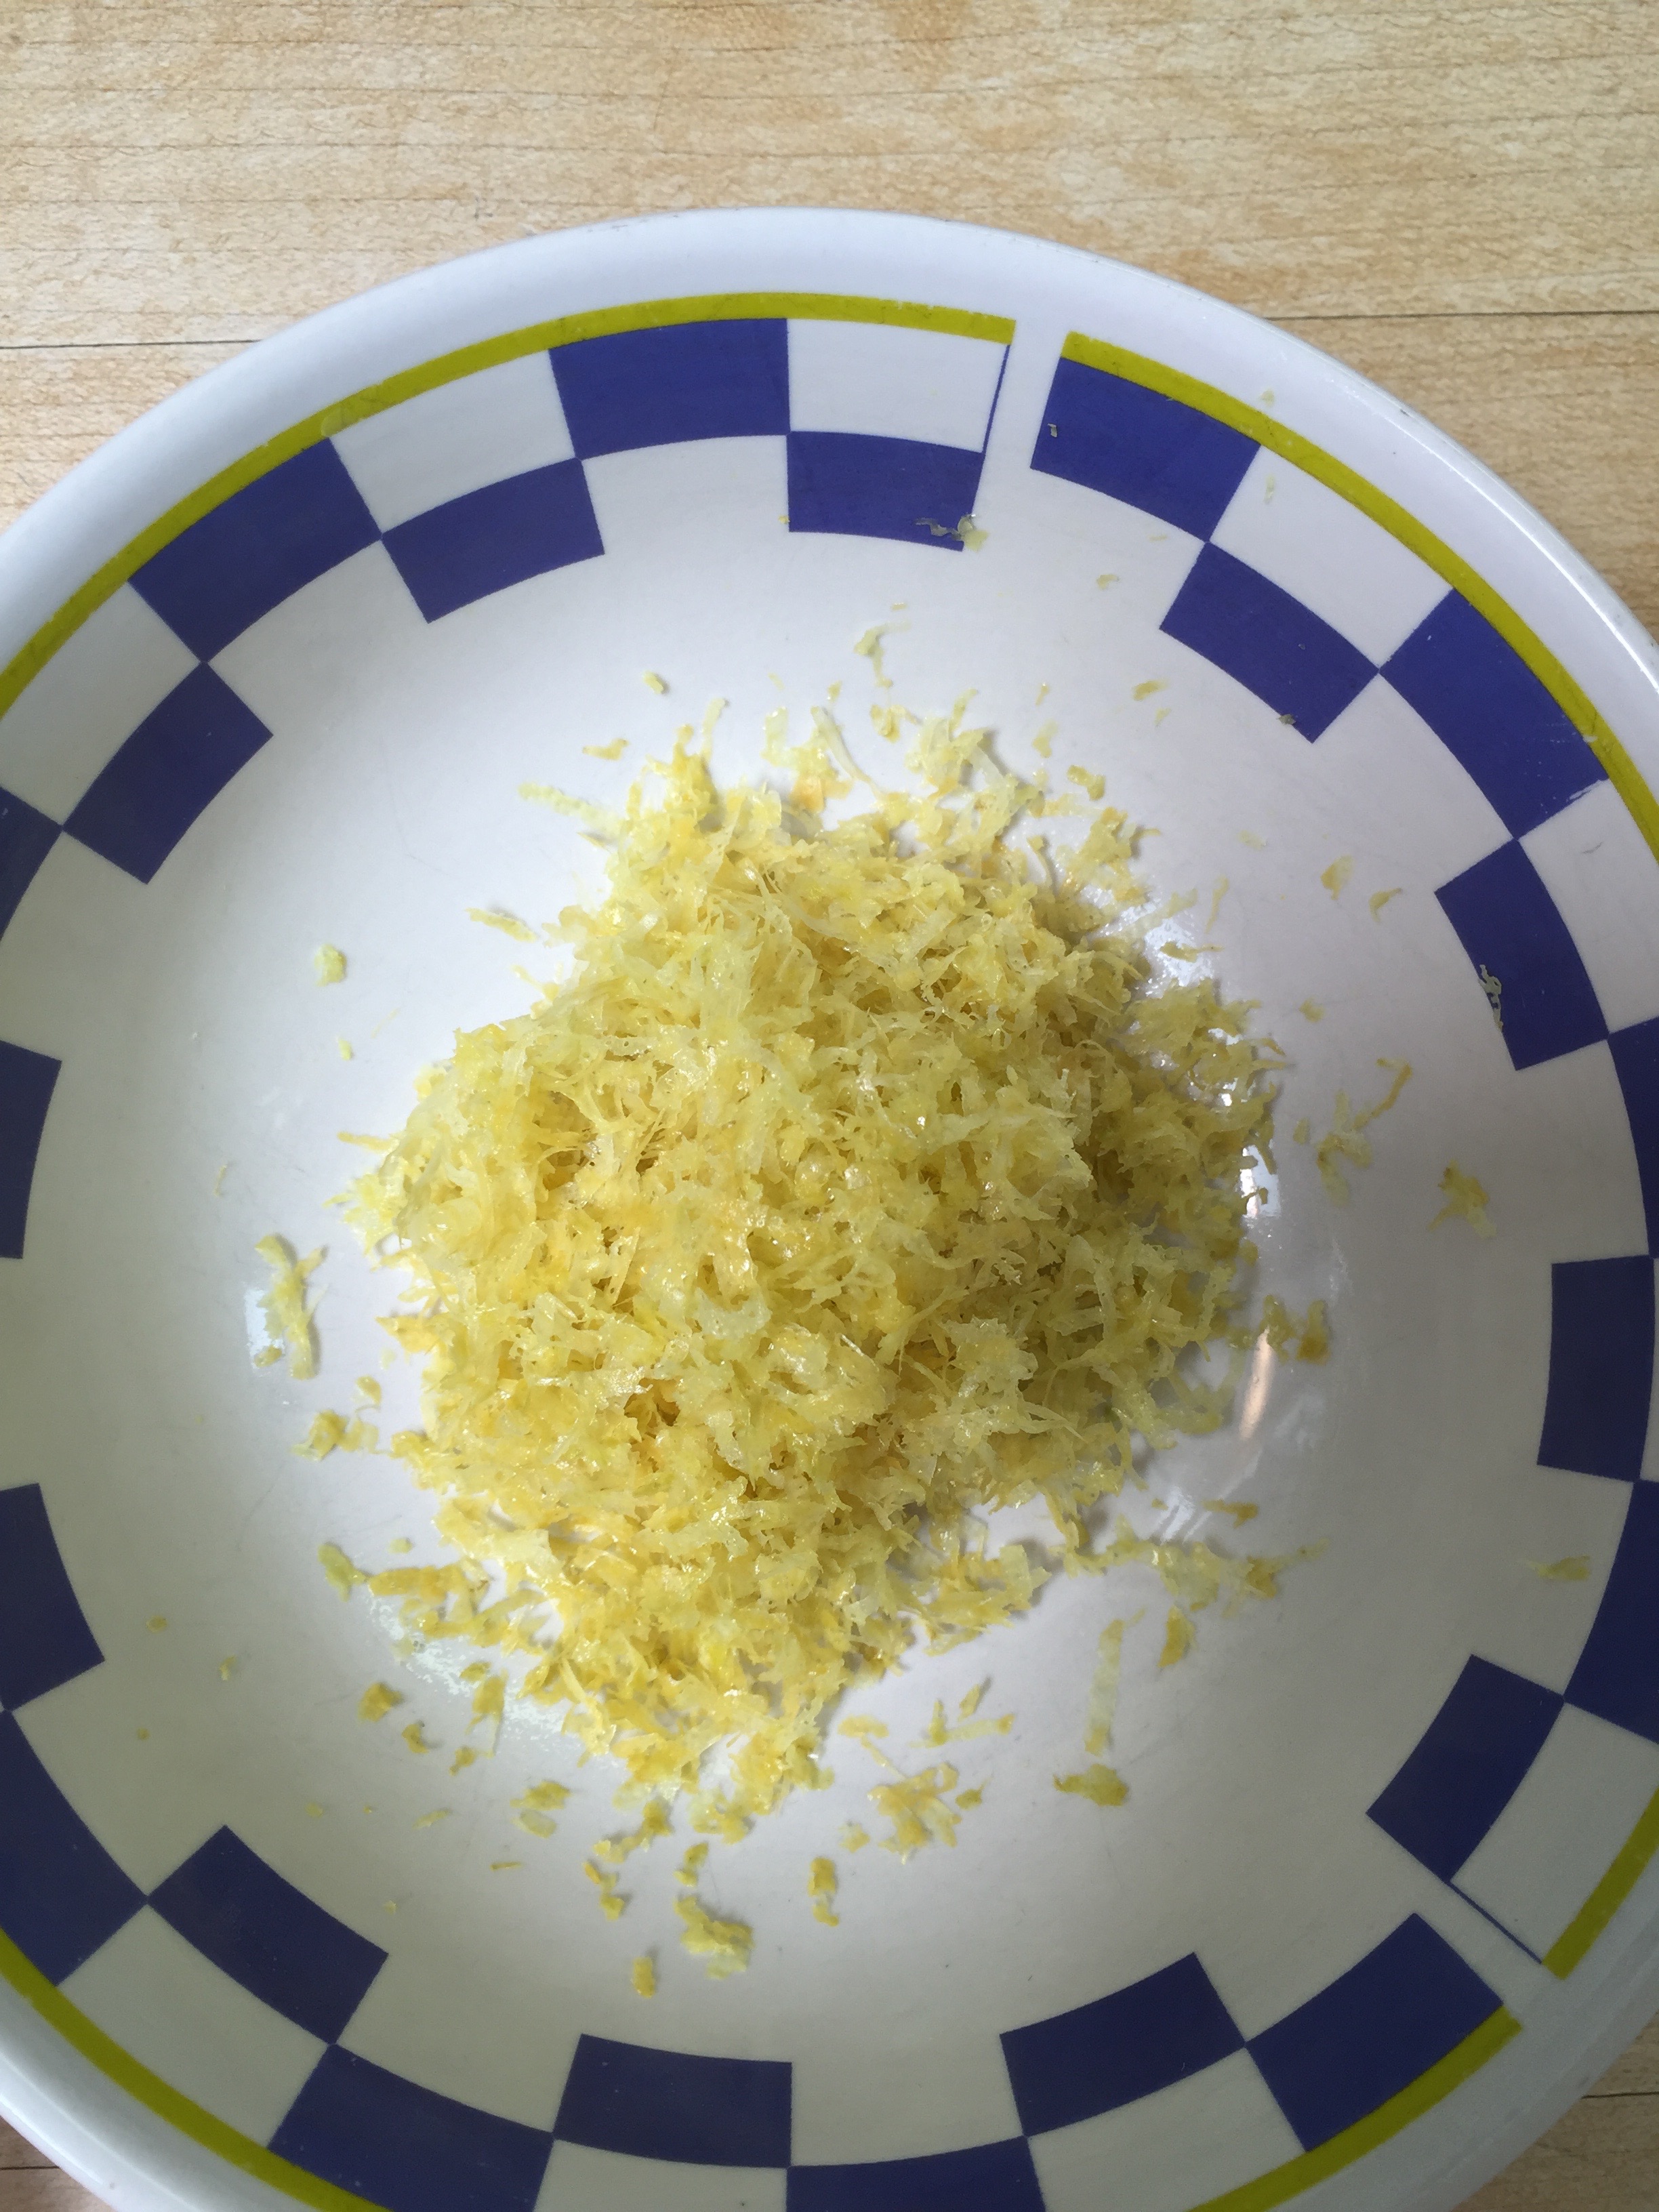
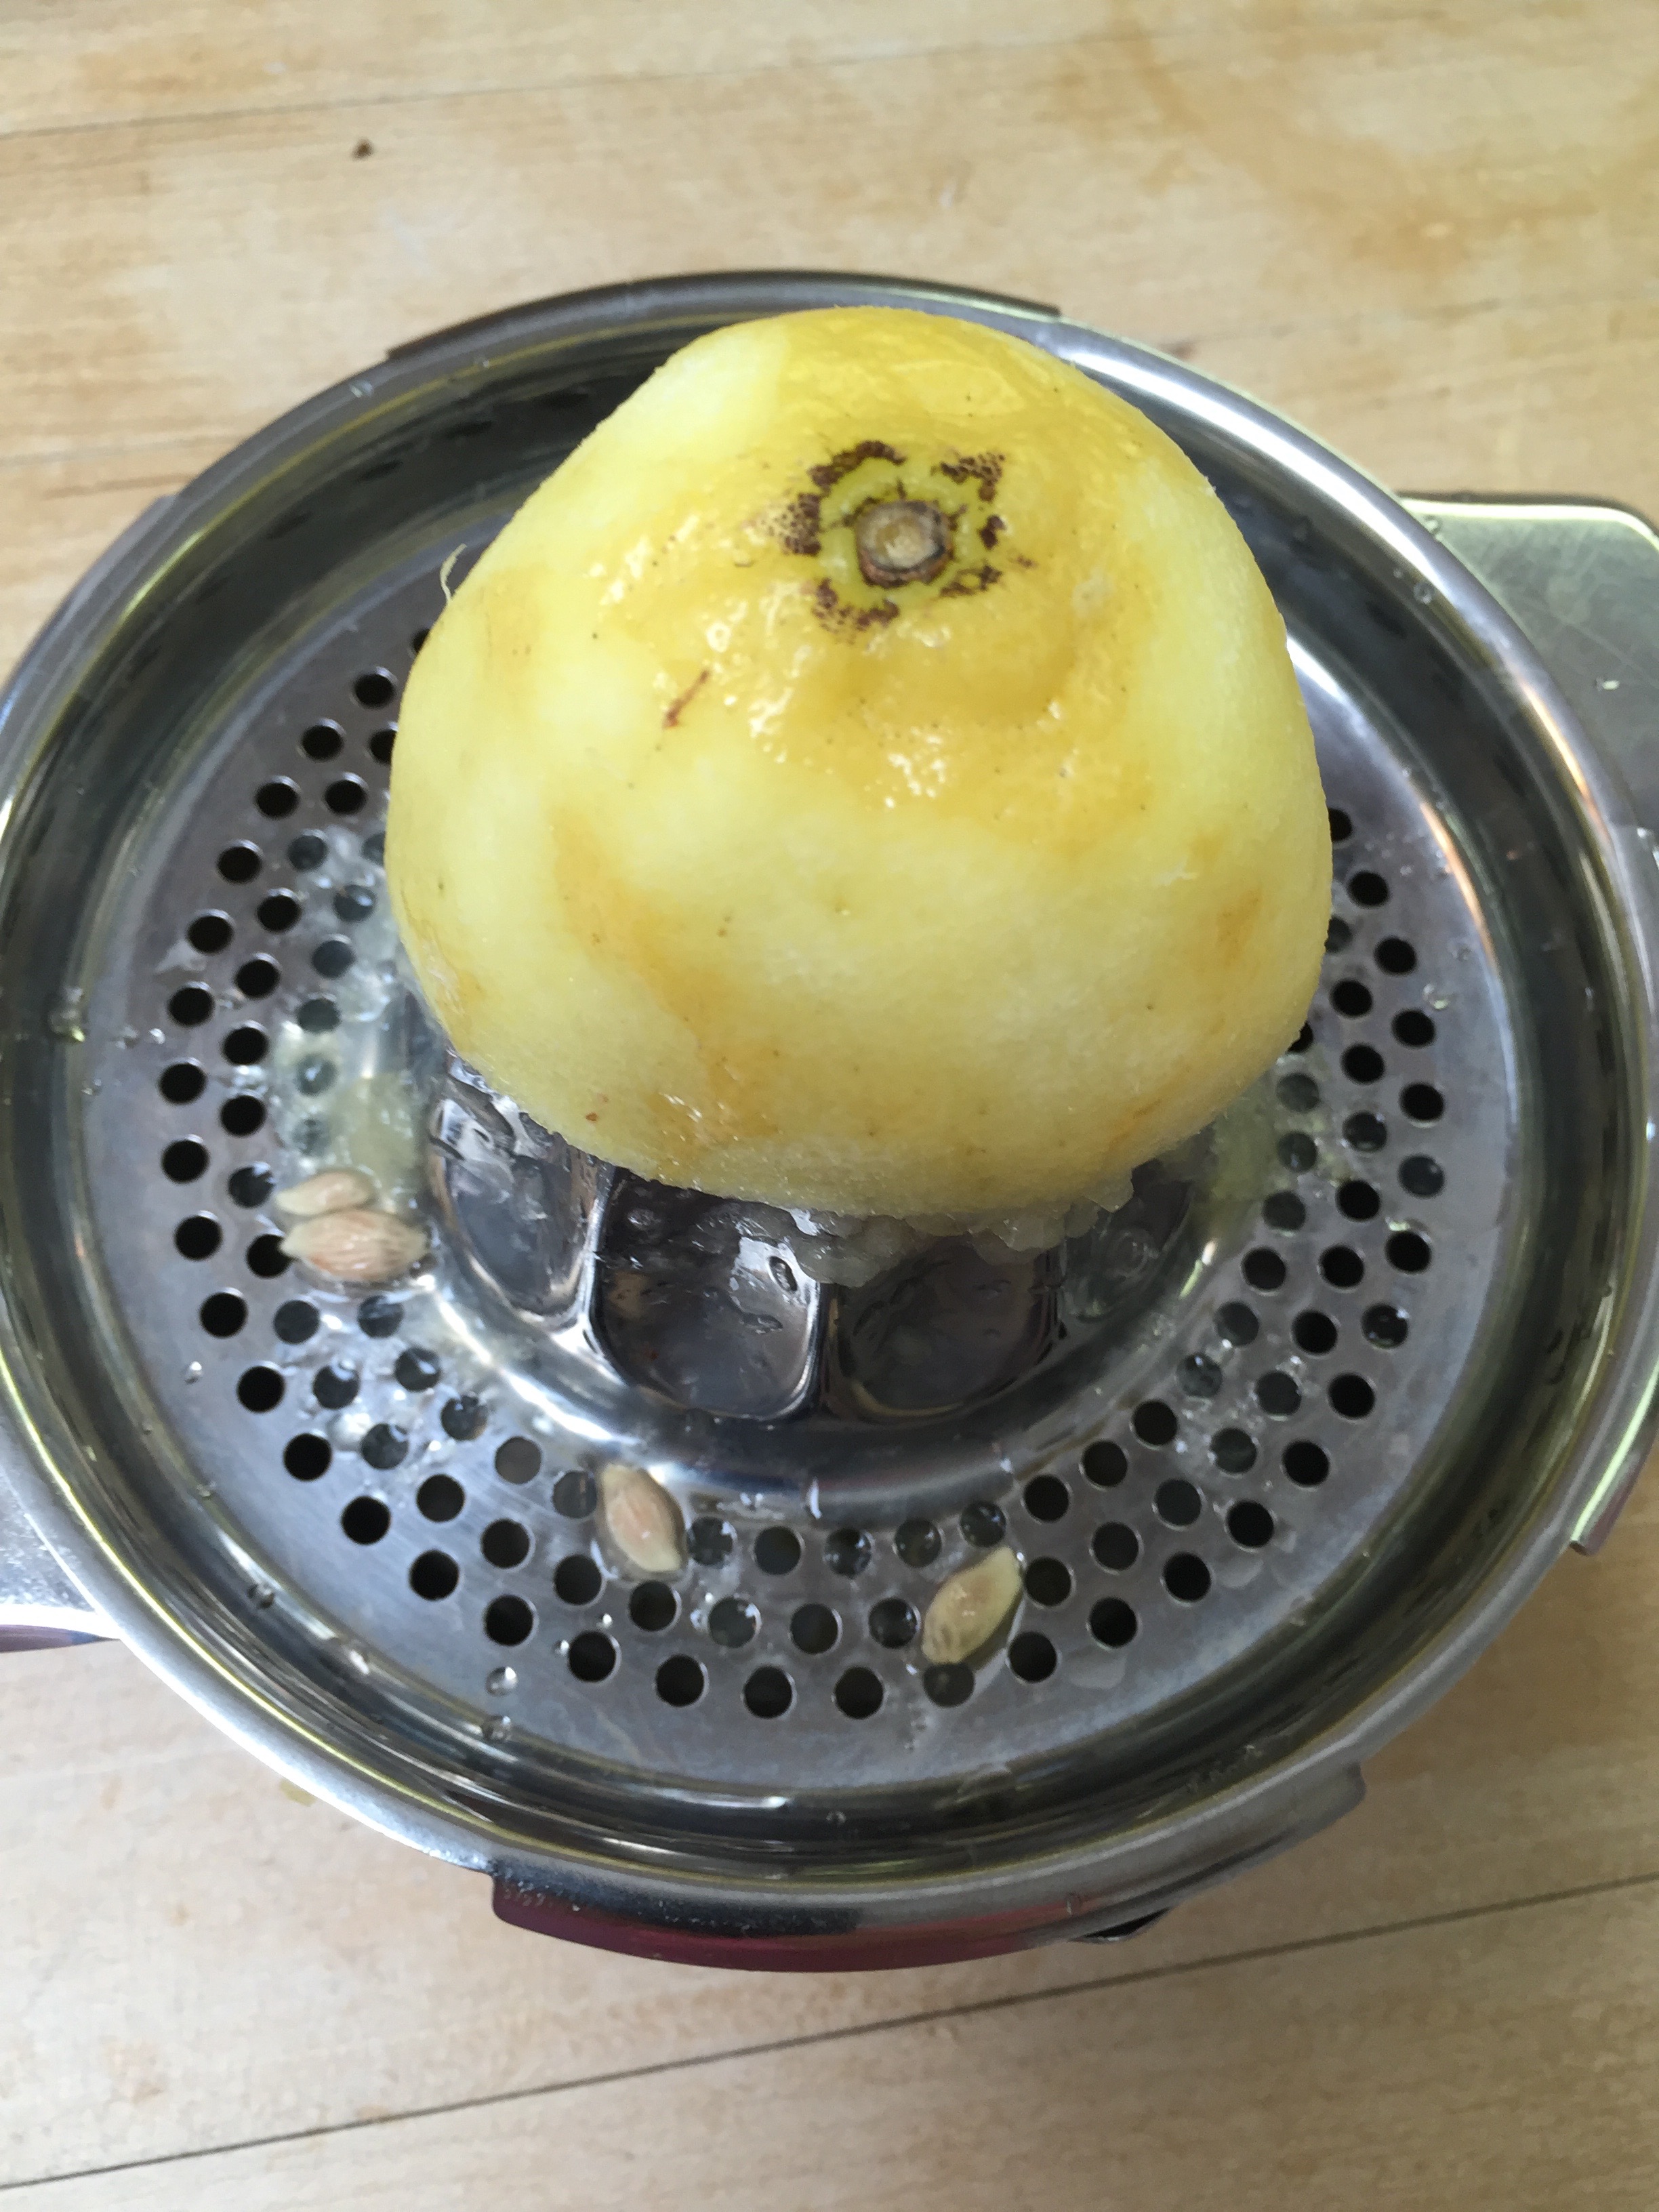
1 TBSP fresh lemon juice
1 tsp vanilla (or lemon, strawberry or flavor of your choice)
Directions:
1. Preheat your oven to 350 degrees.
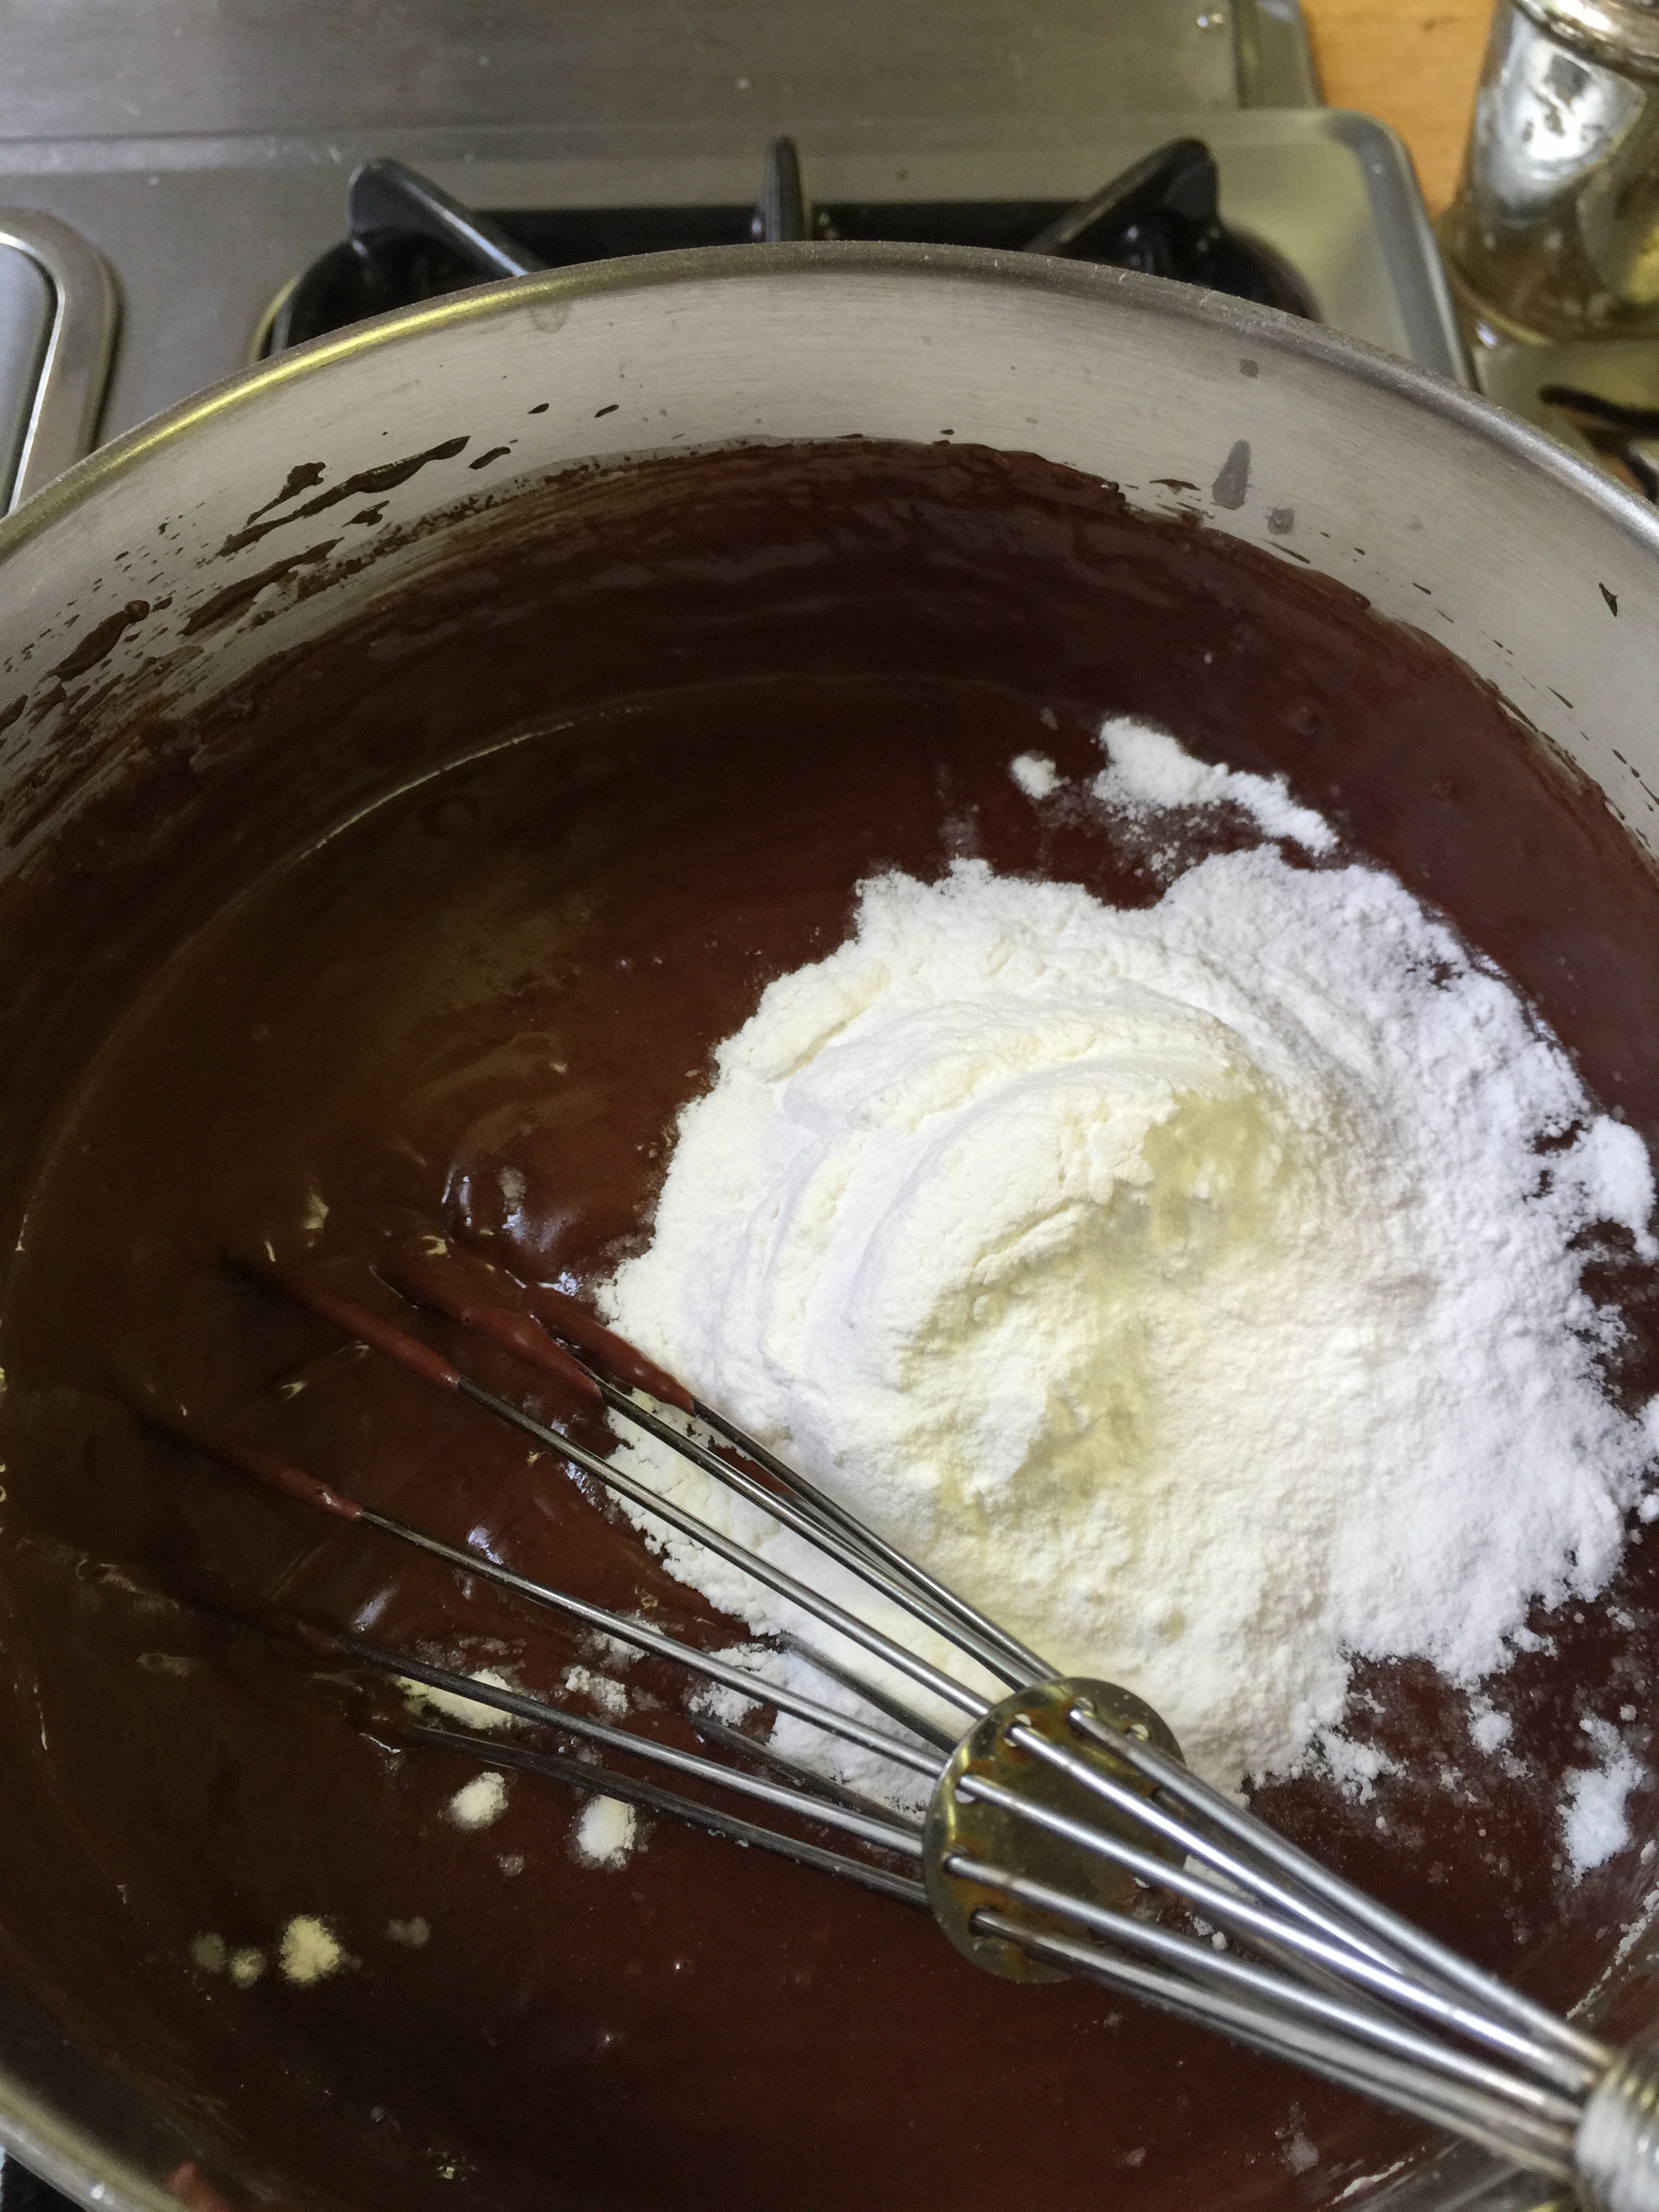
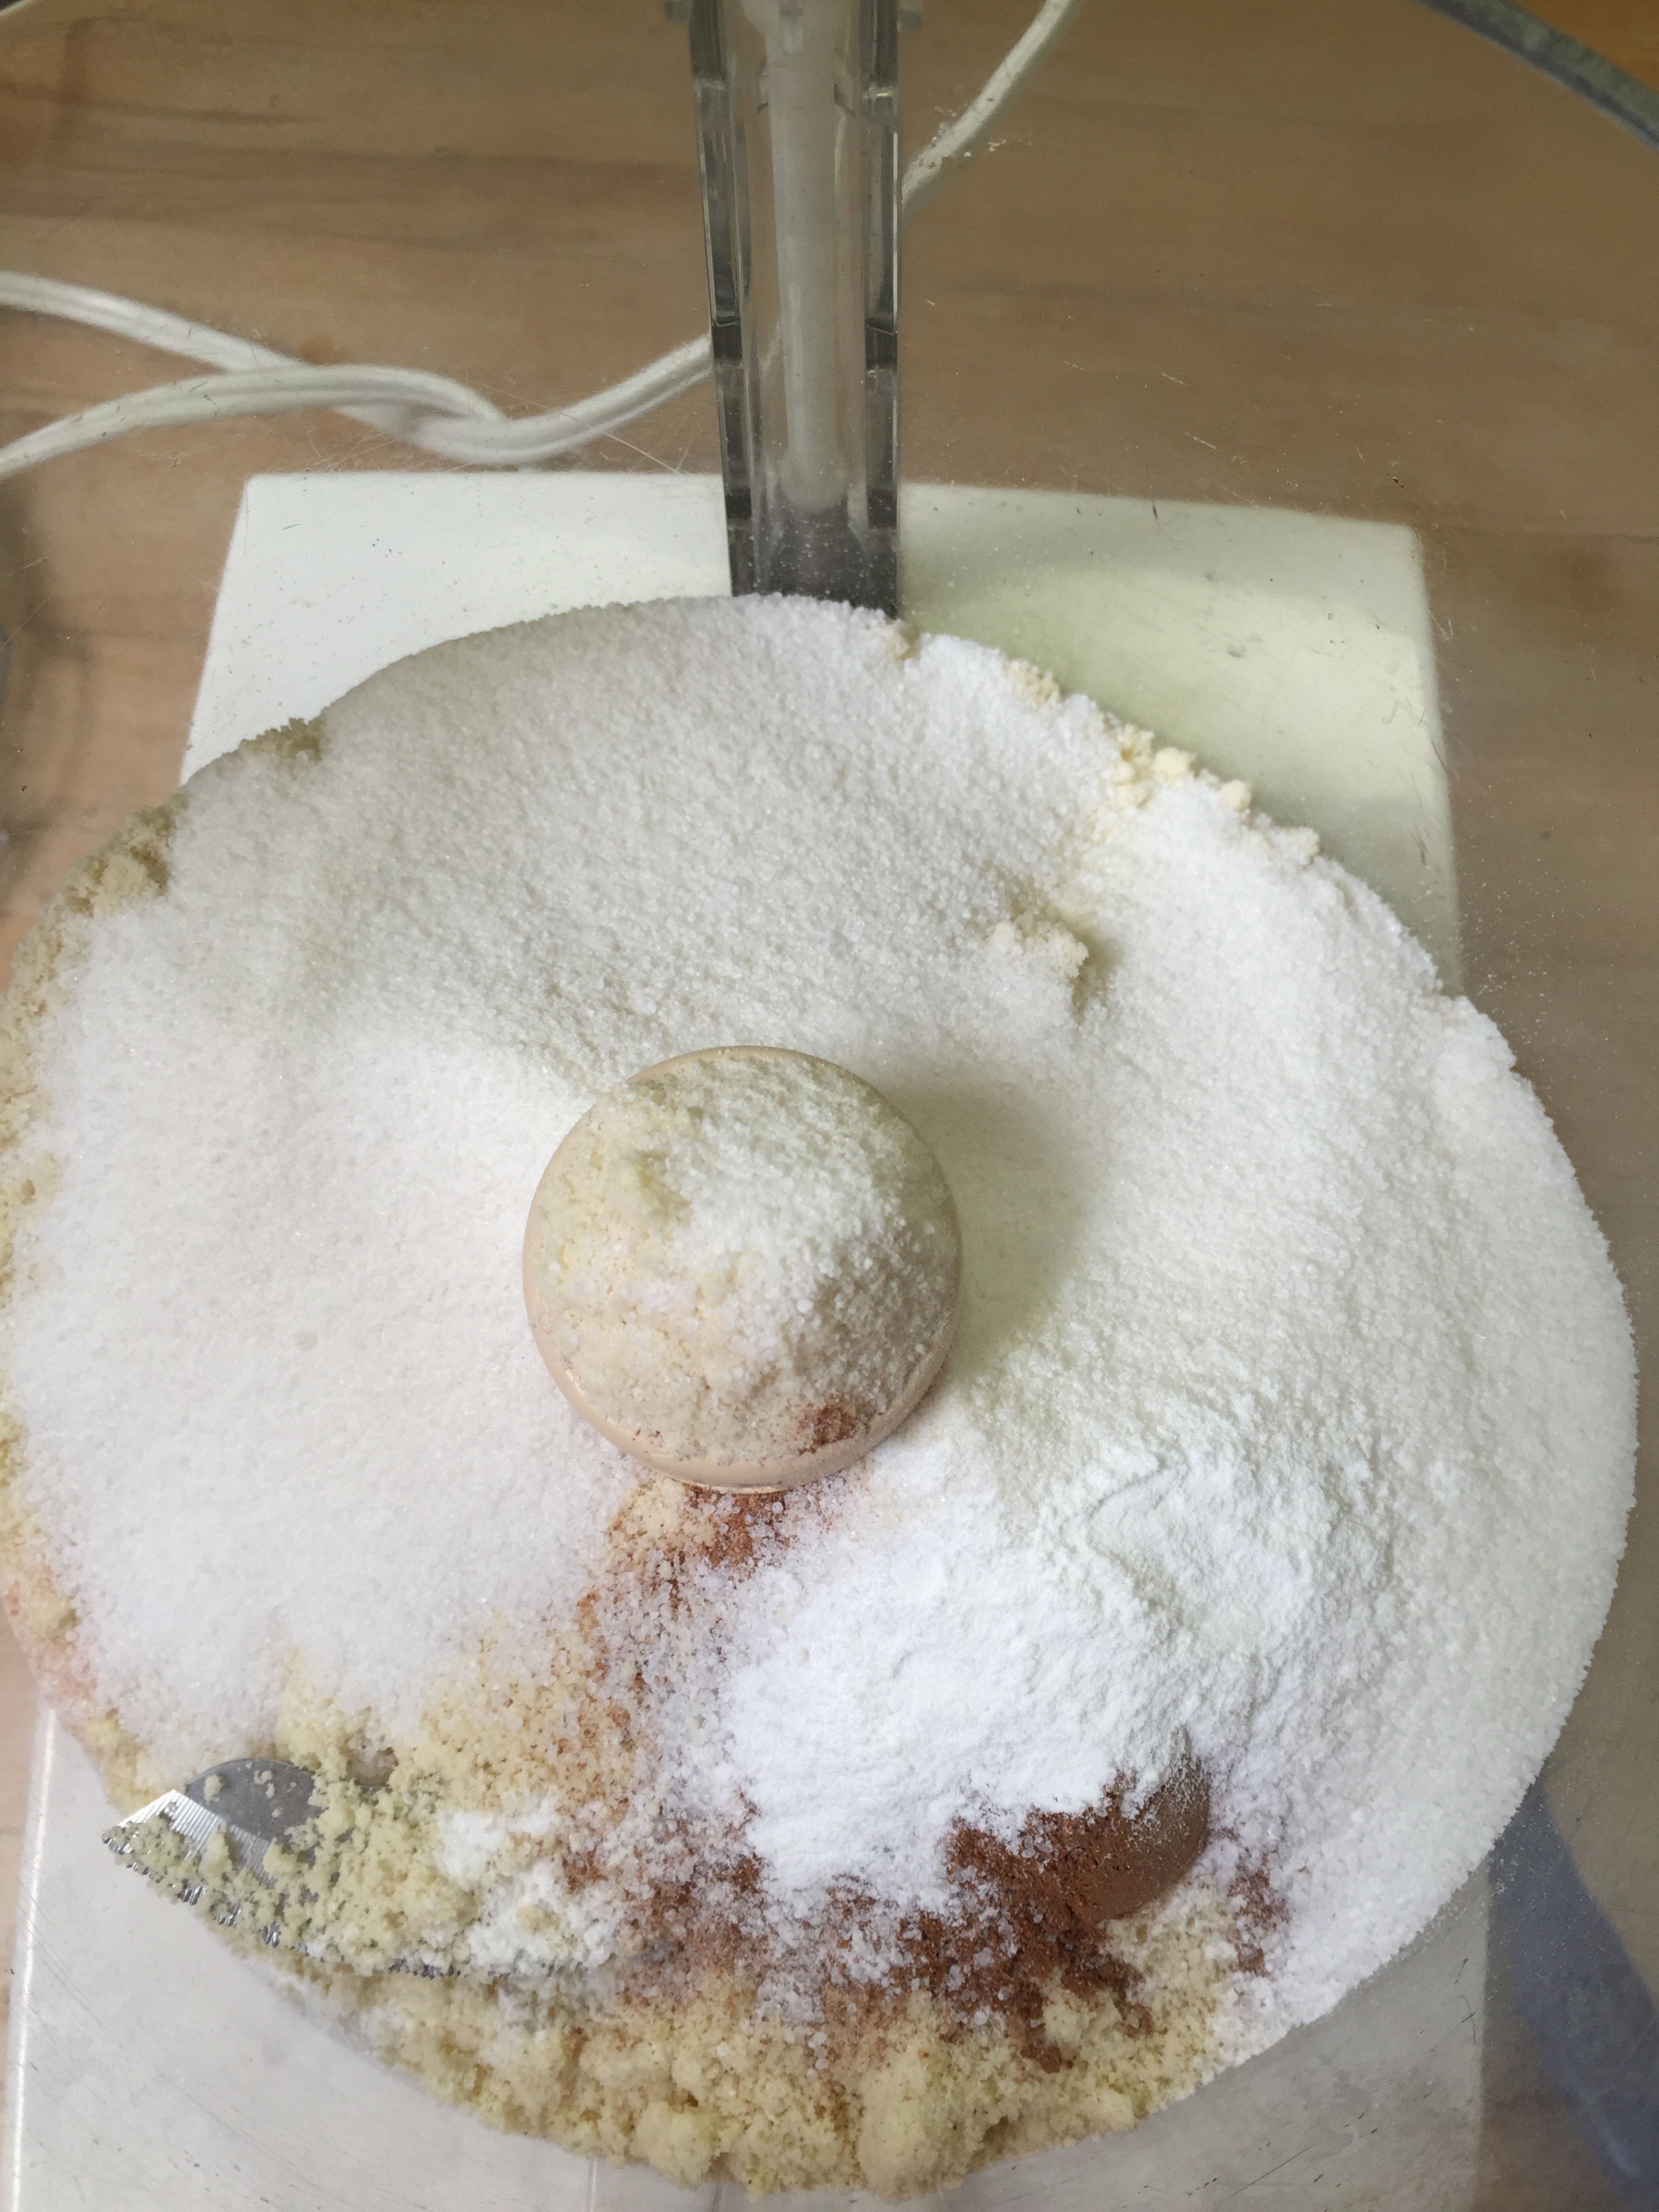
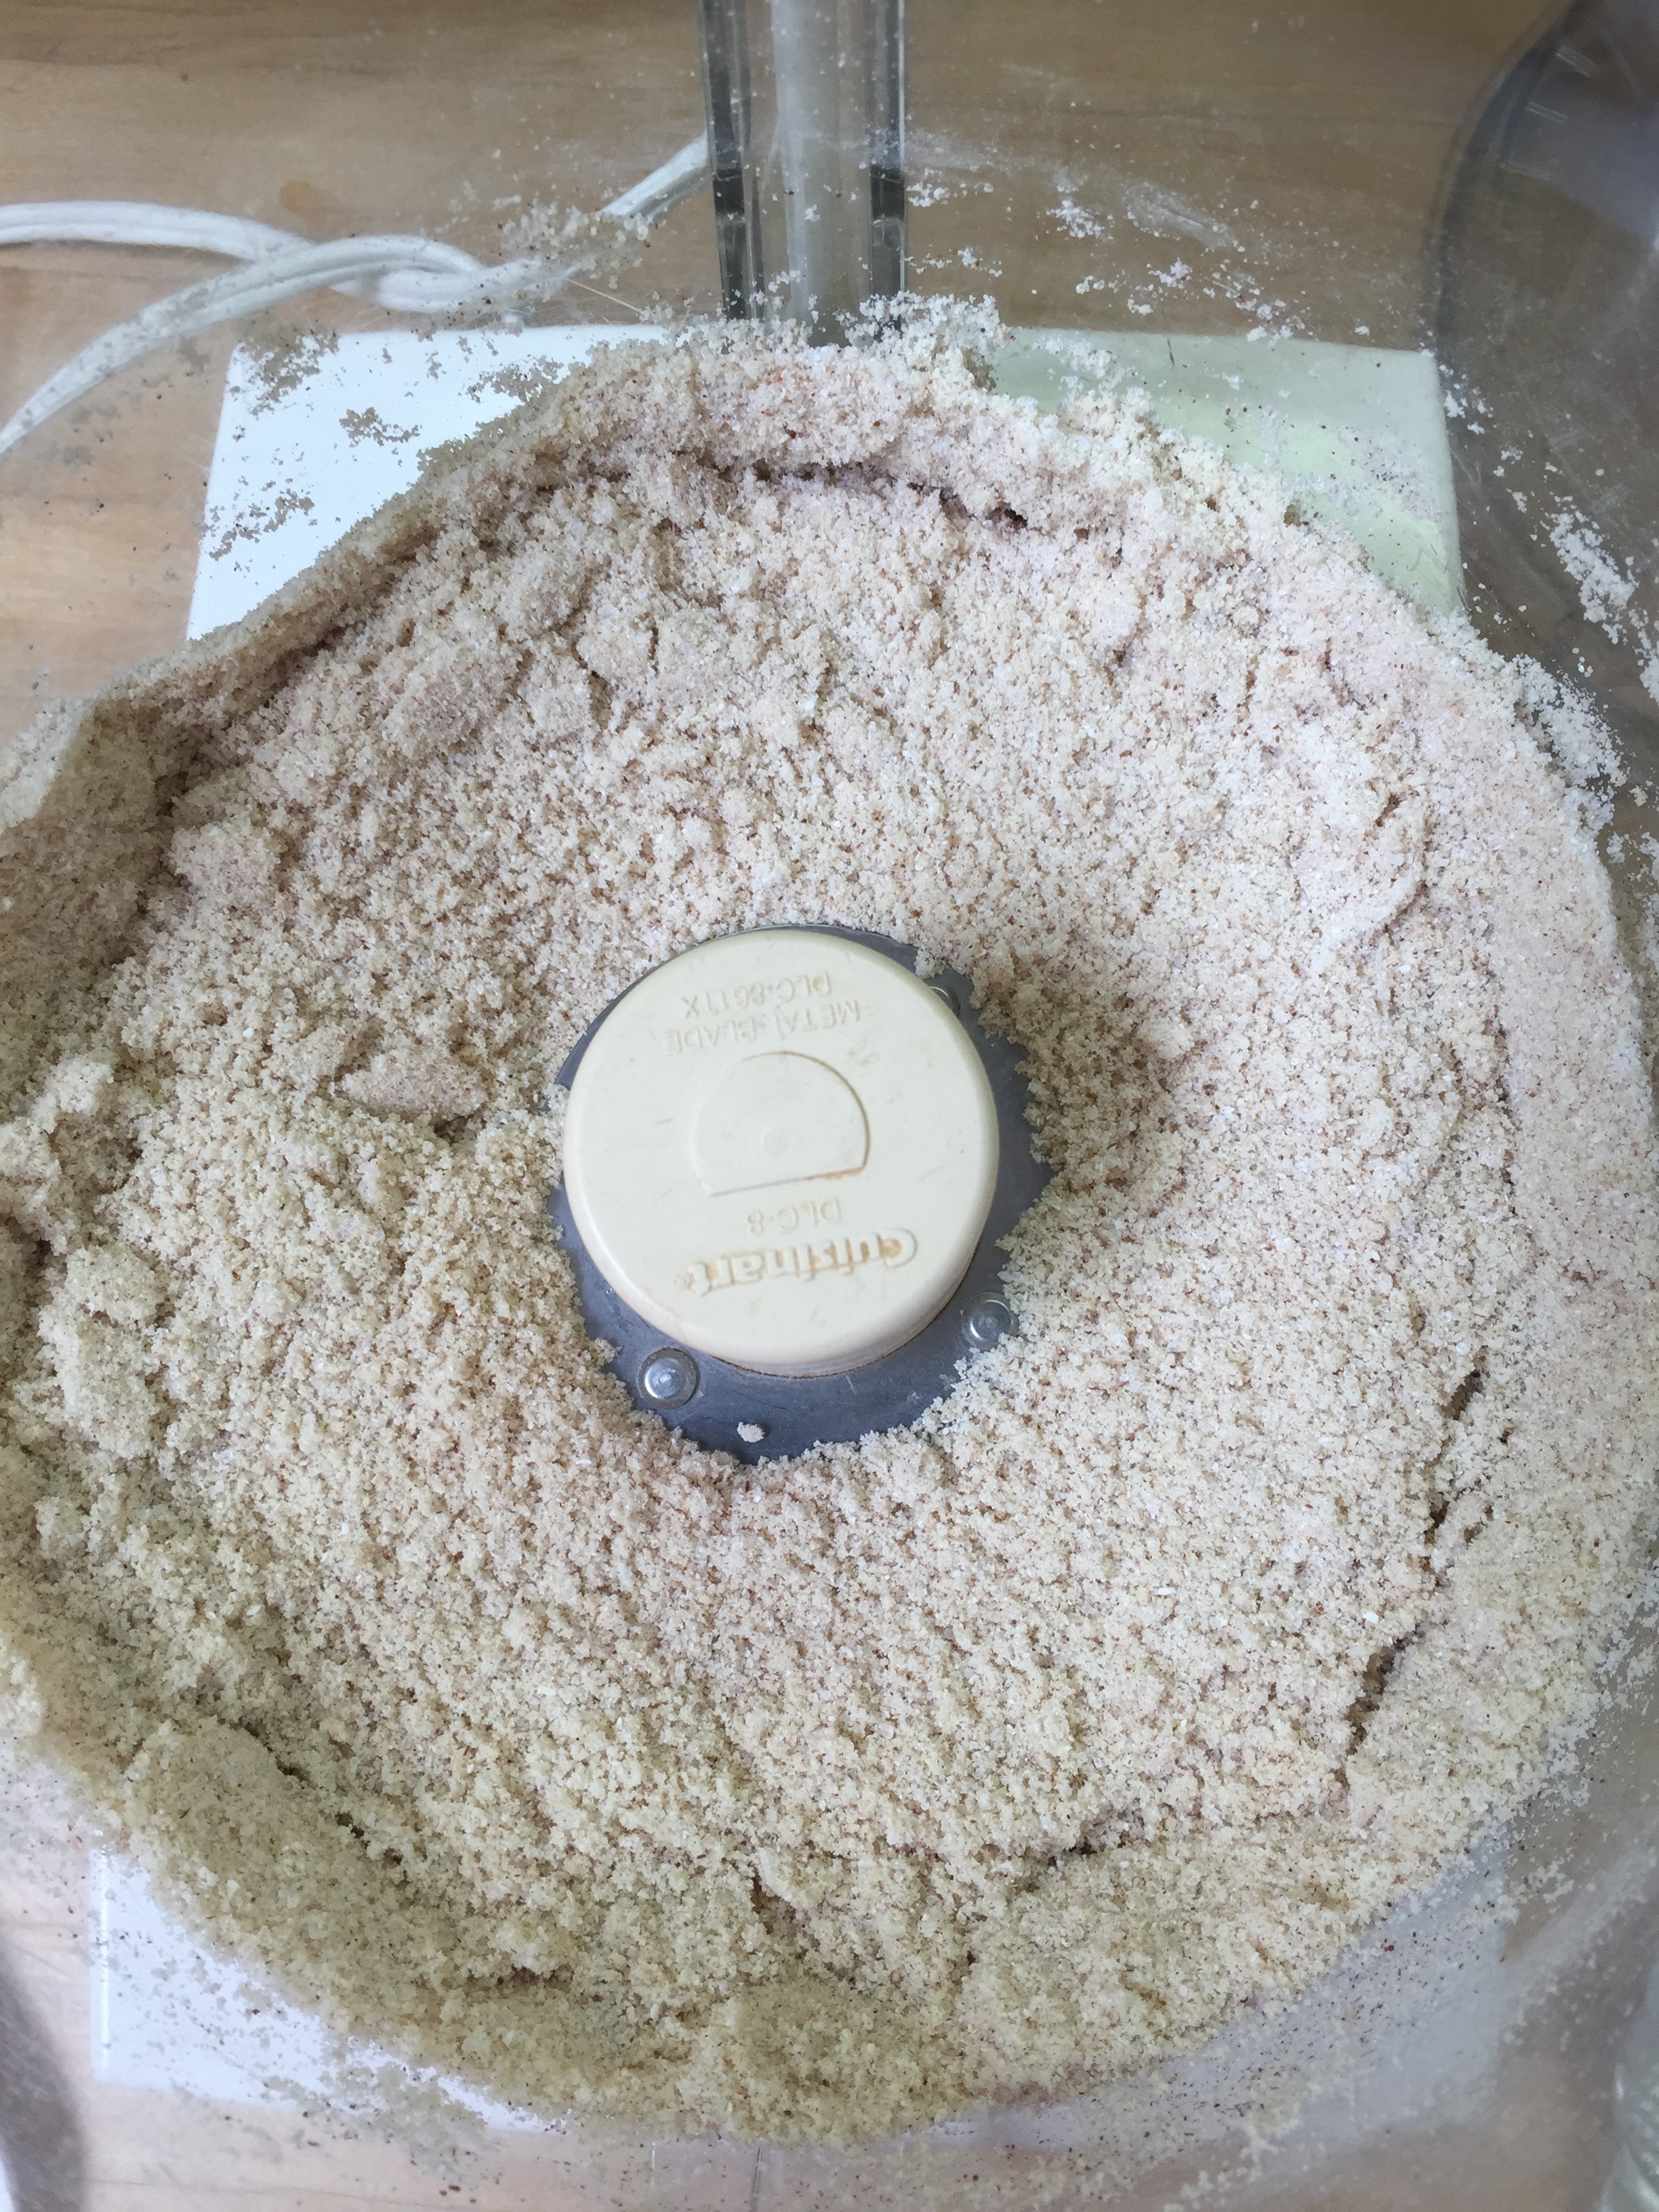
2. Sift your Protein Powder and Swerve Confectioners together 2 times. Set aside.
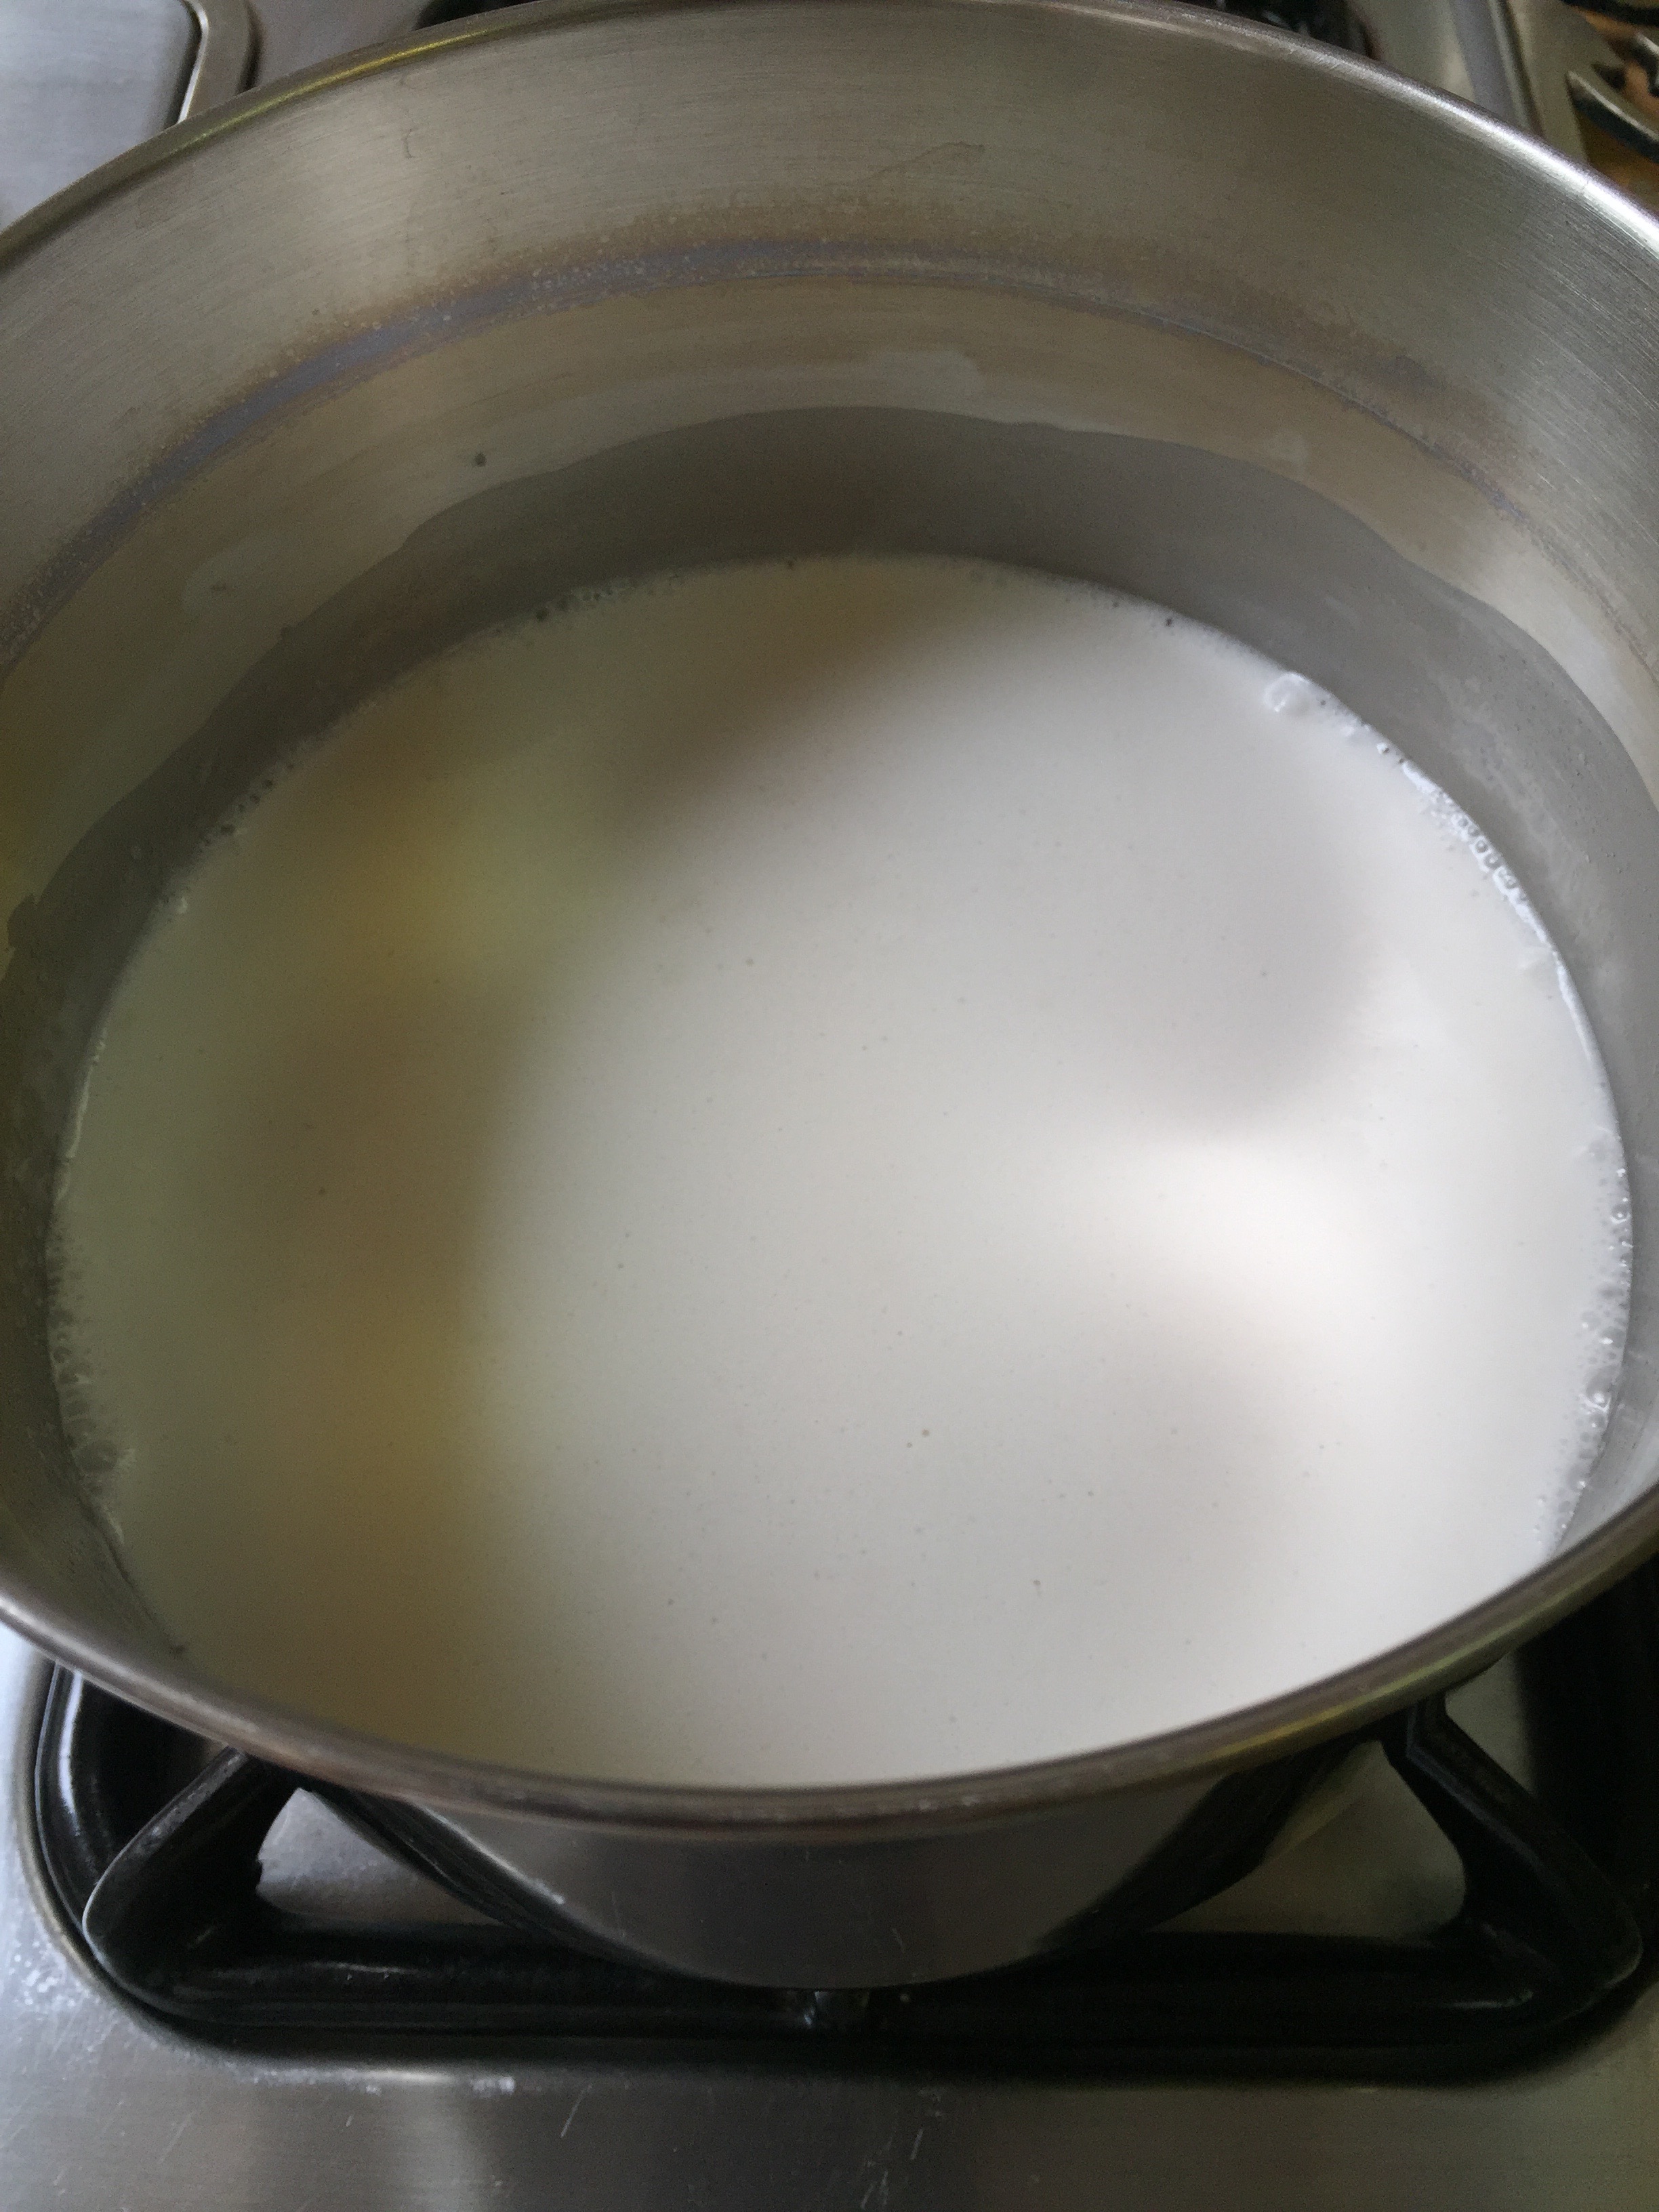
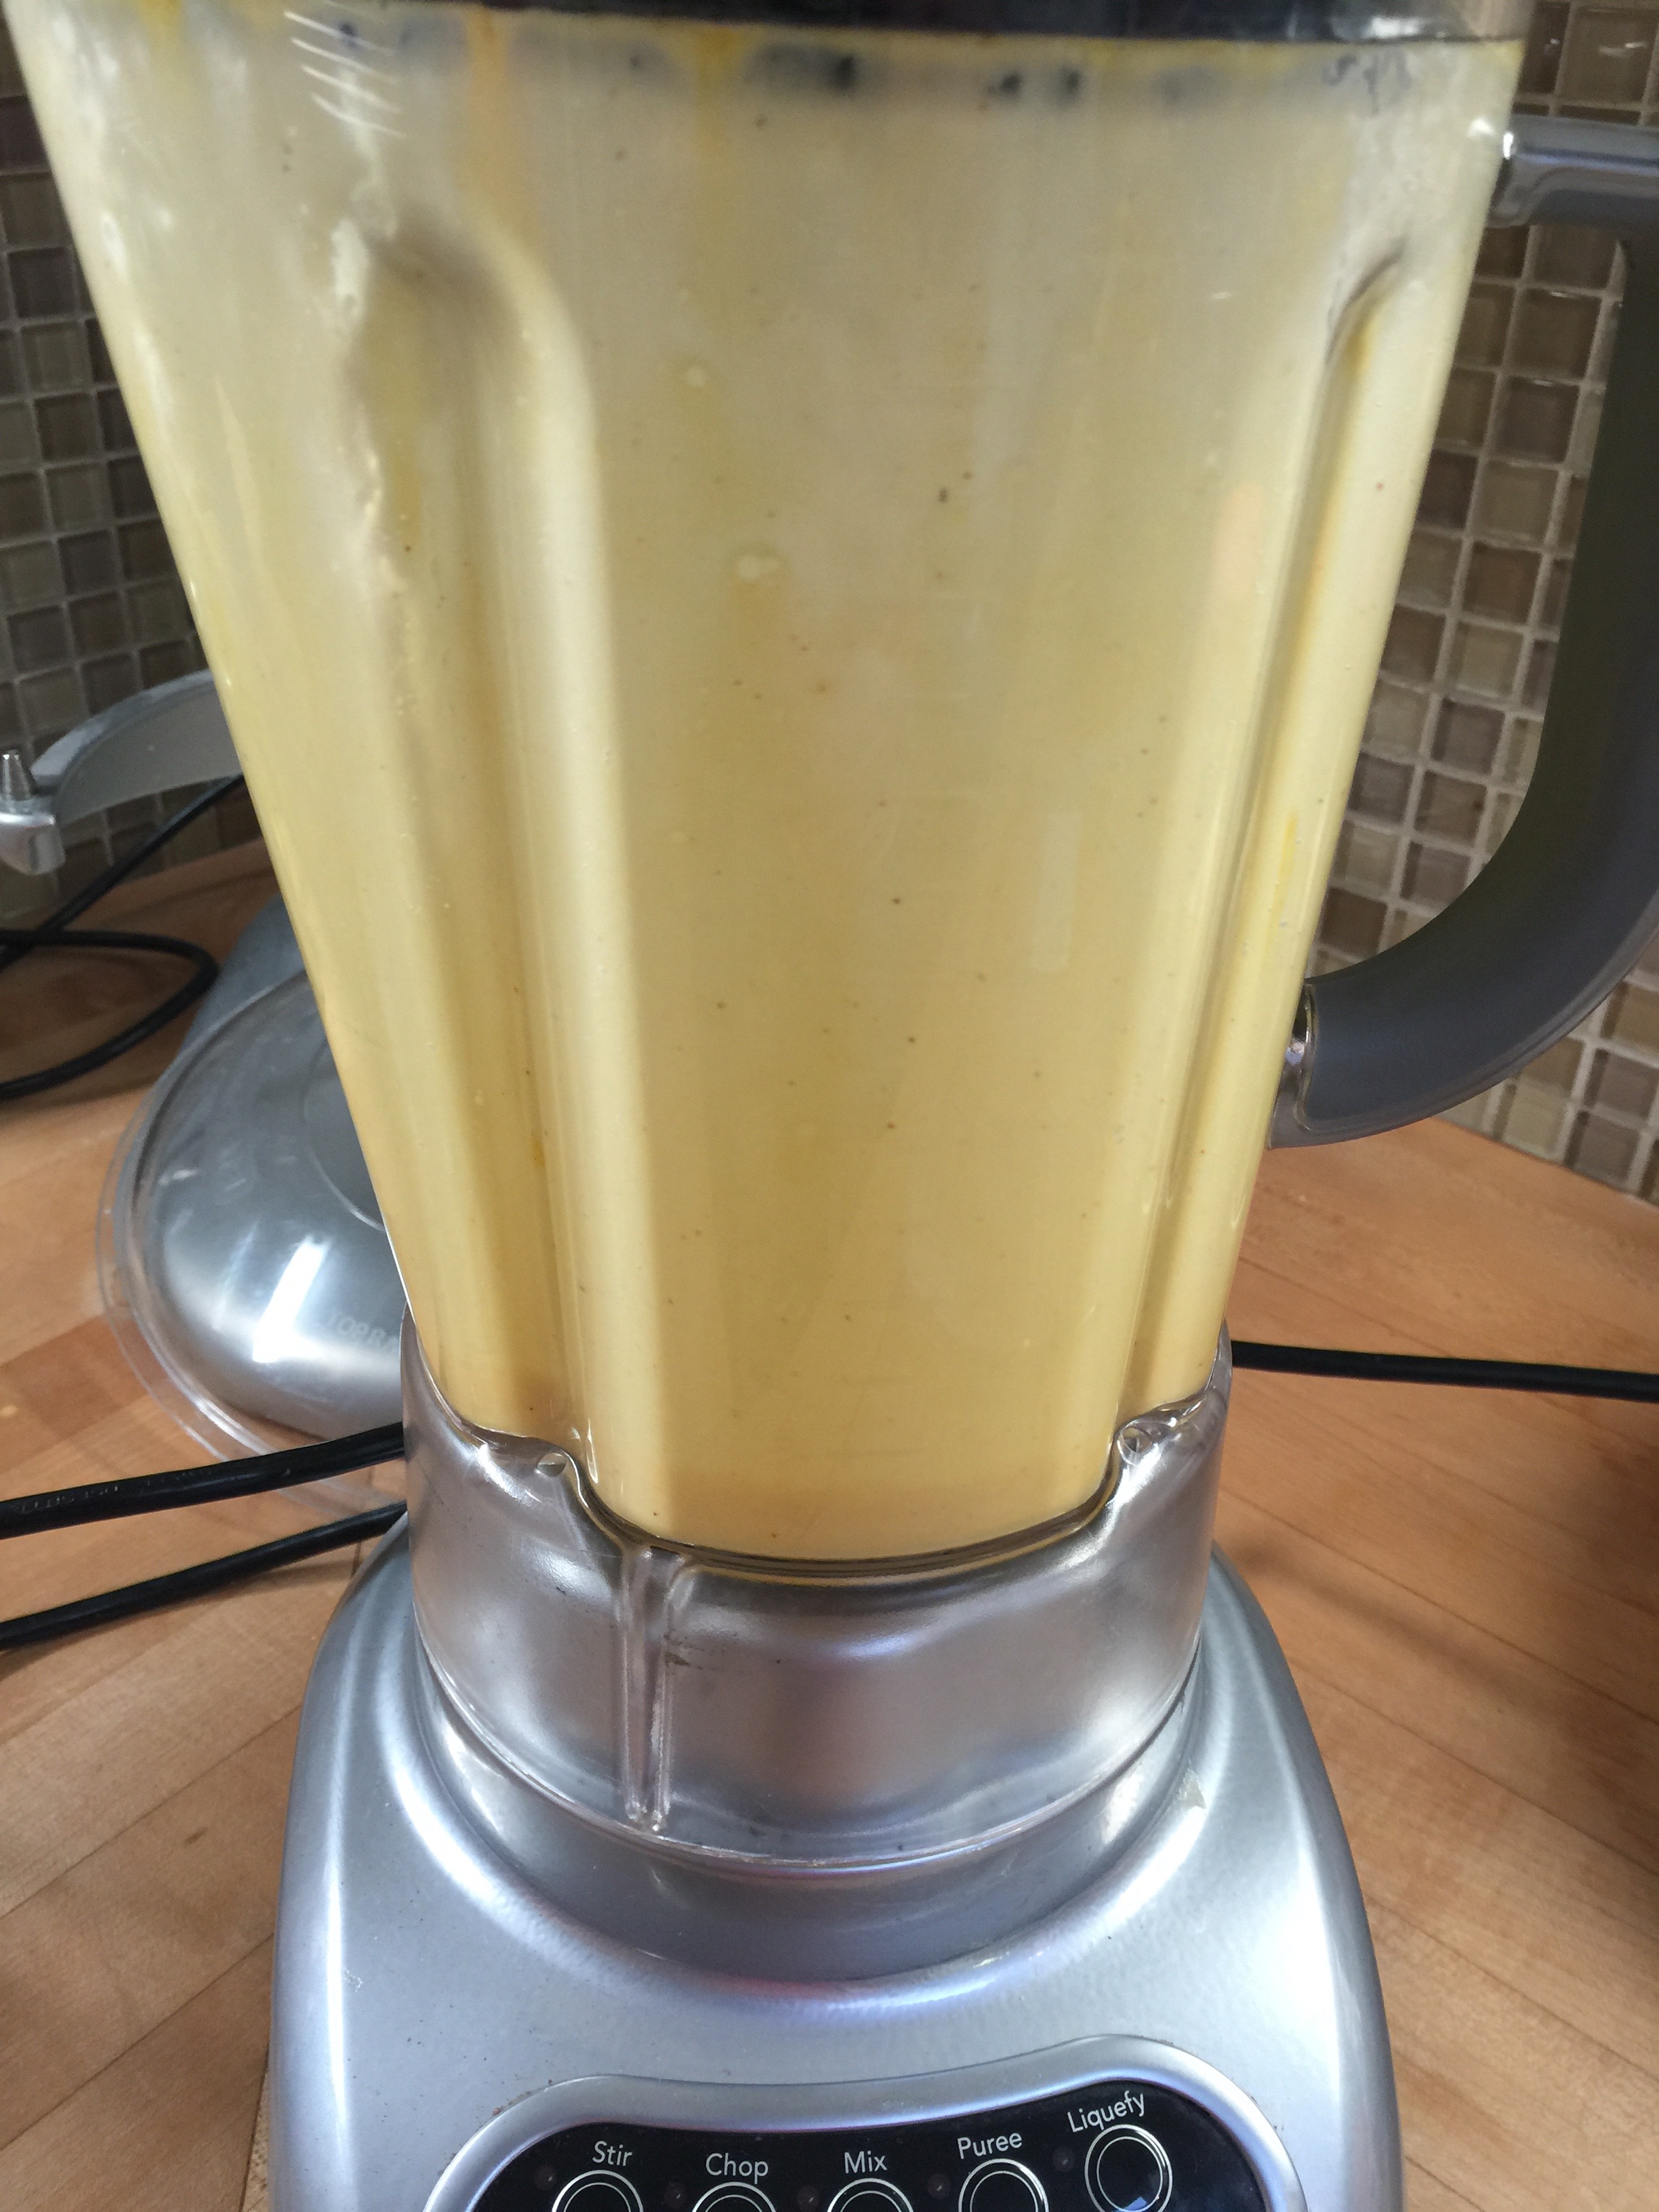
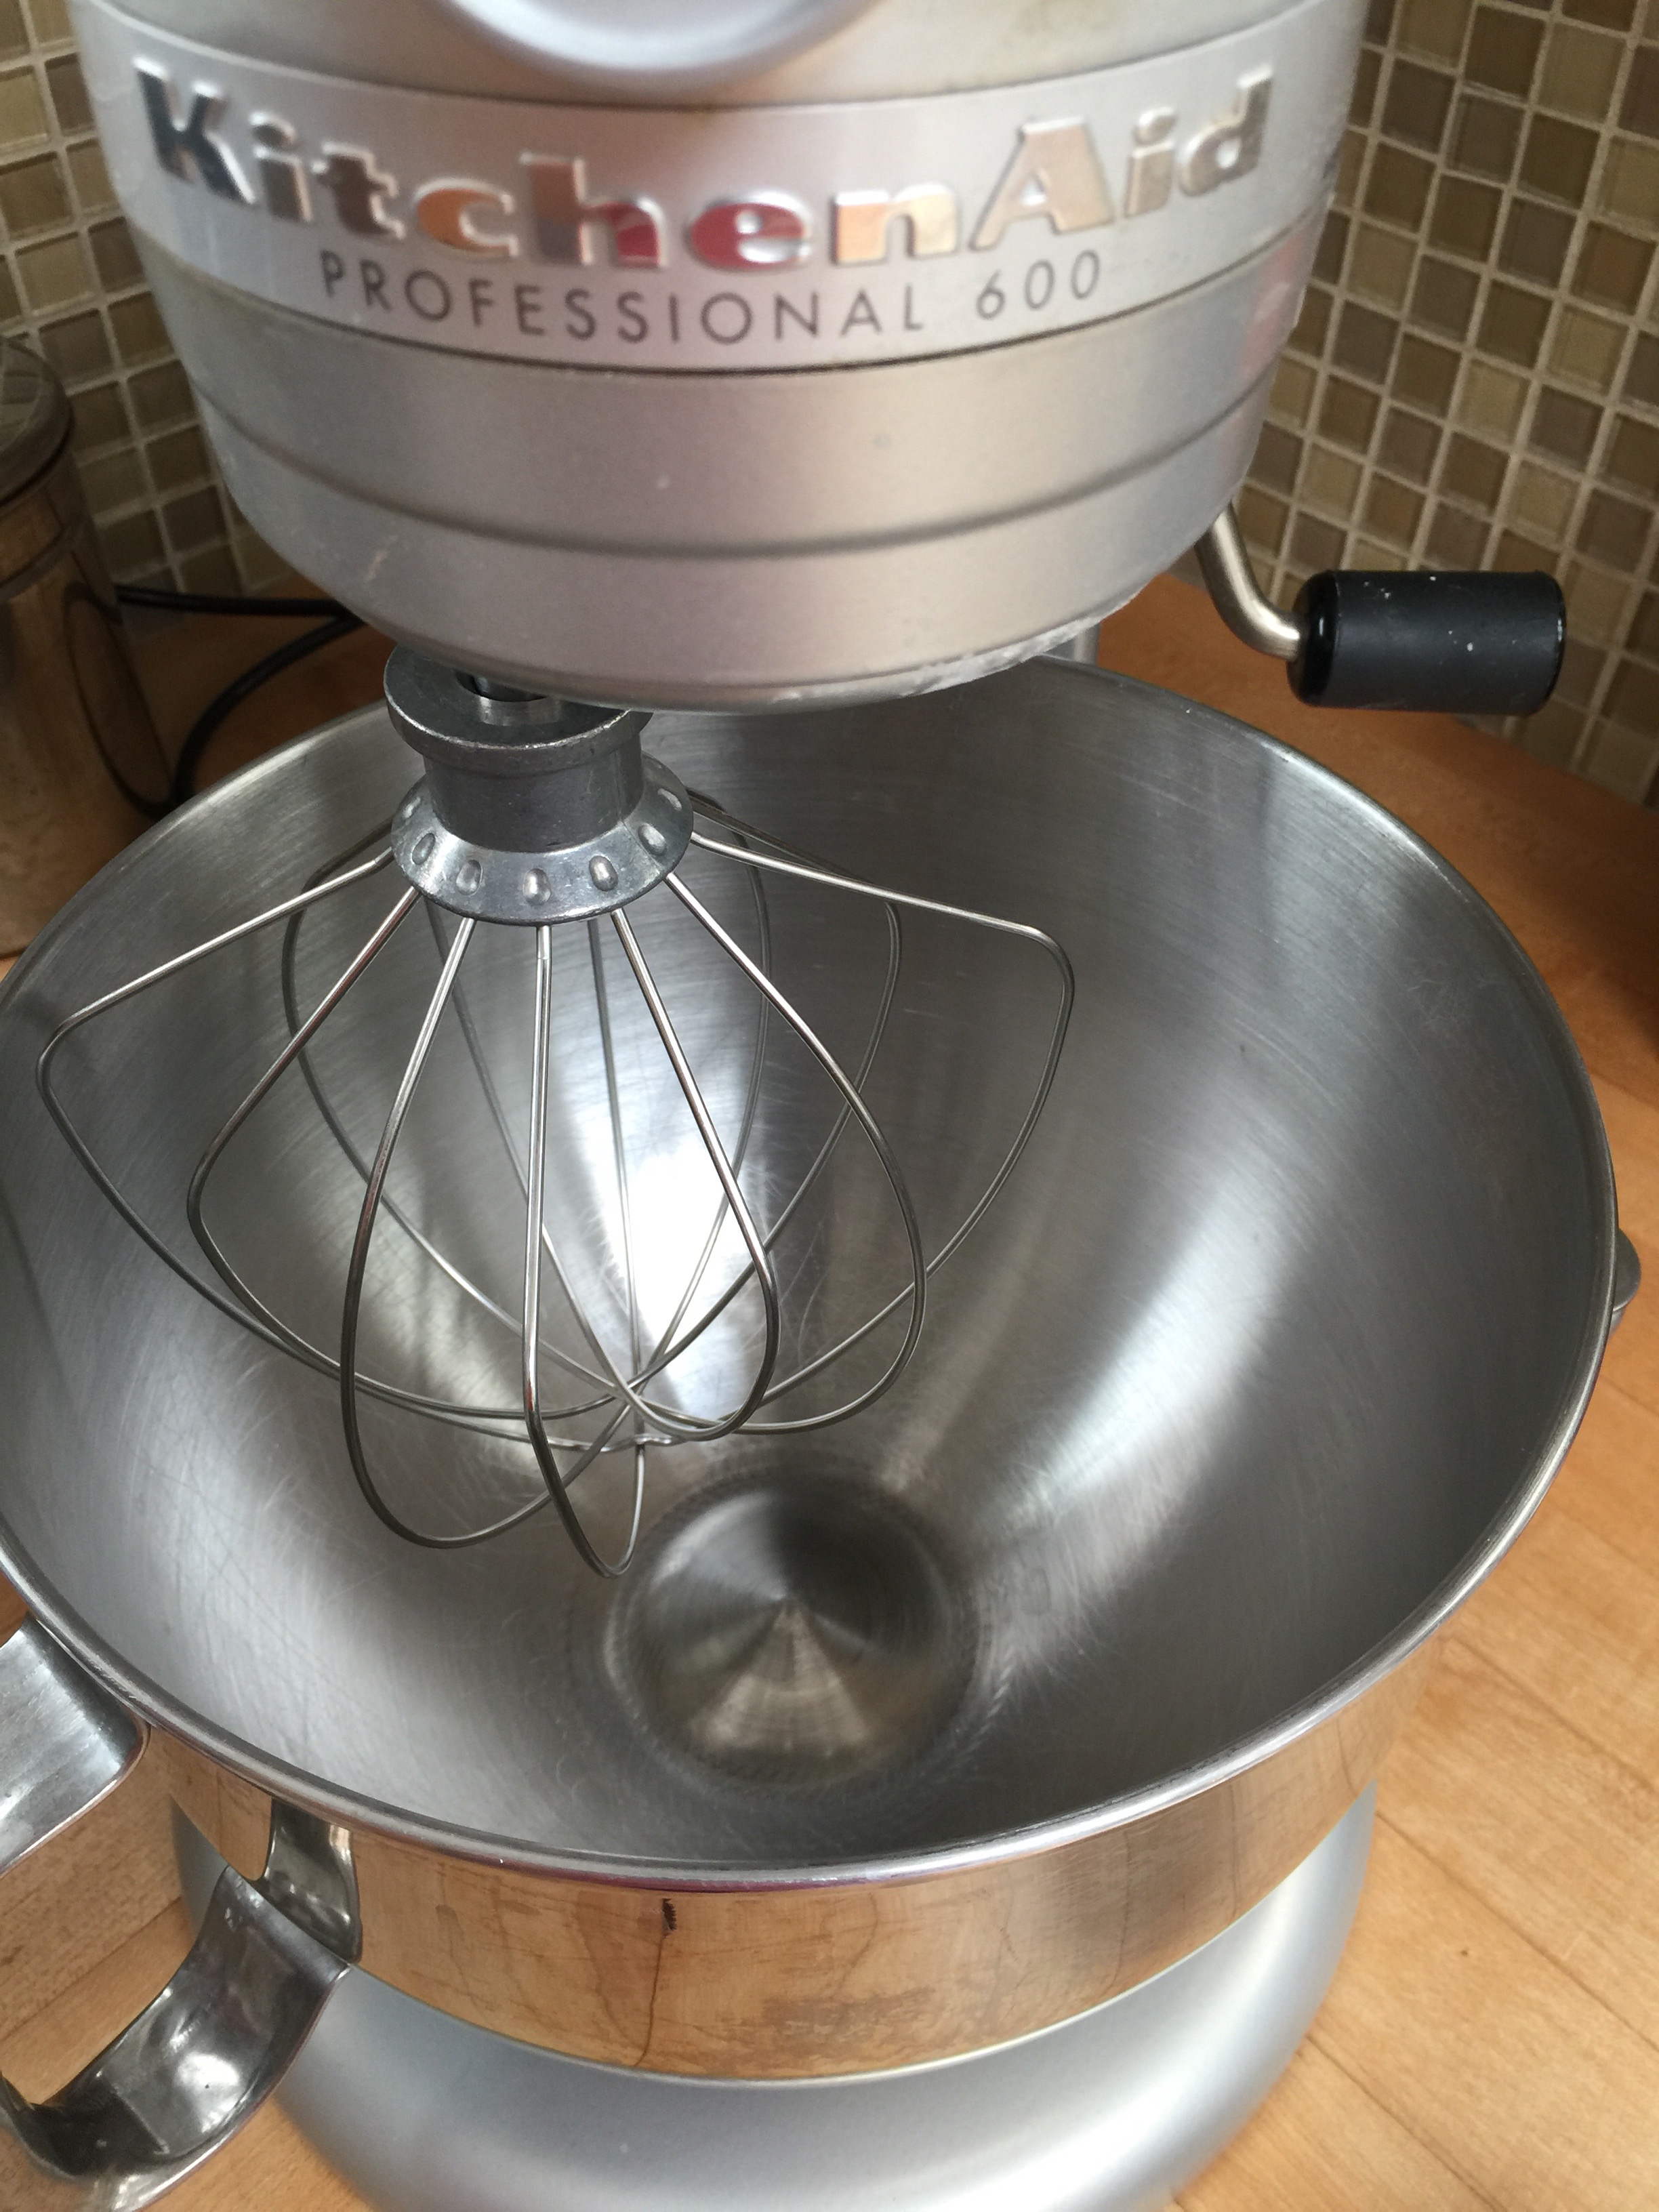
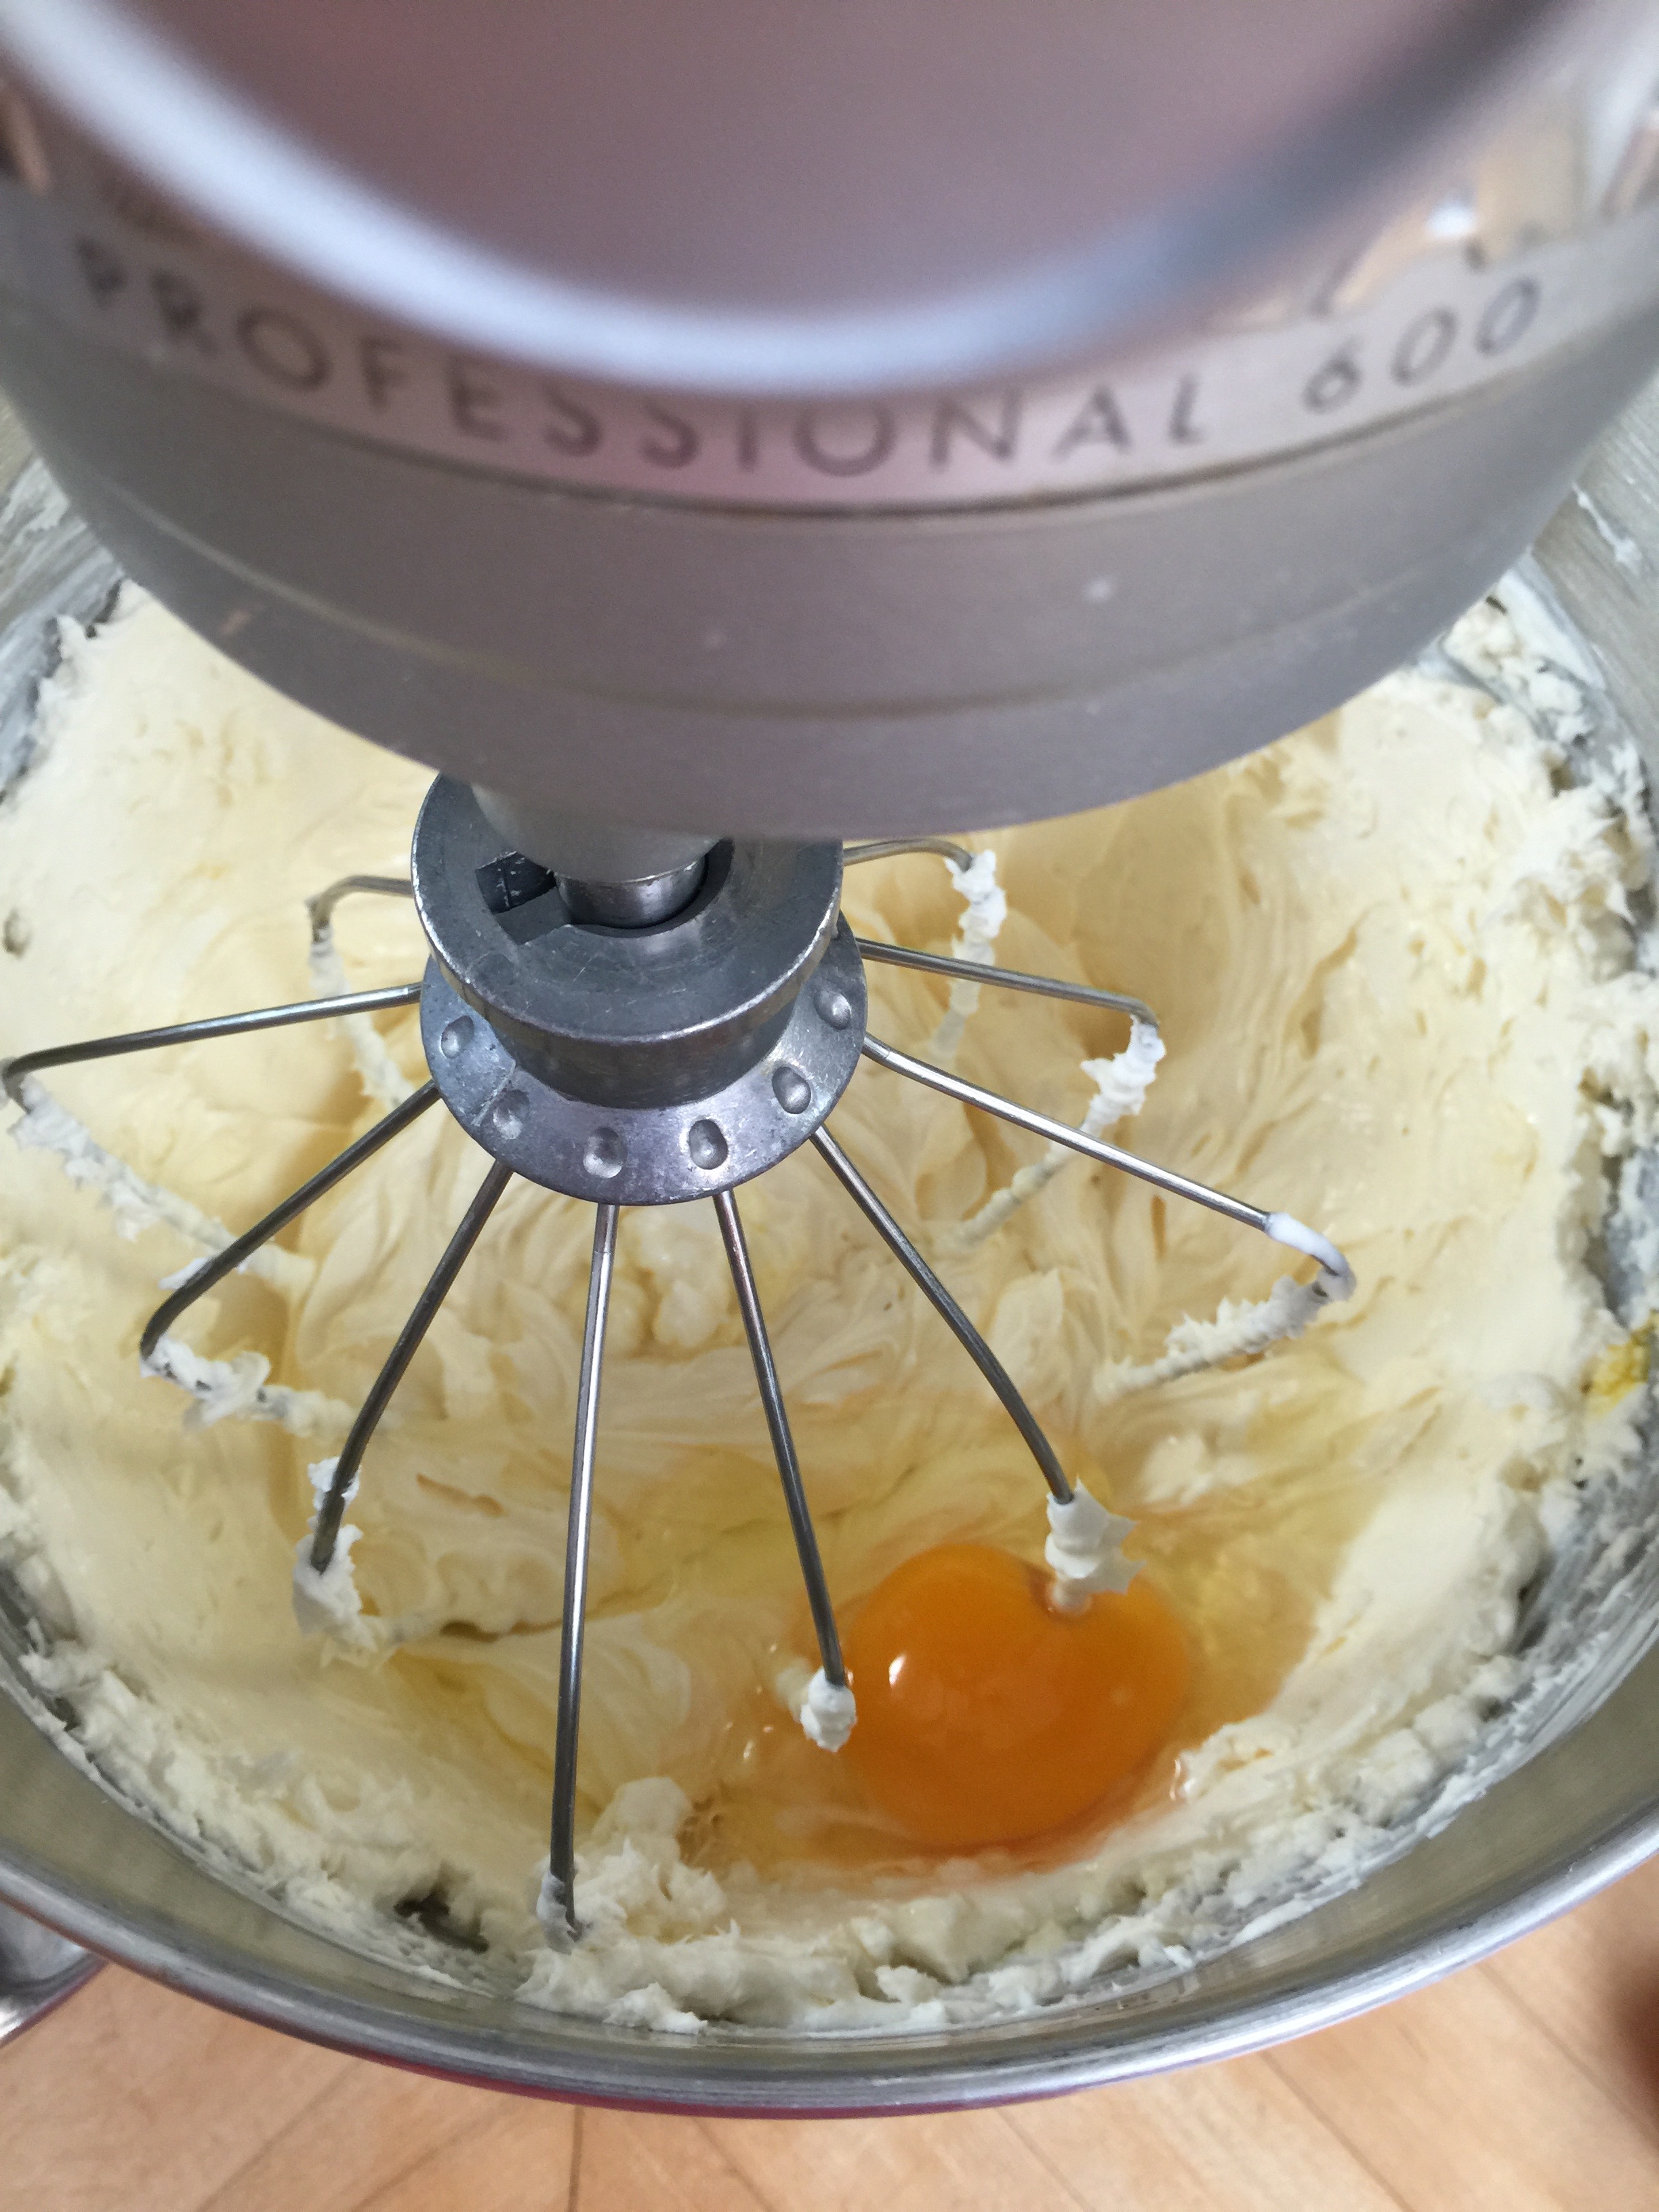
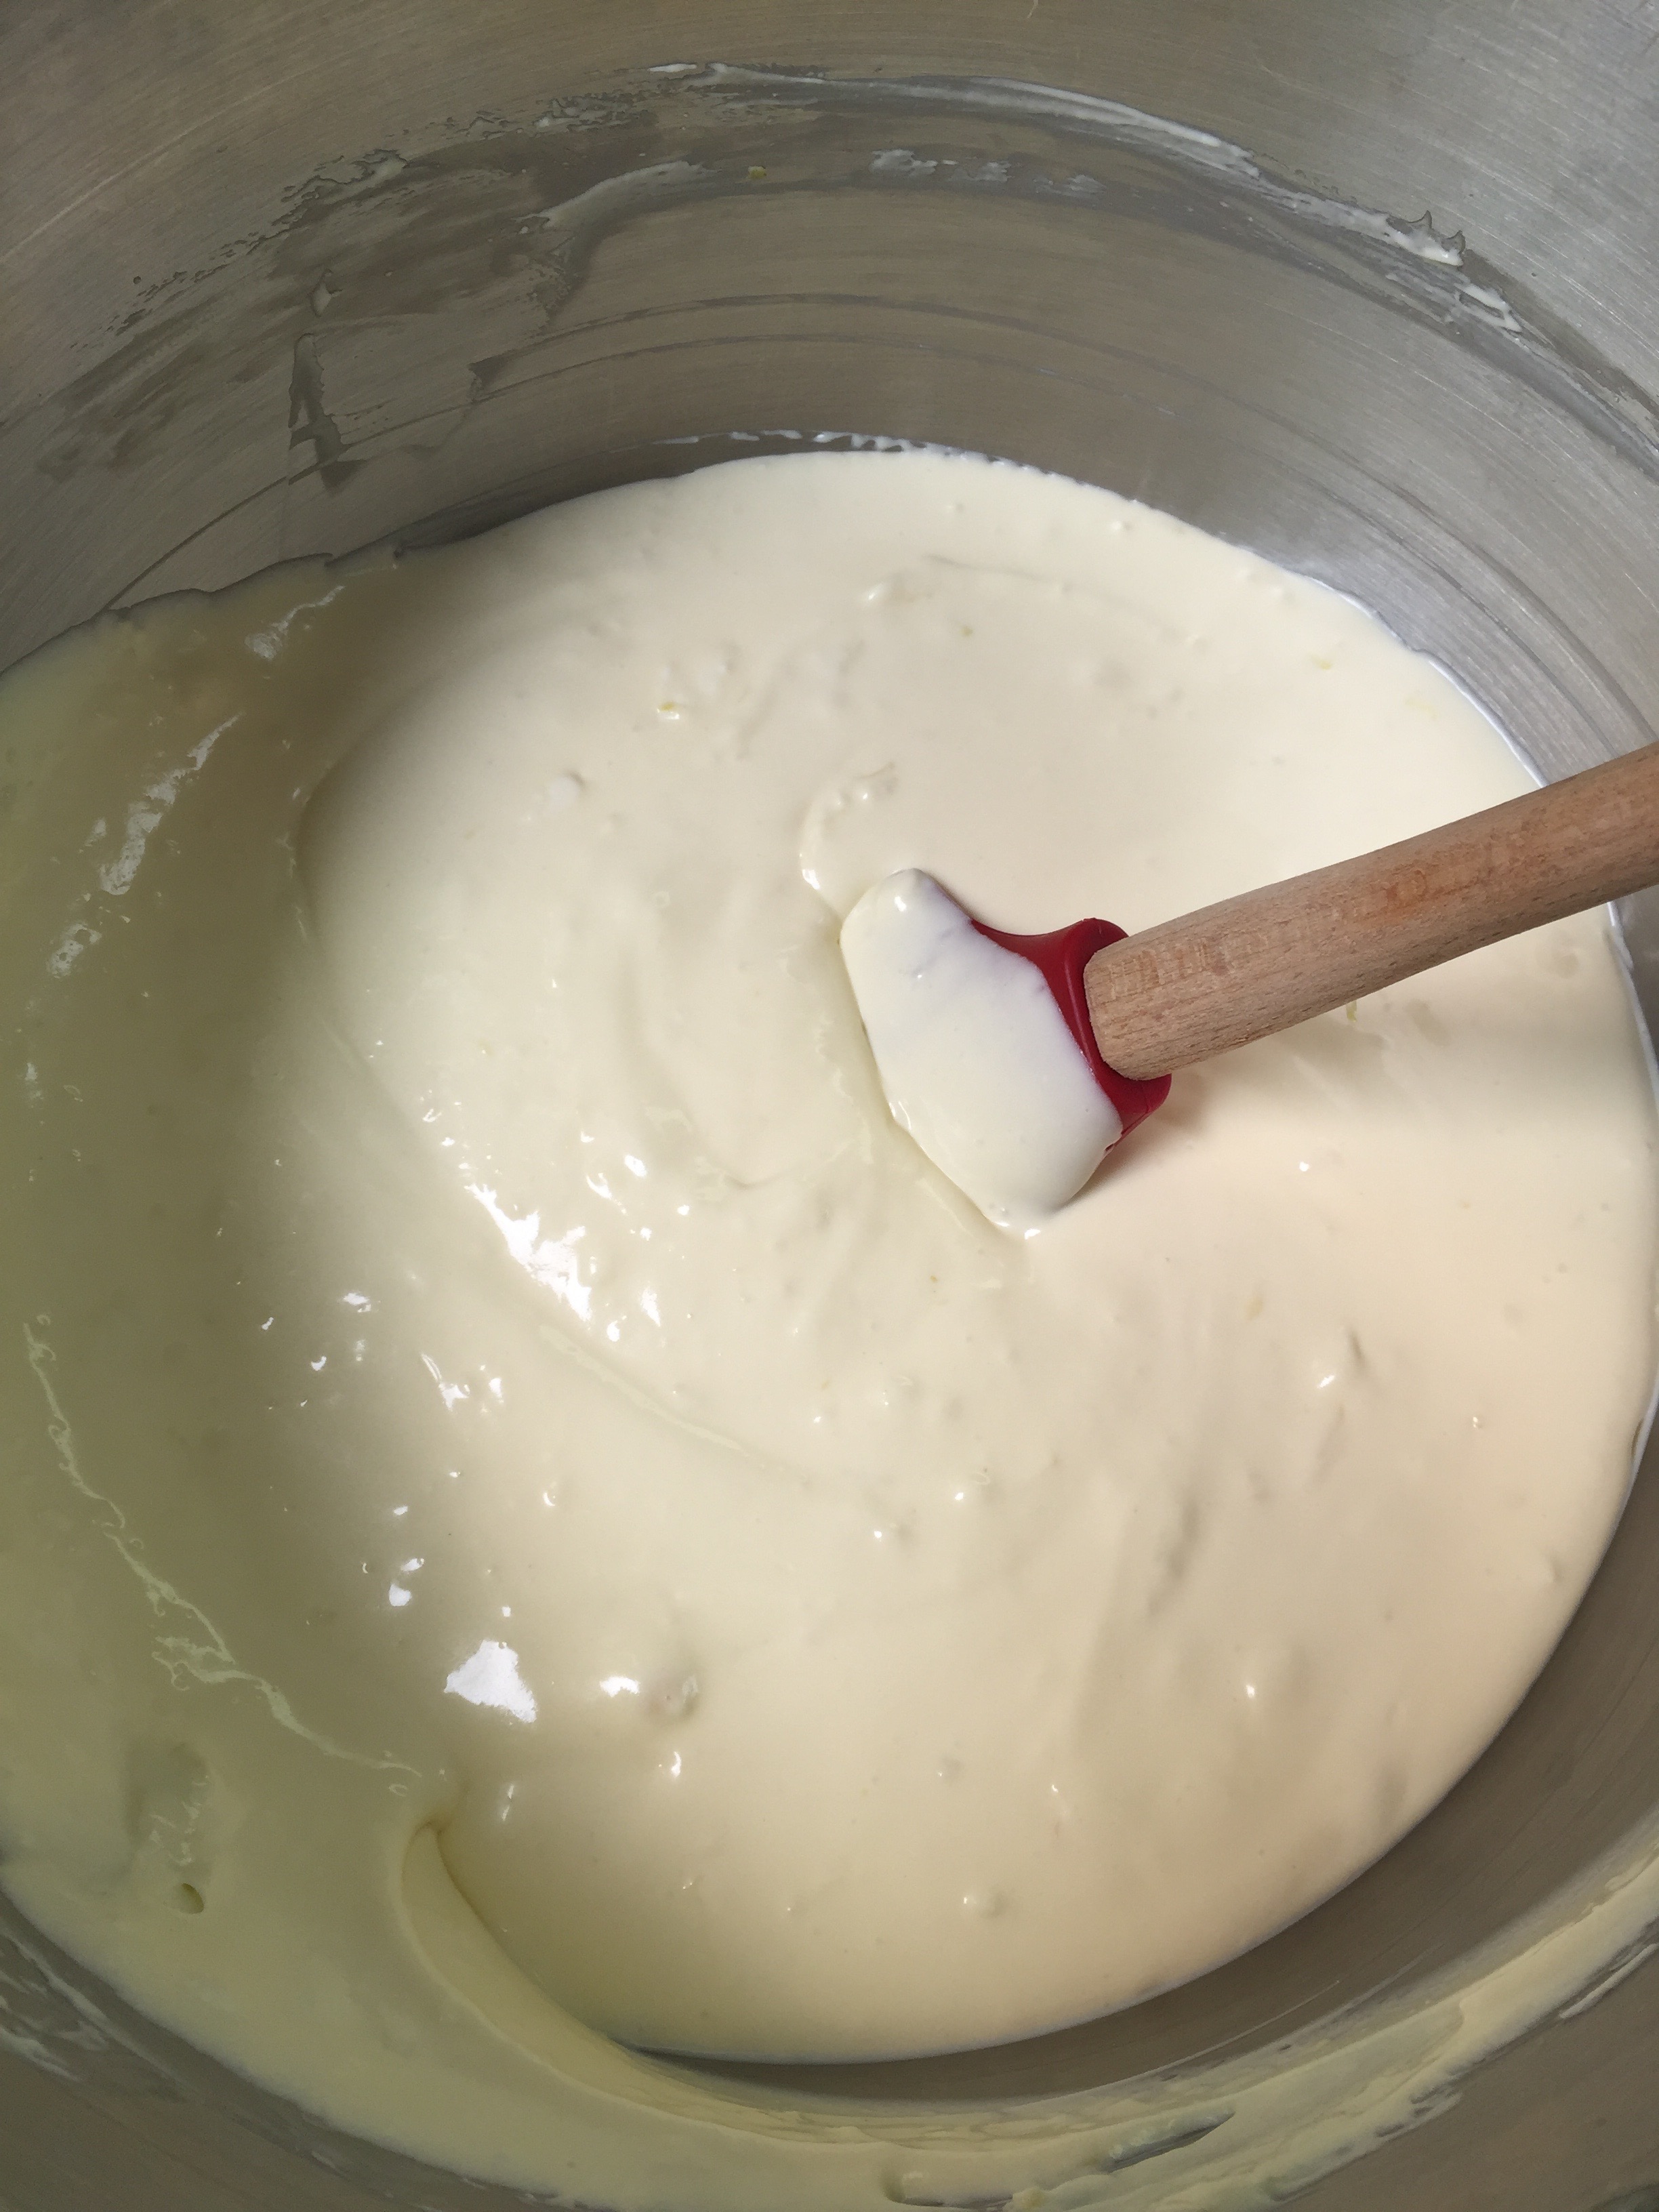
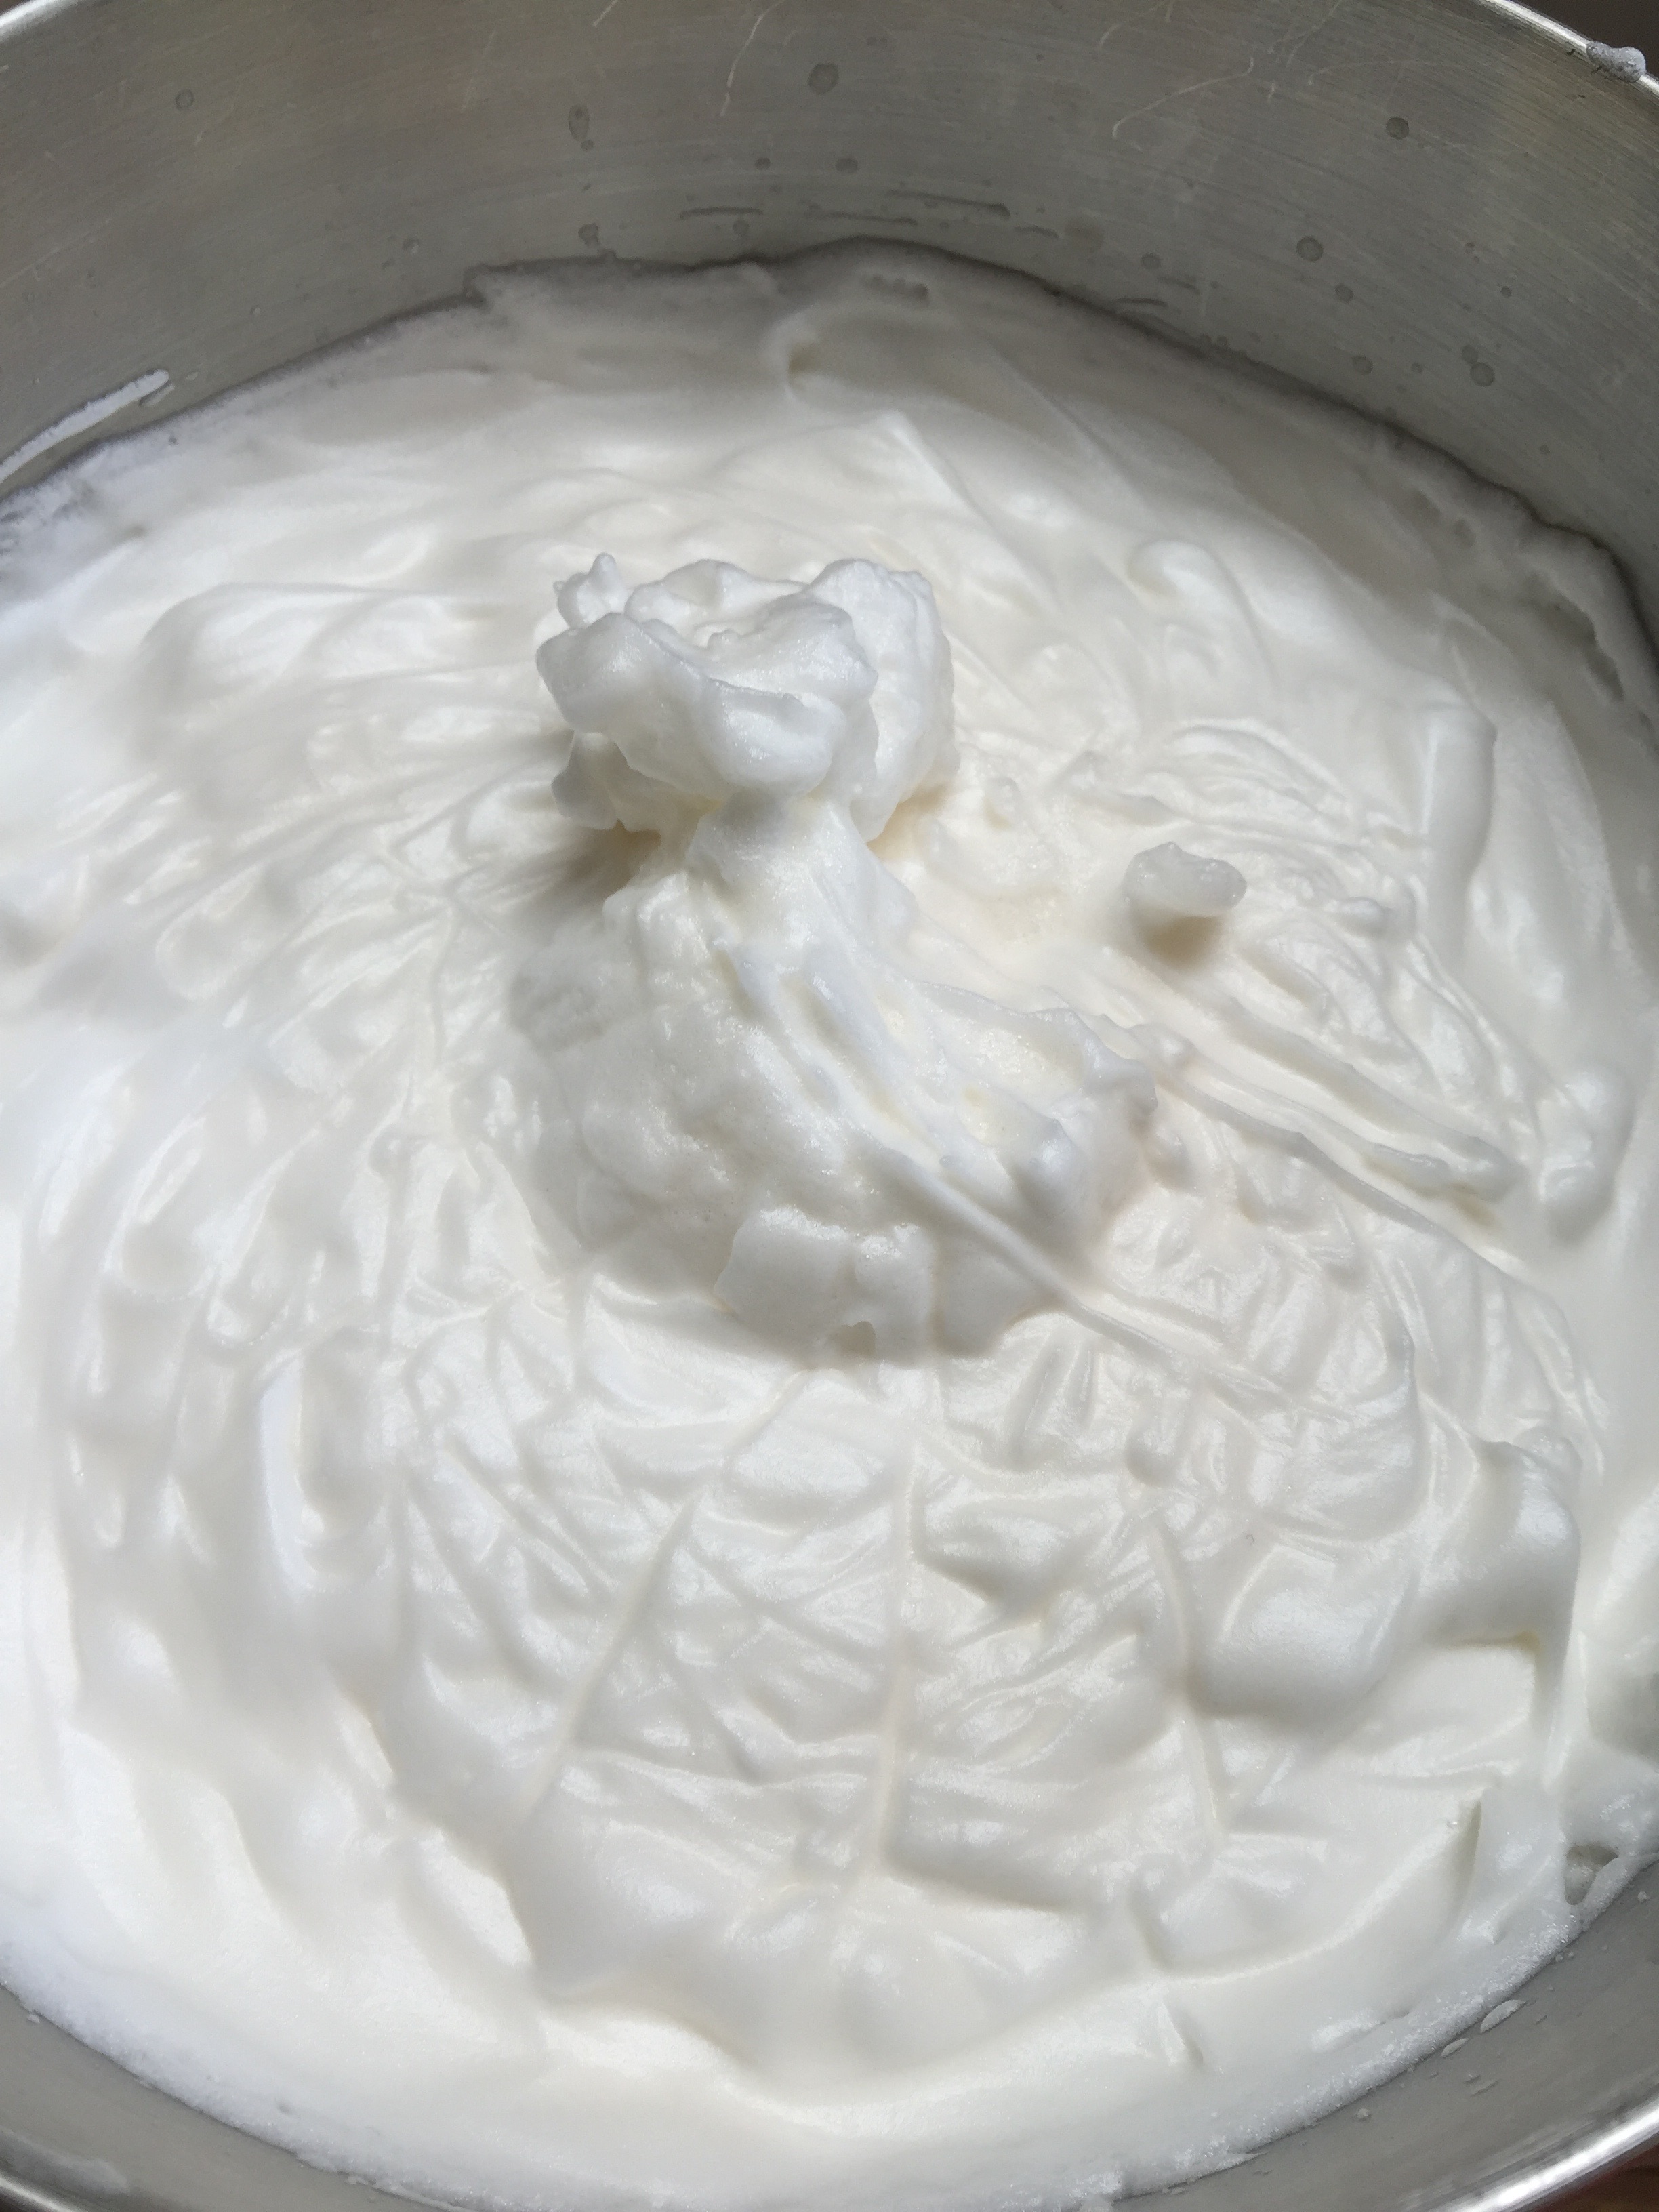
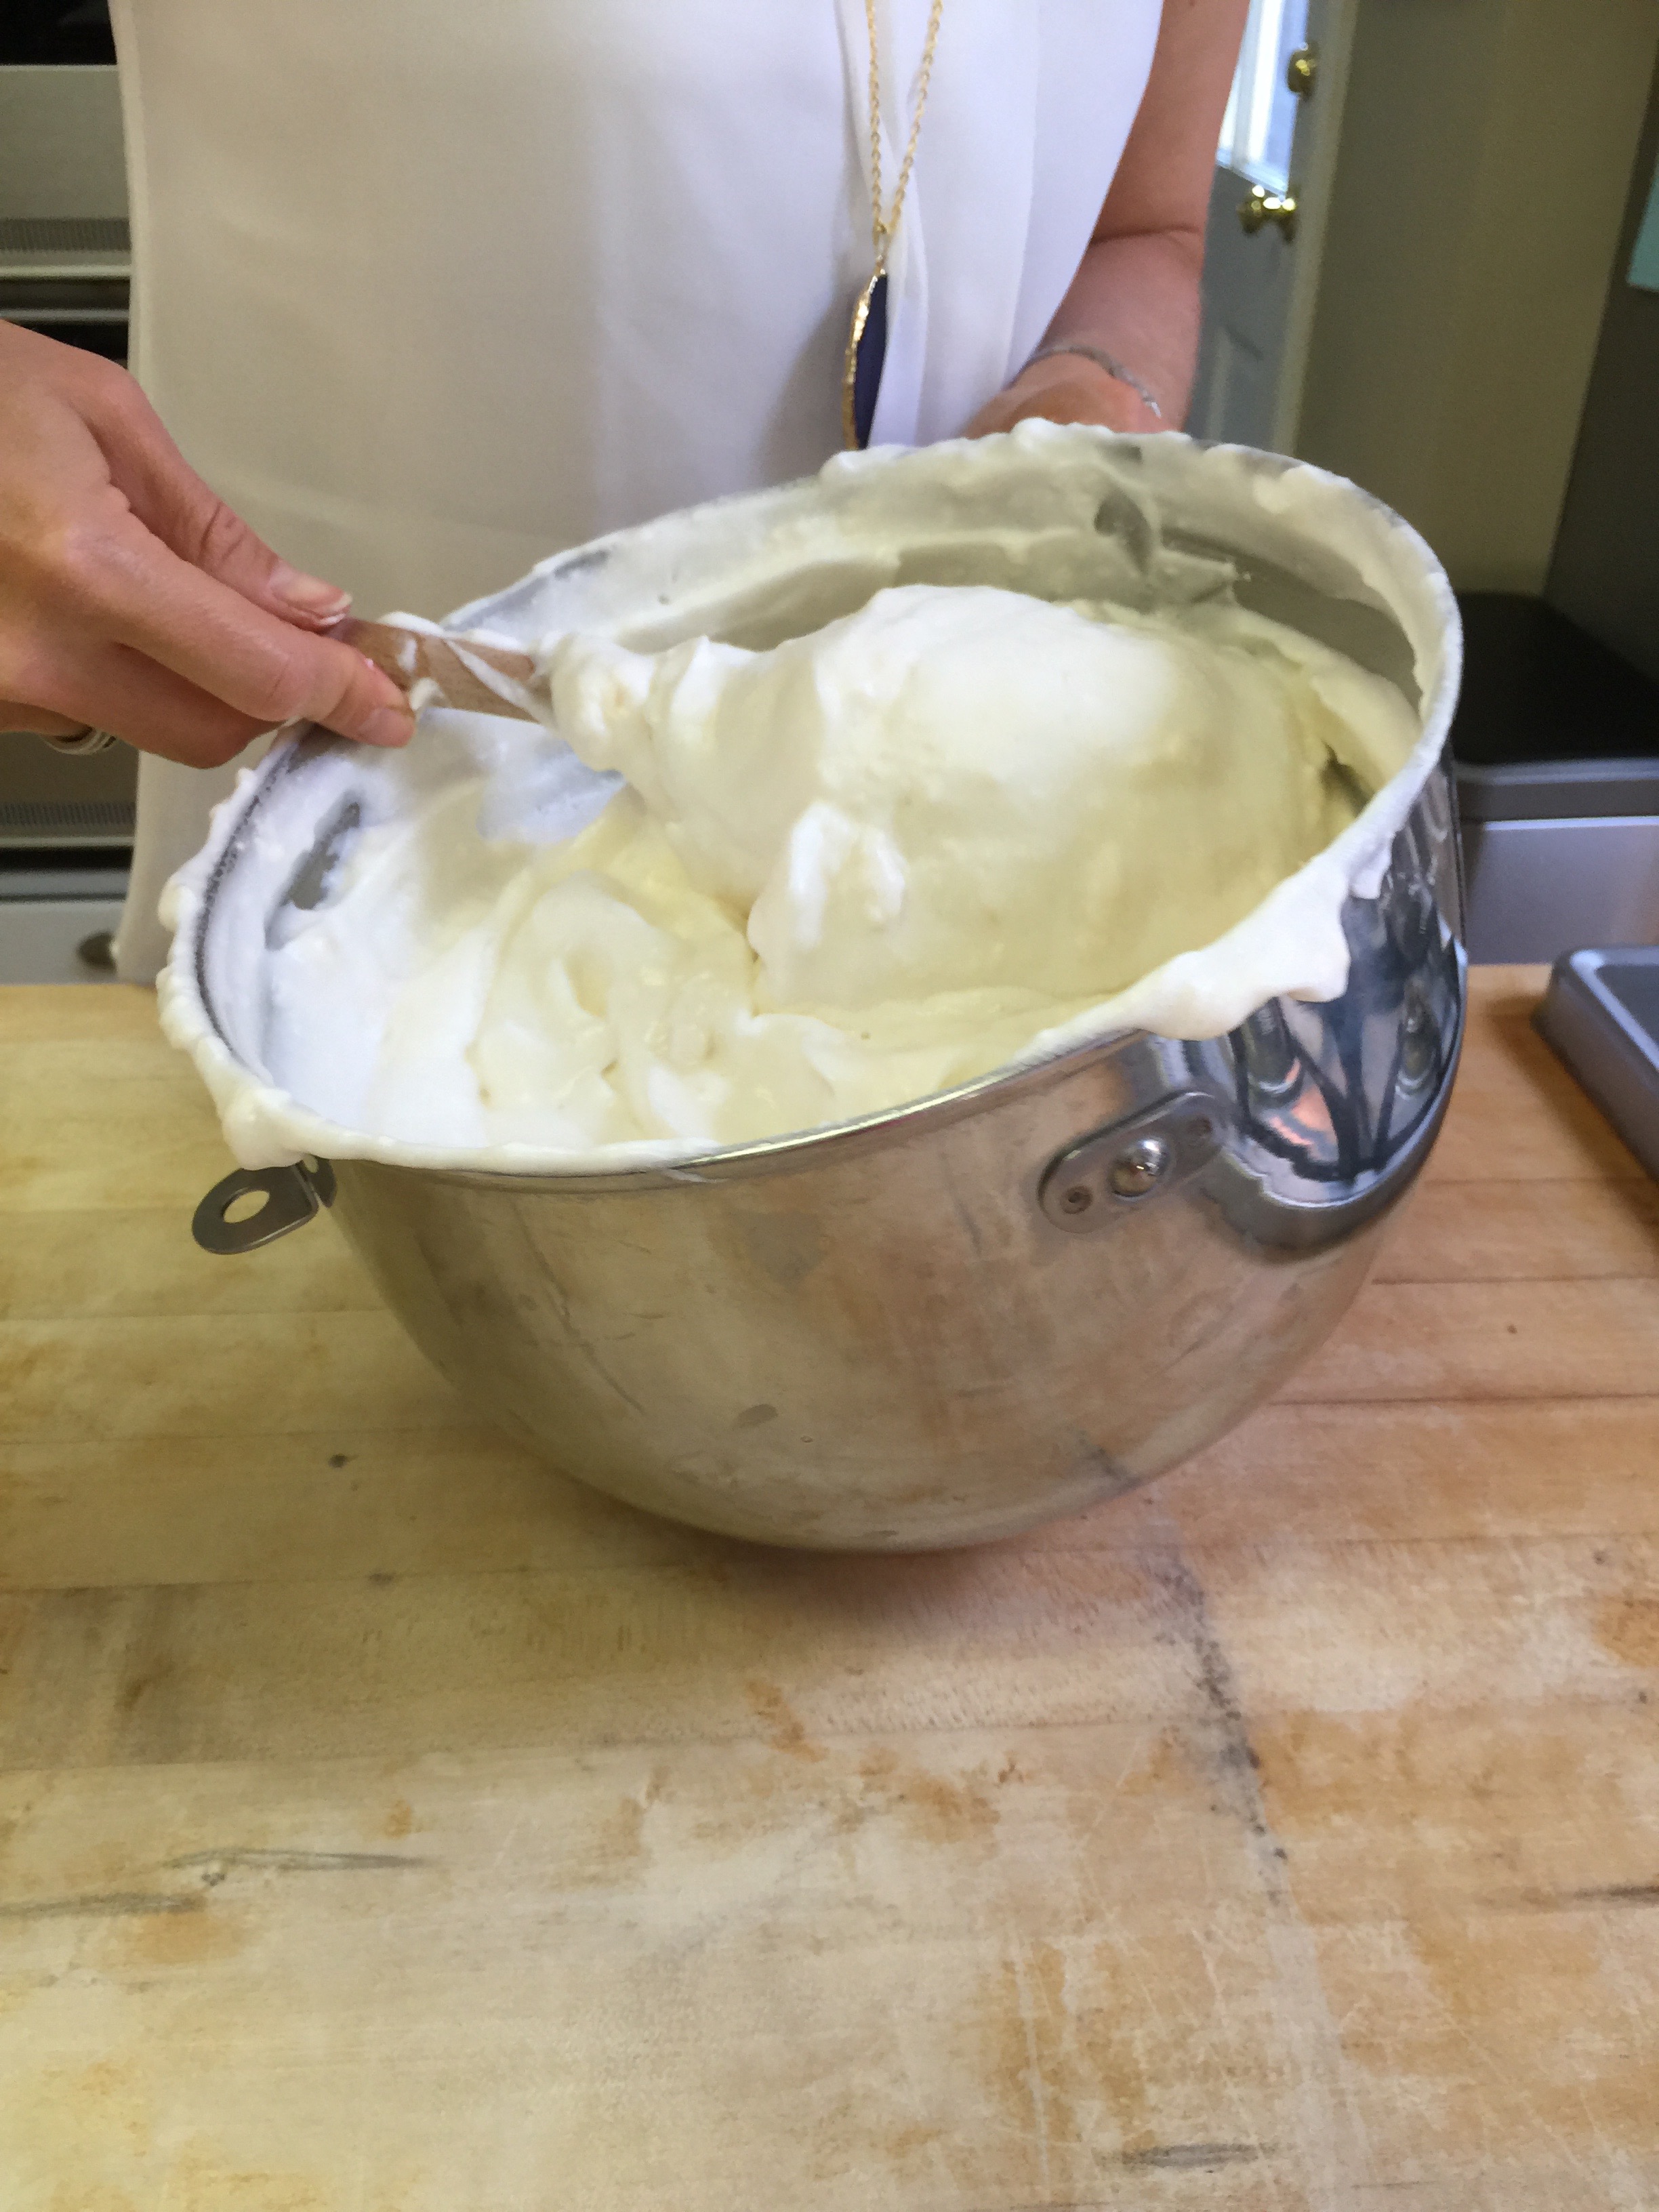
3. In a large, very clean, cold bowl (Preferably a Kitchen Aid mixer bowl) whip your egg whites, cream of tarter and salt. Beat on medium-high to high speed until stiff. Once fairly stiff, add your lemon juice and flavoring. Continue mixing.
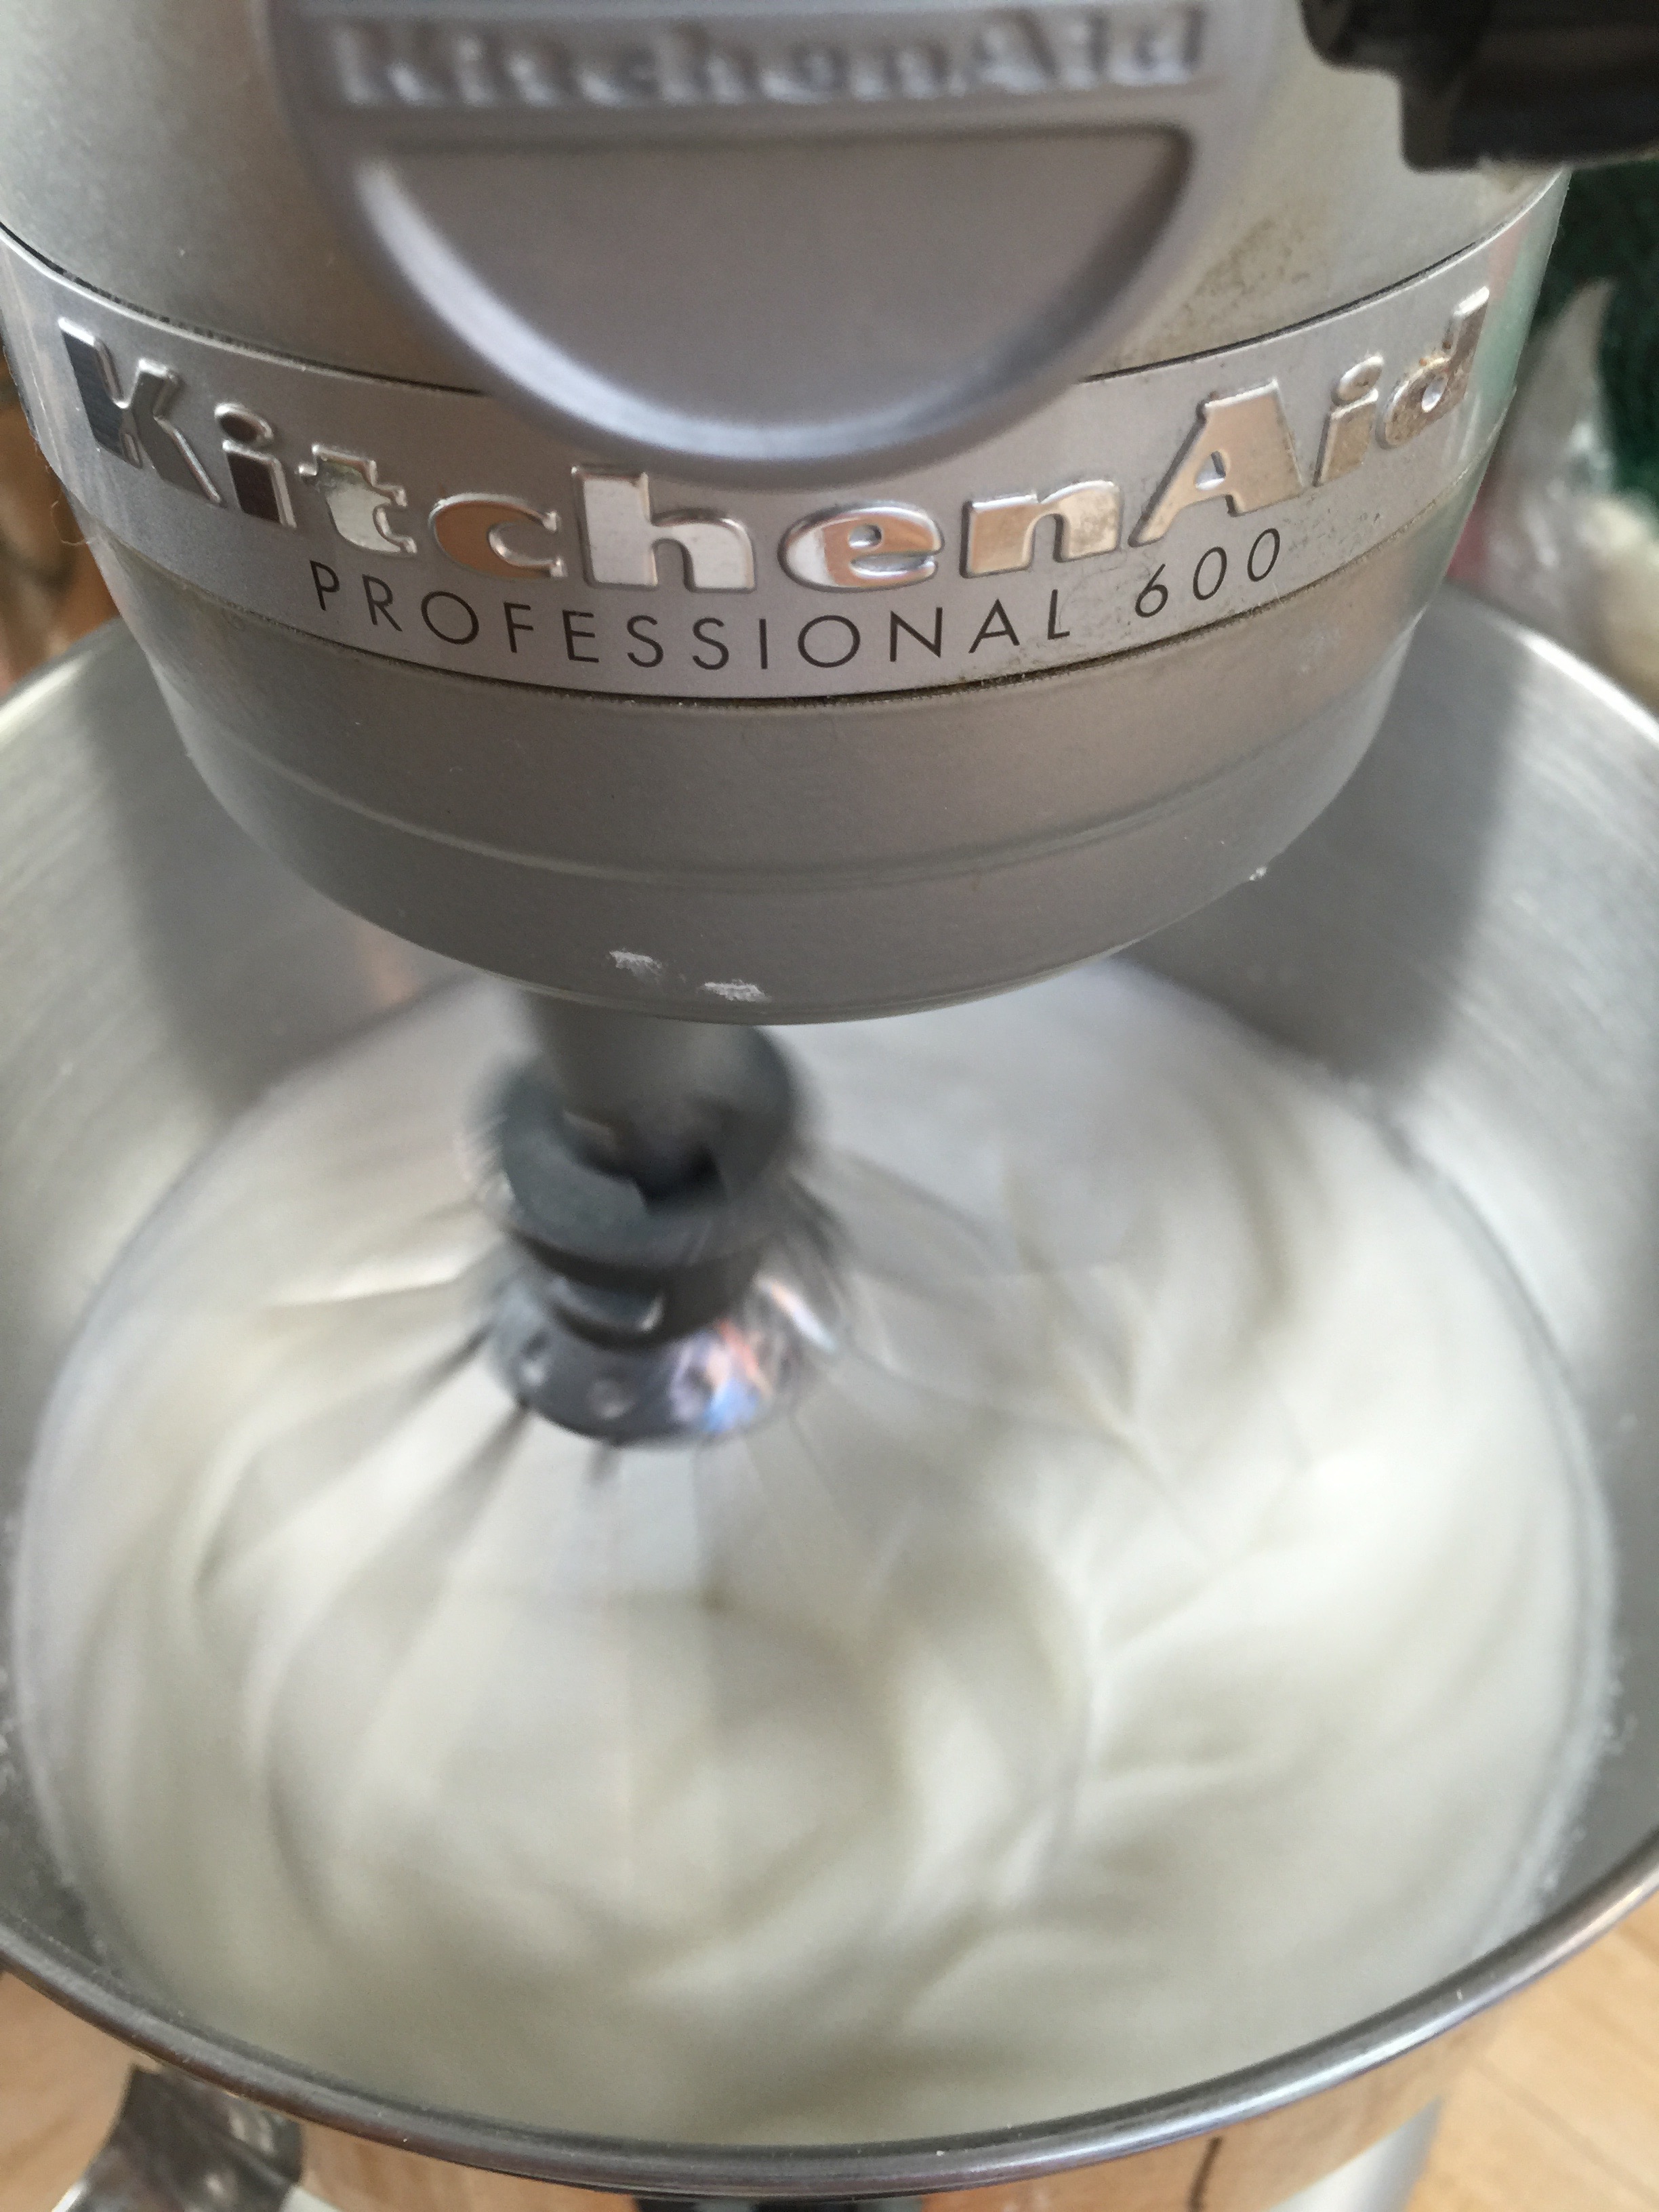
I didn’t time this, but it was at least 15 to 20 minutes of whipping. Just let it go. You should be able to turn the bowl over without the egg whites moving.
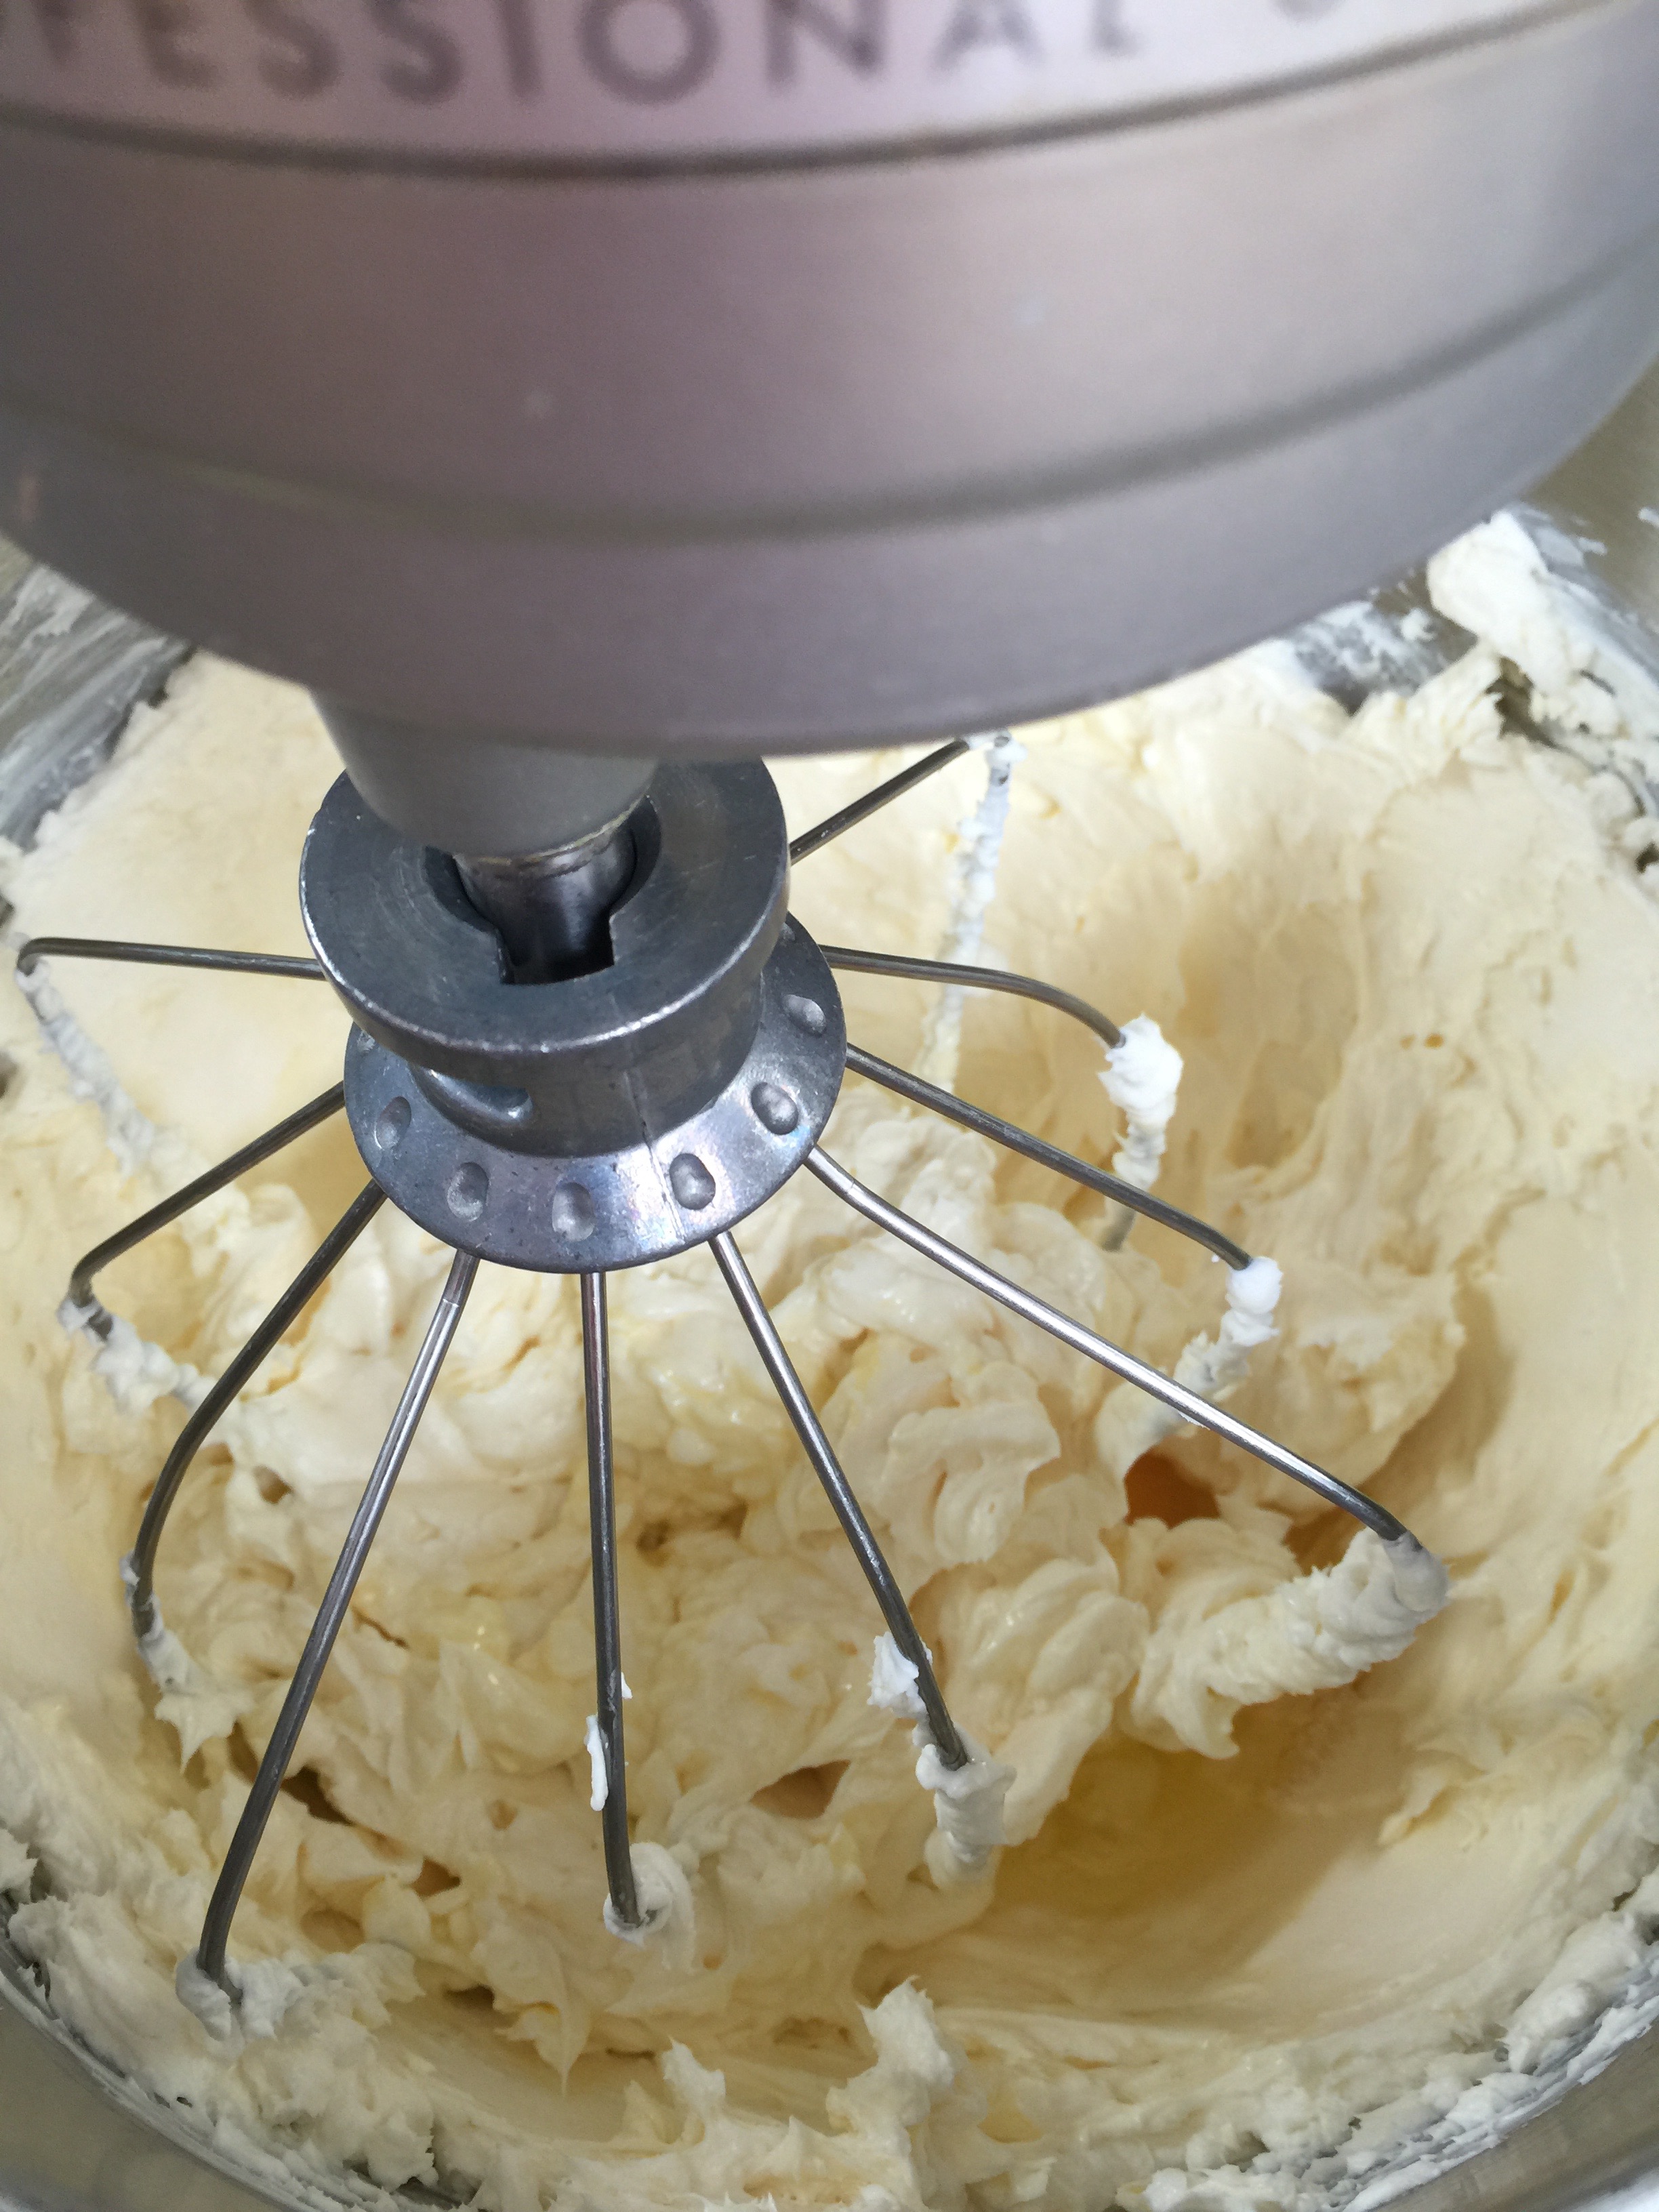
4. Remove the egg white mixture from the stand and slowly and carefully FOLD in your protein powder mixture. Gently fold until completely combined.

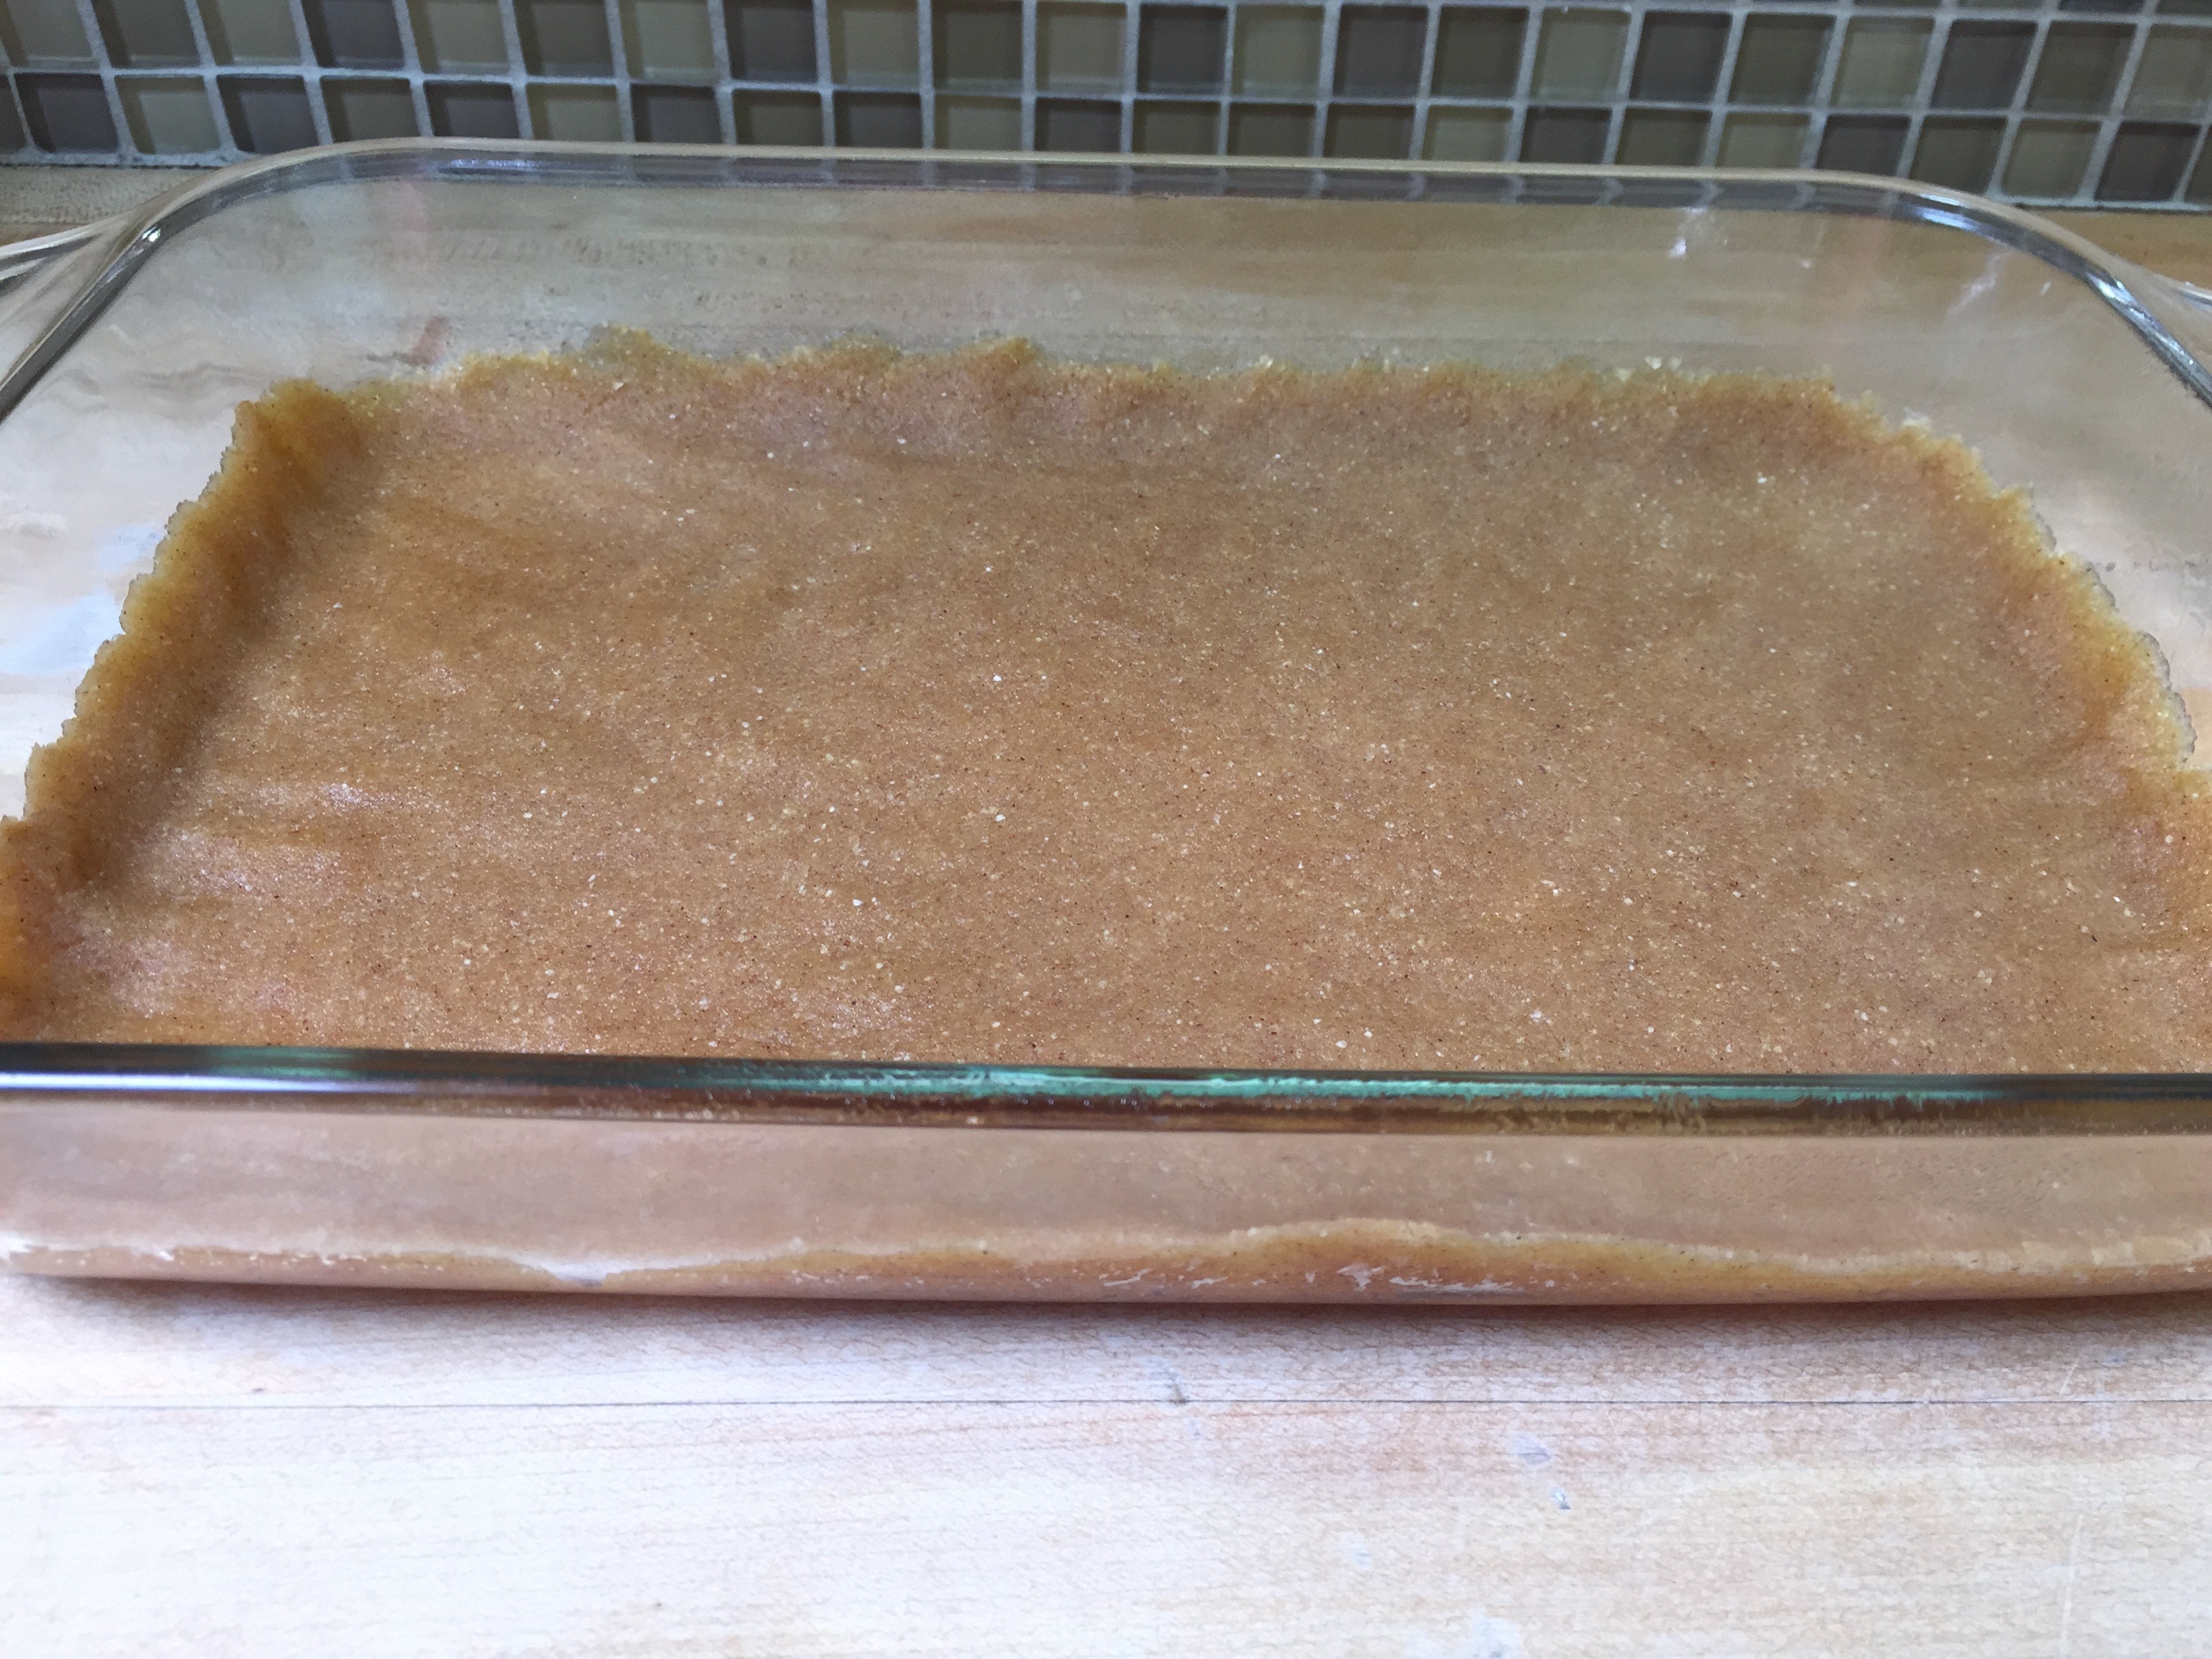
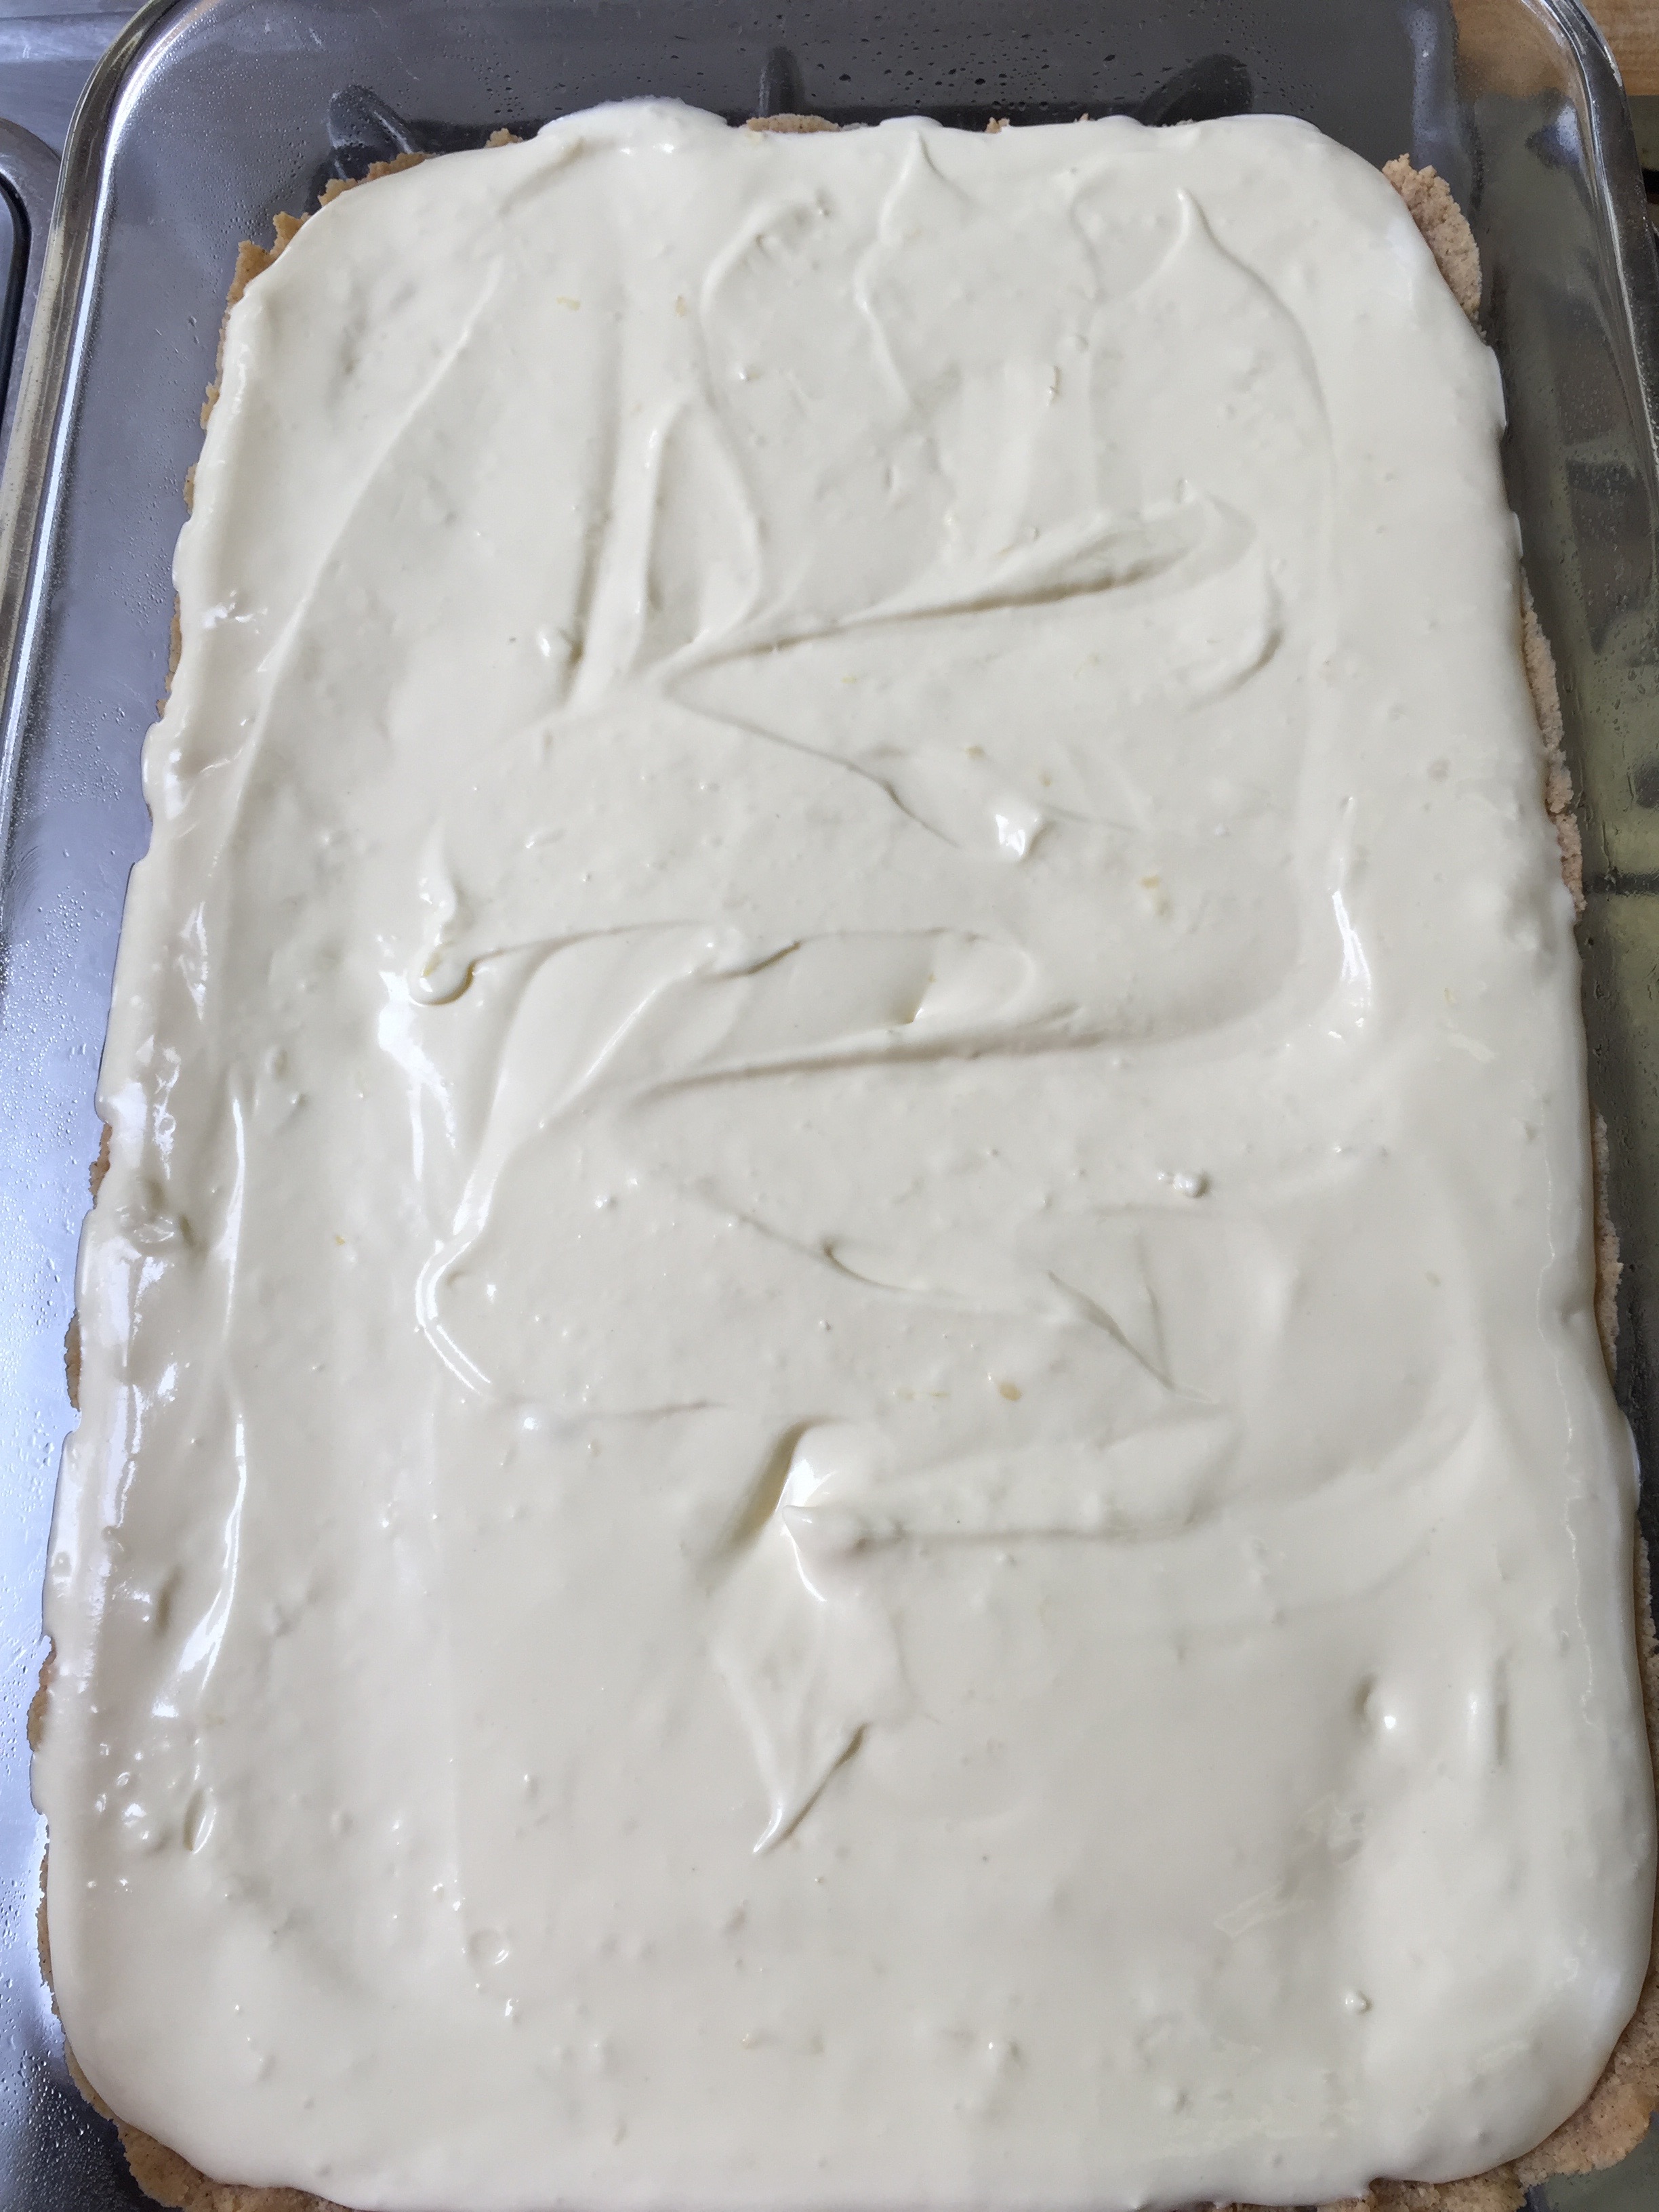
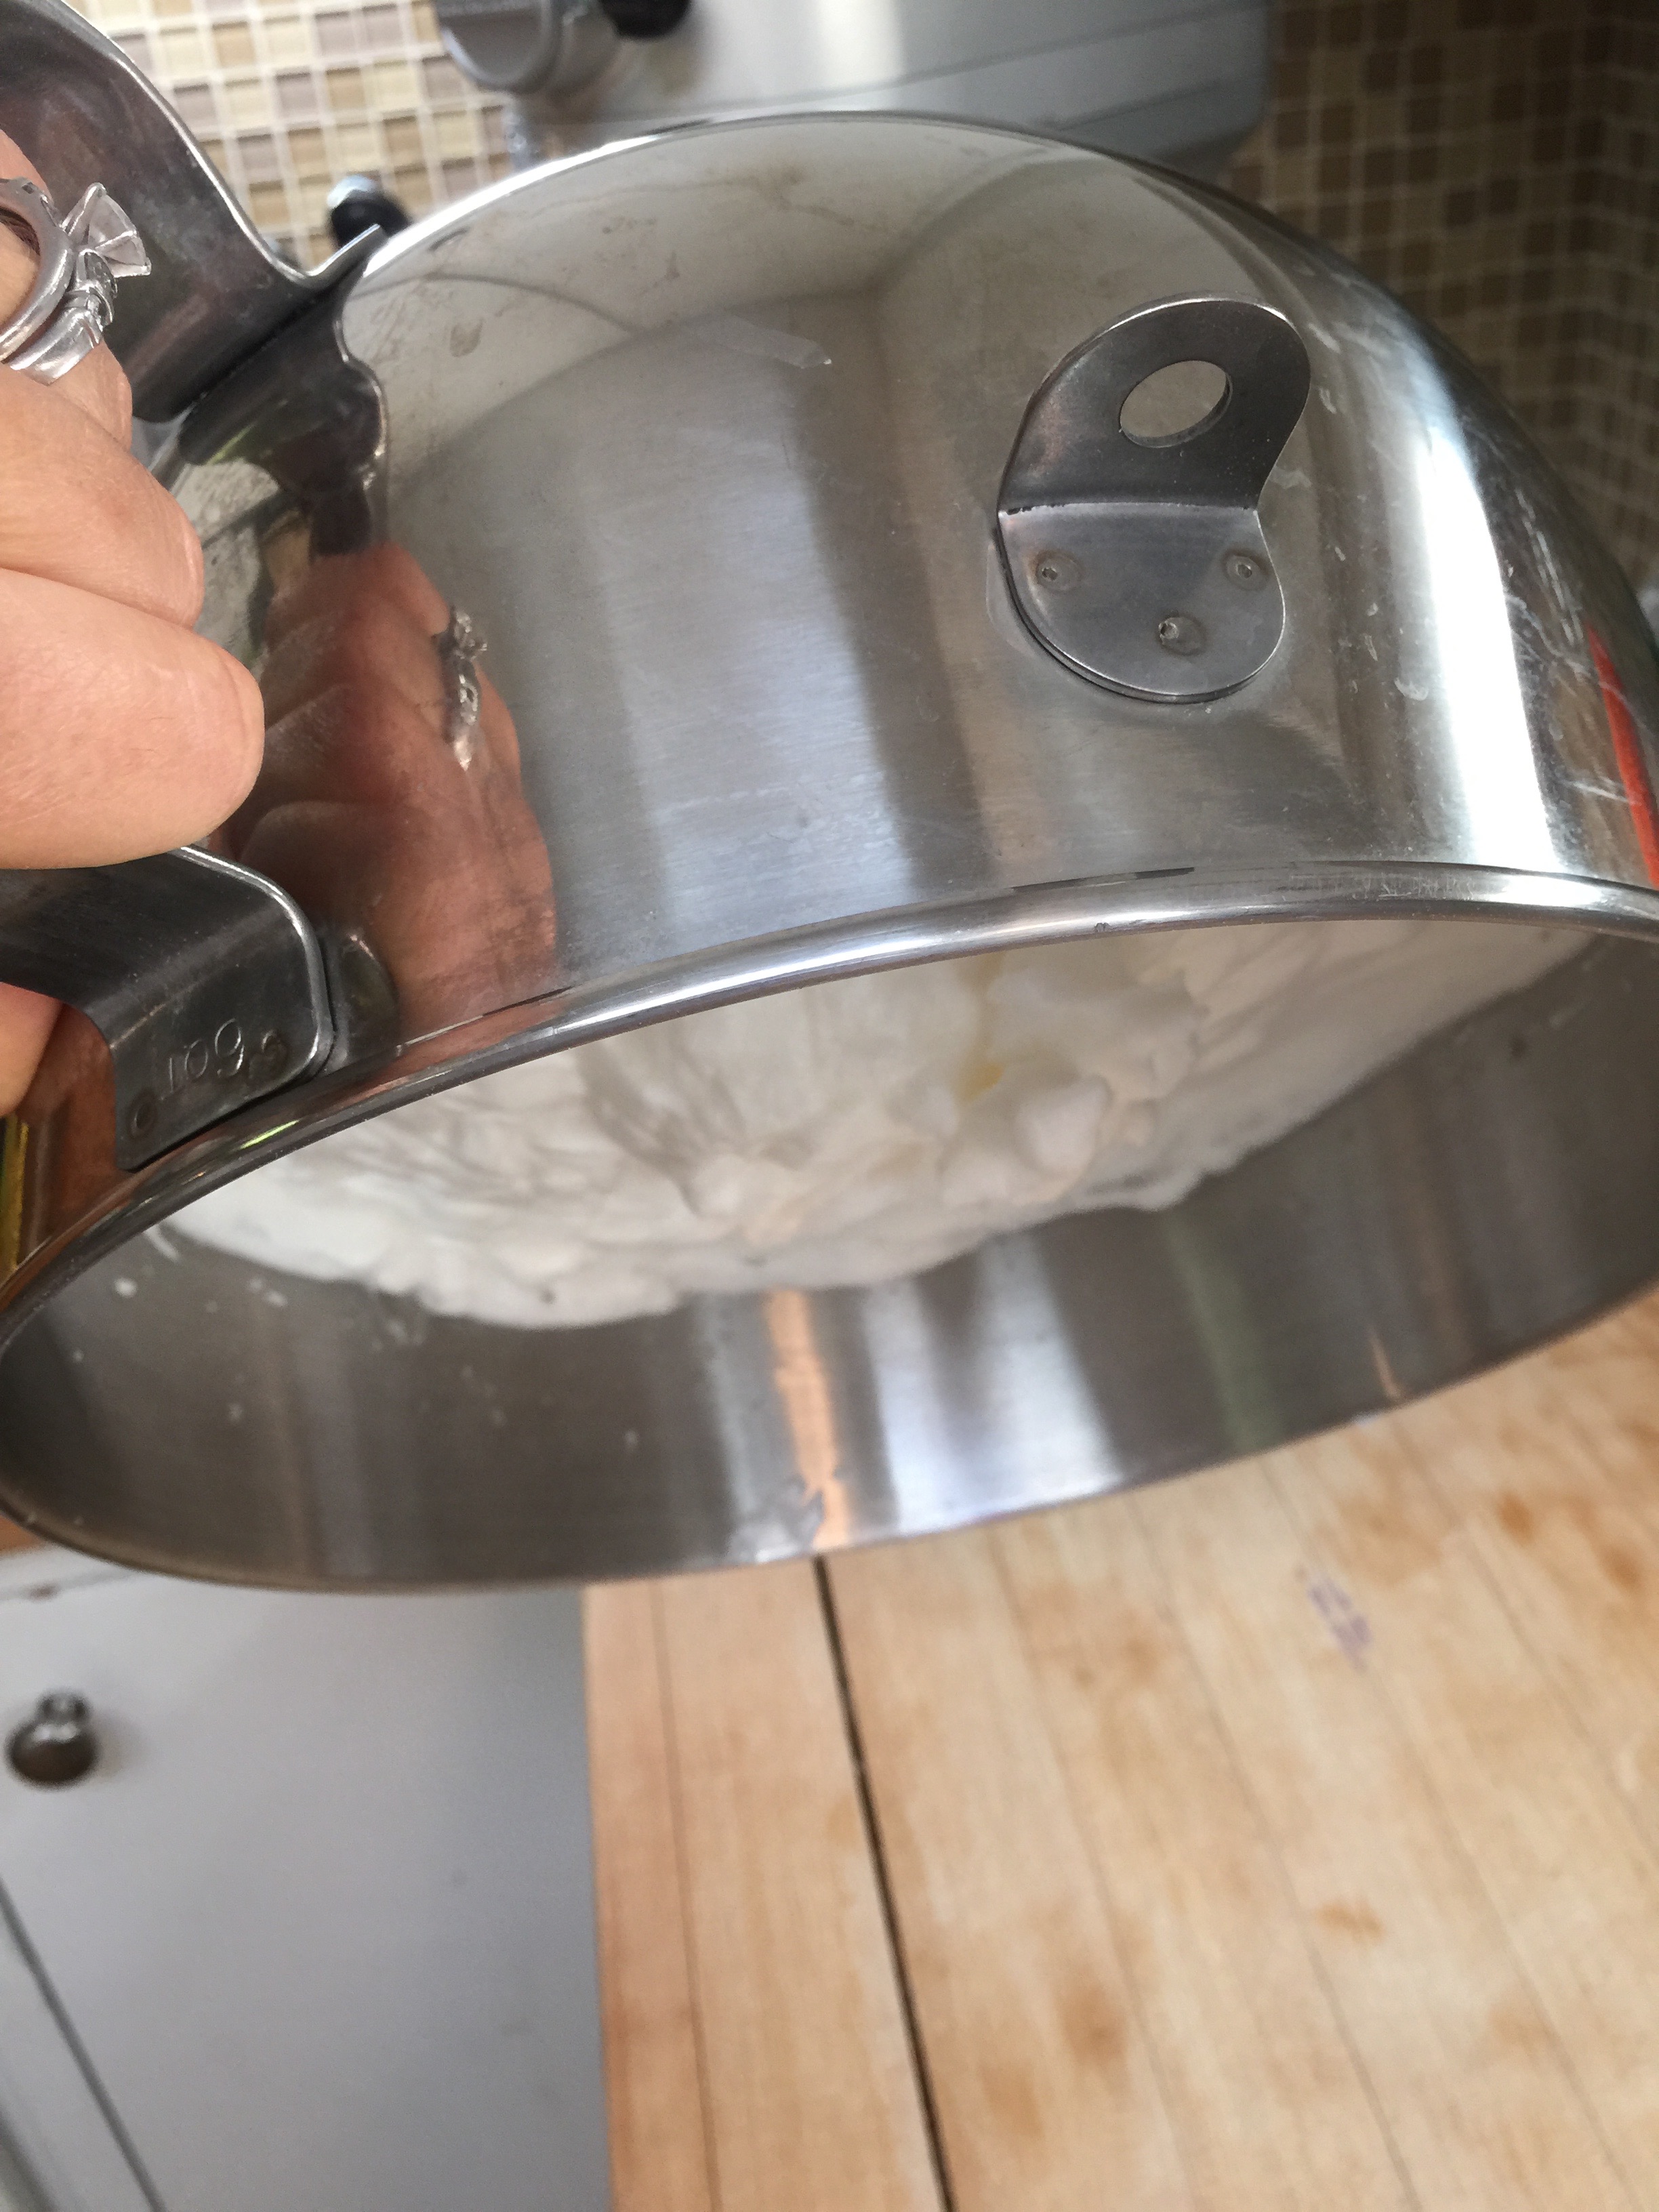
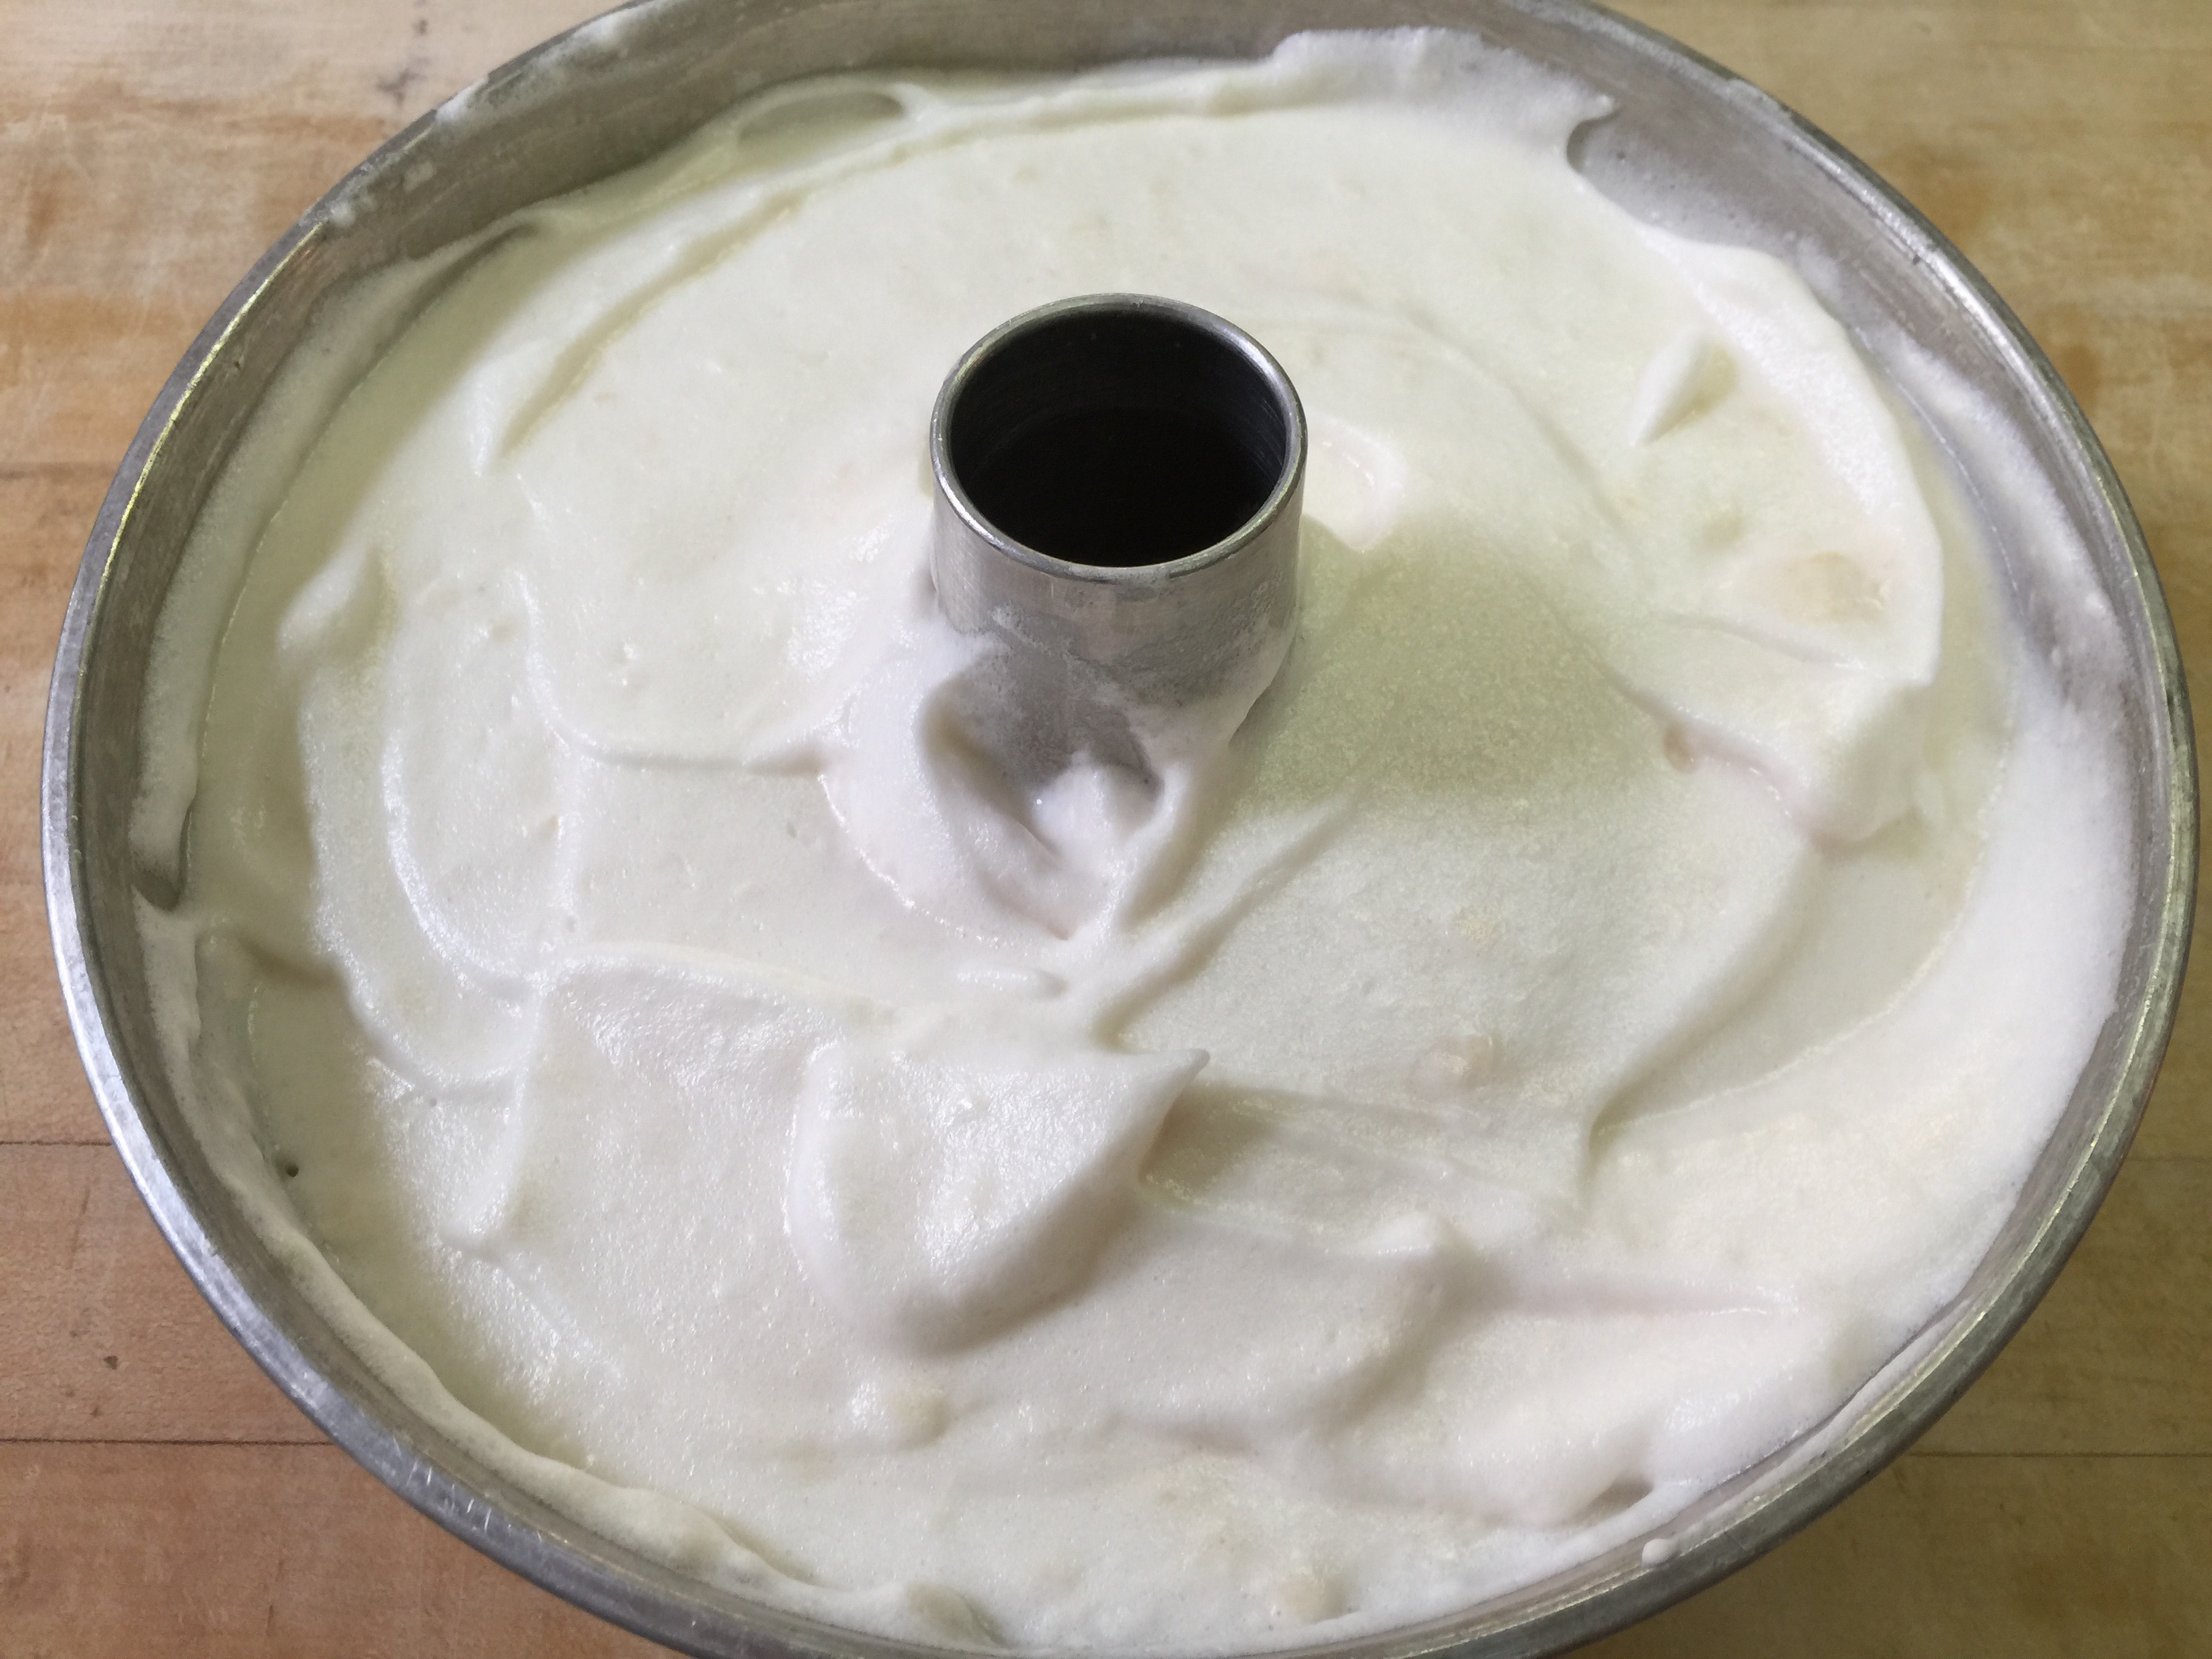
5. After all of your ingredients are mixed, pour into your angel food tube pan – DO NOT GREASE the pan!!! This is super important and you will see why! If you don’t have one, make sure you purchase one with a removable bottom. It should be a two piece pan. This was my grandmother’s pan, and all of the old ones are like this, but you have to look on the new ones.
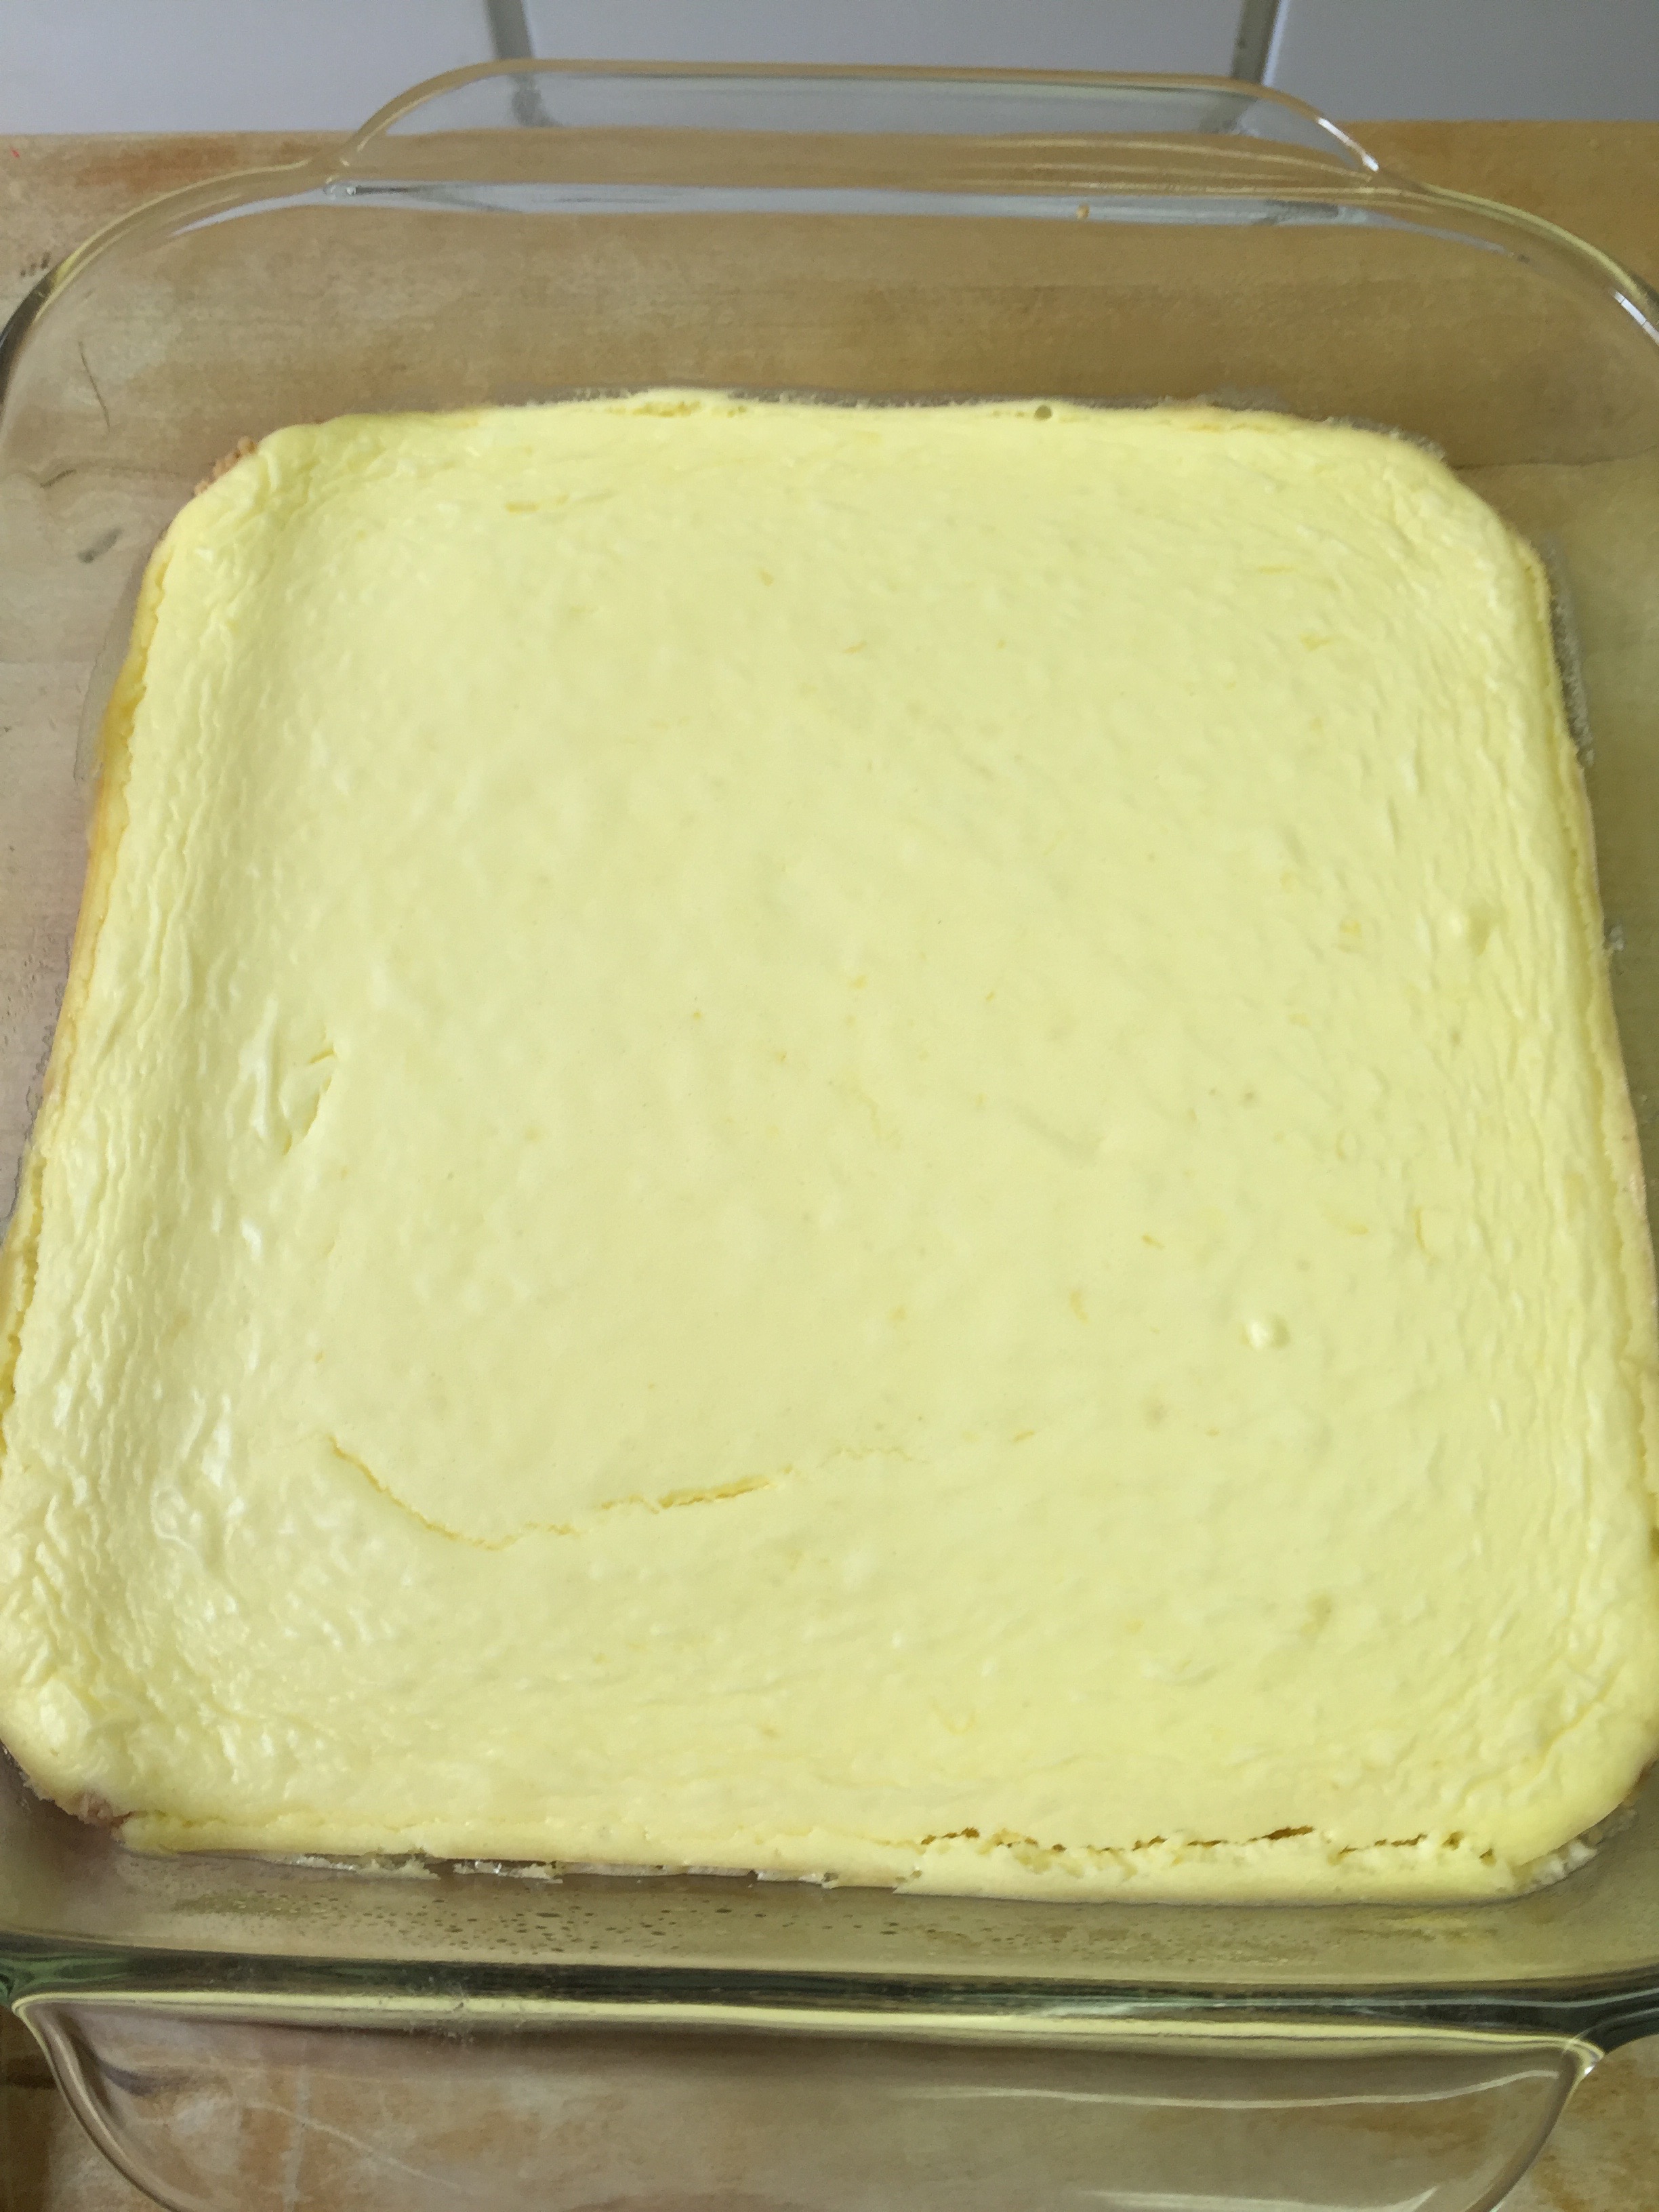
6. Place in your oven and watch. I had to turn my heat down to 325 degrees because it was getting too brown. It needs to cook for a good 55 minutes so if it is getting too brown after 25 or 30 make sure you turn down your heat. I did another cake afterwards and turned the dial down to about 335 degrees after I placed it in the oven, and it was about right.
7. Now you will see the “why”. When the cake is super fluffy, high and browned, remove it from the oven, and immediately invert onto a bottle at room temperature. This will keep the cake from sinking.

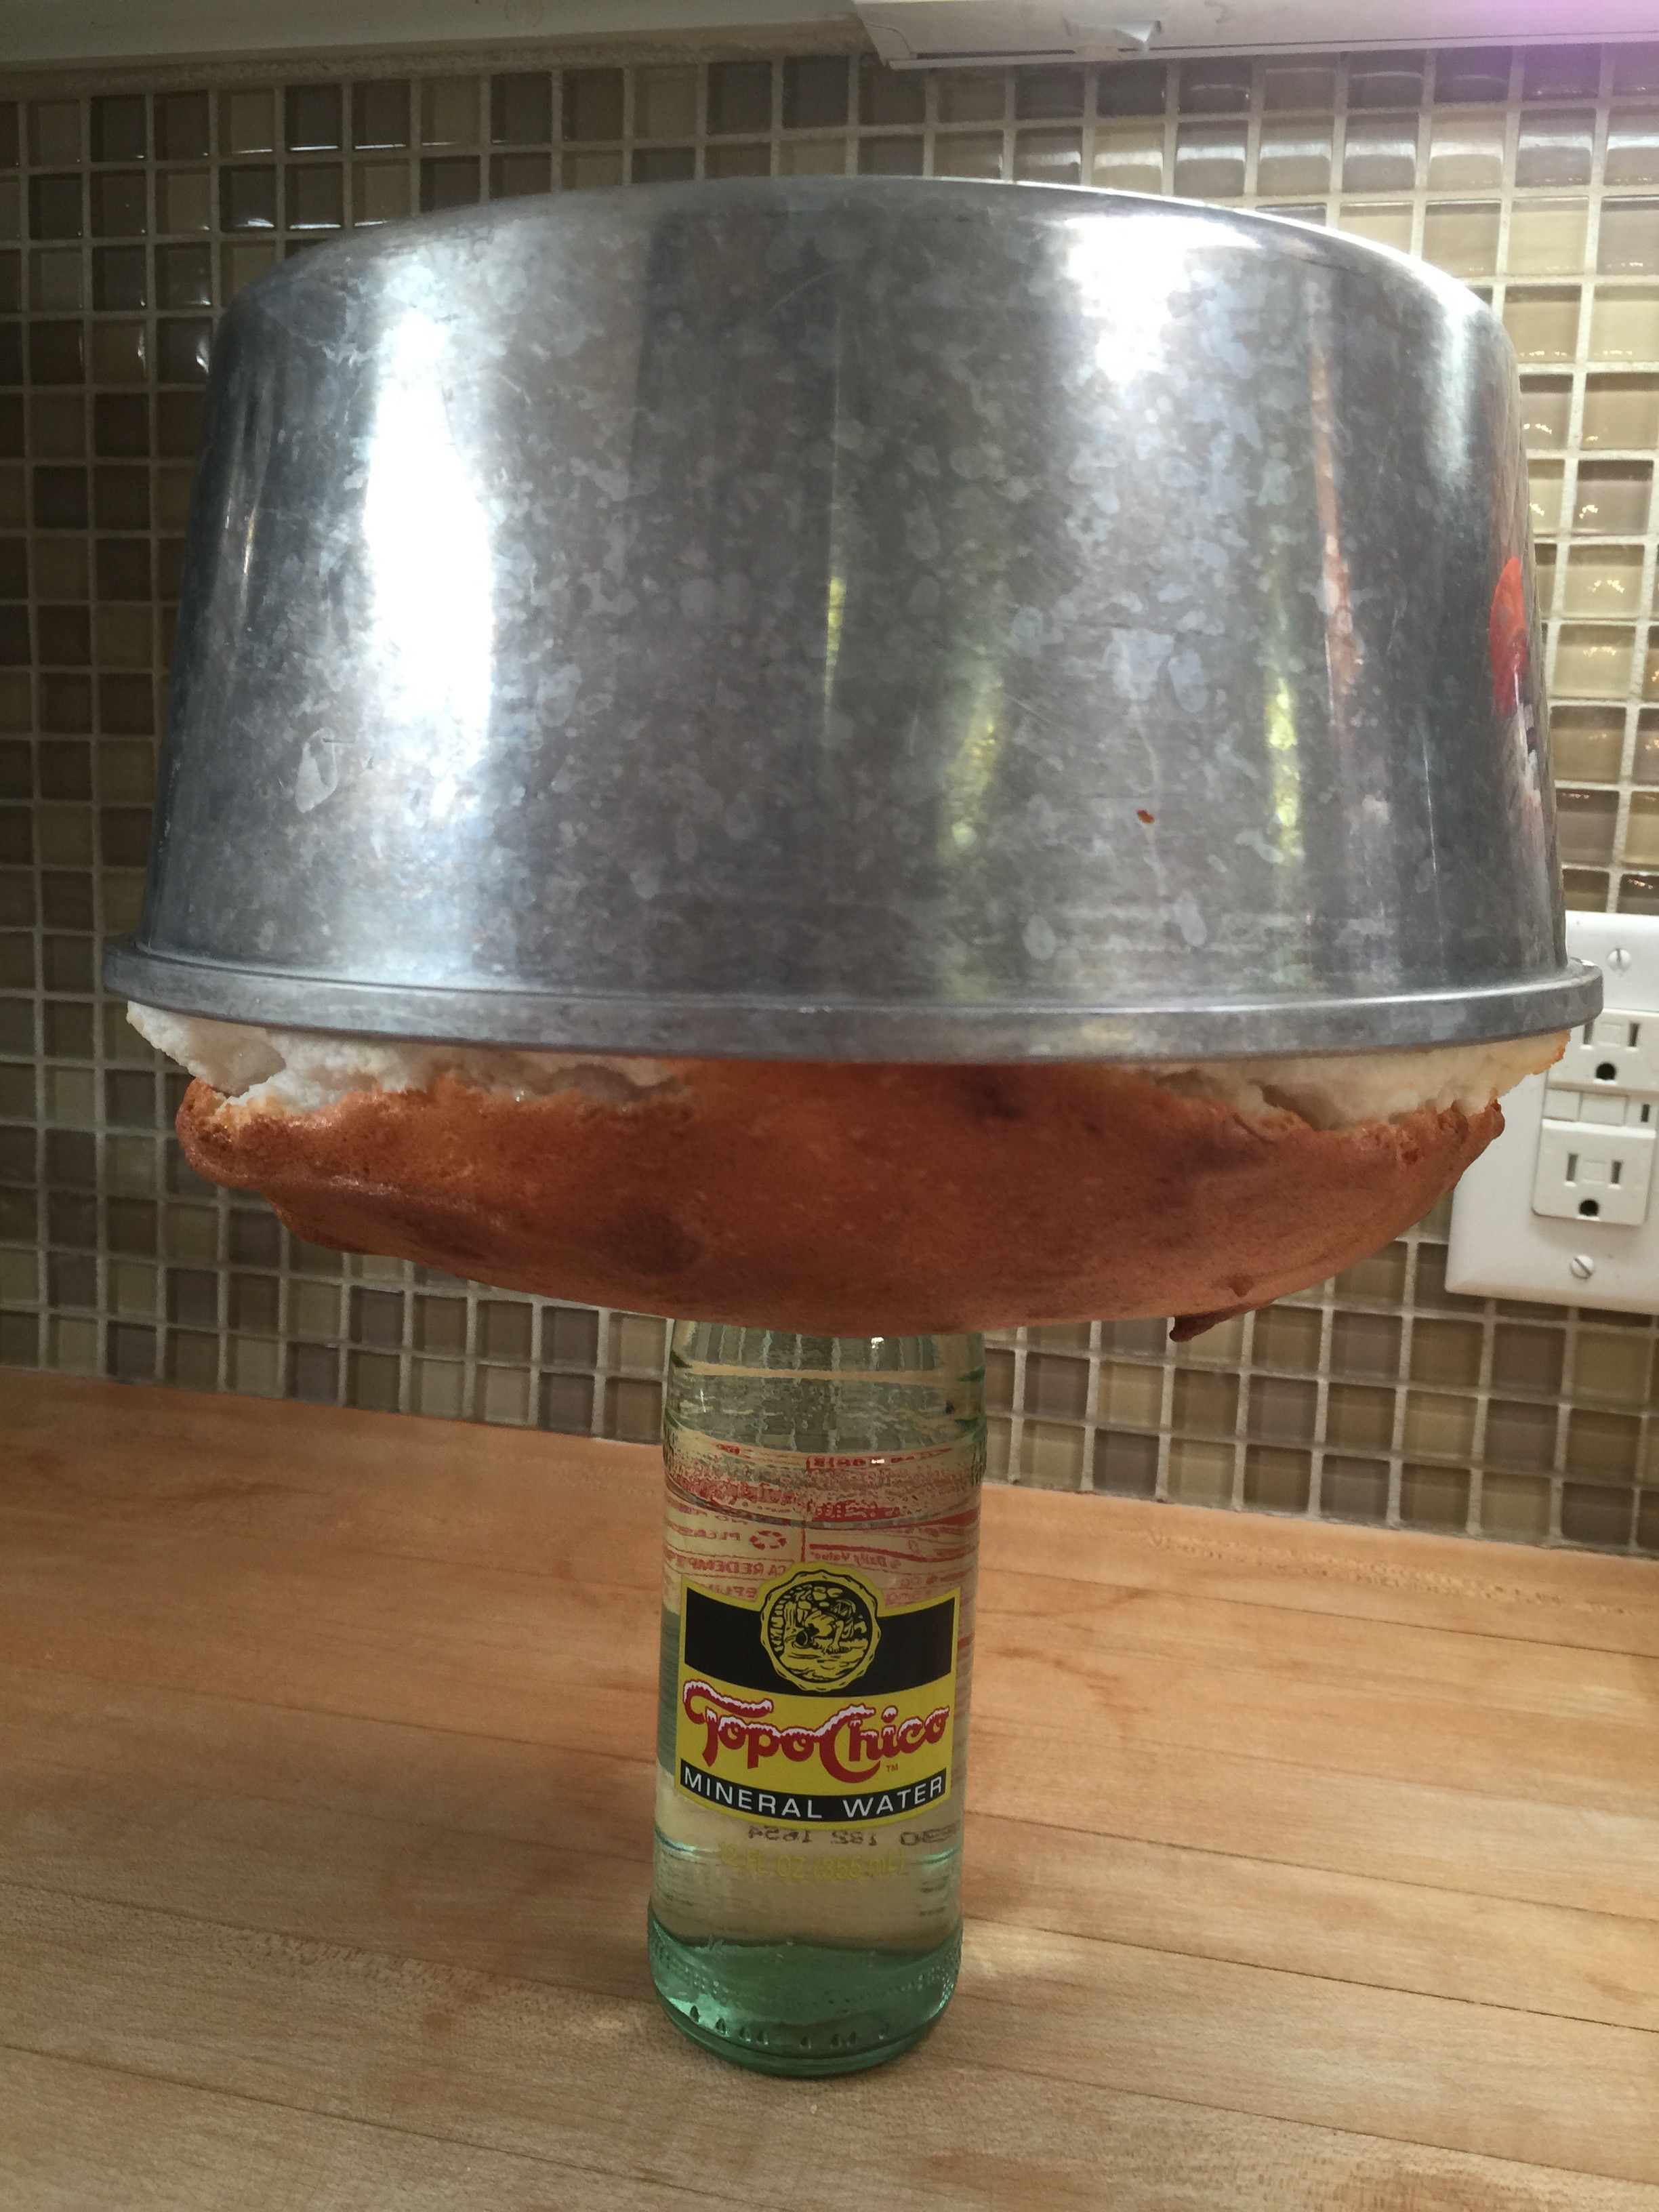
8. This is why you don’t grease the cake!!!! Otherwise it would be on the counter. Let it cool completely like this.
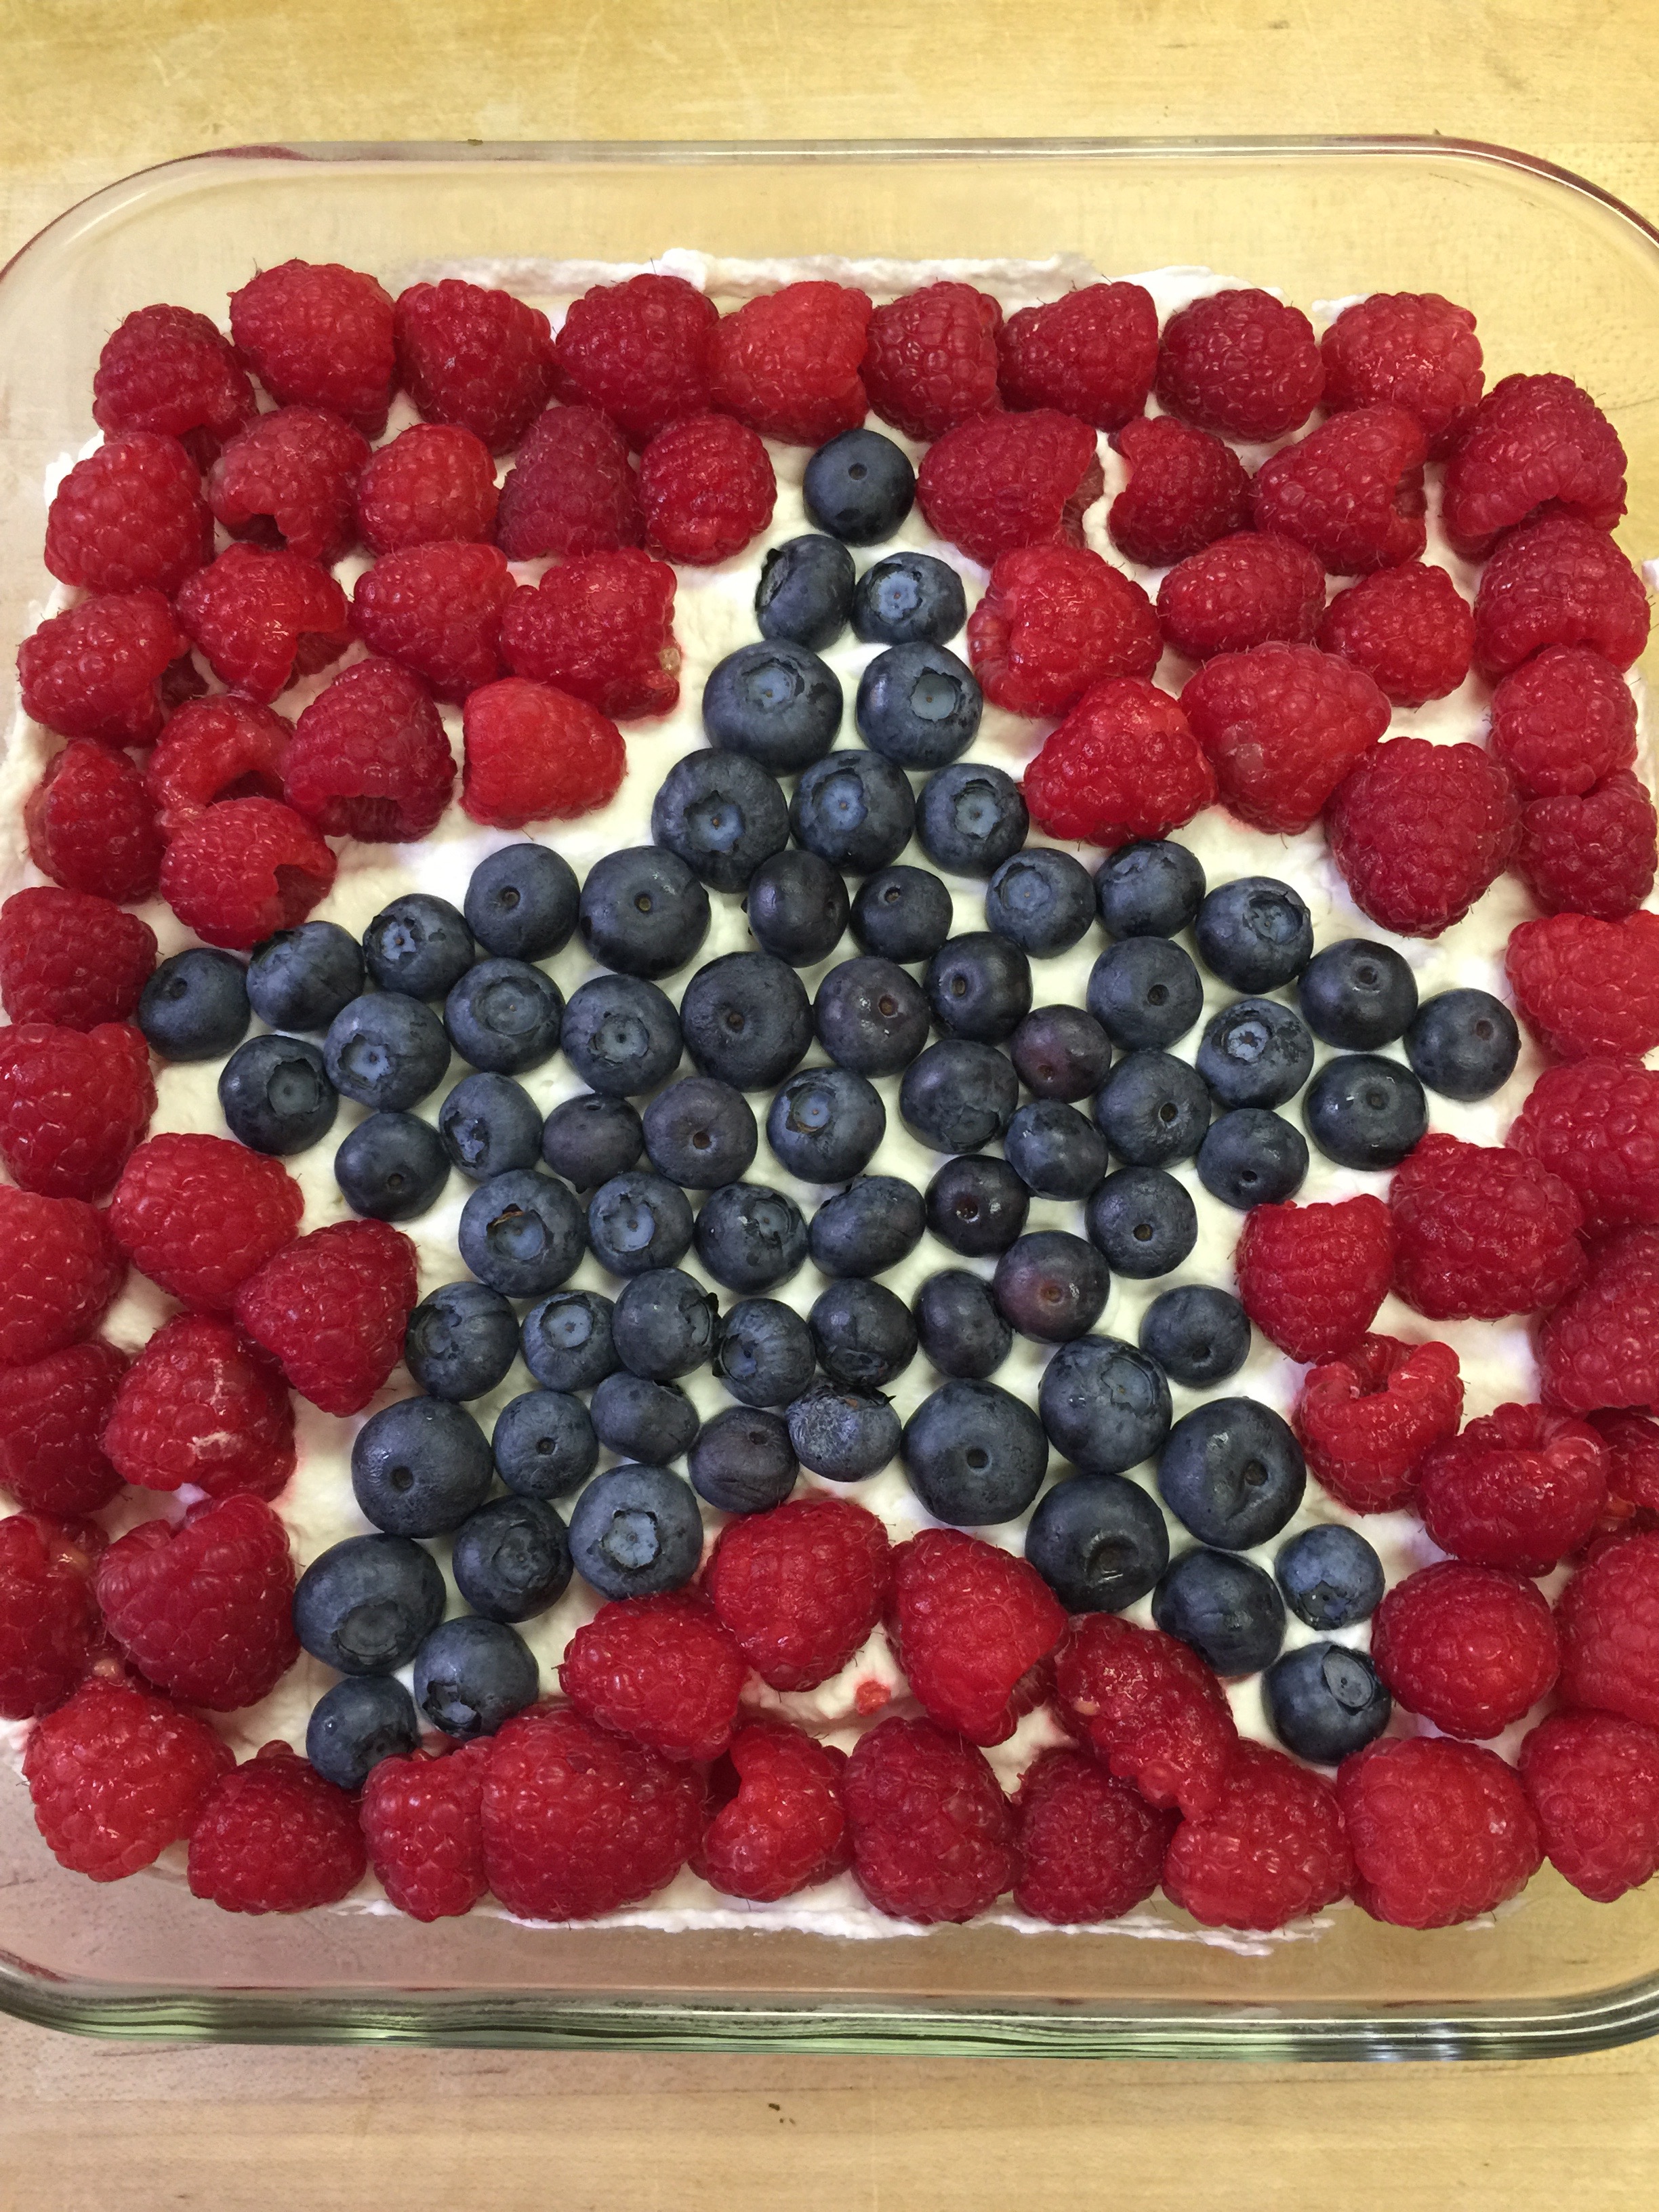
9. After it is cooled, use a sharp knife to go around the edges, and then push the bottom out of the pan. Place on a cake stand, and it is ready to serve with whipping cream and berries.
I also made a prettier one that I iced with whipping cream and arranged berries on top. My kids like it this way frozen. You can do it either way.

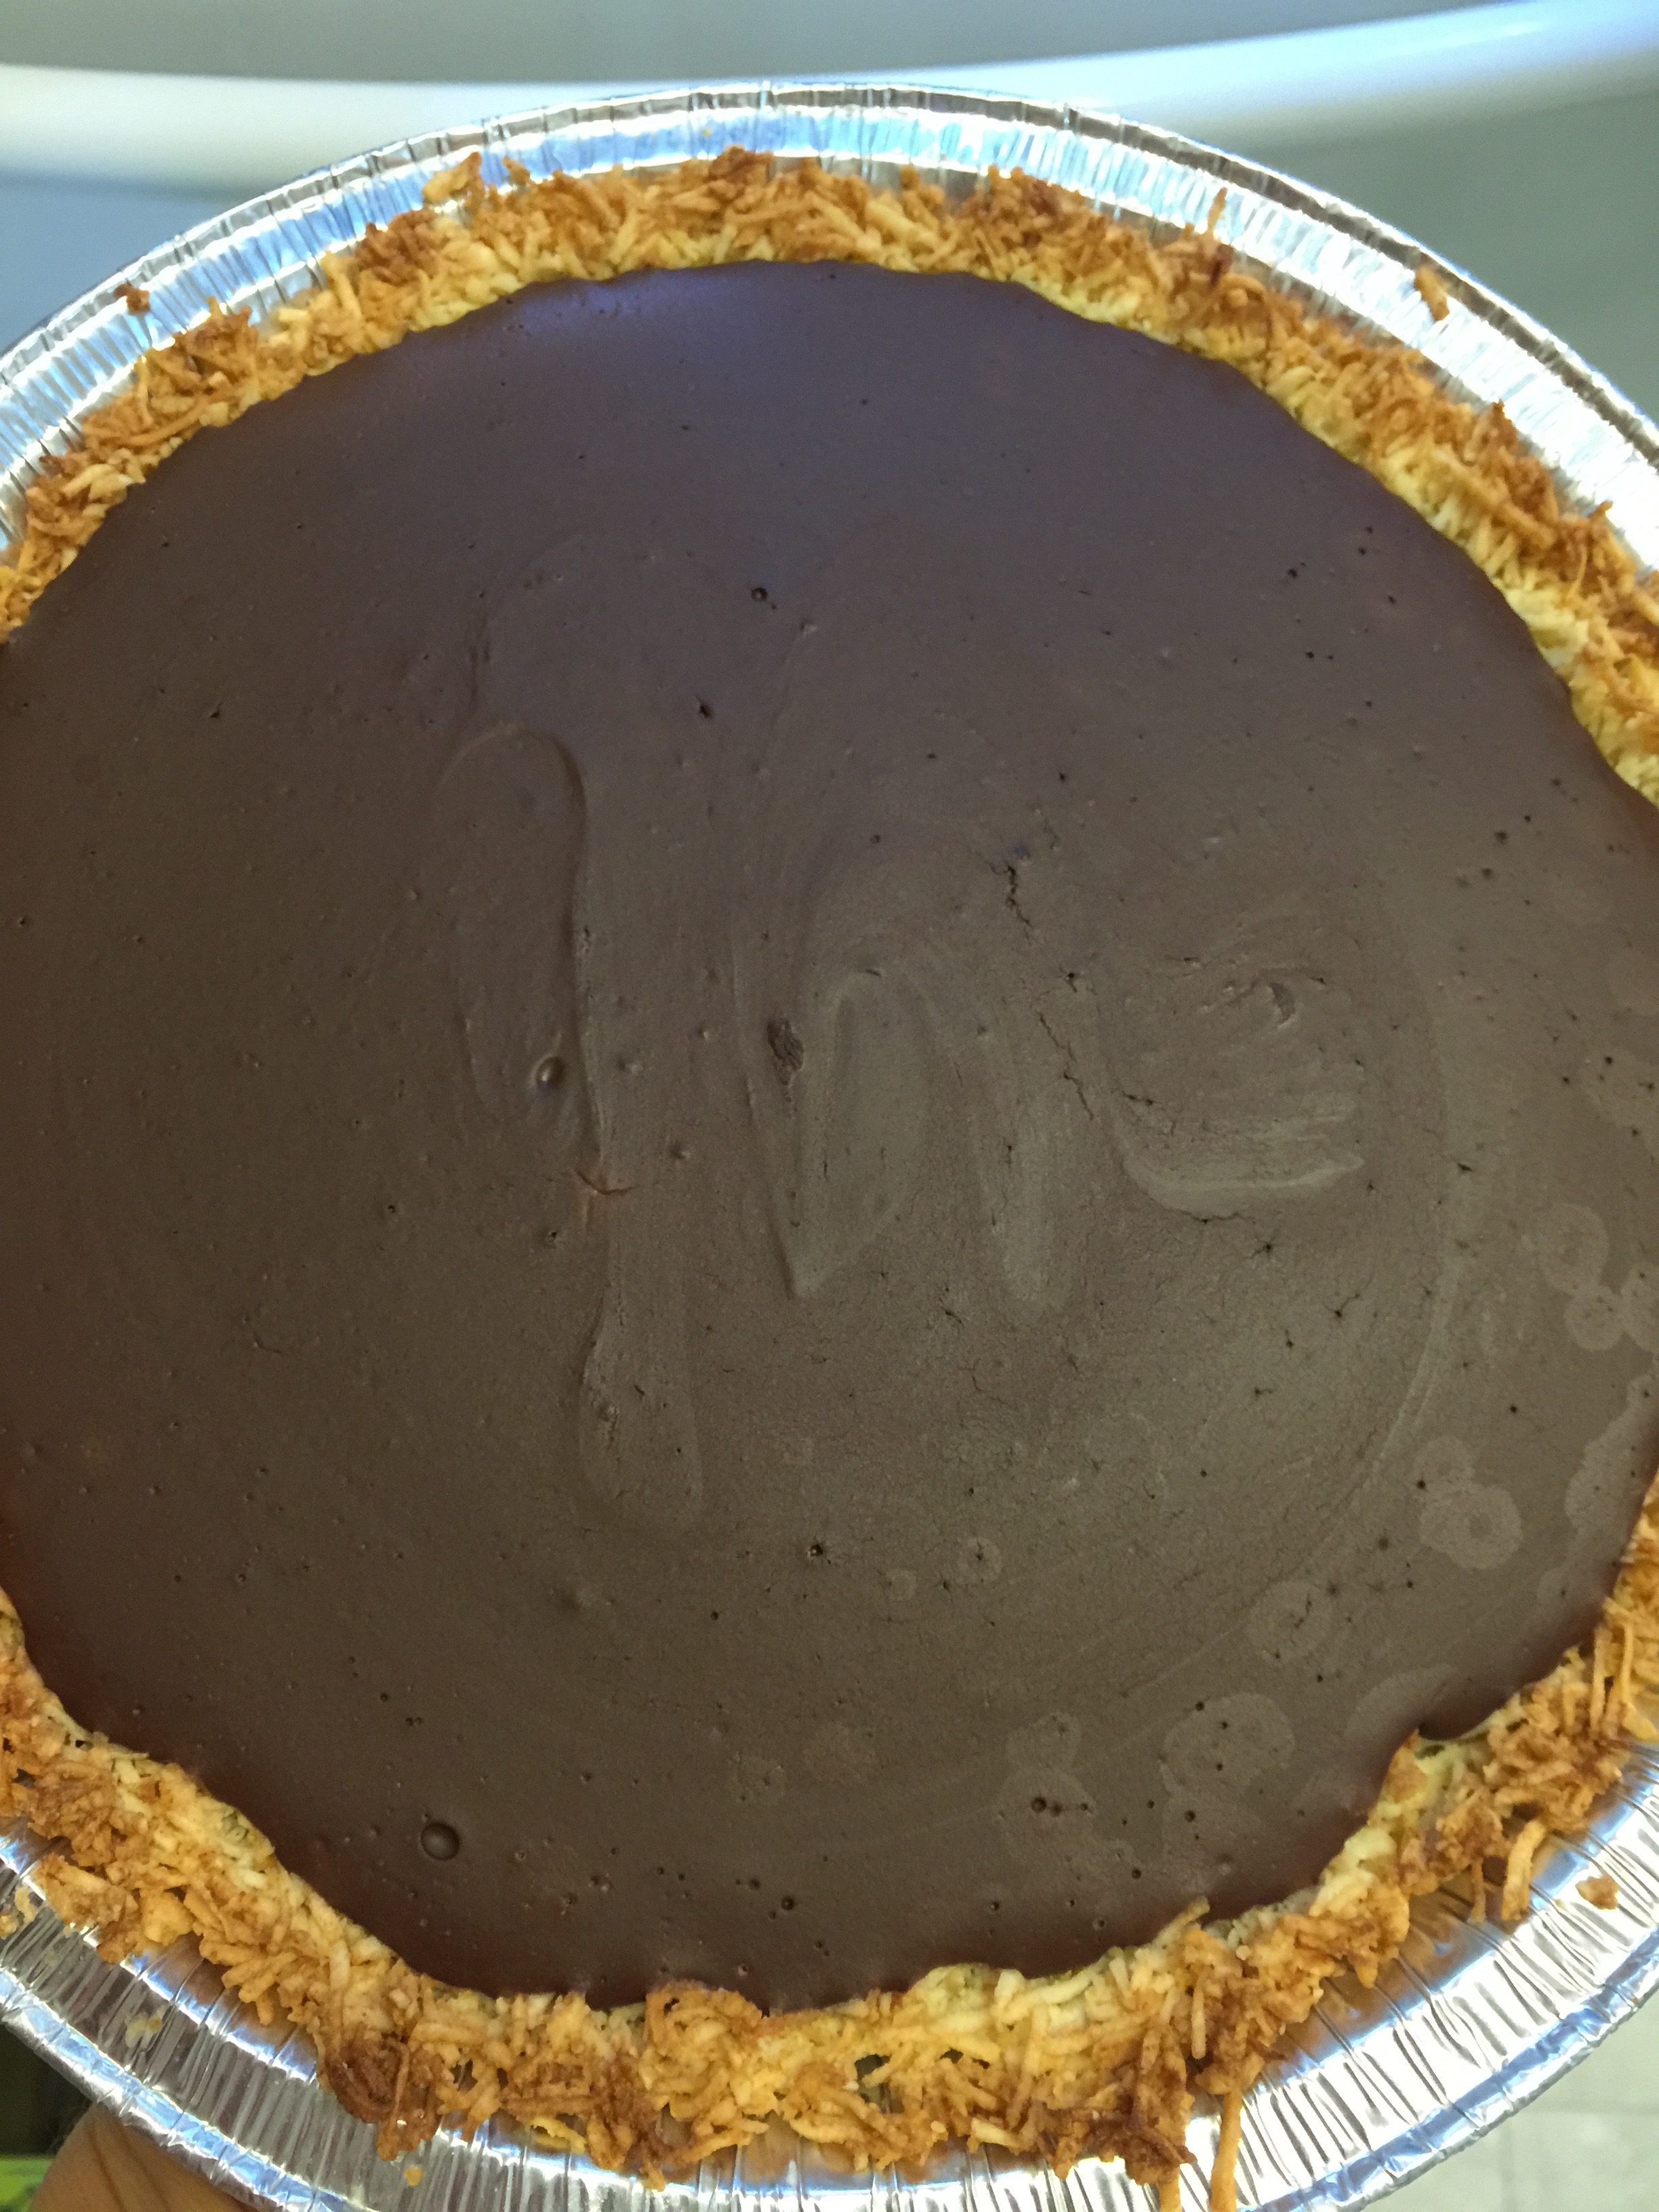
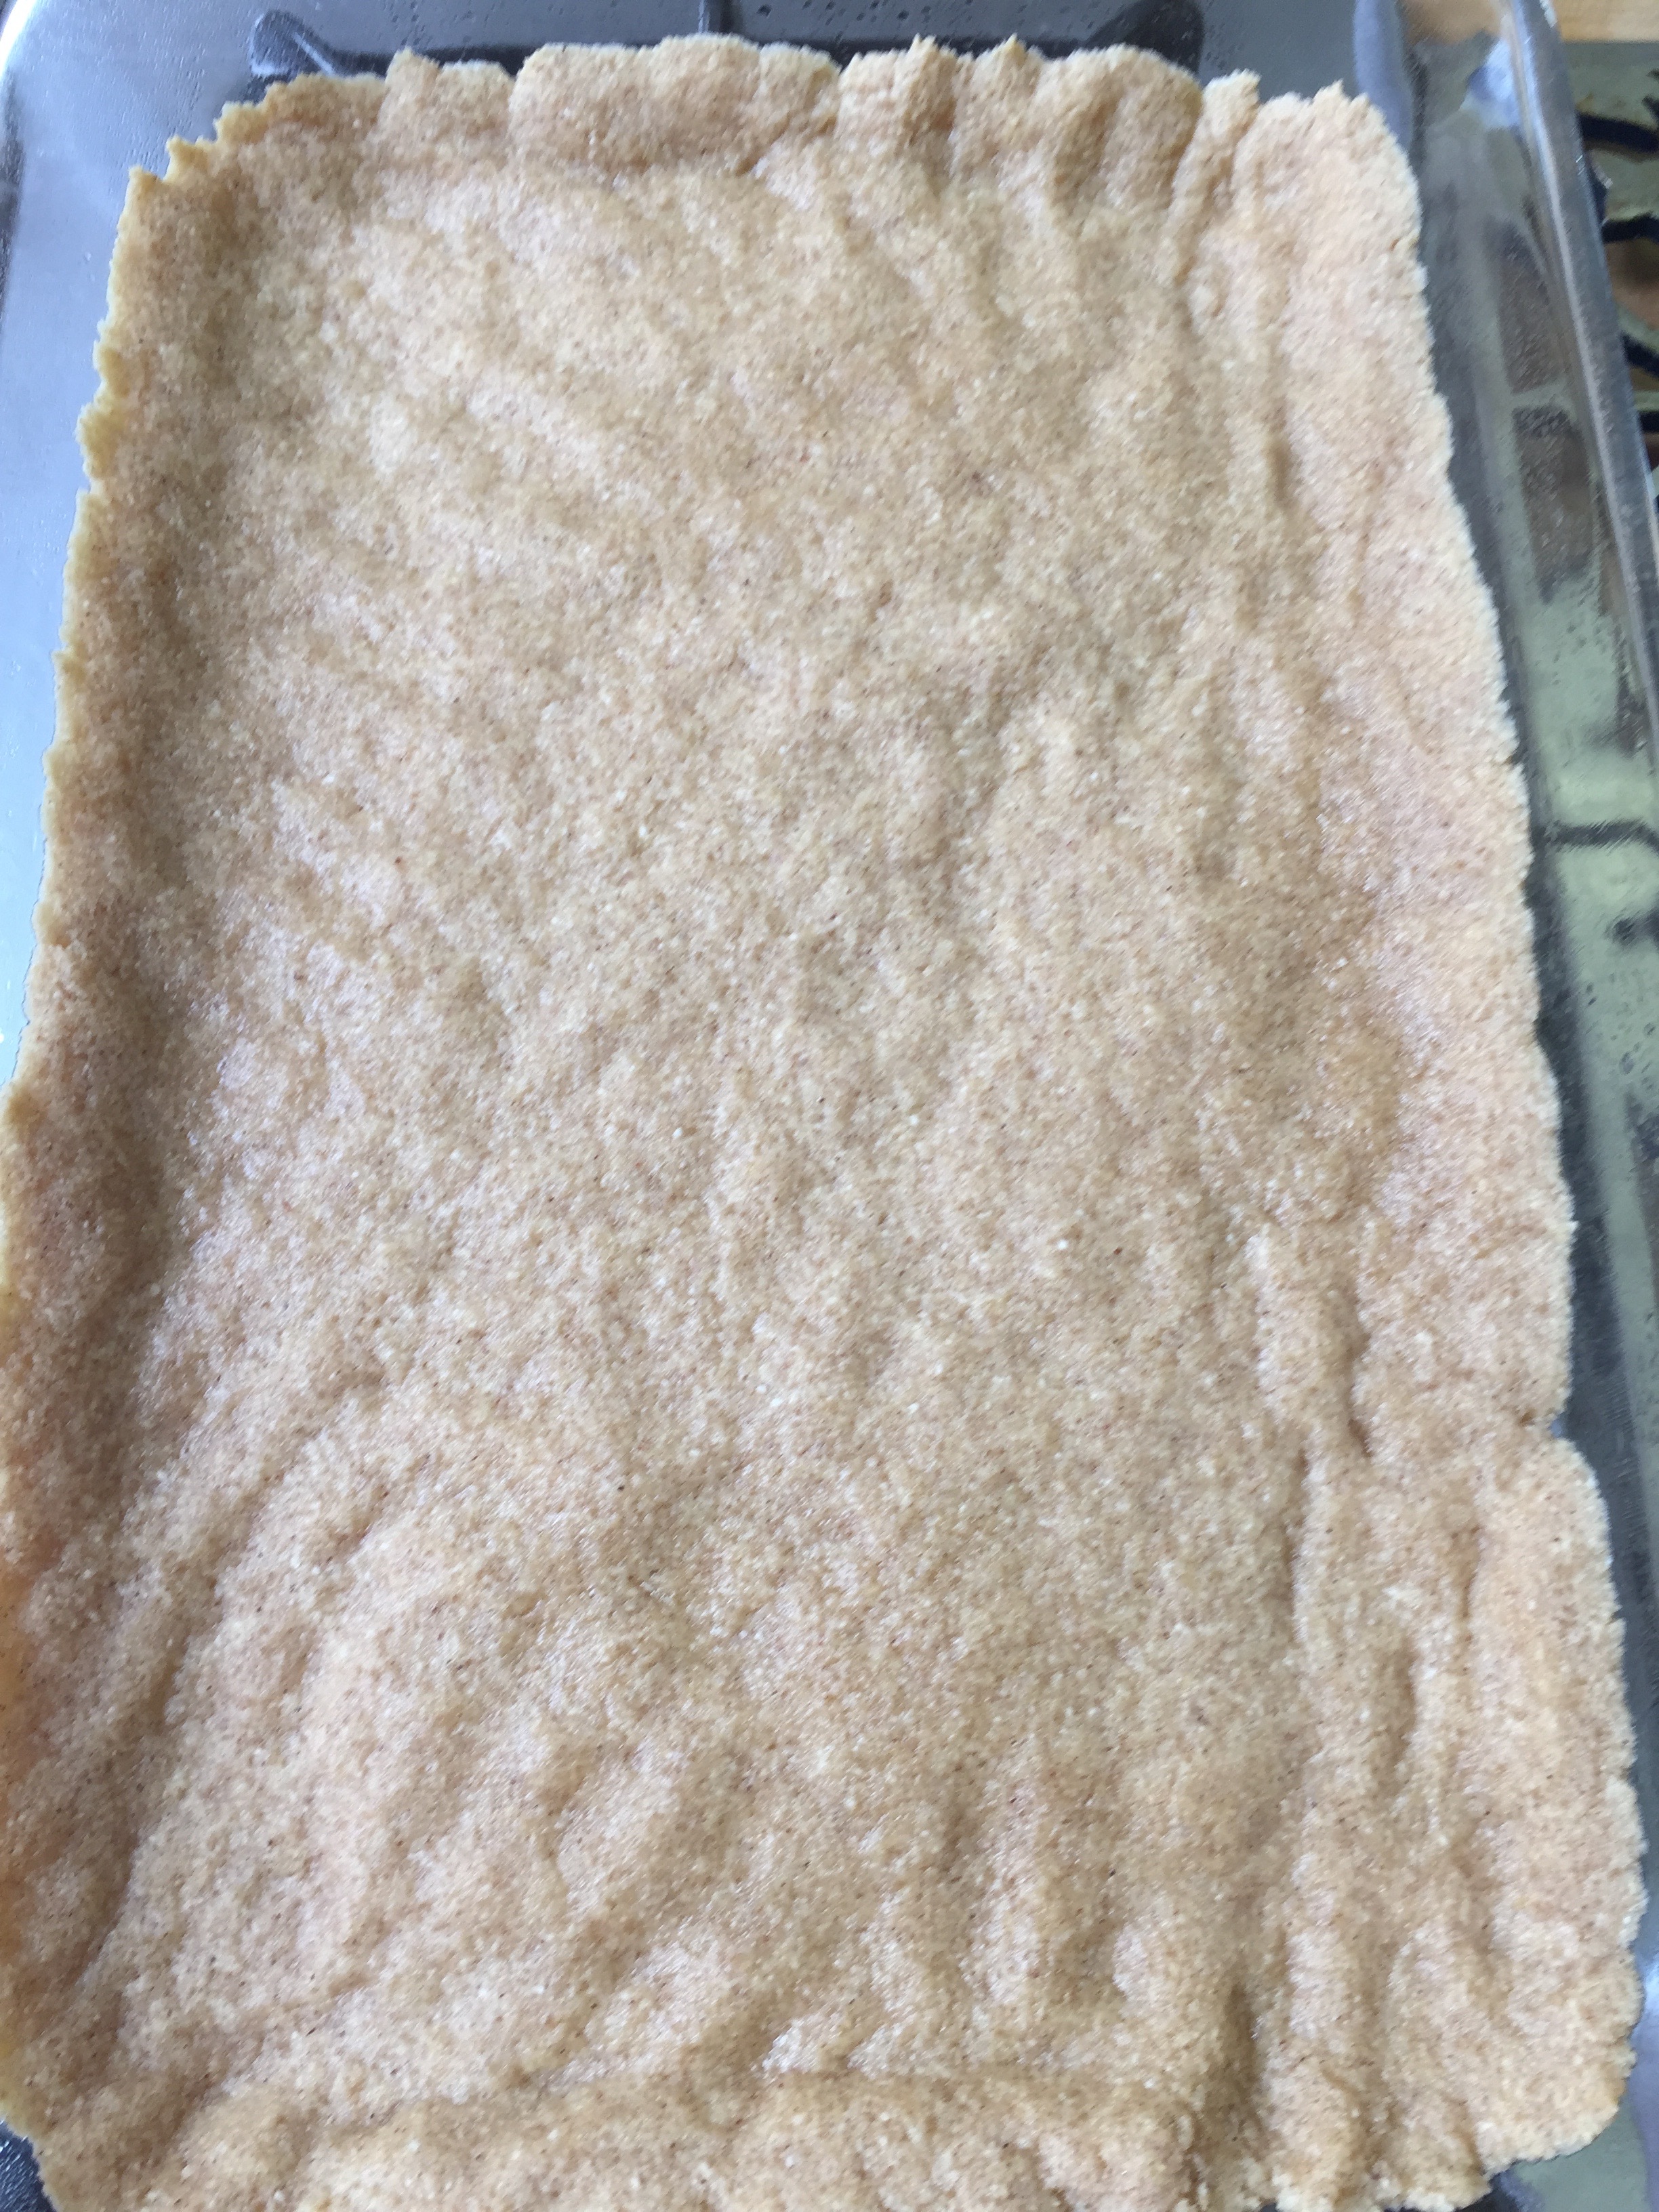
You can see in the above picture; I removed the super brown top which basically popped right off.
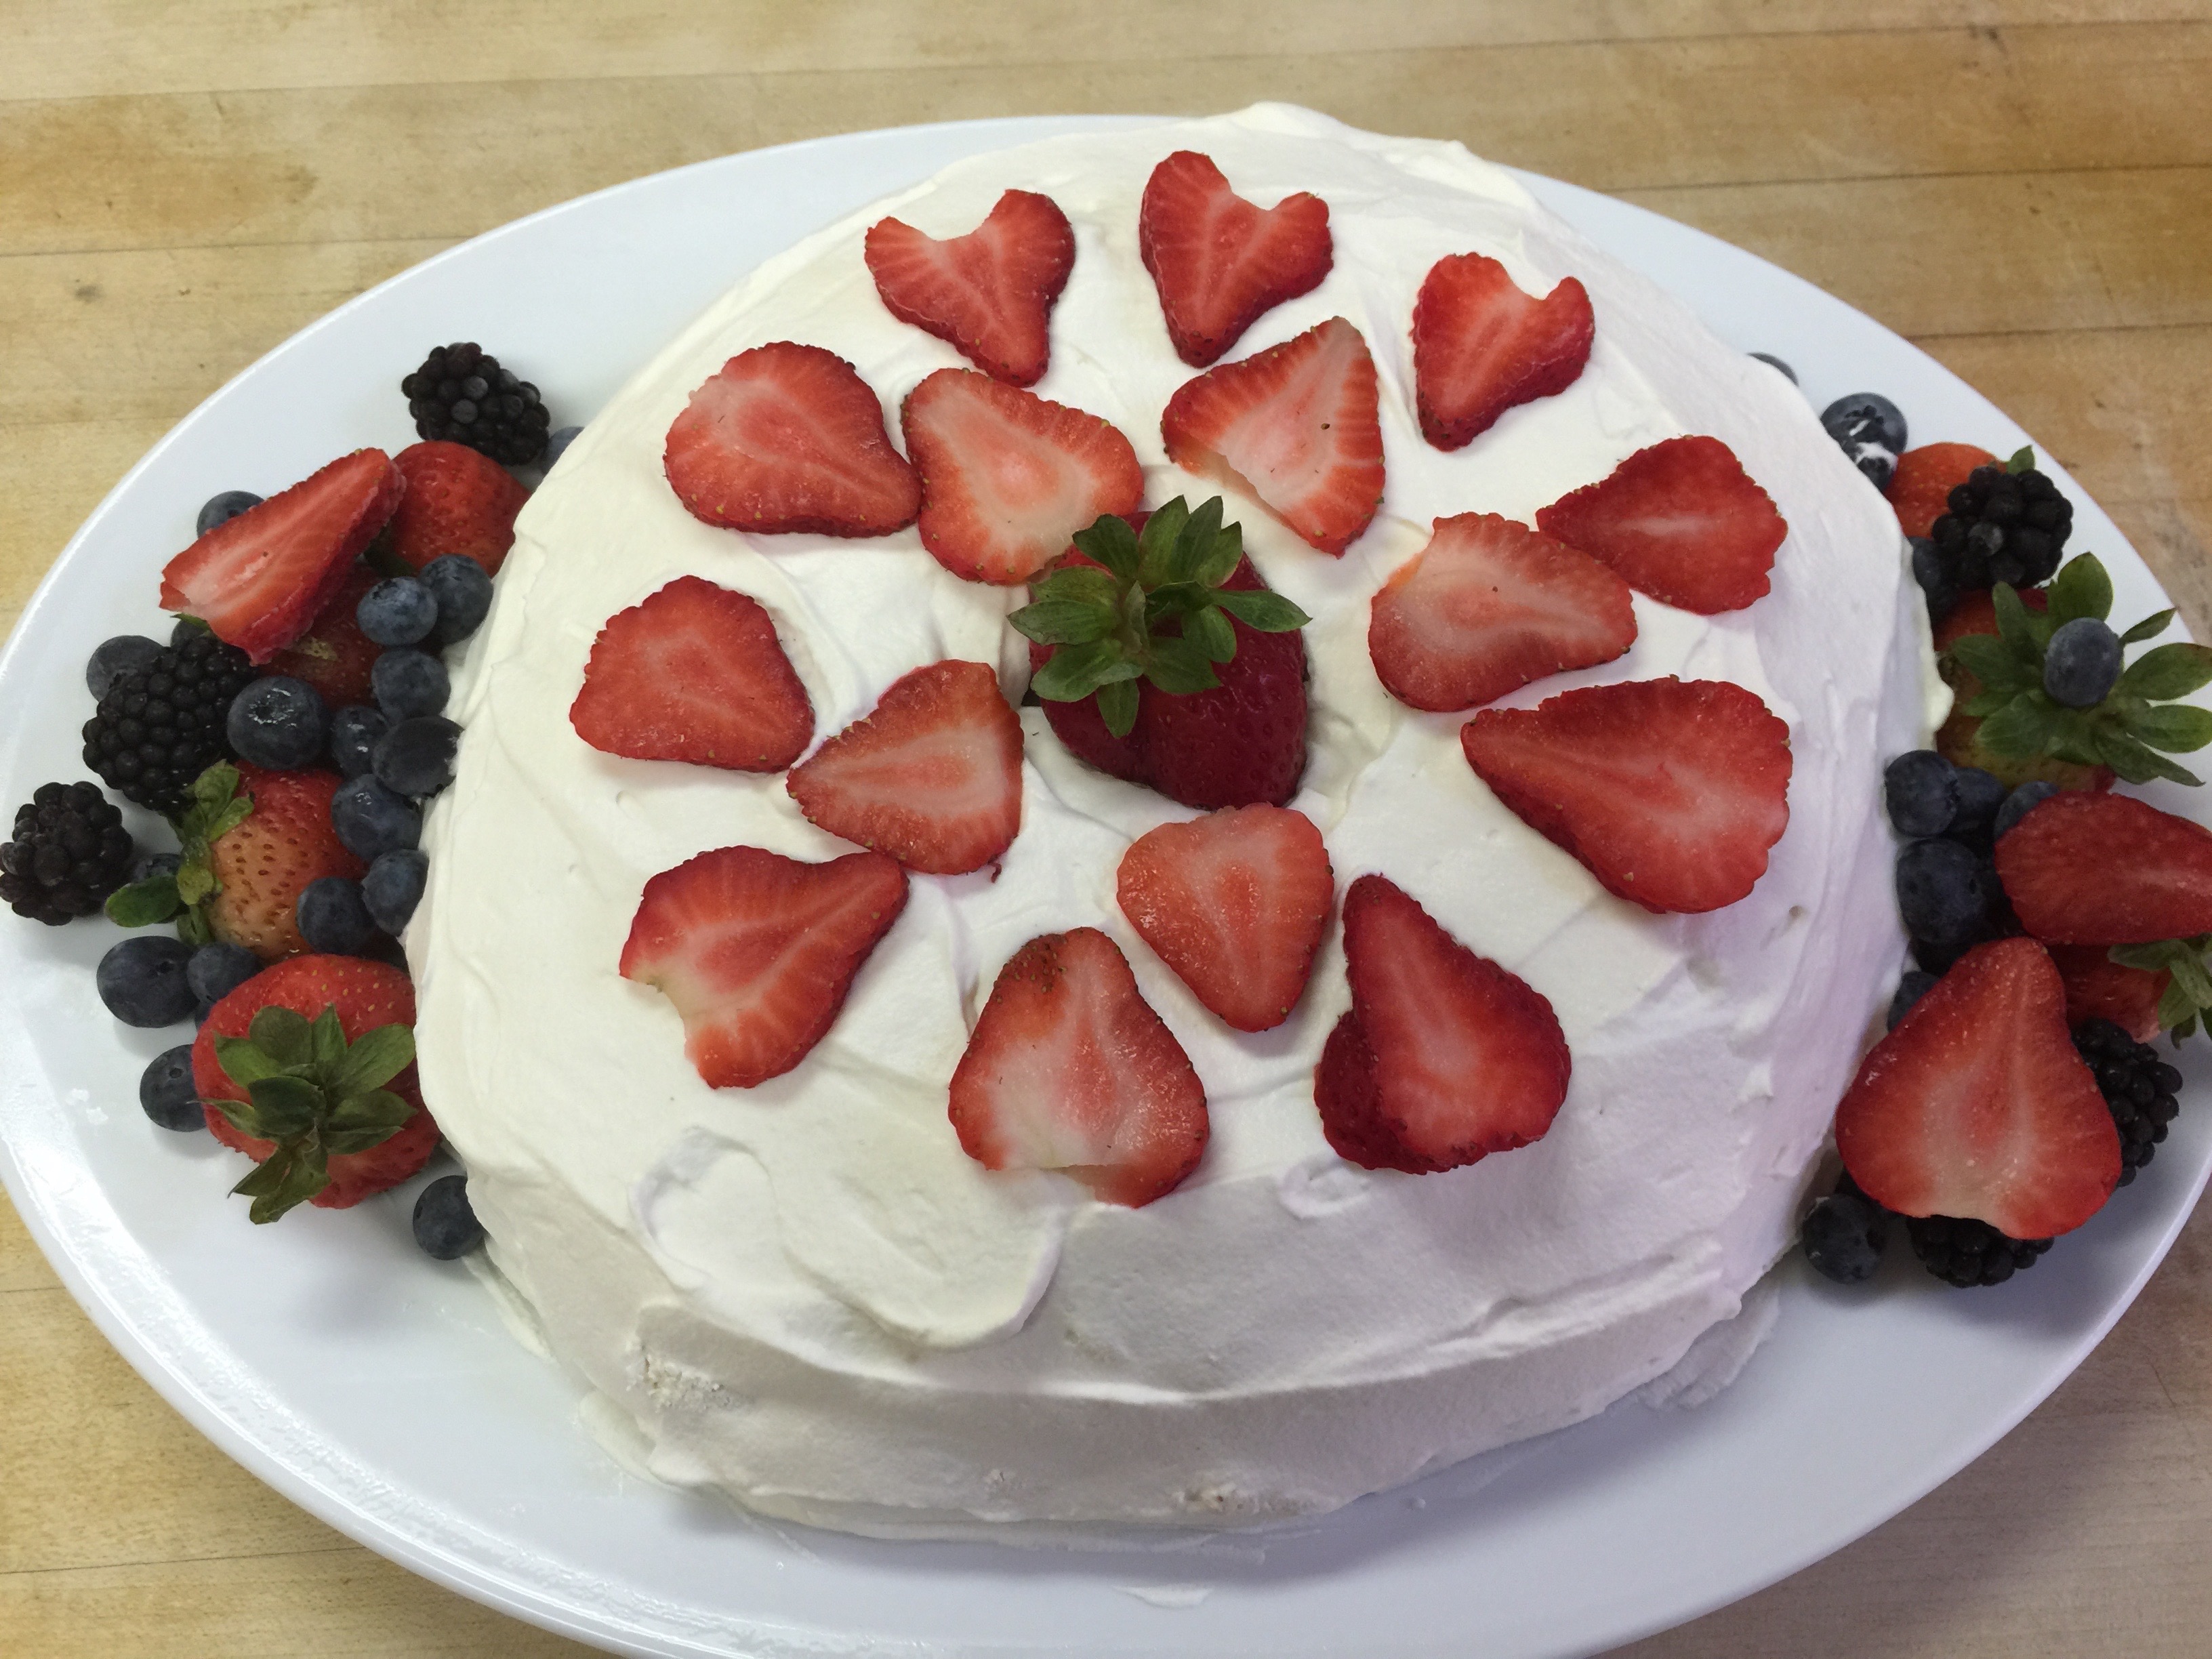
This one above is actually frozen – berries and all!


That was one happy birthday girl and every bite devoured!
All the whipping in this recipe can be time consuming, but it is so rewarding! Don’t give up, and enjoy every bite!