Archive for recipe

An “Almond Joy” Kind of Day

My most requested recipe at your fingertips!

Just because you go low-carb doesn’t mean you can’t ever have sweets again!  You just have to think differently!

These “Fat Bombs” are the bomb!  They are so easy to make, you get your intake of healthy fats, and take care of that little need for a sweet treat every once in a while.

You can keep them in the fridge, and pop them as you need them.


Fat Bombs

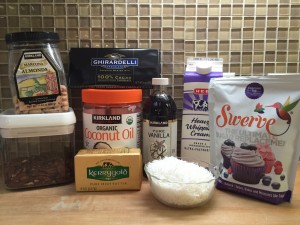
4 oz 100% Cacao

8 Tbsp Grass-Fed Butter (Kerrygold)

3 TBSP Coconut Oil

1 tsp Vanilla

1/3 cup Swerve Confectioners

2 Tbsp Cream

Shredded Unsweetened Coconut

Almonds, Pistachios, Macadamia Nuts

IMG_0657


Gather all of your ingredients along with a double boiler, a whisk, and either mini-muffin pans or candy molds.

Directions:

Melt your chocolate, butter, and coconut oil in a double boiler over simmering water, stirring often so it does not burn.  (This is a double batch.)
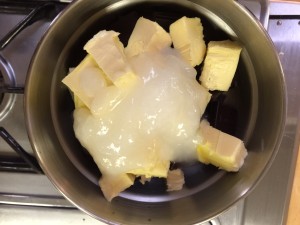
IMG_0655


Add the Swerve and whisk together until well combined.

After it is completely melted and smooth, remove from heat and add vanilla and cream.

Whisk until it looks like you have smooth chocolate sauce.

Set aside.
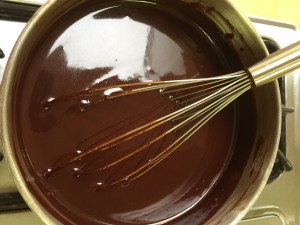
IMG_0654


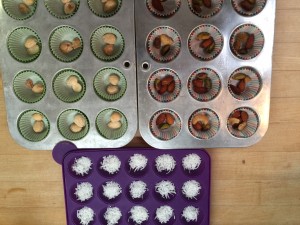
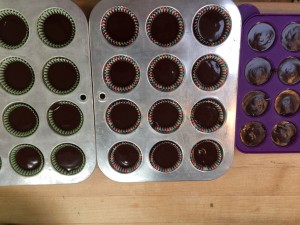
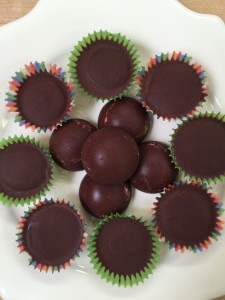
You can either use a mini-muffin pan with paper cups or a silicon candy mold.  I use both.  If you want a variety of candies, you can tell them apart by using different colored paper cups.  For instance, my husband doesn’t like the texture of coconut in his desserts so I always do his candy without coconut in green paper cups because that is his favorite color, and he knows which ones are his.  In short, you can color code your candy!

I love the smooth texture of the candy molds though, so of course, I use those for mine!

Be creative!  I love mine with coconut and almonds!  Can you say, “Almond Joy!?!”

The kids like theirs with either macadamia nuts and coconut or plain coconut, and my husband loves his with pistachios.  Just have fun with your add-ins!

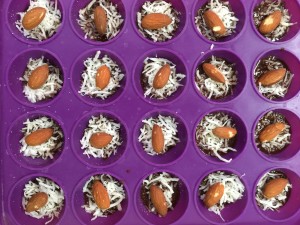
This is what it looks like when you add your fillings:

IMG_0652 IMG_0656


On the purple molds, I placed a dab of chocolate right in the center bottom of the circle so it would have a smooth chocolate finish when I popped them out.  Then, put the coconut and almonds on top.

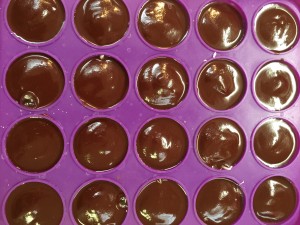
Next, add your chocolate by the spoonful:

IMG_0651 IMG_0653


After your molds are full, place them in the refrigerator to set.  This does not take long.  Give them about 45 minutes to an hour to set before you try to remove them.

IMG_0646

Once they are hard to the touch, you can invert the molds to pop out your candies and remove the paper cups from your muffin pans.  I throw them in a ziplock bag, and they are ready to grab when you need a bite!

Enjoy!!!
 

ABC’s Are Not Just for Children!

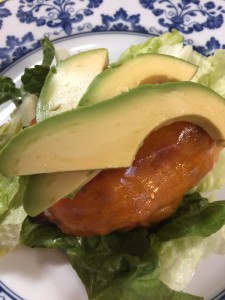
This is what we call an ABC Burger!

A=Avocado

B=Bacon

C=Cheddar Cheese

Put it all together, and what do you get…delicious, filling, and crowd pleasing!

No need for a bun.

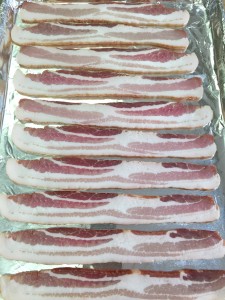
Every Sunday, I make sheets of bacon to munch on during the week!  This allows us to have bacon every morning, even in a pinch.  I used to make it in the skillet every morning the old fashioned way, but this way allows me to make much more at a time, save all the bacon drippings, and have more time in the morning.


Cookie Sheet Bacon

Preheat your oven to 375 degrees.

Line a cookie sheet with sides (jelly roll pan) with heavy duty aluminum foil.

Lay your bacon out without the sides touching.  I can usually get 10 to 12 pieces on a sheet.IMG_0777The cooking time really depends on how thick your bacon is, how you are going to use it, and how cooked you like it!  If you are going to keep cooking it in another dish, I do it par-baked which just means I remove it before it is thoroughly cooked through.

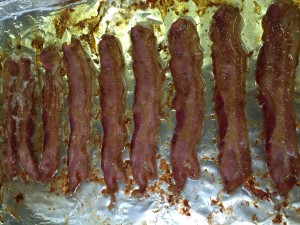
I use pretty thick bacon and usually cook it about 20 minutes.  For thinner bacon, start checking it at about 12 to 14 minutes.

This is about 20 minutes for thick bacon:
IMG_0782

Remove your bacon to a paper towel lined plate to drain and crisp.

Do not discard your drippings.  I almost always try to make a dish using the bacon drippings the day I make bacon such as the Bacon Brussels or Bacon Green Beans.  If I am not cooking a dish, I save the drippings in a mason jar.  (Yes, just like Grandma used to save hers!)  Make sure you strain the bits out if you are using a jar – I use bits and all when preparing a dish the same night.

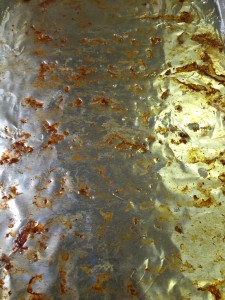
I reuse the tray over and over until I have enough bacon (and drippings) for my immediate and future bacon needs!  Then, when you are finished, drain your drippings and toss the foil!

IMG_0783


This evening, we made ABC Burgers AND Bacon Green Beans (post to come) with all of that delicious bacon.

It is super simple, and your family will love you.

ABC Burger

I used 2 lbs of grass-fed 80/20 ground beef, and hand mixed with salt, pepper, and Worcestershire sauce (and any other herbs and spices you like in a normal burger).

Form the meat into patties the size you like.  My husband grilled them out back as usual, but about 5 minutes before removing them, adds the bacon and tops with sliced cheddar cheese.  After the cheese melts, remove them from the grill.

We place them on a bed of lettuce with mayo (you can use mustard too) and top with sliced avocado. You will realize you never need a bun again!

This is a super easy weeknight meal or a fun weekend meal!

Here is your tip for the week if you need it even easier…Order Up, in San Antonio, makes their own version of an ABC Burger made with grass-fed beef that is delicious!  They serve theirs in a lettuce wrap, on request, and serve their delicious Chipotle Mayo on the side.  It is fantastic, perfectly Keto, and we love the people there as well.IMG_0785Enjoy!

Cauliflower can do anything!

Well not quite.

But it is definitely a vegetable and Keto All-Star!


Yesterday we talked about cauli-rice and today I want to talk about cauli-mashers. This is another go to side that is quick and versatile.


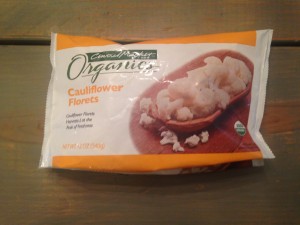
I started with frozen organic cauliflower, but you can absolutely use fresh!! I like to keep the frozen organic cauliflower and organic chopped spinach on hand. These are great for fast weeknight dinners.IMG_4660

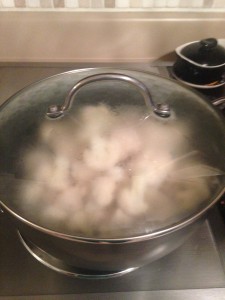
Steam the cauliflower until soft. Personally I avoid heating any food in plastic containers. While there are multiple organizations giving us all sorts of contradicting information about the safety of heating food in plastics; I’m going to just play it safe. Read more here: (http://www.wsj.com/articles/SB10001424127887324493704578433290465517564)


IMG_4662


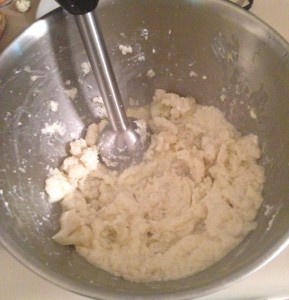
After the cauliflower is soft move it to a large mixing bowl, add cream cheese, heavy cream, and/or sour cream. Then mash and mix together just like like if you were making mashed potatoes. I use an immersion hand blender and this is done in a snap.


IMG_4663


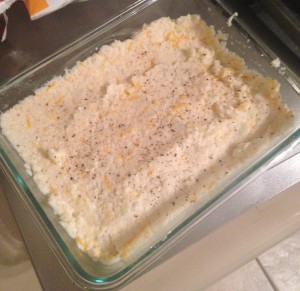
Salt and pepper to taste and feel free to add chives, garlic, and parsley. The amounts of vitamins packed into herbs are incredible plus they make it pretty! They can be served immediately or put into the oven to crust to top.

IMG_4664


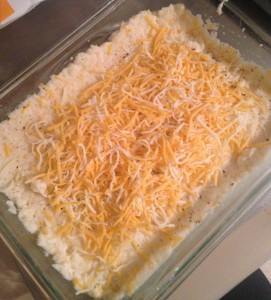
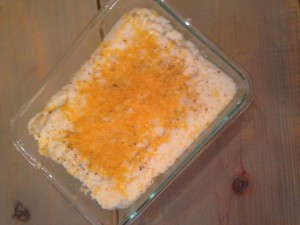
Tonight I added cheese to the top and popped everything back into the oven to melt and meld it all together.

IMG_4665

Even the incredibly picky three year old enjoyed them!


IMG_4666

Low Carb Rice?

IMG_0648

Yes, low carb rice indeed!

This is one of our favorite tricks for sprucing up dishes with a little extra texture.

I have to admit that I was skeptical at first, but it really works, and the kids love it, while getting their veggies at the same time.  Mine can’t tell the difference!


Cauliflower Rice

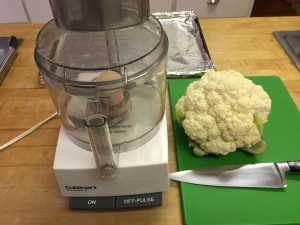
Start with a large head of cauliflower, a nice sharp knife, a food processor and a foil lined baking sheet.

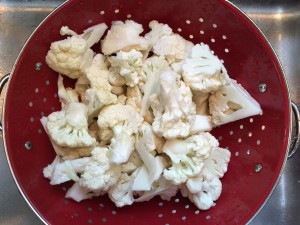
IMG_0659Cut your cauliflower into small florets and rinse in a colander.

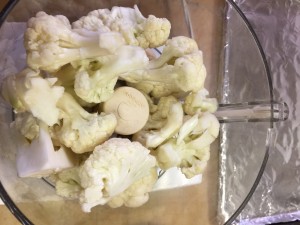
IMG_0658Let the cauliflower dry for a bit and then add to your food processor a little at a time.  If you do too much at once you will get some clumps.

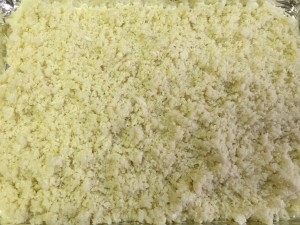
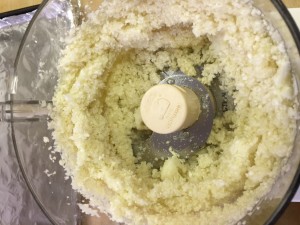
IMG_0650Then PULSE your food processor until the cauliflower resembles snow.  Don’t over pulse or you will get a puree.

IMG_0649After each batch, scrape the pulsed cauliflower out onto your cookie sheet.  If you have larger pieces, just throw them back in with the next batch.

When it is all “snow” you should have a nice full cookie sheet of “rice”!

IMG_0648Bake in the oven on 350 degrees until the top is just starting to turn golden.  I take it out a few times and toss it around to make sure it is all getting cooked through.  This will remove the rest of the moisture and you will have a great side dish in about 25 to 30 minutes.

We generally use the rice under Indian dishes like Tiki Marsala or Curry, but we also serve as a side topped with Kerrygold!

Enjoy!IMG_0647

Cancer Fighting and Alzheimer’s Preventing Delicious Side Dish

IMG_0687

What do you think when you hear the words “Brussel Sprouts”?

I used to think, “Yuck!”

Now our entire family devours these nutrient dense veggies in just a few seconds.

Believe it or not, Brussel Sprouts are in the cruciferous family and one the healthiest vegetables on the planet.

They are also one of the best vegetables for Cancer and Alzheimer’s prevention containing loads of Vitamin K and Vitamin C.

Check out this link for all the health benefits of Brussel Sprouts:

http://www.whfoods.com/genpage.php?tname=foodspice&dbid=10

So how do I cook these so they are Keto and the kids inhale them?  It is super simple!

I always make these on a day that I cook a lot of bacon for breakfast!


Bacon Brussels

2 lbs Brussel Sprouts

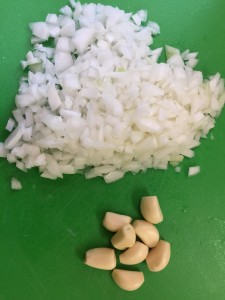
1/2 white onion chopped

4-6 cloves garlic

8-10 pieces of bacon with drippings

Salt and Pepper


Cook a foil lined cookie sheet of bacon on 375 degrees for 15 to 20 minutes.  I can usually cook 10 to 12 large pieces on a sheet.  You can do more batches of bacon to get more drippings if you like.  I did two batches for 2 pounds of Brussels.  This way you have bacon for breakfast, and the rest left over for dinner!

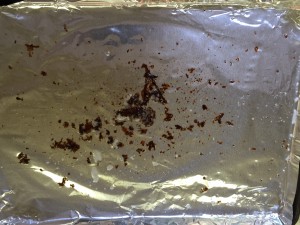
Remove bacon to a paper towel after it is cooked, and leave all drippings on the cookie sheet.

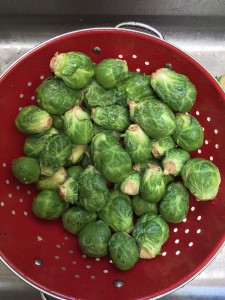
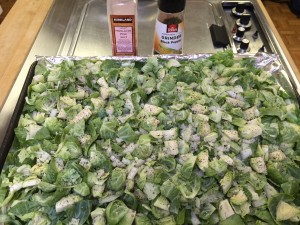
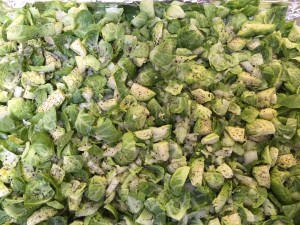
Rinse and drain your Brussel Sprouts in a colander.

IMG_0695

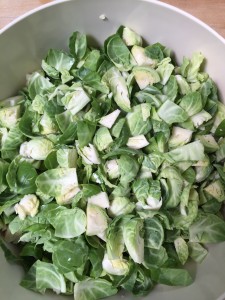
Cut off ends, and throw in the trash.  Quarter the sprouts and place in a large mixing bowl.  These Brussels were huge so I had to cut some of them into eighths.

IMG_0694Dice your onion and peel and mince your garlic.  We like a lot of garlic, but you can adjust to your taste.

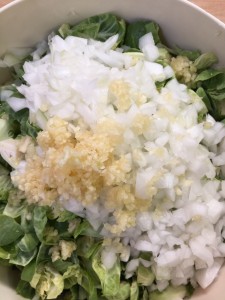
IMG_0693Add onion and garlic to your Brussel Sprouts and mix well.

IMG_0692Pour your mixture over your bacon drippings on your cookie sheet and toss to coat.

IMG_0691Add salt and pepper to taste.

IMG_0690IMG_0689Place in the oven at 400 degree for about 15 minutes.

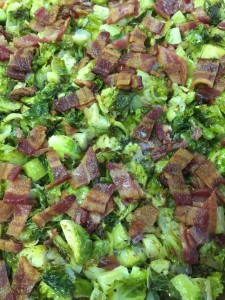
Crumble cooked bacon and toss into the Brussel Sprouts.  Cook an additional 5 minutes, and serve.

IMG_0687YUM!!!
Why More Fat is GOOD for Your Health!

Please read this article that gives a synopsis about why our dietary guidelines are all wrong!  Our bodies were meant to consume fat, and as a species, we have for 99.999999 percent of our existence on Earth.  It wasn’t until the 1950’s that Ancel Keys came into the picture and changed everything about the US diet based on false science and a huge ego!  We hope you find this educational and as interesting as we do!

http://www.askmen.com/sports/foodcourt/high-fat-diet-benefits.html?utm_source=Bulletproof&utm_medium=social&utm_campaign=Partner


Here are some good ways to begin your day with great fats to start you off with loads of ENERGY!!!!!
Drink your Bulletproof Coffee!
It is the best way to start your day!
Bullet Proof Coffee

Quality Coffee or Tea (Chai and English Breakfast are good) of Your Choice

Add in to your taste:

 1 or 2 TBSP Grass-fed Butter

1 TBSP Coconut oil (or more – We use 2 to 3 TBSP)

Cinnamon/Nutmeg/Allspice

Stevia drops (So many flavors – I like Vanilla)

Heavy Whipping Cream

Turmeric

Unsweetened Cocoa

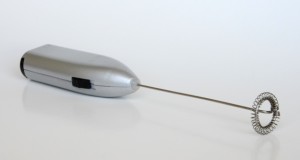
Use a milk-frother to mix it VERY well!

Milk Frother

If you still see oil on the top, mix it some more!

There are so many options!

Play with it a little at a time and you will get it just the way you like it!

It will give you an immediate burst of energy to send you out the door.

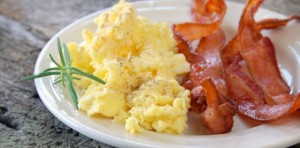
eggs_and_bacon-630x310

For those in your family that don’t drink tea or coffee, (i.e. your children) this is a great breakfast.  We do a lot of scrambled eggs (Pasture Raised), poached eggs, fried eggs, boiled eggs, and egg casseroles made with breakfast sausage and cream.  You can even do crustless quiches, omelets, and frittatas.  The kids love the sustained energy it gives them until lunch.  You can also mix up your breakfast meats with bacon, sausage, chorizo, ham, Canadian bacon, etc.  And don’t forget the cheese and homemade salsa for some extra zing!

Did you know eggs are one of the most ideal and perfect foods we have been given?

Along with whole milk, eggs contain the highest biological value (or gold standard) for protein. One egg has only 75 calories but 7 grams of high-quality protein, 5 grams of fat, and 1.6 grams of saturated fat, along with iron, vitamins, minerals, and carotenoids.

The egg is a powerhouse of disease-fighting nutrients like lutein and zeaxanthin. These carotenoids may reduce the risk of age-related macular degeneration, the leading cause of blindness in older adults. And brain development and memory may be enhanced by the choline content of eggs.

Proven Health Benefits of Eggs:

They are loaded with nutrients, some of which are rare in the modern diet.

The health benefits of eggs have been confirmed in human studies.

Eggs are among the most nutritious foods on the planet.

A whole egg contains all the nutrients required to turn a single cell into a baby chicken.

A single large boiled egg contains:

Vitamin A: 6% of the RDA.
Folate: 5% of the RDA.
Vitamin B5: 7% of the RDA.
Vitamin B12: 9% of the RDA.
Vitamin B2: 15% of the RDA.
Phosphorus: 9% of the RDA.
Selenium: 22% of the RDA.
Eggs also contain decent amounts of Vitamin D, Vitamin E, Vitamin K, Vitamin B6, Calcium and Zinc.

Eat your eggs!  The AHA revised their guidelines for eggs back in 2000, so eat up!

Devilishly Delicious Donuts

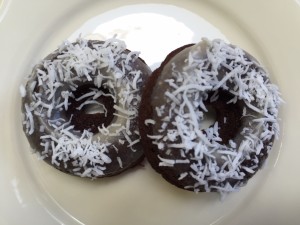
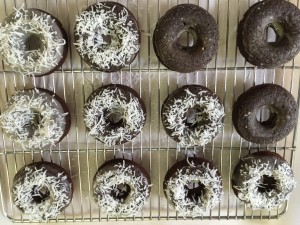
I get requests quite often from the kiddos to have something other than eggs for breakfast.  Enter Coconut Crusted Chocolate Donuts!  YUMMY!!!!

GRAIN FREE/SUGAR FREE

IMG_0678

I decided to experiment with a Paleo recipe this morning that needed some substitutions so that it could be sugar free, and the result was an overwhelming winner from everyone in the family!  Lots of smiles in our kitchen today!  These are so good you could top with some homemade whipping cream (using Swerve Confectioner as your sweetener) for dessert!

Yield One Dozen

Preheat oven to 350 Degrees.

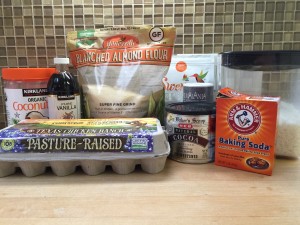
1.  Start with your ingredients:

IMG_0669

DONUTS

1 1/2 cup Honeyville Almond Flour (Don’t even bother with a different brand…I’ve tried them all, and Honeyville is far superior with the best texture for baked items.)  I get the big bag at Costco.

1/2 cup 100% Cocoa

1/2 tsp Baking Soda

1/4 tsp Pink Himalayan Salt

6 eggs separated

6 TBSP Coconut Oil

1/2 cup Swerve Granular (Available at Sprouts, Whole Foods or Amazon)

1/2 tsp Vanilla

GLAZE

1/2 cup Coconut Oil

1/2 tsp vanilla

2 TBSP Swerve Confectioners (Available at Whole Foods or Amazon)

Unsweetened Coconut Flakes (I buy in bulk at Sprouts and keep in a sealed container.)

2.  In a large mixing bowl, combine almond flour, cocoa powder, baking soda, salt and Swerve.  Make sure it is mixed well without clumps.

IMG_0670

3.  In a separate bowl, combine egg YOLKS, melted coconut oil, and vanilla.  Mix until smooth and slightly fluffy.

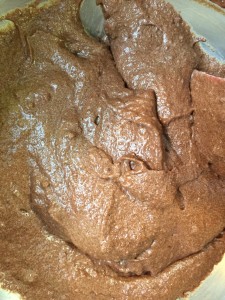
4.  Add the above to your dry ingredients, and mix well until a thick batter is formed.

IMG_0671

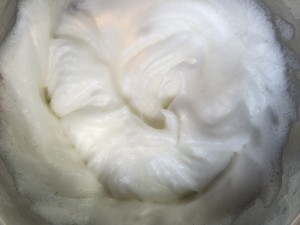
4.  In a third bowl, with a hand mixer, beat your egg whites until nice and fluffy – not stiff.

IMG_06725.  Add your egg whites to your thick batter and mix until you have a nice creamy batter.

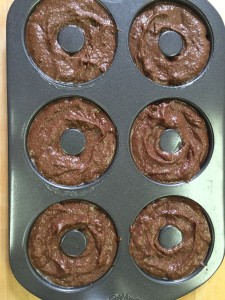
IMG_06736.  Spoon batter into a greased donut pan (use Coconut oil spray).

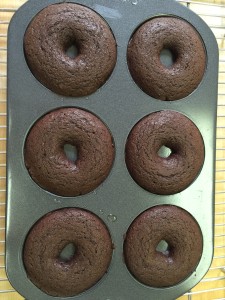
IMG_06747.  Bake at 350 degrees for 12 minutes.  Cool in pan for about 15 minutes before inverting onto a cooling rack.

IMG_0675

8.  While the donuts are cooling, mix all your glaze ingredients together.   Once completely cool, dip each donut into the glaze.  (This is my trick for a smooth surface anytime you are icing with a glaze.  Dip – don’t spread.)  Then top each donut with UNSWEETENED coconut. I did some with and some without the coconut.  Both were devoured!  My husband put his in the microwave for 15 seconds to warm it, and said it was fantastic.

IMG_0677

9.  As I mentioned above, you could heat these as a dessert and top with whipped cream sweetened with Swerve Confectioners and a splash of vanilla.

Enjoy!!!!

IMG_0678


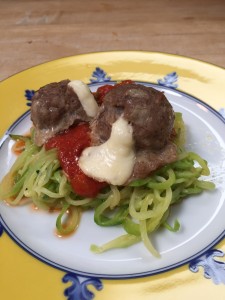
Spaghetti and Meatballs?

Spaghetti was my husband’s favorite meal before we made the low carb lifestyle change.  This simple substitution of Zucchini instead of the dreaded wheat pasta is simple and delicious!  Just follow these steps:

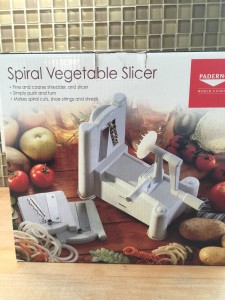
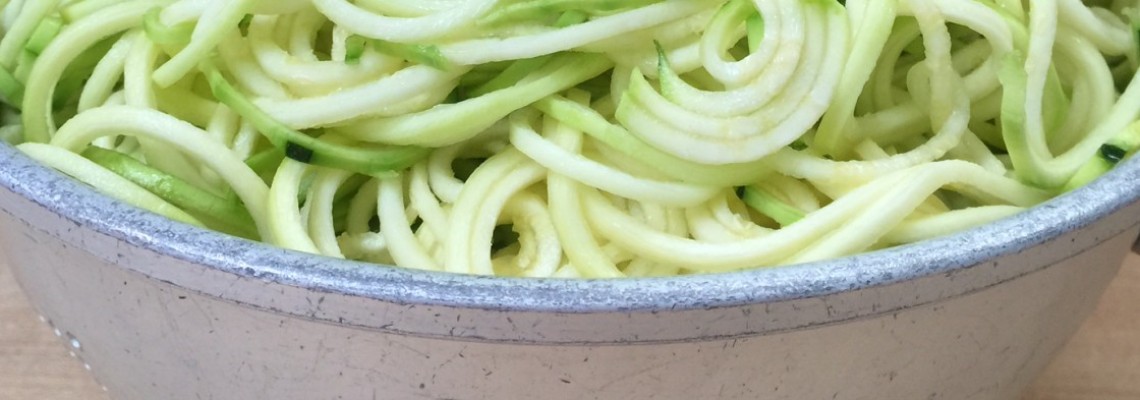
1.  Wash (well), trim and peel your zucchini.  I used 8 squash (family of 5) for these pictures so you can get an idea of the final product and how many you will need for your family.  I find the fatter shorter zucchini easier to work with in the spiral vegetable slicer.  The one pictured was purchased at William’s Sonoma.

IMG_06182.  Start your spiraling one at a time.  This is super fast.  I let mine drop onto a flexible cutting board and then scrape them every so often into a colander.
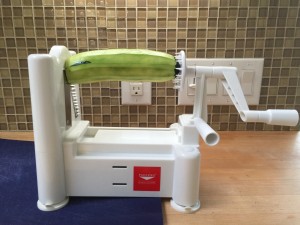
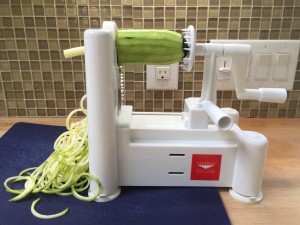
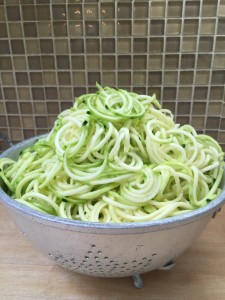
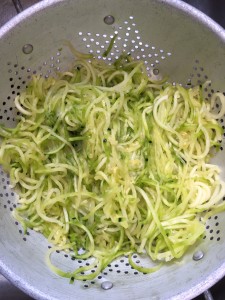
IMG_0619 IMG_06203.  As you place your “noodles” into the colander, salt them well to help release the moisture from within the vegetable.  So..layer, salt, layer salt, etc. until your colander is full.  Then place the full colander in the sink to let the moisture drain out.  I usually do these in the afternoon before school dismissal, and then let them sit for a few hours so plan ahead.  (Note: You do not have to let them sit this long…30 minutes will suffice.  I just like to leave them and forget them during the busy time of the day.)

IMG_0621

4.  You can see how the heaping pile of squash turns into your little pile of noodles!  That is the amount of water in the squash!  VERY IMPORTANT!  RINSE your noodles to remove all that excess salt!  I rinse well and then press out all the excess water.
IMG_06225.  When you are ready to serve these, melt some Kerrygold in a sauté pan and cook on medium for about 10 minutes.  I do this about 5 minutes before the meatballs come out of the oven.  It’s that easy to have pasta once again!


For the Meatballs you will need:

2 lb grass-fed ground beef

2 eggs

1 cup onion (depending on your taste)

1 Tbsp Ground Flax Seed

4 cloves garlic

3/4 tsp black pepper

1/2 tsp pink Himalayan salt

1/2 cup grated parmesan cheese

1 tsp Worcestershire sauce

1/2 tsp Hot Sauce

Grated Mozzarella Cheese or Cheese Sticks


1.  Lightly sauté the onions and garlic in a tbsp of butter and let cool.  Poor in a mixing bowl and mix all of your ingredients together with your hands EXCEPT for the mozzarella cheese.

2.  Make about a ball about an inch to inch and a half in diameter and flatten out.

IMG_0627

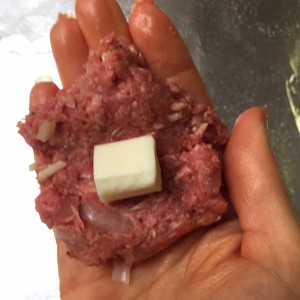
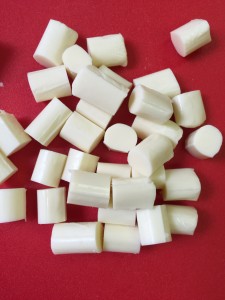
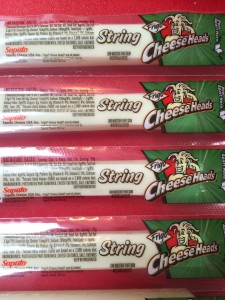
3.  Place your mozzarella cheese in the middle and form a ball around the cheese.  I used cut up cheese sticks but have used shredding cheese before as well.  Place them on a foil lined cookie sheet sprayed with coconut oil.

IMG_0626 IMG_0625

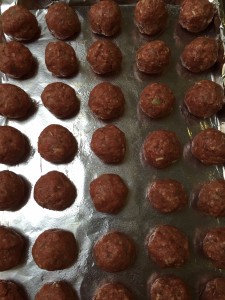
4.  Keep going with the meatballs until you have used all of your meat mixture.

IMG_0628

5.  Cook in a preheated 375 degree oven for 20 to 25 minutes.

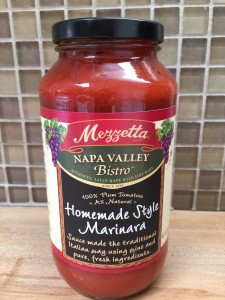
6.  Serve over your zucchini noodles and favorite low sugar, all natural pasta sauce like this one:

IMG_0629


7.  Enjoy your yummy deliciousness!  This is great leftover too!  Annnnnnd…you can even top with more parmesan and mozzarella if you choose to to so.IMG_0630

8.  This will soon be a favorite in your house too!


Did she say FAT BOMB?!

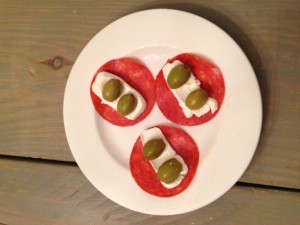
This is an example of a savory Fat Bomb and a prime example of my ability to arrange foods. This will not be the last time I say this, Cindy is the chef. 🙂


IMG_4616


Super Simple and Super filling All Natural Pepperoni, Cream Cheese, and olive.


The pepperoni’s are giant! This was not a one bite snack.

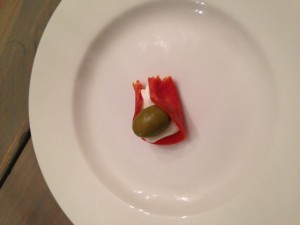
IMG_4618(1)

Fat Bombs are basically little bites and pick me ups when you may need a little extra fat in your life. These can be so nice when you are trying to get a million things done and just need a little bit as you are running out the door or are planning on eating a large dinner and just want something small to tie you over after breakfast.


Fat bombs are also great for people transitioning off of a high carb diet where they may have been used to the “5 meals a day” plan or just used to “grazing.”


There are tons of variations of fat bombs and they can be savory and sweet.


We realize we haven’t posted much sweet stuff but we will!


-Erin

Pizza-The Ketogenic Way

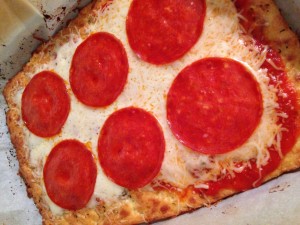
Pizza final product

Stavros family Pizza night


This is a game changer for those of use that ABSOLUTELY LOVE PIZZA annnnnnd are following a low carb life style.


We have tried the gamut of various “healthy” pizza crusts and this is by far the best. You may be a little shocked but the base of this is cheese. In reality you will be eating cheese on your cheese. How amazing is that?!


We have tweaked and tweaked and found a few tricks that help the texture.


Ingredients:

Parchment Paper and cookie sheet

Butter roughly 1 tablespoon

3 cups shredded Mozzarella

1 cup almond flour

4 oz cream cheese

2 eggs

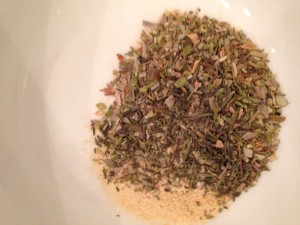
Pizza seasonings to taste- I used oregano, thyme, and garlic. This is what I had on hand and eyeballed the amounts.

IMG_4599

Preheat your oven to 425

Line your cookie sheet with parchment paper (this is important!) and drop the butter on the sheet to melt. Pop this in the oven to warm while you prepare the dough.


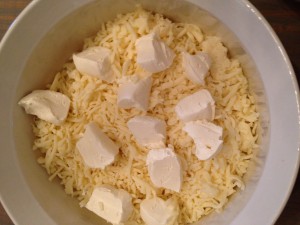
In a microwave safe bowl combine the mozzarella and cream cheese-this works best if the cream cheese is roughly cubed. Microwave these two for a minute, stir, 30 seconds, and stir again. If its really stringy or looks not melty enough you can keep heating in 20 or 30 seconds increments.

IMG_4600IMG_4603


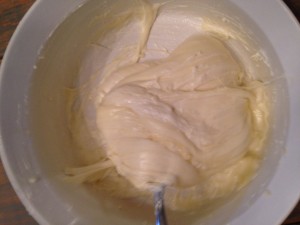
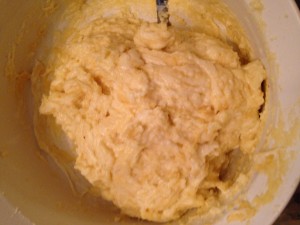
Once your cheese mixture resembles dough, add in the egg and almond four. Mix  everything together.

IMG_4604

At this point the butter should be melted on the parchment paper. Remove the cookie sheet from the oven.


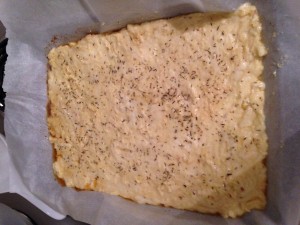
Spread the dough on the cookie sheet using wet hands or even the now melted butter if its not too hot! Try to spread the dough across the entire sheet-it will be fairly thin.

IMG_4586


Sprinkle your seasonings on top and dock (poke holes) with a fork all over the dough.


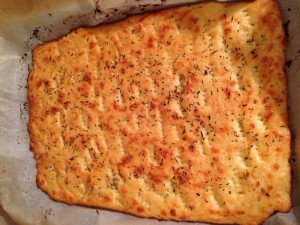
Bake for roughly 8-10 minutes and check for any bubbles that may require additional poking. In about 12-15 minutes your crust will be ready once it begins browning on top.


Once the crust is done go crazy with toppings and combinations. But remember you will only have it back in the oven long enough to heat and melt the cheese. Make sure any meat products are fully cooked prior to adding them to the pie.

IMG_4587

Pop your now fully topped pizza back in the oven and give it just a few minutes to melt and meld everything together.

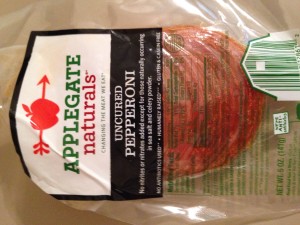
Natural and Nitrate Free. These are delicious and HUGE!

Natural and Nitrate Free. These are delicious and HUGE!


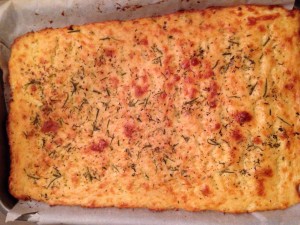
This pizza is so simple, delicious, and has a great texture which is helped by the melted butter. We have mixed up the topping in all sorts of variations including BBQ chicken, meat lovers, and most recently I cut out all the topping to make Rosemary Cheese bread!


IMG_4608

Needless to say- I buy my mozzarella in bulk at this point.


Recent Entries »