Archive for Dinner

Dress Up Your Summer Veggies with Bacon

IMG_0718

Just about everything is better with BACON!  It is definitely a staple in our house.  We can eat it for breakfast, lunch, and dinner!

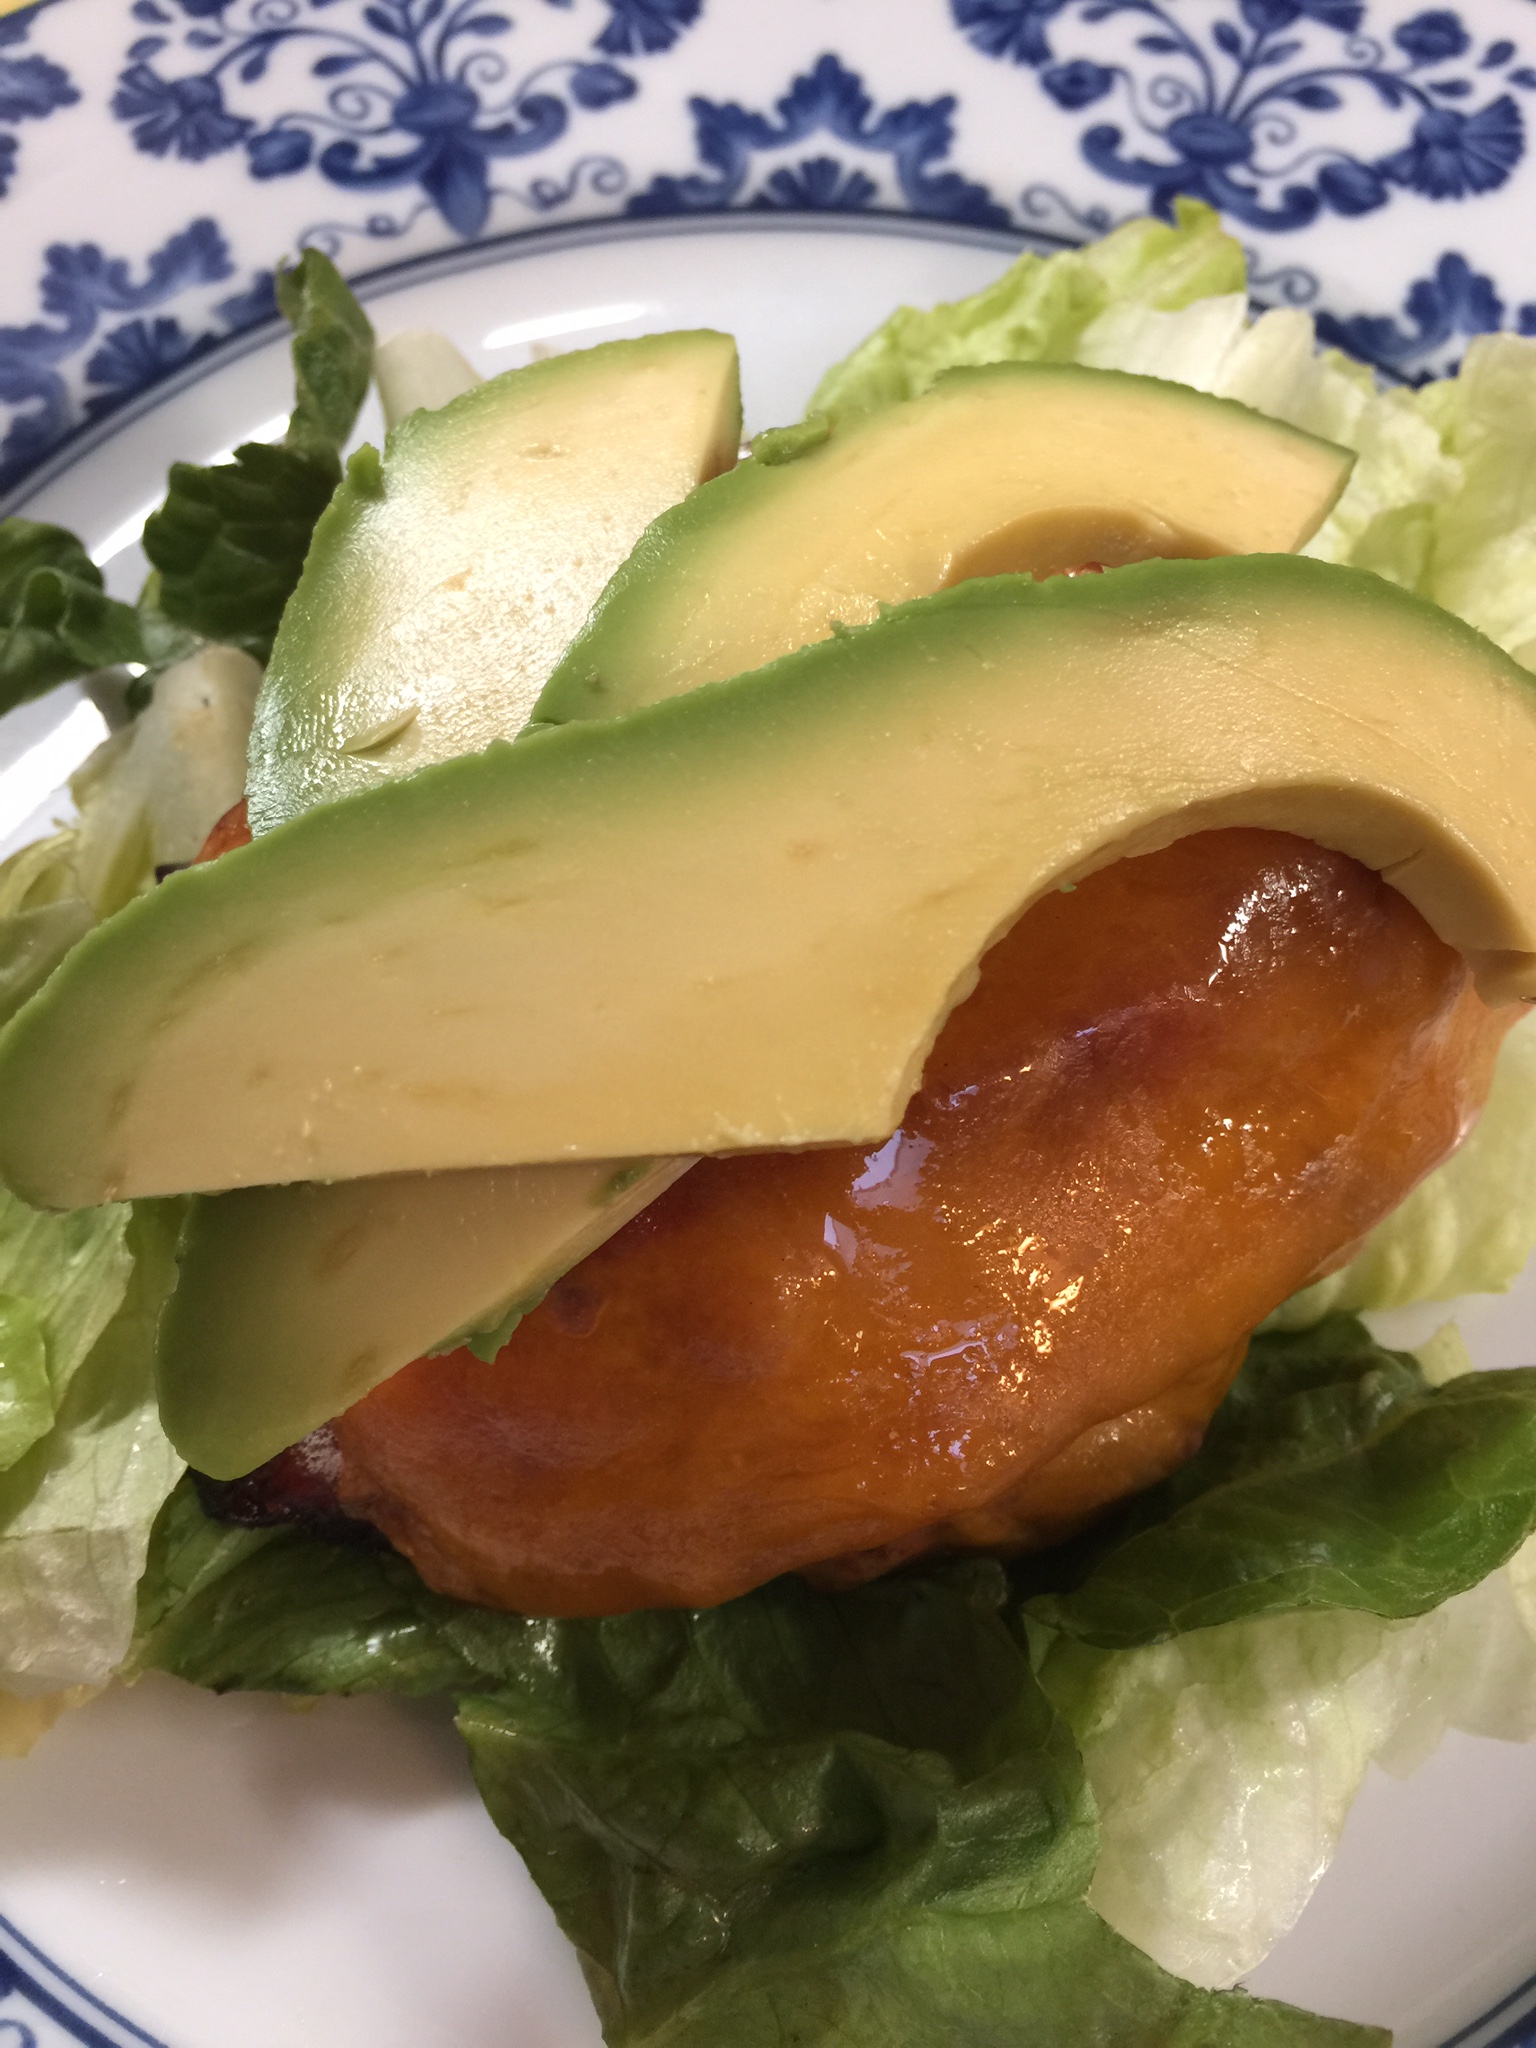
Here is an example of eating bacon for dinner; one of many ways!  On days when I make my sheets of bacon, I try to make use of my bacon drippings by doing a dish that requires bacon AND oil.

I mean, really, what isn’t satisfyingly delicious when you cook it in bacon grease?

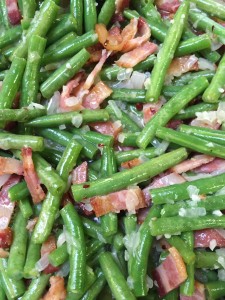
My Bacon Green Beans are a hit with the whole family!

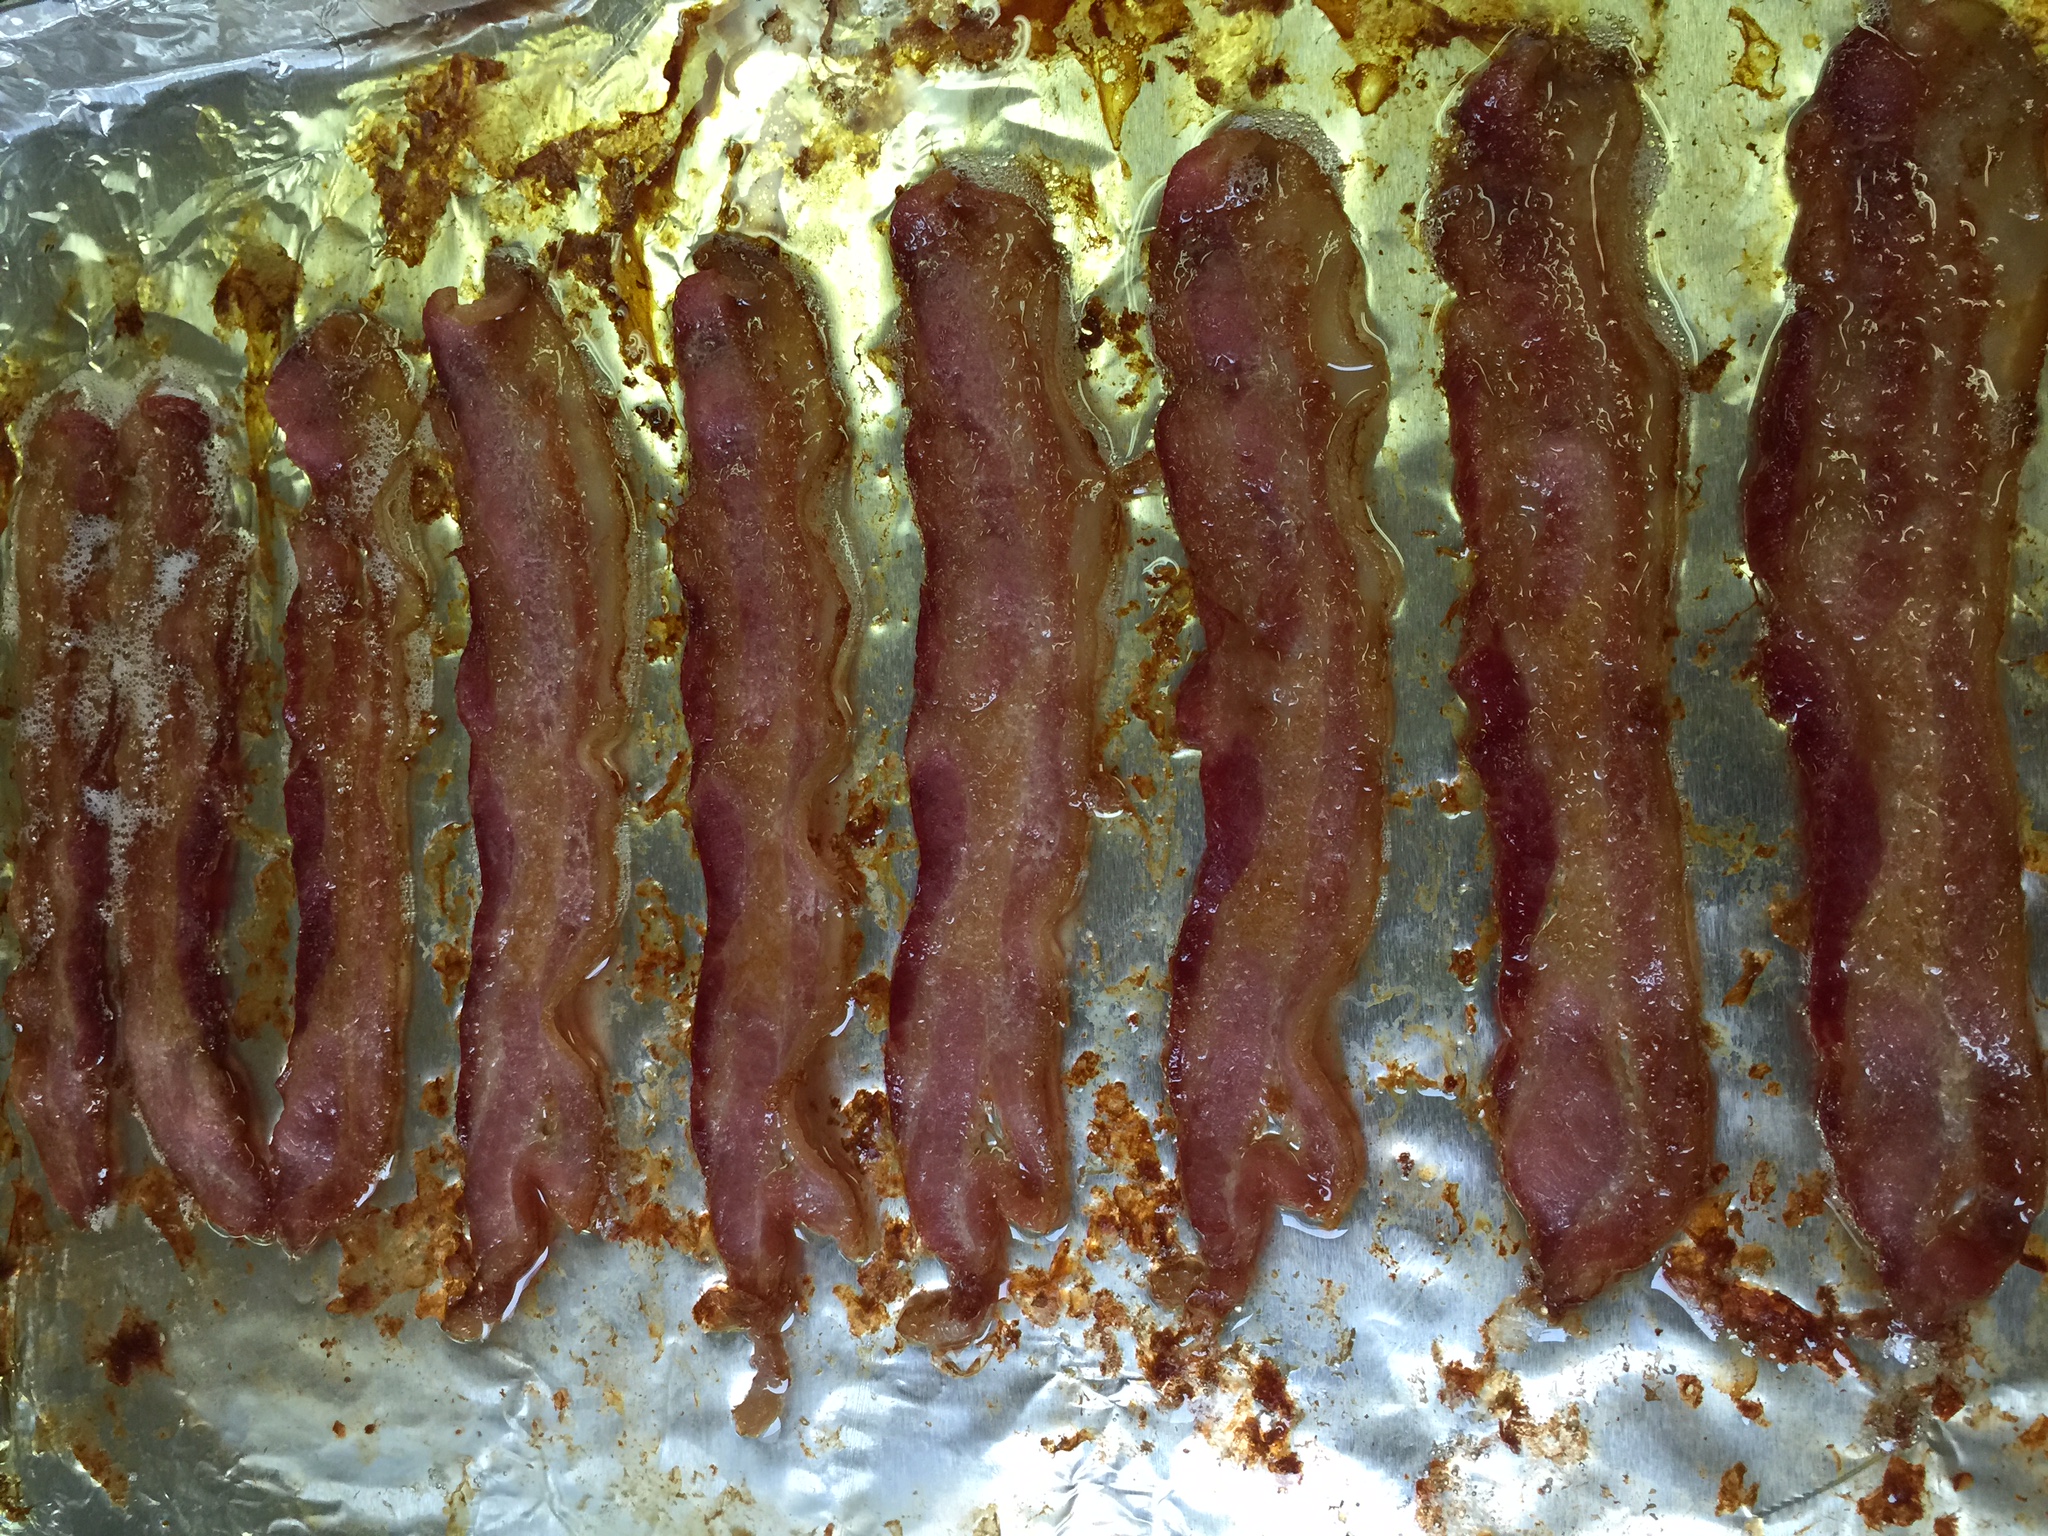
Start with your sheets of bacon.  I usually try to do two to three cookie sheets of bacon at the beginning of the week.  Search for my bacon blog if you missed it!

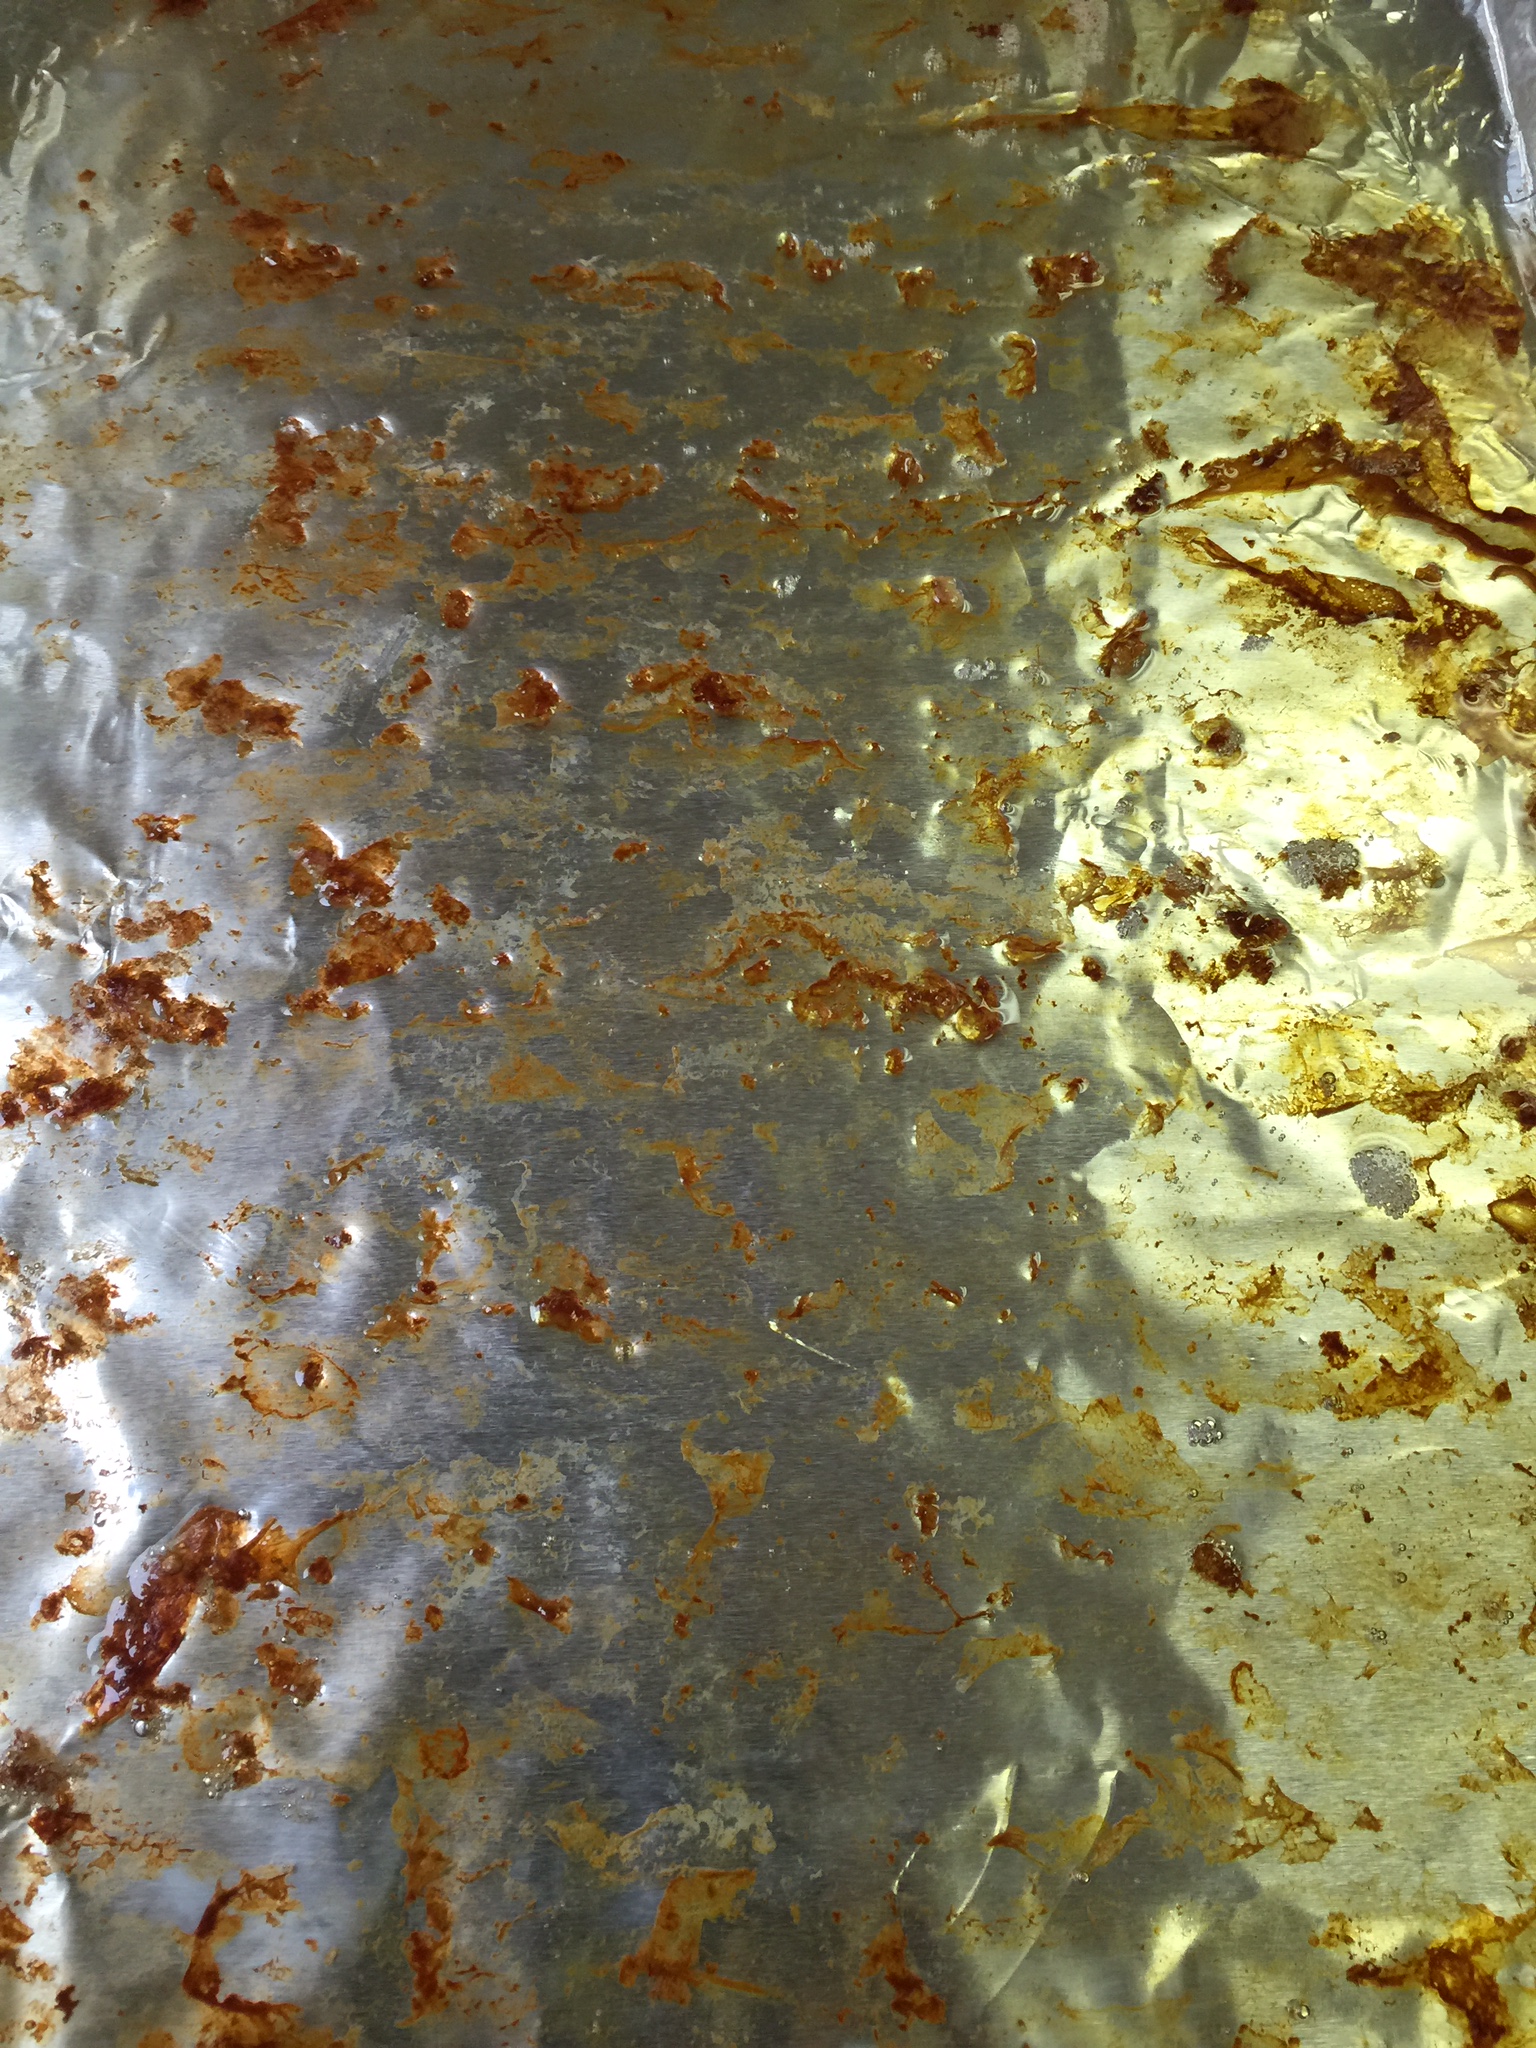
Bake a foil lined cookie sheet of bacon on 350 to 375 for 15 minutes.  DO NOT discard your bacon drippings!  Please!

IMG_0782


You can keep going with your bacon on the same sheet to get more drippings (and more bacon).

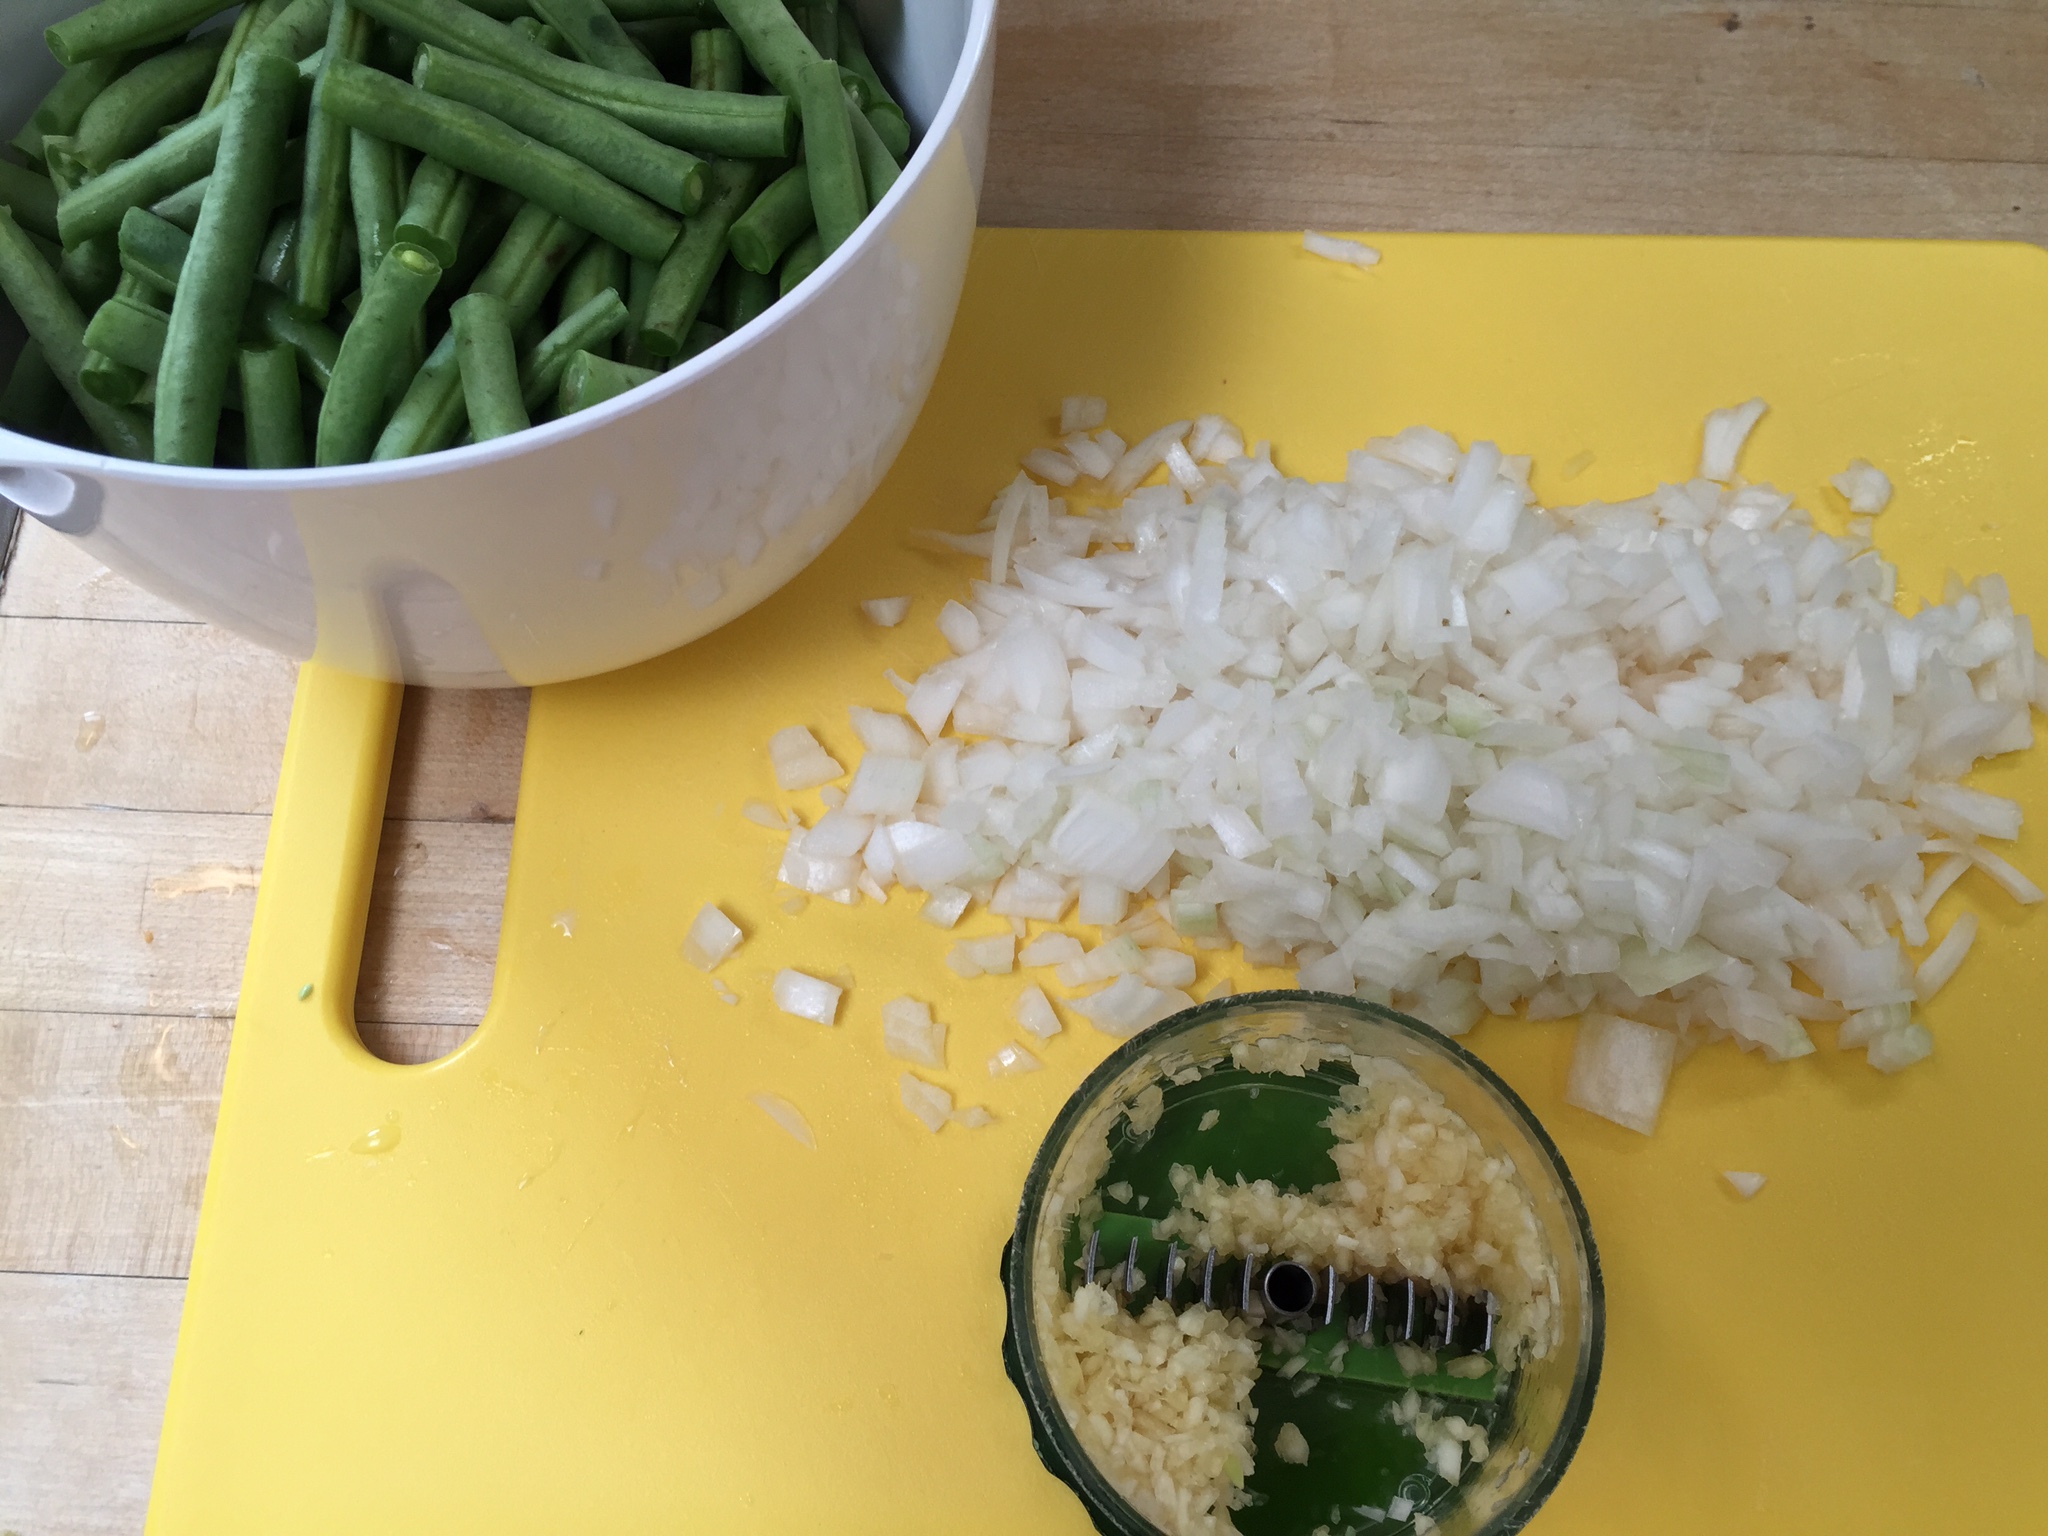
Meanwhile, prepare your ingredients:

Wash and trim about 2 pounds of green beans.  Set aside.

Chop finely, 1 cup of white onion.

Using a garlic press, mince 5-6 cloves of garlic.  I love, love, love my garlic chopper!  You can find one here, and chop all of your cloves at one time!  My favorite kitchen tool!

Squeeze the juice of 1 lemon into a small bowl, discarding seeds.

Chop your bacon, and get your seasonings: crushed red pepper, black pepper, and Celtic or Himalayan salt.  Parmesan cheese if desired.
IMG_0778IMG_0779

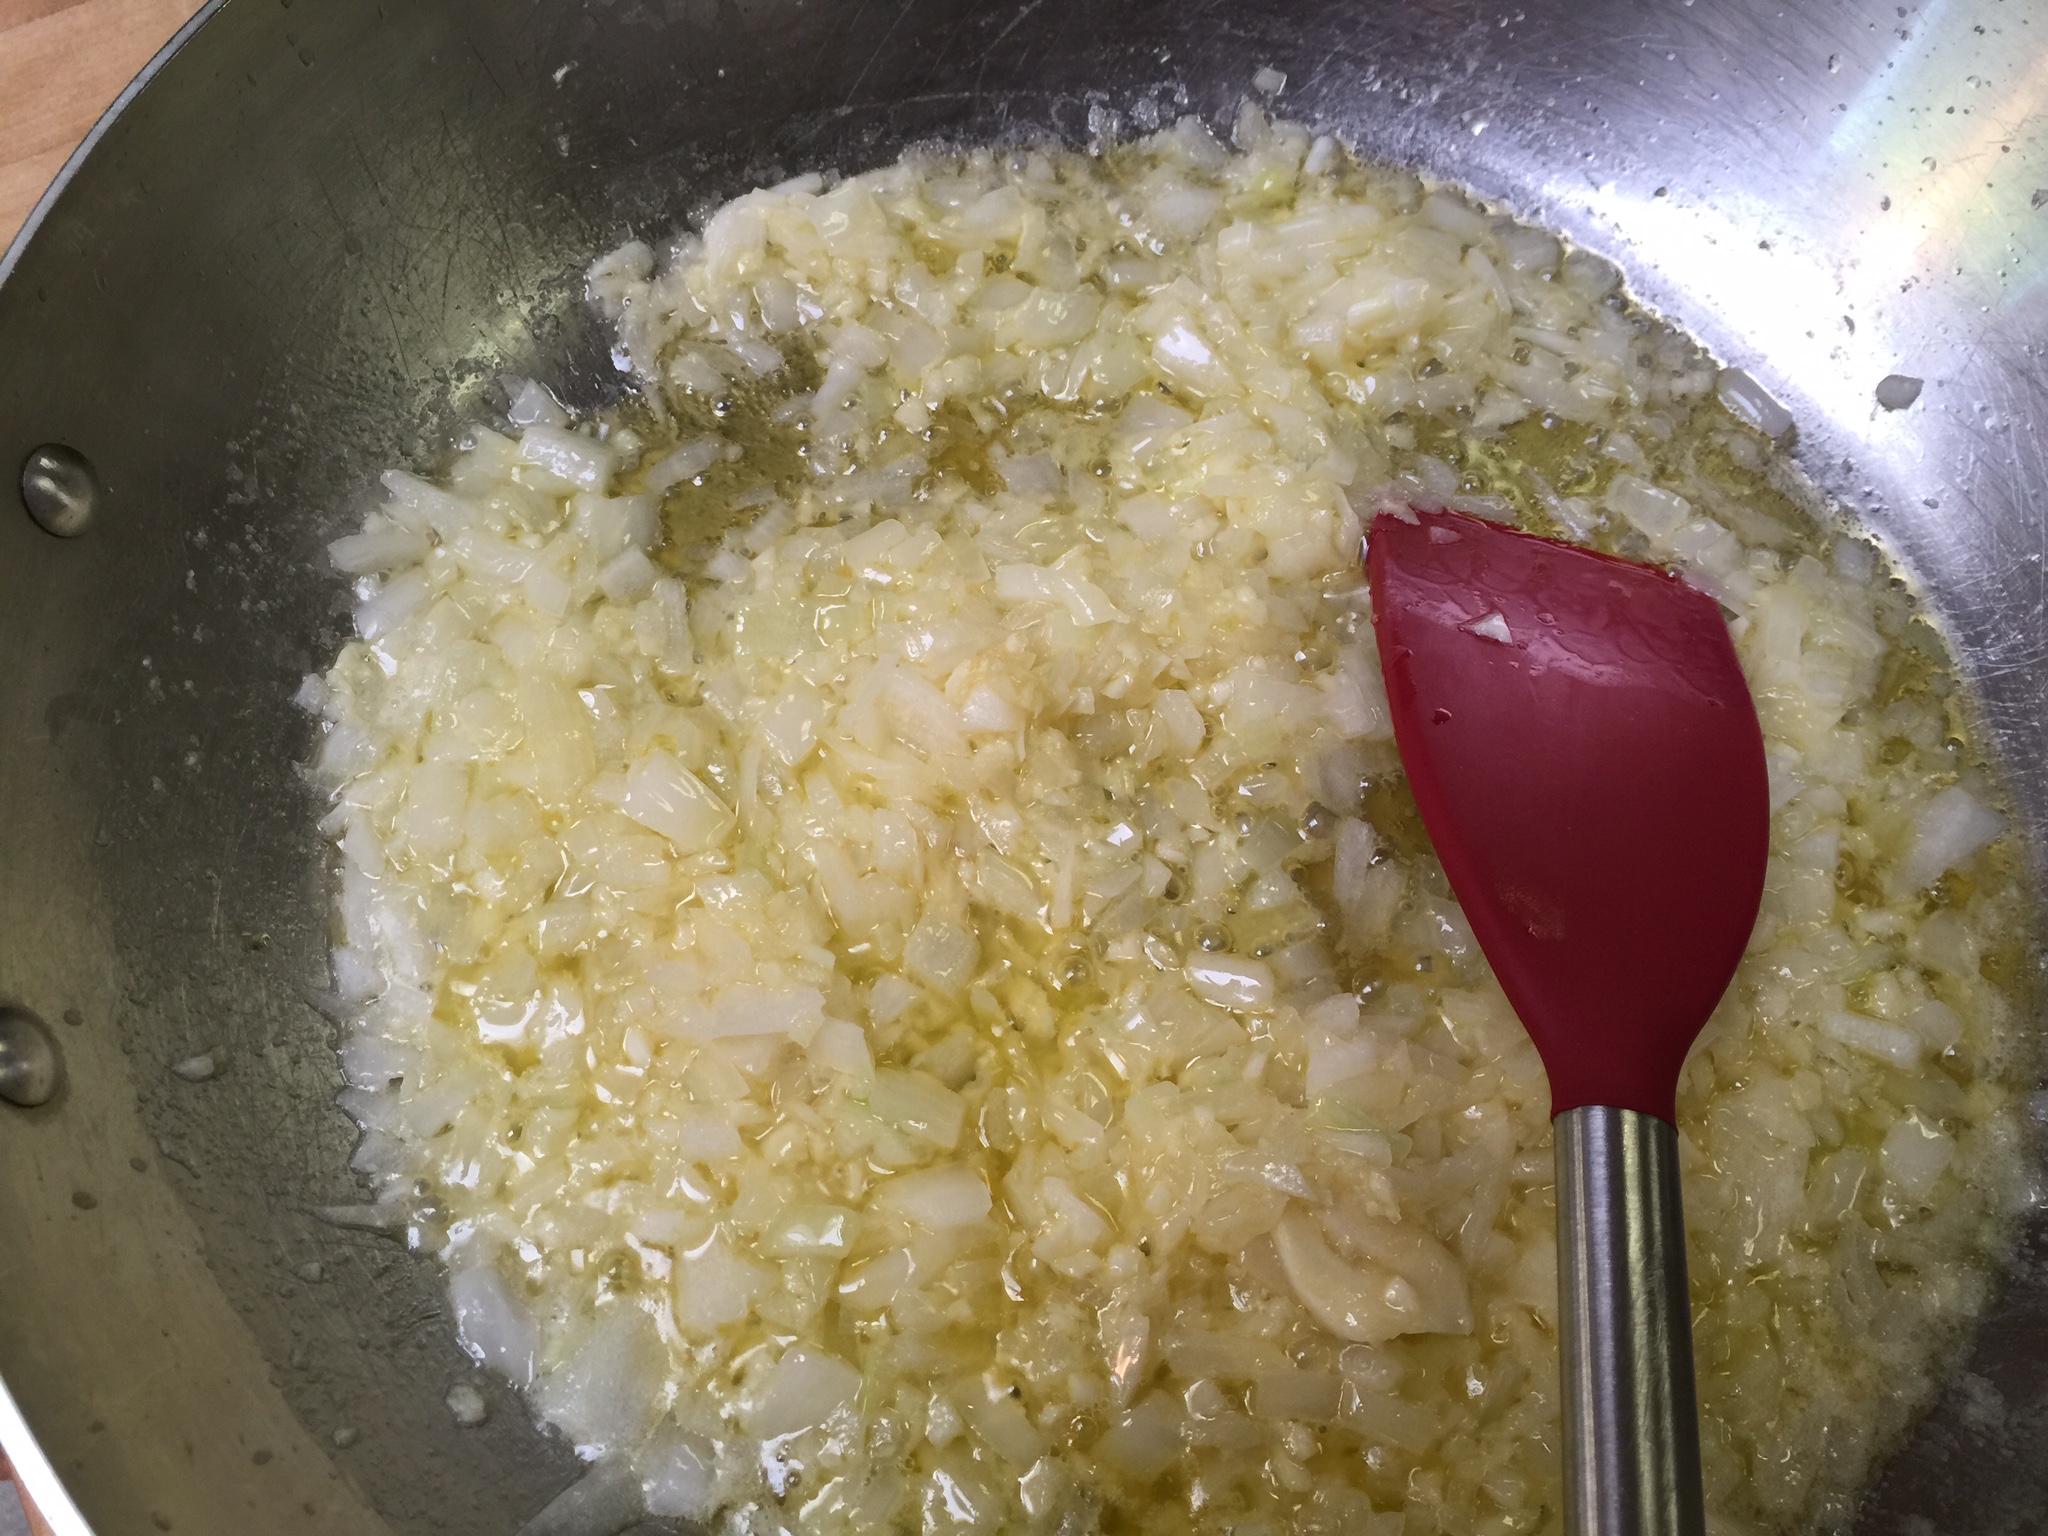
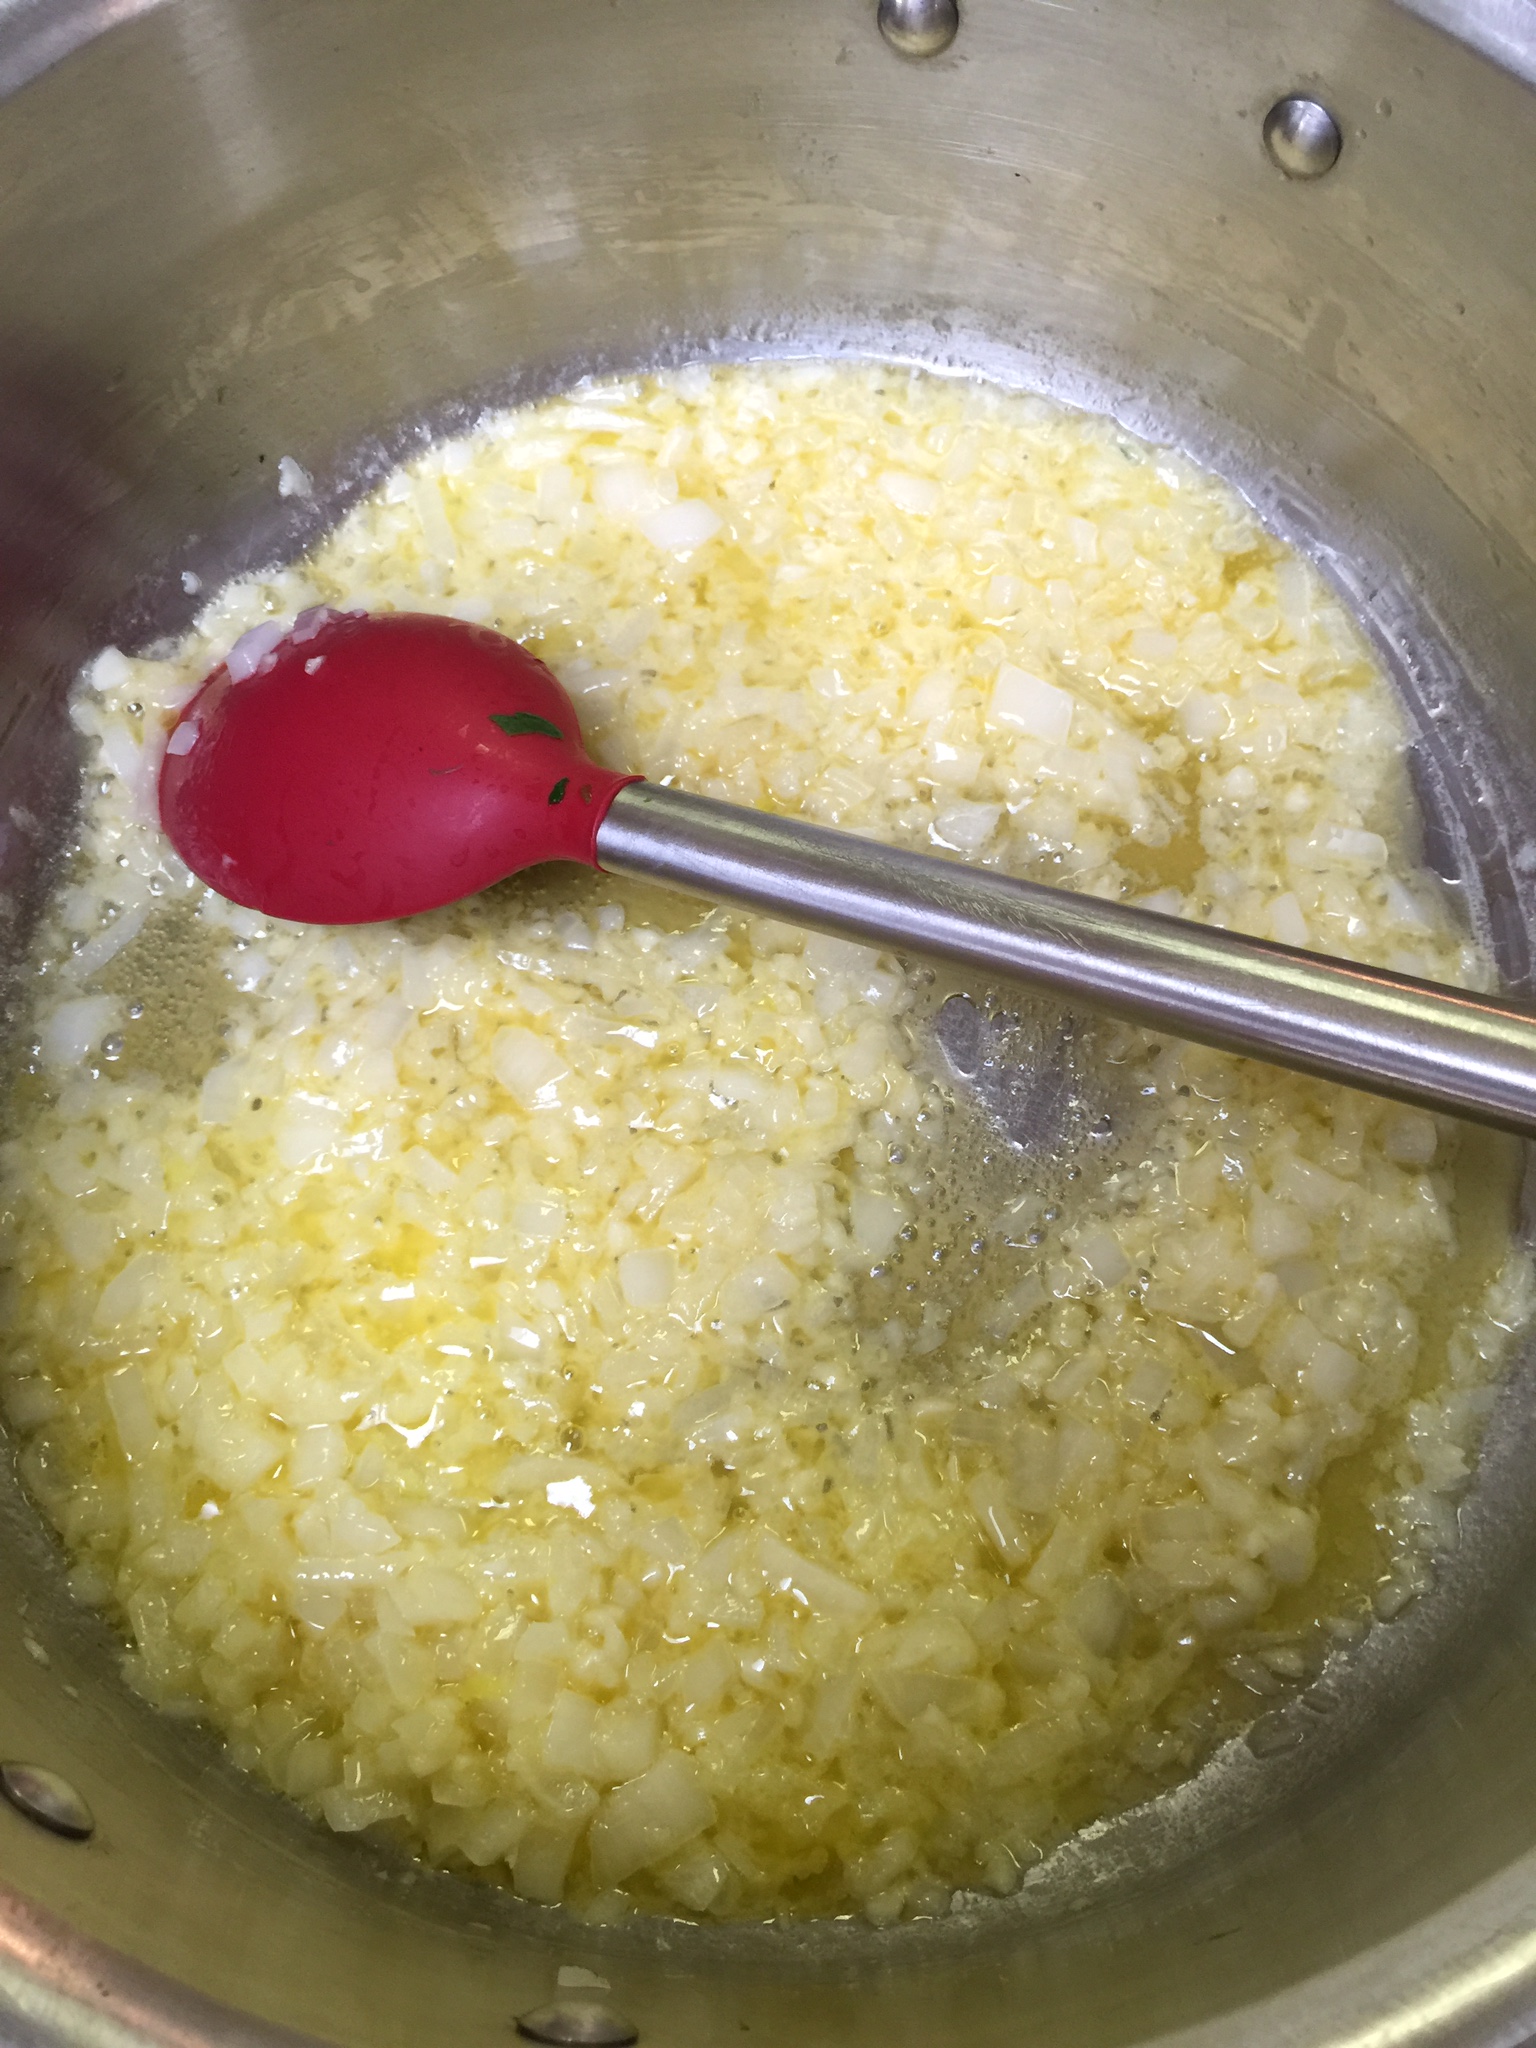
Saute your onion and garlic in your bacon drippings until translucent.


IMG_0783IMG_0780

Add your green beans:


IMG_0781
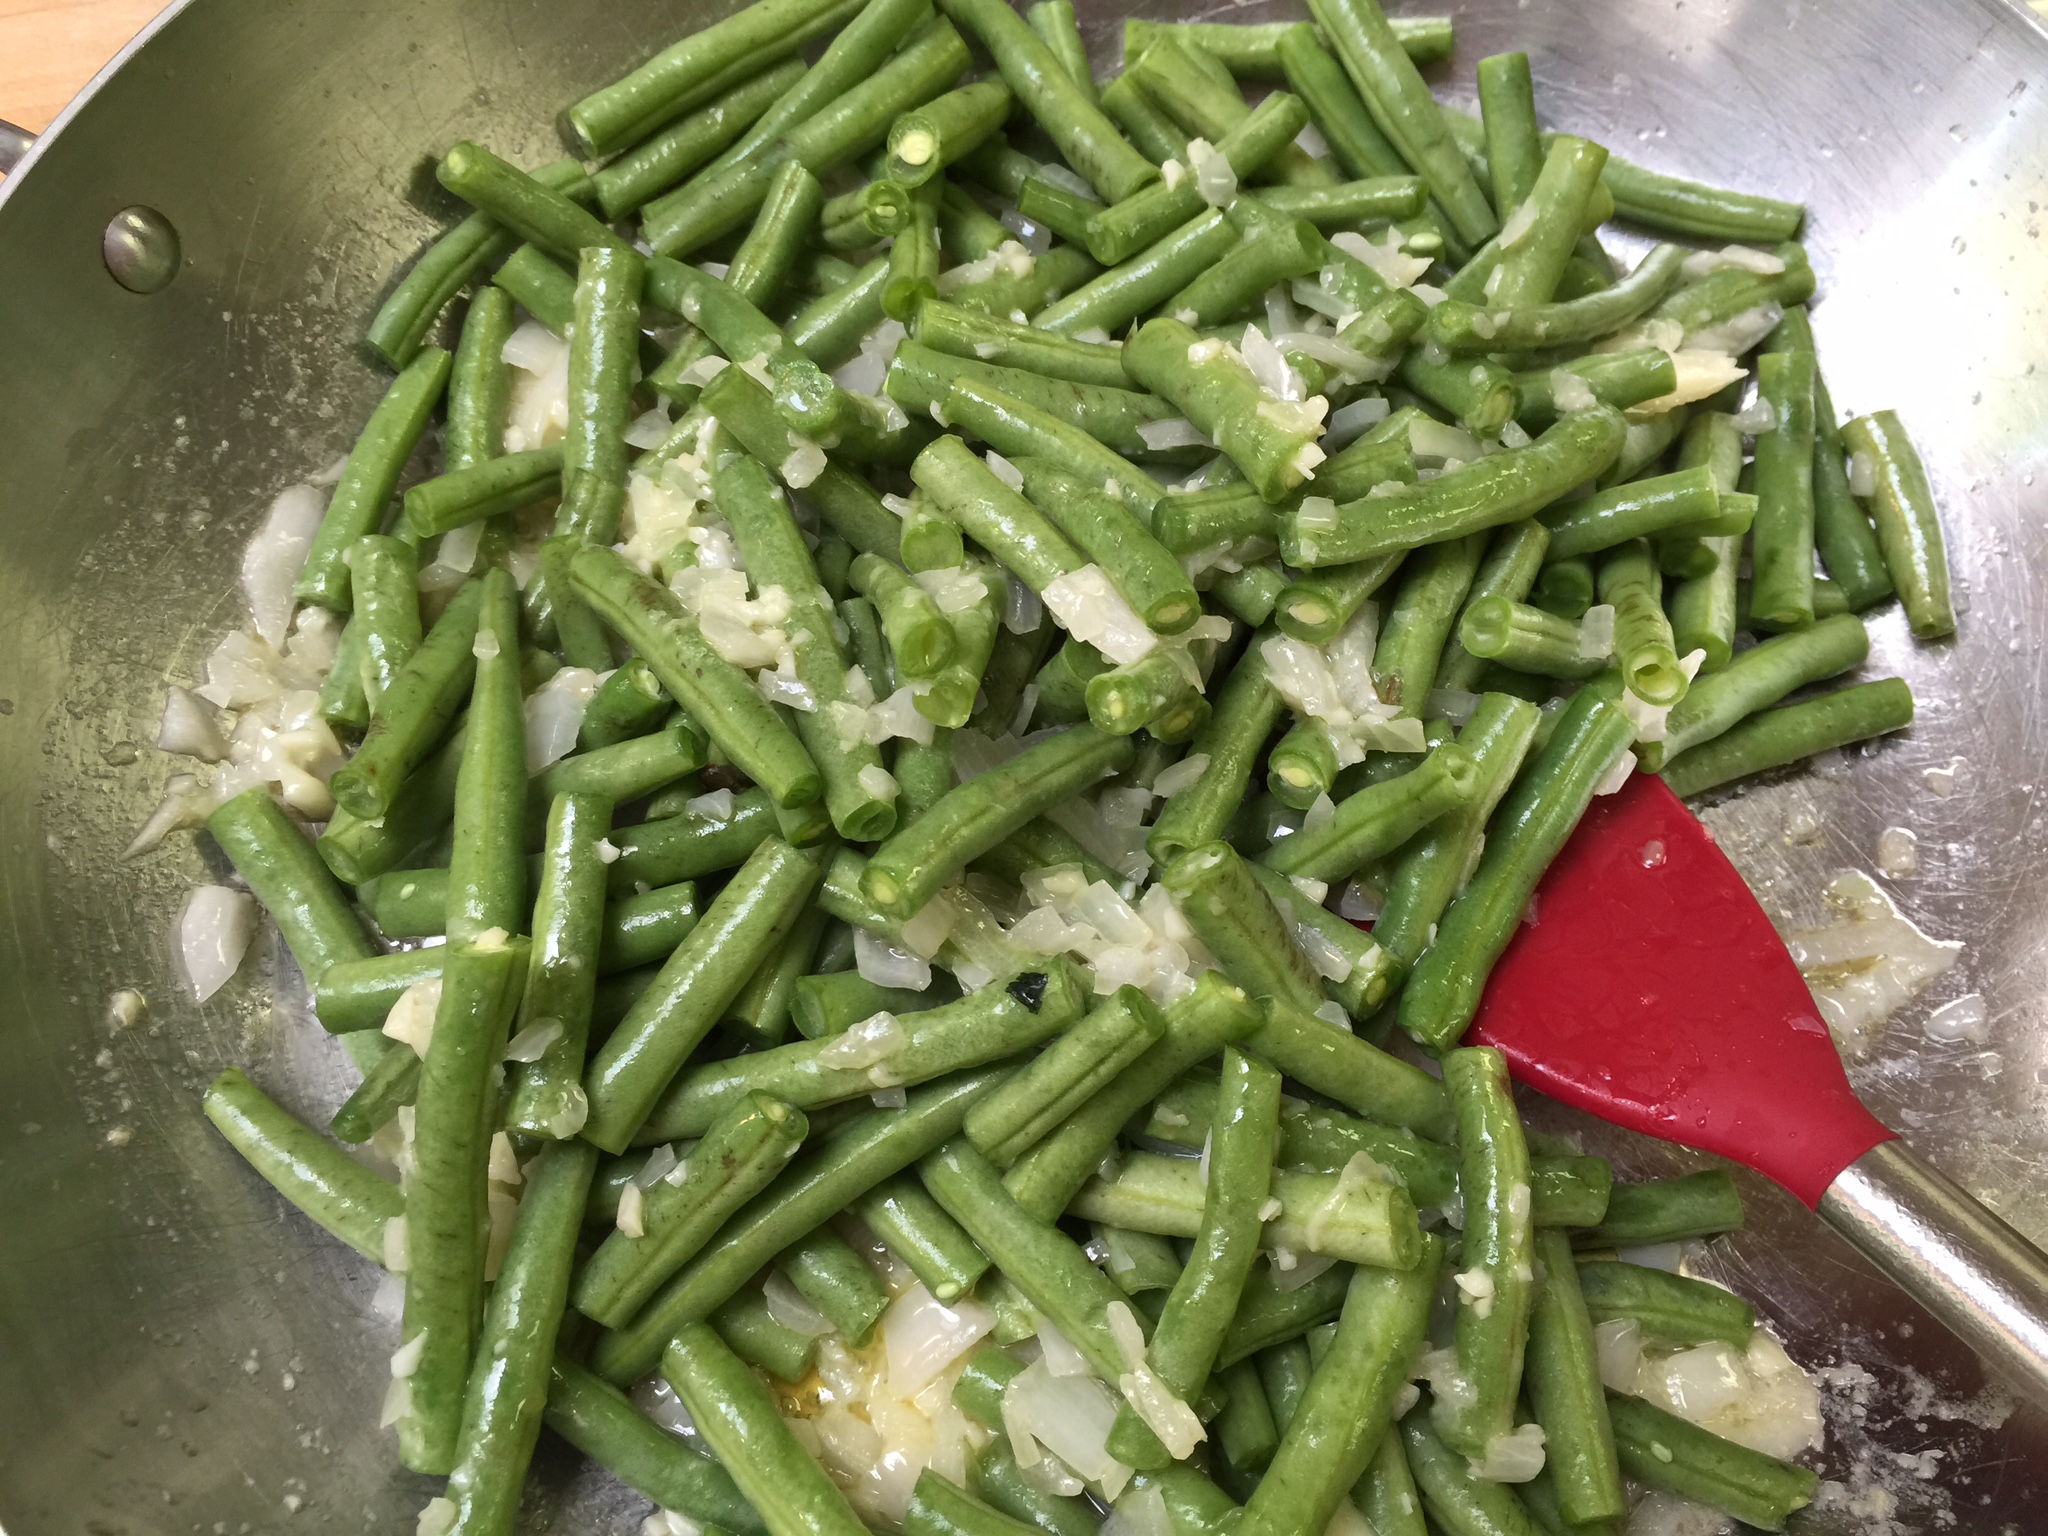
Once your green beans are slightly tender, but still crisp, add your bacon, lemon and seasonings.

IMG_0719

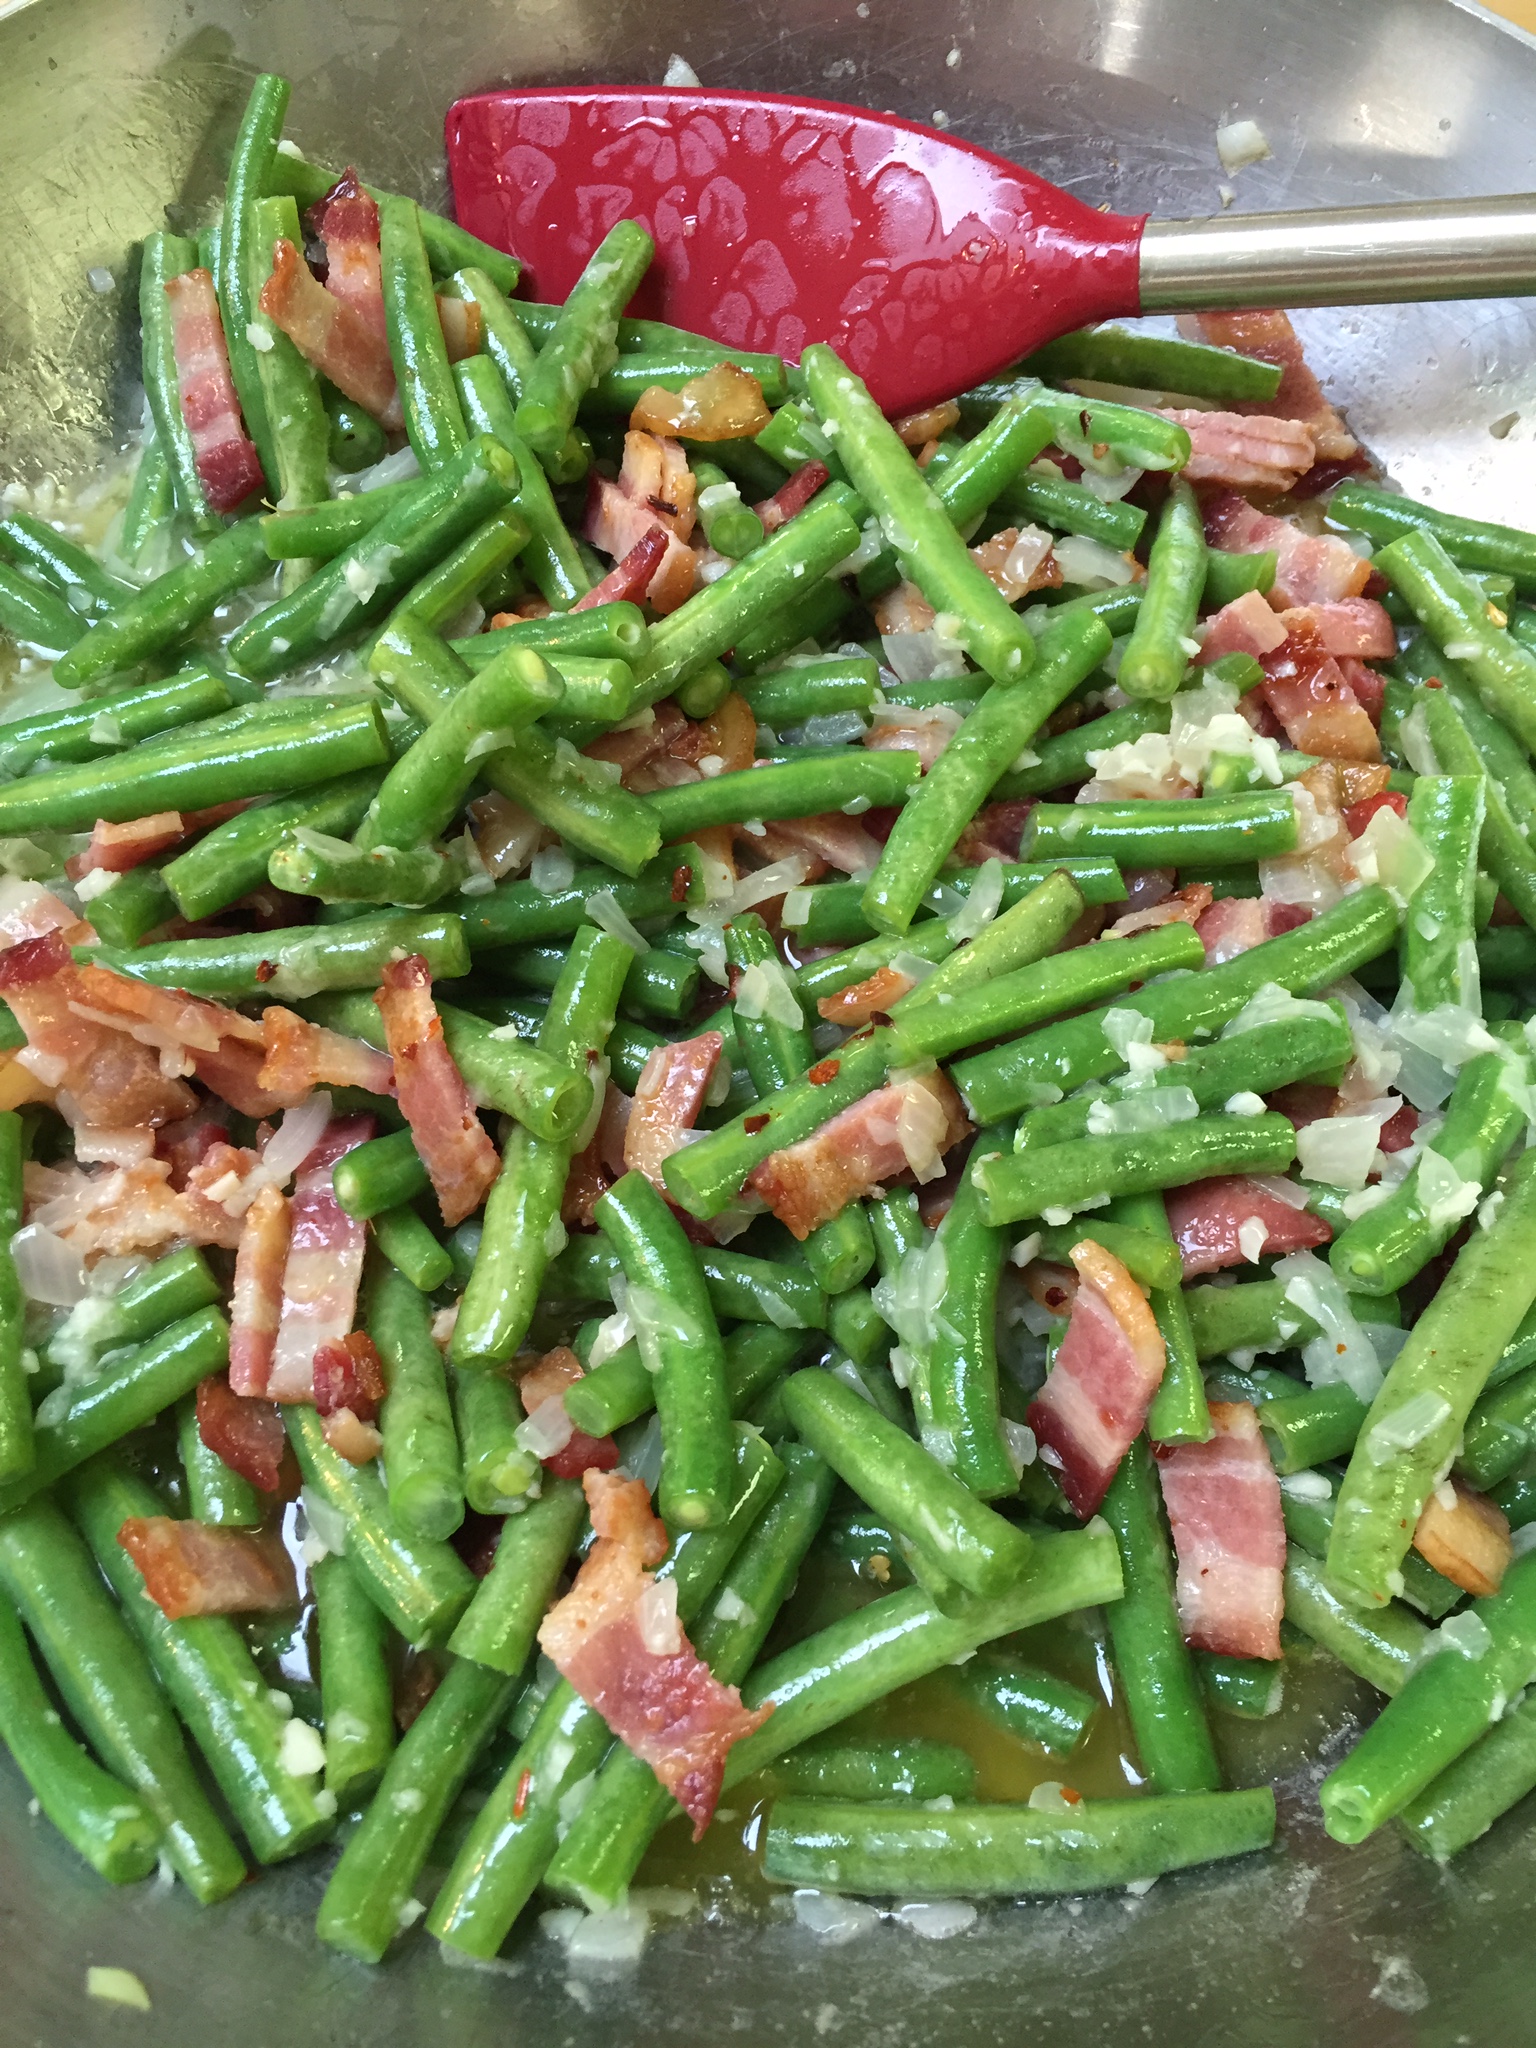
End with a sprinkle of parmesan cheese across the top!  I usually do this step on individual plates.

It’s that easy for a gorgeous, colorful, and delicious side that the whole family will enjoy.


To find items that we use in our posts, such as the All Clad sauté pan, the silicone spatulas and spoons, and cookie sheets, check out our new Amazon store here.

Holy Guacamole!

Okay, so guacamole may not be holy, but it’s pretty close in my house.  Avocados are almost the perfect Keto food, and they are loaded with potassium, folate, and vitamin K!

Avocados are ALWAYS in our kitchen!  We eat them on our green salads, and they are excellent in a tomato and mozzarella salad as well.  Our favorite way to eat avocados though, is guacamole!

We eat guacamole on almost anything.  We use is on our eggs in the morning (any kind), salads at lunch, and burgers and fajitas for dinner.  We can’t get enough!

If you missed the post the other day on the cheese crackers, now is the time to scroll down.  This is one of my favorite tricks!  We love the cheese crackers to dip in the guacamole!

It is a super easy recipe to make too!

IMG_0856

Guacomole

3-4 large avocados

1/2 bunch cilantro

1/4 red onion

juice of 1 lemon

garlic salt to taste


It took me many years to discover the best way to scoop an avocado.  Now that we eat them daily, I have the perfect tip for you.

IMG_0851

Slice the avocado lengthwise.

IMG_0852

Once open, chop down on the seed, twist and remove.

IMG_0859

Using a serving spoon, scoop the meat out of the skin.

Now you ready to get your ingredients together!

IMG_0854

Chop your onion and cilantro finely.

IMG_0855

Using a lemon/lime juicer, squeeze all the juice out of your lime.

Mix everything together and sprinkle with garlic salt.  Taste, and add more if needed.

IMG_0853


YUM!!!!

IMG_0857

I Want Crackers!

That’s what I heard on Friday!  My kids wanted crackers, and honestly it sounded pretty good to me too.  What to do when you want a high-carb snack on a low-carb diet?  Get creative!

We were already planning on having fajitas, minus the tortilla, for dinner which meant guacamole was on the menu. What is better than plain old guacamole?  Guacamole with cheese!  What a way to Keto up guacamole – cheese, cheese, and more cheese!  And, maybe some jalapenos!

This time of year, with the end of school, planning summer vacations, packing for camps, attending recitals, baseball games, graduations, ceremonies, parties, and planning fundraisers, (Whew – makes me tired just typing about it!) we are all exhausted and out of time!  I promise this is easy, and look how delicious!!!!

IMG_0857


Cheese Crackers

First line a cookie sheet with Parchment Paper – Very Important!

IMG_0845

Start with shredded cheese.  Any kind will work – whether you buy it shredded or shred it finely yourself.  I used a Cheddar and Monterey Jack blend. Use your favorite!

Make little circles of cheese and press down so it forms a “cheese pancake”.  Don’t make them too thick or they will not crisp.

IMG_0847

If you want a little spice, add a sliced jalapeño to the middle, and press into the cheese.

IMG_0848

That’s it!  Bake in the oven at 350 degrees for 10 minutes.

IMG_0846

IMG_0850


Allow the “crackers” to cool so they crisp nicely.  Then, enjoy your carb-free snack with your favorite dip or eat them plain!  I made two cookie sheets, and they were devoured before dinner!

IMG_0849


A Meal to Make a Family Happy!

So, I was ruled out on my dinner choice this evening!  My husband wanted steak, and the kiddos wanted potatoes.  “Hmmm,” I thought to myself.  Let’s see if I can slide those cauli-mashers by them without notice.

Worked like a charm!  My super picky four-year old said this was the “best dinner in the world!”  She also told me that “these are the best potatoes ever!”

IMG_0812

If you missed Erin’s post on Cauli-mashers, they are a breeze to make, even when you get outnumbered at the last minute in the kitchen.

I steamed one bag of Costco fresh Cauliflower florets until fairly soft.  I don’t have the emersion mixer like Erin, so I just used my KitchenAid hand mixer, and beat them until they were the consistency of mashed potatoes.  I added a half block of Kerrygold, a half block of cream cheese, and a handful of chopped parsley.  I then added a generous amount of salt and pepper.  Mixed it all together with the mixer, poured into an 8×8 pyrex, and topped with some Colby Jack cheese.  I popped it in the oven at 350 degrees for about 20 minutes, and to the delight of everyone, it was devoured.

Served with grass-fed New York Strips topped with sautéed mushrooms (in Kerrygold no less), and a side of asparagus topped with Kerrygold!

Every plate was clean, and every face had a smile!

So my sweet 8 year boy (the middle child) wanted me to share his dessert with you tonight!  He was very proud of his extra helping of steak and his two dark chocolate-coconut fat bombs (posted last week) that he used to make a smiley face!  He said, “This will show your viewers how happy I am right now!”  So, how could I refuse?  Here is Colton’s sugar-free dessert!

IMG_0813

I hope you all have a happy dinner tonight!

Stuffed Low-Carb Yellow Squash

A Savory Summer Side!

IMG_0743


Perfect for the summer time veggie season!

This is super easy, and so delicious anyone in your family will love it!  Even my picky 4 year old will at least eat out the stuffing!

Ingredients:

5 yellow (summer) squash

1 zucchini squash, steamed, cooked and diced

2 eggs

3/4 cup Parmesan cheese + additional to top squash

1/3 cup melted butter + 2 Tbsp (not melted)

1 bunch green onion

4 Tbsp almond flour

1 tsp oregano

1 tsp garlic powder

Salt & pepper to taste

Instructions:

Start with your yellow squash by washing and cutting off the ends.  Then cut in half lengthwise.

IMG_0735

One squash = two servings.

Lay them cut-side up in a glass pyrex baking dish.  Fill the bottom of the dish with water so you can steam the squash until softened.

IMG_0736Microwave on high for 4 minutes.  Check them after this time…if they are still hard in the middle, then keep cooking them on high in 2 minute increments until they are soft enough to scoop, but not mushy.

When they are tender, remove them and let them cool a bit or you will burn off the tips of your fingers. Maybe not, but it will hurt!

IMG_0738 IMG_0739

When they are cool enough to handle, use a soup spoon, and start hulling out the inside of the squash. Hull all but one half – leaving this one to chop finely.  Be careful not to poke all the way through.  Place the squash you have removed into a mixing bowl, and your now empty “boats” onto a cookie sheet.

Finely chop one half of one yellow squash into small bits, along with one zucchini squash that you have also steamed and finely diced.  Now, you will see a lot of water in the bottom of the bowl.  Try to drain as much of this as possible or it will be too runny.  I press and drain 3 or 4 times.  You could use a mesh colander for this also.  It is okay to be moist, but you don’t want standing water at the bottom of the bowl.

Once most of the water is removed, I use a sharp knife and run it through the squash in the bowl to break up the membranes in the squash.  This is not an exact science.  Just break up the larger pieces that you scooped out.

Add your eggs, 3/4 cup Parmesan cheese, 1/3 cup melted butter, finely chopped green onion with some of the green tops included.  Then add 2 Tbsp of almond flour and your seasonings.  Mix well!

IMG_0740 IMG_0741

Use the mixture to fill your squash “boats” so it is slightly heaping.

IMG_0742Lightly sprinkle with the additional 2 Tbsp of almond flour, put a pat of additional butter on top and finish with as much Parmesan cheese as you desire.  I have also topped with mozzarella cheese as well.  Both are delicious!

Bake in the oven for 25 minutes at 350 degrees, and you have an amazing side dish!

IMG_0743

Enjoy!


Rich and Delicious Creamed Spinach

I don’t know about you, but when we go to a nice steak restaurant, one of our sides is always creamed spinach.  Well, I was determined to duplicate this rich satisfying side dish, and mission accomplished!  Behind my fat bombs, this is my second most requested recipe, and is delicious alongside any meal, but it is our favorite with grass-fed beef!  This dish is good enough for company!


IMG_0790

Ingredients:

Organic Baby Spinach (I used two large containers)

Kerrygold Grass Fed Butter (1/4 to 1/2 stick)

Full Fat Cream Cheese (I package)

Heavy Whipping Cream (1/4 to 1/2 cup)

White Onion (Quartered)

Garlic (4-5 cloves)

Salt and Pepper

Whole Nutmeg


Preparation:

Bring a full pot of water to a boil.  Add spinach and cook for 3 to 5 minutes.  You want it cooked down, but not completely wilted.

IMG_0791

Drain in a colander, and let it sit while you prepare the rest of the ingredients.

IMG_0792


Back in the same pot, melt your butter over medium heat.  I used a half of a Kerrygold brick.  If you are using a regular stick of butter, you will need 1 whole stick.

Add a quarter to a half of a white onion, finely chopped with 4-5 minced garlic cloves, and sauté until translucent.  (We like a bit more onion and garlic which is higher in carbs so take that into account.)

IMG_0793


Turn your heat down to low.  Add your cream cheese cubed and stir well until incorporated with the butter. It may separate slightly and this is okay.  When you add your spinach it will combine well.

IMG_0794

Press all the remaining water out of your spinach.  Dump it out on a cutting board and chop roughly.  Then add it to your butter mixture on the stove.

IMG_0795


Next, add your heavy cream.  This is up to you.  Start with 1/4 cup, and if you want it creamier, add a little at a time.  It will thicken slightly after about 5 minutes over low heat.

IMG_0798


Now, all you have left is your seasoning!  Spinach is amazing with nutmeg, especially freshly grated.  I also add freshly ground Himalayan salt and black pepper.

IMG_0796 IMG_0797

Mix all your seasonings in and let it simmer over low heat for about 5 minutes.  Then serve and enjoy!  It is just as good left over for lunch too!

IMG_0799

ABC’s Are Not Just for Children!

This is what we call an ABC Burger!

A=Avocado

B=Bacon

C=Cheddar Cheese

Put it all together, and what do you get…delicious, filling, and crowd pleasing!

No need for a bun.

Every Sunday, I make sheets of bacon to munch on during the week!  This allows us to have bacon every morning, even in a pinch.  I used to make it in the skillet every morning the old fashioned way, but this way allows me to make much more at a time, save all the bacon drippings, and have more time in the morning.


Cookie Sheet Bacon

Preheat your oven to 375 degrees.

Line a cookie sheet with sides (jelly roll pan) with heavy duty aluminum foil.

Lay your bacon out without the sides touching.  I can usually get 10 to 12 pieces on a sheet.IMG_0777The cooking time really depends on how thick your bacon is, how you are going to use it, and how cooked you like it!  If you are going to keep cooking it in another dish, I do it par-baked which just means I remove it before it is thoroughly cooked through.

I use pretty thick bacon and usually cook it about 20 minutes.  For thinner bacon, start checking it at about 12 to 14 minutes.

This is about 20 minutes for thick bacon:
IMG_0782

Remove your bacon to a paper towel lined plate to drain and crisp.

Do not discard your drippings.  I almost always try to make a dish using the bacon drippings the day I make bacon such as the Bacon Brussels or Bacon Green Beans.  If I am not cooking a dish, I save the drippings in a mason jar.  (Yes, just like Grandma used to save hers!)  Make sure you strain the bits out if you are using a jar – I use bits and all when preparing a dish the same night.

I reuse the tray over and over until I have enough bacon (and drippings) for my immediate and future bacon needs!  Then, when you are finished, drain your drippings and toss the foil!

IMG_0783


This evening, we made ABC Burgers AND Bacon Green Beans (post to come) with all of that delicious bacon.

It is super simple, and your family will love you.

ABC Burger

I used 2 lbs of grass-fed 80/20 ground beef, and hand mixed with salt, pepper, and Worcestershire sauce (and any other herbs and spices you like in a normal burger).

Form the meat into patties the size you like.  My husband grilled them out back as usual, but about 5 minutes before removing them, adds the bacon and tops with sliced cheddar cheese.  After the cheese melts, remove them from the grill.

We place them on a bed of lettuce with mayo (you can use mustard too) and top with sliced avocado. You will realize you never need a bun again!

This is a super easy weeknight meal or a fun weekend meal!

Here is your tip for the week if you need it even easier…Order Up, in San Antonio, makes their own version of an ABC Burger made with grass-fed beef that is delicious!  They serve theirs in a lettuce wrap, on request, and serve their delicious Chipotle Mayo on the side.  It is fantastic, perfectly Keto, and we love the people there as well.IMG_0785Enjoy!

Cauliflower can do anything!

Well not quite.

But it is definitely a vegetable and Keto All-Star!


Yesterday we talked about cauli-rice and today I want to talk about cauli-mashers. This is another go to side that is quick and versatile.


I started with frozen organic cauliflower, but you can absolutely use fresh!! I like to keep the frozen organic cauliflower and organic chopped spinach on hand. These are great for fast weeknight dinners.IMG_4660

Steam the cauliflower until soft. Personally I avoid heating any food in plastic containers. While there are multiple organizations giving us all sorts of contradicting information about the safety of heating food in plastics; I’m going to just play it safe. Read more here: (http://www.wsj.com/articles/SB10001424127887324493704578433290465517564)


IMG_4662


After the cauliflower is soft move it to a large mixing bowl, add cream cheese, heavy cream, and/or sour cream. Then mash and mix together just like like if you were making mashed potatoes. I use an immersion hand blender and this is done in a snap.


IMG_4663


Salt and pepper to taste and feel free to add chives, garlic, and parsley. The amounts of vitamins packed into herbs are incredible plus they make it pretty! They can be served immediately or put into the oven to crust to top.

IMG_4664


Tonight I added cheese to the top and popped everything back into the oven to melt and meld it all together.

IMG_4665

Even the incredibly picky three year old enjoyed them!


IMG_4666

Low Carb Rice?

IMG_0648

Yes, low carb rice indeed!

This is one of our favorite tricks for sprucing up dishes with a little extra texture.

I have to admit that I was skeptical at first, but it really works, and the kids love it, while getting their veggies at the same time.  Mine can’t tell the difference!


Cauliflower Rice

Start with a large head of cauliflower, a nice sharp knife, a food processor and a foil lined baking sheet.

IMG_0659Cut your cauliflower into small florets and rinse in a colander.

IMG_0658Let the cauliflower dry for a bit and then add to your food processor a little at a time.  If you do too much at once you will get some clumps.

IMG_0650Then PULSE your food processor until the cauliflower resembles snow.  Don’t over pulse or you will get a puree.

IMG_0649After each batch, scrape the pulsed cauliflower out onto your cookie sheet.  If you have larger pieces, just throw them back in with the next batch.

When it is all “snow” you should have a nice full cookie sheet of “rice”!

IMG_0648Bake in the oven on 350 degrees until the top is just starting to turn golden.  I take it out a few times and toss it around to make sure it is all getting cooked through.  This will remove the rest of the moisture and you will have a great side dish in about 25 to 30 minutes.

We generally use the rice under Indian dishes like Tiki Marsala or Curry, but we also serve as a side topped with Kerrygold!

Enjoy!IMG_0647

Broccoli on the Barbie

Grilled broccoli may sound a little strange but don’t knock it until you’ve tried it!

How to grill broccoli. I have this philosophy that if I eat out, and there's a superfood on the menu, that's what I'm ordering. Last night, I made it at home. Something that I had never heard before is the idea of peeling the "bark" off of the stems to make them less chewy. It works! Get a good grade parma cheese. If you are going to have the calories, at least let it be good cheese.

Almost any vegetable can be grilled with fantastic results. Here are a couple ideas and tips to get you going:

Veggies to try: Broccoli, artichokes, asparagus, mushrooms, peppers (any color or type), zucchini, squash, onion, cabbage, Brussels, etc

Consistent size is important, make sure your veggies are all roughly the same size or you may end up with bites more done than others. They do not have to be bite sized-just similar.

Nothing beats summer #zucchini on the grill - like this if you agree and comment with your fav way to prepare.

Season well!  Start with high QUALITY salt and pepper then get creative.

Butter or Ghee (Not Olive Oil! Olive oil is great for your cool salad but not great for high temperature cooking/grilling. You can learn more here:http://www.savorylotus.com/5-reasons-to-stop-cooking-with-olive-oil/ )

Foil lined grill basket. This will make clean up a snap and help avoid flare ups from the melting butter goodness. In a pinch you can make a foil tray by simply crunching up the edges on heavy duty foil but be very careful this will be flimsy and hot!

Ready to grill


IMG_4805

This is our well loved circle basket with removable handle.

IMG_4800

Clean up does not get easier!


Keep an eye on your veggies! You know how “done” you like your veggies. Plus, unlike meat and fish, its easier to tell by sight when veggies are done and you can taste test without worry!

« Older Entries Recent Entries »