Archive for Uncategorized

Restaurant Worthy Side Dish!

Most of you know by now that I love squash!  All squash, but especially summer squash!  Lucky for me, it is summer, and all those summer squashes are plentiful.  The yellow is my favorite!

header_logo

About a year ago, we celebrated my dad’s birthday at a great restaurant in San Antonio called Bohanan’s.  It is a wonderful special occasion restaurant if you have not tried it!  Most of my family would consider themselves foodies, and really enjoy a great meal.  I am no exception!  You can always count on having a great meal at Bohanan’s.  Not only do they have some of the best steaks in Texas (which is saying a lot), but they have great seafood and side dishes as well.  One of my favorite side dishes we were served that evening was their Baked Squash.  It is melt in your mouth delicious, with just the right amount of savory paired with the sweet.  The sugar in ours is, of course, replaced with Swerve or natural sweetener of your choice.

images

Just a few weeks after my father’s birthday, I found the squash recipe in our local Sunday paper.  I just love restaurants that publish their prized recipes!  It was so close to being Keto, that I knew I could tweak it to make it healthier for our family without the sugar and flour.  I think I have mastered it enough to share:


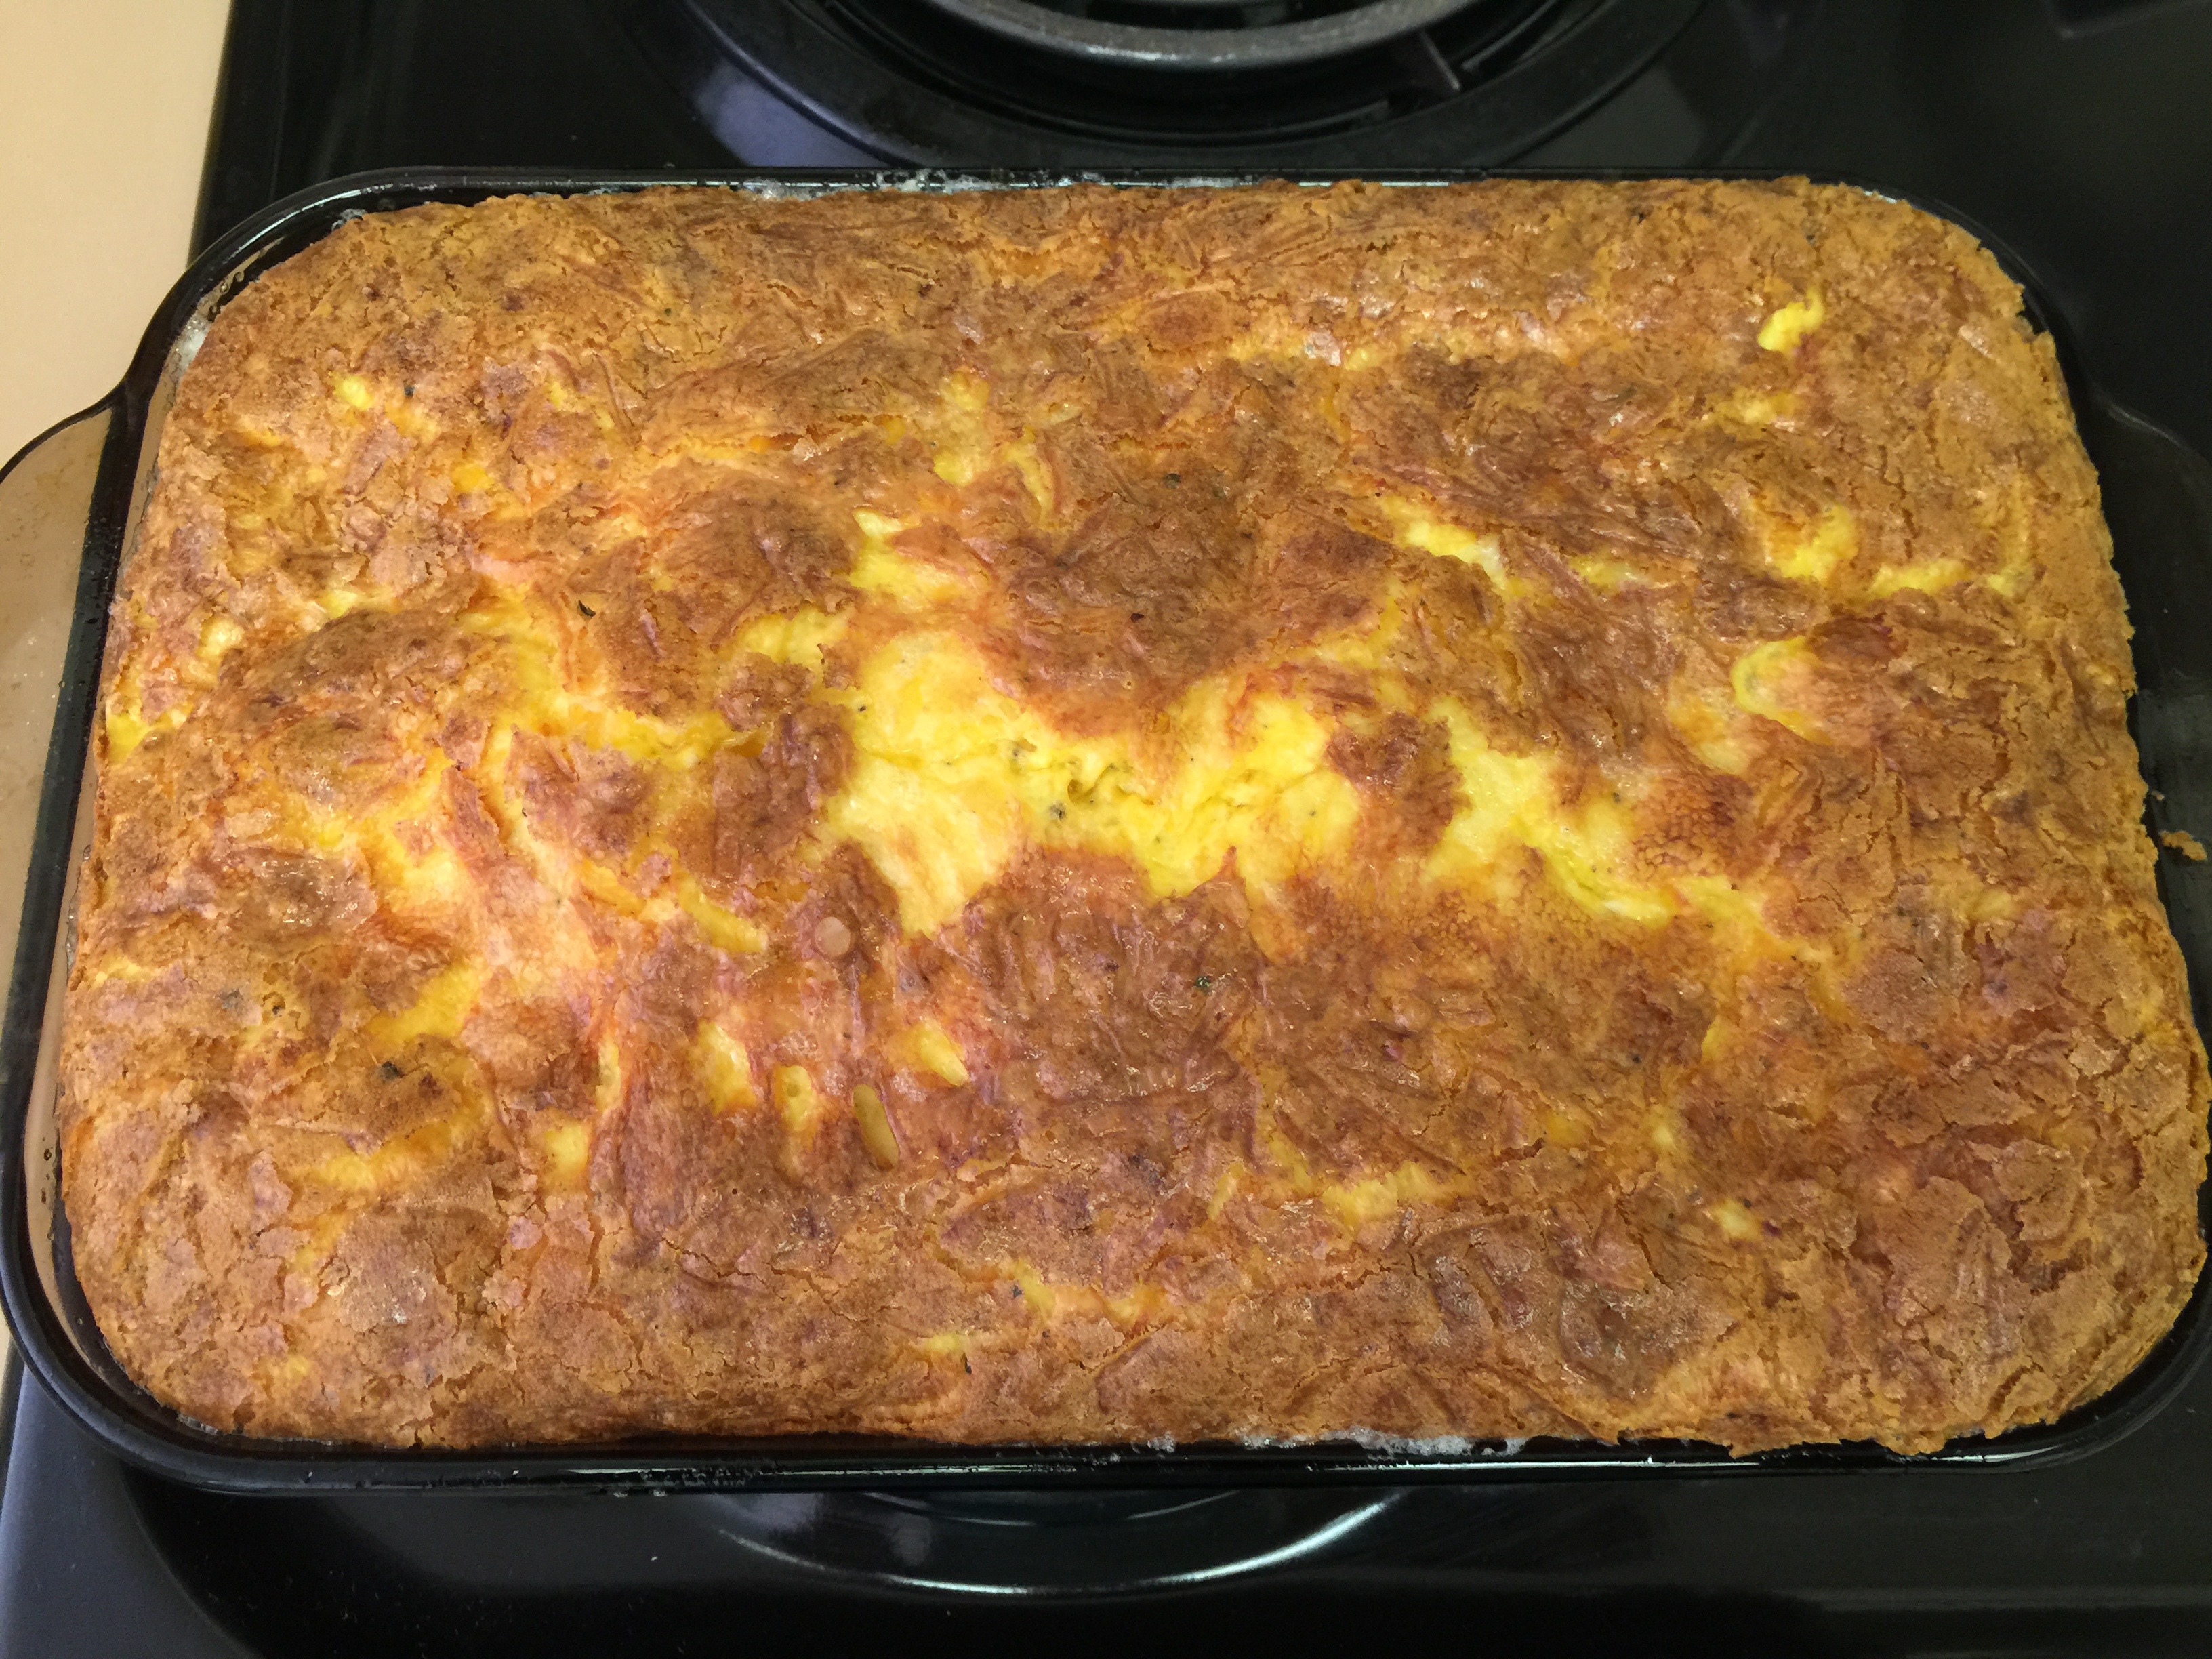
Sweet Life Baked Squash

Serves 10-12 (Can half, but saves great for leftovers)

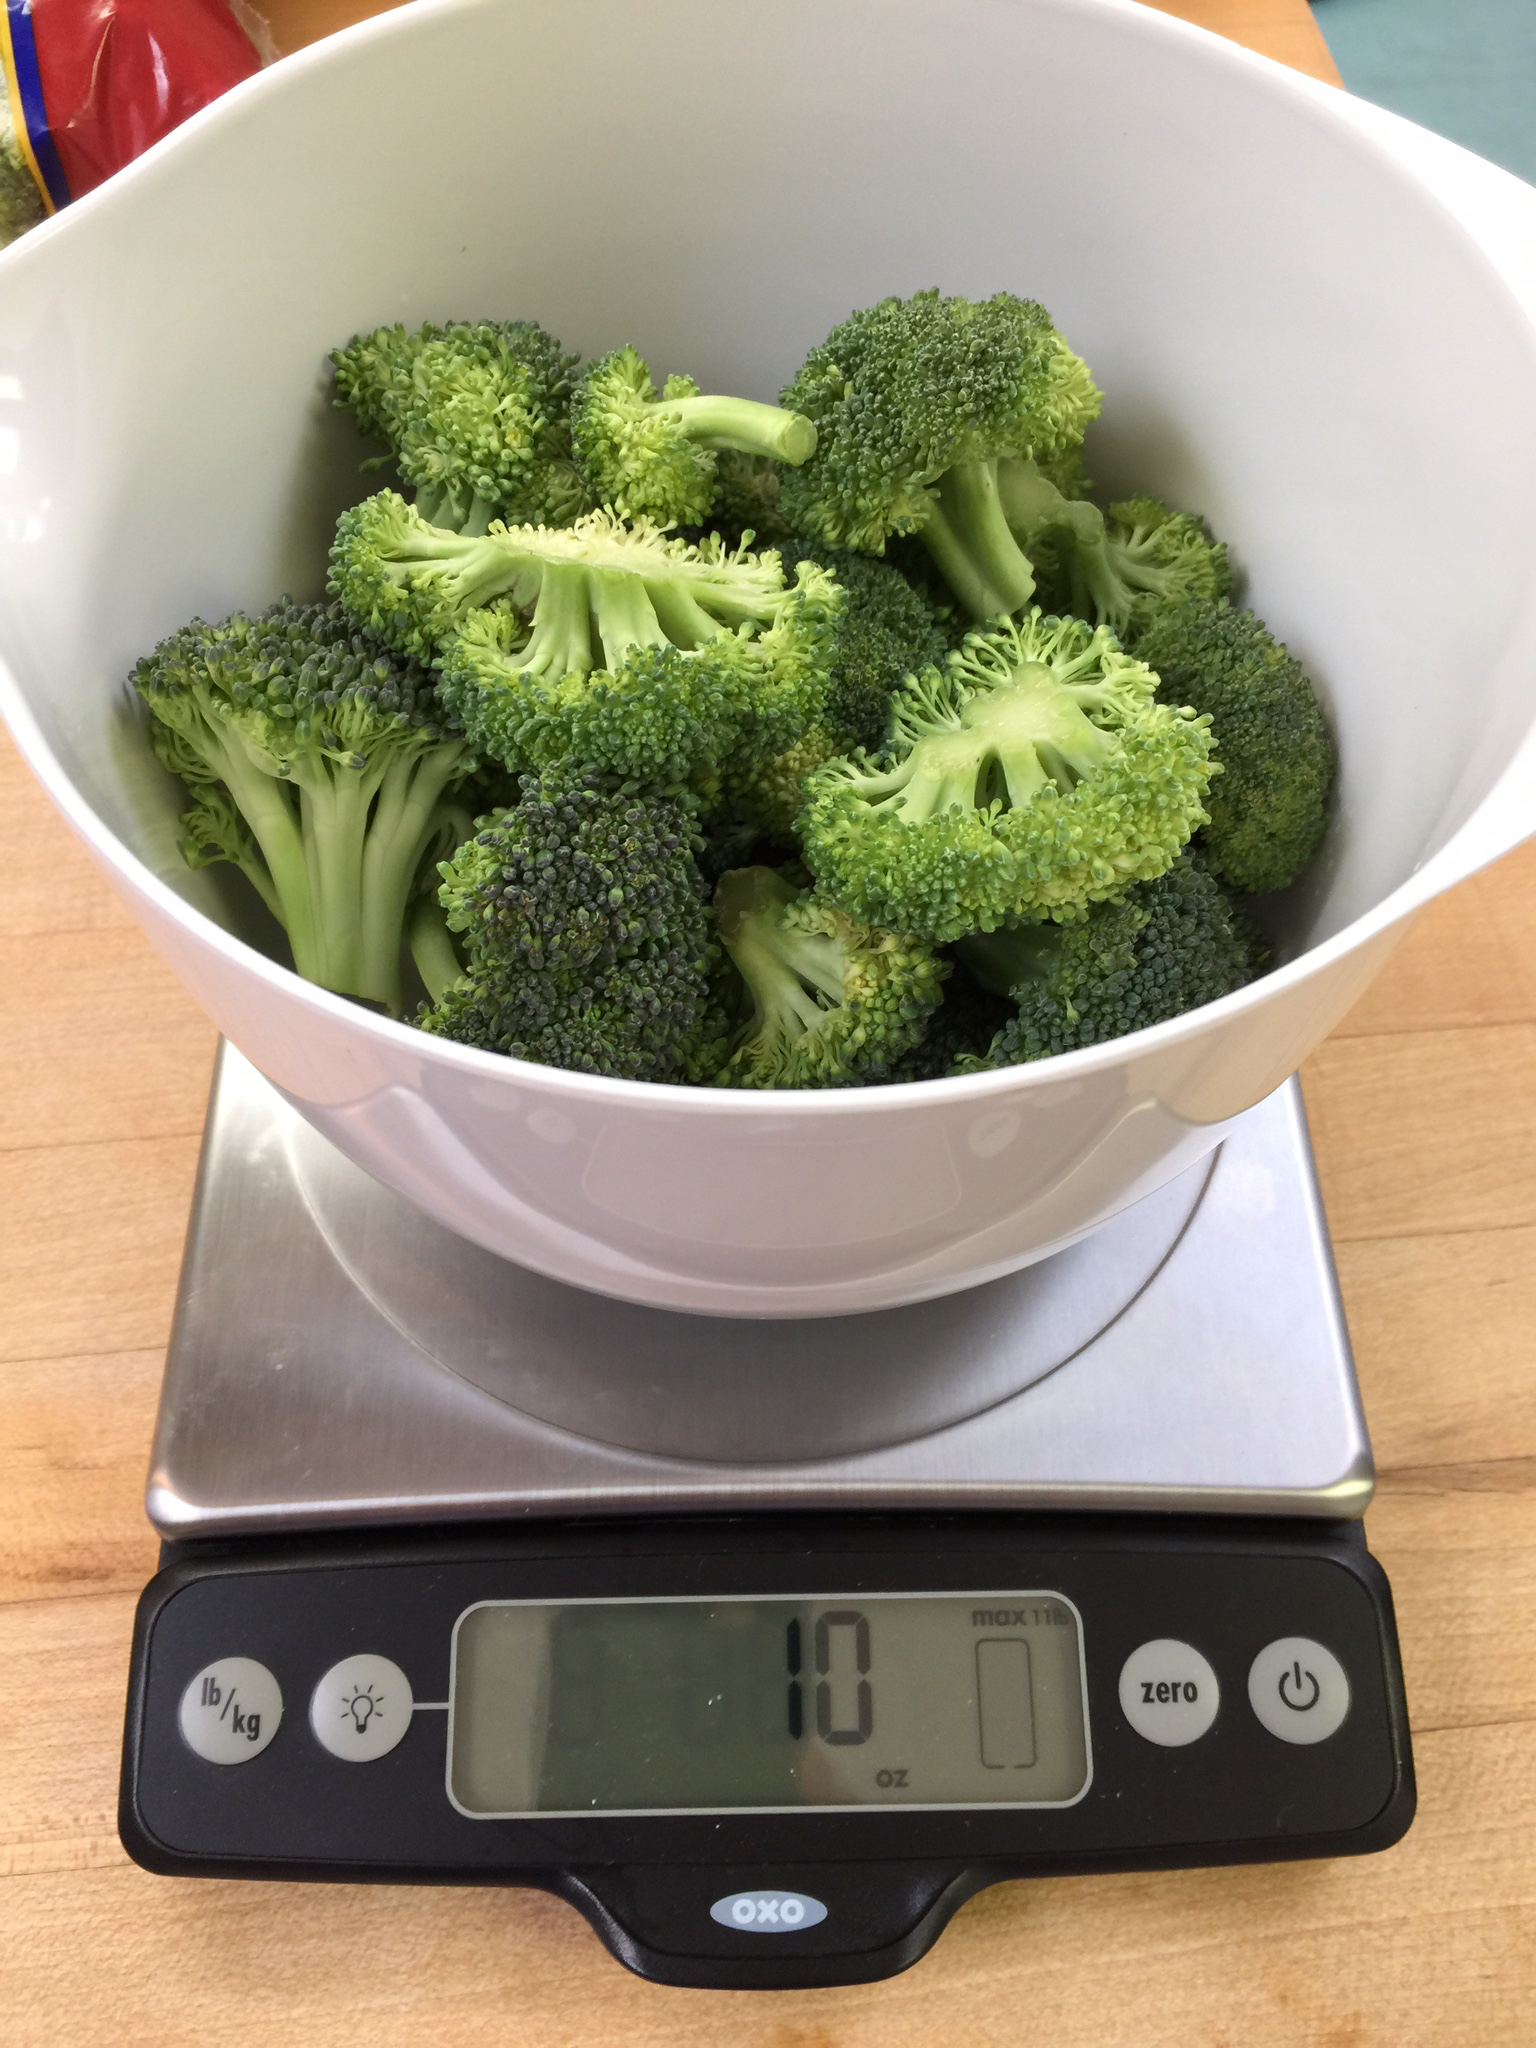
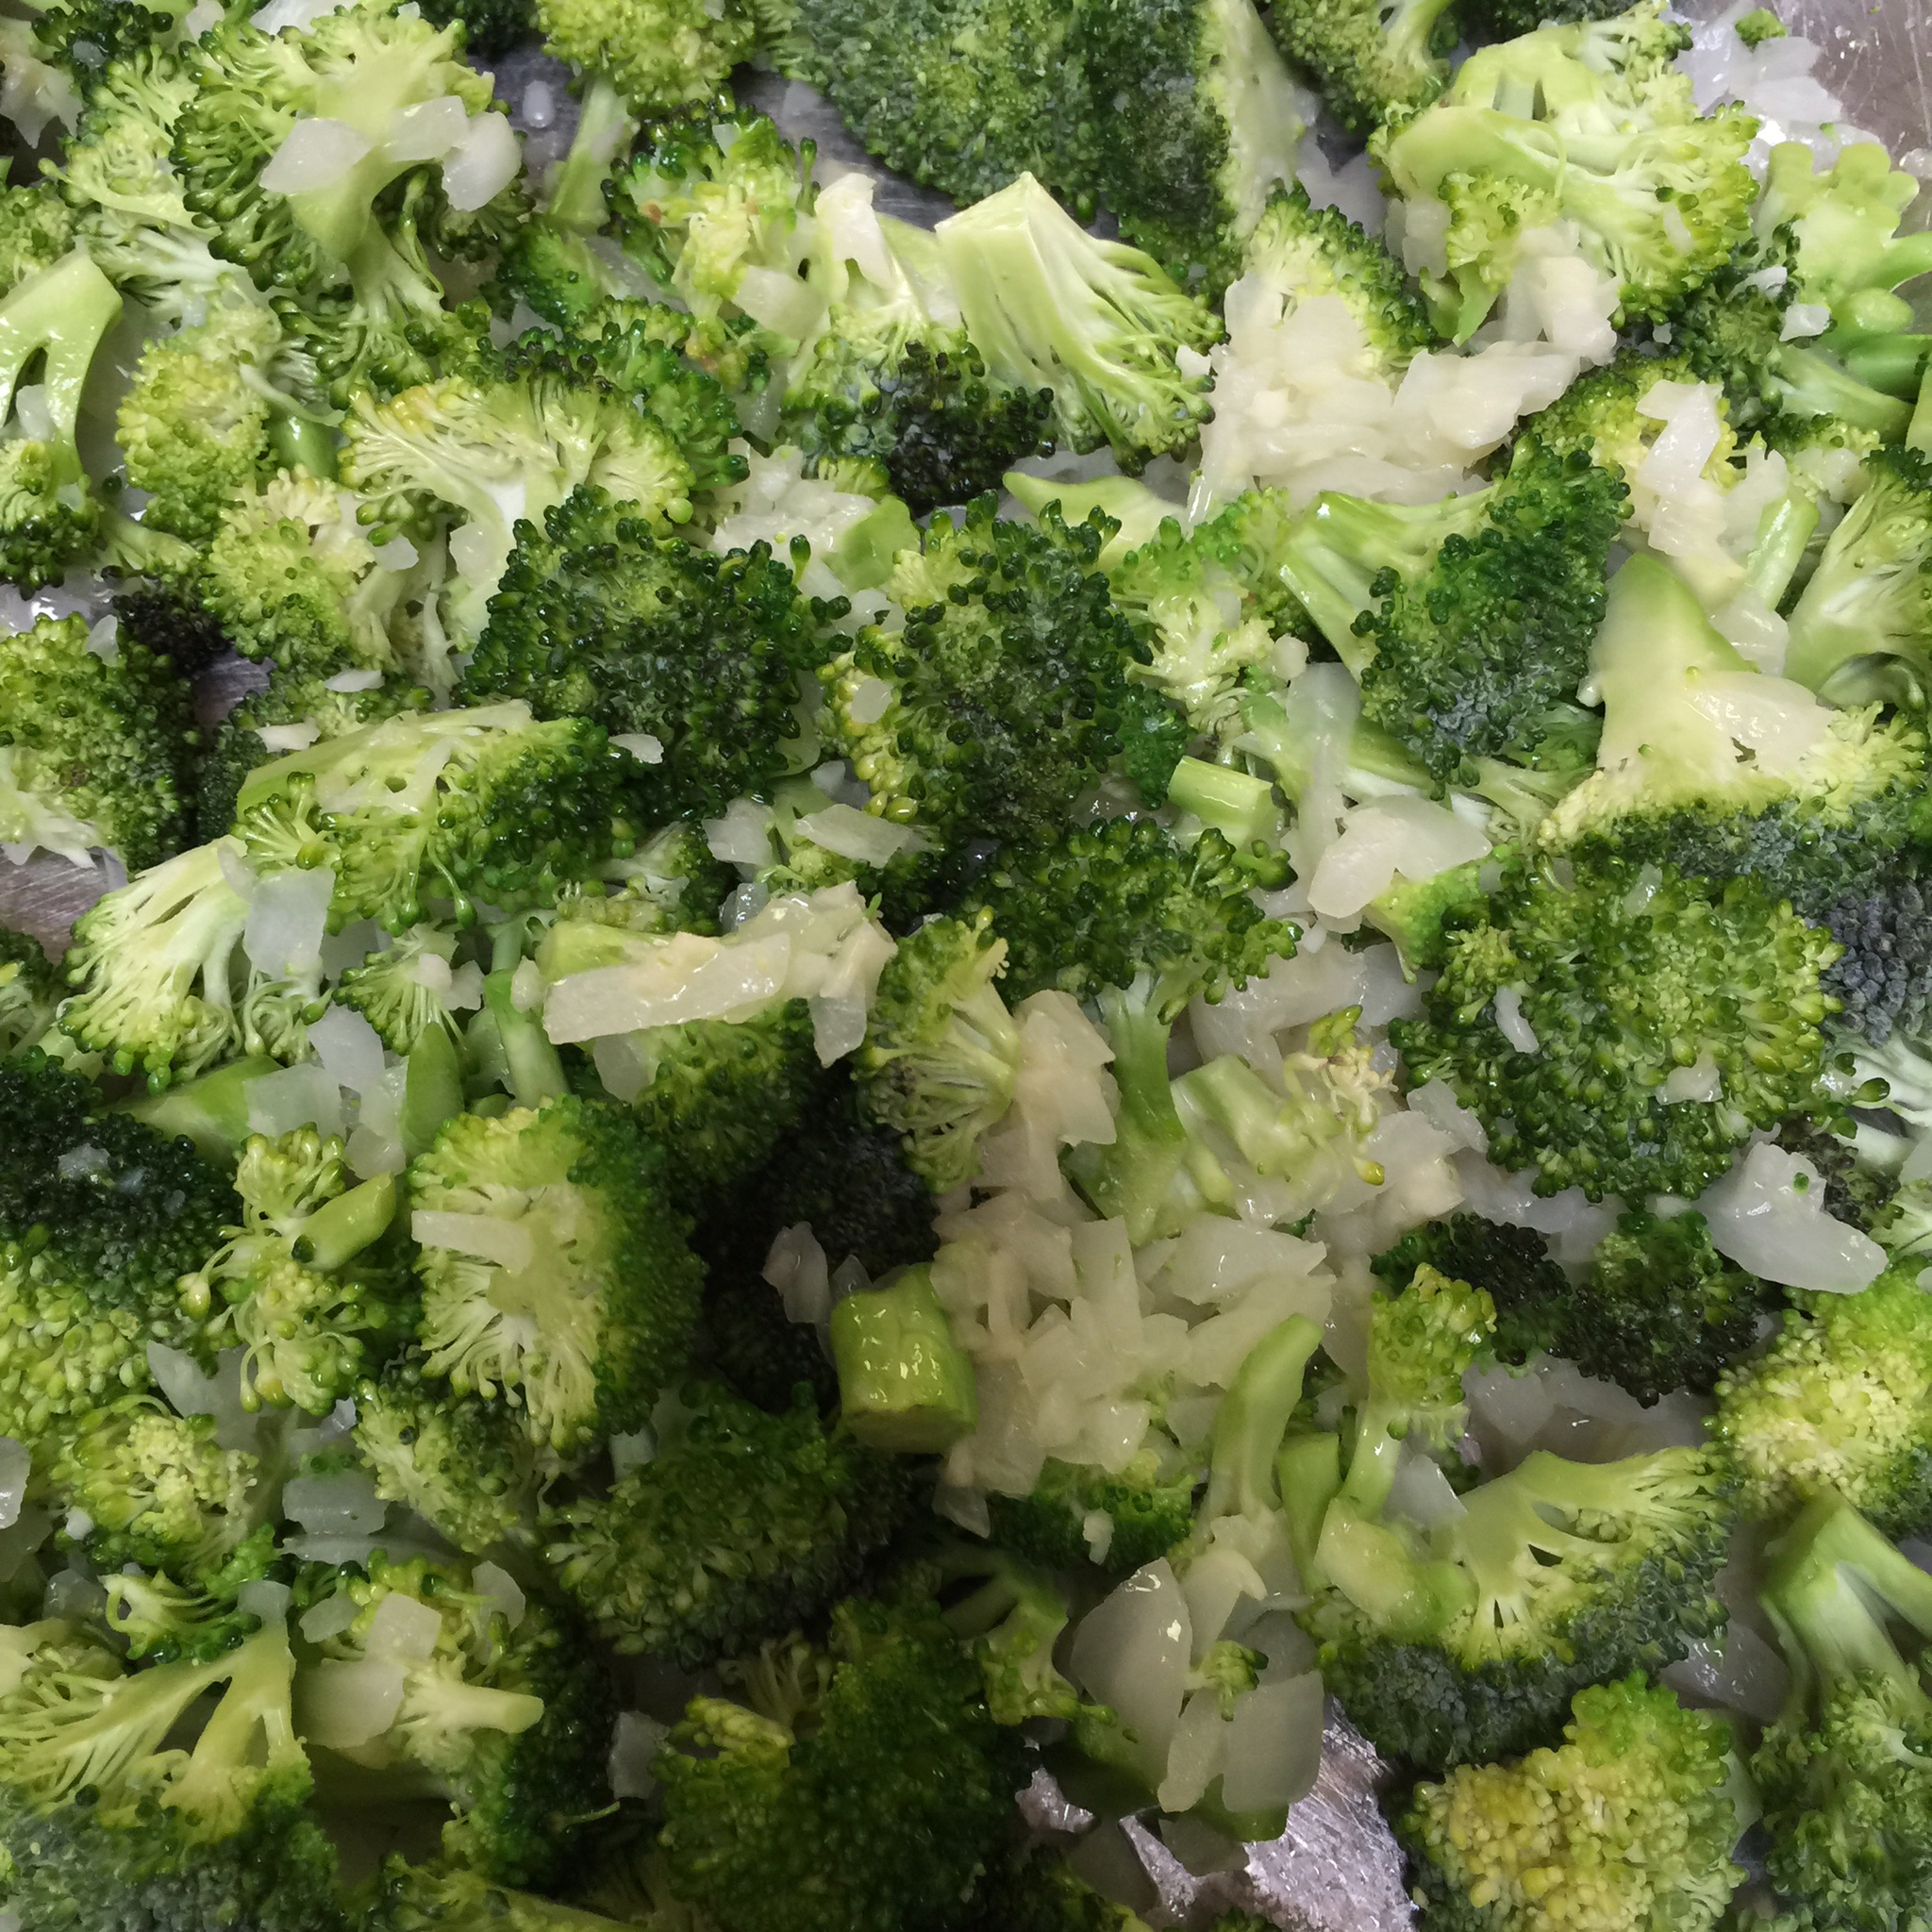
3.5 lbs yellow summer squash

1/2 brick of Kerry Gold butter (extra for top)

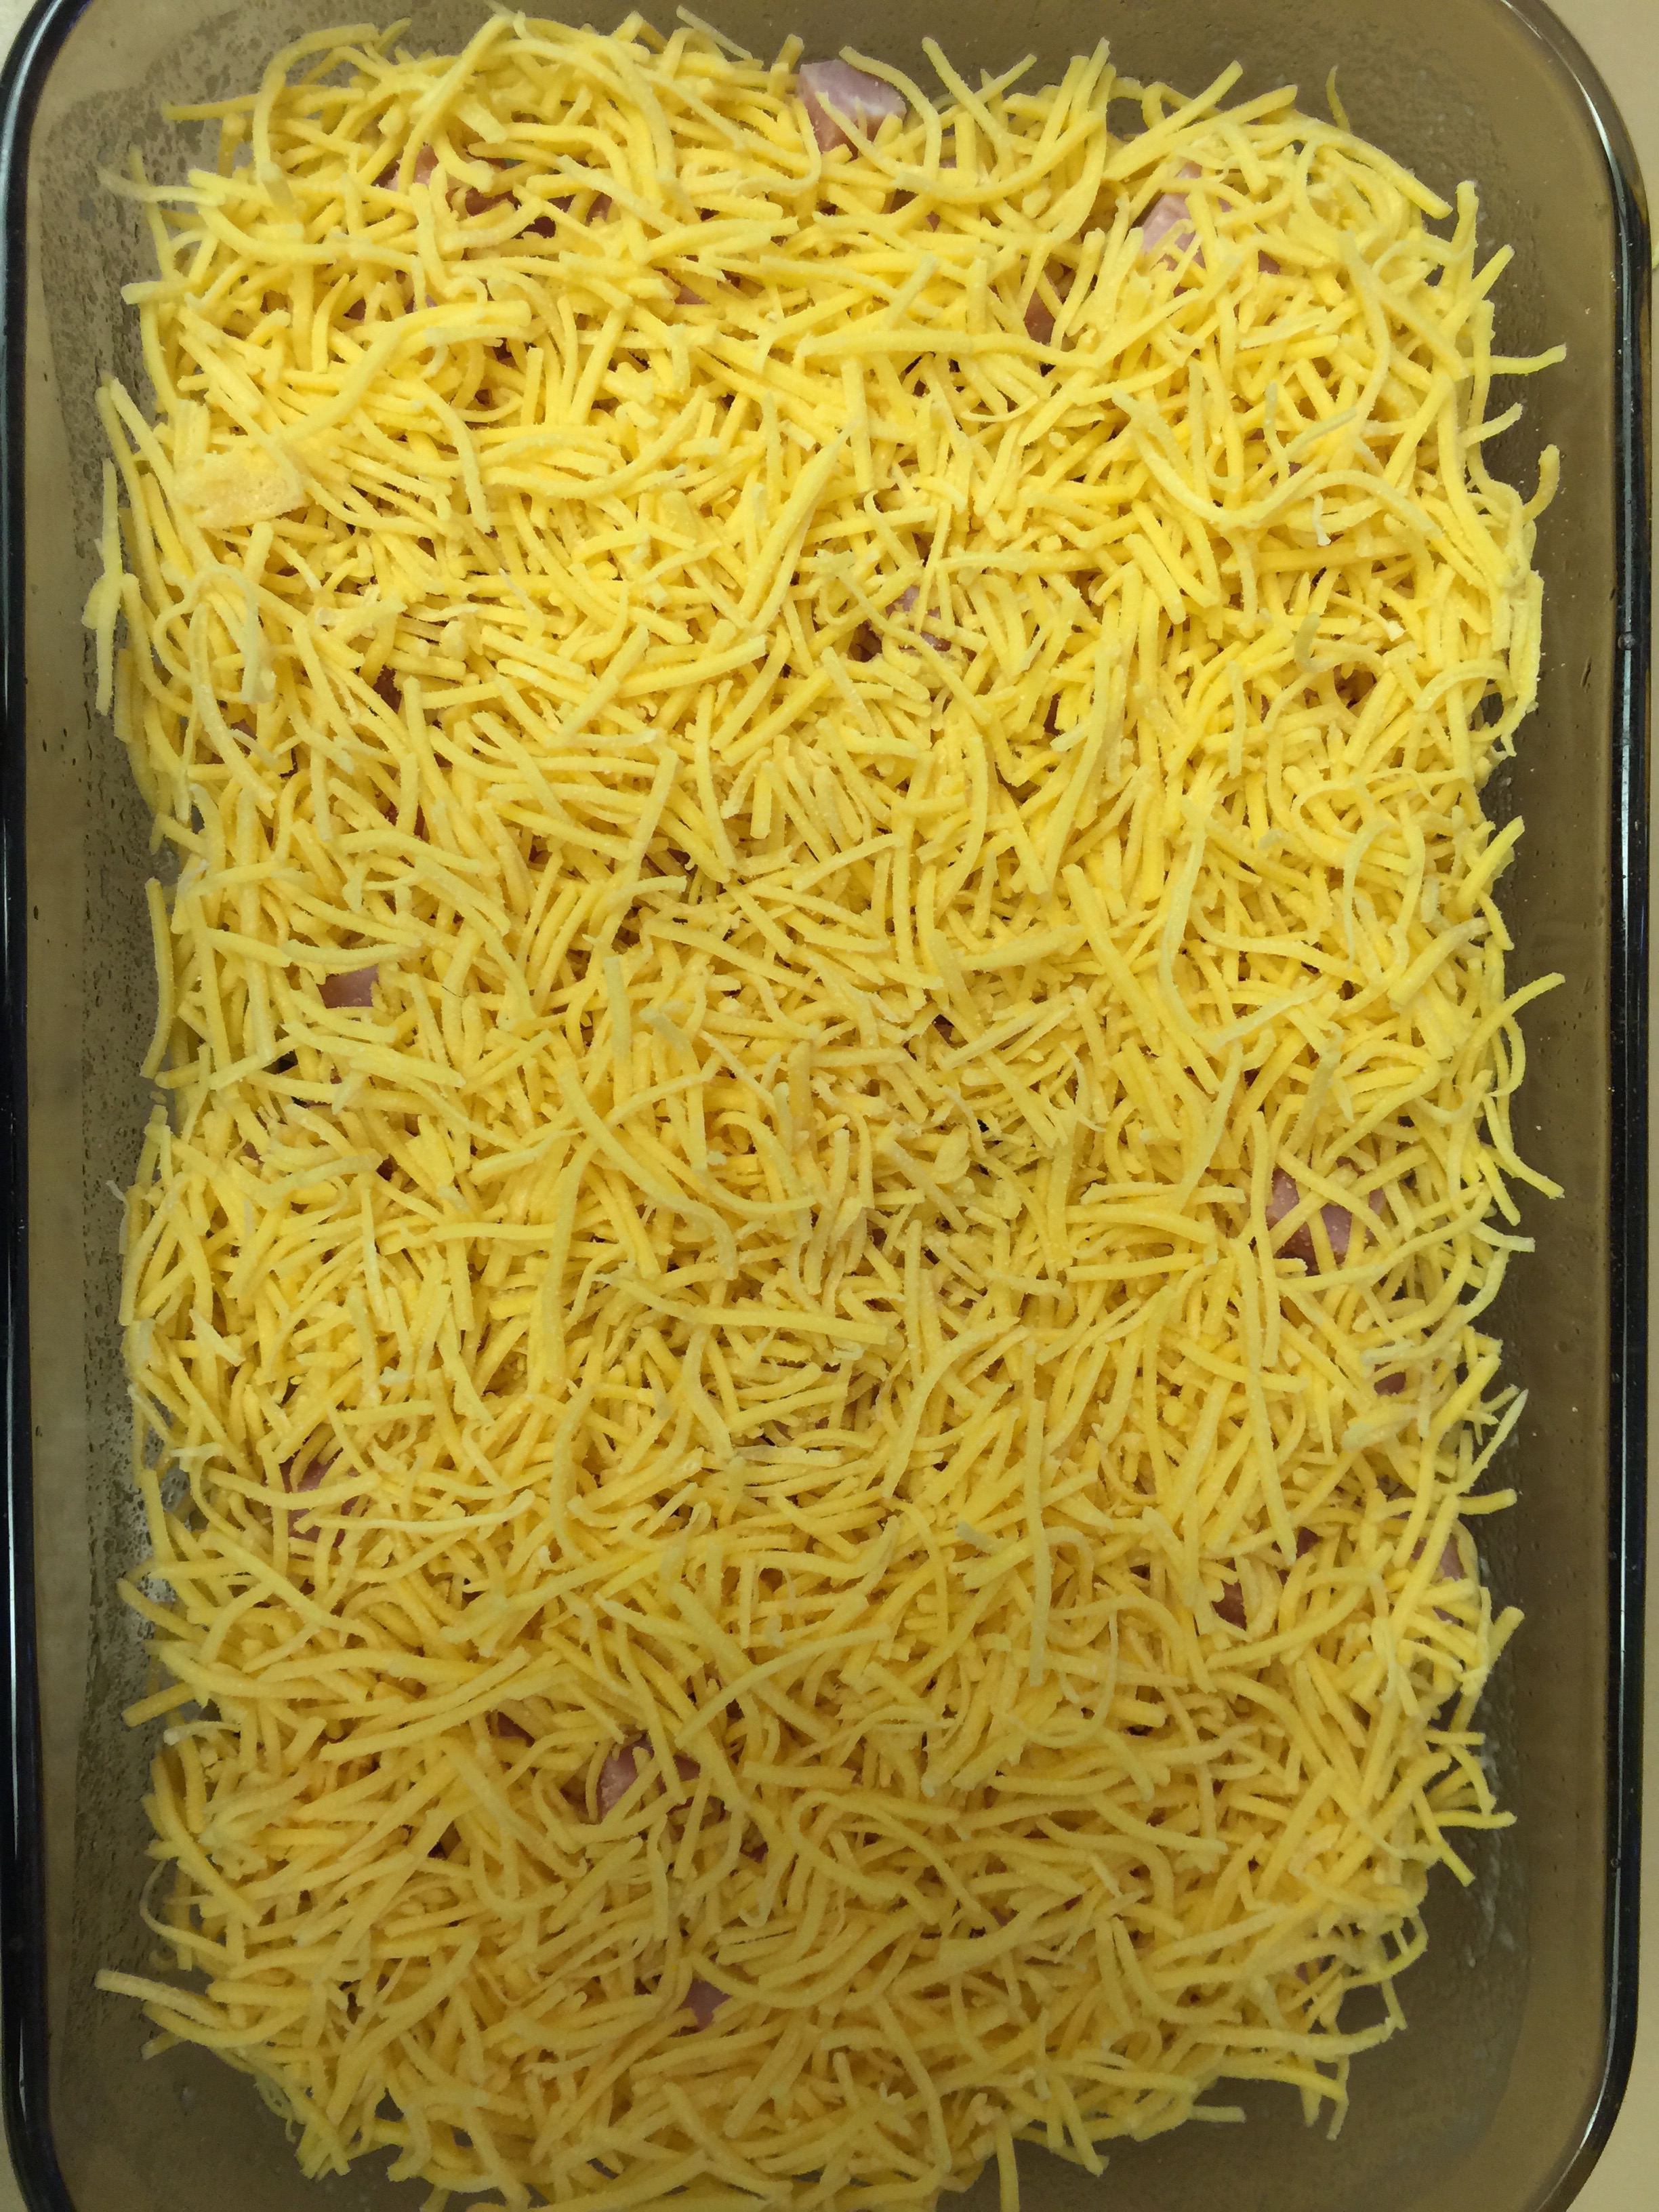
20 slices of Kraft cheese

4-5 tsp of Swerve granular

1 cup mayonnaise

1/2 tsp Celtic salt

2 tsp fresh ground black pepper

4 eggs

Almond Flour for top

Directions:

Preheat oven to 350 degrees, and gather your ingredients.

IMG_2645

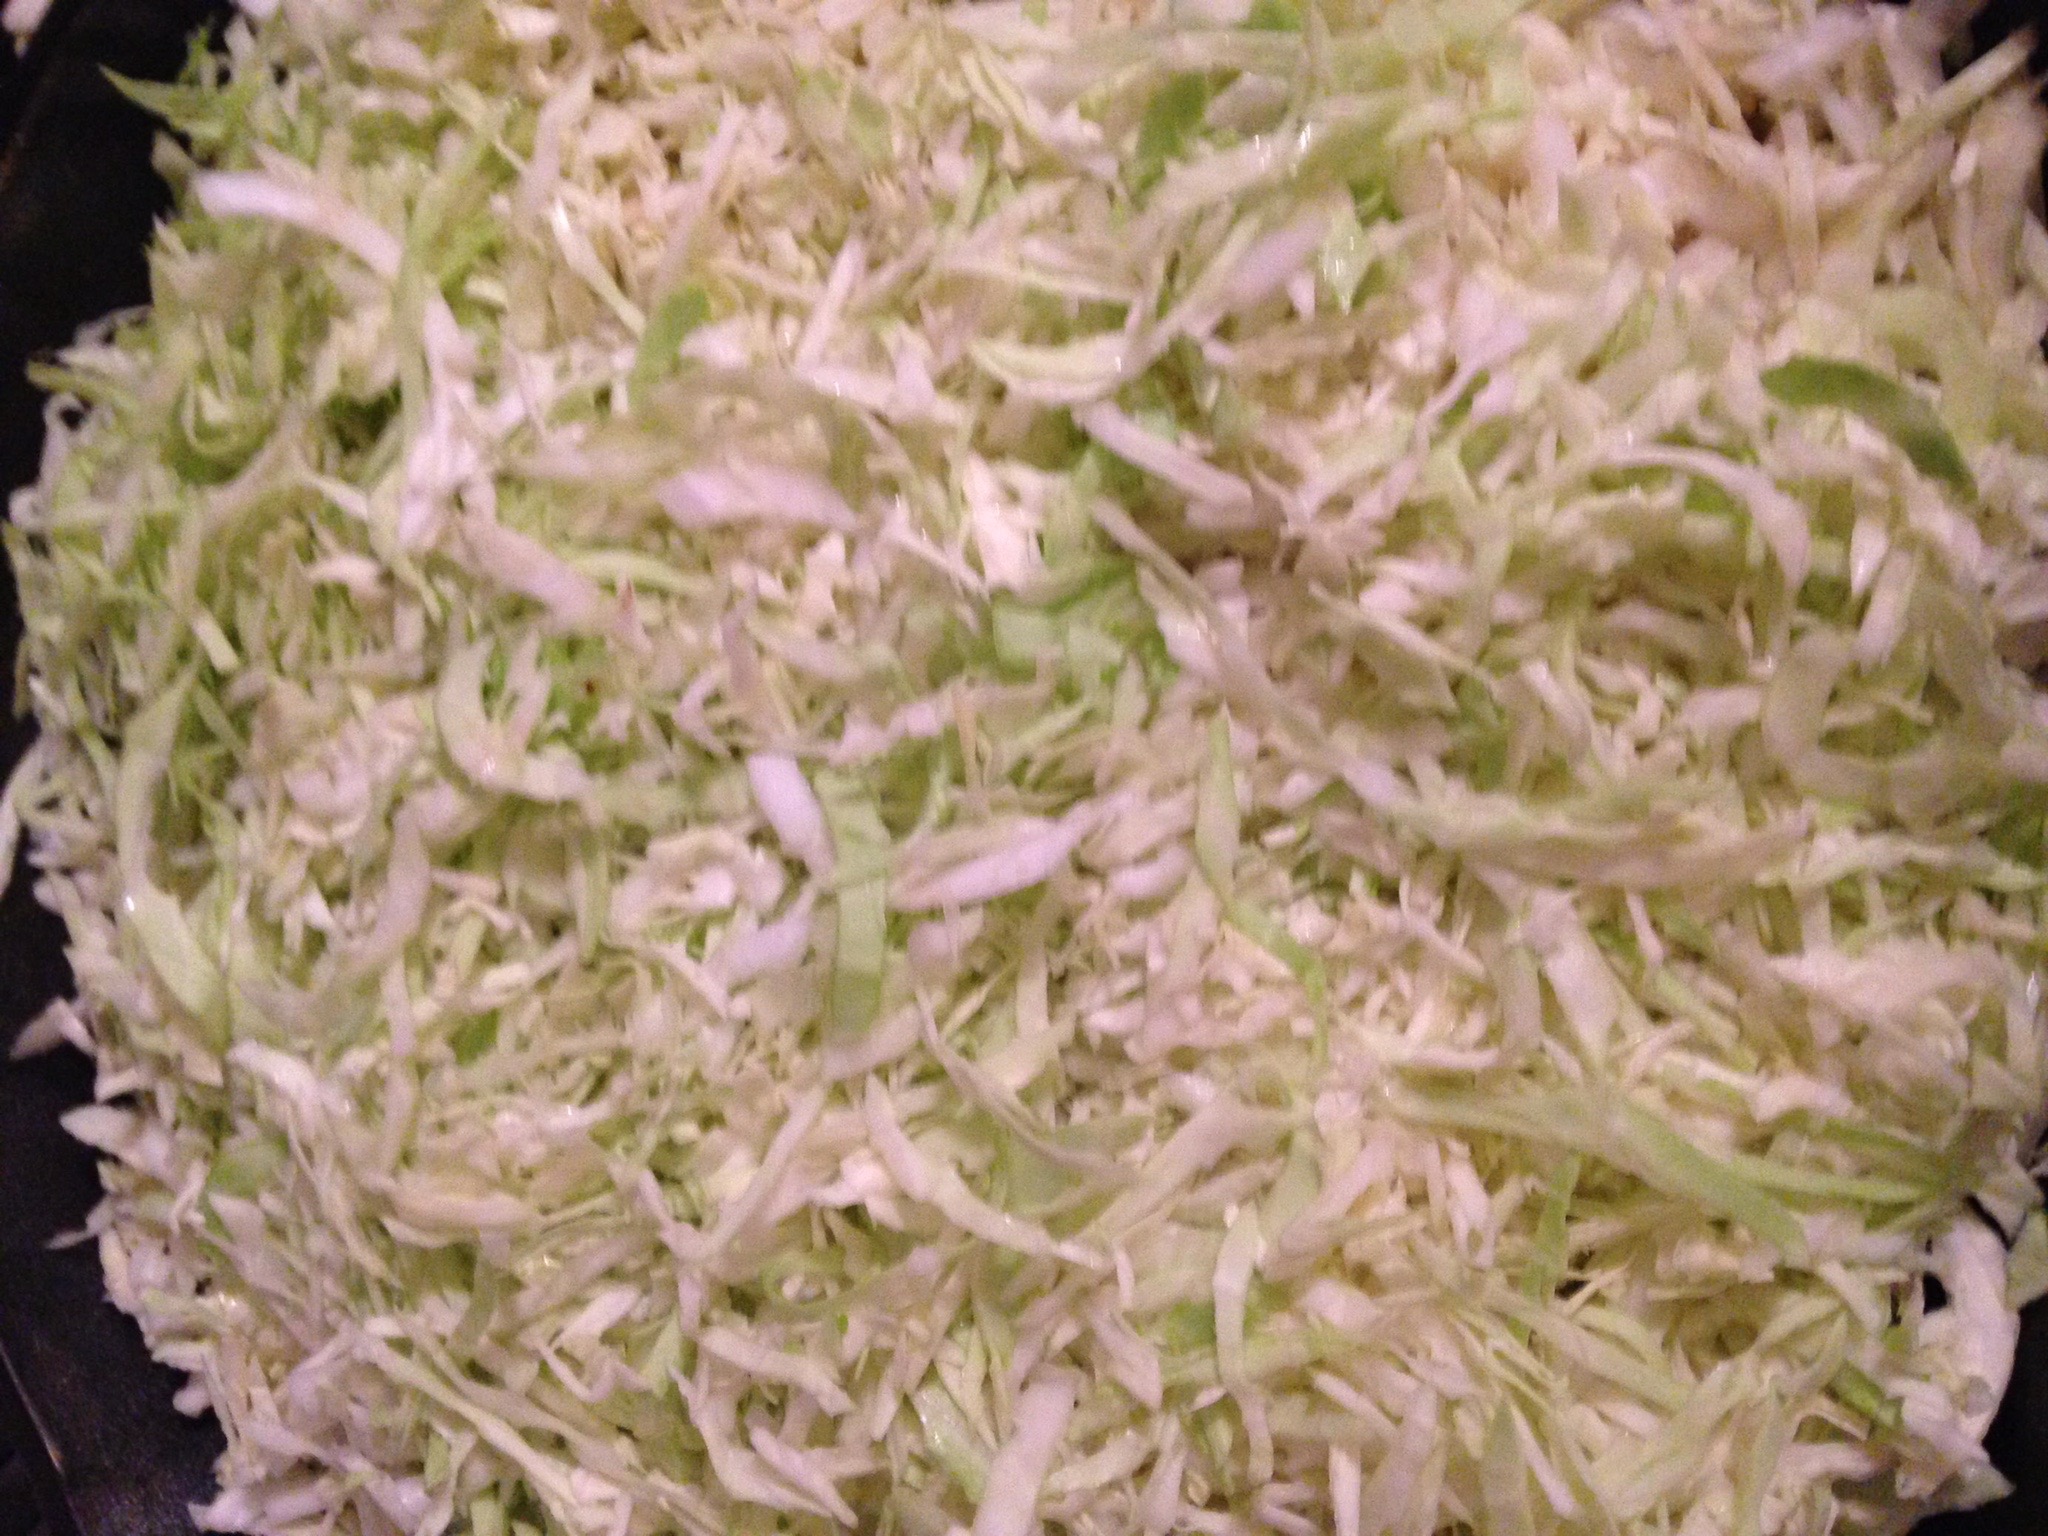
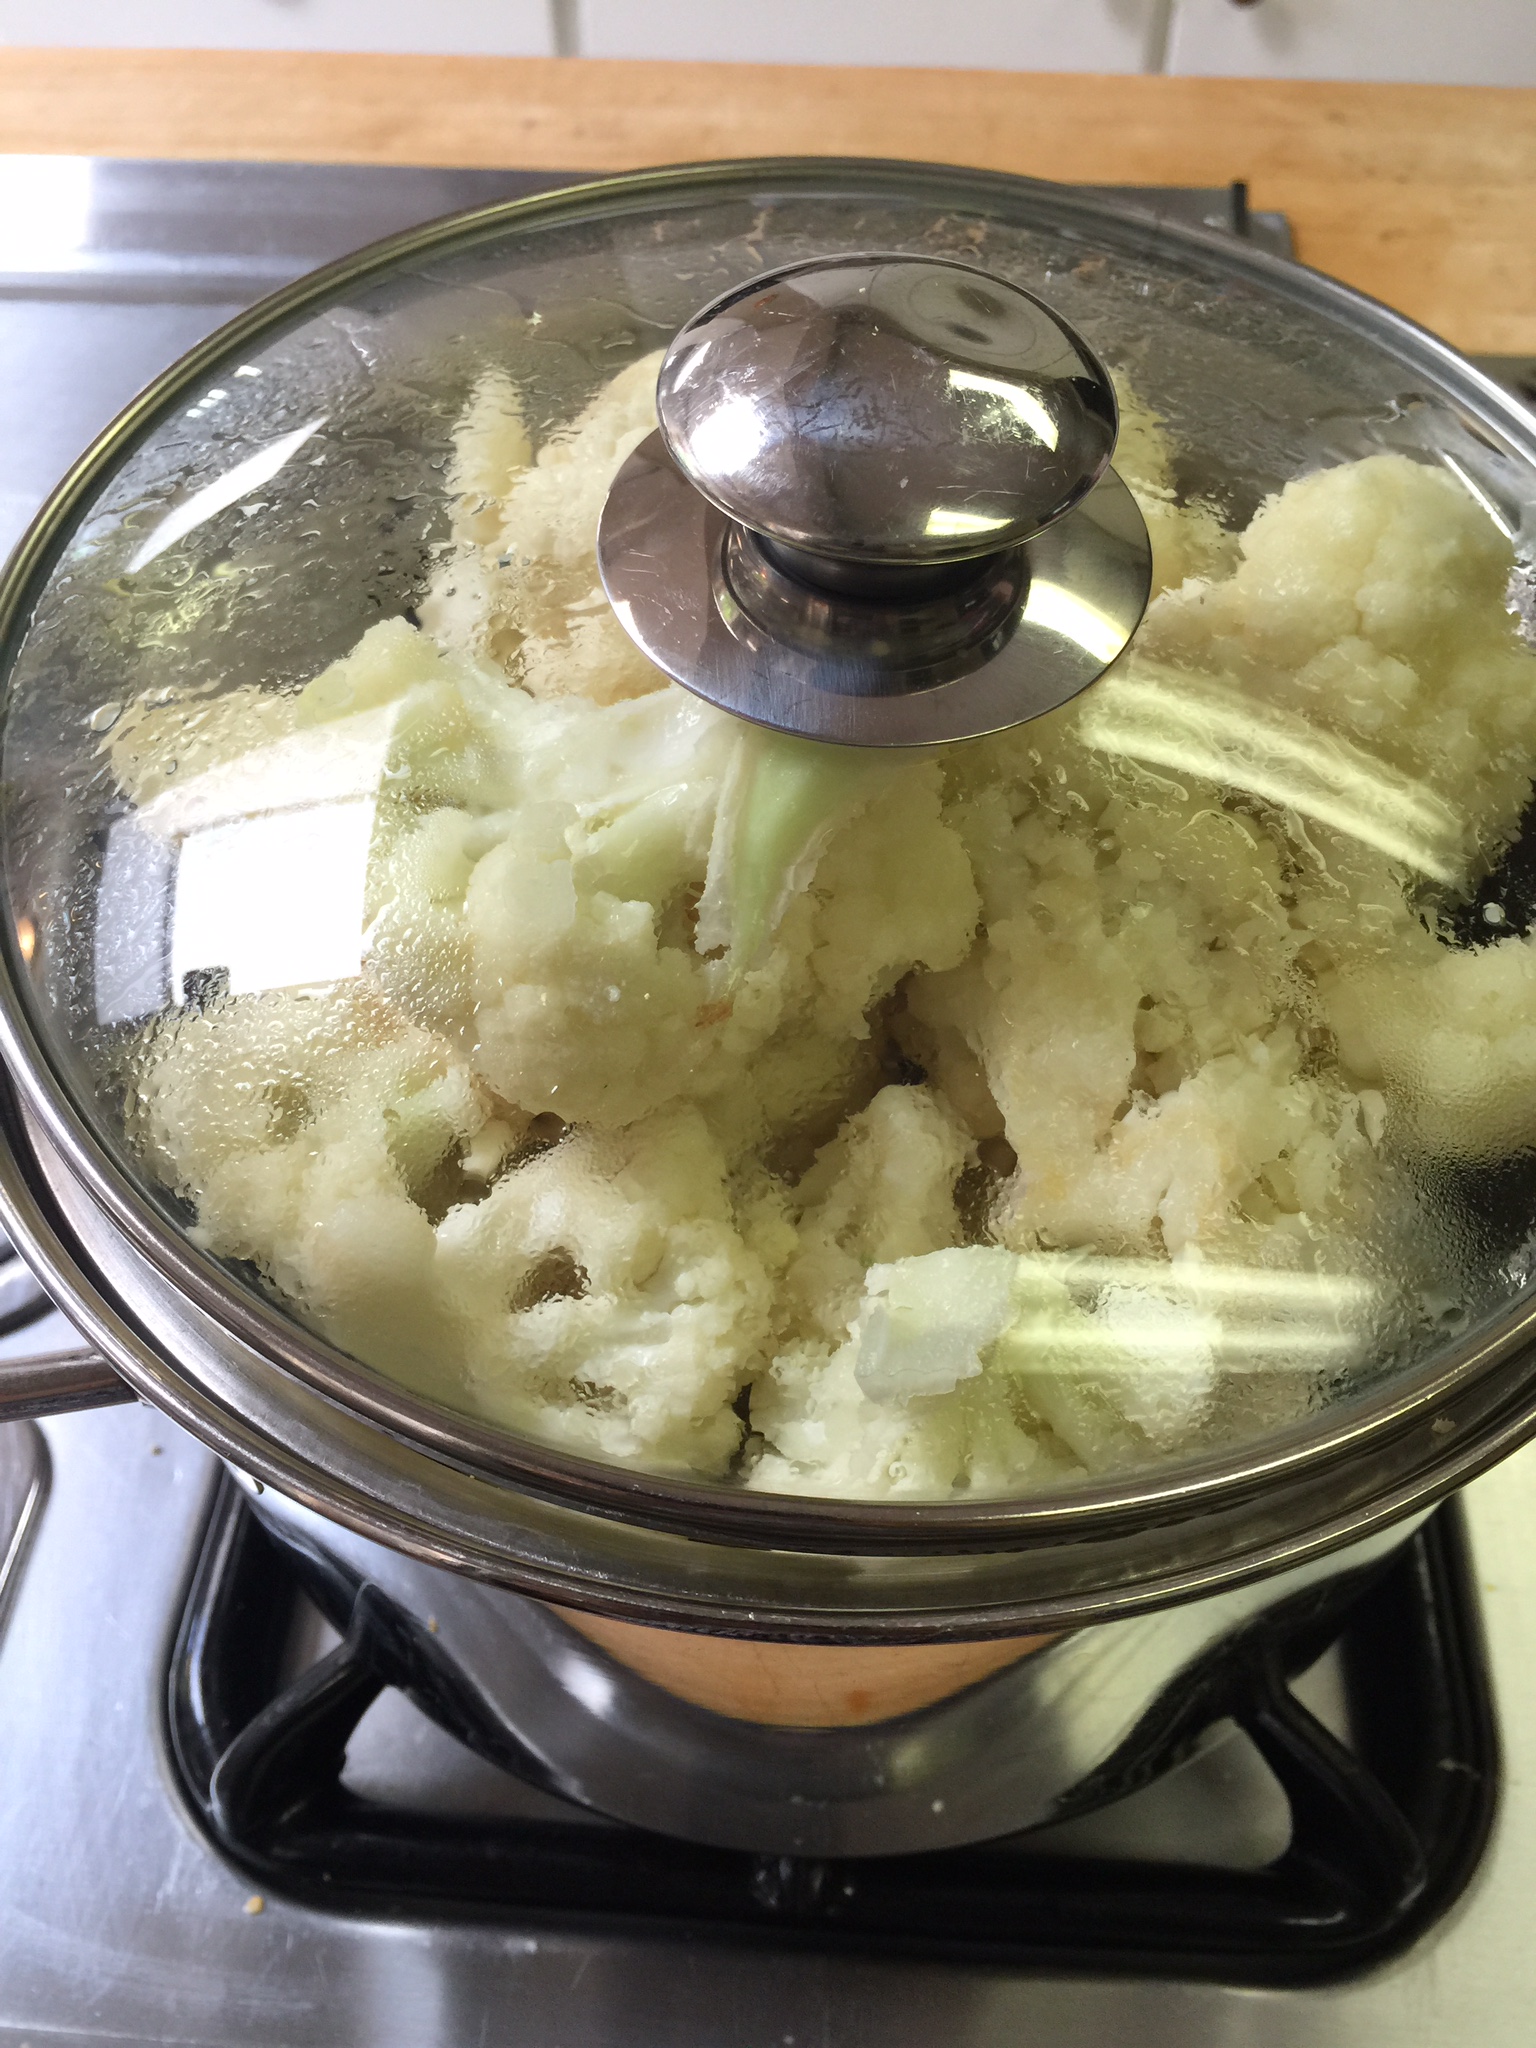
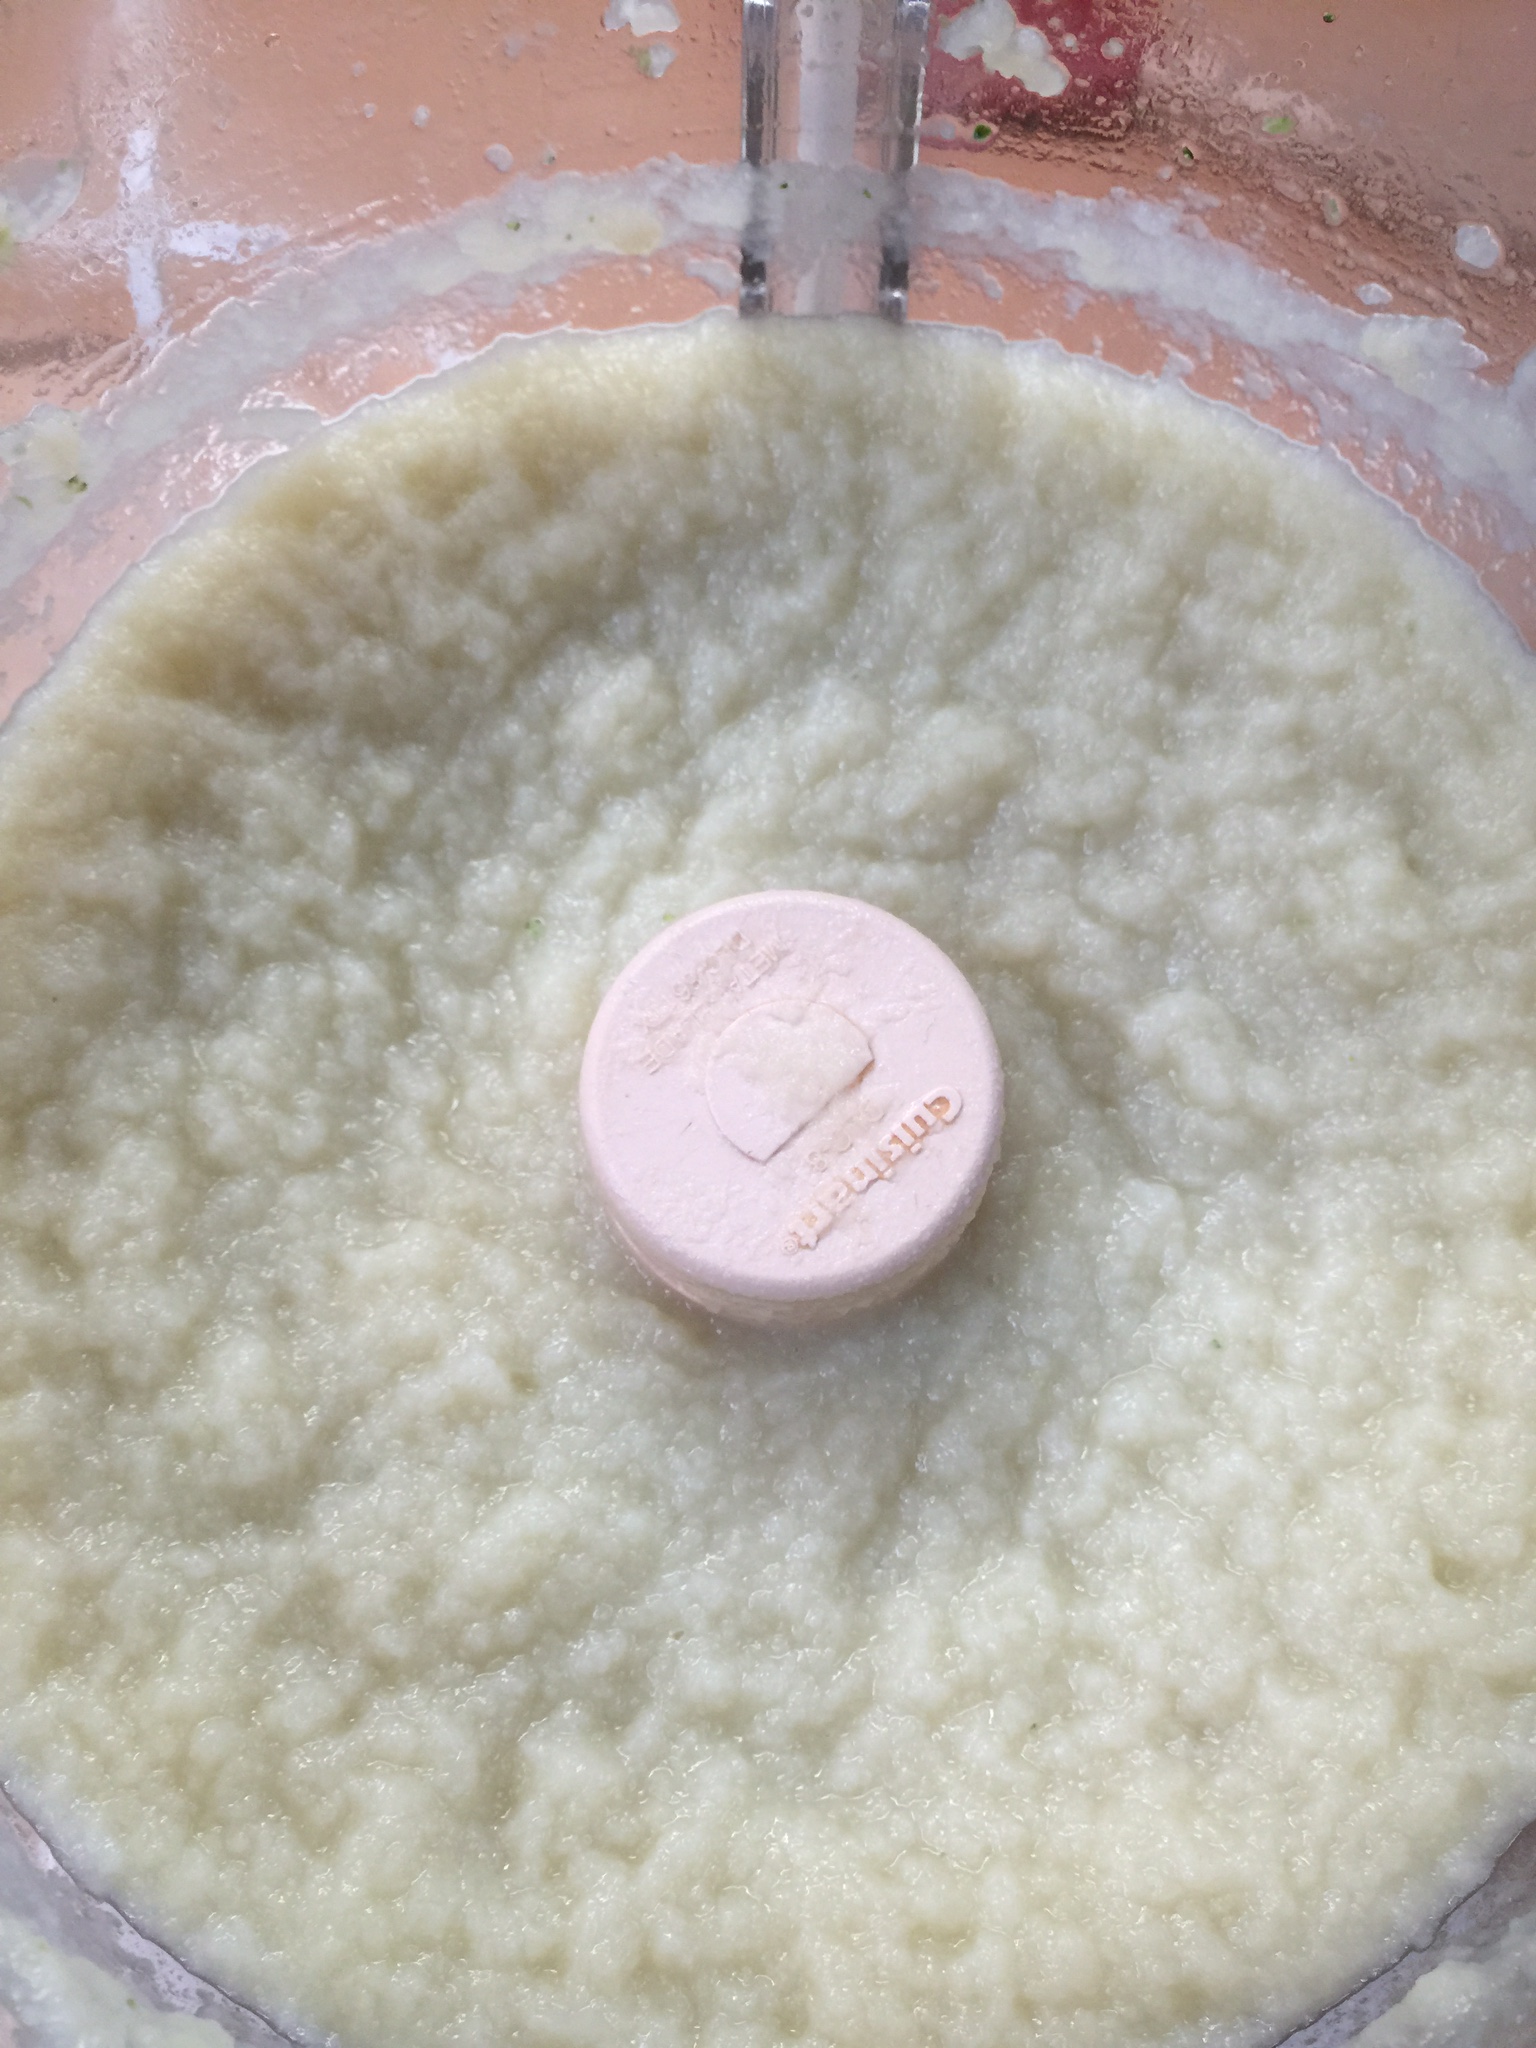
Start by washing the squash, trimming off the ends, and cubing it.

IMG_2643

Place your squash in a large saucepan and cover with water and a pinch of salt.

IMG_2644 (1)

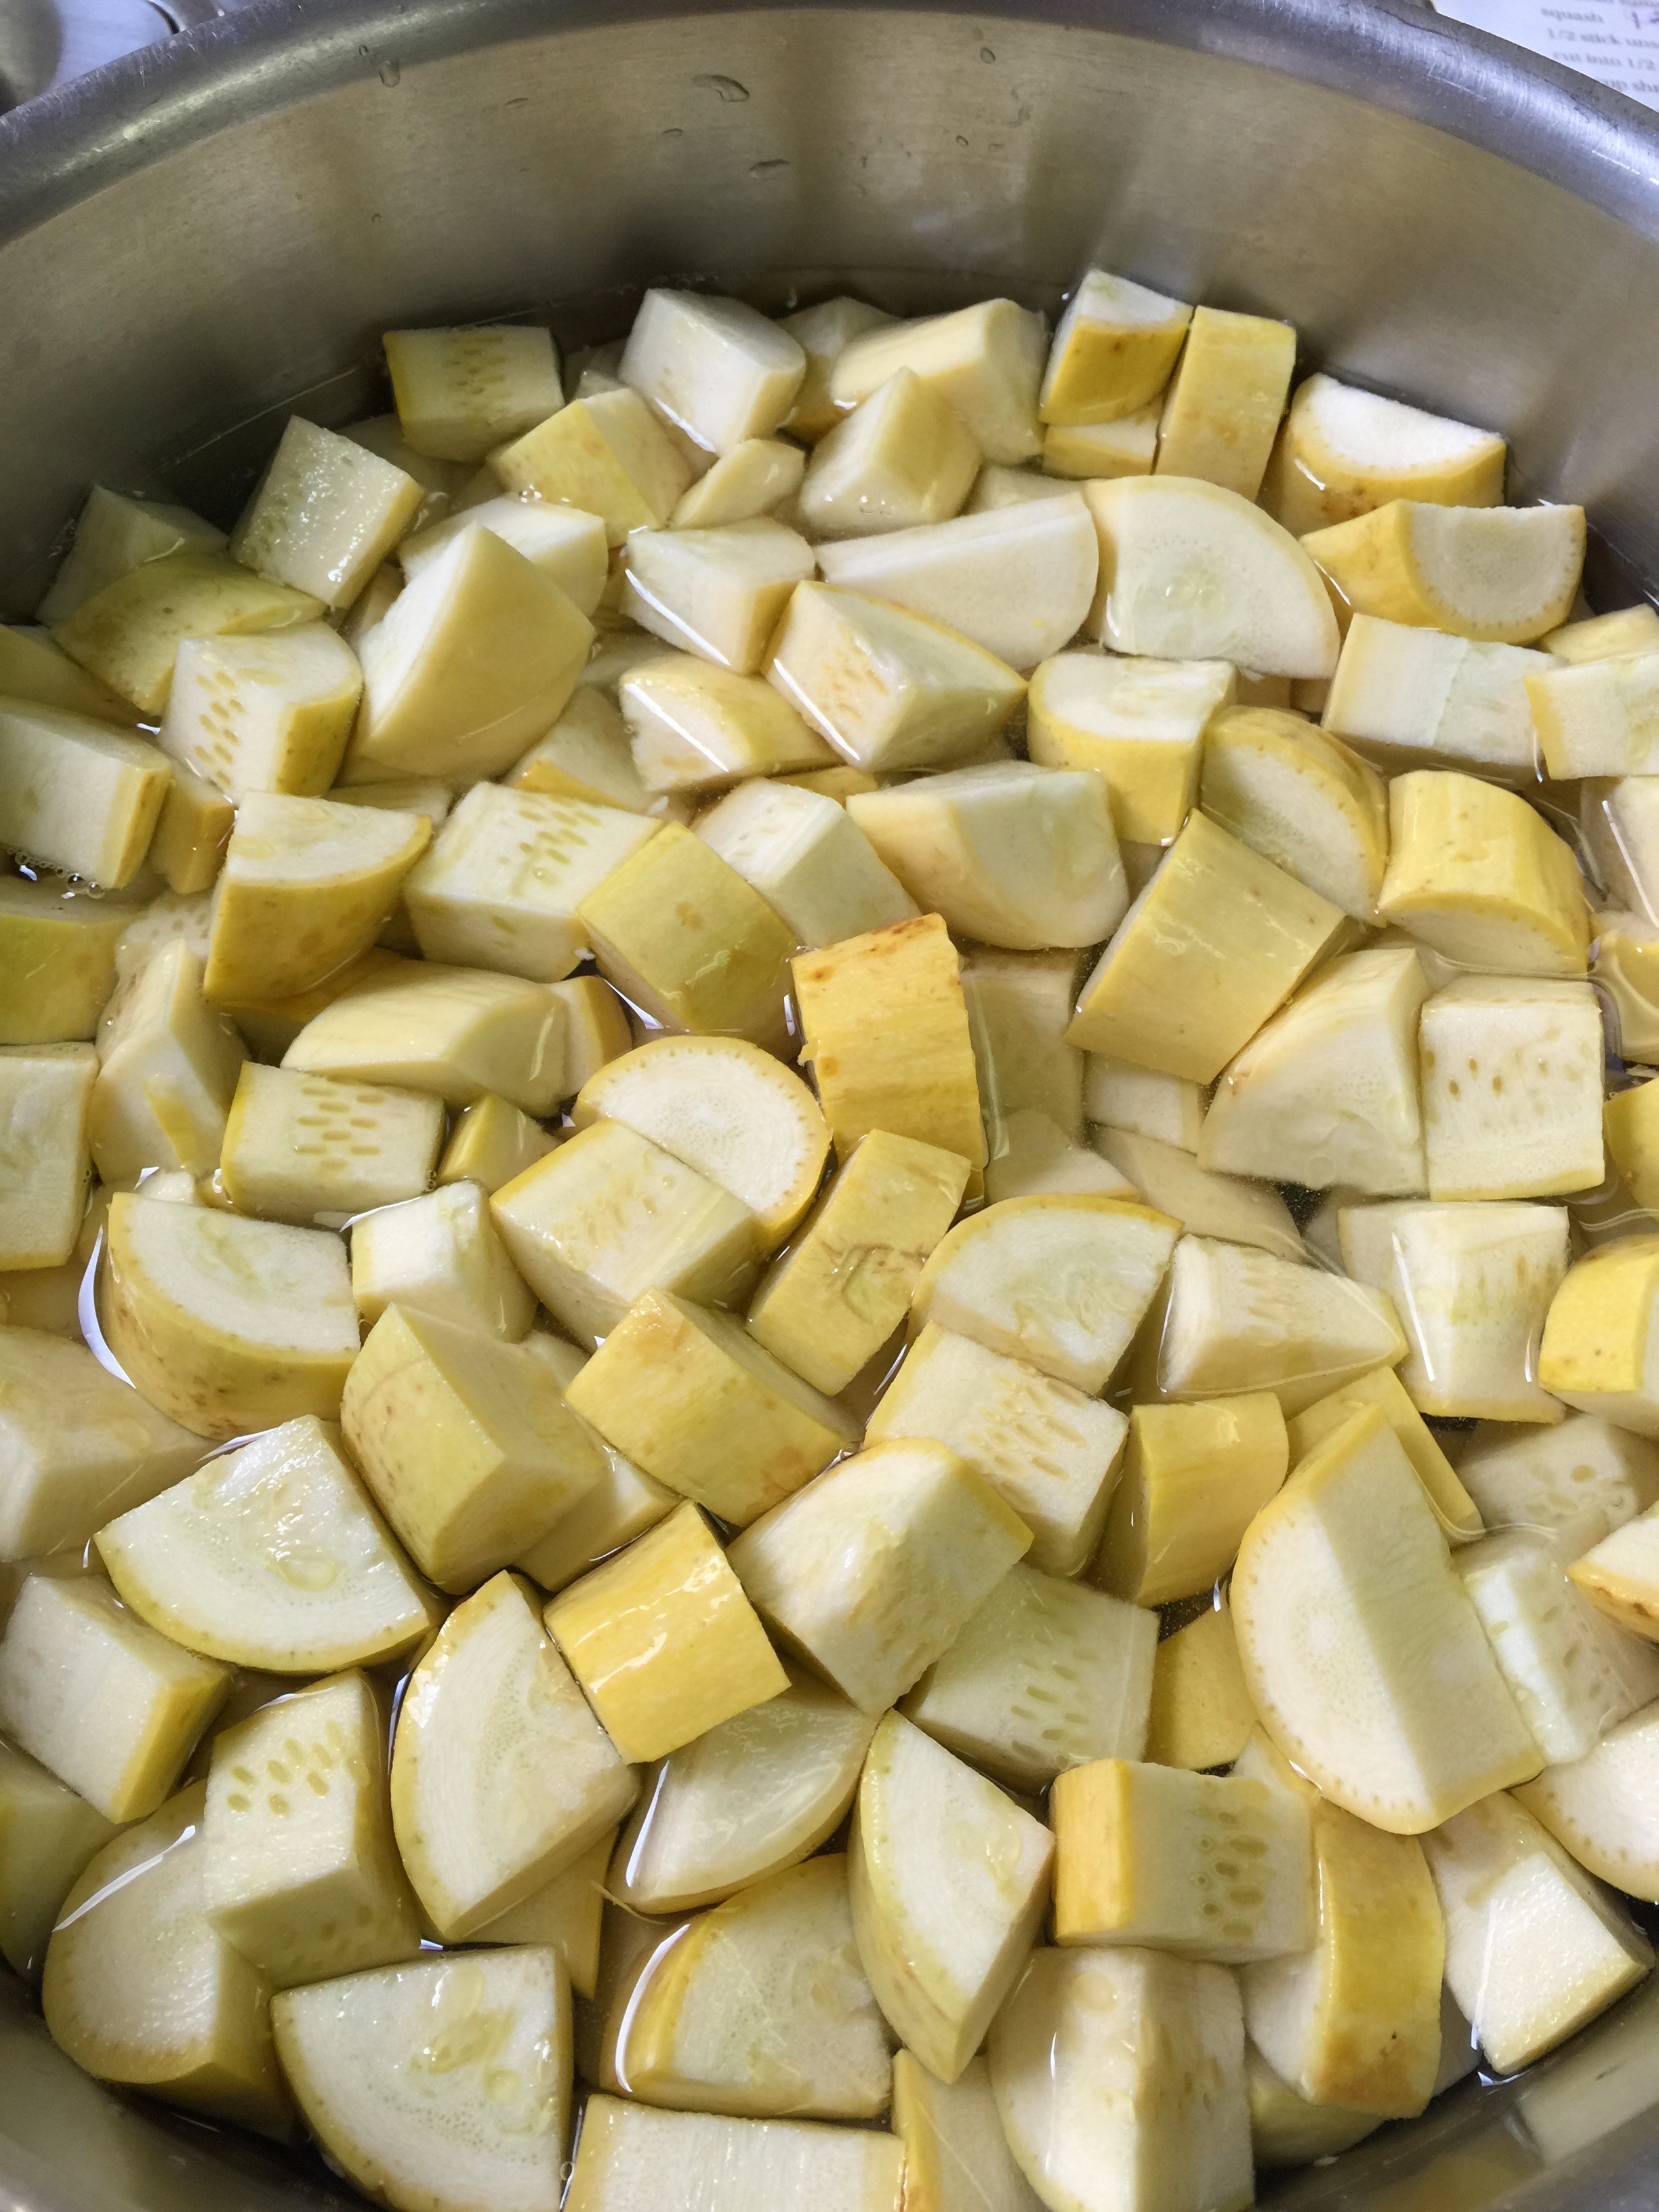
Boil for about 10 minutes until tender when pierced with a fork.

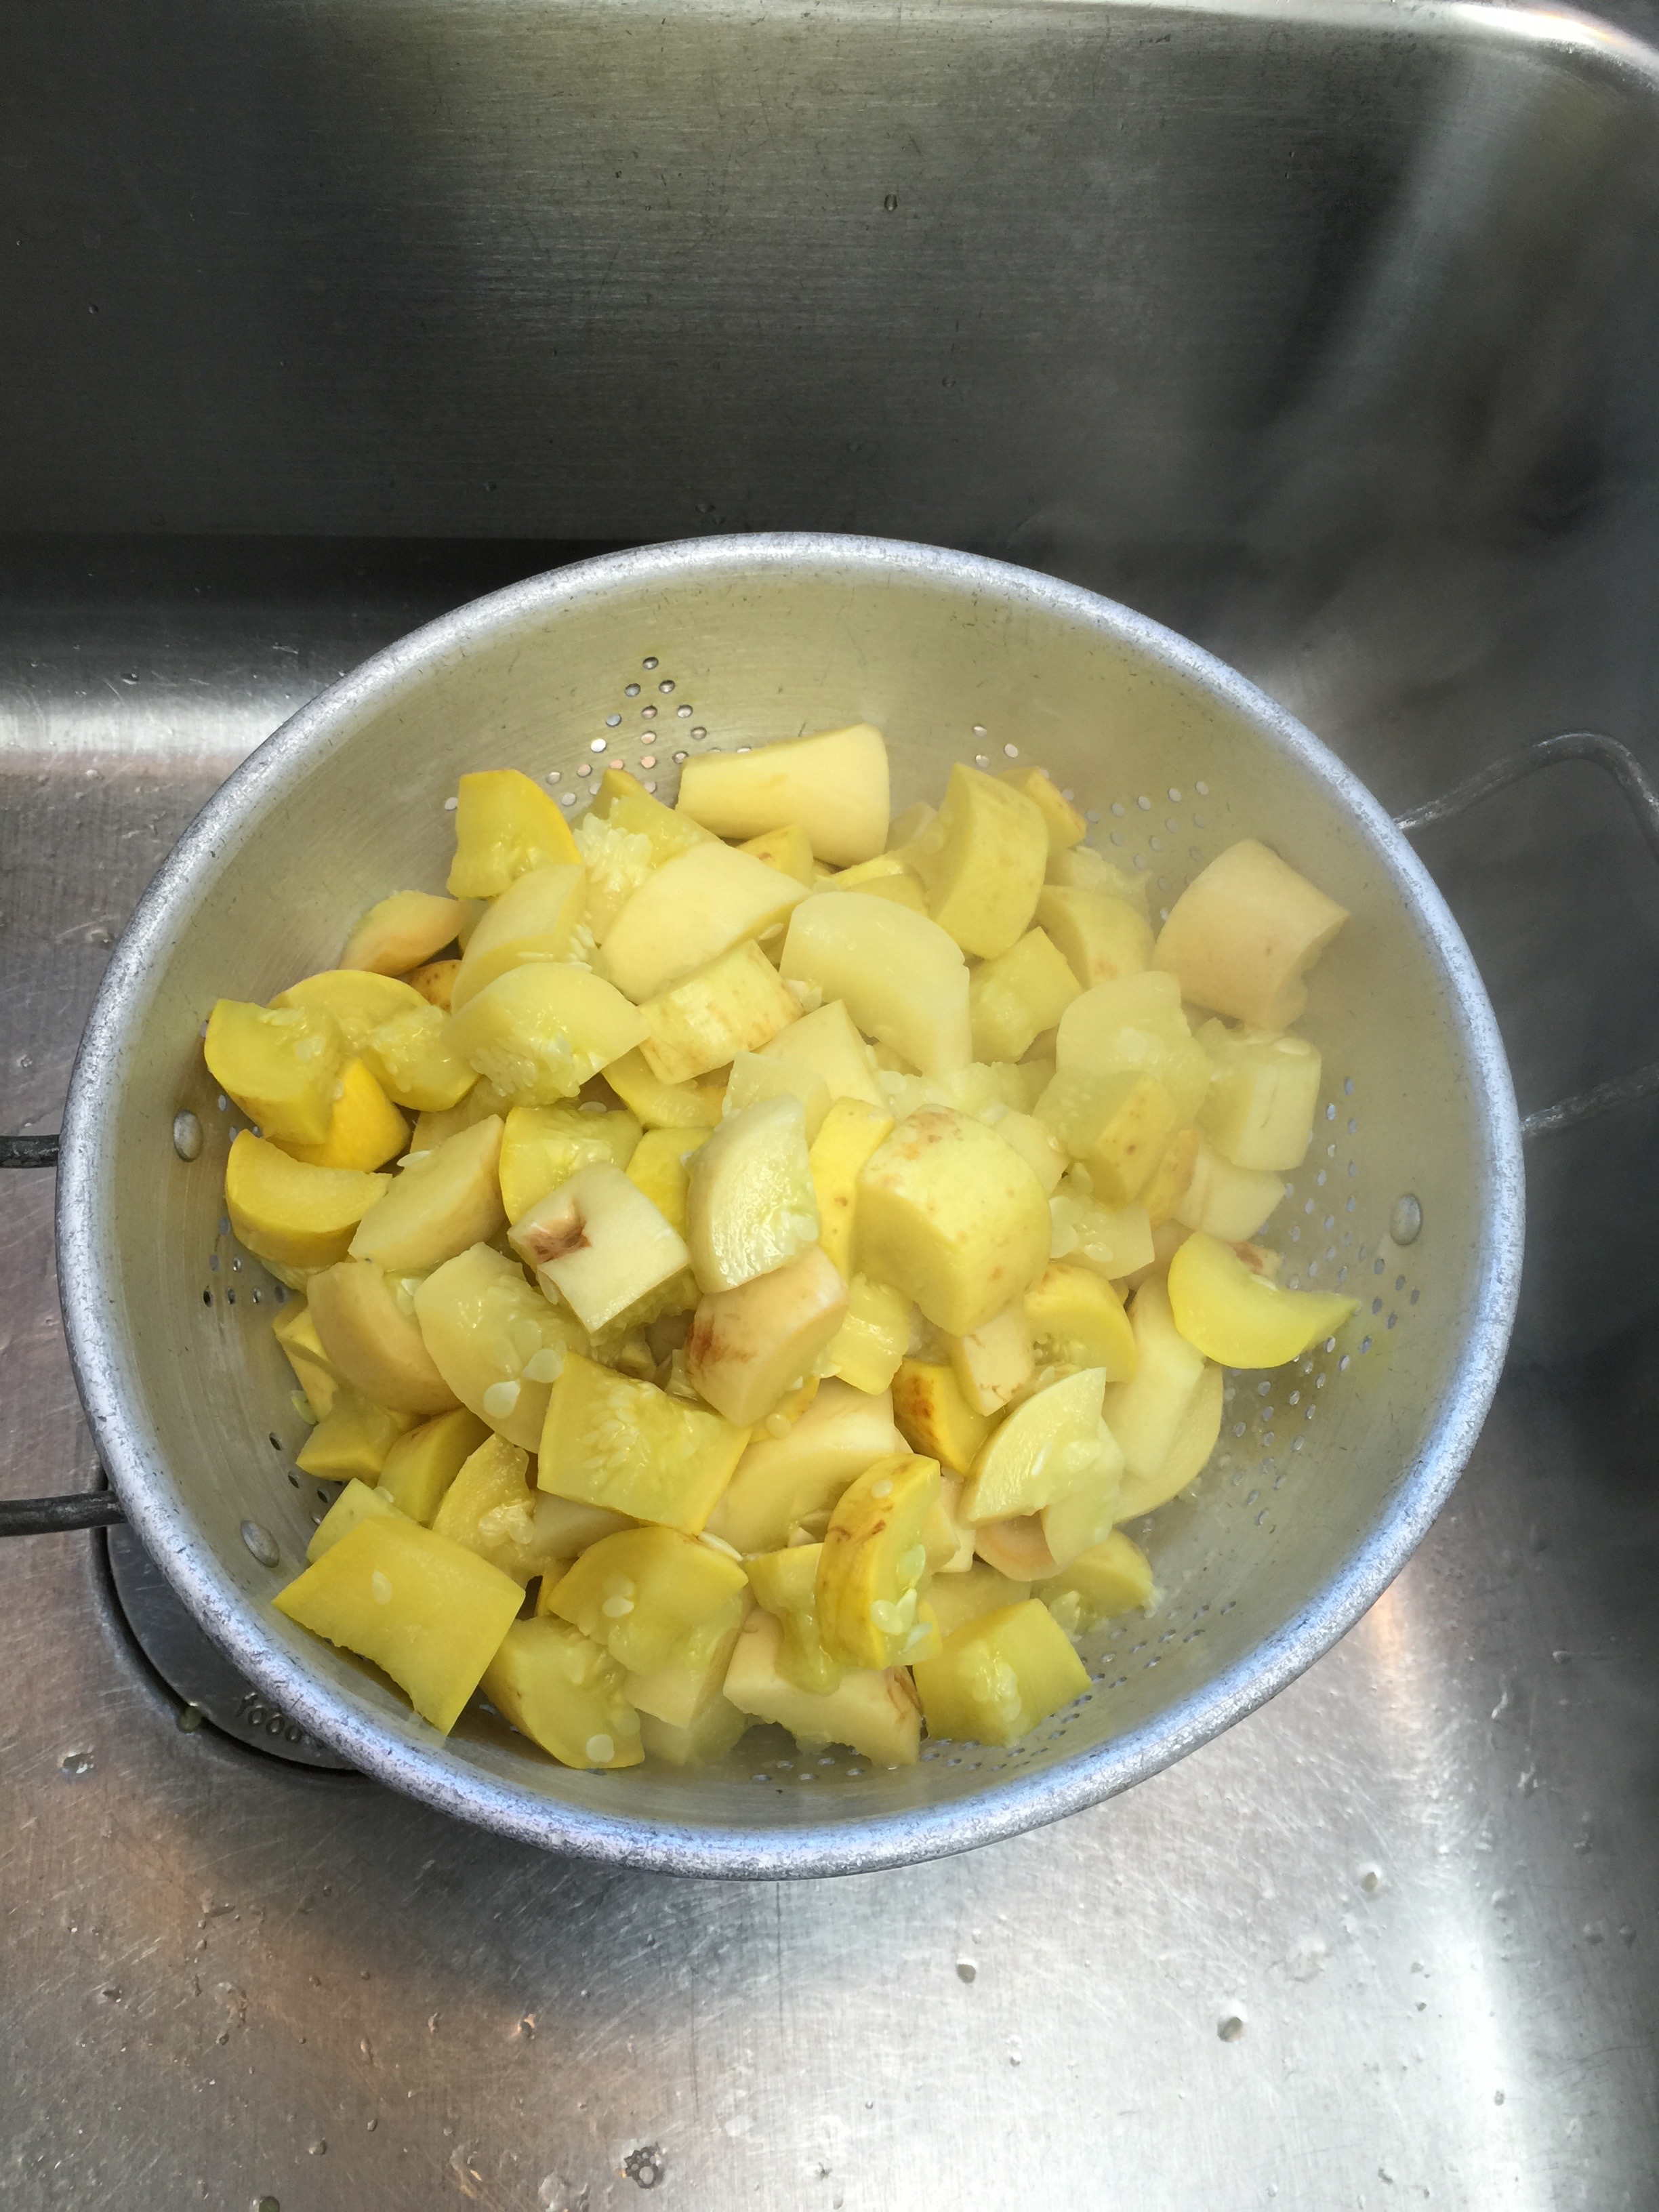
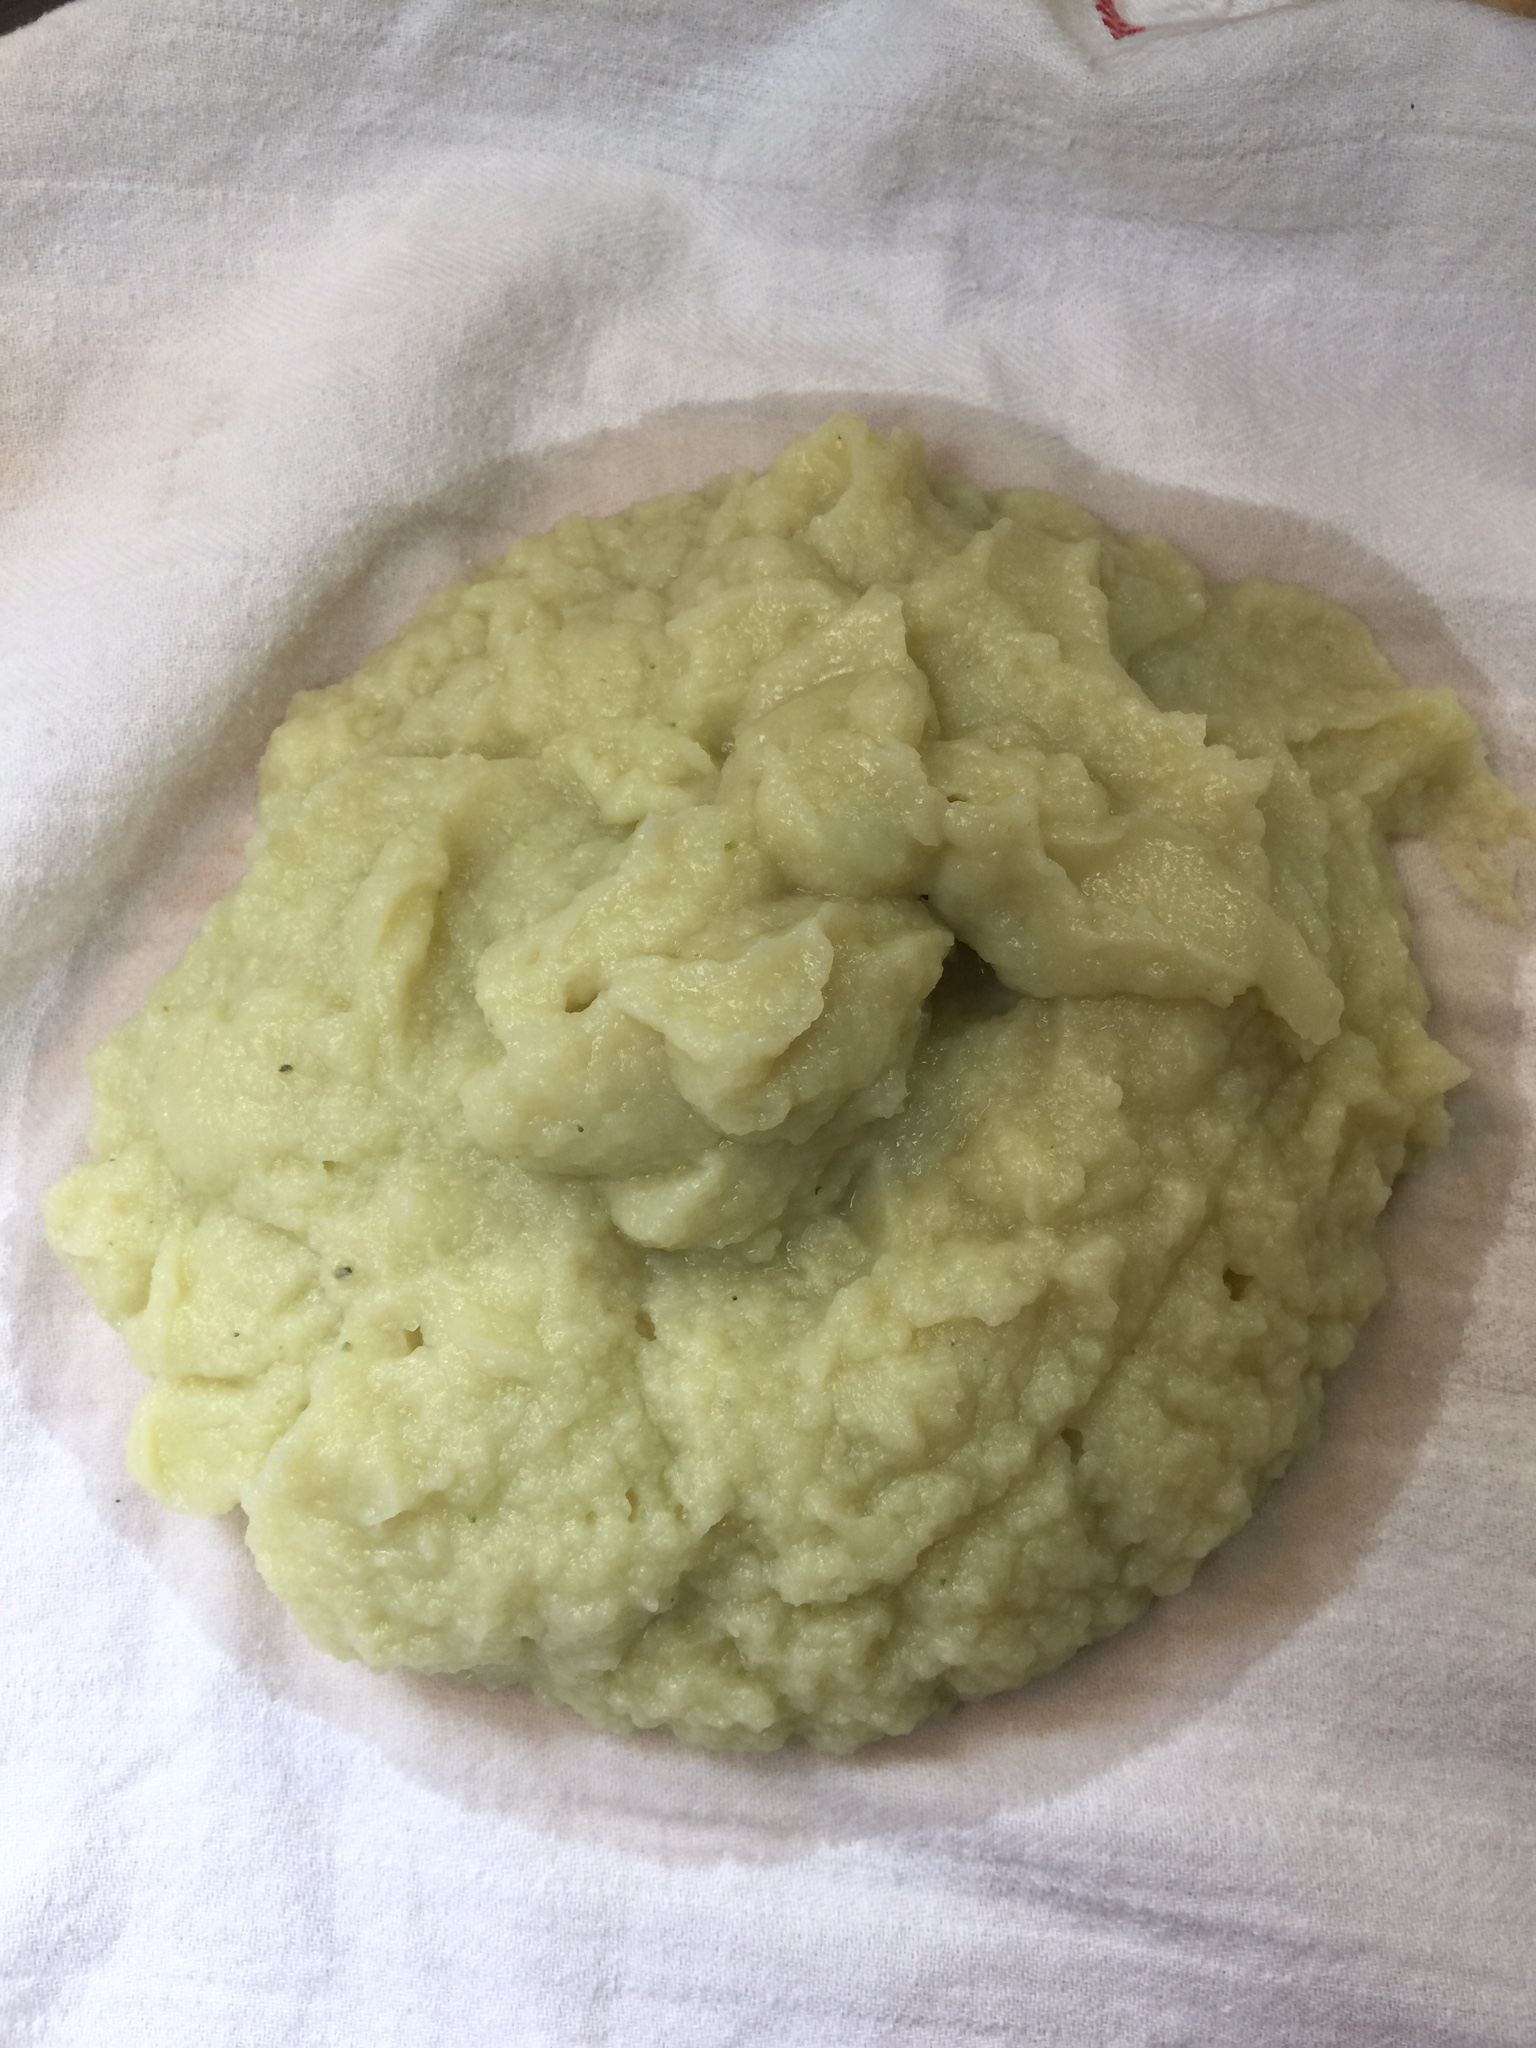
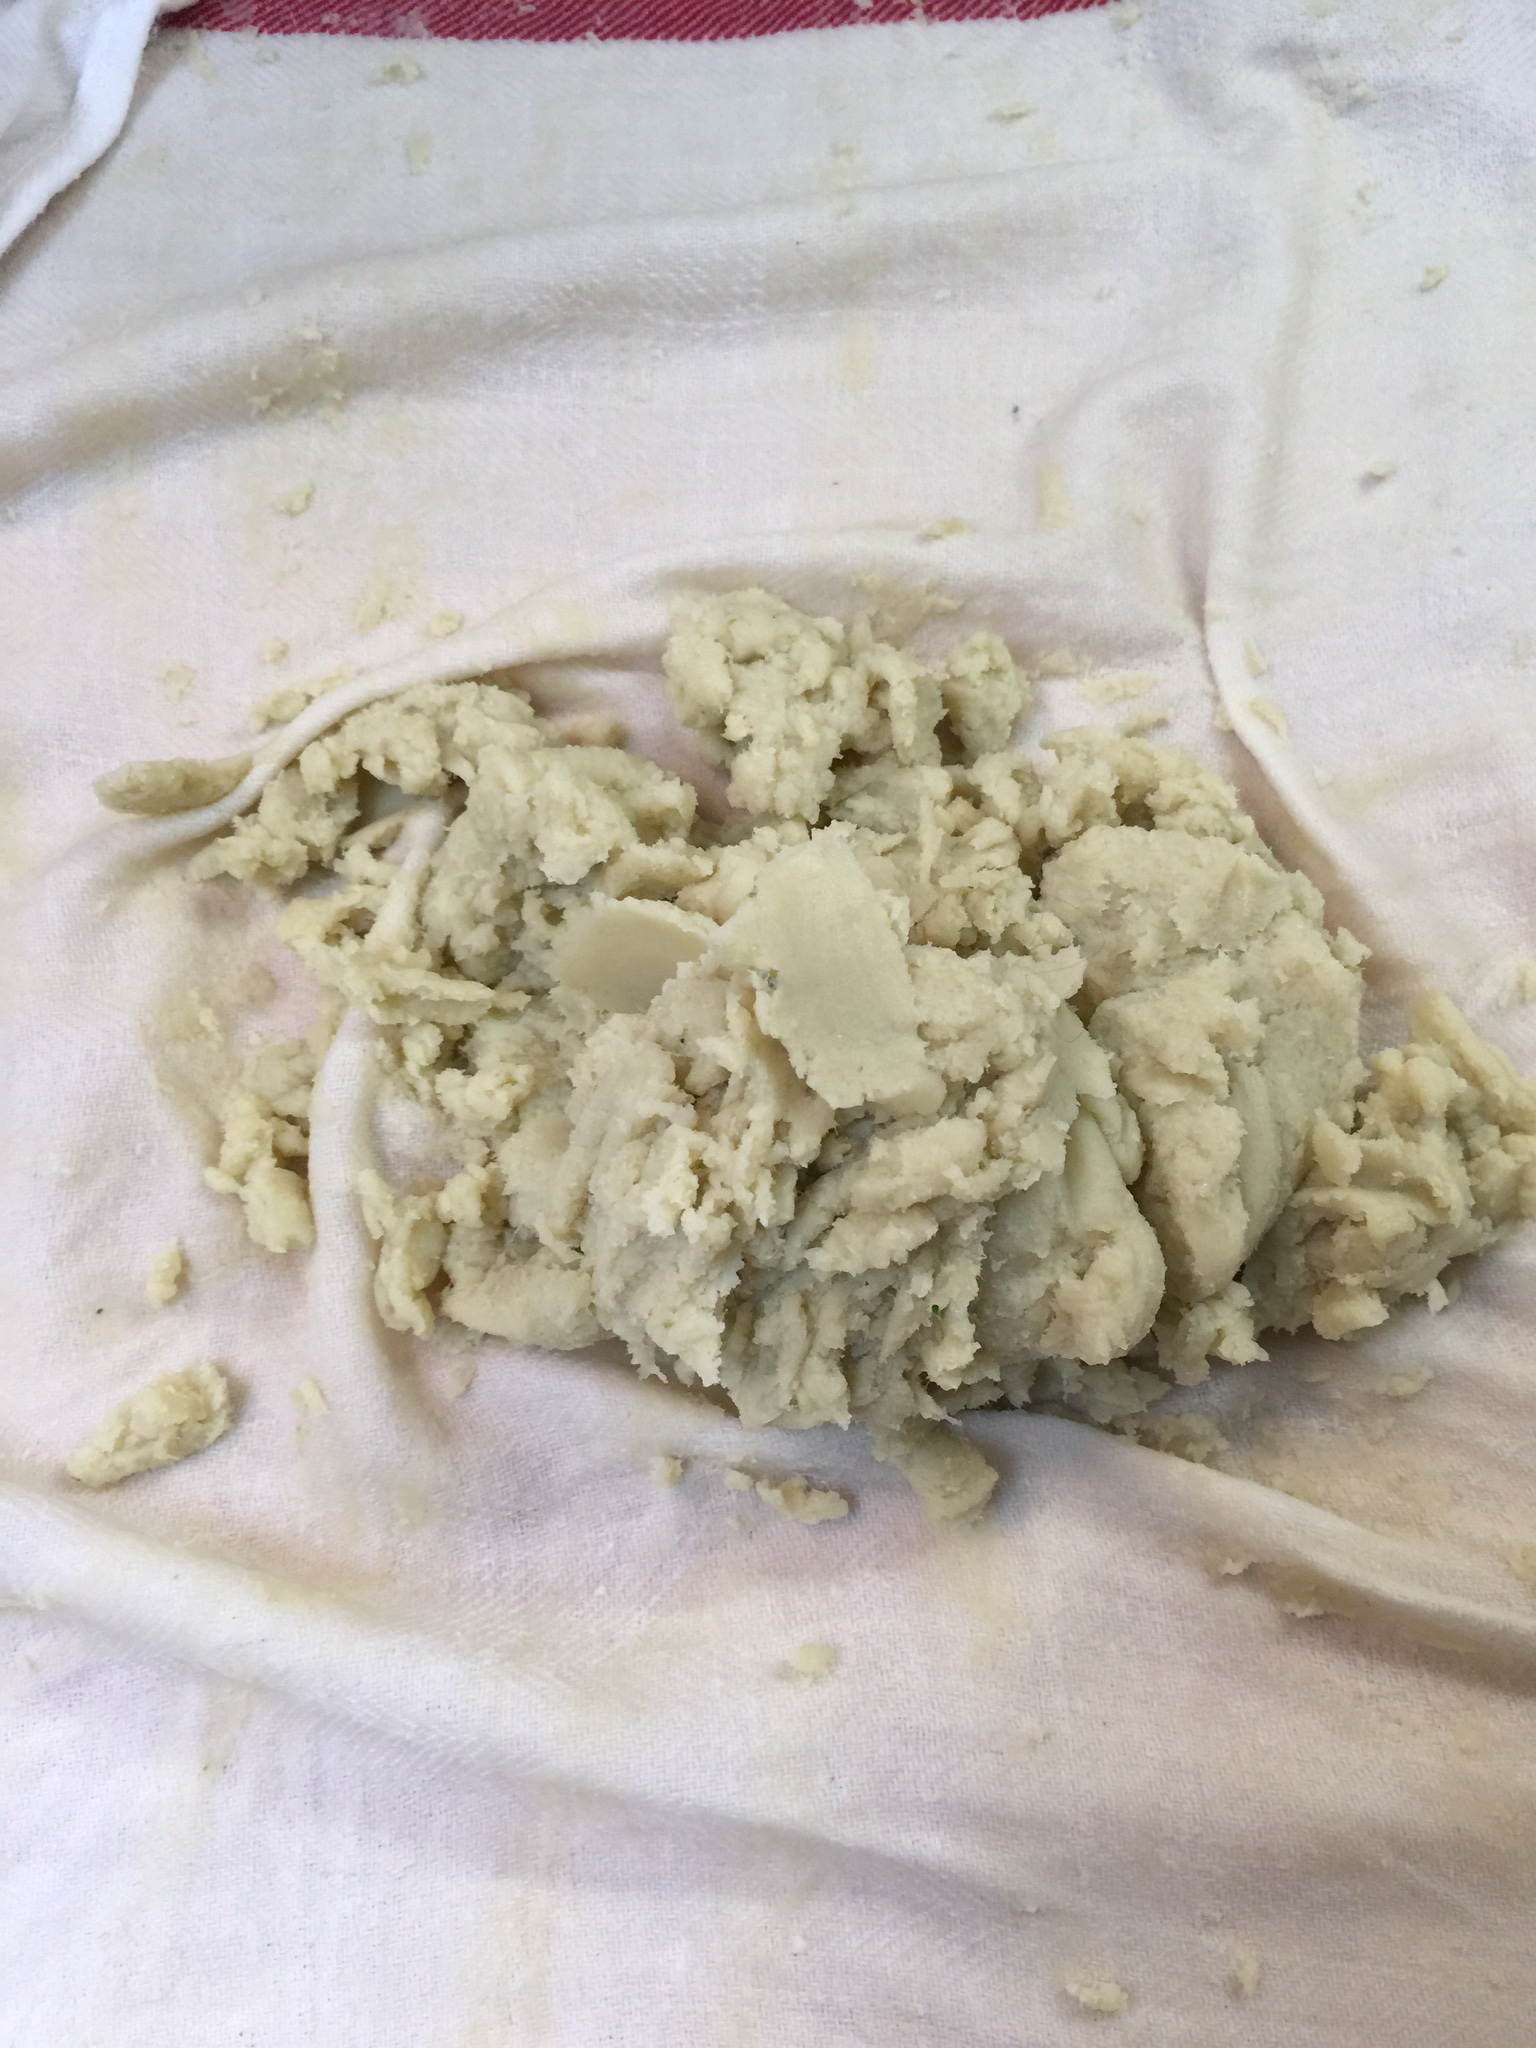
Drain in a colander, place back in the pan, and cook over medium heat to release more of the moisture in the squash. Stir for a few minutes, and then remove from heat.  Most (not all) of the moisture should be evaporated from the pan at this point.

IMG_2647

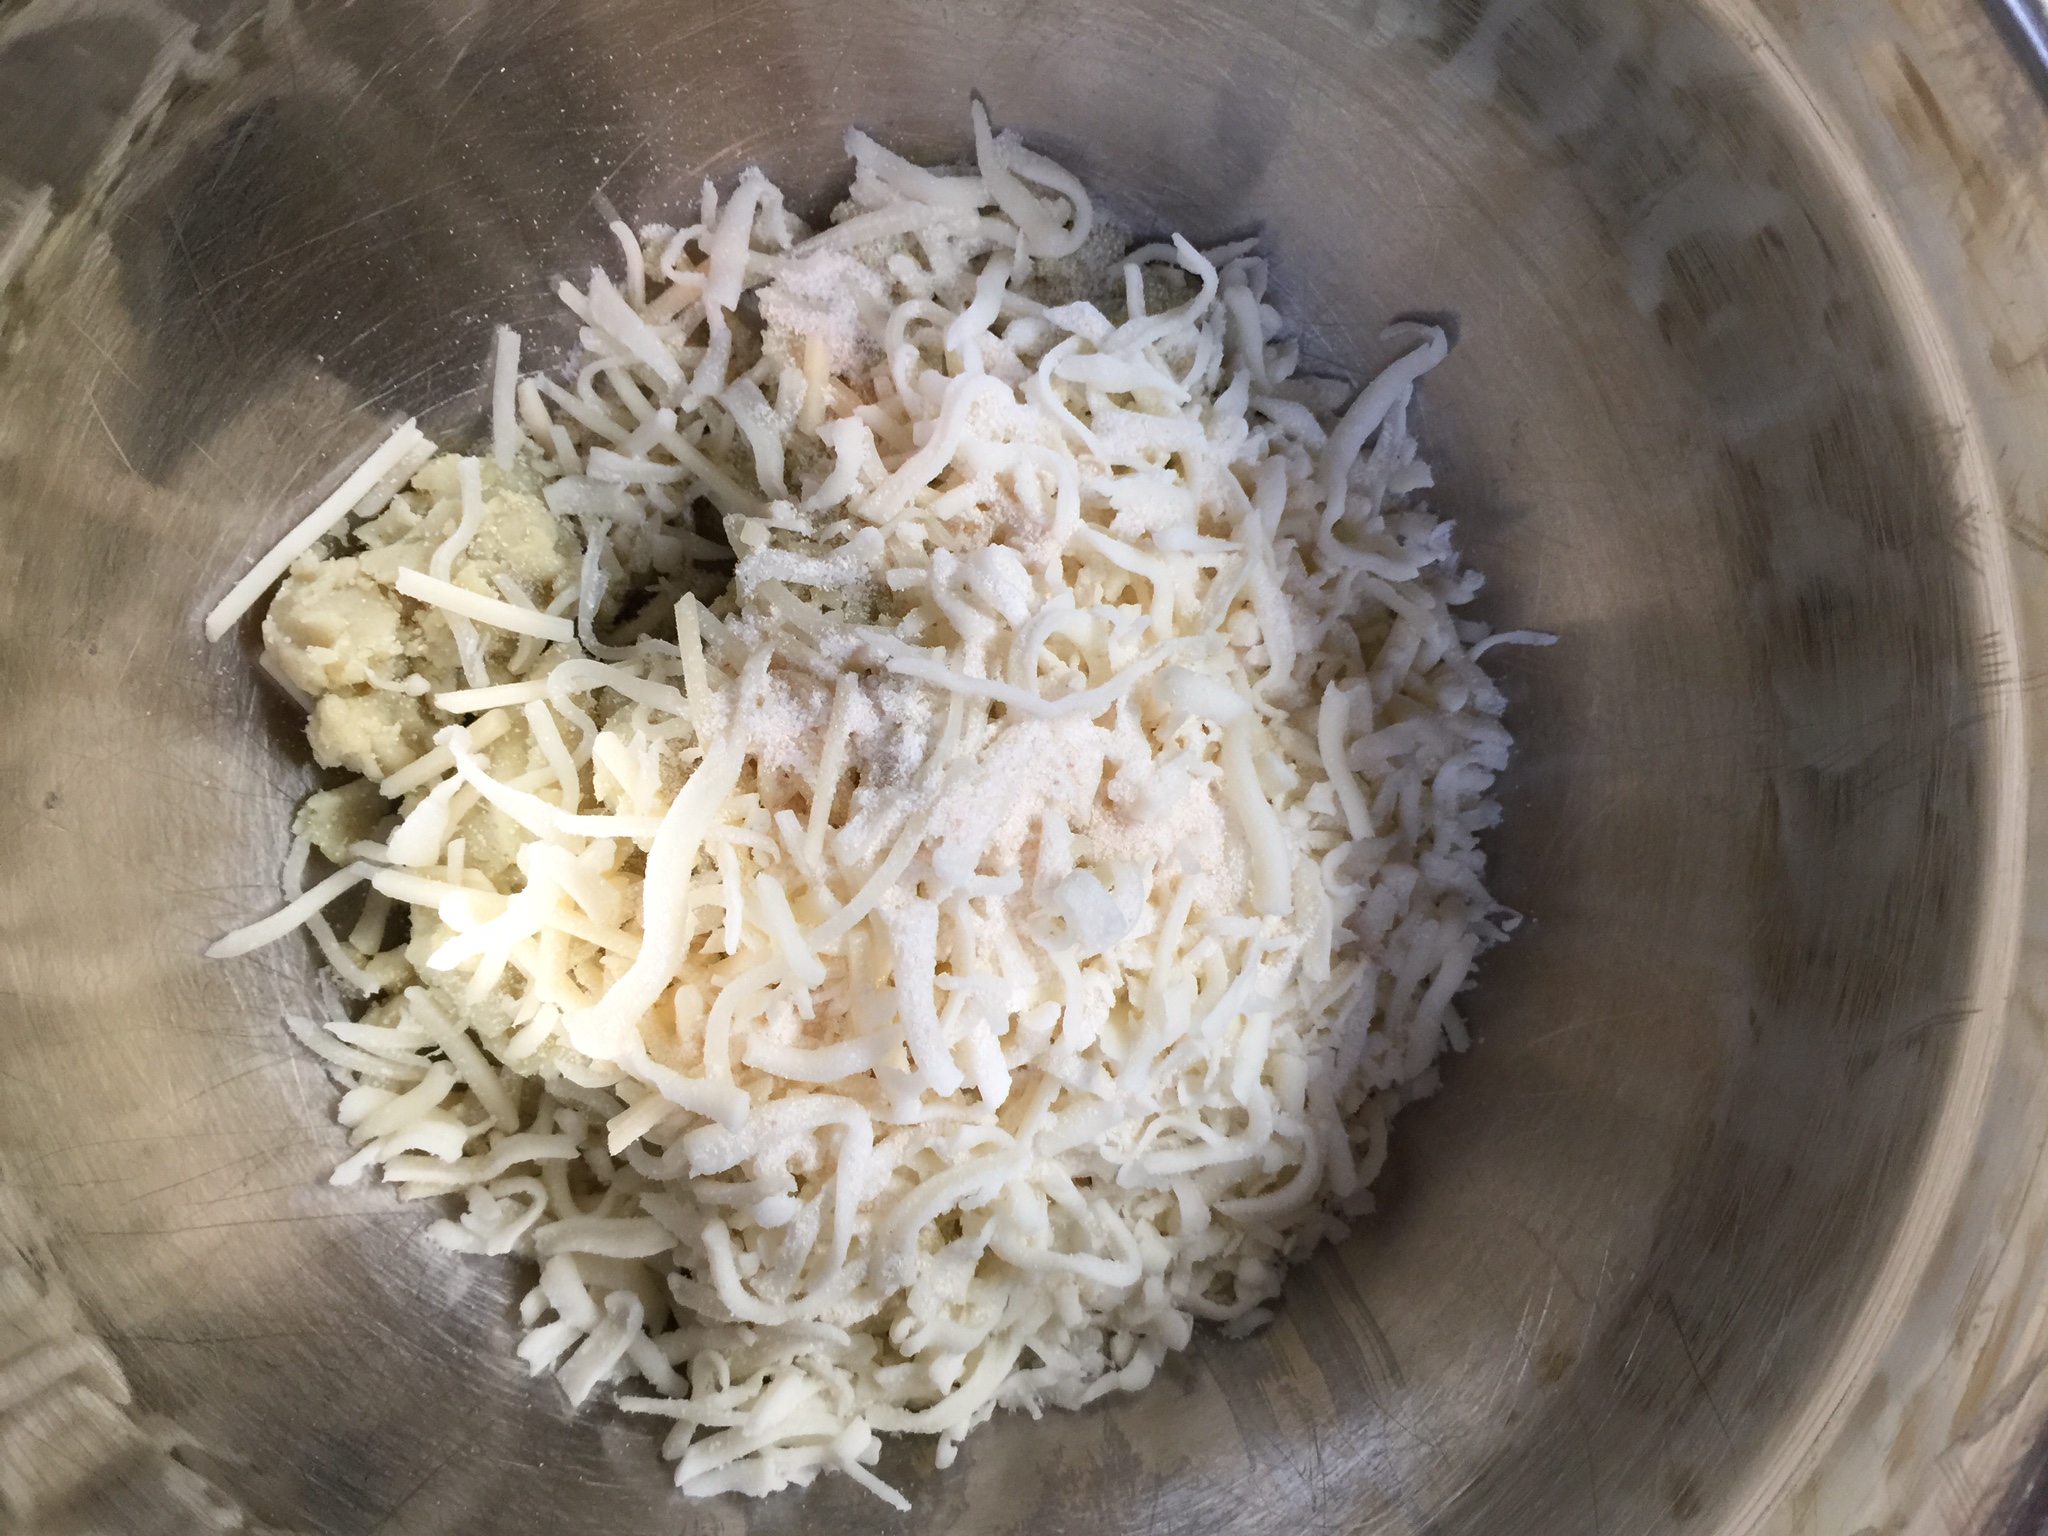
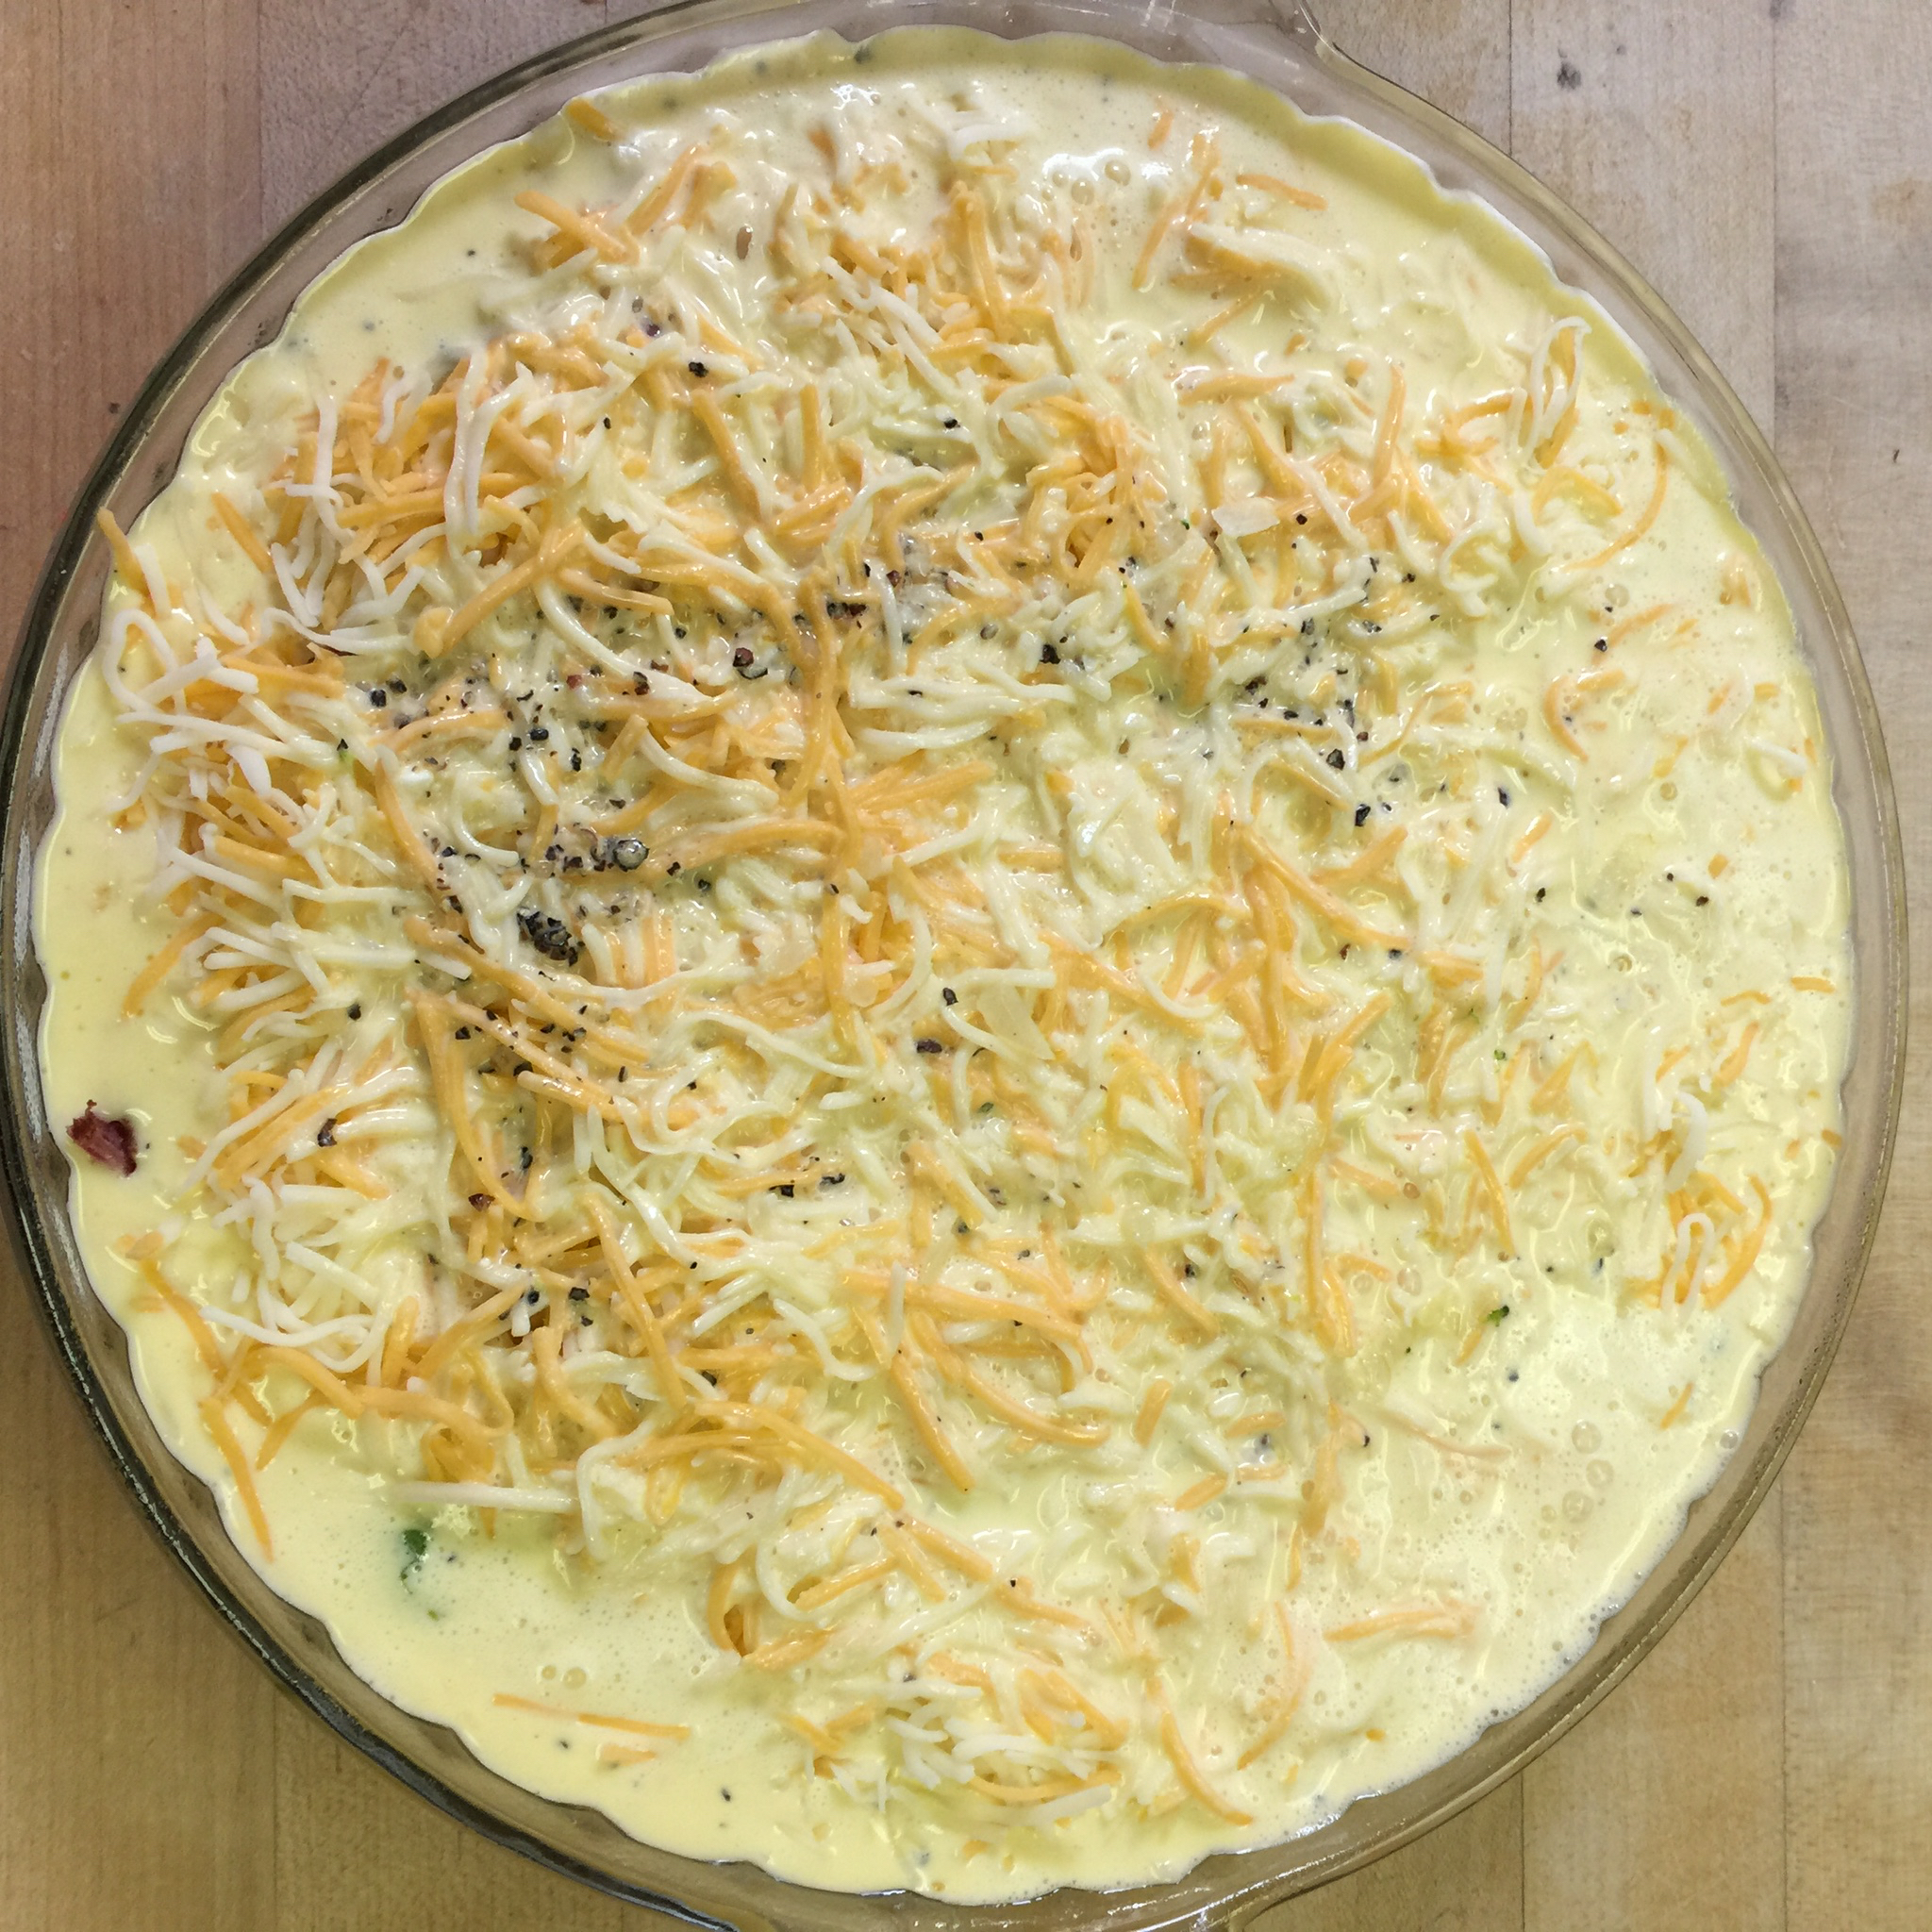
Stir in your Kerrygold, Kraft cheese, Swerve, mayonnaise, salt, and pepper.

Mix until all the cheese is melted.

Beat the eggs lightly in a small bowl, and temper them by adding a small amount of the squash mixture.  Then pour them into the pan, and mix well.  It will look super runny, but it will firm up when you bake it.

IMG_2651

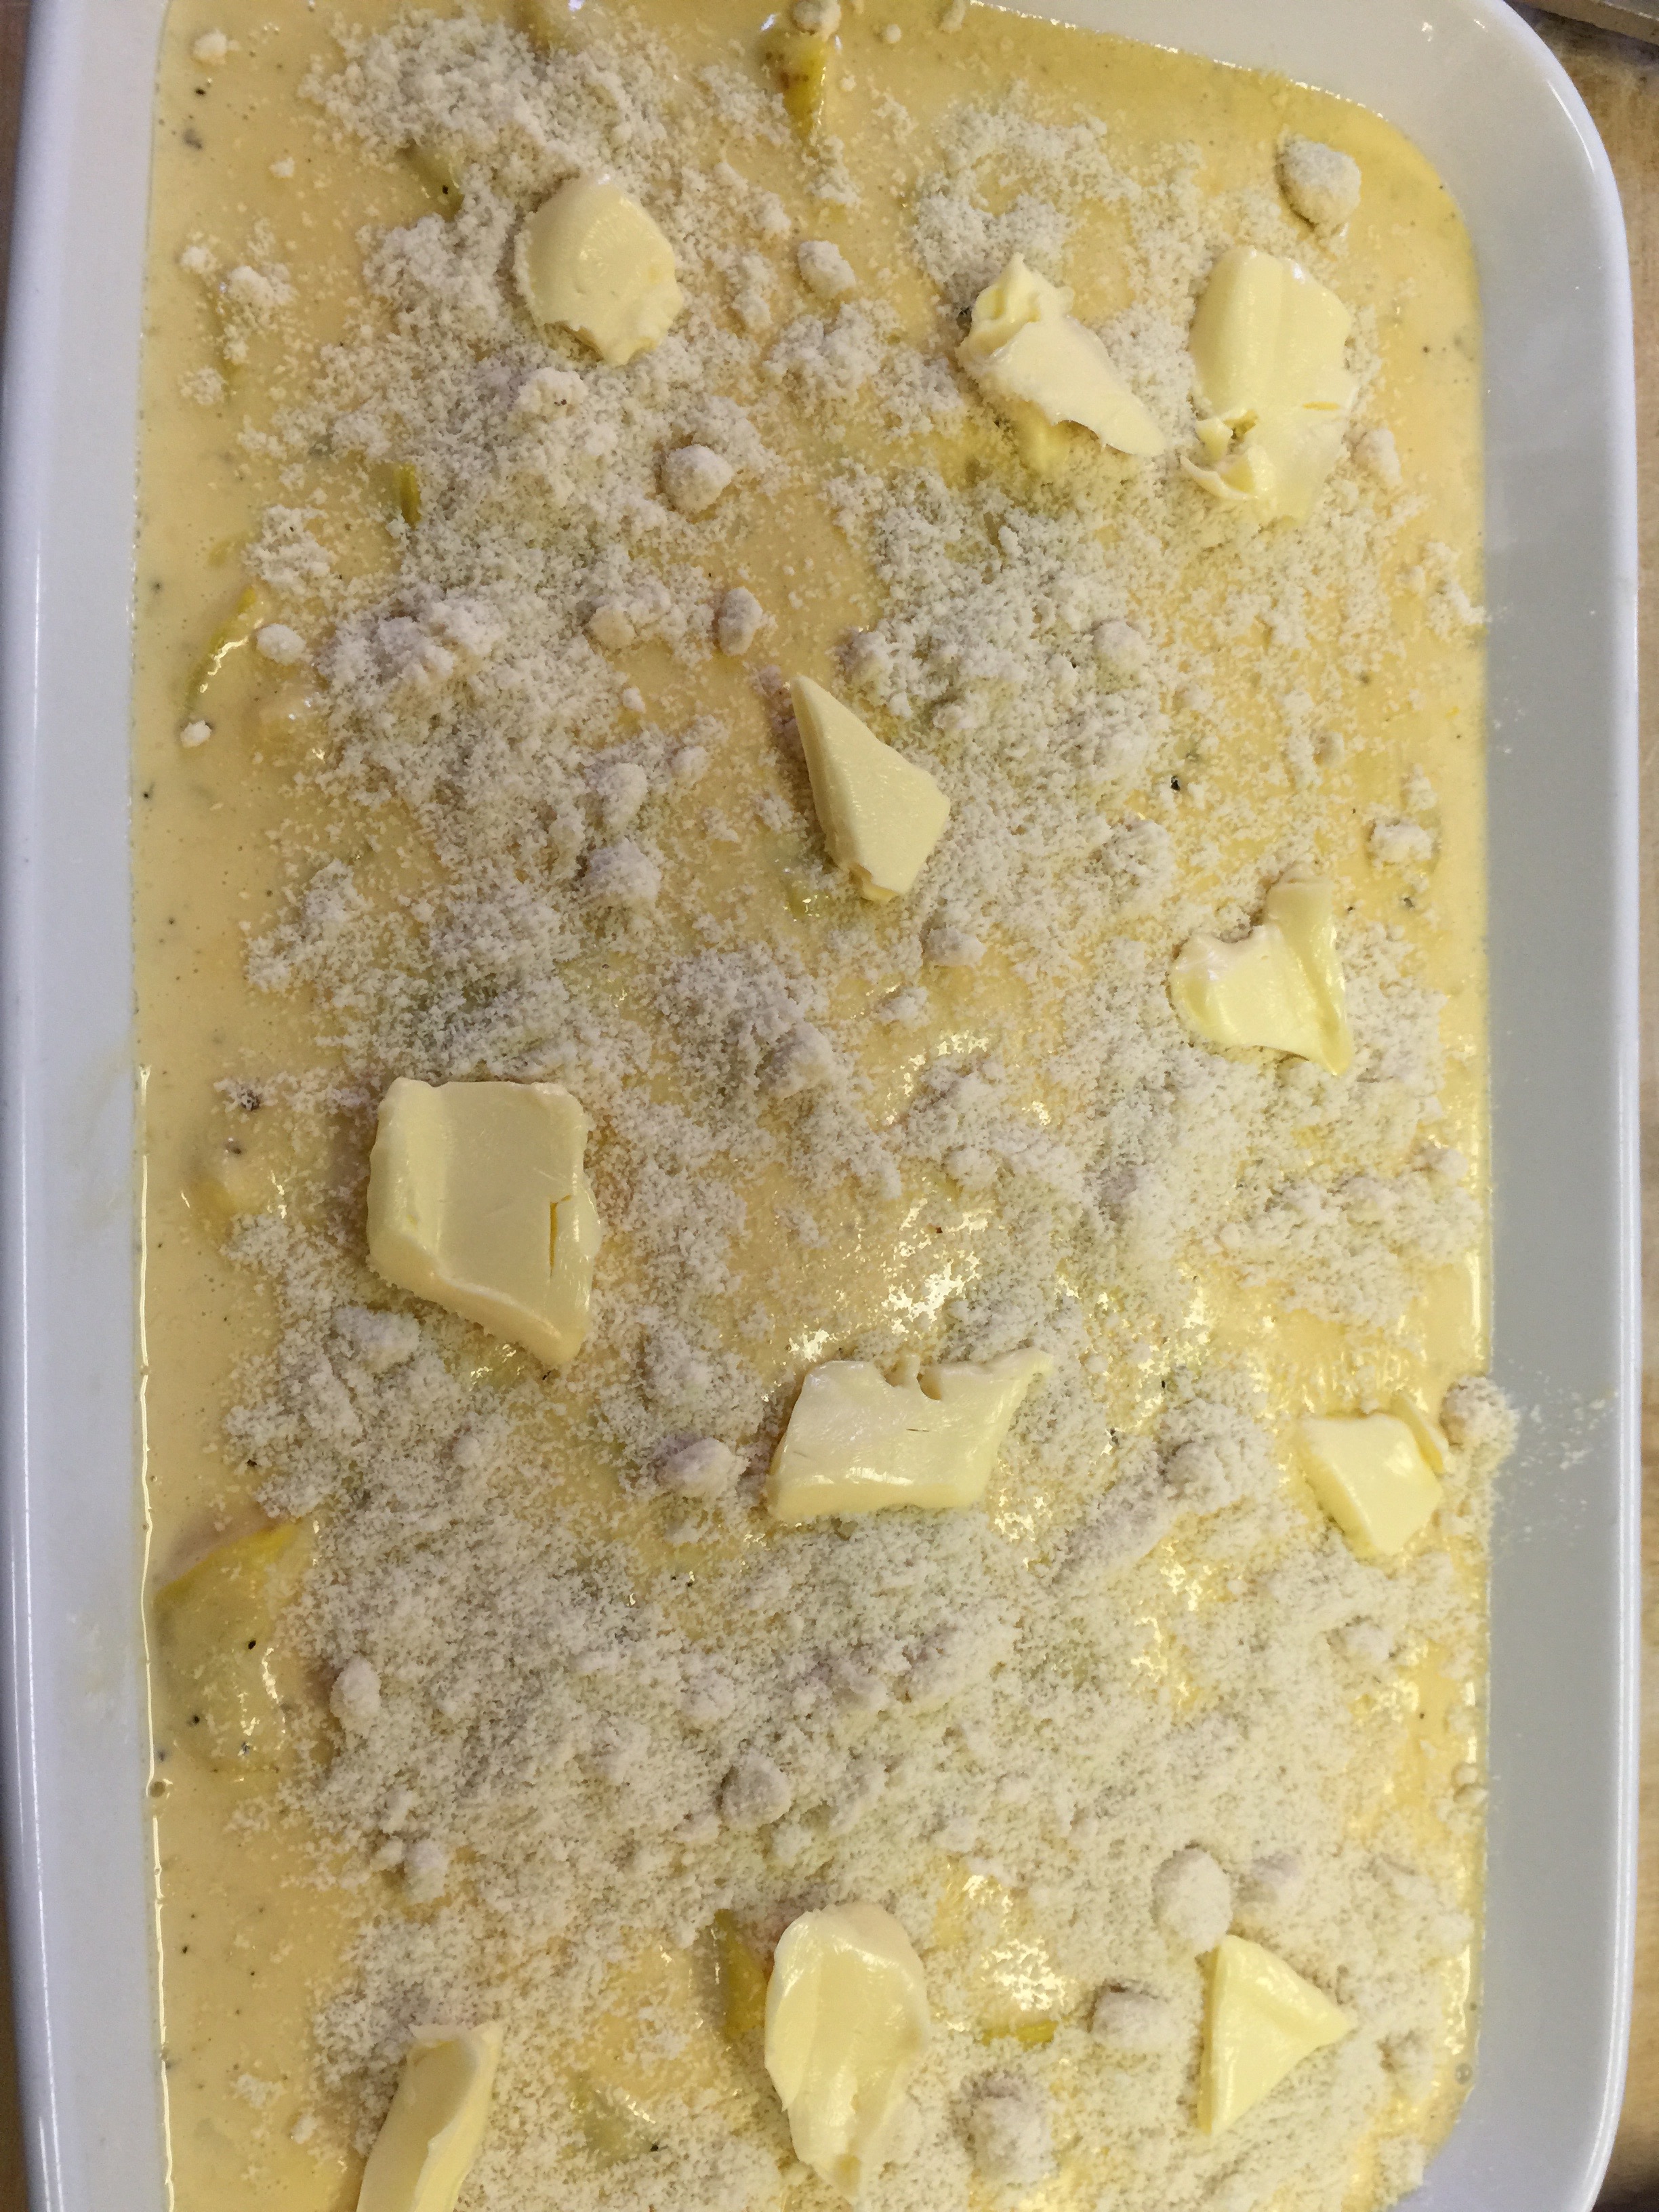
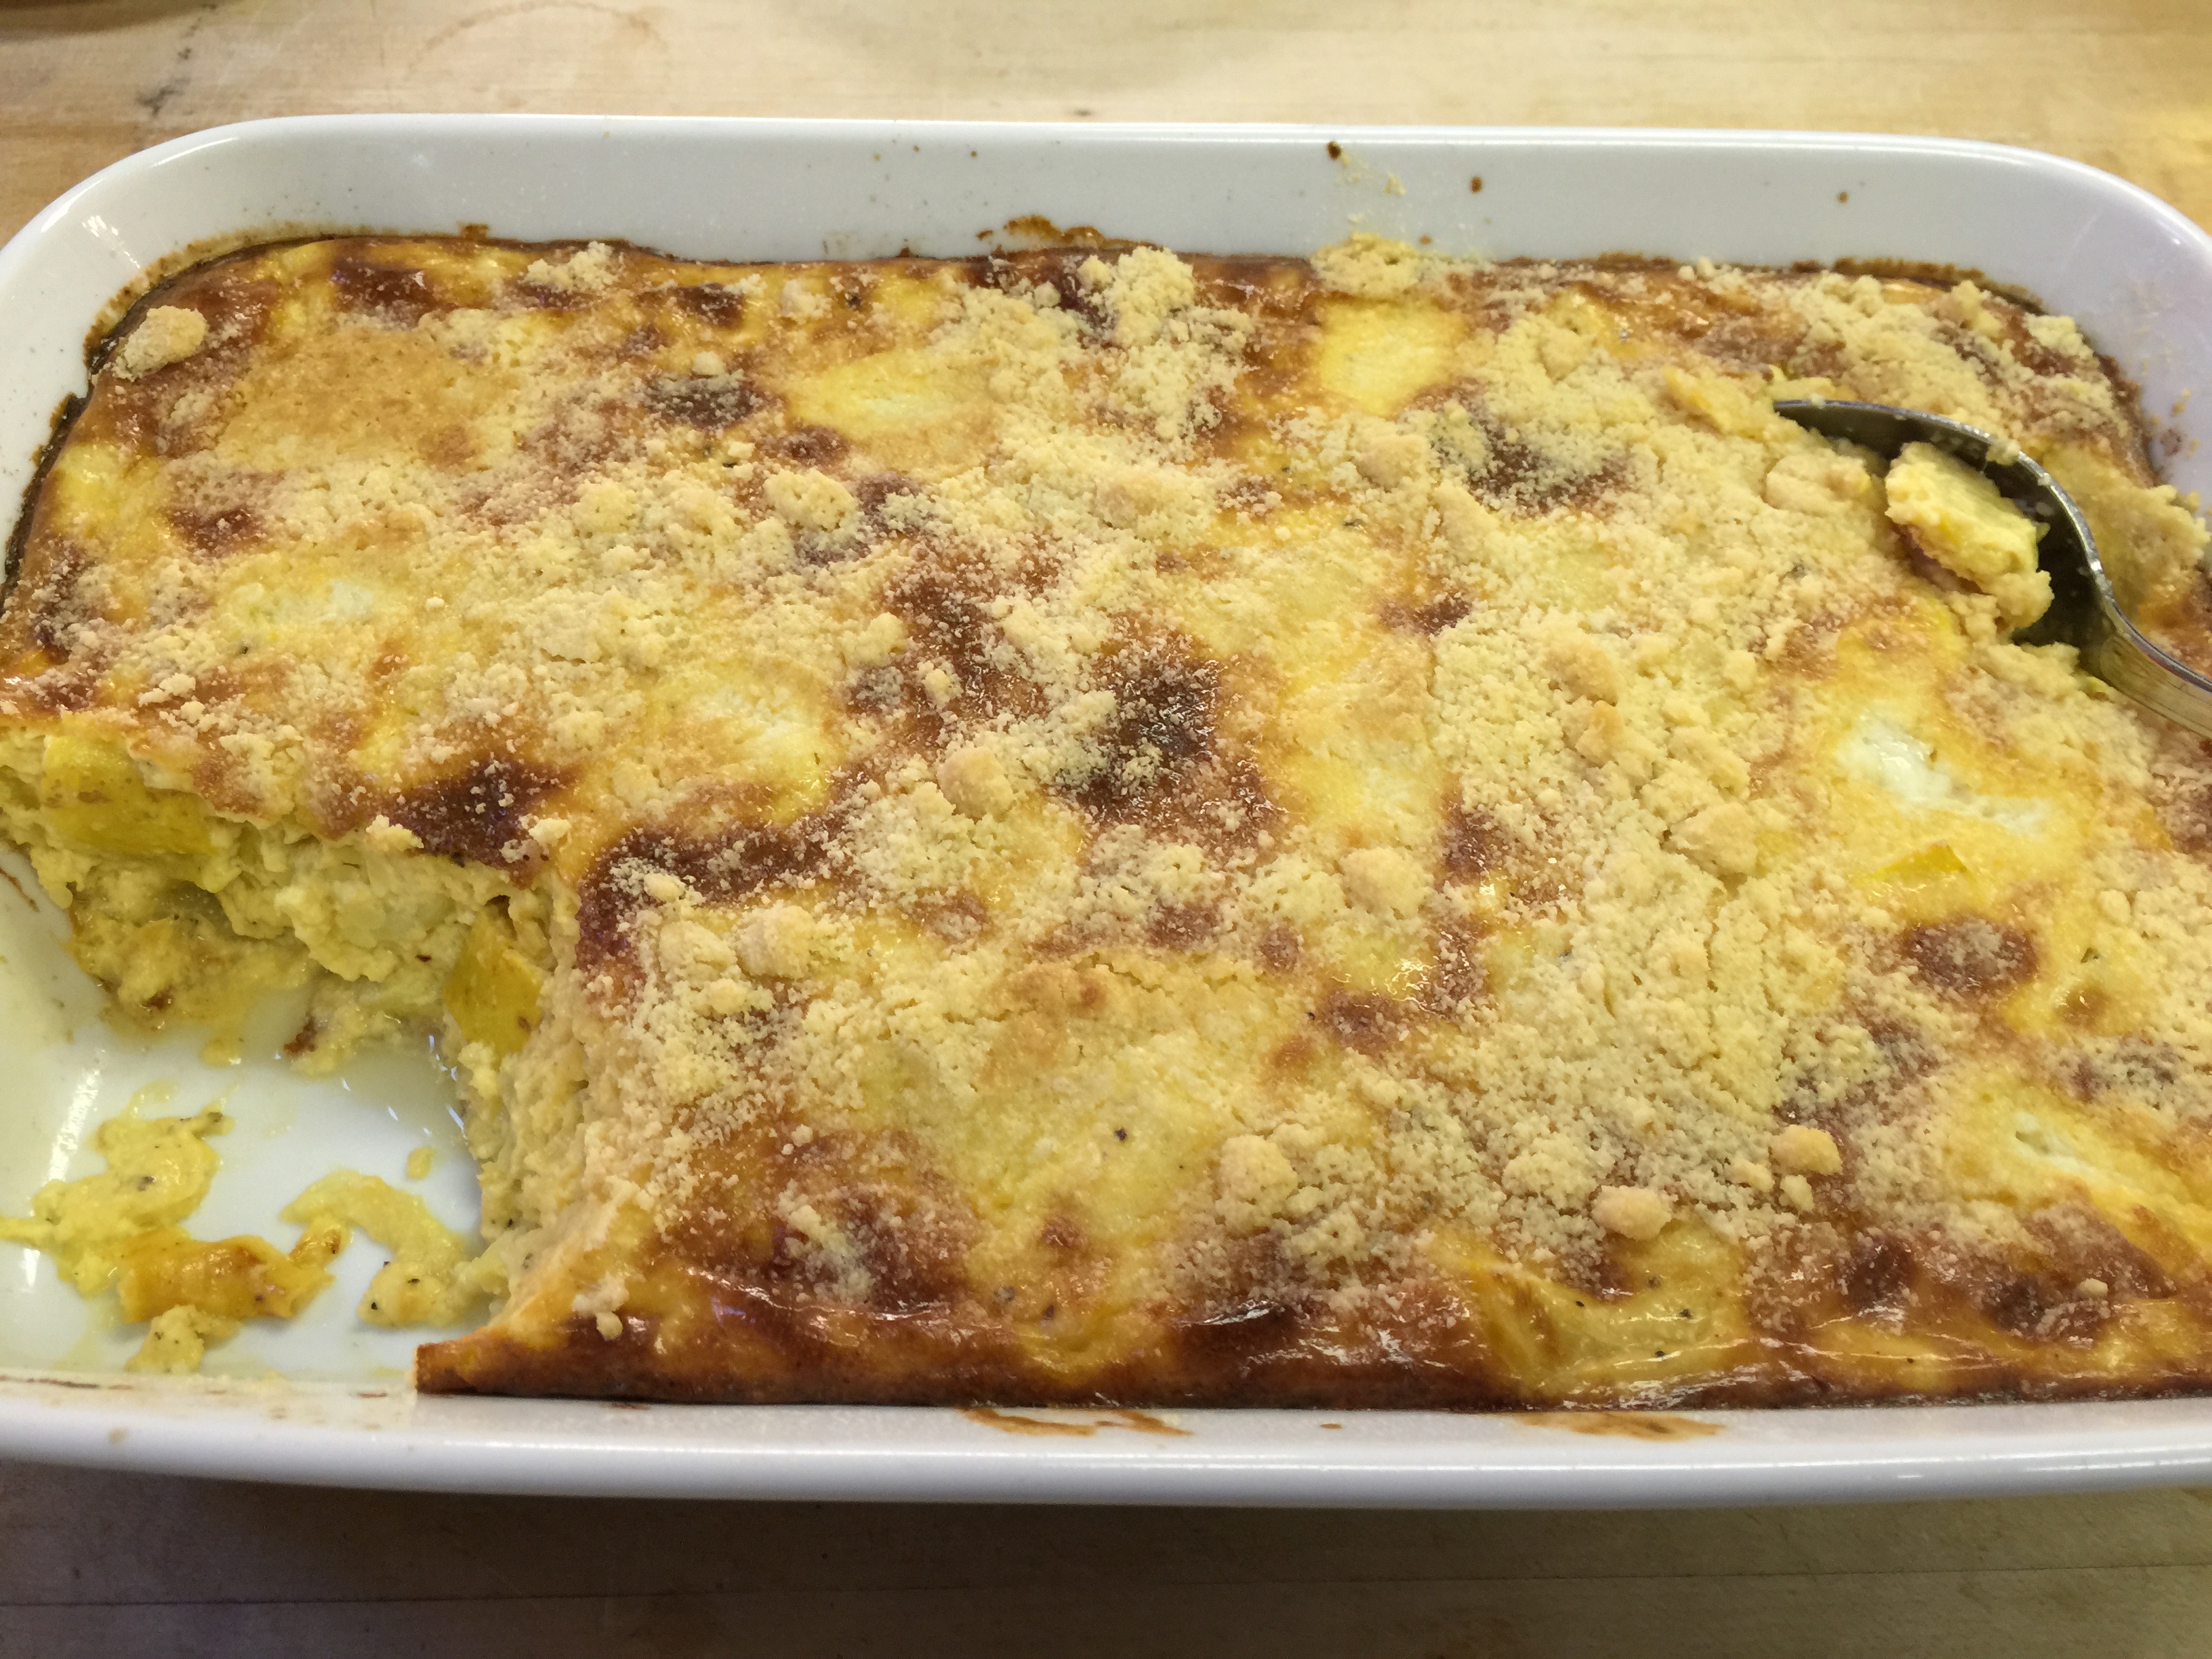
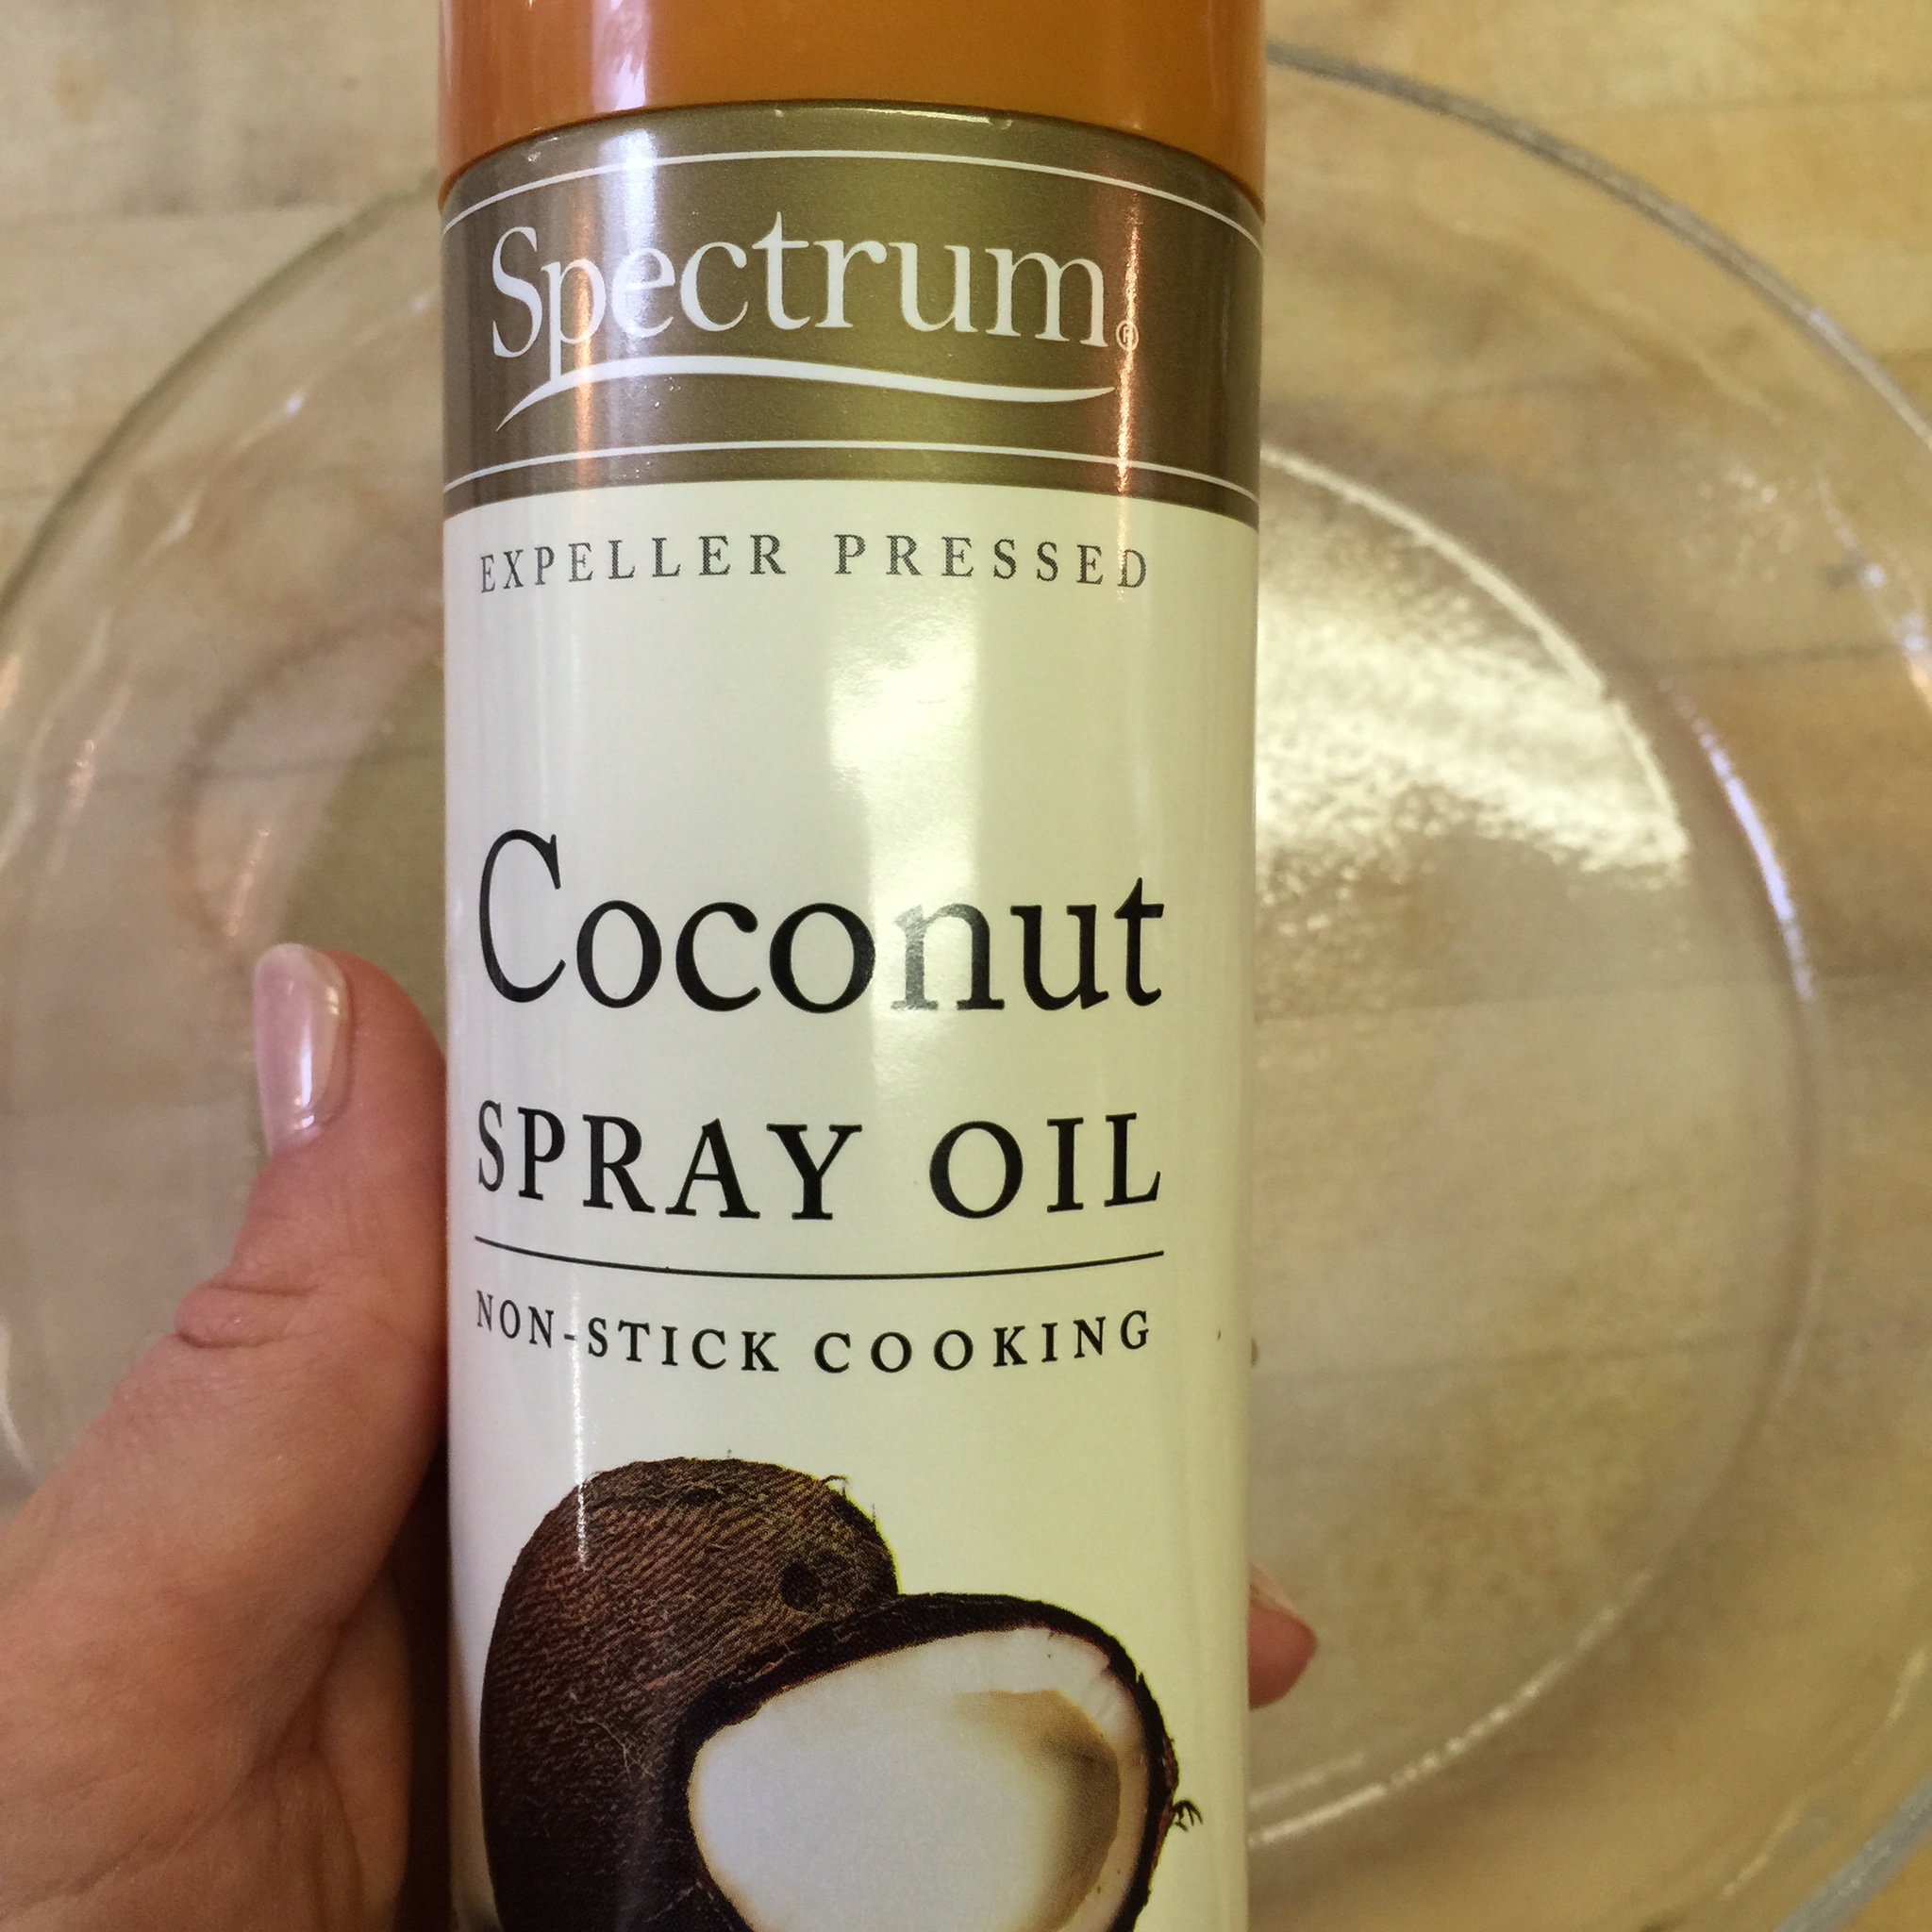
Pour your mixture into a 9×13 baking dish sprayed with coconut oil.

IMG_2652

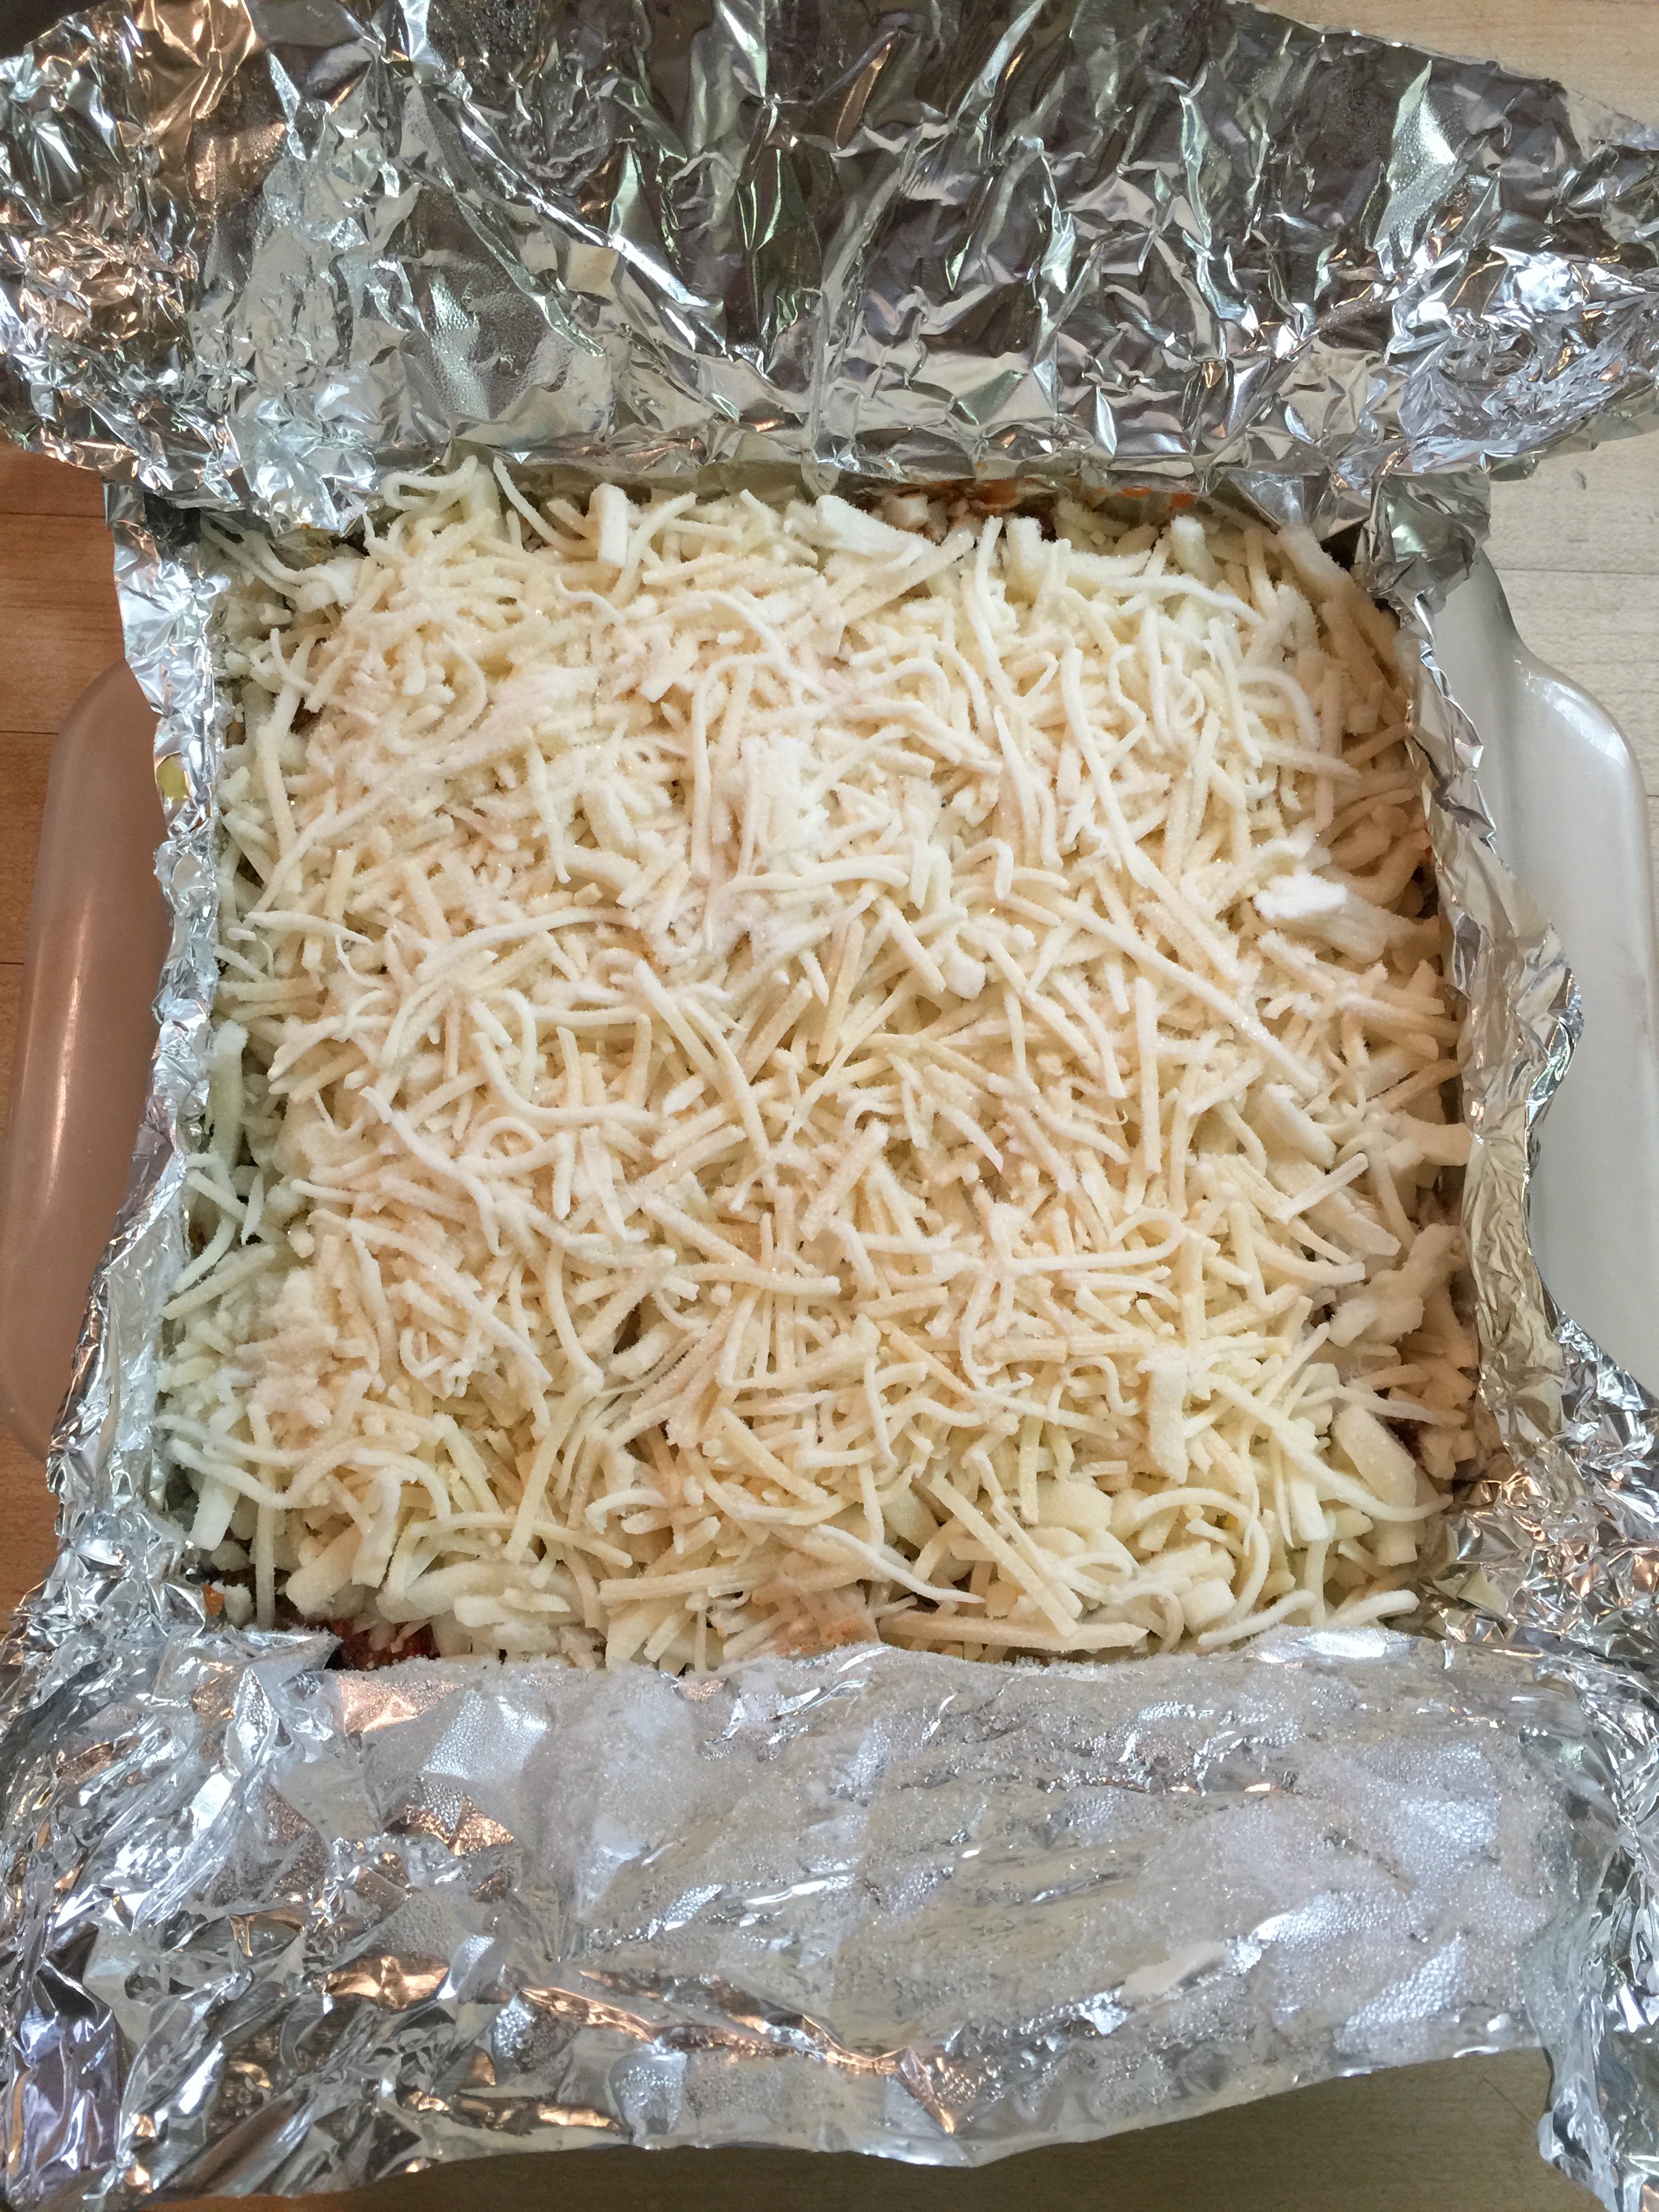
Top with a sprinkle of Almond Flour and a few dabs of additional Kerrygold.

IMG_2655

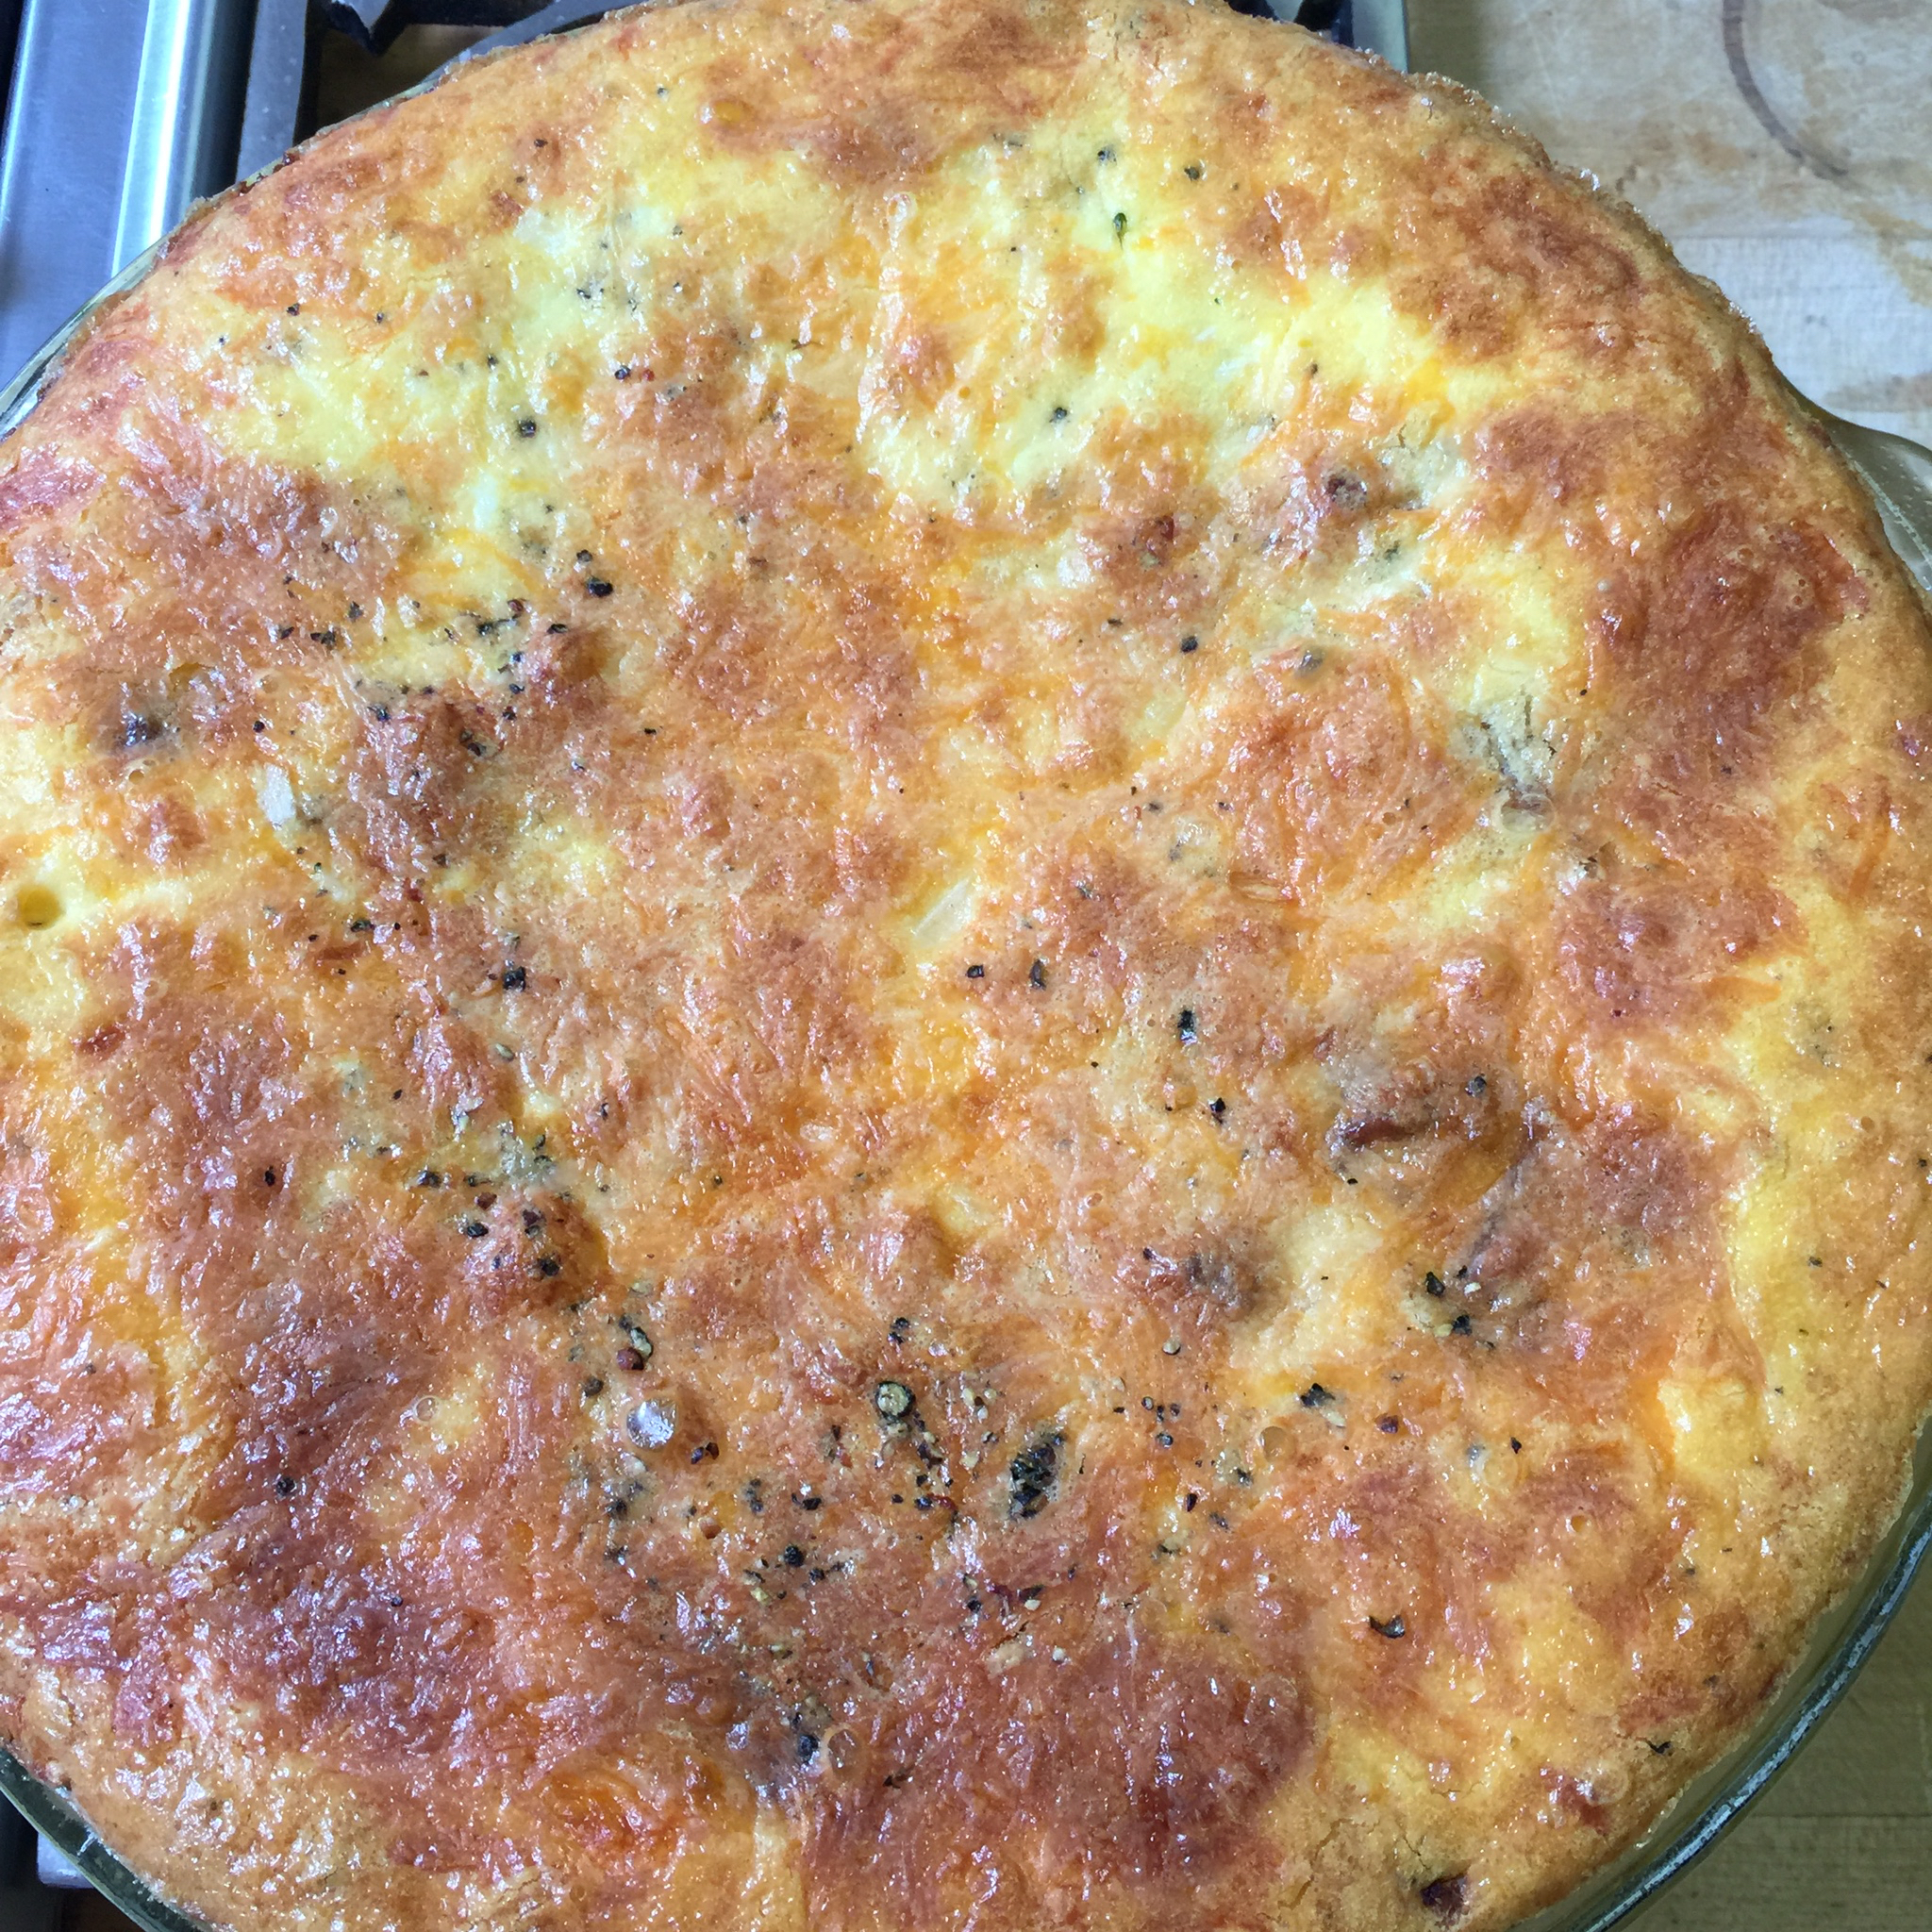
Bake at 350 degrees for 45 minutes.

IMG_2659

IMG_2661

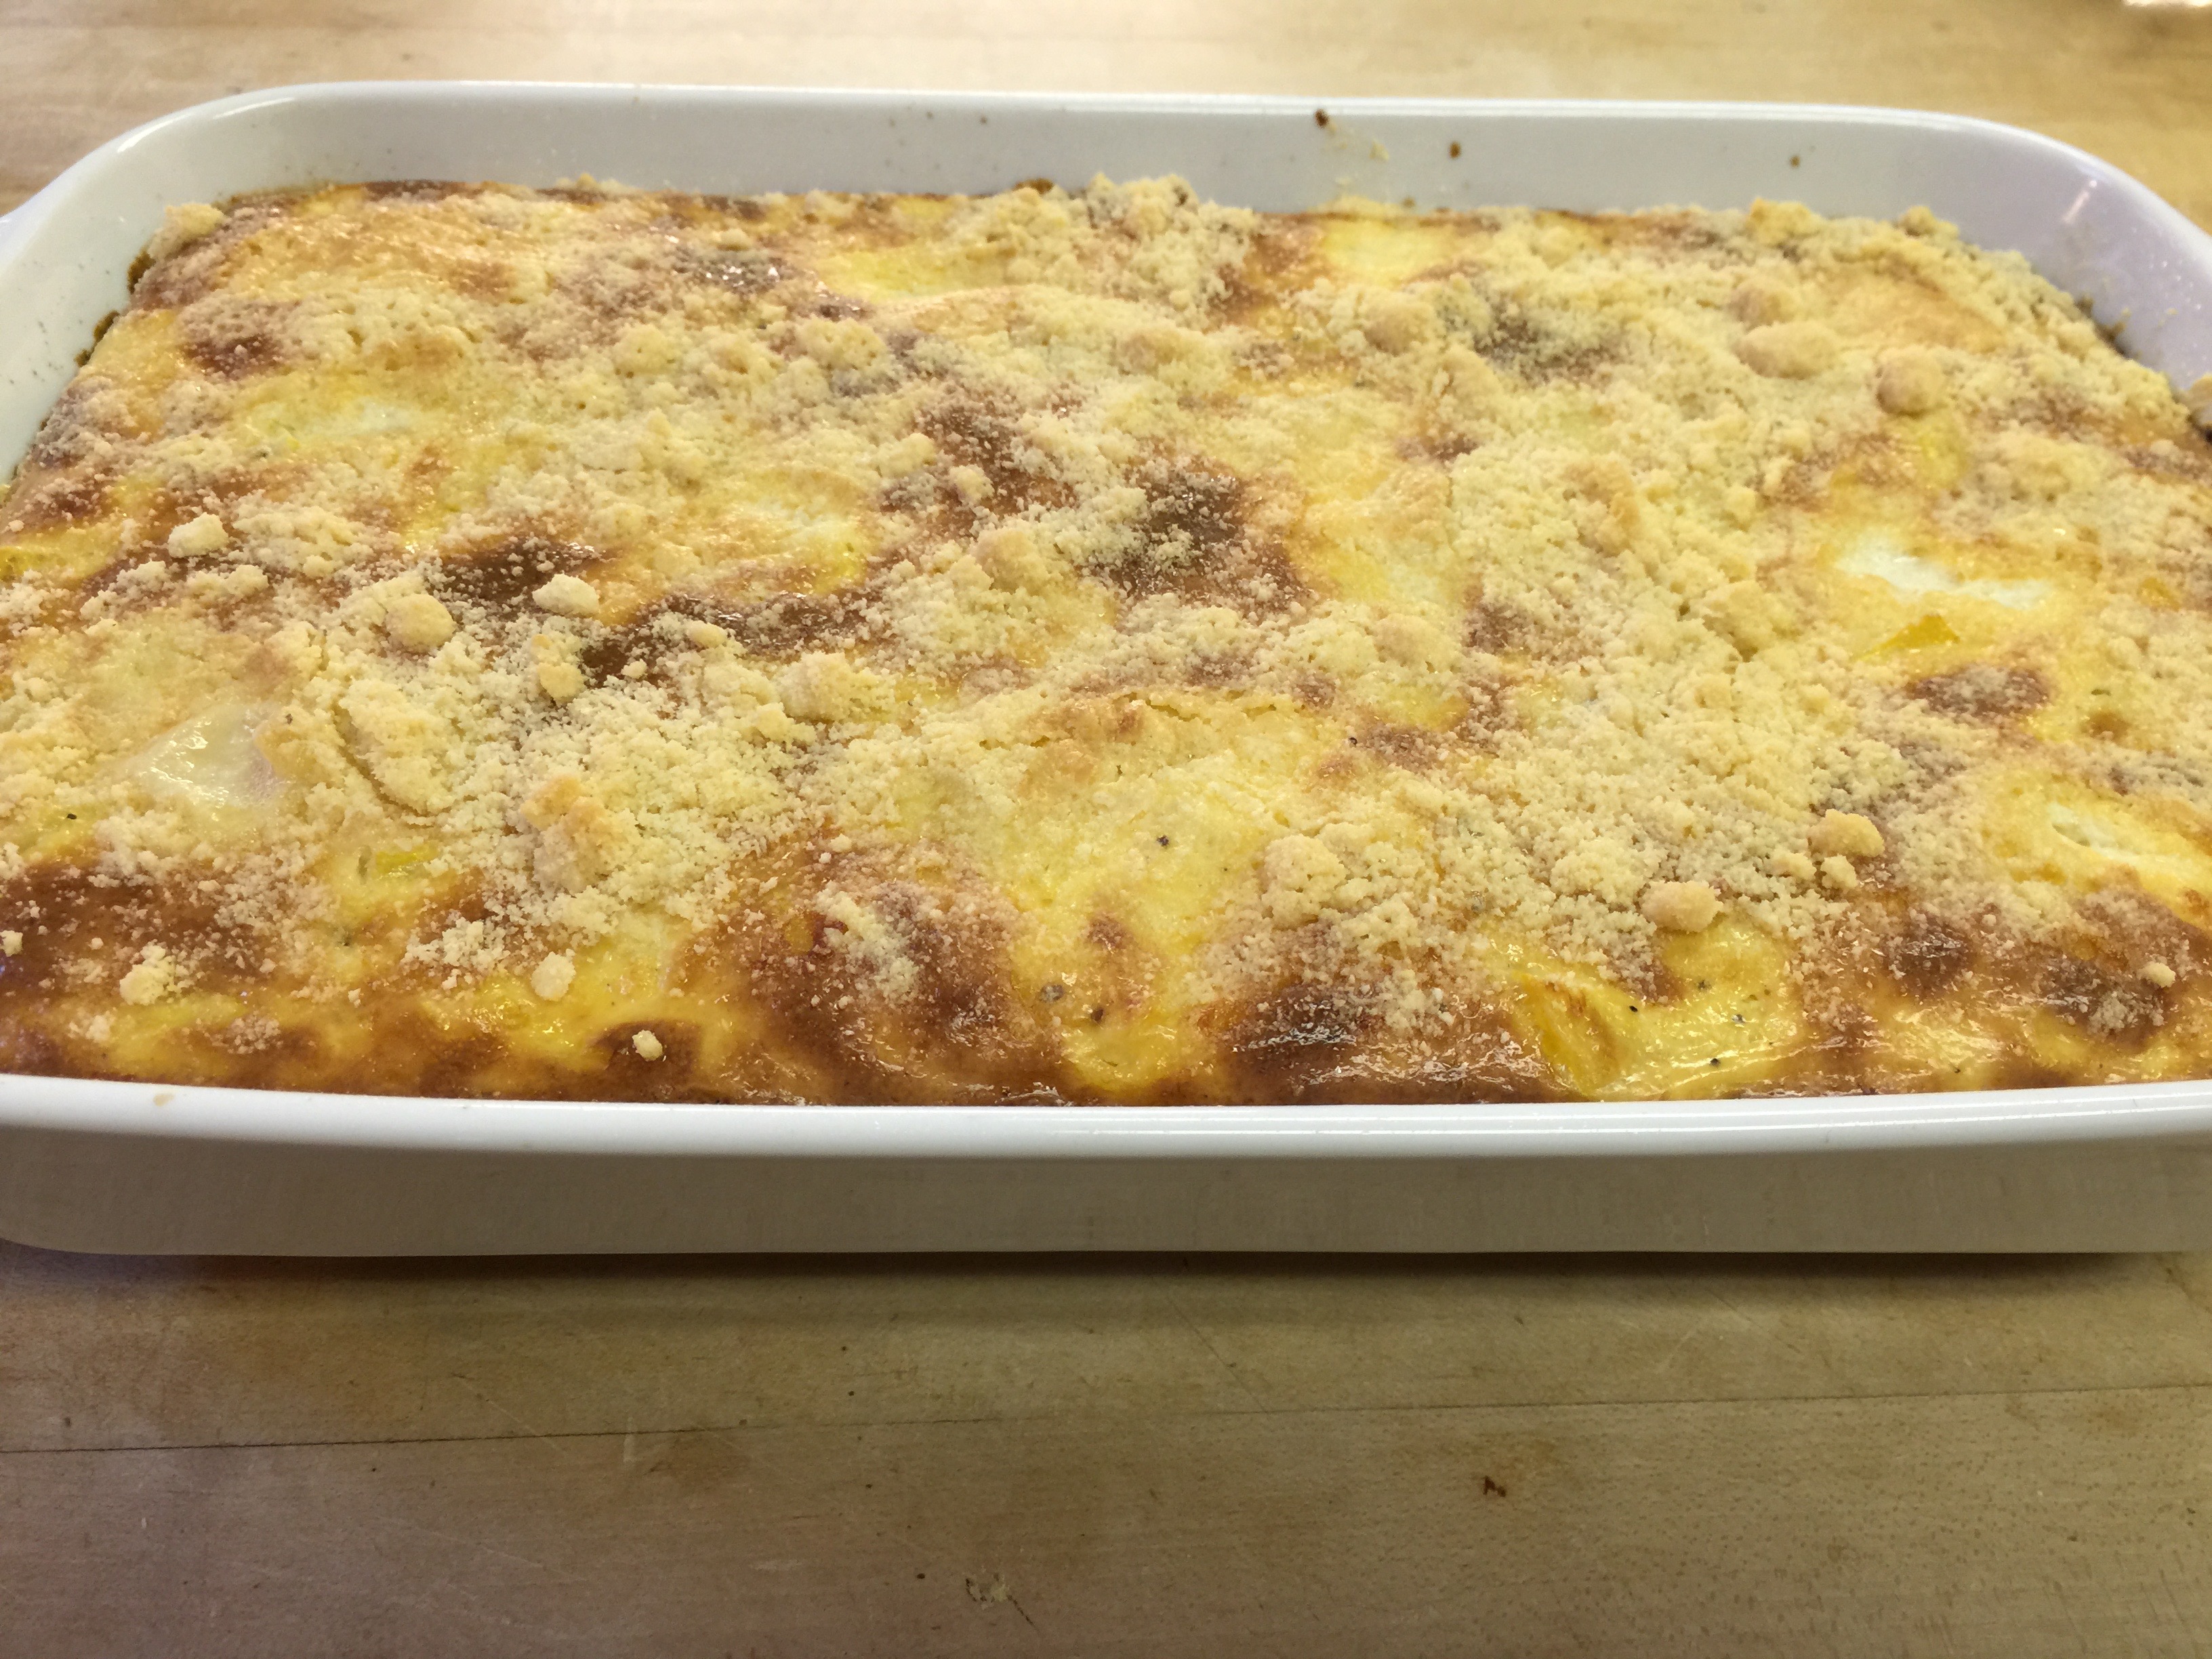
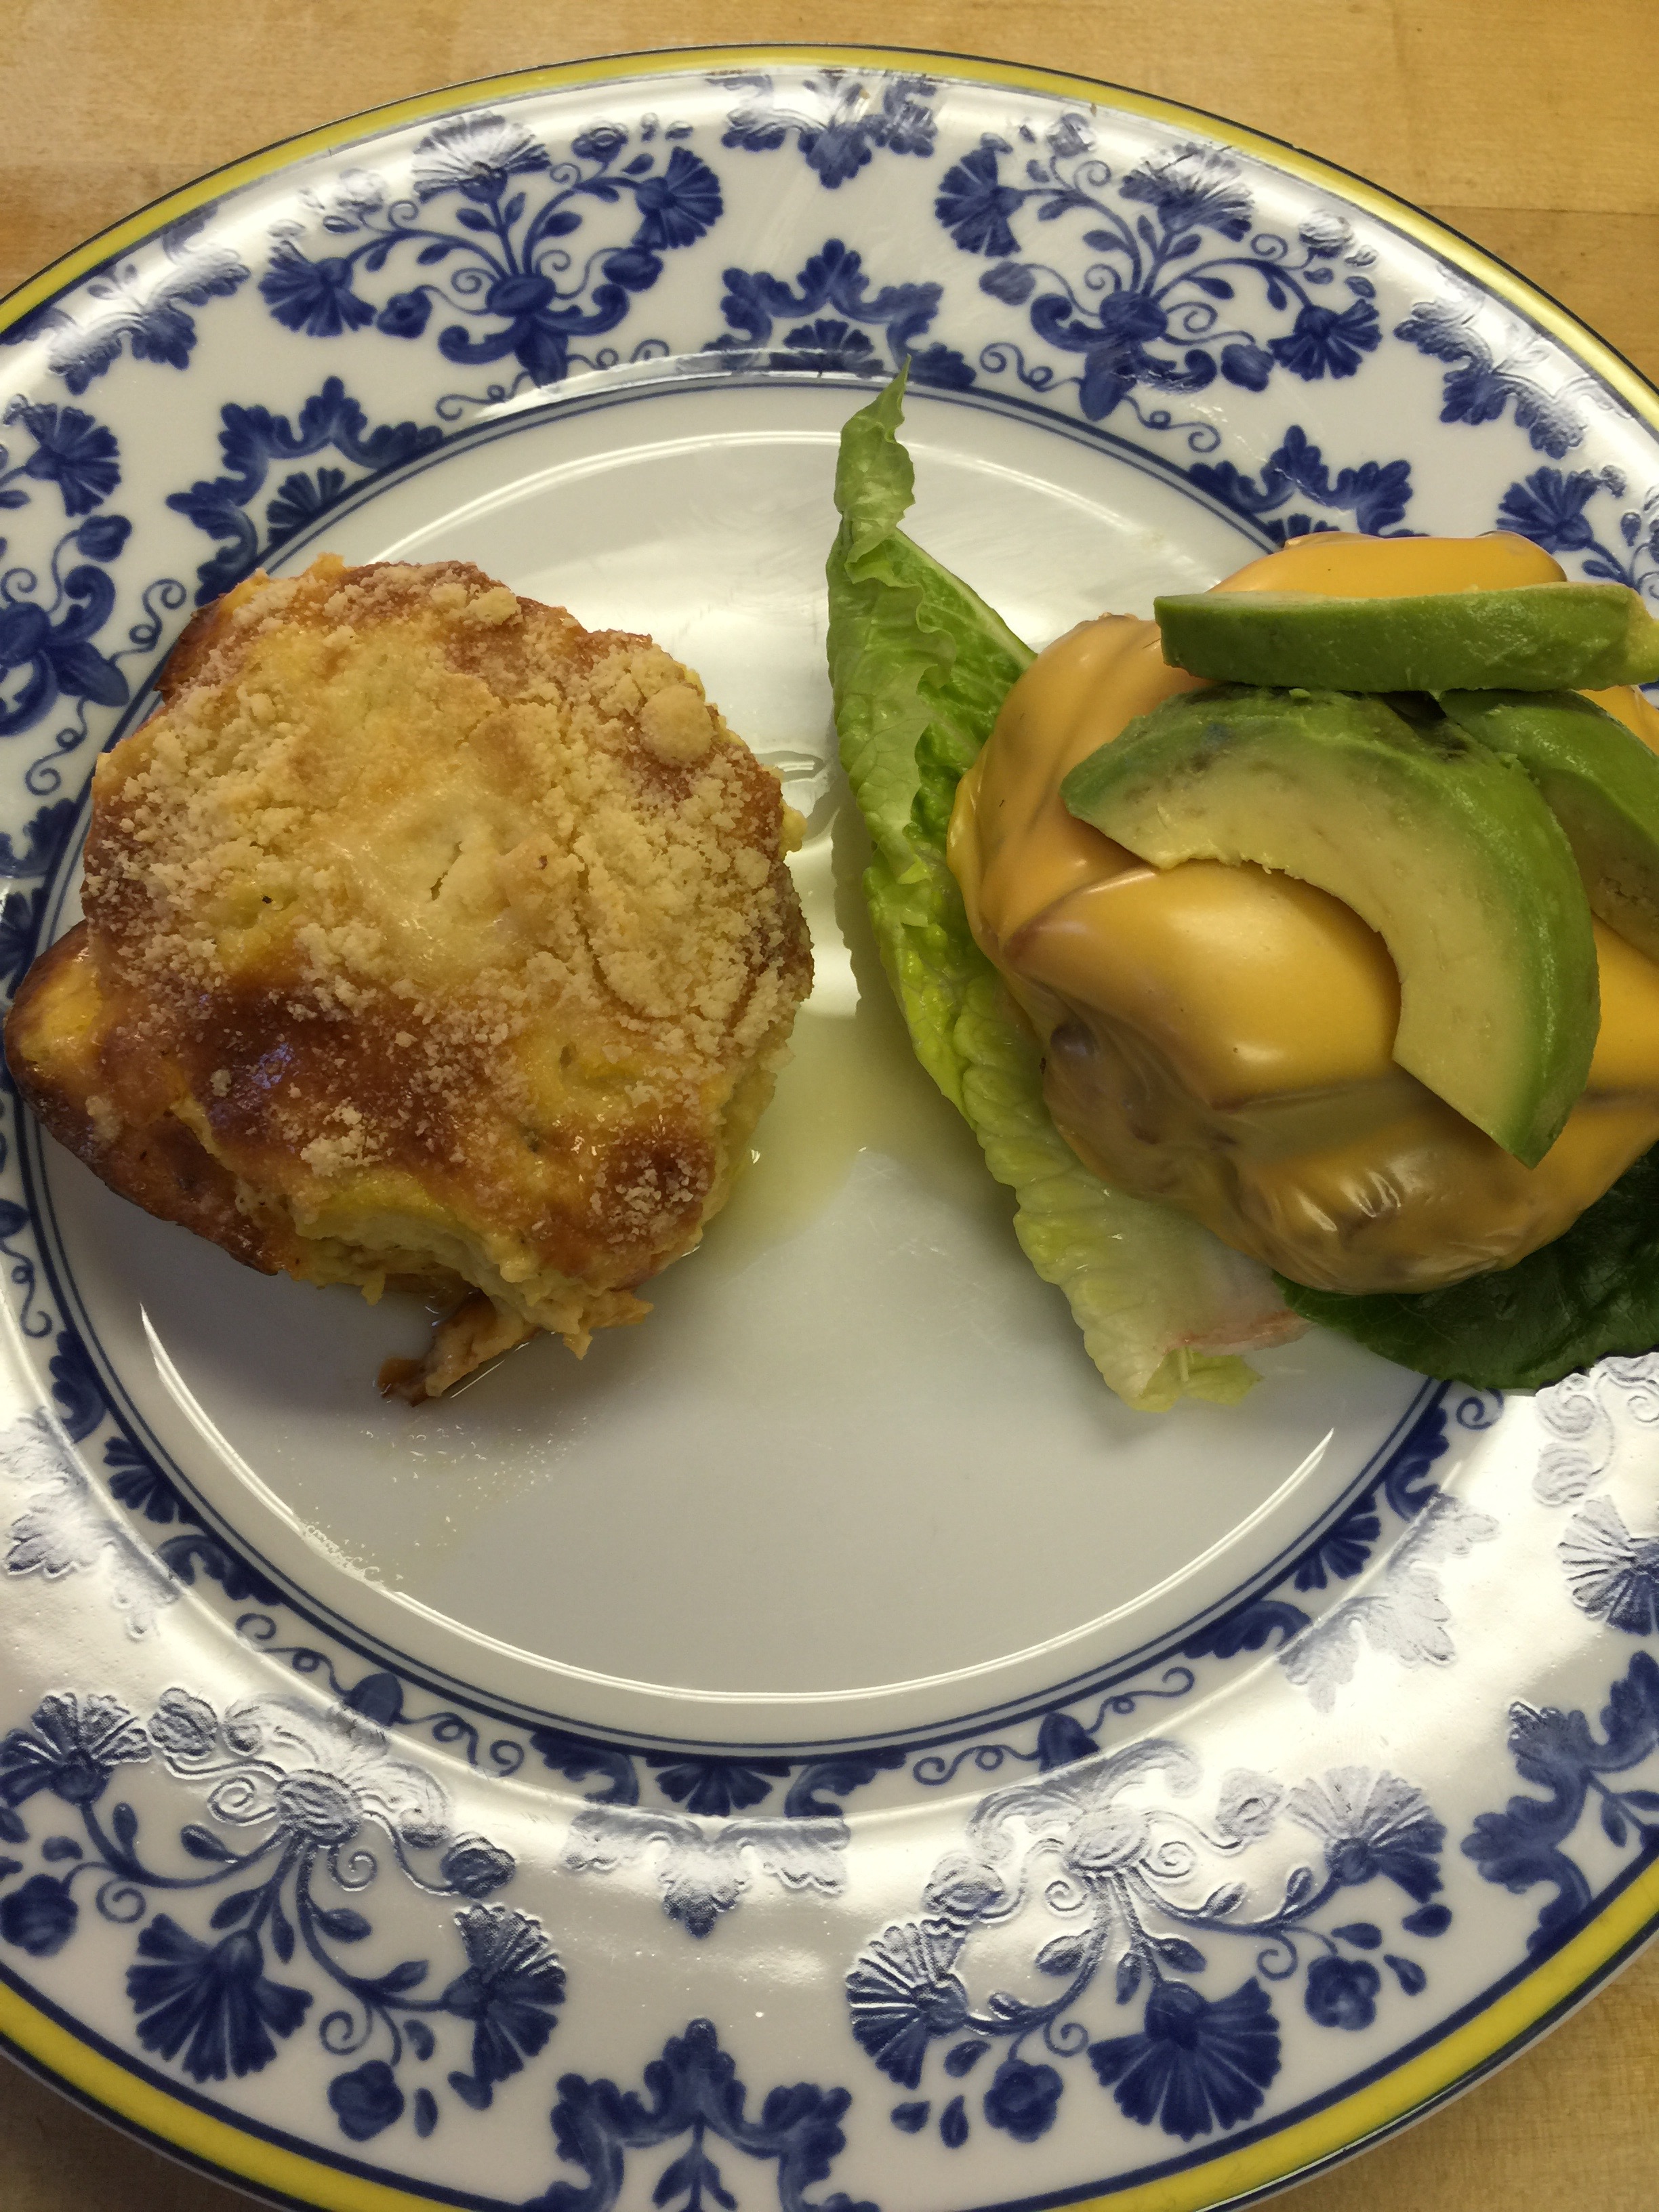
This dish goes great with any kind of bar-b-que, hamburger patties, steak, fish – really anything.  I was going to serve it with some brisket, but my husband was in the mood for burger patties so that is what you see.

IMG_2662

I hope you enjoy this great side dish with your next summer meal!  Enjoy!


Preparing for the Road Trip!

Yesterday, Erin posted about air travel, and relatives or friends preparing for your visit.  Summer also means road trips, and we do quite a few!  The Lutz clan just returned from the Texas coast.  I knew after a busy school year, that I wanted it to be a relaxing time for the family.  As much as I love to cook, I didn’t want to be running upstairs, while the rest of the family played in the pool, just to start dinner.  I also know that my kitchen at home is much more stocked than any vacation home on the planet – and I am not one that likes to be without my kitchen tools.  It is just so much faster and more efficient to have the right tools!  You can find many of the tools we use in our store.  The best thing to do is prepare in advance!!!

6356862415996548031925633310_road-trip-sign

There are a few staples we always take along with us (coconut oil, a spinner, cream, eggs, and Kerrygold), and several meals that are easy to prepare and freeze for easy travel that have become our “summer road trip meals”.  It takes a little planning, but it is totally worth it, to prep some food before you go.  I start making a list about a week before we leave, so I can do my grocery runs and start prepping!  A few of the things I did before we left were:

1. Spiraled some zucchini for noodles, and packed in a airtight container.  Spaghetti is a super easy meal to throw together in a pinch.  I took some precooked sausage that I boiled to throw on top with my favorite low-carb pasta sauce.  Normally, I would top with shredded mozzarella or parmesan, but I forgot the shredded cheese.  We did have string cheese, so for those that wanted cheese atop their spaghetti, I just pulled some strings off the string cheese.  Along with a salad, topped with avocado, we had a meal in a flash.

IMG_2591


IMG_0629


IMG_2596

IMG_2598

2.  I used my Cuisinart to make Cauliflower rice in about 2 minutes.  I put it in a Ziplock bag as flat as possible for easy packing, and freeze.  This freezes so well, and then all you have to do is defrost, throw on a cookie sheet for about 25 minutes and you have rice ready to go.  Serve with fish (you catch) or I used a chicken curry and broccolini that I had in the fridge.  Another well-balanced meal!IMG_2637

IMG_0648


3.  Pack those frozen casseroles you have made when you have extra ingredients.  I had a frozen zucchini lasagna made from extra ingredients when I made one recently for dinner.  Defrost, throw in the oven, and dinner is ready in 40 minutes – no cooking or dirty dishes!

One trick I use for freezing is to line an 8×8 pyrex with heavy duty foil before I start layering lasagna or any other casserole.  I wrap it up and freeze in the dish.   Once frozen, I lift the whole thing out of the Pyrex and wrap in Saran very well.  Now you have a brick of food that is easy to pack in the ice chest and don’t risk leaving your dish away from home.  When you are ready to cook it, remove the plastic wrap and defrost in an 8×8 dish.  Almost any condo or vacation home has an 8×8 pyrex or metal pan I have noticed.  You can cook it in the foil in which it was wrapped.  Check out this link at Southern Living for step by step freezing directions.

IMG_2634

IMG_2635

IMG_2636

4. Another easy meal is precooked Bar-B-Que.  I bought a precooked whole brisket which gave us dinner, a few lunches and dinner ready to microwave when we returned home.  My trick for this is easy – save your bacon grease from breakfast when you cook on a foil lined cookie sheet.  Yes!  You can leave it out all day – I promise it will be fine!  I plop that slab of meat in the grease, wrap it in extra foil, and you will have the juiciest pre-cooked meat you can imagine.  I shredded cabbage before I left home and cooked it with bacon, onion and garlic.  Store in an airtight container, and this re-heats better than any other veggie and is so good for you.  We will be sharing this recipe soon!  It is an excellent accompaniment to Bar-B-Que.  This is the shredded cabbage before I cooked it!

IMG_1248

5.  I made another casserole that I had in the freezer that was similar to Chicken Divan like most of our mothers used to make.  It’s the one with chicken, broccoli and cheese in a creamy curry sauce.  The original recipe is almost Keto, but I change out the canned soups for more mayo, lemon, broth, and cream.  Top with lots of cheese and you have a winner, winner, chicken dinner.  I always serve with a side salad.  Add the avocado my friends!

6.  Generally we have scrambled or poached (yes, I take my poacher) eggs and bacon for breakfast.  Check out our amazon store to see my poacher.  Sometimes I mix in chorizo with the scrambled eggs to change it up.  Last time I made a quiche at home, my kids requested ham and cheese, so I decided to do this ahead since the boys were playing golf early the next morning.  It made for a quick breakfast with no clean up.  I sprayed a casserole dish with Coconut Oil spray, cubed some ham, topped with cheddar cheese, and mixed 8 eggs with 1 1/2 cups of cream and garlic salt and pepper (go light on the salt for once on this one because the ham and cheese are already salty.)  Poor the egg mixture over the ham and cheese and store in the fridge overnight topped with saran.  In the morning when everyone is rising, remove the saran and pop it in the oven at 350 degrees for about an hour.  This gave us two easy morning meals that were very filling, and the kids gobbled it up!

IMG_2587IMG_2588IMG_2589IMG_2600

7.  We had tons of left-overs at this point, so we served buffet style one night, and also at lunch if we weren’t making lettuce wraps for the beach.

8.  We always eat out one night for some fresh fish.  It just happened to be Snapper season, so my husband and I both started with peel ’em and eat ’em shrimp, and ordered the Snapper Special at Seafood and Spaghetti Works that was fantastic.  It was blackened in butter and topped with sliced avocado and a crabmeat pico de gallo.  It was amazing, and it could not have been more Keto.  Once you learn to eat Keto, it really becomes easy to eat out.  See our tips in our eating out post.

IMG_1169

IMG_1170


Isn’t that beautiful?  REAL food is just awesome!  These are the foods that were designed to  fuel our human bodies.

As you can see, I really did no cooking at all for seven nights.  It was all reheating, and I had a healthy dinner ready every night with less than 20 minutes of prep time.  I literally prepped dinner and set the table while the children were bathing each night!

If you want a relaxing vacation with your family, plan ahead!  It is so worth it when you can prepare dinner in a flash while the family is winding down from a fun day in the sun. (Wear your sunscreen!)

We all hope everyone has a safe, fun, relaxing summer filled with memory making vacations!

Cheesy Tater Tots!

Summer has arrived, and so has burger and hot dog season!  We all love a good cookout in the more relaxing summer months.  Of course, what goes hand in hand with burgers?  Some sort of fried potato off limits to us low-carbers!  Going Keto means no more fries and tots, right?  Wrong!  I told my children I was making tater tots, (which they have missed) and they started doing cheers!

I did NOT tell them how I was making them, however, and they could not tell the difference.  These suckers were good, and there was nothing left to save after dinner.  Bummer!

Keto tater tots take a little preparation and forethought, but overall they are pretty easy – and I don’t even fry – before or during Keto, until now.  This was a game changer for our family!

Cheesy Tater Tots

1 large head of Cauliflower

1/3 cup Parmesan Cheese

1/2 cup Mozzarella Cheese, shredded

1 Egg

2 tsp Psyllium Husk Powder

1 tsp garlic salt

1-2 cups Bacon Fat

Salt and Pepper to taste

Shredded Cheddar to melt on top (I used sharp cheddar)

Directions:

Cut your cauliflower into small pieces to steam.  Place in your steamer and steam until tender but not too soft.IMG_0965

Place in your food processor, and pulse until it is smooth without any chunks.

IMG_0972

This is not enough, above ^.

This is how it should look below:

IMG_0973

At this point you can make mashers or tots!:)  I’m going for tots!

After you get your cauliflower to this consistency, you are going to want to wring out the excess water – and there is a LOT!!!

This is the time consuming part, and you will want to make sure your cauliflower is cool, or you will burn off your finger tips.  Trust me – I didn’t quite burn mine off, but it was close!  Make sure you allow time for your cauliflower to cool either right after steaming or after processing.

Once cool, I use a light dish towel to wring out the excess water. You can use a cheese cloth as well.  The cauliflower will slip right through a colander.

When you place it on the dish towel, be ready to start wringing.  See the water spreading…It will look like this:

IMG_0974

After you squeeze and squeeze, and wring and wring, it will look like this:

IMG_0975

Doesn’t look verry appetizing, but just wait!

Now, take your cauliflower “paste”, and add your cheeses, egg, and garlic salt.  You may have to use a dull knife to scrape the dry cauliflower off the towel.

IMG_0979

Mix well.  It should be a very thick mixture.  If it is too runny to roll, then add your psyllium husk powder a little at a time.

It should look like this:

IMG_0981

Take out about a teaspoon of “dough” at a time and roll into your tots!  This is fun for the kids too!

IMG_0982

Now, get your yummy bacon grease ready (that you have saved from all those batches of bacon, right?)  Remember that cast iron skillet that Erin posted about?  This is the perfect time to pull that big daddy out as well!

Start heating your fat in your skillet over medium heat!  Your grease really needs to be perfect.  If it is too hot, they will burn, but if it is not hot enough, the tots will stick to the bottom of the skillet.  Keep it on medium, and be patient.  The first picture is my mason jar of grease.  The second is the grease melting in my cast iron skillet.  Yum!!!!

IMG_0983

IMG_0984

You will also need to set up a plate with either paper towels or a mesh splatter shield to drain your tots after they cook so they start to crisp.  I used a splatter shield over a plate, and had it ready to go before frying.

IMG_0985

When your grease is hot, gently drop your tots into the grease, and move them around so they don’t stick to the bottom.  Continue to rotate until they are golden brown on all sides:

IMG_0987

When they are cooked on all sides, remove to your plate.

IMG_0988

This was my first batch, before my oil was hot enough so you can see where some stuck.  I was not very patient:).

Once you remove them, you can add salt and pepper, if you like, or cover with cheese.

IMG_0991

IMG_0992

Let them cool slightly and serve!  I hope you enjoy these beauties as much as we did!

IMG_0994

Happy summer, folks!


How Much Water Should I Be Drinking?

Great question! But the reality; there is no hard and fast answer. We have heard 8 glasses a day for years, but how on earth is that the best answer for all of us?

Yes, we are all primarily made up of water, but just like in most things, we are all different in our needs. A great starting point is to take your weight, divide that number in half, and drink that many ounces.

For example:

Me: 130/2= 65 ounces

I really like how universal this formula is for everyone. The hubs weighs about 200, so he goes for 100 ounces a day.  Our 3 year old is about 35 pounds, so we shoot for her to get in about 17 ounces of water a day. This is simply a good place to start.


Thirsty!

The other major aspect of how much water to drink can depend on your environment, both internally and externally. Humidity and heat especially, can do a number on all of us, but exercising in these conditions can be a recipe for disaster. Years ago, I watched the Rock and Roll Marathon here in San Antonio, and the conditions were terrible; incredibly high humidity, coupled with unseasonably high temperatures – even for us locals. Due to this, multiple professional marathoners either decided to run only a half or dropped completely. They knew that the conditions were not ideal for their bodies and did the right thing. Unfortunately, that is not always the case.  People can and do get seriously injured or worse when they do not pay attention to their thirst and what is going on in and around them. We all know the very first thing that we should do when we start getting that back of the throat tickle, or our kid or cubicle neighbor starts coughing, is to up the water intake. Our bodies need water every single day, especially when we are fighting off or recovering from illness.

Coming into summer, here are some symptoms of mild dehydration:

  • Thirst
  • Loss of Appetite
  • Fatigue or Weakness
  • Chills
  • Dry Skin
  • Skin Flushing
  • Dark Colored Urine
  • Dry Mouth
  • Head Rushes

Further Dehydration can cause:

  • Increased heart rate
  • Increased respiration
  • Decreased sweating
  • Decreased urination
  • Increased body temperature
  • Extreme fatigue
  • Muscle cramps
  • Headaches
  • Nausea
  • Tingling of the limbs

Cases of extreme dehydration can also cause:

  • Muscle spasms
  • Vomiting
  • Racing pulse
  • Shriveled skin
  • Dim vision
  • Painful urination
  • Confusion
  • Difficulty breathing
  • Seizures
  • Chest and Abdominal pain
  • Unconsciousness

Dehydration is not something to ignore, and it has a fairly straightforward resolution – drink more water. Of course, like anything, that can be easier said than done.

Today I carry water with me absolutely everywhere. Yes, I have a mom purse, and it can be heavy at the start of the day with my 40oz water bottle, but it’s 100% worth it.

I find that I will drink more water out of a bottle than a cup or a glass. It is a mental thing. I also prefer room temperature water, where as others need to have their’s chilled. Some people love straws. Others want lemon, lime, or other fruits infused. It’s all in what works for you. Anyone with a soda addiction might want to start with a fizzy water like La Croix.  Swapping out one soda a day for water, or even having one after finishing 40 ounces of water as a reward, is a great place to start.  Think progress not perfection.

So many people get “sick” of water, but once you start drinking an adequate amount, and find out what makes the water taste better to you, that can go away. You will start to feel better, and often times your body, and especially your skin will thank you. You may even begin to enjoy it.


Dinner in a Snap!

It seems that everyone I run into lately is running around in a million different directions, and the last thing on their mind is dinner.

I get it!  I’m a mom of three busy kids, and it’s the end of school!  In fact, I am pretty sure that May and early June compete with December for the busiest months of the year.

A friend told me today that she just needed some simple dinner ideas to throw together before her son’s baseball games.  My thought is, that many of you need some easy dinners to throw together this week, so here are a few I have pulled together in a snap on weeknights that I am just too busy to even think about dinner, but still want to feed my family something healthy!

1. Salmon and Veggies (Love broccoli with Salmon)

Make sure your Salmon is wild from a good clean source, and not farm raised.  I like the Alaskan Salmon, but any reputable fresh fish retailer will be able to help you pick out a great fillet.  I usually get the whole fillet and cut them into portions for my various ages of children and adults in the house.  Sprinkle with butter and lemon pepper.  Bake it at 400 degrees for 10 to 15 minutes depending on the thickness and serve with a steamed vegetable topped with Kerrygold.

IMG_0591

Then we like to top it with this sauce:


IMG_0597


2. Beef Shish-kabobs with peppers and onions.

These are super easy to make ahead, but I bought these on a whim at Central Market when I knew I was in a pinch.  They were marinated in a lime marinade and were melt-in-your-mouth tender and delicious.  I served these with a side of asparagus that I roasted on 425 degrees for about 10 to 15 minutes.  Topped with Kerrygold, salt and pepper.

IMG_1117


IMG_1121

IMG_1119 IMG_11223.  Many of us forget just how healthy eggs are for so many cells in our bodies.  Eggs are the “perfect” food as we like to say!  We always think of eggs for breakfast, but why not serve them for dinner.  We do this often when the hubby is out of town because he doesn’t want eggs twice a day, but the kids love it.  It is a great nutritious meal anytime of the day!  Super simple and super healthy!  We call it breakfast for dinner – creative-huh?

eggs_and_bacon-630x310Hopefully these are just a few ideas to help you power through the week.  Check out your grocerers meat display case.  Central Market has great quality prepared meats (like the shish-kabobs) that you can throw on the grill  Many other places do as well.  Pick up some patties, some sausage or some steaks and serve with a side veggie roasted or steamed and topped with Kerrygold and seasonings.  Super simple, super healthy, and super fast!

Hope everyone has a great first week of June!!!


It’s the Weekend! Let’s Eat Out!

Another BIG question!

How do you eat out on Keto?  Well, it’s not as hard as you would imagine…

restaurant sign

When we first started cutting carbs, it was a bit intimidating to go out.  I wanted to know the exact source of my food and exactly how it was being prepared.  This is much easier to do at home, but I still wanted to socialize with my friends.  I wasn’t about to give up my few evenings of “adult time” away from the kitchen because of Keto!  I soon learned I didn’t have to give up restaurants and neither do you!

I had always considered myself an easy, low-maintenance restaurant patron.  And, if I must be honest, I was a bit embarrassed when someone at the table was the “difficult one”.  I really love all food, and am a bit of a foodie.  I love trying new things and new preparations, so eating out was always an adventure.  It still is an adventure, but I am a little more cautious when ordering.

I may not be quite as low-maintance, but I have found that restaurants are more than willing to answer questions about preparations, and even more willing to oblige on certain dietary restrictions.  While once an insult to a chef to change his/her dish, it is now all the more common as consumers have more and more dietary restrictions, whether allergies or eating preferences.  Don’t hesitate to ask!

table setting


Here are some of my general questions when asking about a dish:

Is there sugar in the sauce?

Is the dish gluten-free?

What is the side accompaniment?

Is it breaded?

May I substitute the starch for another vegetable?

May I have the protein grilled or sautéed instead of fried or breaded?

You will find that breading, sauces, and sides are the main culprits.


Here are the main things you need to do:

1. Ask for sauce on the side – every time (Unless it is a heavy cream sauce made without flour or a lemon butter sauce – if this is the case, the more the better.)

2.  Ask for extra veggies with butter instead of potatoes, pasta, rice, or risotto.

3.  First thing when you arrive – ask your waiter to hold the bread, but bring the butter (real butter) – you may get a funny look, but they will do it!

4.  Order a bottle of wine, a martini, or vodka soda.  Stay away from the sugary cocktails.

5.  Order your salad without crouton or crisps and stay away from sweet dressings.  Blue Cheese, Ranch, and Caesar are generally safe.  It gets dicey with the vinaigrettes.

6.  Read the menu carefully – learn the code words: crispy or coated usually means fried, seasoned could mean sugar so ask.  Crunchy usually means it has something on top, like fried onions, tortilla chips, panko, etc.  Sweet, glazed, or brushed are almost always code for the dreaded SUGAR.  In short, always read the description, and if you are still unsure, ask!

7.  Good things to look for are: grilled, broiled, steamed, seared, baked, and sautéed.  Savory is usually good, and seasoned is often good as long as the seasoning does not contain sugar.

8.  At the end of the meal, refrain from looking at the dessert menu.  Too much temptation.  Ask for a decaf with heavy cream if you need a little something while your friends order dessert.  They won’t be used to the heavy cream order, but almost any good kitchen has cream, so ask the waiter to check the kitchen.

I promise it is really easy after you get used to ordering Keto.  Restaurants are starting to have more gluten free dishes (I just ate at one that had a gluten-free menu – remember though that gluten-free doesn’t mean carb-free), and many are used to patrons ordering low-carb.  Most of all, don’t be afraid to ask questions.  It is not about weight at this point, it is about your health!

Good places to start are:

Bar-B-Que Restaurants (Have all the meat you want, but watch the sauce and sides)

Steak Restaurants (Steak is great – order with Béarnaise and side salad and veggies – skip the potatoes)

Seafood Restaurants (Shrimp and Fish are great – Add lemon butter and it’s even better)


Here are a few pictures of meals we have ordered out to give you some ideas:

Both dishes below were from Houston Street Bistro.  They were wonderful about substituting the pasta that was supposed to be served with each dish with vegetables instead.  The shrimp is in a lemon butter sauce with broccoli and carrots.  The chicken and mushroom dish is in a flourless cream sauce served with a side of spinach instead of over pasta.

IMG_0664 IMG_0663


These next three are all from different restaurants.

 The first is a high-end restaurant that had calf liver on the specials menu (a top Keto food) and to top it off, it had sauted onion and BACON!

IMG_1238


This is a cup of beanless chili from a local delicatessen.

IMG_1239

Beef Cheeks from a local restaurant.

IMG_1240


This was a fantastic meal from Silo – Lamb with veggies, and they even brought hollandaise on the side.

IMG_0631


Hopefully these give you some ideas of how easy it is to order a delicious meal out on the town!  Have a great weekend!


Breakfast, Lunch, or Dinner Quiche

What else can I make besides scrambled eggs and bacon?  This is in the Top 10 list of questions we receive.

Eggs are great!  We know that, but we also get tired of the same old thing every day!

A Quiche is a great way to dress up your eggs in a beautiful way that the whole family can enjoy for any meal of the day.  It is filled with all the great nutrients that eggs provide, and anything else you wish to add to give it that special touch.  It is also a method to hide vegetables if you have picky eaters!  And…best of all, it cooks great without a crust.  No need to add carbs to something so savory and wonderful already!

These are great with the end of school approaching because you can prepare it a day ahead, and it reheats quickly and perfectly.  It is also delicious as a weekend dish straight out of the oven!  Fresh quiche just melts in your mouth.  Prepare to be creative and enjoy!


Crustless Broccoli Garlic Bacon Quiche

1 cup chopped onion

10 ounces chopped broccoli florets (approx. 3 cups)

5 cloves garlic

4 Tbsp butter

6 large eggs

1 1/2 cups cream

2 cups shredded sharp cheddar cheese (I didn’t have so I used a Colby/Monterrey Jack)

6 slices of cooked bacon

1/4 tsp cayenne

1 tsp ground mustard

1/2 tsp salt

1/2 tsp fresh ground pepper

1/4 tsp freshly ground nutmeg

9 1/2 inch deep dish pie plate

Preheat oven to 400 degrees.

Gather your ingredients, and chop your onion, garlic, and broccoli.  This is my favorite garlic chopper!

IMG_1010

IMG_1009


Sauté your onion and garlic in the butter.  Then add your broccoli to soften slightly.

IMG_1012


Spray your pie dish with coconut oil spray (you can find it here).

IMG_1014

For a Quiche, you want to layer your ingredients.  Start with your sautéed vegetables, and then top with bacon.  This goes for any type of quiche – veggies on the bottom, then your meat, then cheese, then top with your egg mixture.

IMG_1016


Sprinkle the cheese on top of the bacon.

IMG_1017Mix your eggs, cream, nutmeg, ground mustard, cayenne, salt and pepper.

Pour over the cheese.

IMG_1018

Place your quiche in your preheated 400 degree oven for 15 minutes.  Reduce heat after 15 minutes to 325 degrees and bake for an additional 30 minutes.

It should look puffy and delicious when you remove from the oven:

IMG_1020

As it cools, it will sink slightly.  Allow to cool for 20 minutes or so if you want to enjoy it right away.  If you are preparing ahead, allow to cool completely, cover with saran, and store in the refrigerator until ready to use.  This will keep for up to 5 days in the refrigerator.  Reheat in the oven or in the microwave for about 30 seconds a slice.

IMG_1021

Be creative with your ingredients.  My children have requested ham and cheese for the next one.  You can do spinach and parmesan, vegetable, bacon and cheese, or any other combination you can imagine.  Just remember to layer in the order above and cook accordingly!  Enjoy!


Great Side Dish for a Bar-B-Que!

Broccoli Salad

This is one of my favorite side dishes for a Bar-B-Que when you have gone Low-Carb!  Perfect for the Memorial Day holiday and filled with many of our favorite ingredients!

We hope that everyone has a safe, fun weekend filled with laughter, and time spent with loved ones and friends!  Special thanks to all who have served to protect our freedom this Memorial Day!


Bar-B-Que Broccoli Salad

8 Slices of Bacon Cooked and chopped

2 heads of Broccoli (chopped and lightly steamed-emphasis on lightly)

2 cups of Sharp Cheddar Cheese, shredded

1/2 red onion finely chopped

1/2 cup red wine vinegar

1/4 cup xylitol

3 tsp black pepper

1 1/2 tsp salt

1 1/2 cup mayonnaise

2 tsp fresh lemon juice


1.  Cook your bacon and lightly steam your broccoli.  Cool.

2. Mix together your red wine vinegar, xylitol, black pepper, salt, lemon juice, and mayonnaise.  This is your dressing!

3.  Combine your broccoli, cheese, bacon, and onion, and combine together for your salad.

4.  Slowly pour and mix your dressing with your salad, tossing to combine well.  Start with half of your dressing, and add more to your desired taste.  Let it sit in the refrigerator for 2 hours before serving.

5.  Enjoy!

Something Besides Eggs for Breakfast!

IMG_0870Yep!  You can eat something other than eggs for breakfast!

How about some buttermilk pancakes, for instance?

I know, how is it possible?  Well, when you have three kids begging you for something other than eggs for the 21st day in a row, you get creative!

I searched last Saturday for a recipe to make everyone happy.  I could not find any recipes that suited our family, so I whipped up something very special!  Most of the Paleo or Keto pancake recipes are either flavored or only make a single serving in a skillet.  I wasn’t about to make a recipe 5 times to feed all of us, and they wanted plain old pancakes like Mom used to make.

How did they turn out?  Fabulous!  The children told me that they actually liked them better than the ones I used to make, and I have to admit, they were pretty darned good.

With the long weekend coming up, I thought this an apropos time to hopefully make some other children (or adults) very happy on a relaxing weekend.


Your Ingredients:

IMG_0872

We have added several of our staple ingredients to our Amazon store, so you can click on the item and have it delivered to your door if you don’t already have it in your pantry.

Buttermilk Pancakes

Yield: 16 (Very Filling) Pancakes

1/2 Cup Coconut Flour

1/2 Cup Almond Flour

5 eggs

2/3 Cup Almond or Coconut Milk mixed with 3/4 tsp Apple Cider Vinegar

1 tsp Vanilla

1/2 tsp Baking Soda

1/4 Cup Swerve Granular

4 Tbsp Butter or Coconut Oil (Melted)

1/4 tsp Sea Salt

4 oz Cream Cheese (Softened)

Directions:

Preheat your griddle to 375 degrees.

1.  Combine your dry ingredients in a large mixing bowl: flours, soda, salt and Swerve.

2.  Add your eggs, one at a time, and mix together to form a thick batter:

IMG_0862

3.  Mix your Almond or Coconut Milk together with your Apple Cider Vinegar:

IMG_0863

4.  Pour this into your flour and egg mixture and mix.

5.  Add your remaining ingredients, and mix well with a hand mixer.

IMG_0864

6. I usually do not have to grease my griddle, but if you prefer to do so, you can use this.

7. I used a 1/4 cup measuring cup to spoon my batter evenly onto the griddle.

IMG_0865

8. Just like regular pancakes, when they start to bubble, flip them over.

IMG_0866

9. They should be a nice golden brown color when they are ready to eat!

IMG_0868

10. I just ate mine with butter, and they were plenty sweet with the added Swerve.  I will allow my children to eat a dab of honey, or pure maple syrup.  A better alternative is an all-natural sugar free syrup that you can buy here.

11. Enjoy!

IMG_0869 IMG_0870 IMG_0871Just to give you an idea on portion, we each had three pancakes, and were stuffed!  With the coconut flour and eggs, they are very filling!  One batch fed 5 very hungry people!


Holy Guacamole!

Okay, so guacamole may not be holy, but it’s pretty close in my house.  Avocados are almost the perfect Keto food, and they are loaded with potassium, folate, and vitamin K!

Avocados are ALWAYS in our kitchen!  We eat them on our green salads, and they are excellent in a tomato and mozzarella salad as well.  Our favorite way to eat avocados though, is guacamole!

We eat guacamole on almost anything.  We use is on our eggs in the morning (any kind), salads at lunch, and burgers and fajitas for dinner.  We can’t get enough!

If you missed the post the other day on the cheese crackers, now is the time to scroll down.  This is one of my favorite tricks!  We love the cheese crackers to dip in the guacamole!

It is a super easy recipe to make too!

IMG_0856

Guacomole

3-4 large avocados

1/2 bunch cilantro

1/4 red onion

juice of 1 lemon

garlic salt to taste


It took me many years to discover the best way to scoop an avocado.  Now that we eat them daily, I have the perfect tip for you.

IMG_0851

Slice the avocado lengthwise.

IMG_0852

Once open, chop down on the seed, twist and remove.

IMG_0859

Using a serving spoon, scoop the meat out of the skin.

Now you ready to get your ingredients together!

IMG_0854

Chop your onion and cilantro finely.

IMG_0855

Using a lemon/lime juicer, squeeze all the juice out of your lime.

Mix everything together and sprinkle with garlic salt.  Taste, and add more if needed.

IMG_0853


YUM!!!!

IMG_0857

« Older Entries Recent Entries »