Tag Archive for kids

A Little Weekend Adventure

A couple of weekends ago, I made a trip down to our local Farmer’s Market in San Antonio at the Pearl Brewery.  I have been wanting to to go for months to pick up some fresh eggs, but something always seems to get in the way – usually the kiddo’s sports games:-).

I finally had the opportunity at the end of June, and I was not disappointed.  I grabbed my two youngest, yanking them away from their iPad screens almost kicking and screaming, strapped them into the car, and off we went!

As soon as we got there, my son looked at me and said, “Wow!  This isn’t what I expected! It is like a carnival.”

200409300214410_Carnival-Booths-in-a-row

I have to admit, he wasn’t too far off.  It was much larger than I remembered from a few years ago.  It is very nicely set up, and there were many foods and vendors from which to choose along with music, an information booth, and LOTS of dogs!

I highly recommend going (EARLY) if you have the chance.  I say early because when we arrived around 9:30 there were many options and plenty of stock.  By the time we left at noon, after seeing everything, I was scraping at the remnants of what was left.  I saw there was plenty when we arrived so I didn’t see the need to purchase anything right in the beginning just to carry it around with us.  My recommendation would be to take a cooler, buy as you go, and then stash your items in the car so you can keep shopping and grazing.

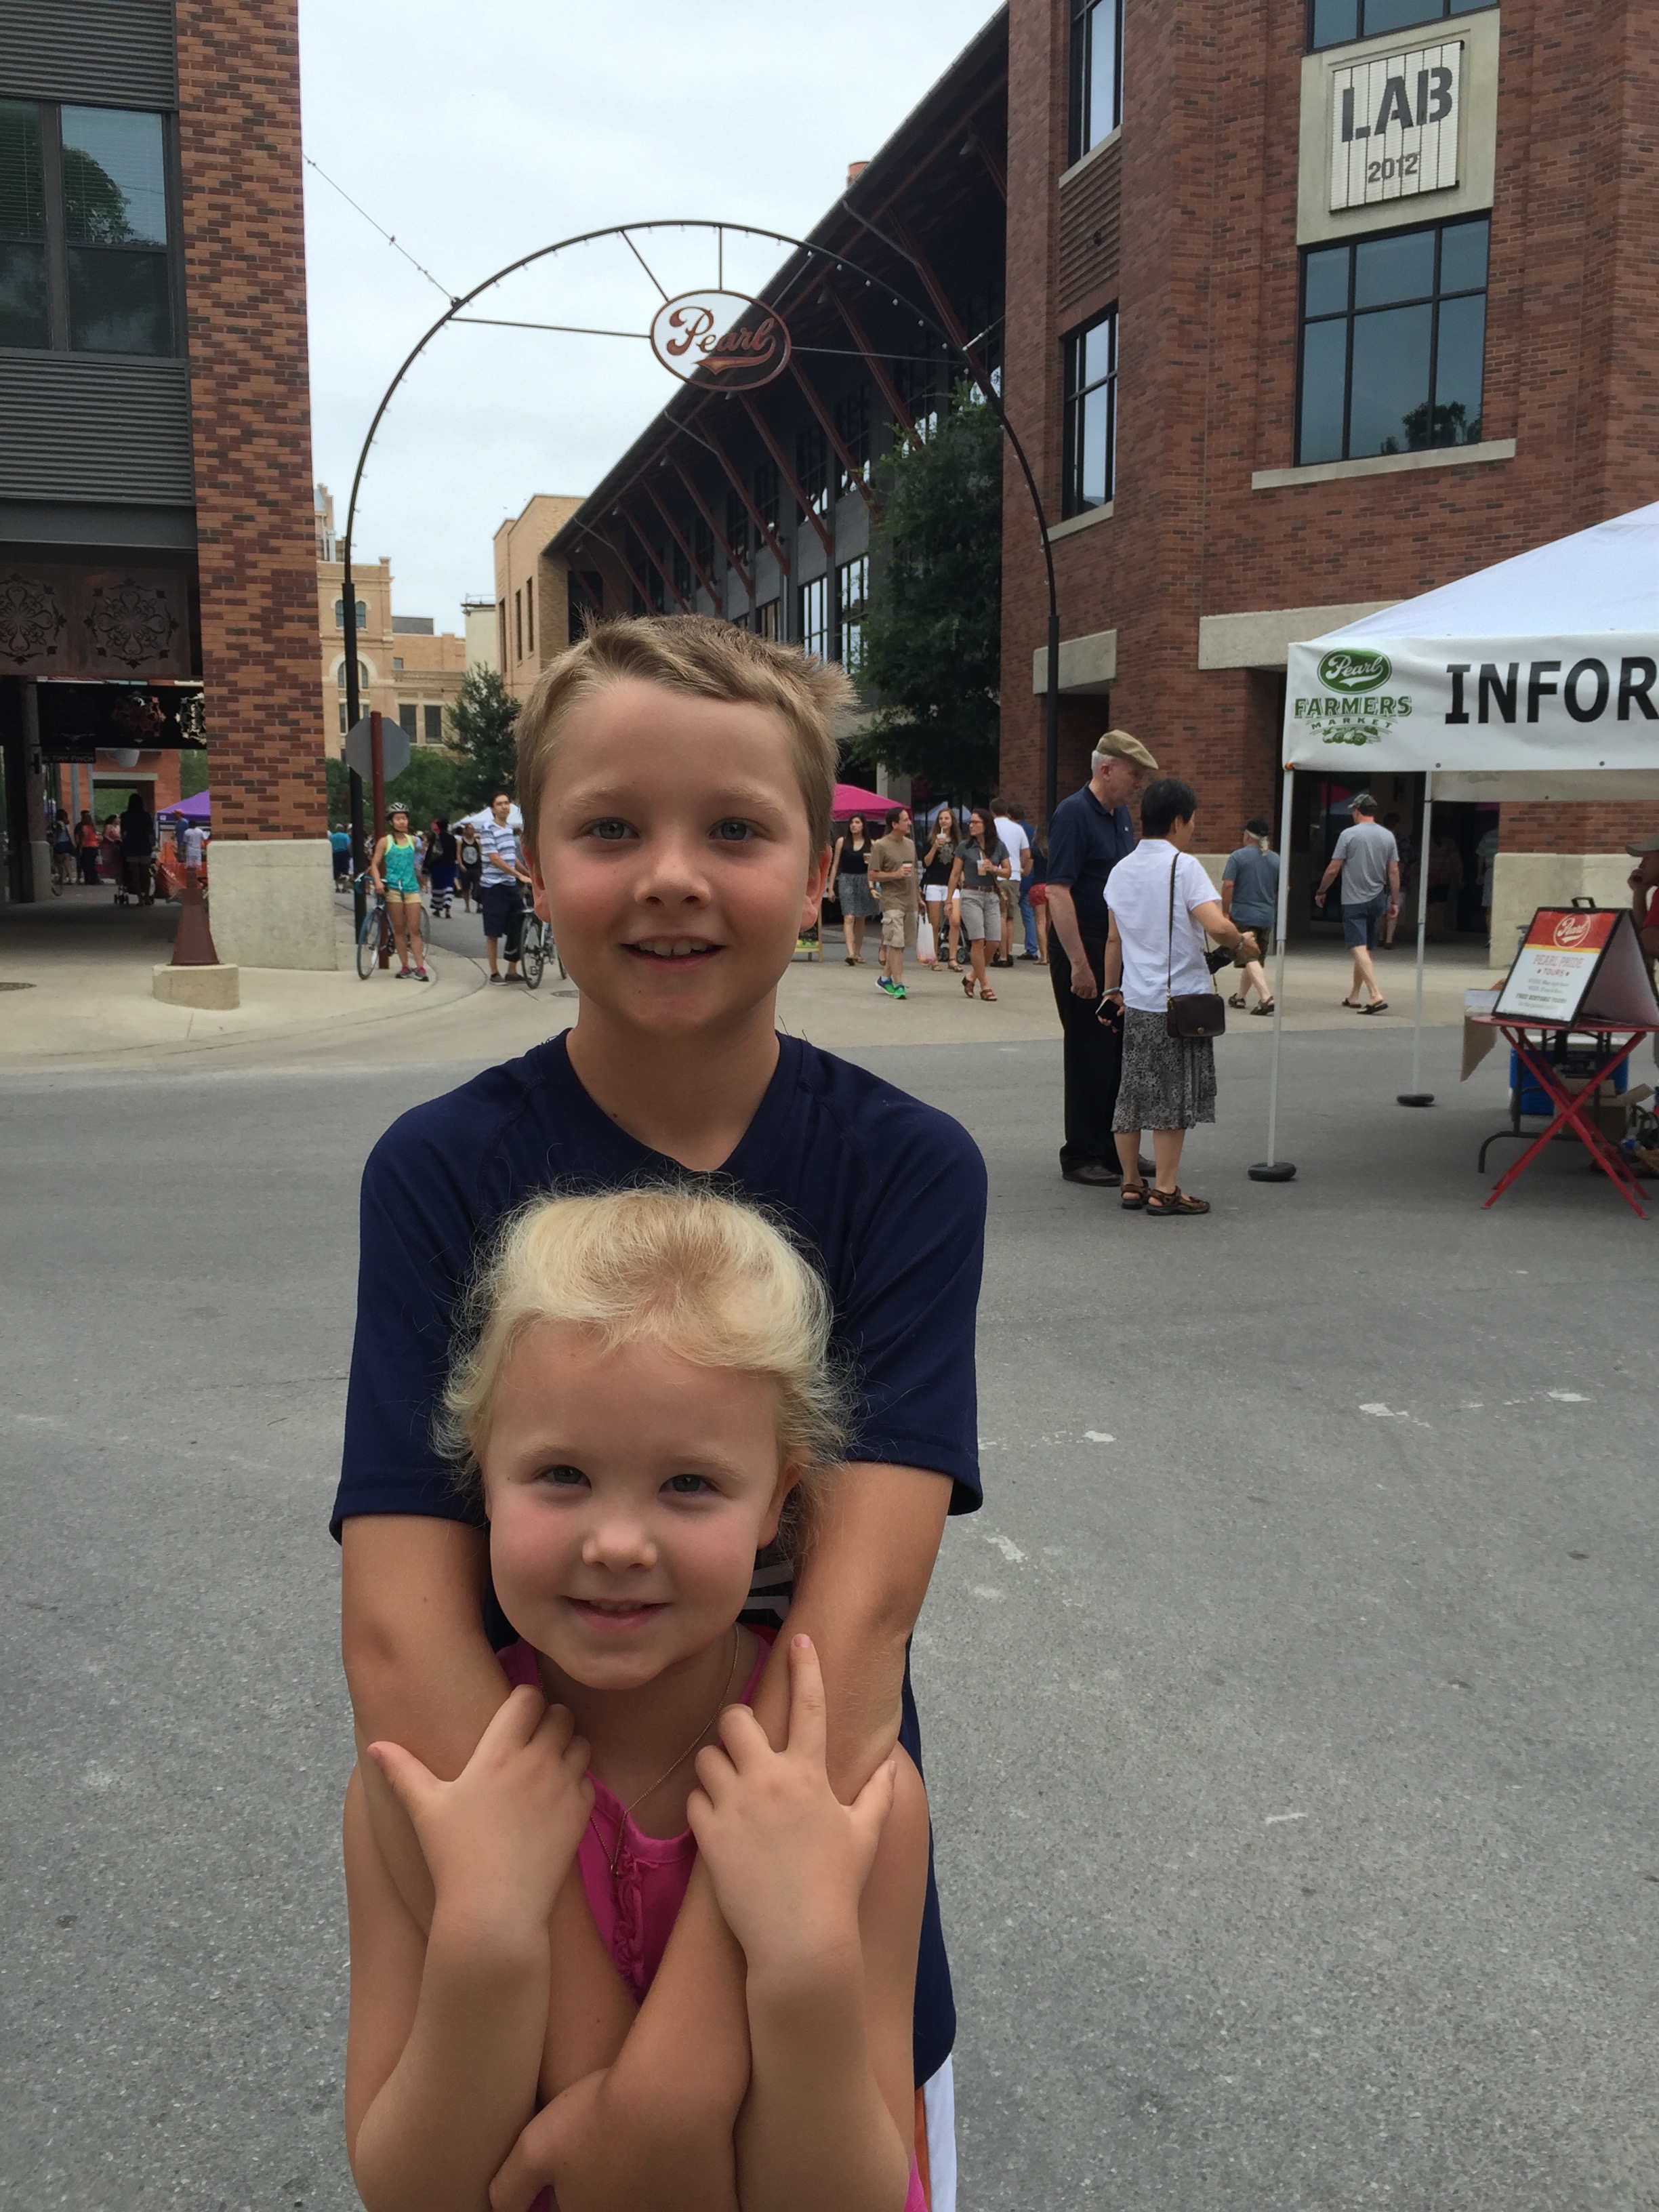
And grazing you can go!  My children tasted everything there you could possibly taste!  Look at these happy kiddos!  These do not look like the same children I tortured by pulling them away from their electronics!  These are my happy children.

IMG_2947

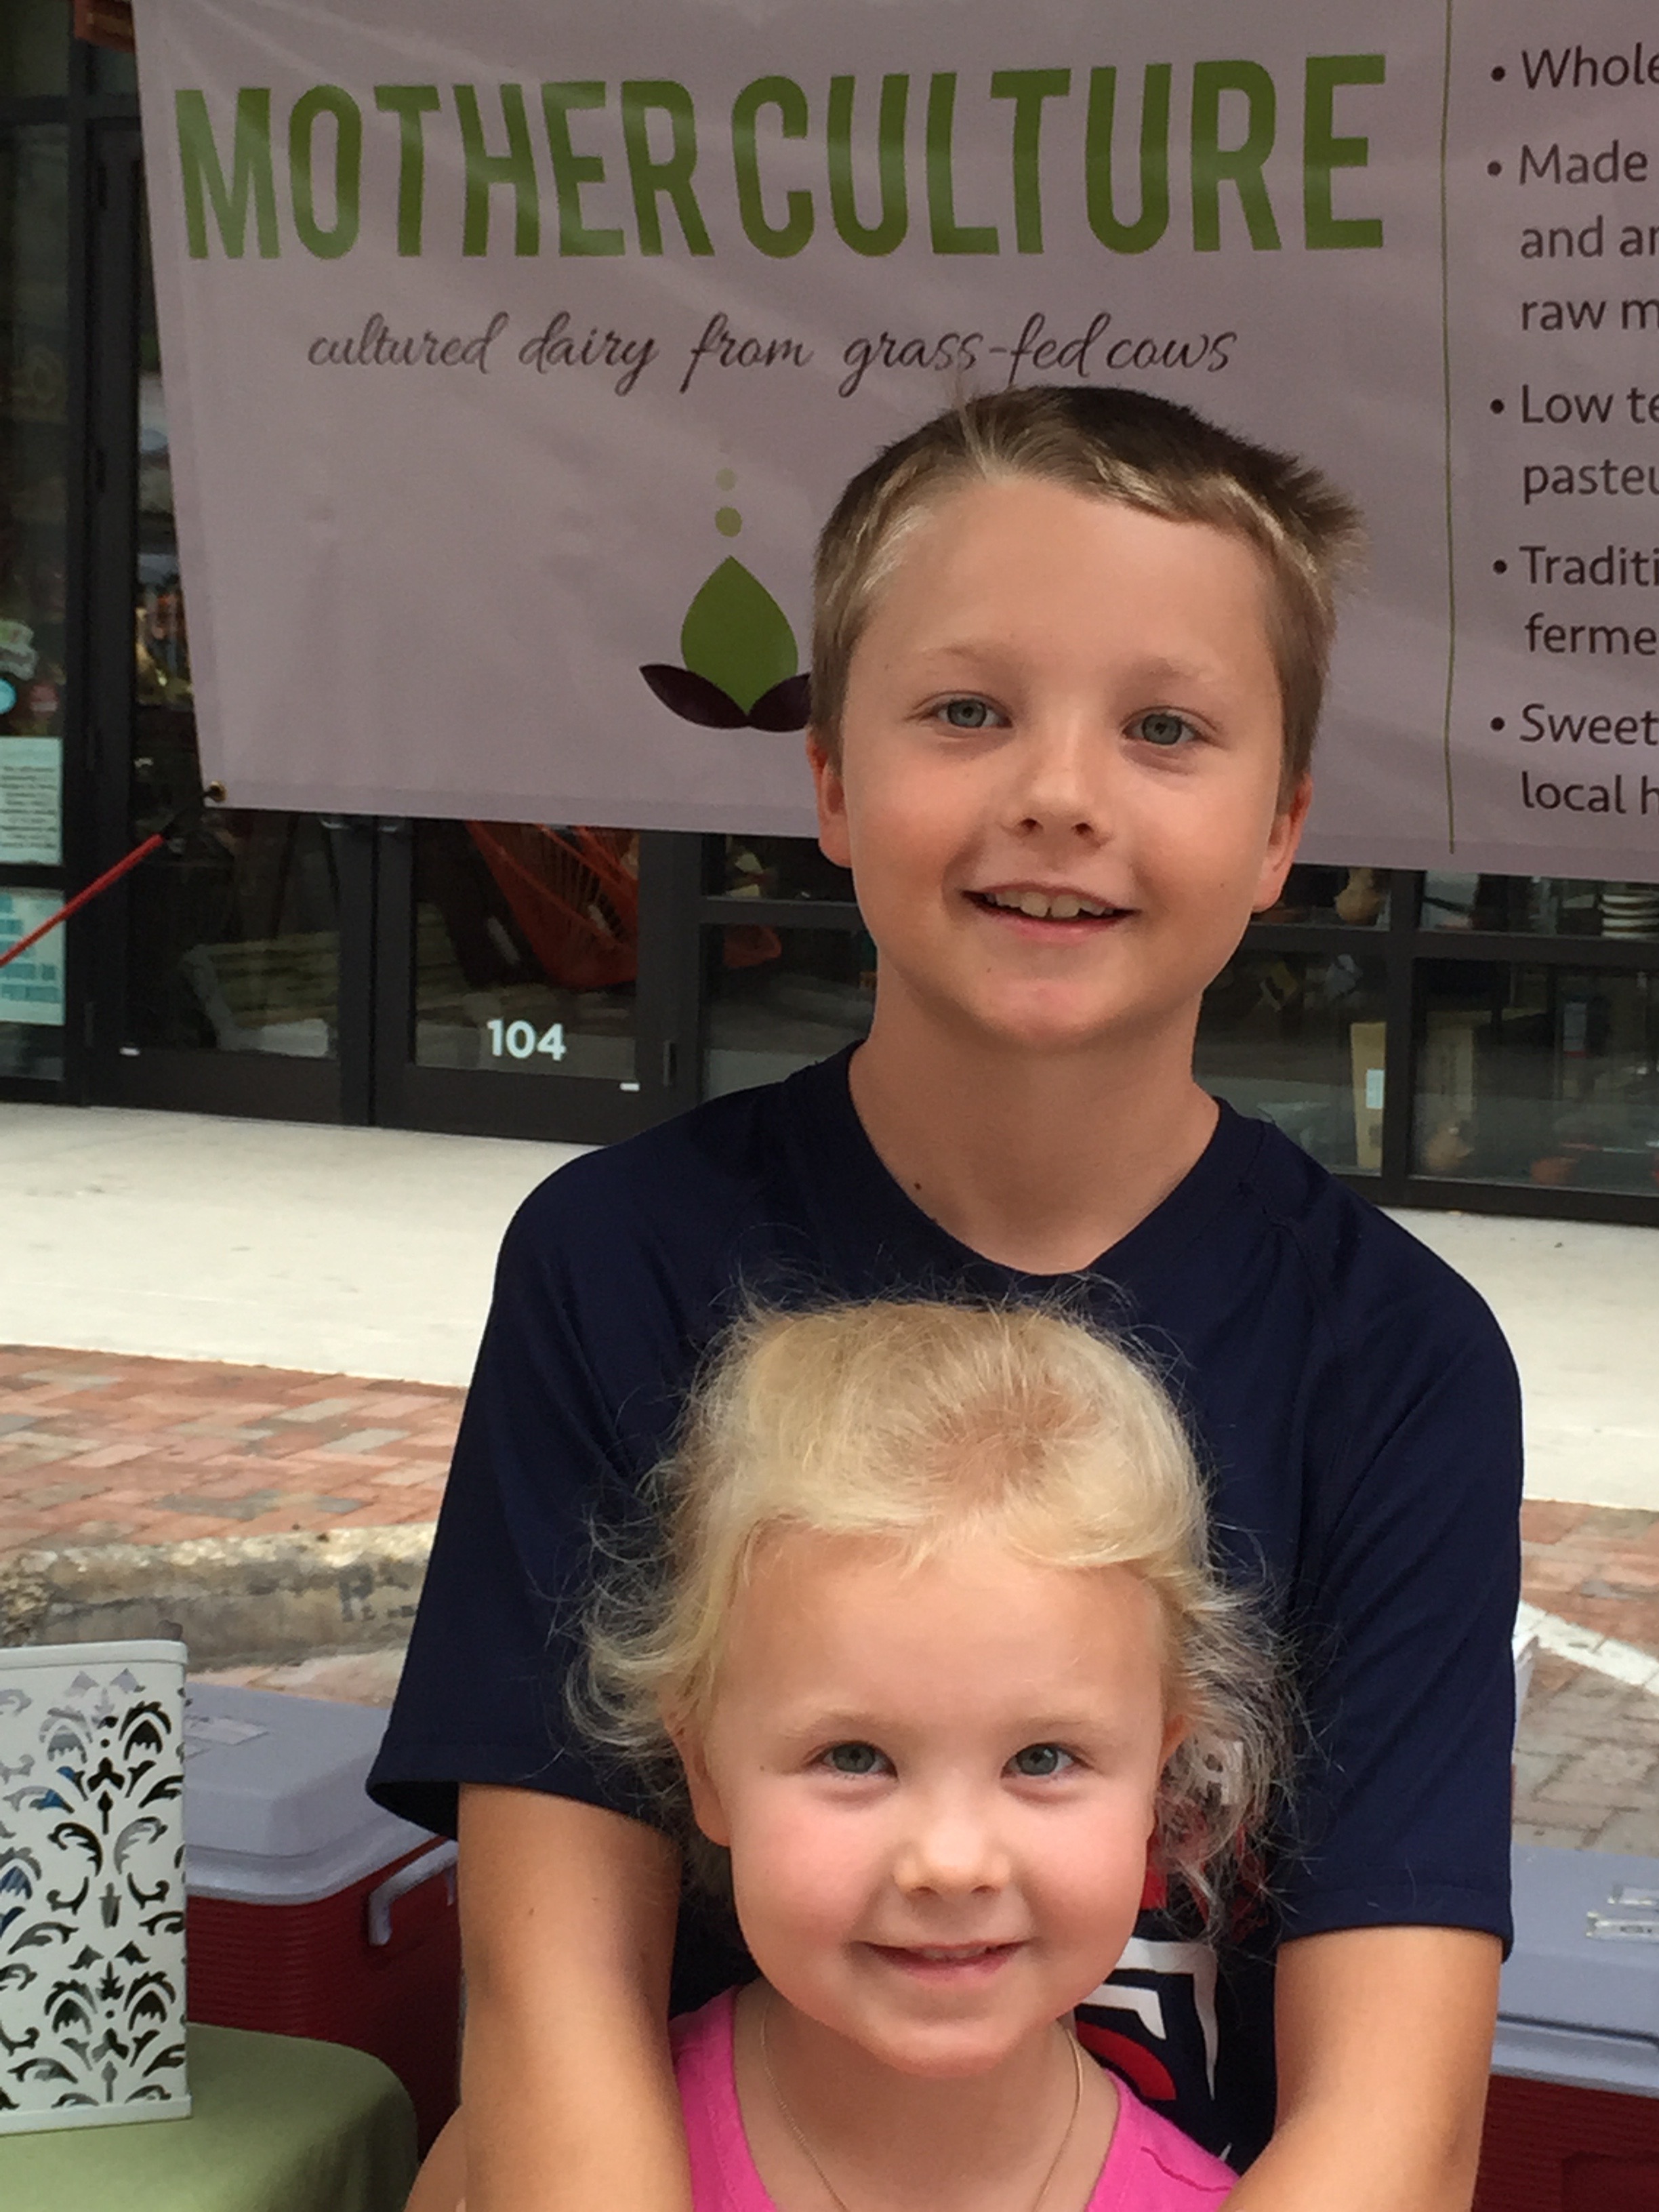
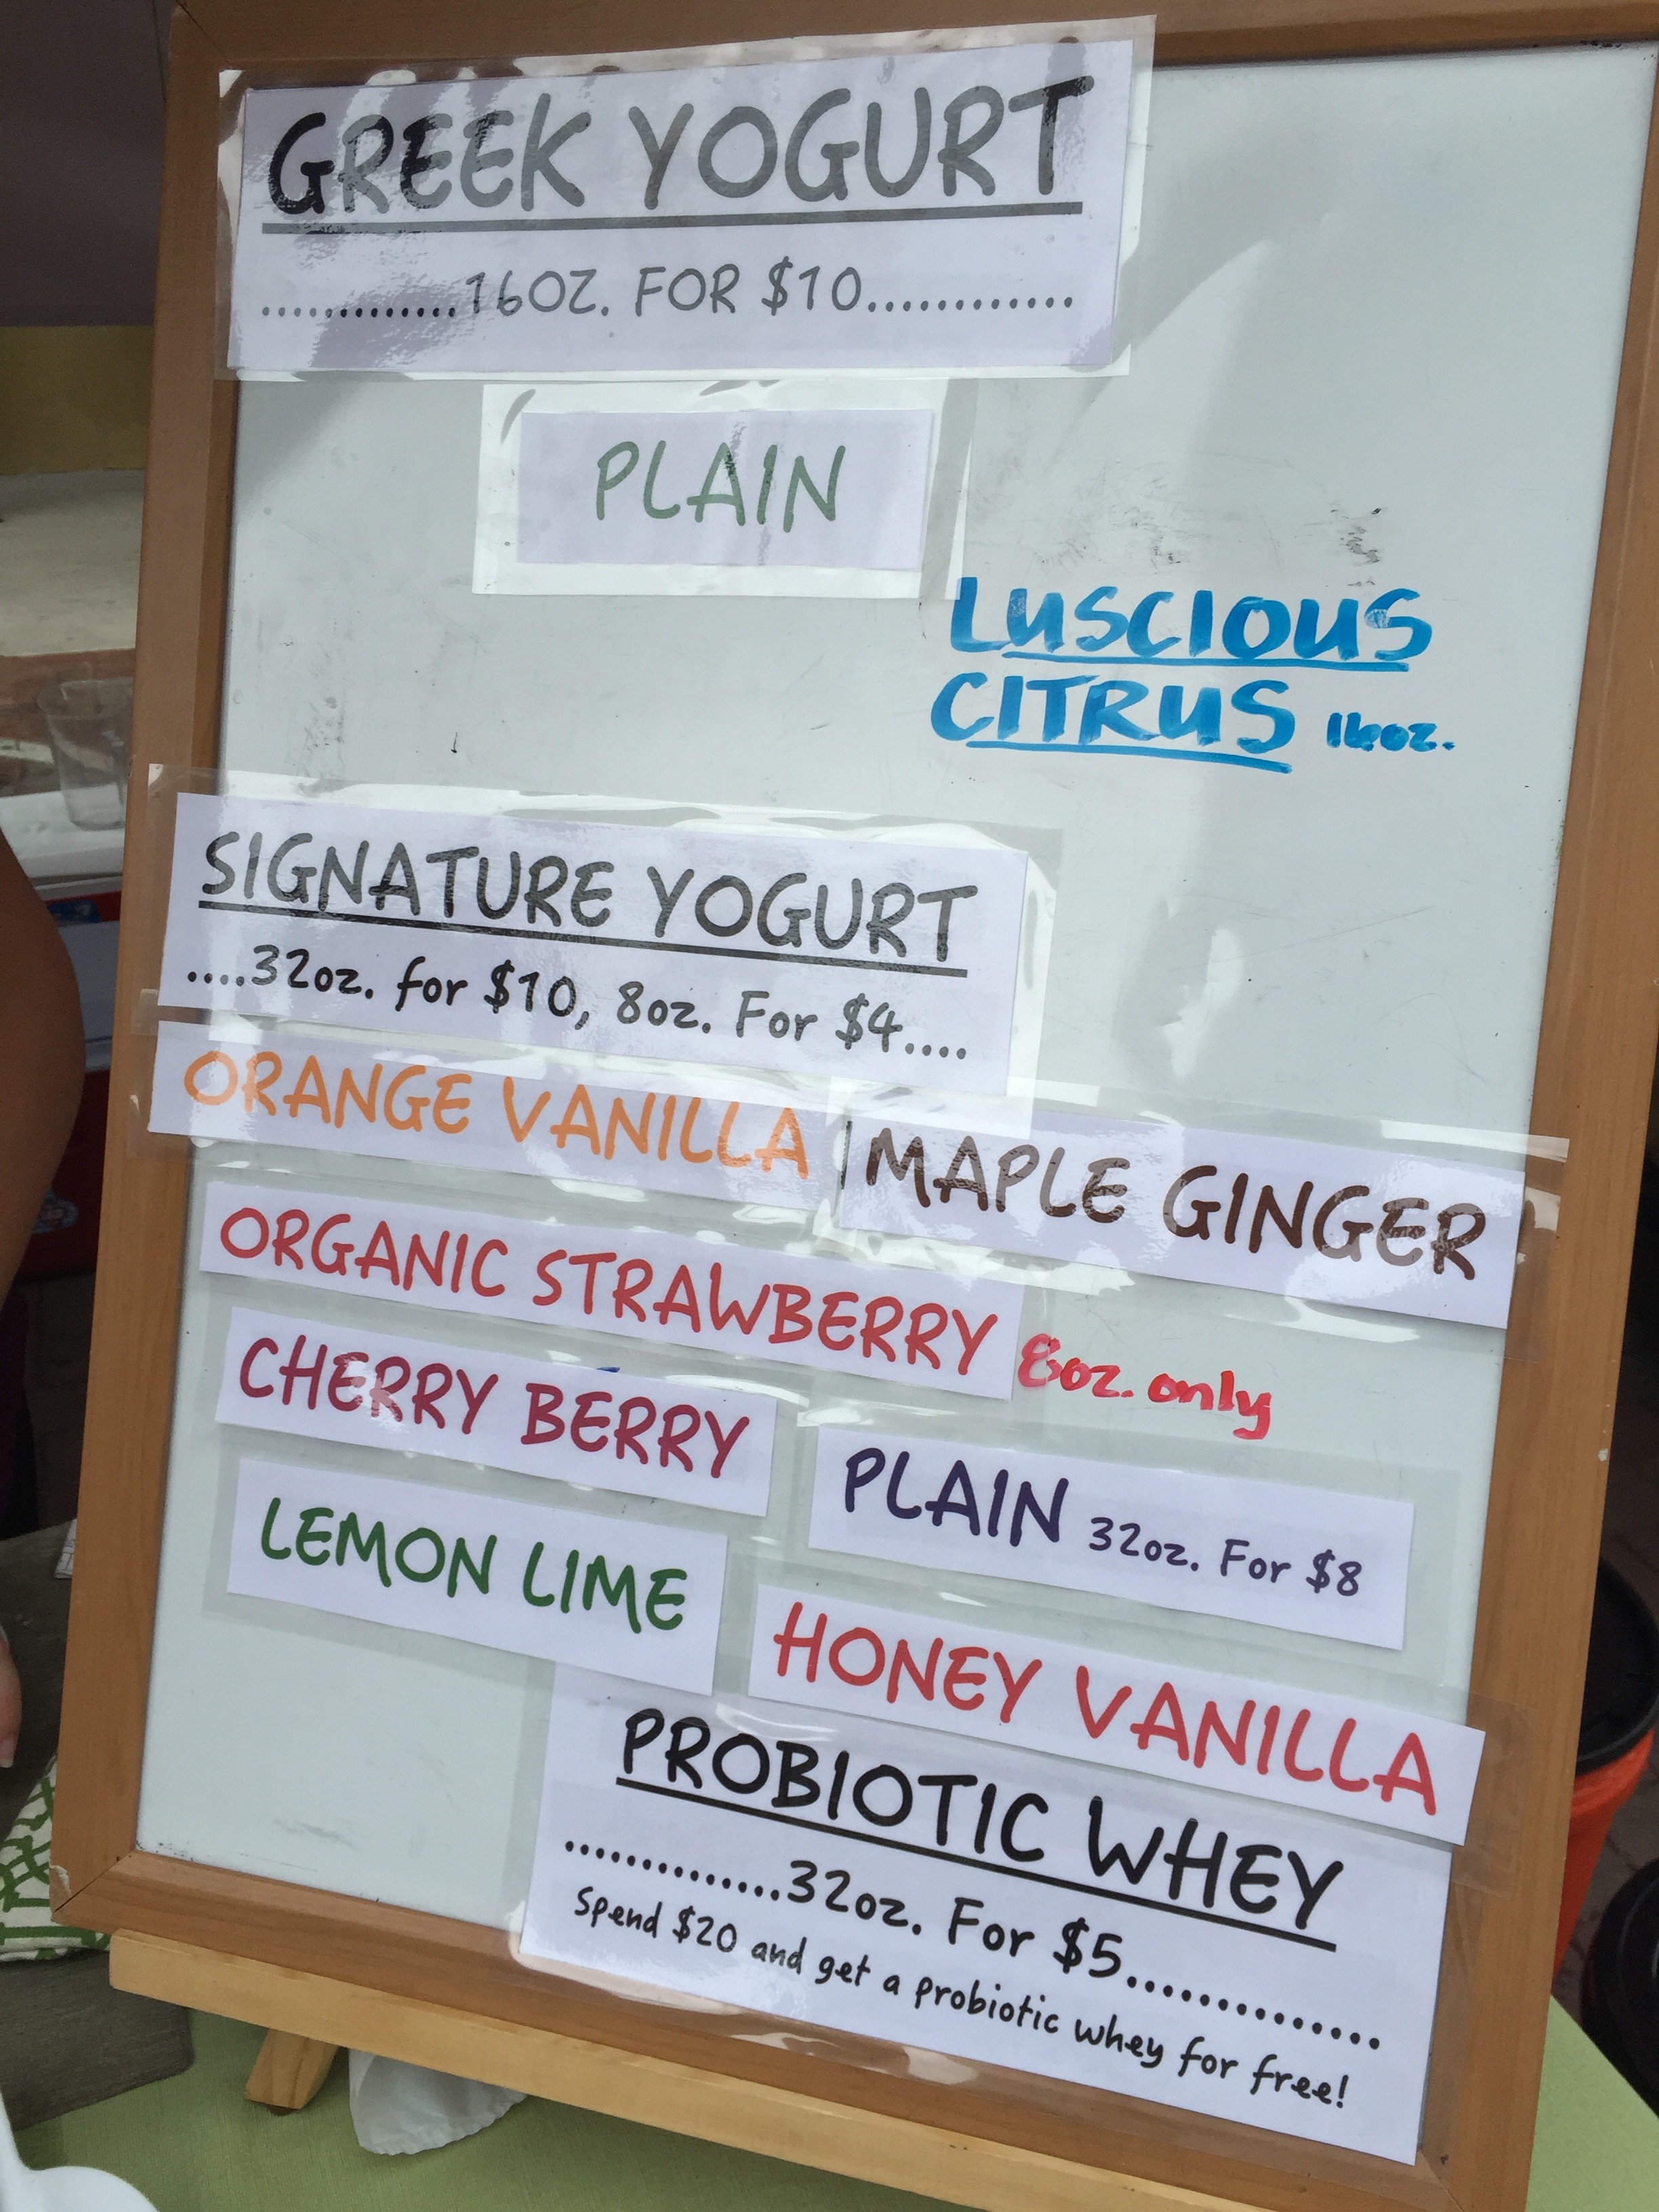
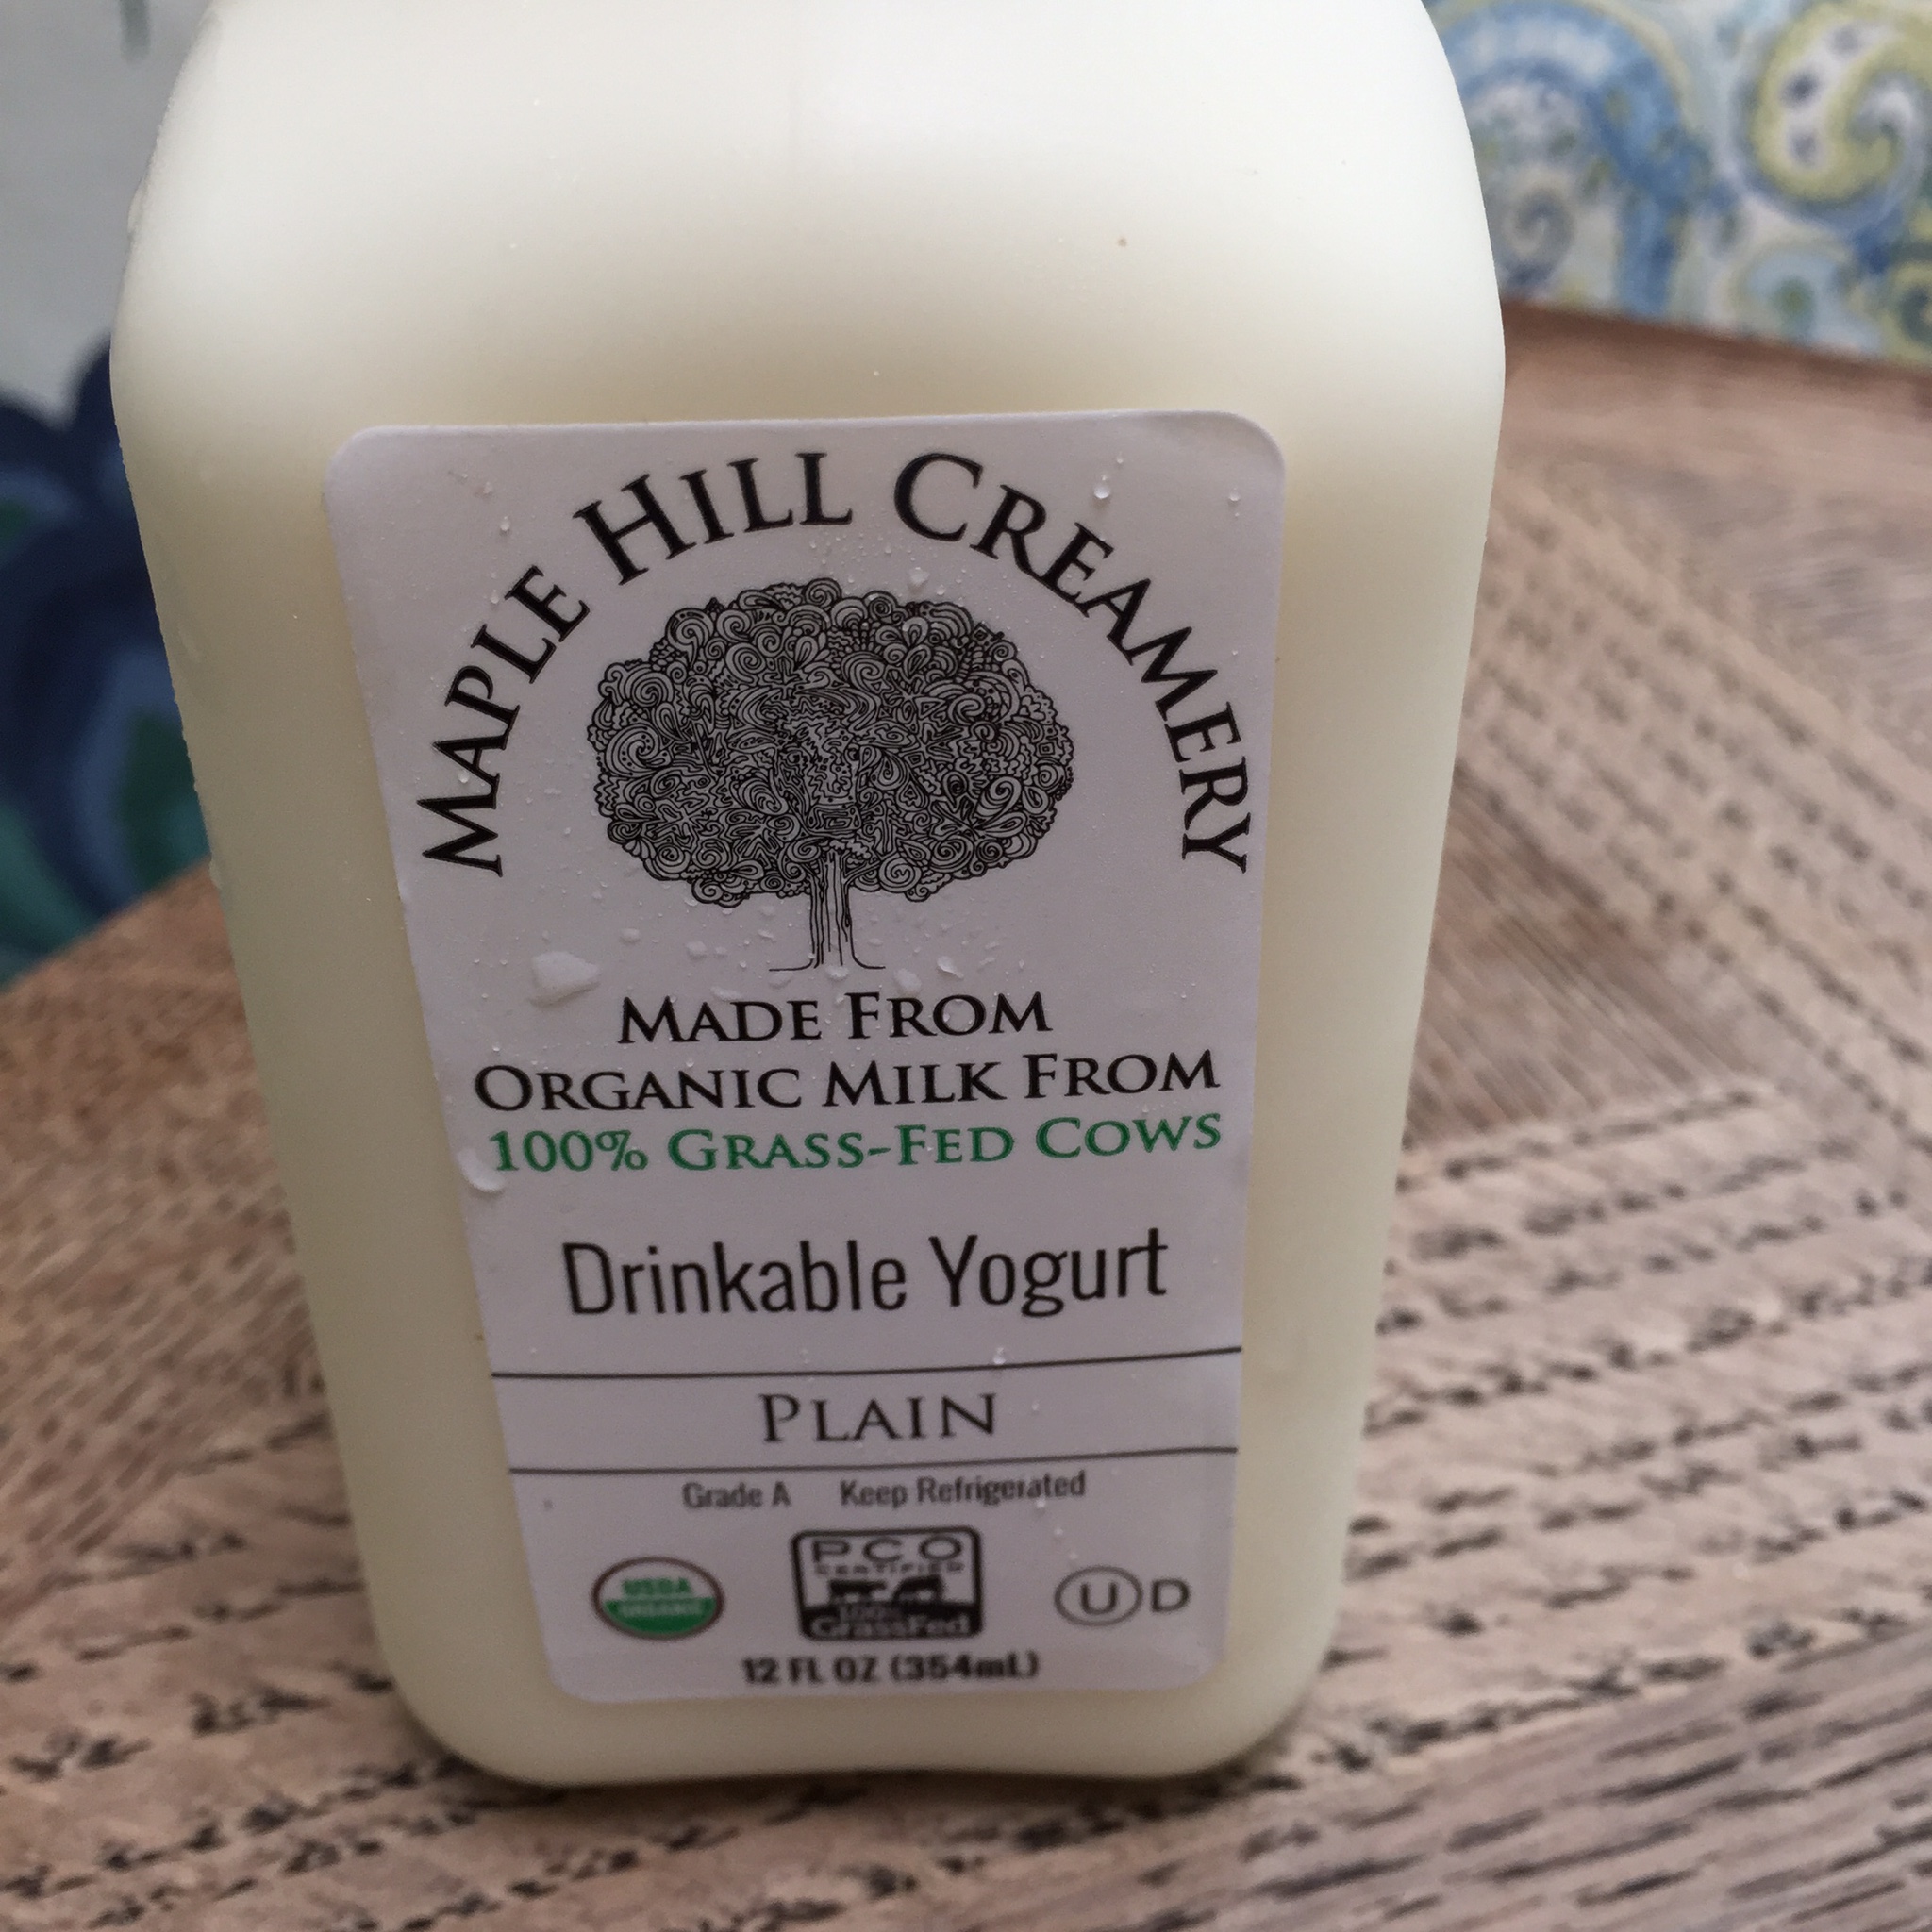
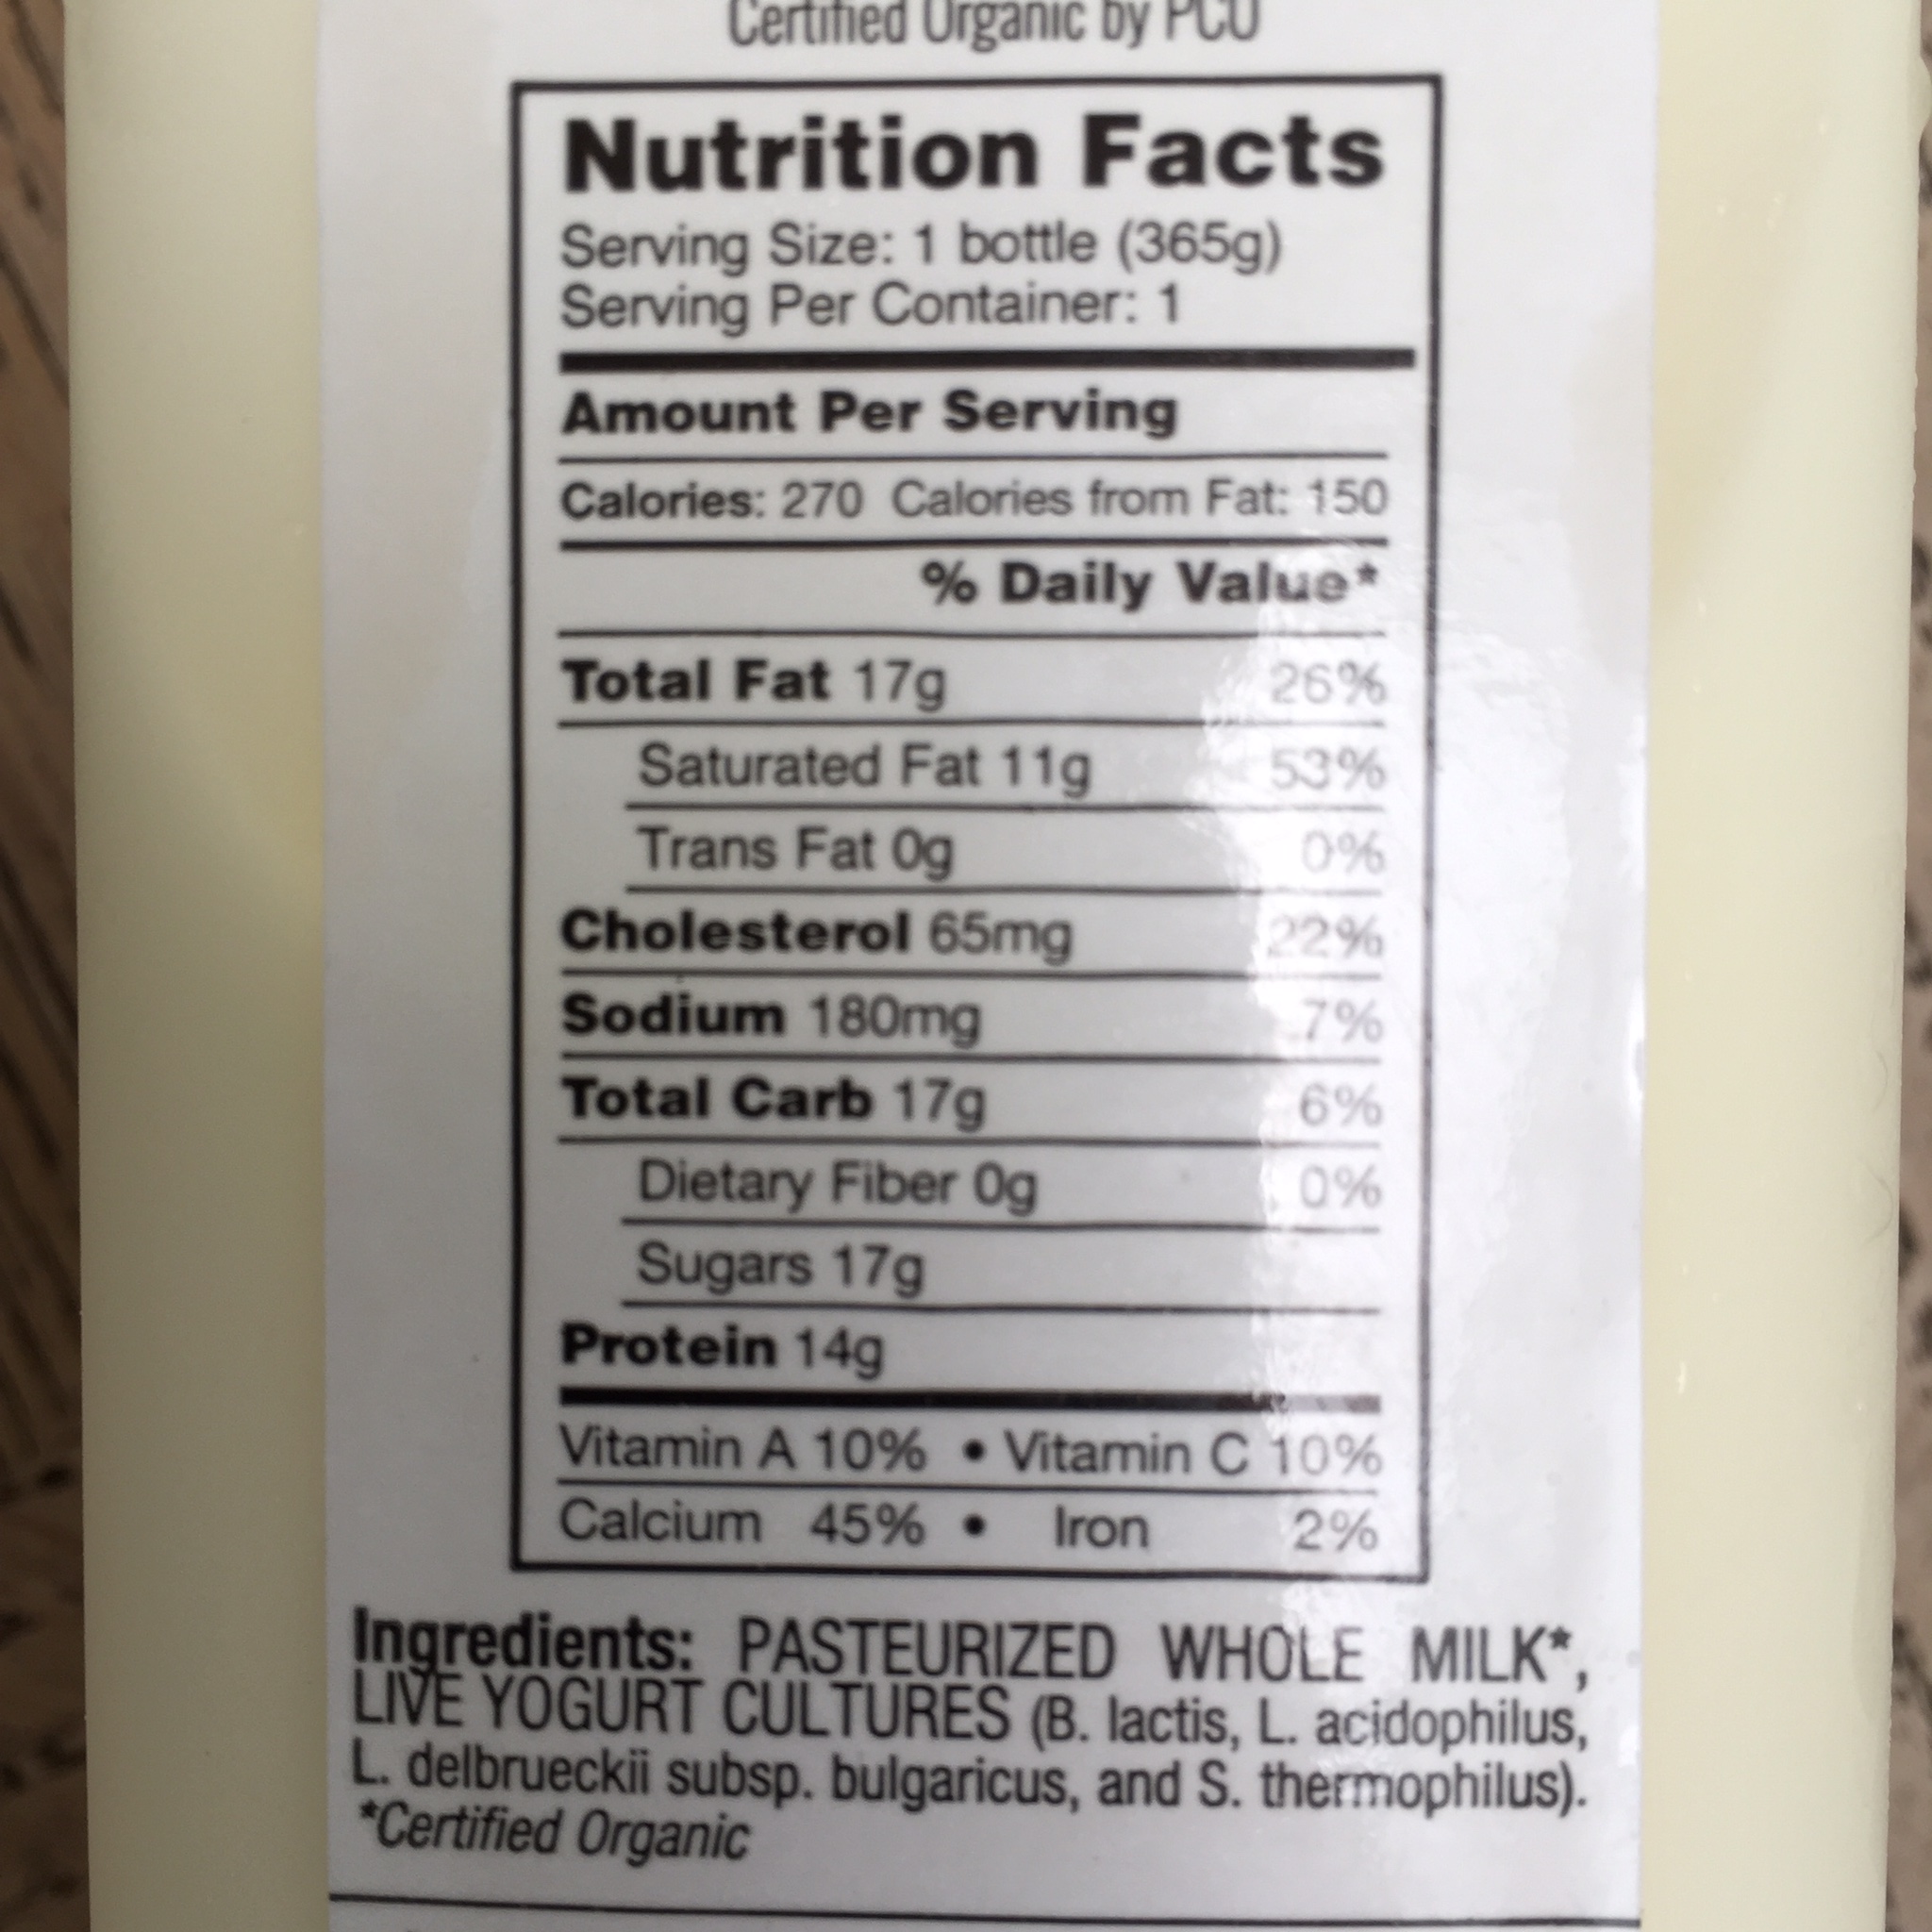
Of course, what is not to like after you have just tasted fresh Greek yogurt from grass-fed cows.  There was no more kicking and screaming.  After a bite of yogurt and some tasty cheese, they asked me if they could come back every weekend.

Like I said, I went for eggs, and there were many suppliers for eggs.  The supplier that I liked the most after talking about the hens only had 2 dozen left at noon so I cleaned him out.  Next time, that will be my first stop!

IMG_2960 IMG_2959

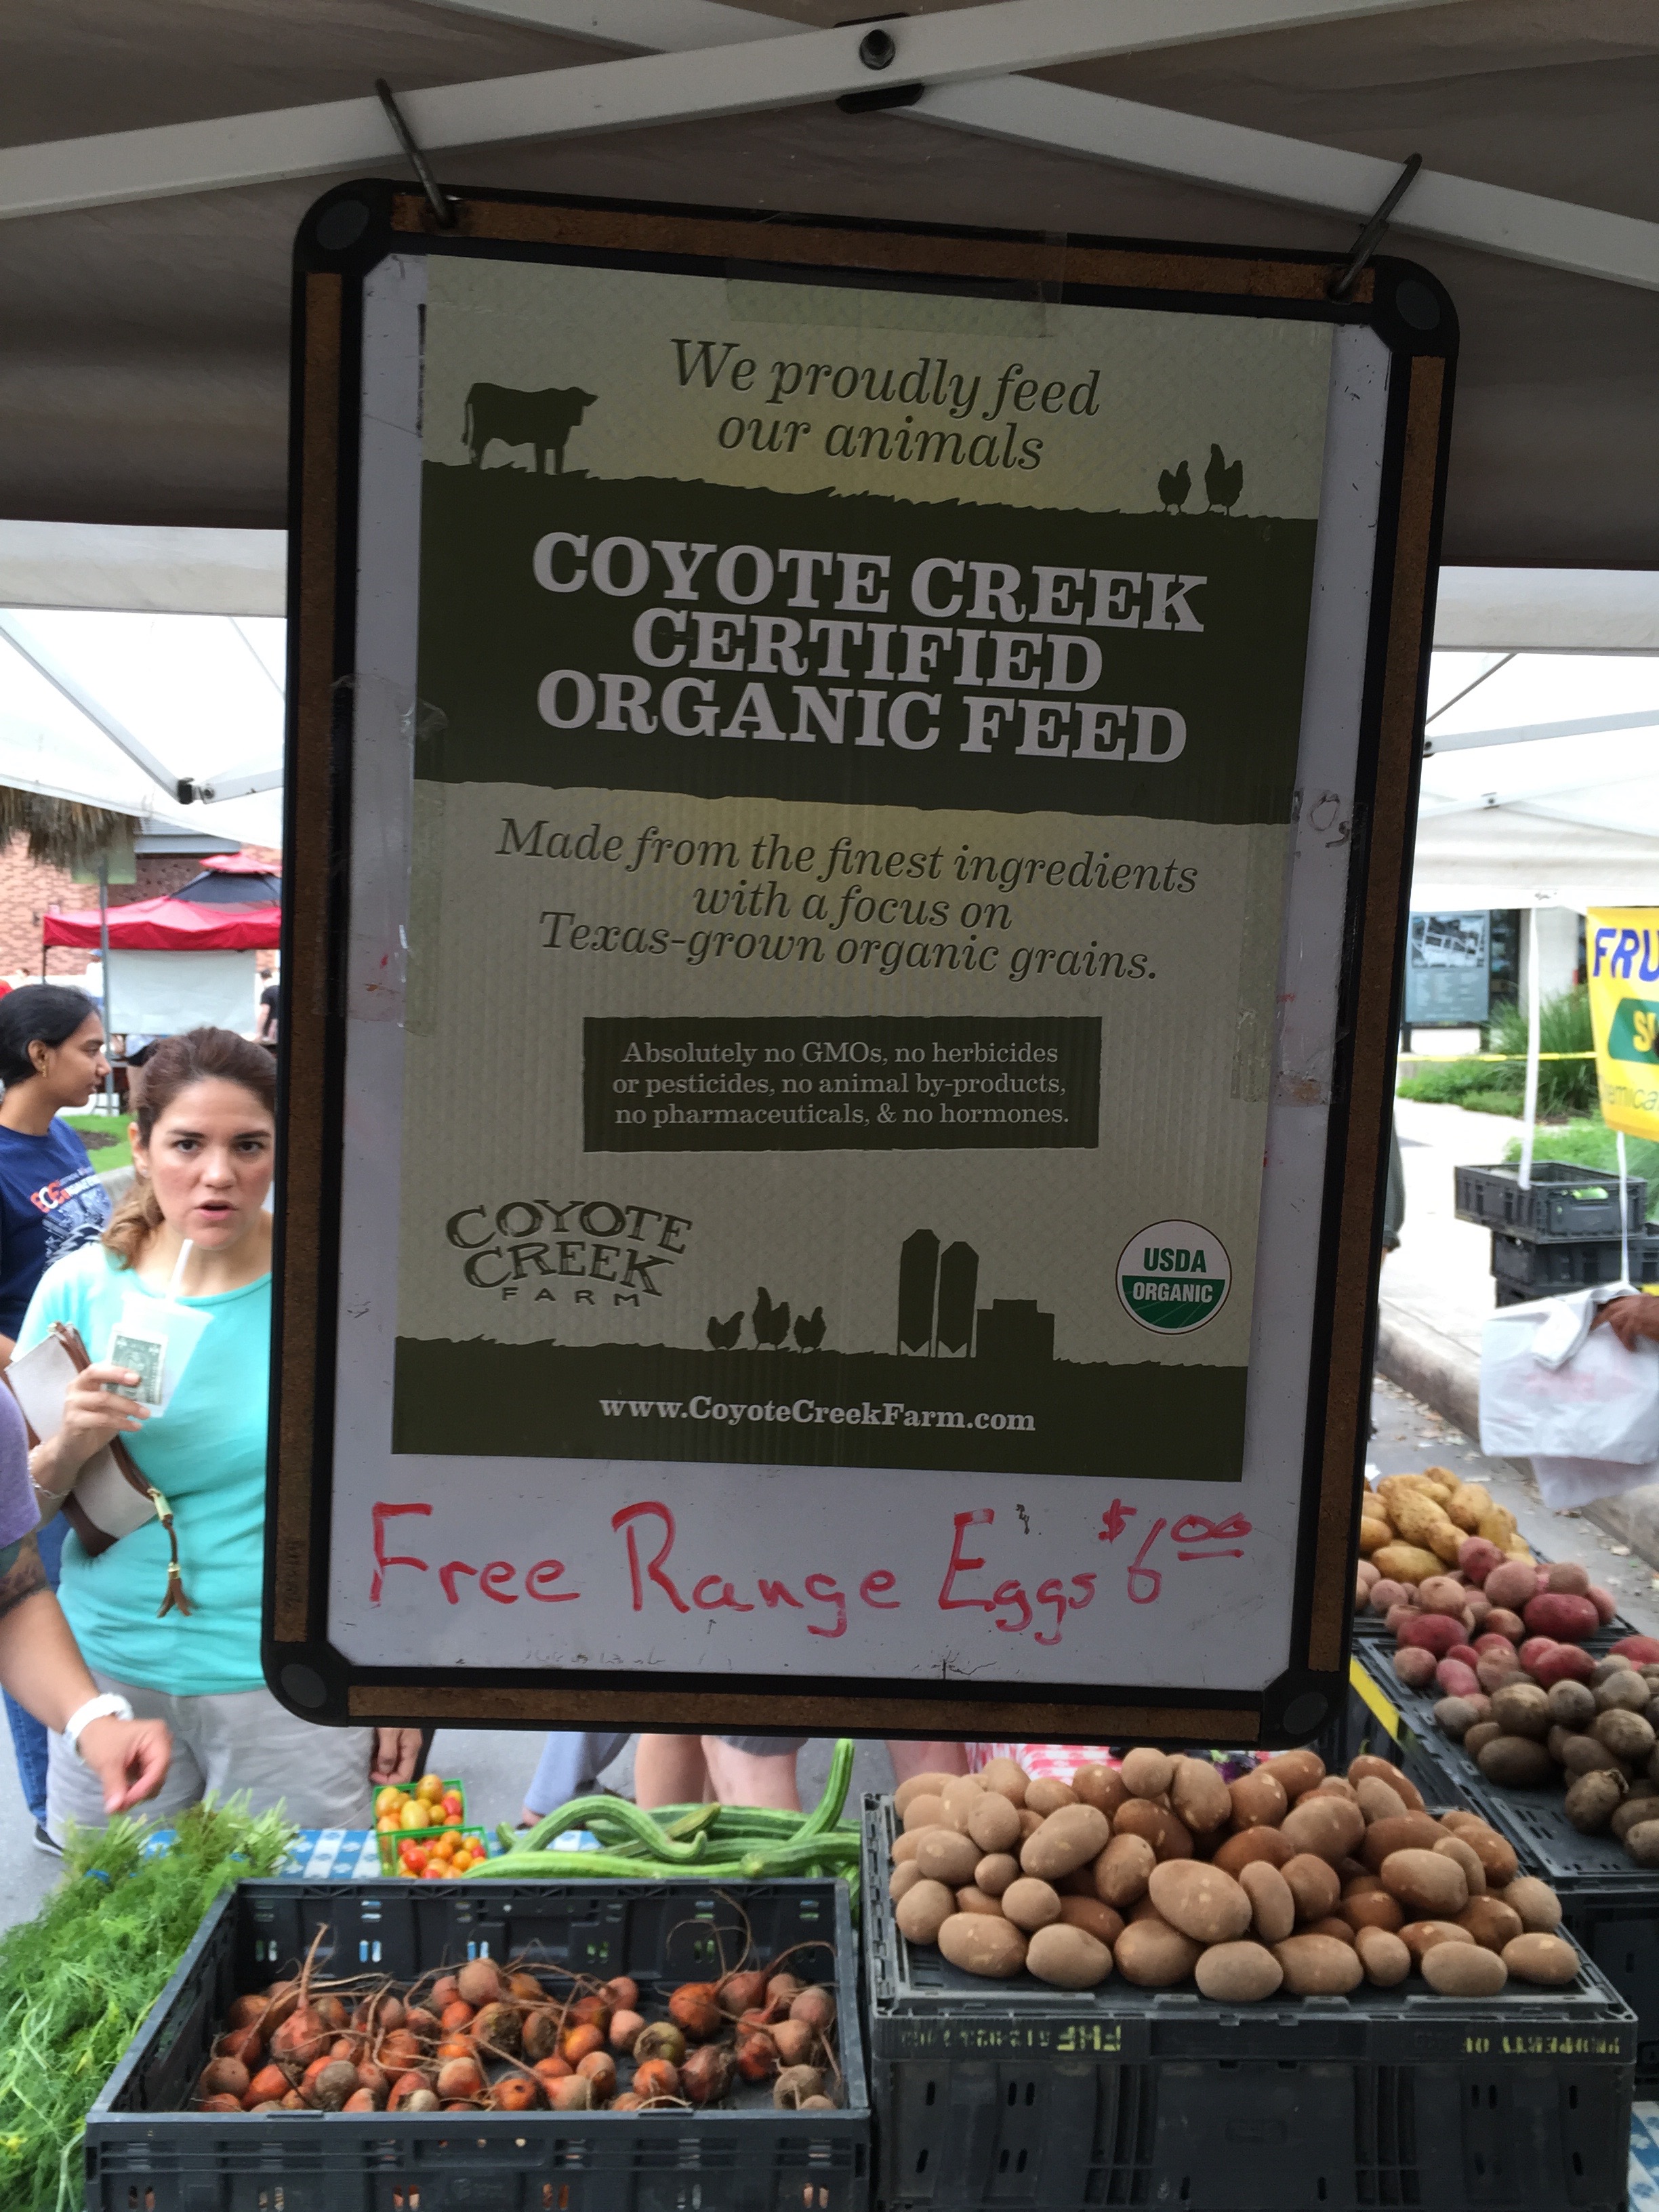
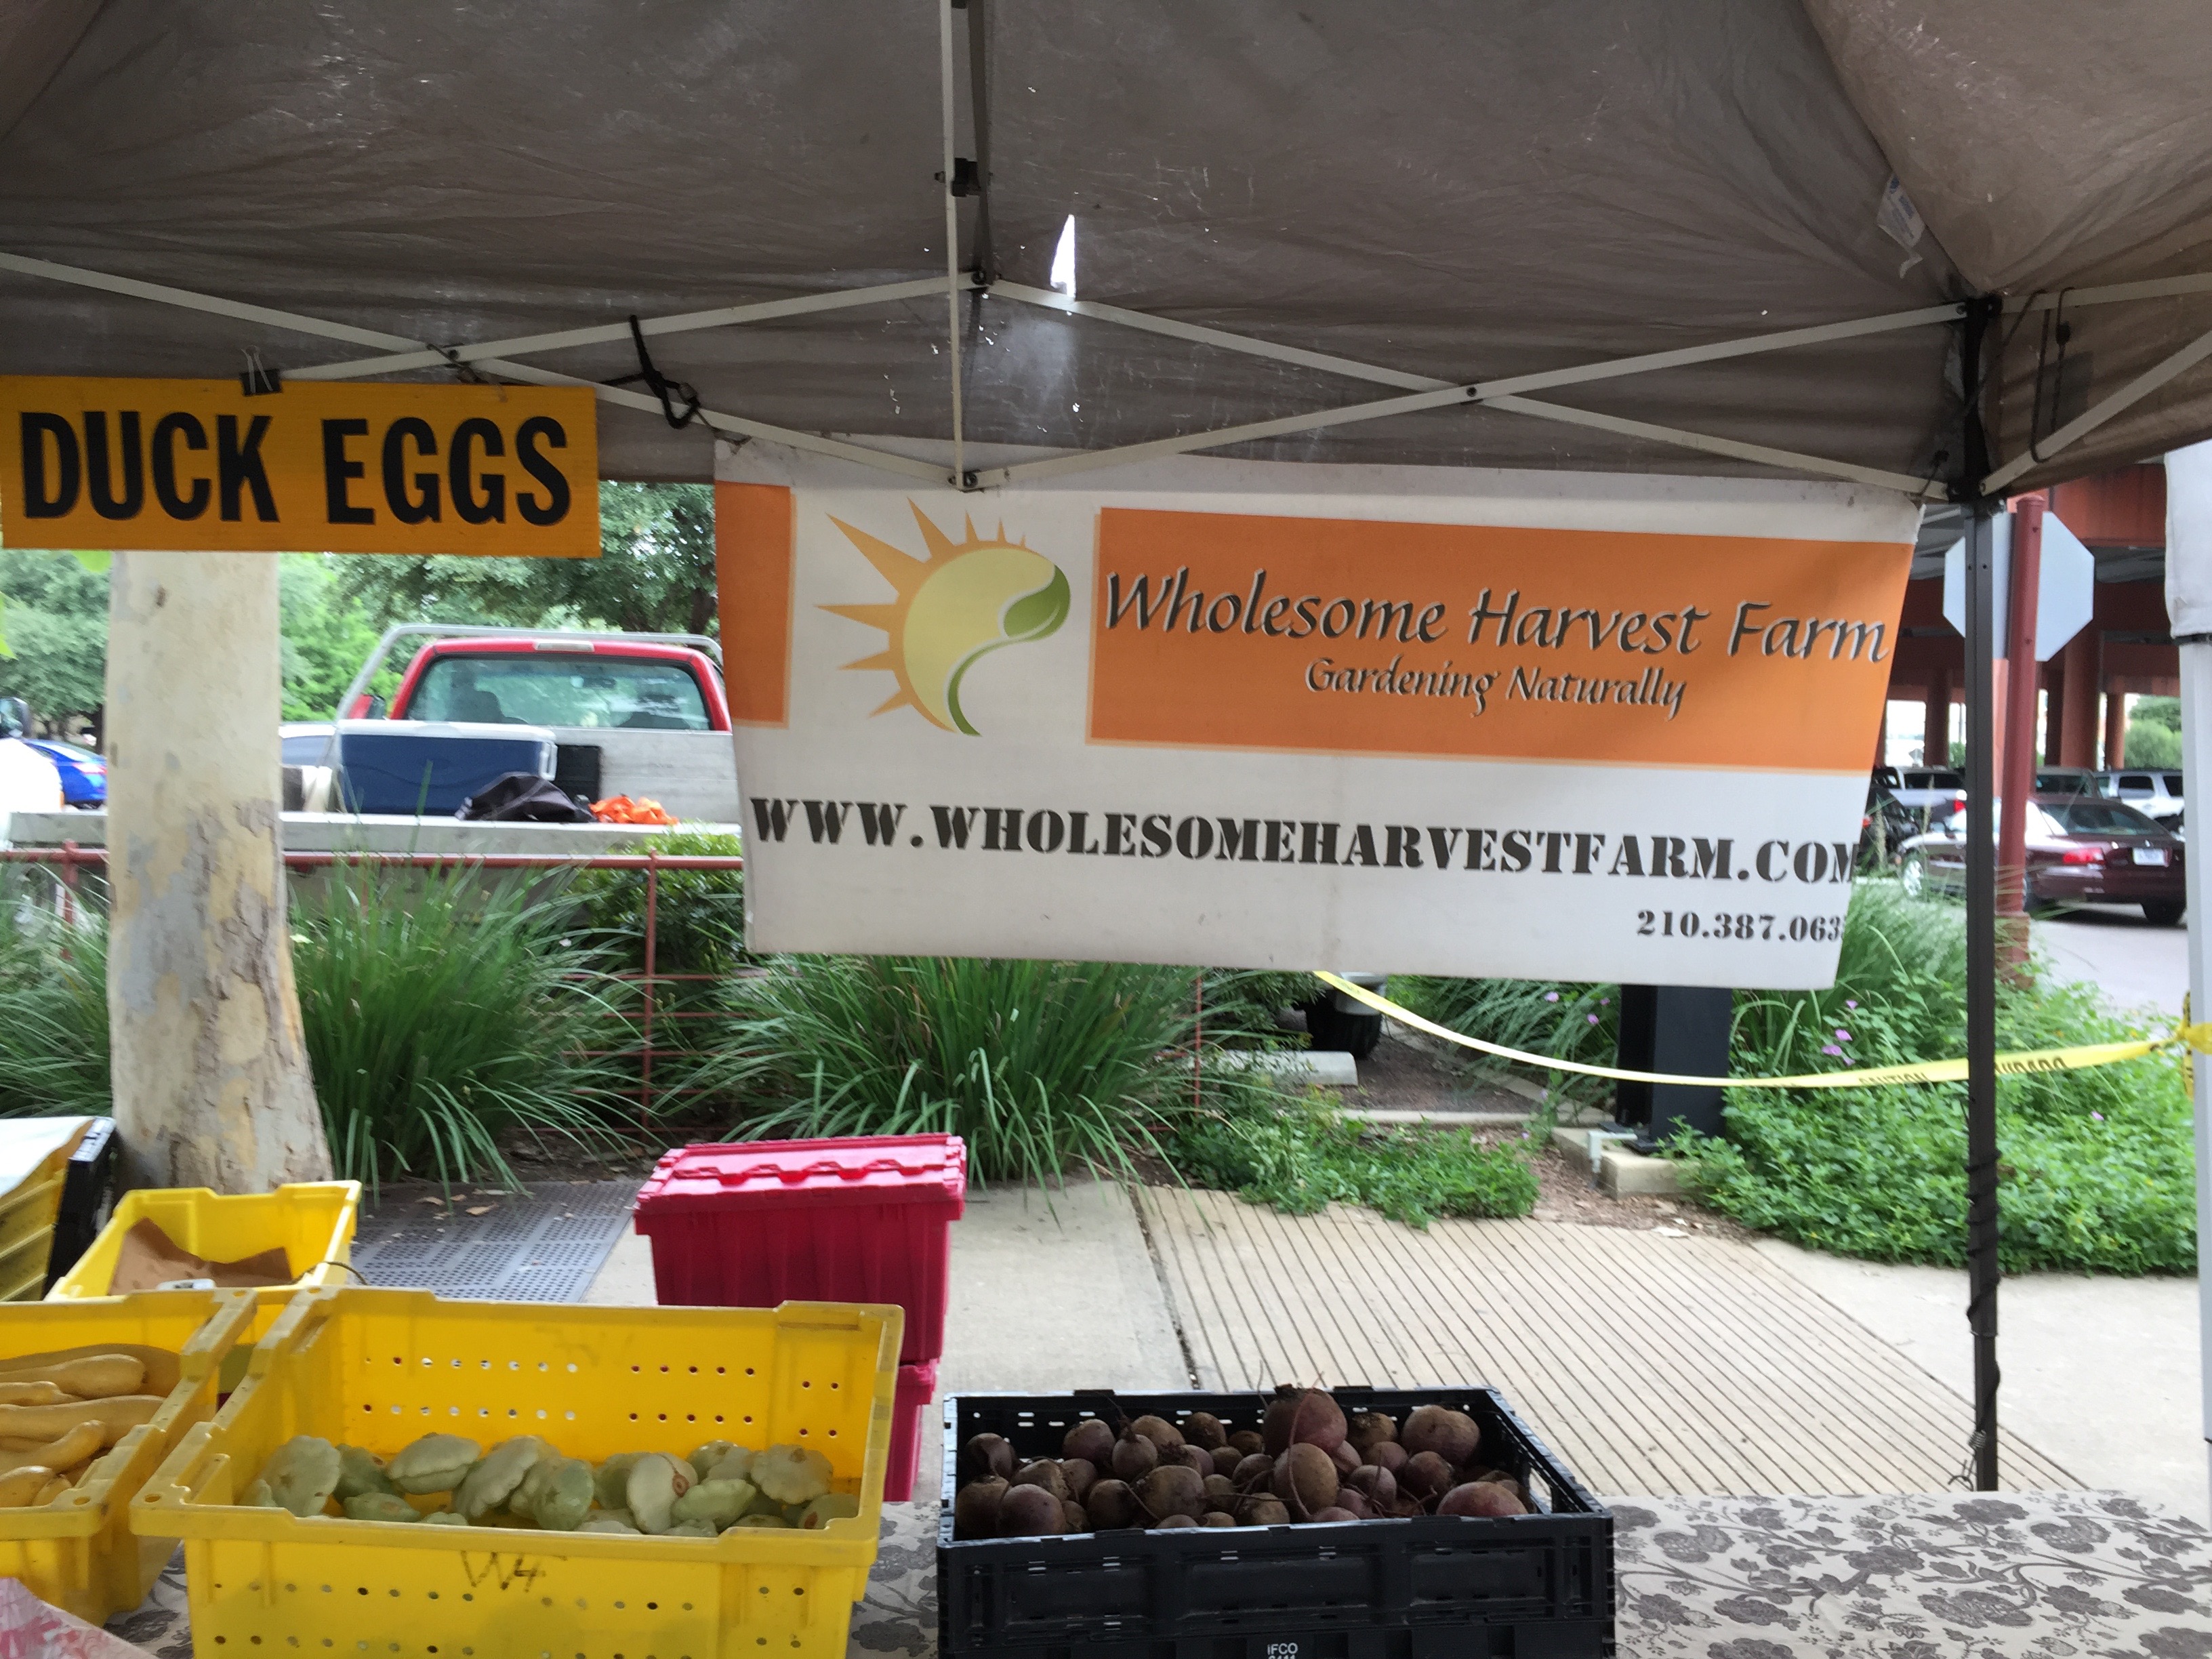
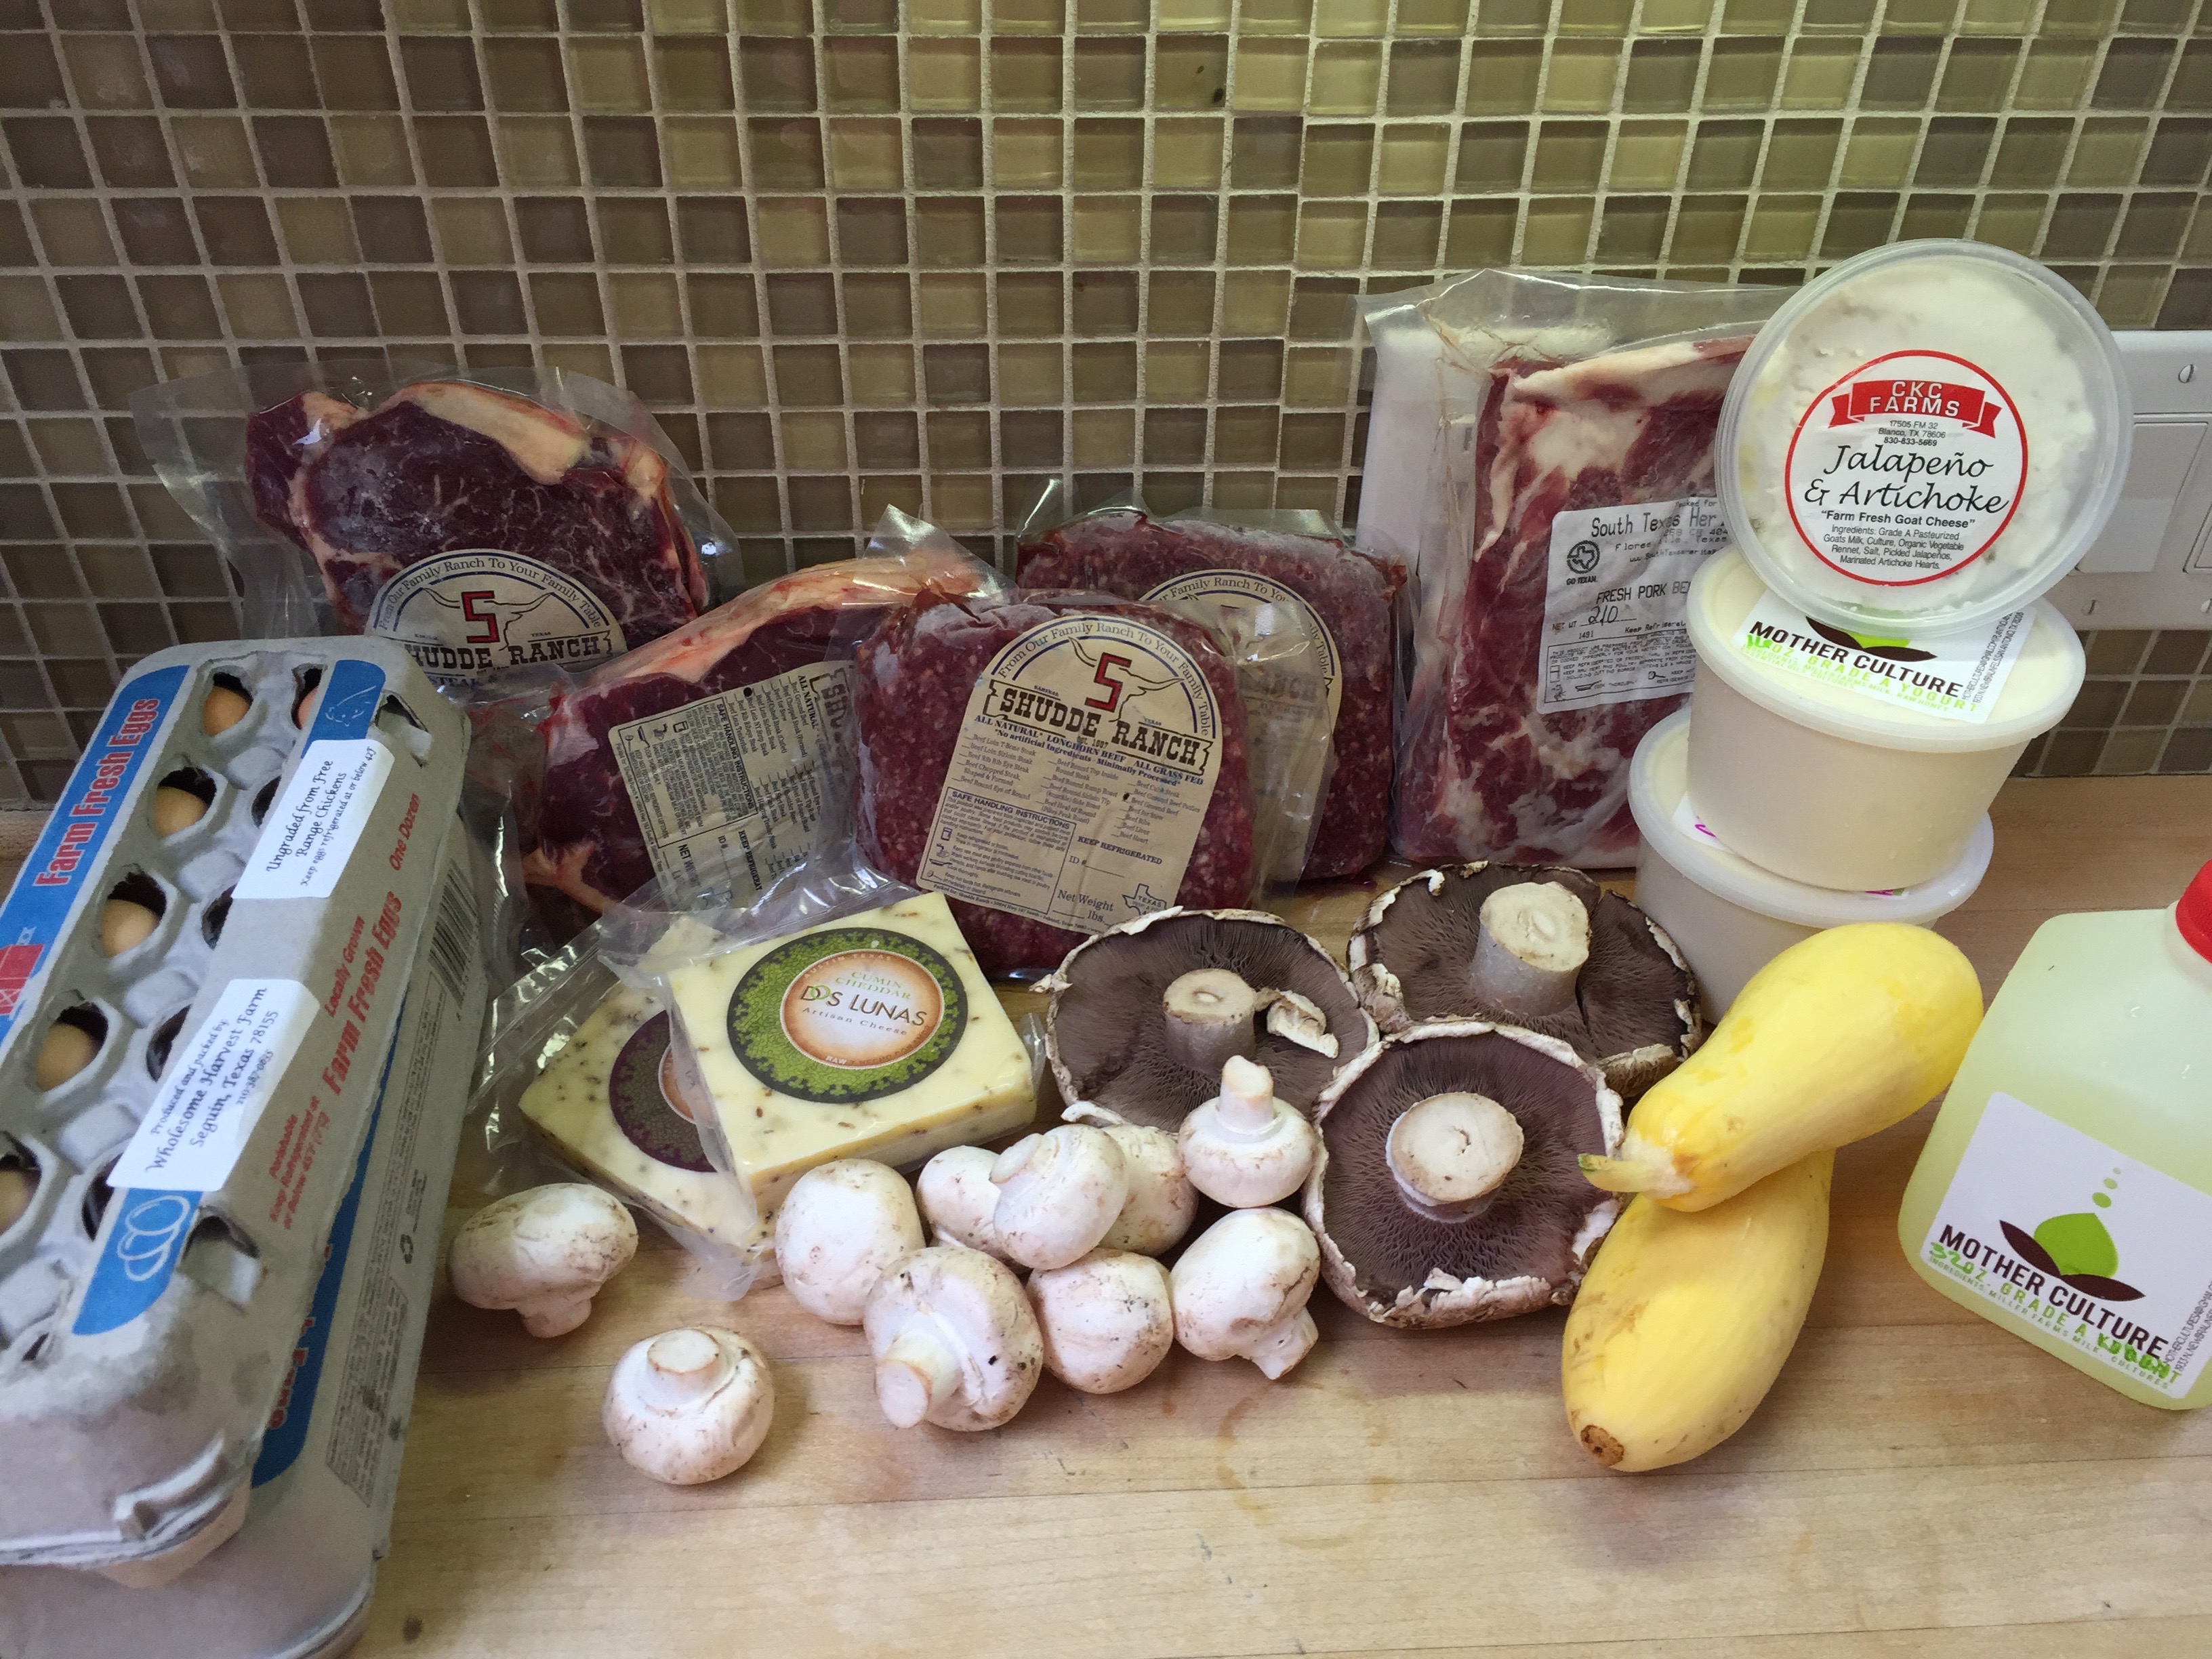
While I was in the Wholesome Harvest Farms booth getting my eggs, I picked up some delicious yellow squash as well, to make my yummy squash casserole!

The kids favorite booths were the ones with the yogurt and the many artisan cheeses.  They were delicious.  All were made with milk from grass-fed cows.  You can’t go wrong with those nutrients.  Even though I don’t eat yogurt, I certainly let my children eat this fresh one made with all fresh ingredients.

IMG_2955

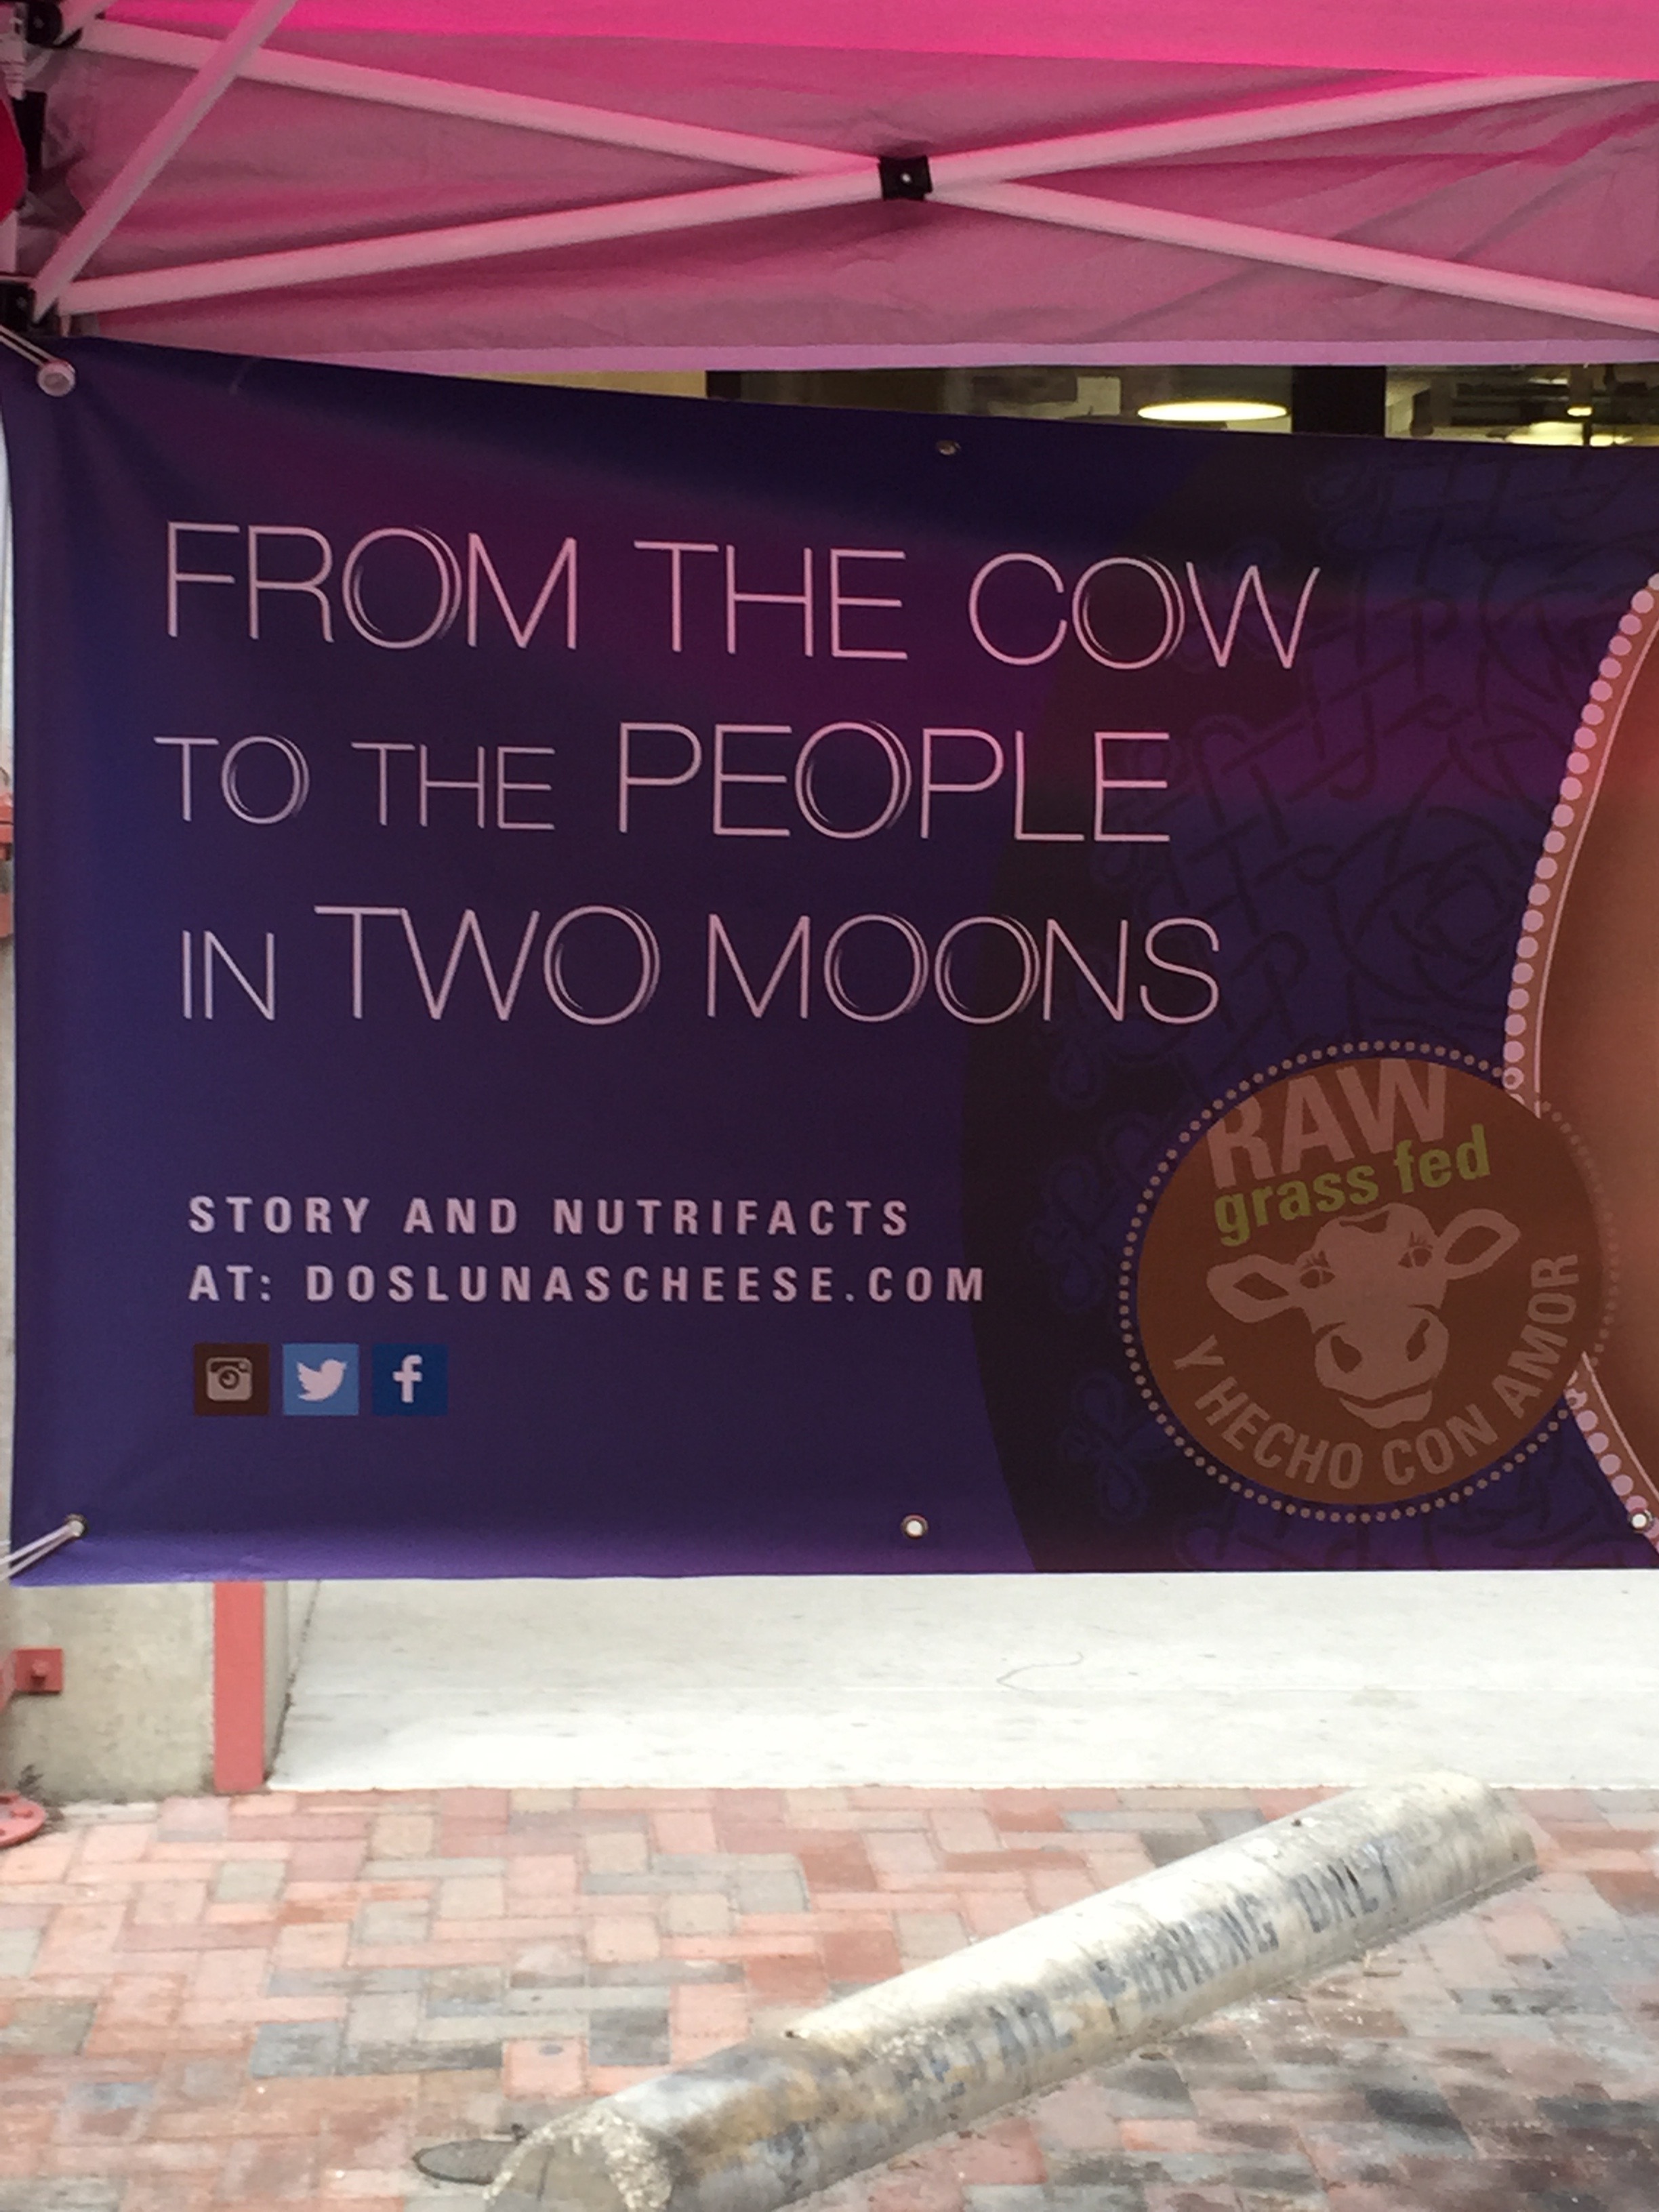
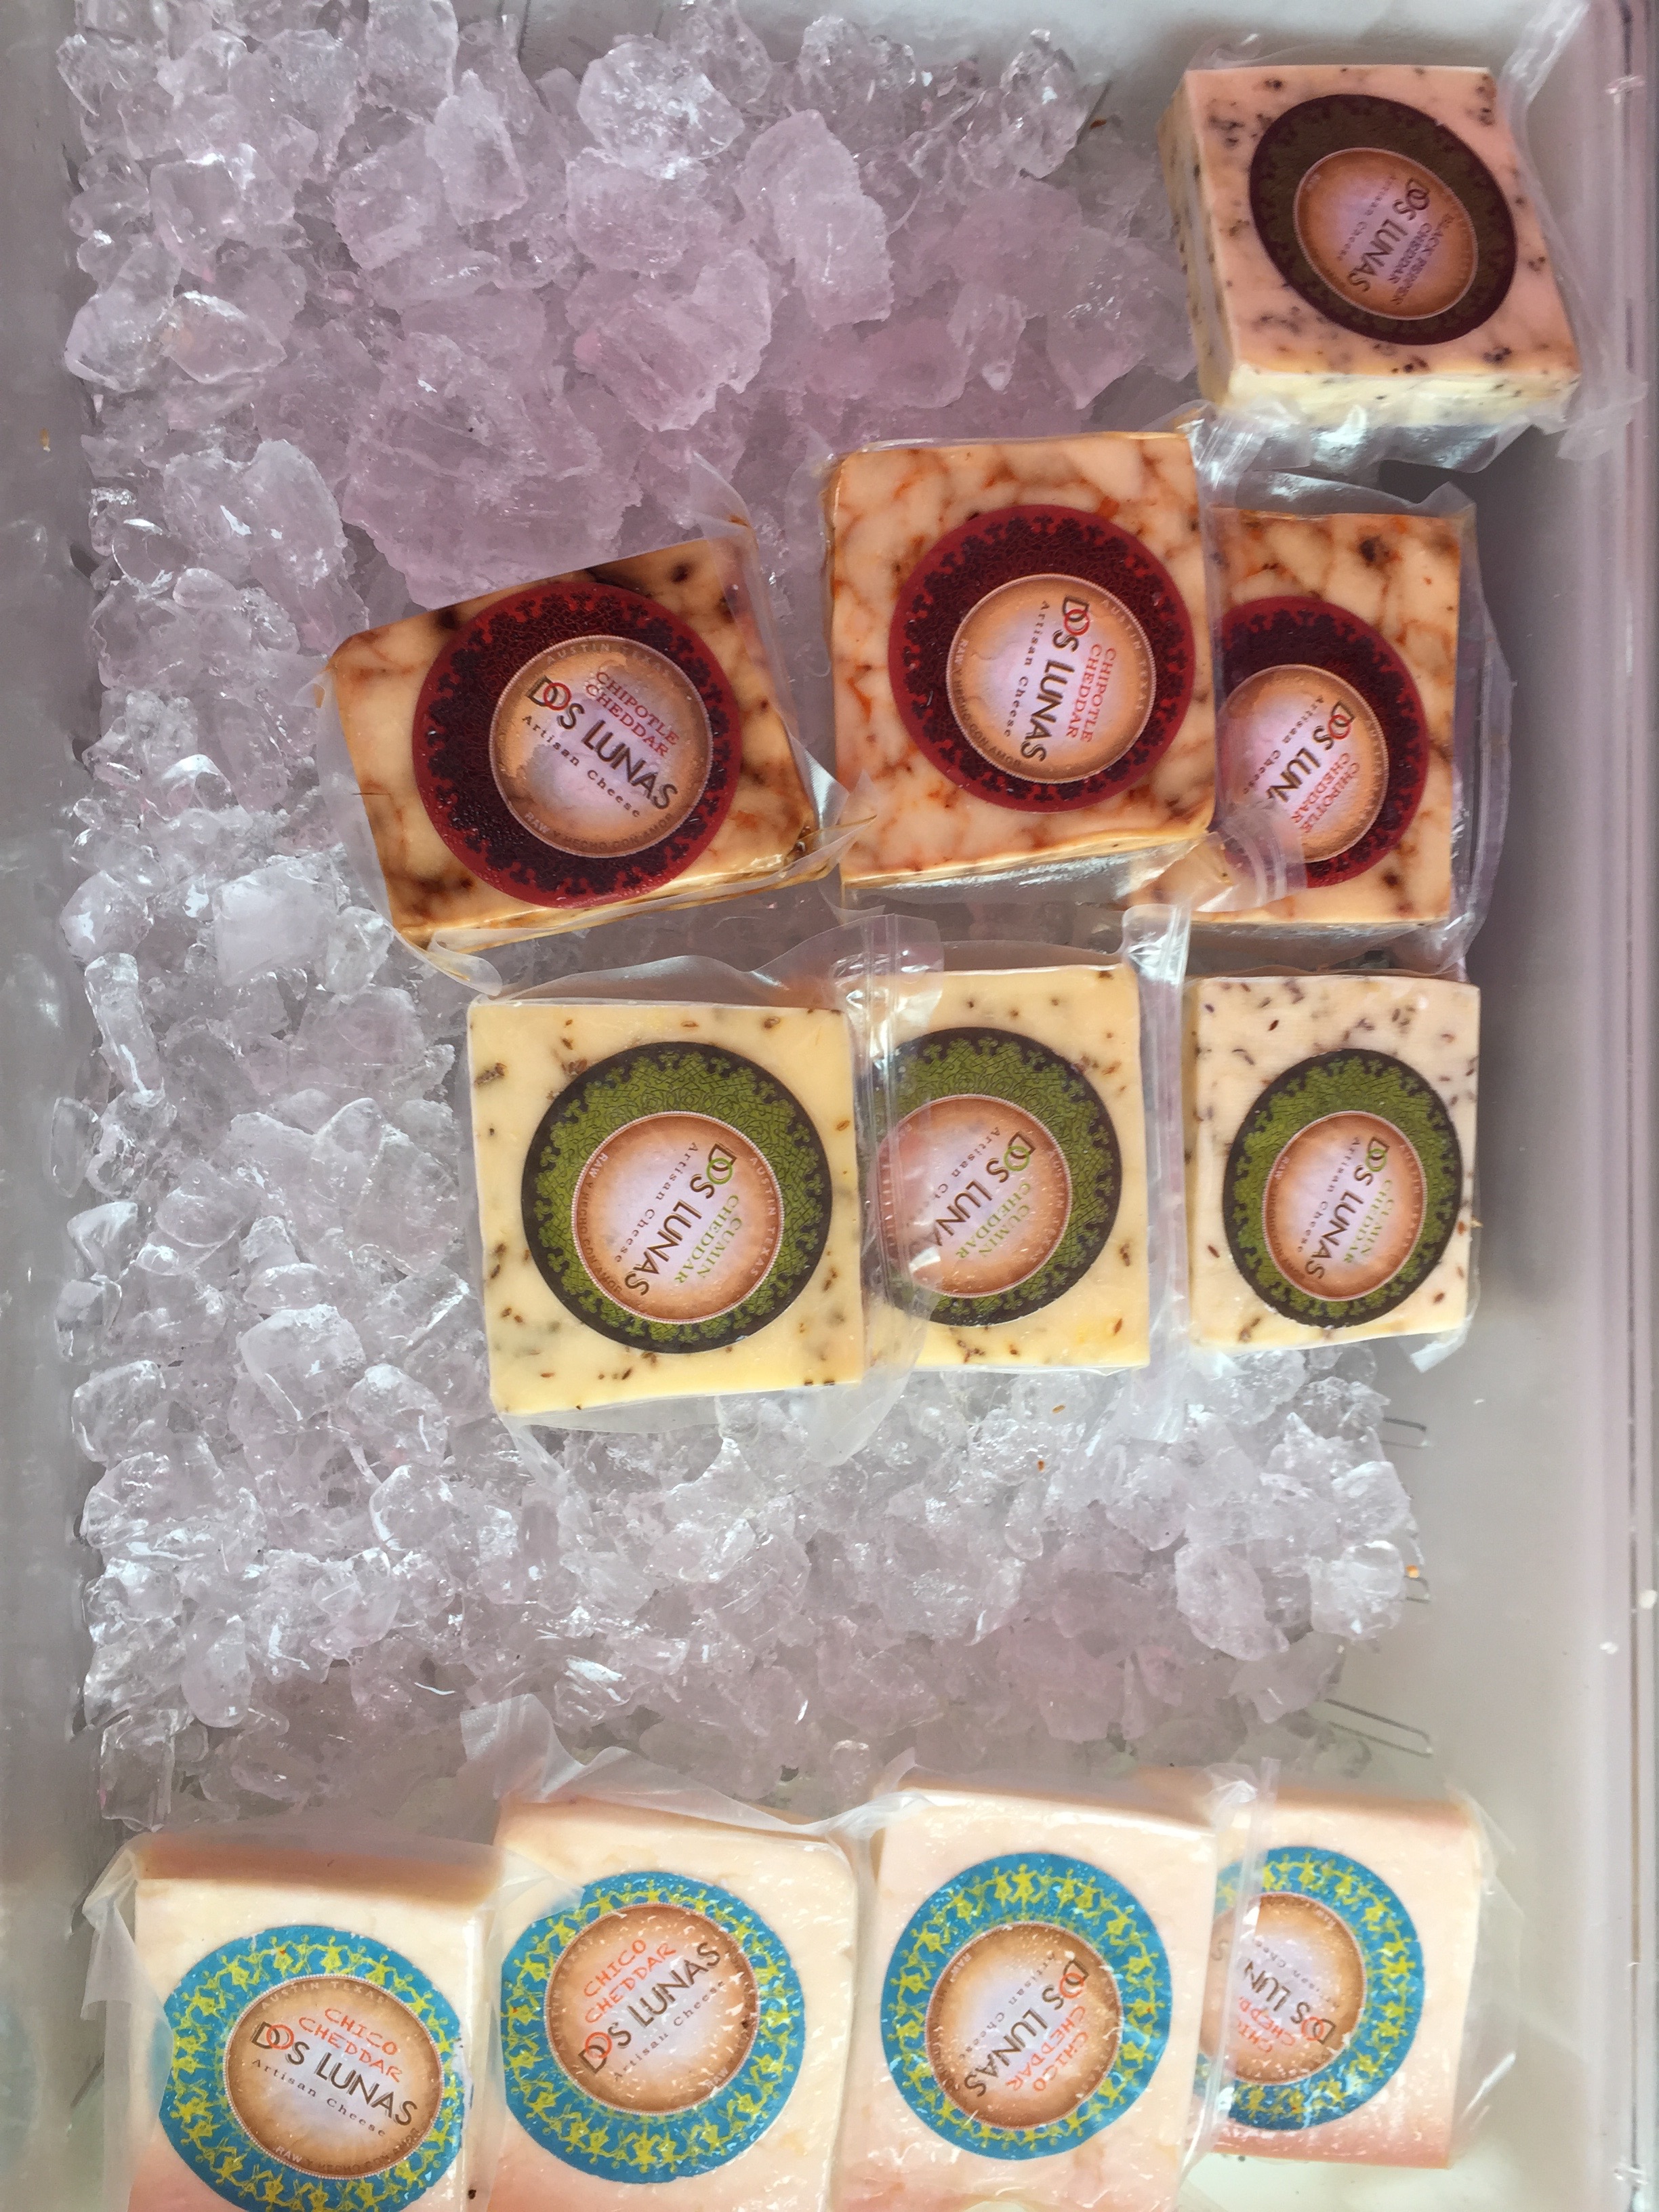
Right next door was the cheese lady.  Her products were amazing, and the milk was from a farm in Schulenburg, Texas.  Supposedly the best milk in the Lone Star State coming from Jersey Cows that graze the green grass of our great state!  We bought two of the four flavors and they are devine.  My favorite is the black pepper, but the other one was a cumin flavor that was also out of this world!

IMG_2946

IMG_2956 (1)

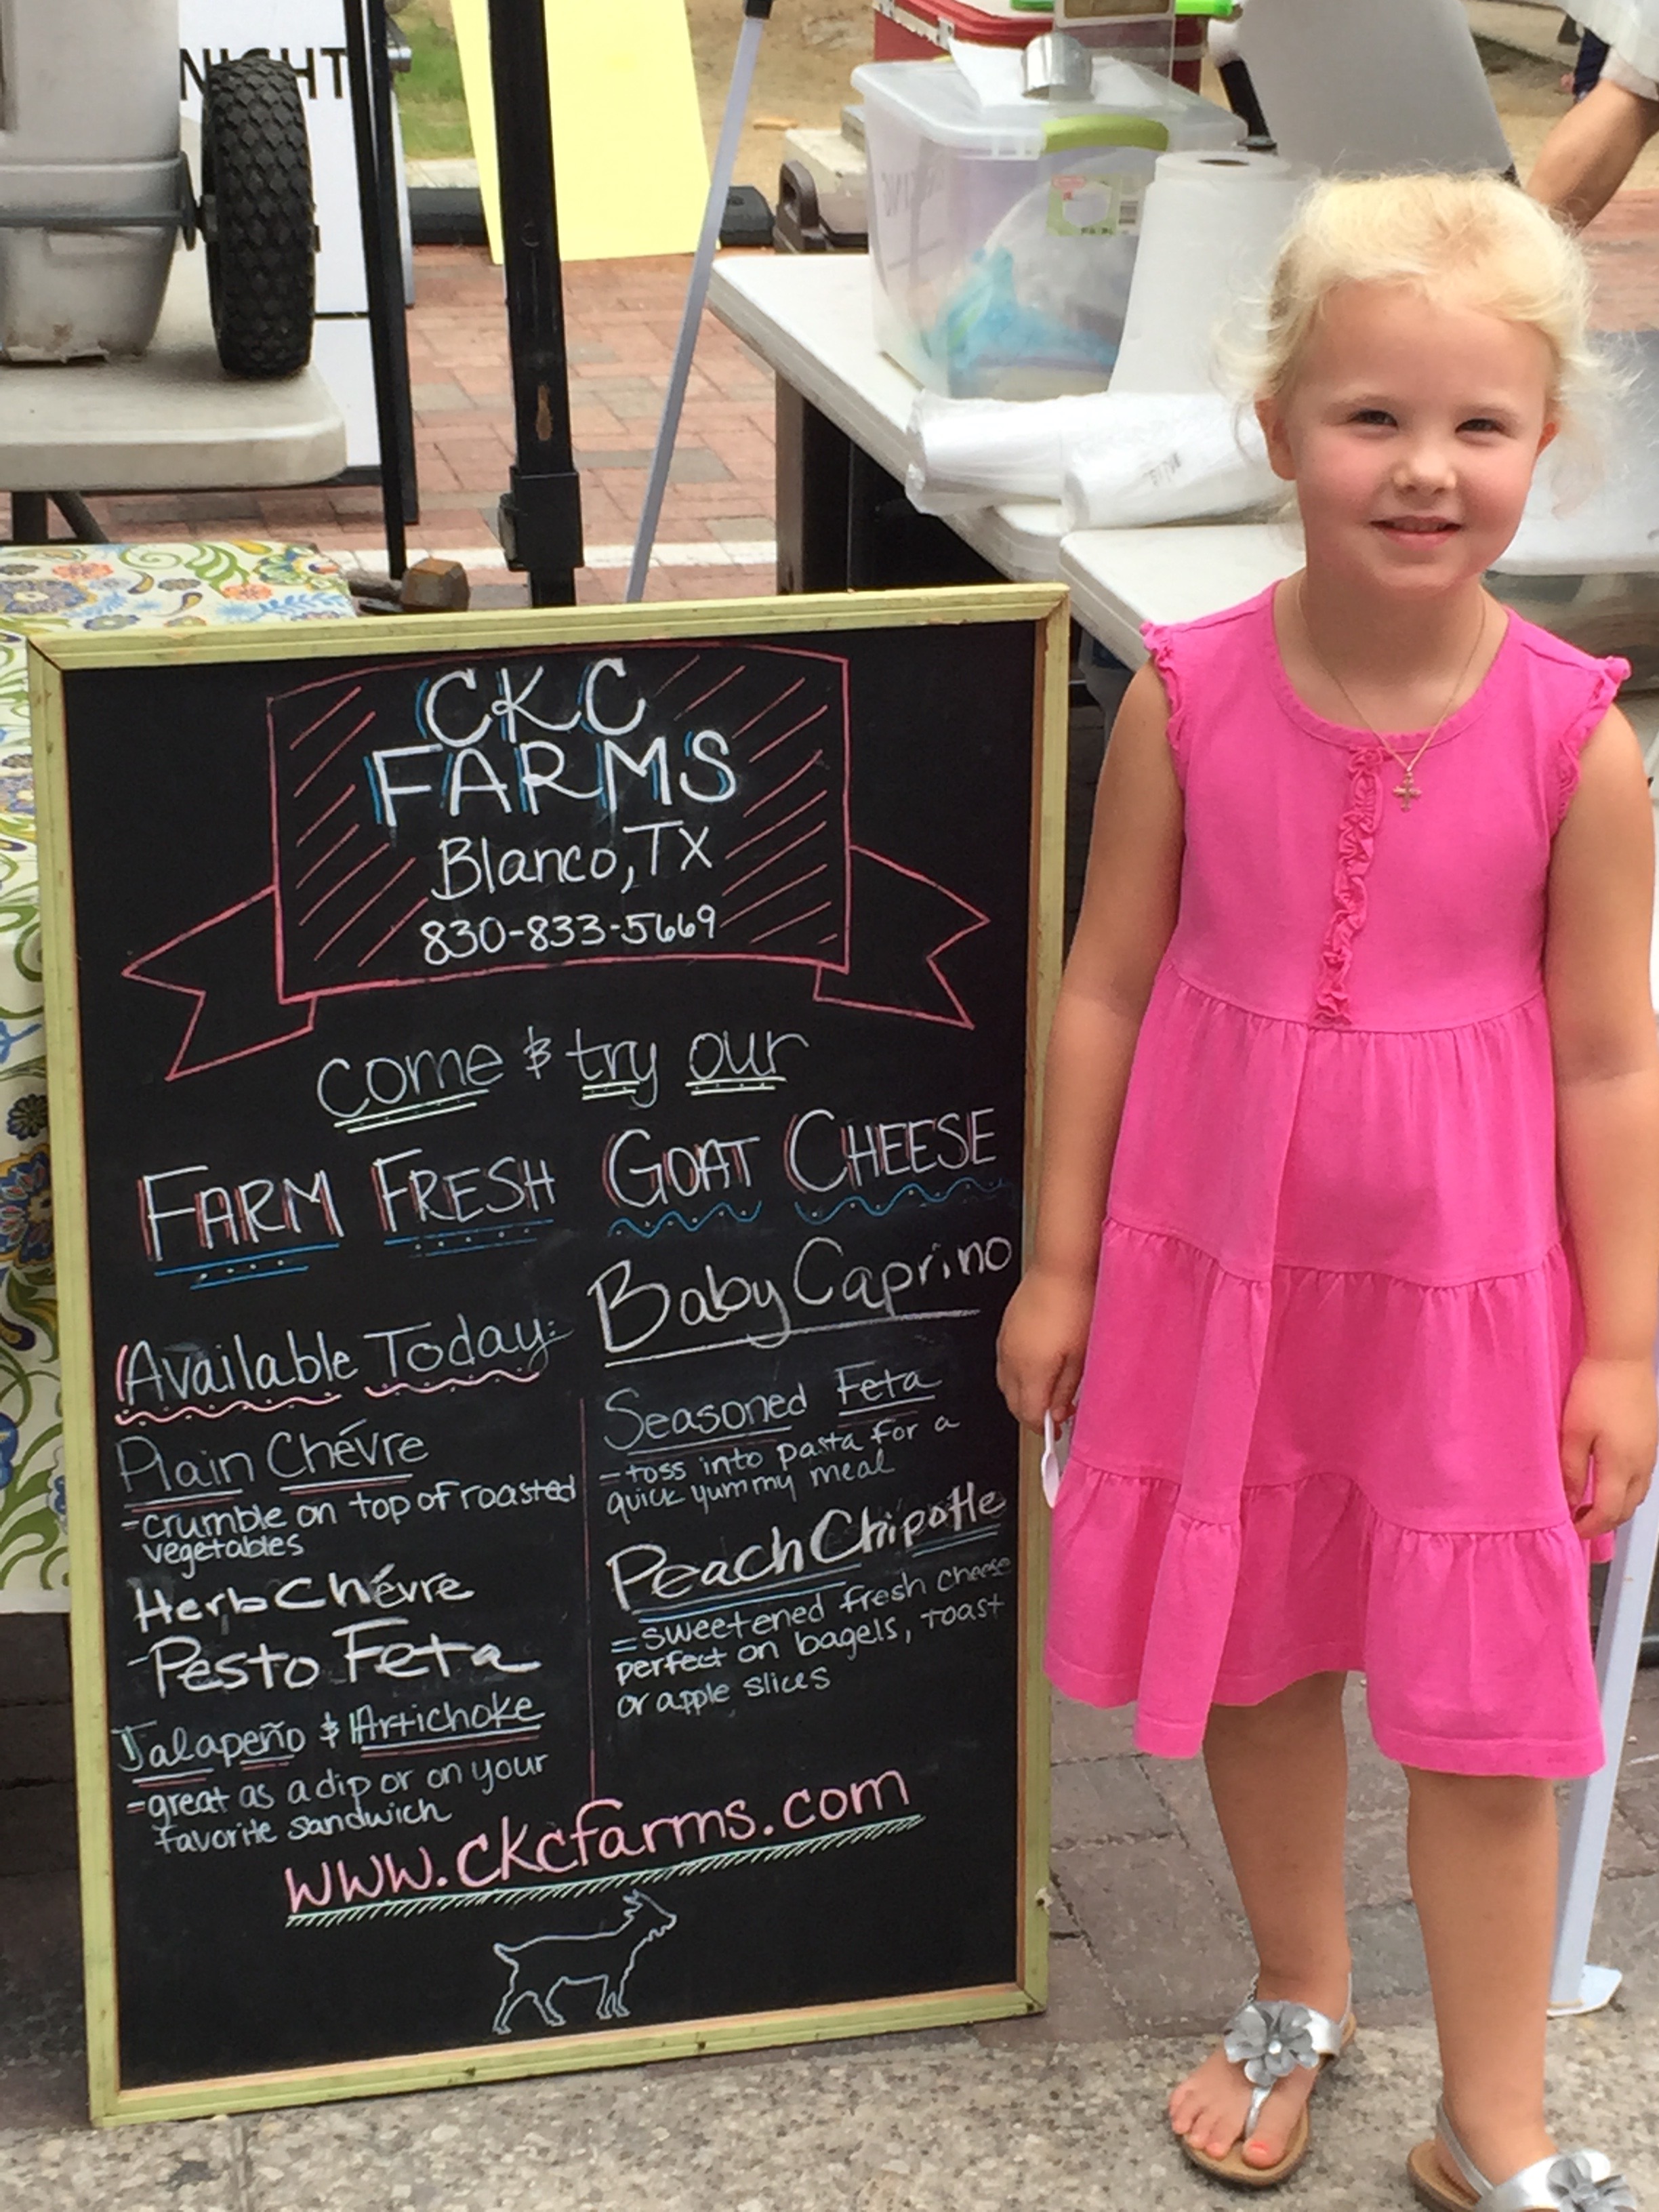
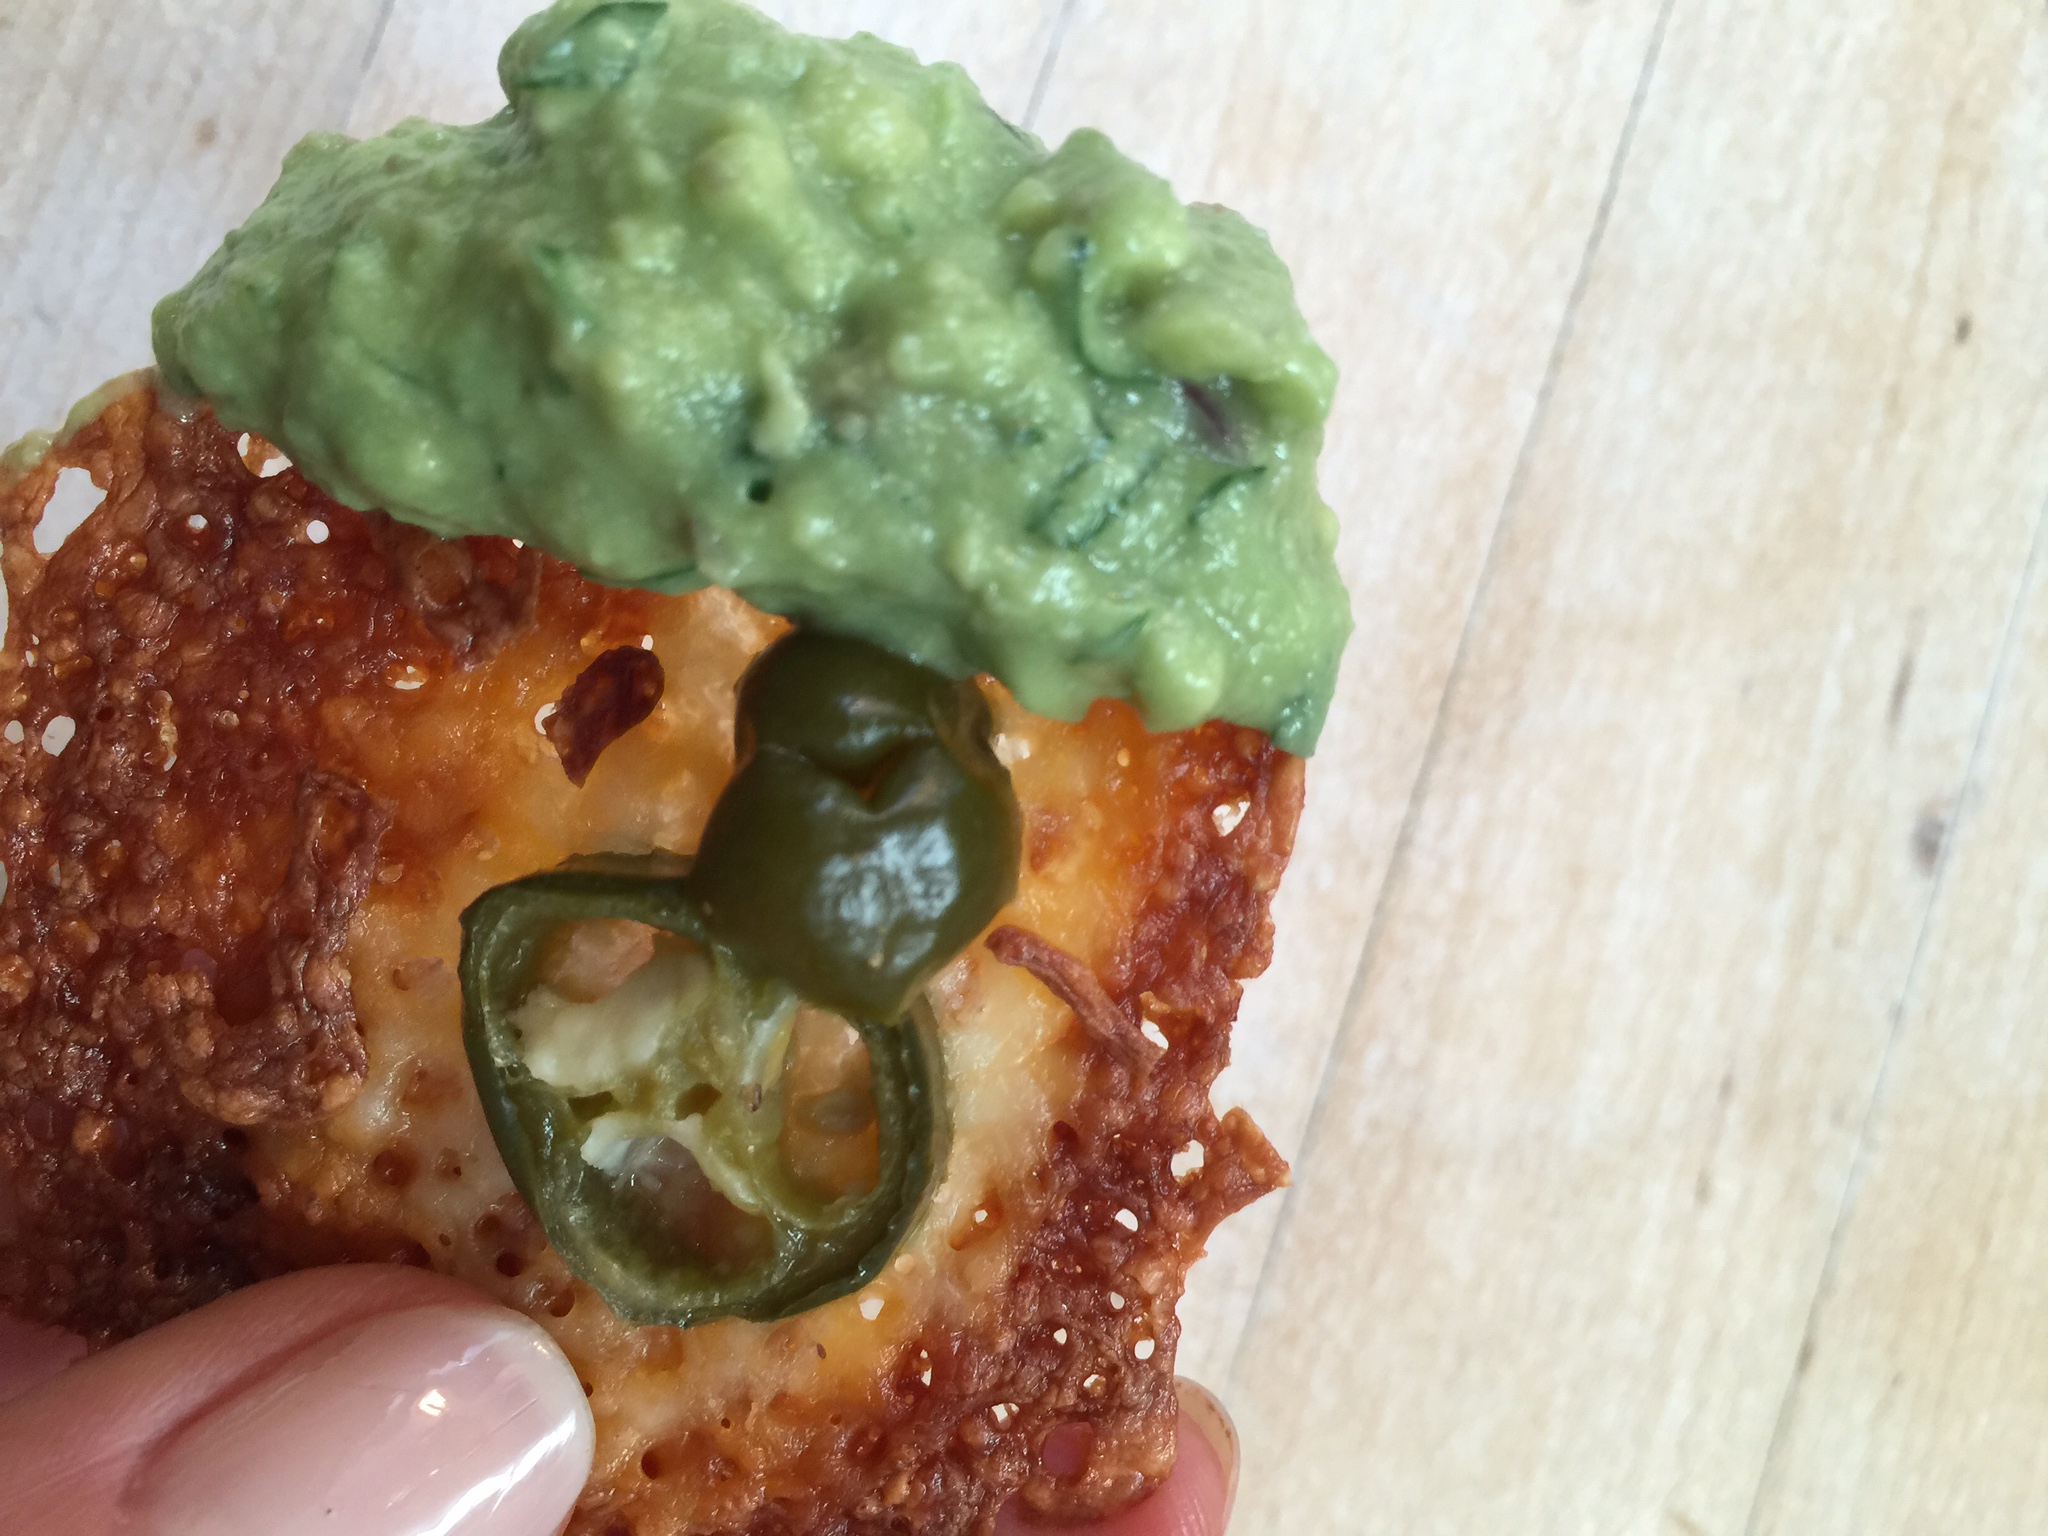
We hopped across to the goat milk people and purchased some jalapeño and artichoke cheese made from goat’s milk that is just incredible!  So fresh and smooth.  I spread it on some parmesan crisps for a crunchy snack.

IMG_2950

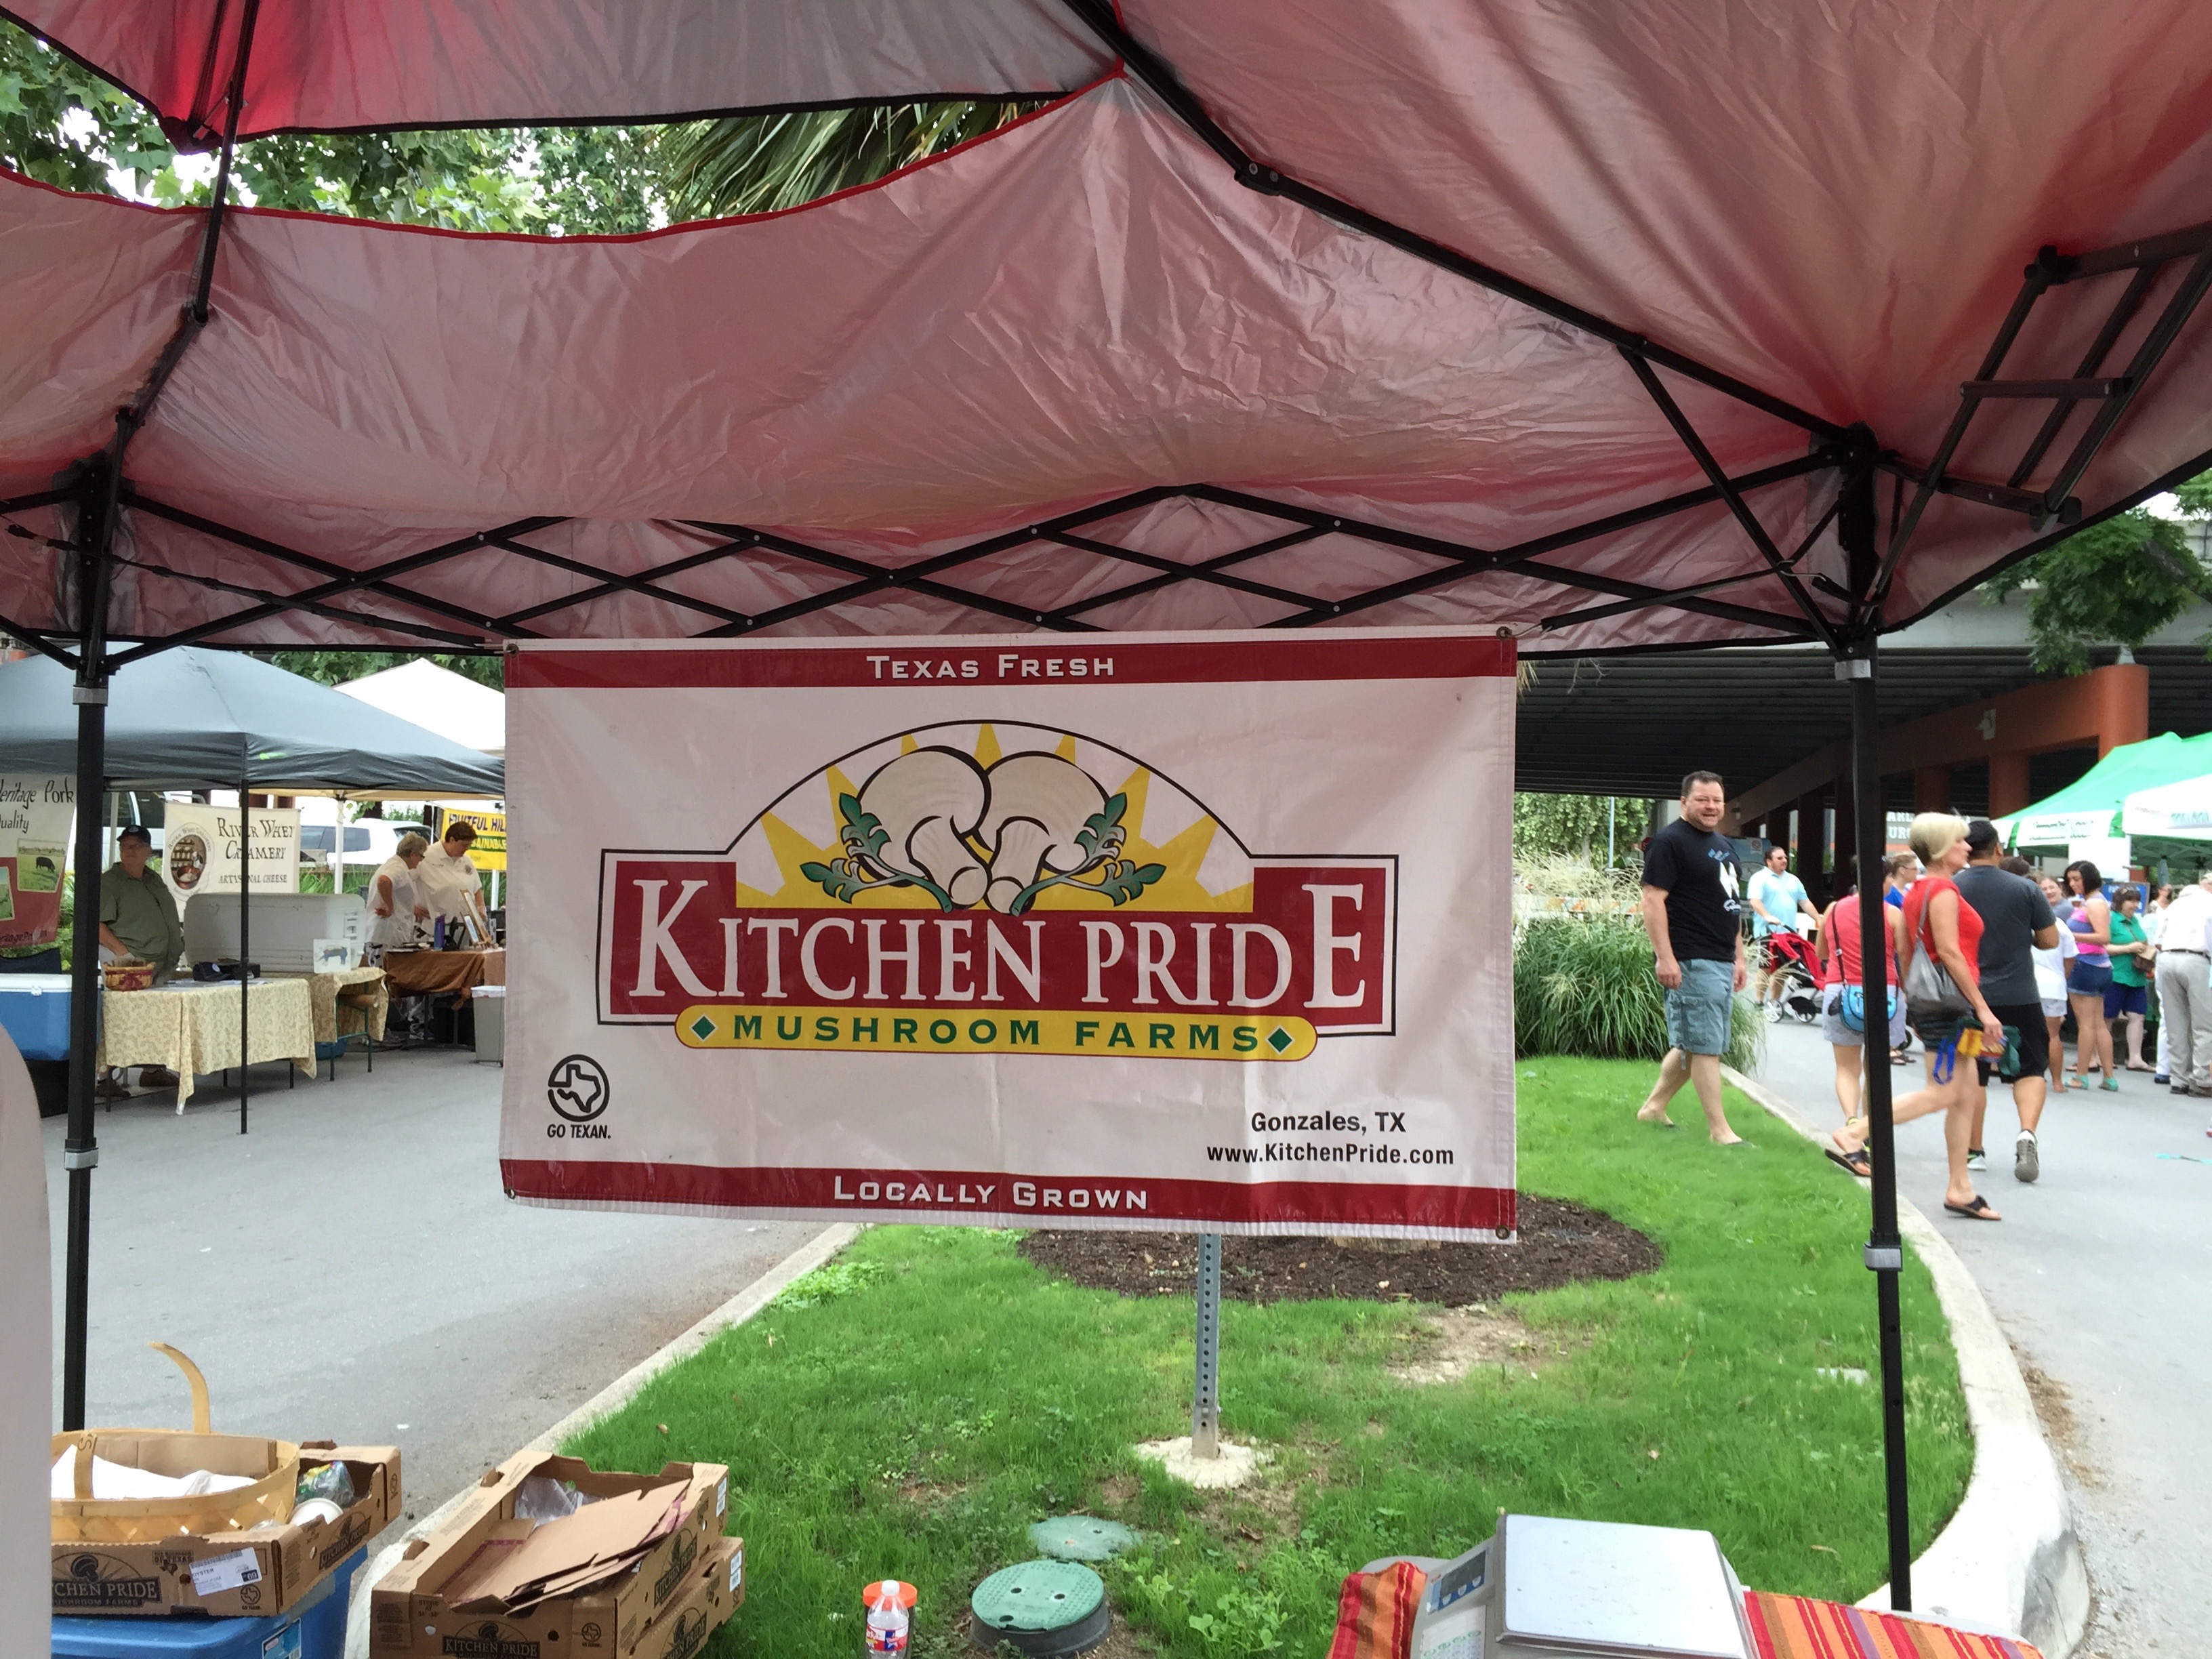
Moving on, we made it around to the mushroom farmers!  This may be the best yet, but oh how hard to judge.  I bought some portobellos and white mushrooms, all of which I used for stuffing!  Amazing!

IMG_2961

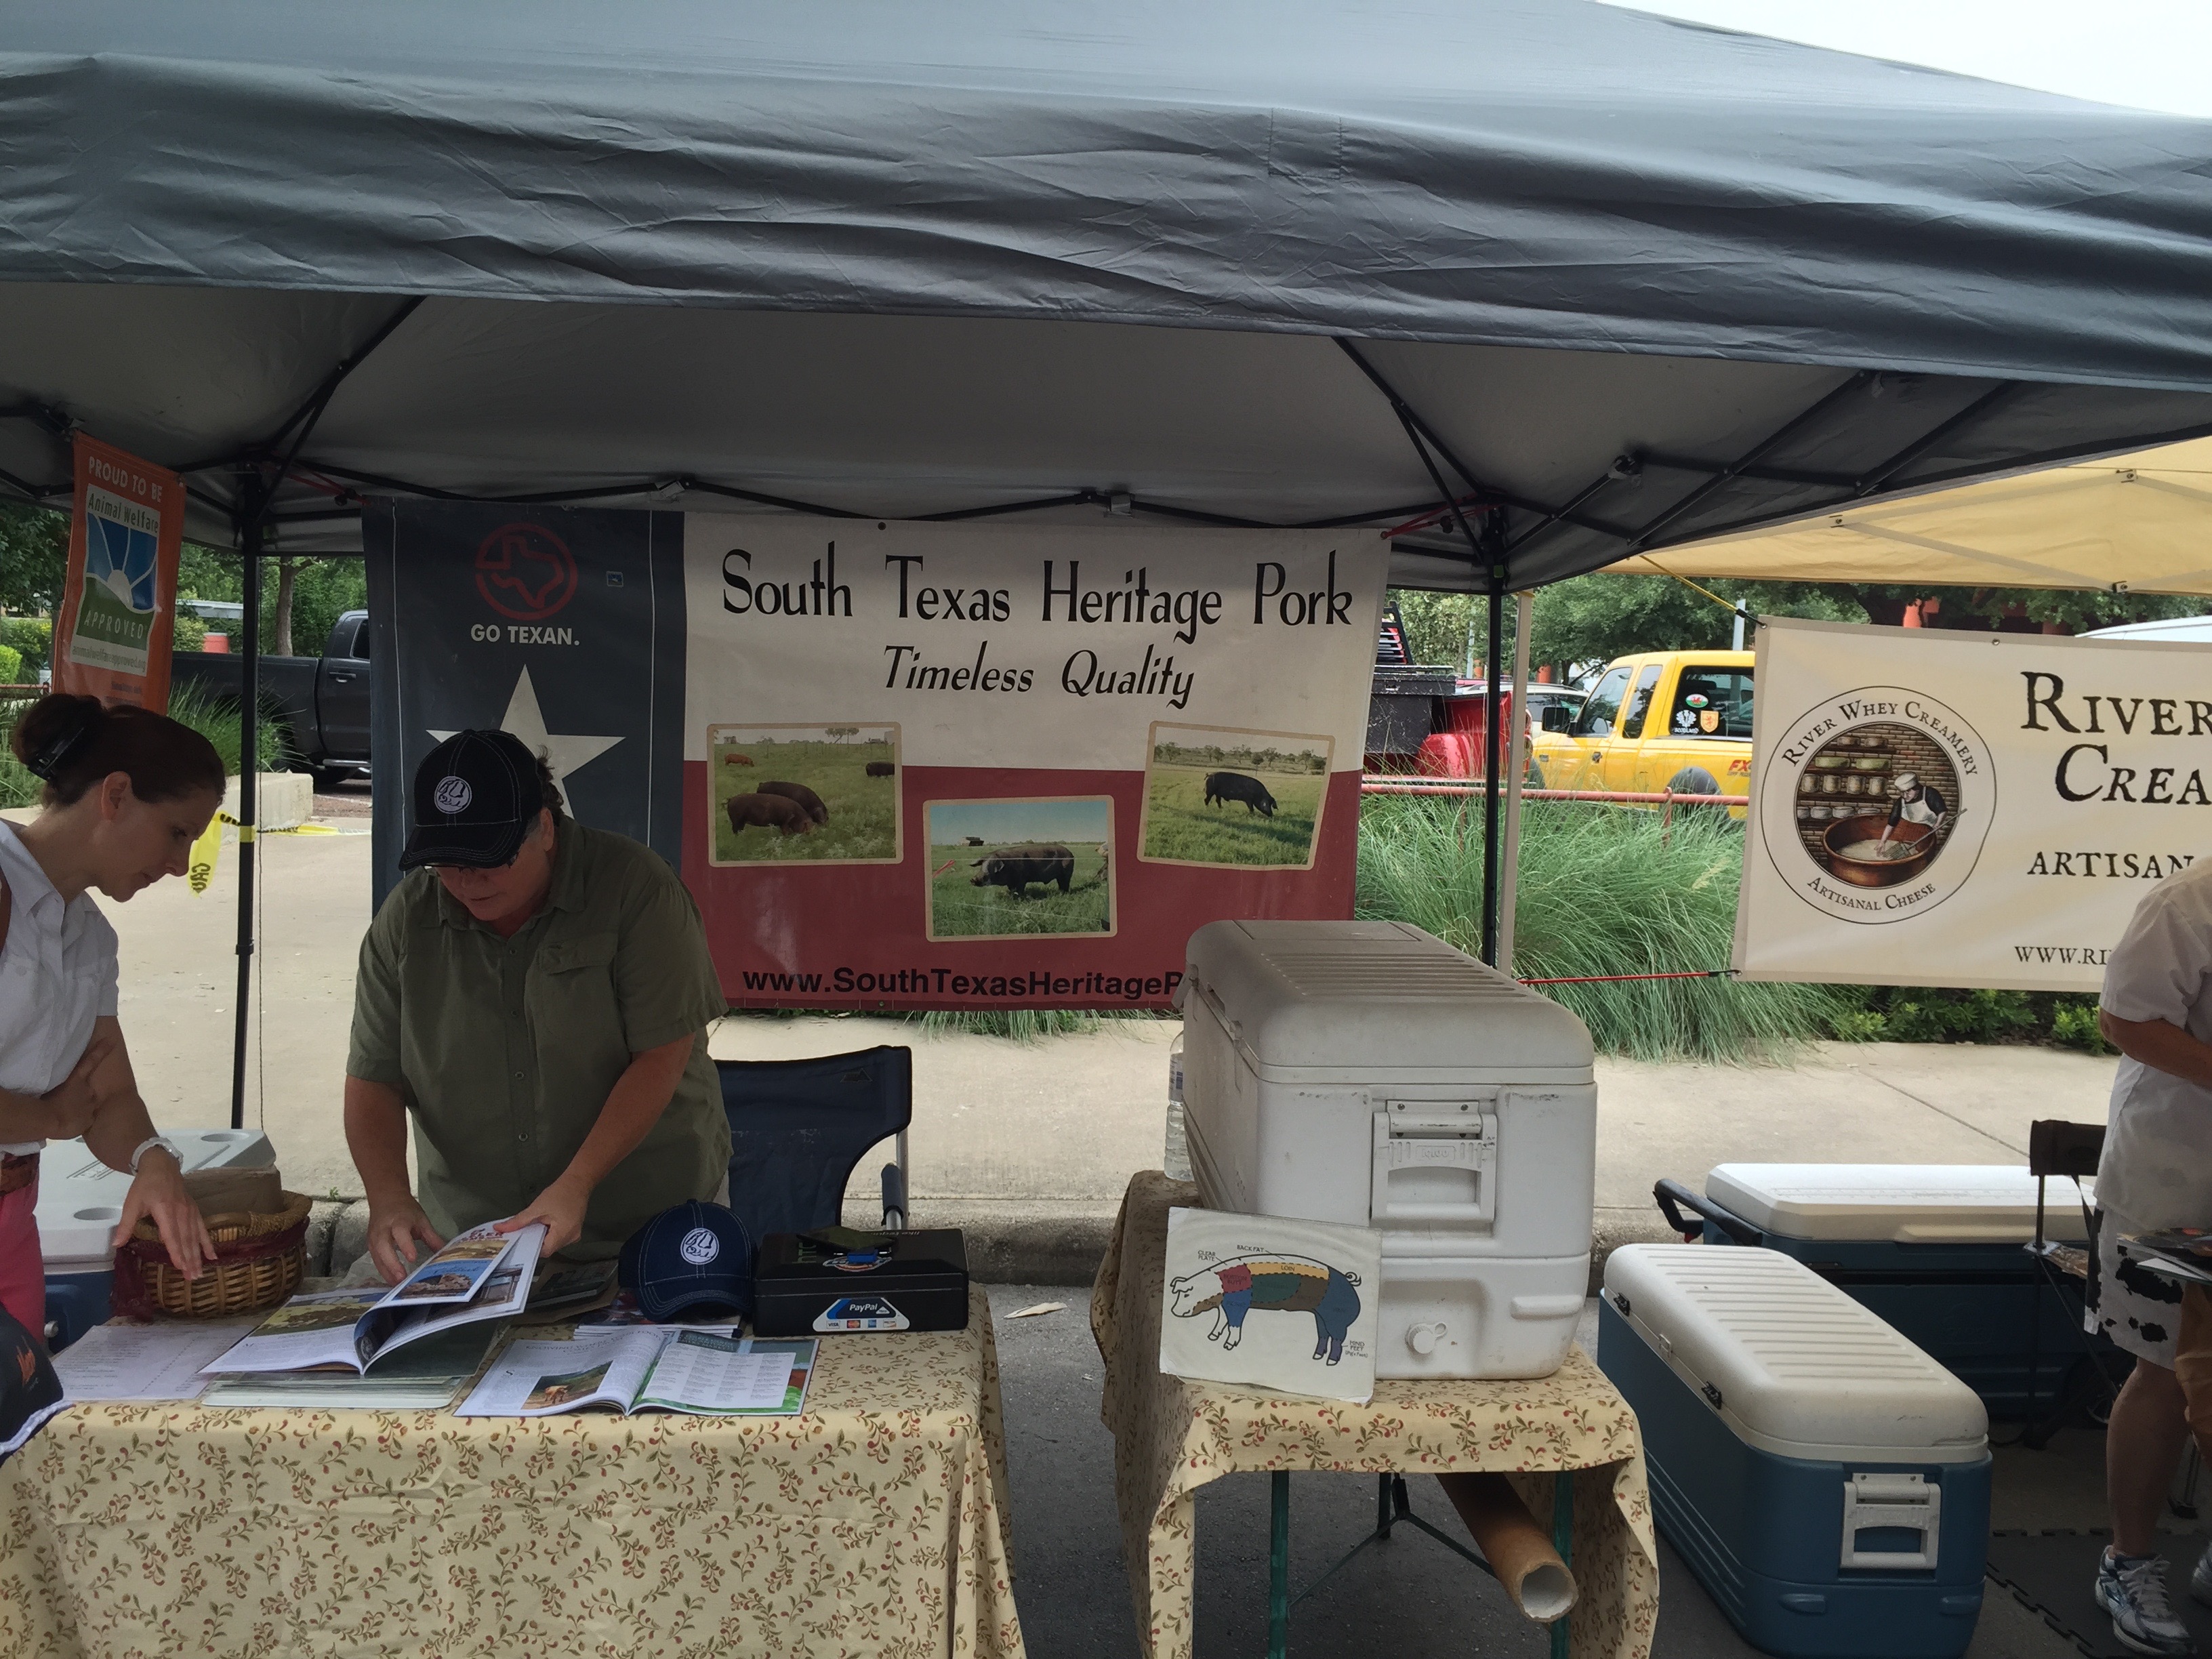
Then on to the meat…Pork and Beef.  There were two pork ranchers, both of which were organic and grass-fed.  The one lady I spoke with seemed to know all about the different farmers and ranchers at the farmer’s market so she gave me some tips, and I purchased from her.  I ended up going with some pork belly.  I had never cooked the pork belly before, but have loved it as a delicacy in restaurants.  It fulfills our fat intake necessity, and actually turned out pretty yummy.  It is almost impossible to find except directly from those who raise pigs so this was the place to find it.

IMG_2958

Then, on to beef!  I found three vendors, and referred to my nice new friend at the pork booth.  She recommended one cattle ranch that has been owned by the same family for generations.  The meat was fantastic.  It was pricey, but worth it!  I purchased some steaks and some ground beef that were all devoured.

We also did buy some beef sticks and dried sausage from one other cattle rancher that the boys ate in no time for a quick snack.  Those beef sticks are one of their very favorite snacks!

When it was time to go, we still had lots of smiles, and a request to return every weekend!  If not for all the samples, just to watch the puppies tour around the market.  There were many.  This was a great outing not only for healthy food, but for family togetherness – away from those mesmerizing flat screens.  I actually got to see my children enjoy each other, nature, great food, and a little culture all mixed in together.

IMG_2945

If you have a chance, try to get out to your local market on a weekend.  It is quite an experience and a great haul at the same time!

IMG_2964


Happy Friday!

No More Buns!

So today I served up some leftover hamburger patties for my kiddos.  As I was fixing my lunch and carrying on with my day, I suddenly realized that not one of my three children even asked for a bun!  I had one ask for blueberries, one ask for milk, and the other ask for cheese, but not one asked for bread! What a glorious day!

This is what our hamburger used to look like:

Unknown-1

Hopefully this image doesn’t send you to the nearest burger joint!  Honestly, this image does nothing for me anymore.  As a self-proclaimed carb-aholic, I am amazed that I no longer have cravings for the bun!  The meat – yes!  I could care less about the bun though. I never thought I would say this, so I post in order to bring you hope for a happy bunless forever.

I am so grateful too.  A typical 100% whole wheat hamburger bun has 25-35 grams of carbs, and generally is about 75% carbs or more when calculating macros (Fat, Carbs, Protein).  I’m not even going to talk about the dreaded refined white flour buns!  And…30 grams of carbs is about my max intake of carbs on a typical day so that bun would be it.

I knew I had made it past the carb craving stage, but I also knew it would be a more difficult task for my children. After all, they usually eat what they are served and find themselves in places with many offerings.  In the beginning of this new “Way of Eating” (WOE), I heard a lot of comments like, “How long are you going to do this diet?”, or “Why can’t we have buns?”

Unknown-2

It is hard to explain to children how wheat, something that is grown from the earth, is harmful to them.  I used to mill my own wheat and bake my own bread for goodness sakes. I get the questions!  I used to think I was doing all the right things by giving my children fresh milled whole grains.  Then I read Wheat Belly by William Davis, MD and Grain Brain by David Perlmutter, MD.  Wow!  What eye opening reads!  Being a faithful person, I always believed that anything provided on earth and grown from the ground had to be good for us.  I had no idea how much the wheat we were provided has been changed over the years by human scientists.  It is actually very sad!  I prefer my family eat things from nature, not the product of a scientist.  So, that is why I removed wheat not only from my diet, but that of the rest of my family as well.

I was shocked today when I realized that there was not a comment, not a mention, not a whine for bread!  Even the kids get over it!

At breakfast today, I served grain-free lemon blueberry muffins, and my oldest told me that he just doesn’t really care for the muffins anymore.  When I asked him why he didn’t like the muffins, he told me that it wasn’t these muffins in particular, it was just muffins in general.  He asked for a poached egg instead.

Wow!  Breakfast breads used to be a staple, and now they are turning them away!  What a corner we have turned.

So, I hope that this gives you a glimmer of hope that the whole family can live this Keto lifestyle. I emphasize lifestyle.  This is not a diet for us anymore – it is a lifestyle.  It is the way we shop, eat, cook, and live.  We love it!  It gives us more energy to get through the day and through these years of parenting.  The kids notice the difference too.  Everyone just feels better, which gives us the willpower to get through the choices that used to challenge us.  Now it is not a obstacle for us, and surprisingly our children either.  I do want to say, that I don’t offer the options at home, but if we are out, I don’t tell the kids it is off limits.  I let them make the choice for themselves.  I never want them to feel like the things we choose to eat are “forbidden fruit”.  I try to educate them to make healthy choices so that they have a lifetime of healthy eating, not just the forbidden foods we tell them they cannot eat.  Example teaches what 10,000 words cannot!  Be a great example for the kids, and they will follow suit!

Here’s to healthy eating and healthy teaching!  It is possible!

images


Refreshing Cukes!

Last week, a friend of mine showed up at my door with a trash bag full of homegrown cucumbers.  He had grown them at his office, and thought I could use them since he knows I like to cook.  I had never seen so many cucumbers, and I honestly didn’t have a clue what to do with them.   My husband LOVES cucumbers, so I knew I needed to find something quickly!  I couldn’t let these go to waste!  The search began…

Look at these things…I had never seen anything like them before!  They were the largest Japanese Cucumbers I had ever seen!

IMG_2788 (1)

As you can see, these are huge!

I searched around through cookbooks and on the web.  I didn’t find anything that shouted out at me, but I combined a few recipes, changed out the sugar, and came up with a winner!  They haven’t even finished marinating, and my son said, “These are amazing…Dad is going to love them…This is my new favorite snack.”

So those of you looking for snack ideas, I have a new one!

You will need:

5-6 Cucumbers (I used 4 of these huge ones, so thinking this is the equivalent)

2 1/2 cups White Vinegar

1 Red Onion

1 Cup Xylitol or Sugar Substitute of Choice (See note at bottom)

2 tsp Celtic Salt

1 tsp Celery Seed

1 tsp Dried Dill

Directions:

In a saucepan, combine your vinegar, salt, and sweetener.  Over medium heat, (it’s gonna stink), heat your vinegar until your “sugar” and salt dissolves.

IMG_2789 (1)


Remove from heat, and add your celery seed and dill weed.  Allow to cool a little and place in the refrigerator to cool completely.

IMG_2790

While your marinade is cooling, slice your cucumbers in a mandoline.  I love my De Buyer!  If you don’t have a mandoline, what are you waiting for?  It makes life so much easier!  I bought mine at Williams Sonoma, but you can get yours here too.

IMG_2793

IMG_2792


IMG_2795

I did adjust my mandoline for thicker slices.  I had it set from the zucchini last week, but these needed to be a bit thicker.

Also, slice your red onion into thin rings.  Place your cucumbers and red onion slices in a bowl.

Once you have everything sliced and your marinade is cold, you can pour your marinade over your cucumber and onion.

IMG_2796

IMG_2797

Toss everything together until lightly coated.  Cover with Saran and place in your refrigerator overnight.  At this point you can’t even see the liquid, but just wait!

This is what it looks like in the morning:

IMG_2799

Everything is soaking in the juices!  Yum!

IMG_2798

Let it sit and soak up the deliciousness for 24 to 48 hours!  Enjoy as a snack, a salad, or a side dish!  I am thinking ahead to the July 4th holiday!!!


A note on Xylitol:  You don’t see us using this one very often.  The reason I did on this dish was because it was a cold marinade that also had to be heated so I thought it would work best.  There are many that love Xylitol, and there is nothing wrong with it from a Keto standpoint.  I have two cautions on it though:

1.  It is extremely toxic for dogs!  Keep it away from animals.

2.  It can cause stomach discomfort in a few.

For the quantity of liquid in these in relation to the amount of cucumbers, I did not think it would have much effect since we are not consuming the liquid on it’s own.

If you try different sweeteners or have a different variation on this recipe, we would love to hear about it in the comments section!


Cheesy Tater Tots!

Summer has arrived, and so has burger and hot dog season!  We all love a good cookout in the more relaxing summer months.  Of course, what goes hand in hand with burgers?  Some sort of fried potato off limits to us low-carbers!  Going Keto means no more fries and tots, right?  Wrong!  I told my children I was making tater tots, (which they have missed) and they started doing cheers!

I did NOT tell them how I was making them, however, and they could not tell the difference.  These suckers were good, and there was nothing left to save after dinner.  Bummer!

Keto tater tots take a little preparation and forethought, but overall they are pretty easy – and I don’t even fry – before or during Keto, until now.  This was a game changer for our family!

Cheesy Tater Tots

1 large head of Cauliflower

1/3 cup Parmesan Cheese

1/2 cup Mozzarella Cheese, shredded

1 Egg

2 tsp Psyllium Husk Powder

1 tsp garlic salt

1-2 cups Bacon Fat

Salt and Pepper to taste

Shredded Cheddar to melt on top (I used sharp cheddar)

Directions:

Cut your cauliflower into small pieces to steam.  Place in your steamer and steam until tender but not too soft.IMG_0965

Place in your food processor, and pulse until it is smooth without any chunks.

IMG_0972

This is not enough, above ^.

This is how it should look below:

IMG_0973

At this point you can make mashers or tots!:)  I’m going for tots!

After you get your cauliflower to this consistency, you are going to want to wring out the excess water – and there is a LOT!!!

This is the time consuming part, and you will want to make sure your cauliflower is cool, or you will burn off your finger tips.  Trust me – I didn’t quite burn mine off, but it was close!  Make sure you allow time for your cauliflower to cool either right after steaming or after processing.

Once cool, I use a light dish towel to wring out the excess water. You can use a cheese cloth as well.  The cauliflower will slip right through a colander.

When you place it on the dish towel, be ready to start wringing.  See the water spreading…It will look like this:

IMG_0974

After you squeeze and squeeze, and wring and wring, it will look like this:

IMG_0975

Doesn’t look verry appetizing, but just wait!

Now, take your cauliflower “paste”, and add your cheeses, egg, and garlic salt.  You may have to use a dull knife to scrape the dry cauliflower off the towel.

IMG_0979

Mix well.  It should be a very thick mixture.  If it is too runny to roll, then add your psyllium husk powder a little at a time.

It should look like this:

IMG_0981

Take out about a teaspoon of “dough” at a time and roll into your tots!  This is fun for the kids too!

IMG_0982

Now, get your yummy bacon grease ready (that you have saved from all those batches of bacon, right?)  Remember that cast iron skillet that Erin posted about?  This is the perfect time to pull that big daddy out as well!

Start heating your fat in your skillet over medium heat!  Your grease really needs to be perfect.  If it is too hot, they will burn, but if it is not hot enough, the tots will stick to the bottom of the skillet.  Keep it on medium, and be patient.  The first picture is my mason jar of grease.  The second is the grease melting in my cast iron skillet.  Yum!!!!

IMG_0983

IMG_0984

You will also need to set up a plate with either paper towels or a mesh splatter shield to drain your tots after they cook so they start to crisp.  I used a splatter shield over a plate, and had it ready to go before frying.

IMG_0985

When your grease is hot, gently drop your tots into the grease, and move them around so they don’t stick to the bottom.  Continue to rotate until they are golden brown on all sides:

IMG_0987

When they are cooked on all sides, remove to your plate.

IMG_0988

This was my first batch, before my oil was hot enough so you can see where some stuck.  I was not very patient:).

Once you remove them, you can add salt and pepper, if you like, or cover with cheese.

IMG_0991

IMG_0992

Let them cool slightly and serve!  I hope you enjoy these beauties as much as we did!

IMG_0994

Happy summer, folks!


Something Besides Eggs for Breakfast!

IMG_0870Yep!  You can eat something other than eggs for breakfast!

How about some buttermilk pancakes, for instance?

I know, how is it possible?  Well, when you have three kids begging you for something other than eggs for the 21st day in a row, you get creative!

I searched last Saturday for a recipe to make everyone happy.  I could not find any recipes that suited our family, so I whipped up something very special!  Most of the Paleo or Keto pancake recipes are either flavored or only make a single serving in a skillet.  I wasn’t about to make a recipe 5 times to feed all of us, and they wanted plain old pancakes like Mom used to make.

How did they turn out?  Fabulous!  The children told me that they actually liked them better than the ones I used to make, and I have to admit, they were pretty darned good.

With the long weekend coming up, I thought this an apropos time to hopefully make some other children (or adults) very happy on a relaxing weekend.


Your Ingredients:

IMG_0872

We have added several of our staple ingredients to our Amazon store, so you can click on the item and have it delivered to your door if you don’t already have it in your pantry.

Buttermilk Pancakes

Yield: 16 (Very Filling) Pancakes

1/2 Cup Coconut Flour

1/2 Cup Almond Flour

5 eggs

2/3 Cup Almond or Coconut Milk mixed with 3/4 tsp Apple Cider Vinegar

1 tsp Vanilla

1/2 tsp Baking Soda

1/4 Cup Swerve Granular

4 Tbsp Butter or Coconut Oil (Melted)

1/4 tsp Sea Salt

4 oz Cream Cheese (Softened)

Directions:

Preheat your griddle to 375 degrees.

1.  Combine your dry ingredients in a large mixing bowl: flours, soda, salt and Swerve.

2.  Add your eggs, one at a time, and mix together to form a thick batter:

IMG_0862

3.  Mix your Almond or Coconut Milk together with your Apple Cider Vinegar:

IMG_0863

4.  Pour this into your flour and egg mixture and mix.

5.  Add your remaining ingredients, and mix well with a hand mixer.

IMG_0864

6. I usually do not have to grease my griddle, but if you prefer to do so, you can use this.

7. I used a 1/4 cup measuring cup to spoon my batter evenly onto the griddle.

IMG_0865

8. Just like regular pancakes, when they start to bubble, flip them over.

IMG_0866

9. They should be a nice golden brown color when they are ready to eat!

IMG_0868

10. I just ate mine with butter, and they were plenty sweet with the added Swerve.  I will allow my children to eat a dab of honey, or pure maple syrup.  A better alternative is an all-natural sugar free syrup that you can buy here.

11. Enjoy!

IMG_0869 IMG_0870 IMG_0871Just to give you an idea on portion, we each had three pancakes, and were stuffed!  With the coconut flour and eggs, they are very filling!  One batch fed 5 very hungry people!


Holy Guacamole!

Okay, so guacamole may not be holy, but it’s pretty close in my house.  Avocados are almost the perfect Keto food, and they are loaded with potassium, folate, and vitamin K!

Avocados are ALWAYS in our kitchen!  We eat them on our green salads, and they are excellent in a tomato and mozzarella salad as well.  Our favorite way to eat avocados though, is guacamole!

We eat guacamole on almost anything.  We use is on our eggs in the morning (any kind), salads at lunch, and burgers and fajitas for dinner.  We can’t get enough!

If you missed the post the other day on the cheese crackers, now is the time to scroll down.  This is one of my favorite tricks!  We love the cheese crackers to dip in the guacamole!

It is a super easy recipe to make too!

IMG_0856

Guacomole

3-4 large avocados

1/2 bunch cilantro

1/4 red onion

juice of 1 lemon

garlic salt to taste


It took me many years to discover the best way to scoop an avocado.  Now that we eat them daily, I have the perfect tip for you.

IMG_0851

Slice the avocado lengthwise.

IMG_0852

Once open, chop down on the seed, twist and remove.

IMG_0859

Using a serving spoon, scoop the meat out of the skin.

Now you ready to get your ingredients together!

IMG_0854

Chop your onion and cilantro finely.

IMG_0855

Using a lemon/lime juicer, squeeze all the juice out of your lime.

Mix everything together and sprinkle with garlic salt.  Taste, and add more if needed.

IMG_0853


YUM!!!!

IMG_0857

ABC’s Are Not Just for Children!

This is what we call an ABC Burger!

A=Avocado

B=Bacon

C=Cheddar Cheese

Put it all together, and what do you get…delicious, filling, and crowd pleasing!

No need for a bun.

Every Sunday, I make sheets of bacon to munch on during the week!  This allows us to have bacon every morning, even in a pinch.  I used to make it in the skillet every morning the old fashioned way, but this way allows me to make much more at a time, save all the bacon drippings, and have more time in the morning.


Cookie Sheet Bacon

Preheat your oven to 375 degrees.

Line a cookie sheet with sides (jelly roll pan) with heavy duty aluminum foil.

Lay your bacon out without the sides touching.  I can usually get 10 to 12 pieces on a sheet.IMG_0777The cooking time really depends on how thick your bacon is, how you are going to use it, and how cooked you like it!  If you are going to keep cooking it in another dish, I do it par-baked which just means I remove it before it is thoroughly cooked through.

I use pretty thick bacon and usually cook it about 20 minutes.  For thinner bacon, start checking it at about 12 to 14 minutes.

This is about 20 minutes for thick bacon:
IMG_0782

Remove your bacon to a paper towel lined plate to drain and crisp.

Do not discard your drippings.  I almost always try to make a dish using the bacon drippings the day I make bacon such as the Bacon Brussels or Bacon Green Beans.  If I am not cooking a dish, I save the drippings in a mason jar.  (Yes, just like Grandma used to save hers!)  Make sure you strain the bits out if you are using a jar – I use bits and all when preparing a dish the same night.

I reuse the tray over and over until I have enough bacon (and drippings) for my immediate and future bacon needs!  Then, when you are finished, drain your drippings and toss the foil!

IMG_0783


This evening, we made ABC Burgers AND Bacon Green Beans (post to come) with all of that delicious bacon.

It is super simple, and your family will love you.

ABC Burger

I used 2 lbs of grass-fed 80/20 ground beef, and hand mixed with salt, pepper, and Worcestershire sauce (and any other herbs and spices you like in a normal burger).

Form the meat into patties the size you like.  My husband grilled them out back as usual, but about 5 minutes before removing them, adds the bacon and tops with sliced cheddar cheese.  After the cheese melts, remove them from the grill.

We place them on a bed of lettuce with mayo (you can use mustard too) and top with sliced avocado. You will realize you never need a bun again!

This is a super easy weeknight meal or a fun weekend meal!

Here is your tip for the week if you need it even easier…Order Up, in San Antonio, makes their own version of an ABC Burger made with grass-fed beef that is delicious!  They serve theirs in a lettuce wrap, on request, and serve their delicious Chipotle Mayo on the side.  It is fantastic, perfectly Keto, and we love the people there as well.IMG_0785Enjoy!

Cauliflower can do anything!

Well not quite.

But it is definitely a vegetable and Keto All-Star!


Yesterday we talked about cauli-rice and today I want to talk about cauli-mashers. This is another go to side that is quick and versatile.


I started with frozen organic cauliflower, but you can absolutely use fresh!! I like to keep the frozen organic cauliflower and organic chopped spinach on hand. These are great for fast weeknight dinners.IMG_4660

Steam the cauliflower until soft. Personally I avoid heating any food in plastic containers. While there are multiple organizations giving us all sorts of contradicting information about the safety of heating food in plastics; I’m going to just play it safe. Read more here: (http://www.wsj.com/articles/SB10001424127887324493704578433290465517564)


IMG_4662


After the cauliflower is soft move it to a large mixing bowl, add cream cheese, heavy cream, and/or sour cream. Then mash and mix together just like like if you were making mashed potatoes. I use an immersion hand blender and this is done in a snap.


IMG_4663


Salt and pepper to taste and feel free to add chives, garlic, and parsley. The amounts of vitamins packed into herbs are incredible plus they make it pretty! They can be served immediately or put into the oven to crust to top.

IMG_4664


Tonight I added cheese to the top and popped everything back into the oven to melt and meld it all together.

IMG_4665

Even the incredibly picky three year old enjoyed them!


IMG_4666

A Better Choice for Yogurt!

Today is for the kiddos…

I know our children love yogurt, especially those fun, brightly colored, cartoon character covered, sugary yogurt drinks!  It is the first thing they go for in the dairy section!  Why?  They are loaded with sugar!  Even the “all natural” or organic yogurt drinks, squeezes and smoothies have added sugar usually listed as the second ingredient.  Yogurt and milk already have a lot of sugar naturally from the lactose, but then you add the fructose from the added fruit, and the sucrose from the added sugar, and you have a sugar trifecta!

Here is a better option…

IMG_0685 IMG_0680


Maple Hill offers GRASS-FED WHOLE MILK yogurt and yogurt drinks!  I found these at Central Market.  Milk from Grass-Fed cows is hard to come by, and yogurt from Grass-Fed cows is especially hard to come by!  Whole milk yogurt? – This is the only one I have found without added sugar!  Sooo…if you are looking for a better option for your kids this is it!

Maple Hill Creamery PLAIN Drinkable Yogurt

It is a whopping 12 oz serving which usually lasts at least a couple of days.  Write their name with a Sharpie on the container and store in the fridge with the resealable cap.

Total Fat: 17g, Total Carb 17g, and Total Sugar (all from lactose – no added sugar) is 17g

When you compare this to the tubes and squeezes (the healthier ones listed below) it is half the sugar and triple the healthy fat needed for brain development!

Note, that they do have flavors but they are loaded with sugar too, so pick the Plain and add any multitude of flavors with Stevia drops.  Just a few drops (5-6 drops is sufficient for my children) and shake.  You can get these at Central Market, Whole Foods, Sprouts or any other nutrition store.  My kids love the lemon and orange flavors in this yogurt!


There are two others that I used to buy:

1. Lifeway Organic PROBUGS because it is a Whole Milk Kefir, but sugar is the second ingredient.  For a 4 oz serving, it contained 4g of fat, 10g of Carbs, and 10g of Sugar.

2.  Siggis Tubes because it claims to have less added sugar.  This one is worse because it uses low fat milk and still has sugar as the second ingredient.  For a 2 oz serving, it contains 1g of fat, 7g of Carbs, and 6g of Sugar.  This is a whole teaspoon of sugar in a measly 2 ounces, and it is one of the lower sugar options!

Between the two above, the PROBUGS would actually be the better option because of the whole milk, and ounce for ounce it actually has less sugar.

And…these were the BEST options I could find BEFORE Maple Hill!  The others are FAR, FAR worse!


Why Whole Milk?

The closer to zero-fat milk you go, “the more you eliminate fatty acid benefits,”. You also eliminate naturally occurring Vitamins A and D, which are then added synthetically. And you add powdered milk, which contains artery-hardening oxidized cholesterol, for “mouth feel.”

This makes skim milk a highly processed, additive-laden, synthetic, vitamin-laced beverage that – oh, yeah – has protein. Skim milk increases weight because “once you take out the fat from milk, all you have left is sugar.”  And…Your growing child needs fat for a healthy growing brain!  Fat is a far superior fuel for the brain than glucose!

To read more:  http://www.foxnews.com/leisure/2014/05/23/in-defense-whole-milk/100%


Why Grass Fed?

Grass-fed cow’s milk comes from cows who have grazed in pasture year-round rather than being fed a processed diet for much of their life. Grass feeding improves the quality of cow’s milk, and makes the milk richer in omega-3 fats, vitamin E, beta-carotene, and CLA (a beneficial fatty acid named conjugated linoleic acid).  All of this is better for the brain!

Click on this link to read more about the benefits of milk from Grass-Fed cows: http://www.whfoods.com/genpage.php?tname=foodspice&dbid=130


Devilishly Delicious Donuts

I get requests quite often from the kiddos to have something other than eggs for breakfast.  Enter Coconut Crusted Chocolate Donuts!  YUMMY!!!!

GRAIN FREE/SUGAR FREE

IMG_0678

I decided to experiment with a Paleo recipe this morning that needed some substitutions so that it could be sugar free, and the result was an overwhelming winner from everyone in the family!  Lots of smiles in our kitchen today!  These are so good you could top with some homemade whipping cream (using Swerve Confectioner as your sweetener) for dessert!

Yield One Dozen

Preheat oven to 350 Degrees.

1.  Start with your ingredients:

IMG_0669

DONUTS

1 1/2 cup Honeyville Almond Flour (Don’t even bother with a different brand…I’ve tried them all, and Honeyville is far superior with the best texture for baked items.)  I get the big bag at Costco.

1/2 cup 100% Cocoa

1/2 tsp Baking Soda

1/4 tsp Pink Himalayan Salt

6 eggs separated

6 TBSP Coconut Oil

1/2 cup Swerve Granular (Available at Sprouts, Whole Foods or Amazon)

1/2 tsp Vanilla

GLAZE

1/2 cup Coconut Oil

1/2 tsp vanilla

2 TBSP Swerve Confectioners (Available at Whole Foods or Amazon)

Unsweetened Coconut Flakes (I buy in bulk at Sprouts and keep in a sealed container.)

2.  In a large mixing bowl, combine almond flour, cocoa powder, baking soda, salt and Swerve.  Make sure it is mixed well without clumps.

IMG_0670

3.  In a separate bowl, combine egg YOLKS, melted coconut oil, and vanilla.  Mix until smooth and slightly fluffy.

4.  Add the above to your dry ingredients, and mix well until a thick batter is formed.

IMG_0671

4.  In a third bowl, with a hand mixer, beat your egg whites until nice and fluffy – not stiff.

IMG_06725.  Add your egg whites to your thick batter and mix until you have a nice creamy batter.

IMG_06736.  Spoon batter into a greased donut pan (use Coconut oil spray).

IMG_06747.  Bake at 350 degrees for 12 minutes.  Cool in pan for about 15 minutes before inverting onto a cooling rack.

IMG_0675

8.  While the donuts are cooling, mix all your glaze ingredients together.   Once completely cool, dip each donut into the glaze.  (This is my trick for a smooth surface anytime you are icing with a glaze.  Dip – don’t spread.)  Then top each donut with UNSWEETENED coconut. I did some with and some without the coconut.  Both were devoured!  My husband put his in the microwave for 15 seconds to warm it, and said it was fantastic.

IMG_0677

9.  As I mentioned above, you could heat these as a dessert and top with whipped cream sweetened with Swerve Confectioners and a splash of vanilla.

Enjoy!!!!

IMG_0678


« Older Entries Recent Entries »