Happy Fourth of July!!! Wave that Red, White, and Blue! Show off your stars and stripes! Enjoy your day, and celebrate with friends and family! We love our Independence Day in the Lutz and Stavros households!
We have been over several recipe ideas to keep your day healthy and low carb! Here are a few ideas from the past and the ones we have posted the last few weeks to help you compile your menu into one concise spot…right here! All of these recipes can be found on this webpage on our blog:
Main Courses:
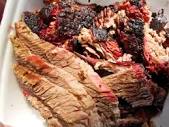
Brisket (You can even pick up or buy a precooked one to bake to make it easy!)
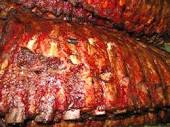
Ribs – Yum!!!
With our sugar-free sauce…
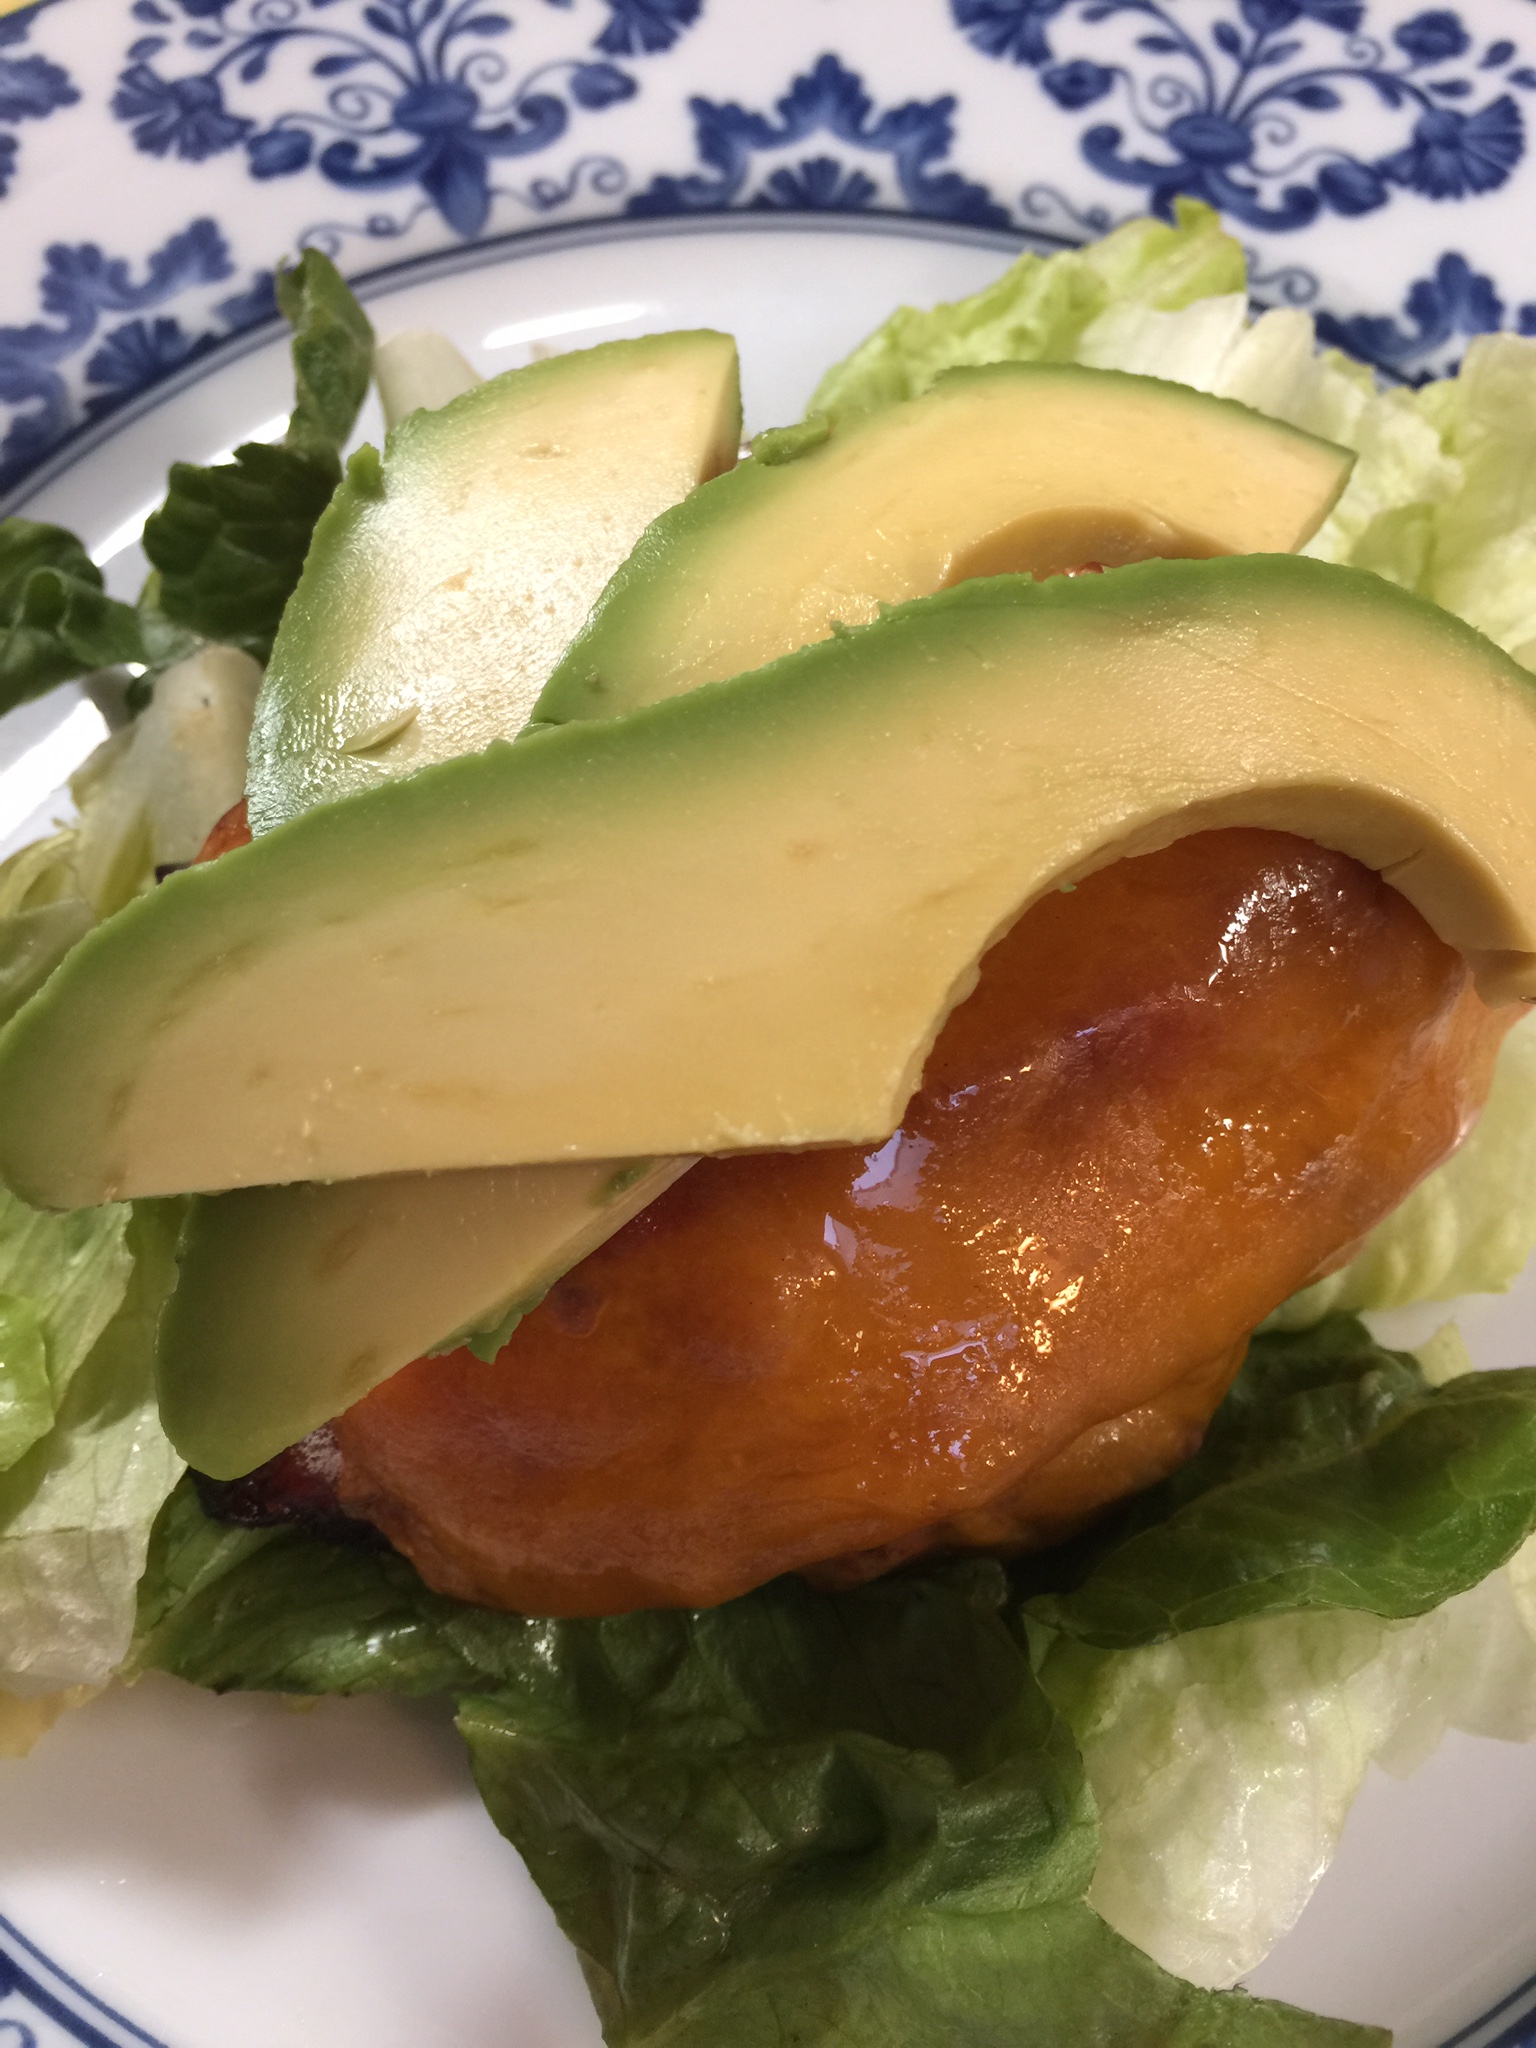
Bunless Burgers (We love our ABC burger – Avocado, Bacon, and Cheddar)
Bunless Hot Dogs or Sausage Links
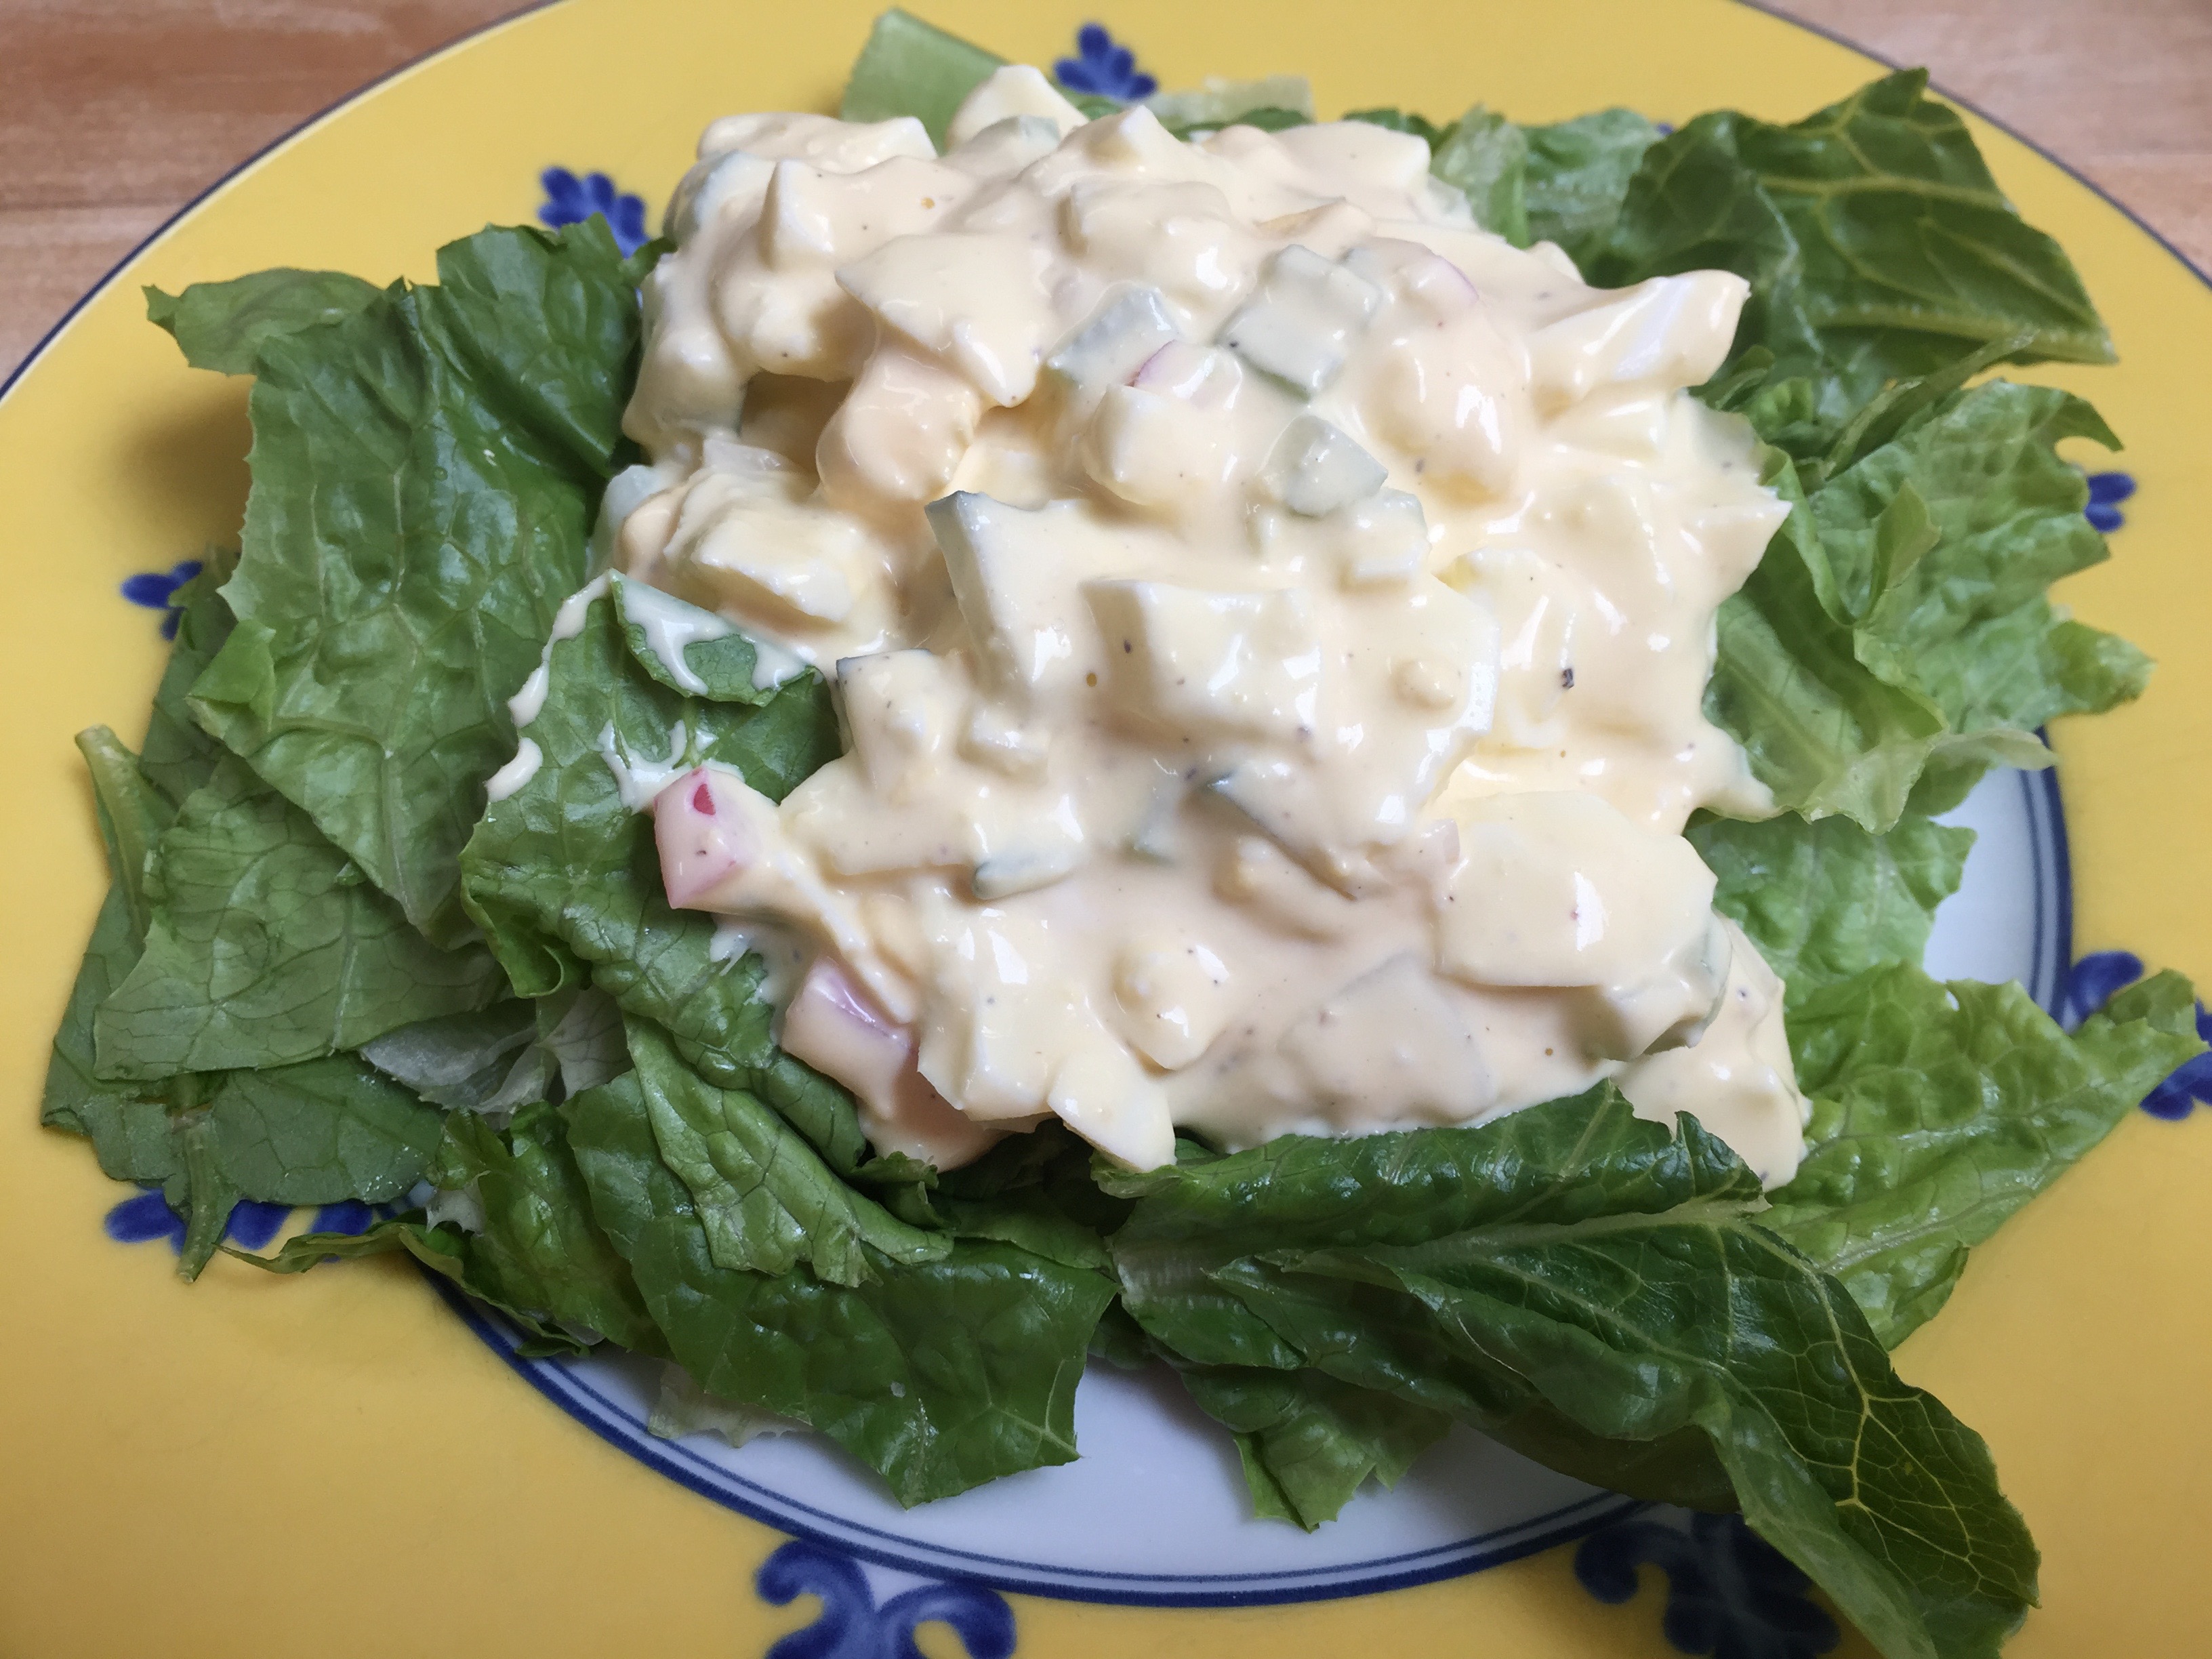
Egg Salad
Sides:
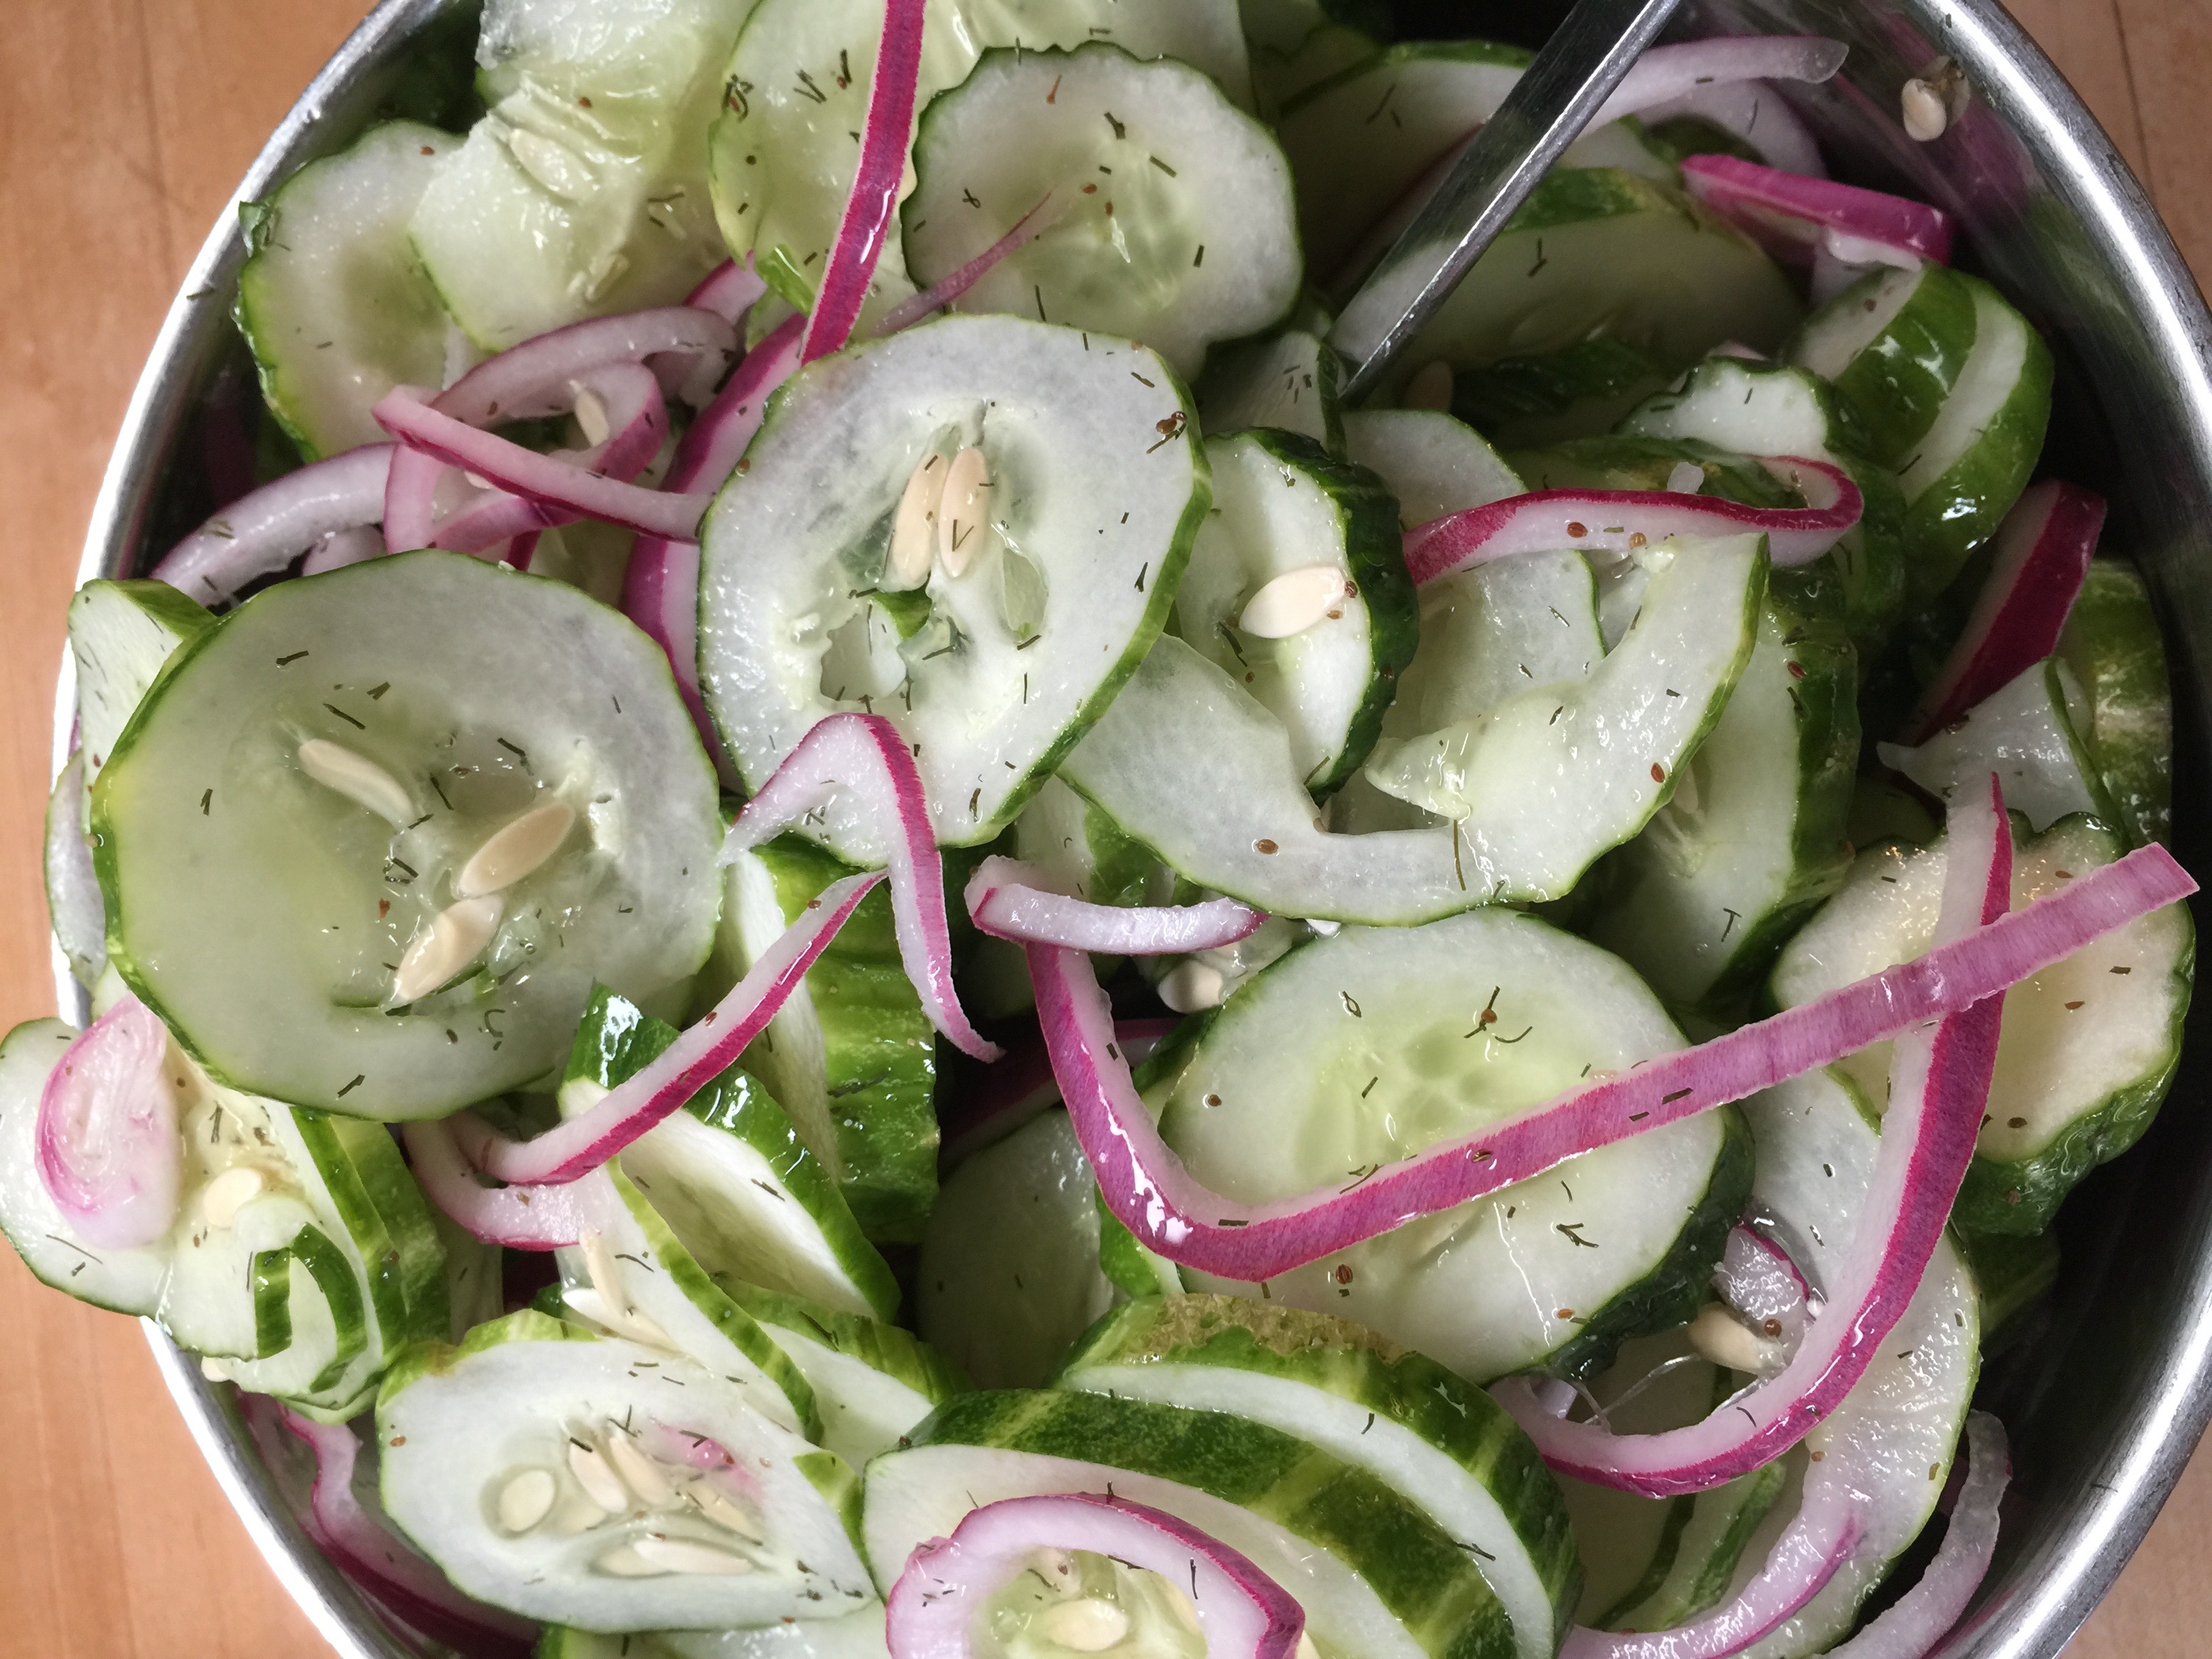
Refreshing Cukes
“Potato” Salad”
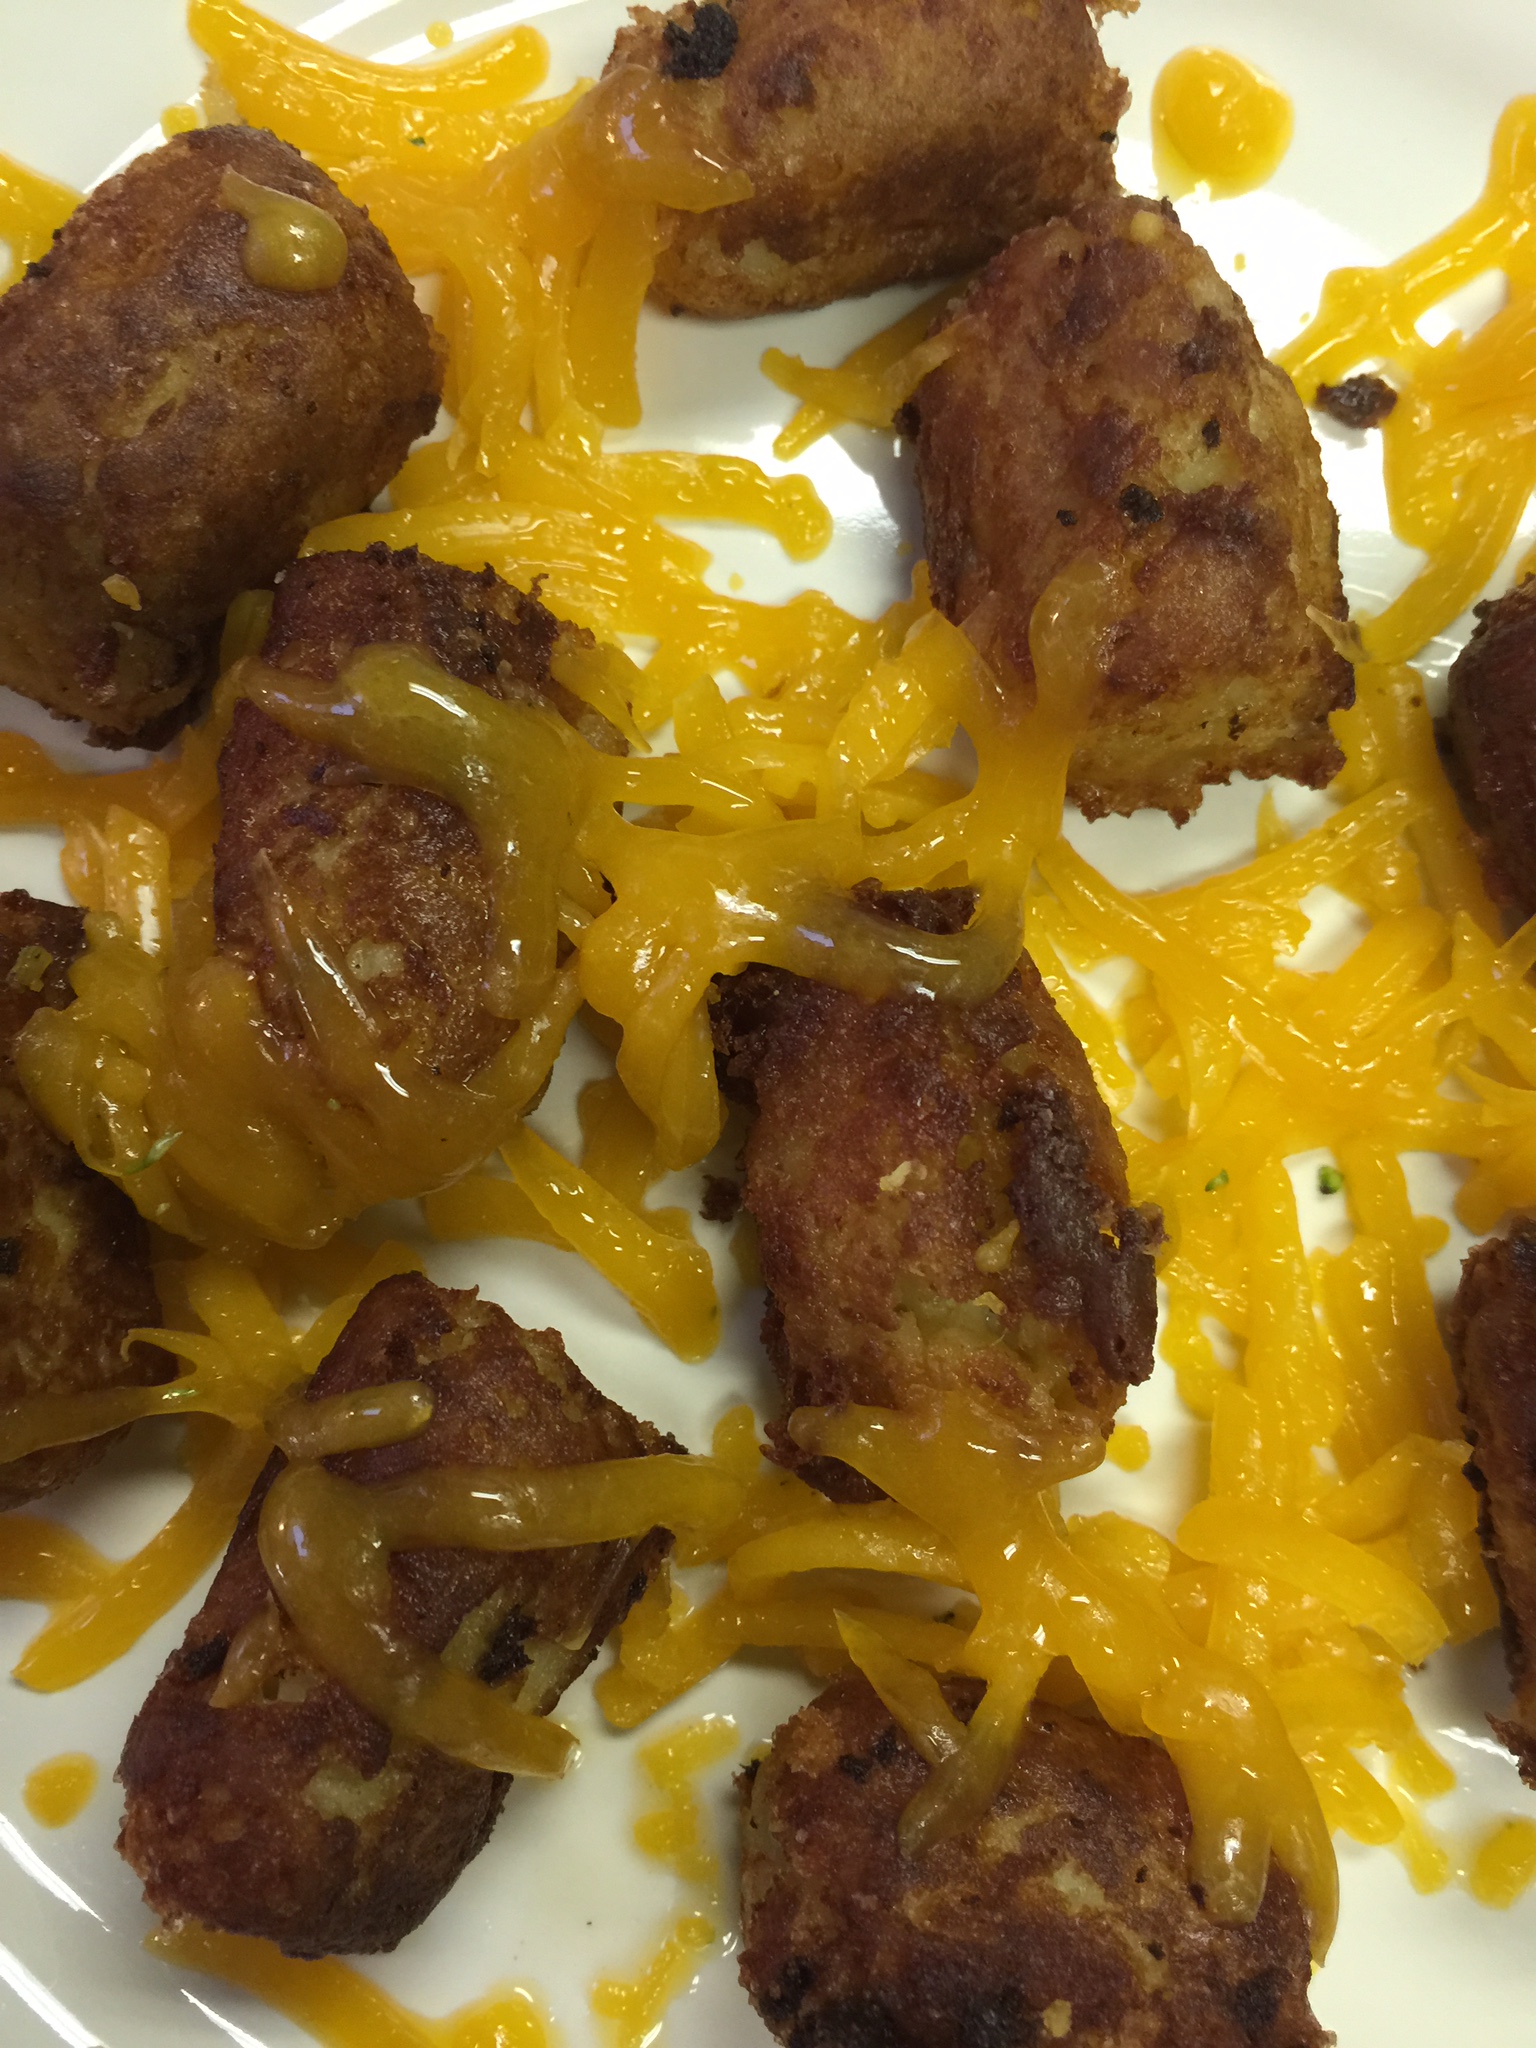
Cheesy Tater Tots
Broccoli Slaw
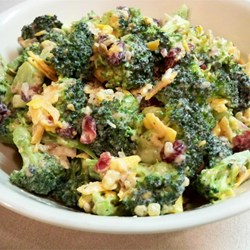
Broccoli Salad
Appetizers and Snack Ideas:
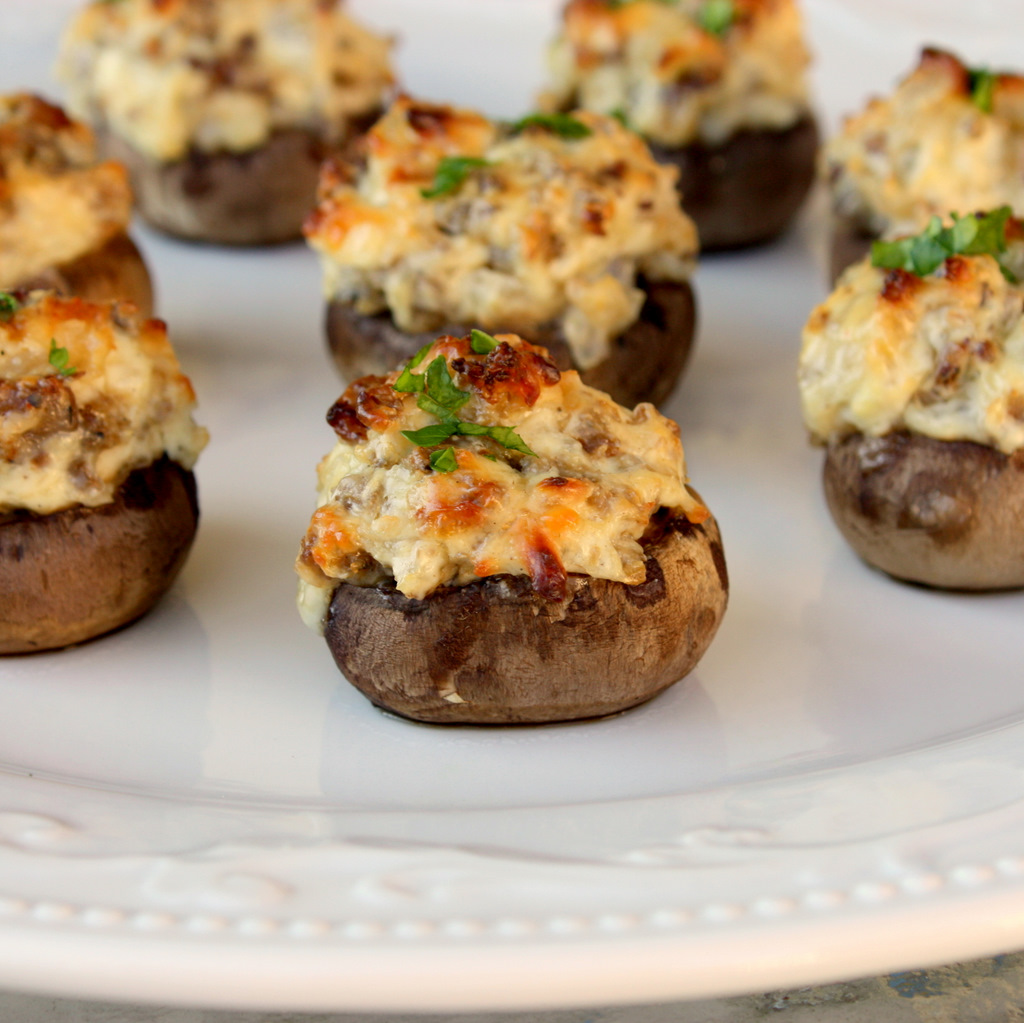
Stuffed Mushrooms
Cheese Crisps
Zucchini Chips
Guacamole
Deviled Eggs:
Dessert:
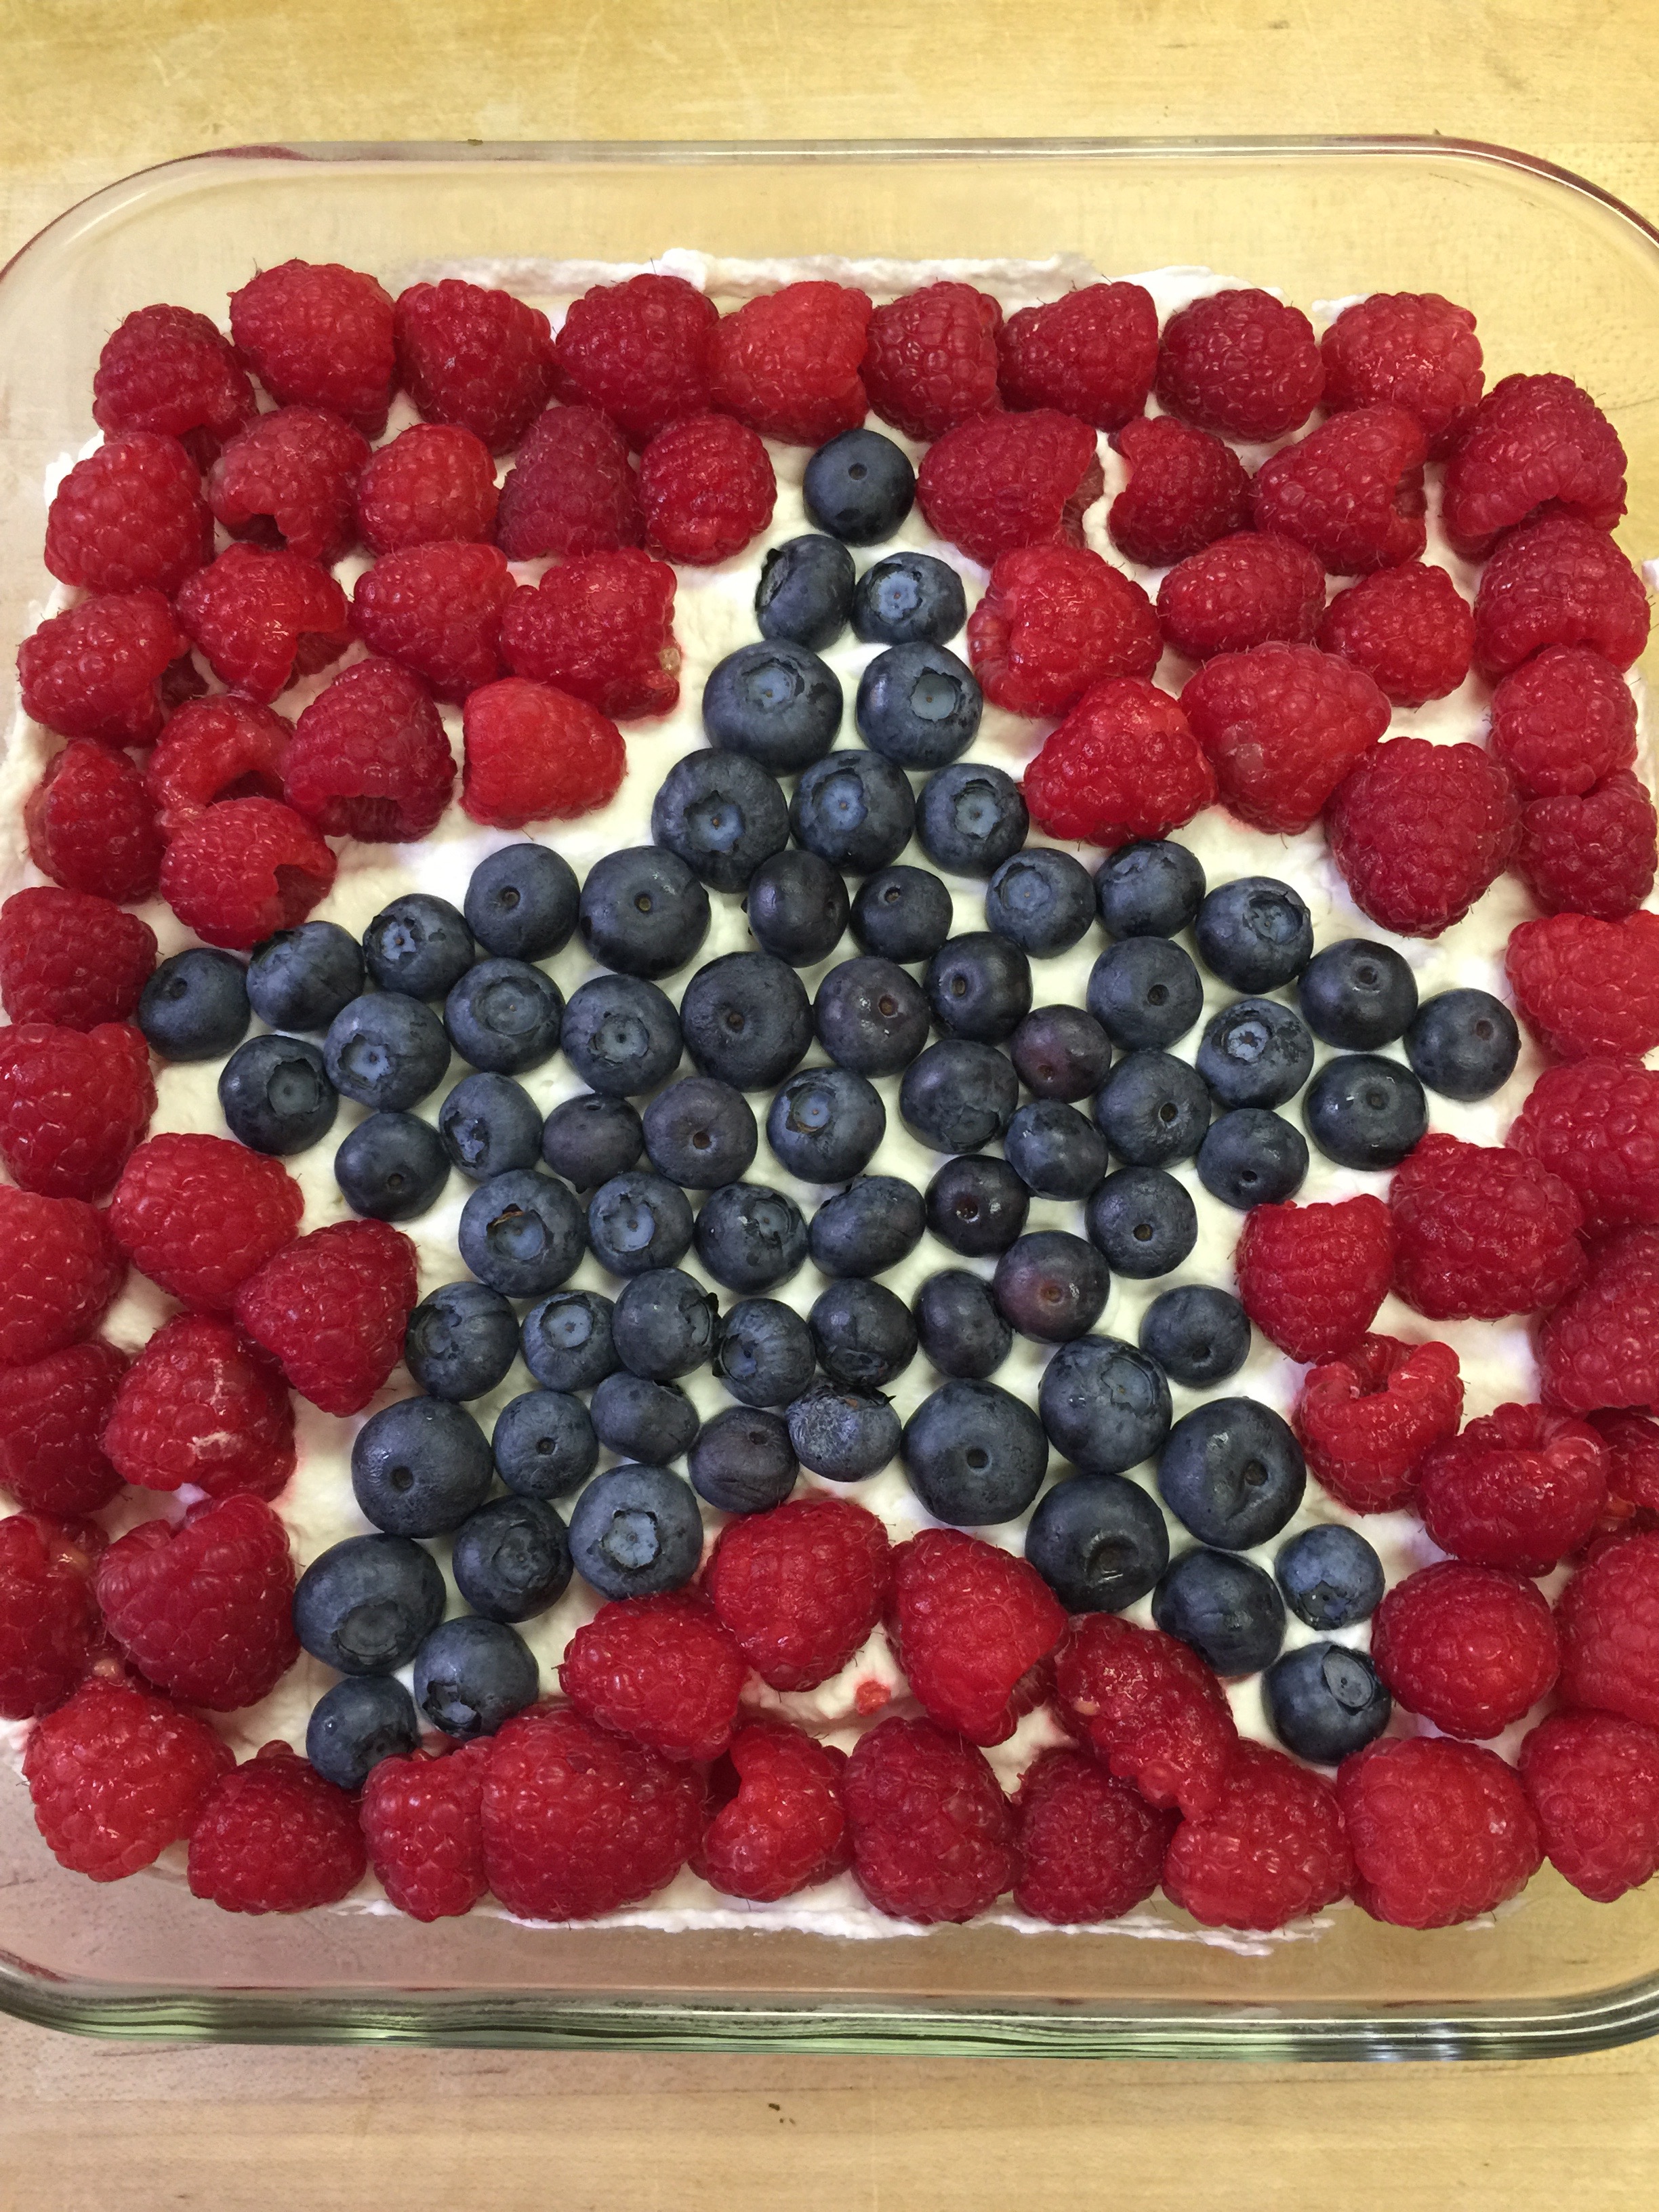
Stars and Stripes Cheesecake with Berries:
Or, if you are a chocolate person, our chocolate pudding.
Drinks:
Refreshing Low-Carb Margarita on the Rocks
Enjoy a wonderful celebratory day filled with healthy food, healthy sun, friends and family.
We are thinking ahead to fireworks and celebration! It is hard to believe that July 4th is right around the corner. The other day I posted the “Refreshing Cukes” recipe which would be a great side dish for any Fourth of July celebration. By the way, they just got better in the fridge for a few days! The cucumbers were definitely a hit in our house!
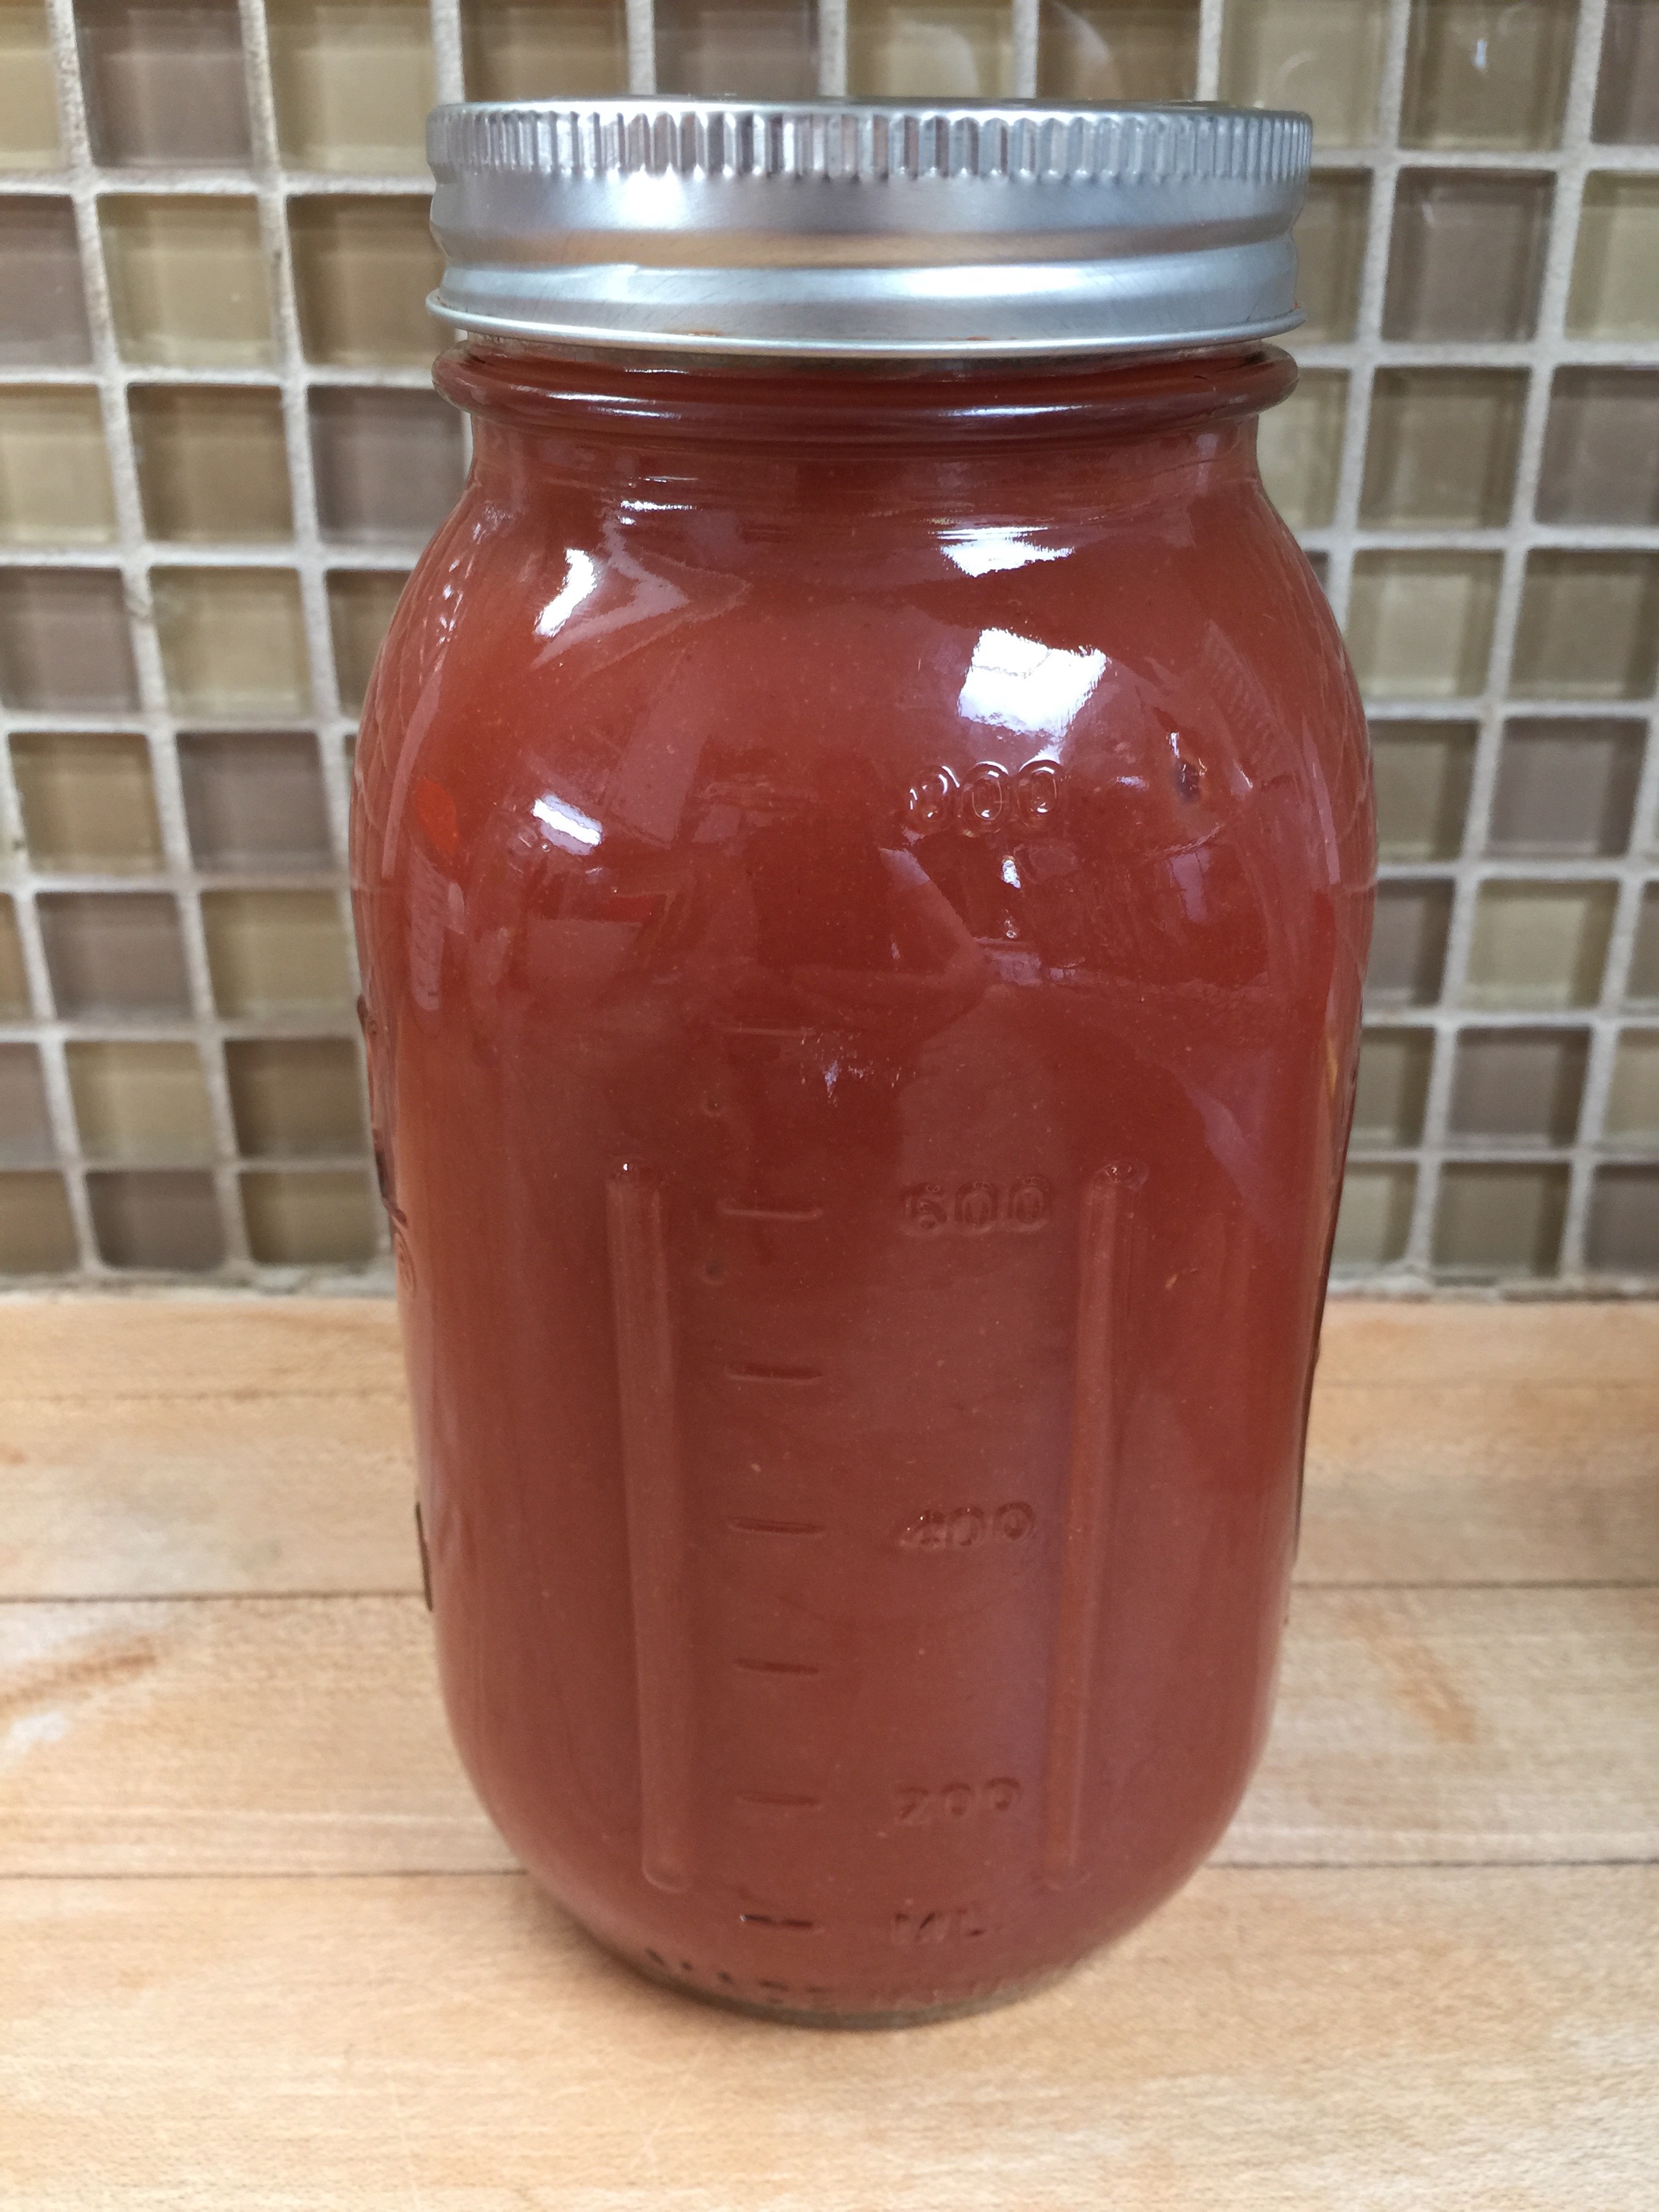
Today, I have another side that is easy because all you need to do is prepare the dressing ahead, pour it in a mason jar, throw it in the ice chest, and you have a great nutritious side wherever your travels may take you! Even better, you can use this tangy dressing as a dip or on any salad with what you have left over.
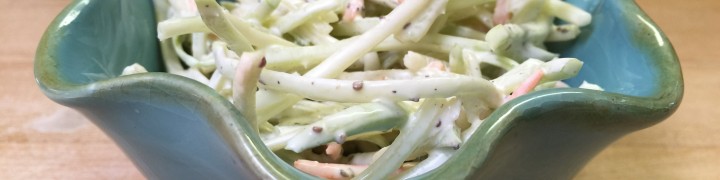
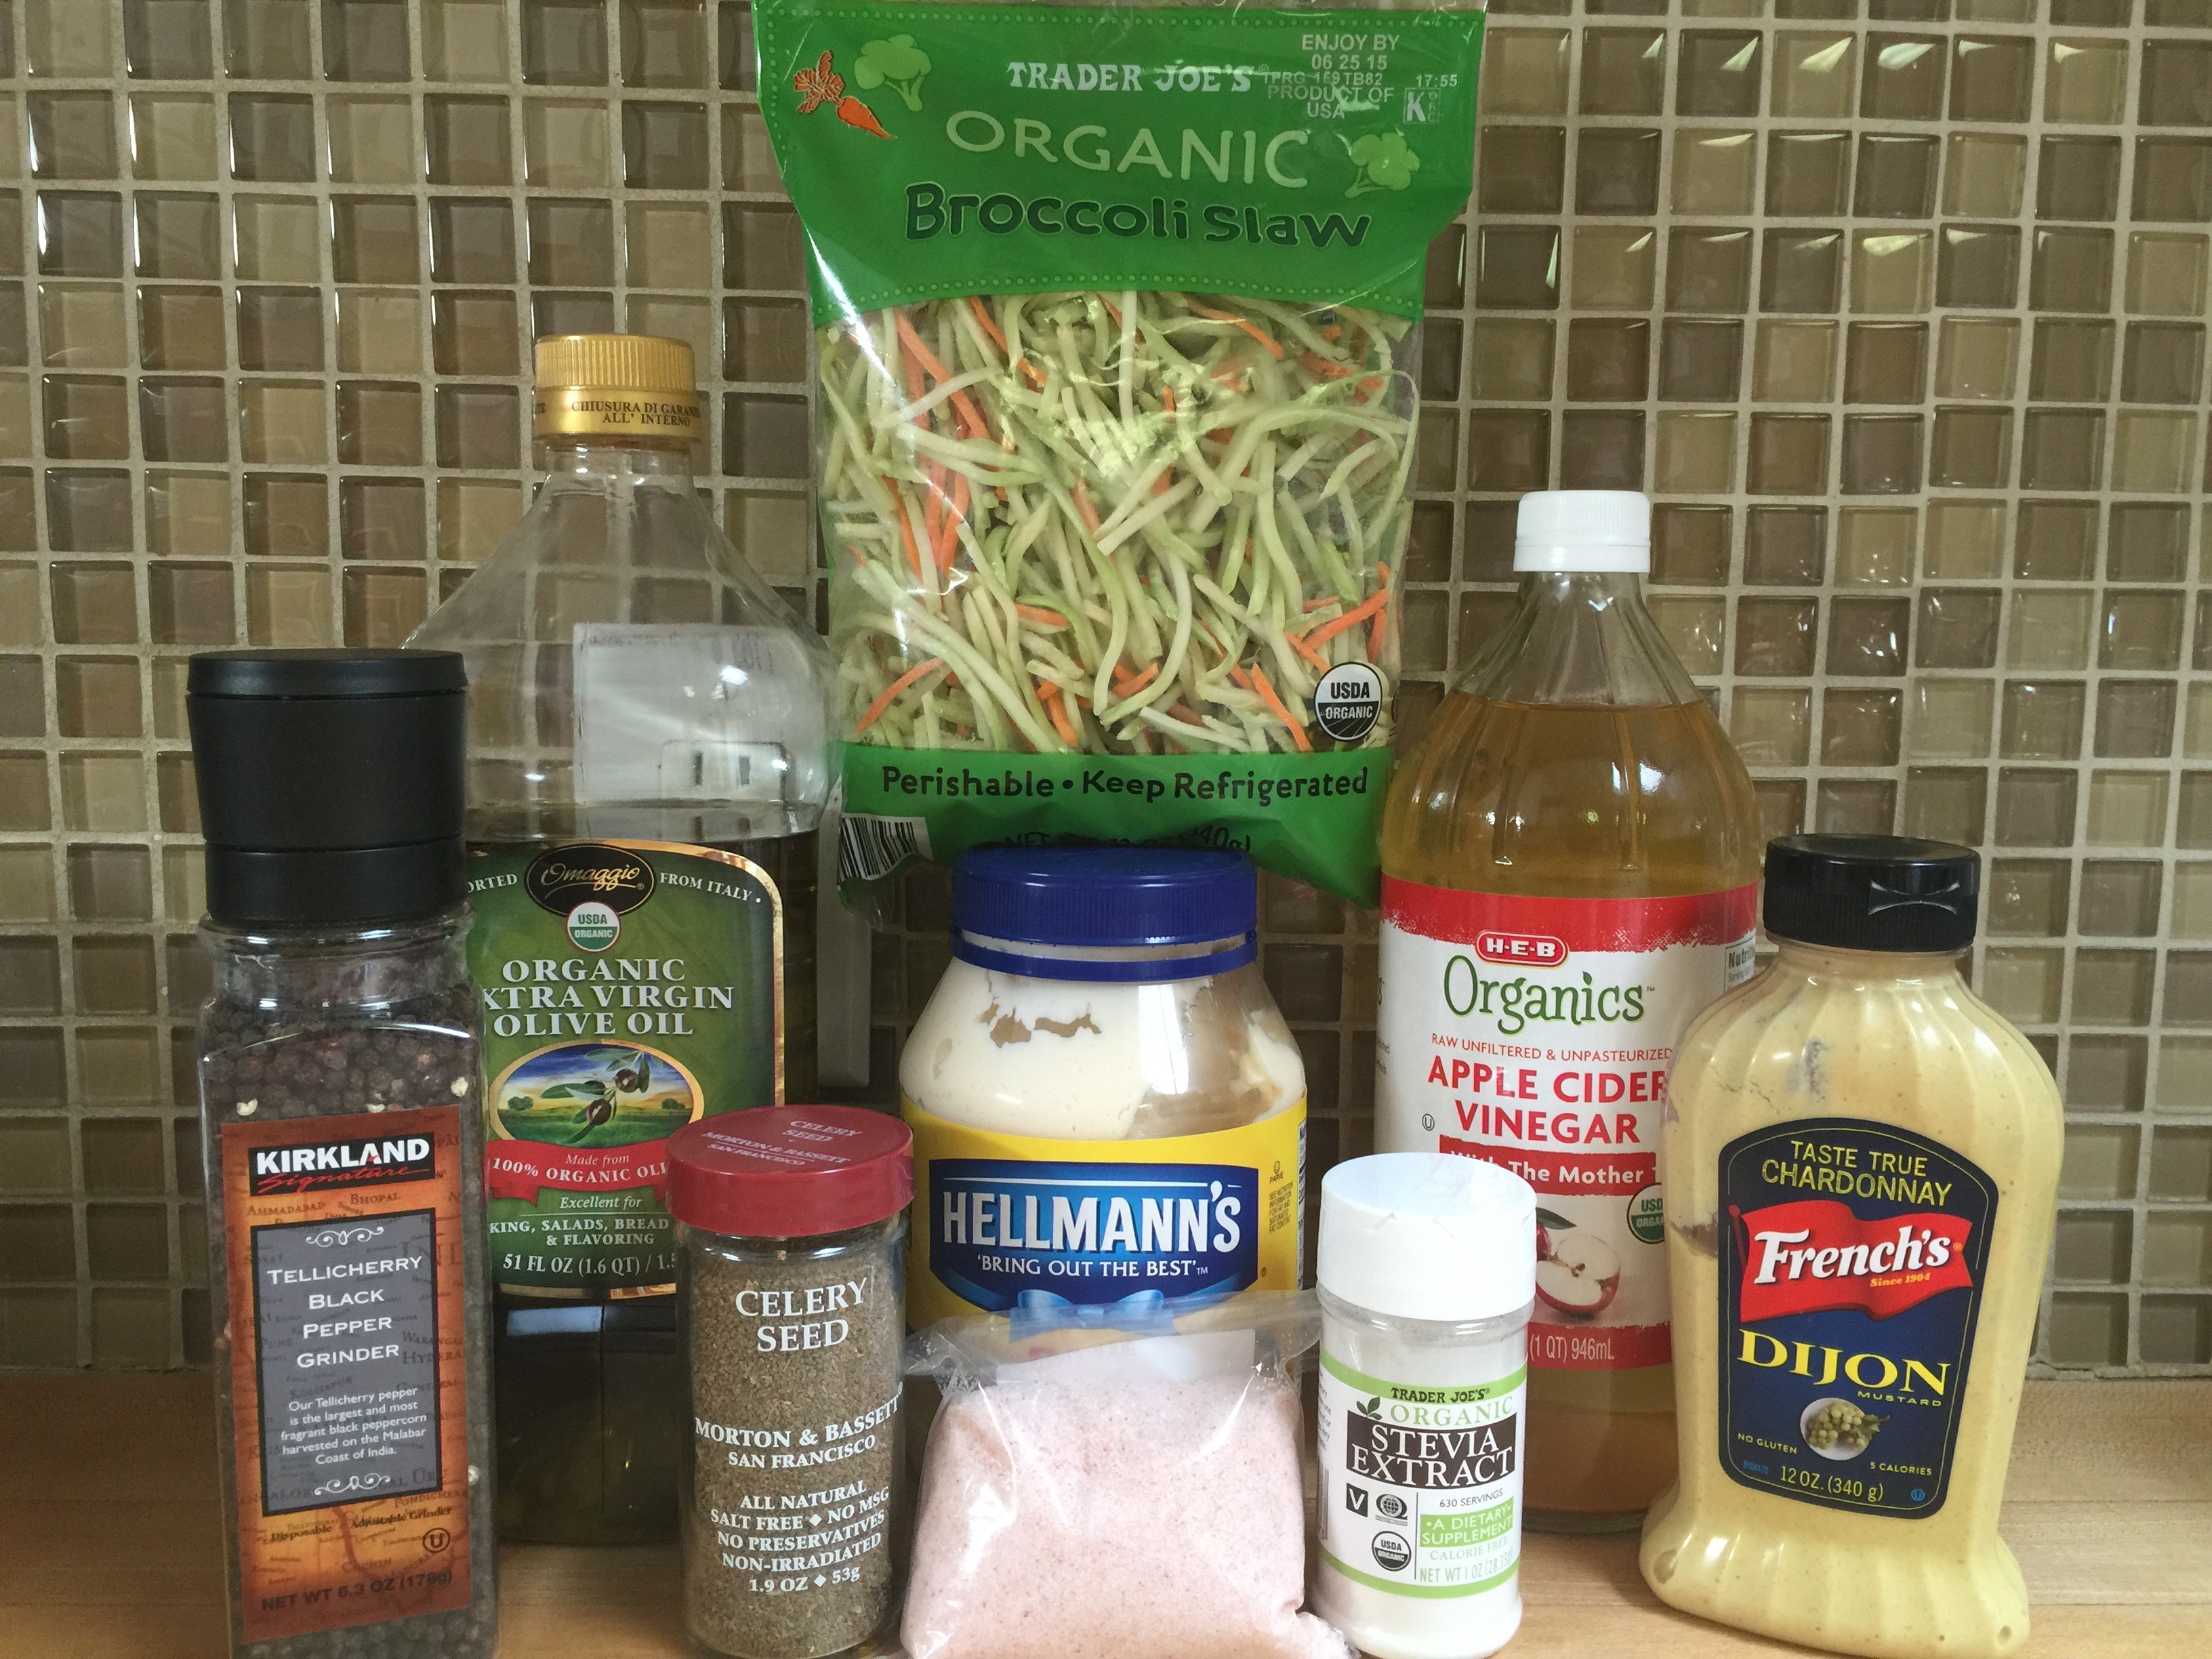
Keto Broccoli Slaw Recipe
2 Tbsp Extra Virgin Olive Oil
1 Cup Mayonnaise (I used Hellman’s, but homemade is better)
2 Bags of Trader Joe’s Organic Broccoli Slaw (I just use one at a time.)
Directions:
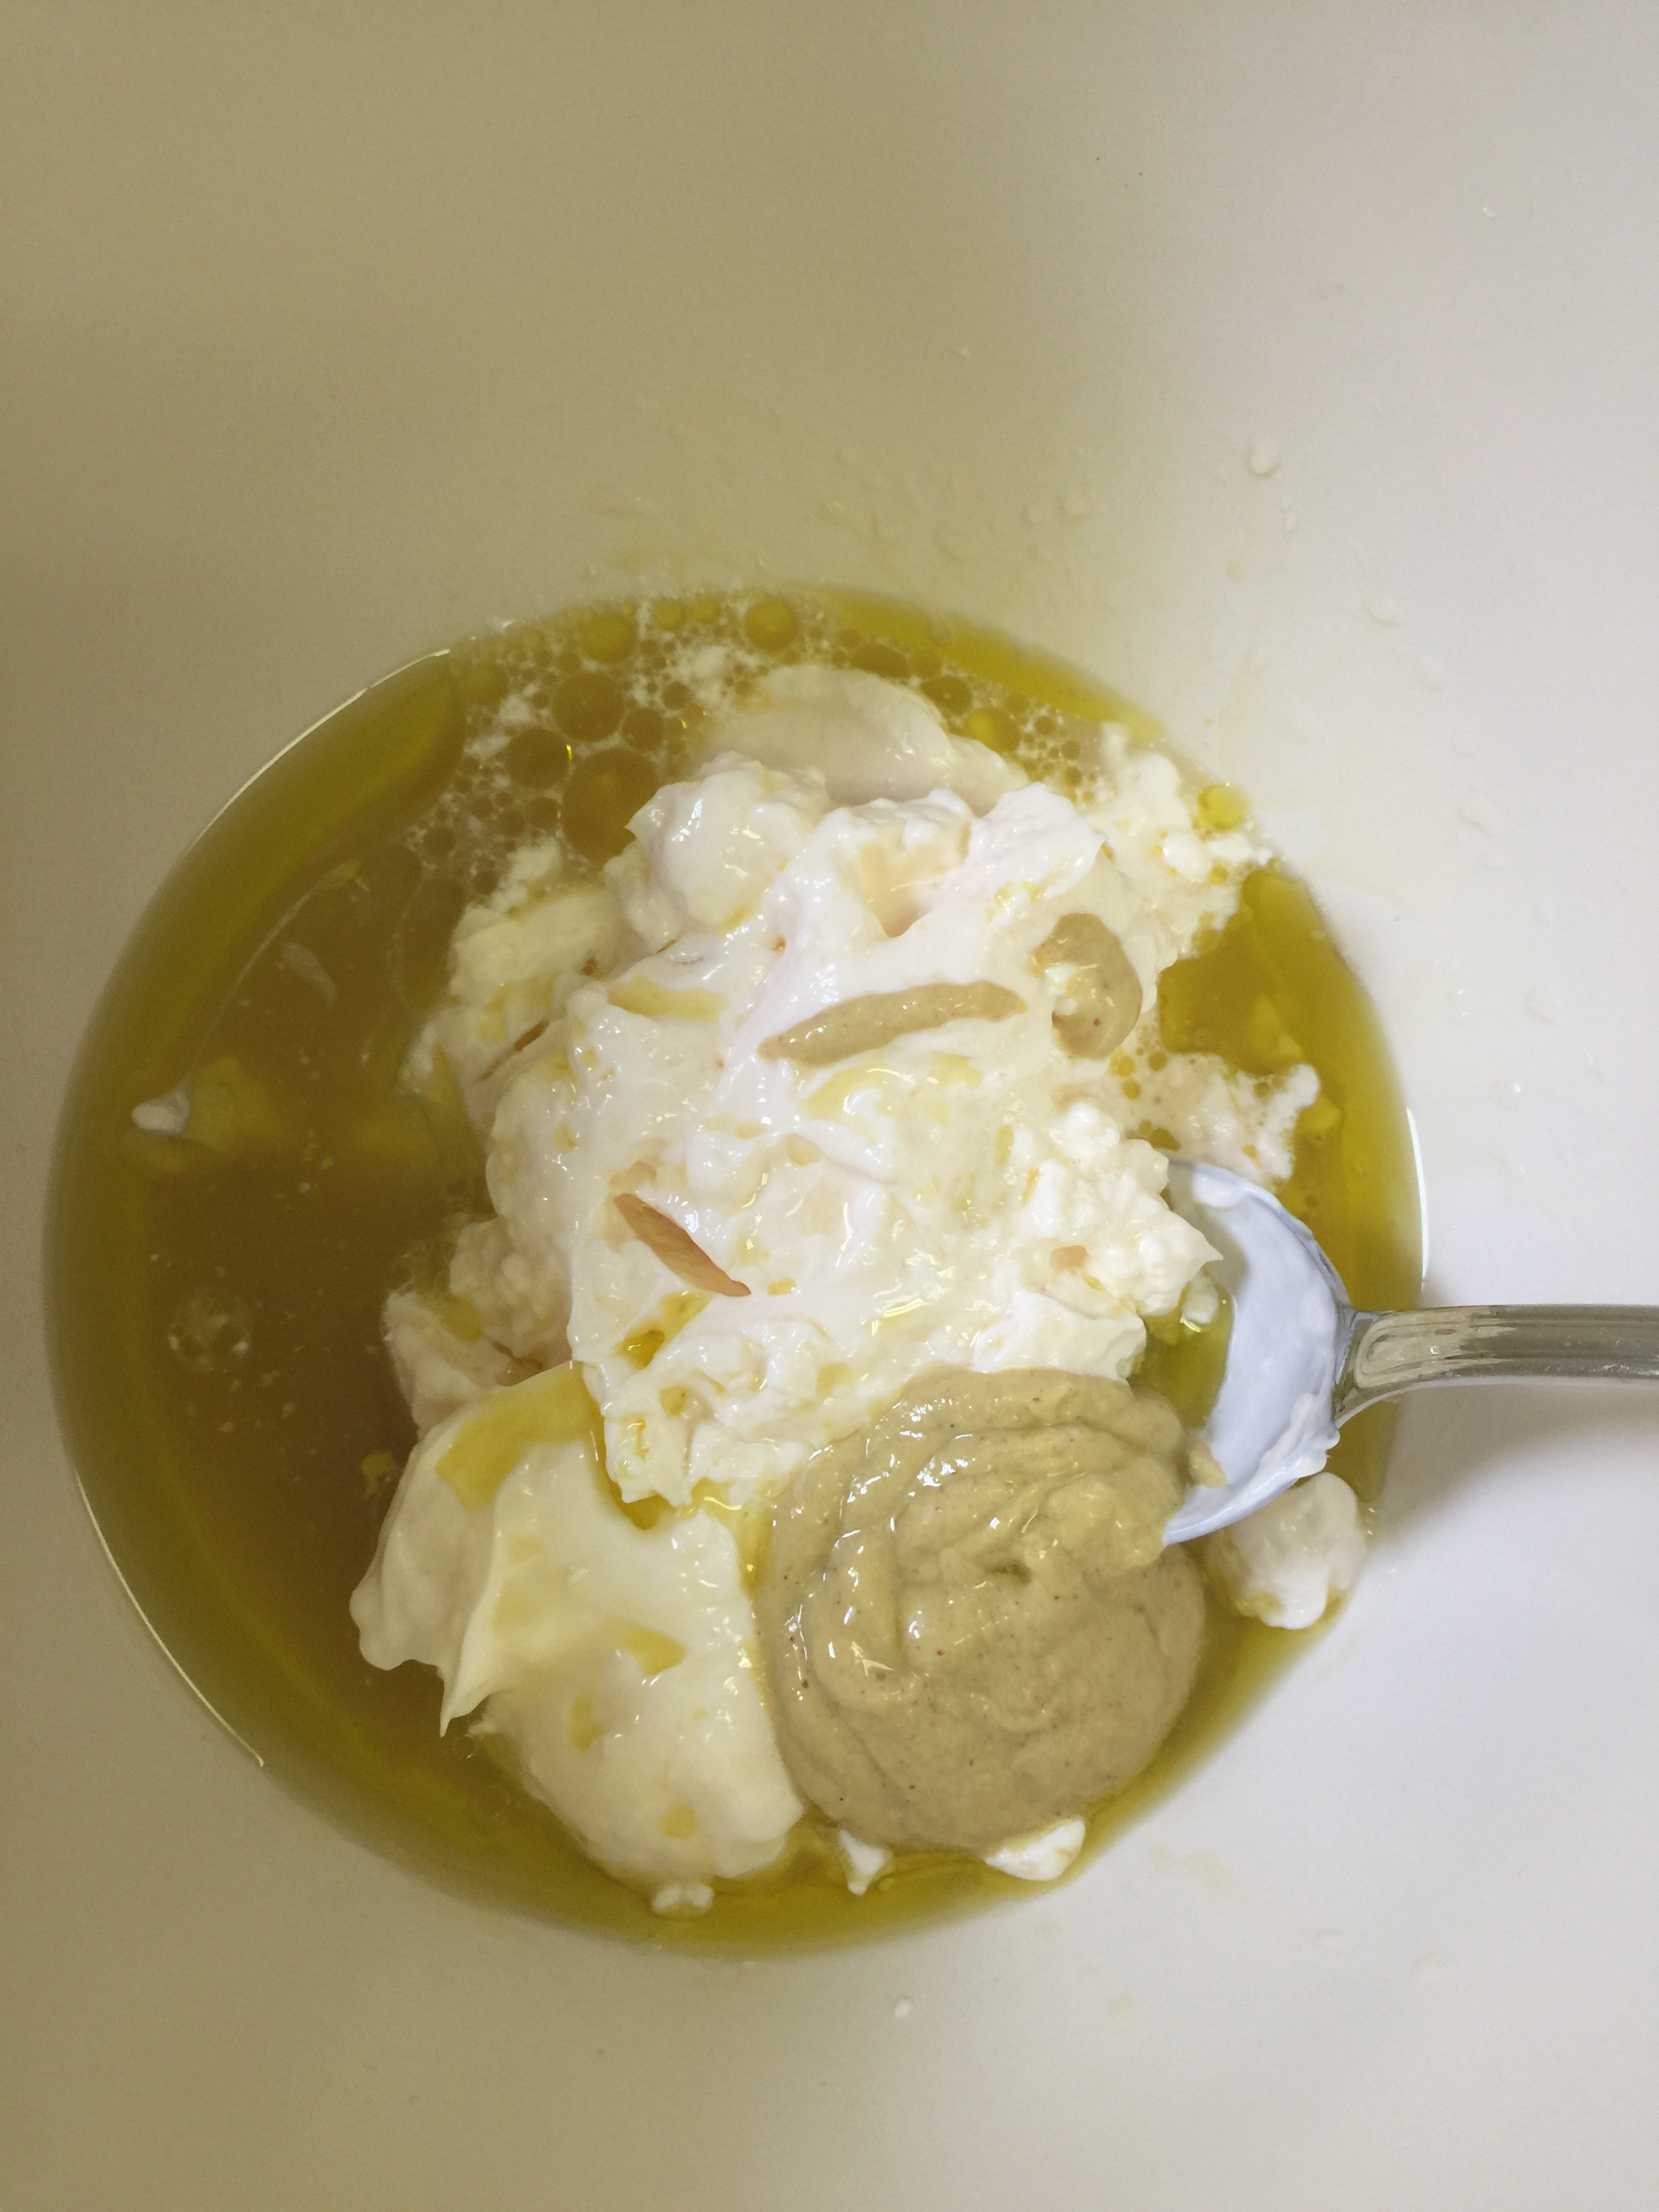
Start by combining your Olive Oil and Mayonnaise. Then add your Apple Cider Vinegar and Mustard.
Stir well.
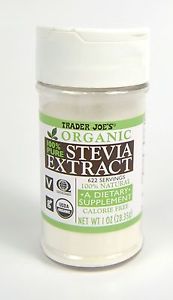
Add your Stevia: This is the best one I’ve found so far:
Then add the rest of your ingredients except for the slaw.
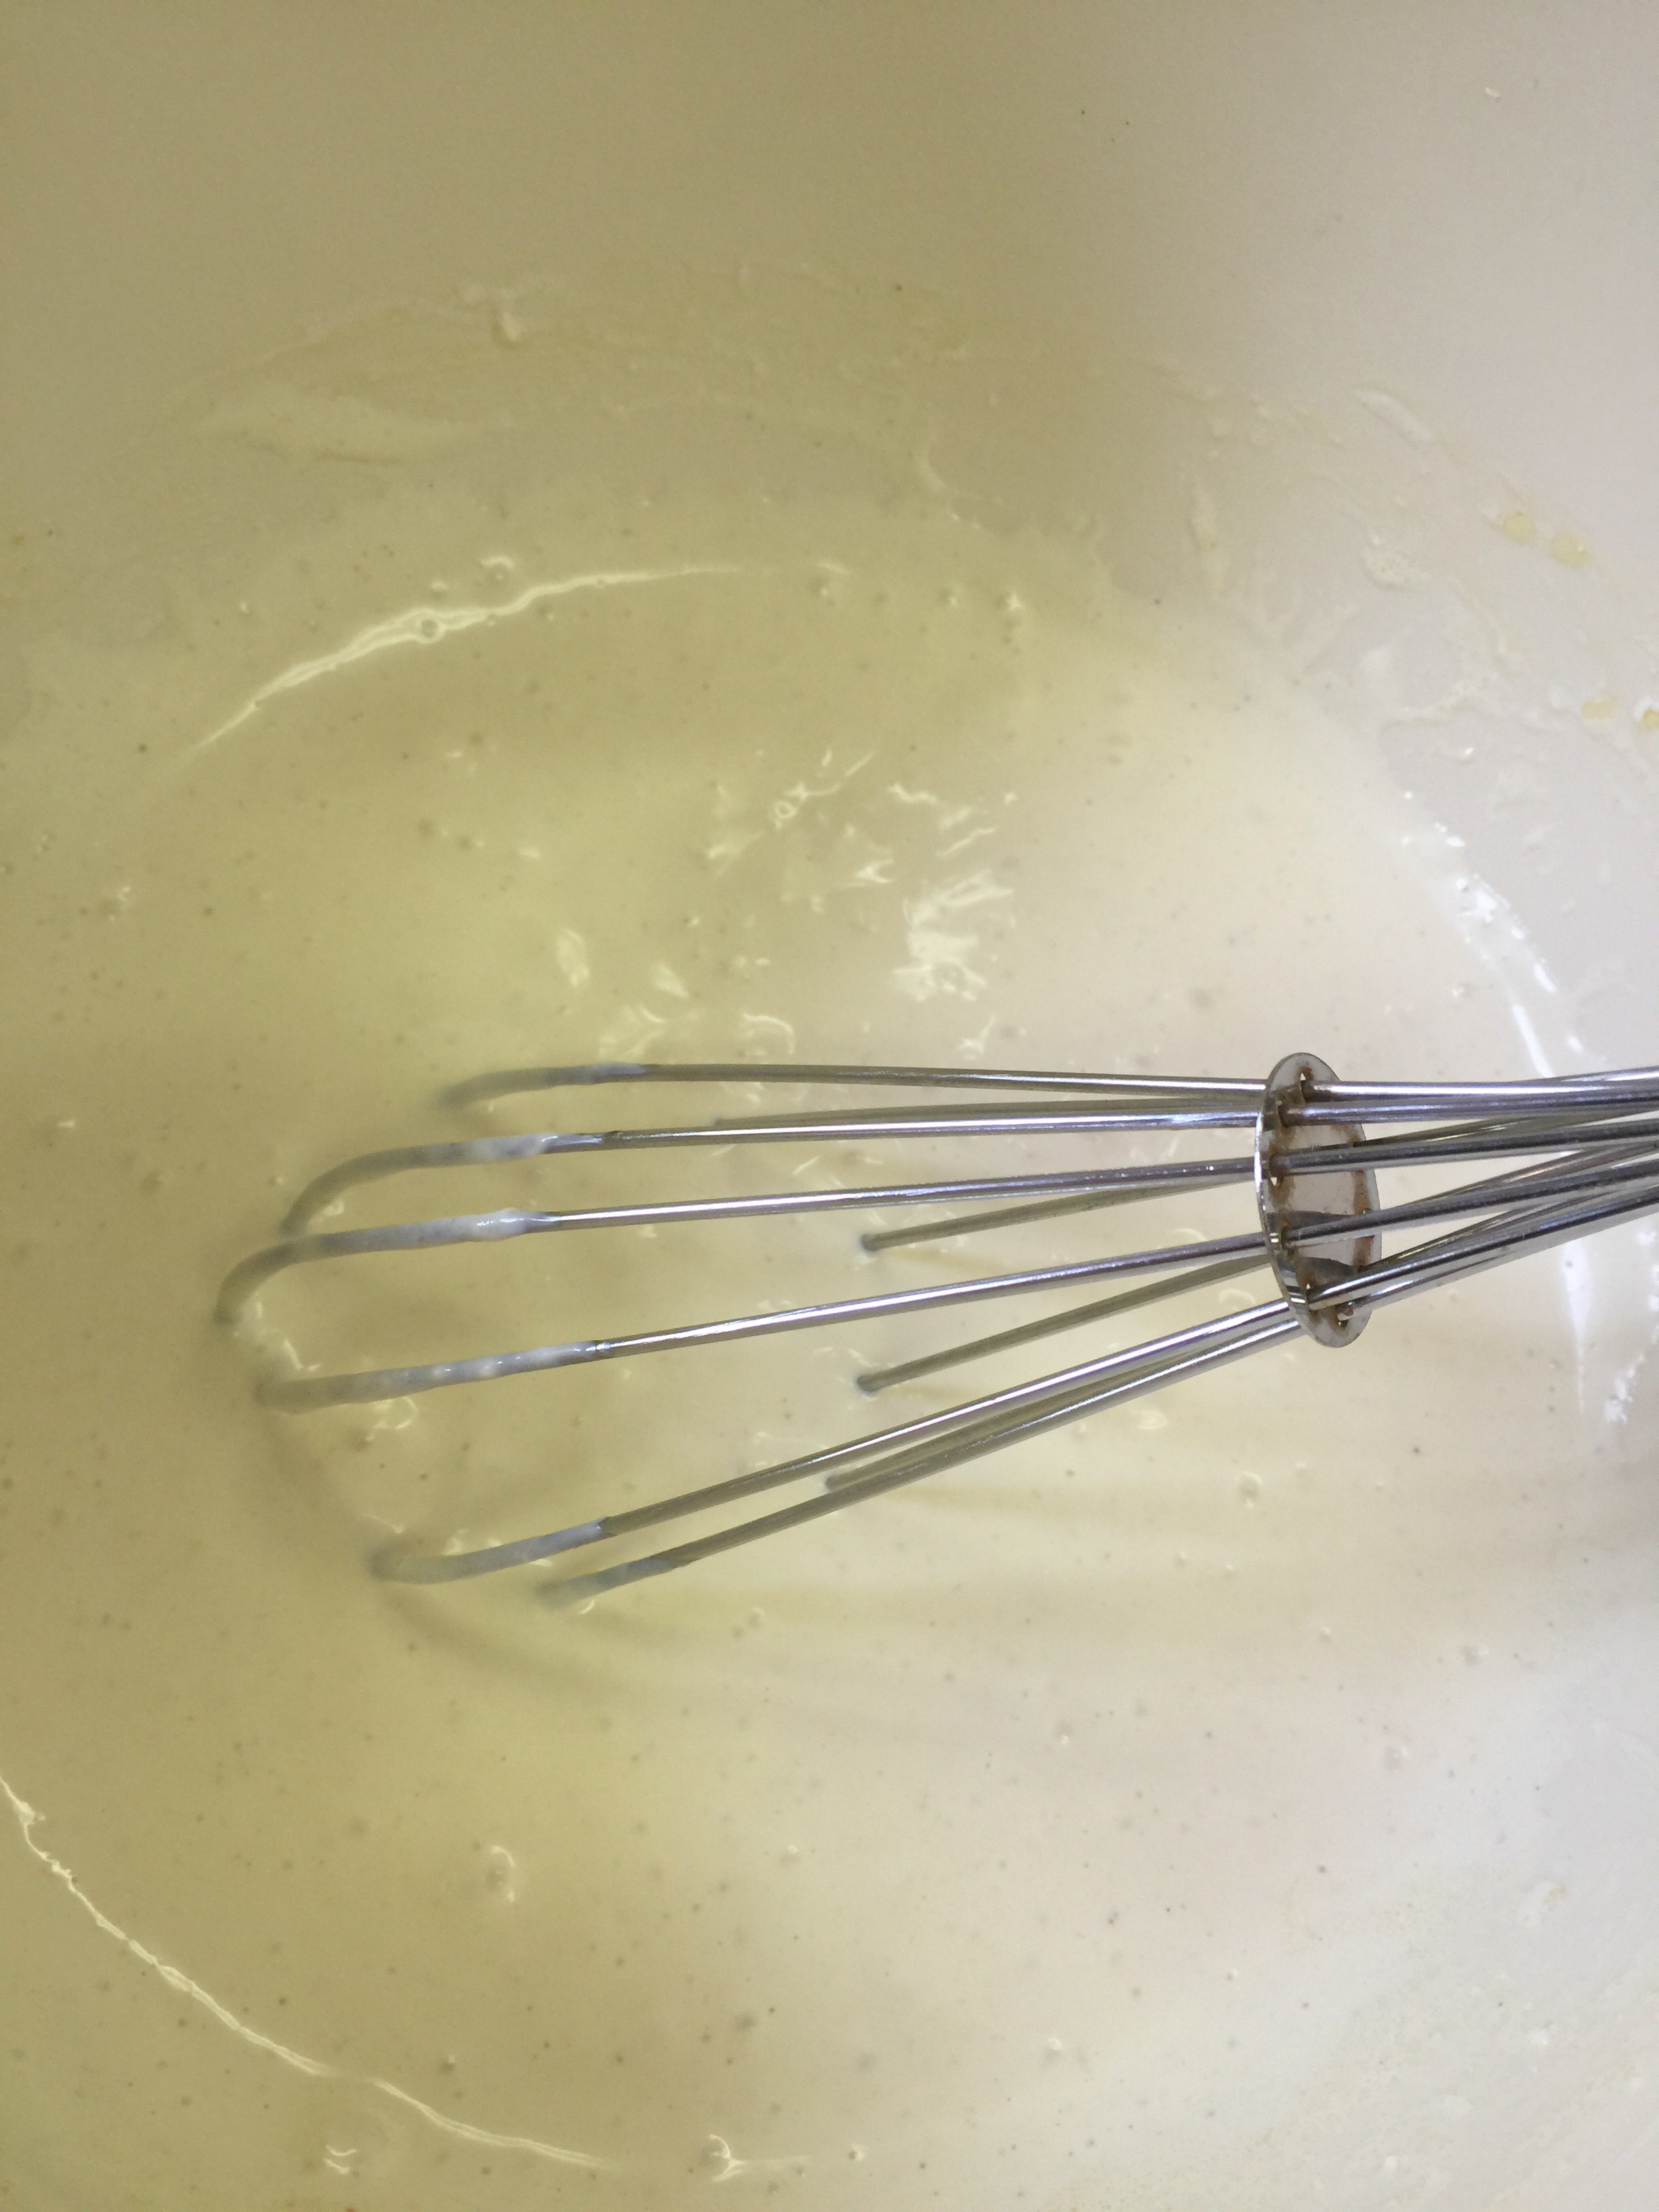
Whisk well, and pour into a mason jar once it is completely combined.
Now it is ready for packing or serving. Place in the refrigerator until ready to use. Also, shake well before each use to distribute the celery seeds.
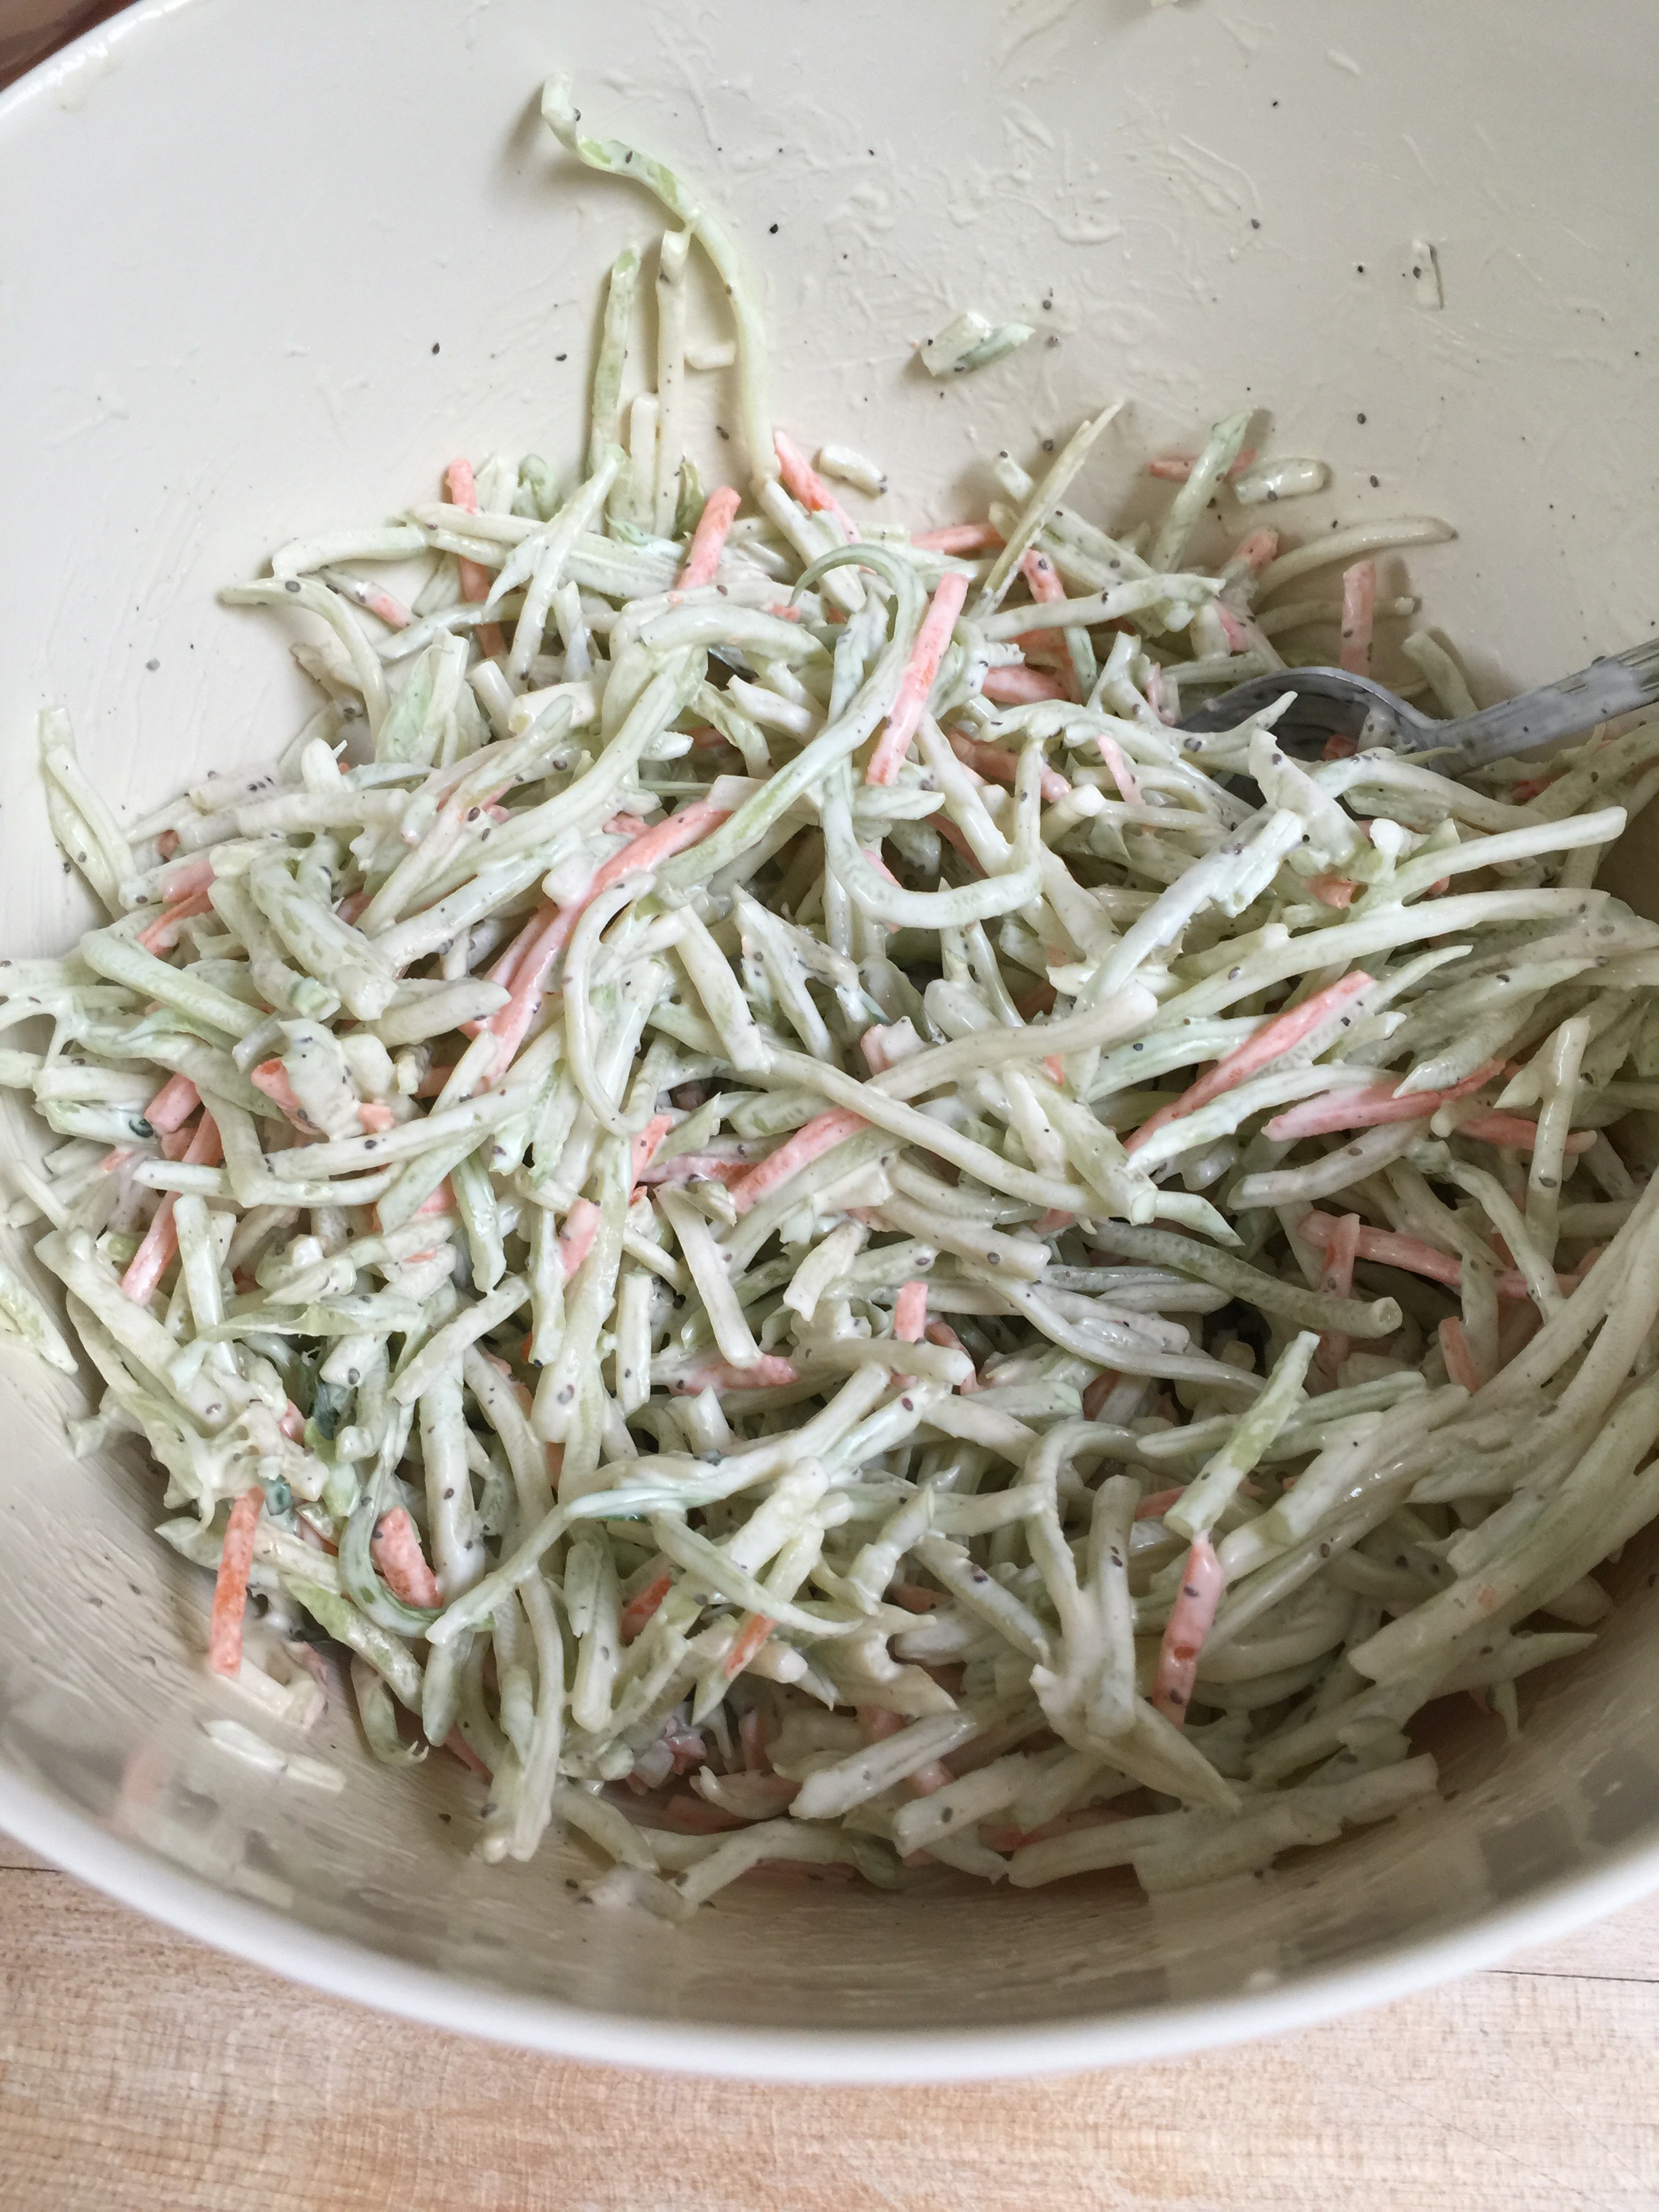
When you are ready, empty the packet of broccoli slaw into a large bowl. It will make more than you think, so pick a large enough bowl. Pour about a half cup of dressing over your slaw and mix well. You can always add more if you like.
This is excellent served with Bar-B-Que, or served on its own. Enjoy!
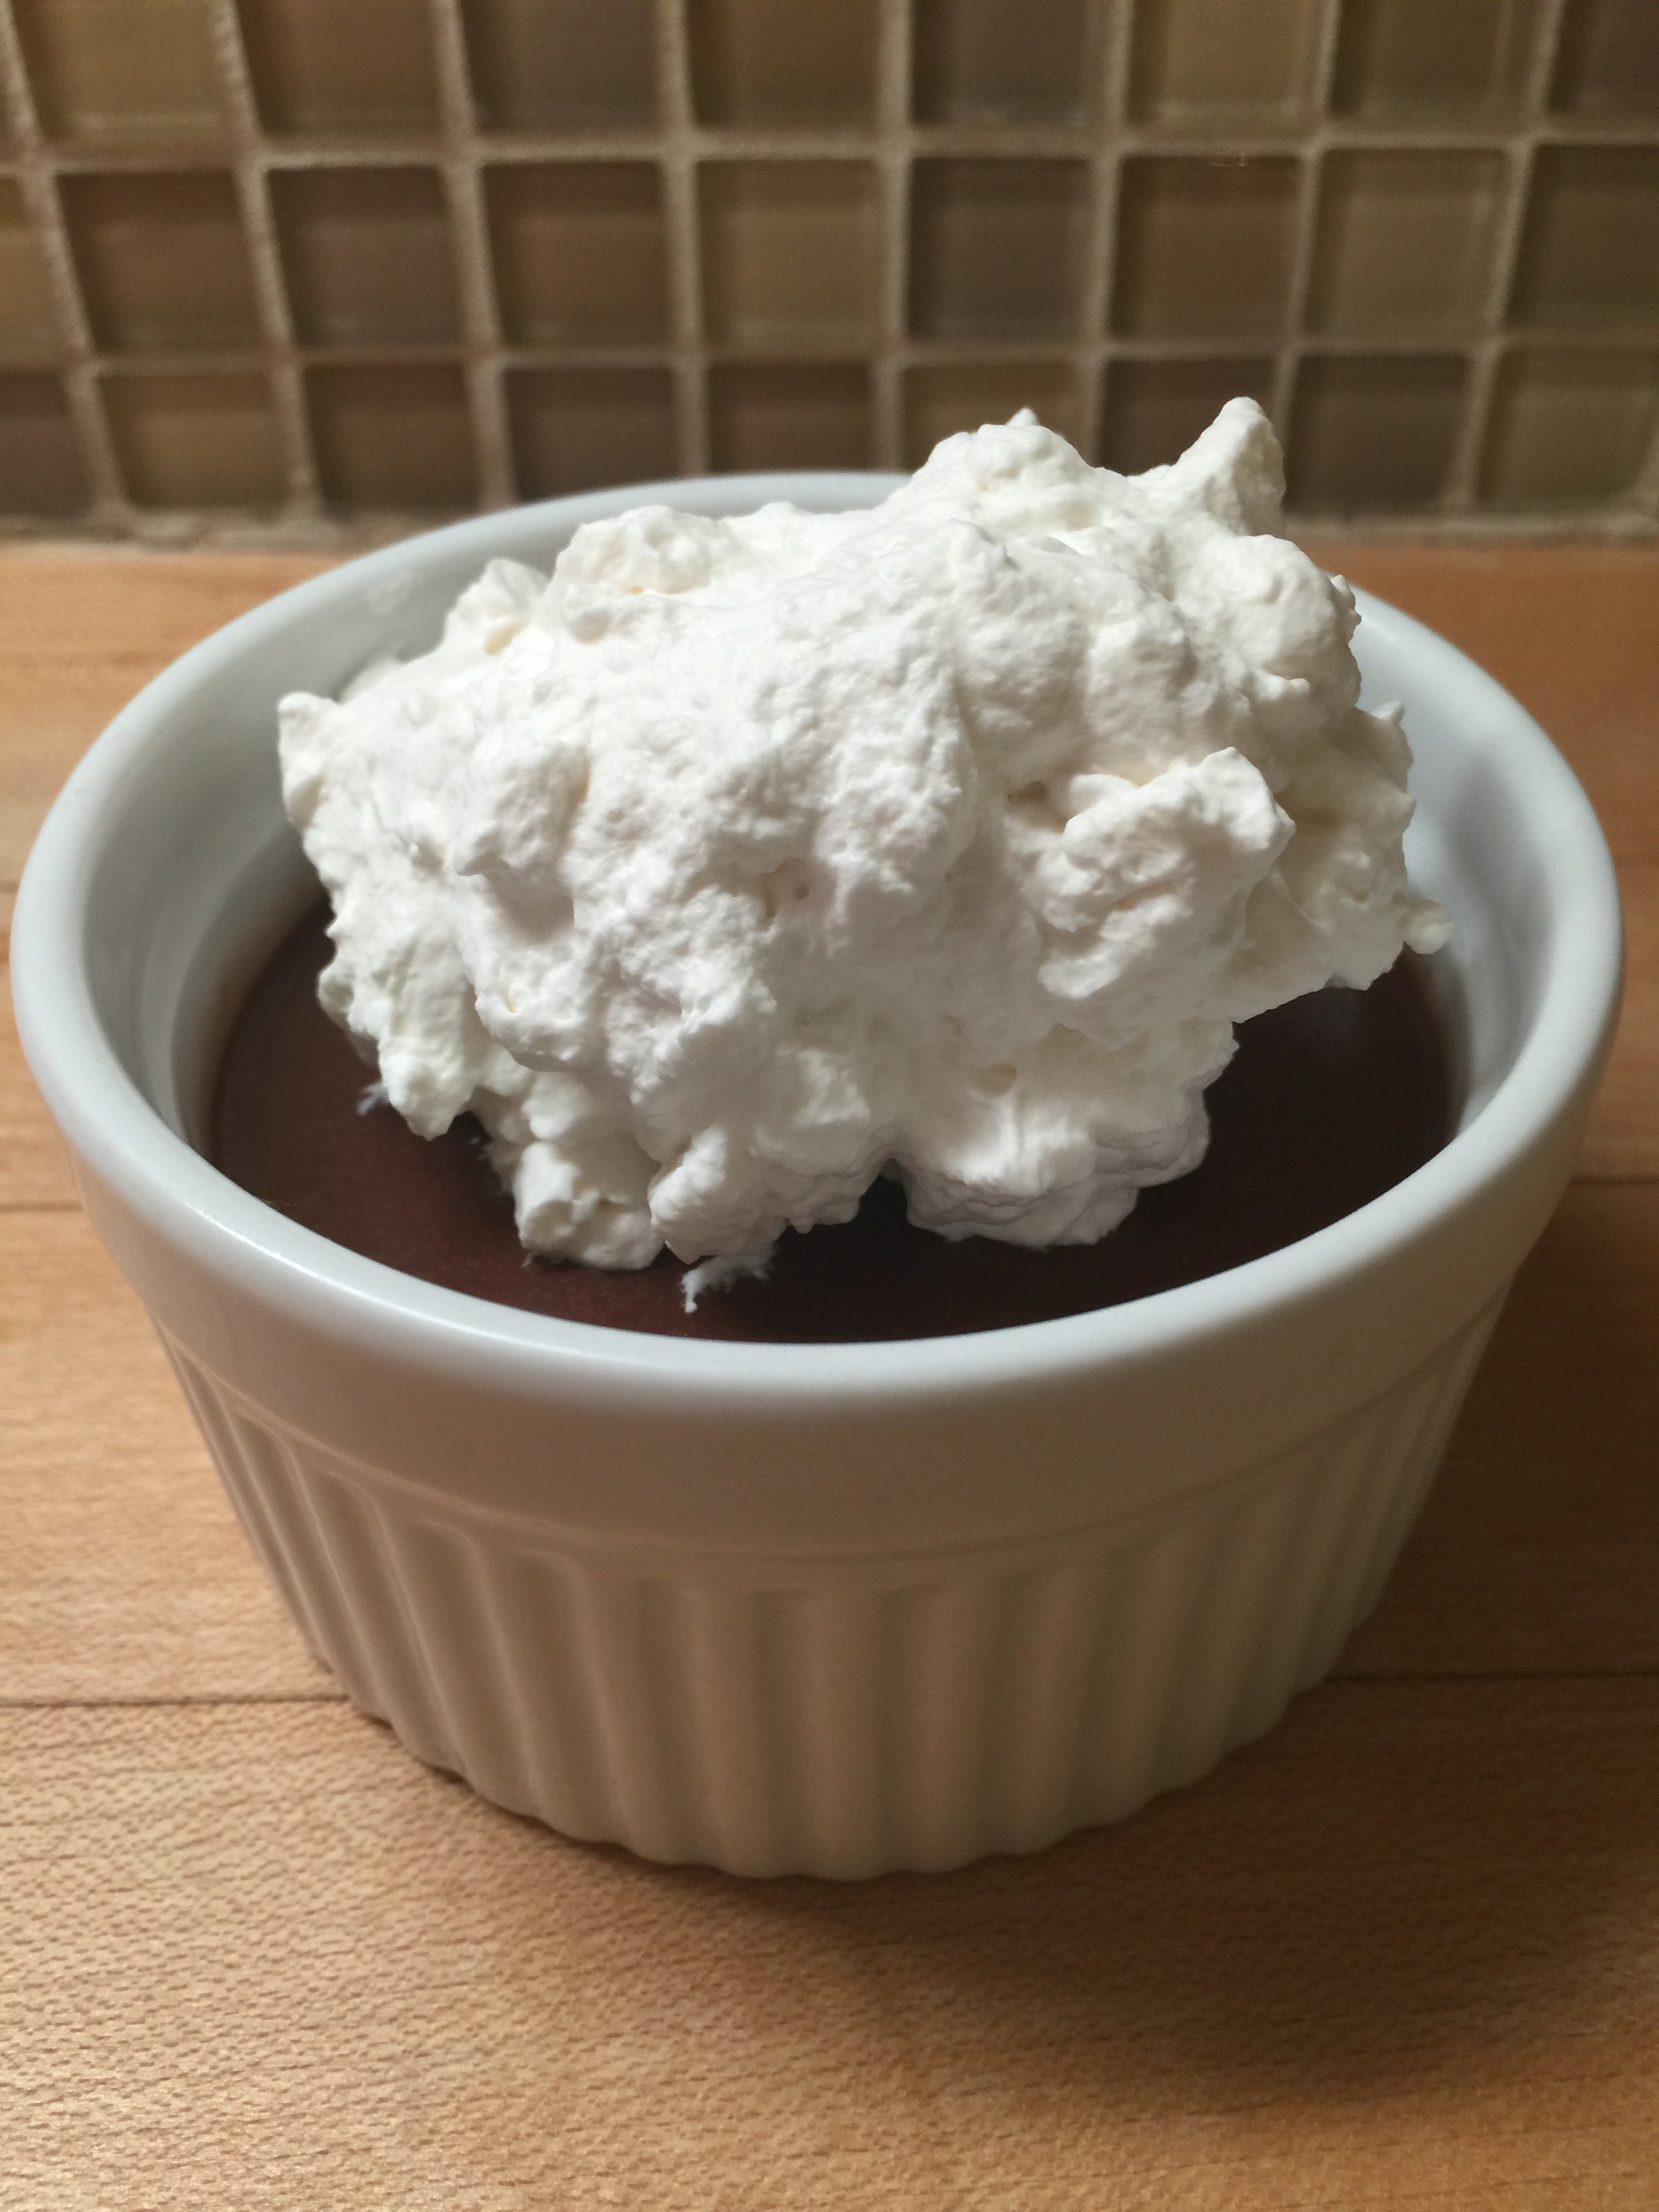
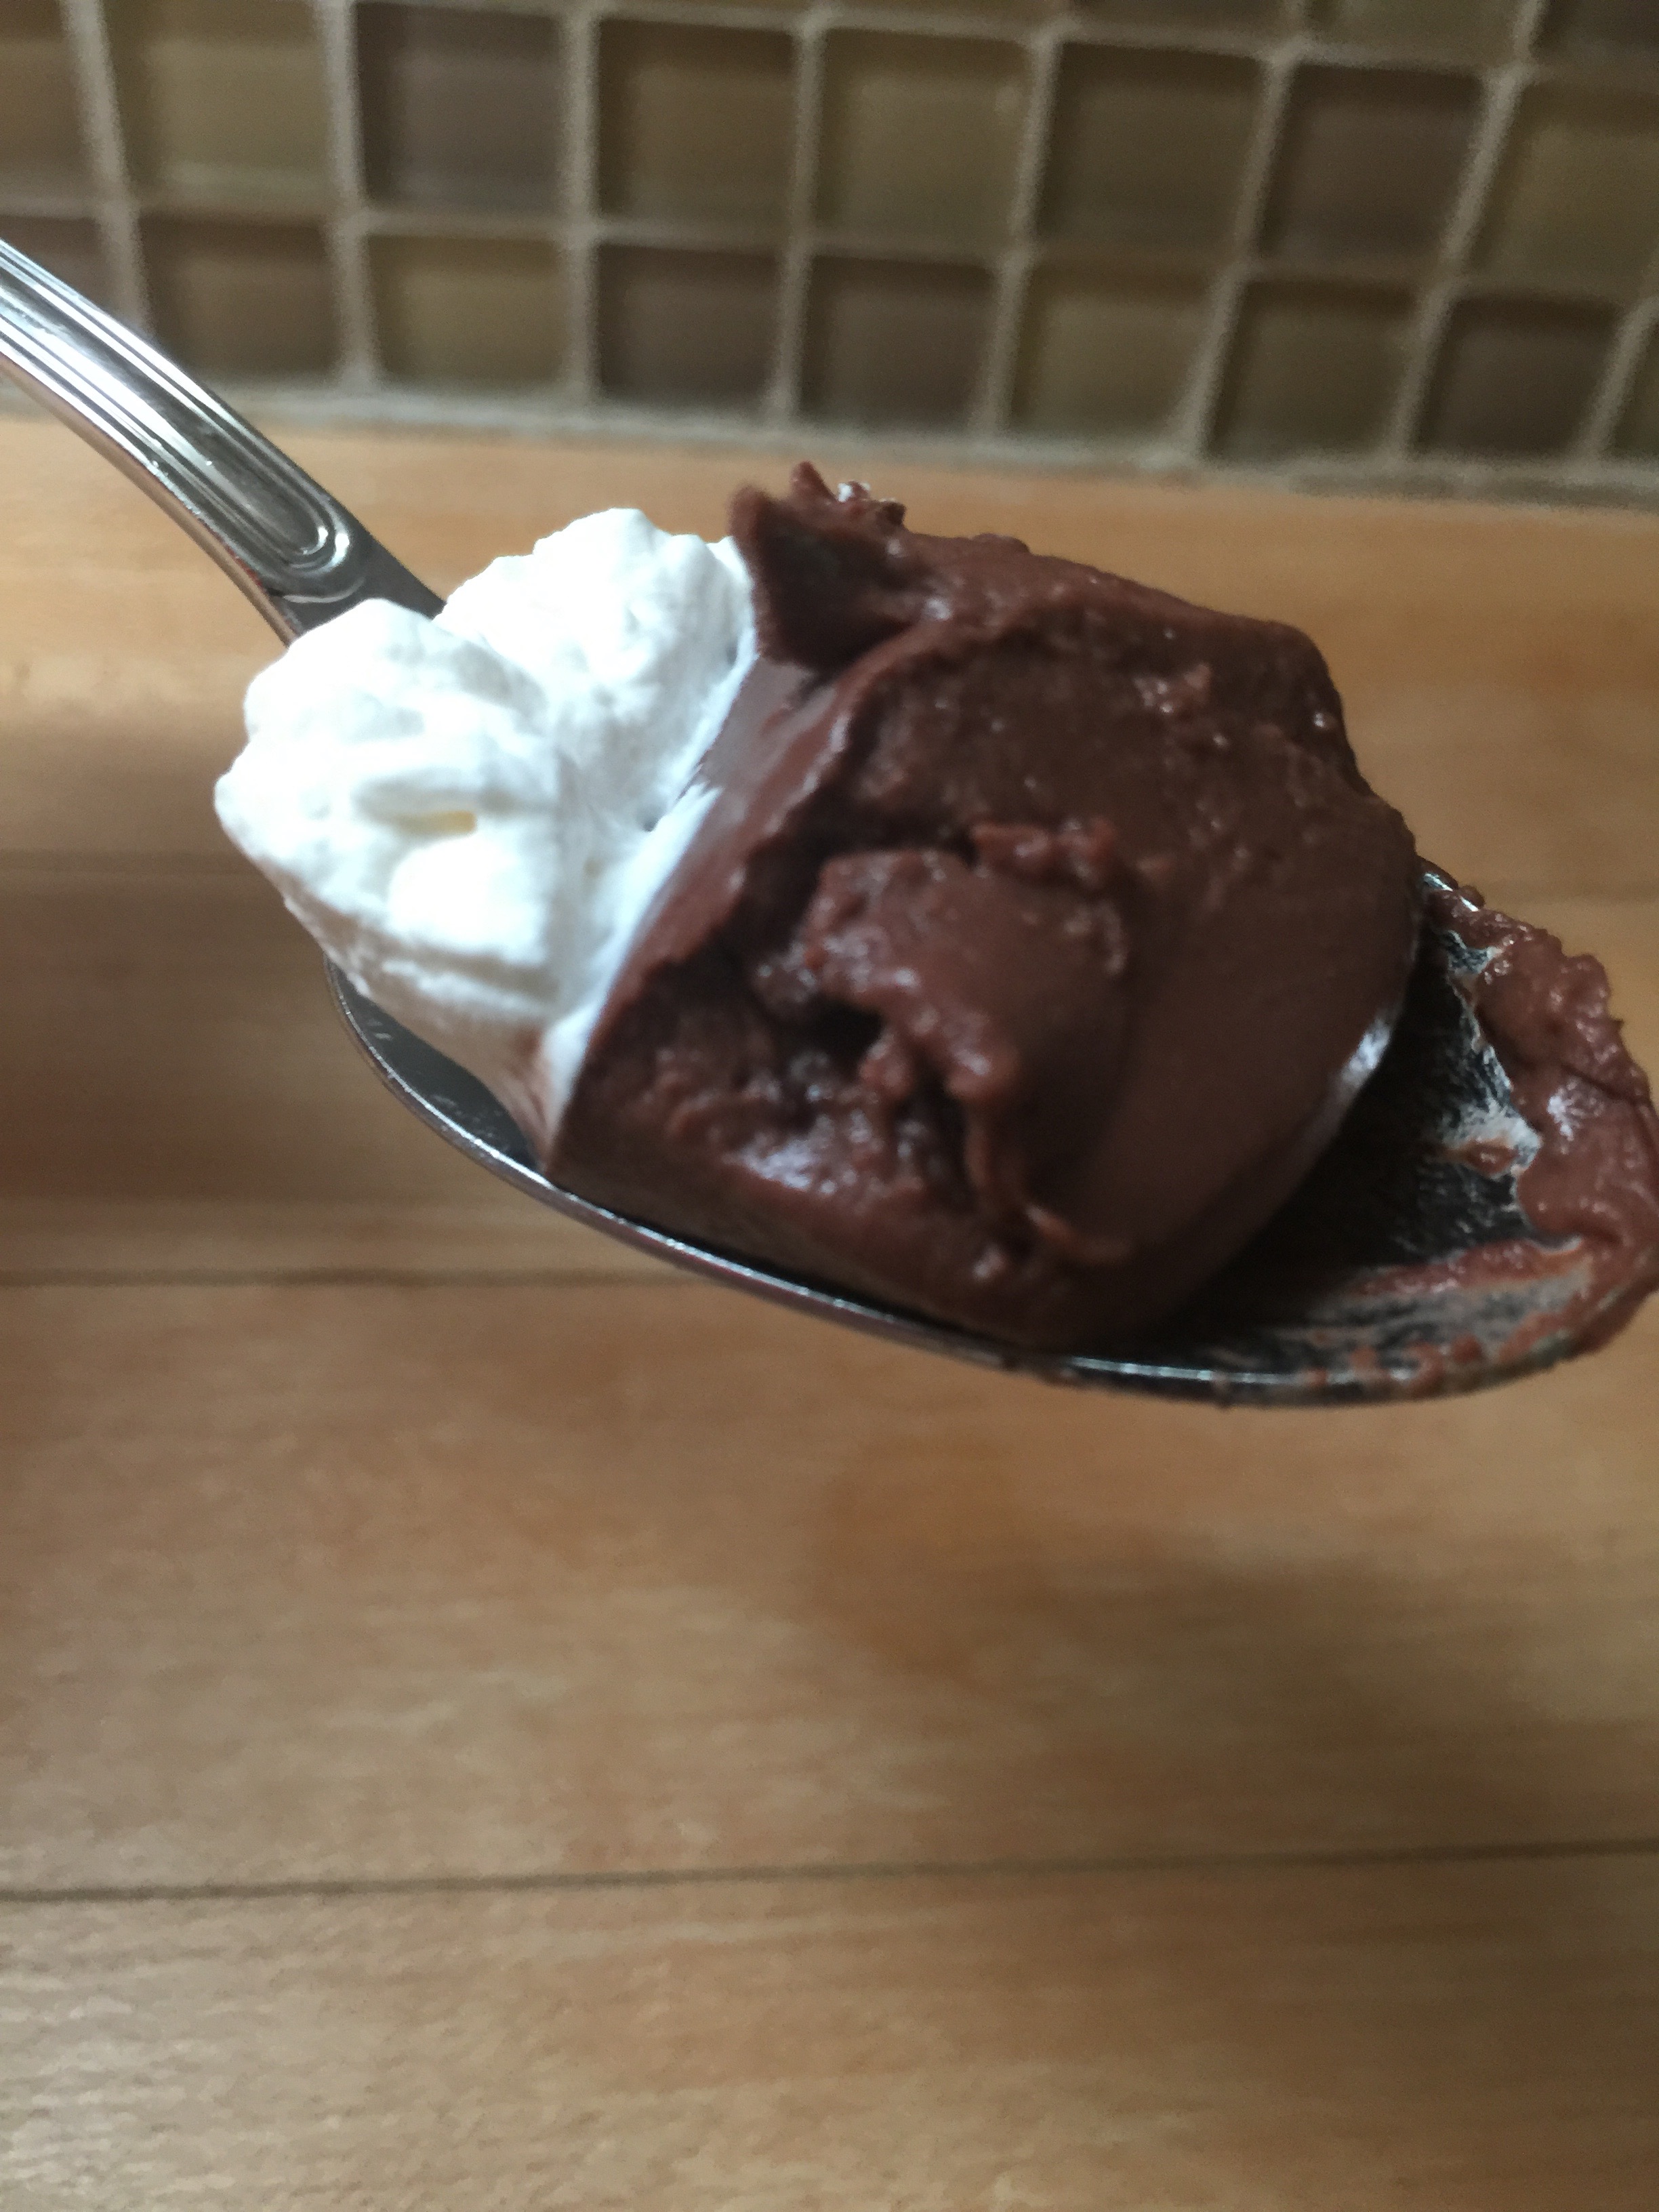
That’s a mouthful! This may be the perfect Keto Chocolate pudding to put in your mouth though!
The kids always want some kind of treat, so I experimented with something different. I wanted to go chocolate based off of a treat the kids picked out at the grocery store on vacation a few weeks ago. I relax a little on the restrictions on vacation, and amazingly the treat they chose was not too far off. It was a store-bought Jello-brand chocolate mousse at the grocery store in Port Aransas, Texas. I expected it to be filled with artificial this and artificial that, but it actually had real cream in it! Surprising, right? It wasn’t perfect, but it did give me the idea of trying to create my own that was perfect! The only ingredient I am still waiting on is my new gelatin, but the Knox worked for today.
This is not really a mousse, but a pudding. With supervision, this is a great one to do with the kiddos this summer.
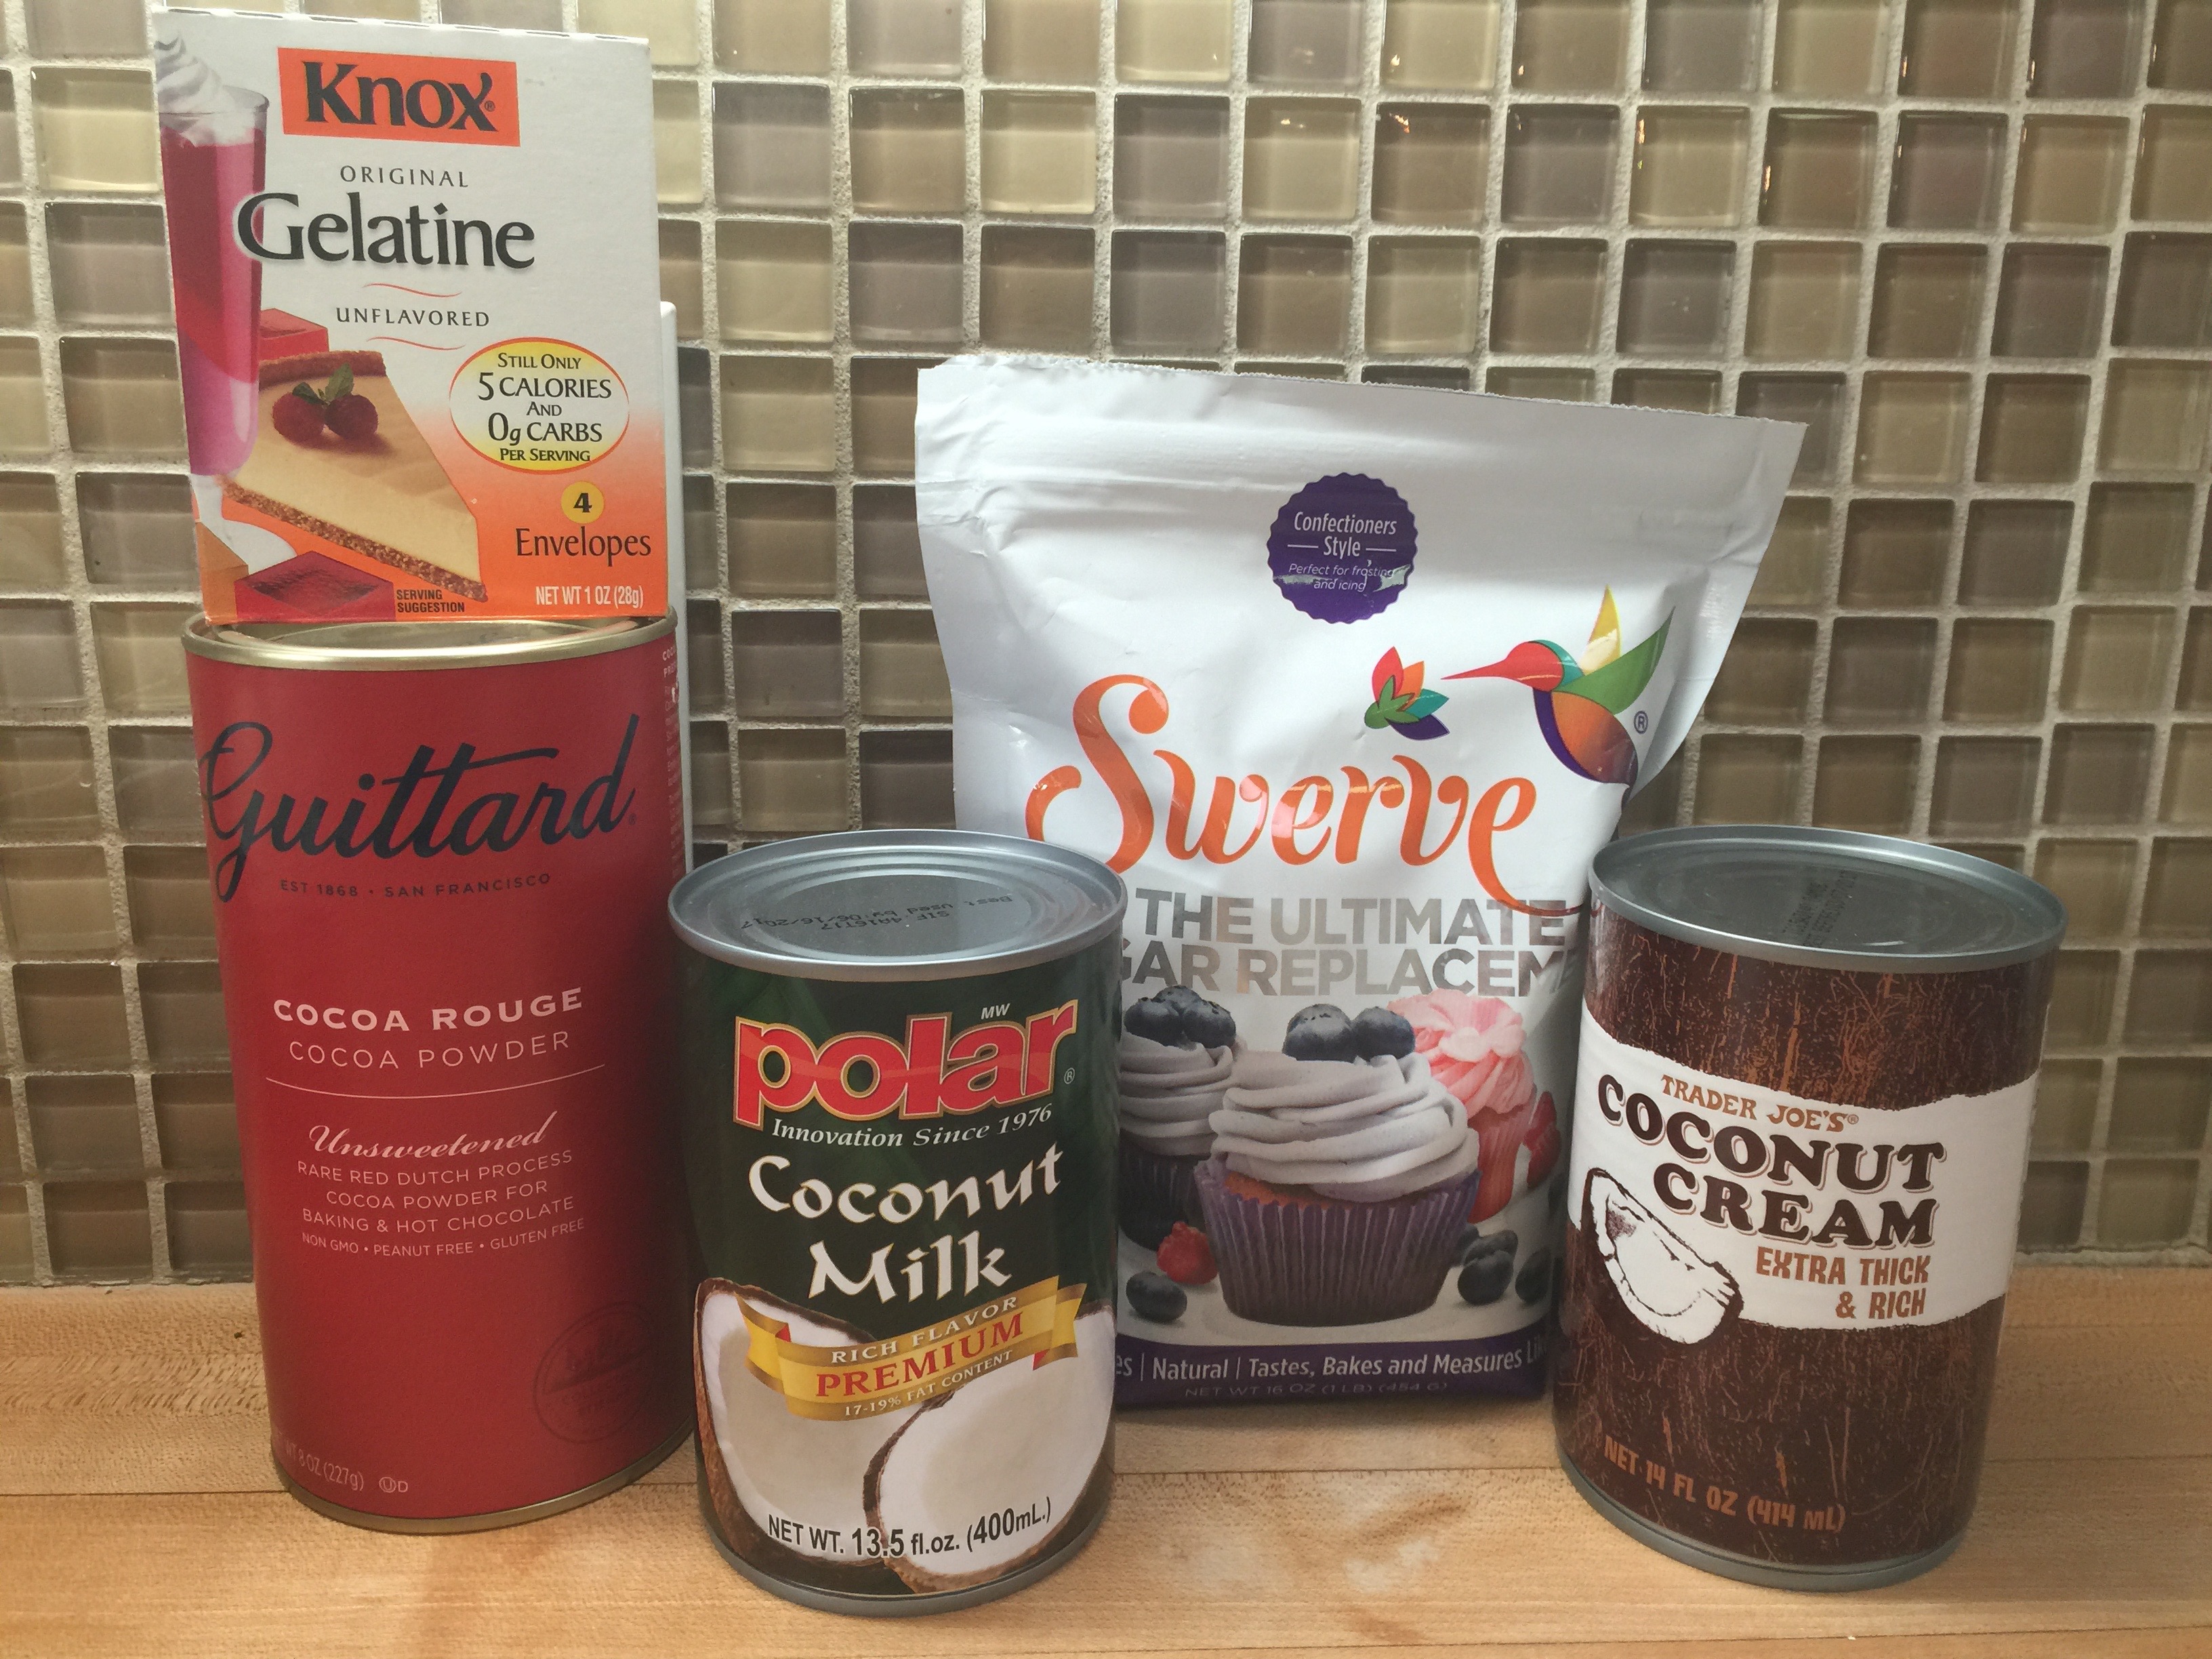
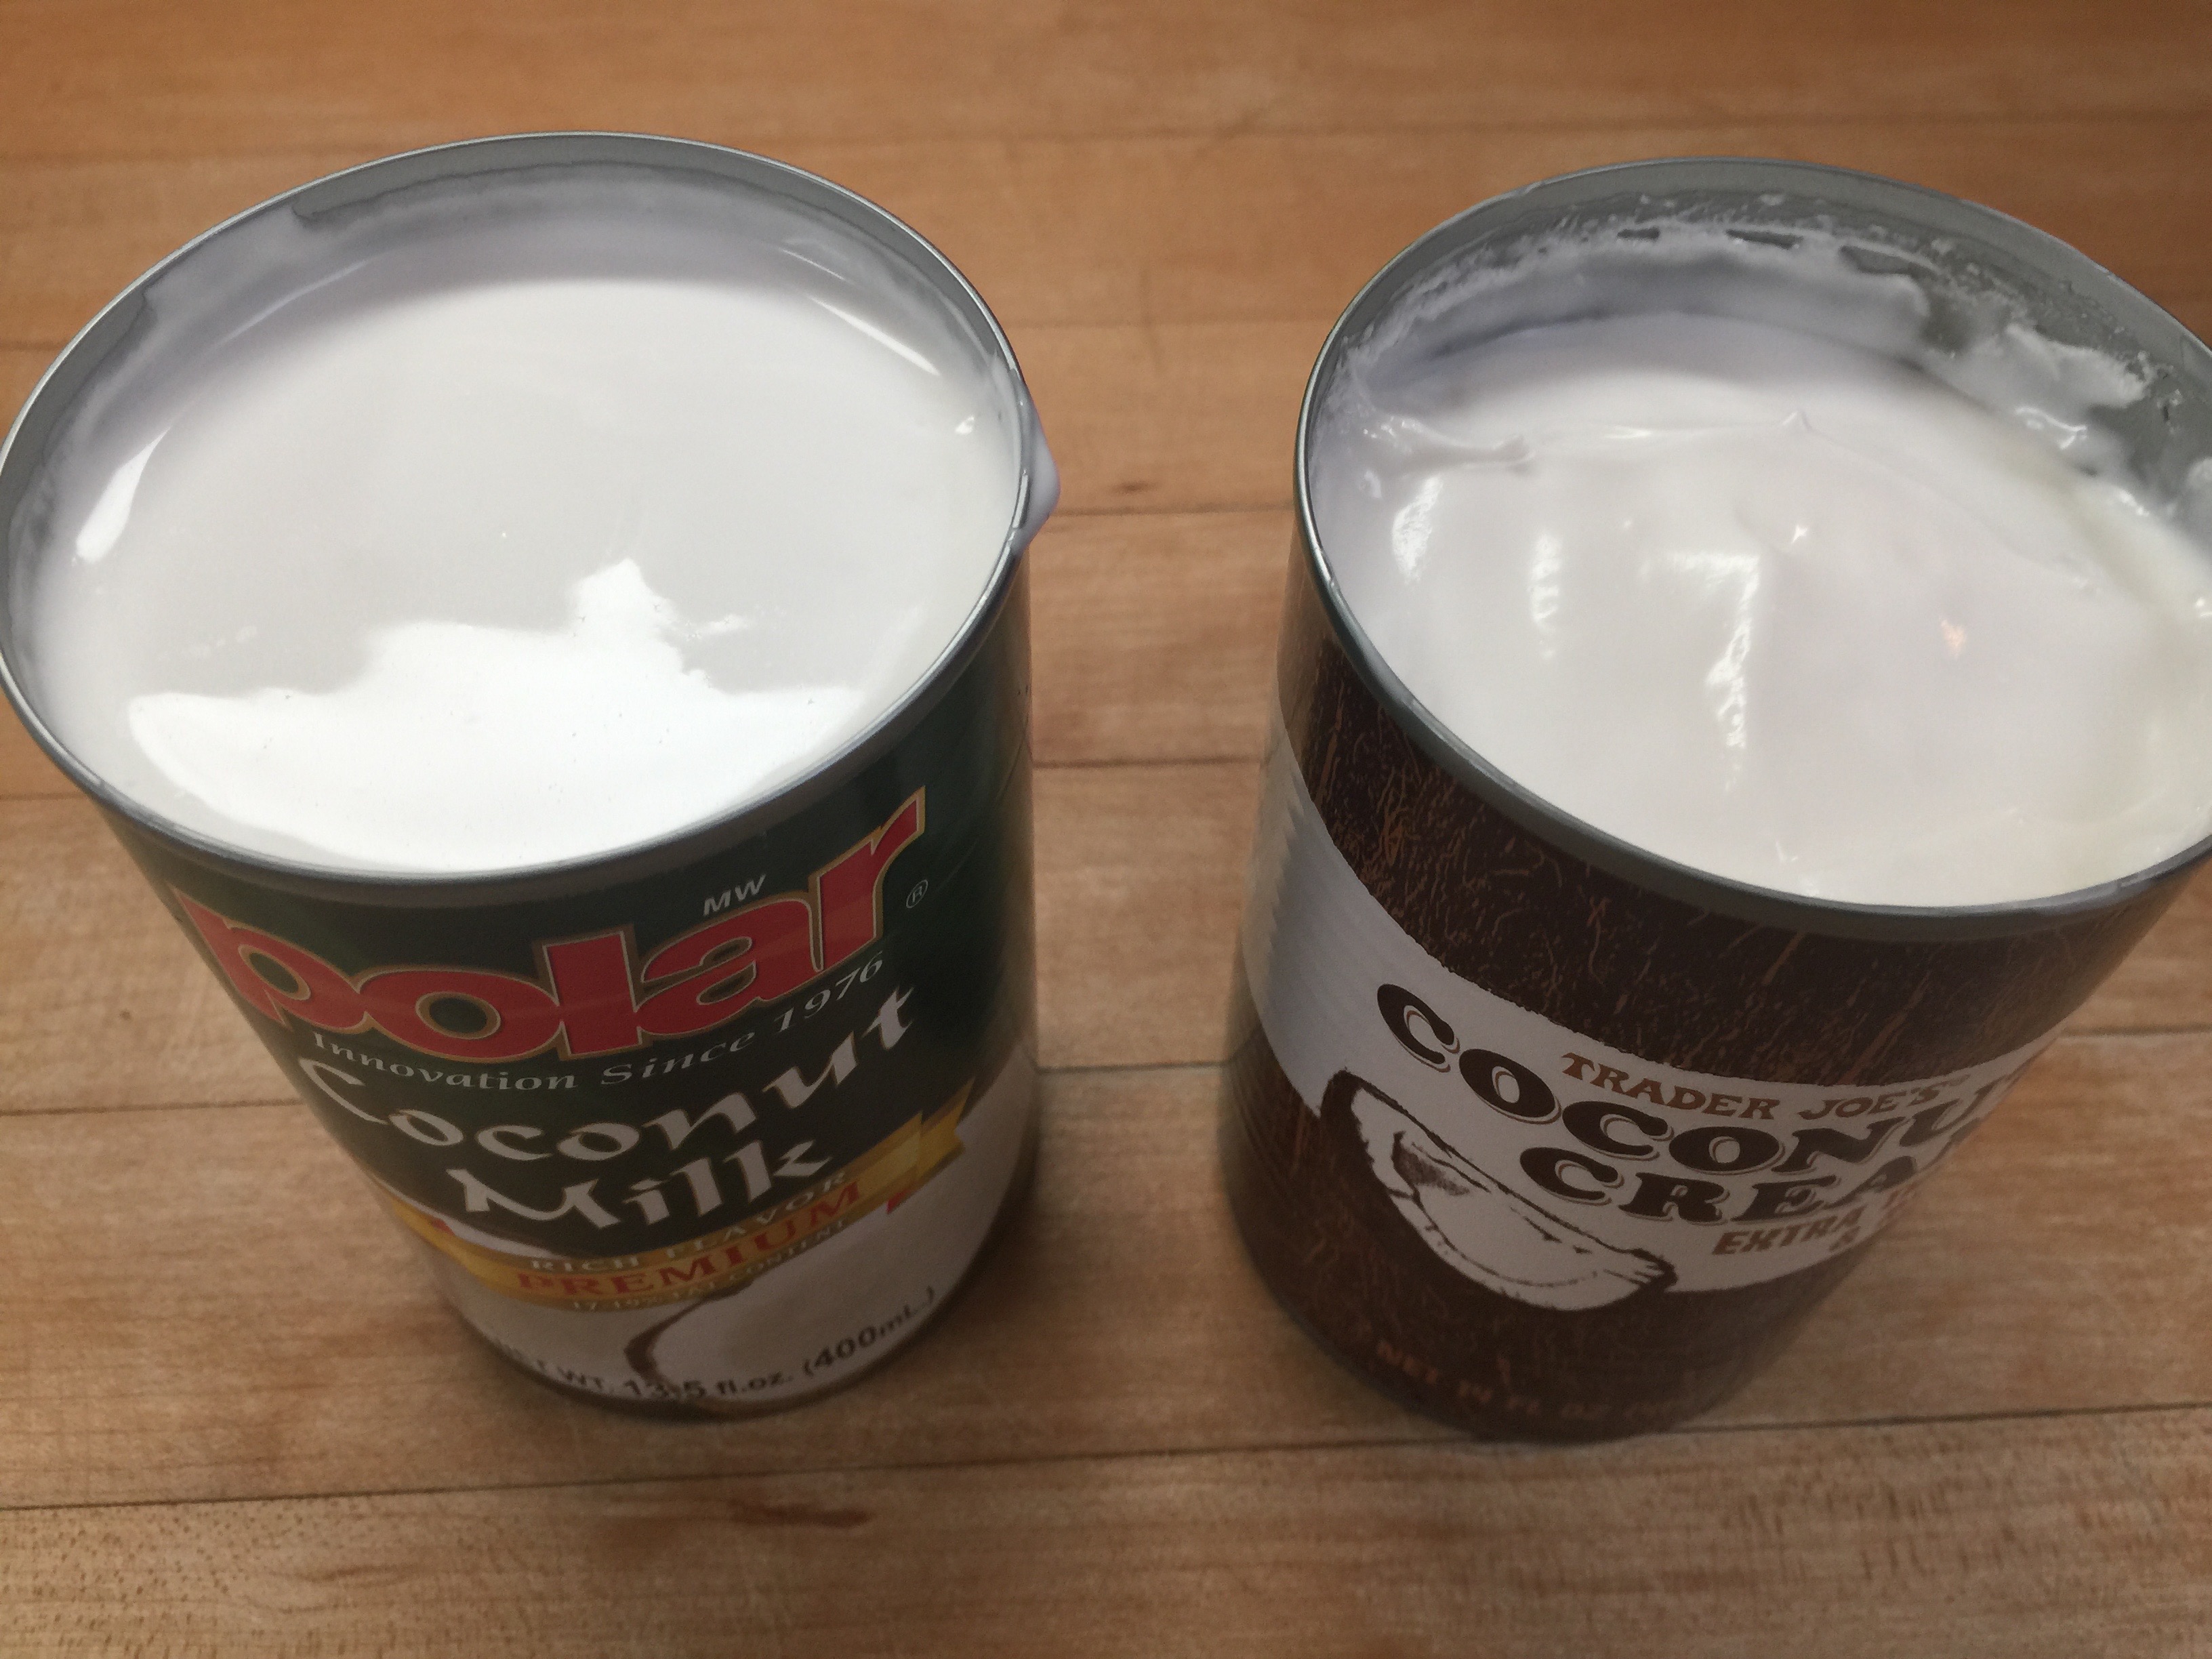
Start with your ingredients: (I also added vanilla and salt that are not pictured.)
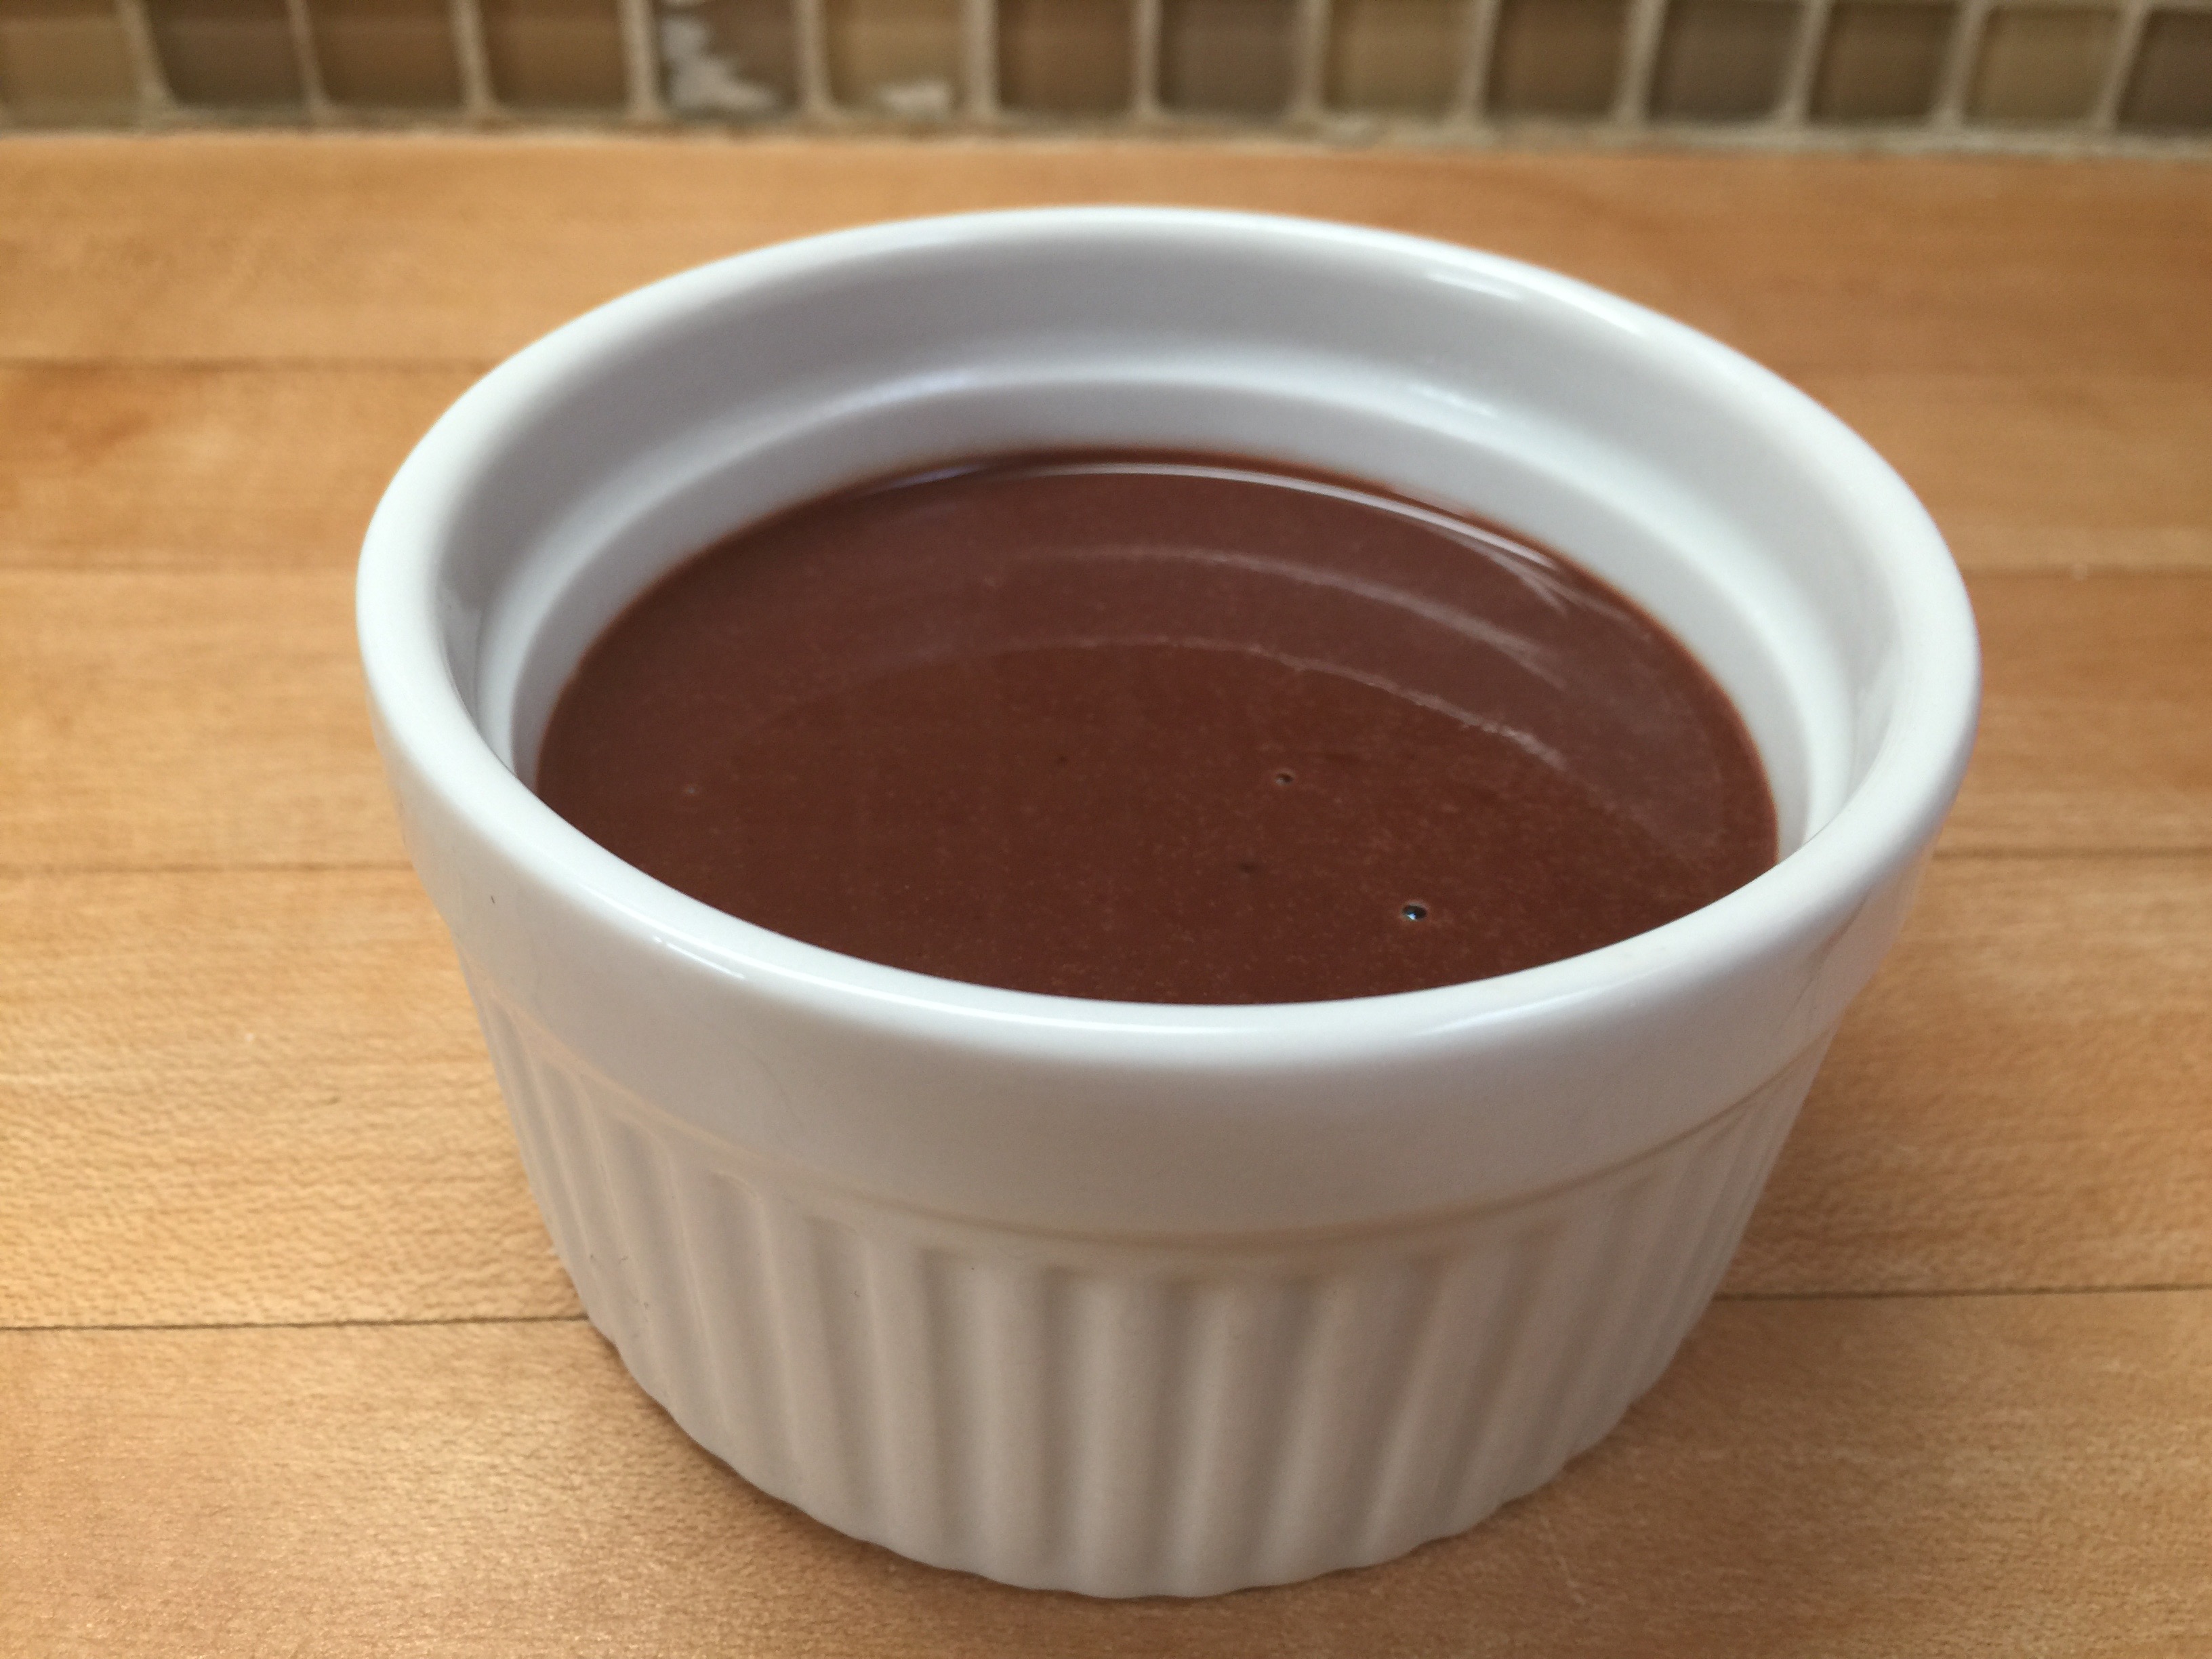
Cover each bowl with saran wrap and place in the fridge for about 2 hours to set.
We topped ours with homemade sugar-free dairy whipped cream, but if you are Paleo or dairy-free, you can whip up some coconut cream with some Swerve and vanilla and use that as well.
Last week, a friend of mine showed up at my door with a trash bag full of homegrown cucumbers. He had grown them at his office, and thought I could use them since he knows I like to cook. I had never seen so many cucumbers, and I honestly didn’t have a clue what to do with them. My husband LOVES cucumbers, so I knew I needed to find something quickly! I couldn’t let these go to waste! The search began…
Look at these things…I had never seen anything like them before! They were the largest Japanese Cucumbers I had ever seen!
As you can see, these are huge!
I searched around through cookbooks and on the web. I didn’t find anything that shouted out at me, but I combined a few recipes, changed out the sugar, and came up with a winner! They haven’t even finished marinating, and my son said, “These are amazing…Dad is going to love them…This is my new favorite snack.”
So those of you looking for snack ideas, I have a new one!
You will need:
5-6 Cucumbers (I used 4 of these huge ones, so thinking this is the equivalent)
2 1/2 cups White Vinegar
1 Red Onion
1 Cup Xylitol or Sugar Substitute of Choice (See note at bottom)
In a saucepan, combine your vinegar, salt, and sweetener. Over medium heat, (it’s gonna stink), heat your vinegar until your “sugar” and salt dissolves.
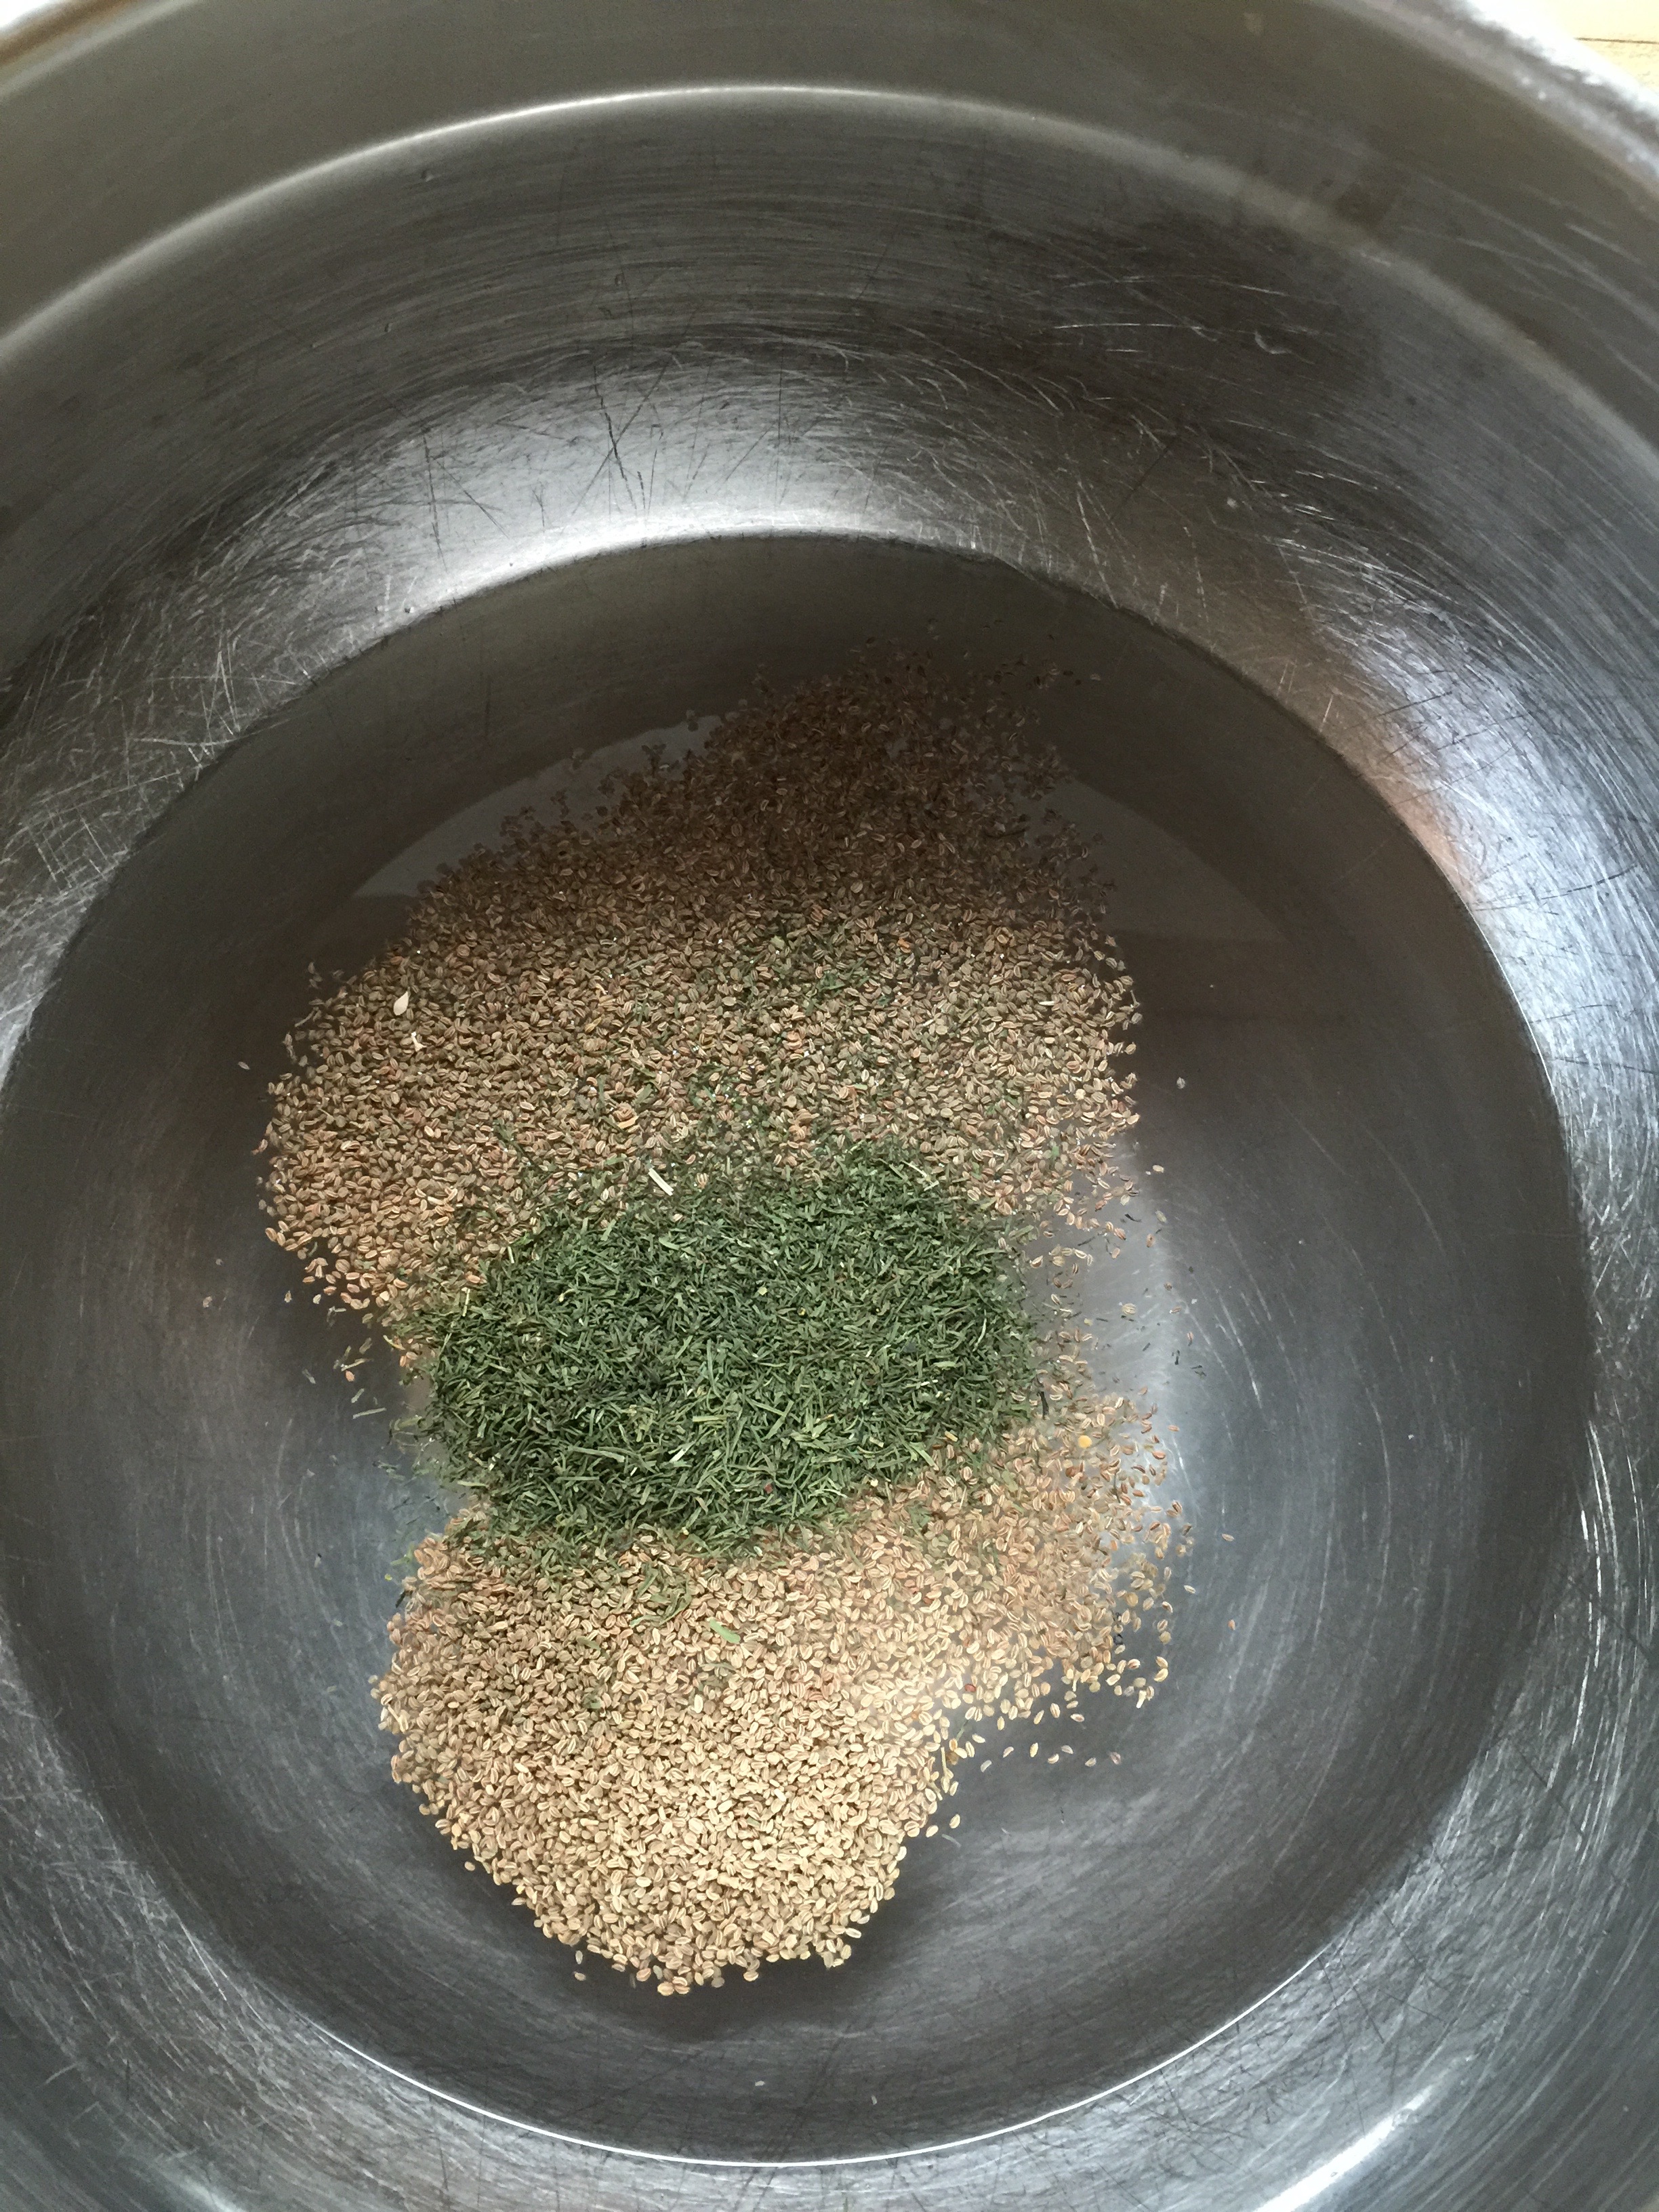
Remove from heat, and add your celery seed and dill weed. Allow to cool a little and place in the refrigerator to cool completely.
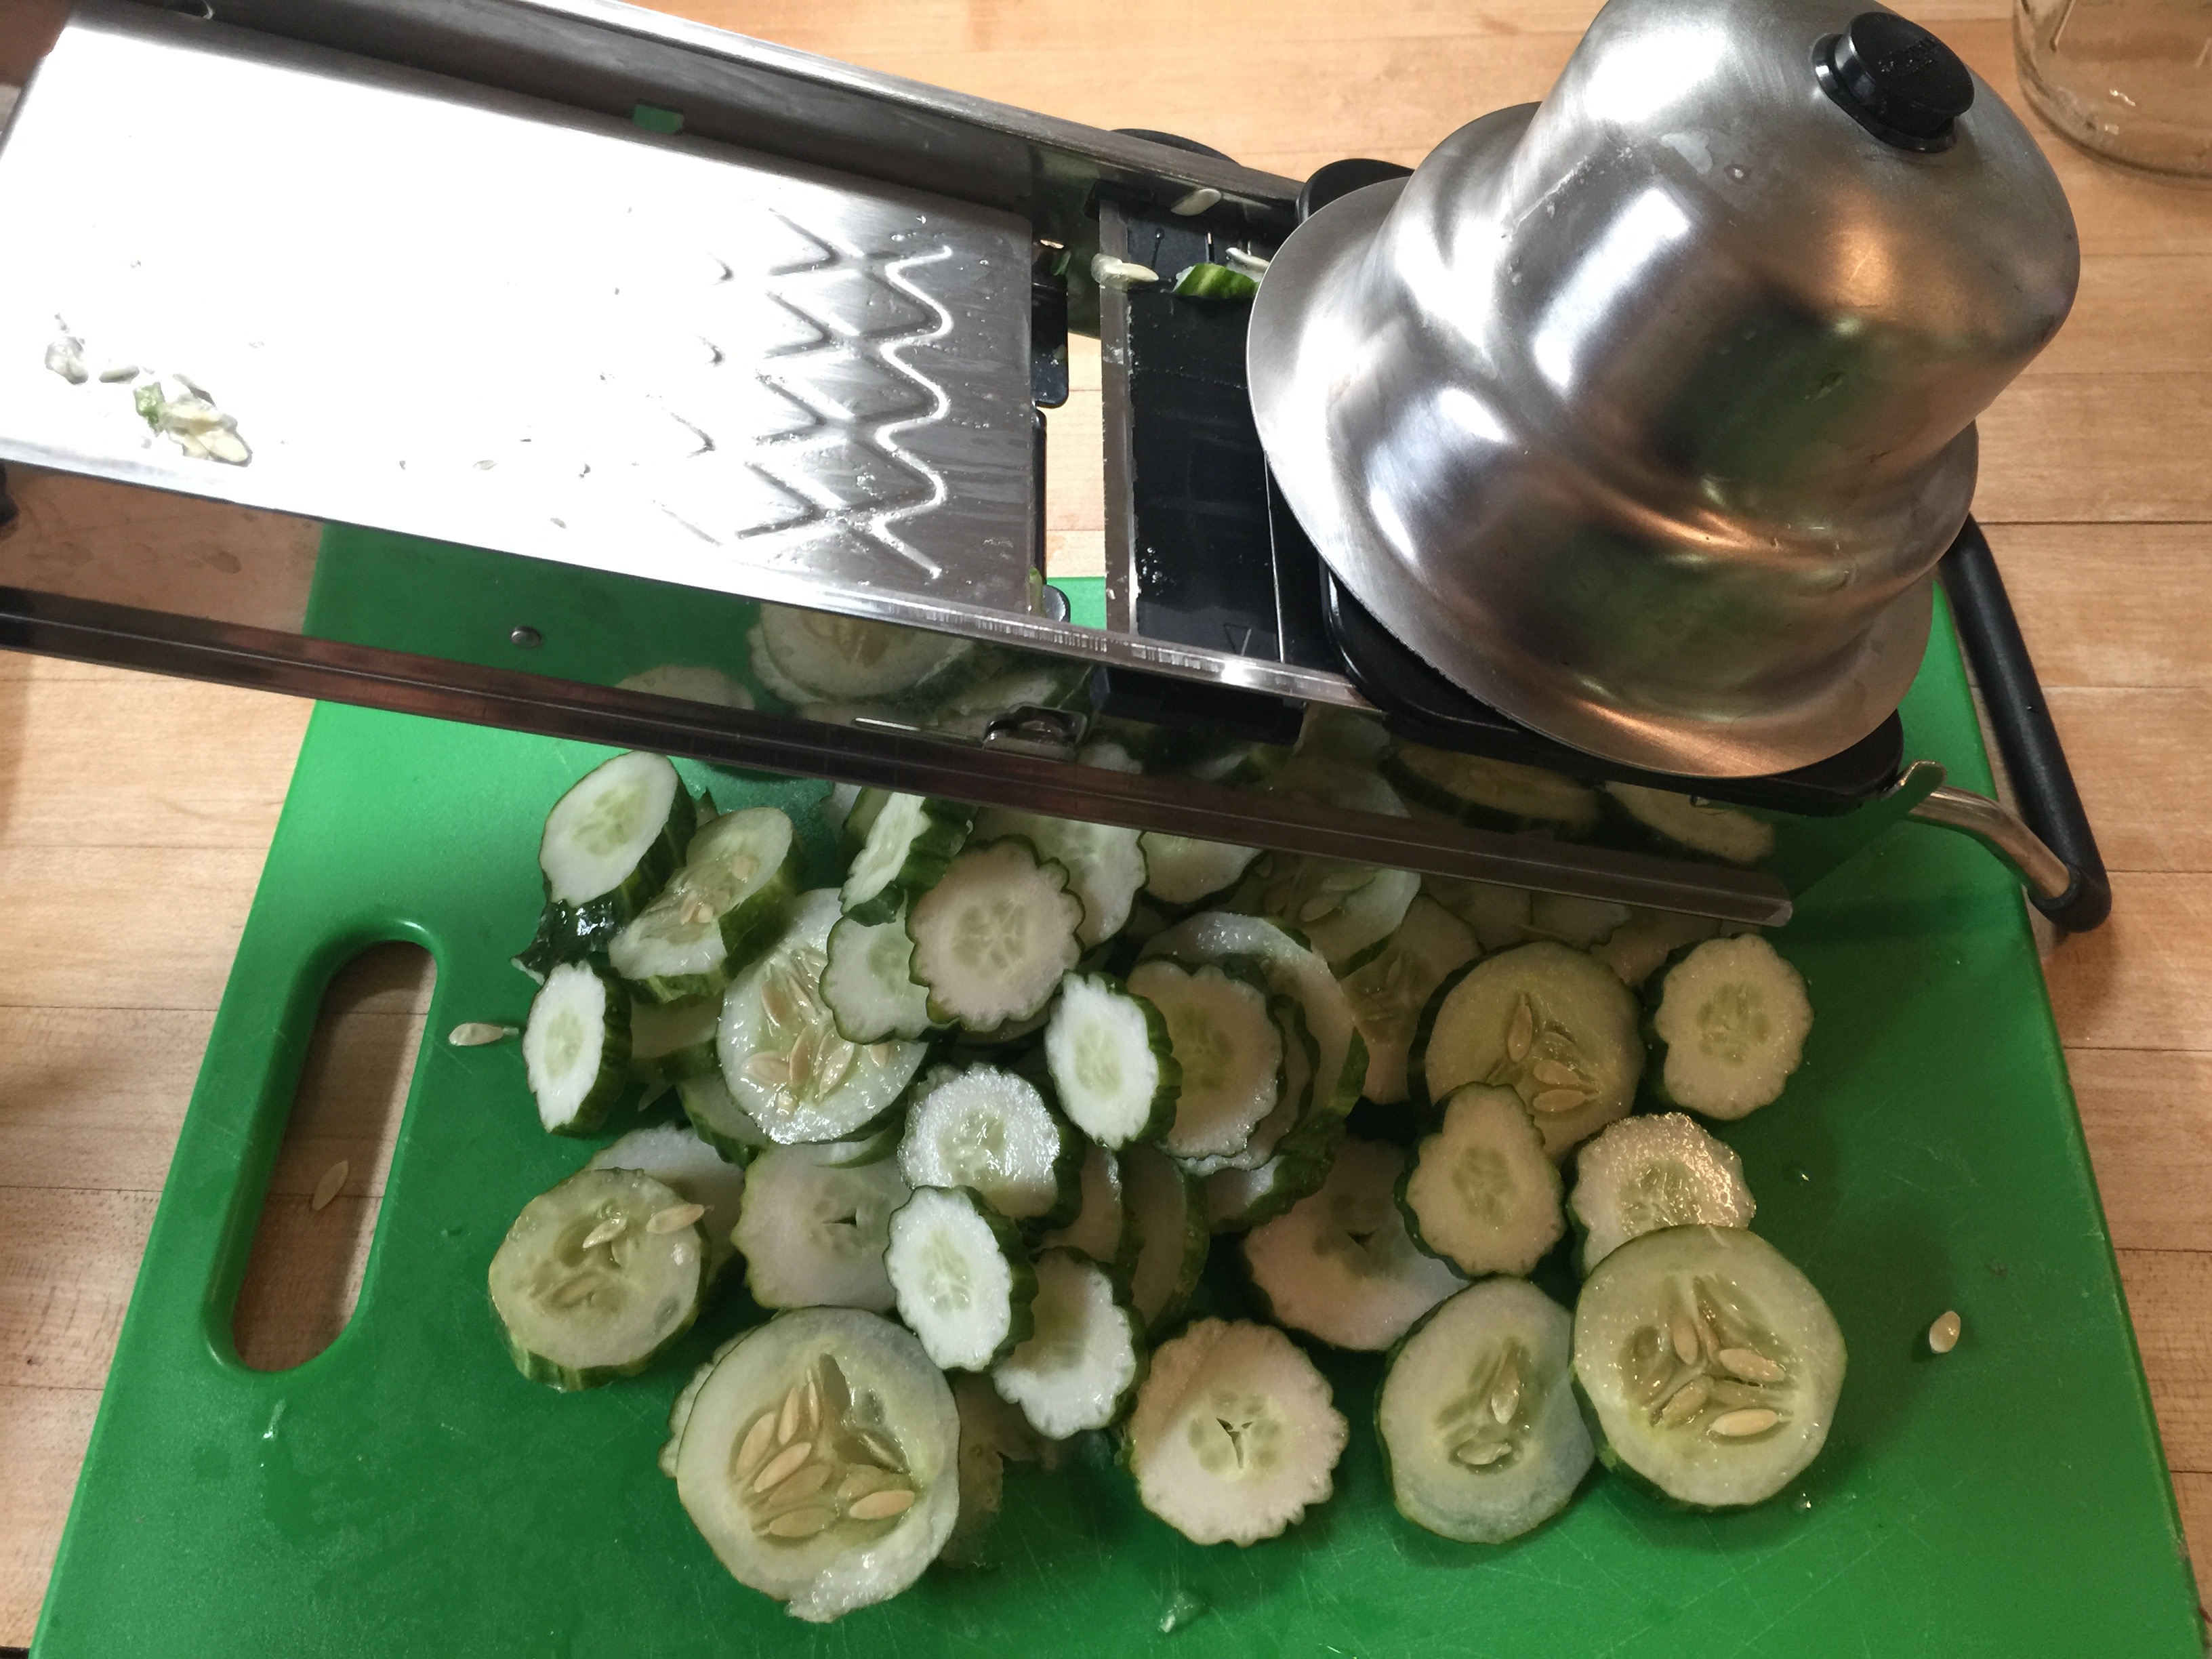
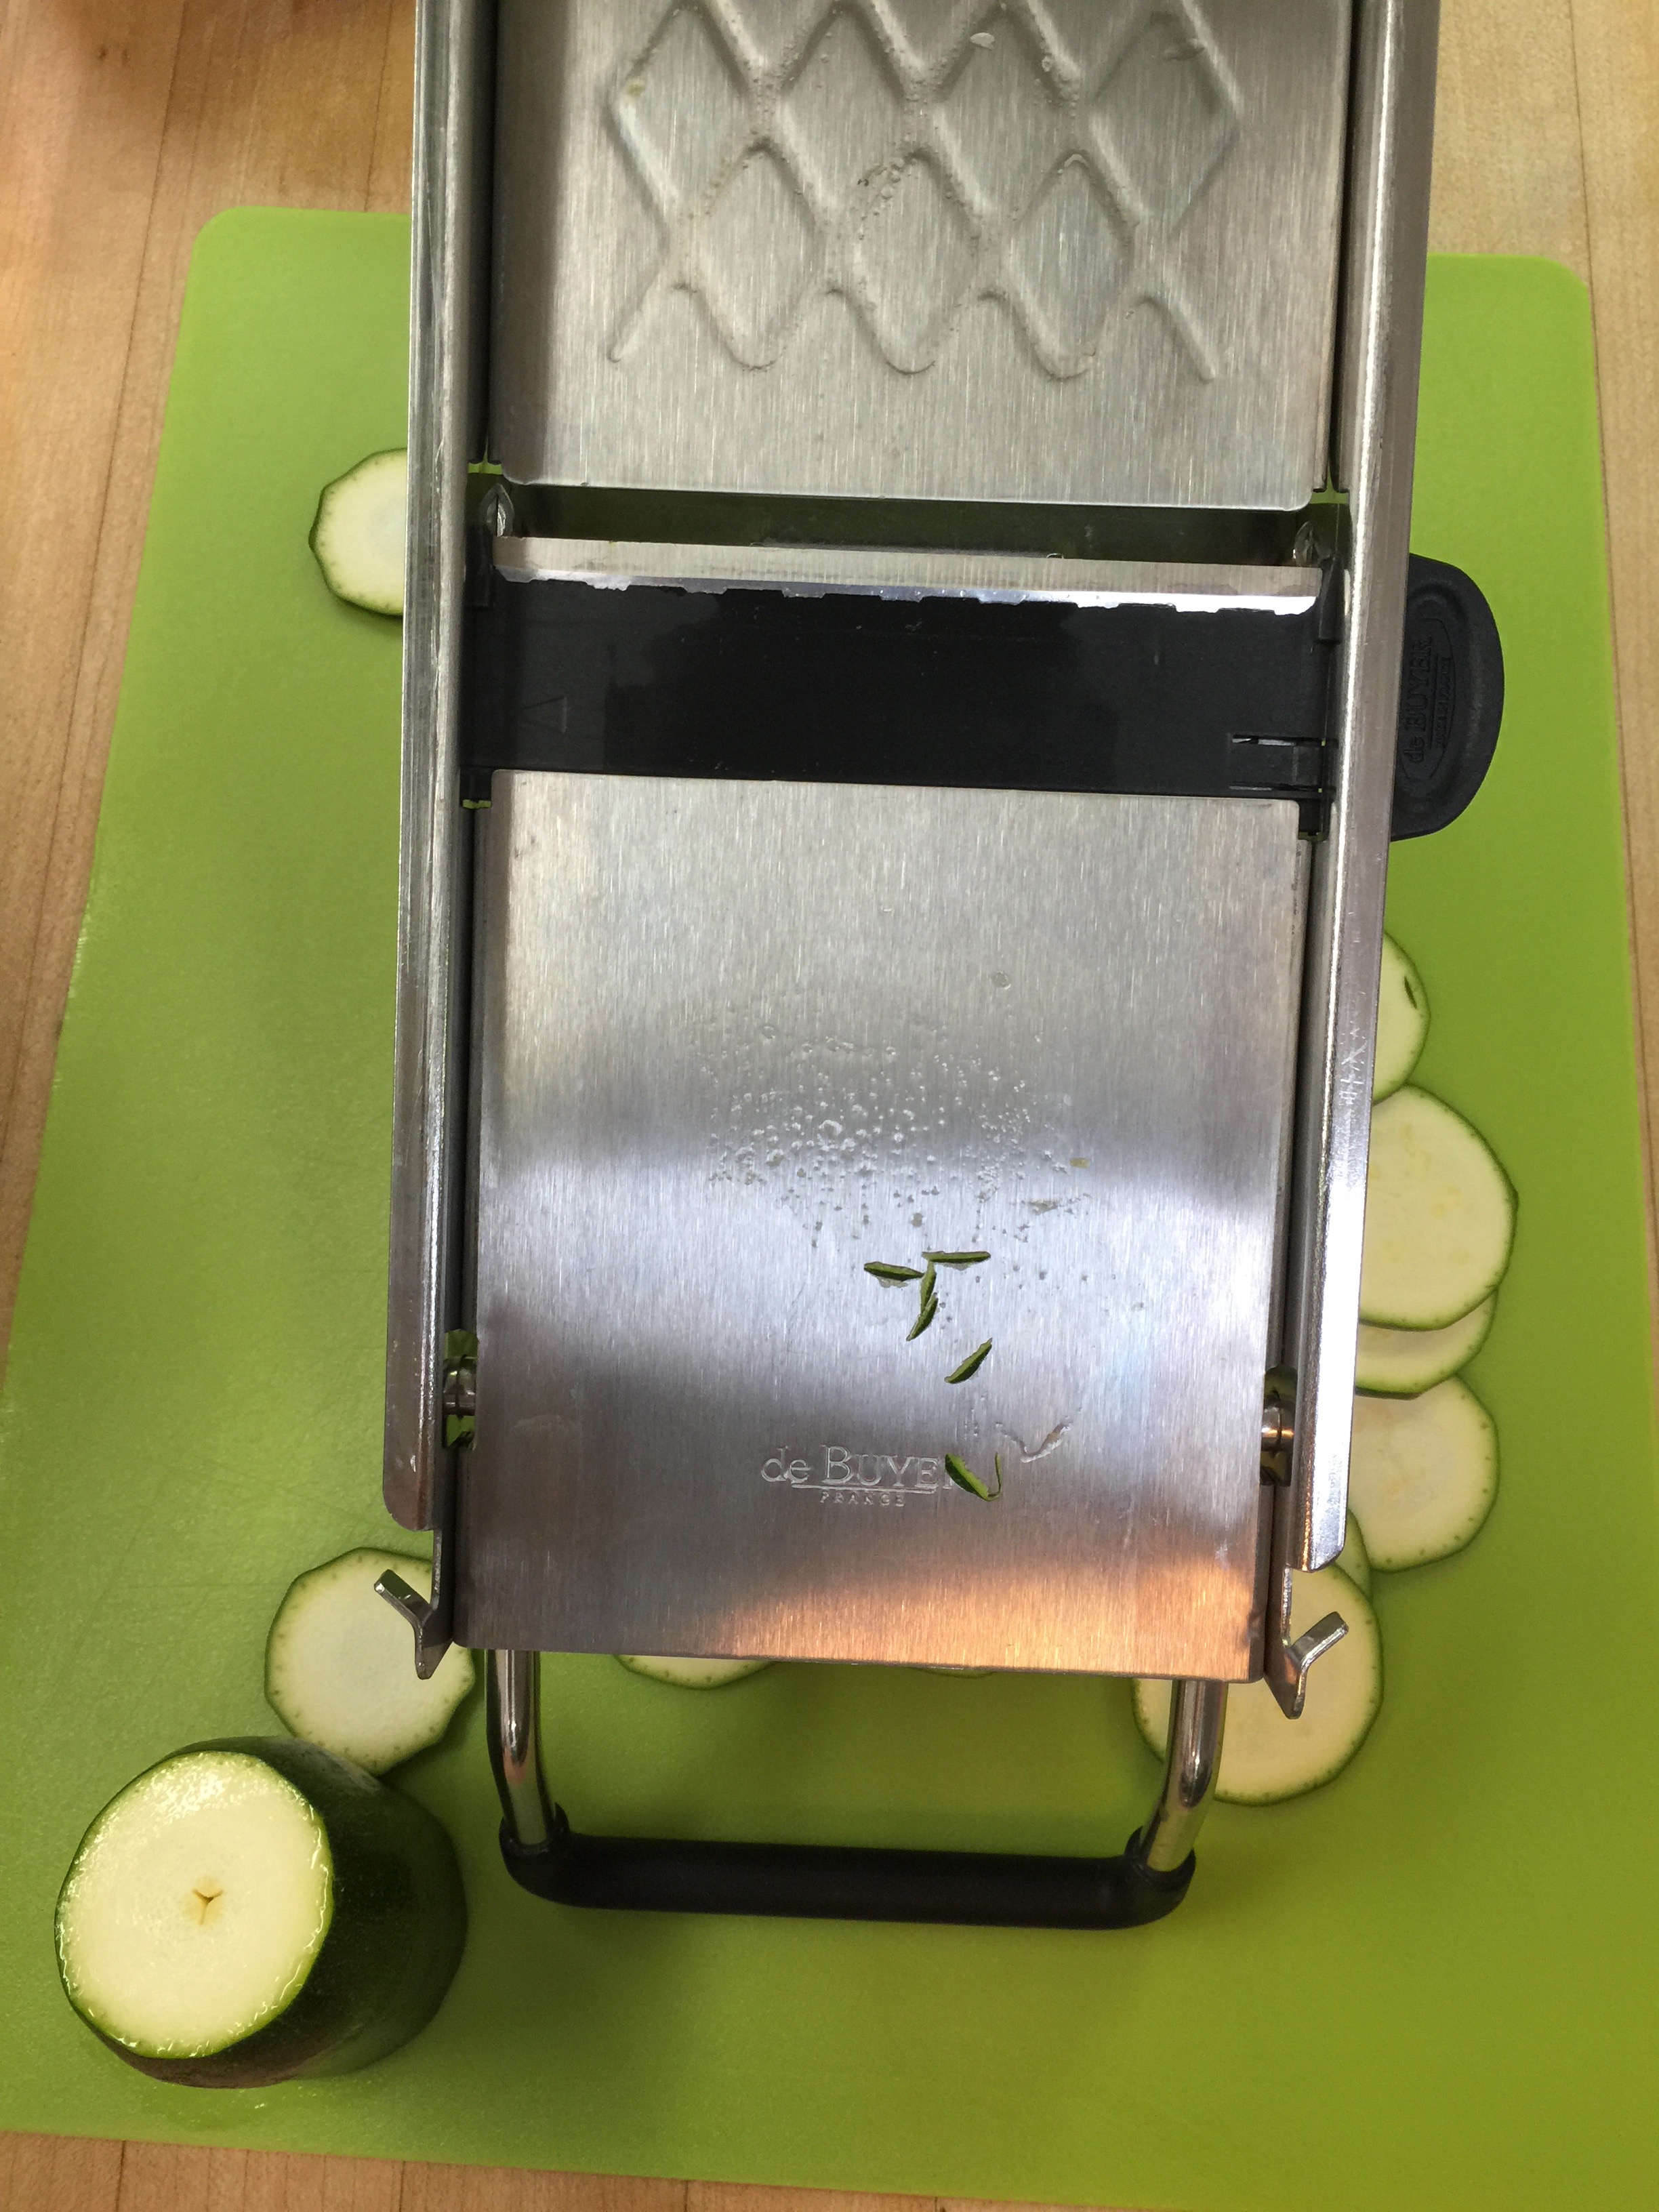
While your marinade is cooling, slice your cucumbers in a mandoline. I love my De Buyer! If you don’t have a mandoline, what are you waiting for? It makes life so much easier! I bought mine at Williams Sonoma, but you can get yours here too.
I did adjust my mandoline for thicker slices. I had it set from the zucchini last week, but these needed to be a bit thicker.
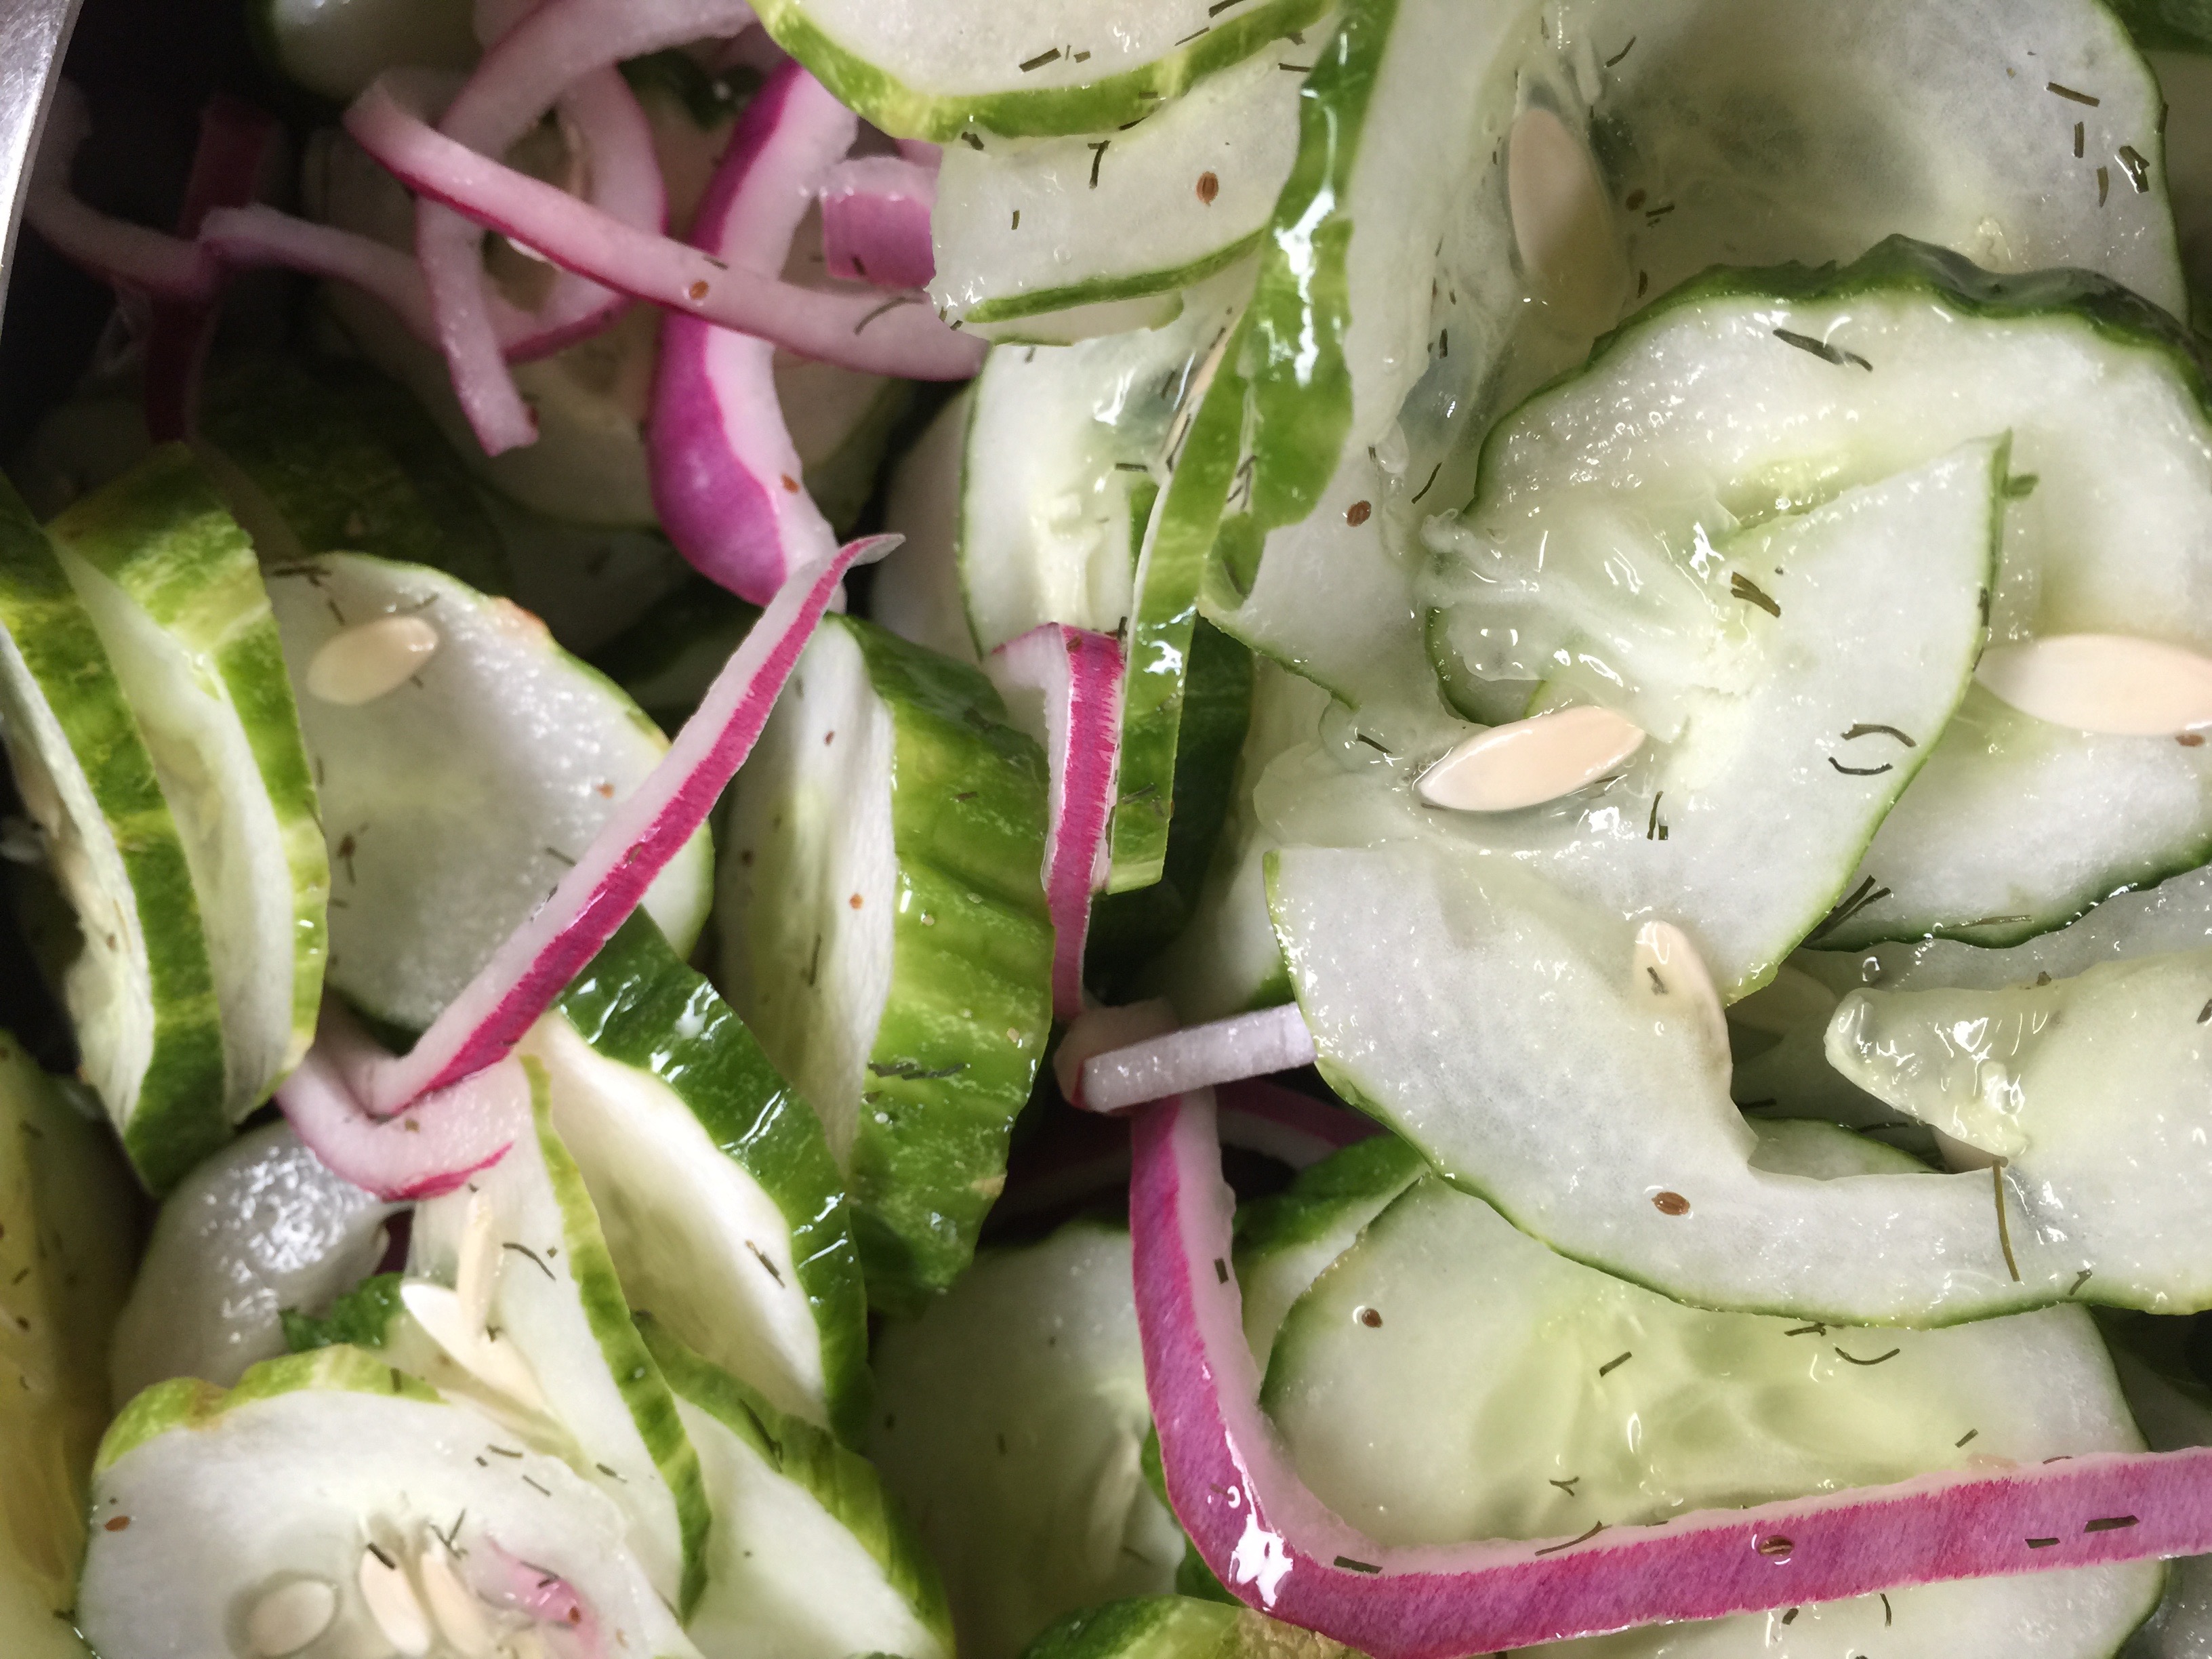
Also, slice your red onion into thin rings. Place your cucumbers and red onion slices in a bowl.
Once you have everything sliced and your marinade is cold, you can pour your marinade over your cucumber and onion.
Toss everything together until lightly coated. Cover with Saran and place in your refrigerator overnight. At this point you can’t even see the liquid, but just wait!
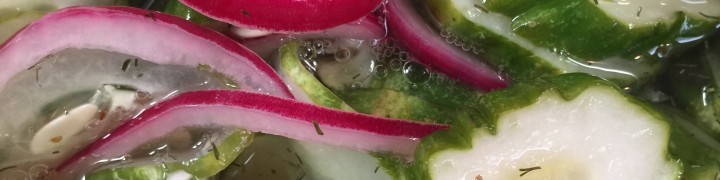
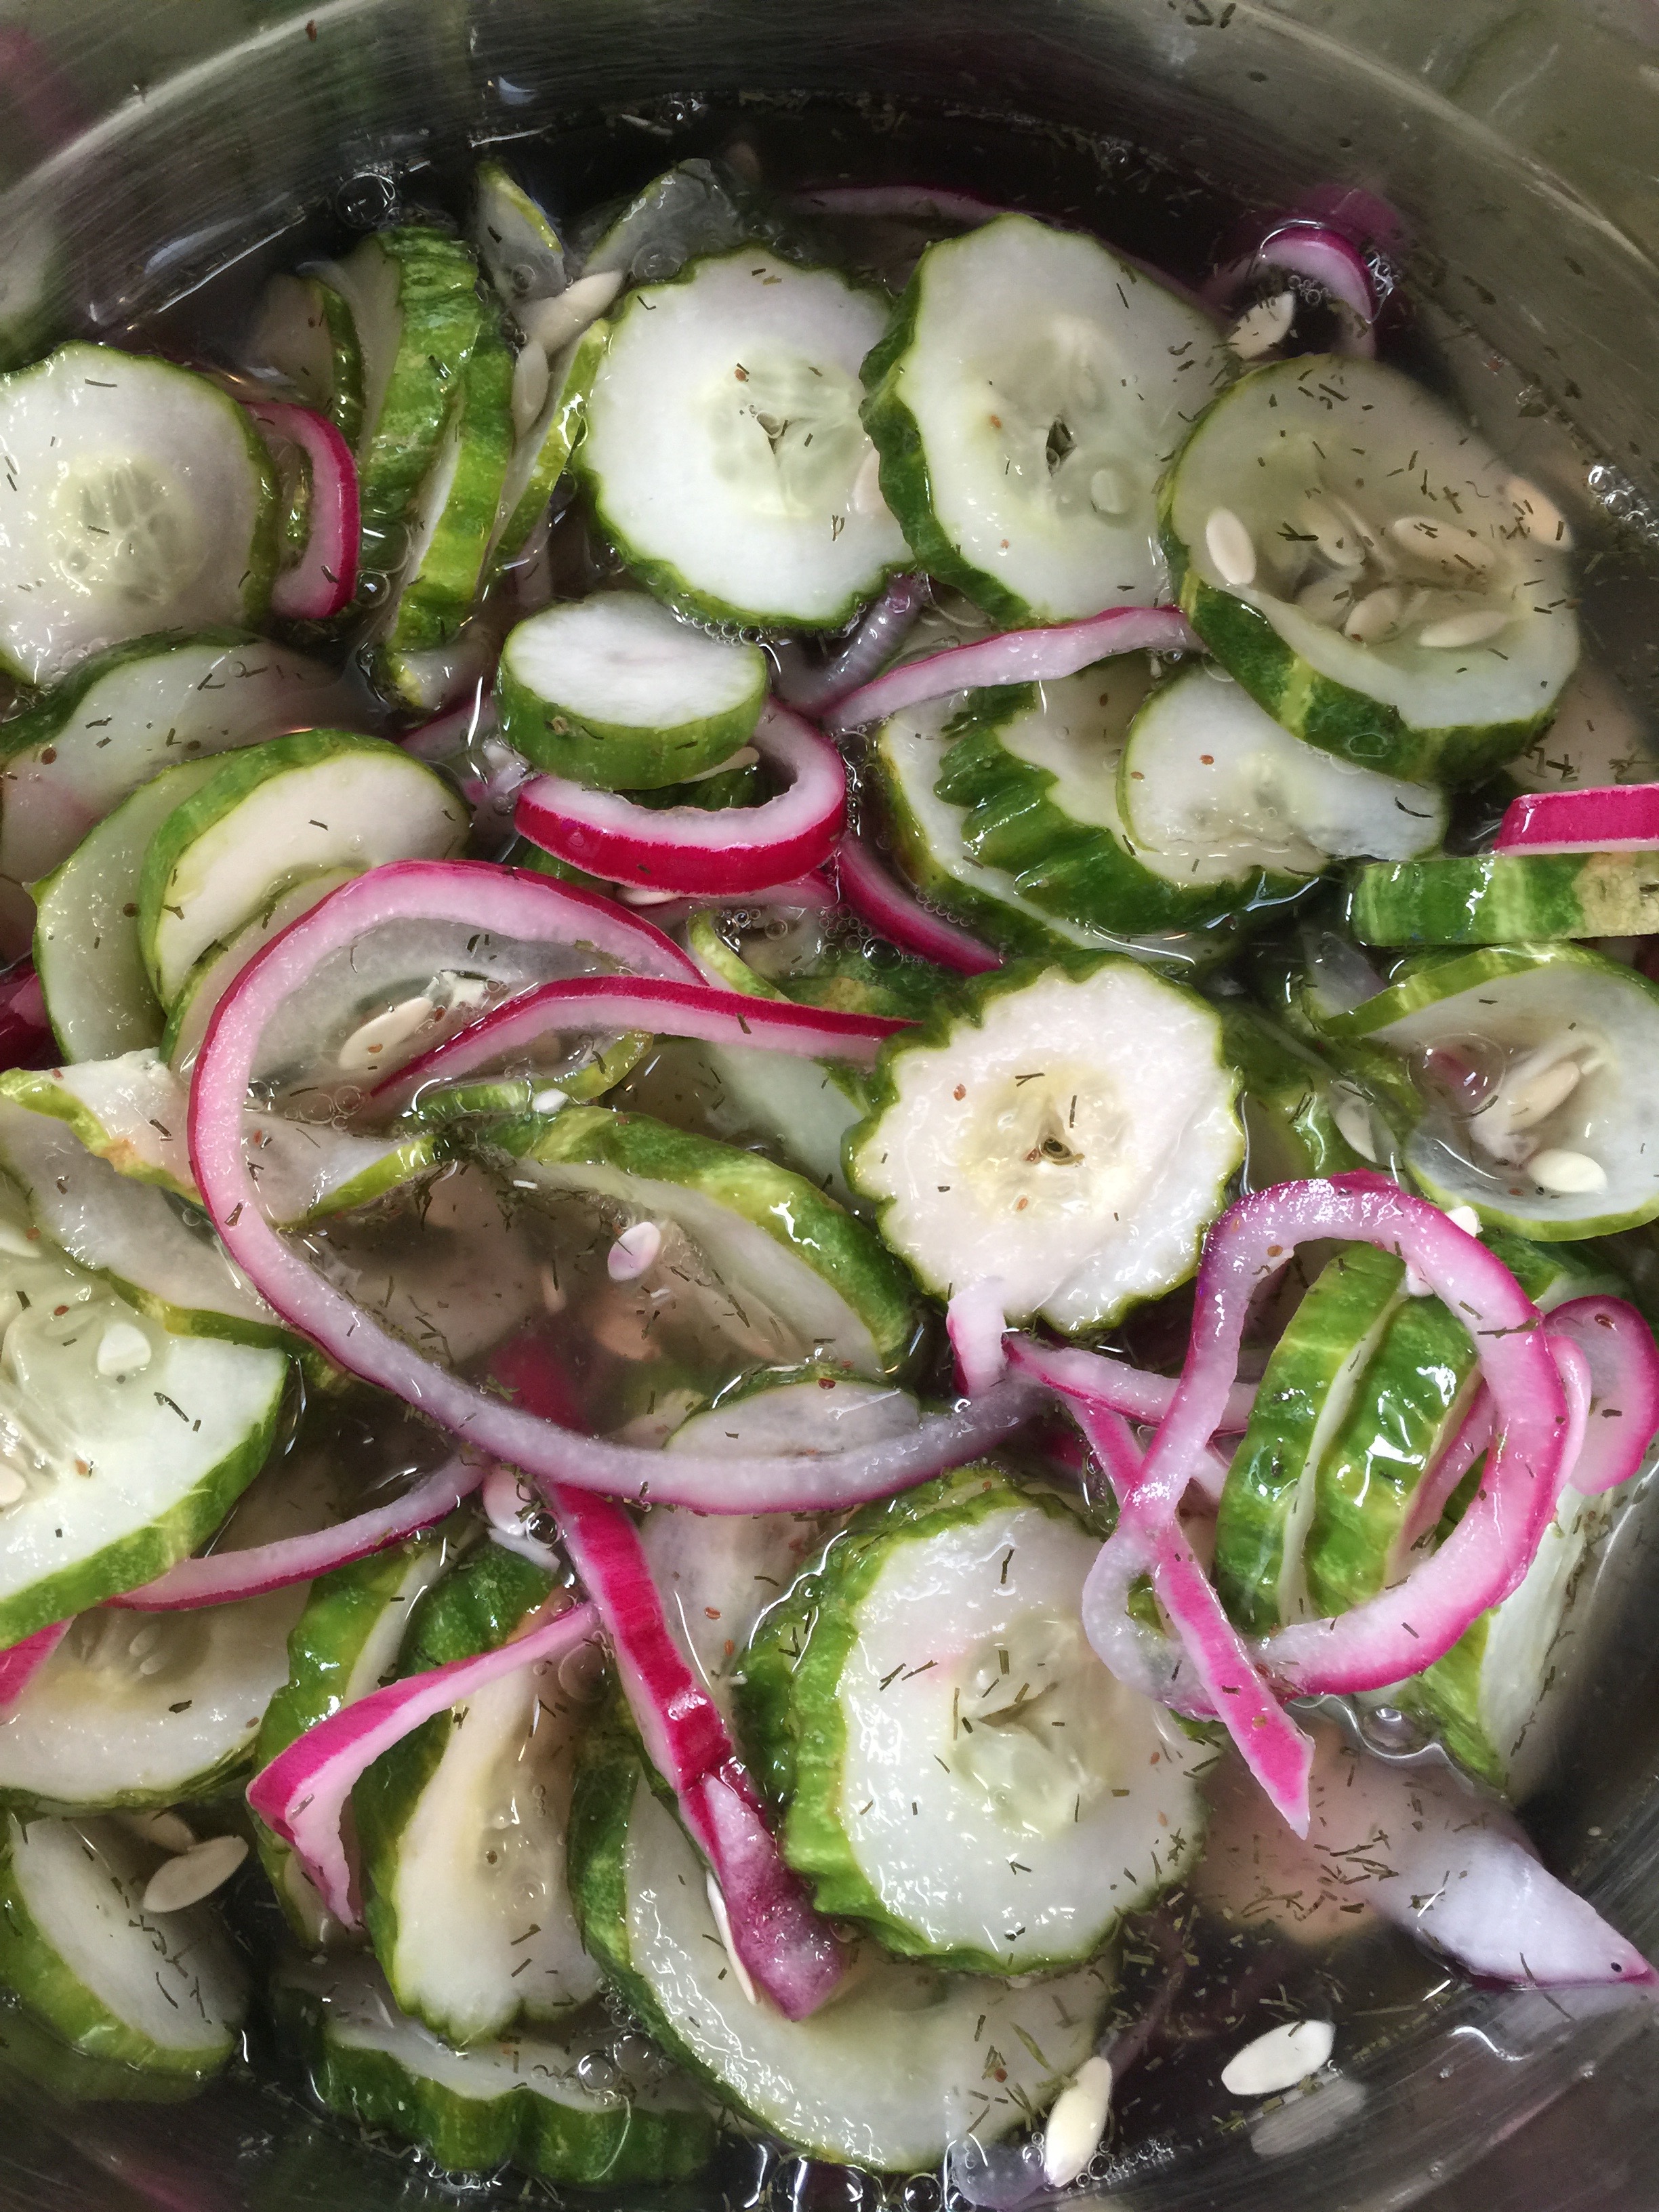
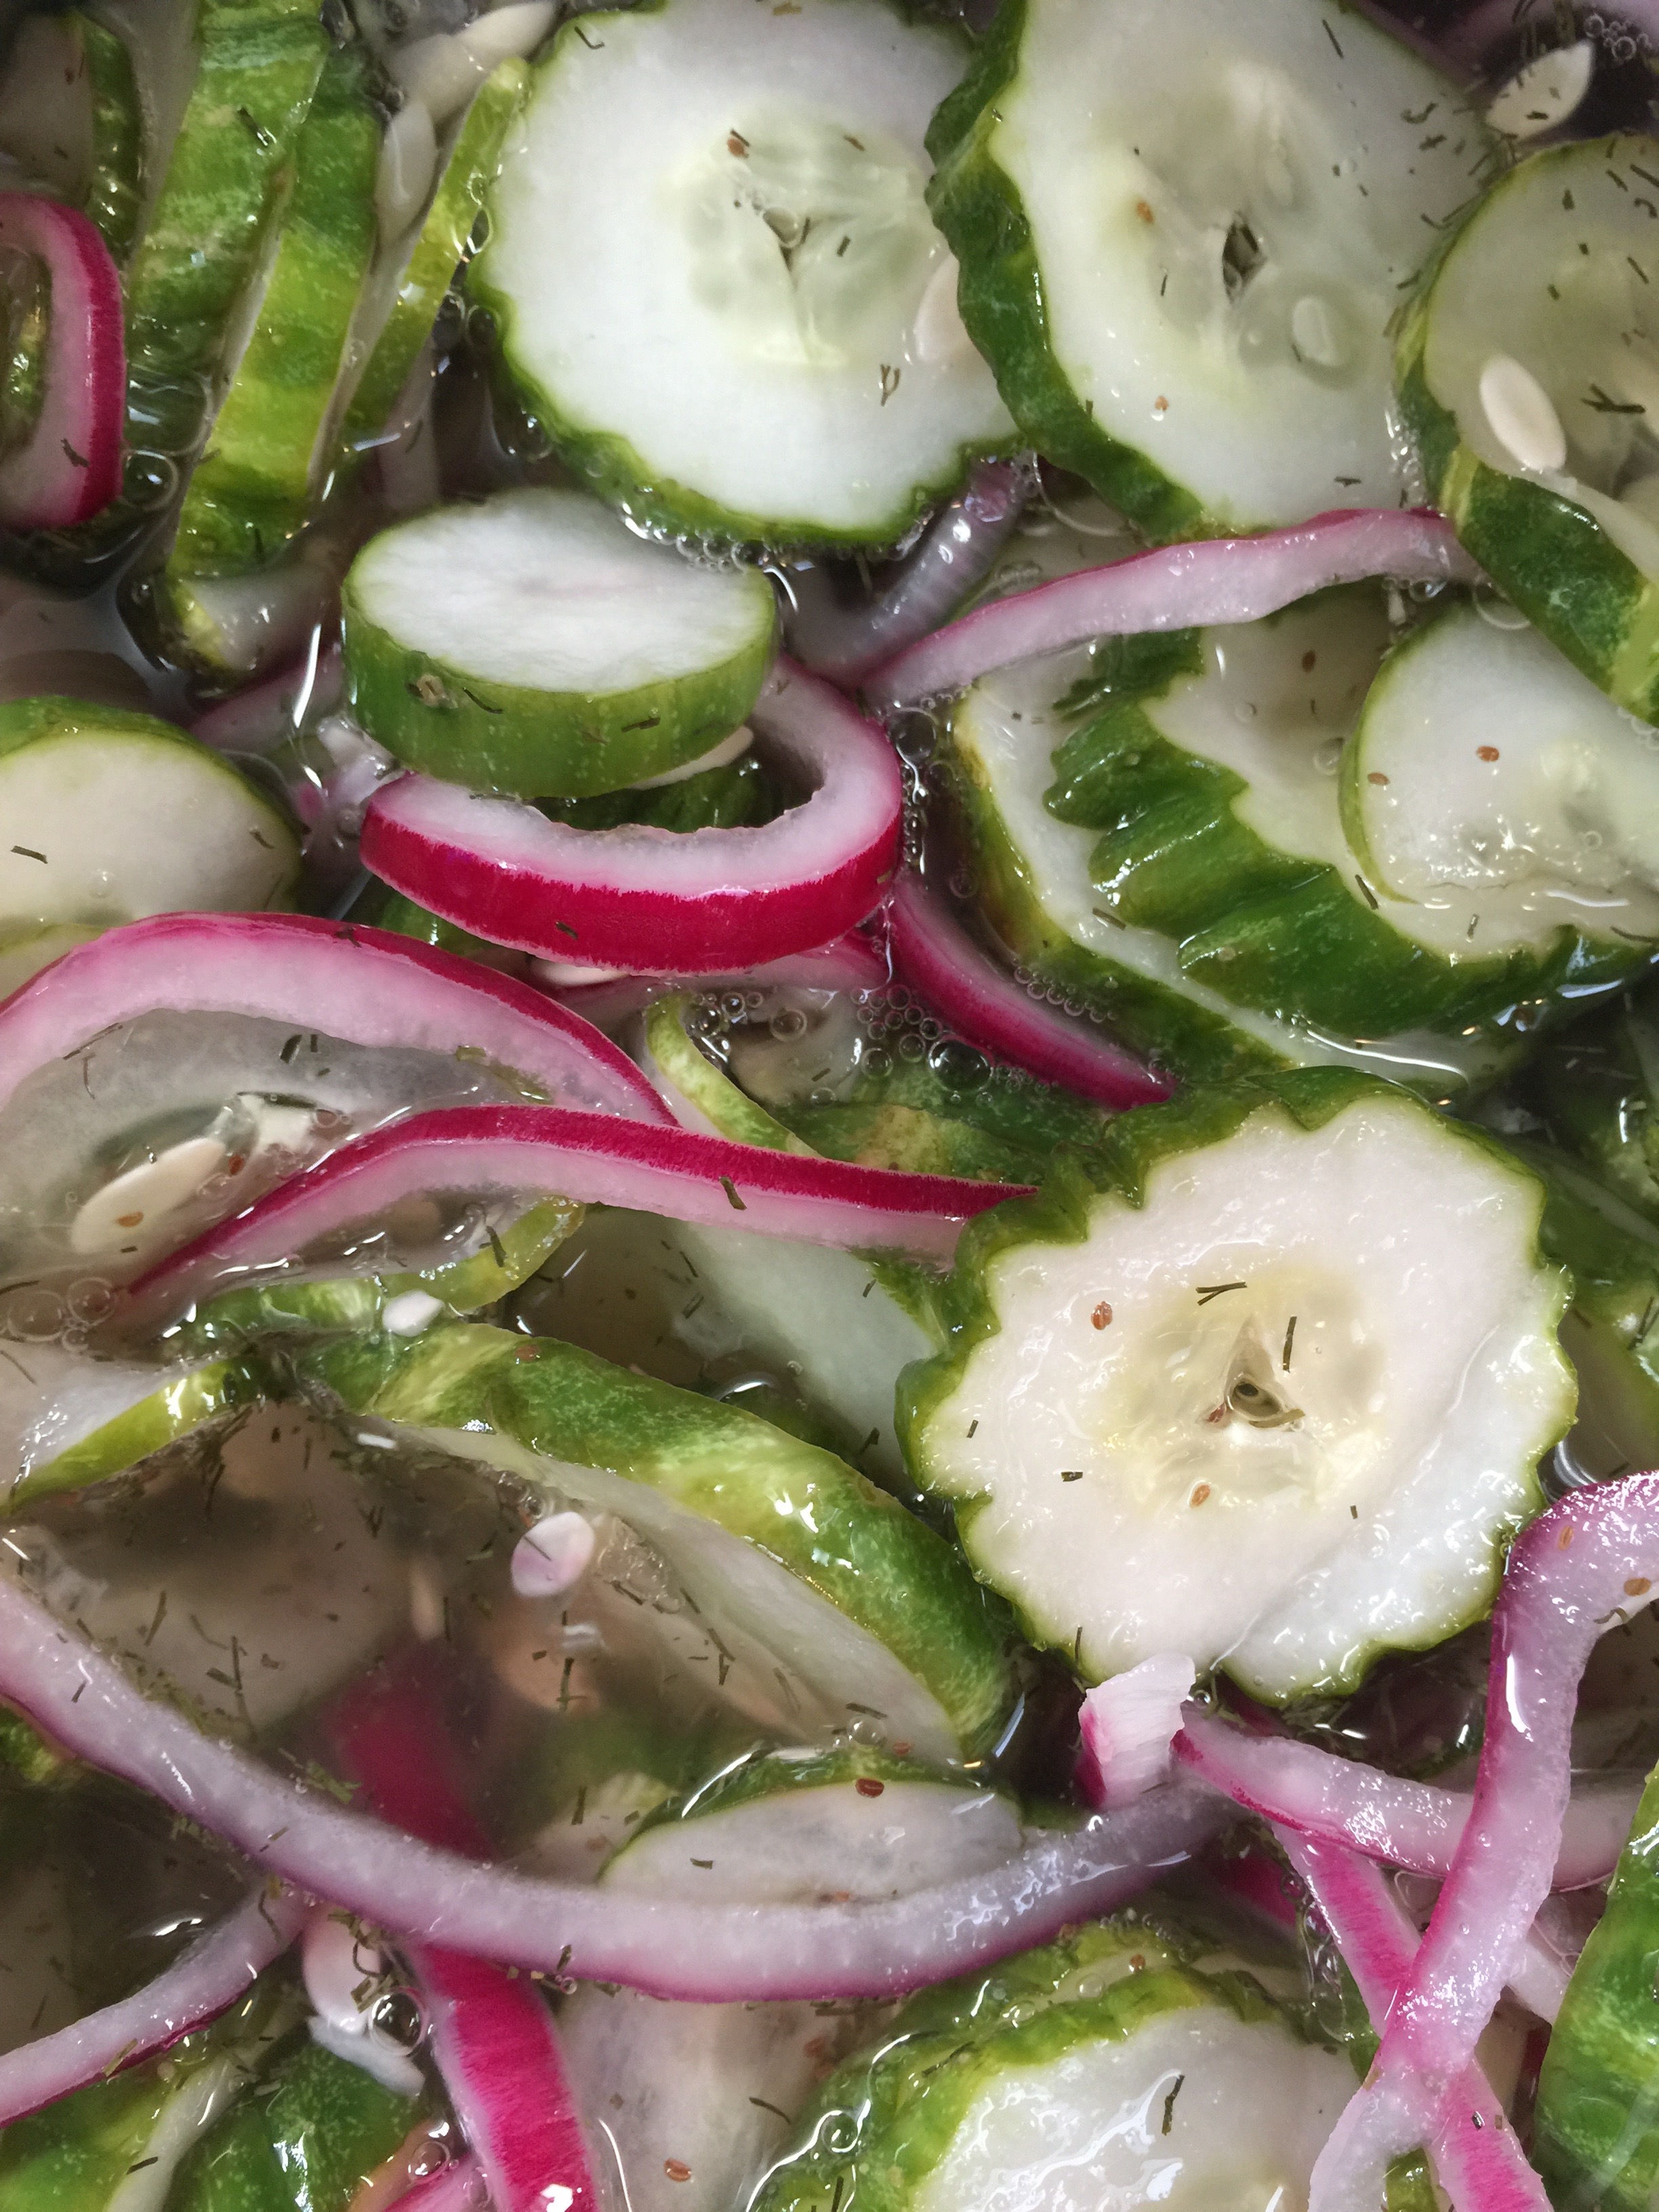
This is what it looks like in the morning:
Everything is soaking in the juices! Yum!
Let it sit and soak up the deliciousness for 24 to 48 hours! Enjoy as a snack, a salad, or a side dish! I am thinking ahead to the July 4th holiday!!!
A note on Xylitol: You don’t see us using this one very often. The reason I did on this dish was because it was a cold marinade that also had to be heated so I thought it would work best. There are many that love Xylitol, and there is nothing wrong with it from a Keto standpoint. I have two cautions on it though:
1. It is extremely toxic for dogs! Keep it away from animals.
2. It can cause stomach discomfort in a few.
For the quantity of liquid in these in relation to the amount of cucumbers, I did not think it would have much effect since we are not consuming the liquid on it’s own.
If you try different sweeteners or have a different variation on this recipe, we would love to hear about it in the comments section!
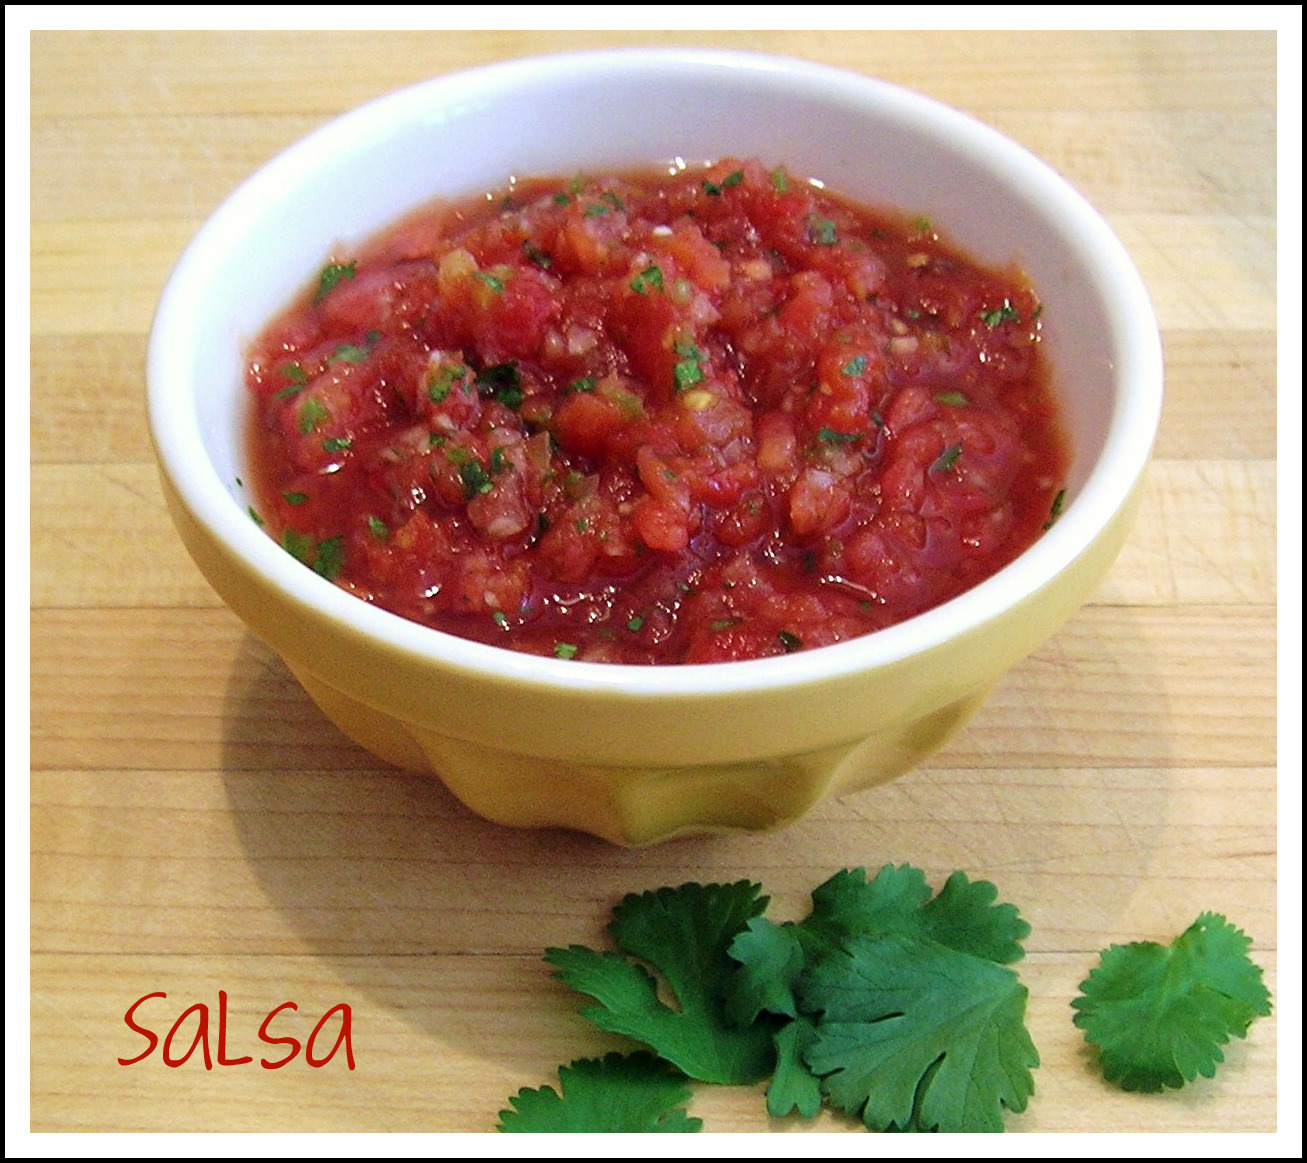
The type of crunch I am talking about is the loud tortilla chip kind of crunch! On Keto, I think it is safe to say, that one of the things we miss the most is that crunch of a chip or cracker. One of my summer-time favorites was corn chips and salsa. Needless to say, the corn is gone forever, but the salsa is here to stay. So what does one do for that crunch, scoop, or dip?
For a long time, I used a ton of celery, and still do for many things. It can scoop, it’s refreshing, full of fiber, and I can have it for all those wonderful Keto dips out there. It is not good for salsa though. Then I discovered the cheese crisps we posted a few weeks ago. Love those, especially for guacamole. The cheese is the perfect accompaniment with avocado.
But, what about the salsa? Well…zucchini was again on sale at Sprouts last week, so I bought a bunch to experiment. Over the weekend I tried three different recipes for zucchini crisps. I will share two of them with you, and you can choose which you prefer.
The first is a simple chip, and when I say simple, all you need is time and a few ingredients:
Wash and dry your zucchini. When I say wash, I mean wash with soap and water!
I used a Mandoline to slice my zucchini very thin. This also makes it a fast process. You want them very thin. Mine were probably less than 1/8 inch thick.
Now, I will tell you what I did, and also how you can do it differently.
The first thing I would change is to either slice my zucchini on the diagonal or lengthwise. The reason being, they shrink tremendously when they dehydrate so if the purpose is for dipping, these left very little surface area to do such.
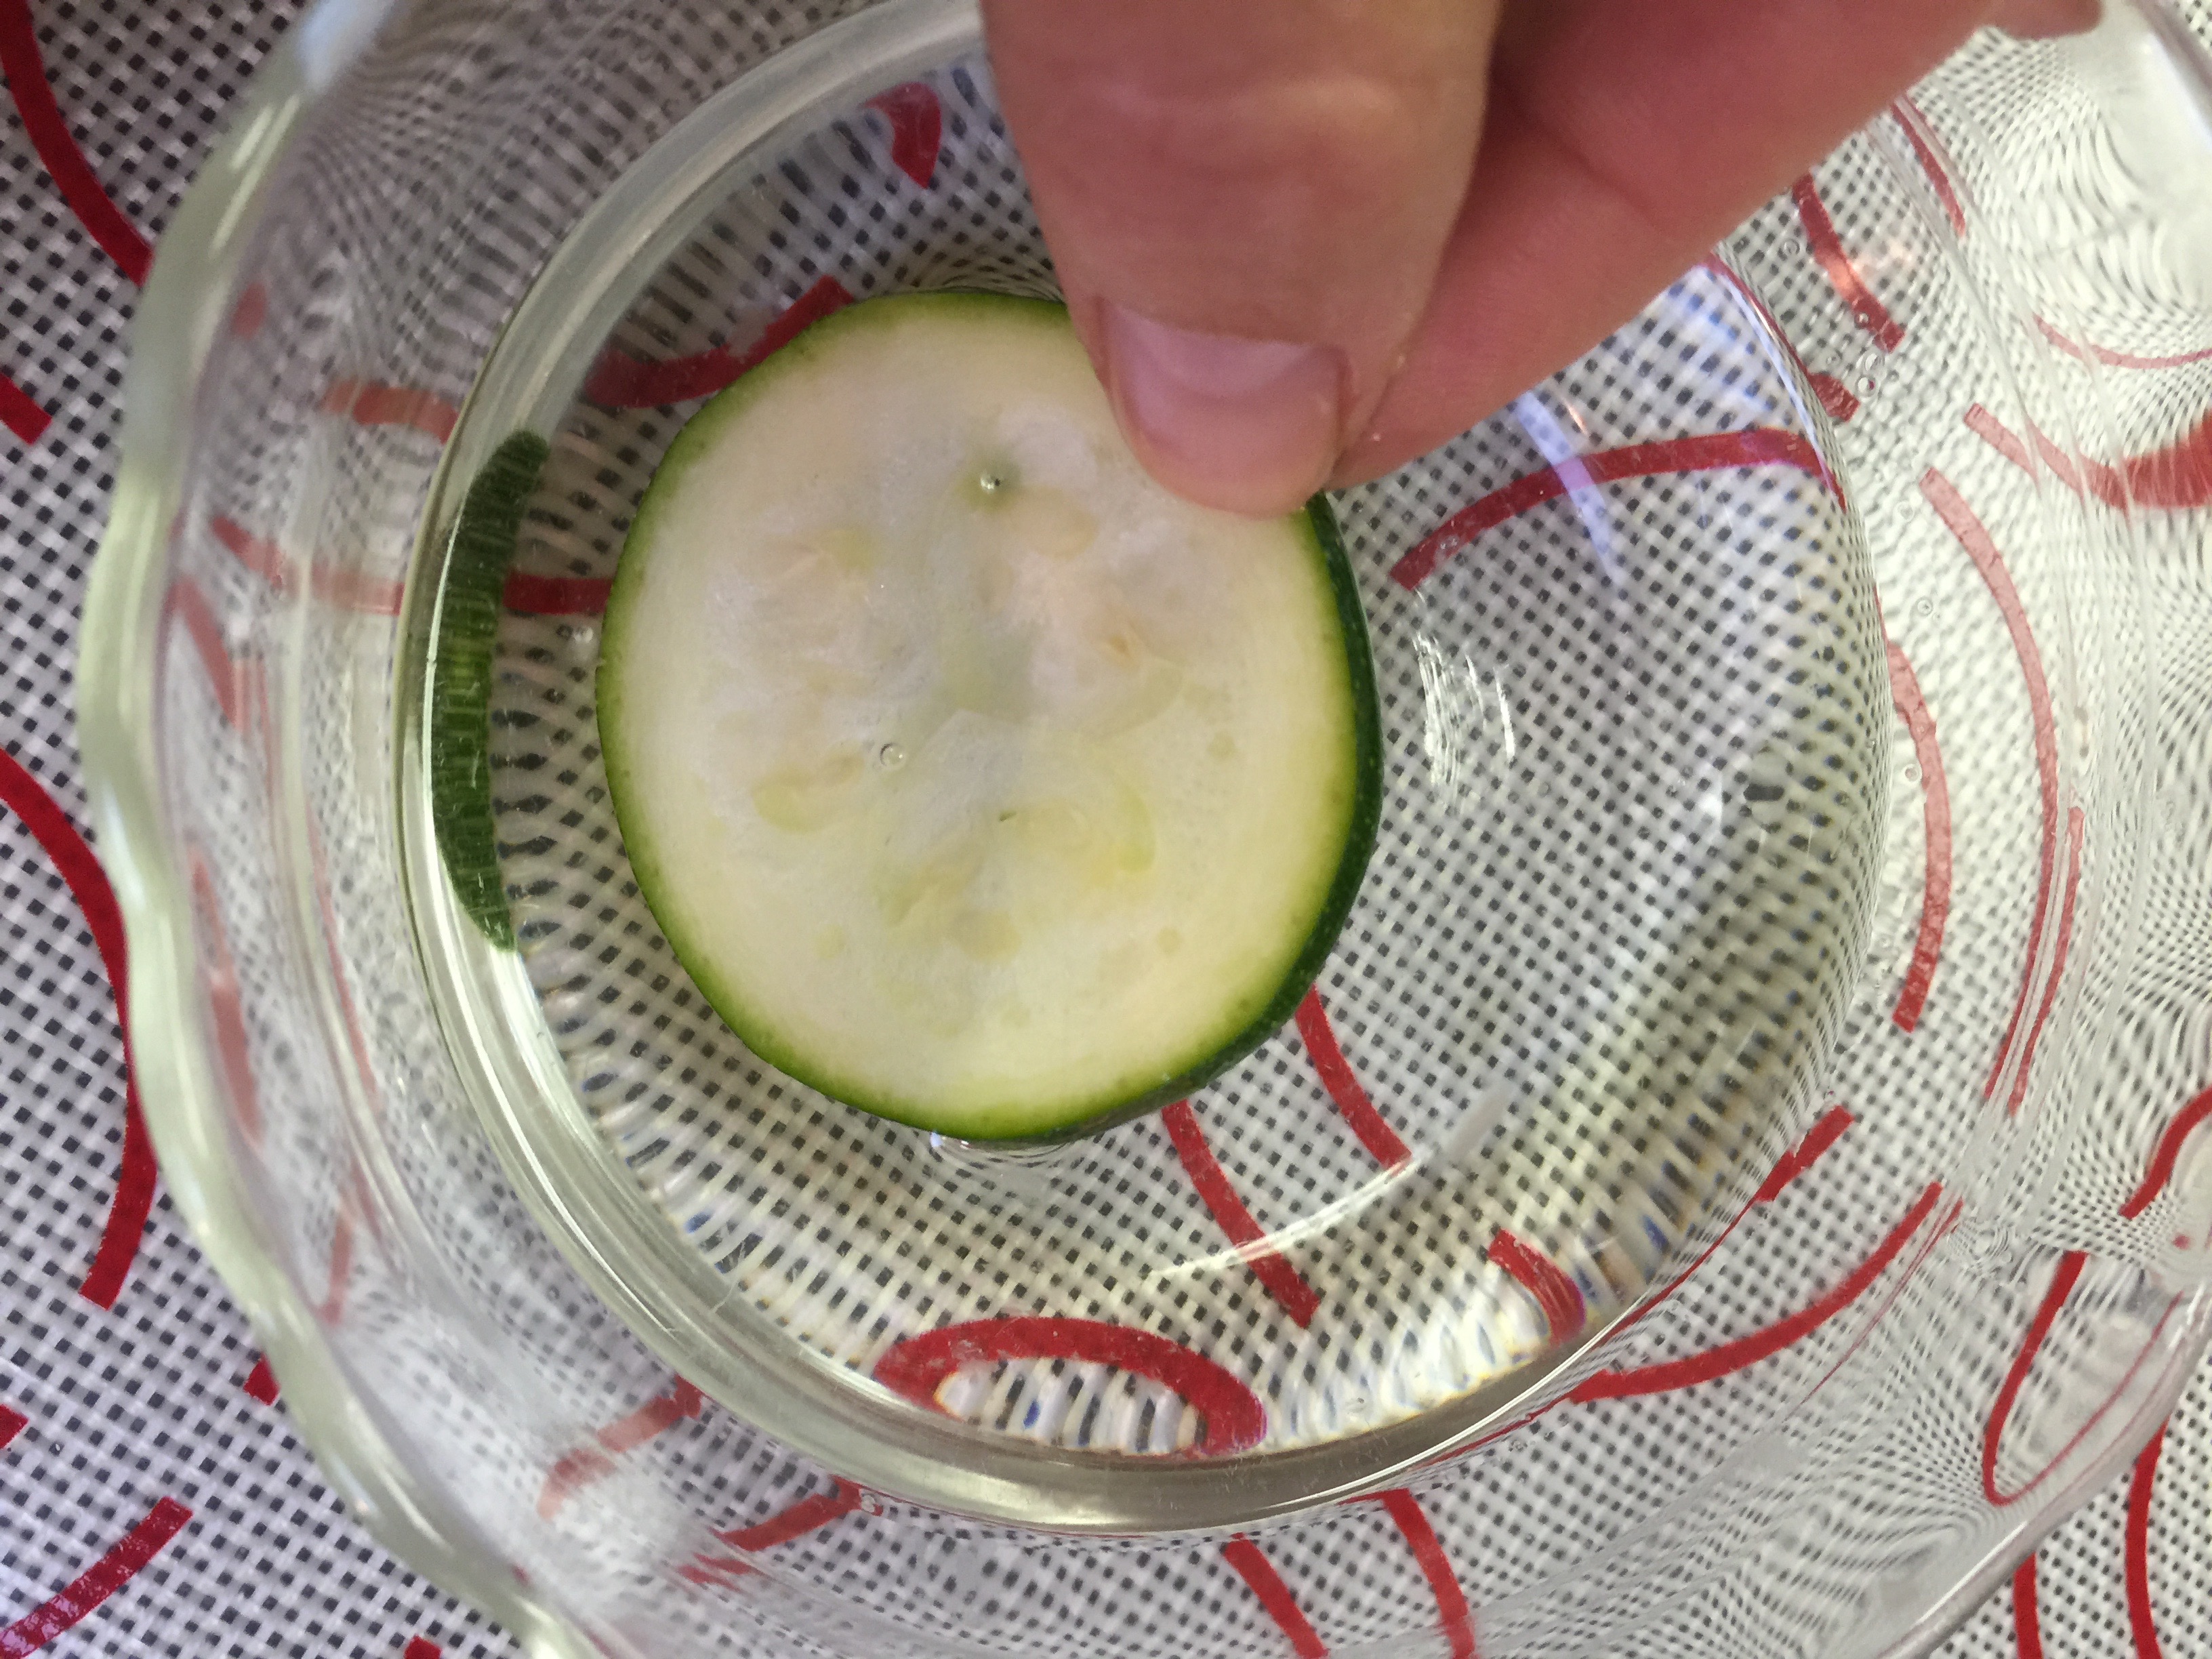
Pour your coconut oil into a small pyrex or similar bowl. Just something shallow will do.
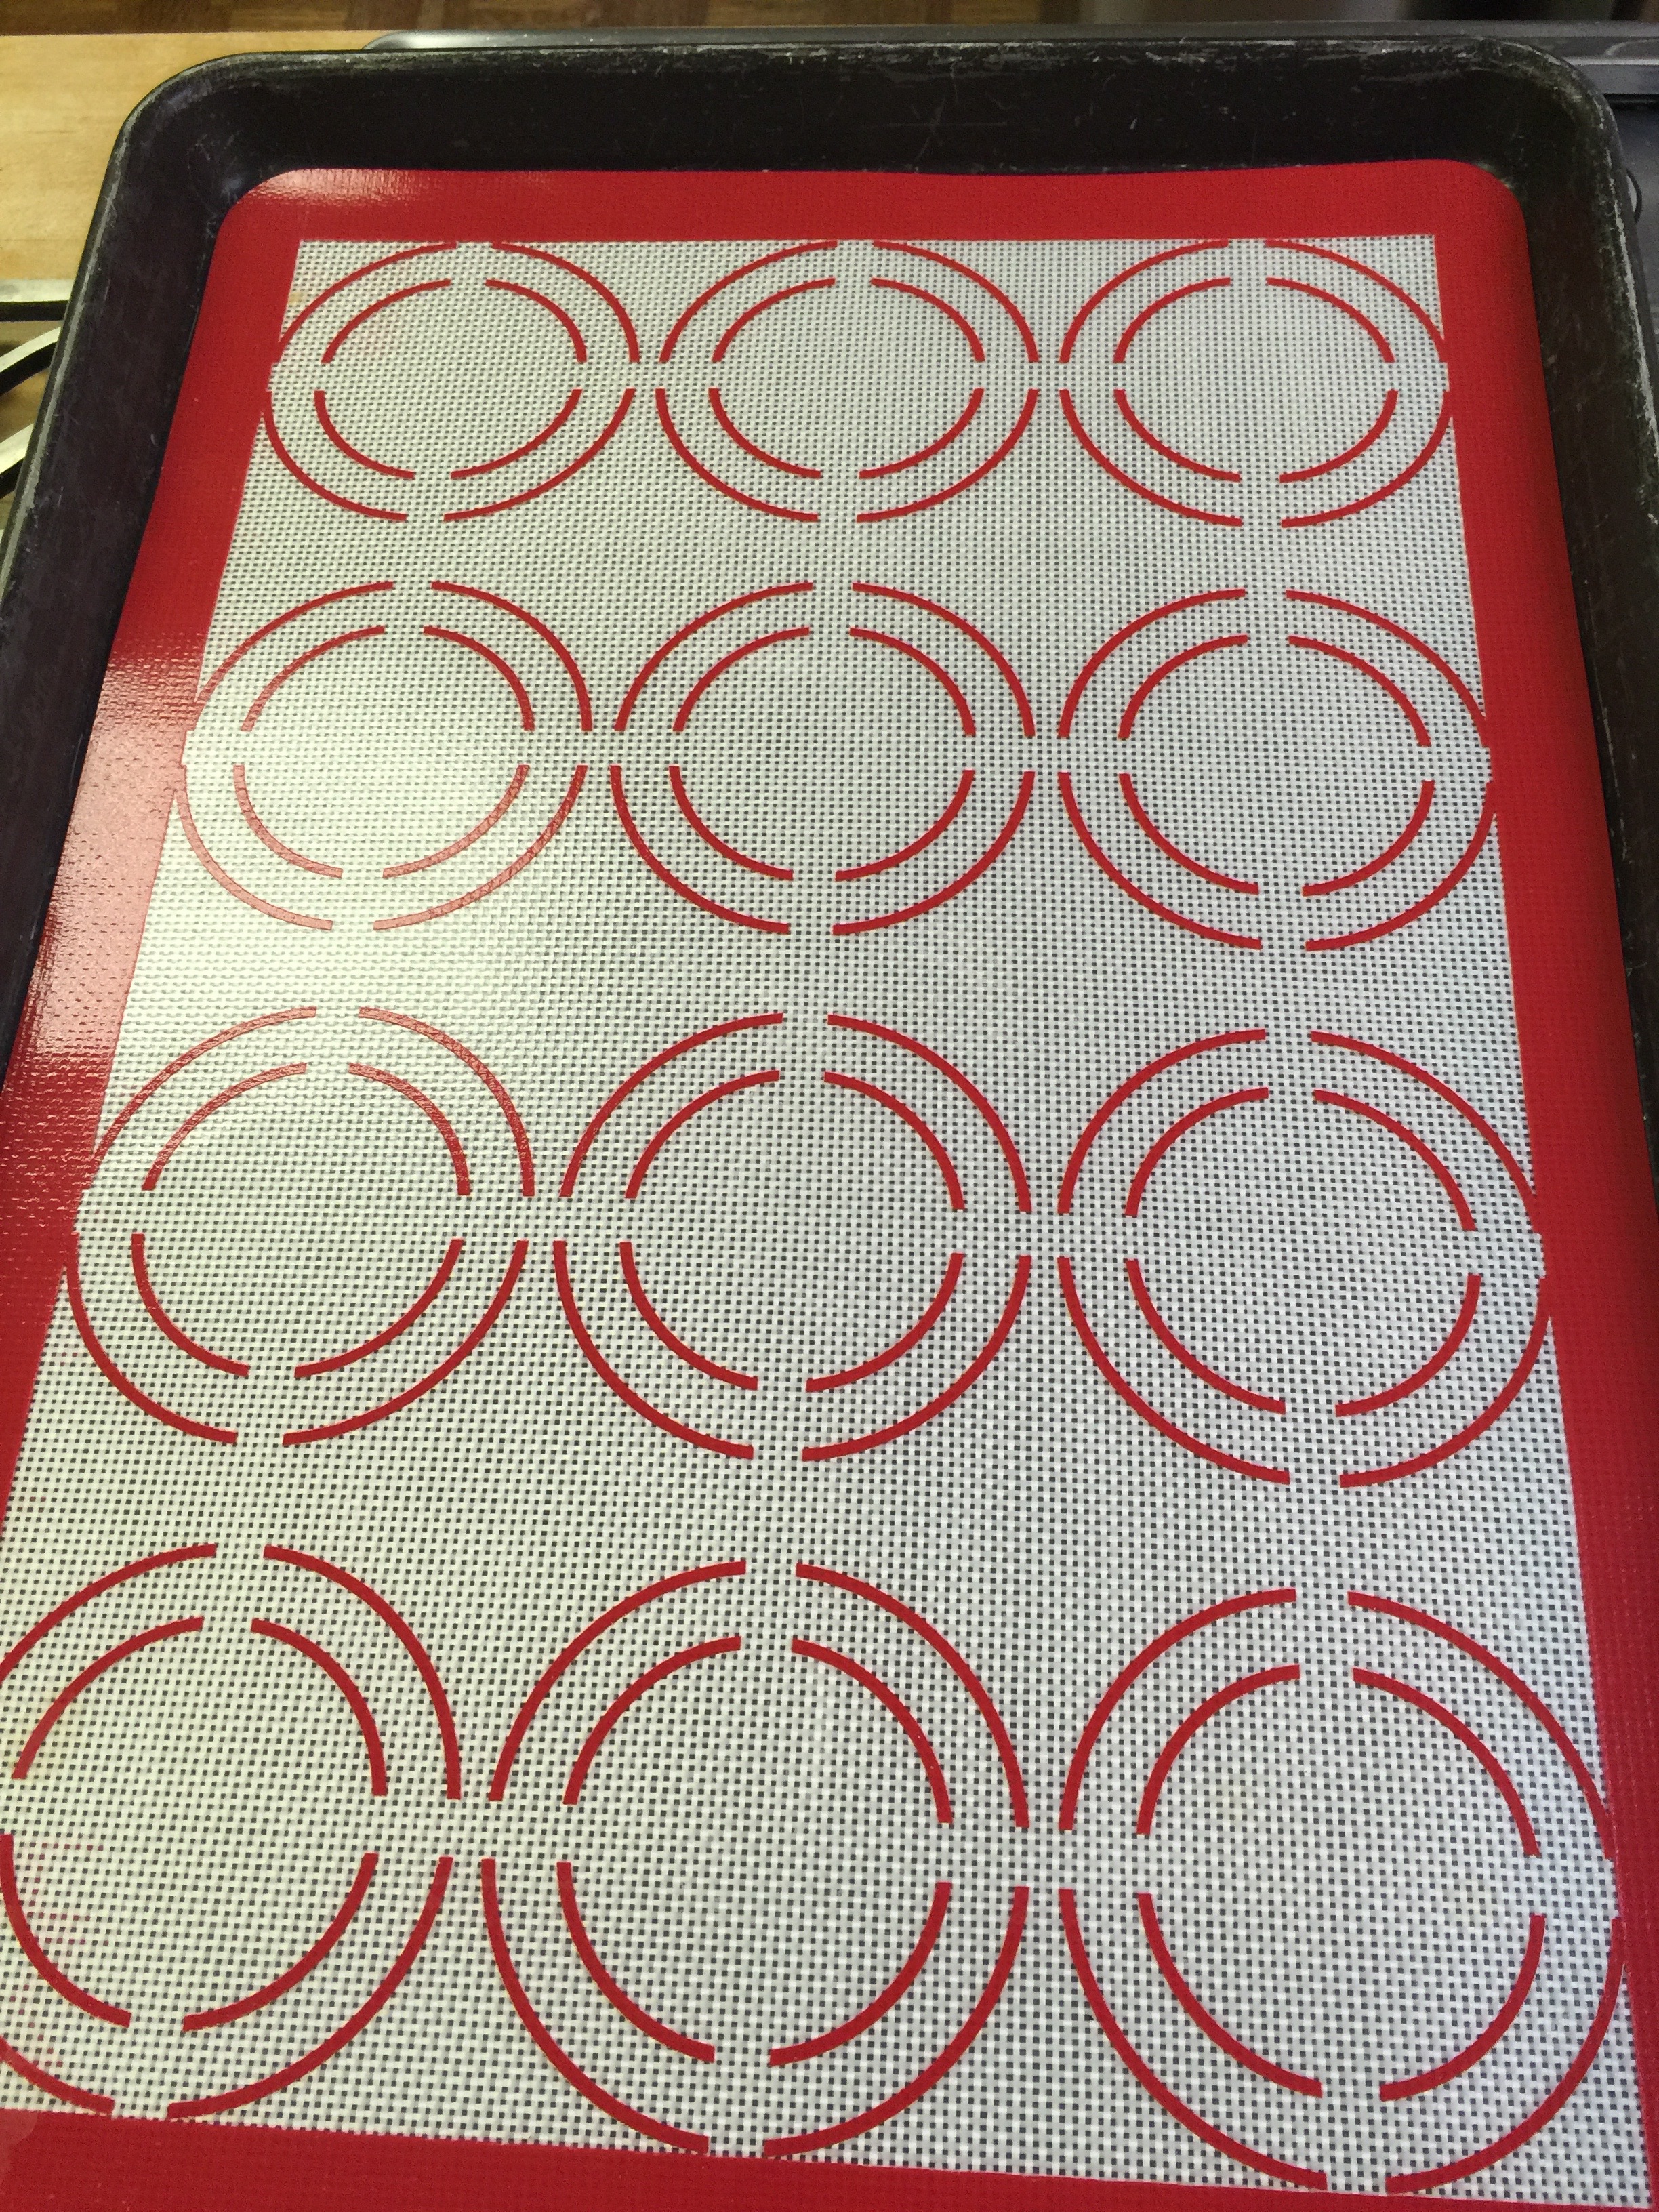
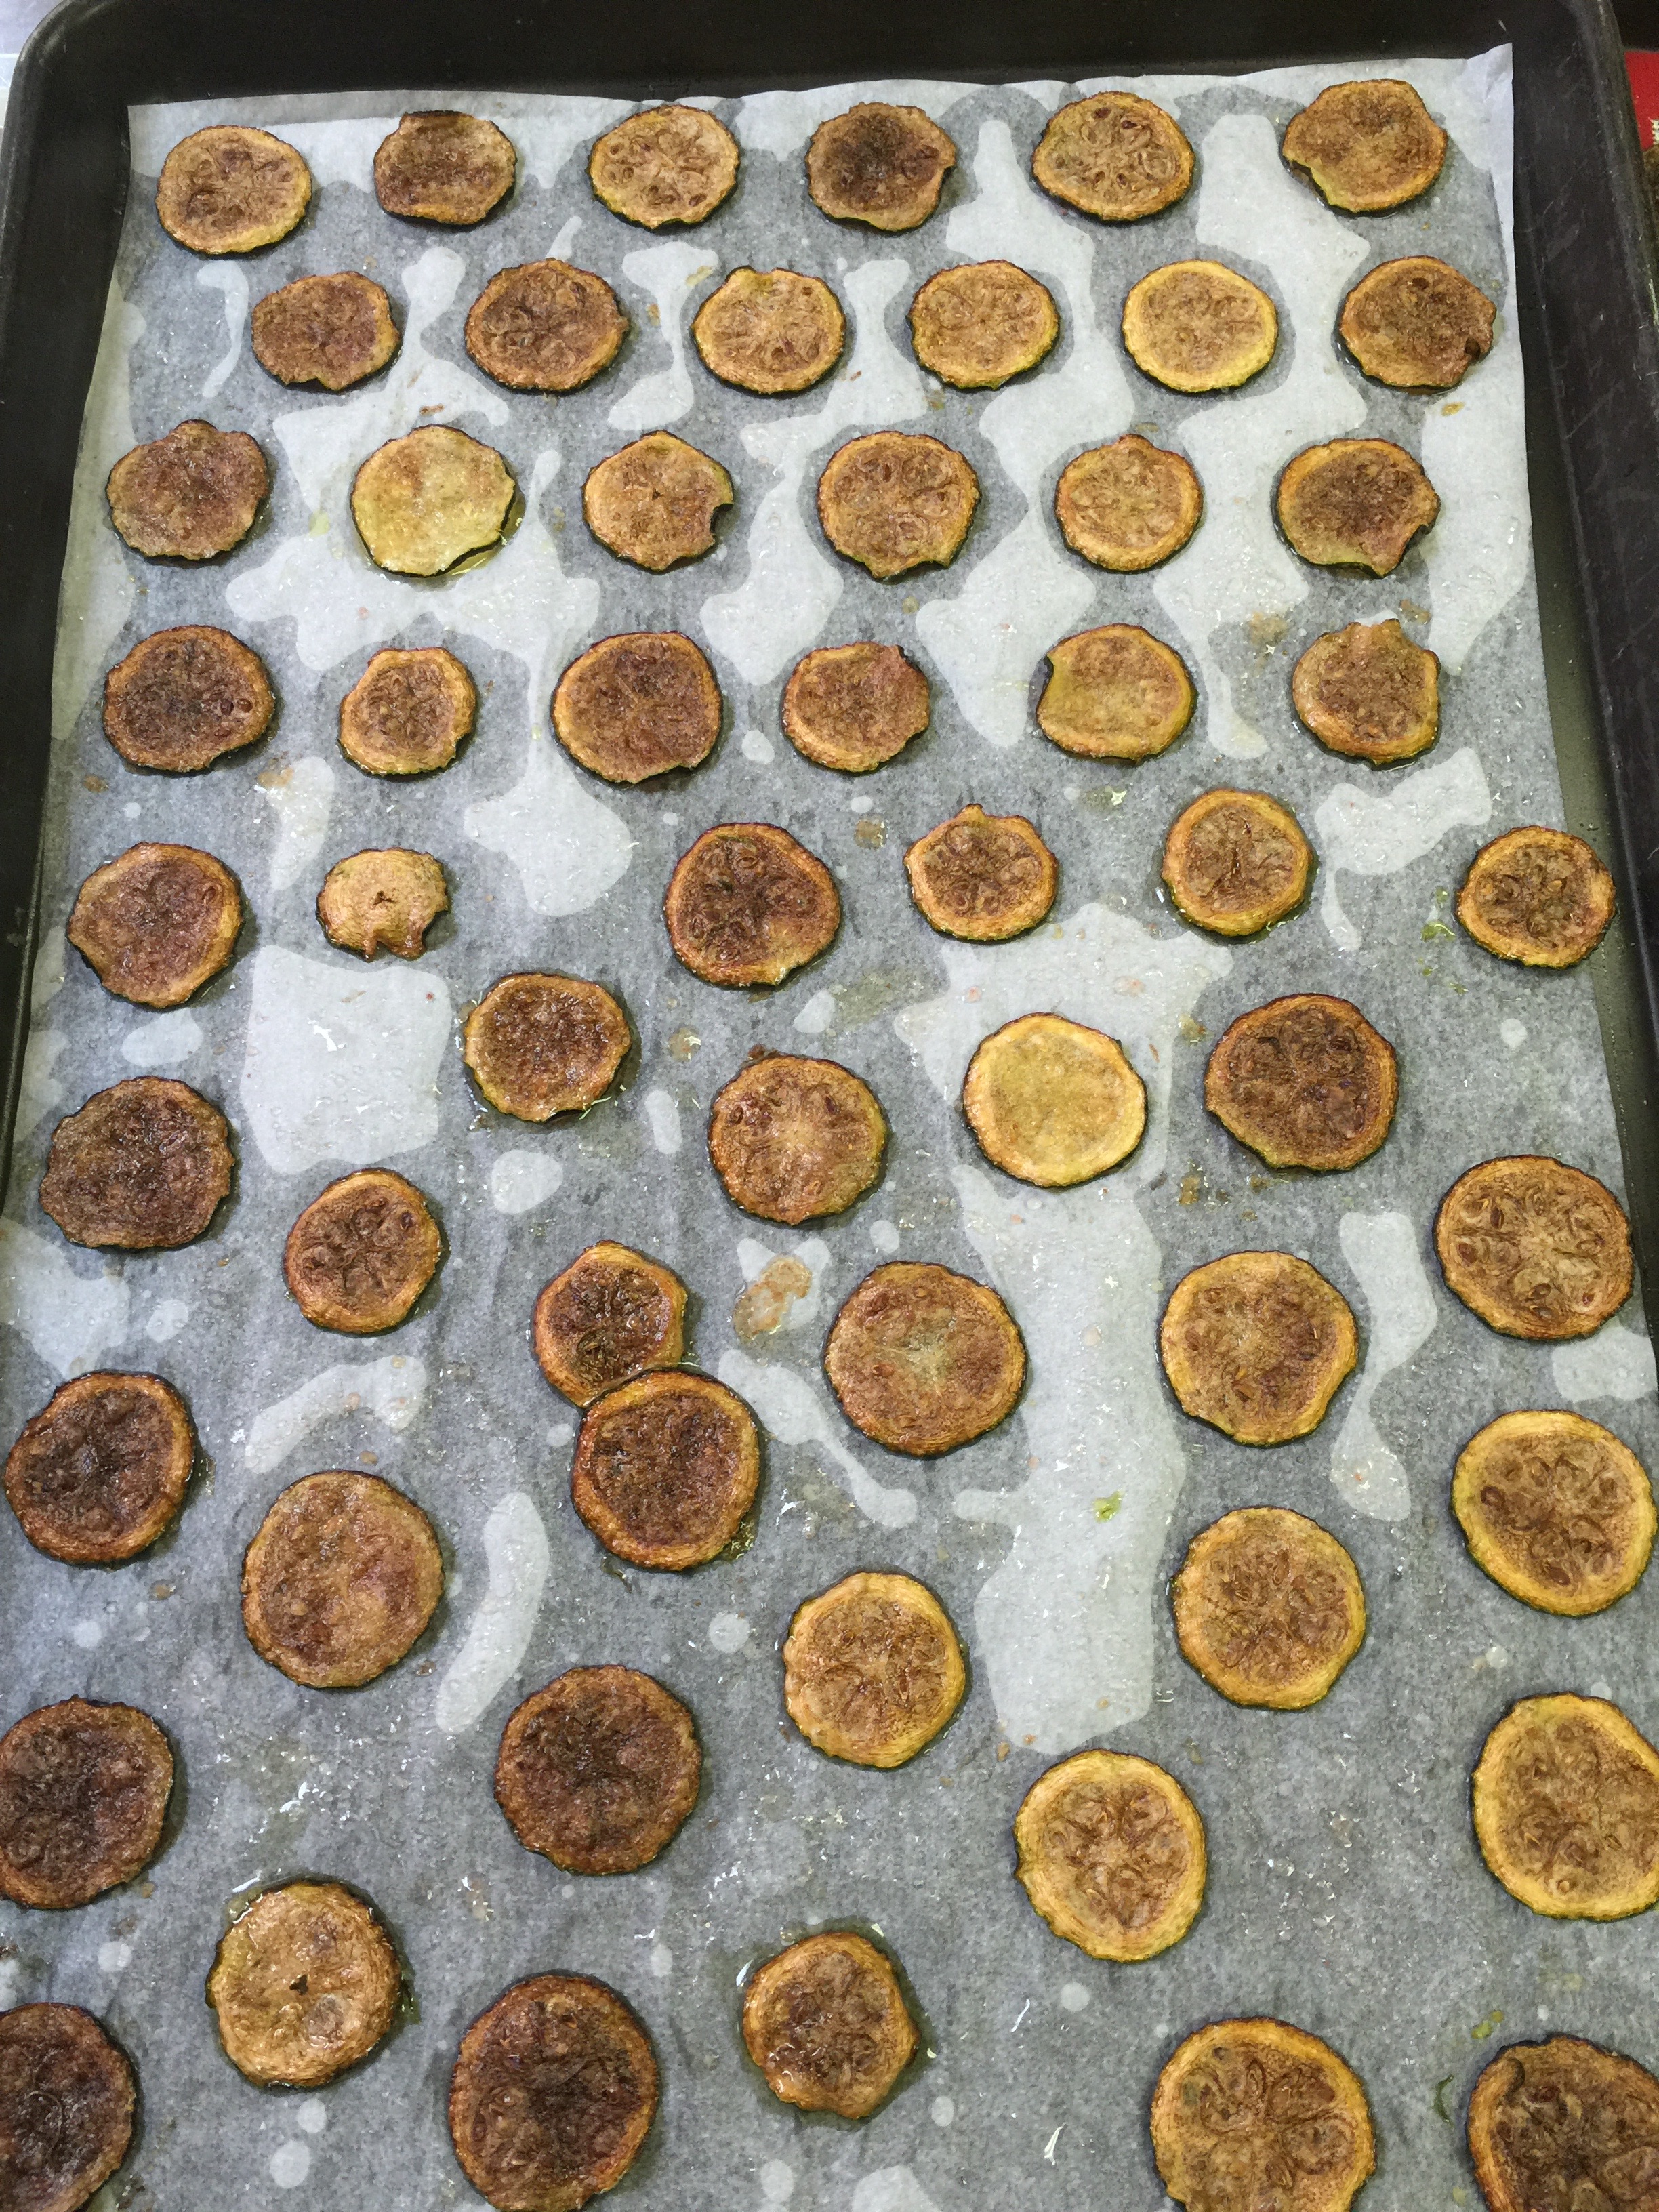
Dip each “chip” into the oil and place on your parchment. They can be close together. Variation: You can lay all your zucchini out and then brush them with the oil. You just have to flip them half way through baking.
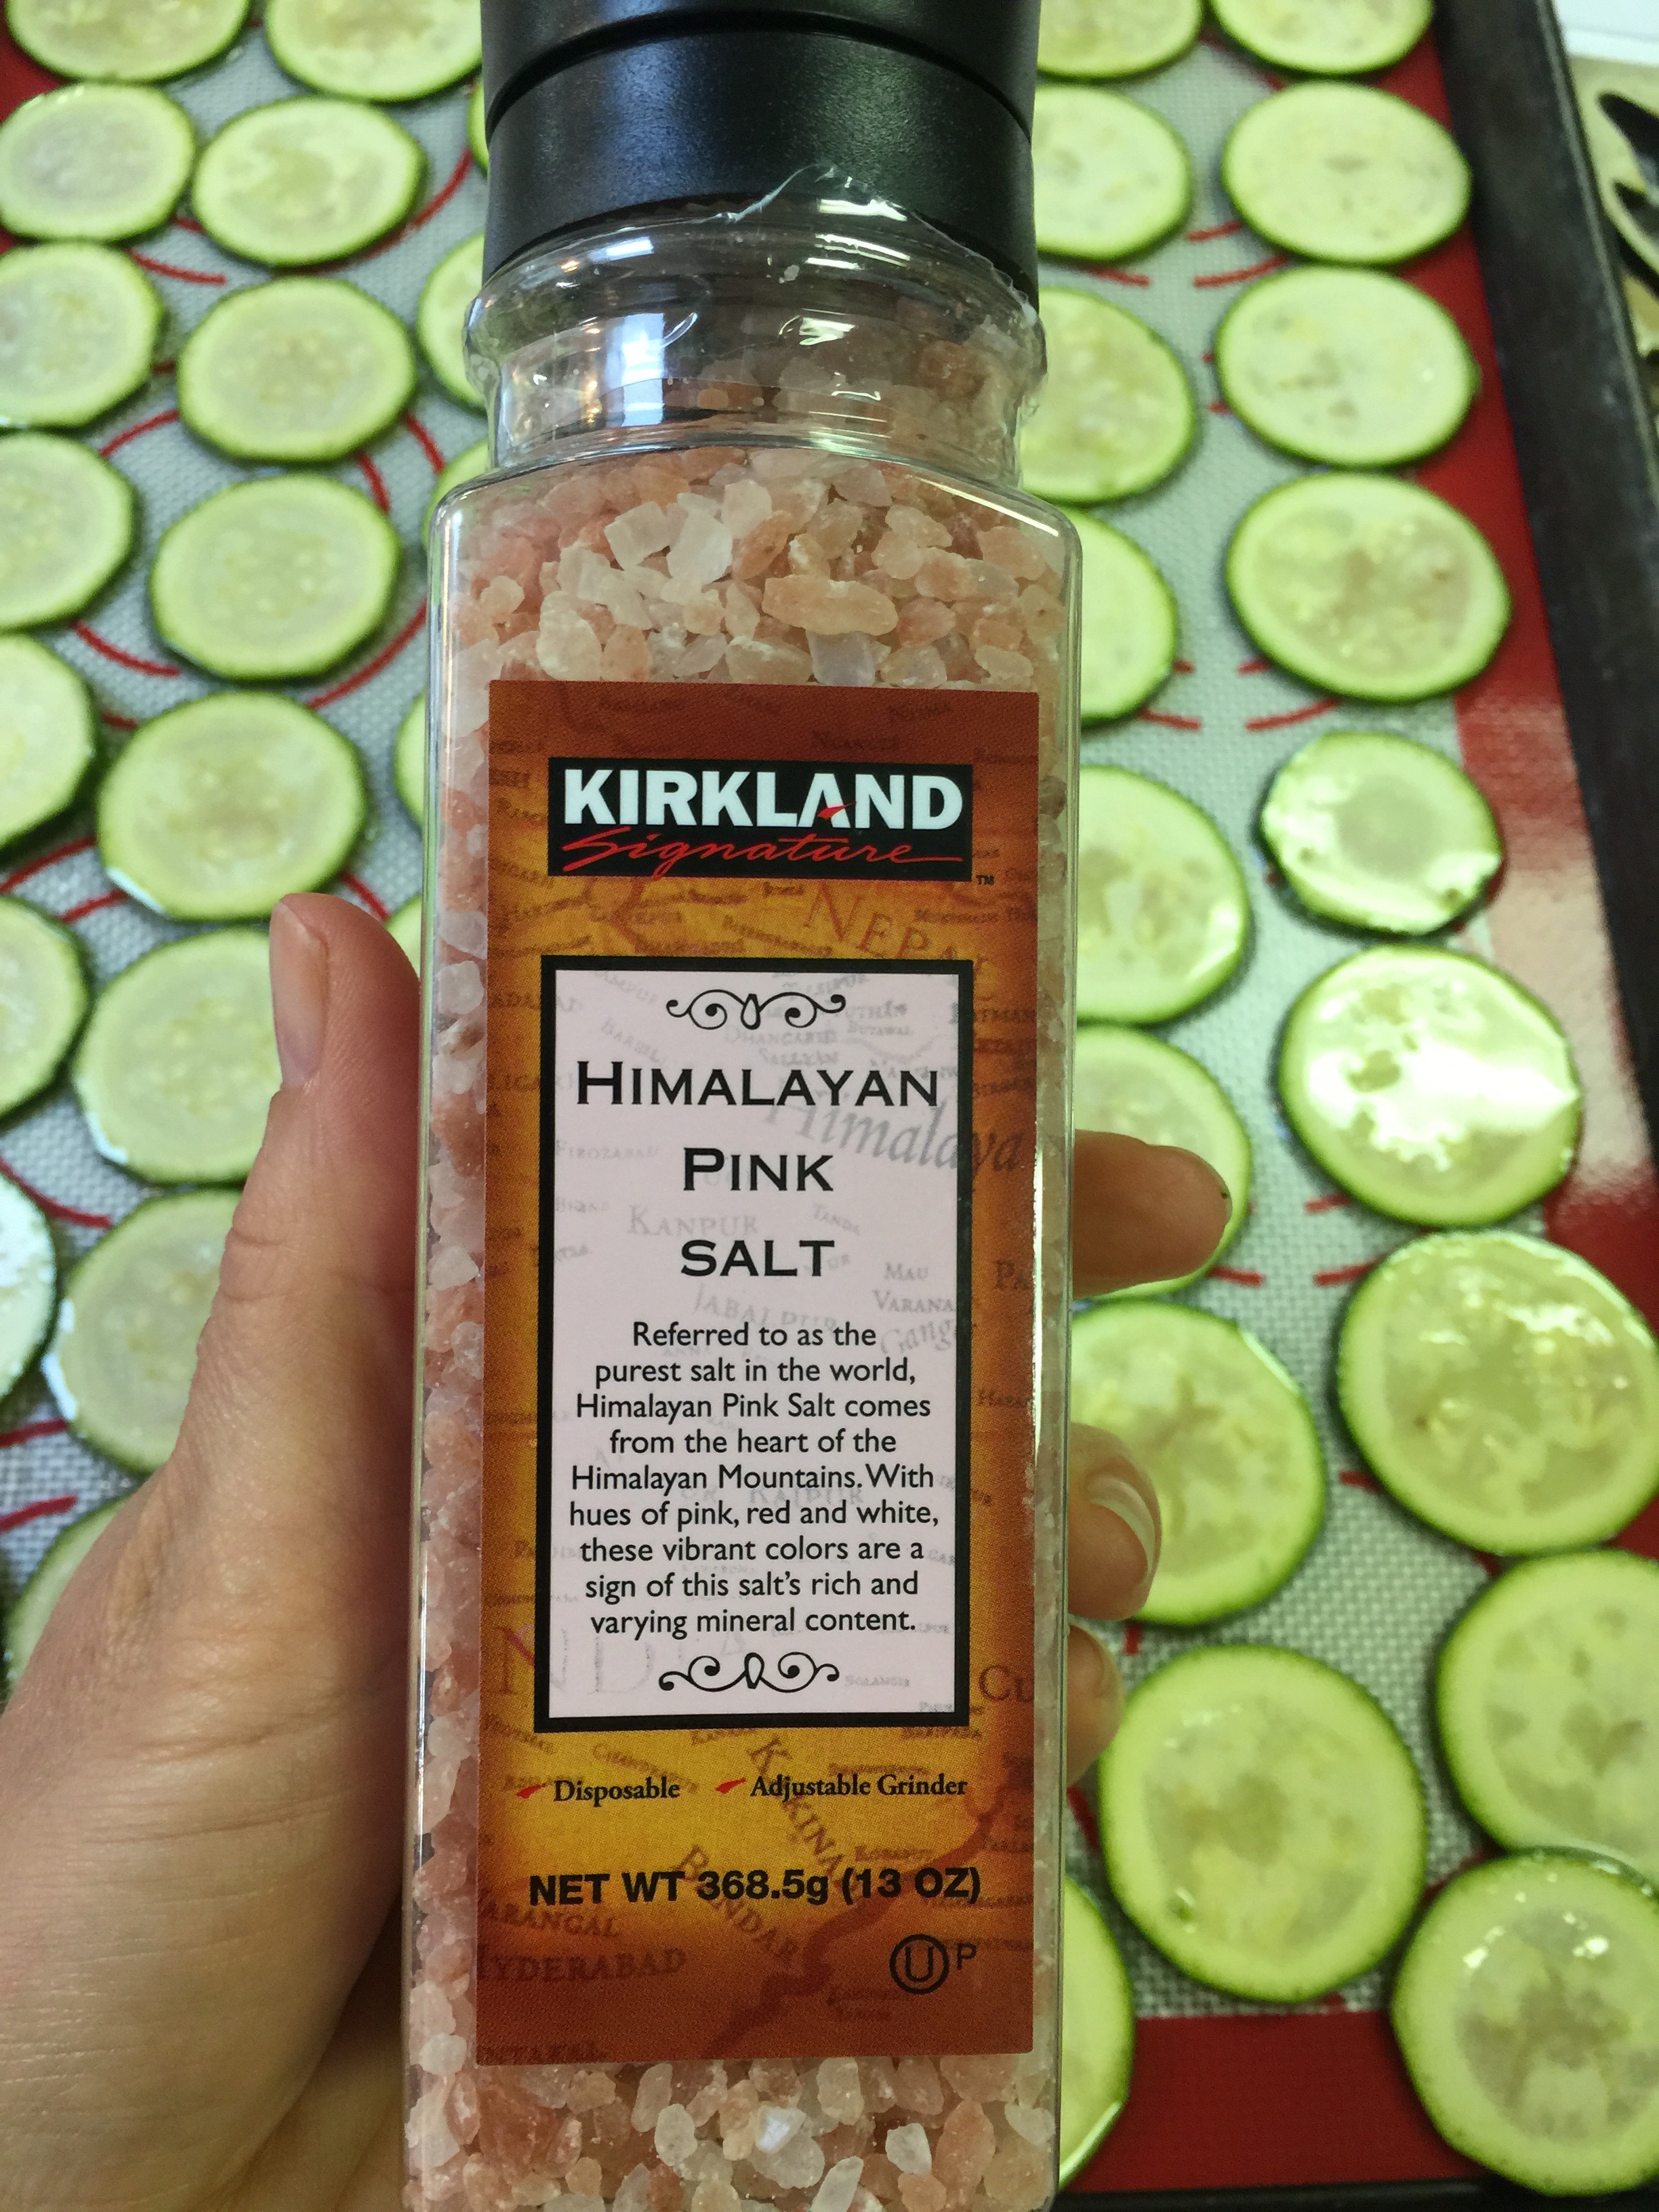
Once you have dipped or placed all your zucchini on your parchment, sprinkle a very scant amount of salt on top. This was a huge mistake of mine. I used a normal amount of salt, but they shrank so much, they were literally coated in salt. A little goes a long way on these!
Place in a 200 degree oven for 2 hours. Yes, two hours. This will dehydrate and crisp them. I flipped my cookie sheet around about half way through so they cook evenly.
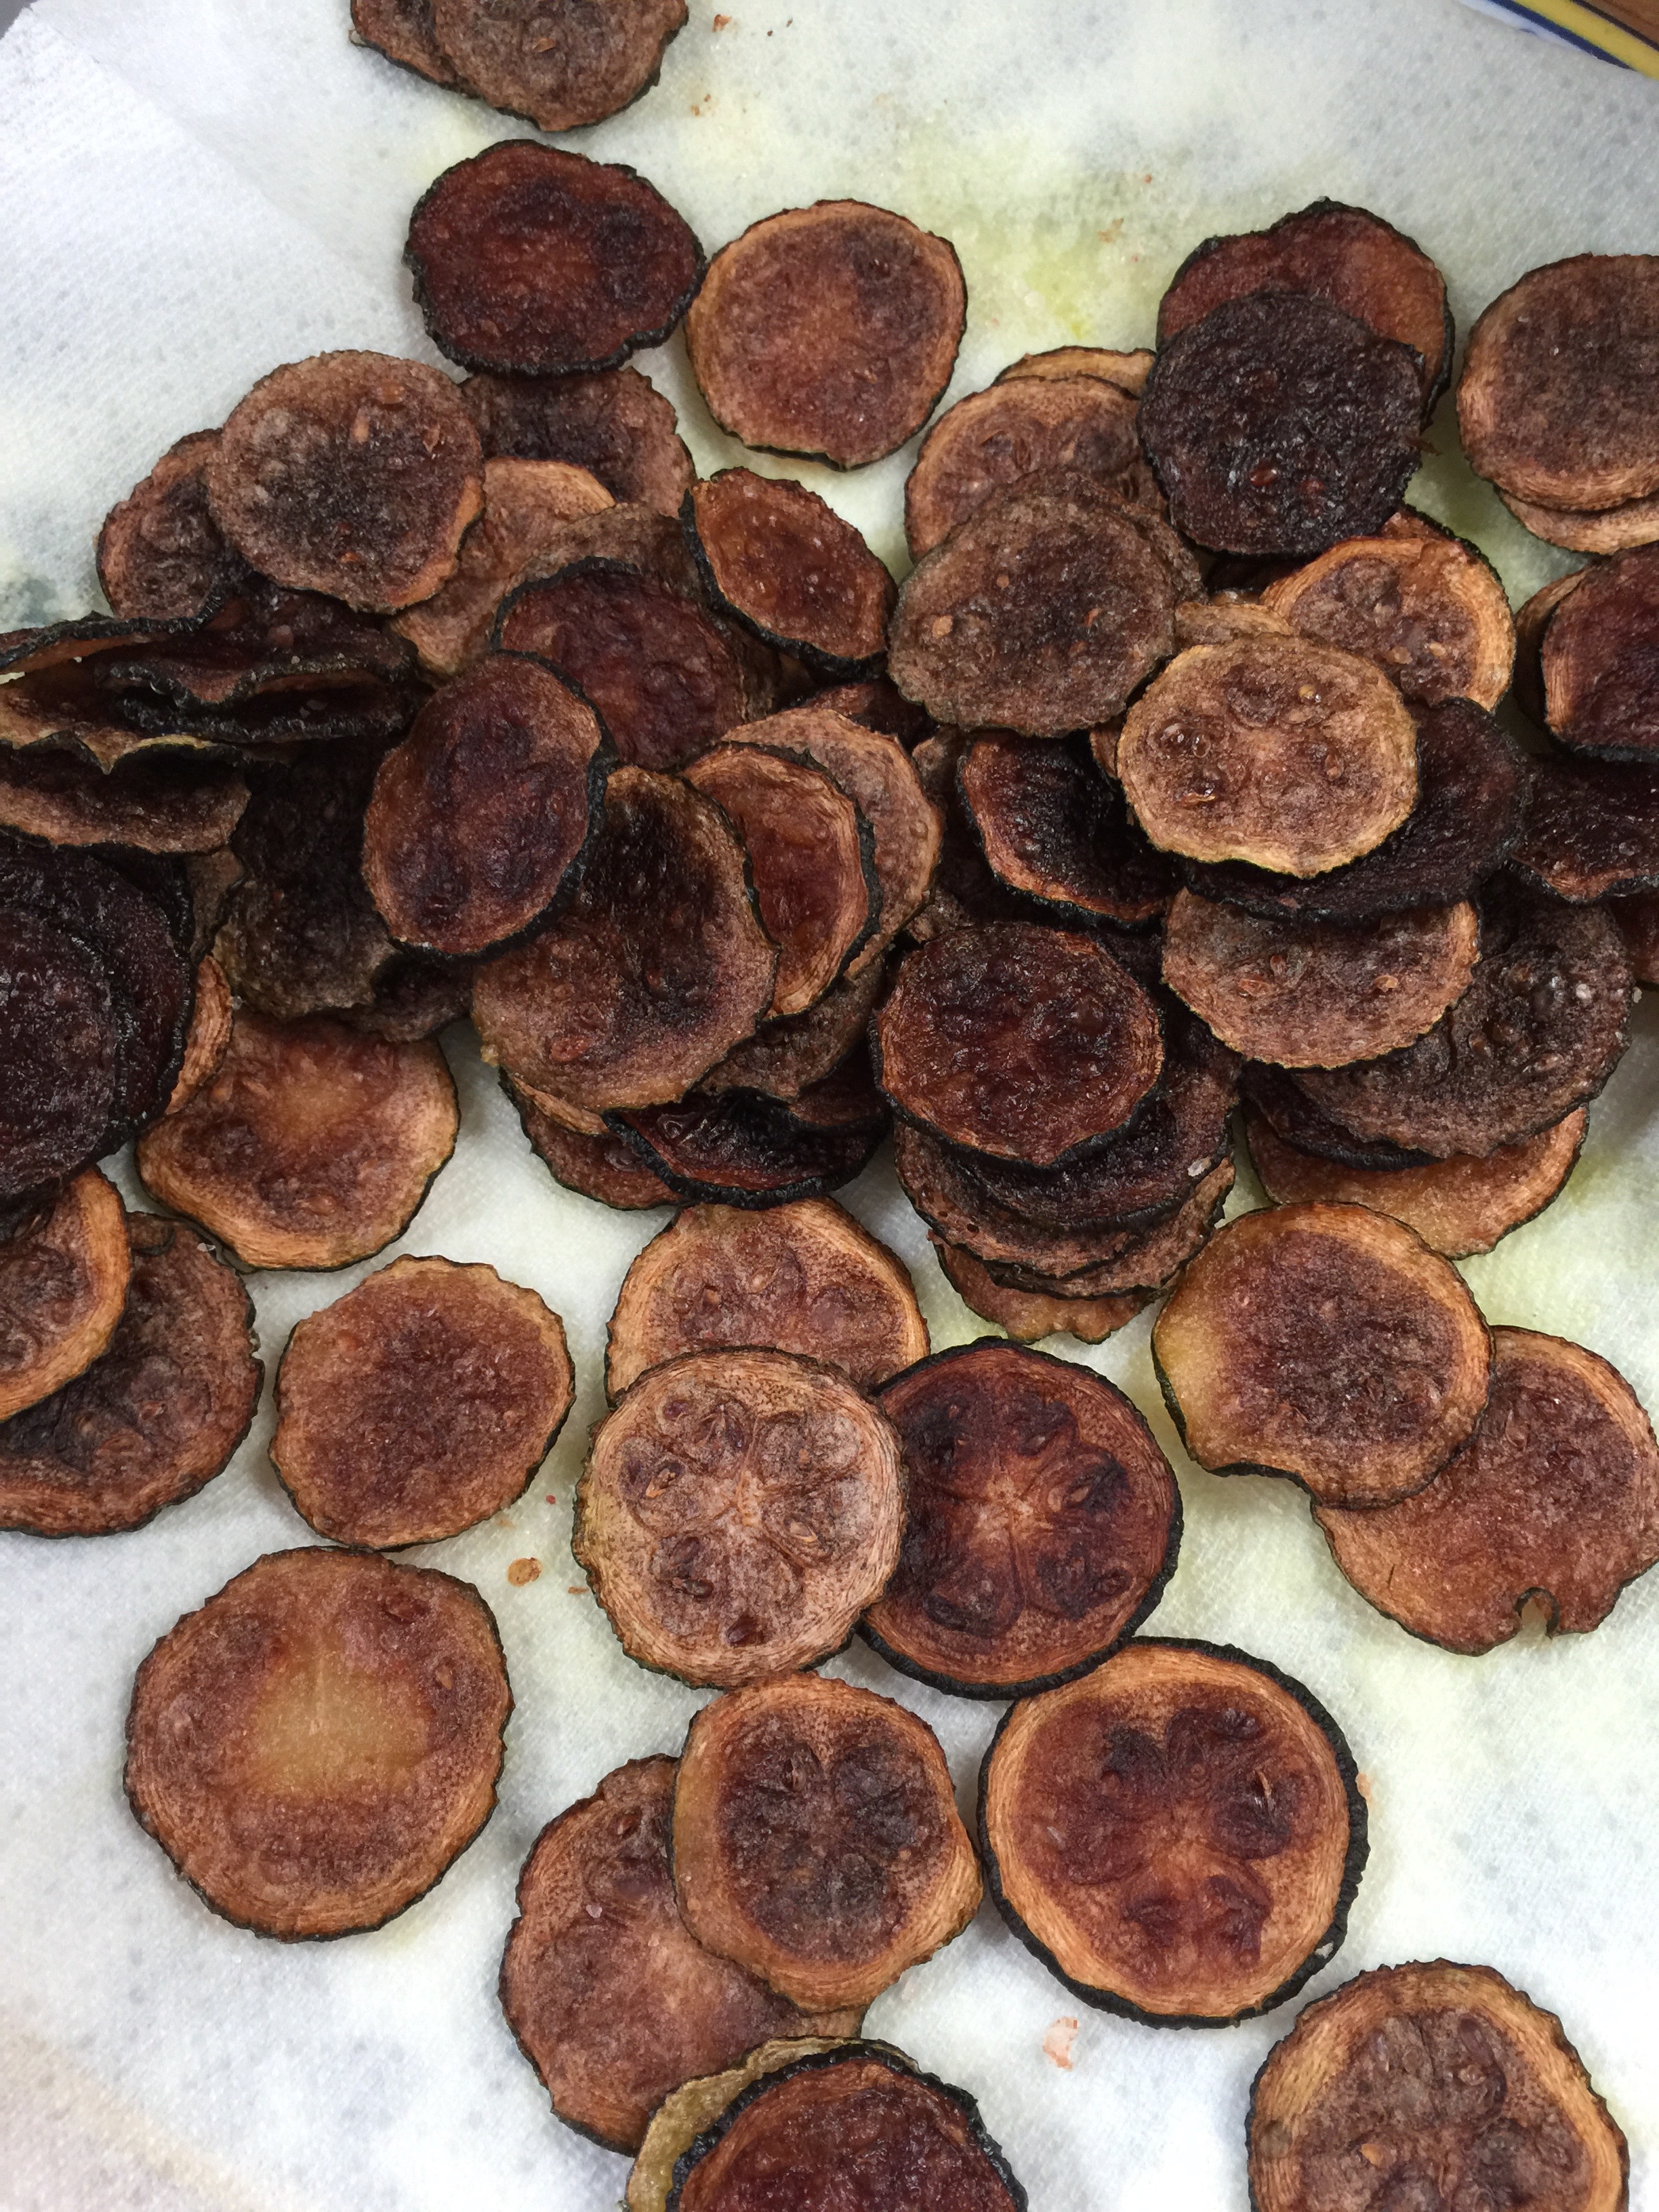
This is how much they will shrink, and why I recommend slicing the opposite direction for dipping chips:
Place on a paper towel to absorb the remaining oil. Once dry, seal them in a ziplock bag or they will get soggy.
Method 2:
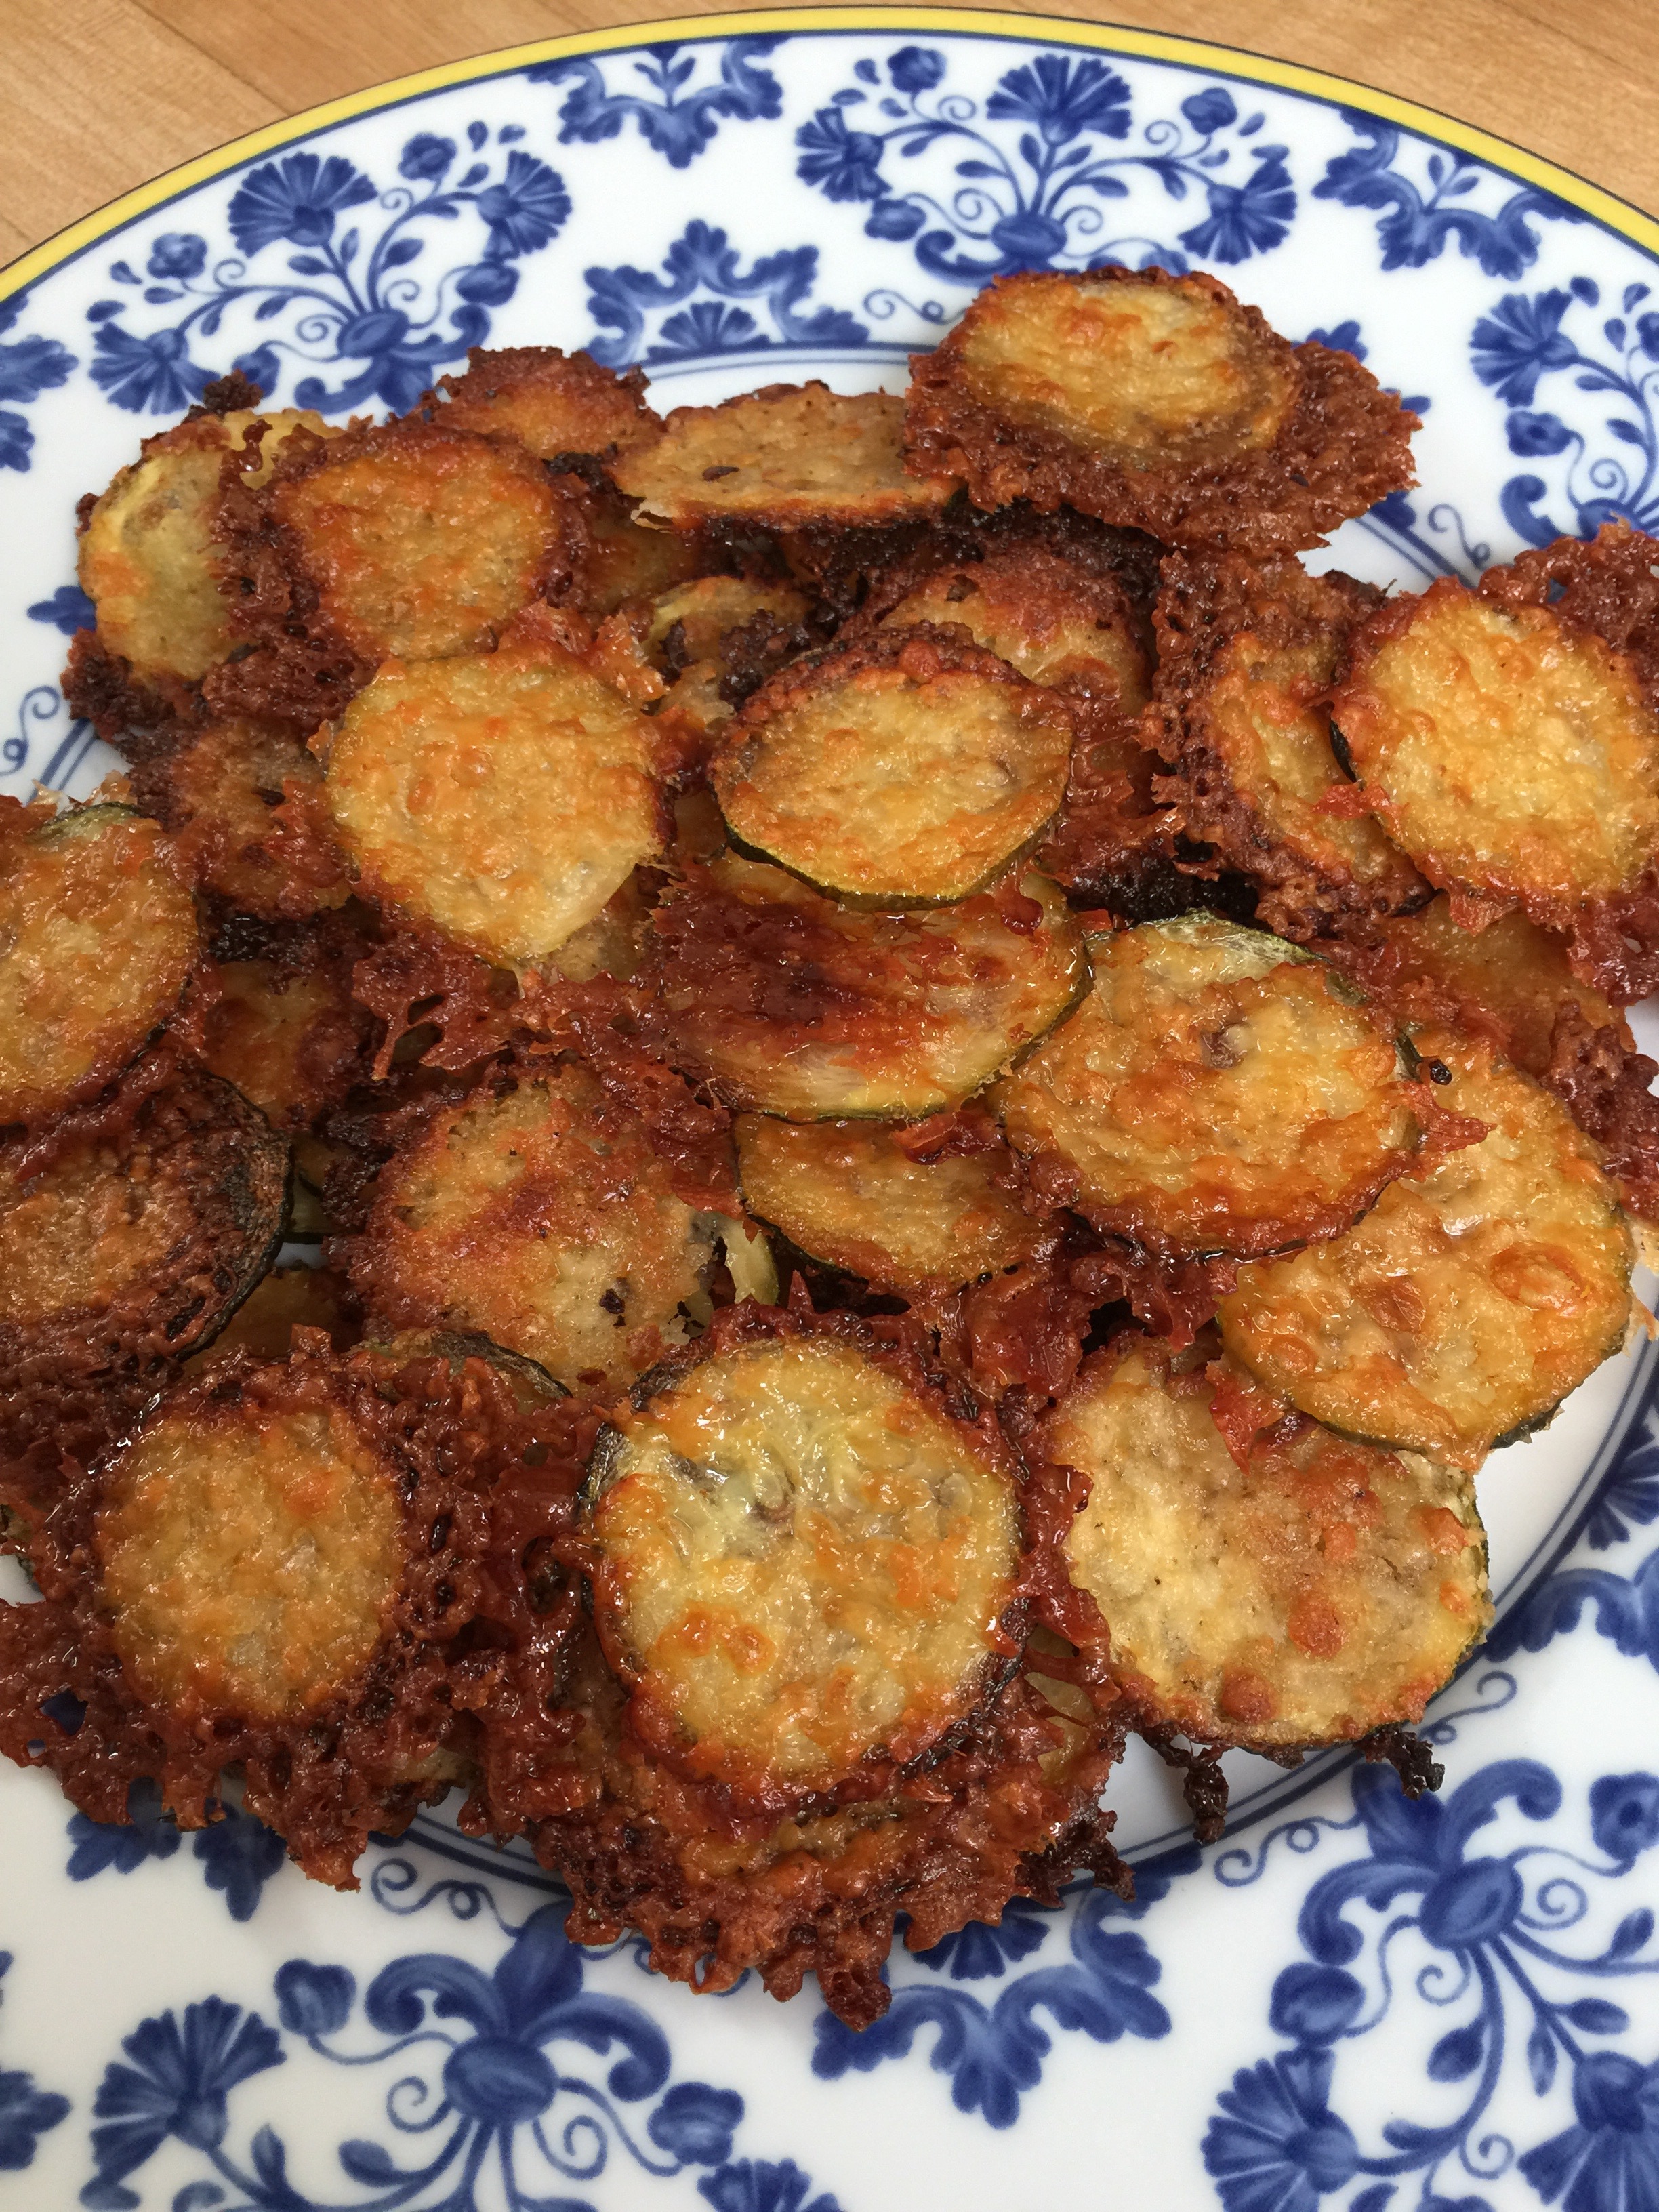
Cheesy Chips
These were described as tasting just like a “Cheez It”. In other words, a great snack for the kids looking for that healthy crunch without any grain!!!
These are similar to above, except for the cheese. Follow the same directions until you finish with your oil.
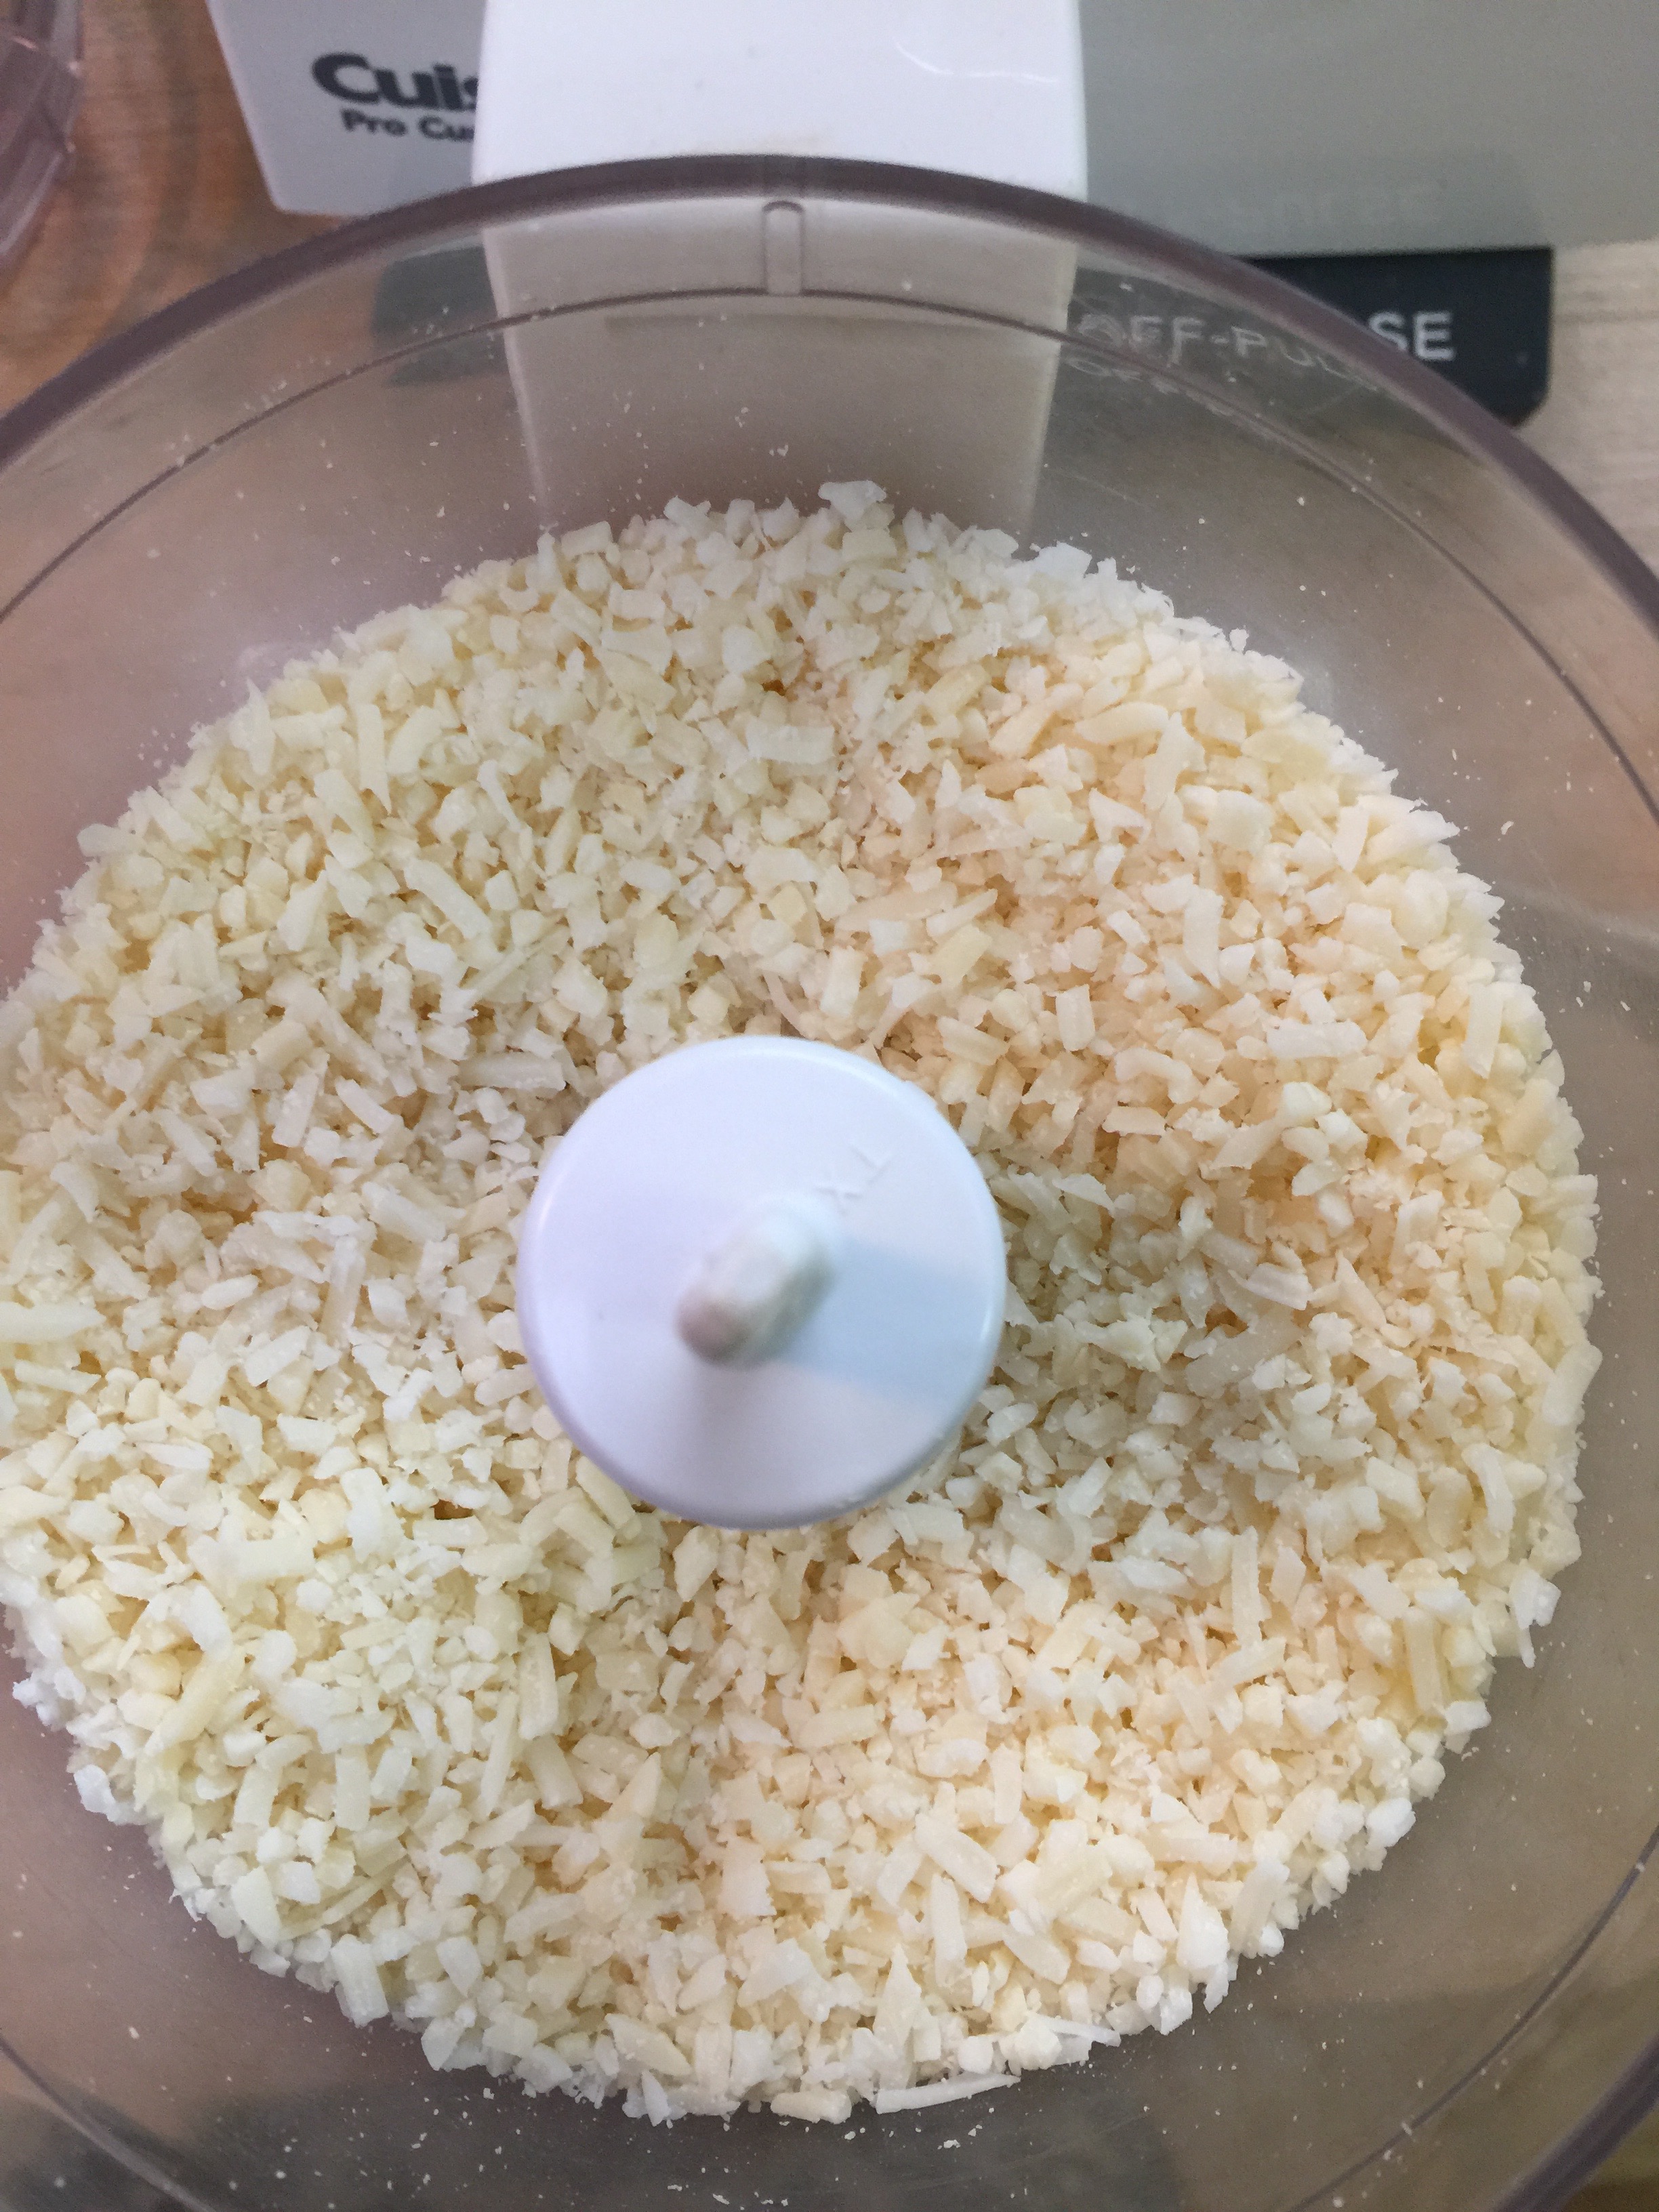
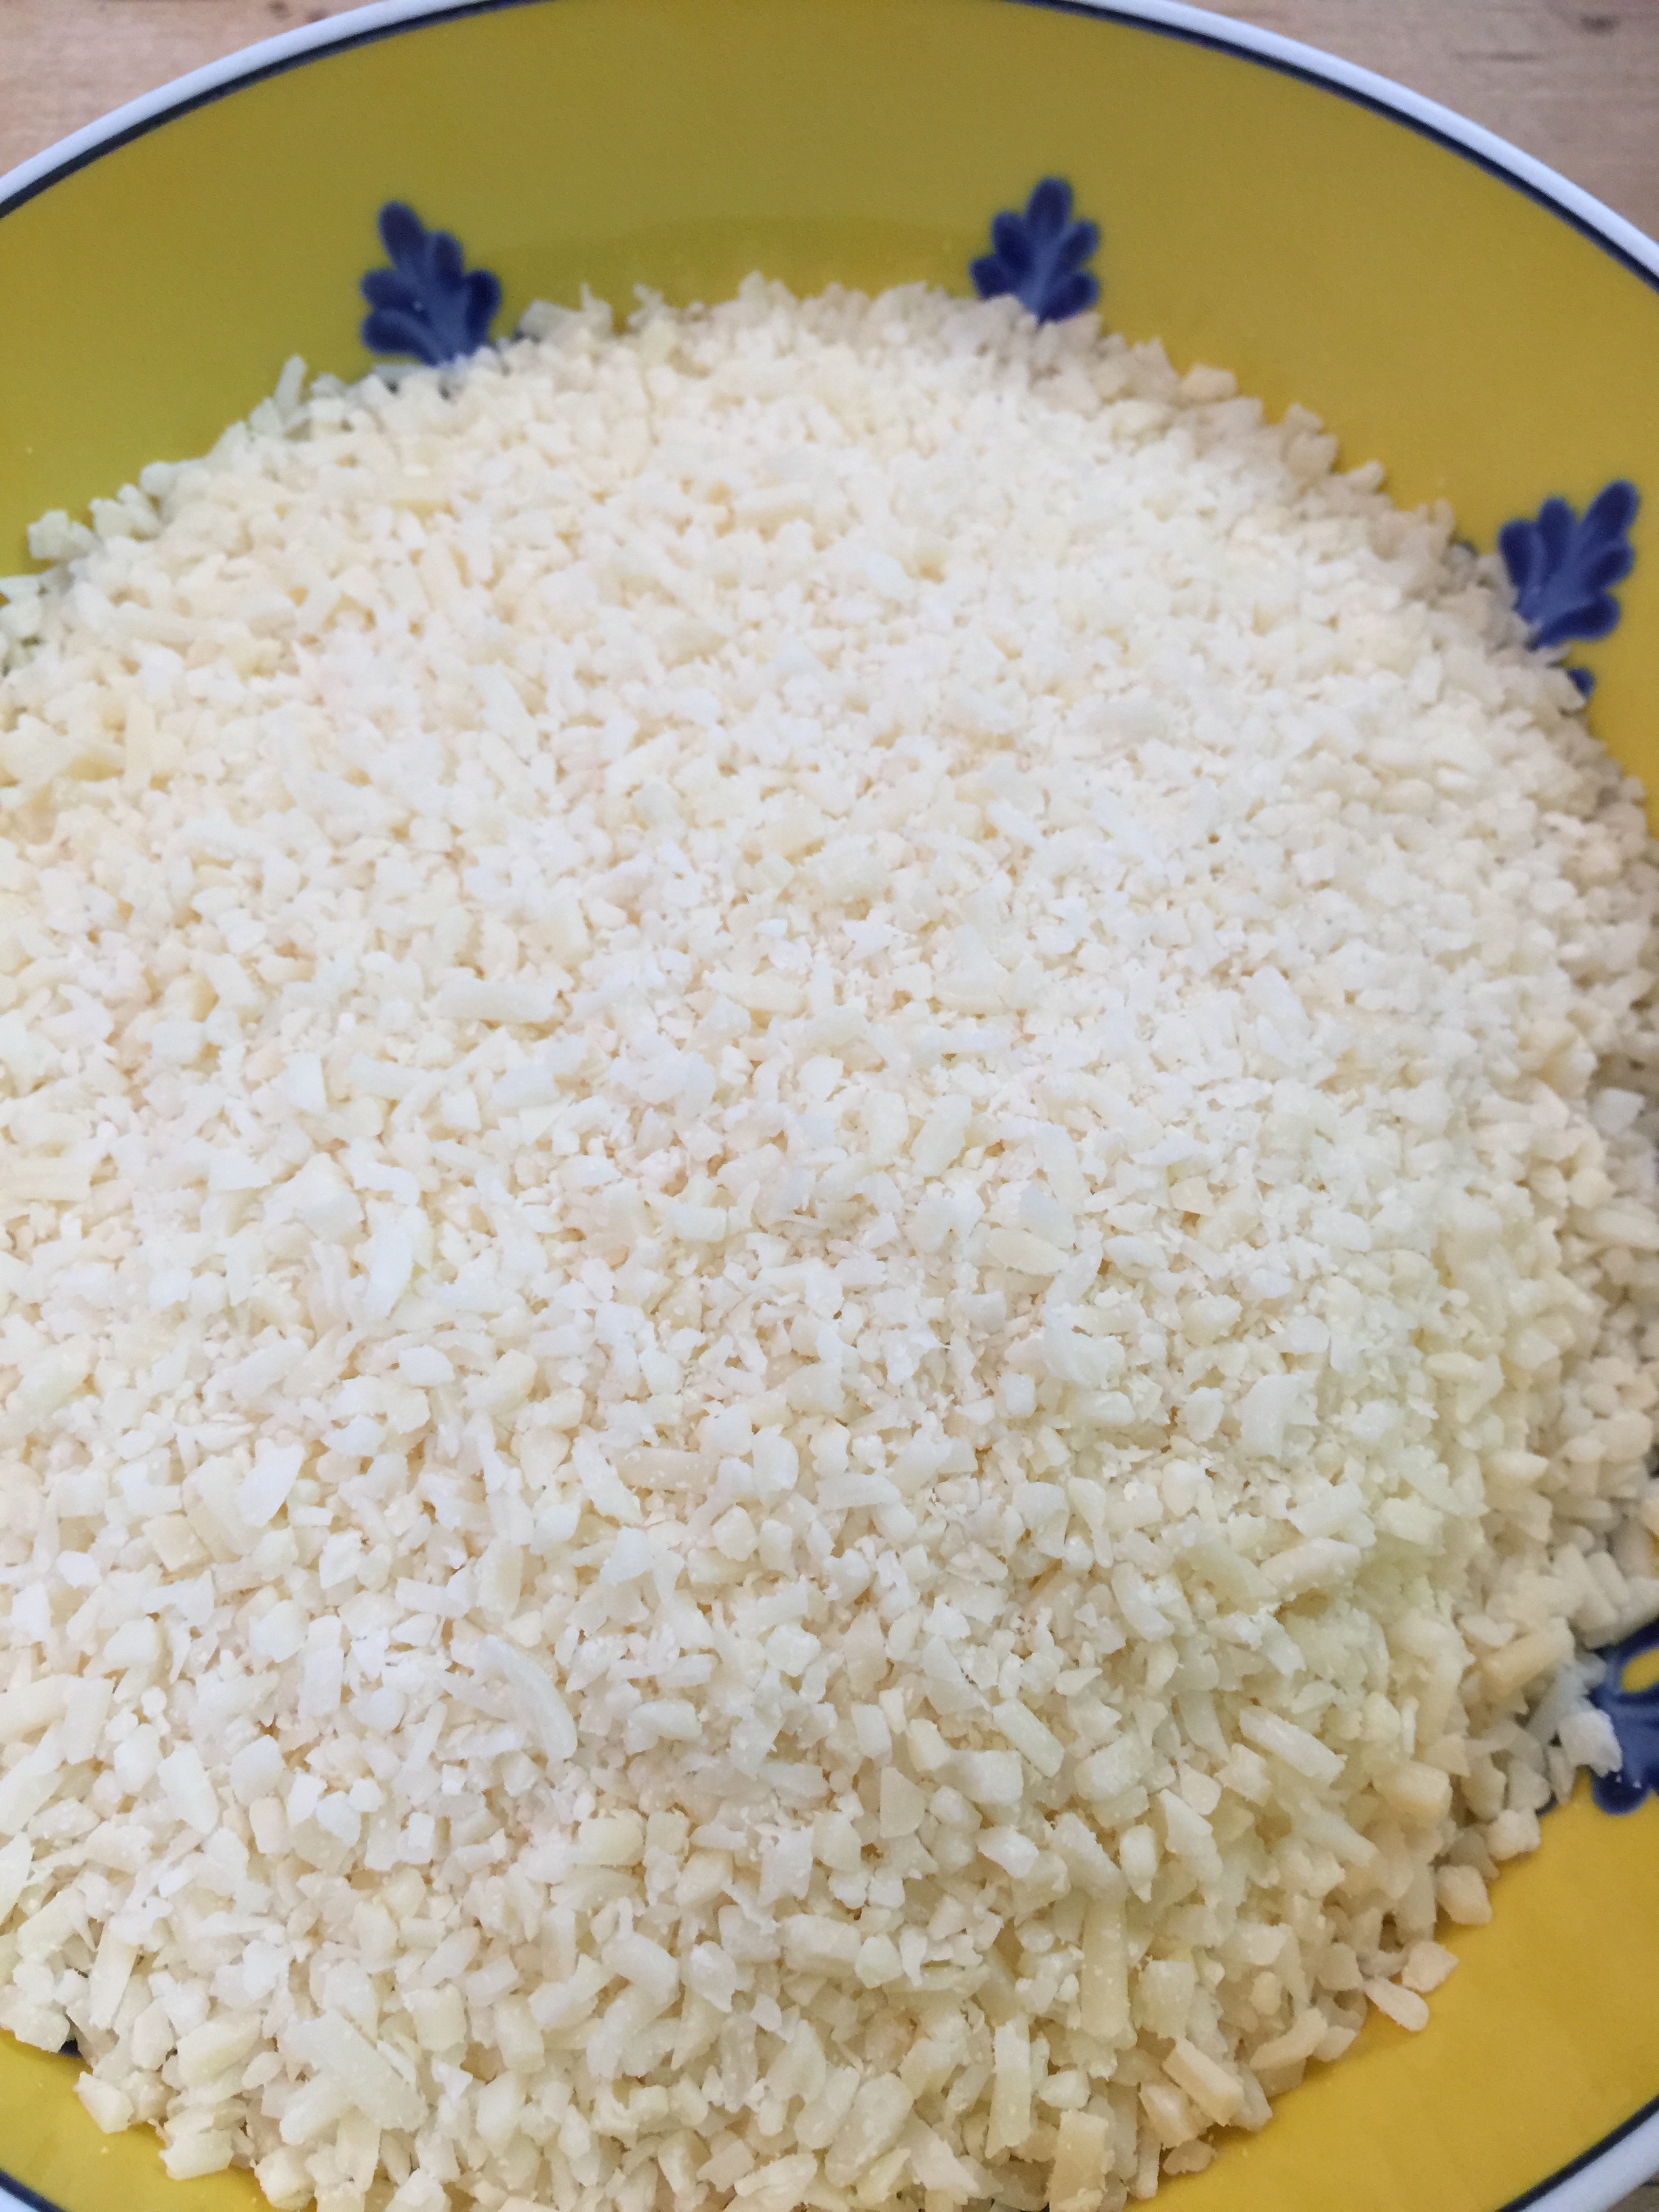
Grind your parmesan cheese in your Mini-Prep Cuisinart (unless you have already dirtied your big one.) The parmesan adheres to the squash much easier when it is a bit finer, but still melts well, unlike the super fine ground you buy off the shelf.
Pour your finely grated cheese into a bowl.
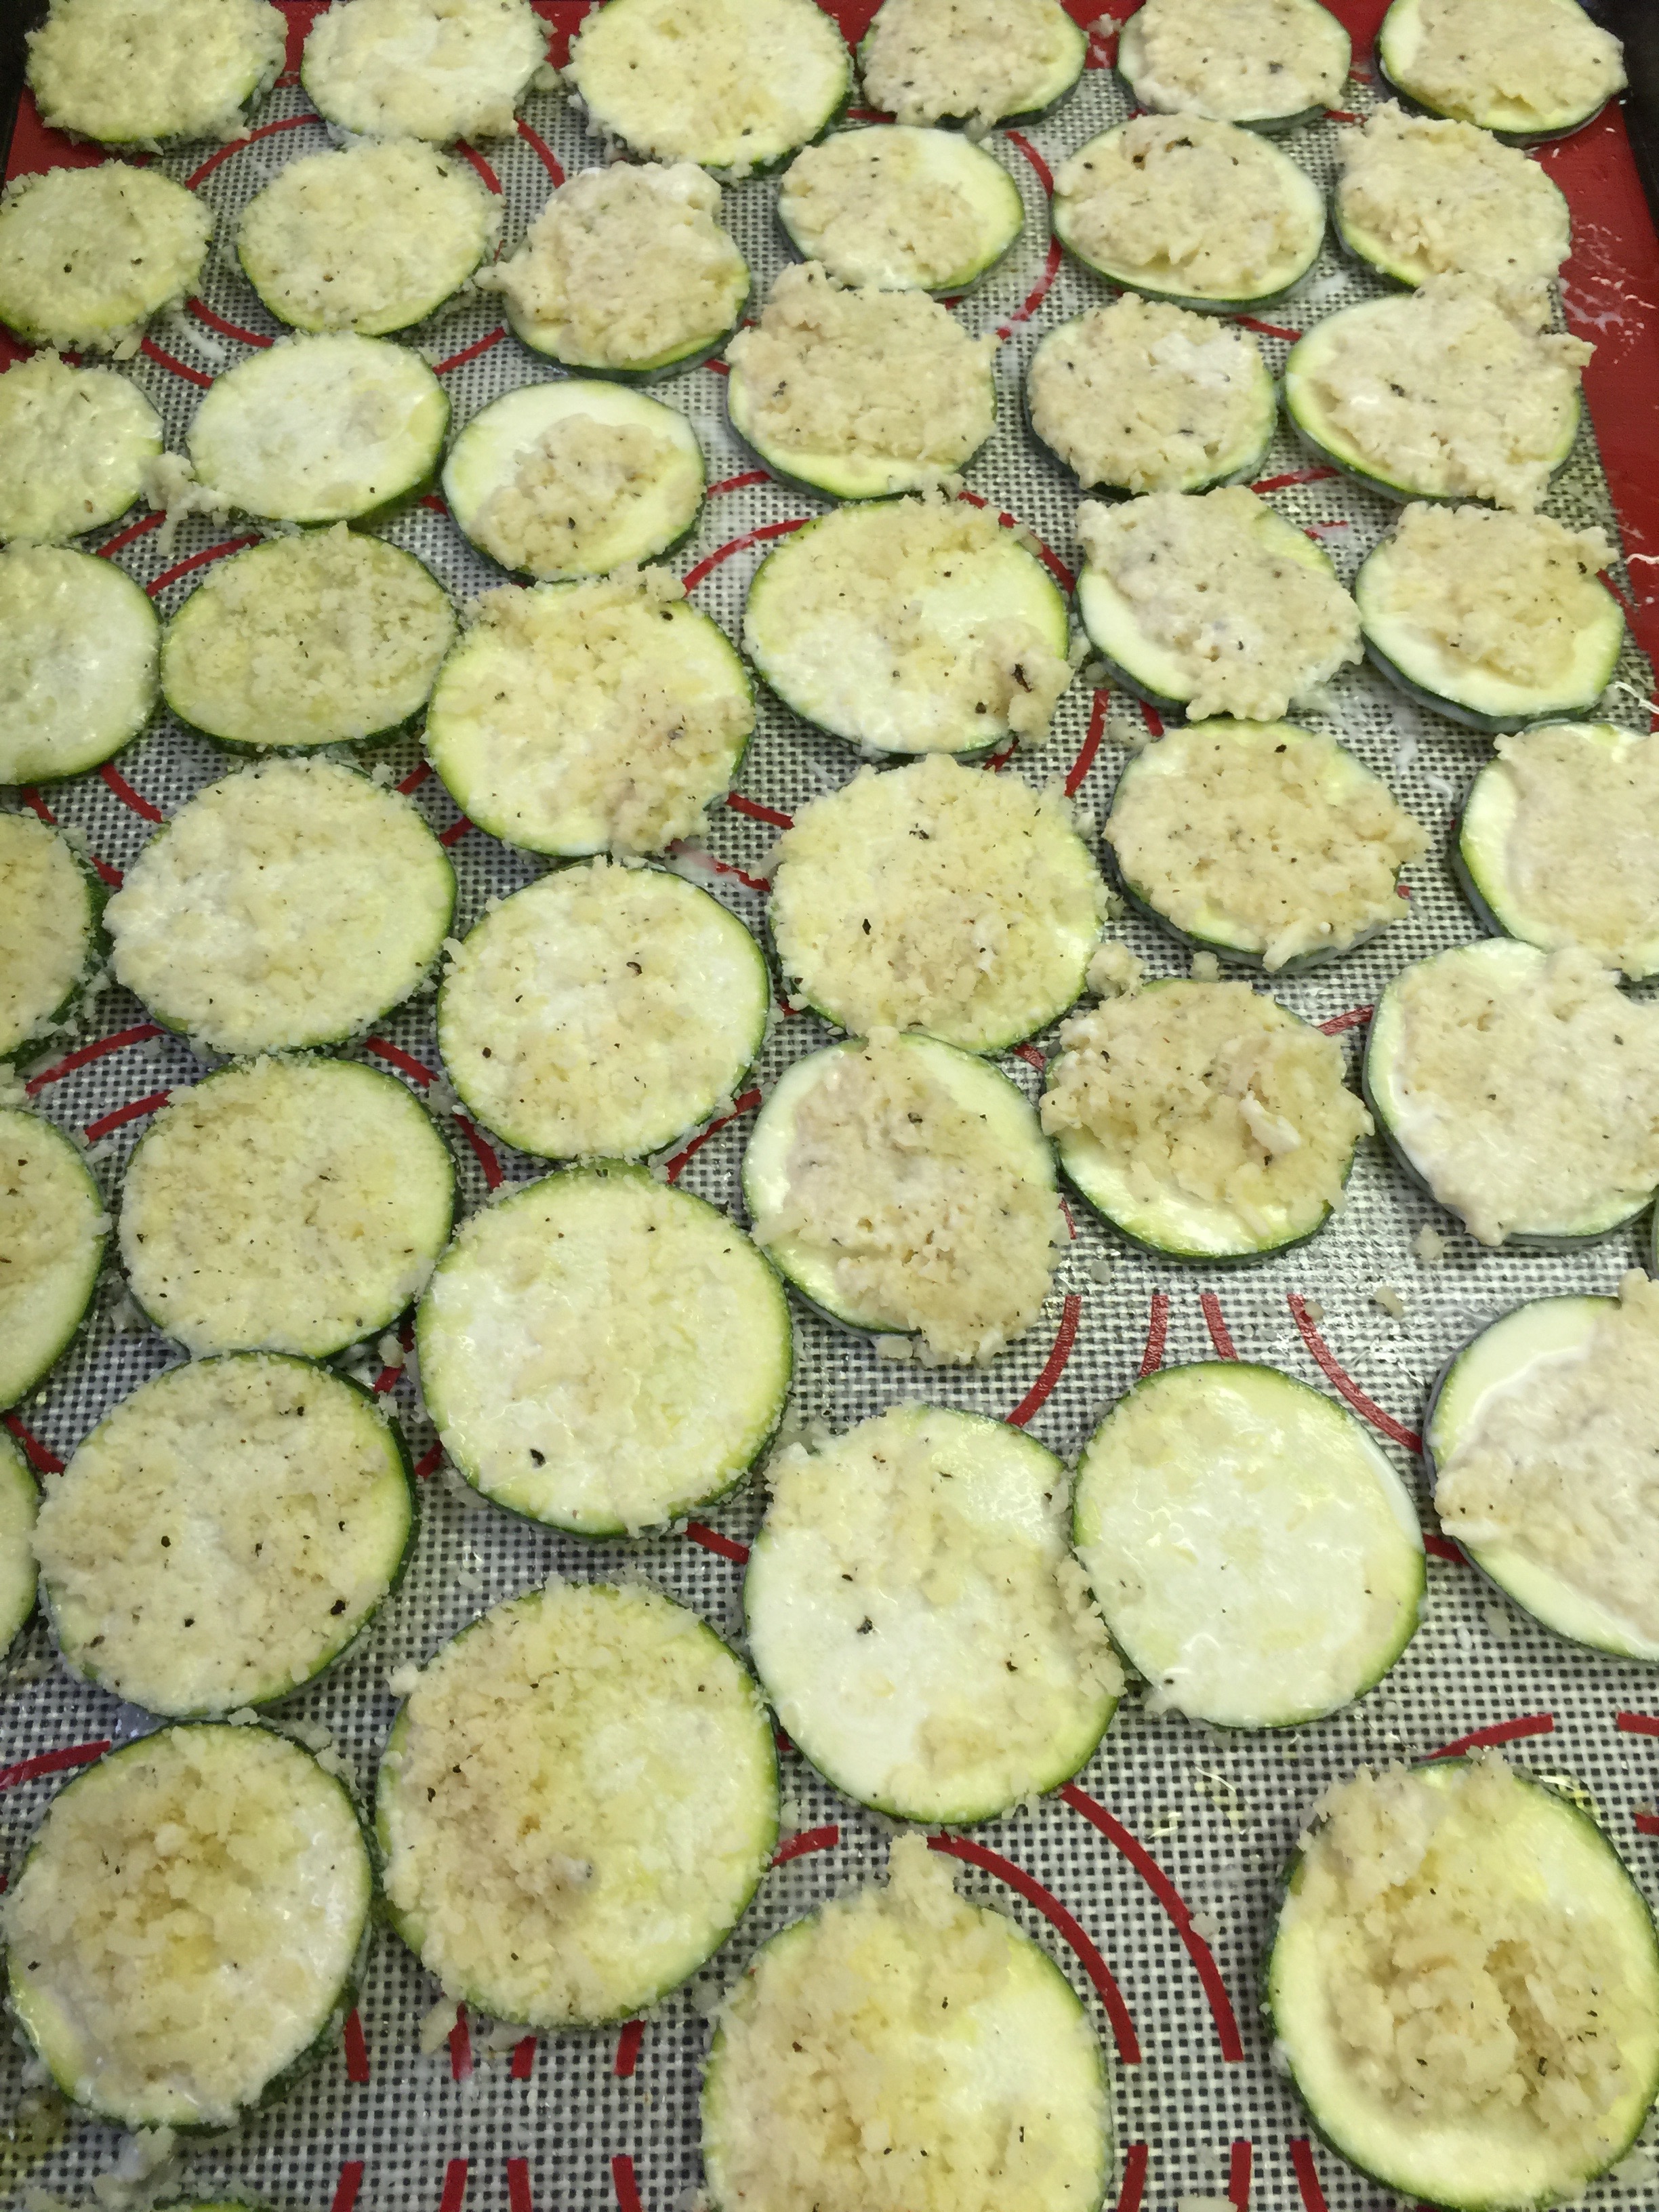
Take your squash one by one and dip into the oil first, and then into the cheese. Place each on a lined cookie sheet.
These will not need salt because your cheese is already salty. You can add pepper if you like for taste. You can always add extra cheese to the top if you have extra left over.
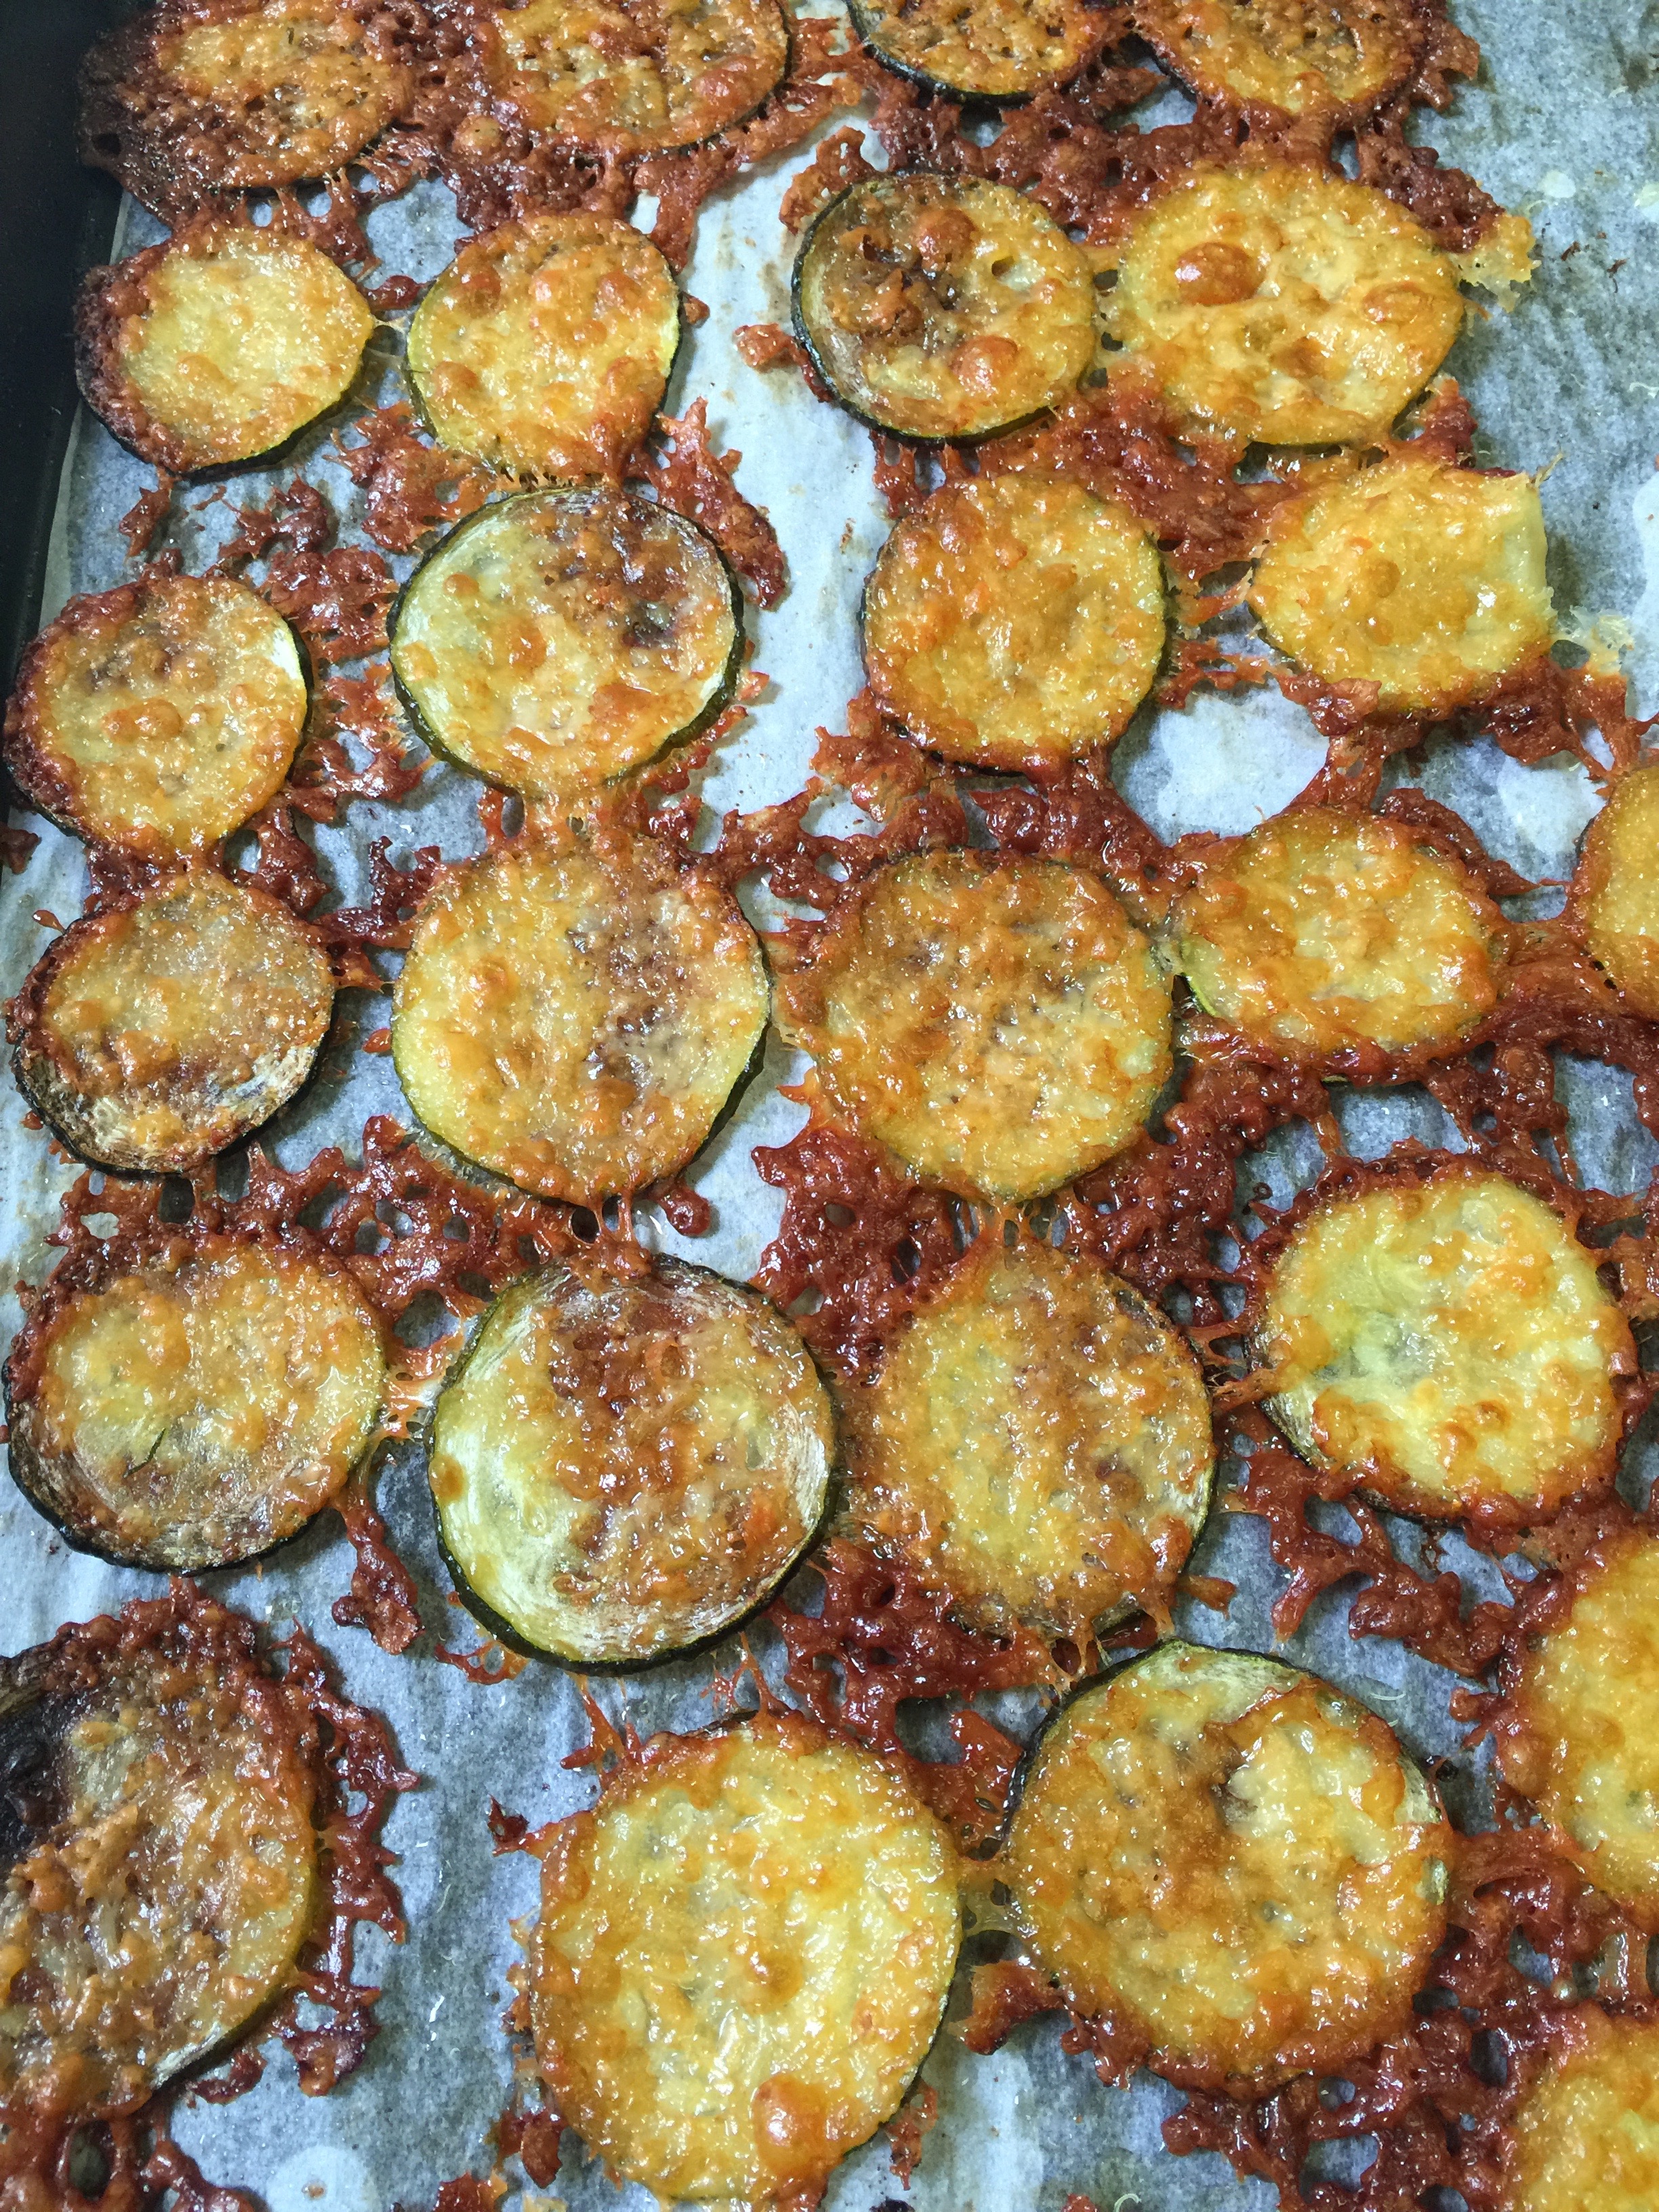
Bake at 425 degrees for 20 to 25 minutes. They should be a little darker than golden brown to ensure they are crisp. Serve immediately with your favorite dip or eat just as they are.
Store in a sealed container or Ziplock in the refrigerator.
We all need a little treat every once in a while! Even on Keto, you can make treats that will actually help with weight loss and your desire to stay in Ketosis. We all usually need to up our fat intake. Some recipes are easy, and some require effort. Today’s post is super simple, and was my go-to when I first started on the Ketogenic diet and just needed that little “something”. It is loaded with saturated animal fat (this is good), smooth, creamy, and has just the right amount of sweetness to end a busy day. And…it is so filling – you just need a tad, and you won’t have the urge to eat another thing! The kids beg for it after dinner, and I usually oblige, sometimes selfishly, so I can have a bite too.
The Keto part of this is simple…Heavy Whipping Cream! I will say that this is where a KitchenAid Stand mixer comes in very handy. Check out the one I have here. It is a nice gift to yourself if you don’t already have one, and makes life faster and easier in the kitchen. I usually get my cream going while I am washing dinner dishes, and we have a fresh dessert in no time.
On a Ketogenic diet, we recommend staying away from many fruits. This is due to the natural fructose in fruit that makes a b-line for your liver. It is especially bad for Cancer patients and those with insulin resistance…Read more in this great article! However, there are some fruits that are better than others. My favorite fruits have always been berries! Thank goodness, because they also contain lower amounts of fructose which can spike your blood sugar. I know there is a lot of controversy on this subject, but I have seen it first hand with blood glucose monitoring, so I am on the no/low fruit bandwagon for myself. I do allow my children to have organic berries, and on occasion, I do too in small quantities. The trick for doing this is to make sure you eat your berries with plenty of fat to counteract the fructose in the fruit. Hence, the whipping cream.
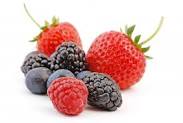
What is better in whipped cream than berries. Yum! Now, don’t go crazy! You just need a small handful to do the job. Summer and berries have always gone hand in hand, so this is the perfect season to make yourself a Keto friendly dessert!
It is probably the easiest thing I have posted…
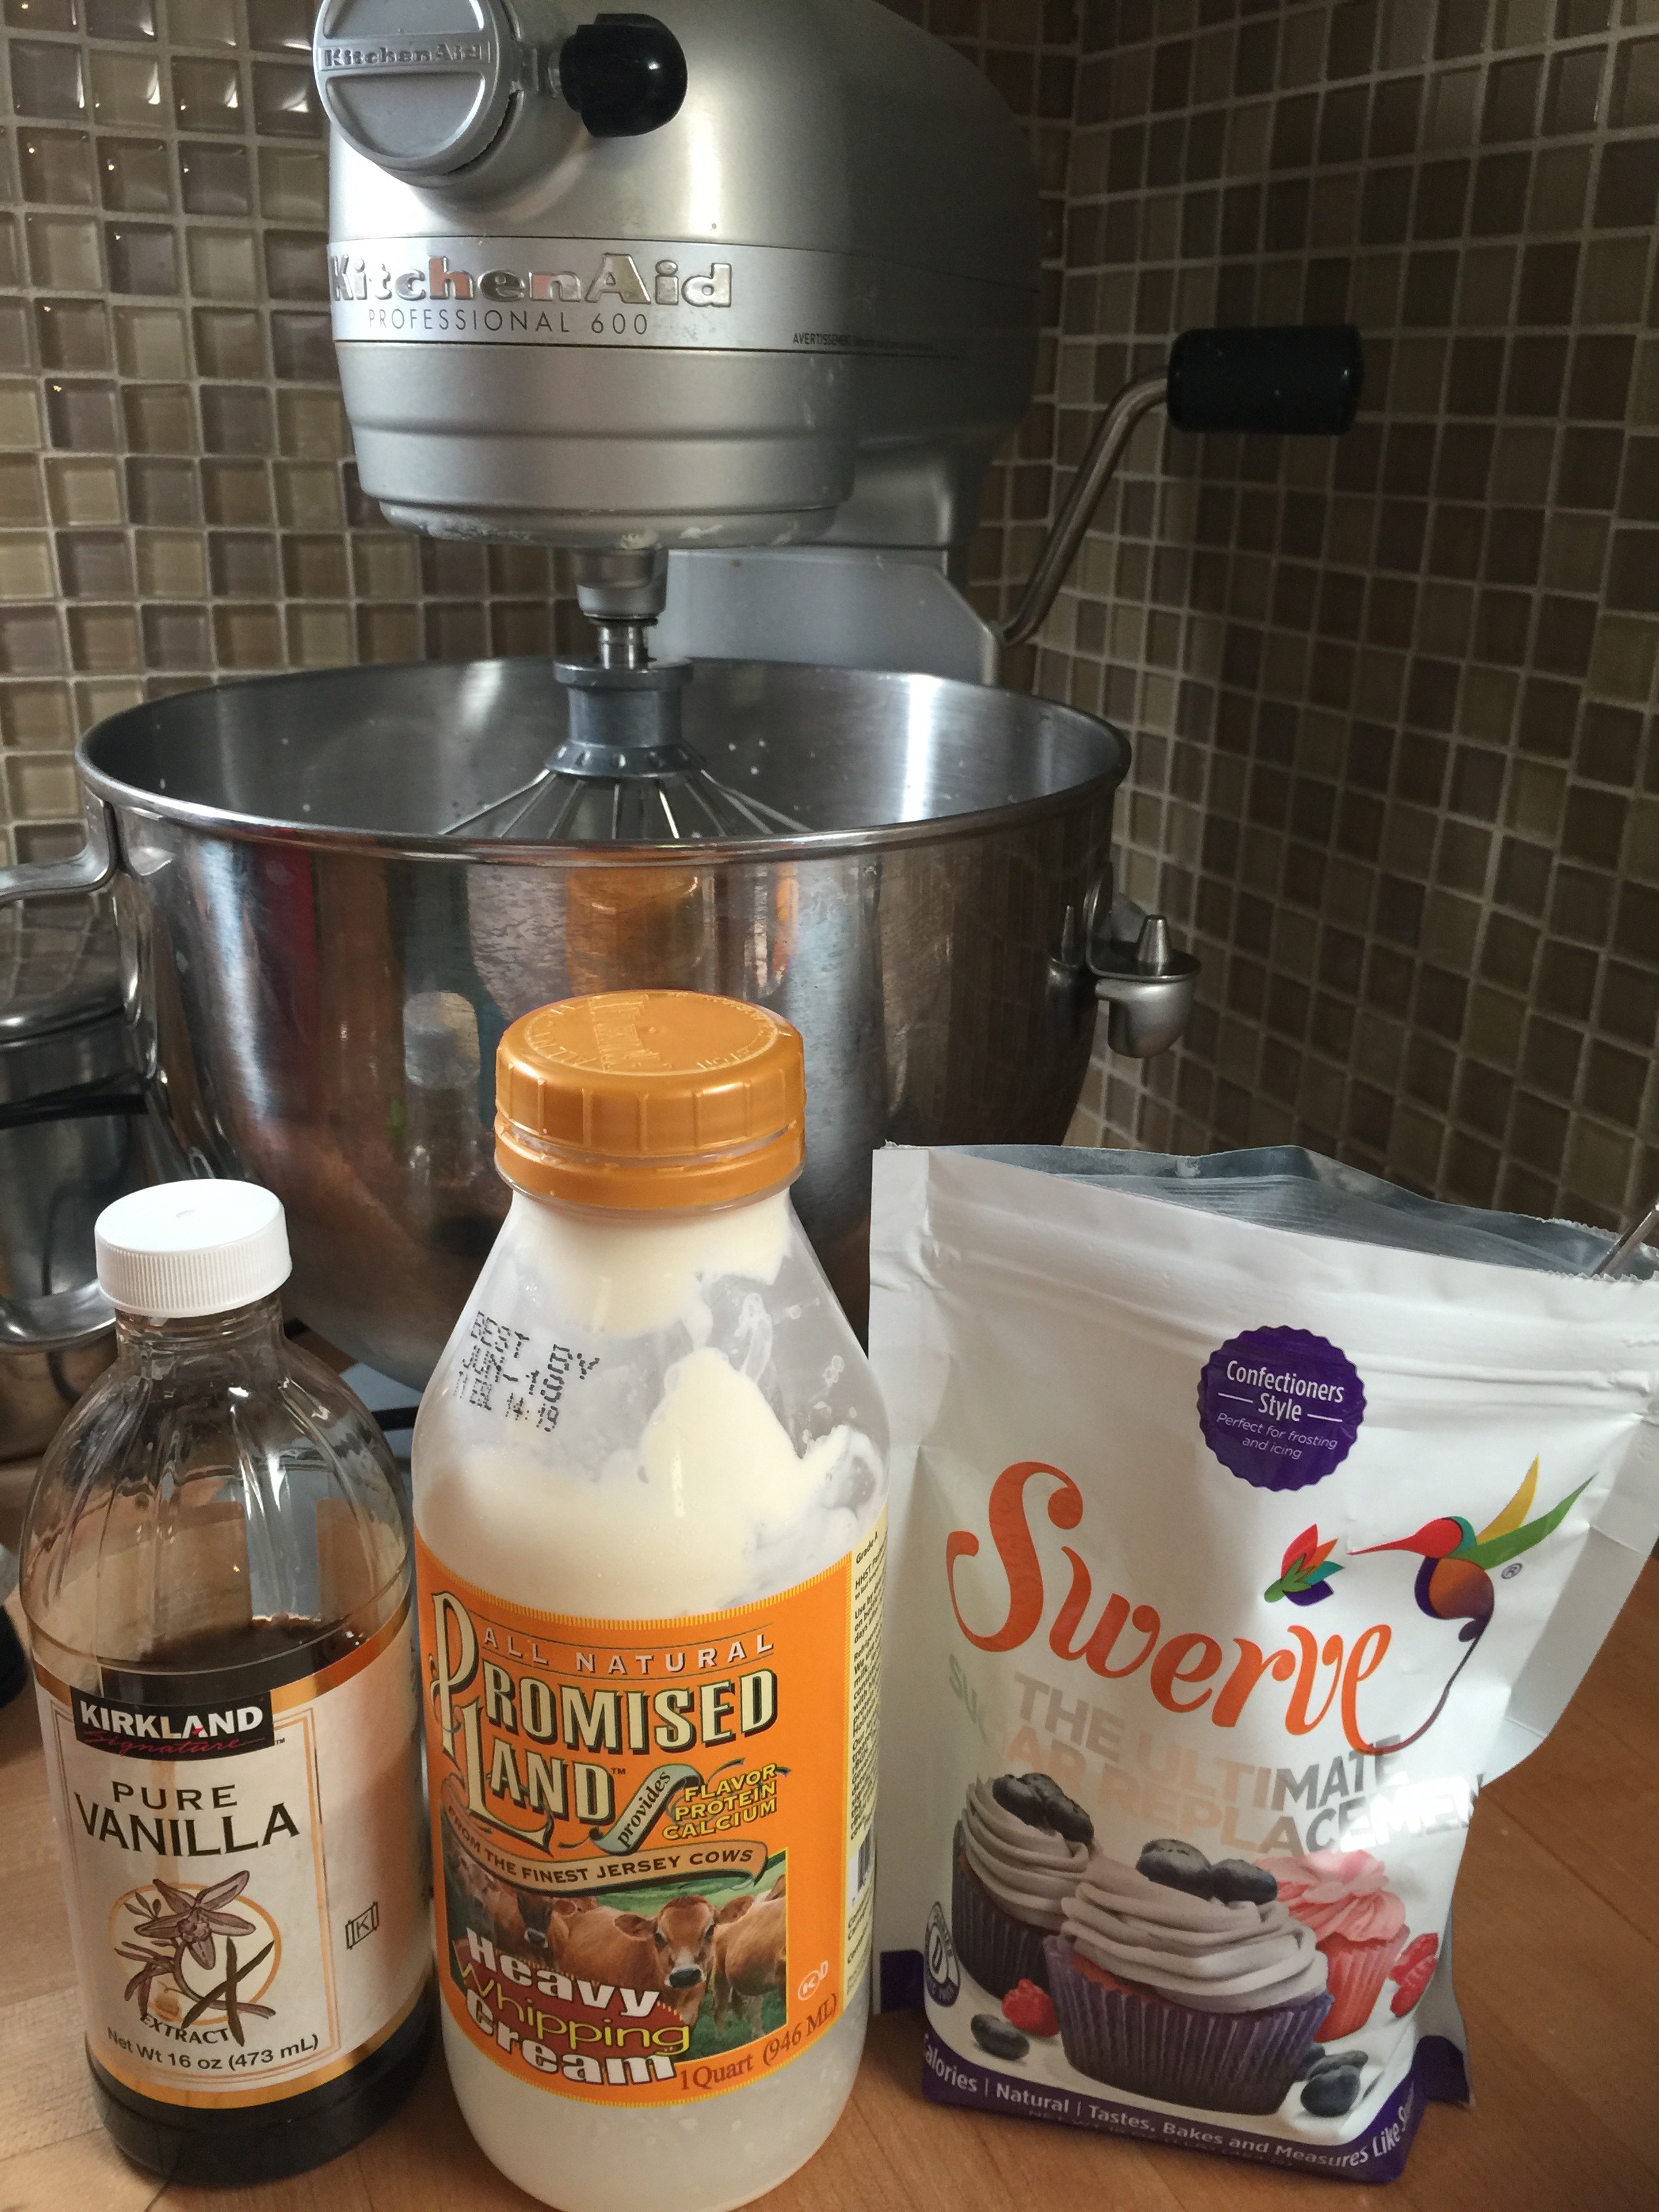
I used:
1 Quart of Promised Land Heavy Whipping Cream (Any will work)
1 Tbsp Pure Vanilla
1/4 – 1/2 cup Swerve Confectioners (Granular is very grainy in this one.)
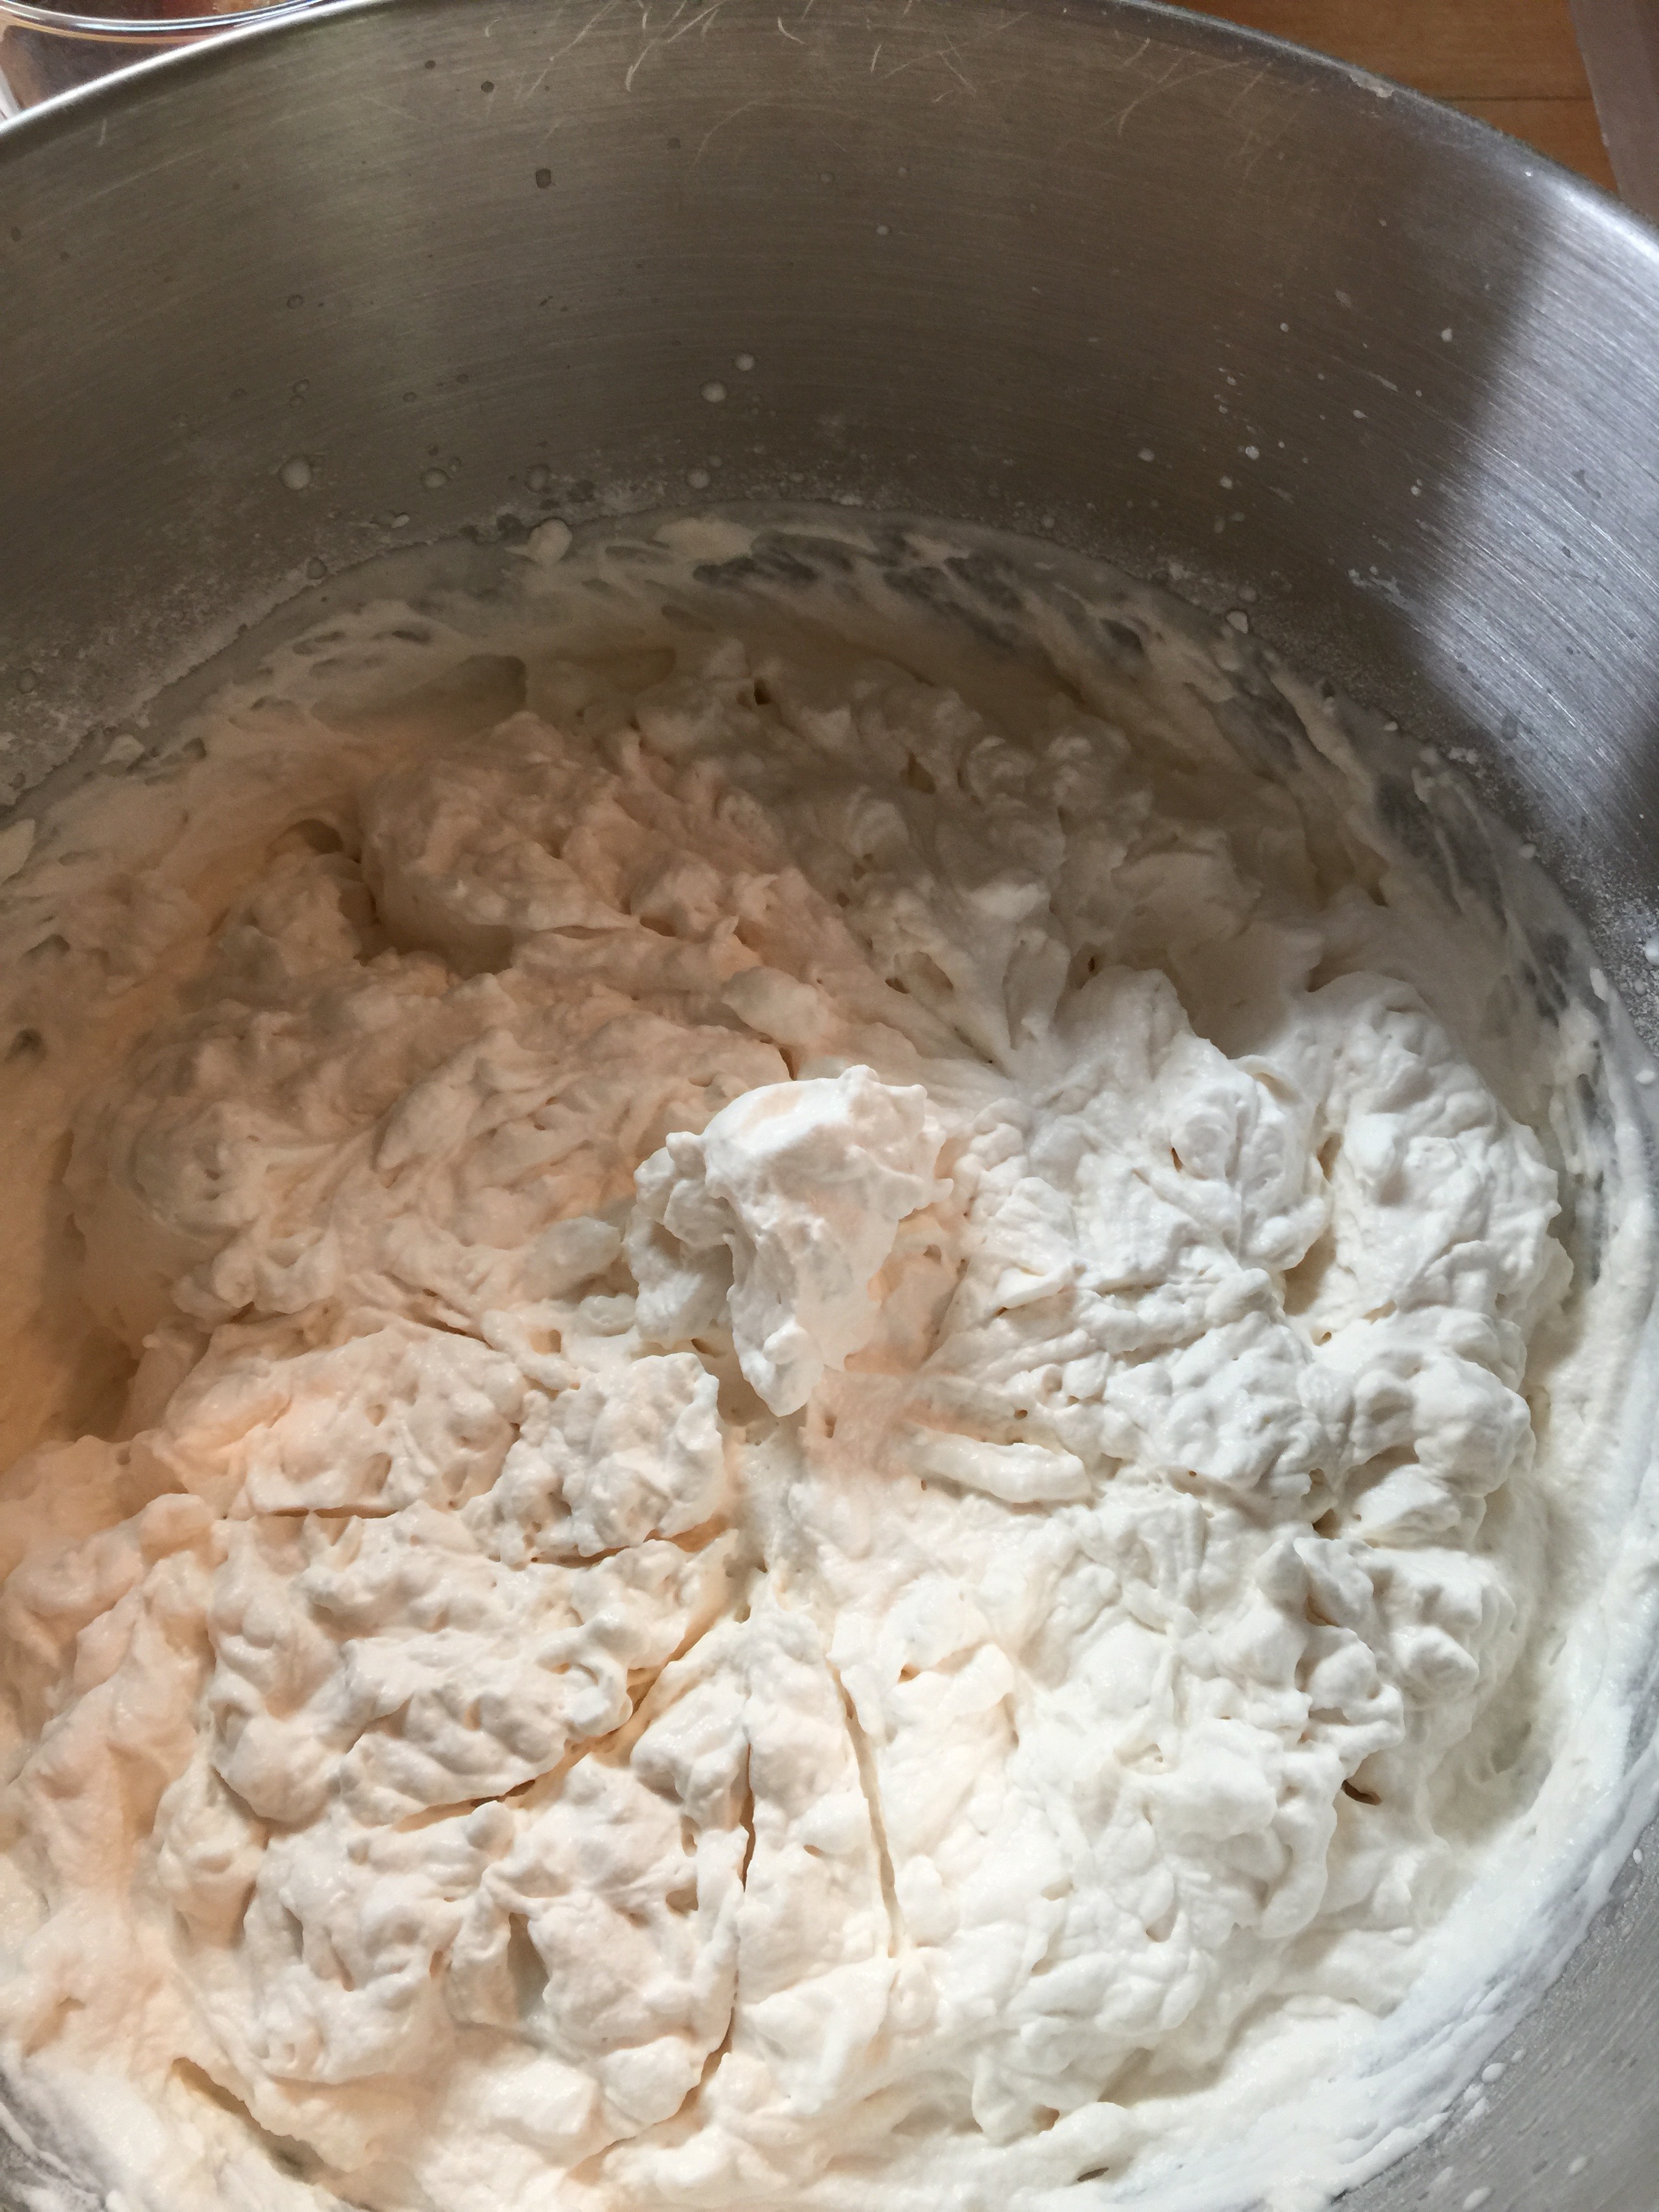
Start by beating your cream until it begins to thicken. Add your Swerve, starting with 1/4 cup. Our taste has changed quite a bit, so that we do not prefer things super sweet anymore, but feel free to add more to your desired taste. Then add your vanilla. Beat until it is very thick, but careful not to beat too much or you will have butter! It is okay to stop and start (tasting as you go). This is a preference treat, so keep an eye on it, and stop beating when it’s to your liking.
Top with a small amount of berries or eat it plain. It is delicious both ways! Enjoy!
This one was for the kiddos. When I have mine, I go with blueberries, blackberries or raspberries with a ratio or 2:1, cream to berries. I skip the strawberries generally. Let the cream work to your benefit!
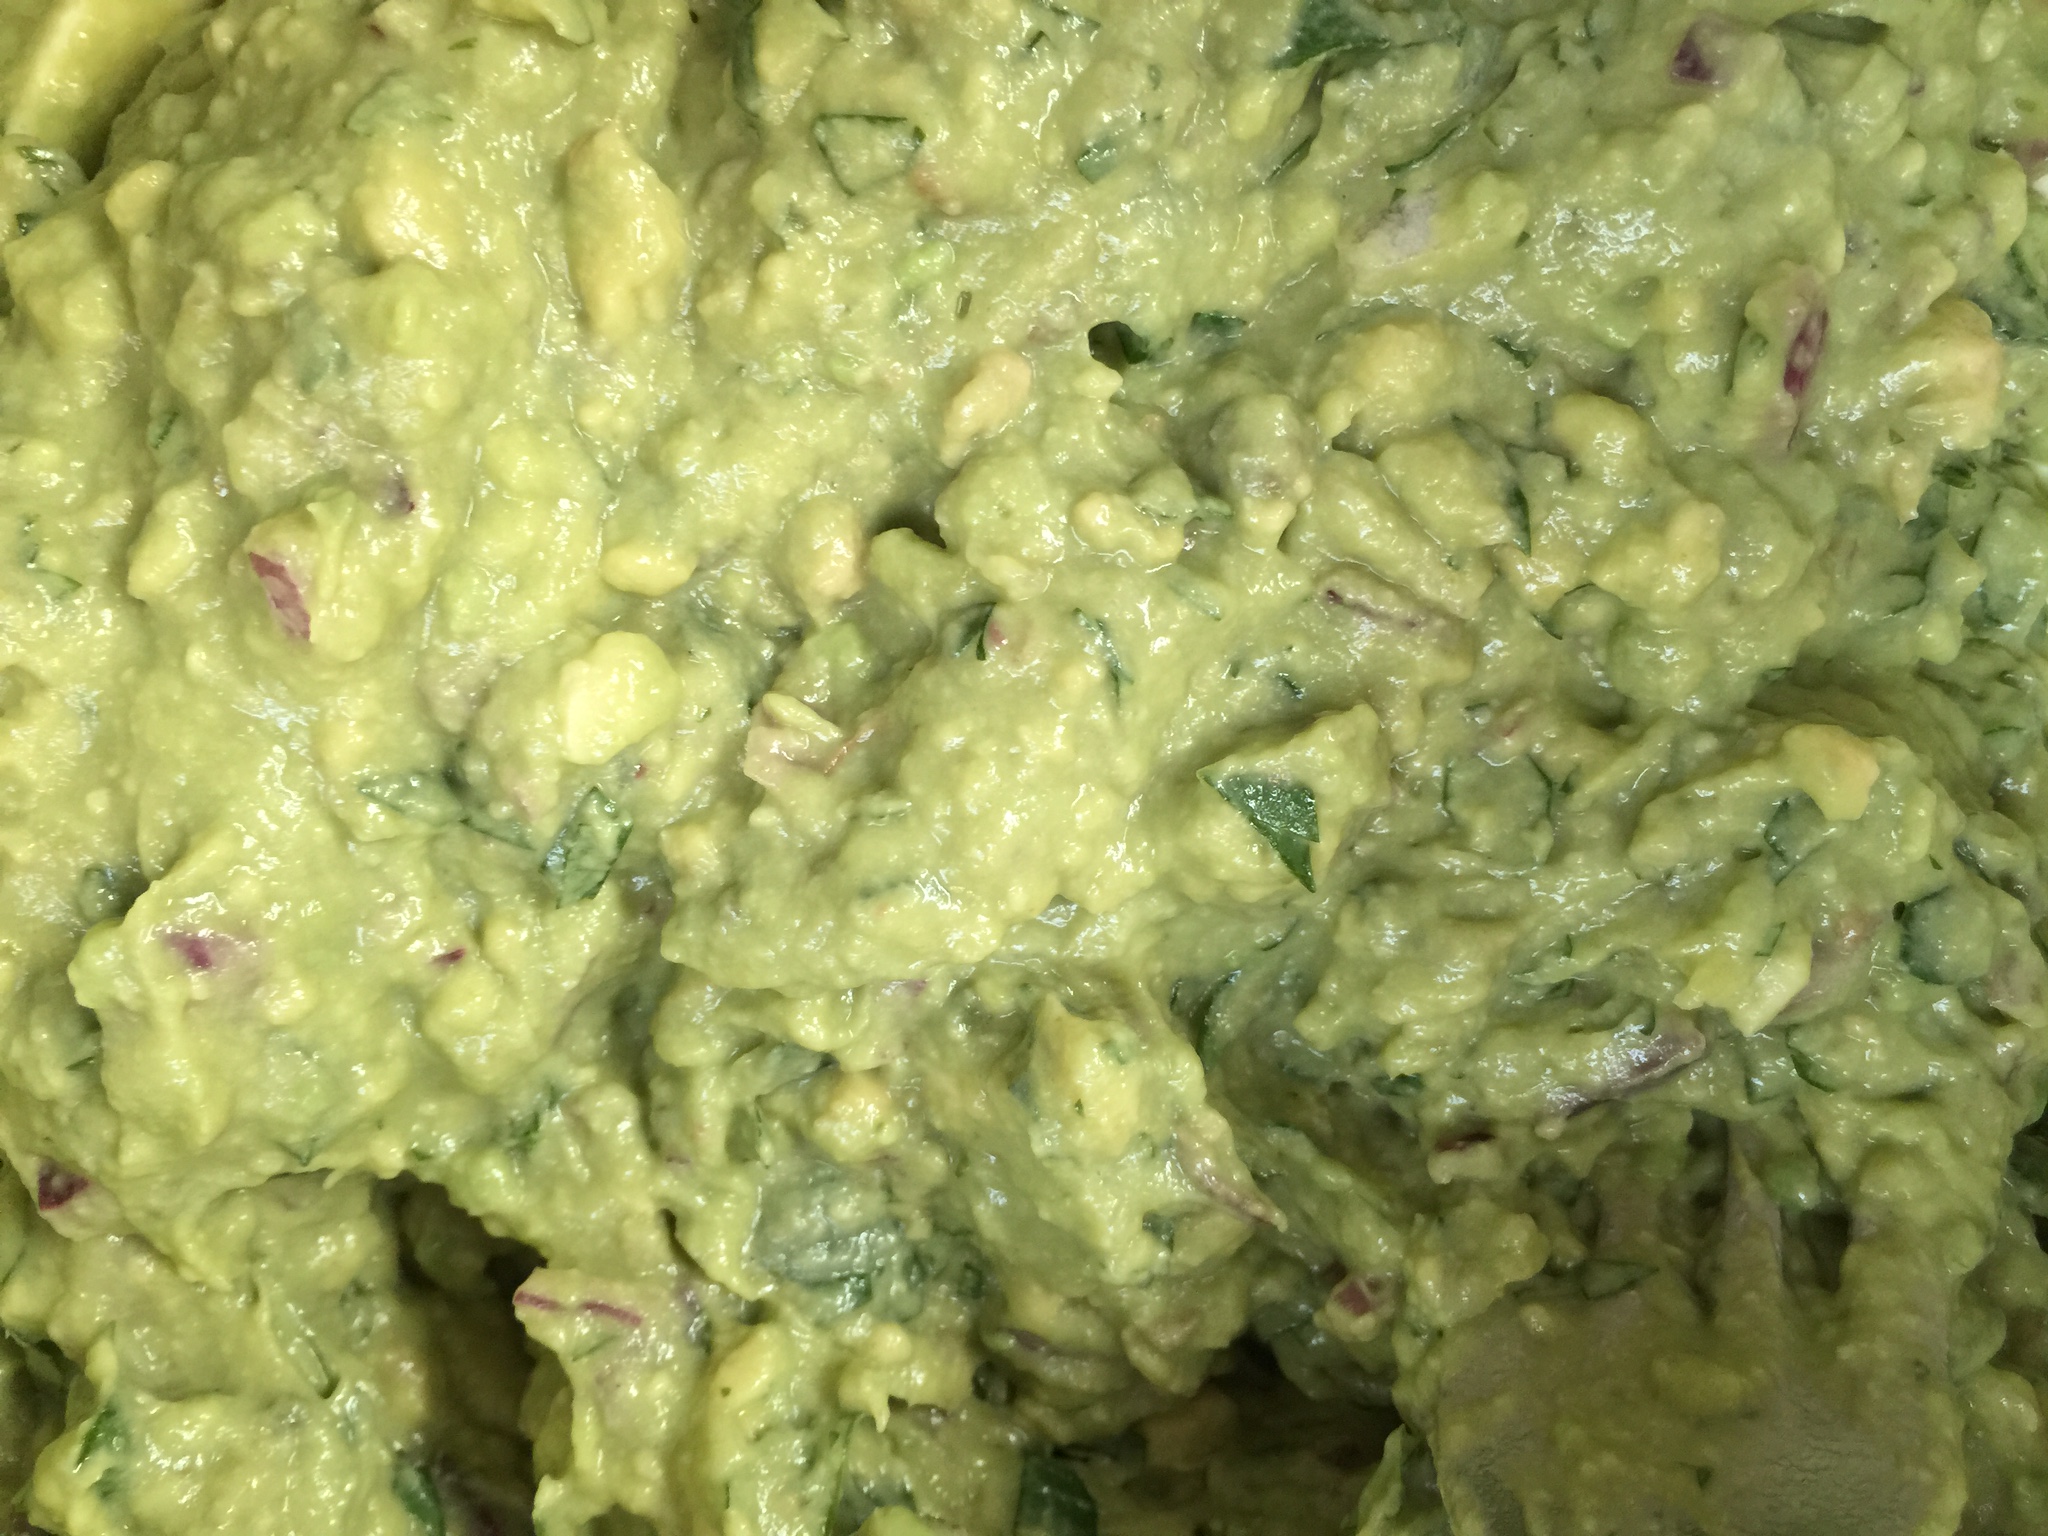
Okay, so guacamole may not be holy, but it’s pretty close in my house. Avocados are almost the perfect Keto food, and they are loaded with potassium, folate, and vitamin K!
Avocados are ALWAYS in our kitchen! We eat them on our green salads, and they are excellent in a tomato and mozzarella salad as well. Our favorite way to eat avocados though, is guacamole!
We eat guacamole on almost anything. We use is on our eggs in the morning (any kind), salads at lunch, and burgers and fajitas for dinner. We can’t get enough!
If you missed the post the other day on the cheese crackers, now is the time to scroll down. This is one of my favorite tricks! We love the cheese crackers to dip in the guacamole!
It is a super easy recipe to make too!
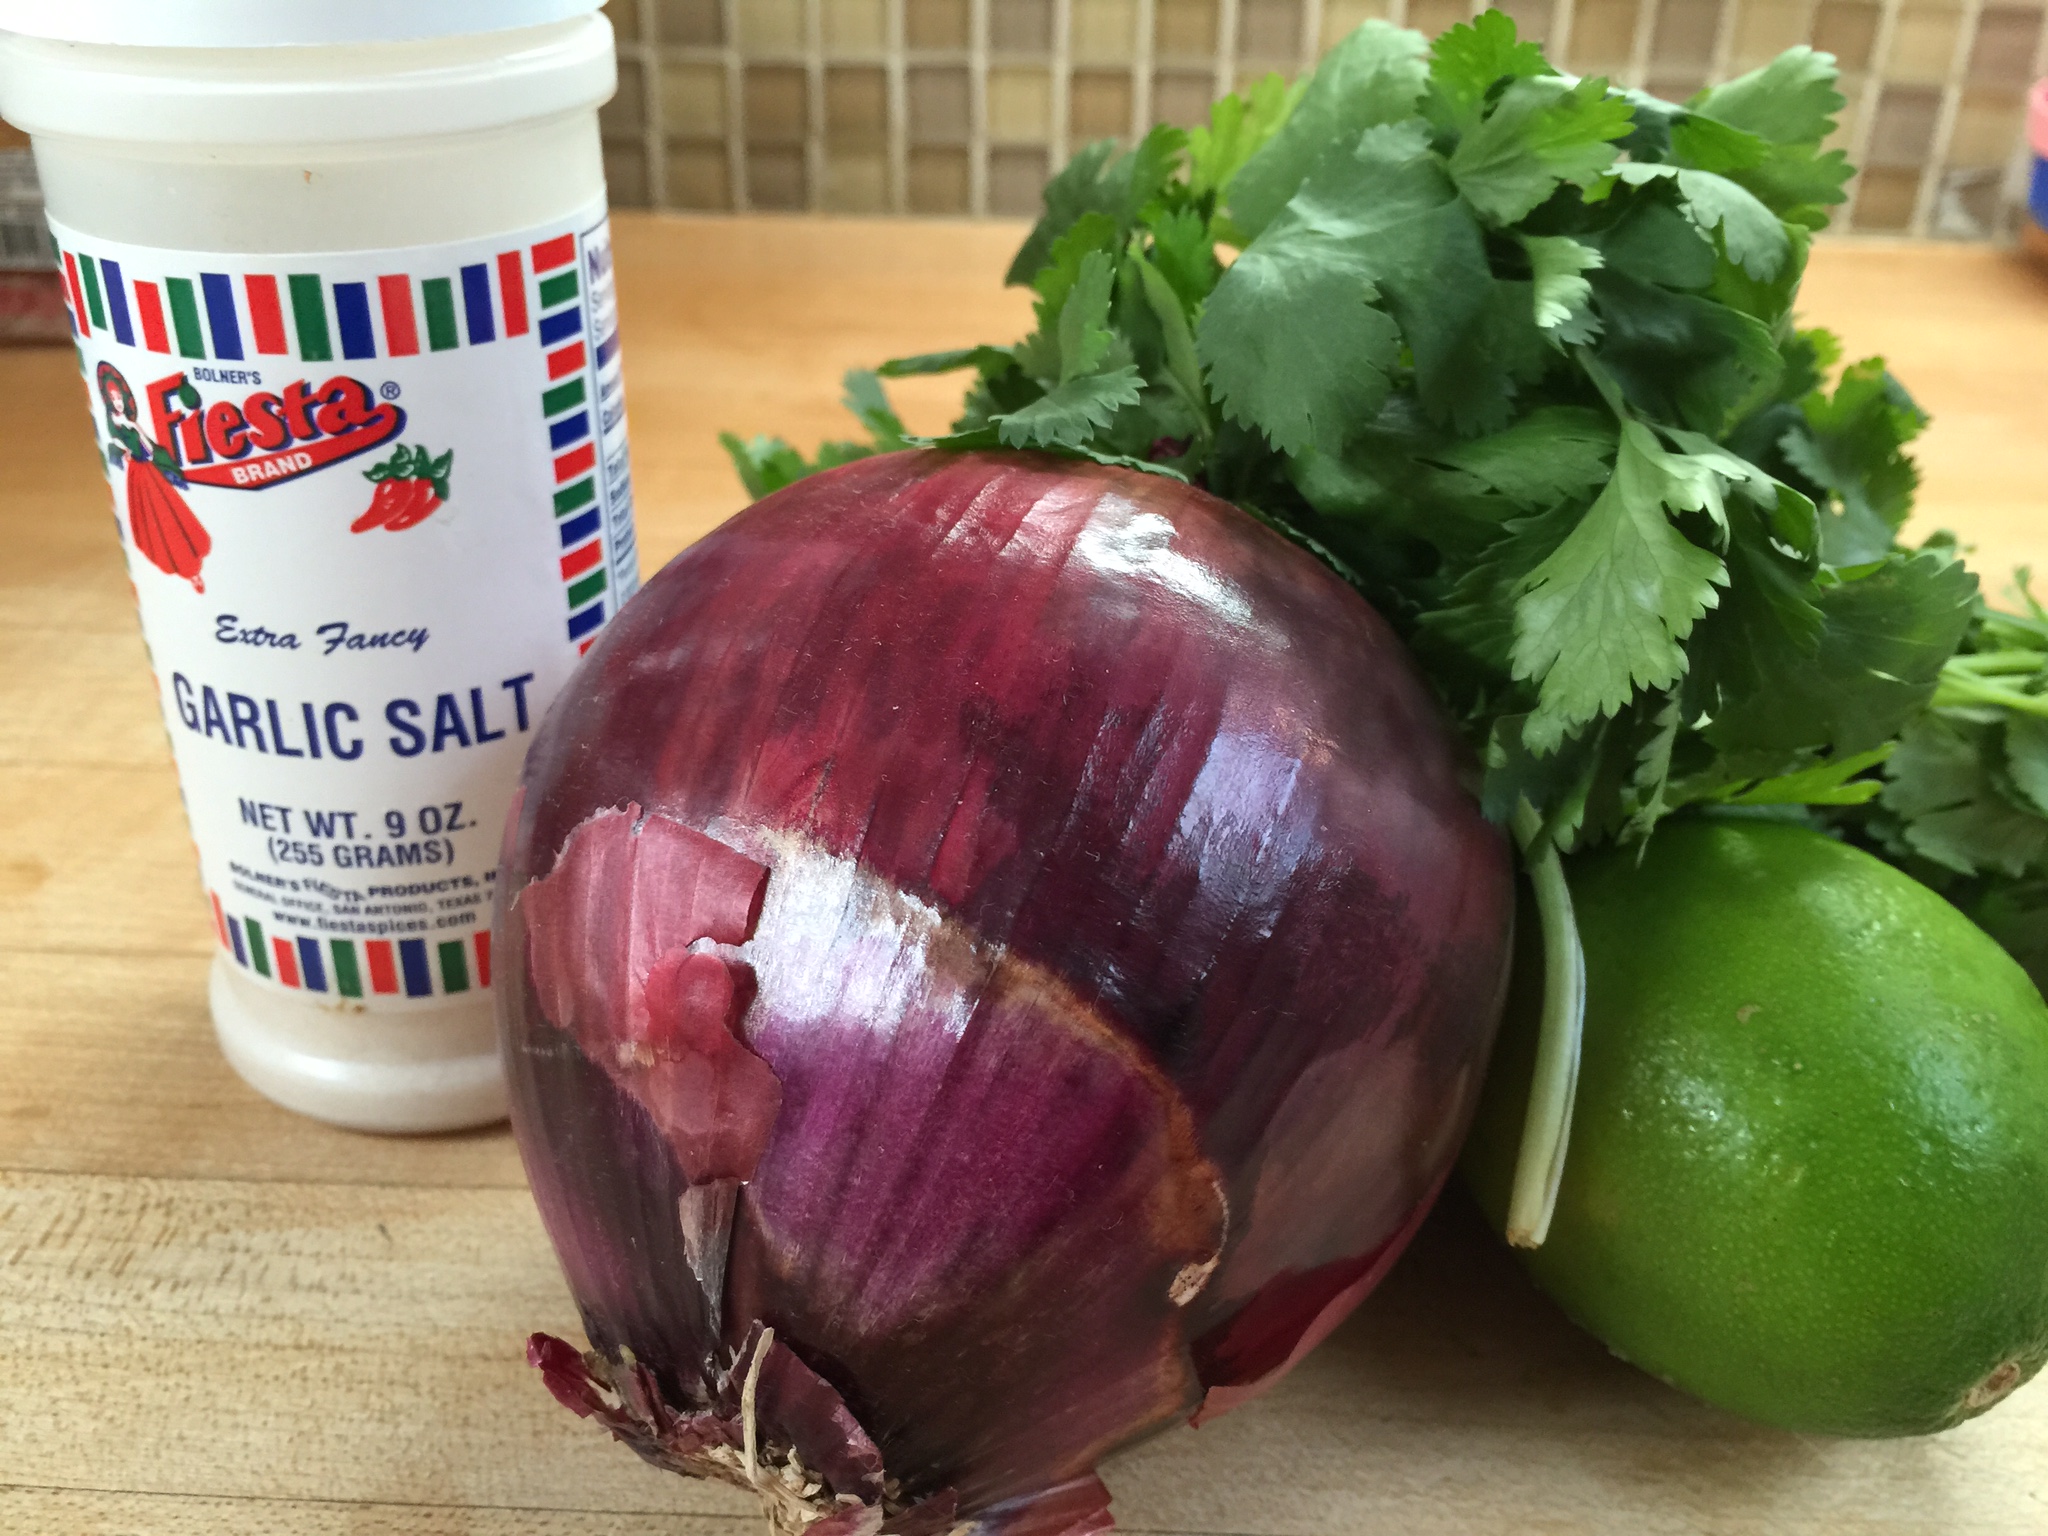
Guacomole
3-4 large avocados
1/2 bunch cilantro
1/4 red onion
juice of 1 lemon
garlic salt to taste
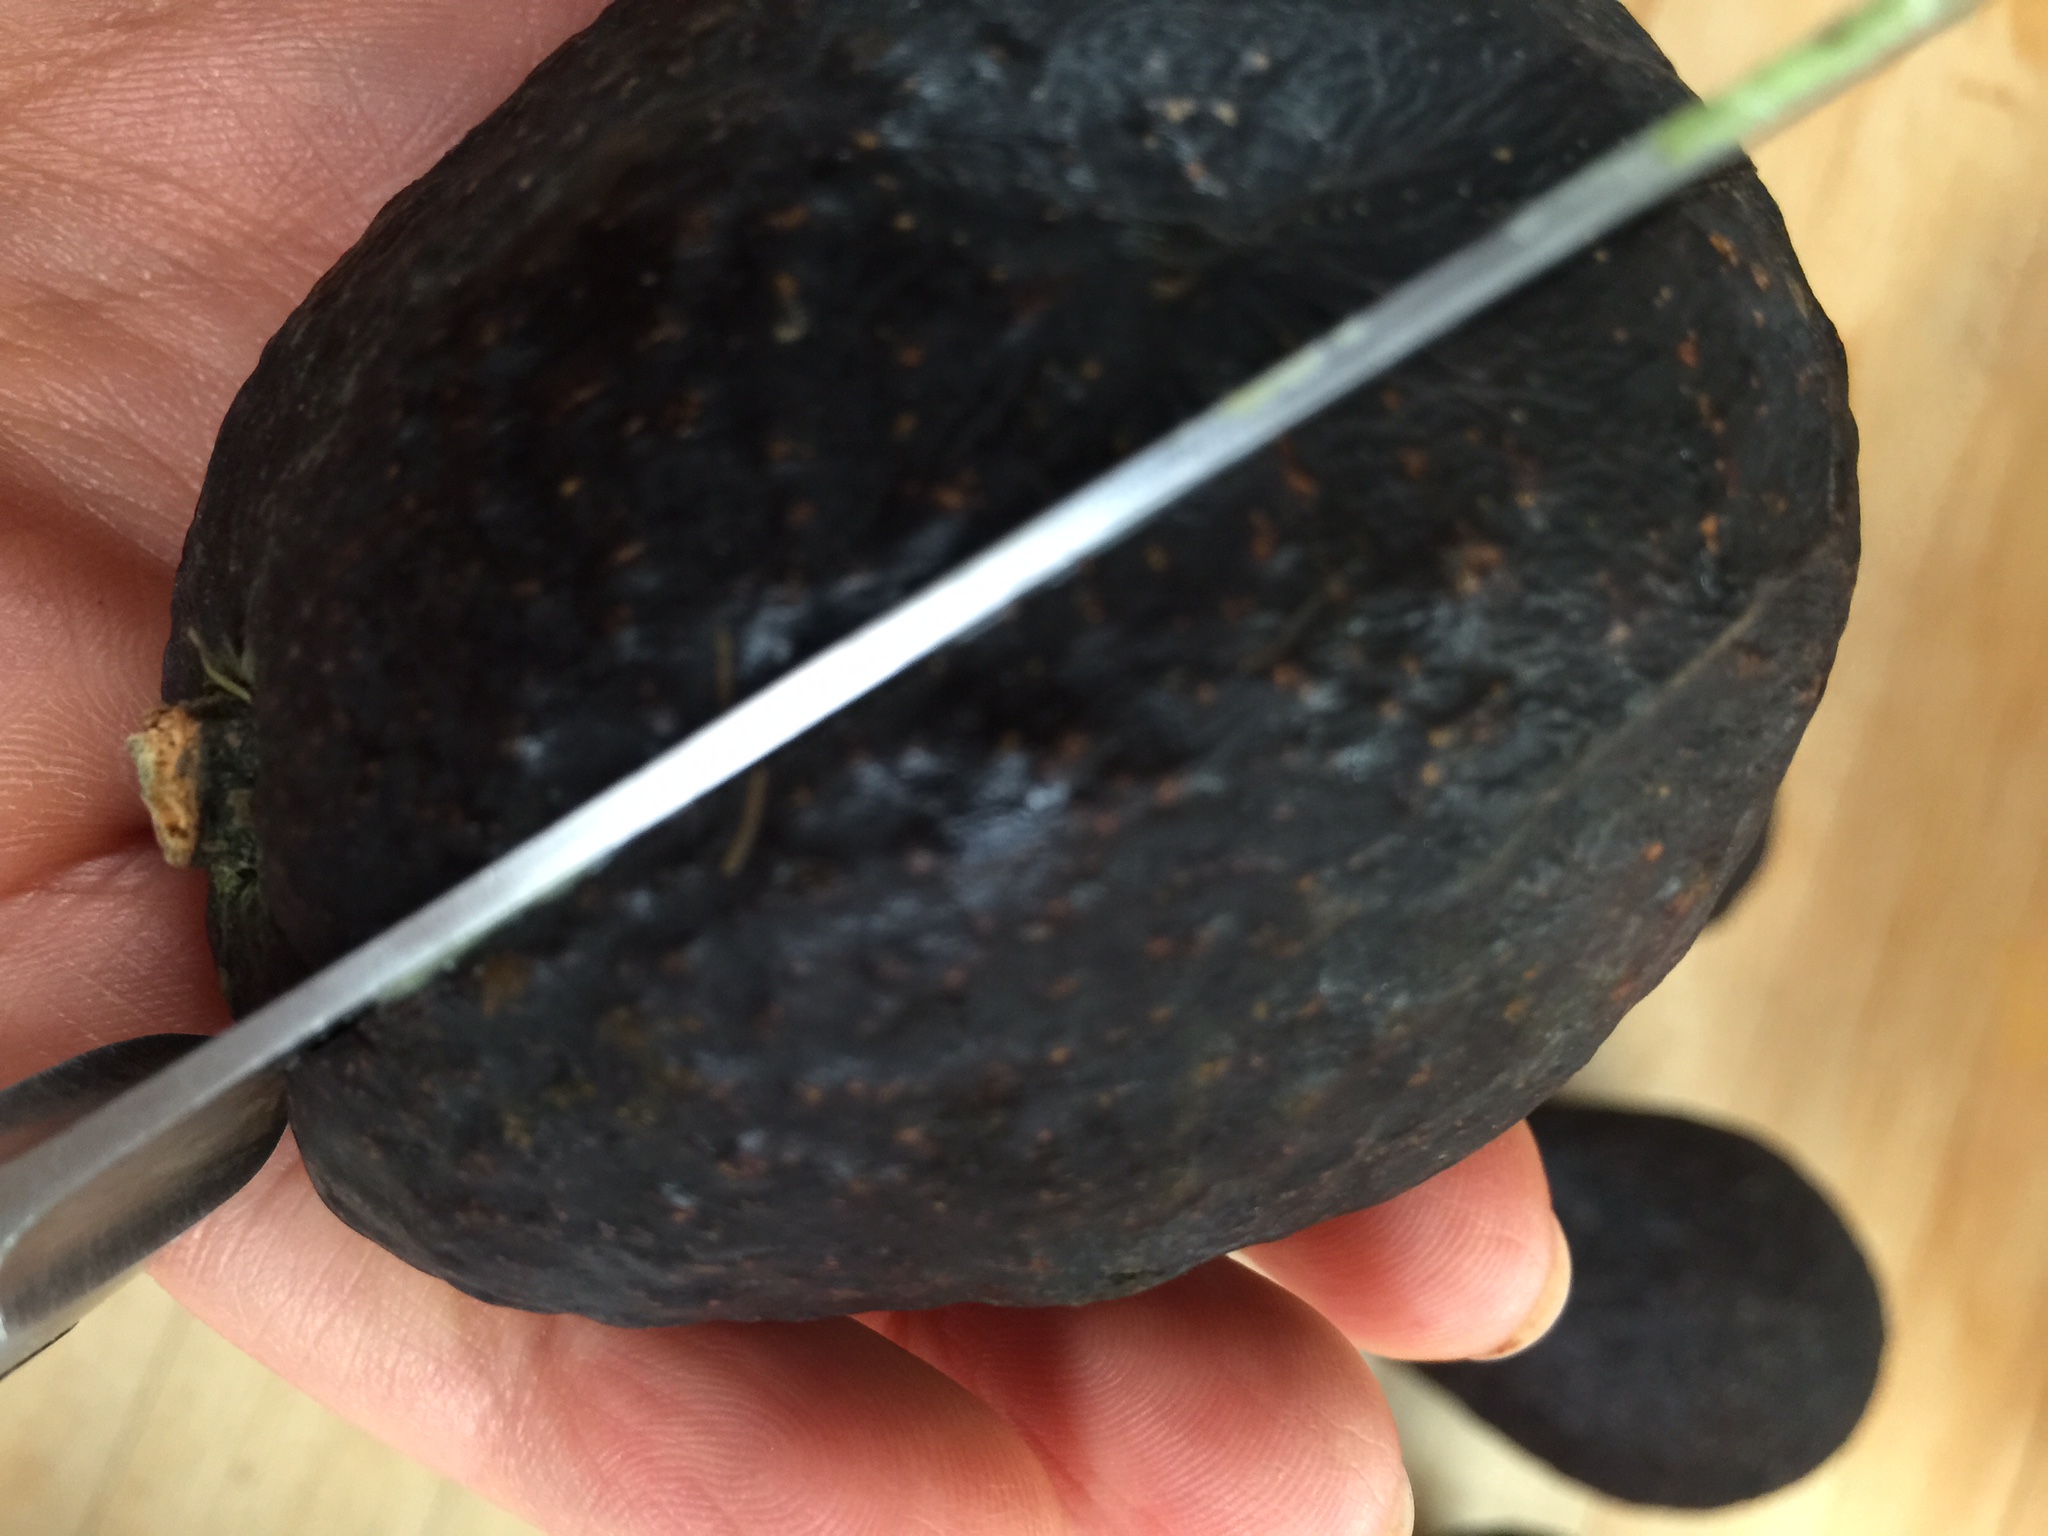
It took me many years to discover the best way to scoop an avocado. Now that we eat them daily, I have the perfect tip for you.
Slice the avocado lengthwise.
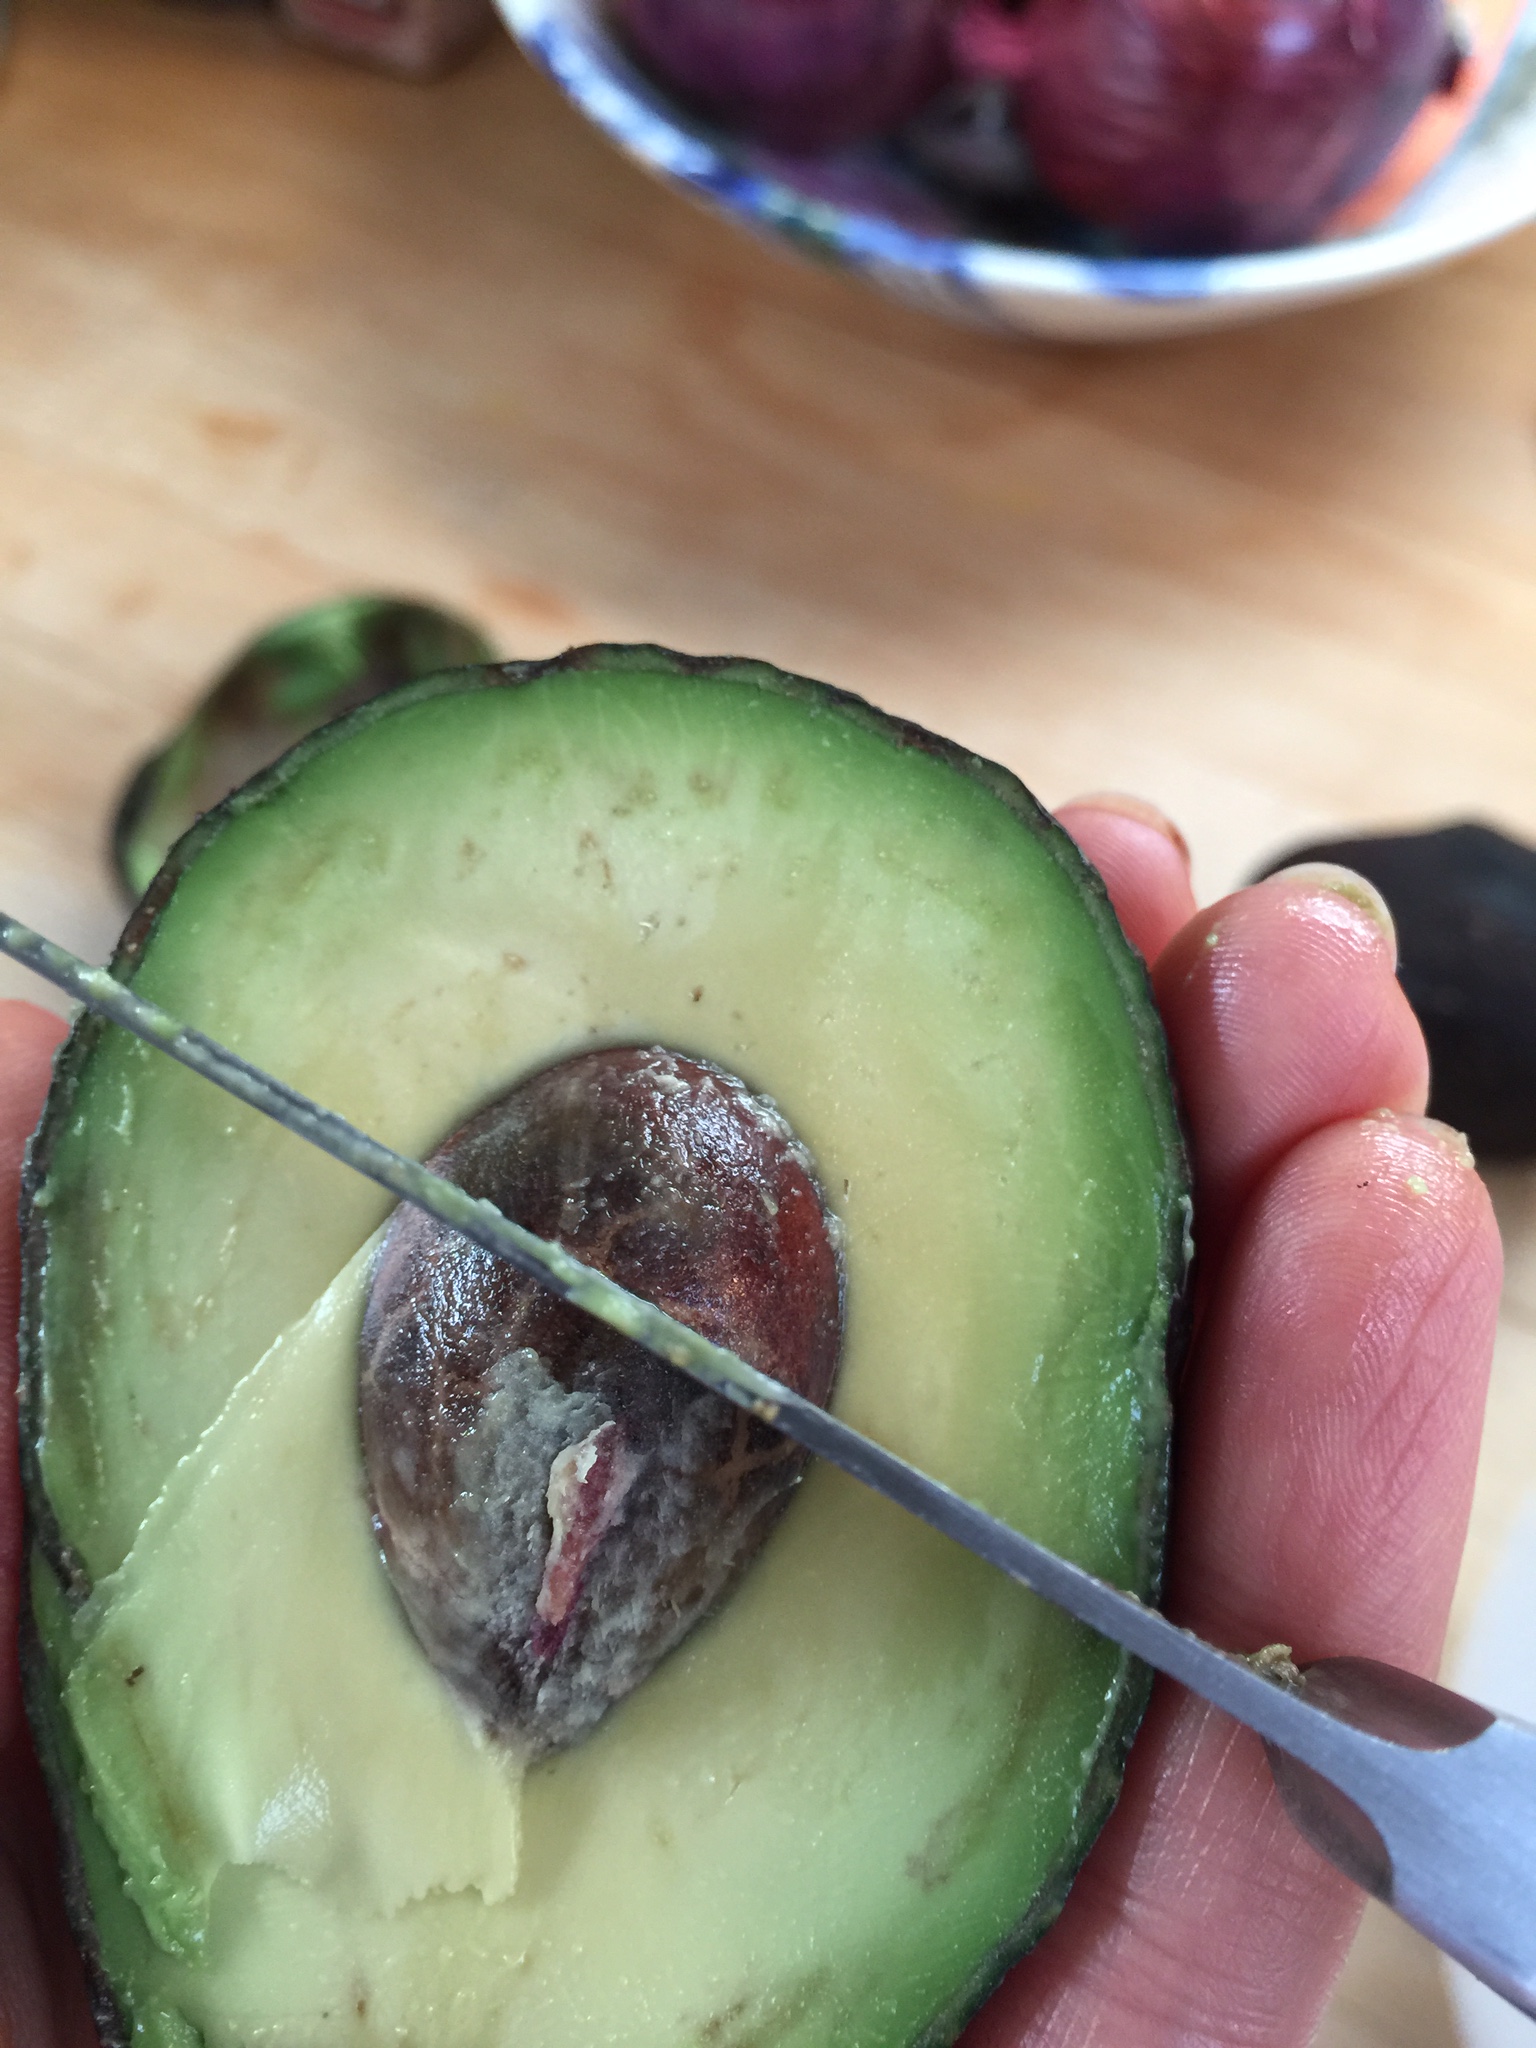
Once open, chop down on the seed, twist and remove.
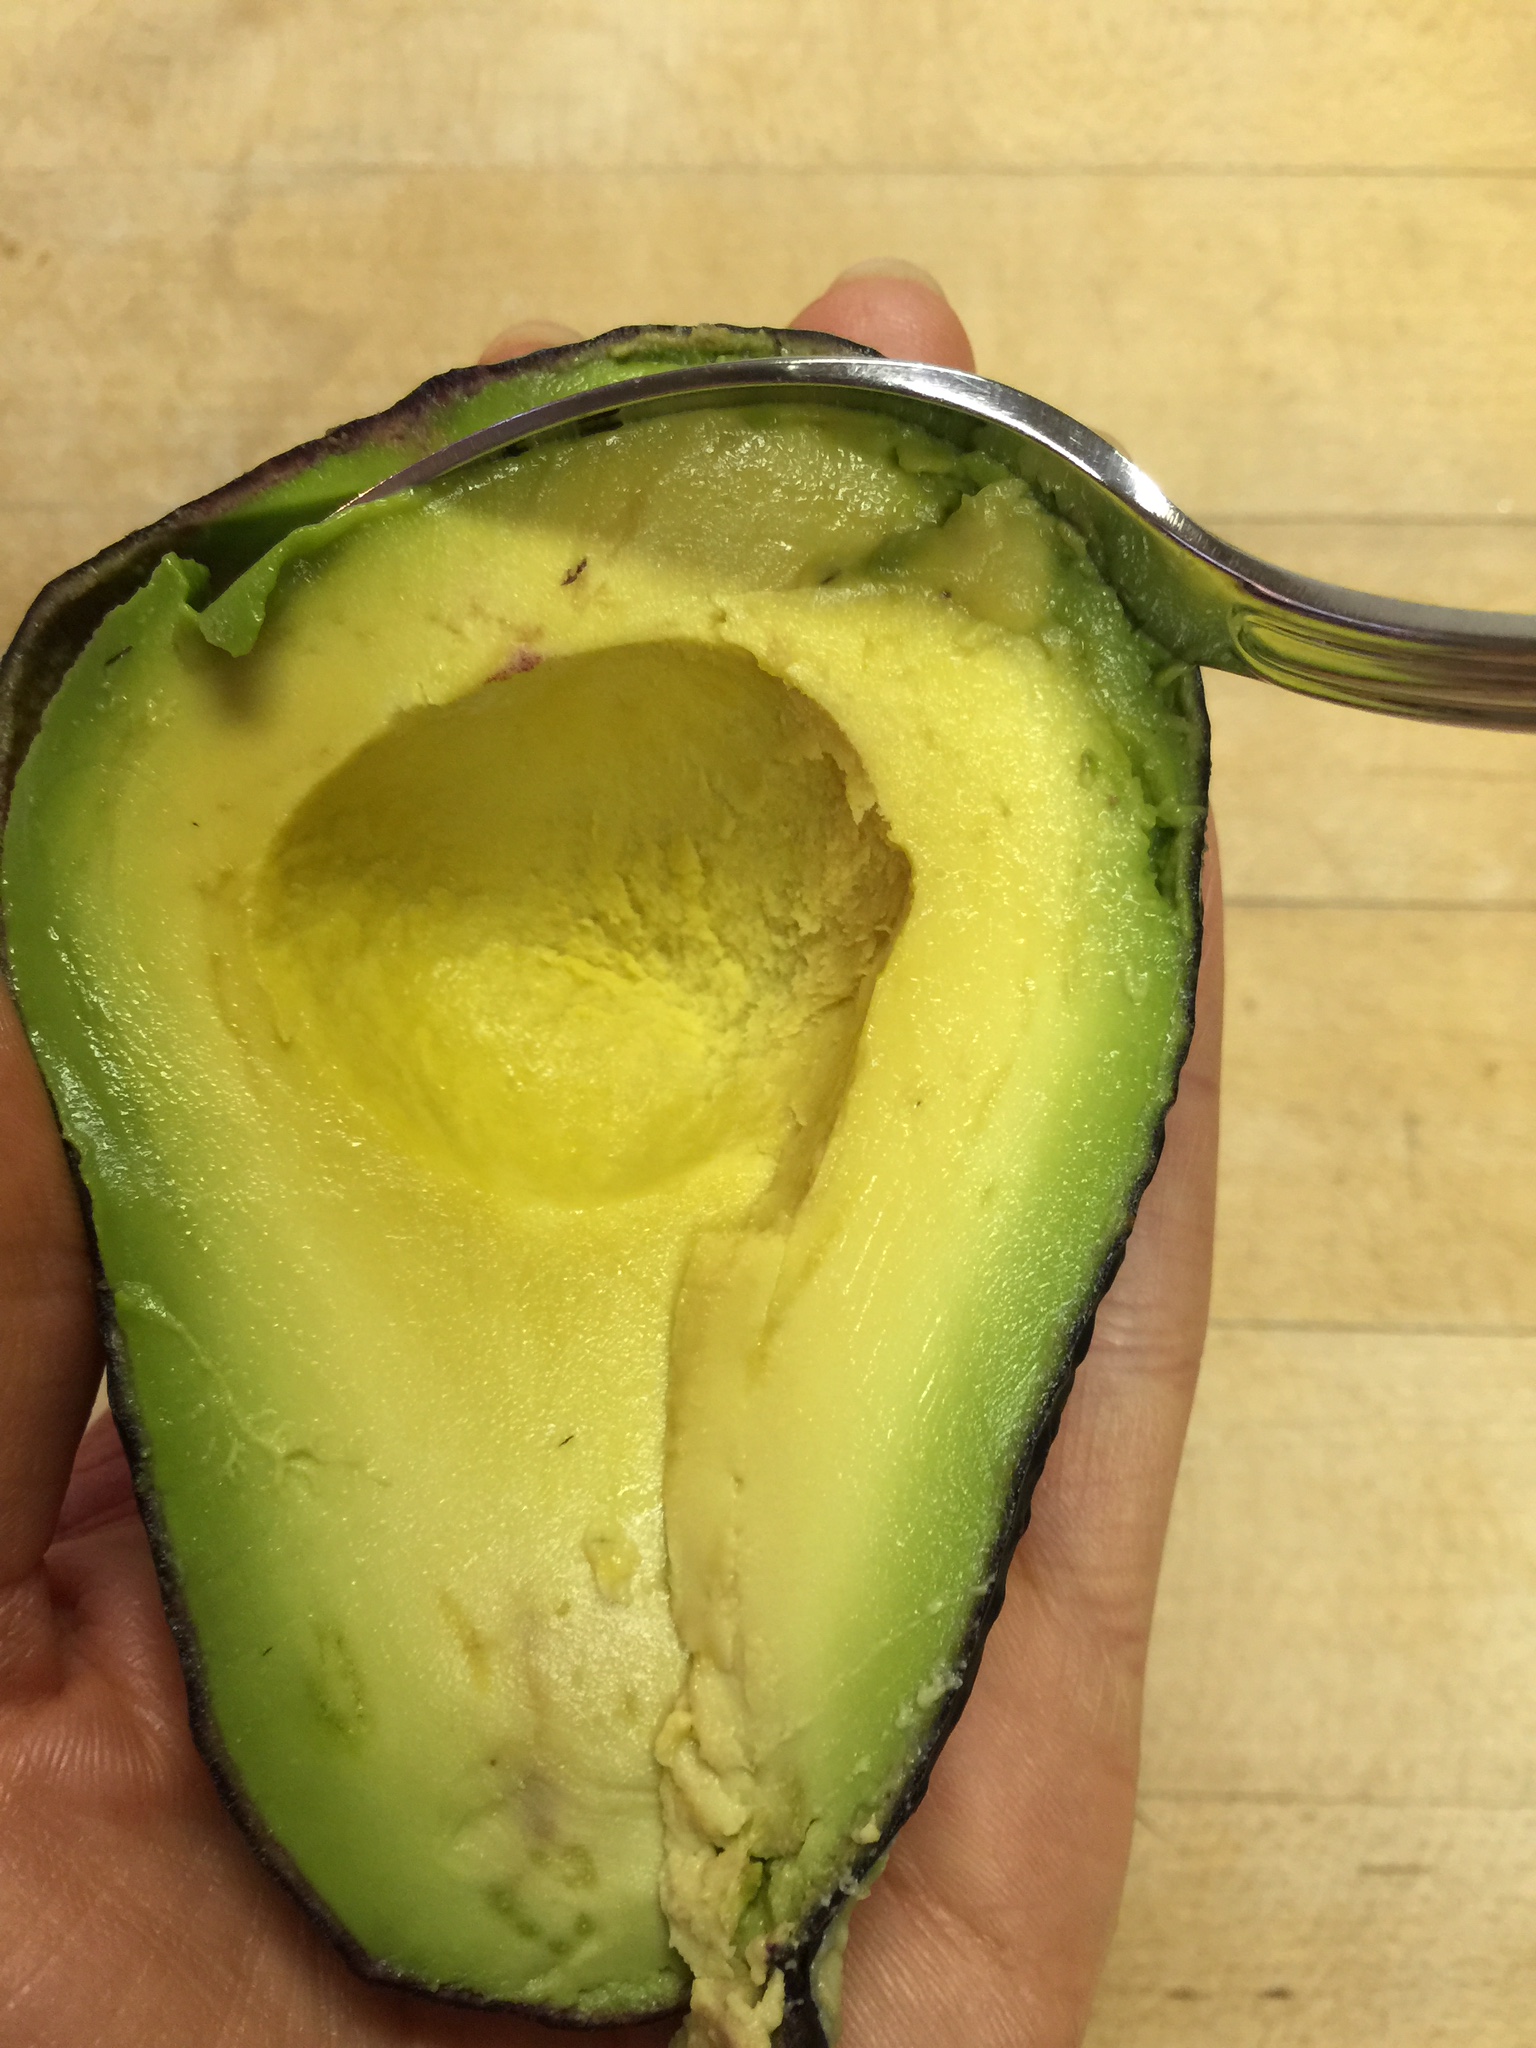
Using a serving spoon, scoop the meat out of the skin.
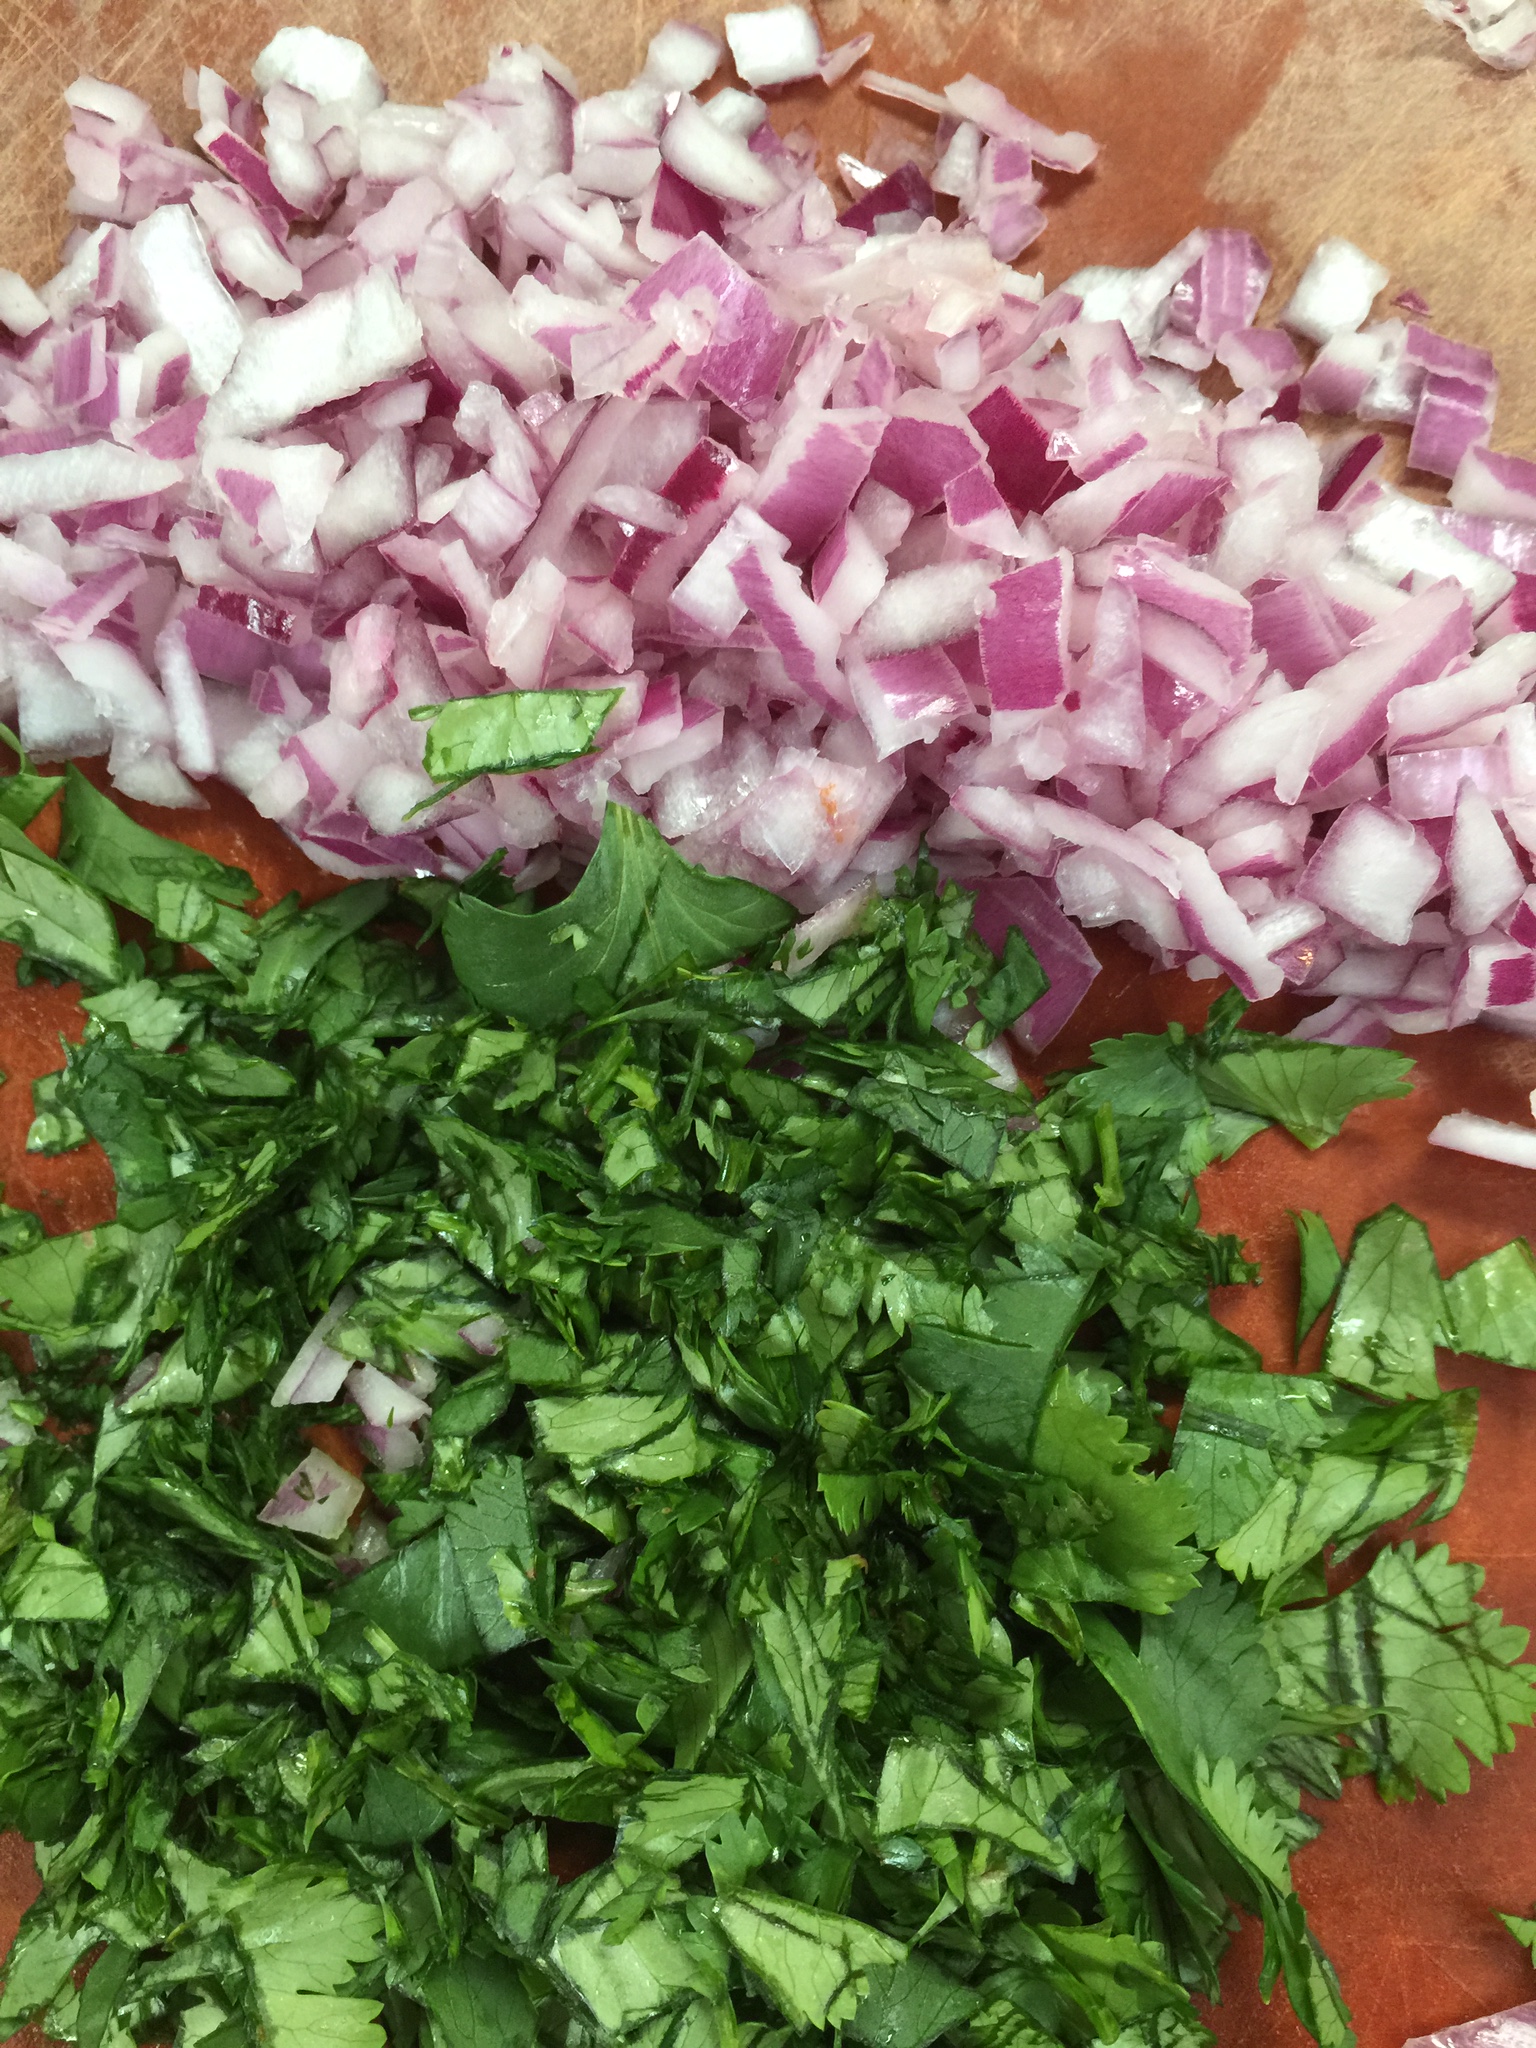
Now you ready to get your ingredients together!
Chop your onion and cilantro finely.
Using a lemon/lime juicer, squeeze all the juice out of your lime.
Mix everything together and sprinkle with garlic salt. Taste, and add more if needed.
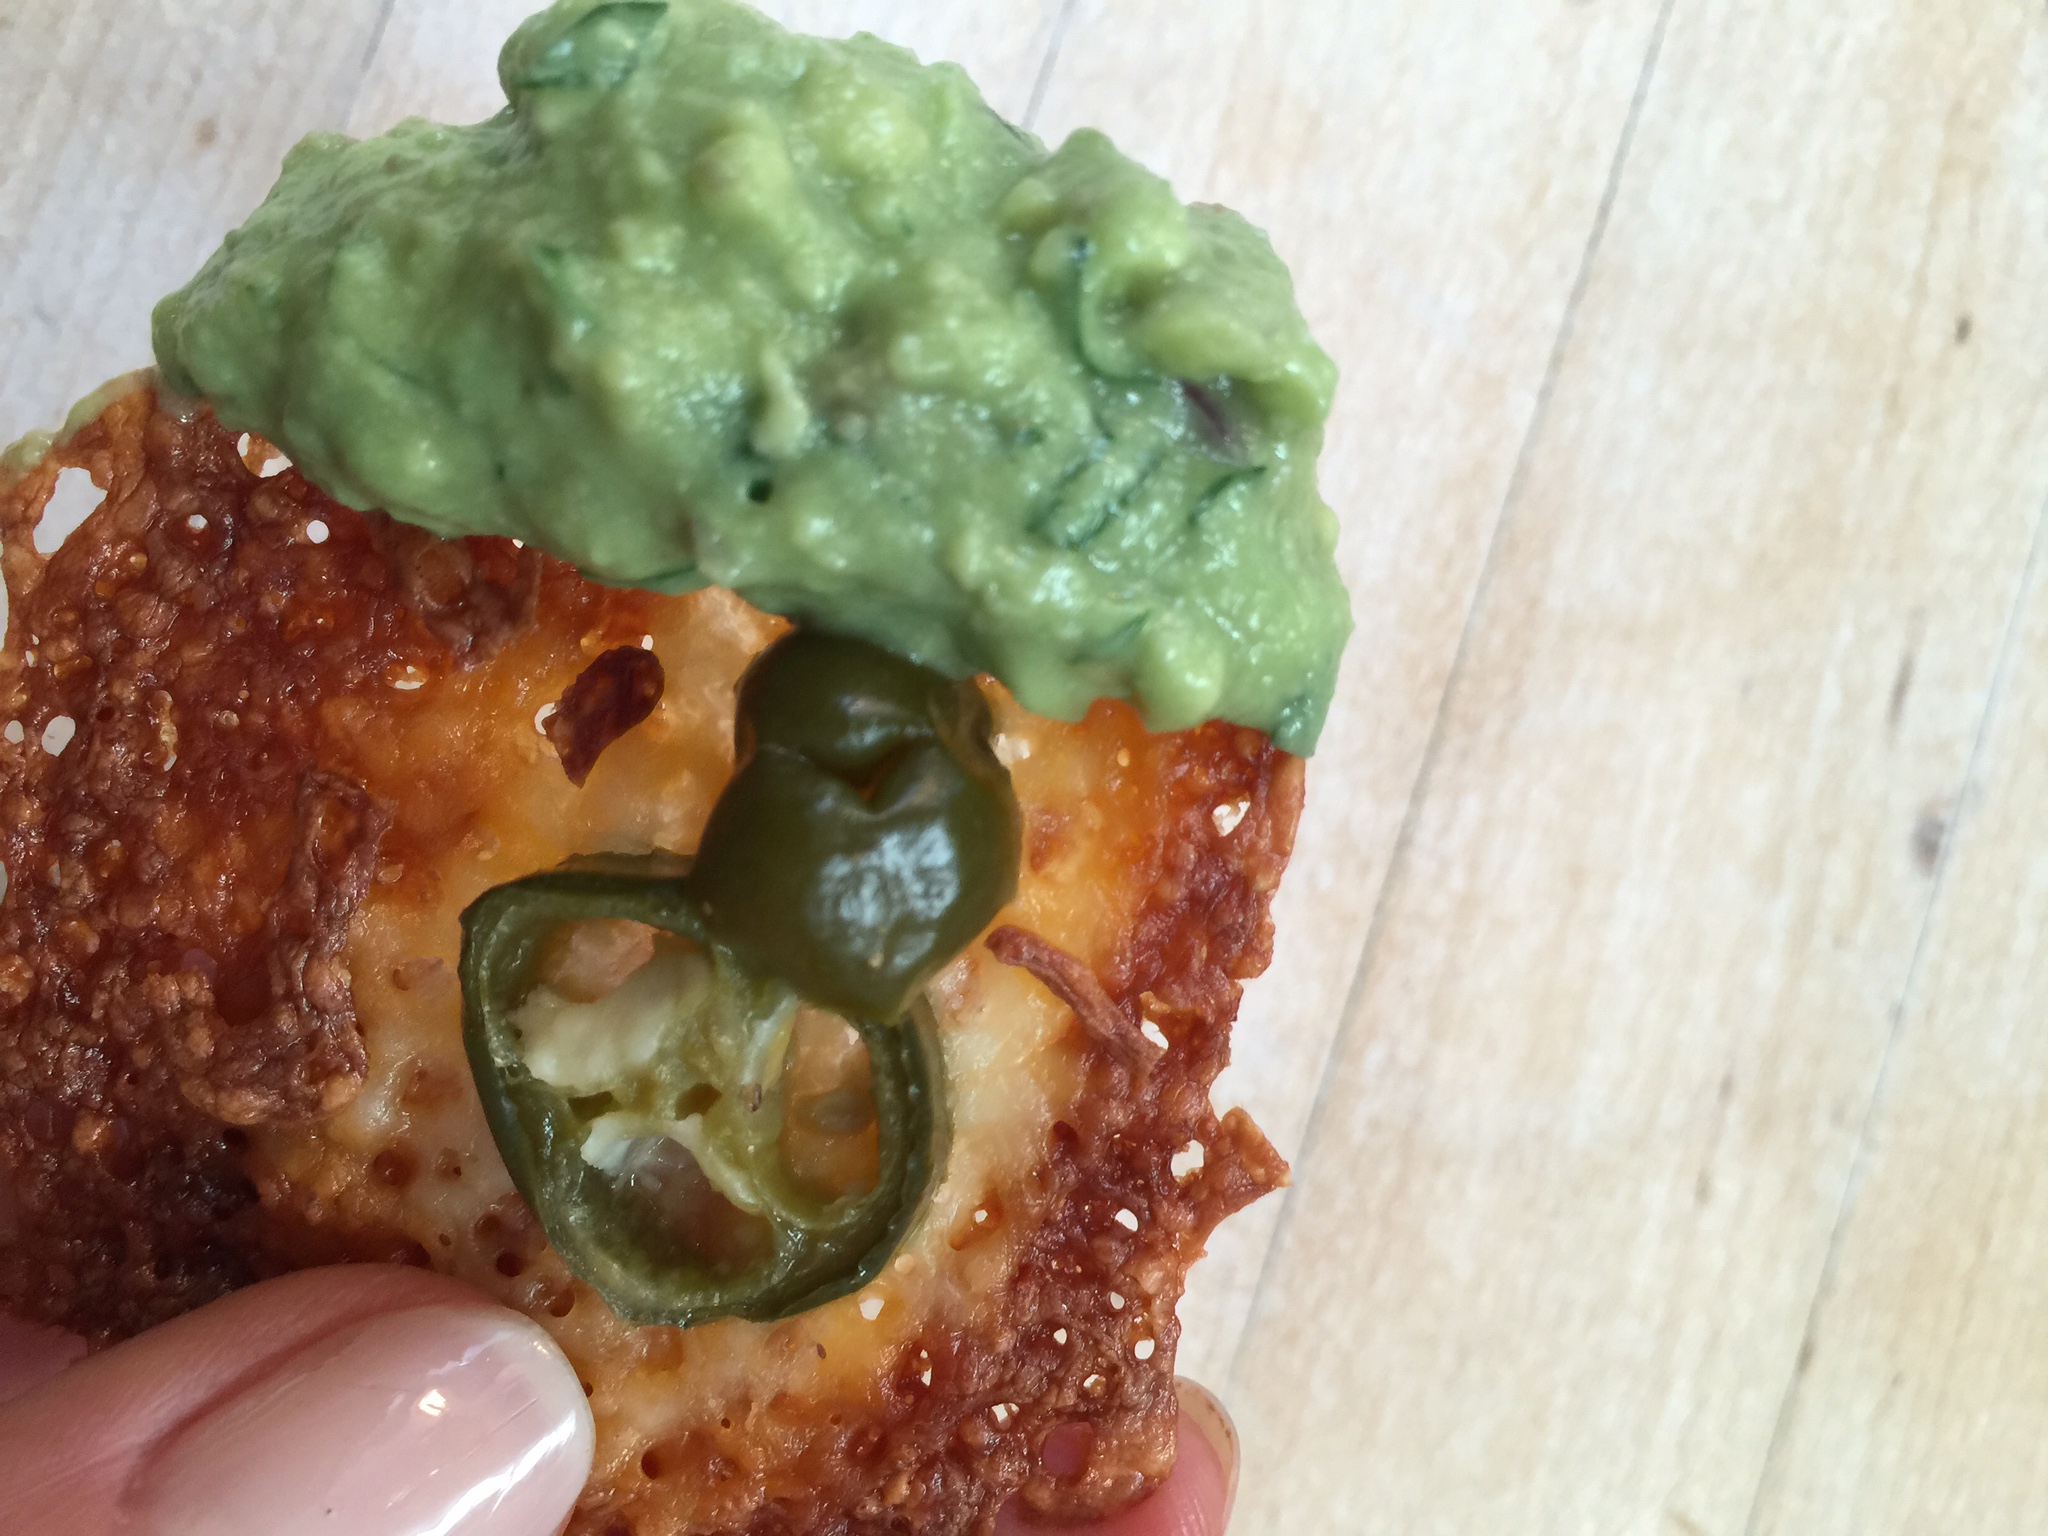
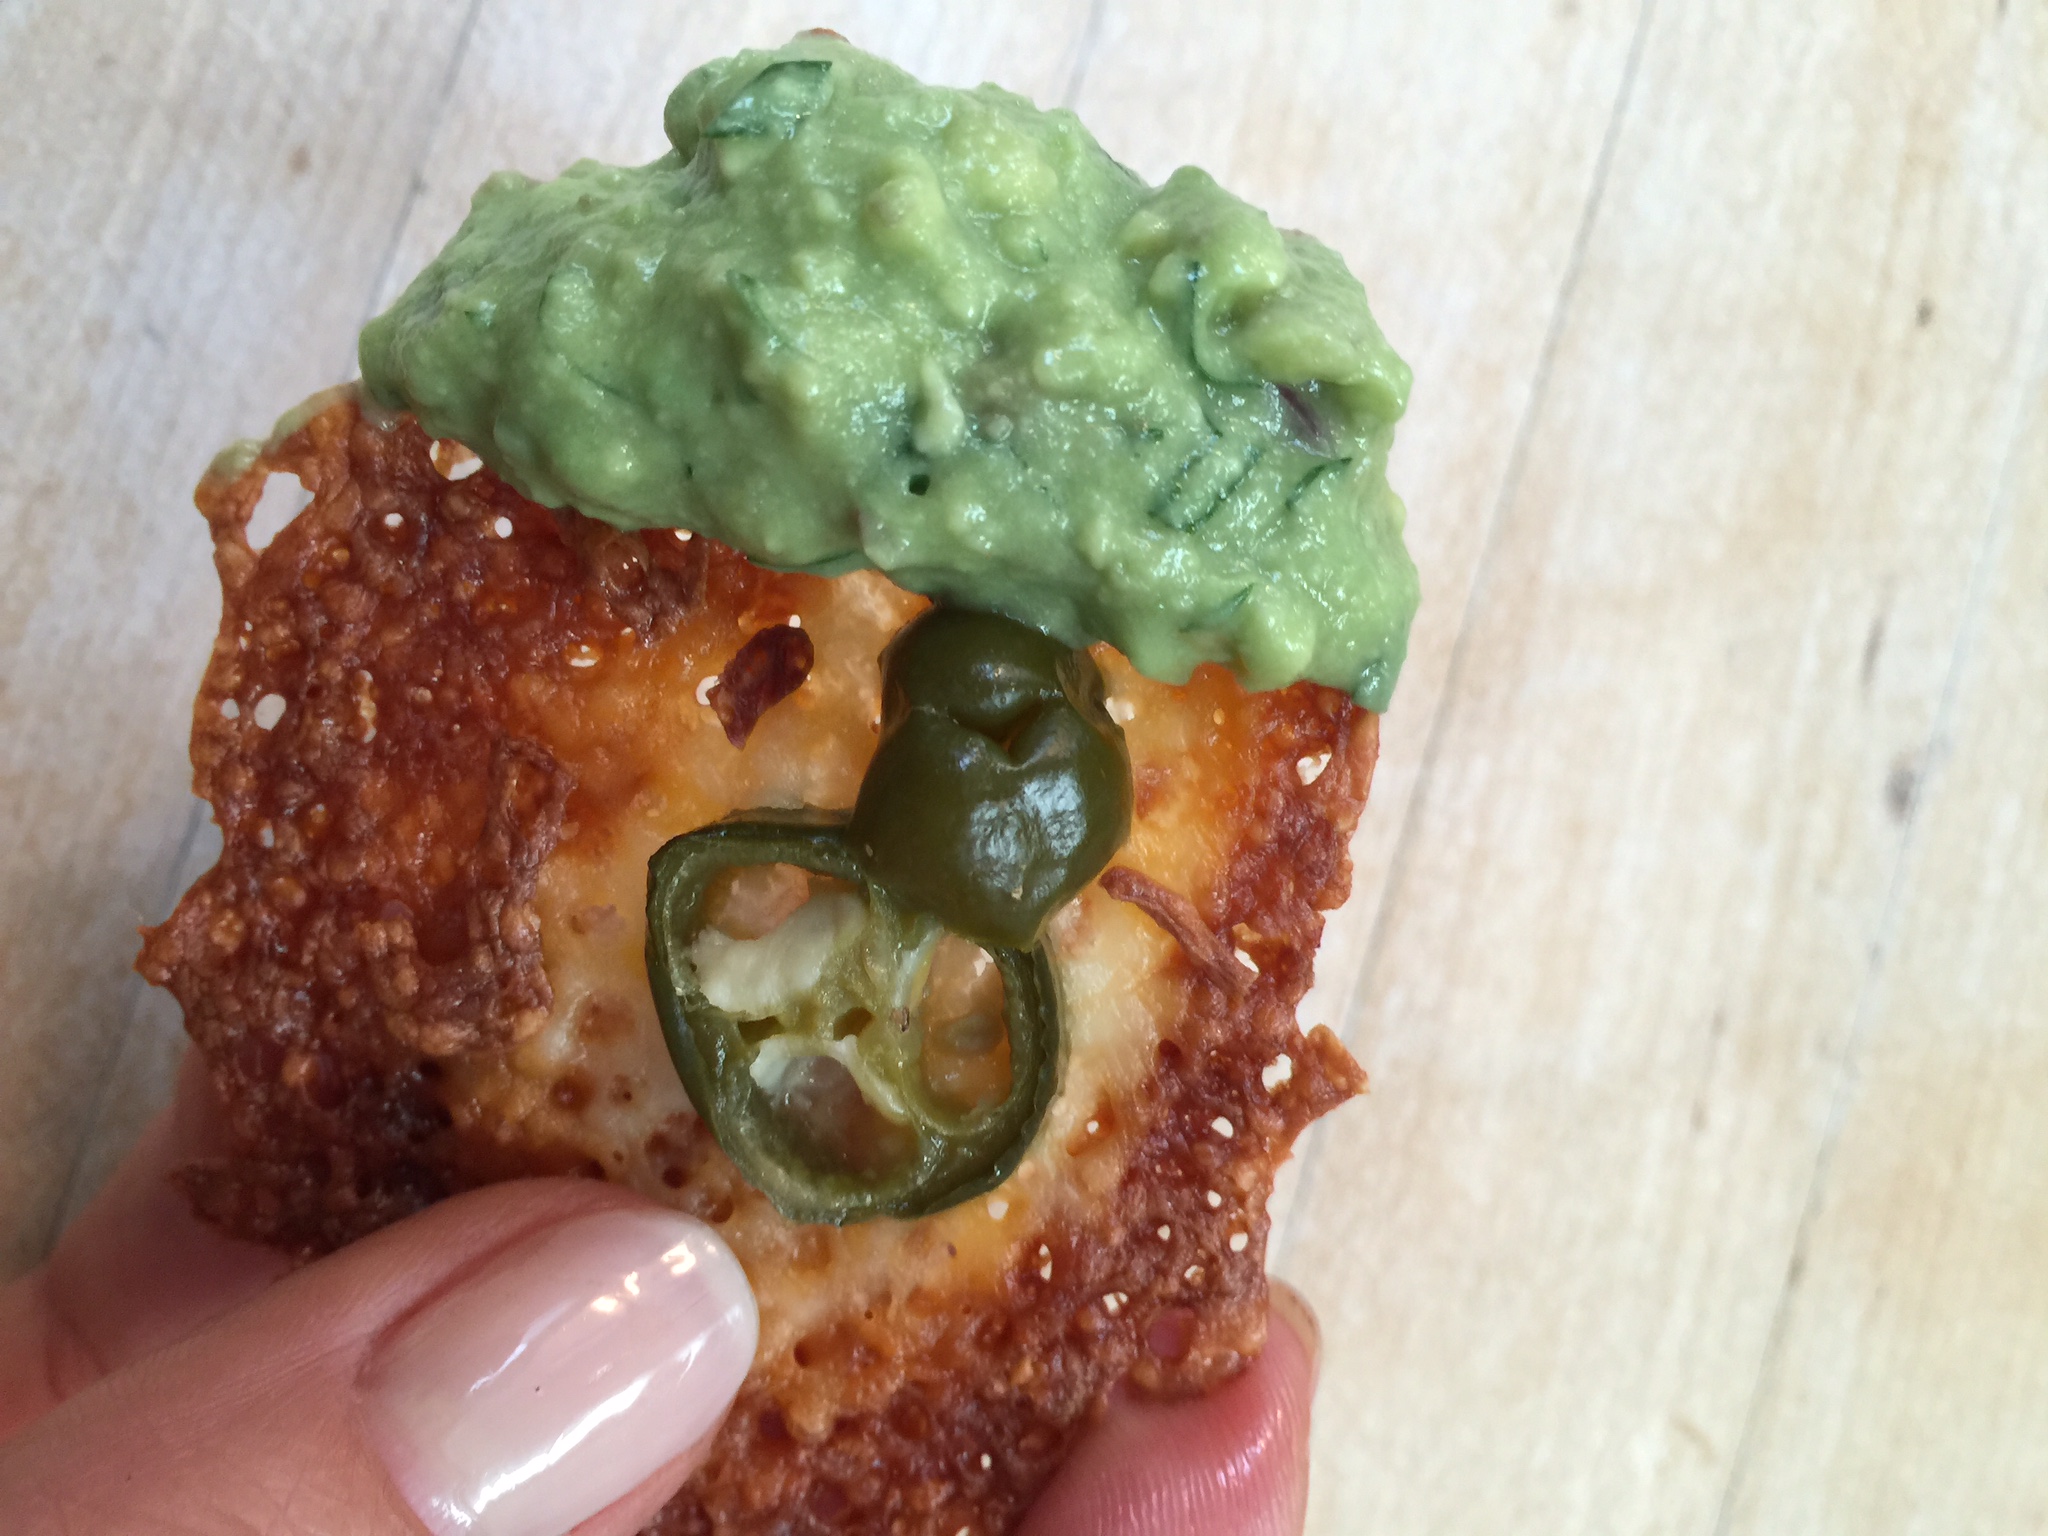
That’s what I heard on Friday! My kids wanted crackers, and honestly it sounded pretty good to me too. What to do when you want a high-carb snack on a low-carb diet? Get creative!
We were already planning on having fajitas, minus the tortilla, for dinner which meant guacamole was on the menu. What is better than plain old guacamole? Guacamole with cheese! What a way to Keto up guacamole – cheese, cheese, and more cheese! And, maybe some jalapenos!
This time of year, with the end of school, planning summer vacations, packing for camps, attending recitals, baseball games, graduations, ceremonies, parties, and planning fundraisers, (Whew – makes me tired just typing about it!) we are all exhausted and out of time! I promise this is easy, and look how delicious!!!!
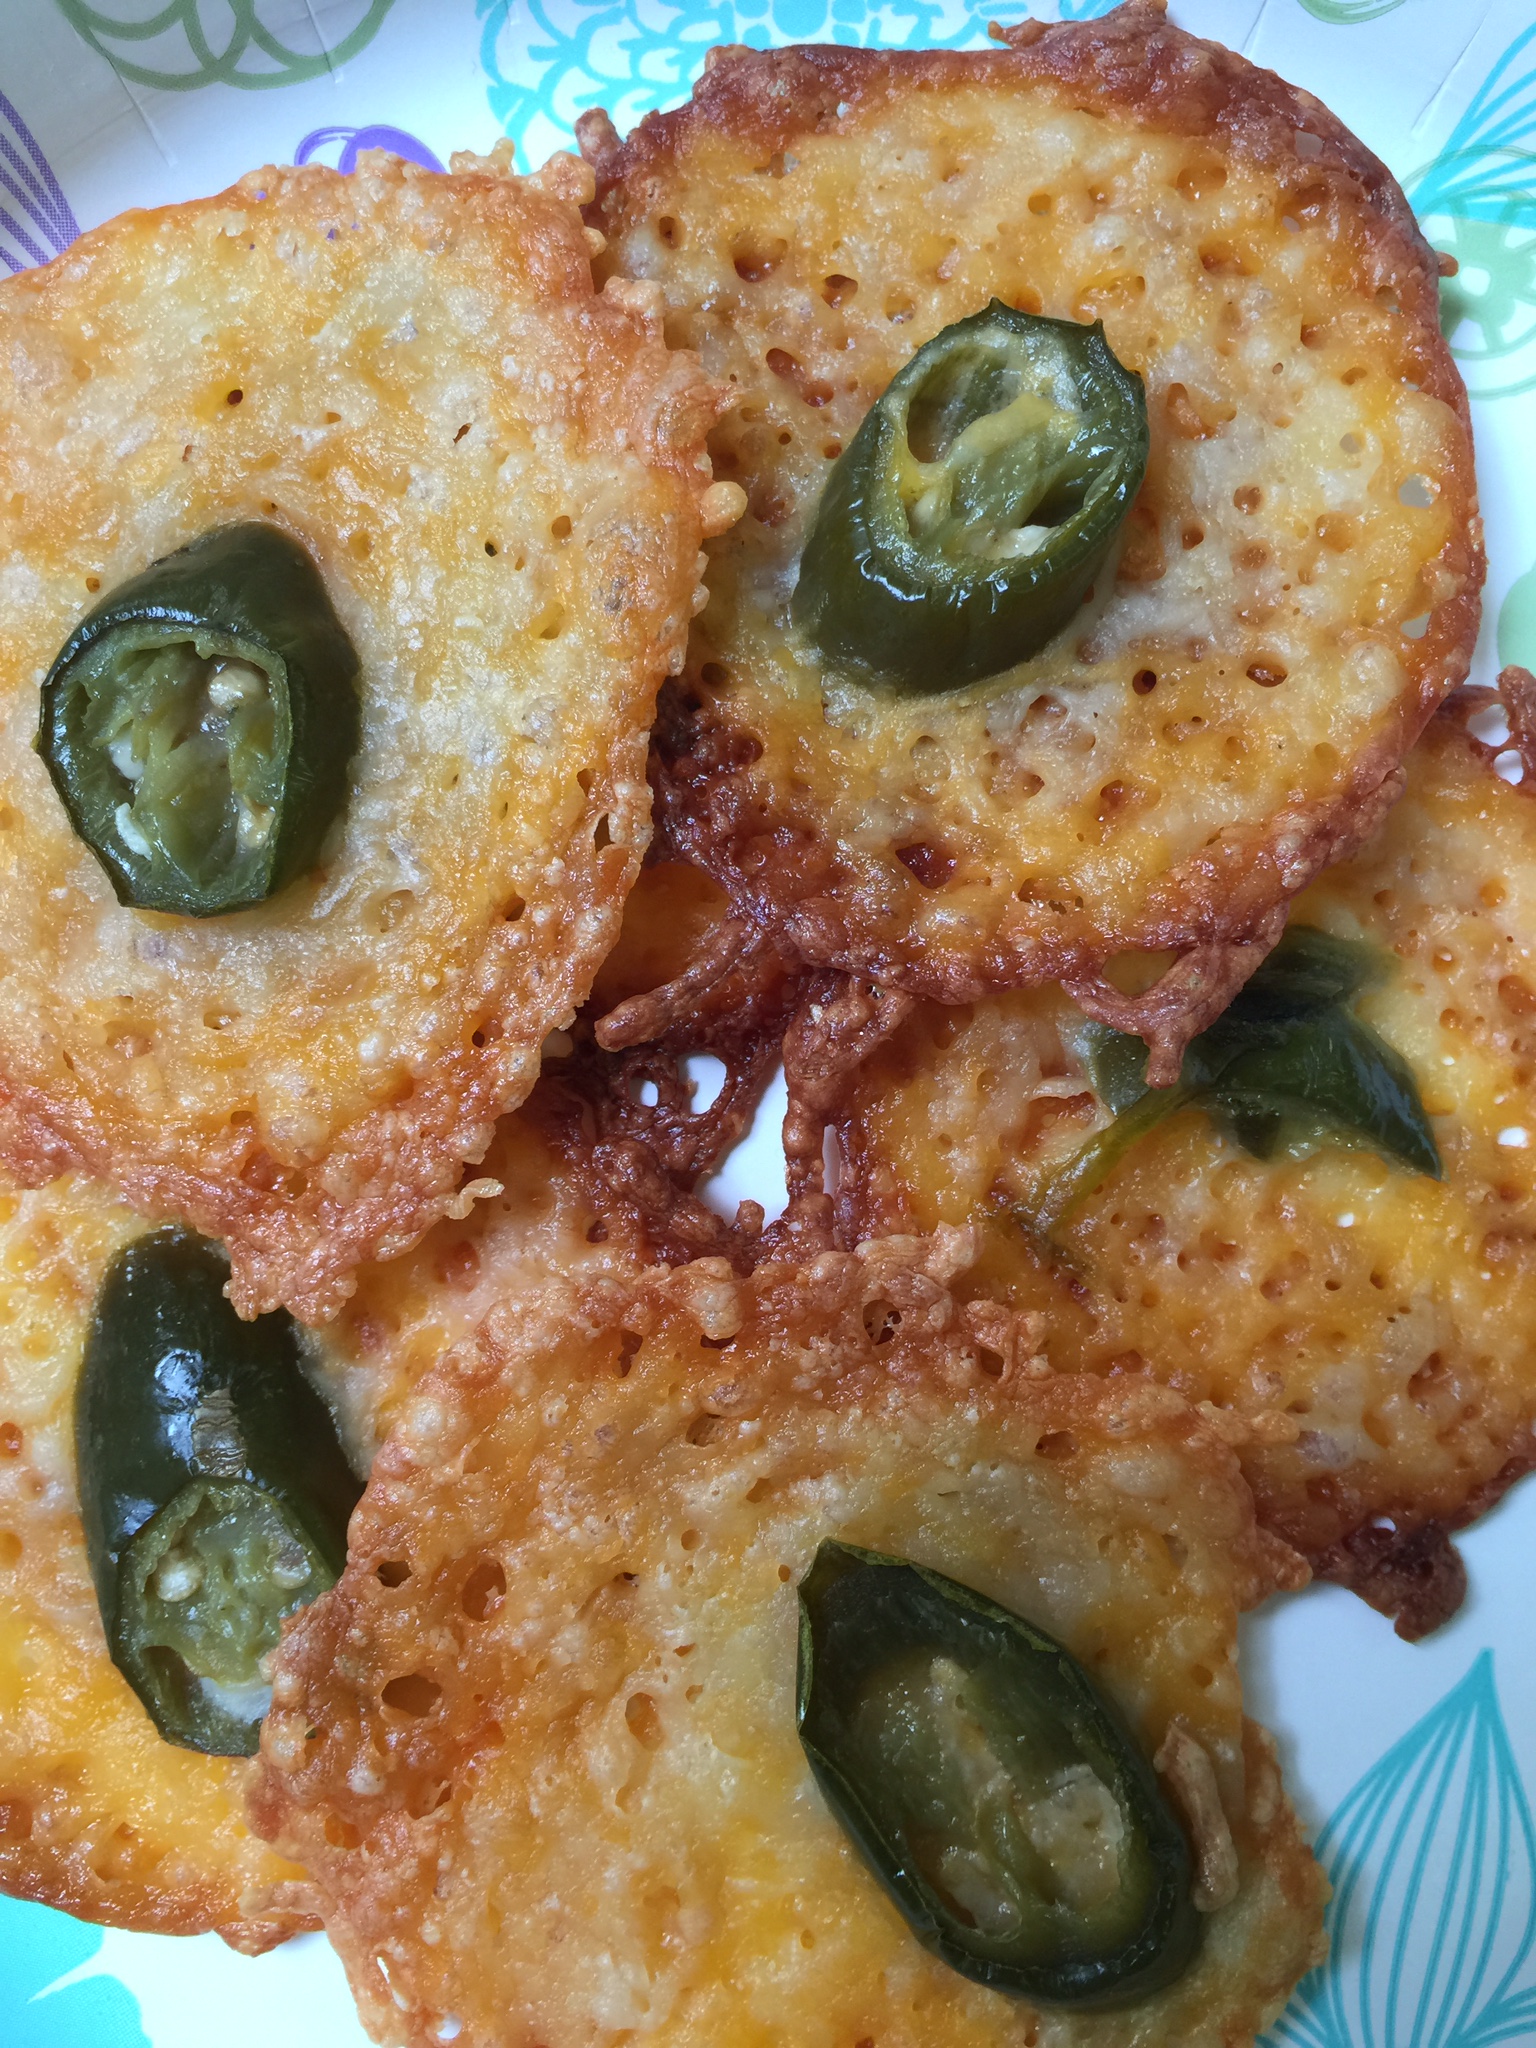
Cheese Crackers
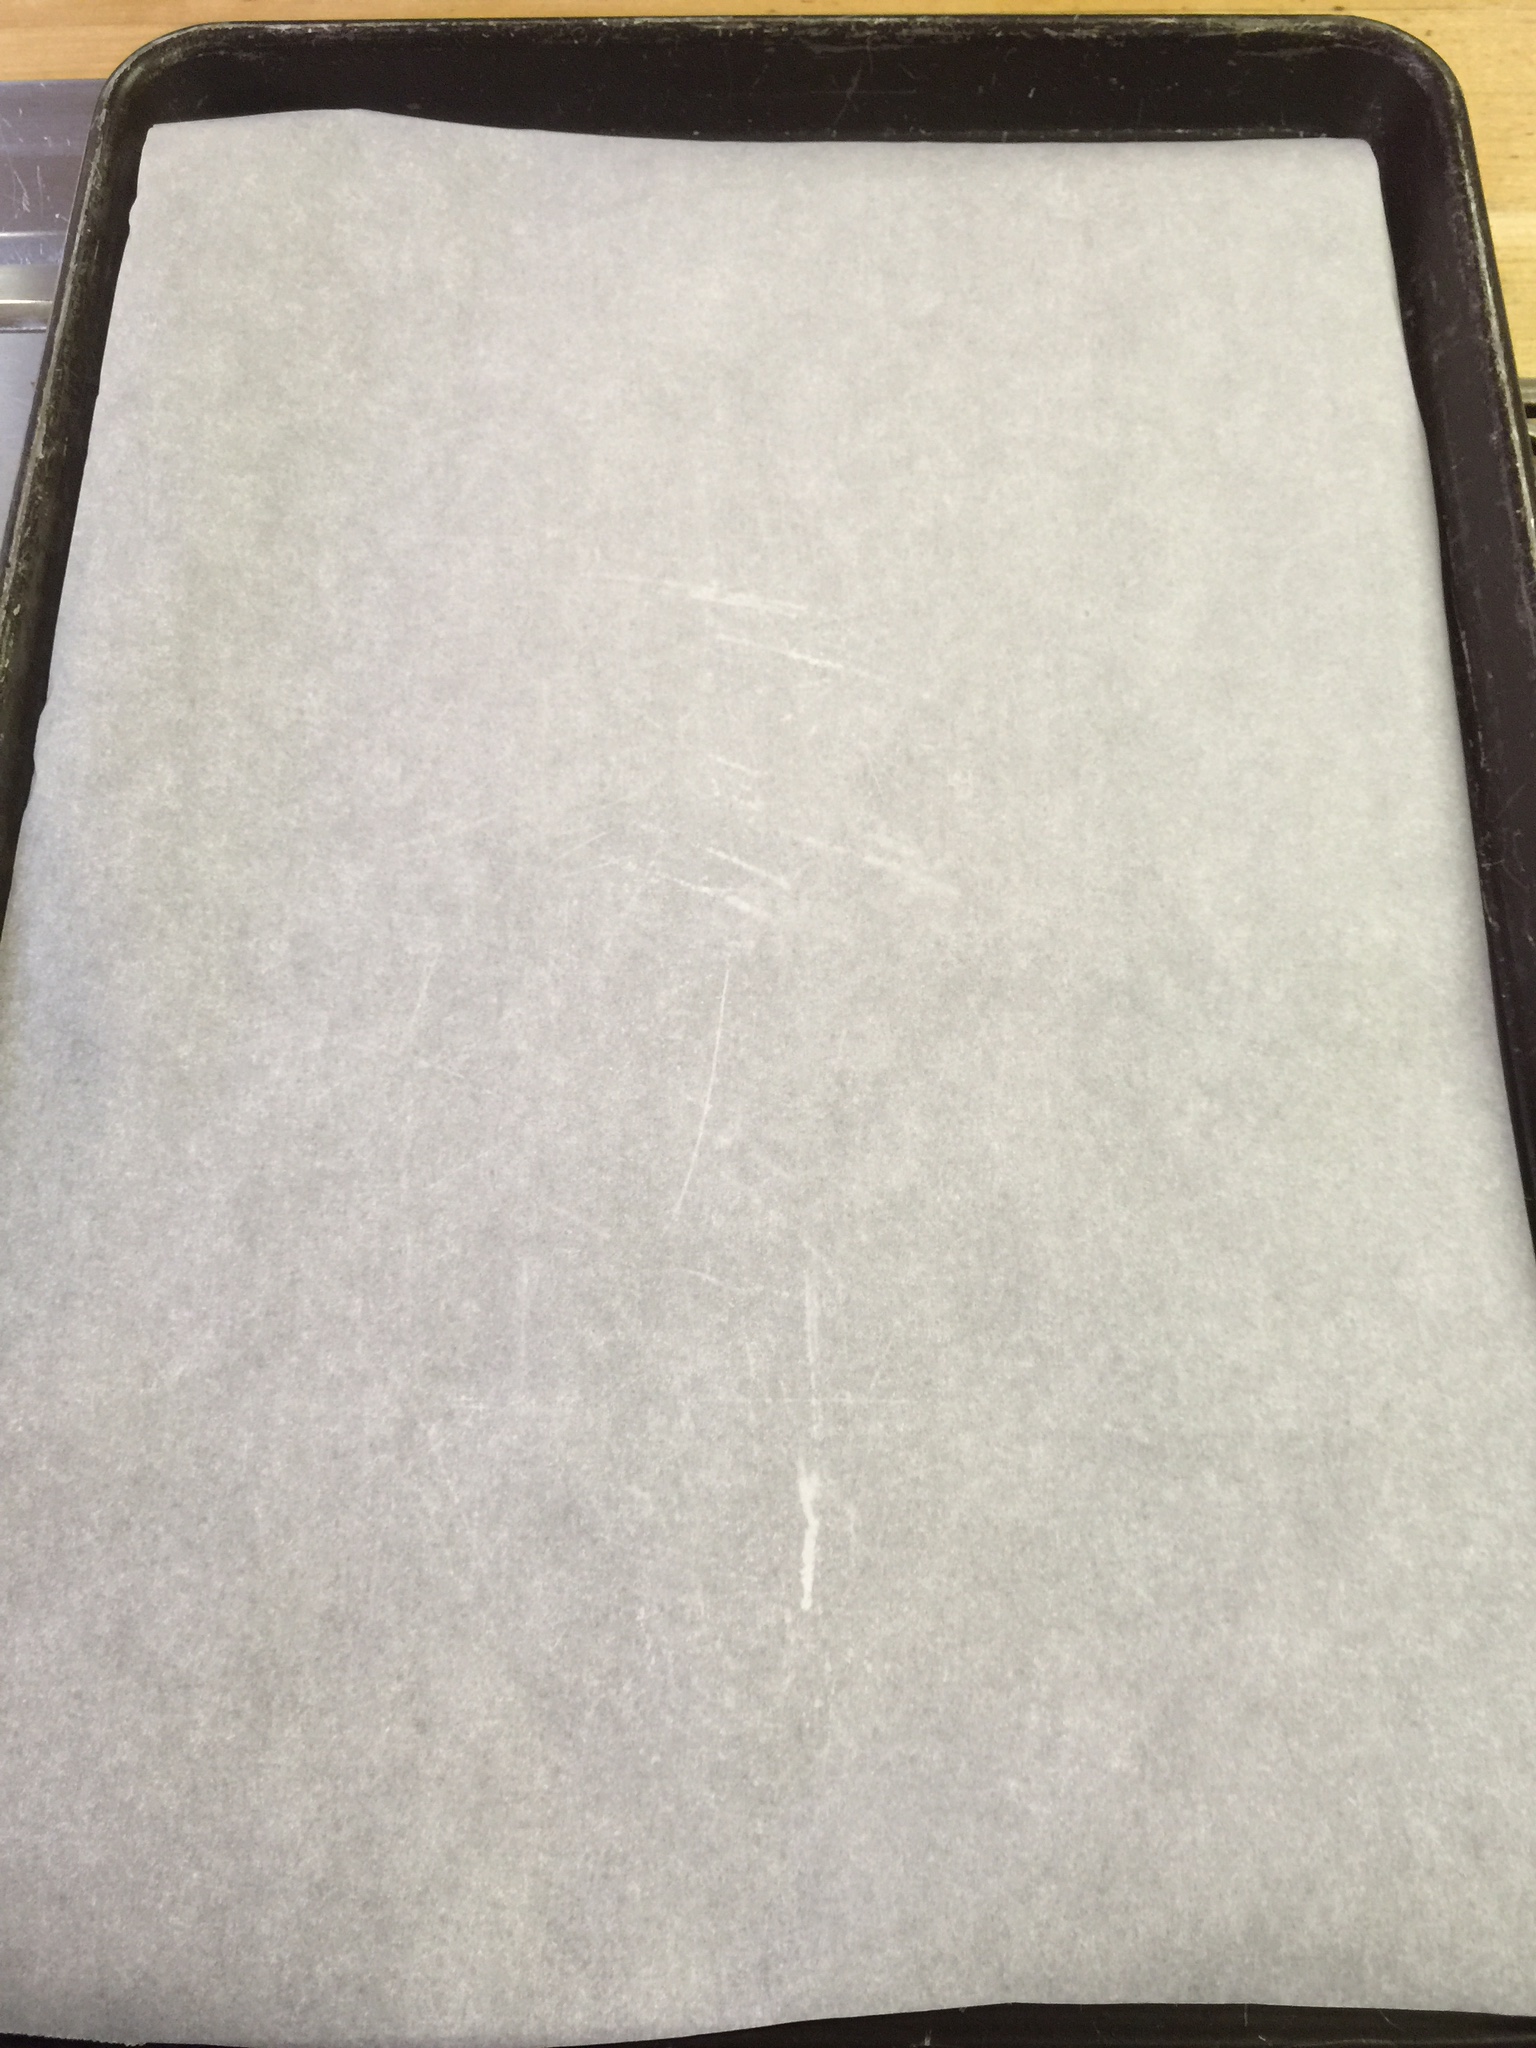
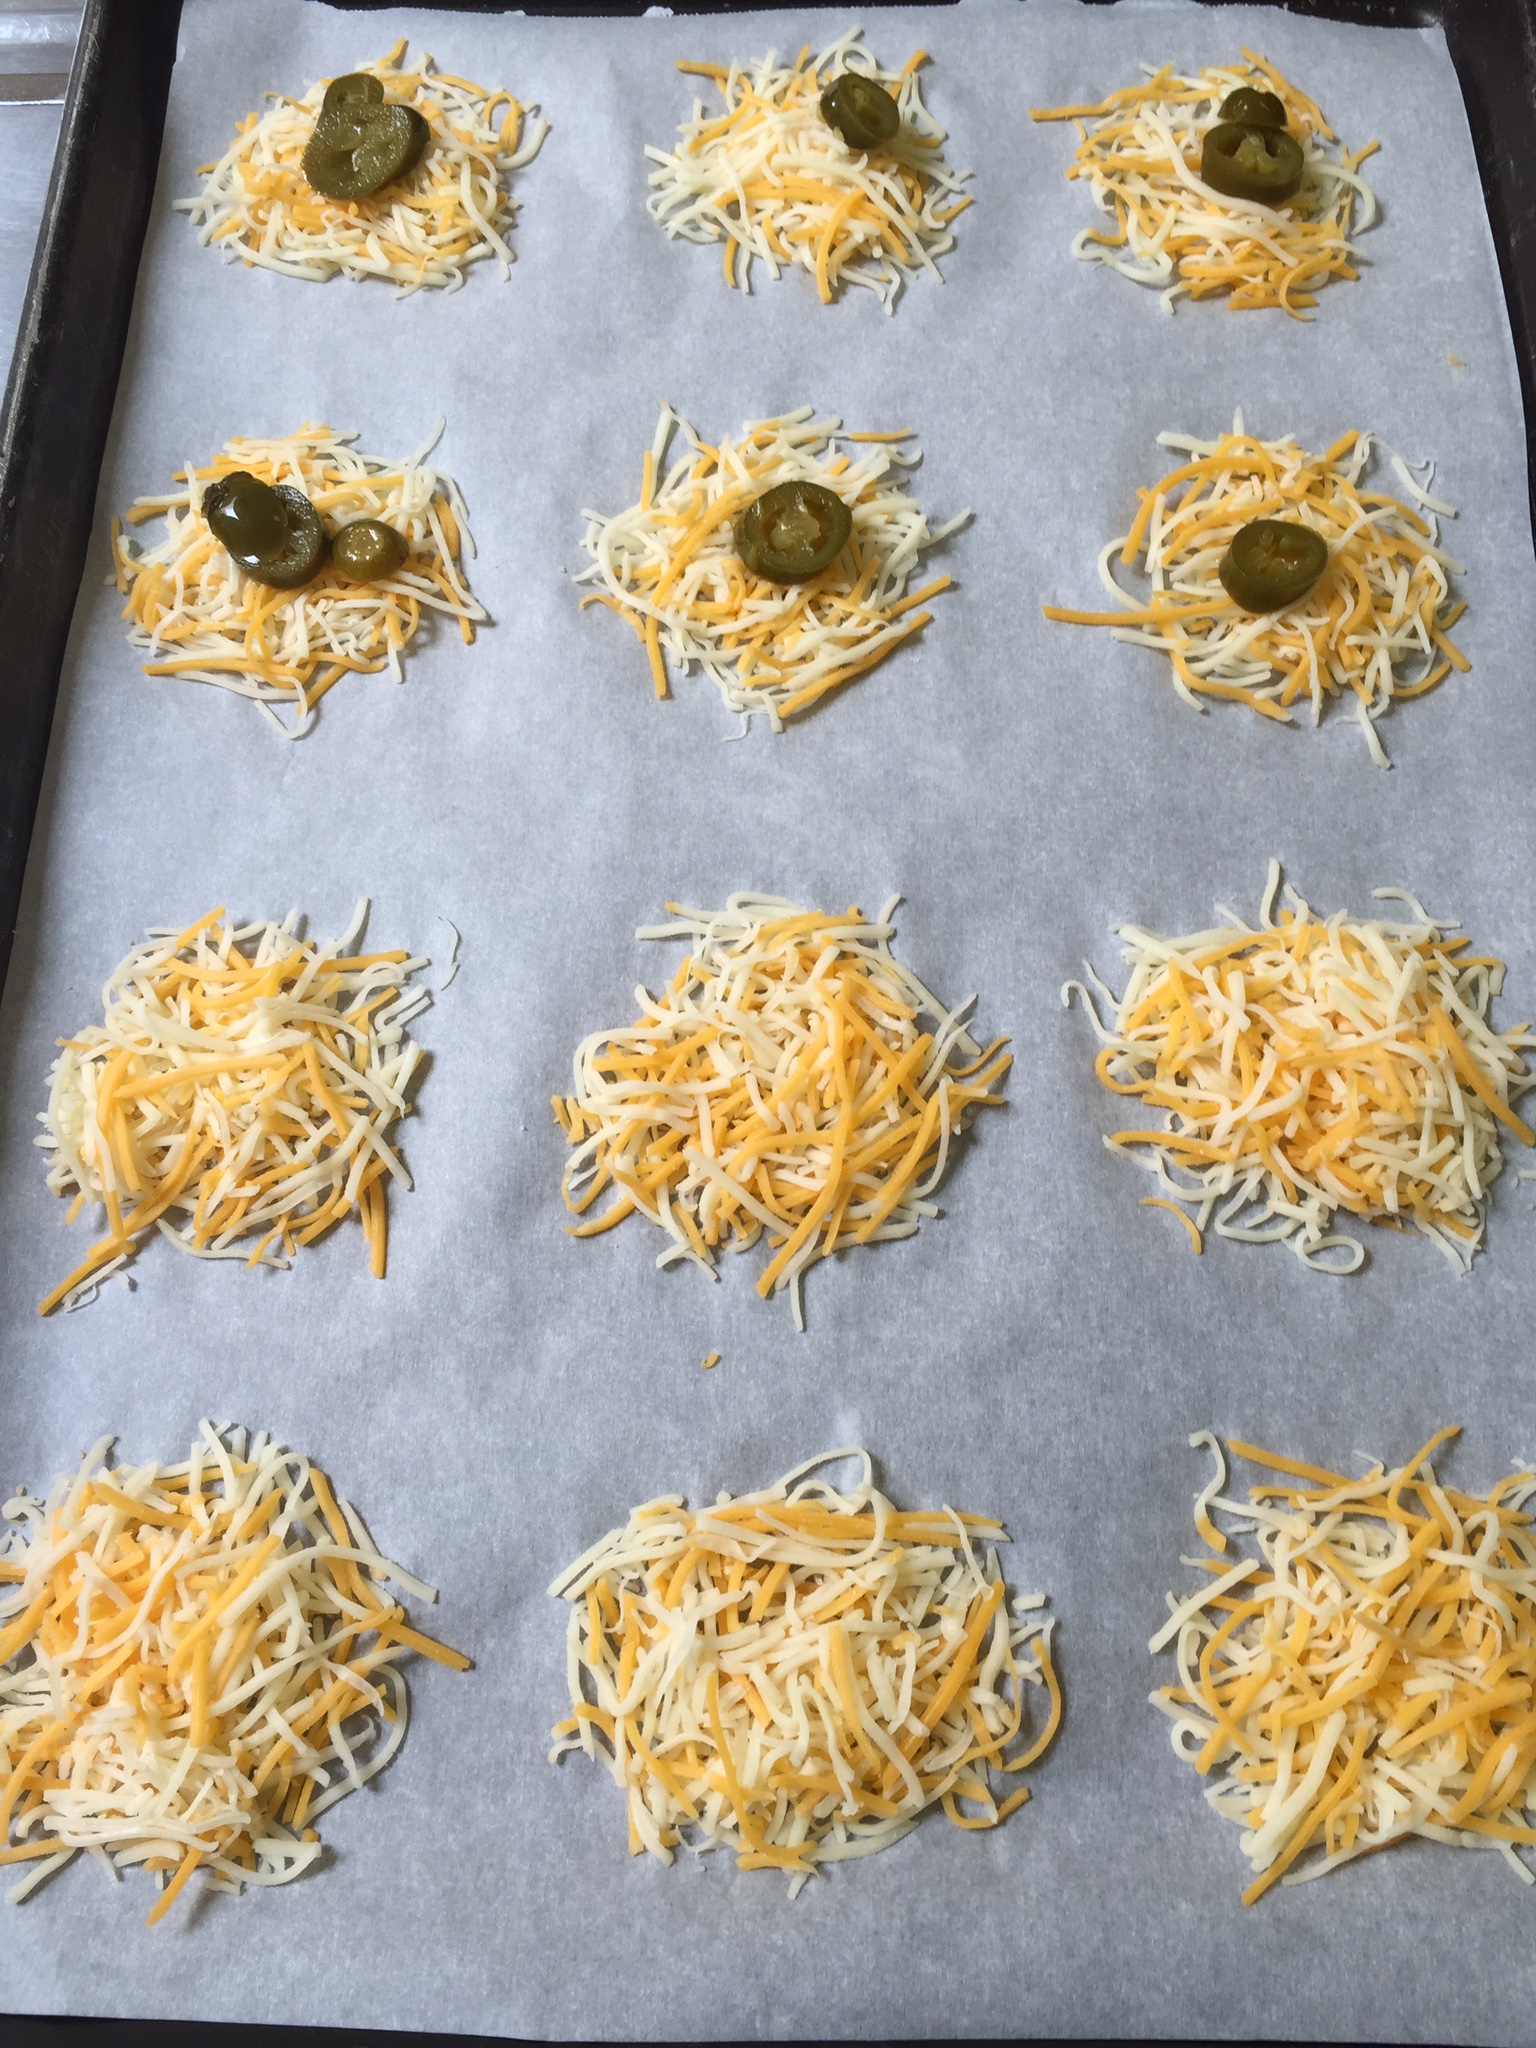
First line a cookie sheet with Parchment Paper – Very Important!
Start with shredded cheese. Any kind will work – whether you buy it shredded or shred it finely yourself. I used a Cheddar and Monterey Jack blend. Use your favorite!
Make little circles of cheese and press down so it forms a “cheese pancake”. Don’t make them too thick or they will not crisp.
If you want a little spice, add a sliced jalapeño to the middle, and press into the cheese.
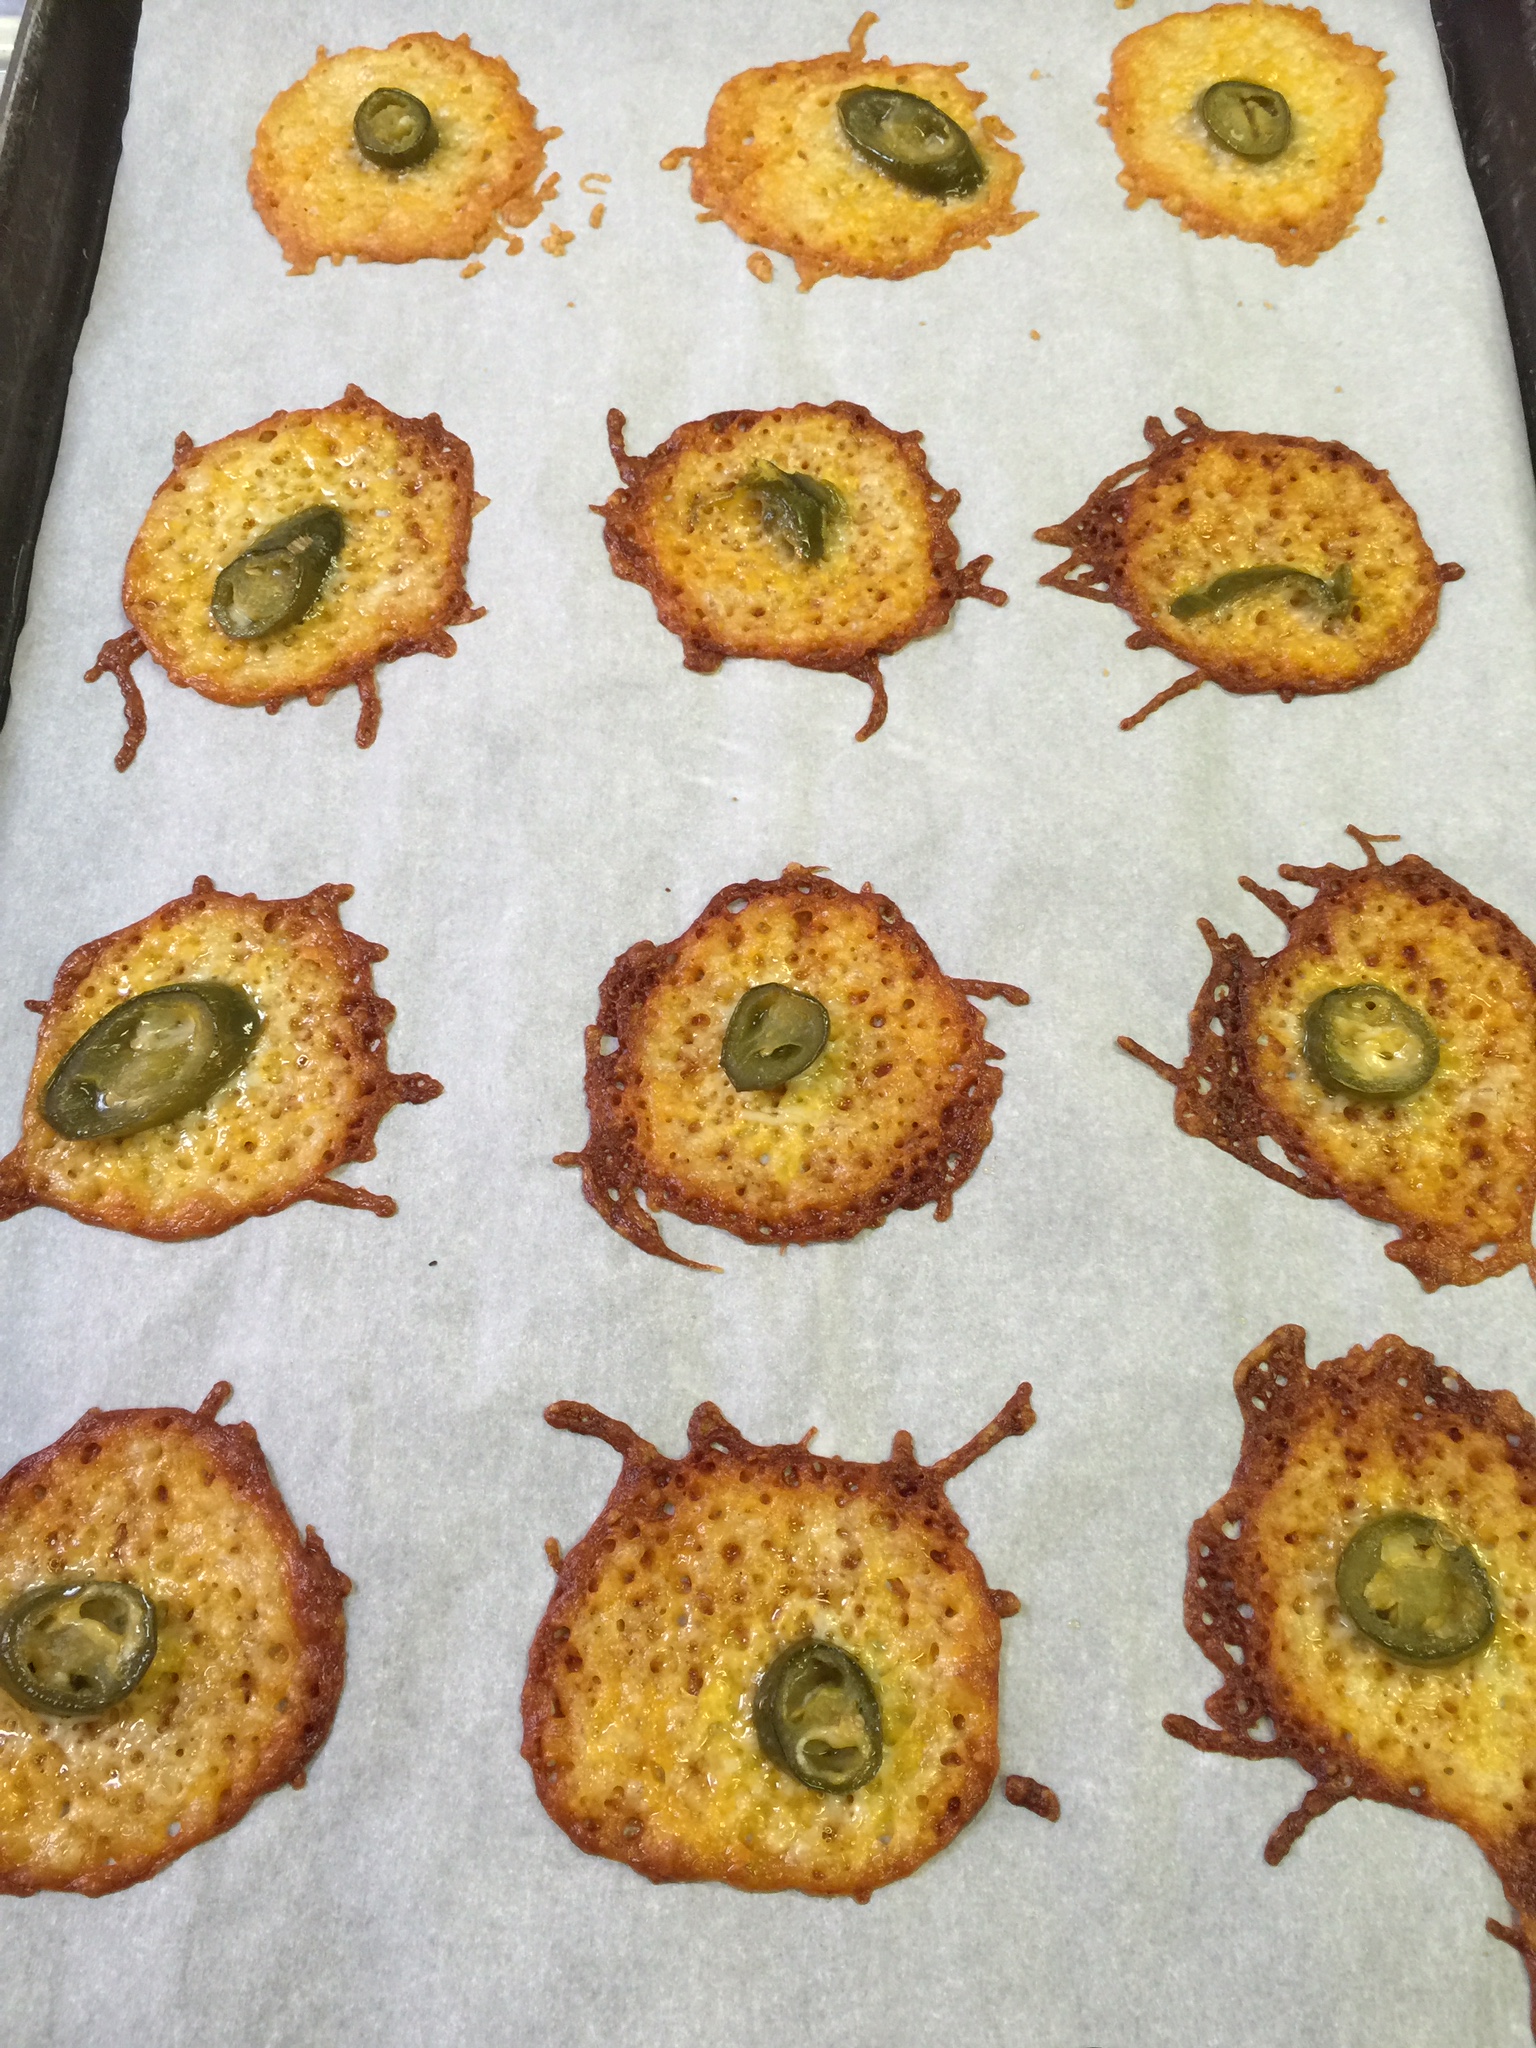
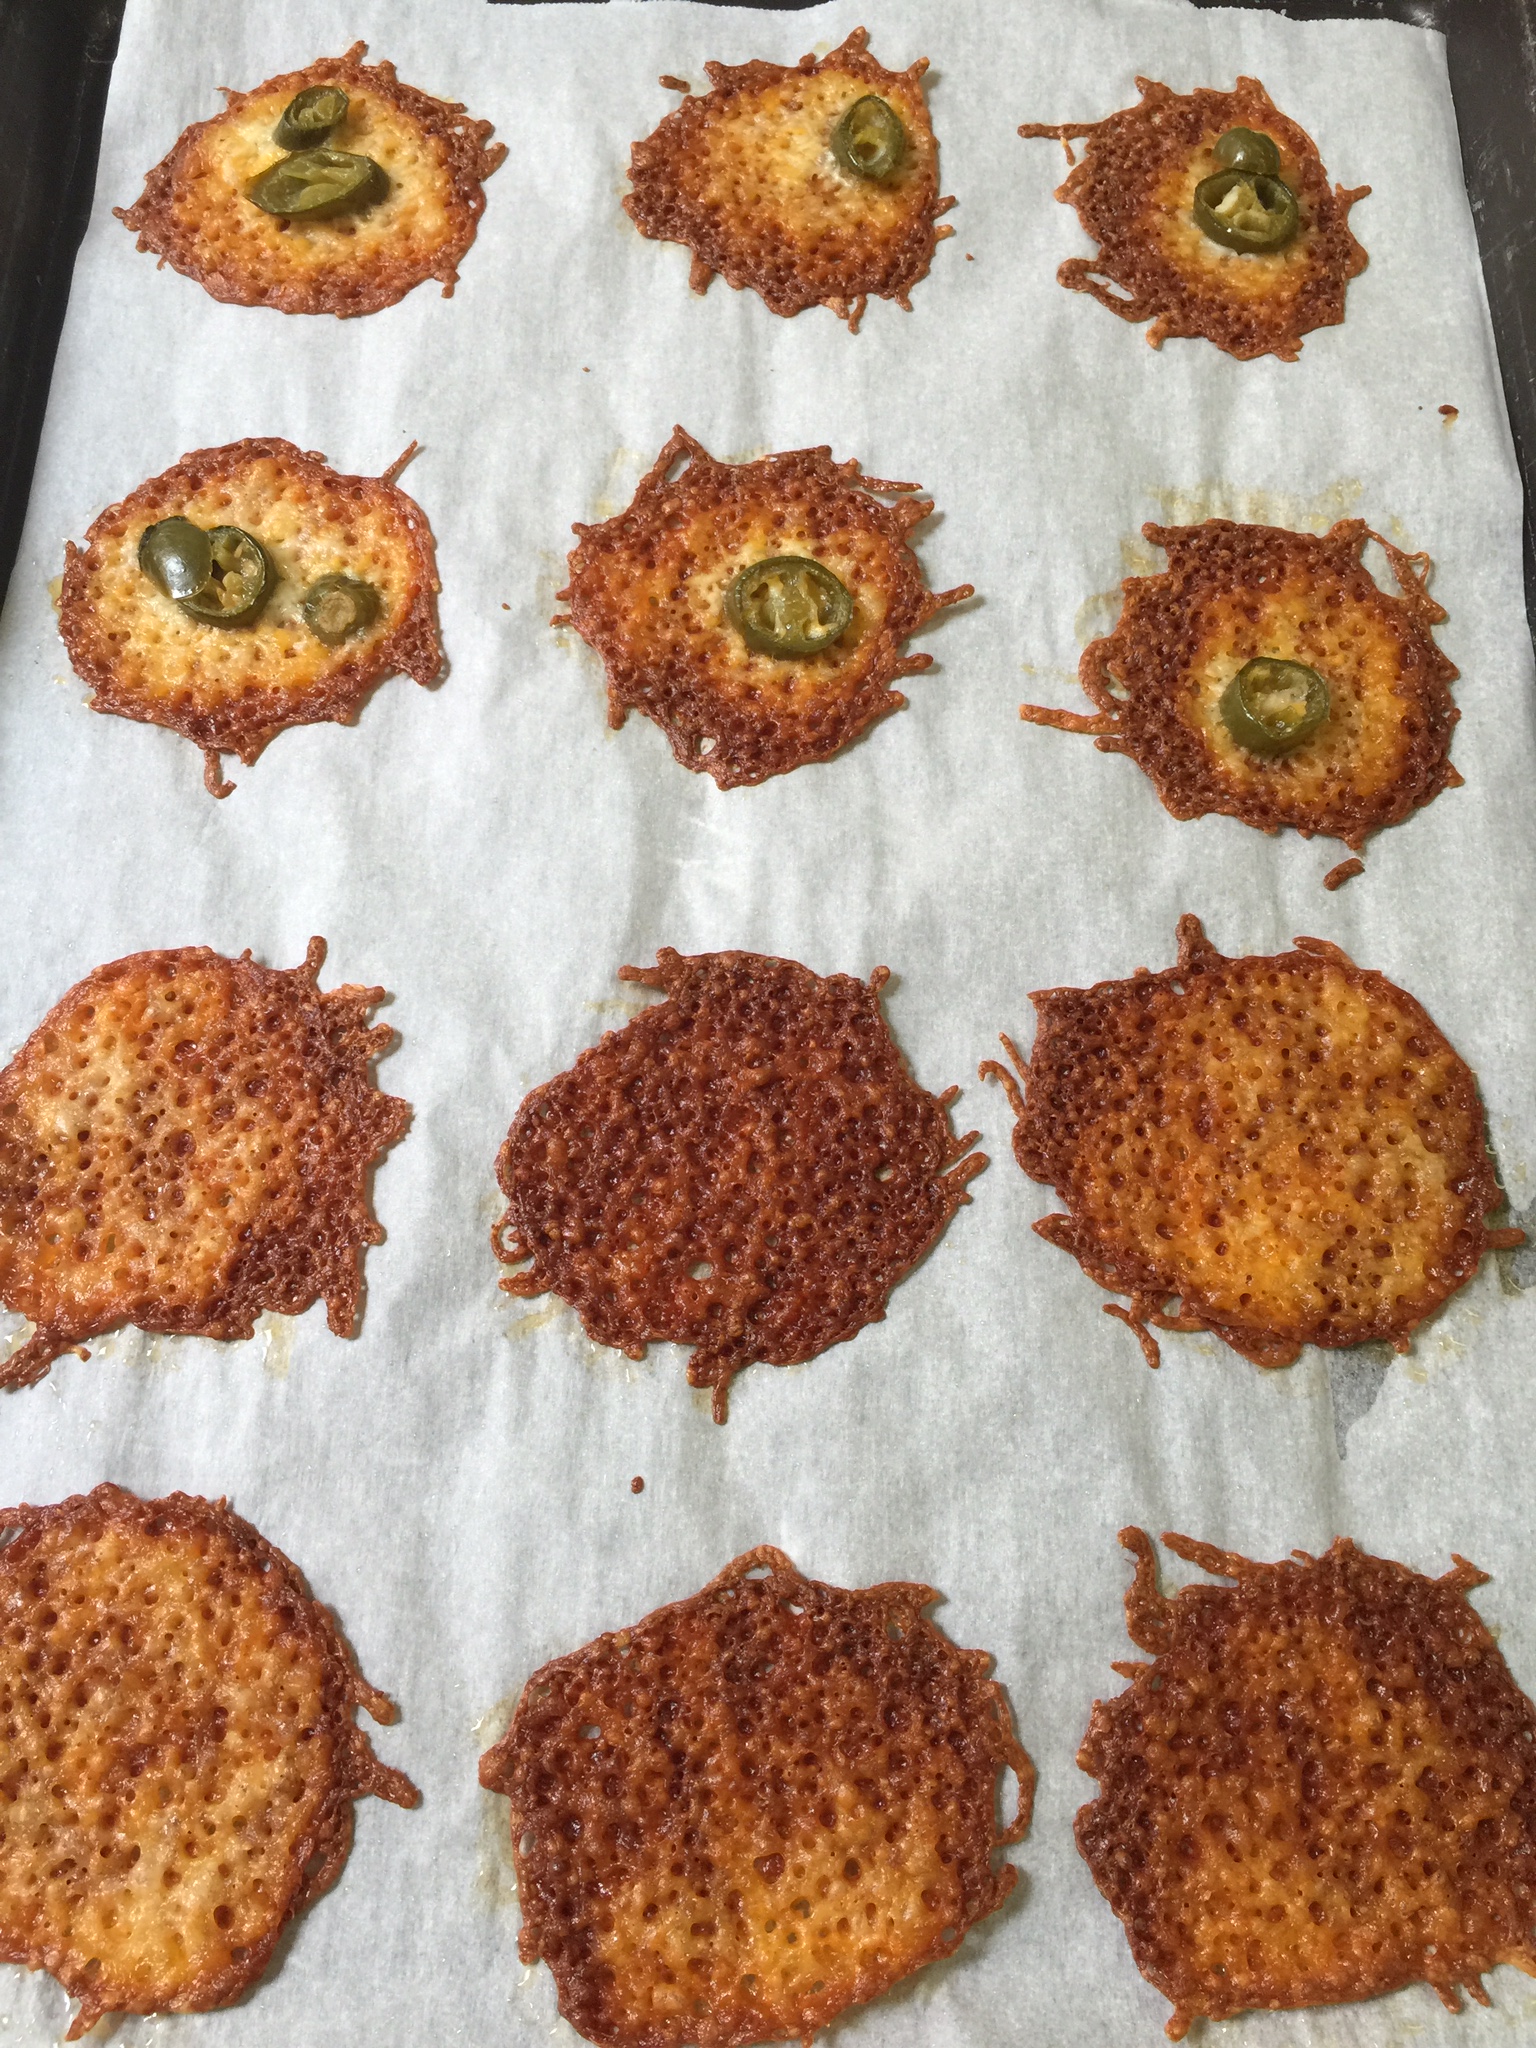
That’s it! Bake in the oven at 350 degrees for 10 minutes.
Allow the “crackers” to cool so they crisp nicely. Then, enjoy your carb-free snack with your favorite dip or eat them plain! I made two cookie sheets, and they were devoured before dinner!
Let’s face it…being on a Ketogenic diet with REAL food is not inexpensive! We are trying to be as healthy as possible, which comes at an expense to our wallets. In fact, today, while listening to a Livin’ La Vida podcast, a nutrition expert and author was discussing the fact that higher income countries are actually consuming less grains now than low net income countries because those packaged foods and grains cost pennies compared to “real food” which is actually nourishing. Very sad! I totally believe it is worth every penny to feed my family well, but at the same time, I try to save where I can! This is where buying in bulk can help, especially when feeding a hungry family of five. I have two growing boys that eat constantly.
Now, I do have to say, a high fat, real food diet, keeps you full much longer that the recommended, low fat Standard American Diet (SAD), so in terms of food, you are not eating the same quantity. There are certain foods that we consume more often than others, so using a store like Costco or Sam’s can help you. One of the more frequent questions we receive is where we buy our groceries. The answer is…everywhere, but I don’t shop at every store every week. I probably make a Costco run every two weeks, so I thought I would share the basics I keep on hand in bulk.
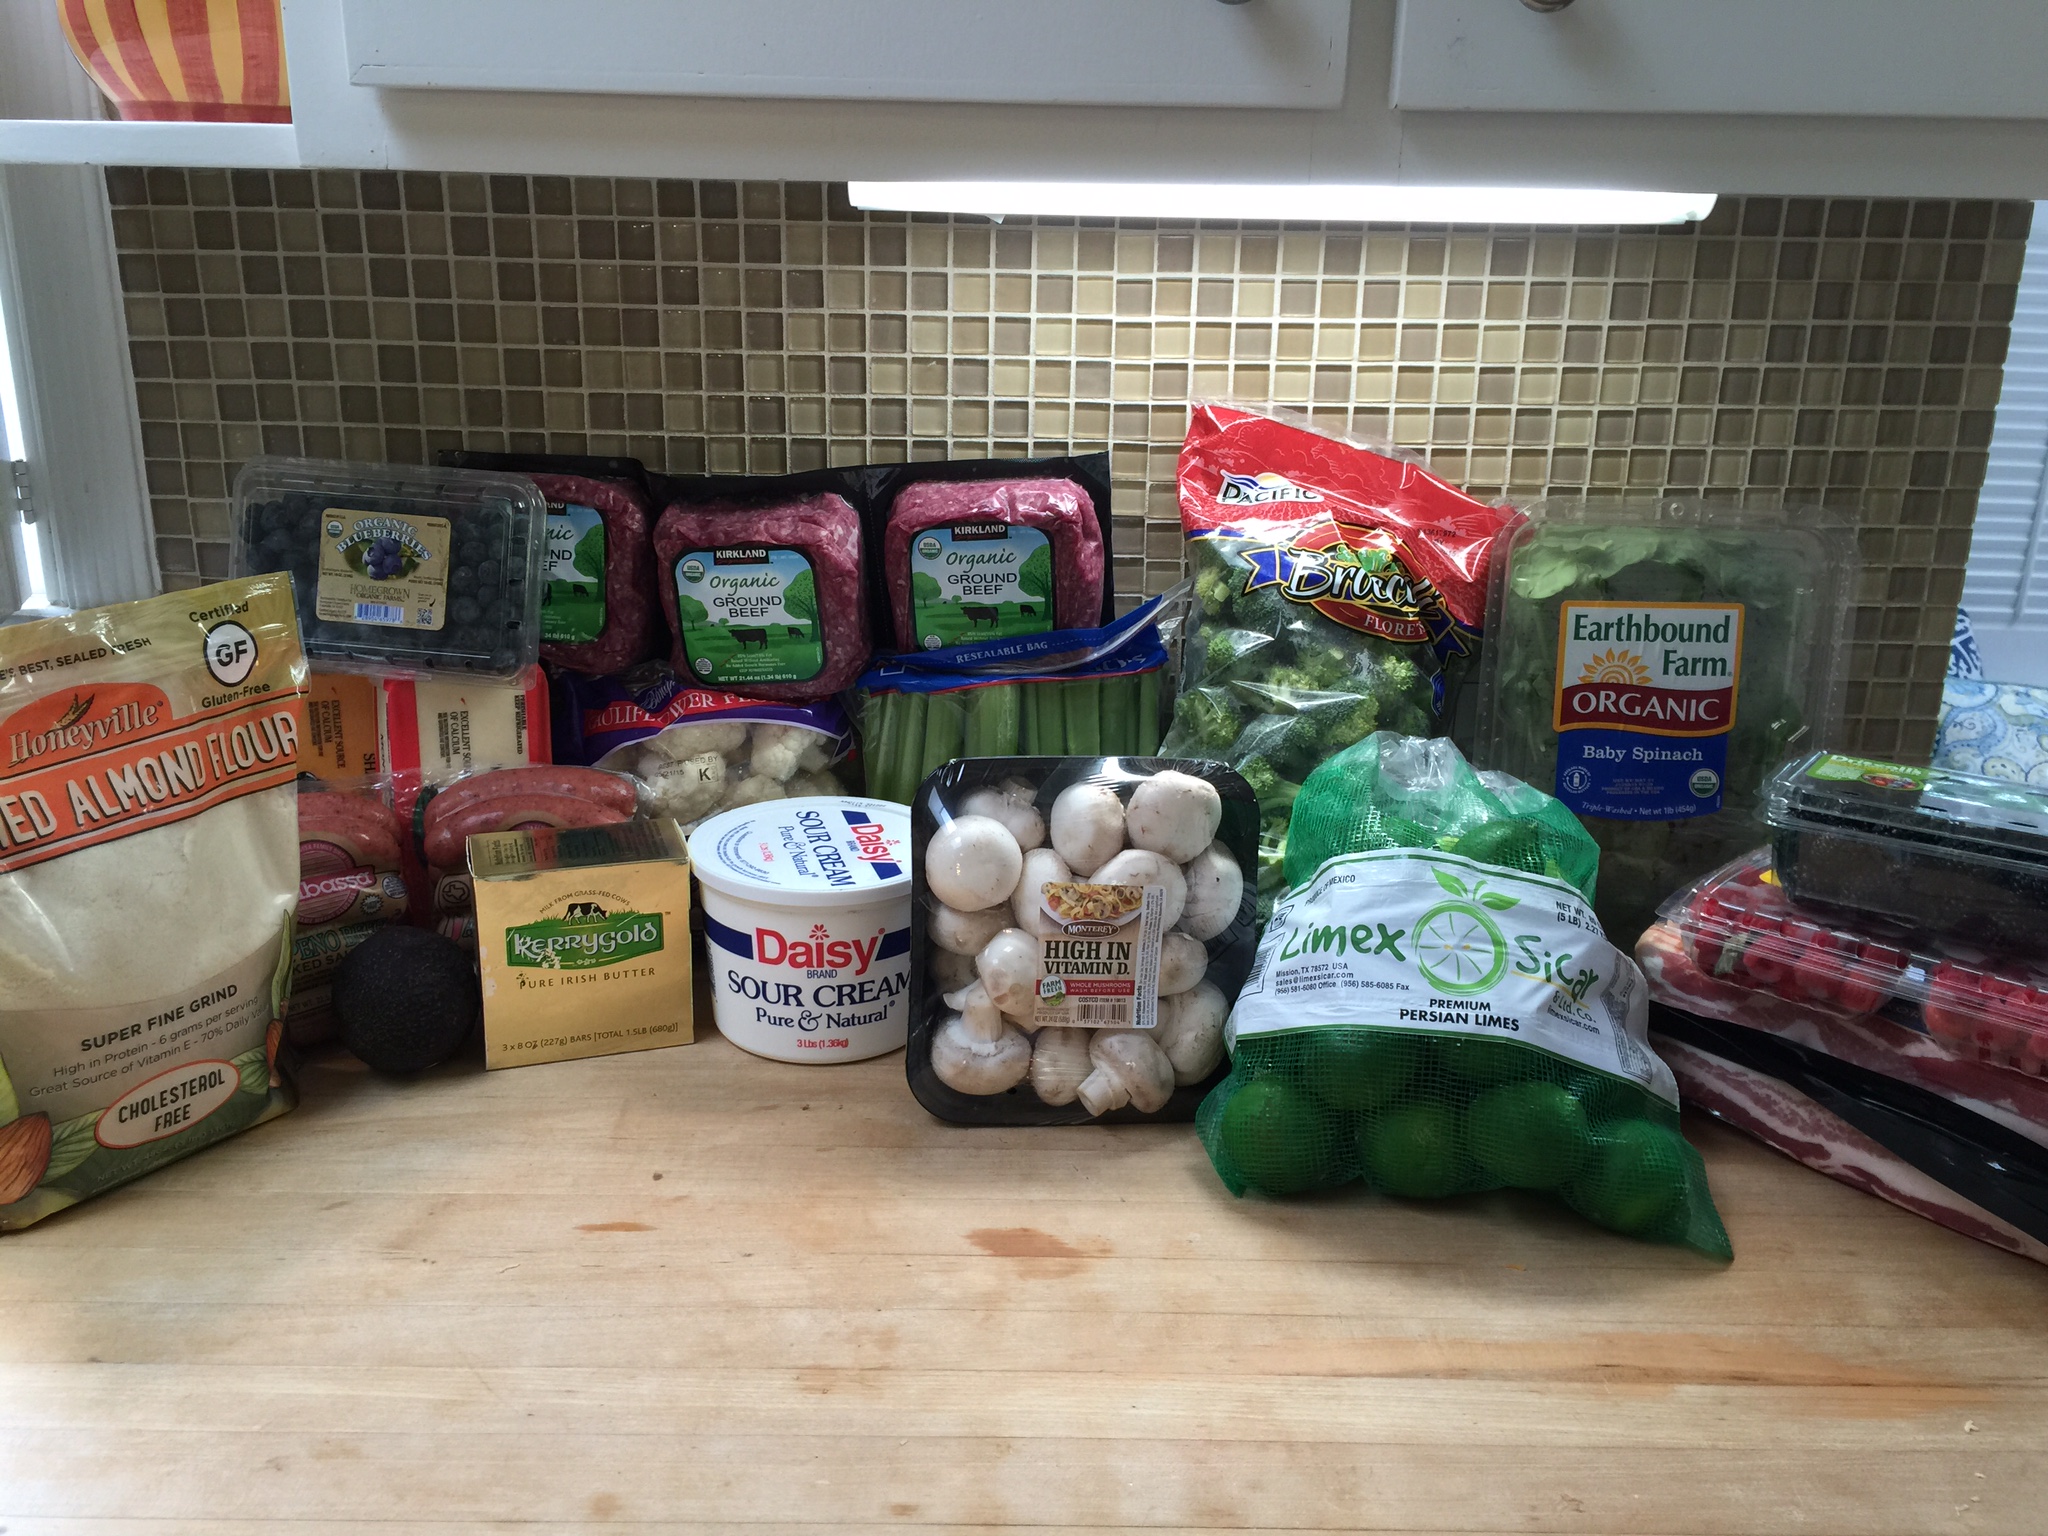
From left to right:
1. Almond Flour: I have said this before, but do not even try the other brands…Honeyville is far superior to any of the others. I have tried all of them, and hands down, Honeyville bakes the best with the least amount of heavy texture. Costco saves you a ton…you can’t find a lower price even on Honeyville’s own website!
2. Berries: (On both sides – All organic!) While we do not recommend a large amount of fruit on a Keto diet, berries are by far the best choice. They are the lowest in fructose and have a high amount of anti-oxidants. These are primarily for the children, but every once in a while, I will have a small handful in a bowl of sugar-free whipped cream (homemade) with Swerve and vanilla for a sweet treat. Remember to always eat protein and carbs with lots of fat so you stay a fat burner!
3. Avocados: Costco usually has bags of five or six avocados. I use these for lunch filled with shrimp salad or plain with salt and lime or on salads. We ALWAYS have guacamole in the house. We use it on eggs in the morning and meat in the evenings. You can never have too many avocados.
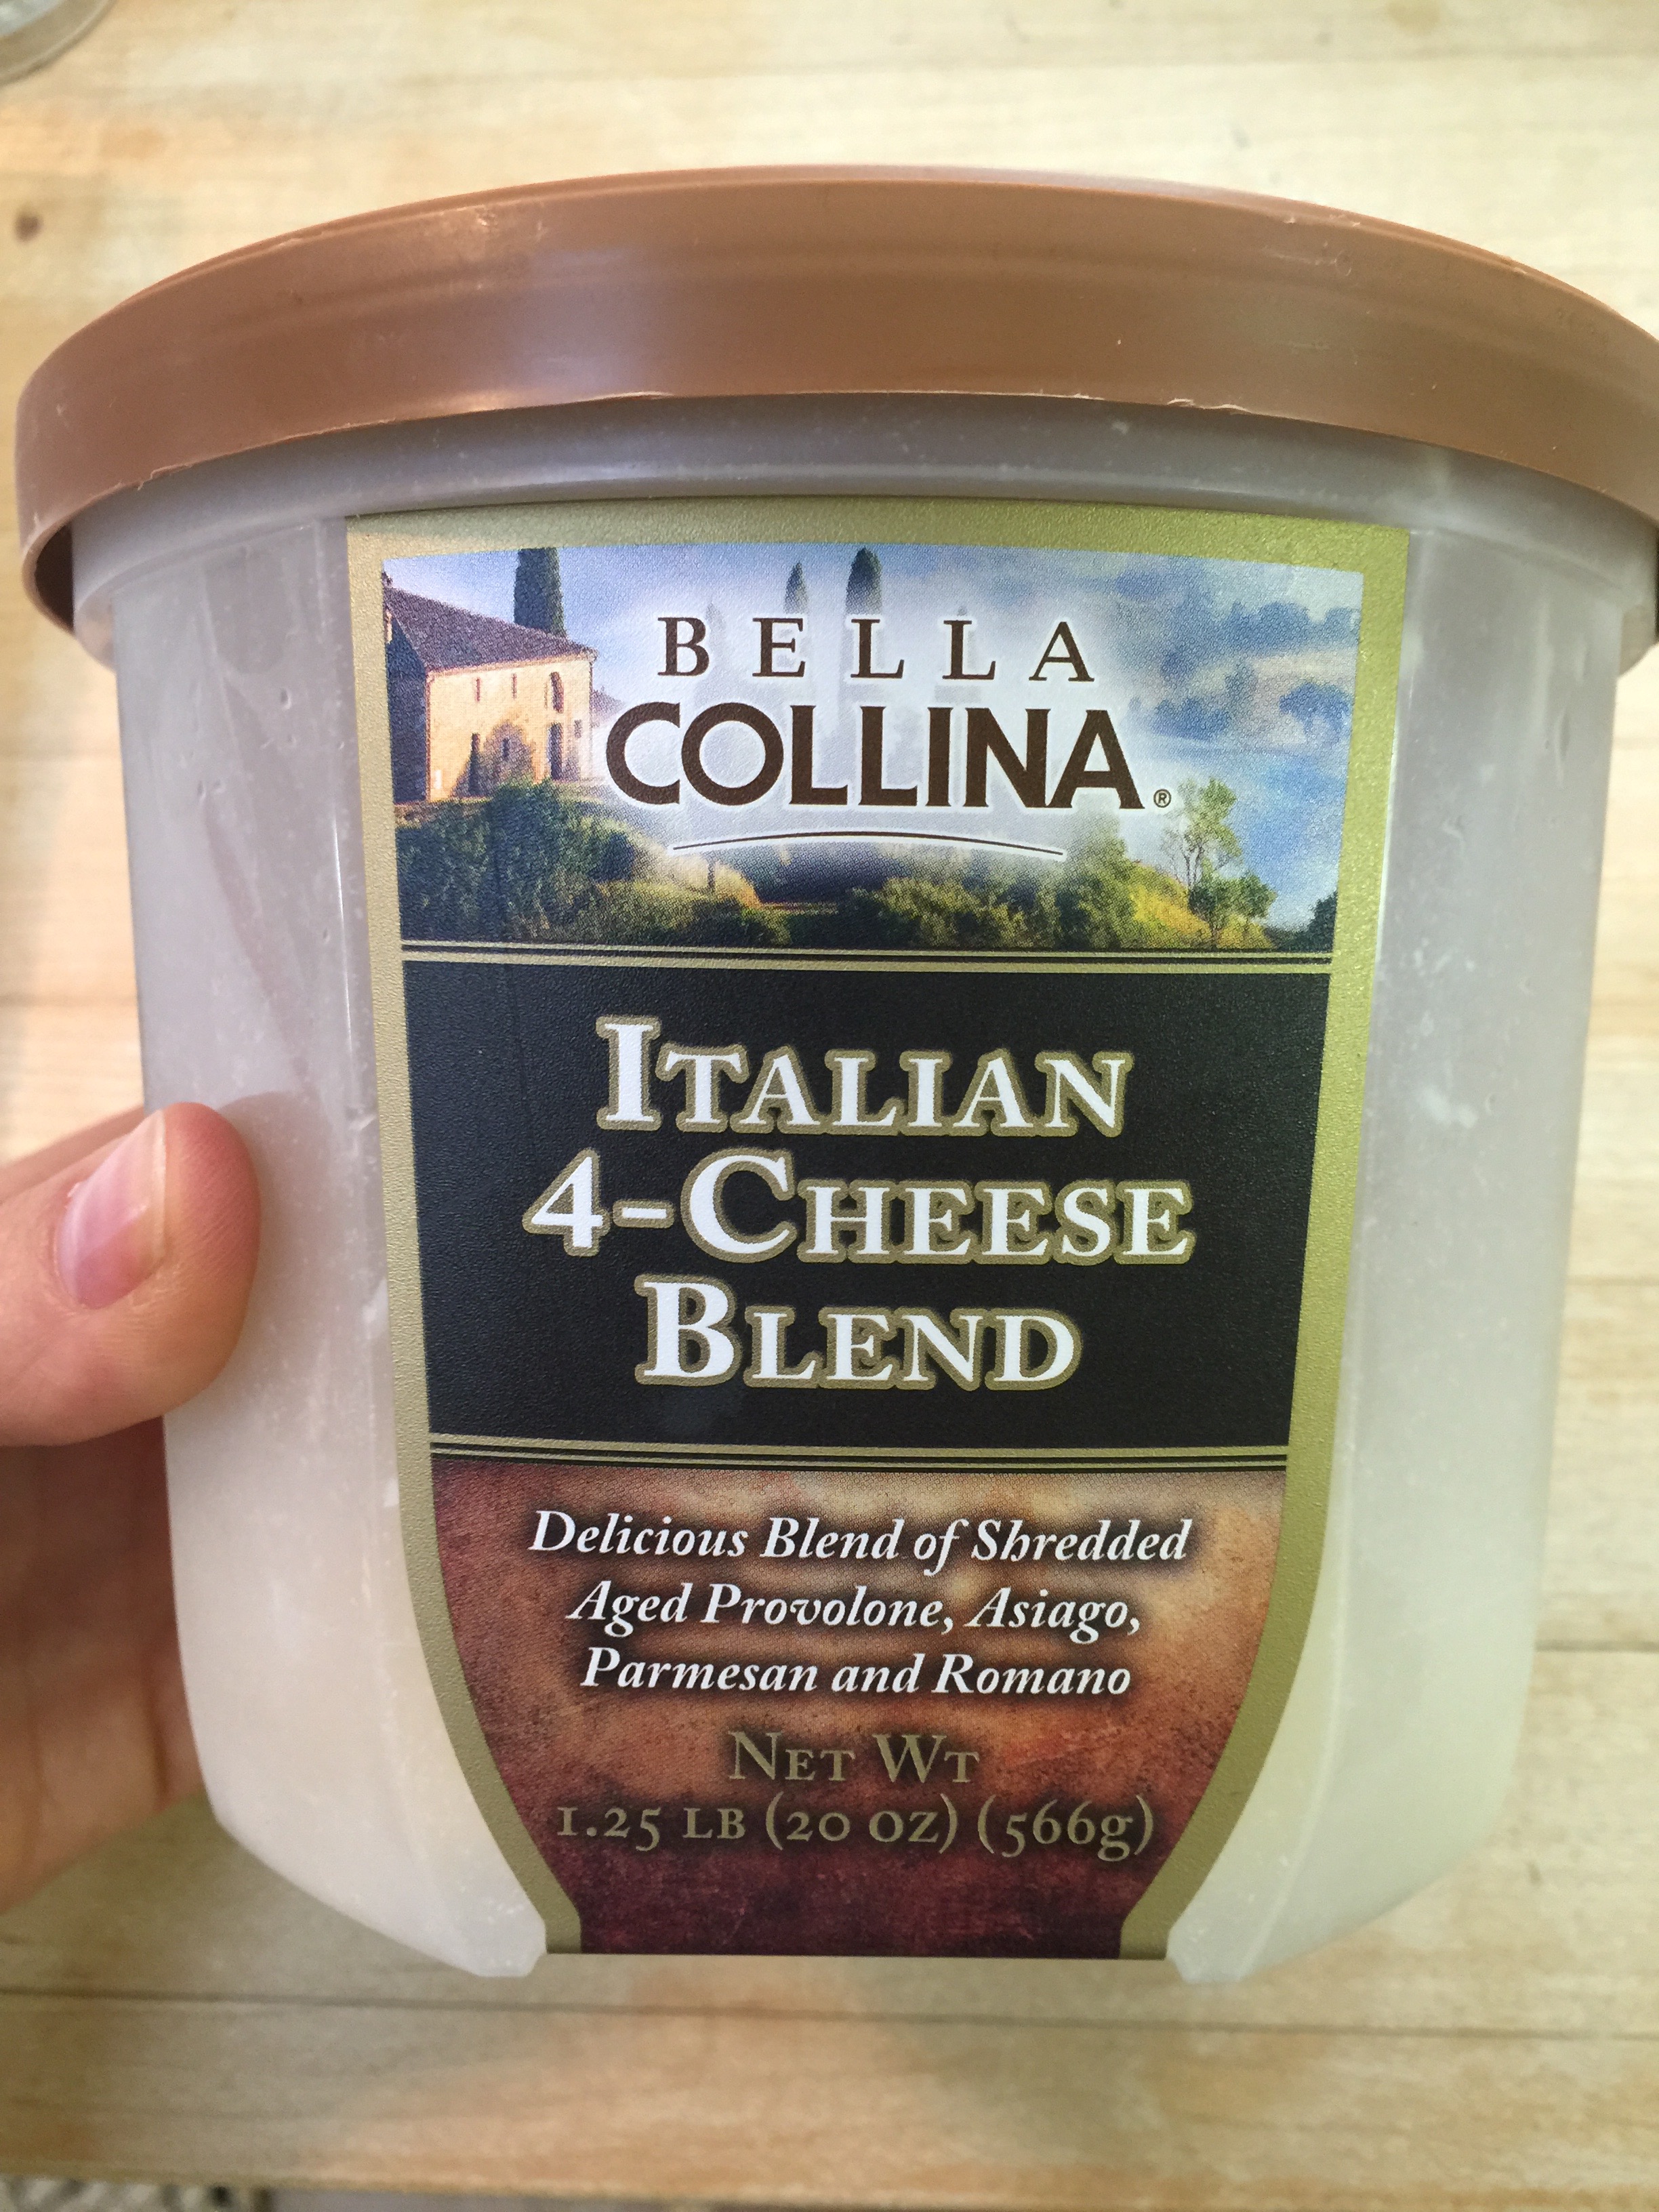
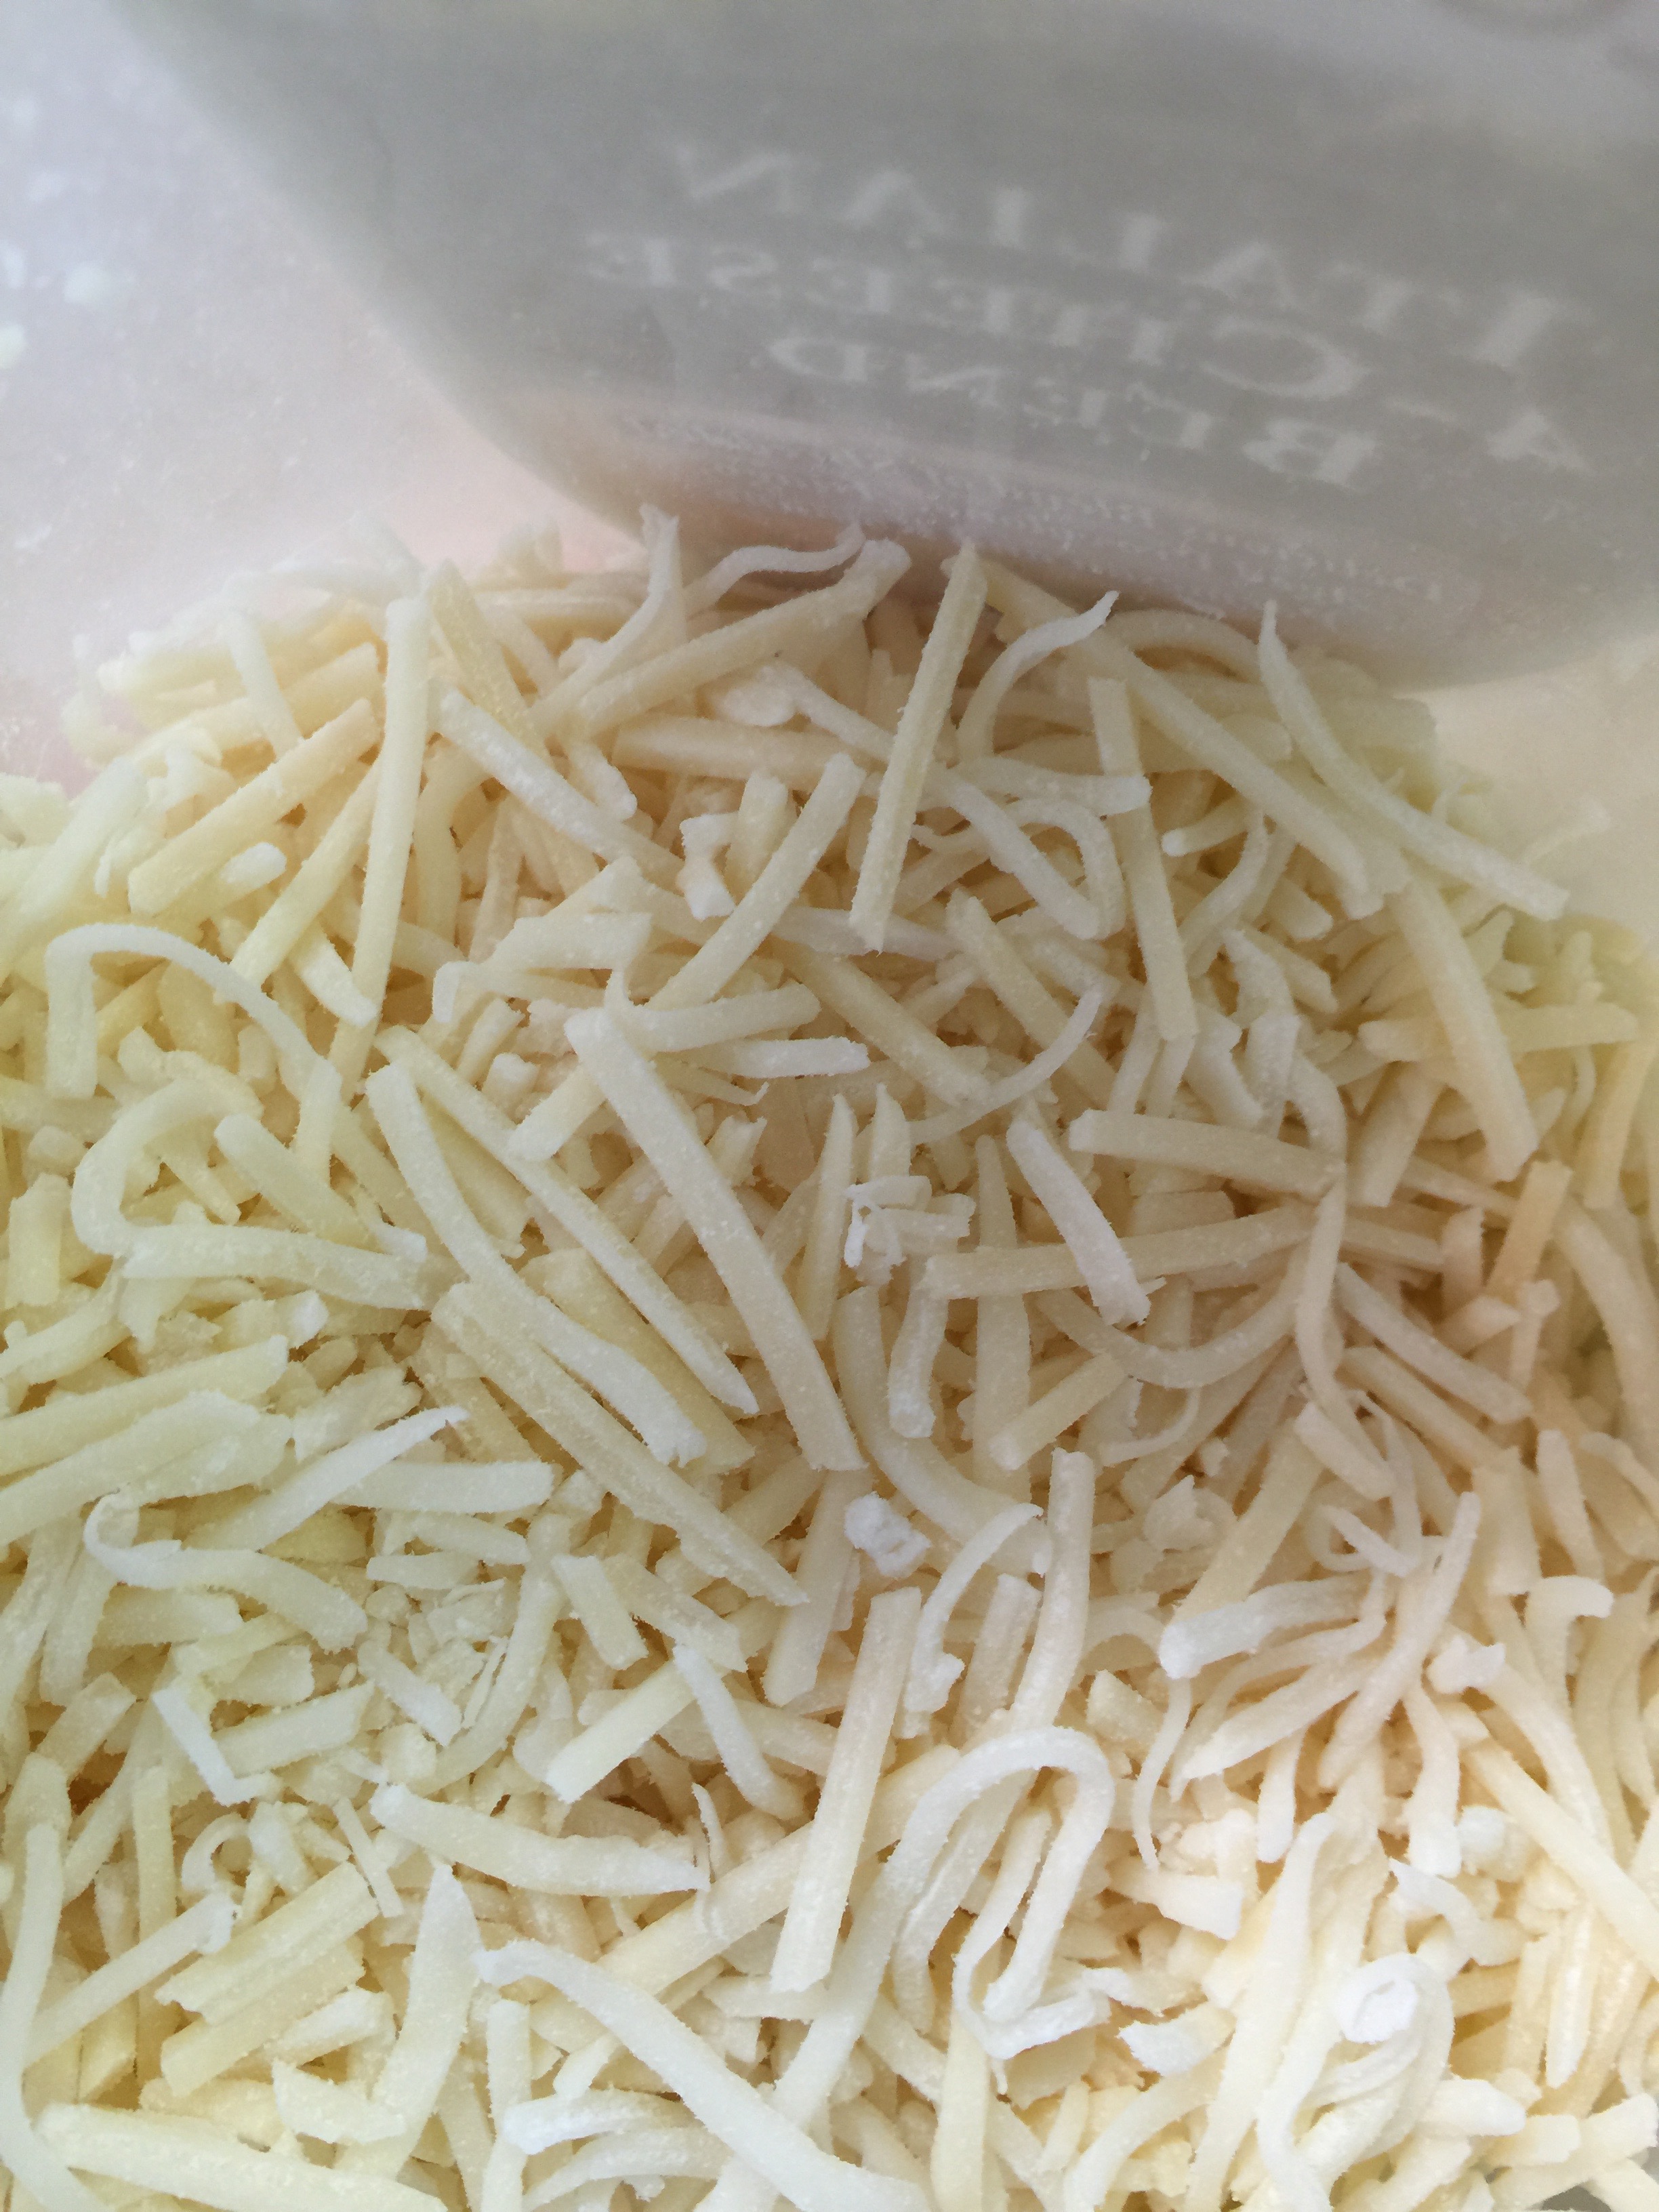
4. Cheese: One of the biggest differences between the Ketogenic diet and the Paleo diet is the allowance of dairy. We love cheese! I bought the blocks of cheese because many of the shredded cheeses use potato starch to keep the cheese from clumping. I use my food processor attachment to shred the cheese for large quantities. I DO cheat, and buy shredded cheese on occasion to keep in the fridge for morning eggs and a quick grab, but the blocks are better as well as cheese sticks. All are a great buy at Costco or Sam’s.
5. Organic Ground Meat: I keep these in the freezer for an easy throw together dinner. You know we prefer the Grass-fed beef, but in a pinch these are great to have stored. While not as great as Grass-fed, it is a better alternative than your antibiotic and hormone ridden meats.
6. Kerrygold Butter: Need I say more? I think you all know how we feel about Kerrygold. It is delicious Grass-fed butter from Irish cows! It comes in packs of 3 at Costco, so I always pick up a couple when I am there!
7. Sausage: My kiddos love sausage. My husband grills it, and we serve it over zucchini noodles or eat it plain. Kiolbassa is also made in San Antonio so you are supporting a local business if you live here!
8. Daisy Sour Cream: I always have sour cream and cream cheese (I buy cream cheese at Sam’s) on hand for sides to add more fat. Remember, you want full fat. The low fat and fat free versions are NOT REAL FOOD! They are filled with chemicals and additives. Stick with the good ingredients our great-grandparents used, and their ancestors before them!
9. Veggies: We LOVE veggies…We are fortunate that Costco has many organic vegetable options. Not all of them are organic, however, so please wash well! A friend was over recently, and I was washing fruit with soap and water when she questioned me about it. Water alone will not wash off the chemicals. You really need to wash in a fruit and veggie wash or use a soap. I make a bath of soapy water and soak them in the wash and then rinse in a colander with cold water. This still does not guarantee the removal of all chemicals, but it is a better bet. I love the cauliflower, spinach, and mushrooms at Costco. These are always on my list. I also stock up on limes in the summer to make infused water and iced tea. I must admit, that I also like a cocktail on the weekends made with a lot of fresh lime juice mixed with vodka and soda, or dare I say, tequila, for a homemade sugar-free margarita! One drink usually takes 4 to 5 limes (or more) so that explains the bulk on these. Broccoli and celery were also on the list this week. Please make sure you wash your celery VERY well. It can be a really dirty one!
10. BACON: Who can have too much bacon? Always on the list. Try to buy bacon as naturally as possible without a lot of curing ingredients. Each Costco carries different bacon I’ve noticed, so look at your labels.
11. Coconut Oil: It is not in the picture, but another staple that we all buy at Costco is Coconut Oil. This makes great Bulletproof Coffee for all of us each morning! A definite staple, and a much better buy at Costco or Sam’s.
Any questions or comments? Leave us feedback. We would love to hear what Low-Carb High-Fat foods you like to buy at Costco or Sam’s!
Just because you go low-carb doesn’t mean you can’t ever have sweets again! You just have to think differently!
These “Fat Bombs” are the bomb! They are so easy to make, you get your intake of healthy fats, and take care of that little need for a sweet treat every once in a while.
You can keep them in the fridge, and pop them as you need them.
Fat Bombs
4 oz 100% Cacao
8 Tbsp Grass-Fed Butter (Kerrygold)
3 TBSP Coconut Oil
1 tsp Vanilla
1/3 cup Swerve Confectioners
2 Tbsp Cream
Shredded Unsweetened Coconut
Almonds, Pistachios, Macadamia Nuts
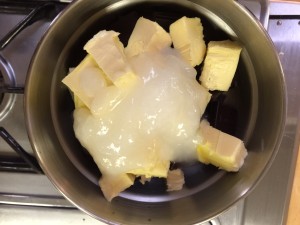
Gather all of your ingredients along with a double boiler, a whisk, and either mini-muffin pans or candy molds.
Directions:
Melt your chocolate, butter, and coconut oil in a double boiler over simmering water, stirring often so it does not burn. (This is a double batch.)
Add the Swerve and whisk together until well combined.
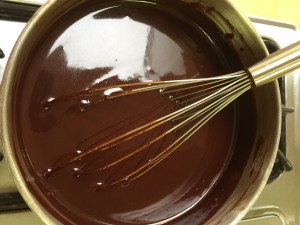
After it is completely melted and smooth, remove from heat and add vanilla and cream.
Whisk until it looks like you have smooth chocolate sauce.
Set aside.
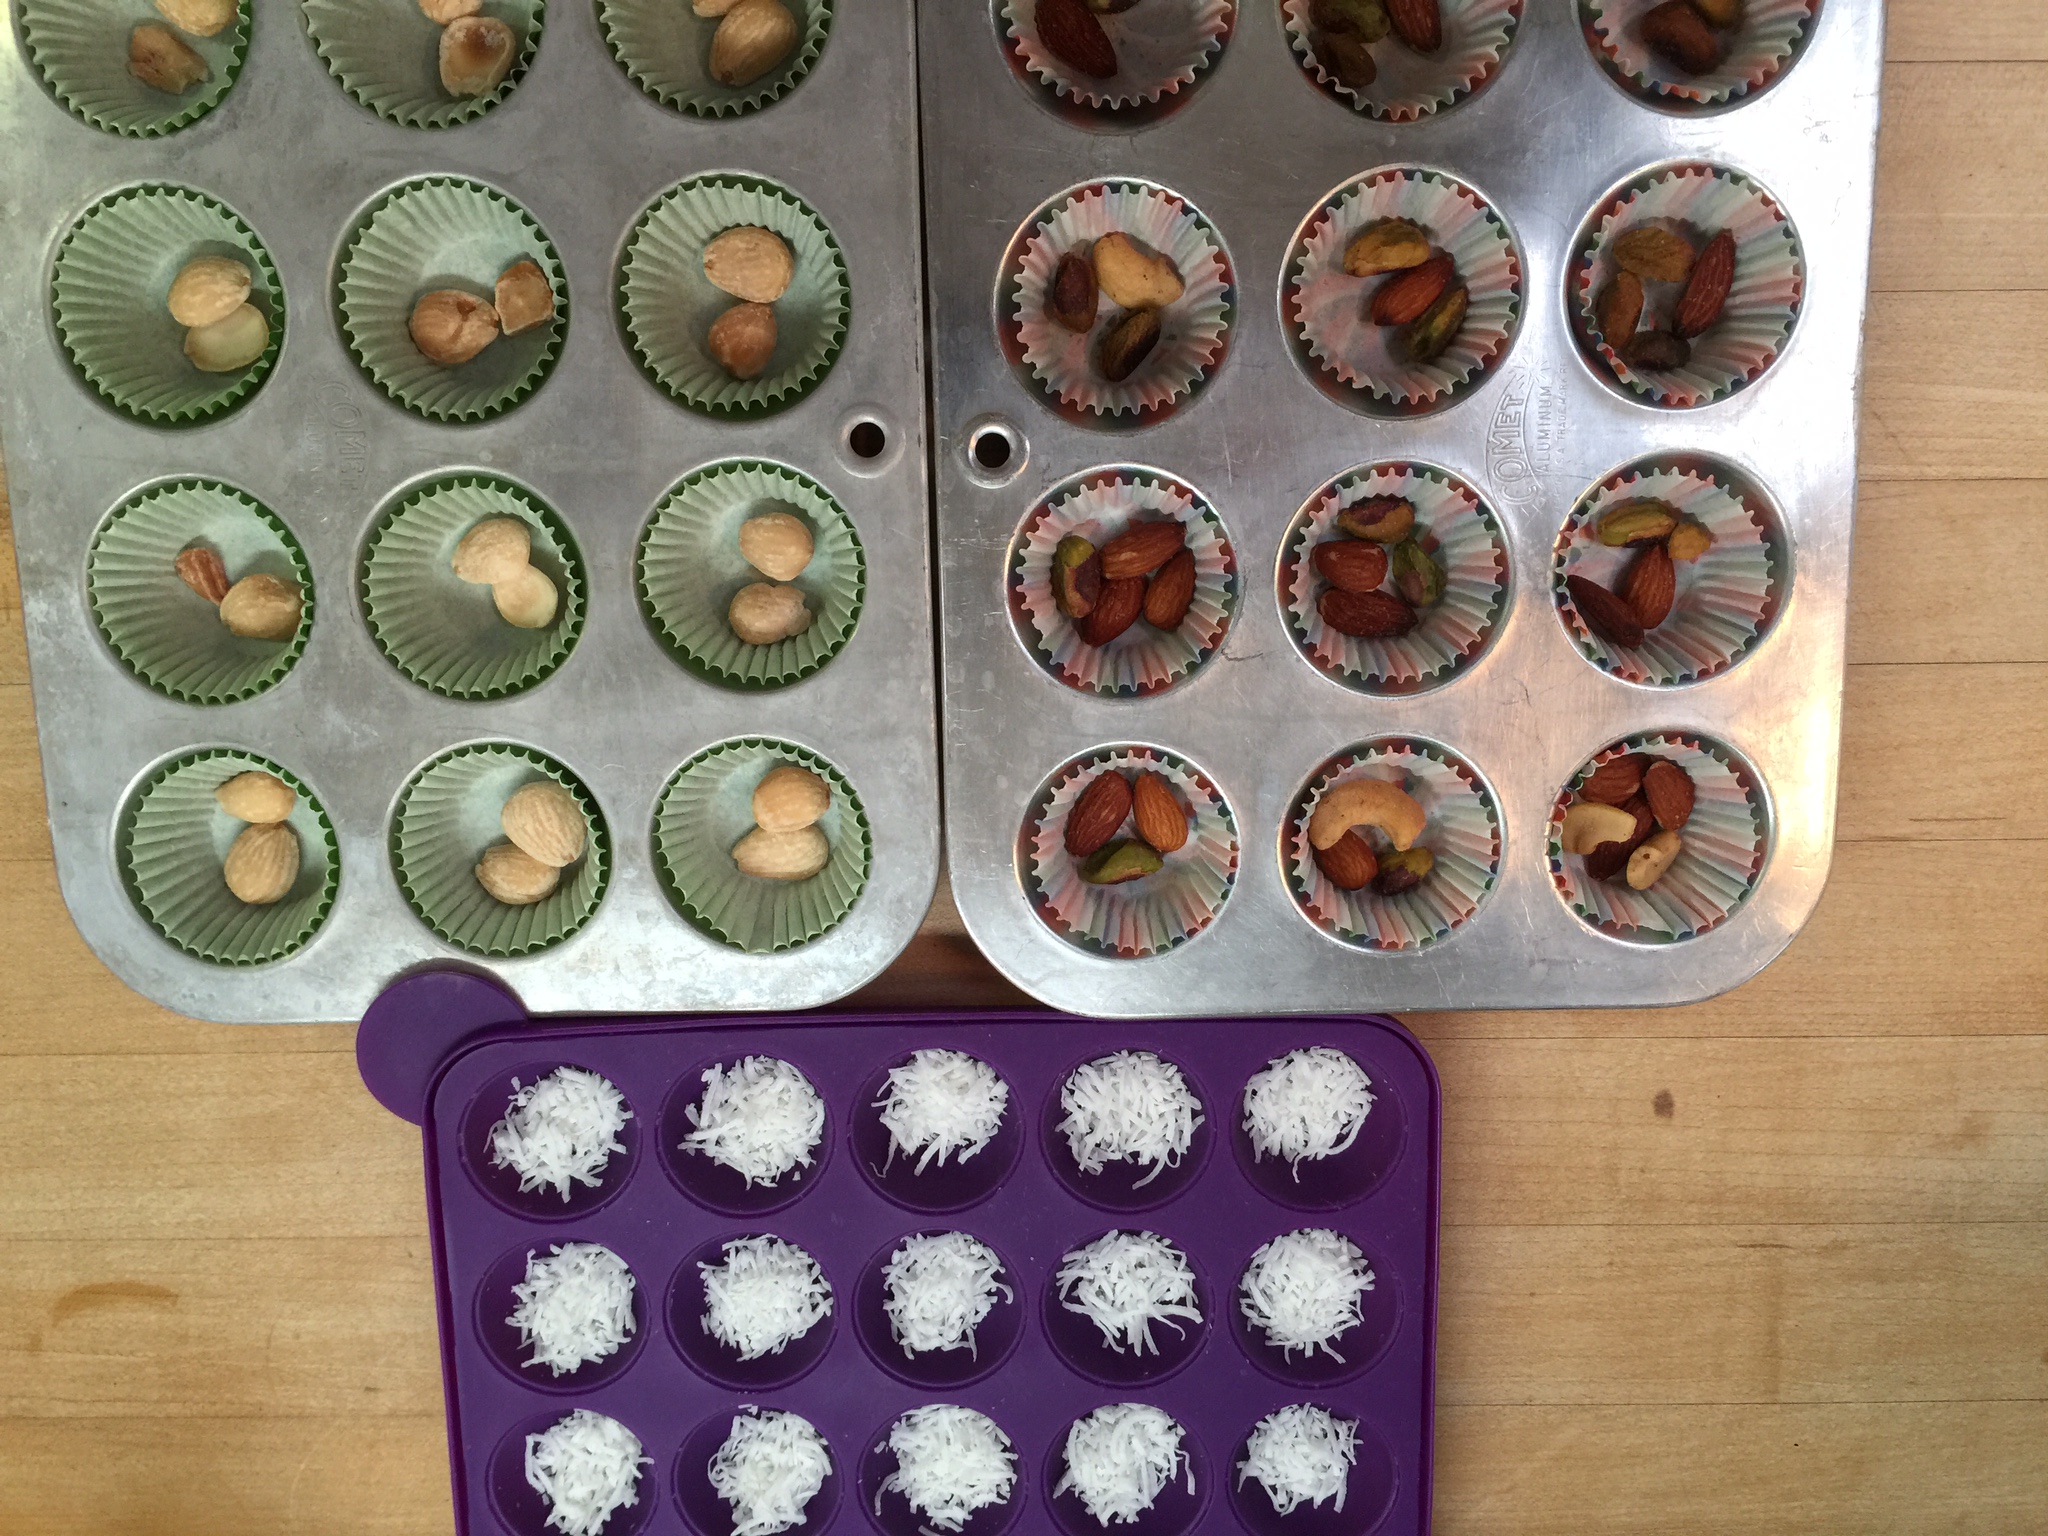
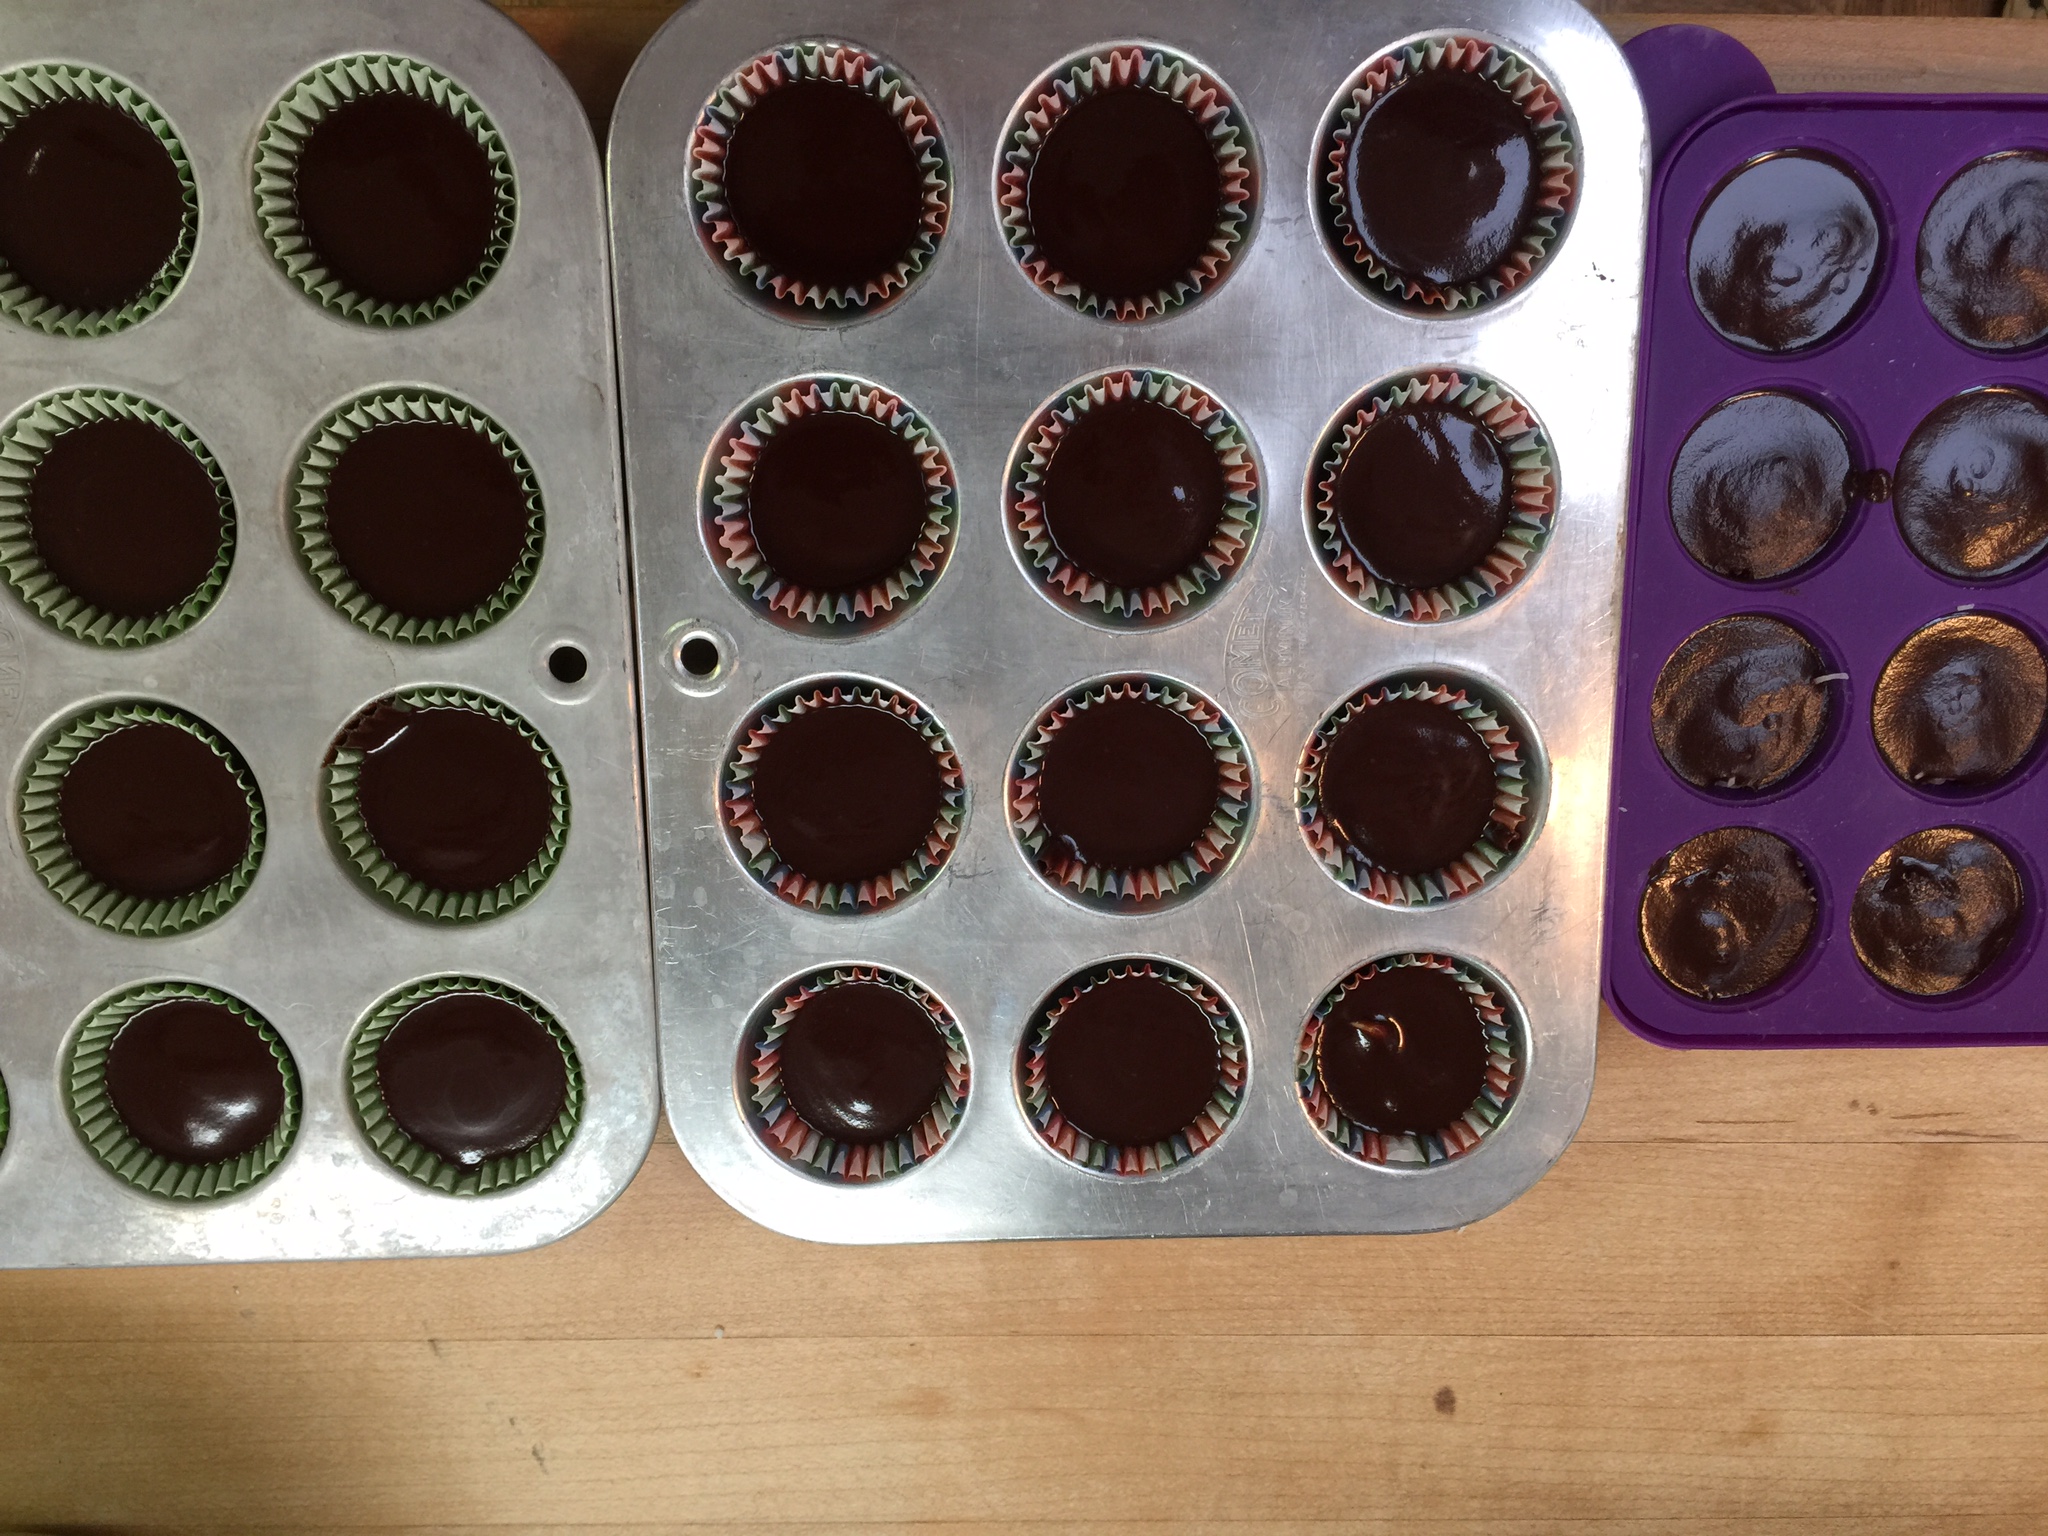
You can either use a mini-muffin pan with paper cups or a silicon candy mold. I use both. If you want a variety of candies, you can tell them apart by using different colored paper cups. For instance, my husband doesn’t like the texture of coconut in his desserts so I always do his candy without coconut in green paper cups because that is his favorite color, and he knows which ones are his. In short, you can color code your candy!
I love the smooth texture of the candy molds though, so of course, I use those for mine!
Be creative! I love mine with coconut and almonds! Can you say, “Almond Joy!?!”
The kids like theirs with either macadamia nuts and coconut or plain coconut, and my husband loves his with pistachios. Just have fun with your add-ins!
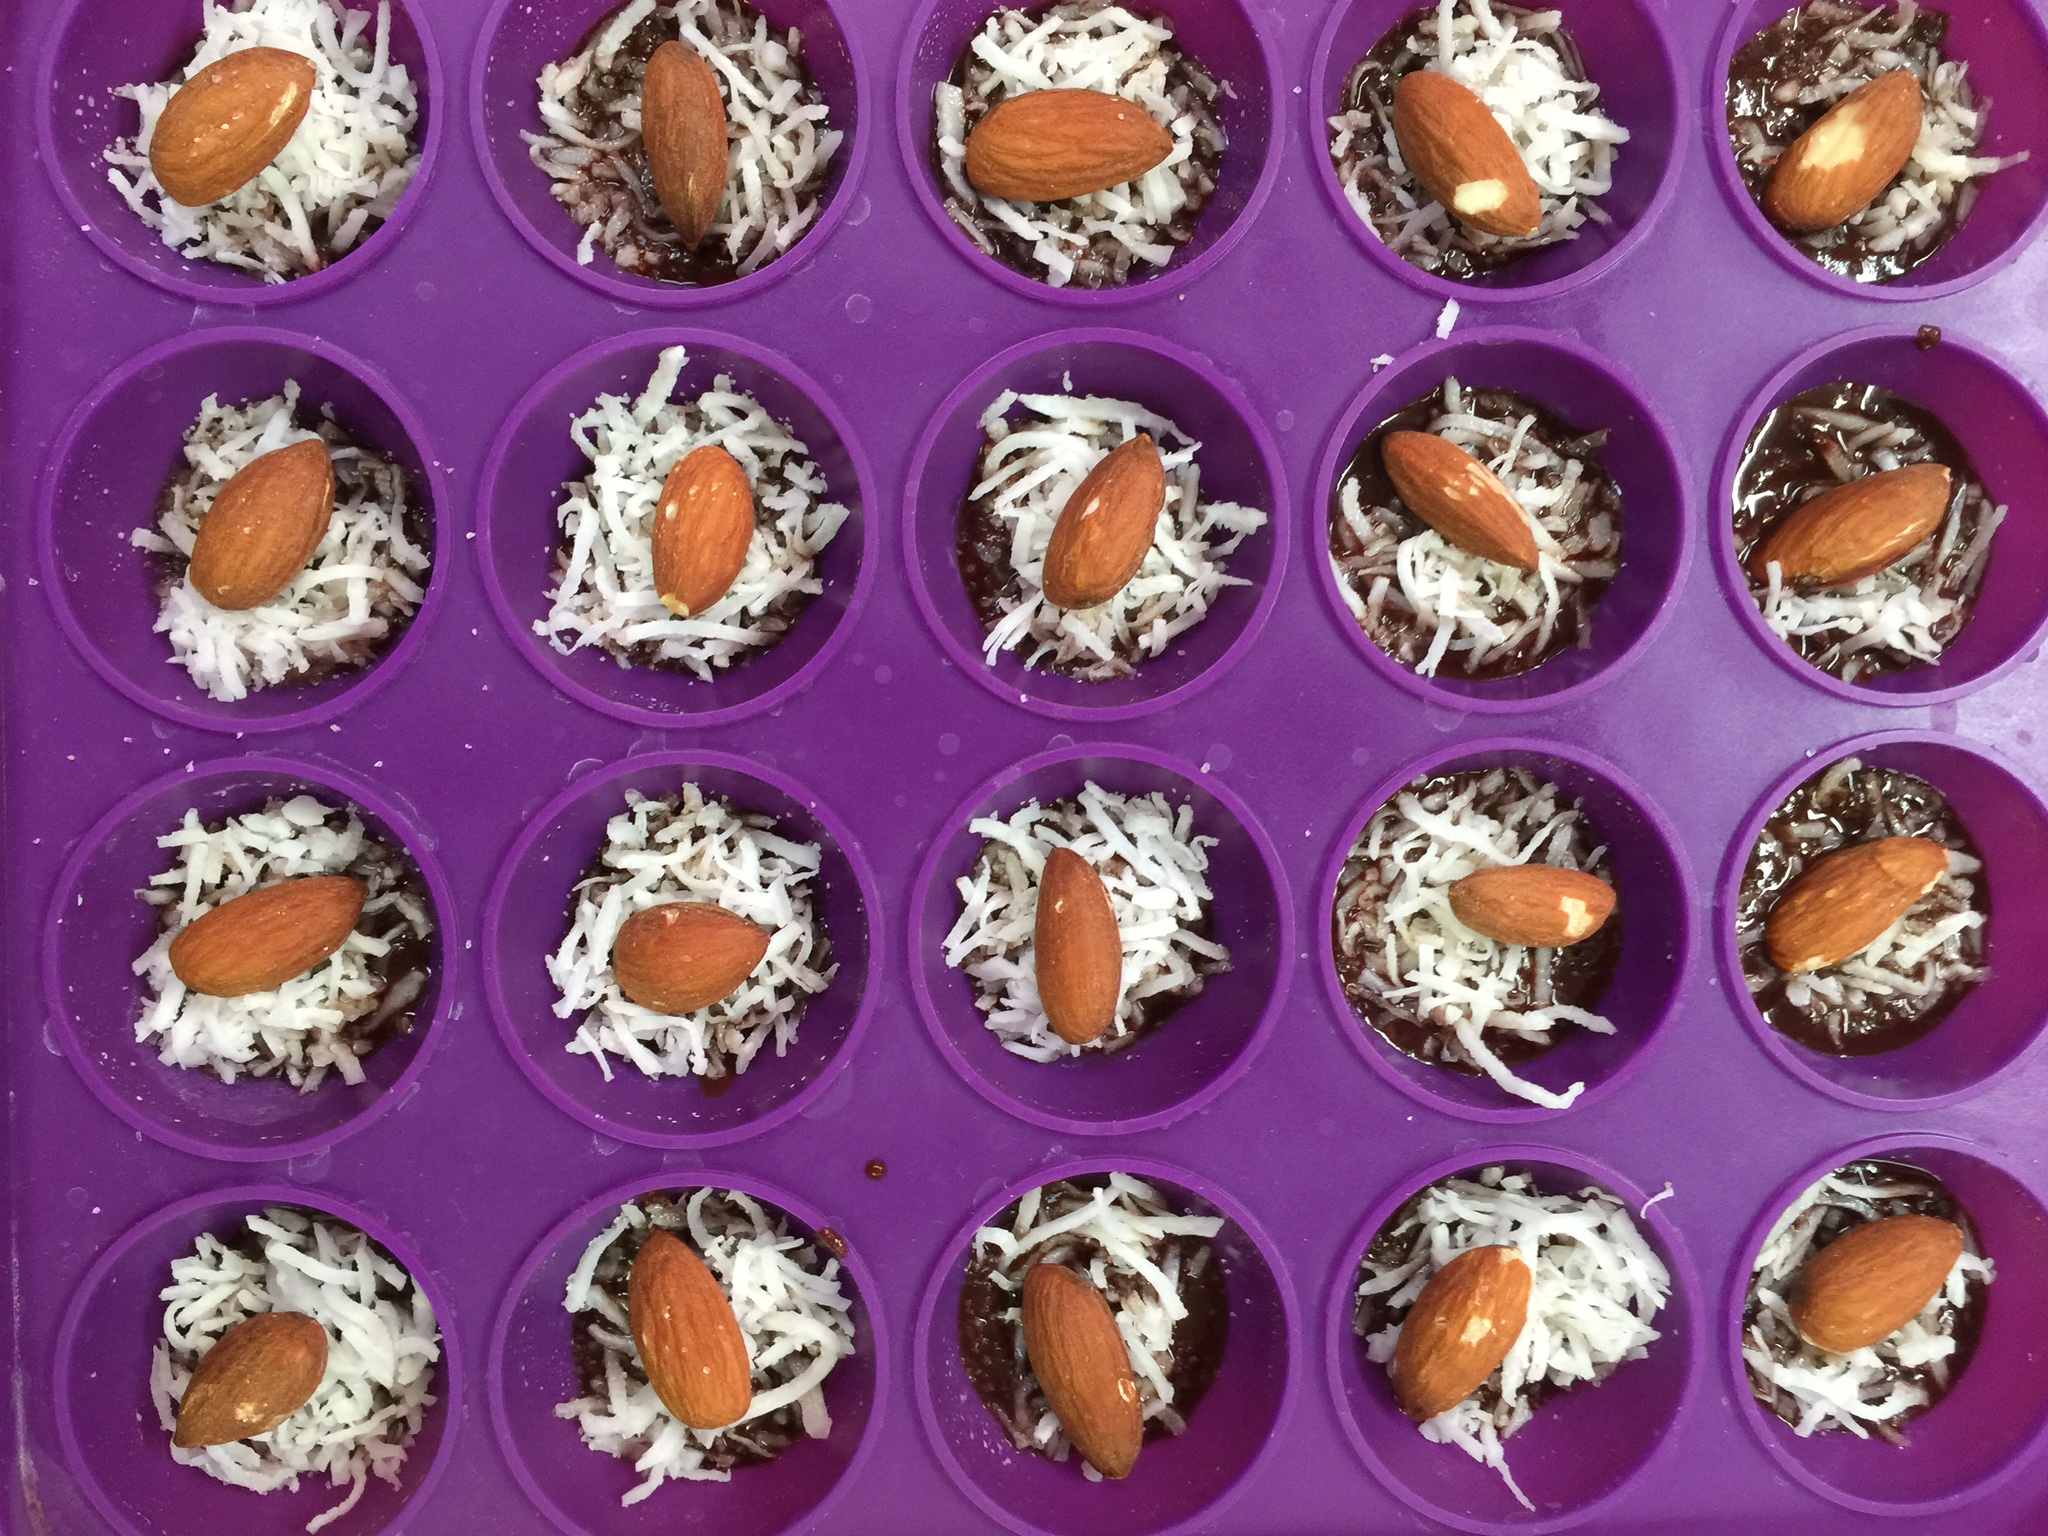
This is what it looks like when you add your fillings:
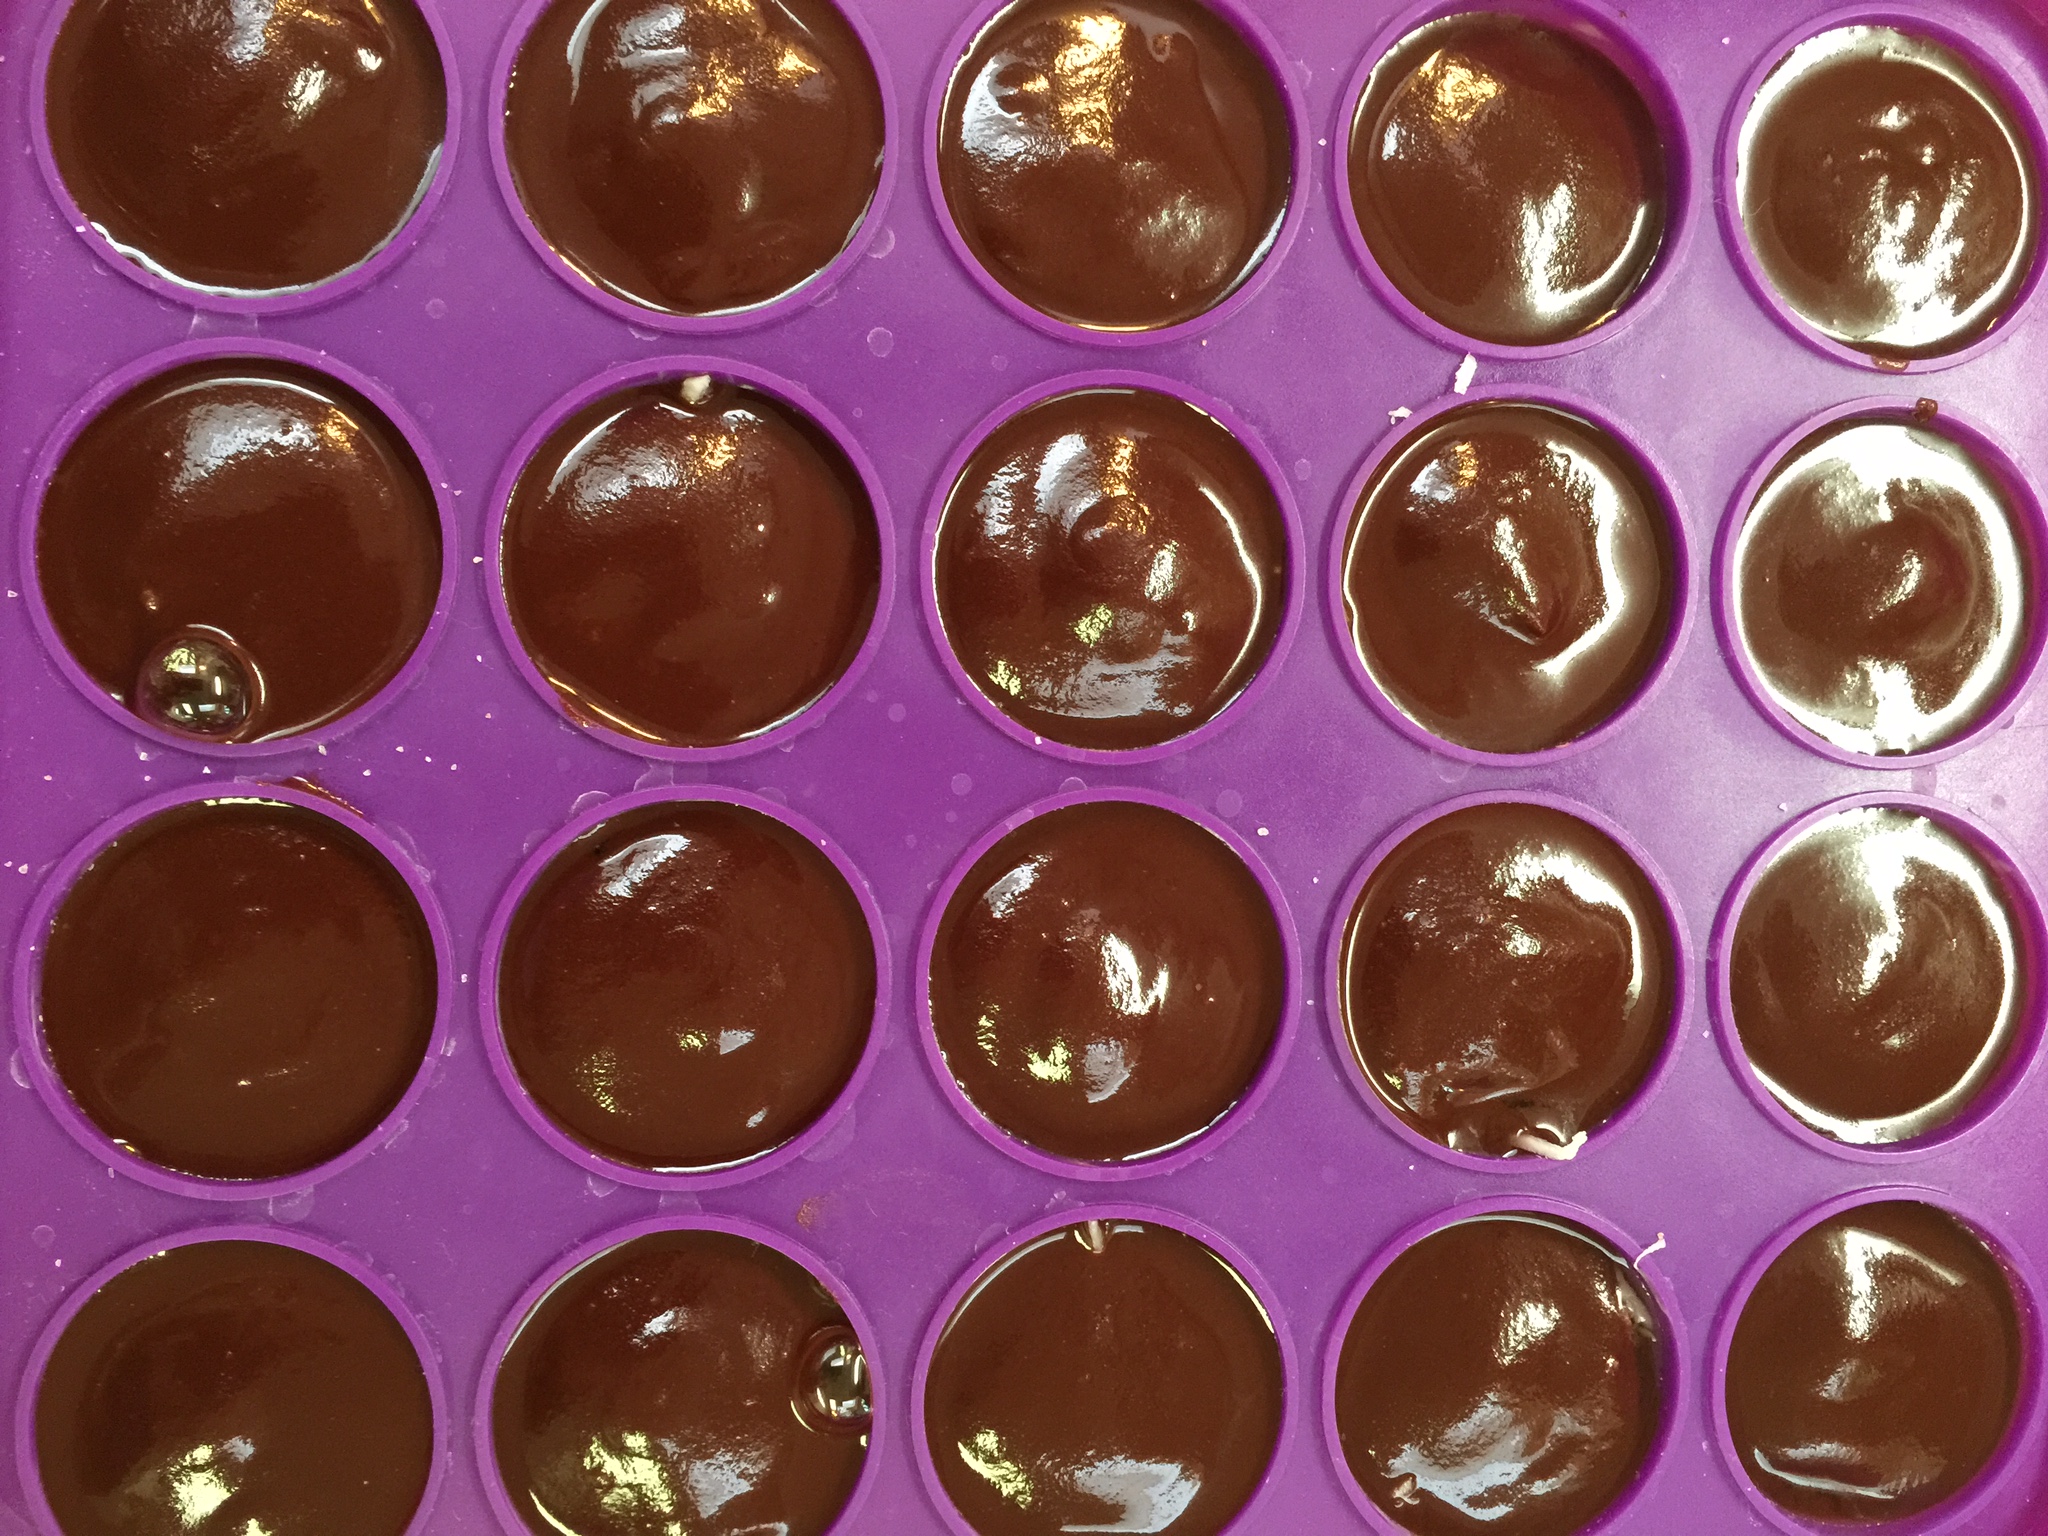
On the purple molds, I placed a dab of chocolate right in the center bottom of the circle so it would have a smooth chocolate finish when I popped them out. Then, put the coconut and almonds on top.
Next, add your chocolate by the spoonful:
After your molds are full, place them in the refrigerator to set. This does not take long. Give them about 45 minutes to an hour to set before you try to remove them.
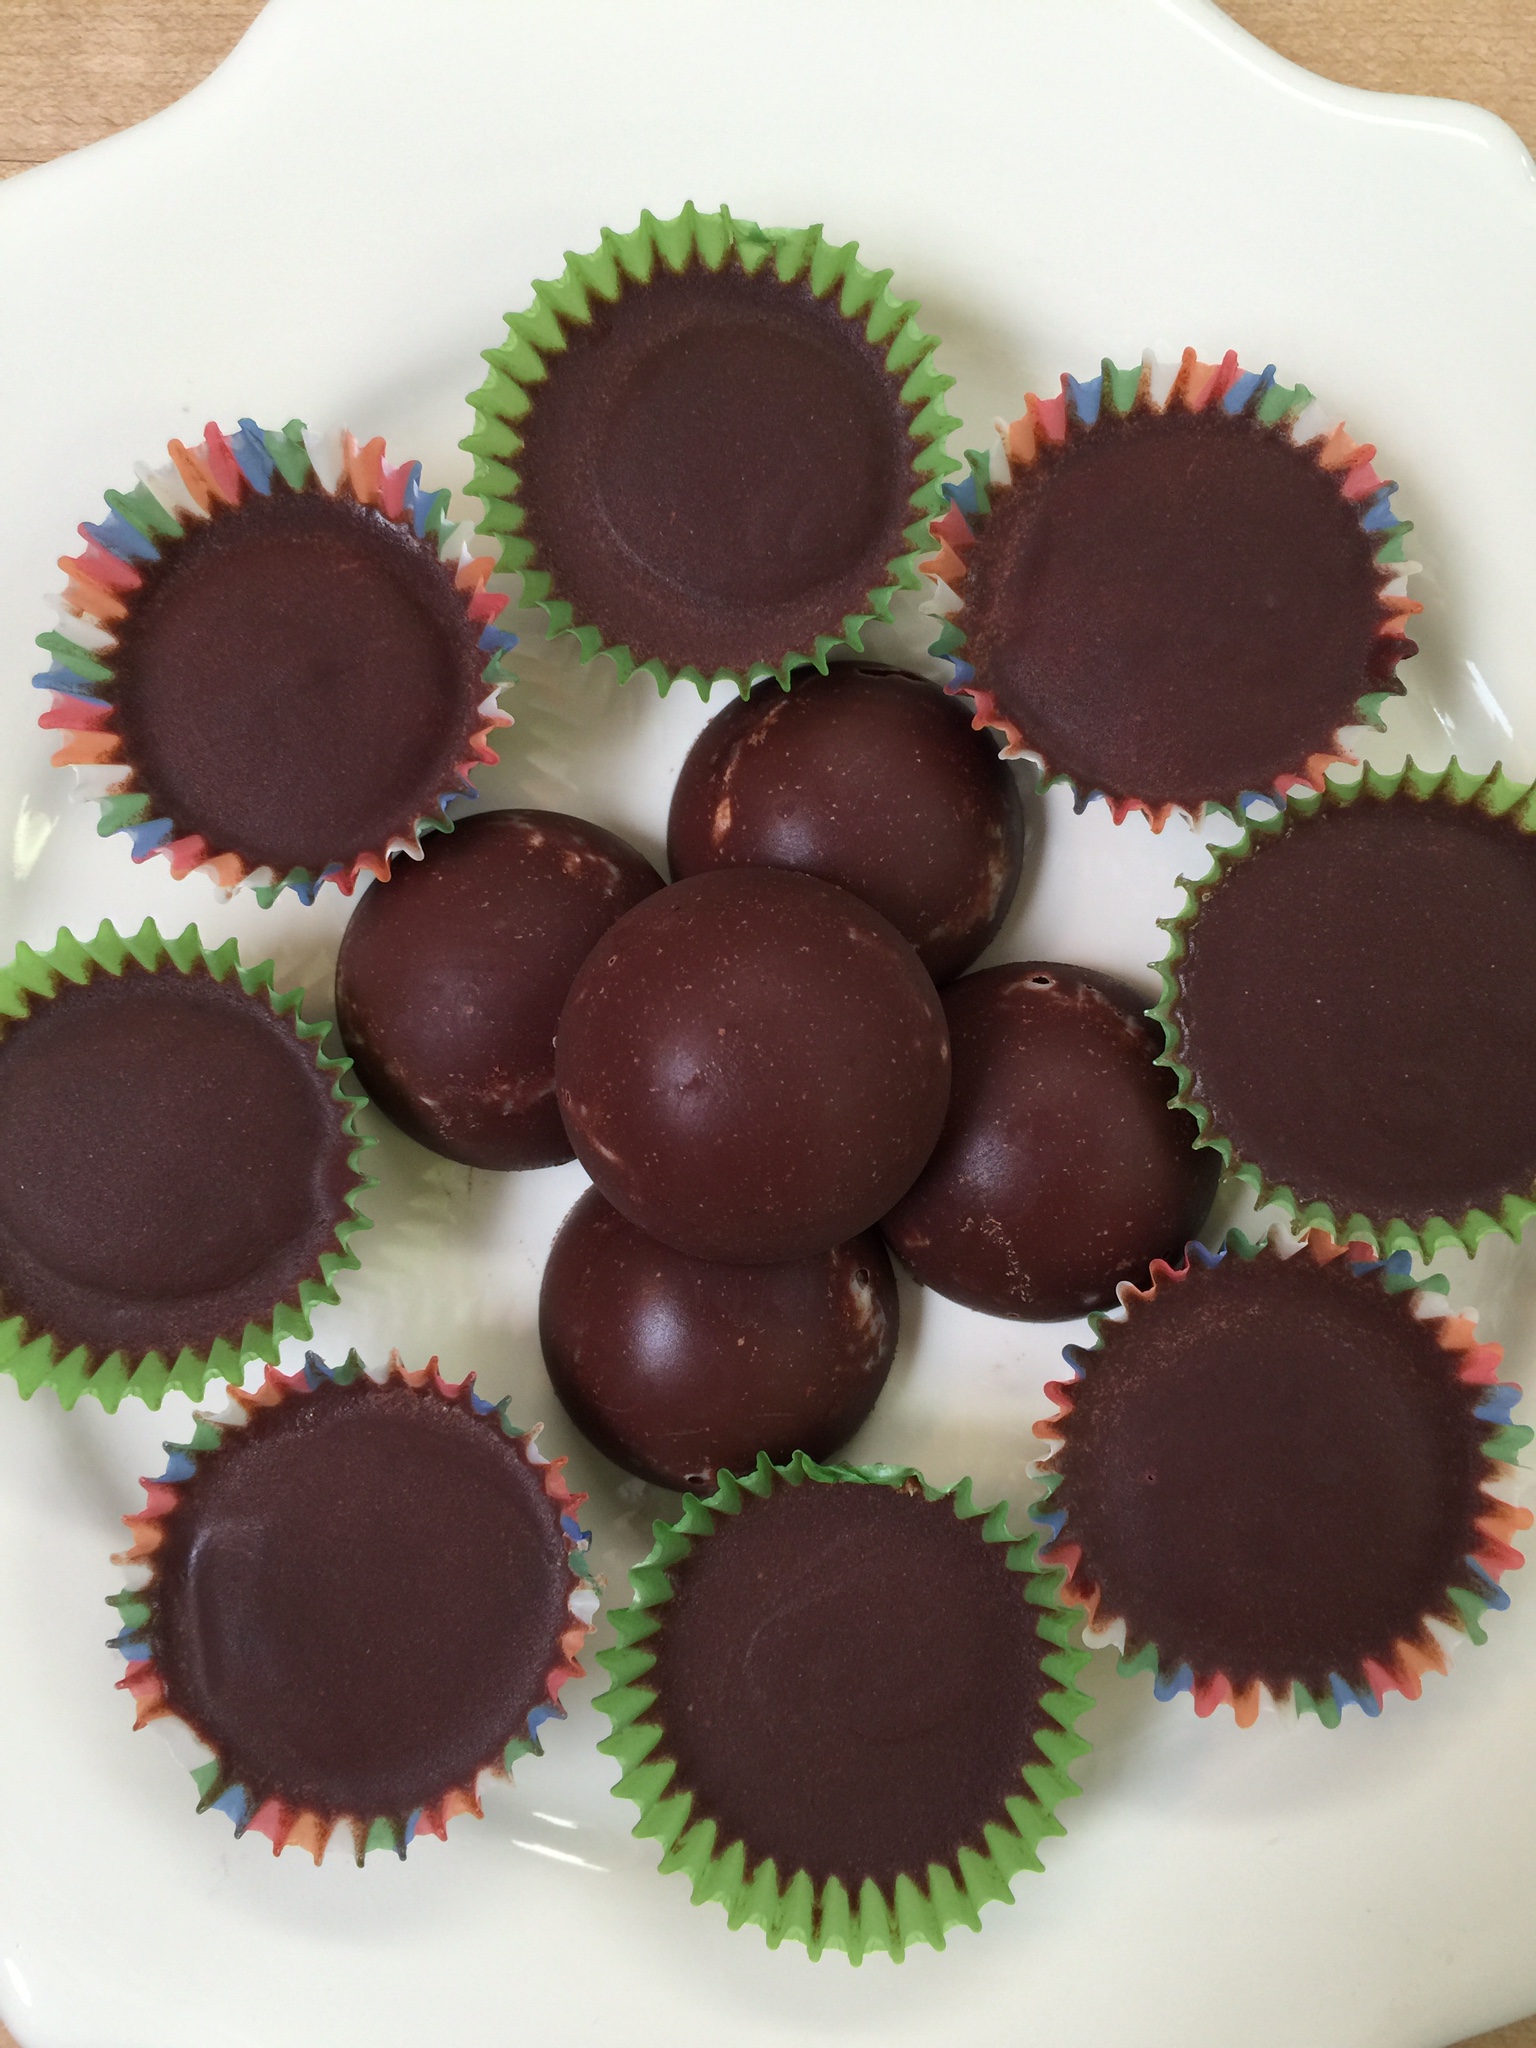
Once they are hard to the touch, you can invert the molds to pop out your candies and remove the paper cups from your muffin pans. I throw them in a ziplock bag, and they are ready to grab when you need a bite!


 Bunless Hot Dogs or Sausage Links
 “Potato” Salad”
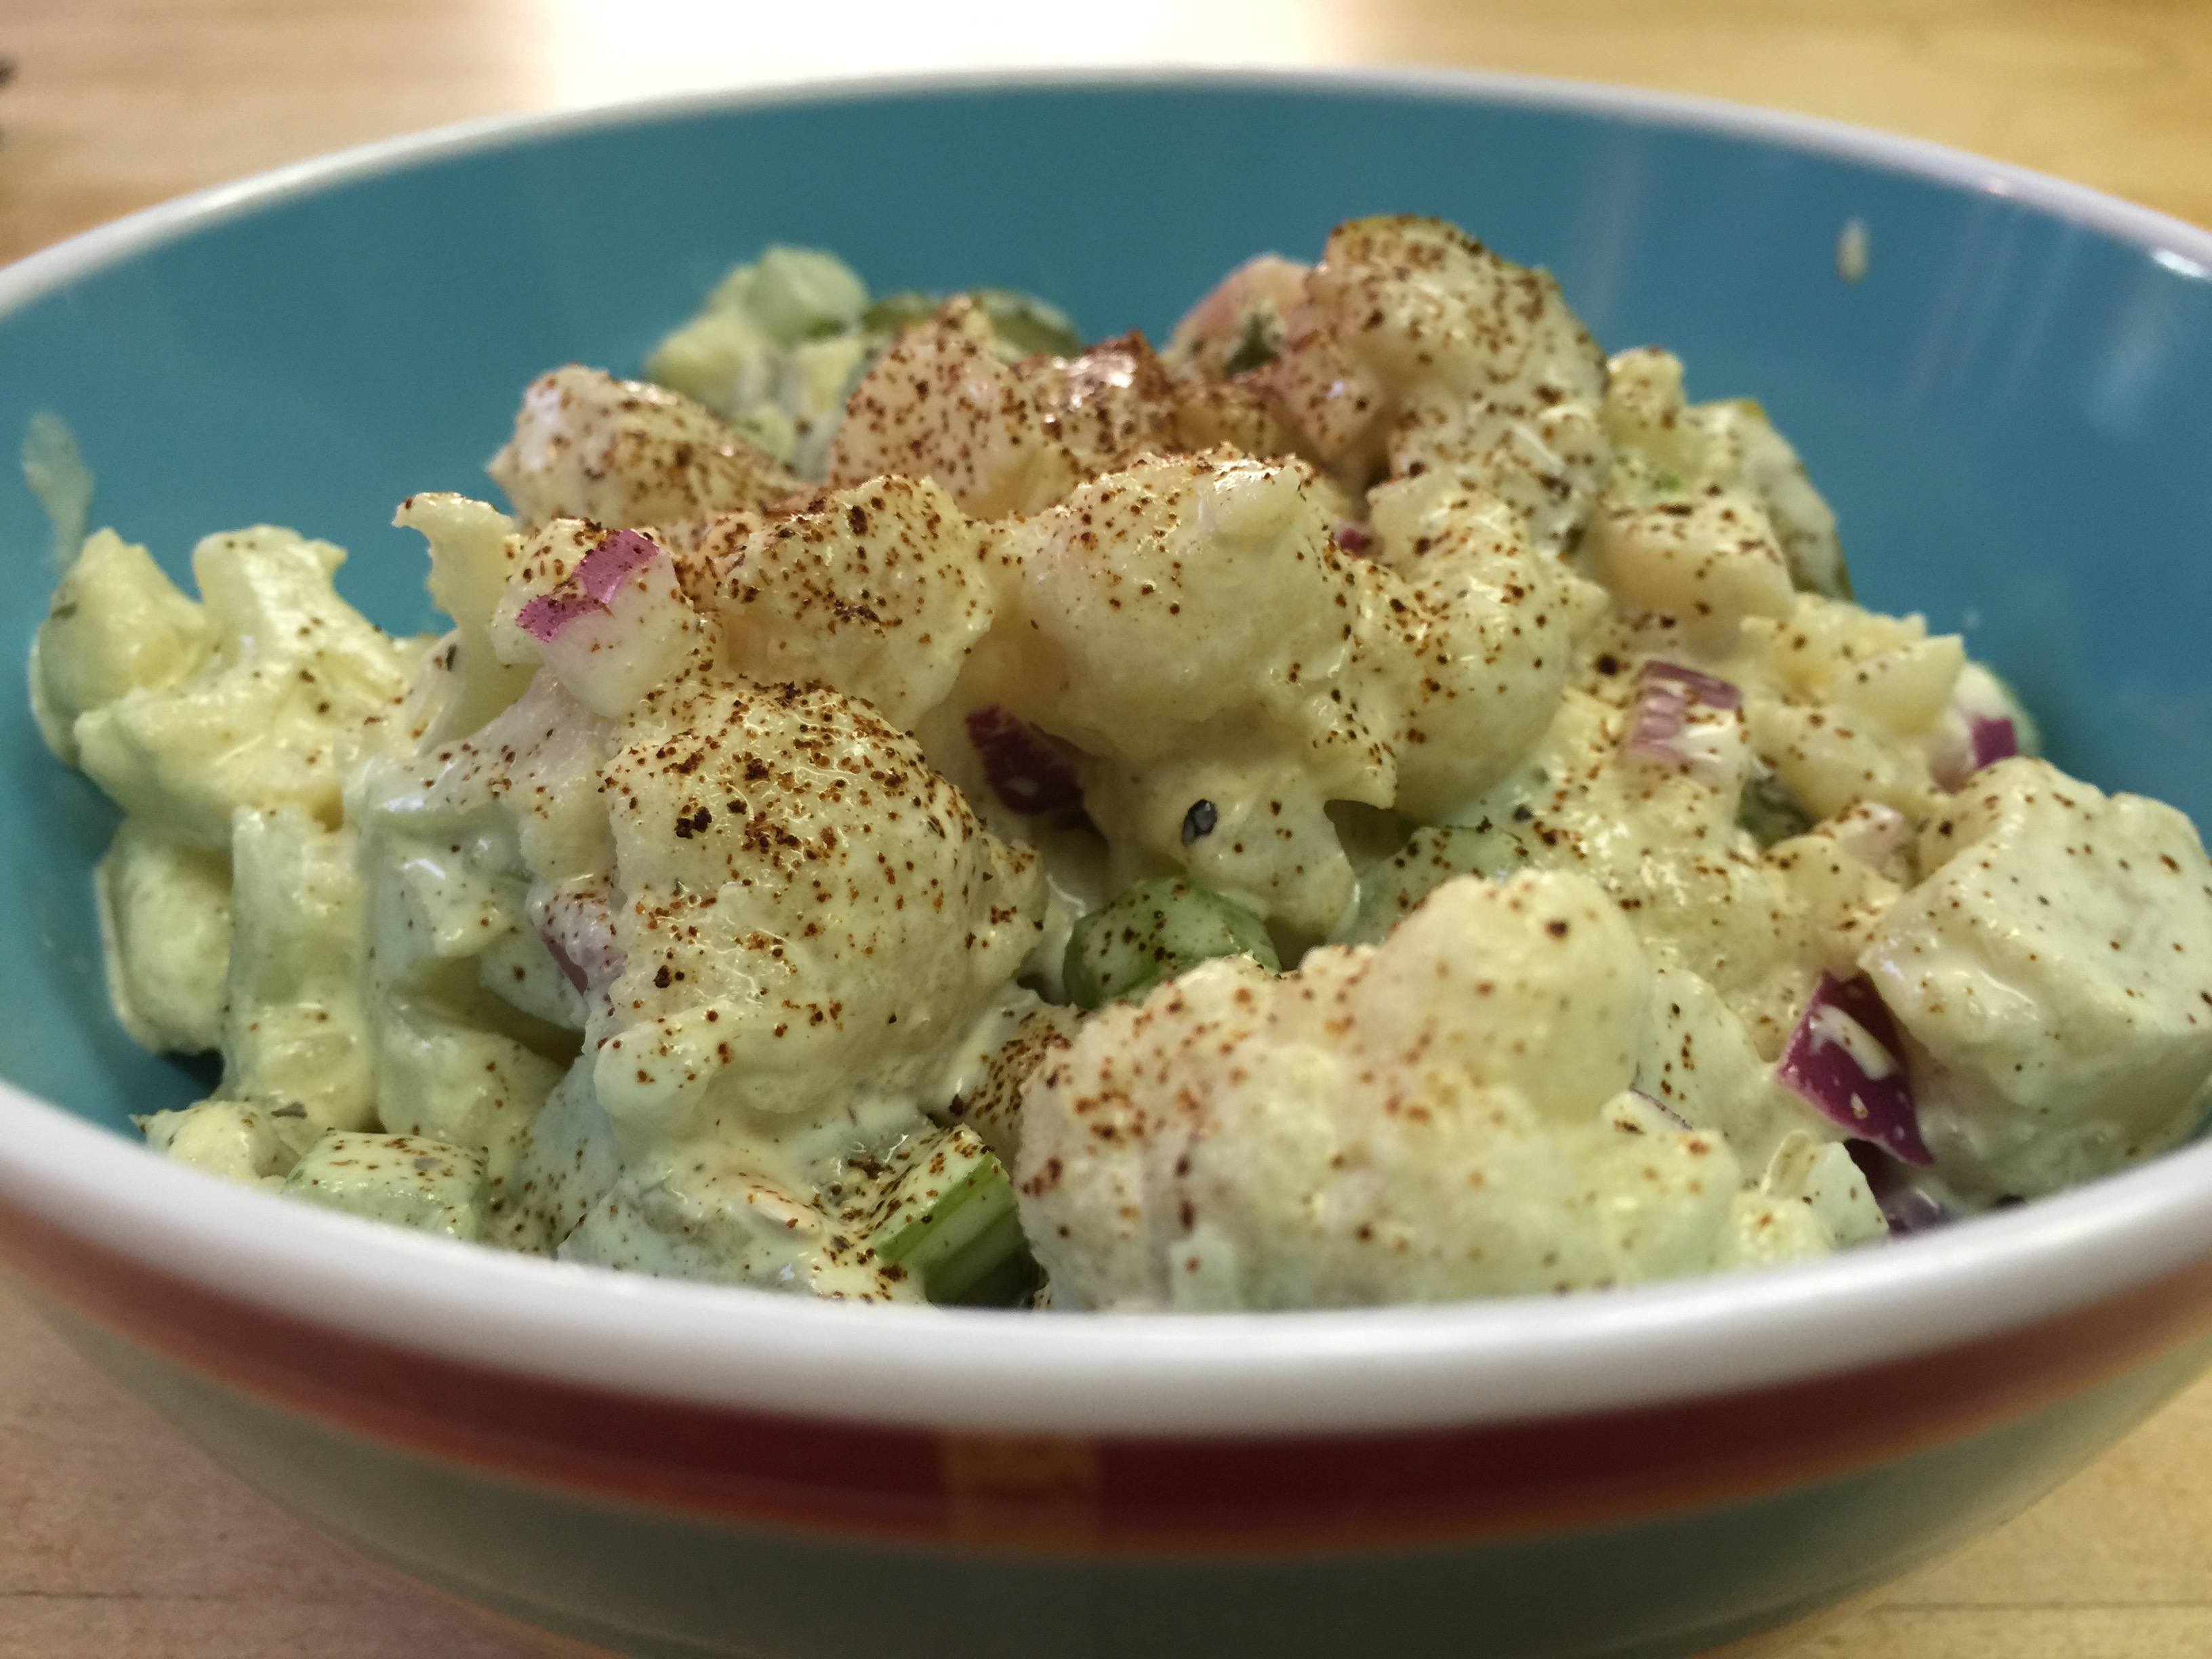
 Broccoli Slaw
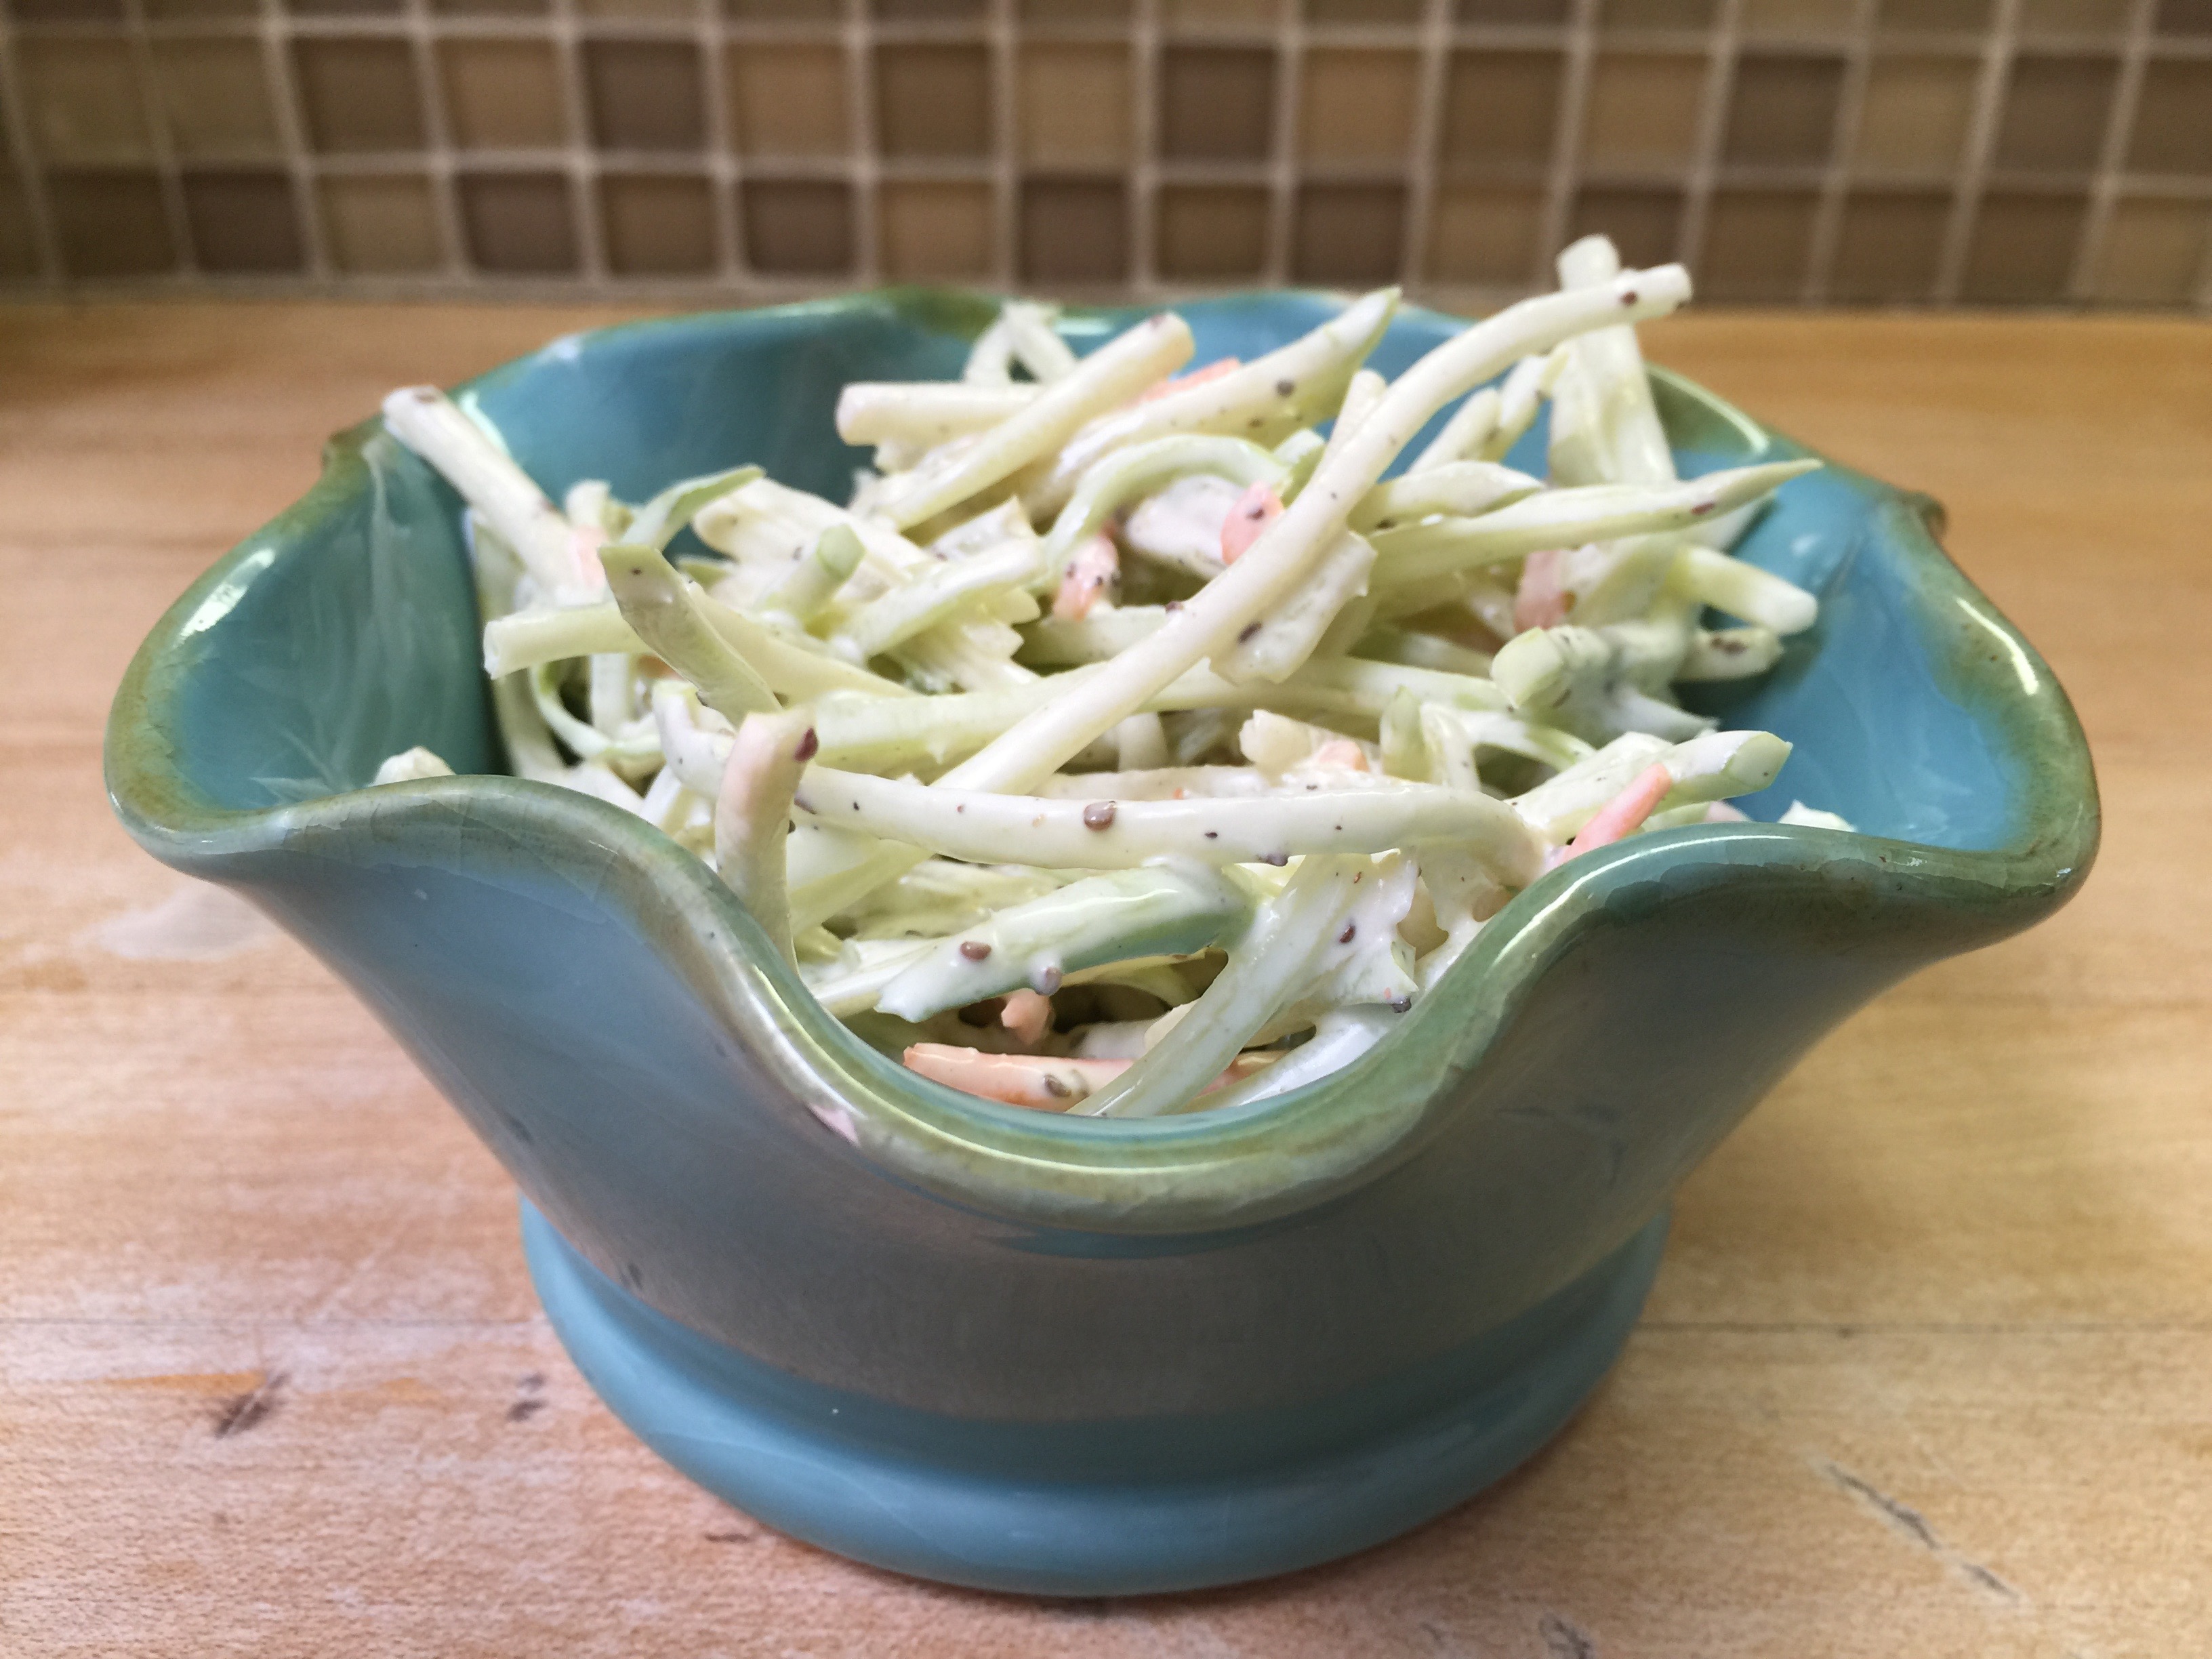

 Or, if you are a chocolate person, our chocolate pudding.