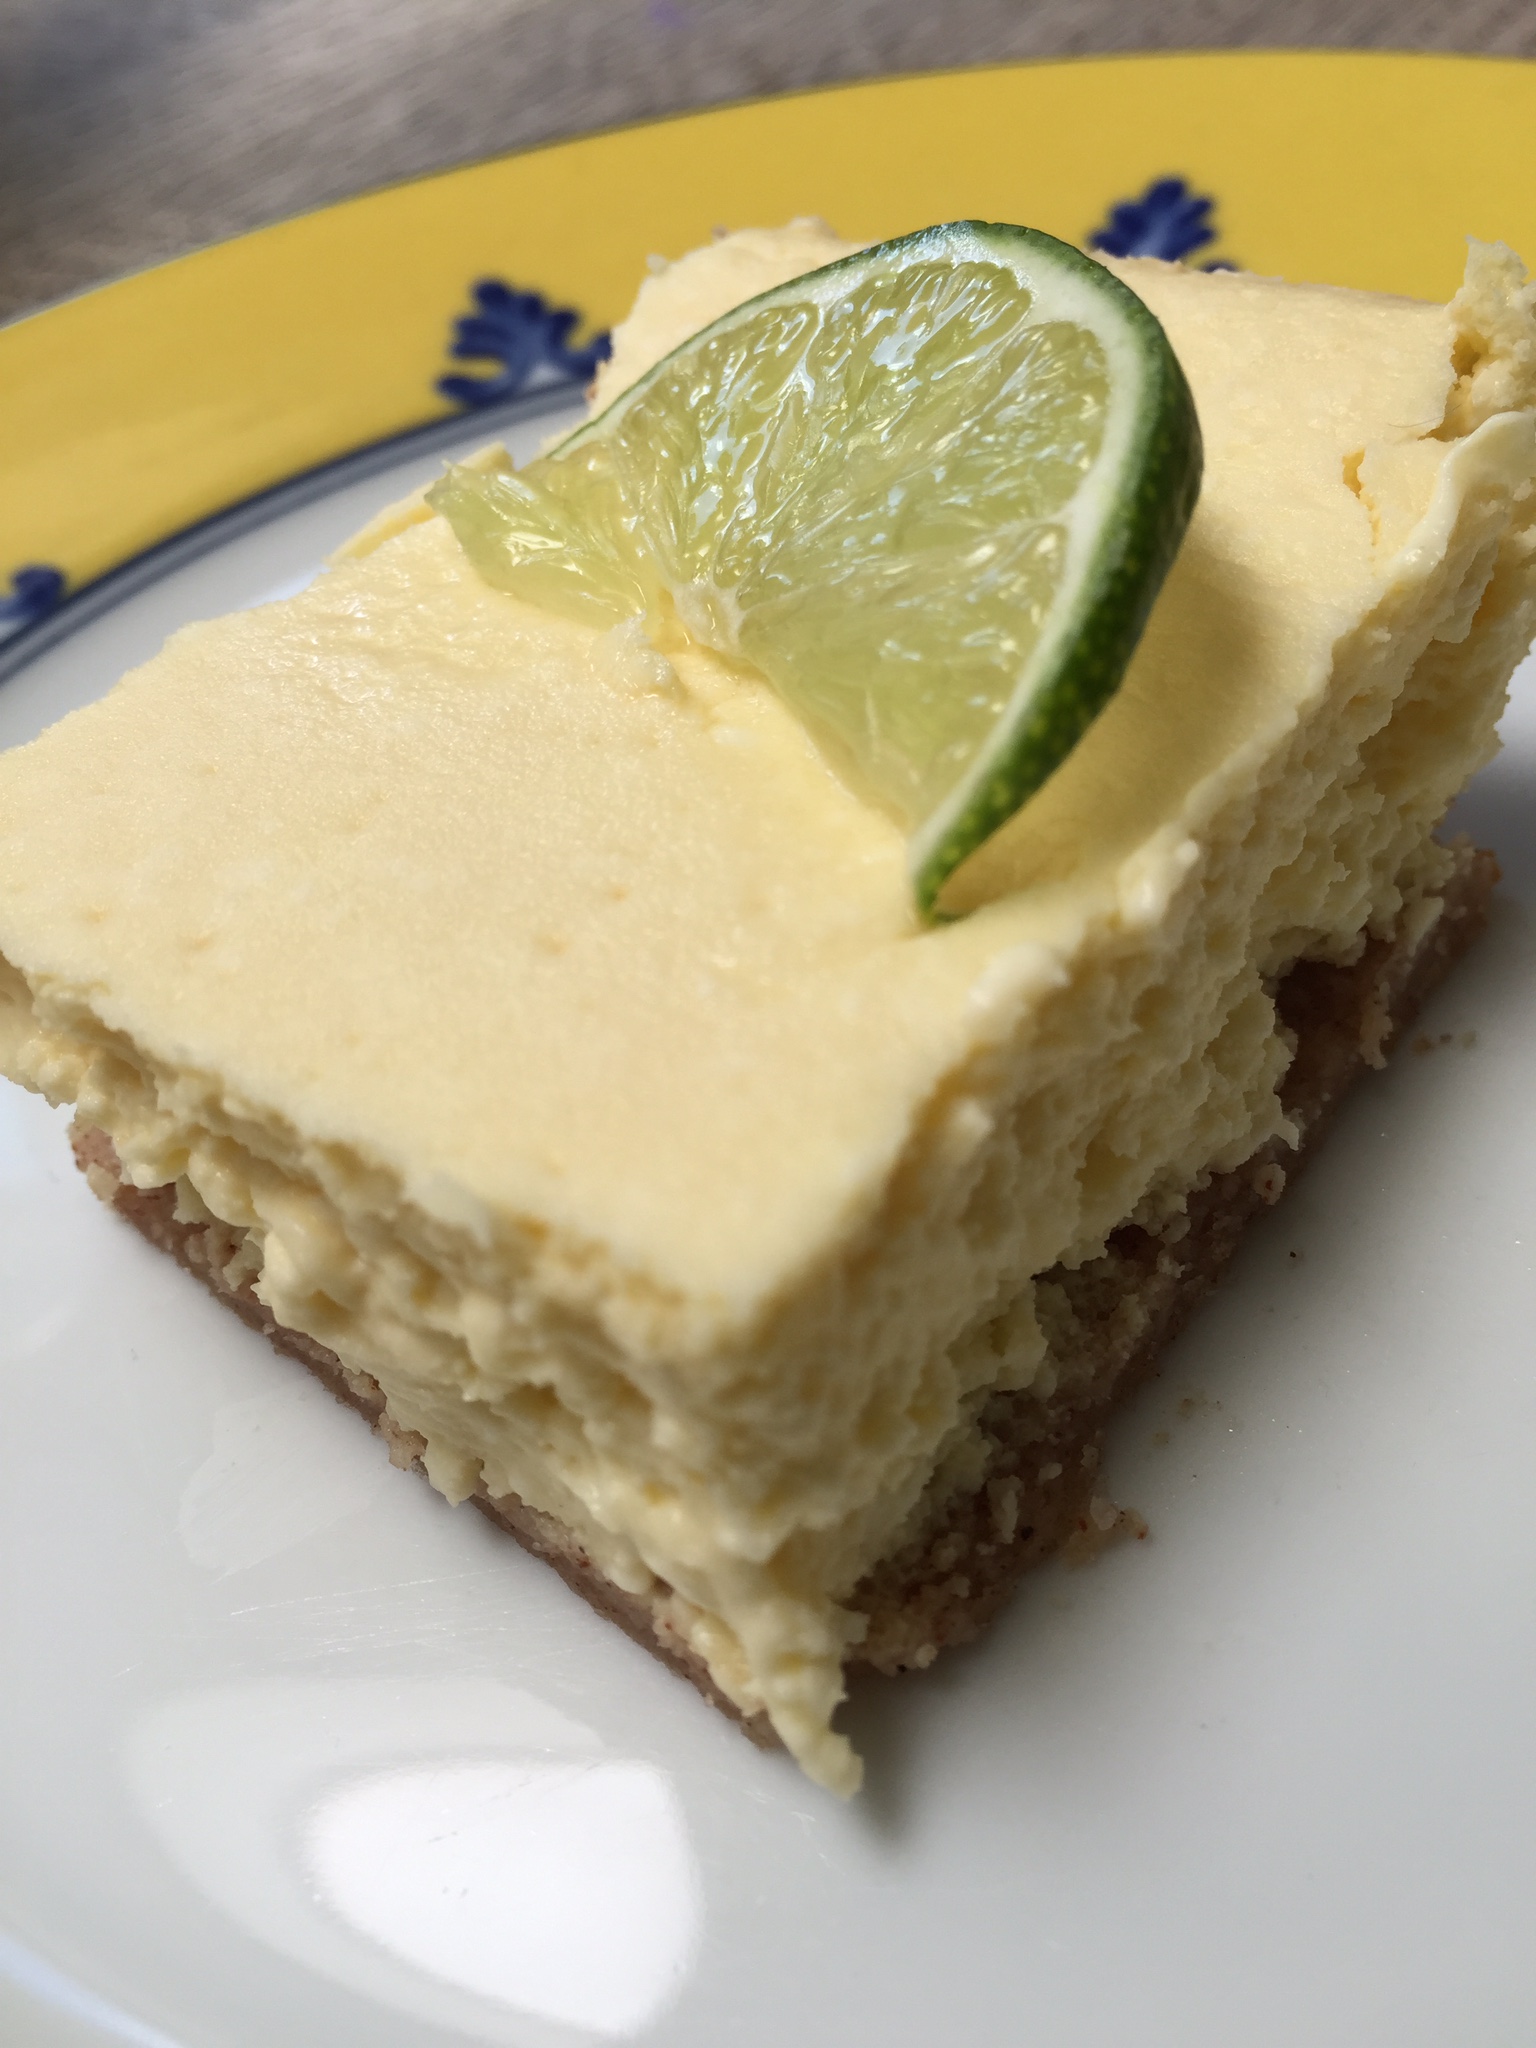
We are posting this one today so you have time to prepare this beauty for the holiday weekend. This is a luscious lemony dessert that you would never guess to be sugar free, and even better, you can make it patriotic as all get out. The entire dessert was devoured and family approved. It also keeps well so you can make it ahead, and then dress it up the day of your event.
I am getting more accustomed and comfortable using Stevia in recipes, and so far so good. A little goes a long way, and it doesn’t seem to leave that sweet aftertaste like Swerve does with some people. Don’t get me wrong, I love Swerve, but Stevia is great too! I am definitely going to stick with the Trader Joe’s Pure Stevia. It is the real deal! If you are looking for it in the store, you can find it with the supplements.
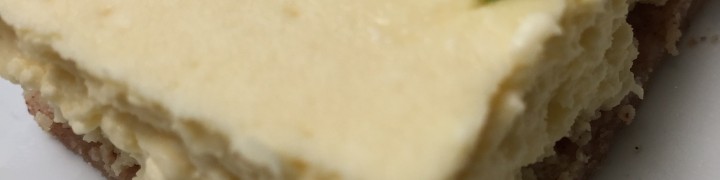
This dessert is similar to the Key Lime Cheesecake I shared a few weeks ago. I changed up the crust a little to try to create a denser, less flakey crust for easier cutting into bars, and it seemed to serve easier with a spatula. I actually had better luck cutting into bars after it cooled, but before I chilled it in the refrigerator. This is a great tip for the future, but if you plan to decorate it like I did on this one, it is best to cut after everyone admires your handiwork.
Patriotic Lemon Berry Cheesecake
This recipe will yield a 9×13 and an 8×8 cheesecake. If you only want one, half the recipe.
Before you start, you will want to bring your cream cheese and eggs to room temperature (a few hours) and preheat your oven to 325 degrees.
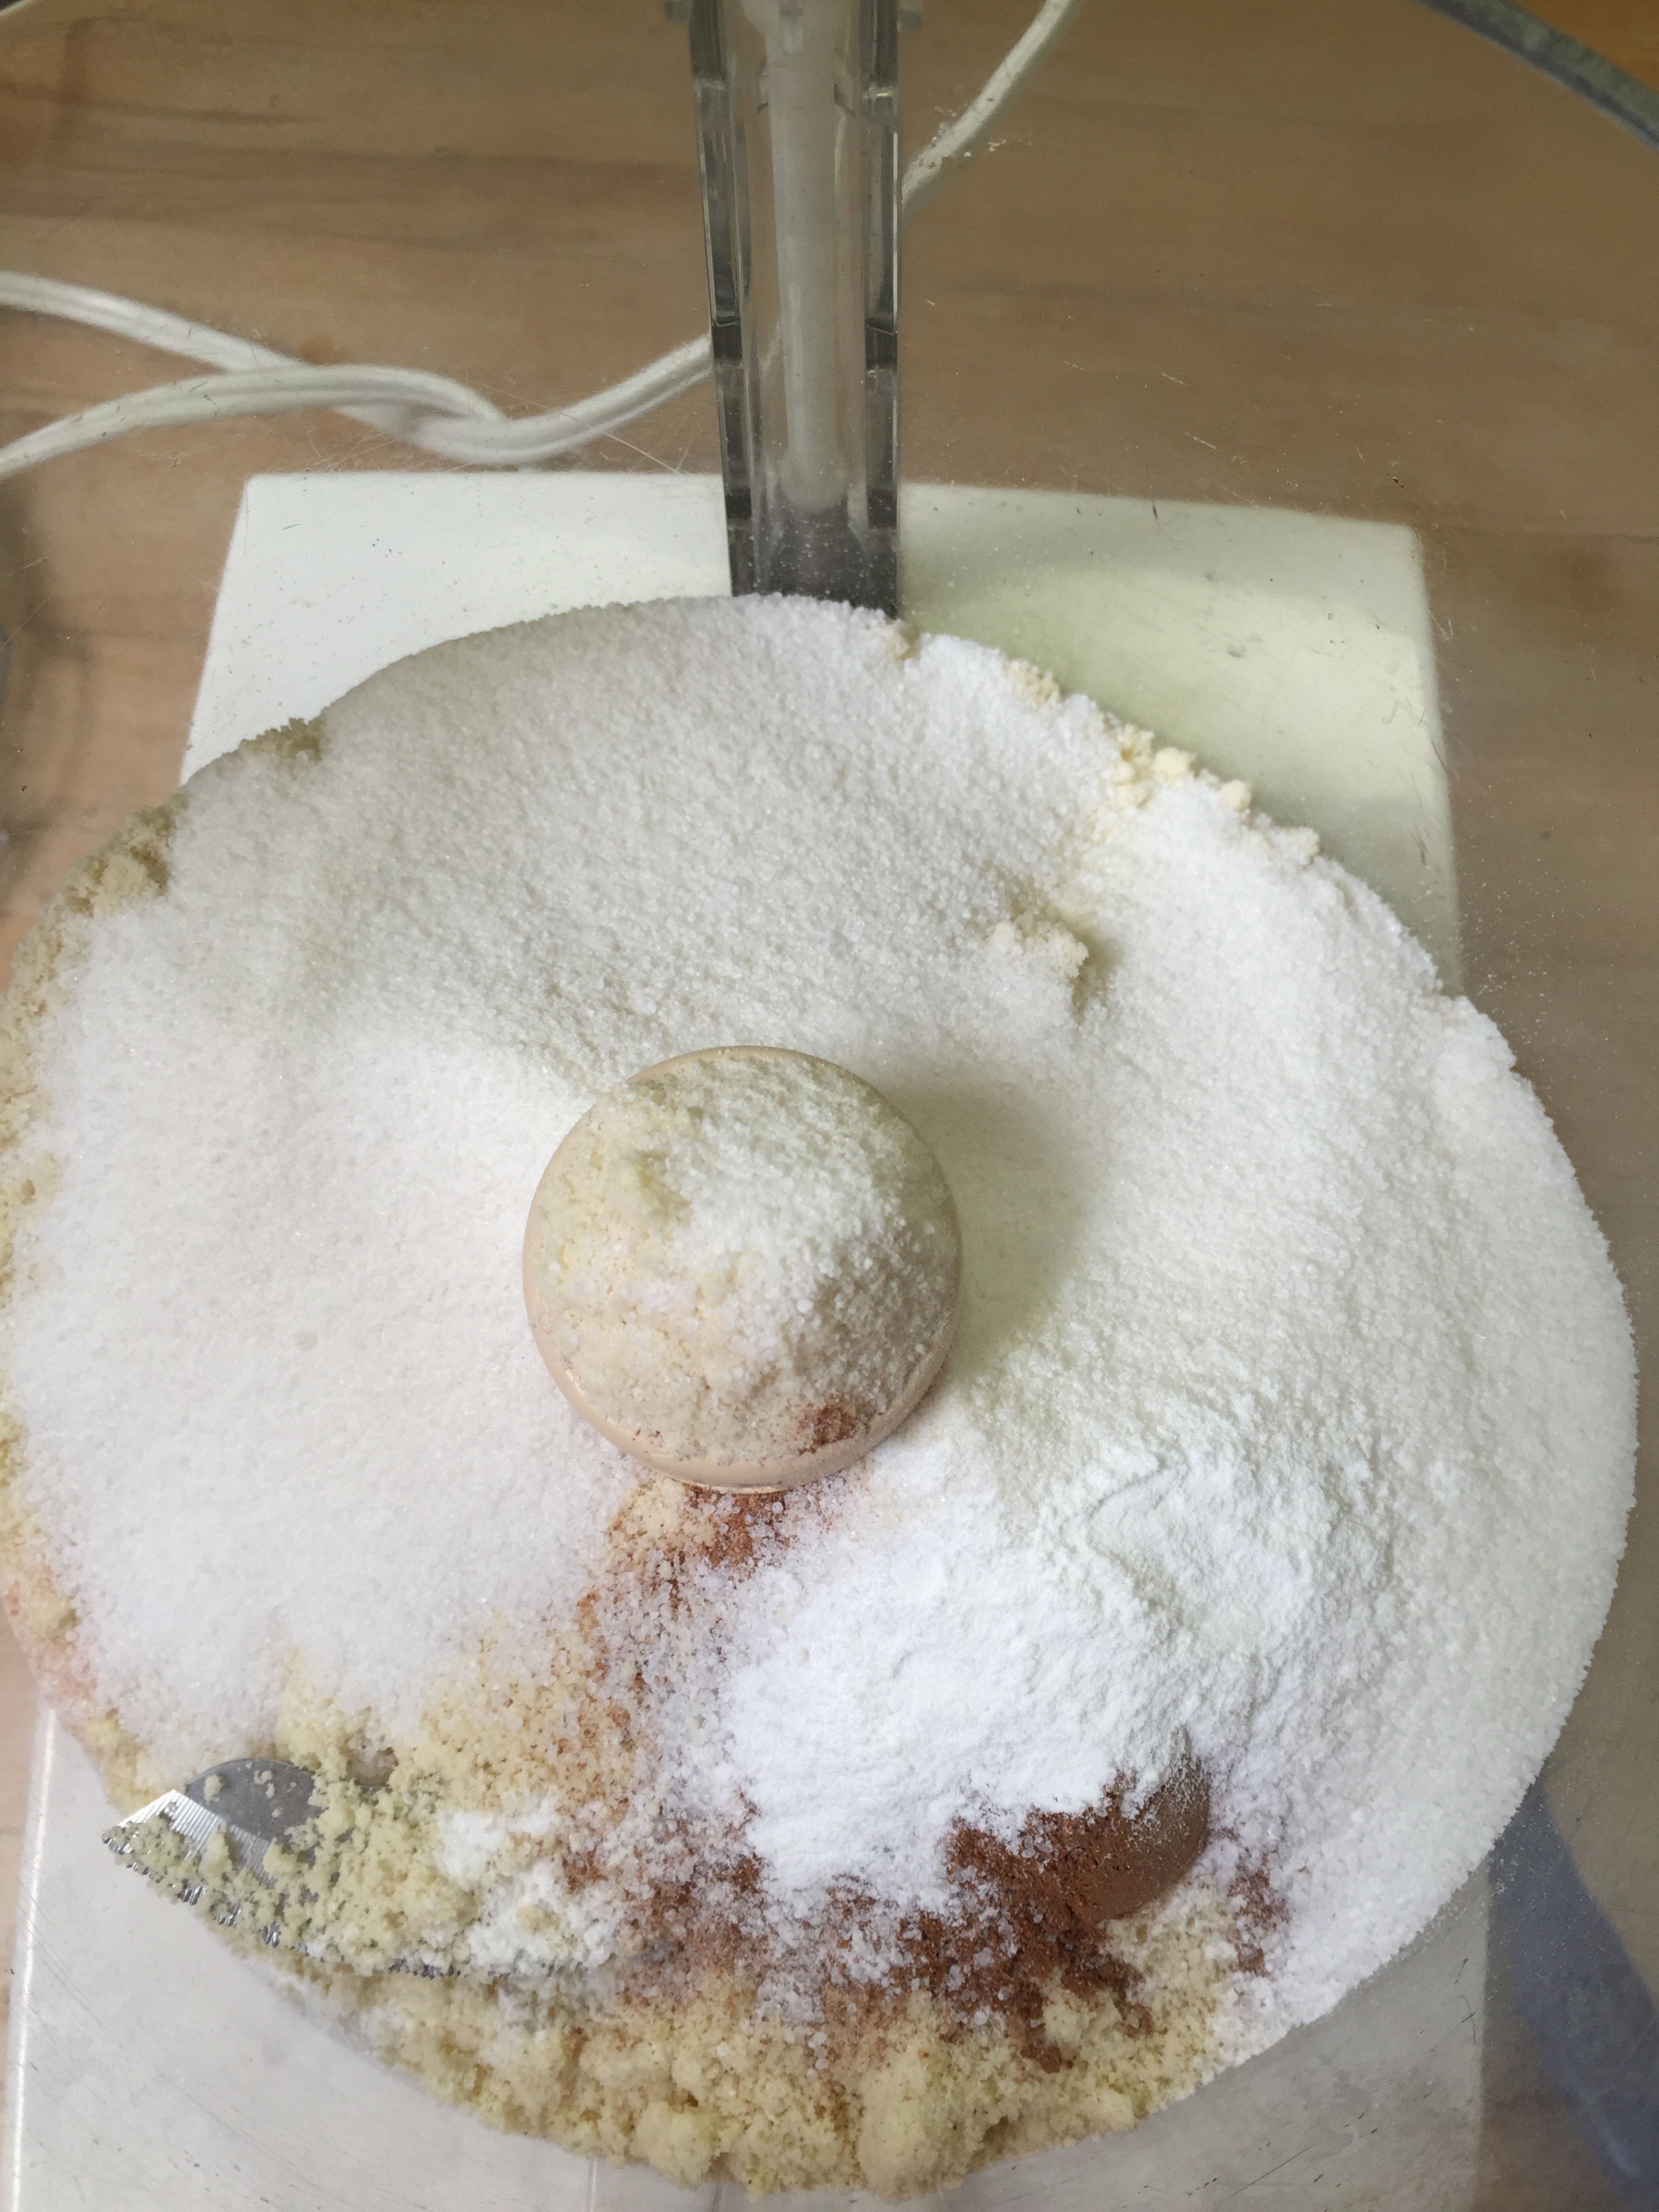
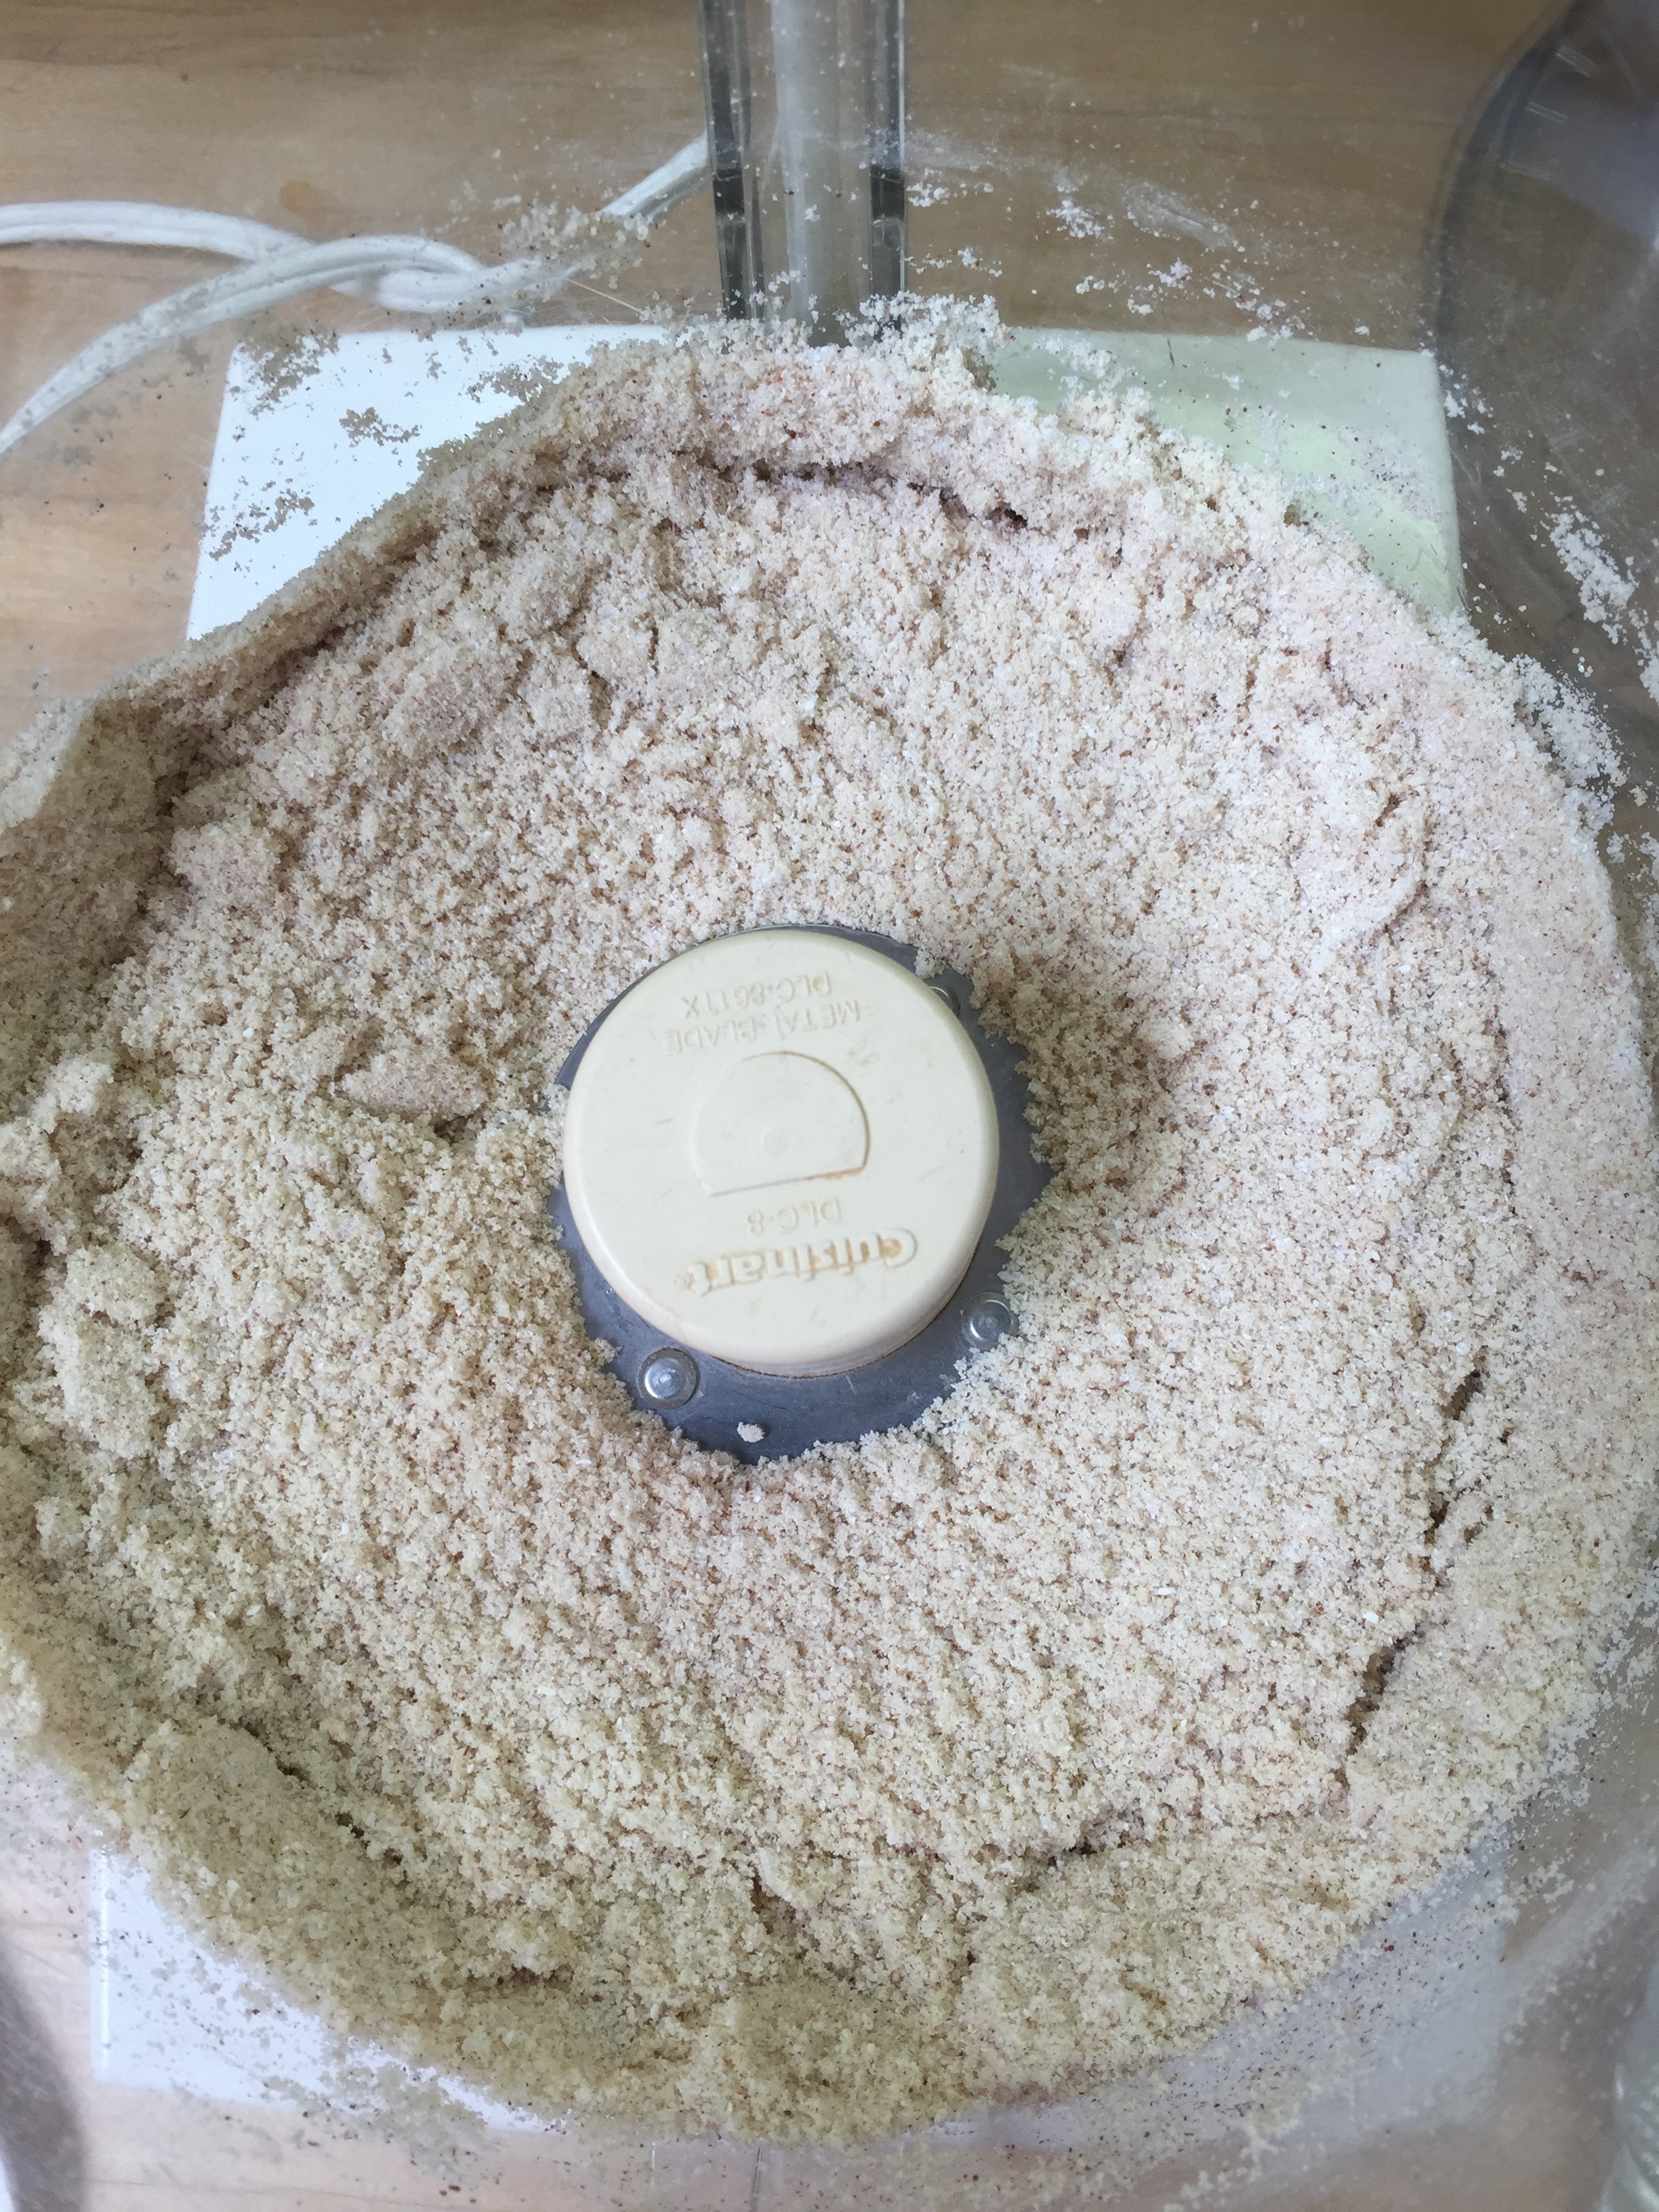
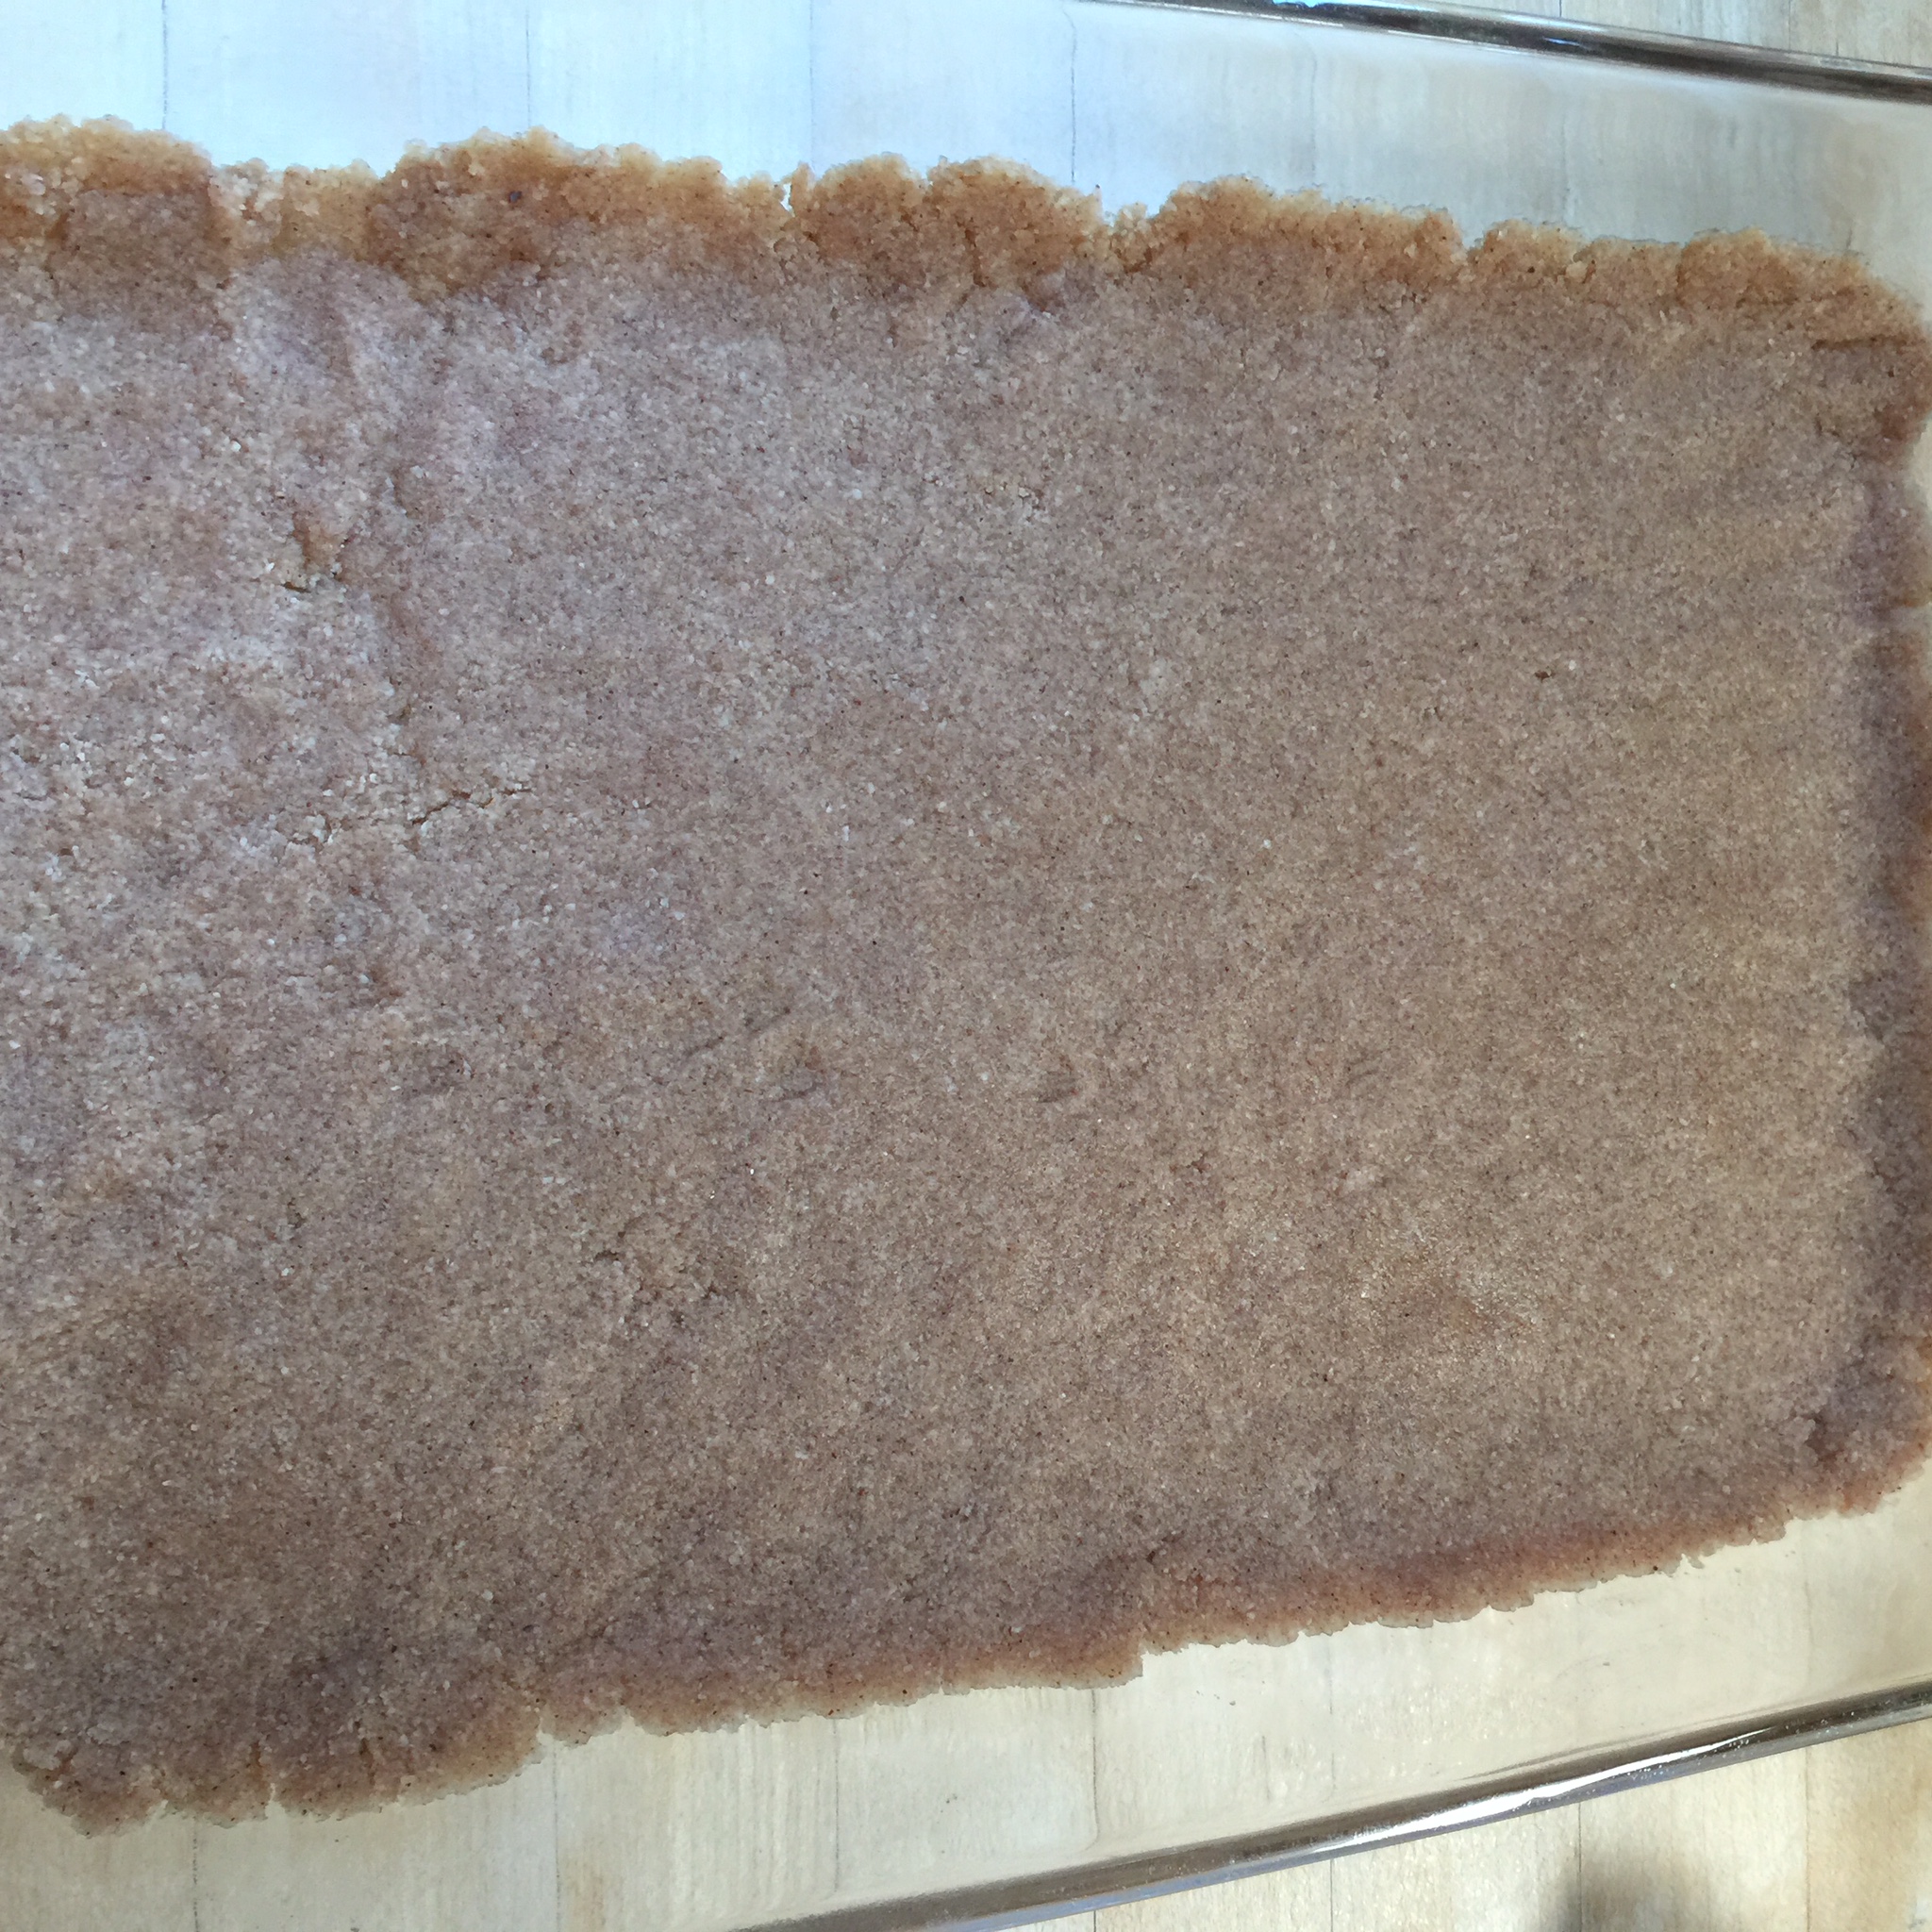
Combine all your dry ingredients in a food processor. Pulse until you have a sand like mixture.
Add your eggs and butter. Pulse until a ball of dough forms.
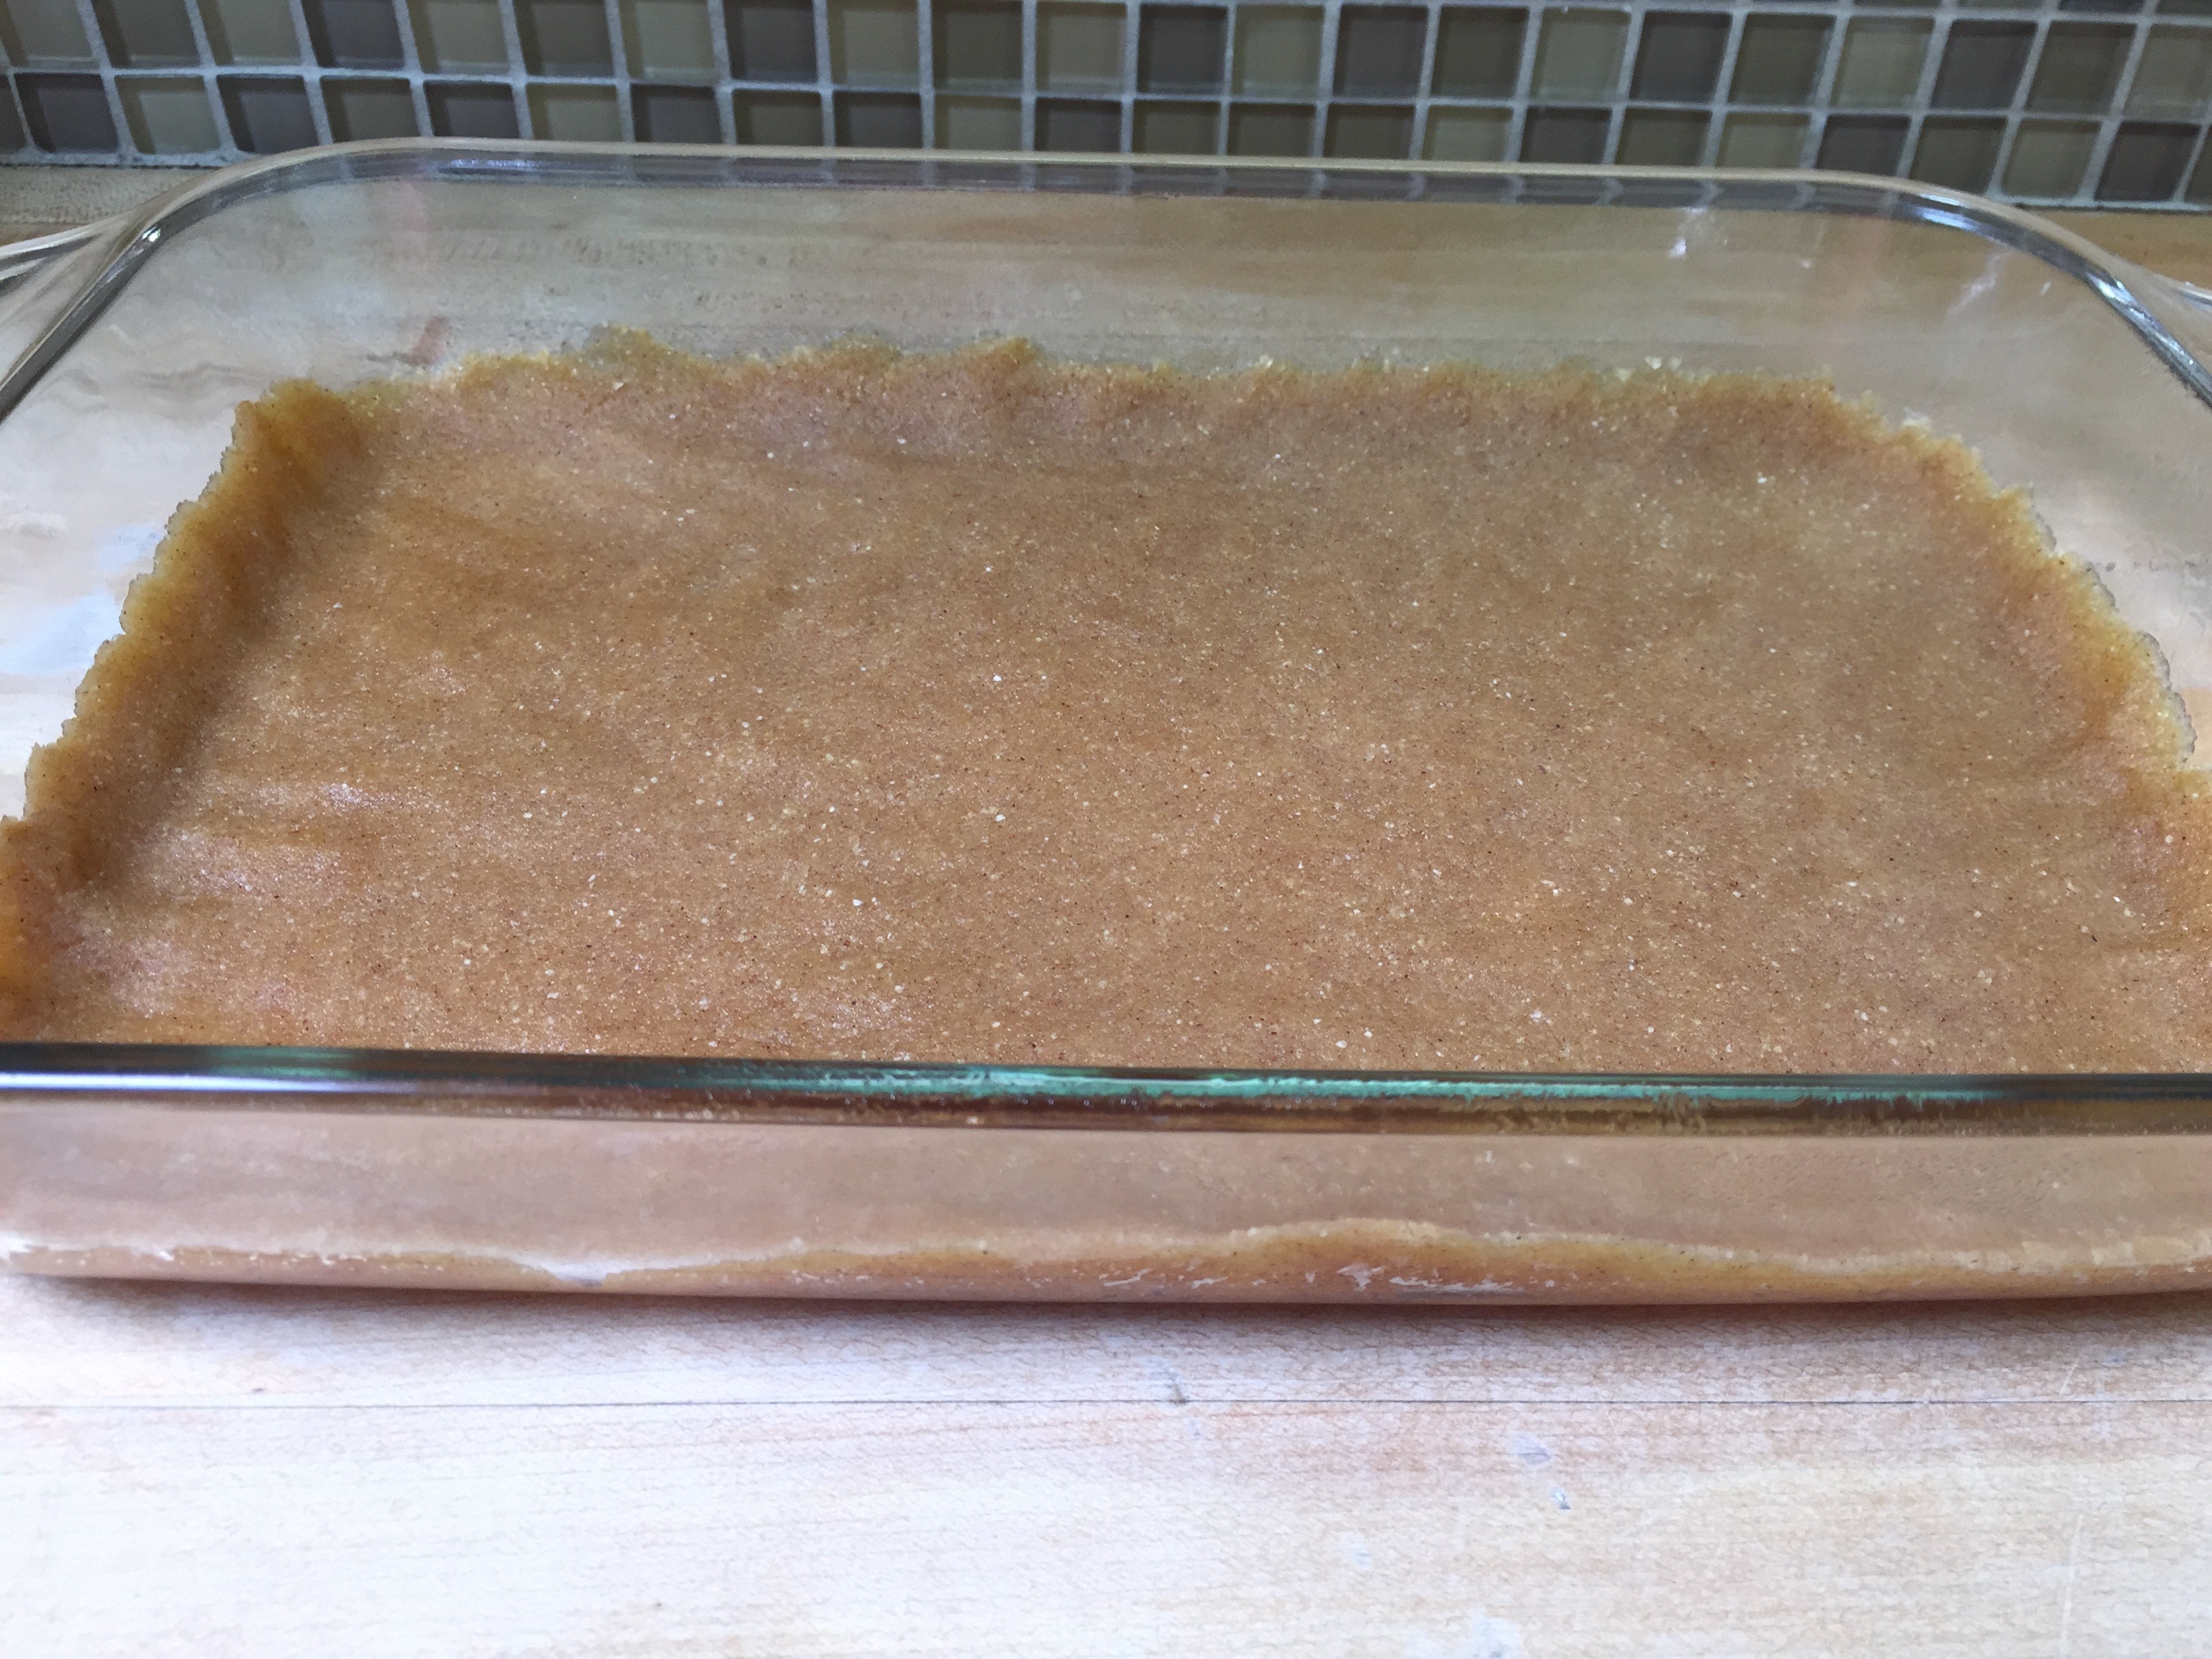
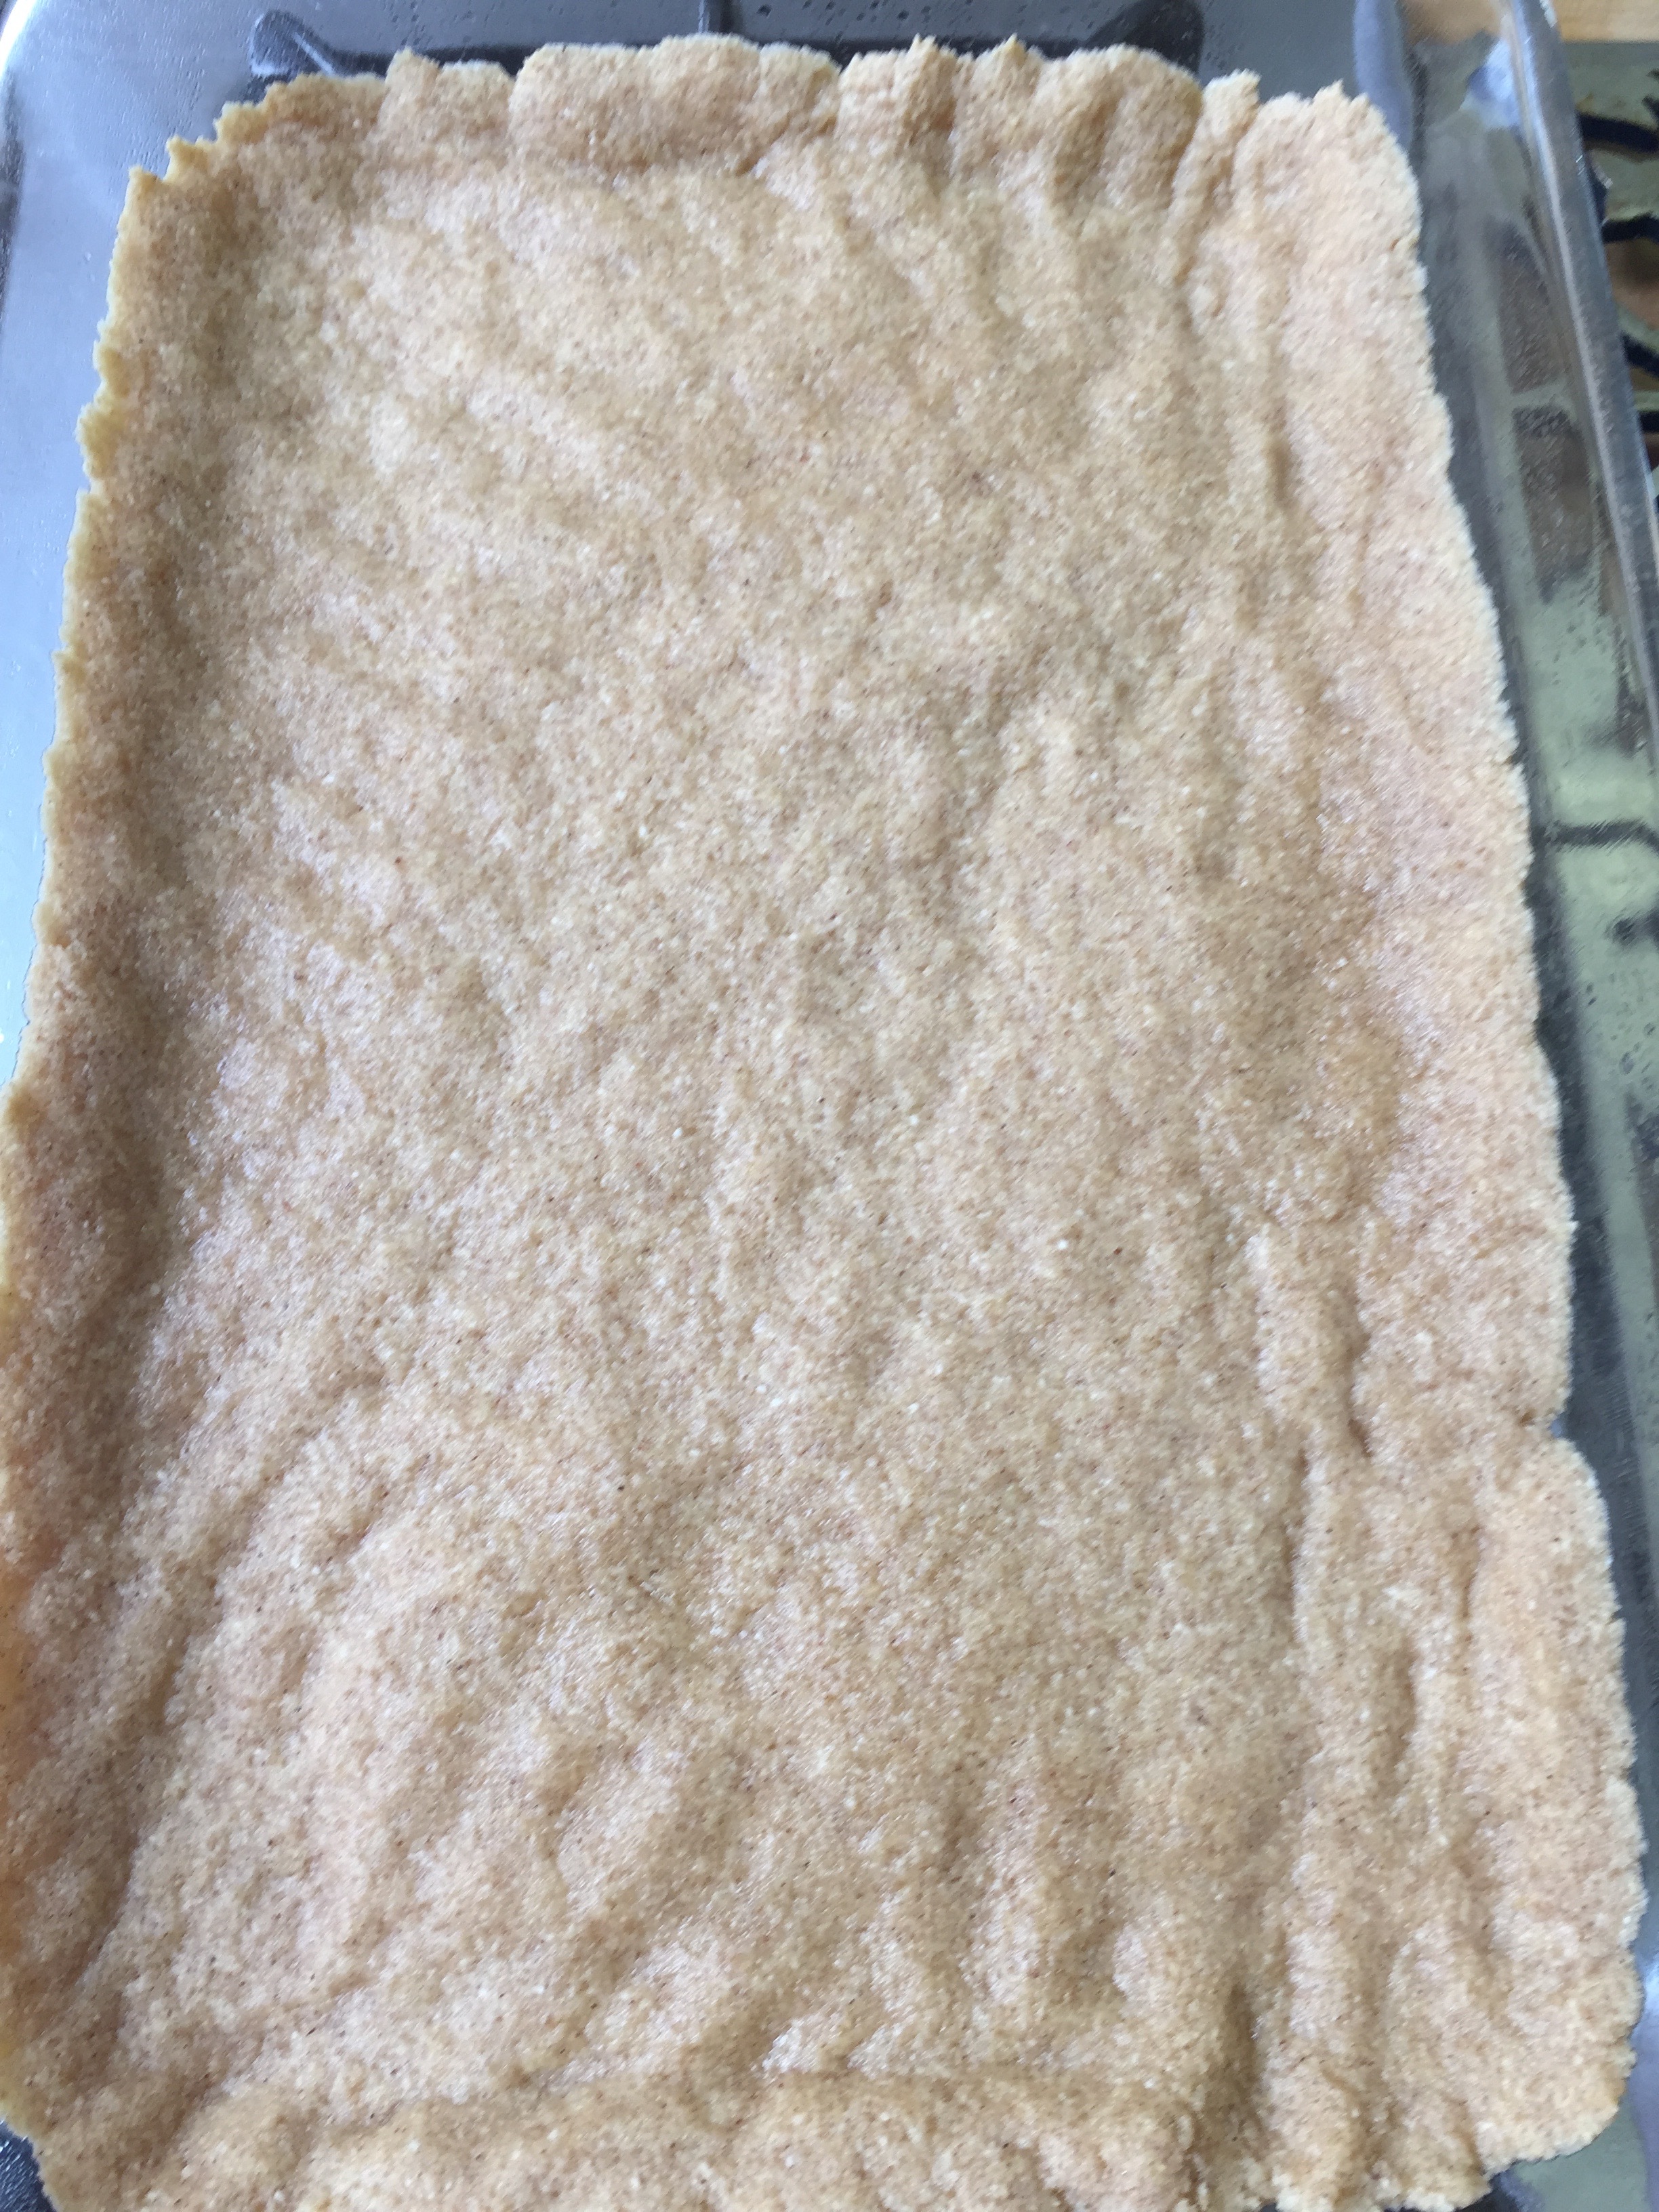
Mix well and press into a 9 x 13 and an 8 x 8 pyrex.
Bake at 325 for 12 minutes.
Meanwhile prepare your mixer for the cheesecake.
Cheesecake Filling
4 – 8 oz packages of Cream Cheese
4 Eggs
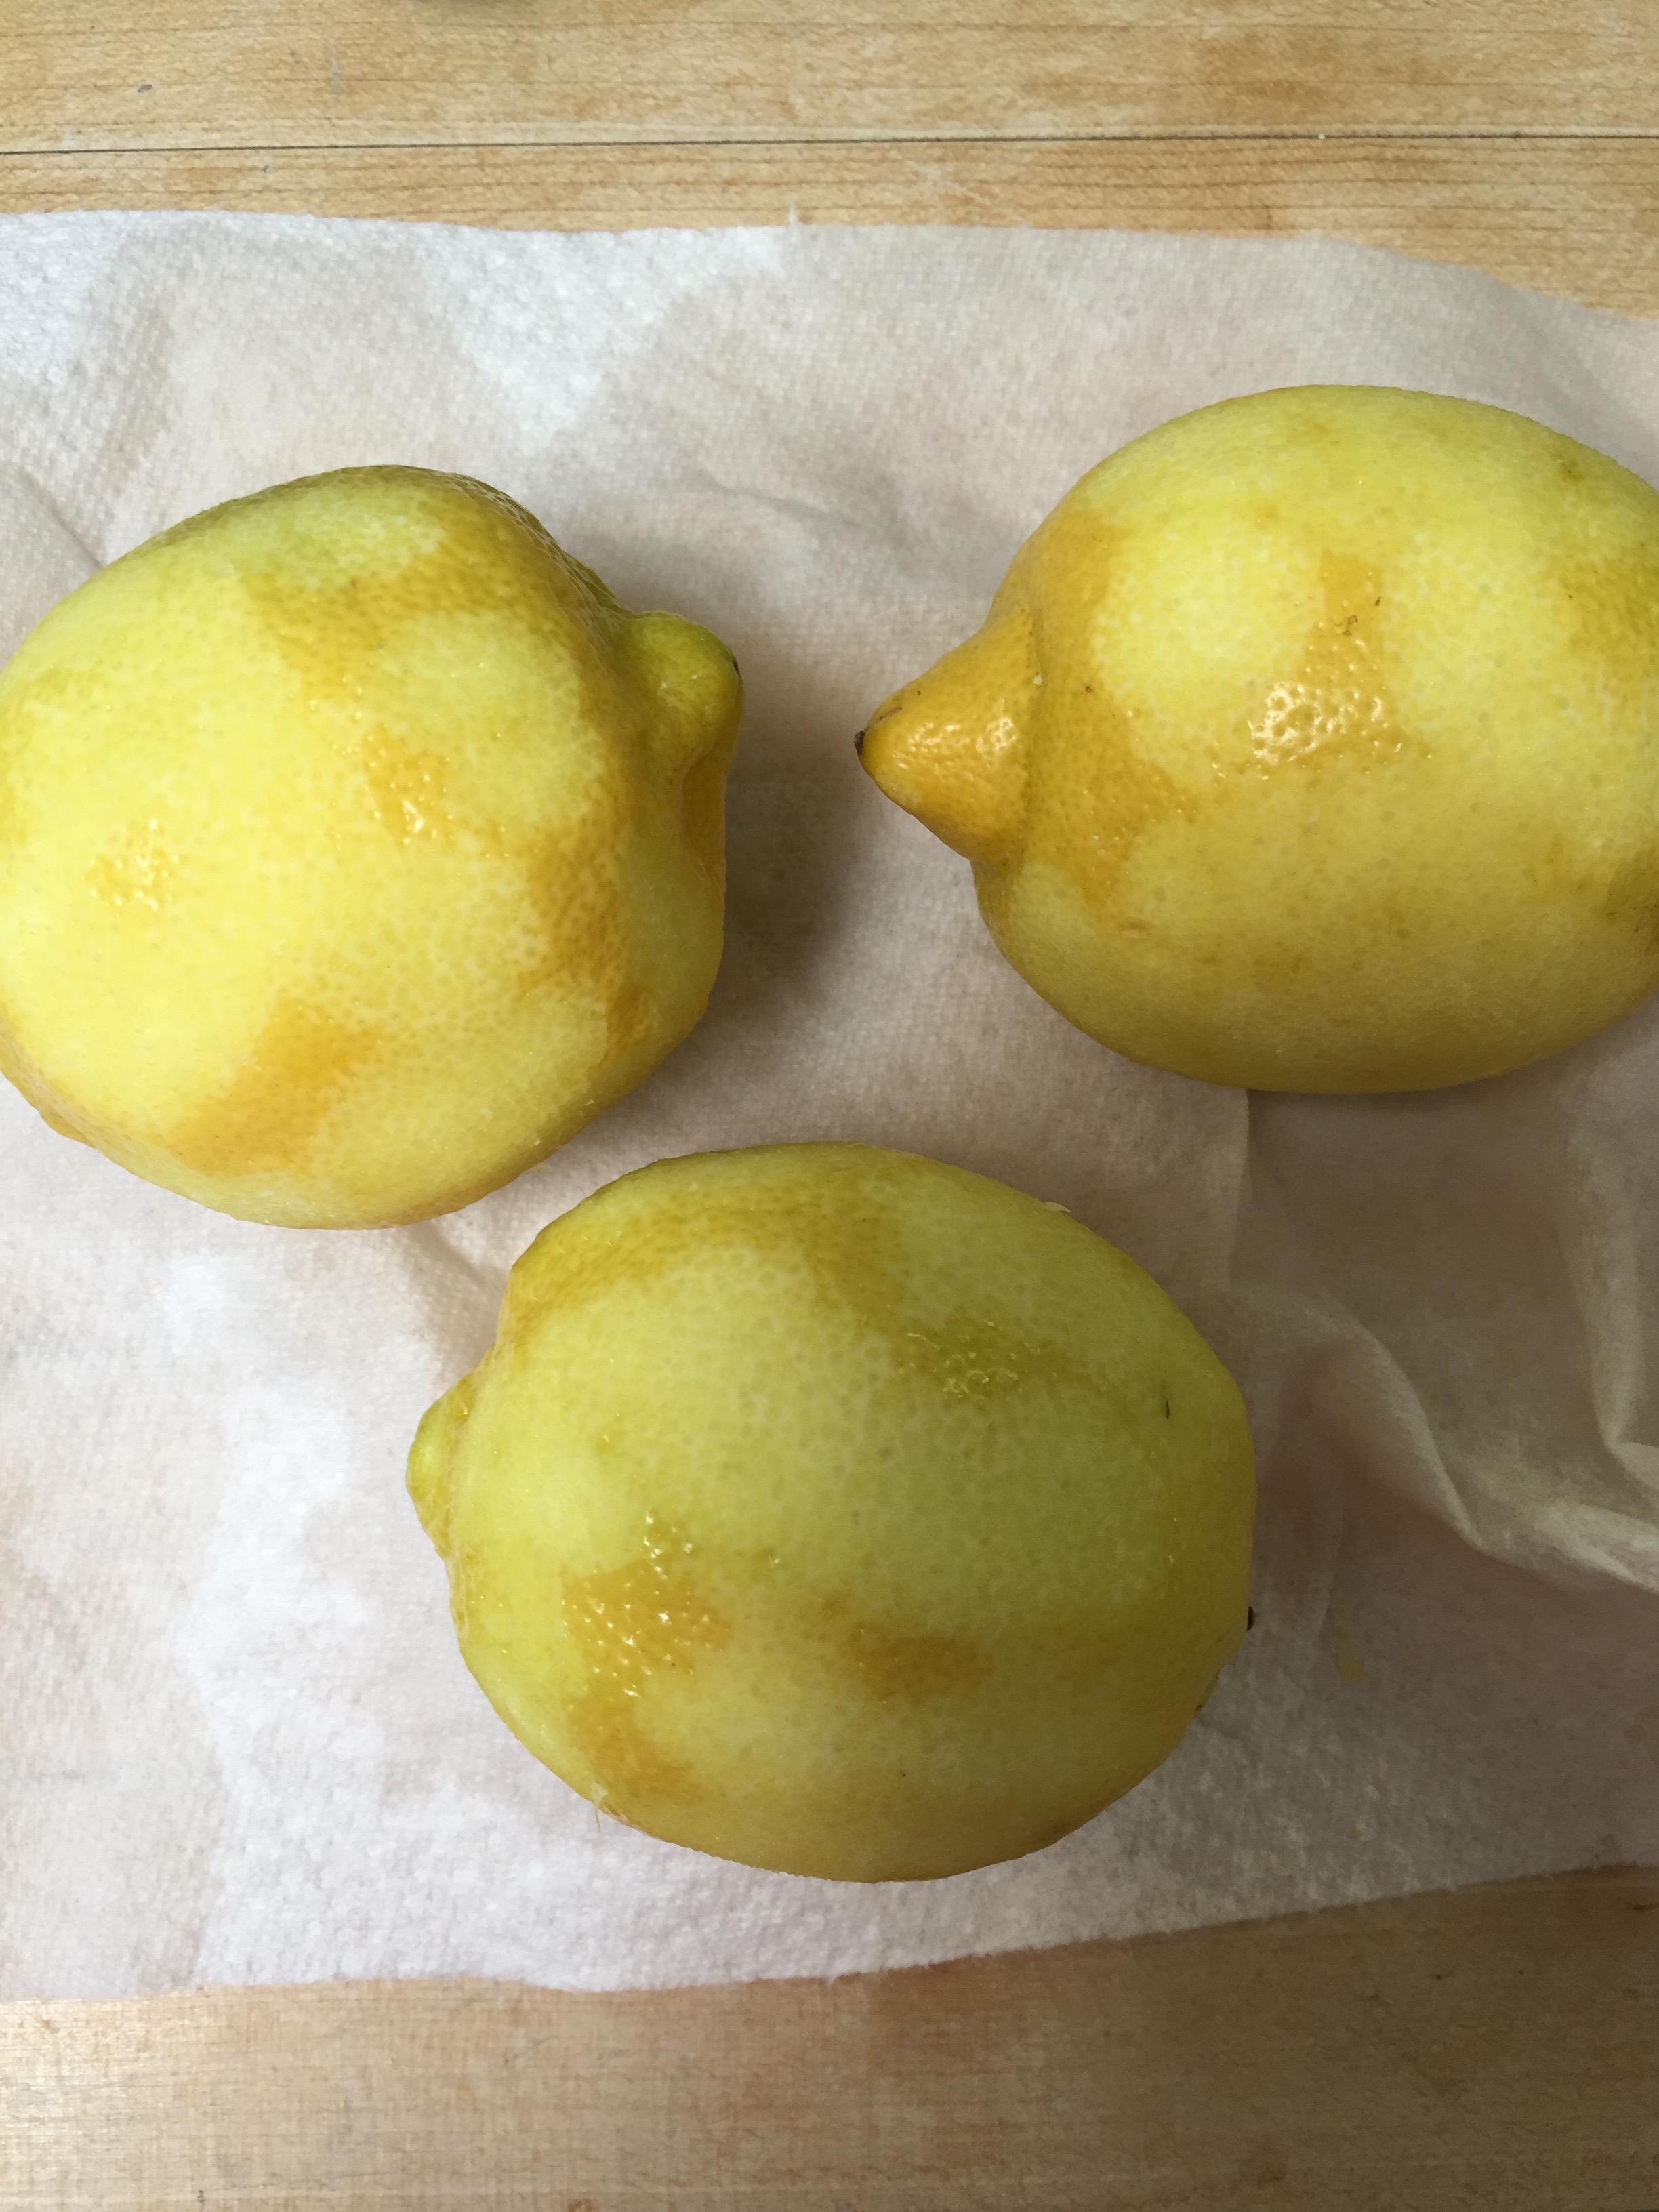
3 Lemons zested and juiced
1 tsp Pure Stevia
Berries
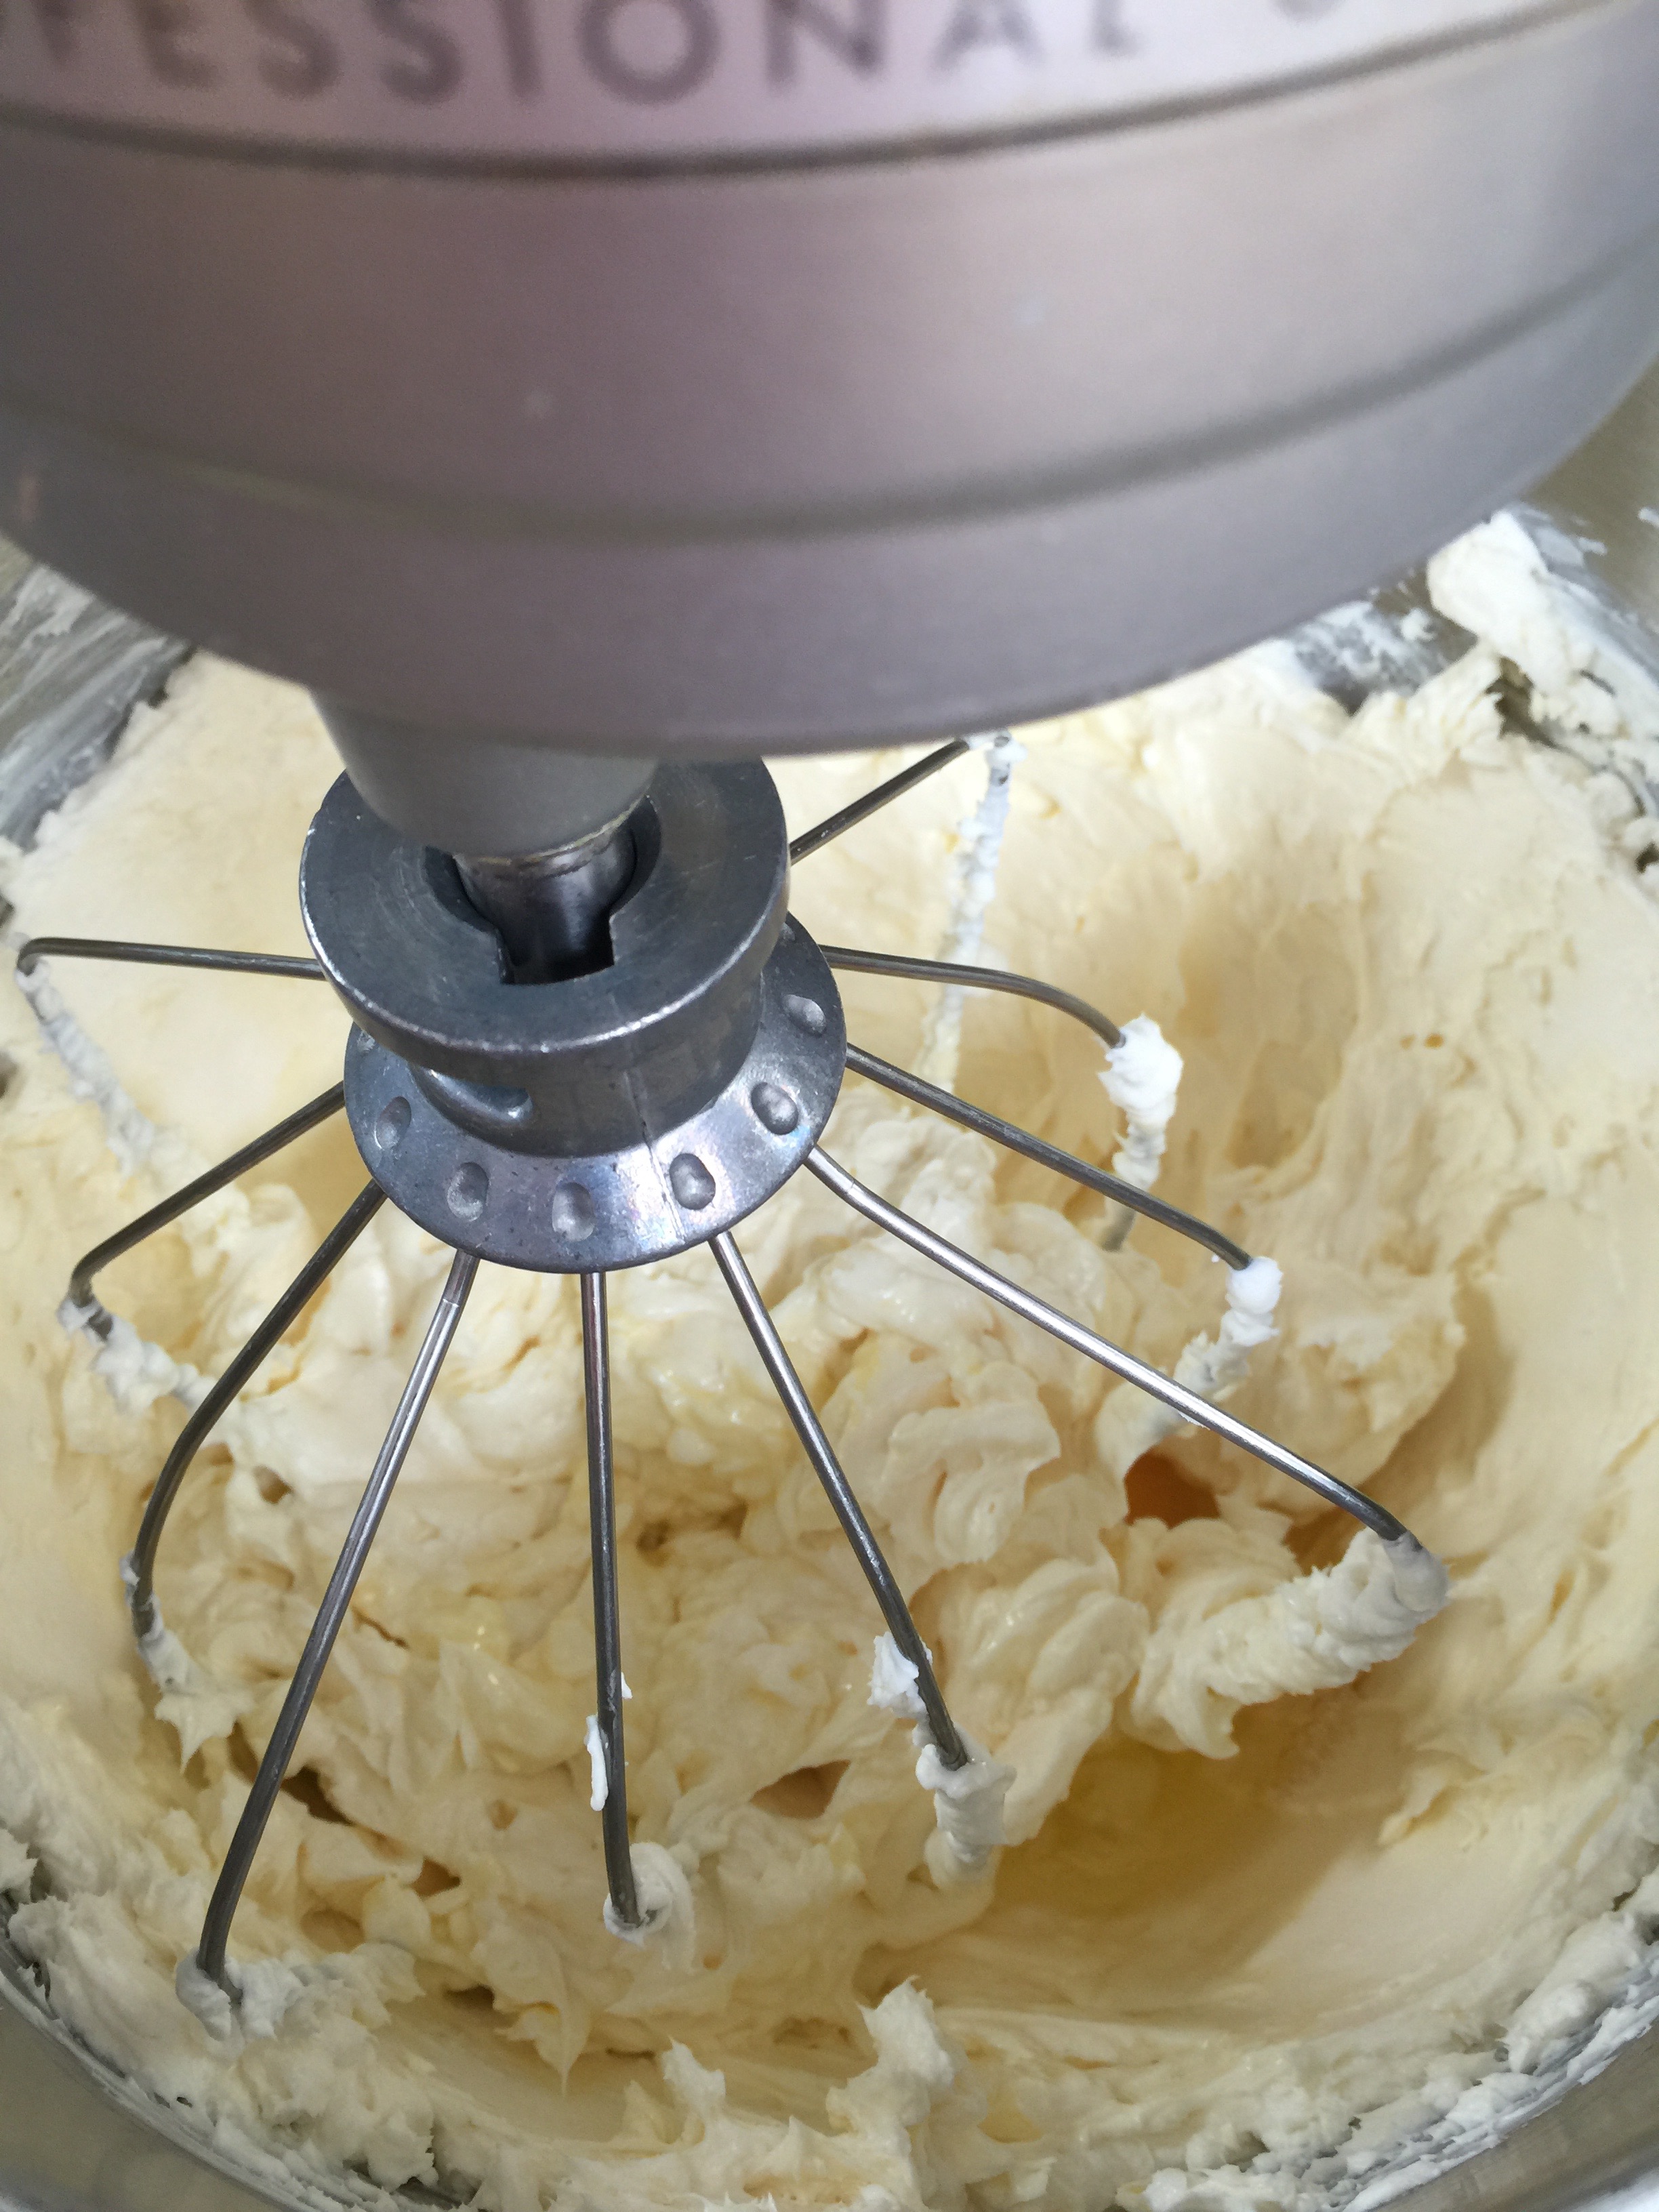
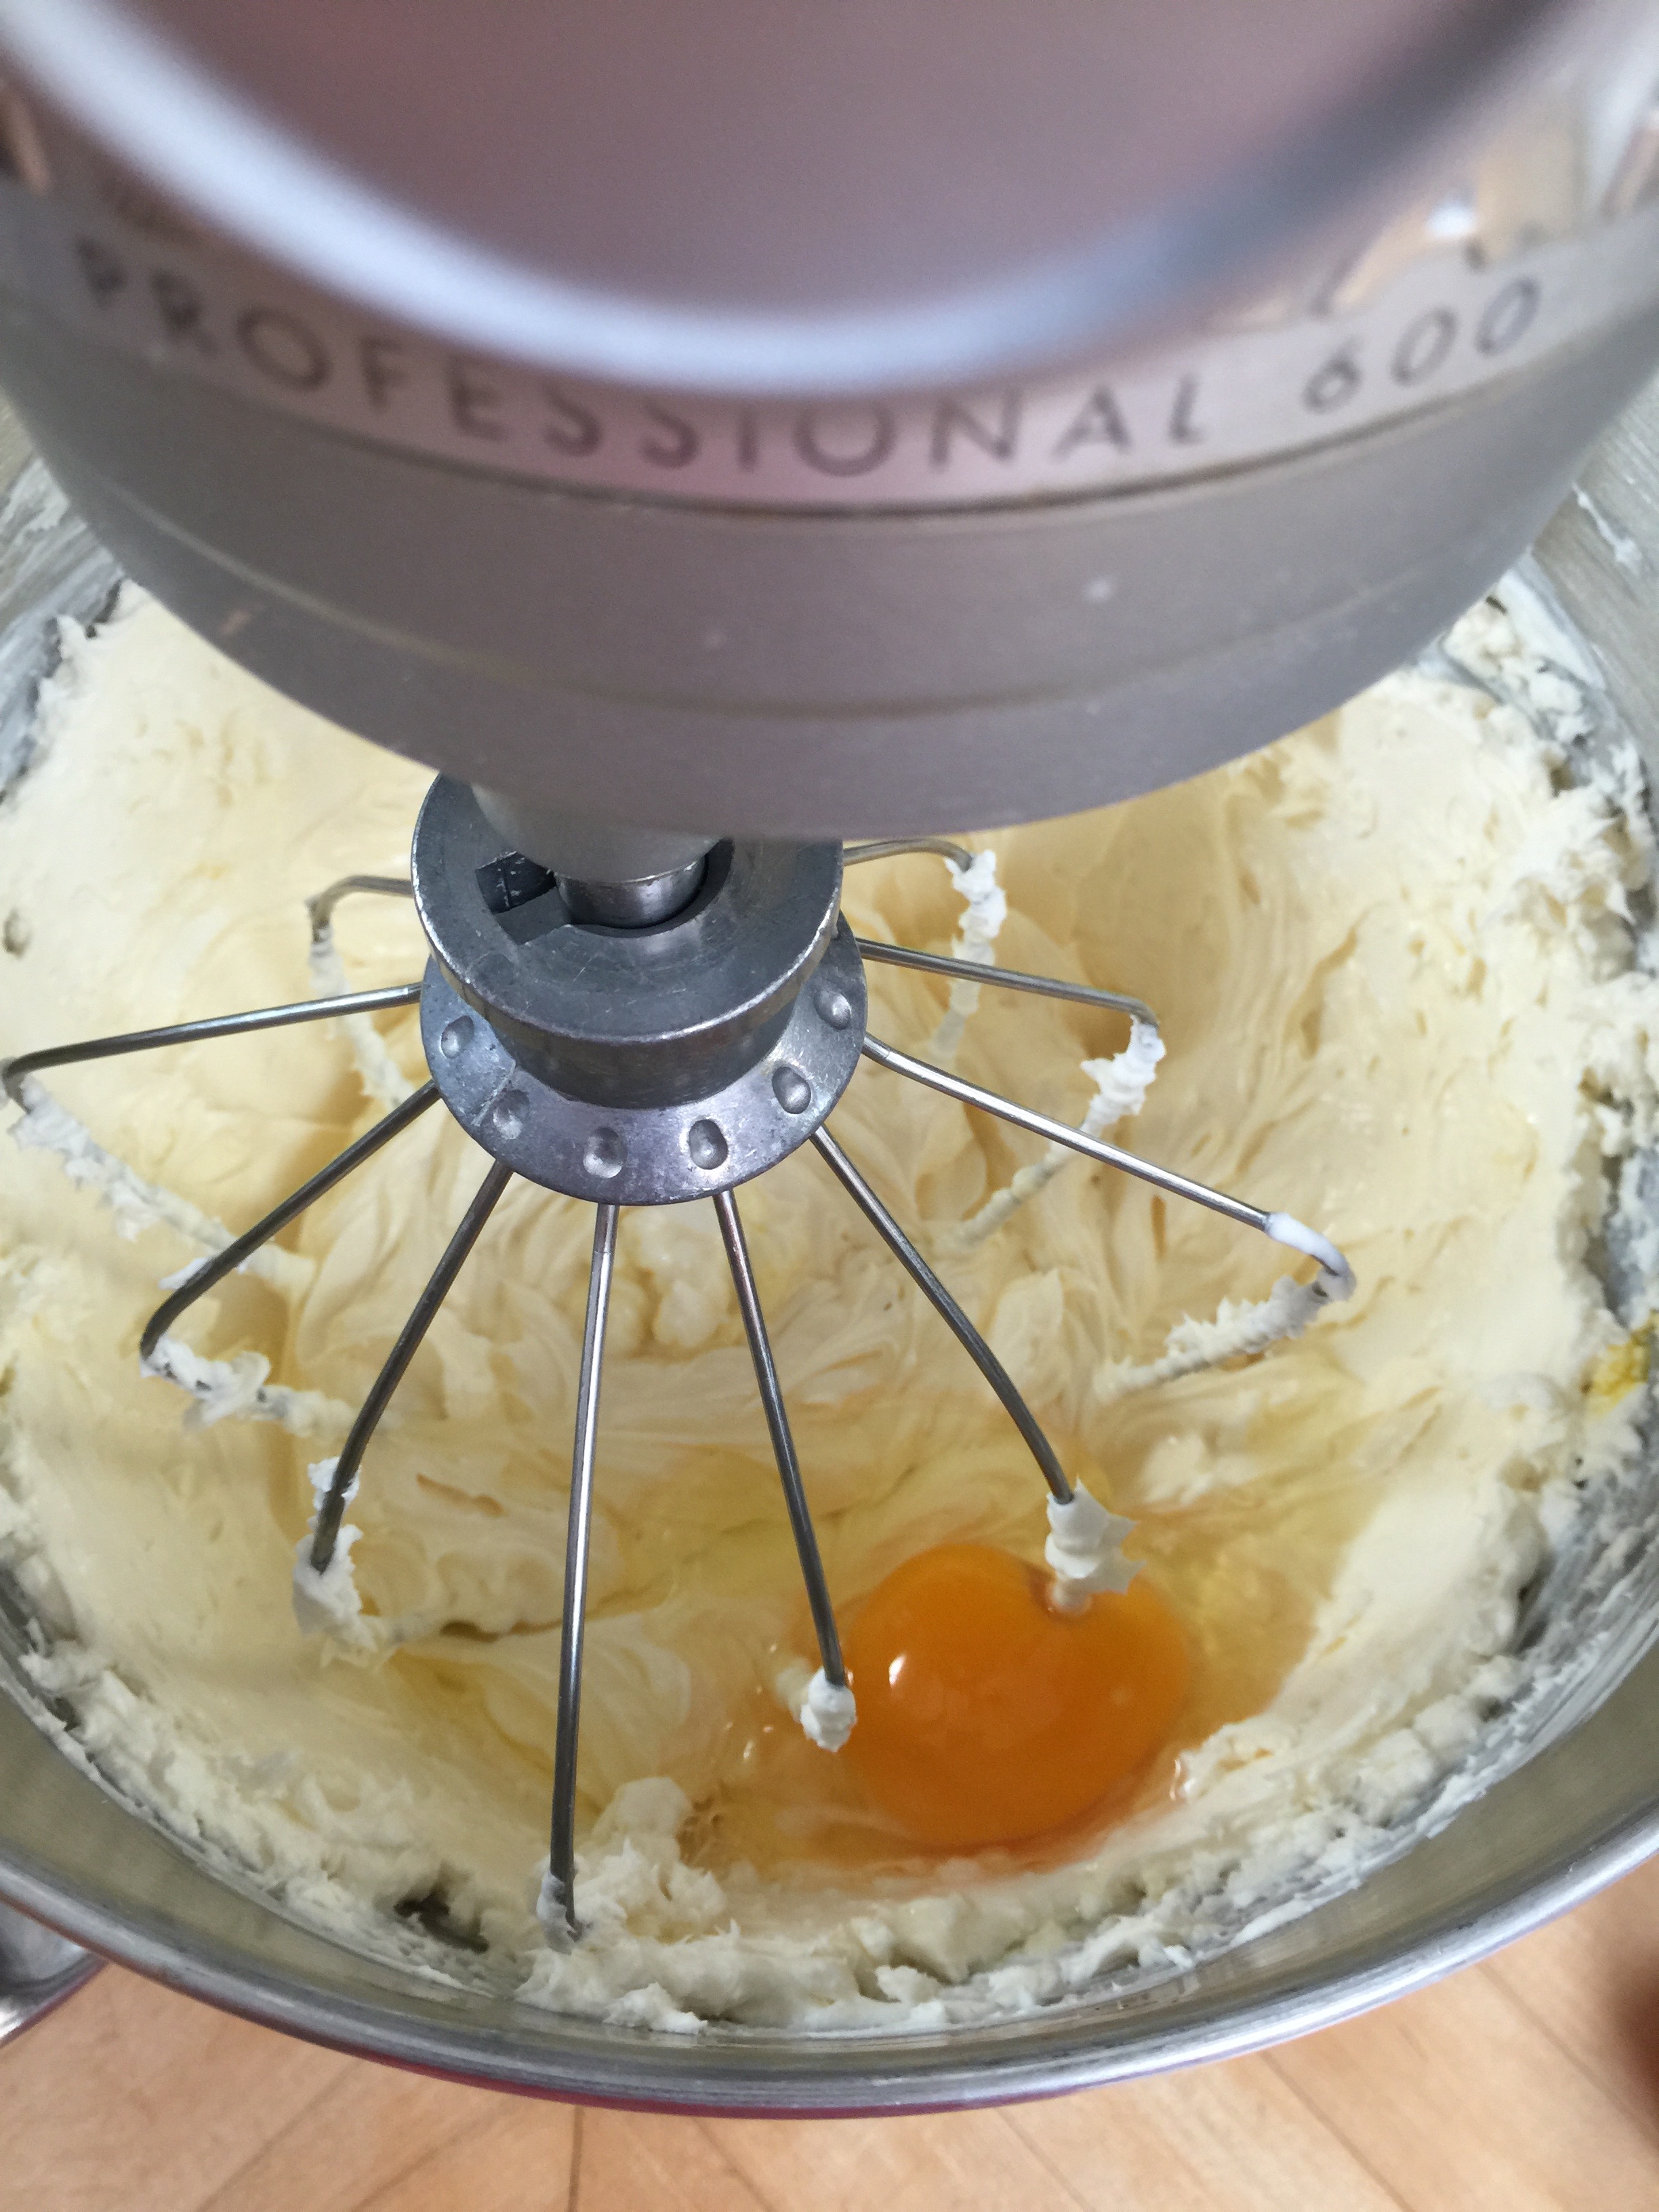
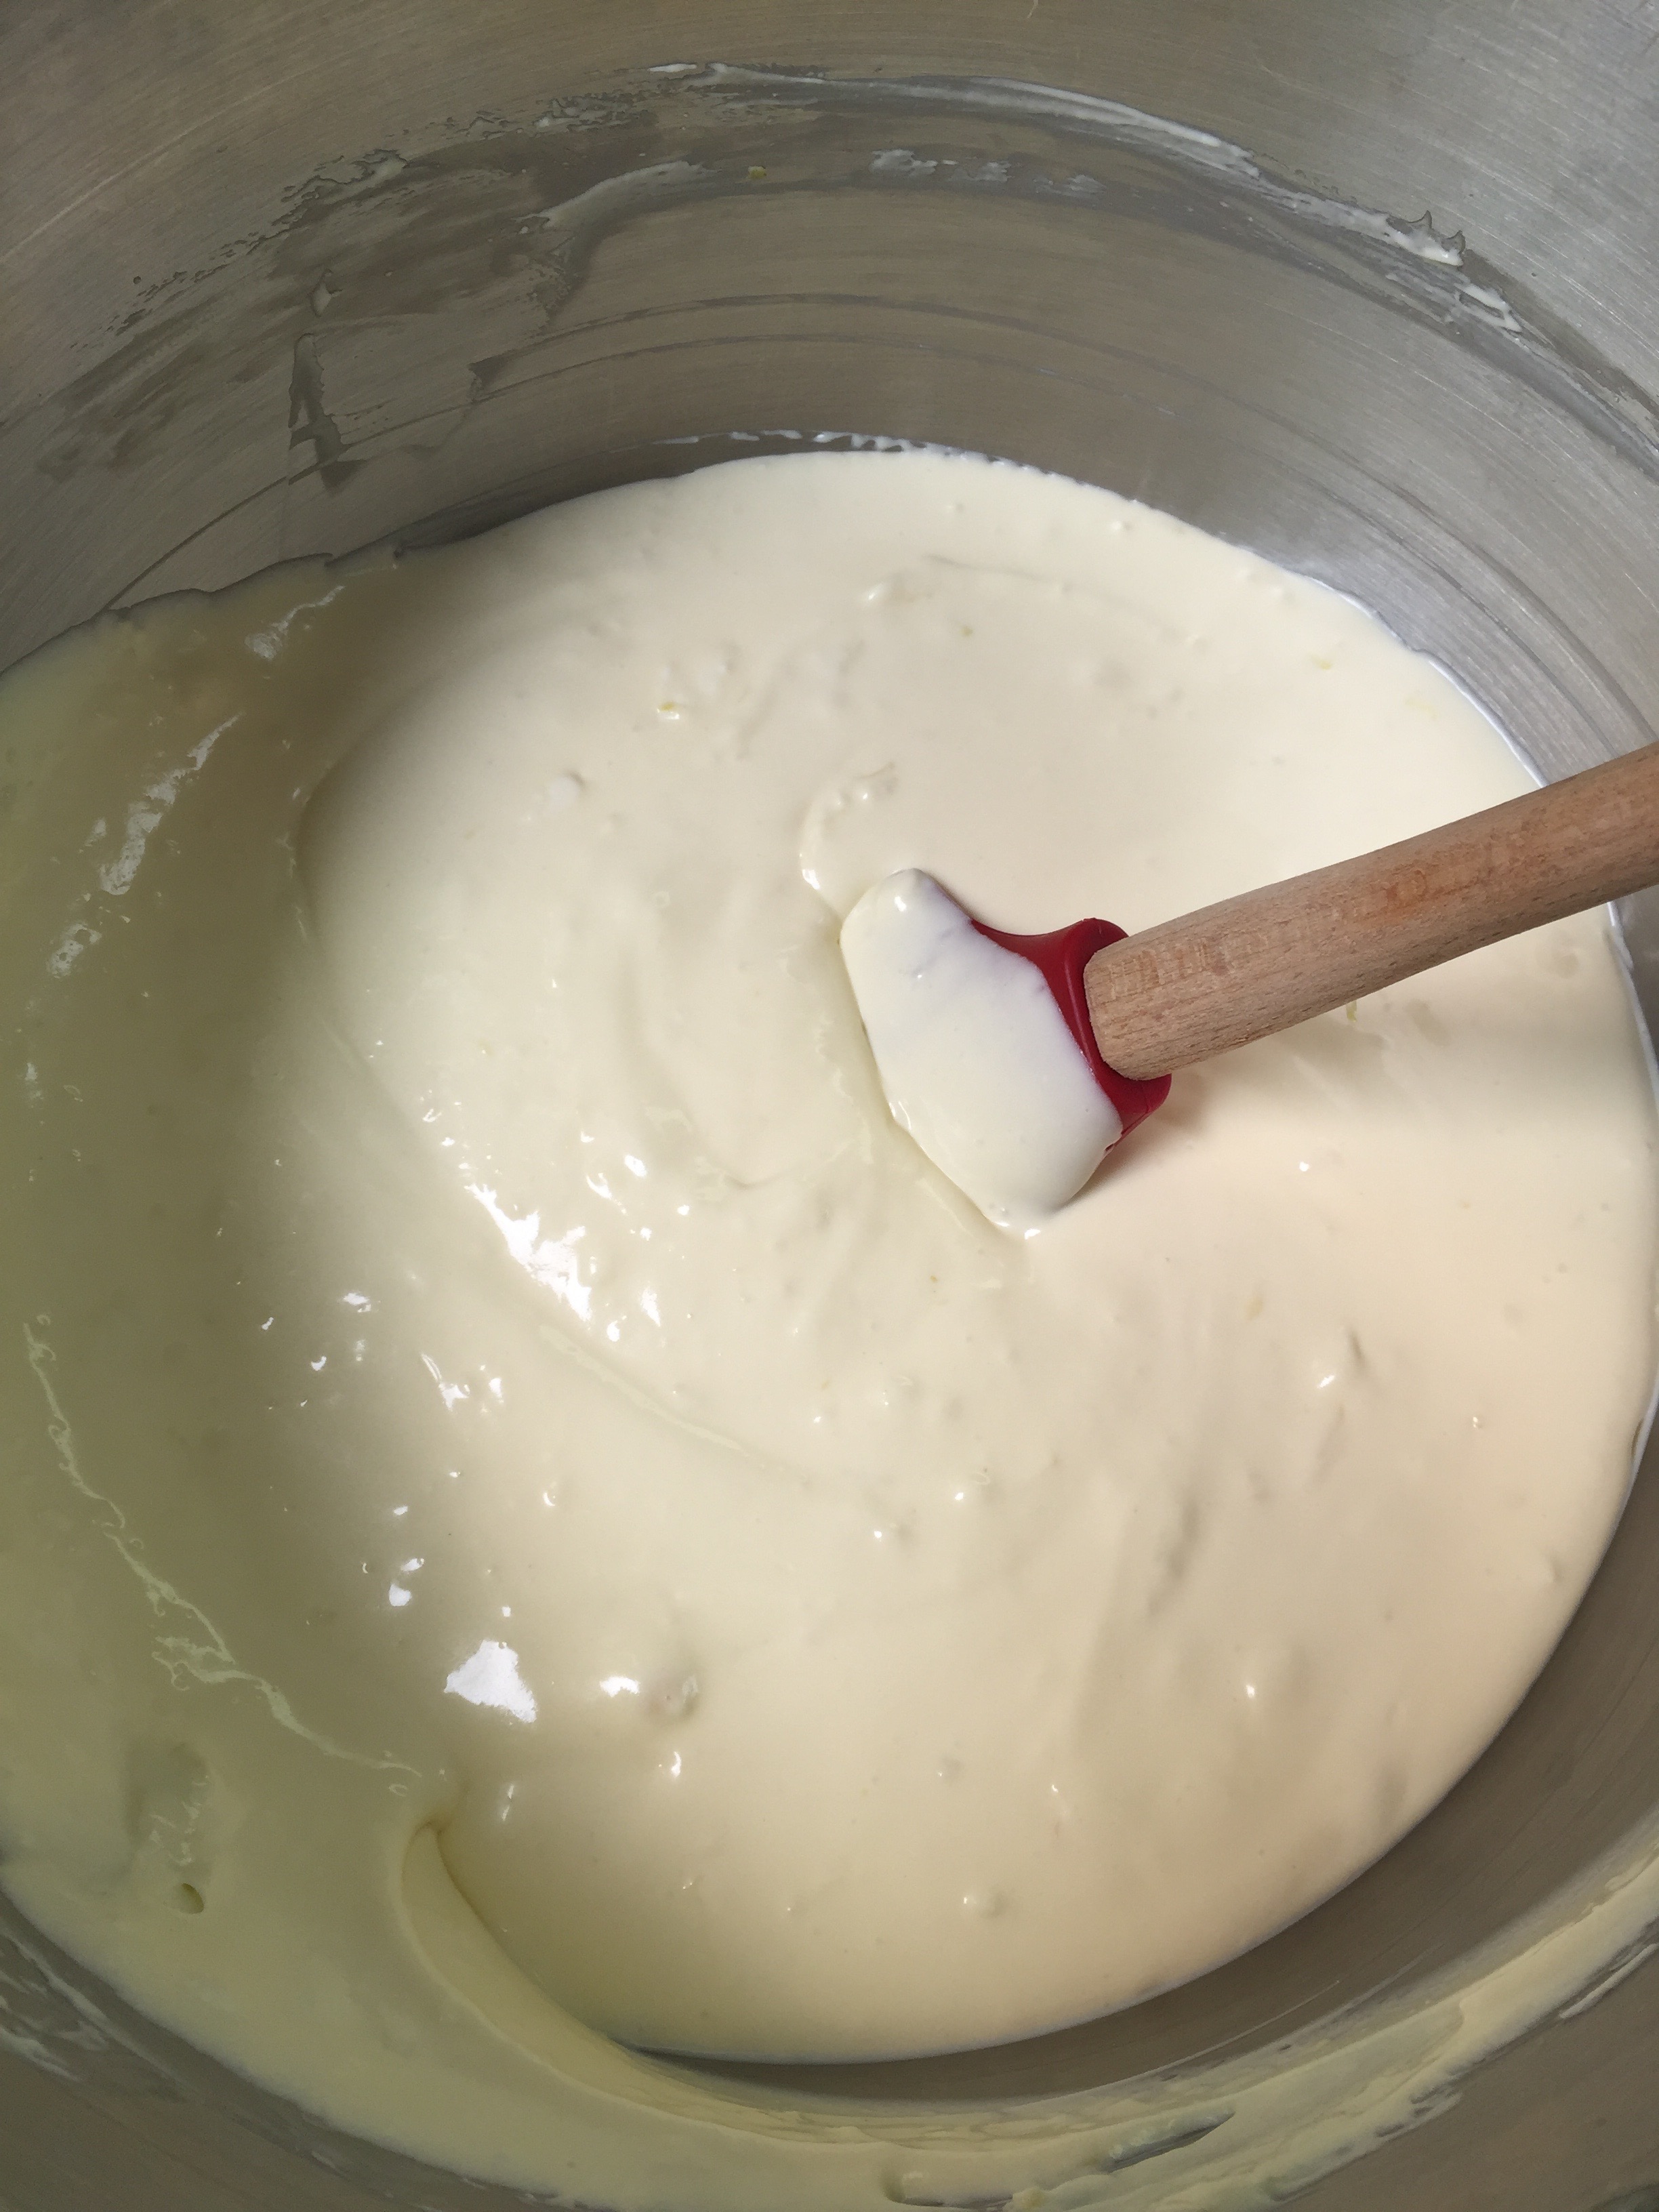
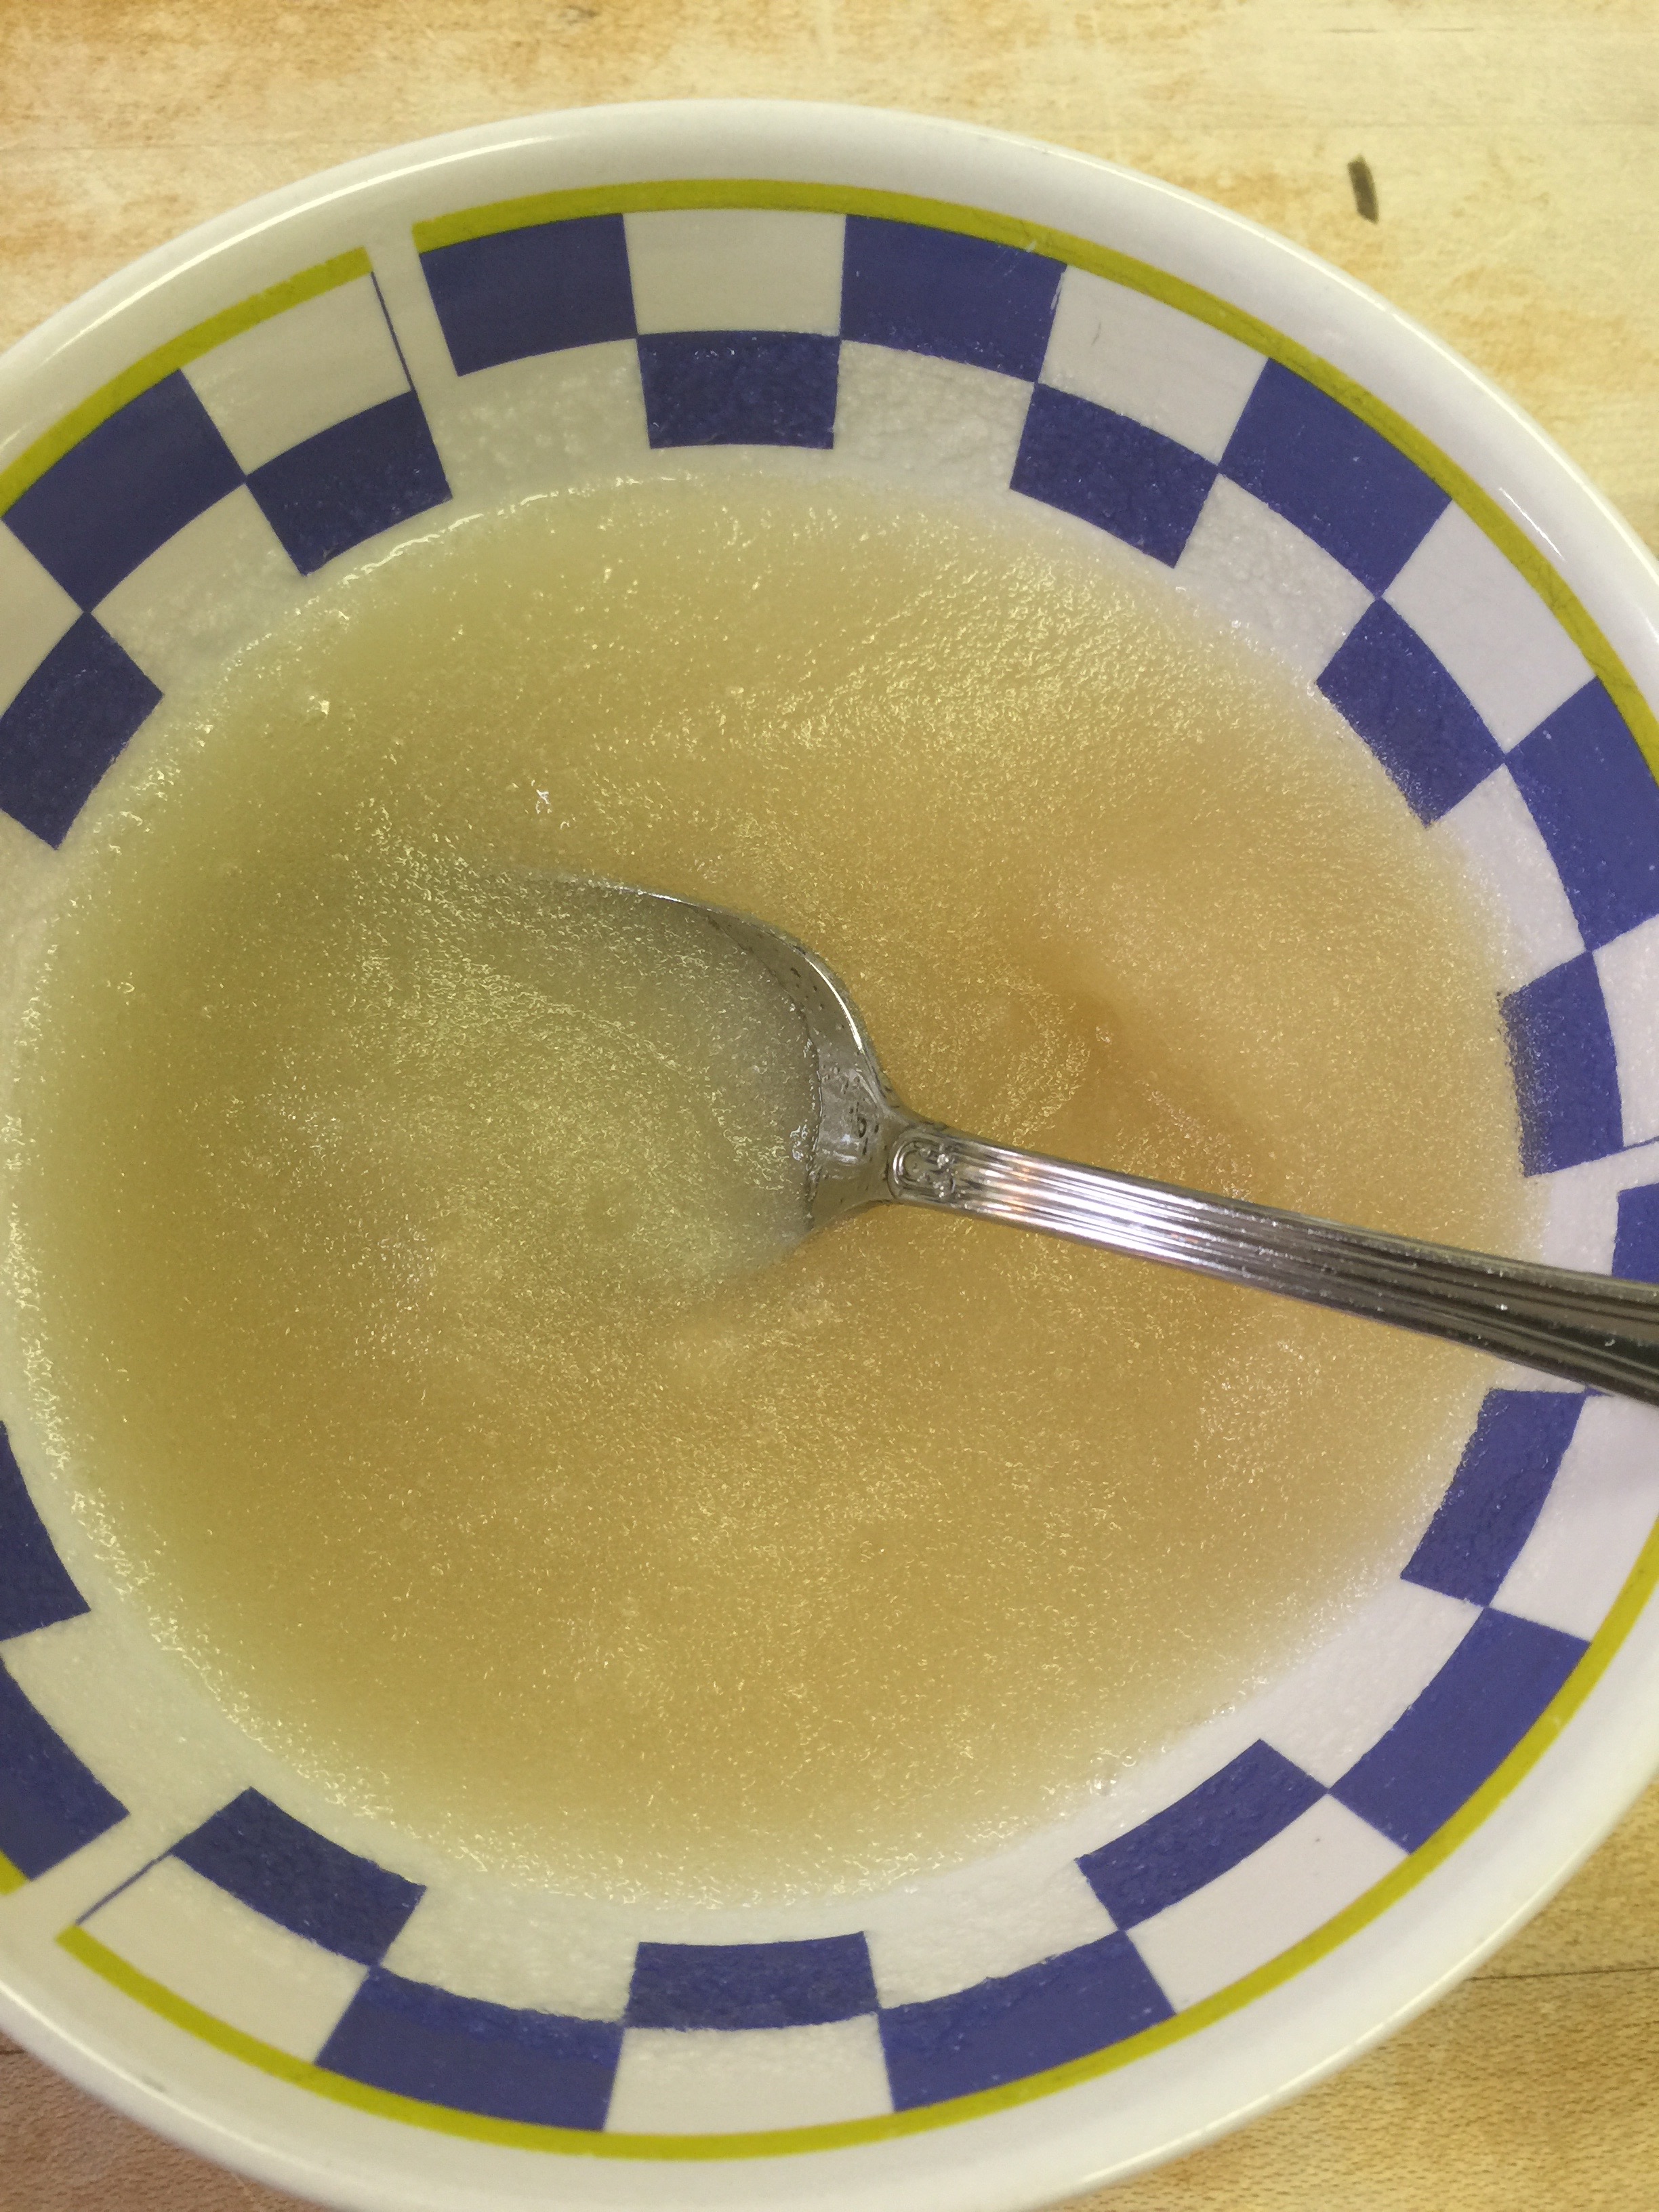
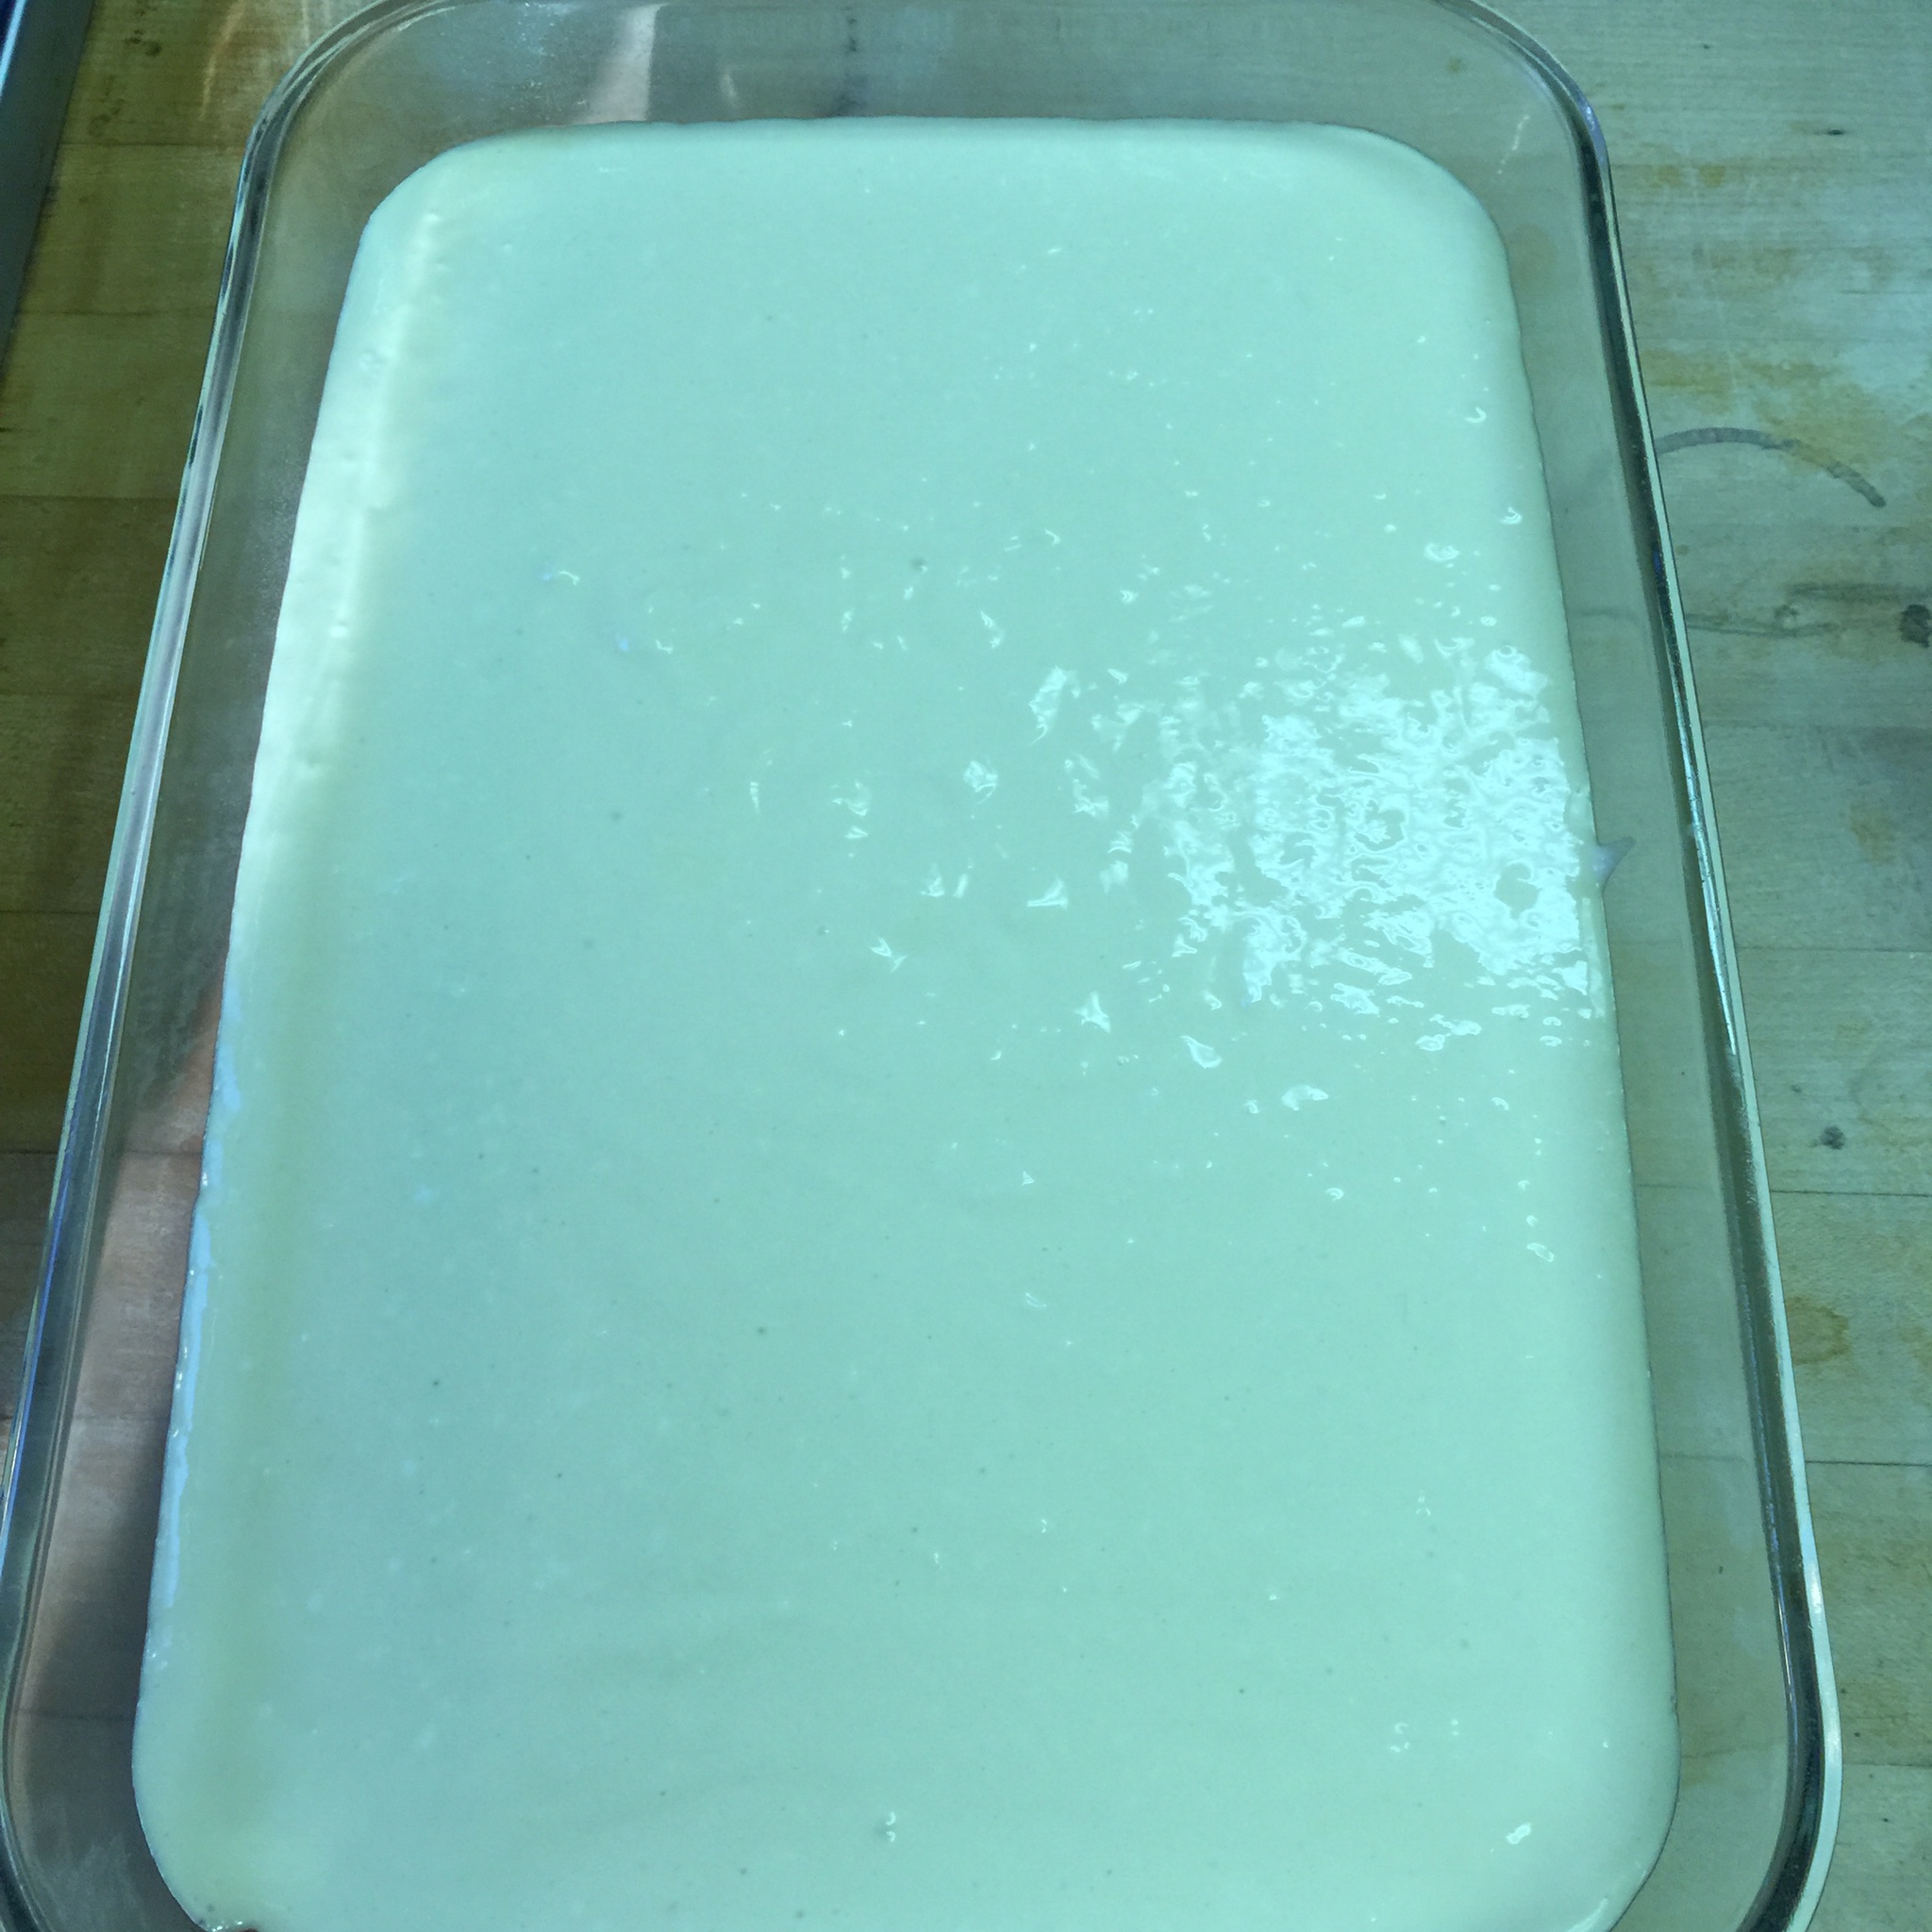
Place your very soft cream cheese in your mixer.
Turn your mixer onto medium to cream your cream cheese. Add your eggs one at a time, and mix well in between each egg, scraping the sides as you go.
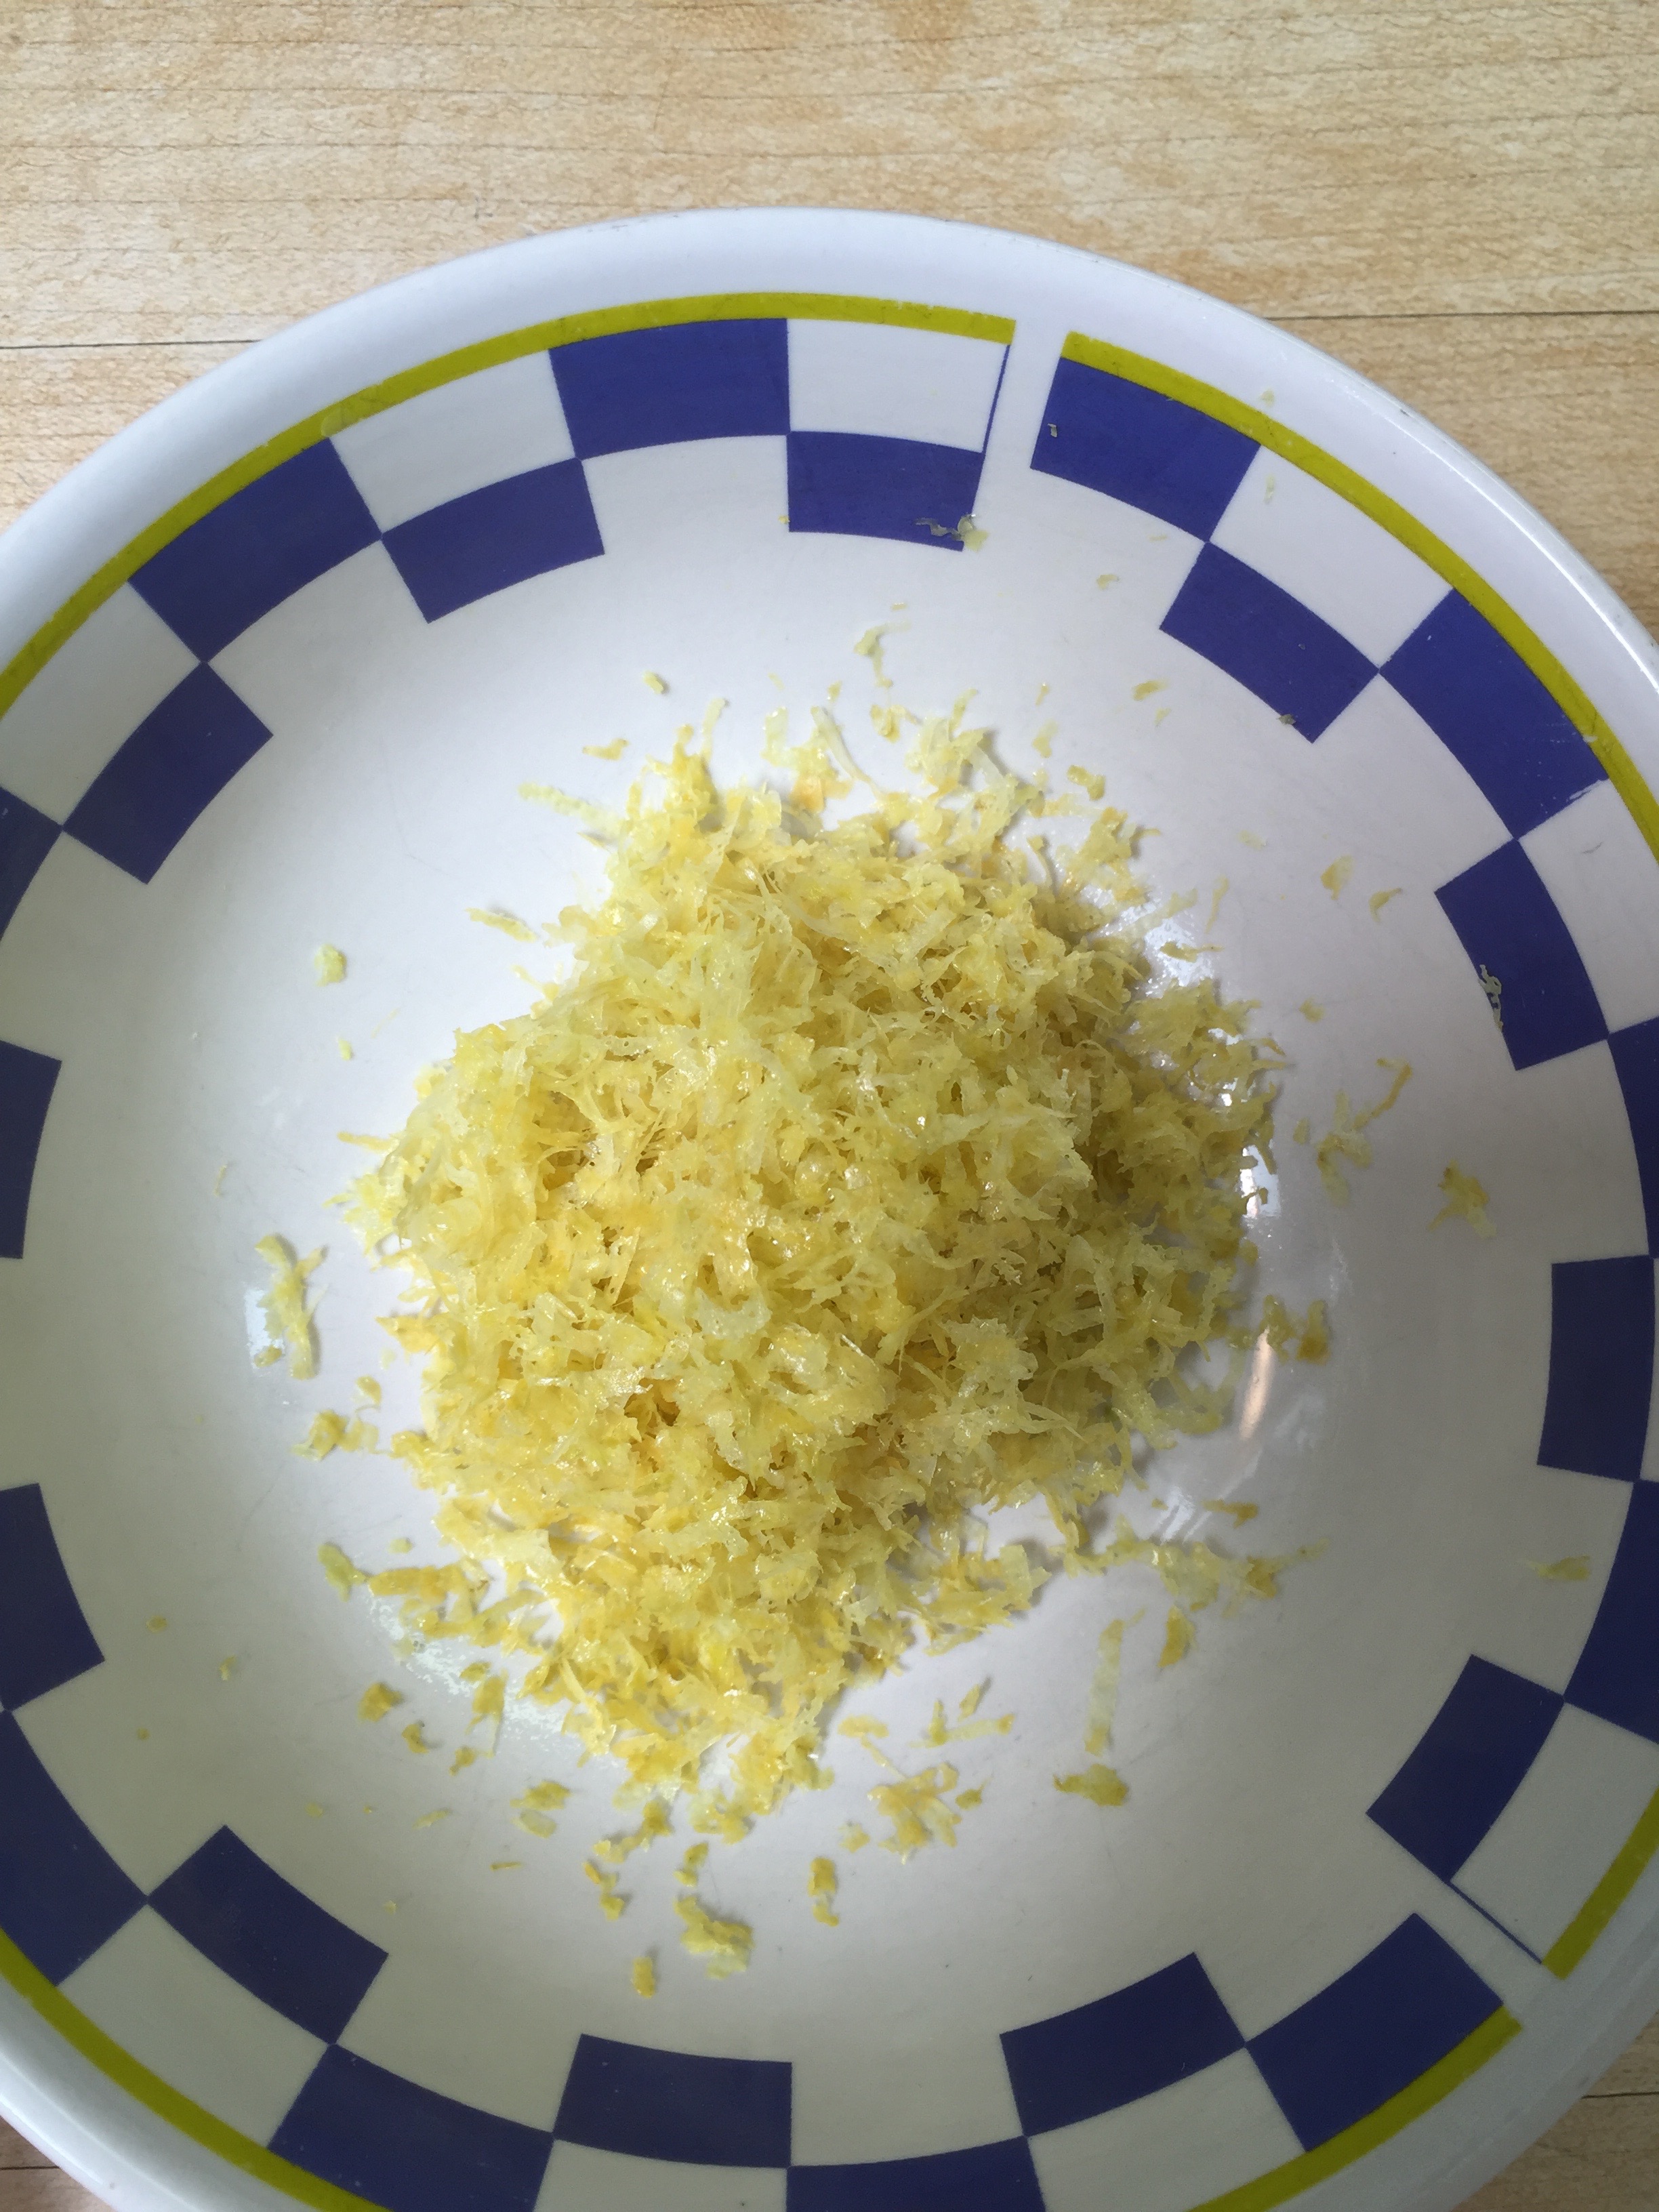
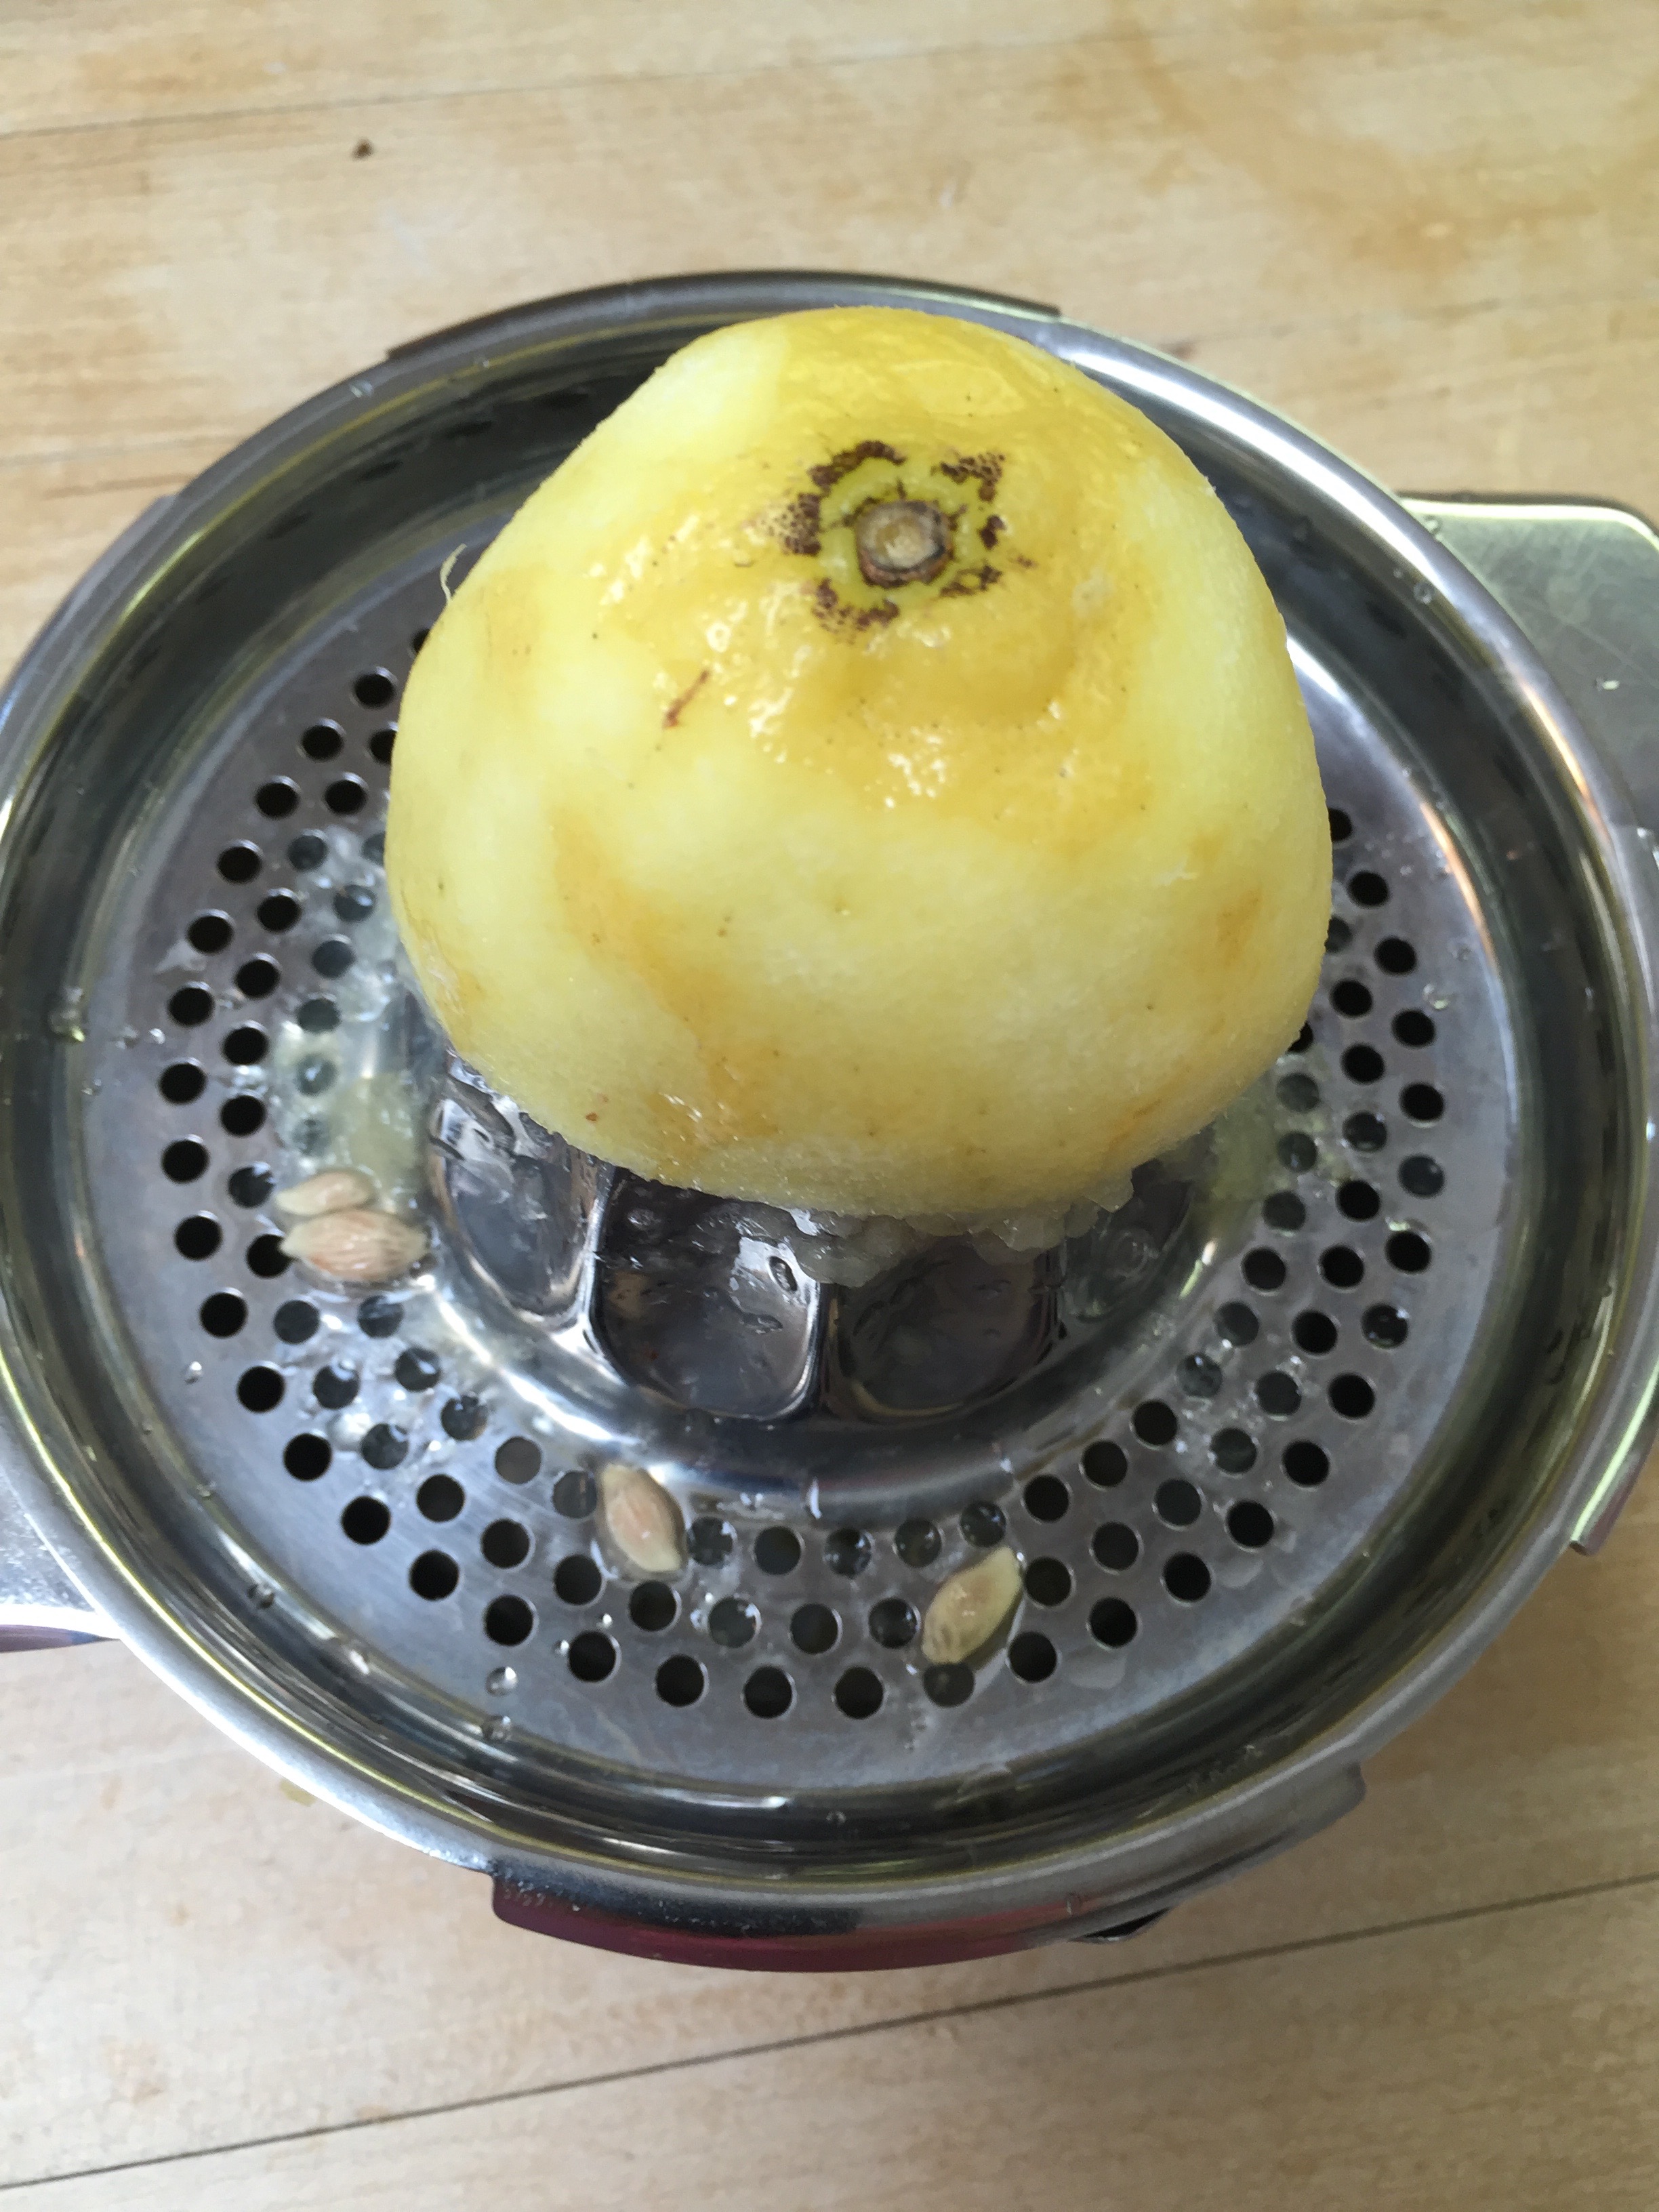
Zest and juice your lemons.
Add all the juice and zest to your cream cheese mixture. Add your Stevia and mix well.
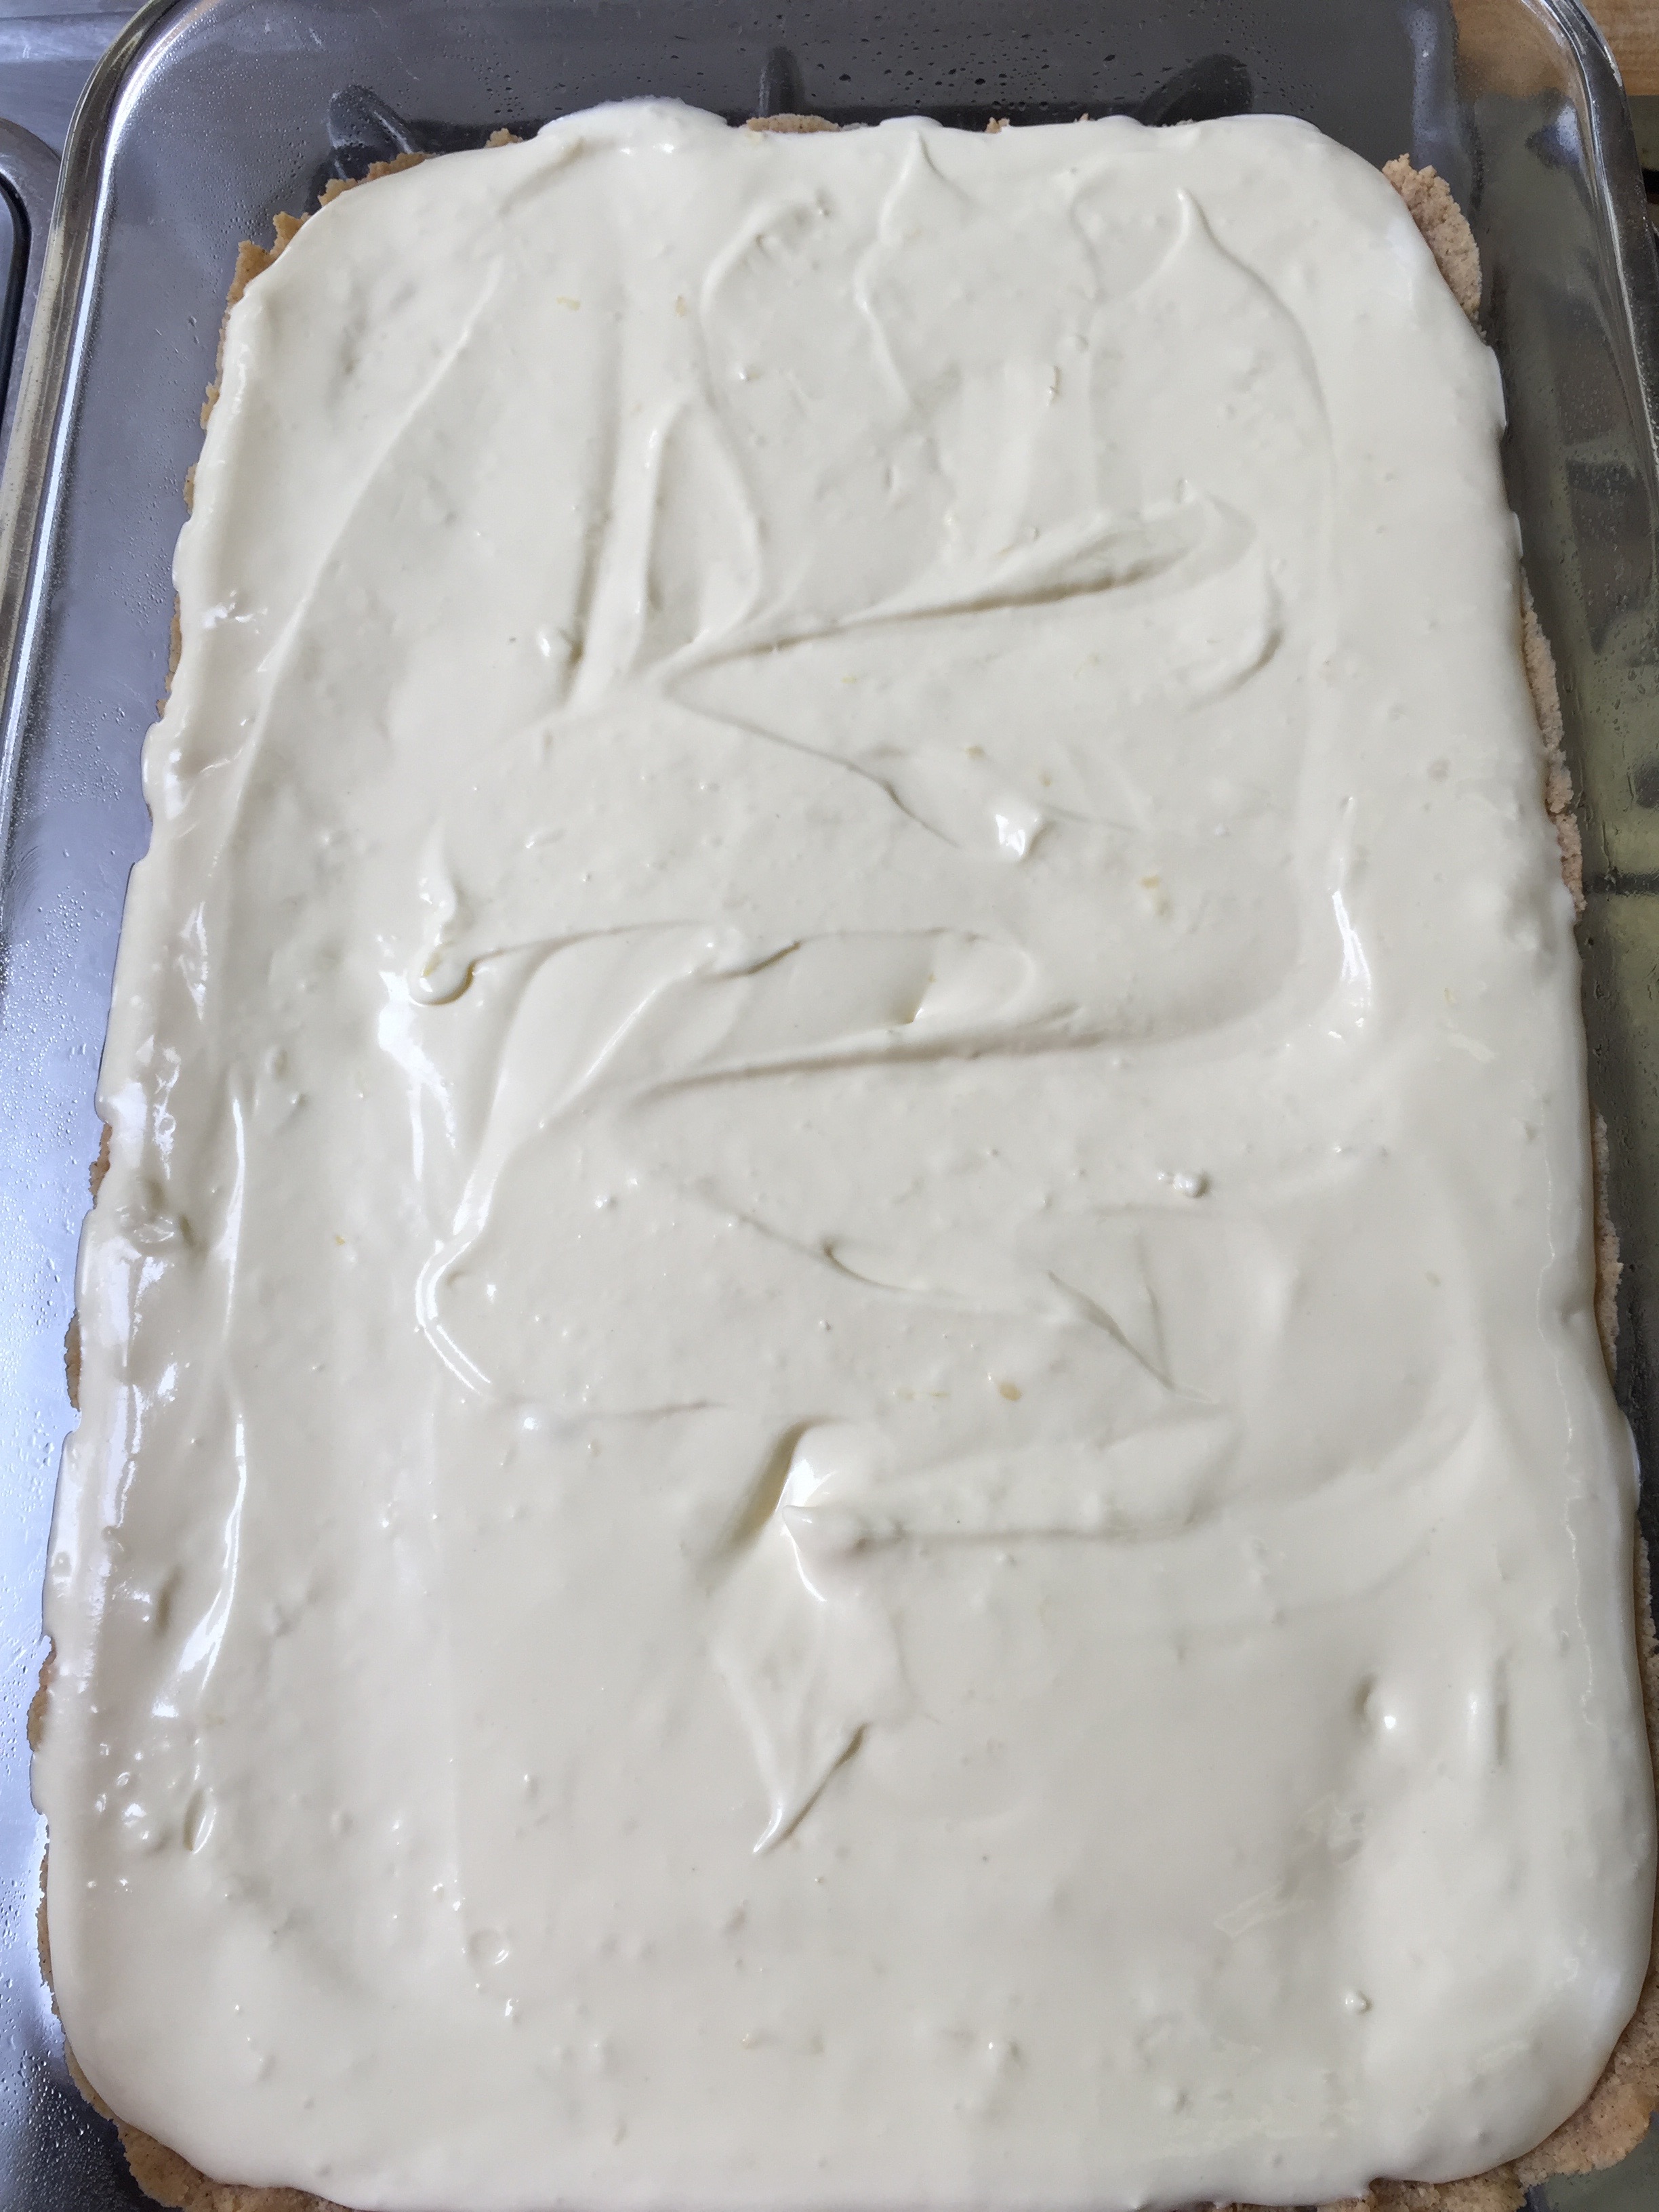
Pour into your pyrex dishes.
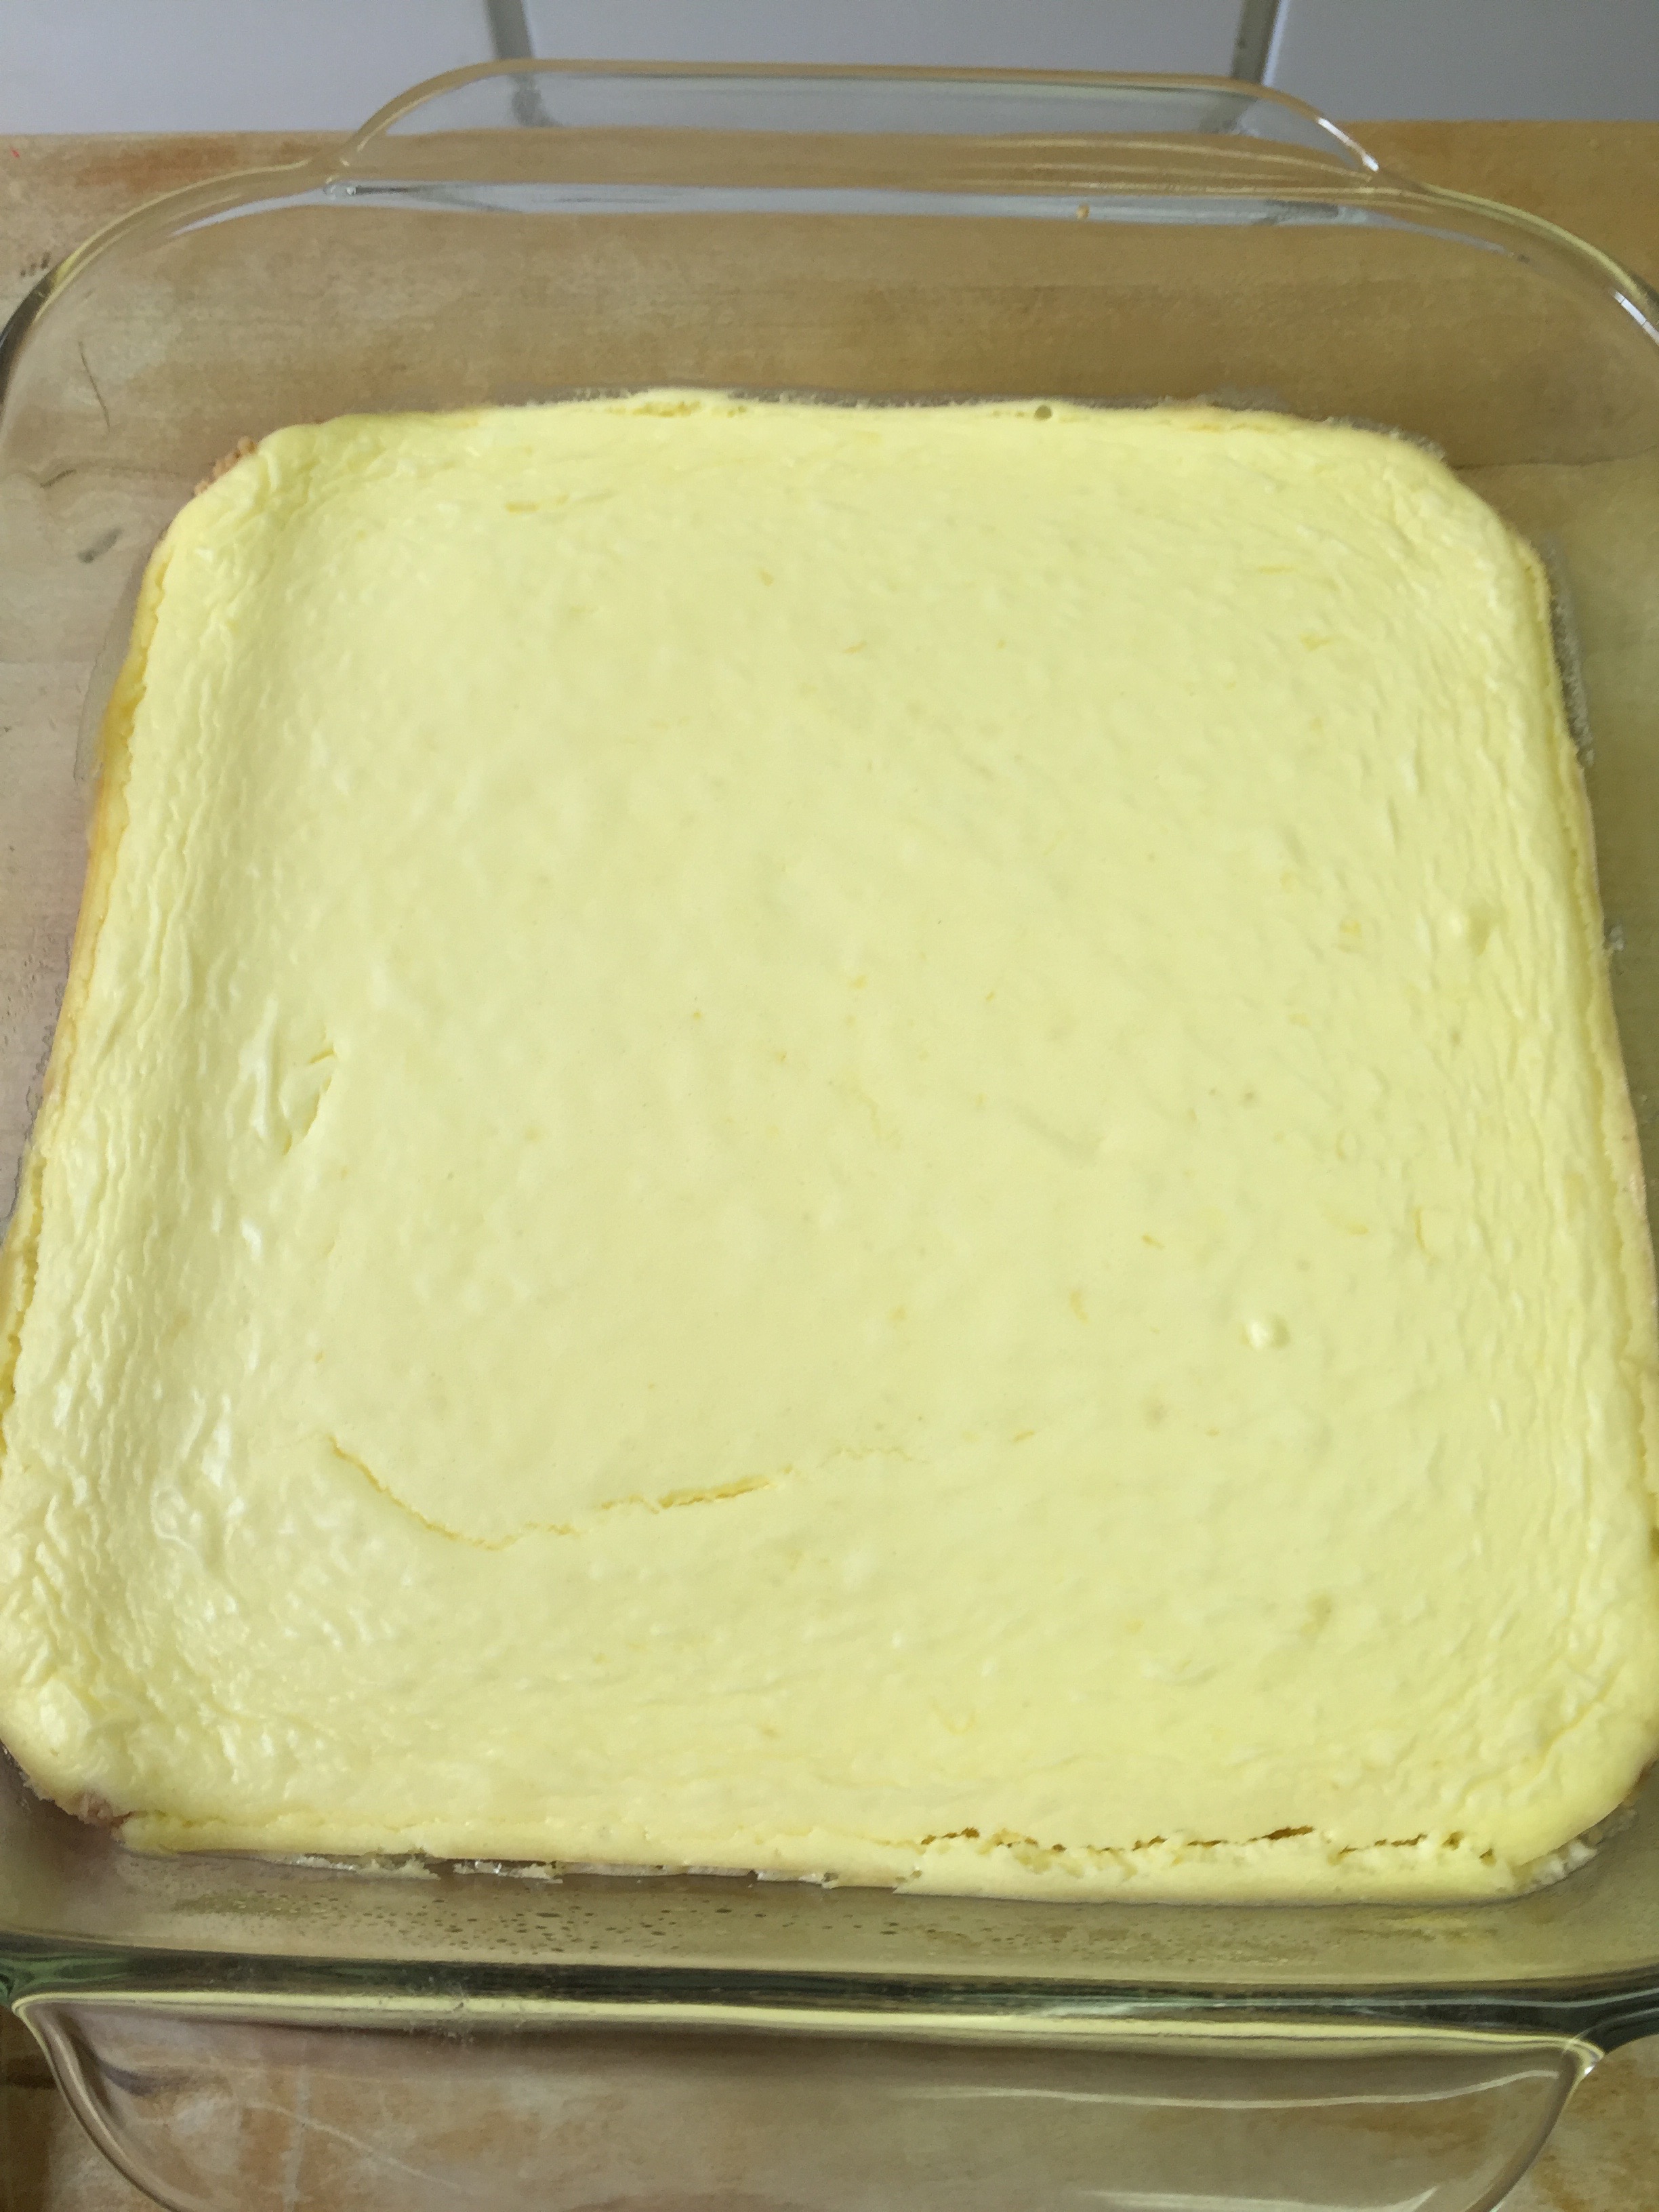
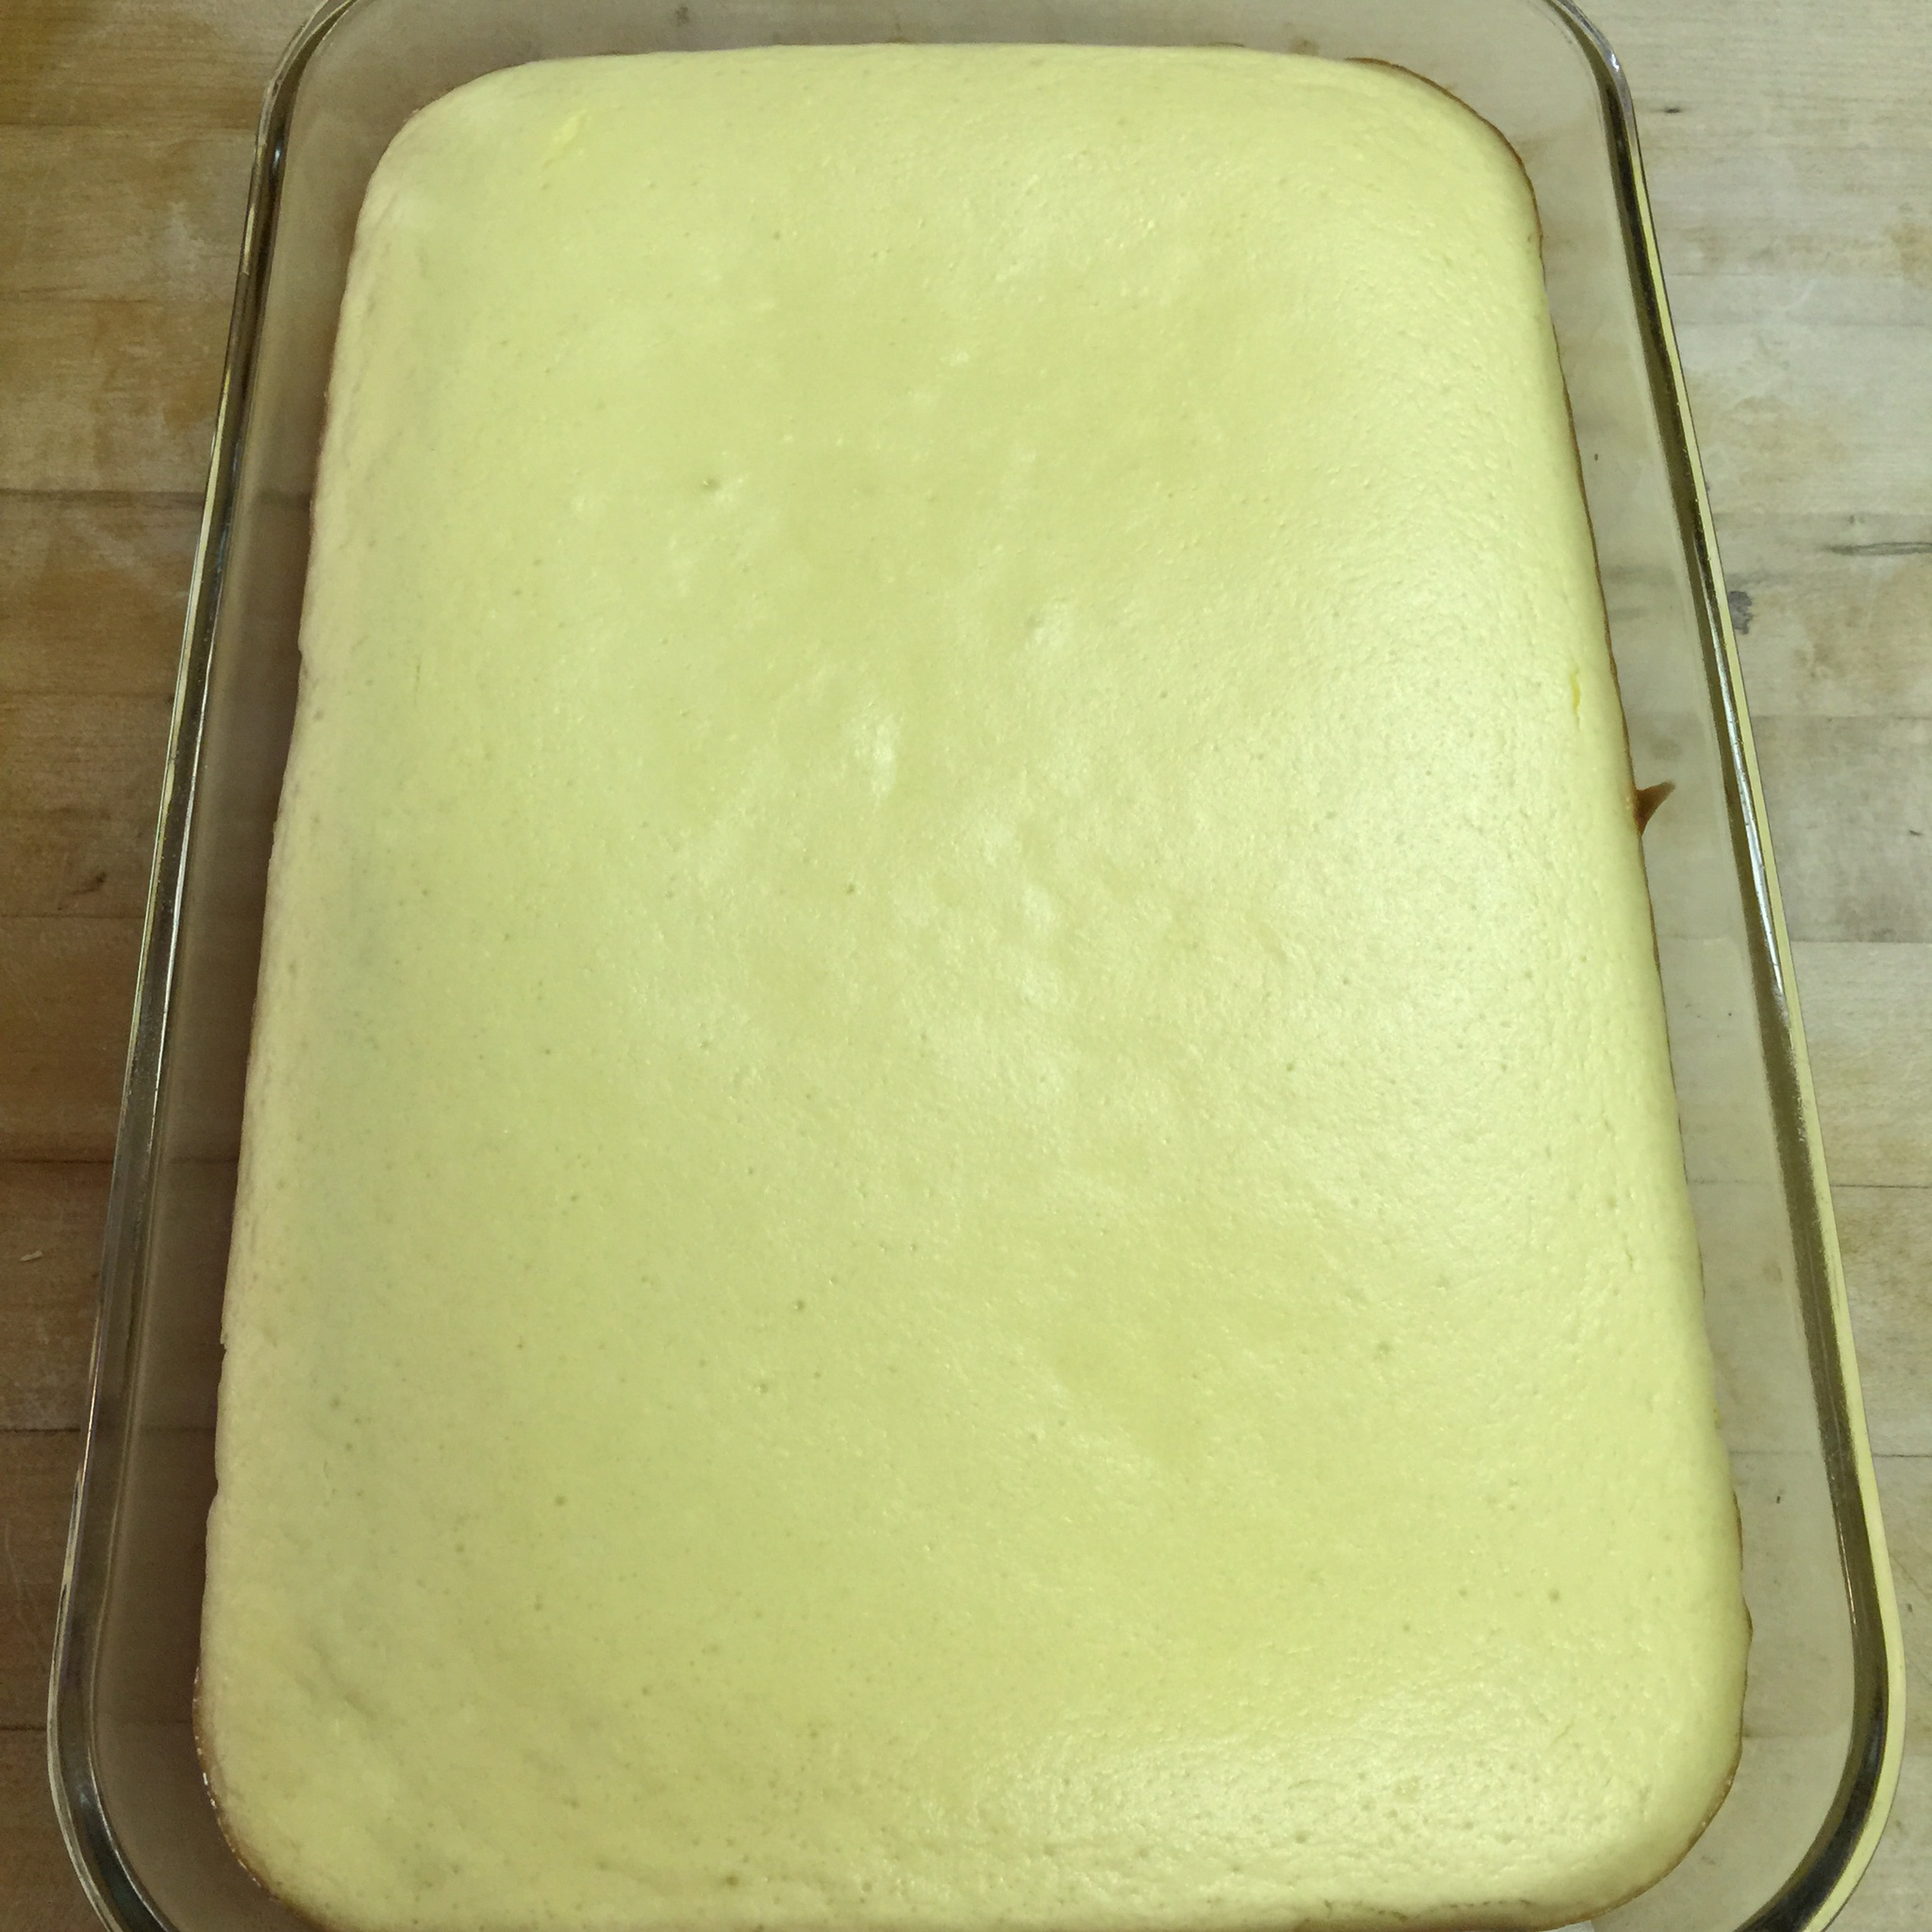
Bake at 325 degrees for 35 minutes.
They actually looked the same, but the lighting was different.
Cool completely to room temperature. Then place in the fridge to cool.
The next day or later in the day, whip up some whipped cream with heavy whipping cream, vanilla, and Swerve Confectioners.
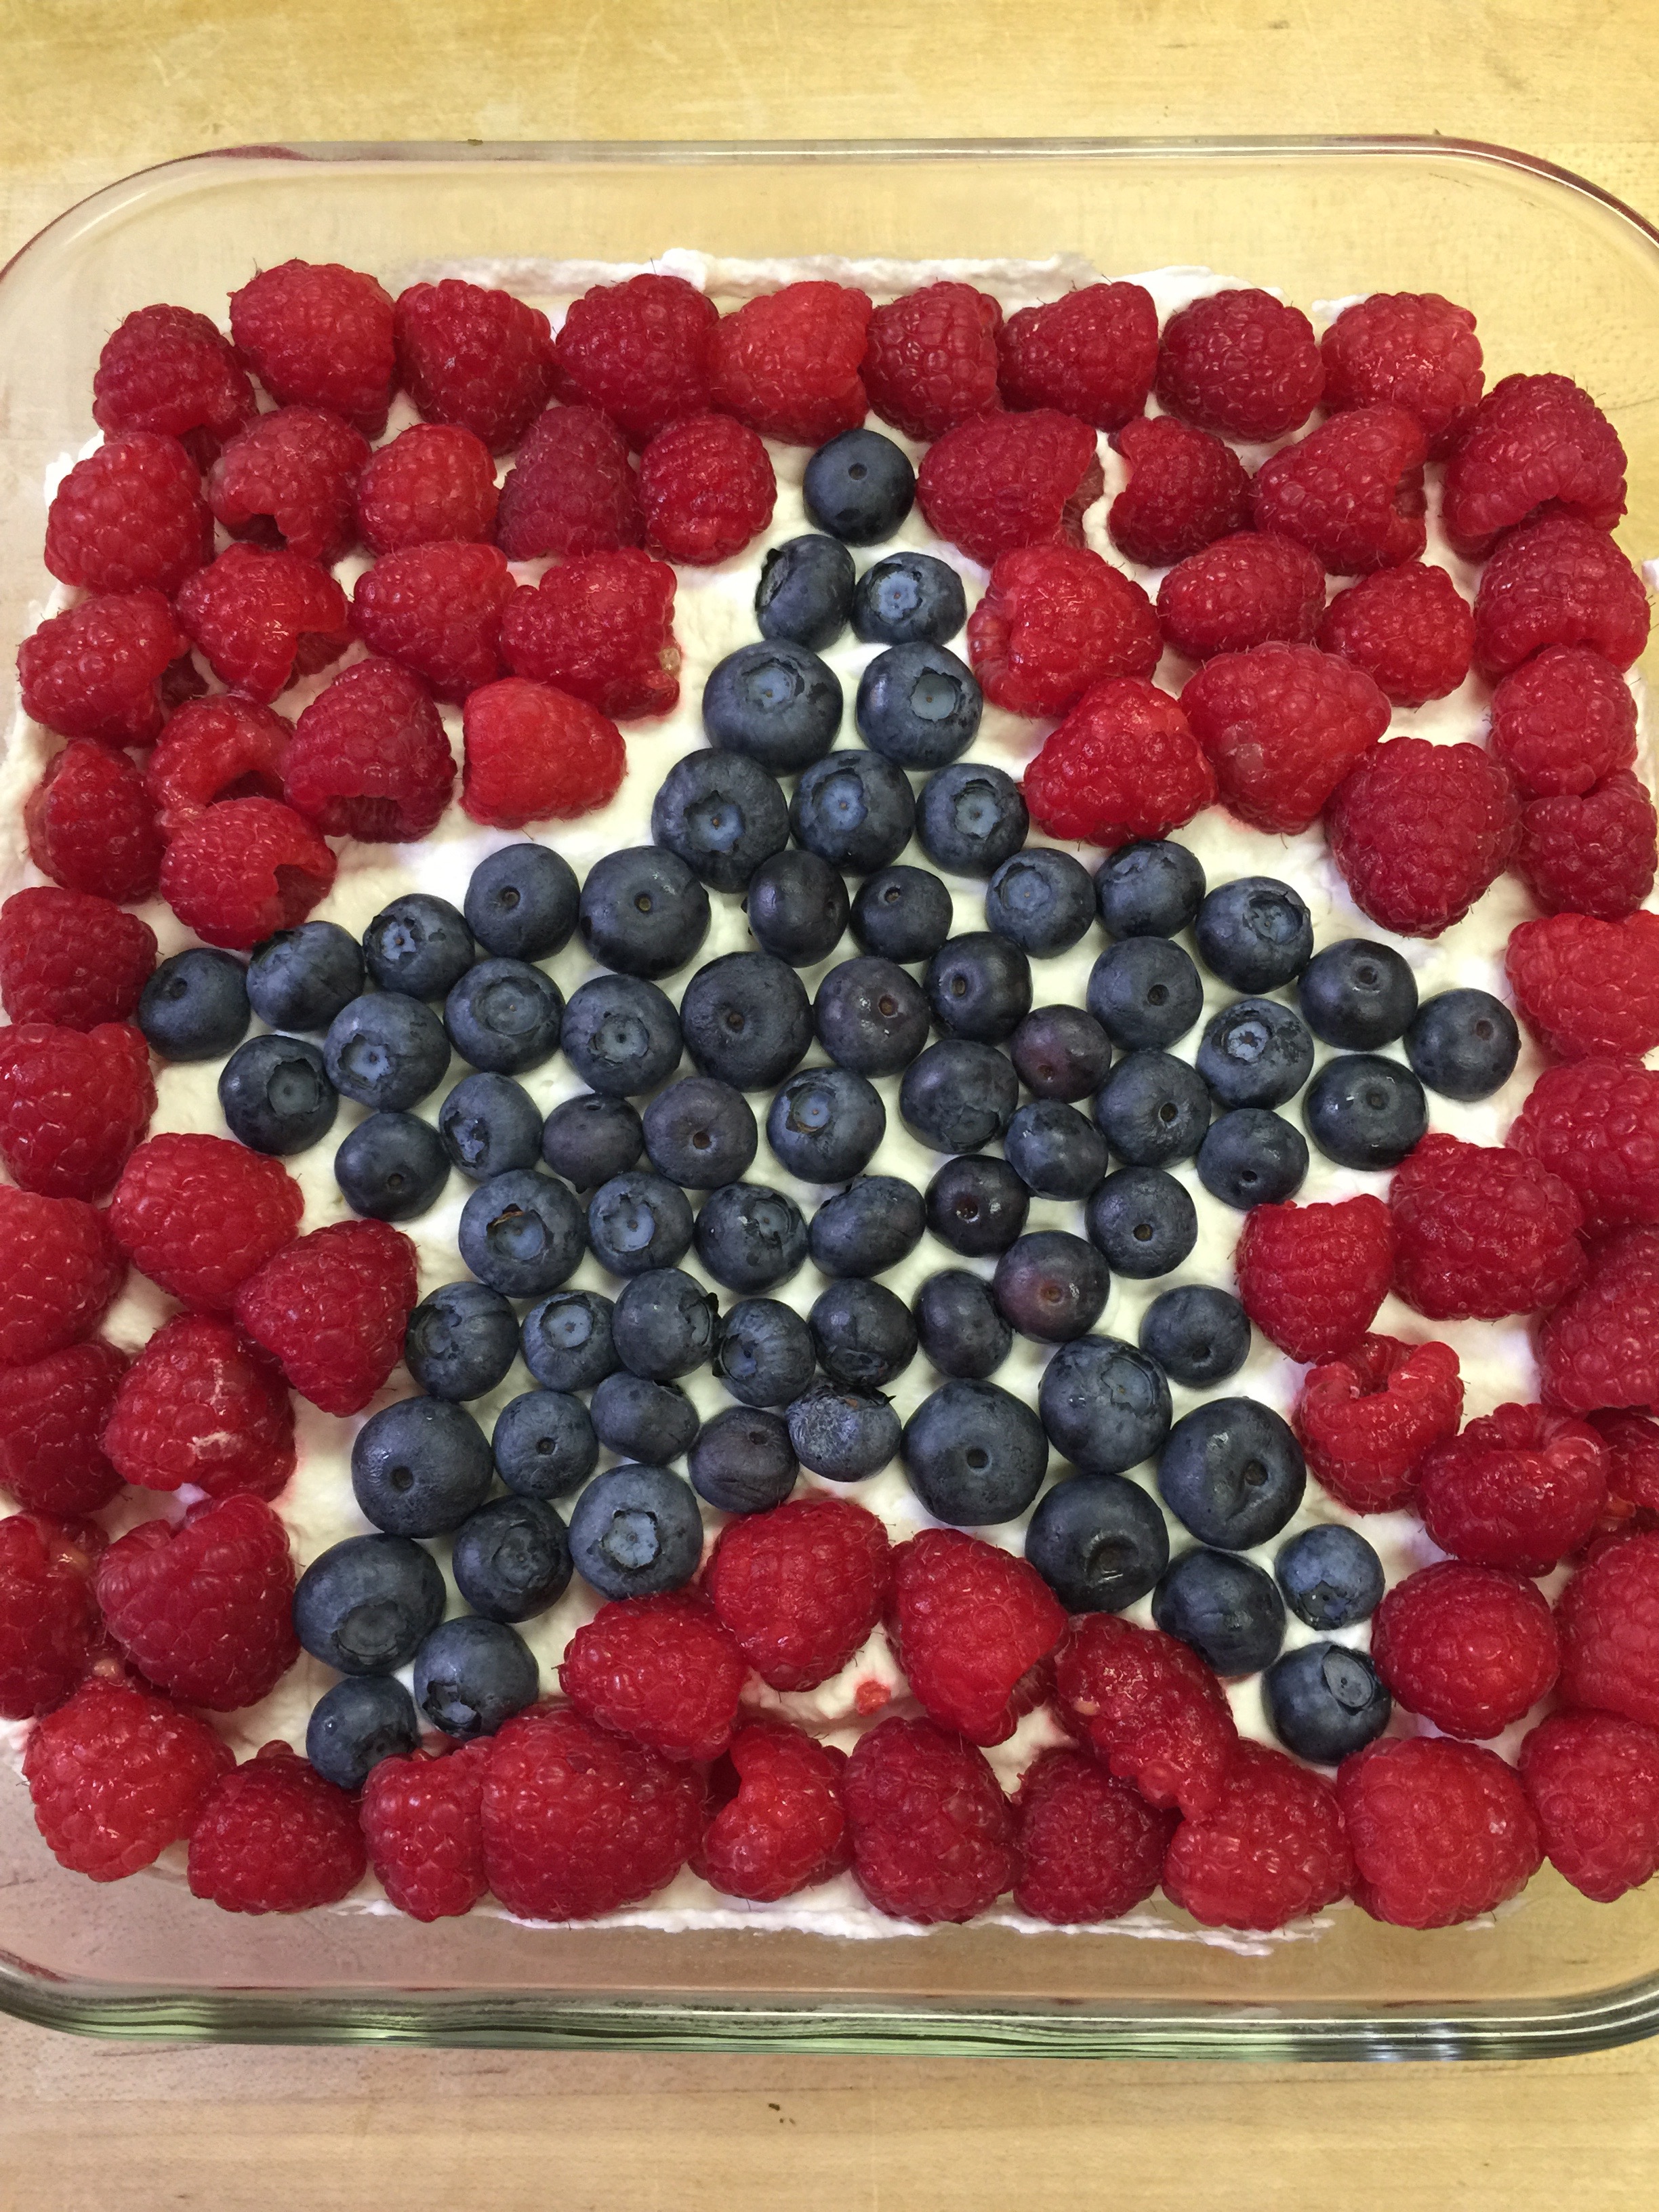
“Ice” your cheesecake with the whipped cream.
I forgot to take a picture of the flag that I made on the 9×13 cake, but you can do an American flag with blueberries for the navy and do stripes with strawberry slices.
On the 8×8, I did a big star with blueberries and raspberries. This is so fun to do with the kiddos!
Let your friends and family ohh and ahh, but don’t tell them it’s sugar-free! They will be amazed. I love the way the lemon and fruit taste together for a special treat!
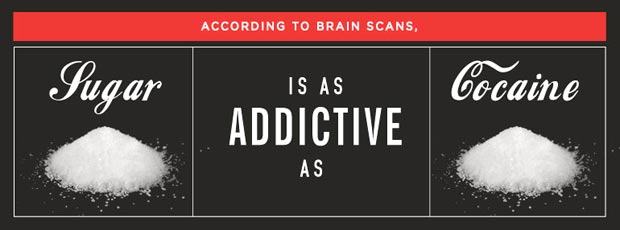
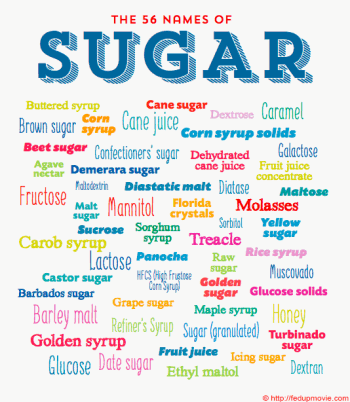
For the most part, I think most would agree that sugar is bad, very bad! It causes a copious amount of diseases, is almost entirely responsible for the obesity epidemic in our country, and is 8 times more addictive than cocaine. Yes 8 TIMES more addictive than COCAINE!
So what about all those “sugar free” choices out there? Well, this is the definition by the FDA of “sugar free” : “Sugar Free”: Less than 0.5 g sugars per RACC and per labeled serving (or for meals and main dishes, less than 0.5 g per labeled serving) (c)(1)
Contains no ingredient that is a sugar or generally understood to contain sugars except as noted below (*) You can read their definitions on the FDA website here. The problem with this definition is the fact that there are a lot of ingredients these days that are hidden in our foods that will spike your insulin levels faster than cane sugar and are not identified as so called “sugar”. Many of these are sneaky ingredients in foods you would never guess like salad dressings, spices and seasonings, and marinated products. These are foods that you may still be eating because I know you are not eating those awful processed foods anymore, right?
You need to know that just because you don’t see “sugar” or dare I say, “high fructose corn syrup” on the label does not mean you are home free.
If you see any of these ingredients – Stay away – far, far away. If you are still drinking diet drinks – wean yourself, by drinking sparking water, La Croix, fresh brewed tea, or water! It does the body good!
The sneakiest one on the list for me has been the Maltodextrin! It is in more than you could imagine. I have found it in sauces, and especially seasoning mixes. For instance, I used to love dumping a packet of Hidden Valley Ranch dressing mix into 16 ounces of sour cream for a yummy veggie dip. Then, I actually took a minute to look at the ingredients, and there it was, in black and white – #3 on the ingredient list – Maltodextrin. That was a huge wake up call for me when I thought I was doing it all right! I cannot say it enough, “READ YOUR LABELS!” A really good rule of thumb to follow is this: If it has more than 5 ingredients, you probably shouldn’t eat it, but if it has ingredients you cannot pronounce, you definitely should not eat it! I guarantee that if you saw the manufacturing and chemical processing of these products you wouldn’t want them in your body. Best to choose foods grown from the earth or raised grazing the green grass. These are your REAL FOODS!
The other mention on this subject is the Glycemic Index. There is more study needed on this index, but it is a good resource going back to ingredients like Maltodextrin. The Glycemic Index measures how much the food you eat affects your blood sugar levels. The higher the rating, the greater the effect the food will have on your blood sugar. The scale ranges from 0 to 100, with 100 being the highest (well-used to be the highest). A 100 rating will shoot your blood sugar through the roof! Here are some examples:
Remember that Maltodextrin? Well, it measured higher than pure Glucose which used to top the scale:
Maltodextrin – 110
Pure Glucose – 100
Splenda – 80
Sucrose (Table Sugar) – 65
Maple Syrup – 54
Honey – 50
Lactose – 45
Coconut Palm Sugar – 35
Maltitol – 35
Agave – 15
I like this website published by the University of Sydney, that allows you to enter in foods to calculate the impact it has on your body. This website published by Harvard is also an eye-opening chart that lists common foods with their Glycemic Index as well as the Glycemic Load which takes into account the serving size, or “dose” of sugar. The difference between the Glycemic Index and Glycemic Load is the serving size. The “Index” measures the sugar impact on the same amount of food, not a typical serving size. The “Load” uses the Glycemic Index as its foundation but takes serving size into account.
Watch out for those hidden sugars. “No Sugar Added” always mean sugar! Food labels are tricky. I really like the way JJ Virgin writes in her book, “Let’s be honest. You get excited when you see that sparkly starburst on the box telling you there’s been no sugar added to those fruit roll-ups. Well, I’ll be delicate here. They’re taking some poetic license – with you health. Manufacturers give you some credit, and they know that if you saw a box that read “21 teaspoons of added sugar for your metabolic upheaval!” you might think twice. So they’ve spent a lot of time and money testing ways to get around your sensible objections so they can manipulate you into buying as much of what they’re selling as possible, guilt and worry free. They’ve made all your favorite treats “without added sugar,” so you could have your cake and eat it, too….And just because a manufacturer labels a food or drink “no added sugar,” that in no way means that it doesn’t contain sugar. No added sugar does not mean sugar-free. It can also mean they’ve used fruit juice concentrate as their sweetener. That’s essentially fructose without the fiber. (Fructose goes straight to your liver!) And remember that white flour will end up as sugar anyway, so many of the ingredients in your no-sugar added cookie will turn into sugar as soon as you start munching. Labels can be misleading.” JJ Virgin – Sugar Impact Diet.
In a nutshell, read your labels – the ones on the back, buy “Real Food”, and know your sugars and their impact. And remember:
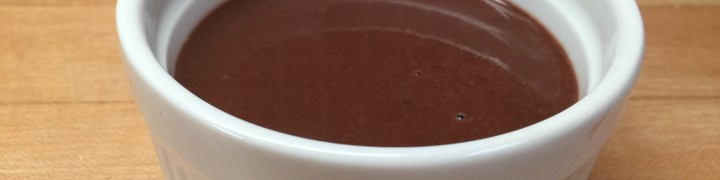
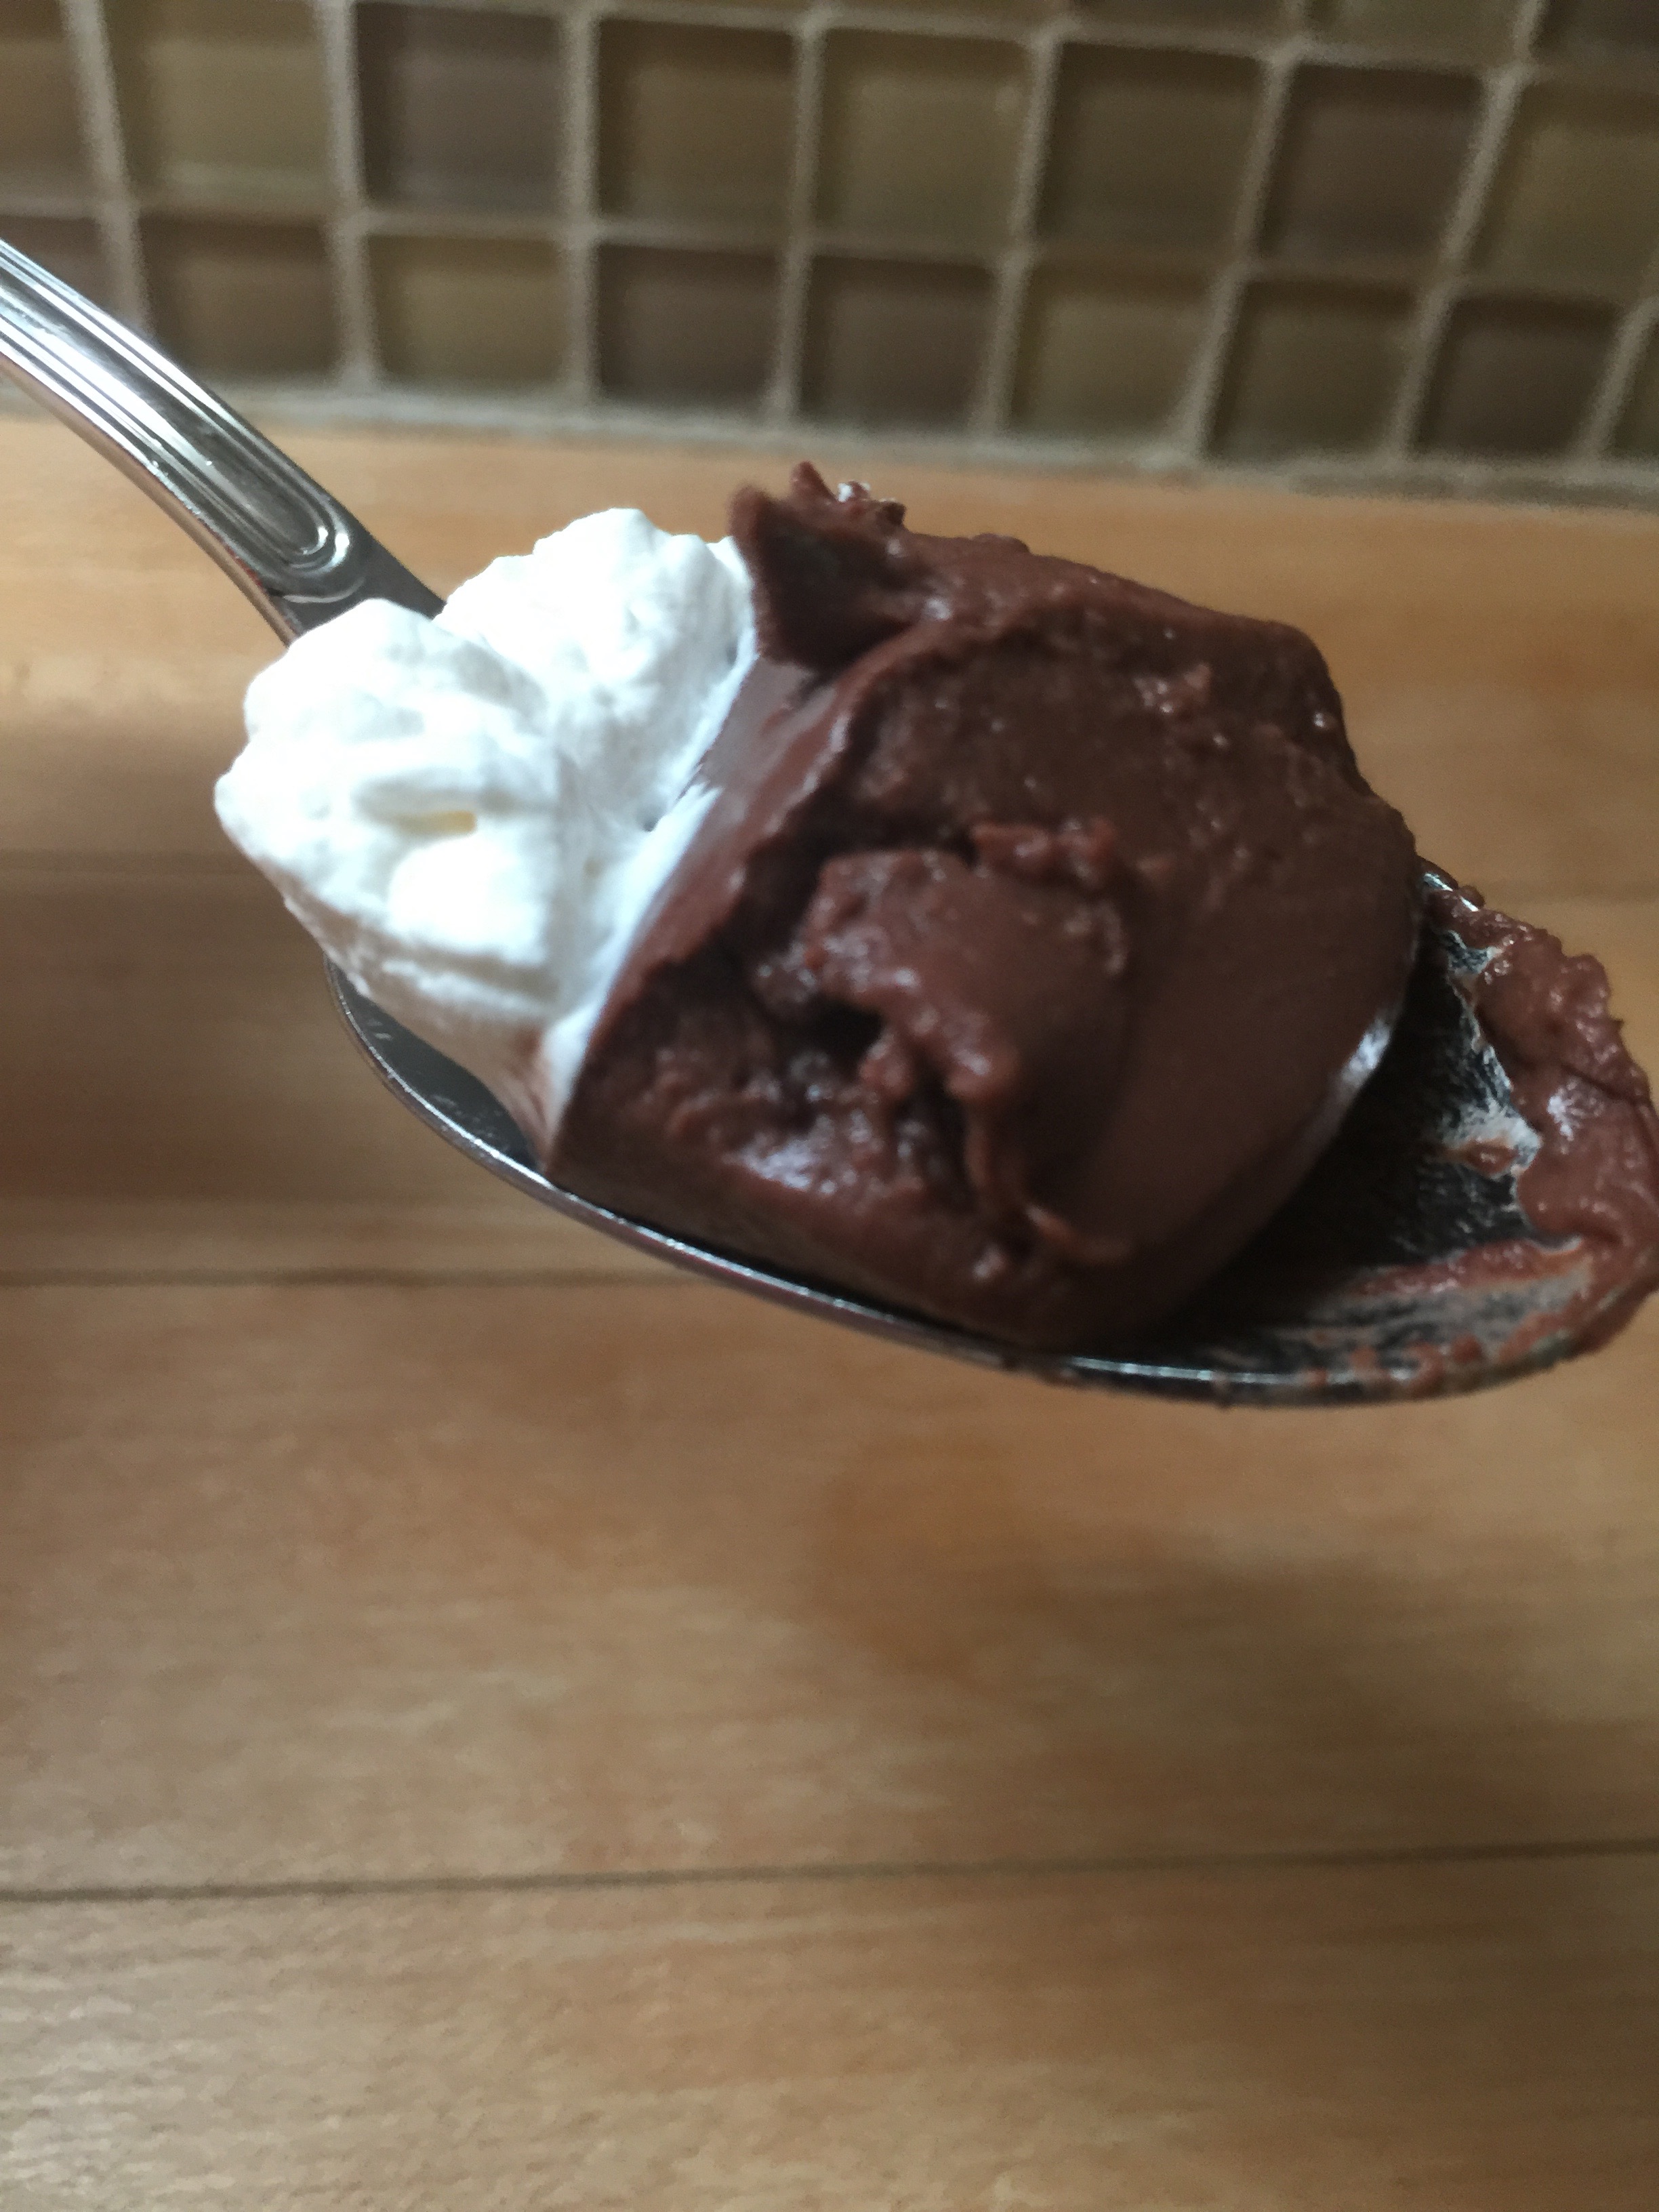
That’s a mouthful! This may be the perfect Keto Chocolate pudding to put in your mouth though!
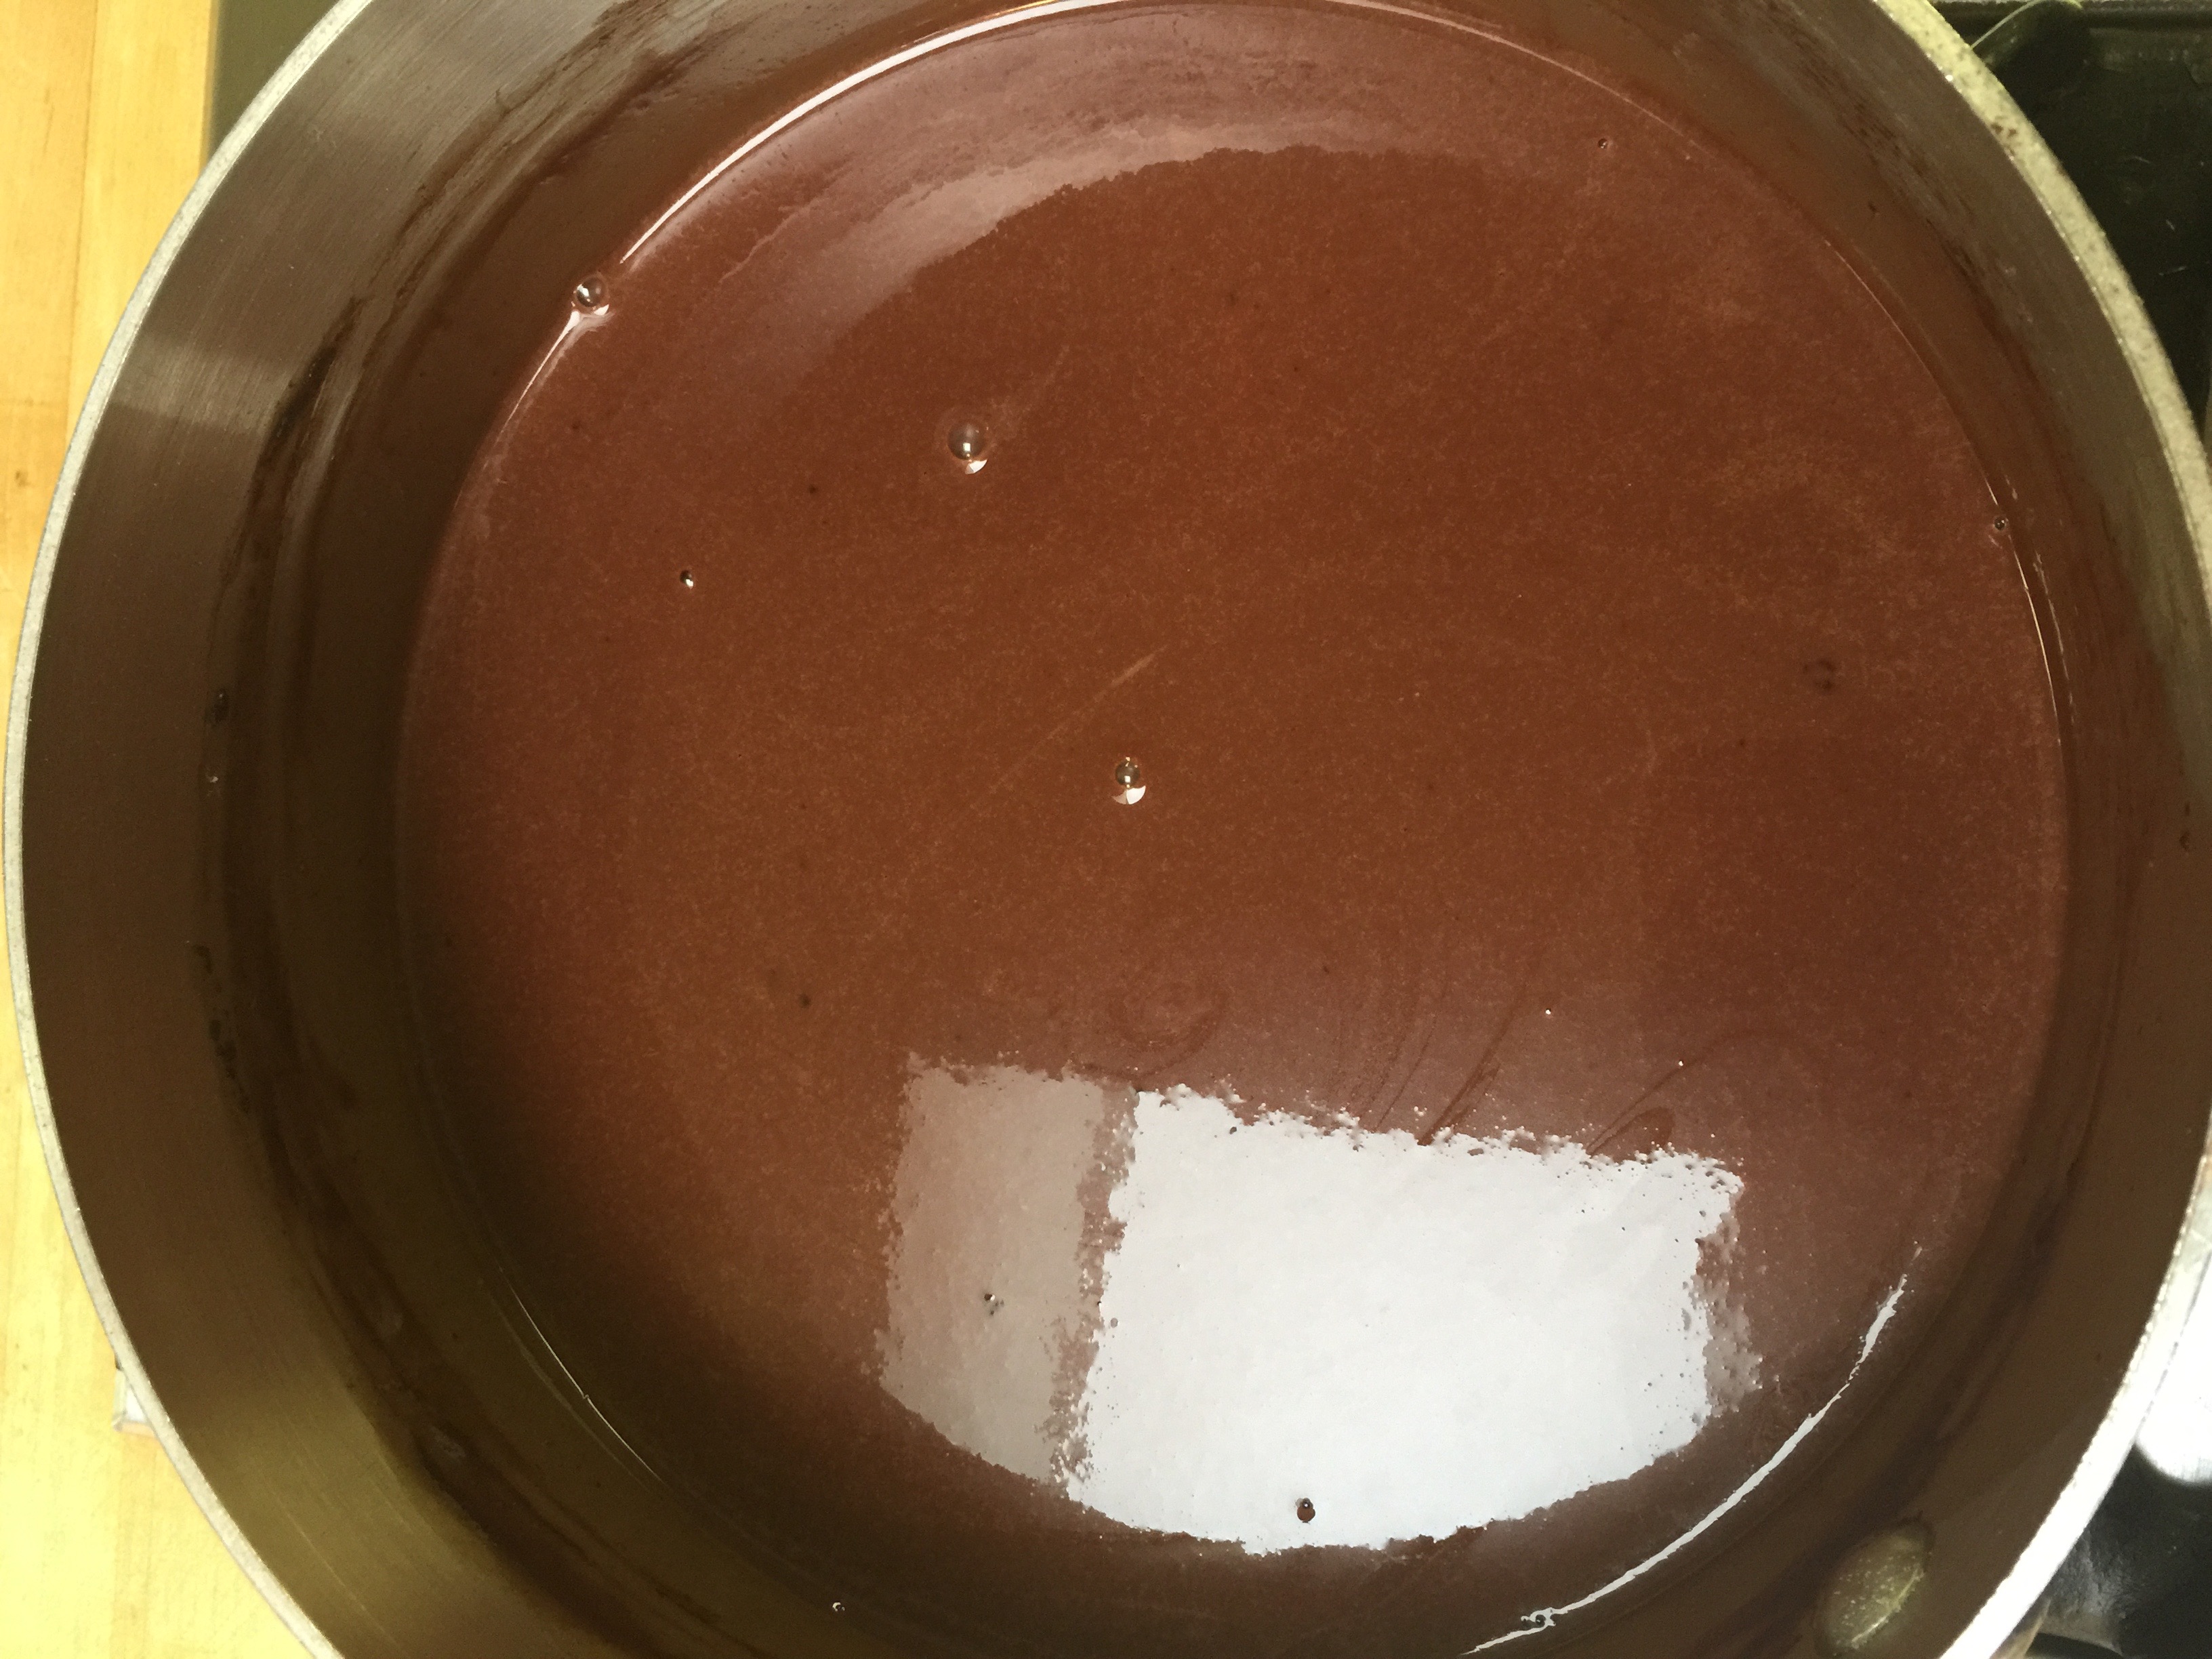
The kids always want some kind of treat, so I experimented with something different. I wanted to go chocolate based off of a treat the kids picked out at the grocery store on vacation a few weeks ago. I relax a little on the restrictions on vacation, and amazingly the treat they chose was not too far off. It was a store-bought Jello-brand chocolate mousse at the grocery store in Port Aransas, Texas. I expected it to be filled with artificial this and artificial that, but it actually had real cream in it! Surprising, right? It wasn’t perfect, but it did give me the idea of trying to create my own that was perfect! The only ingredient I am still waiting on is my new gelatin, but the Knox worked for today.
This is not really a mousse, but a pudding. With supervision, this is a great one to do with the kiddos this summer.
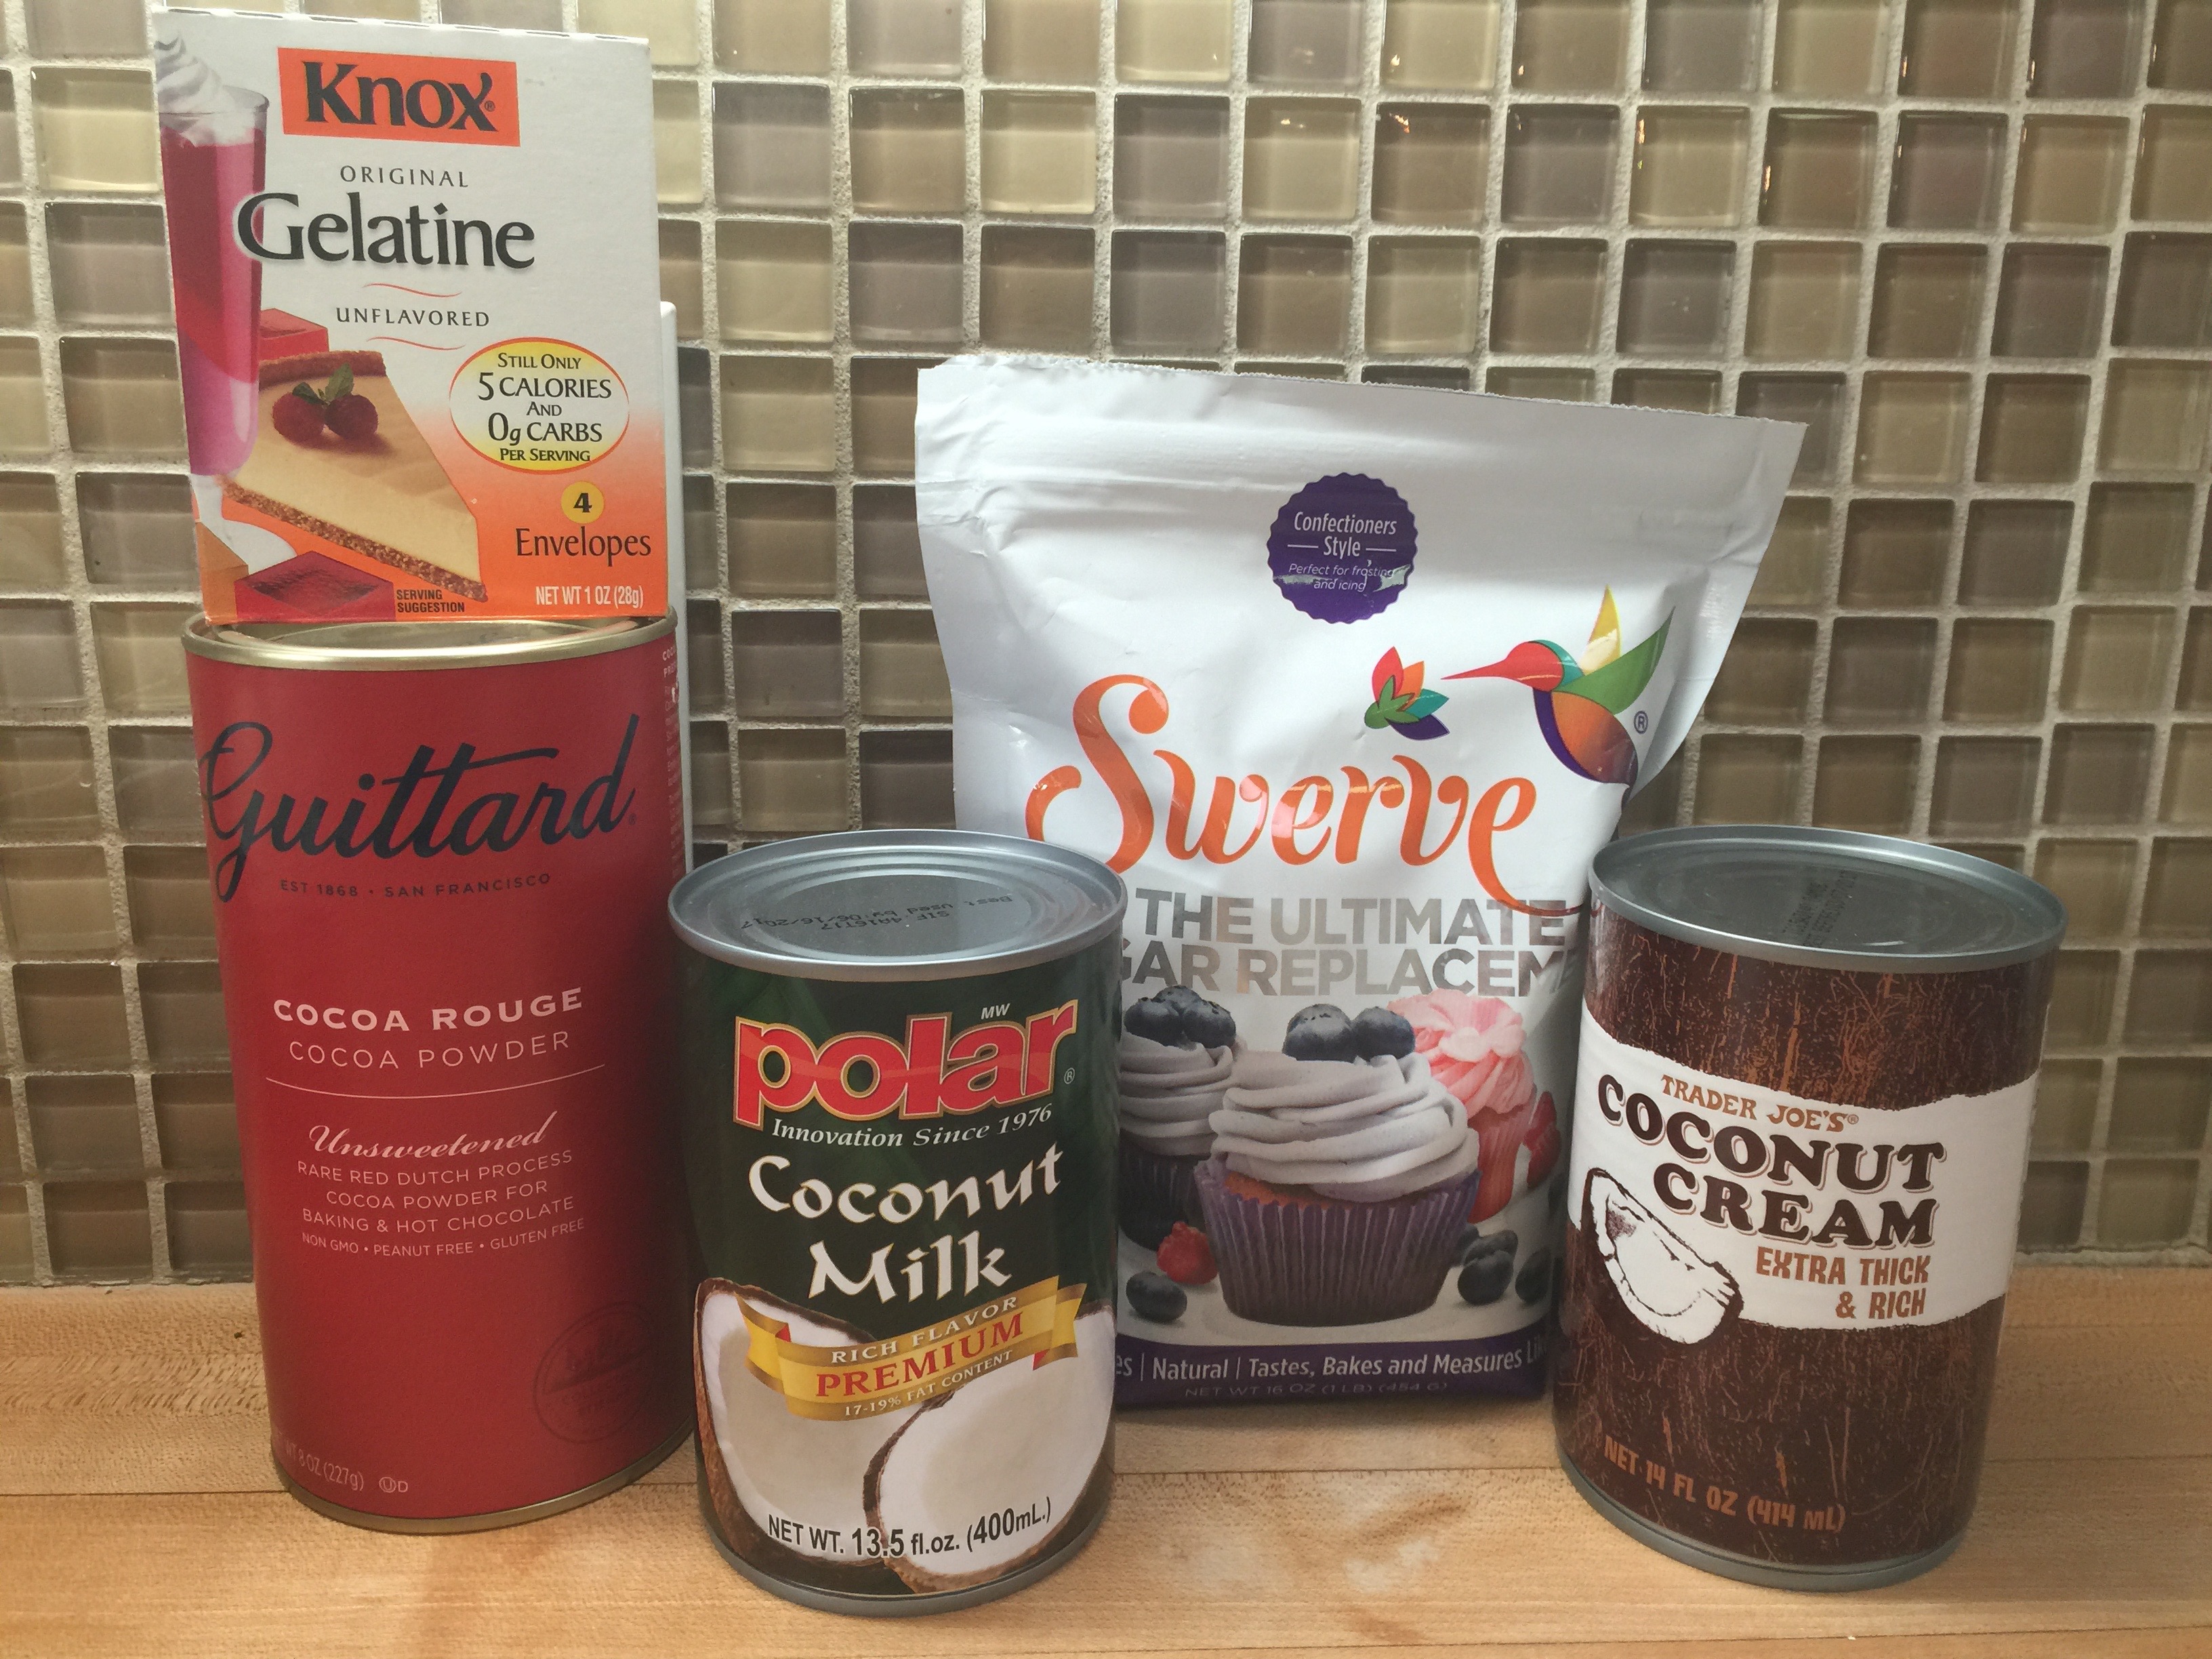
Start with your ingredients: (I also added vanilla and salt that are not pictured.)
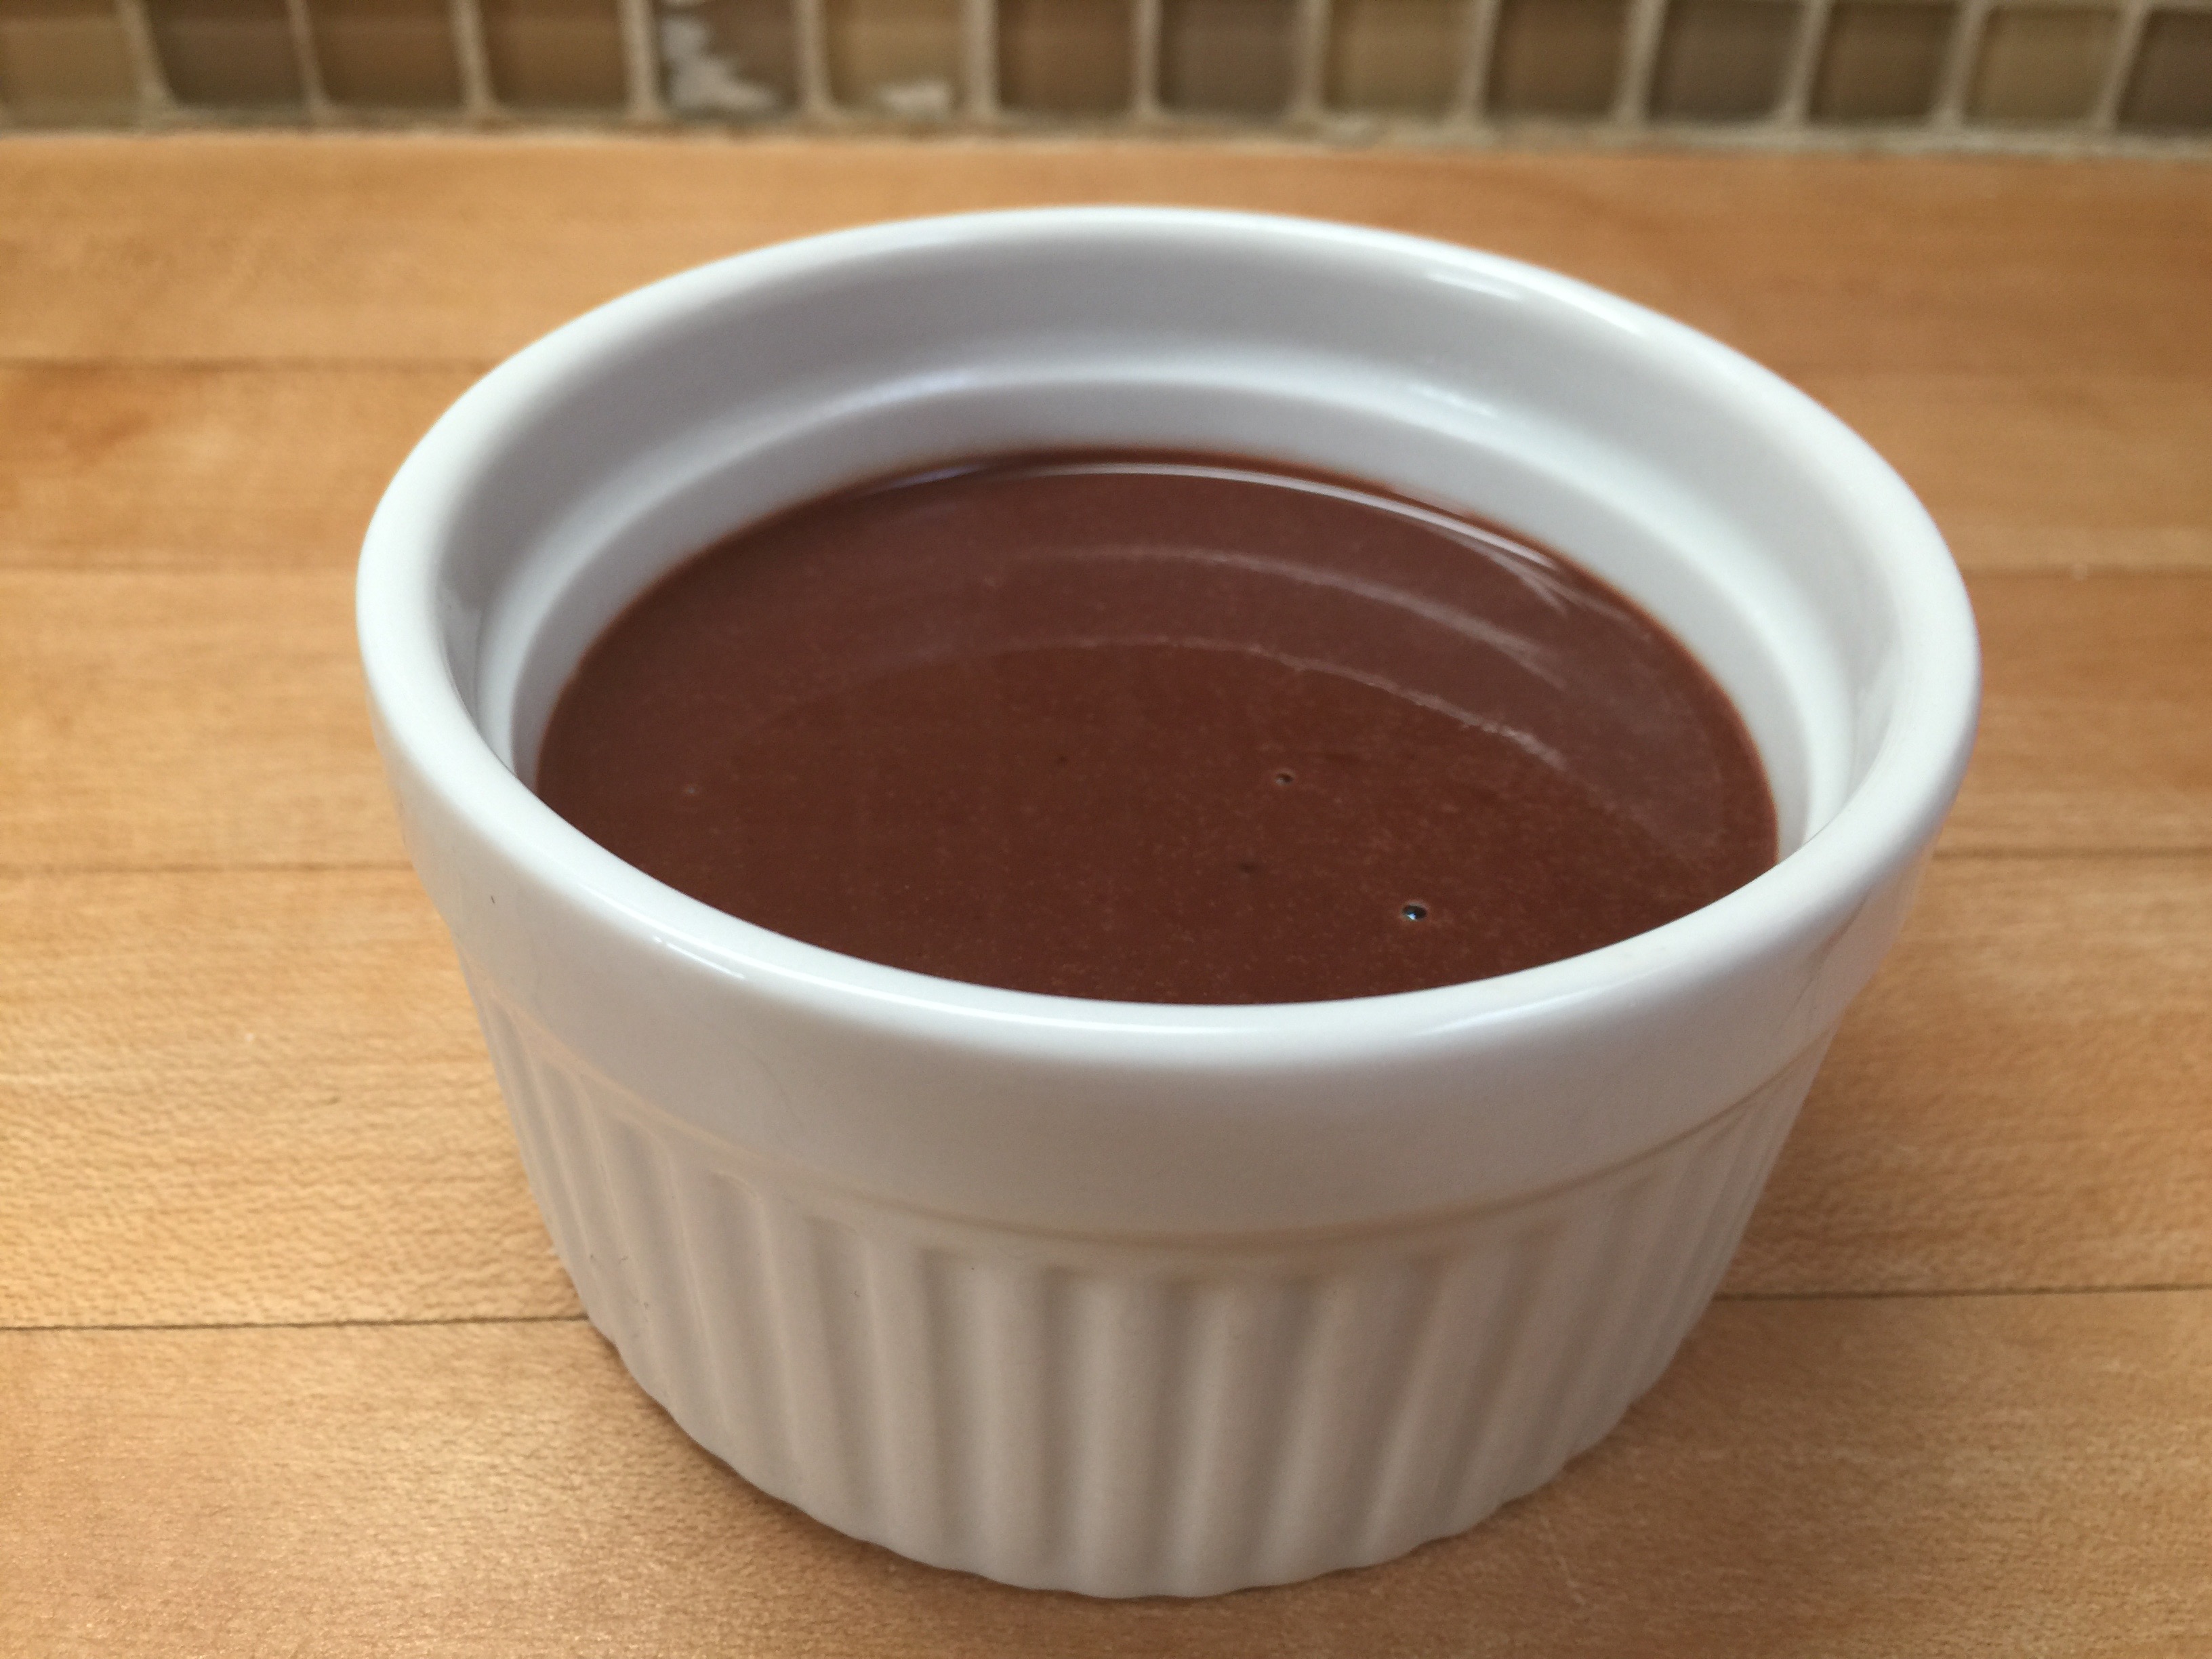
Cover each bowl with saran wrap and place in the fridge for about 2 hours to set.
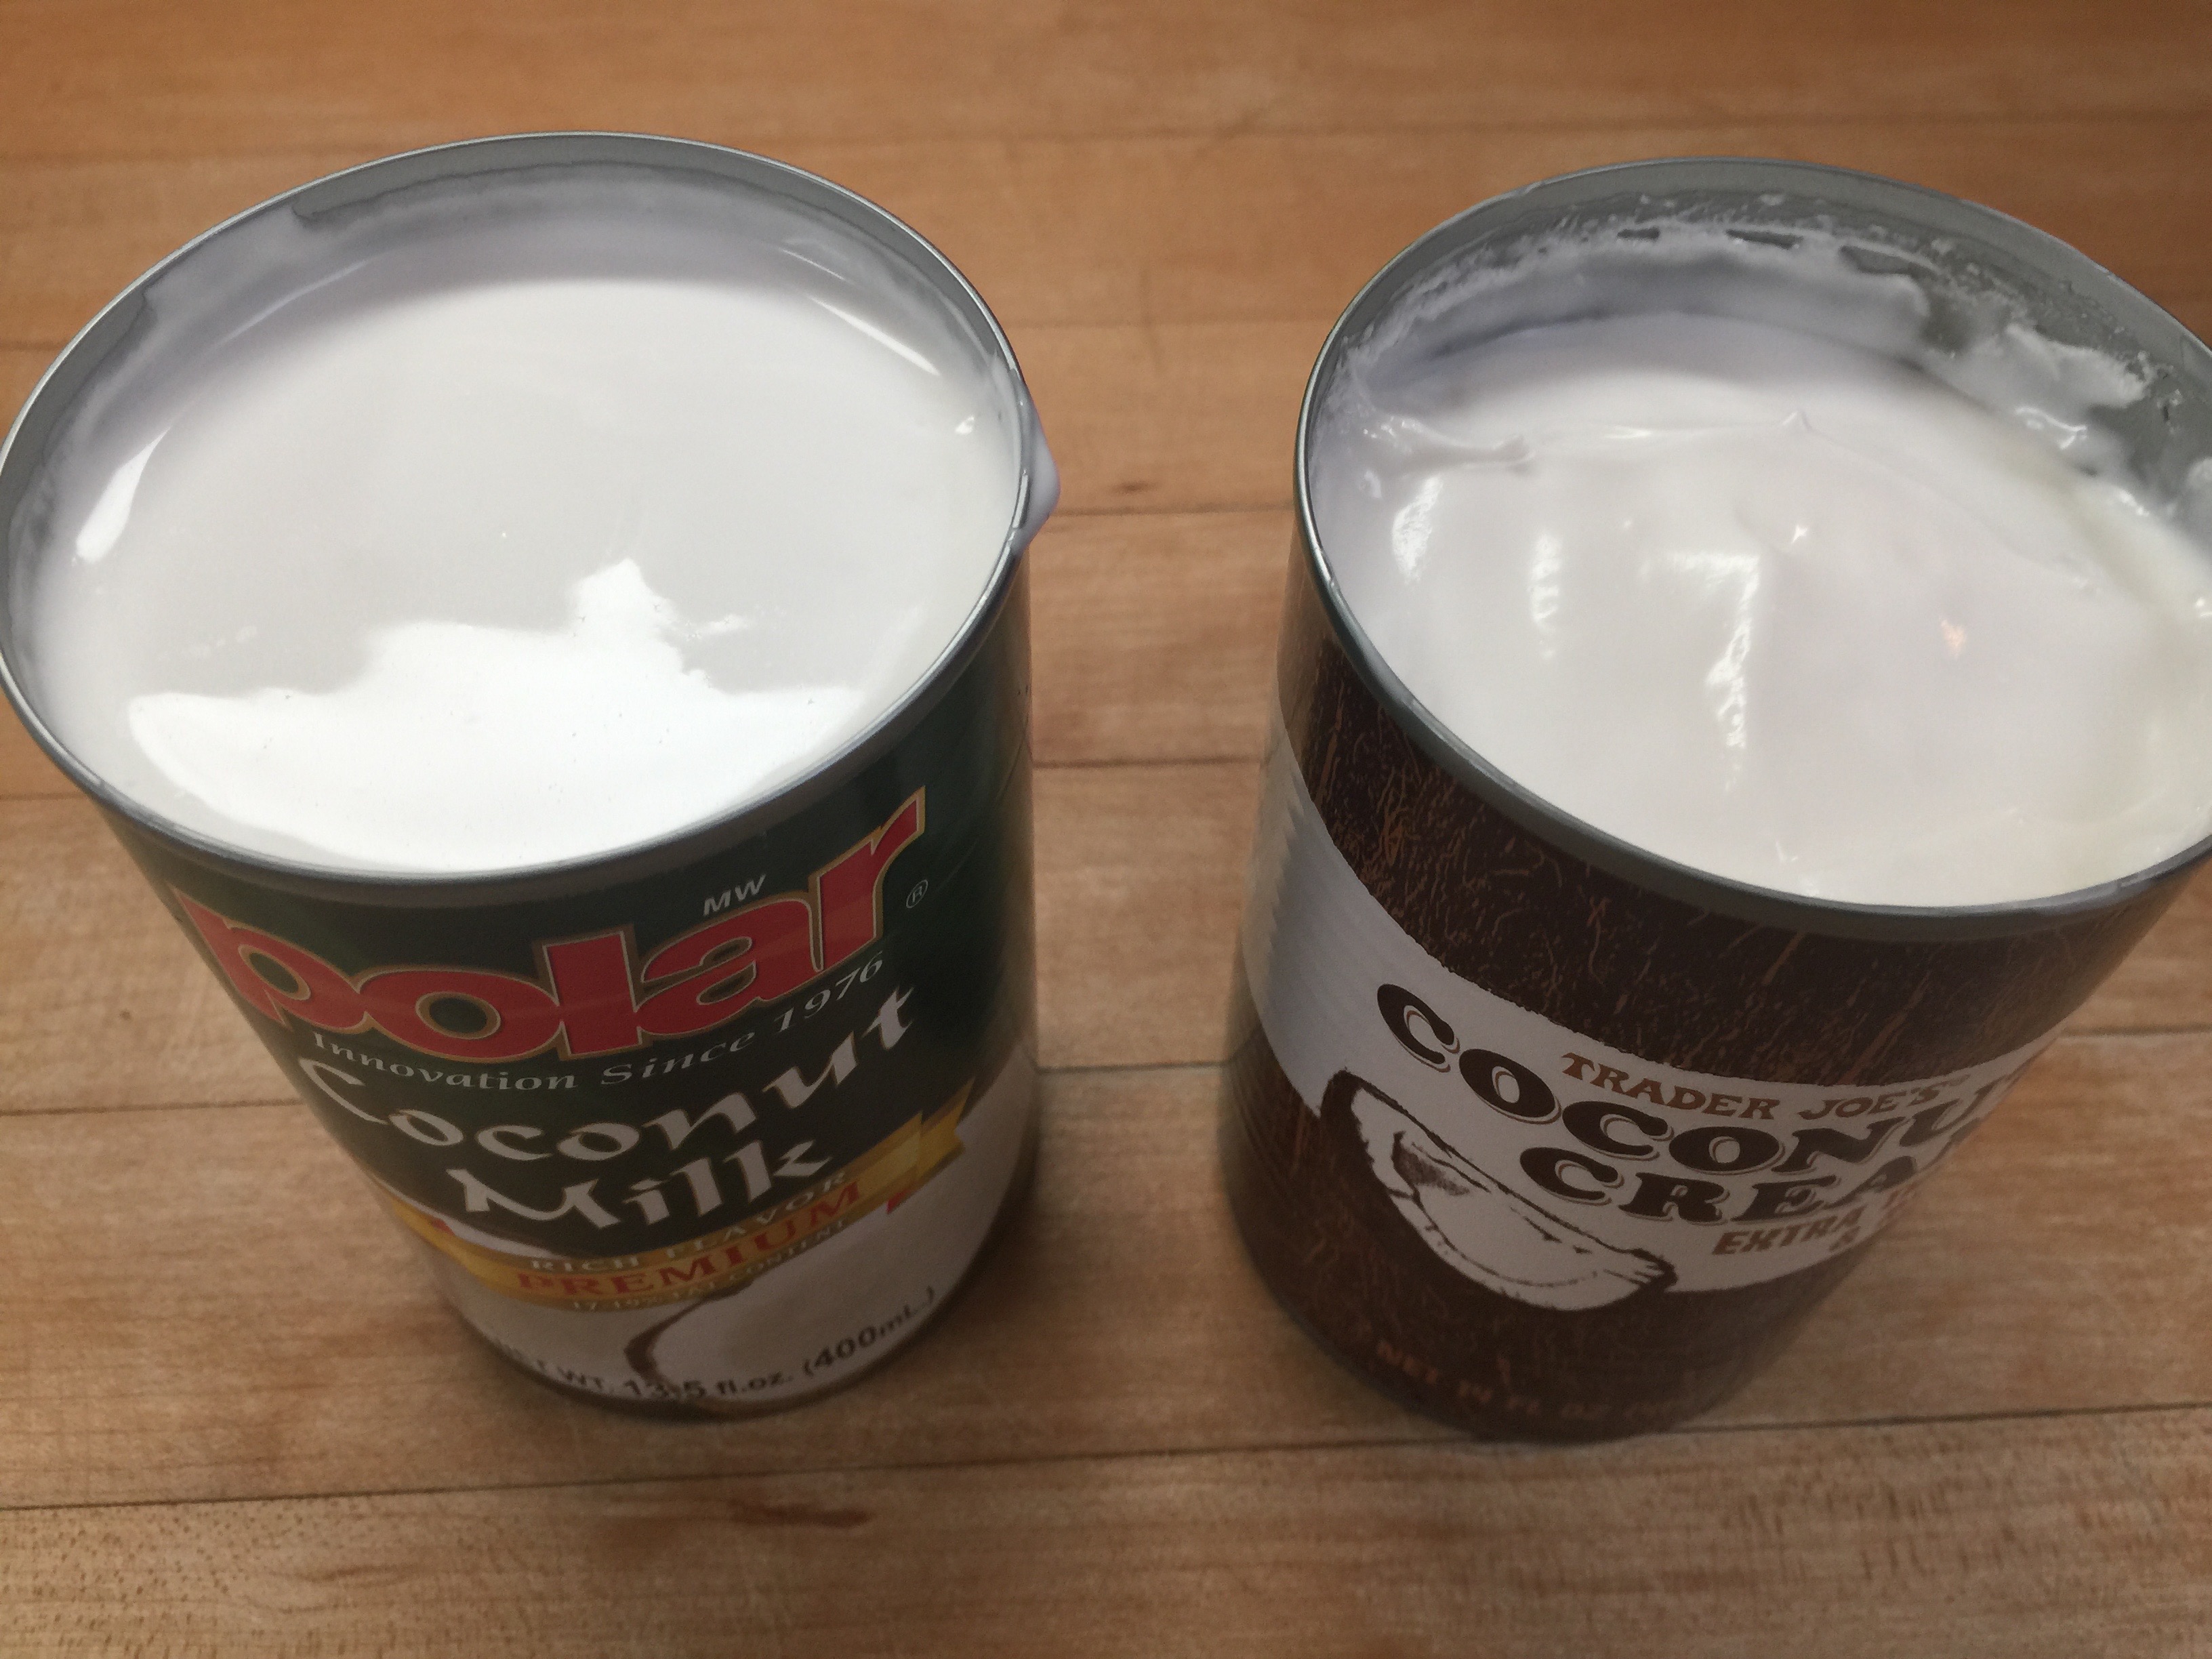
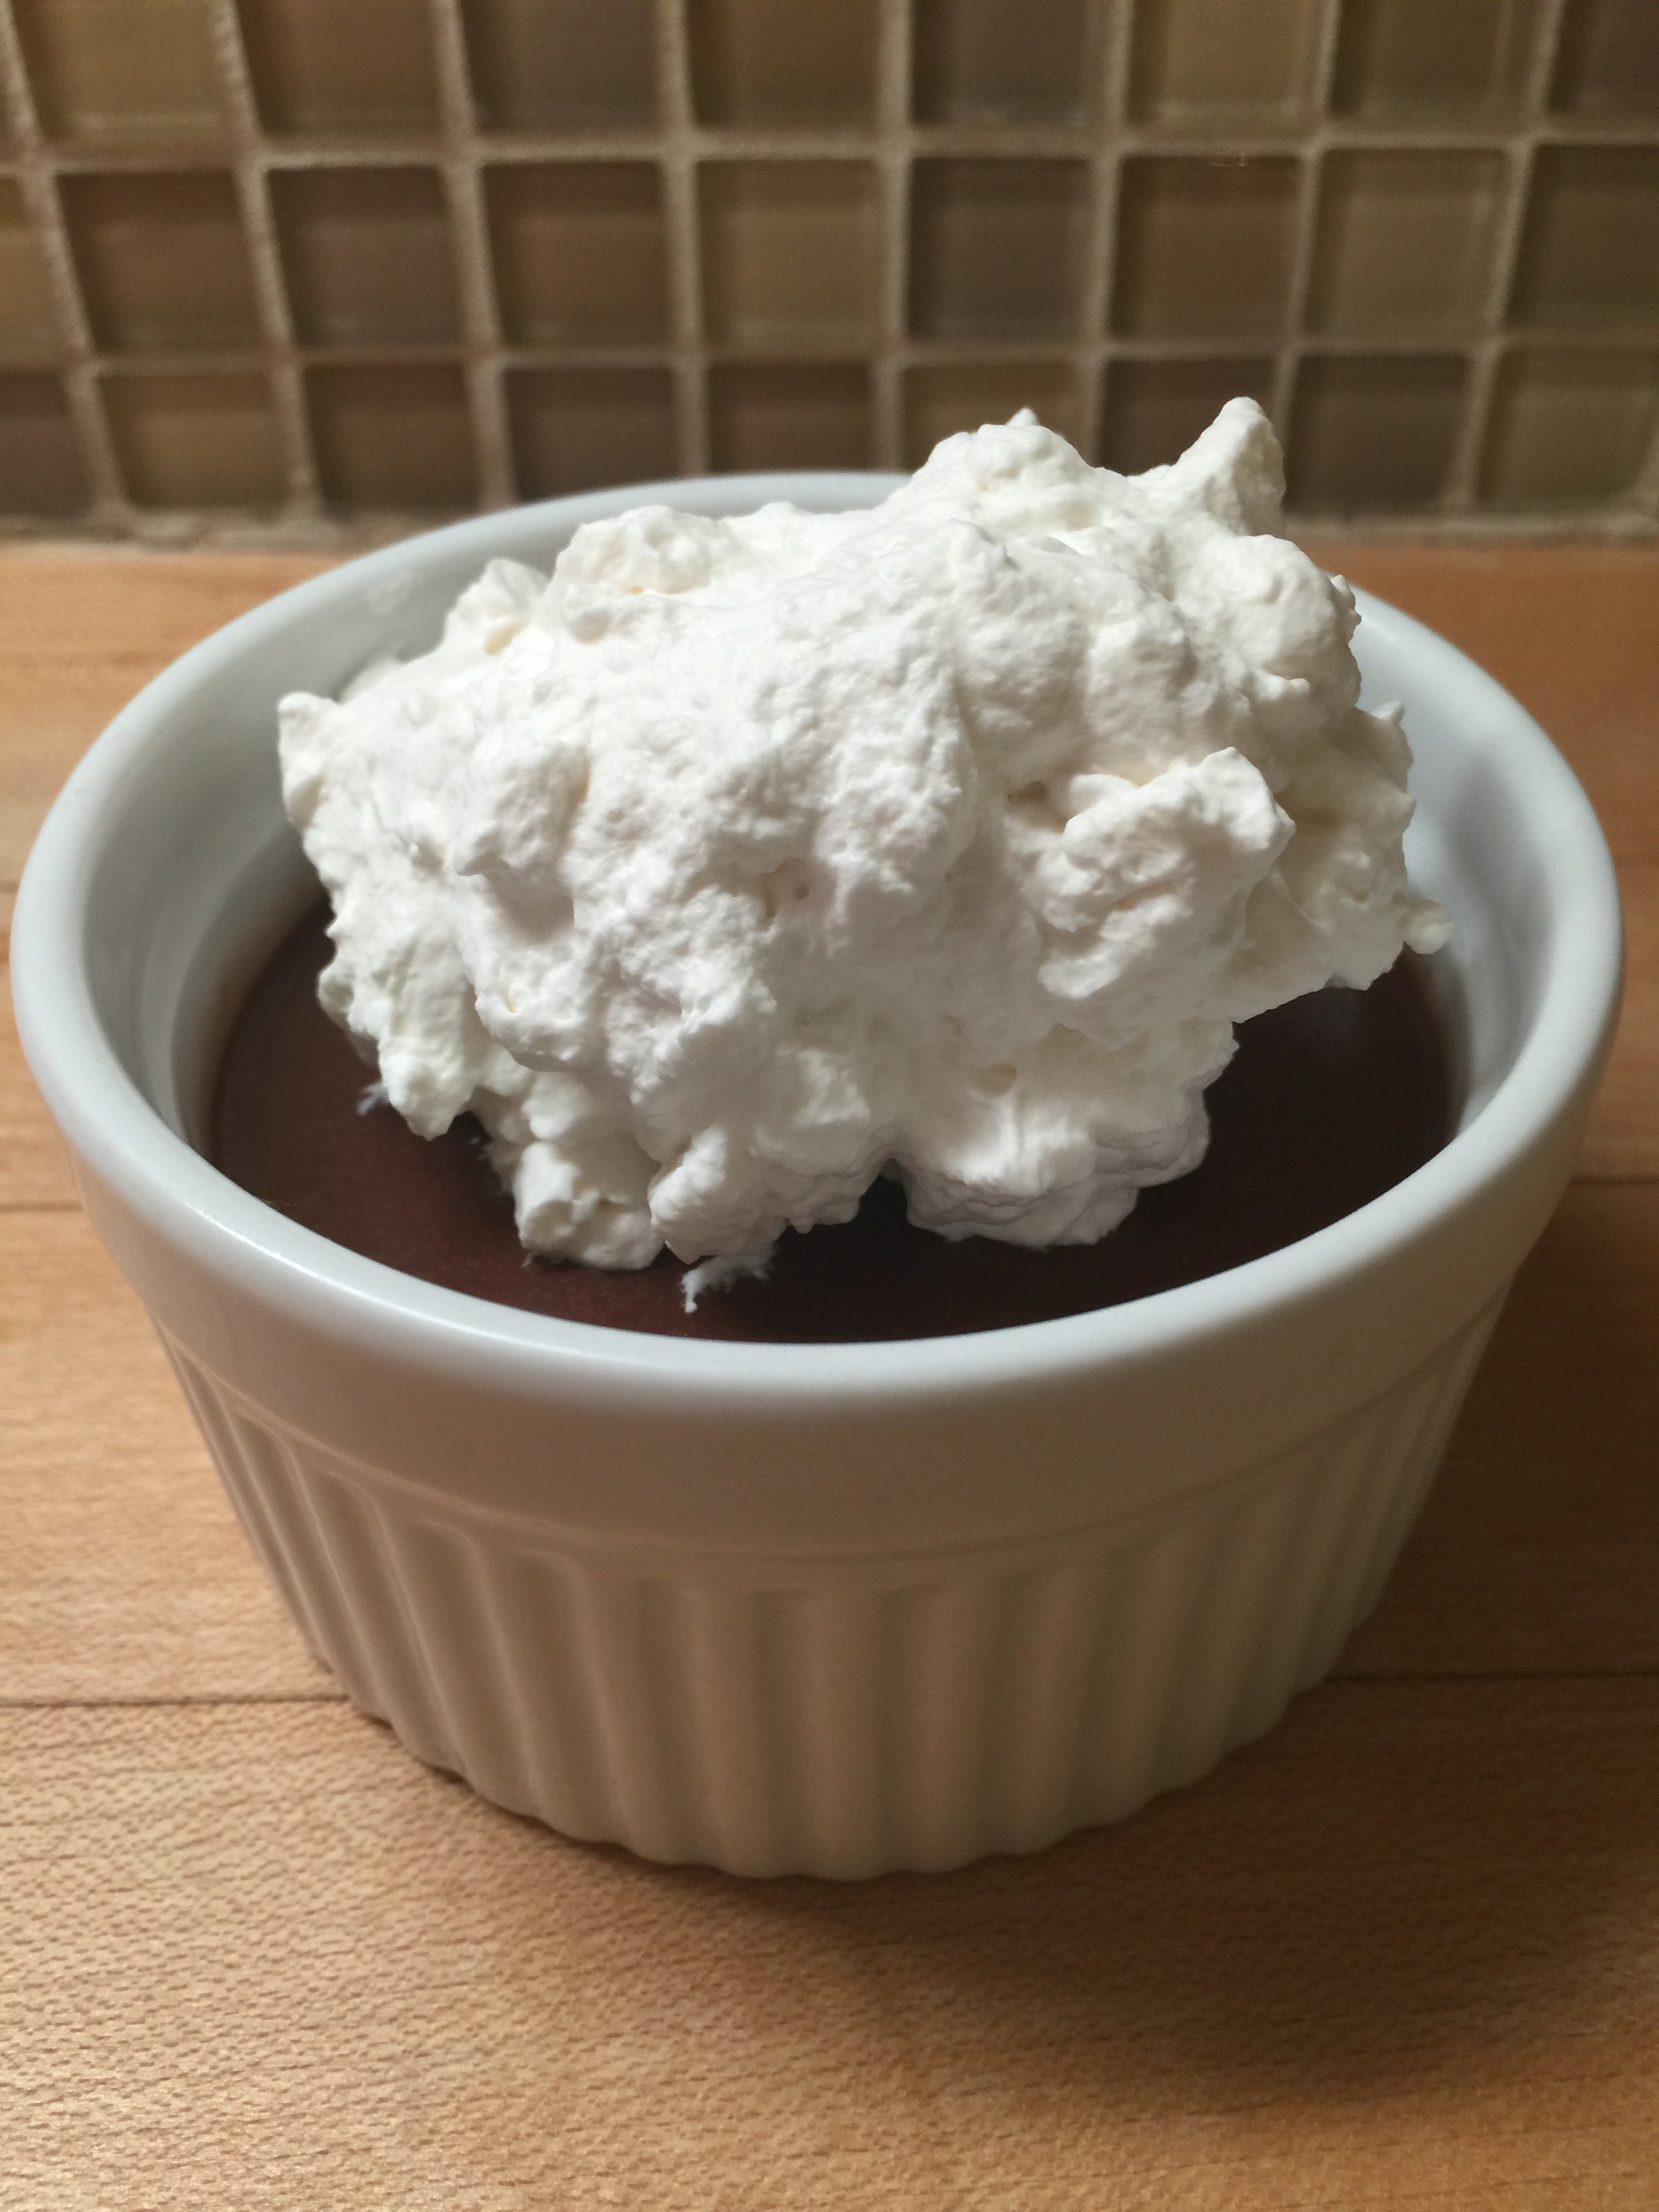
We topped ours with homemade sugar-free dairy whipped cream, but if you are Paleo or dairy-free, you can whip up some coconut cream with some Swerve and vanilla and use that as well.
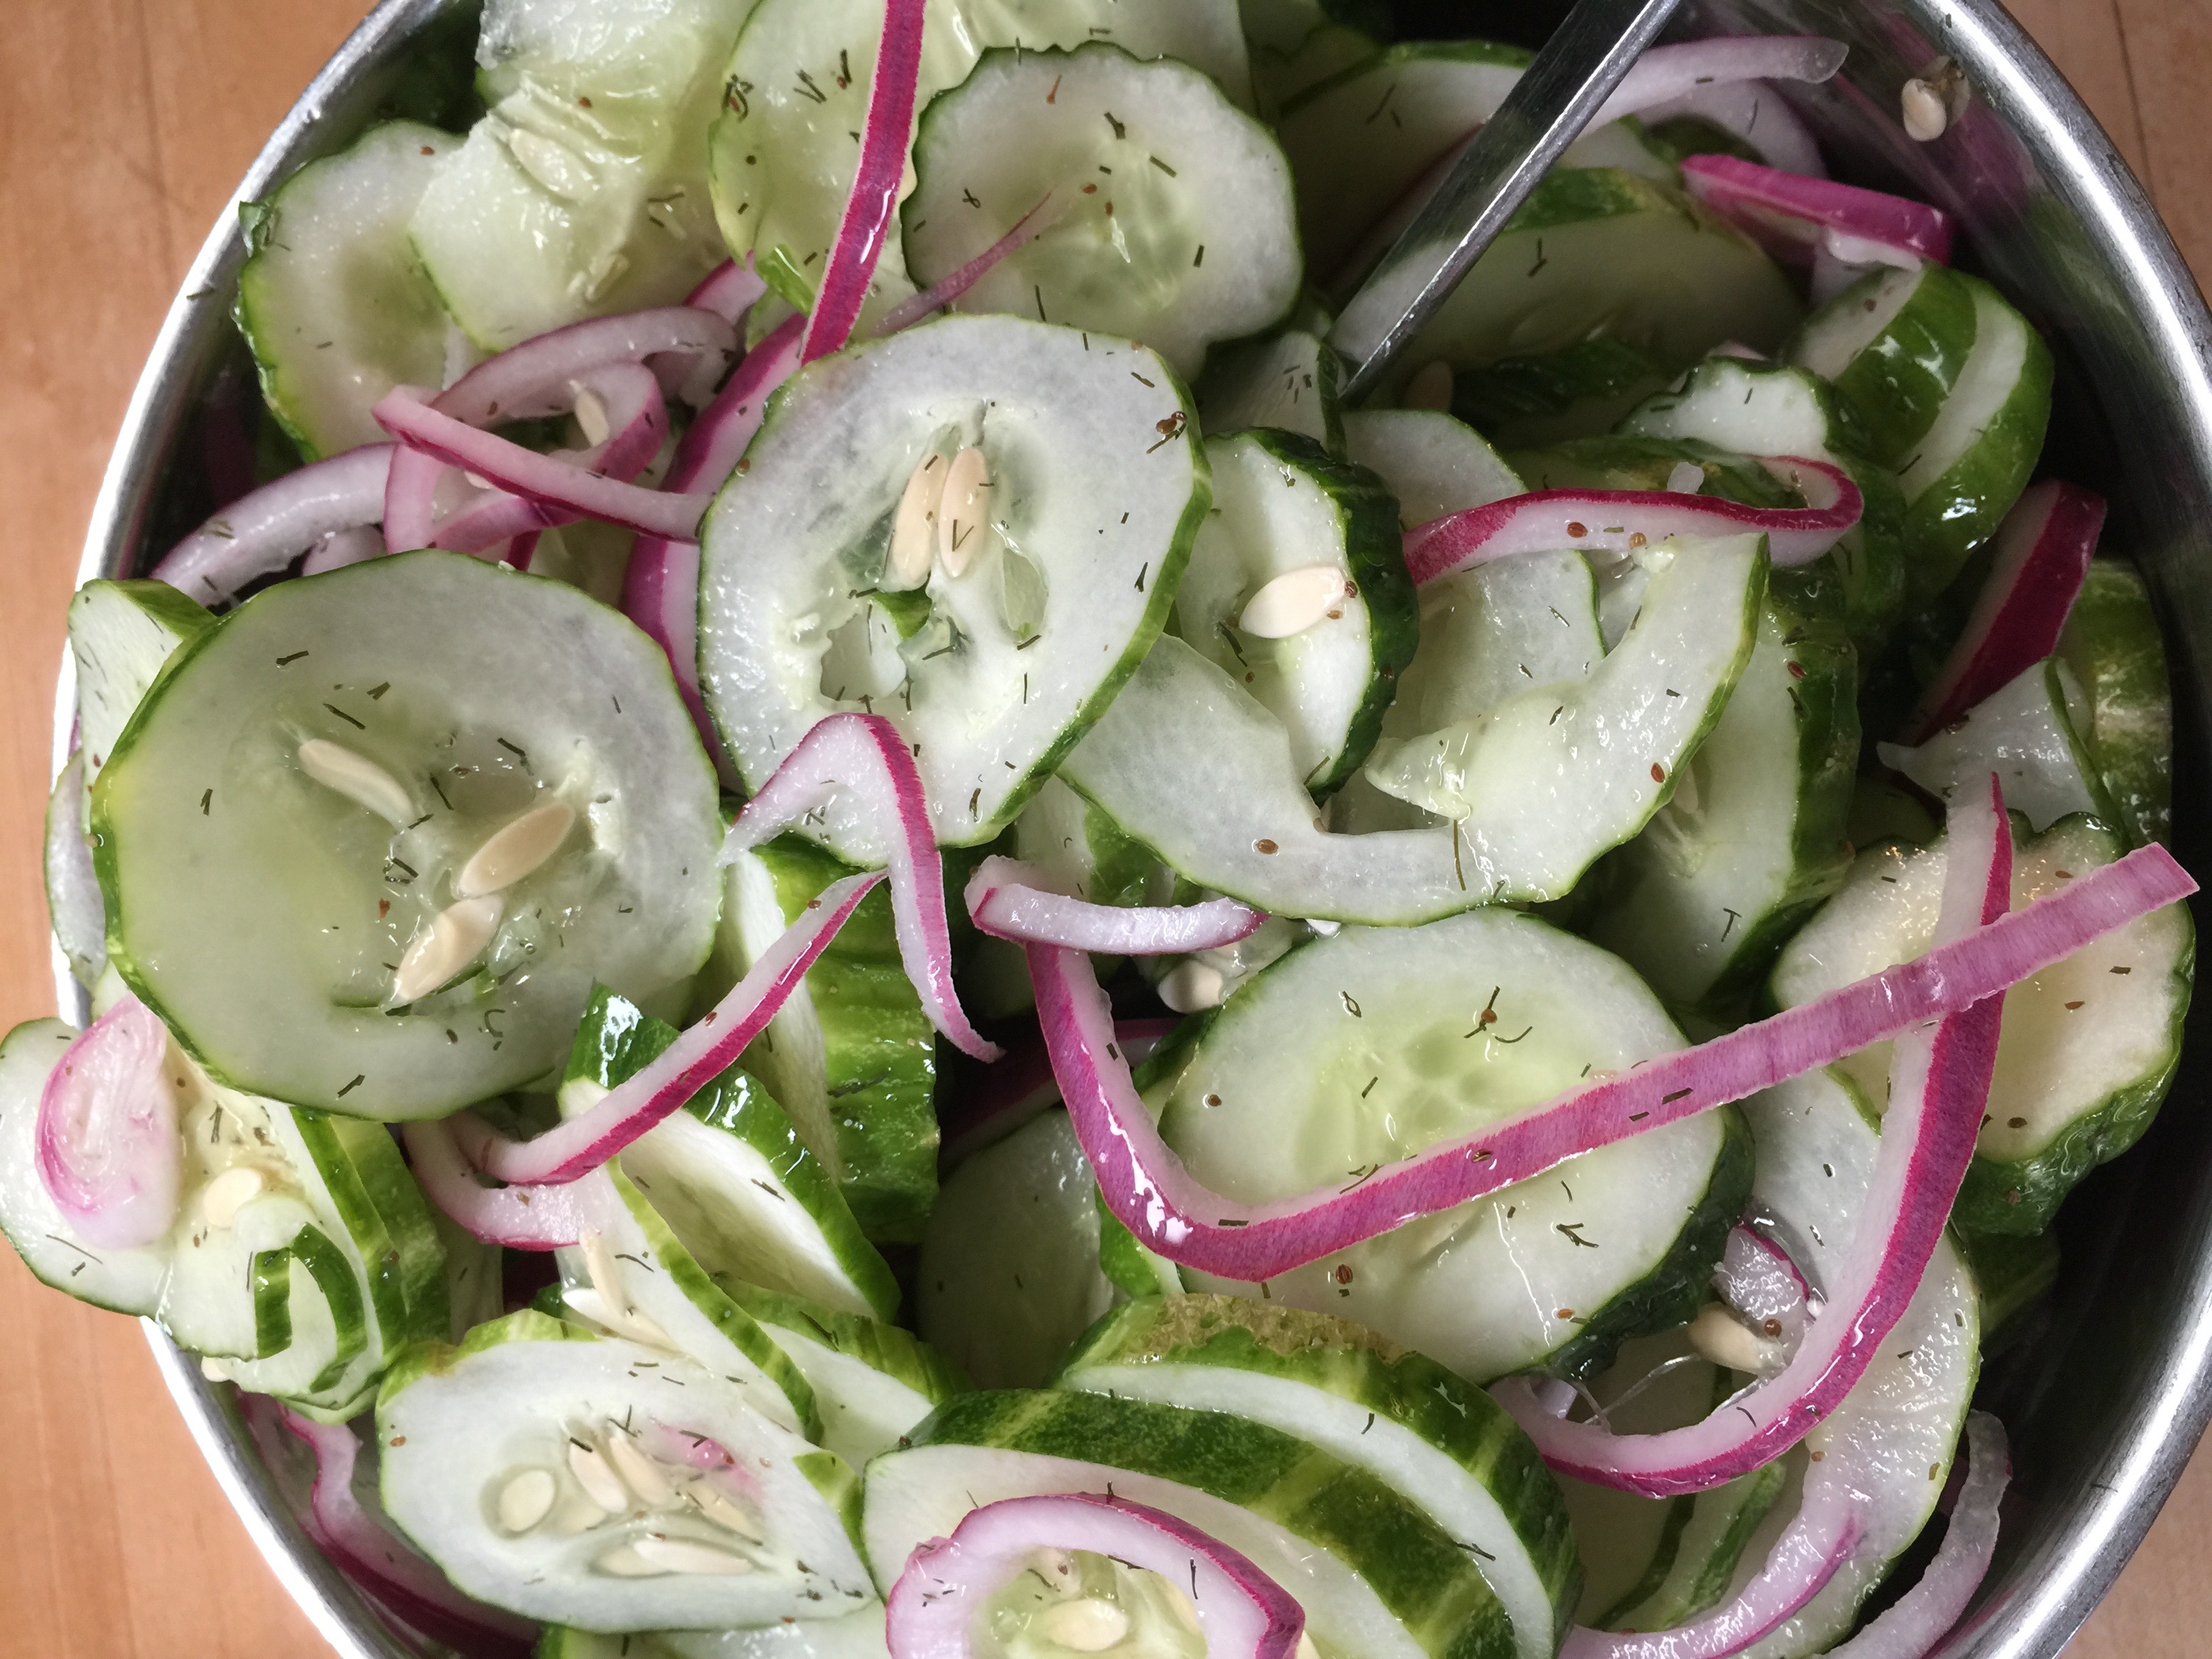
Last week, a friend of mine showed up at my door with a trash bag full of homegrown cucumbers. He had grown them at his office, and thought I could use them since he knows I like to cook. I had never seen so many cucumbers, and I honestly didn’t have a clue what to do with them. My husband LOVES cucumbers, so I knew I needed to find something quickly! I couldn’t let these go to waste! The search began…
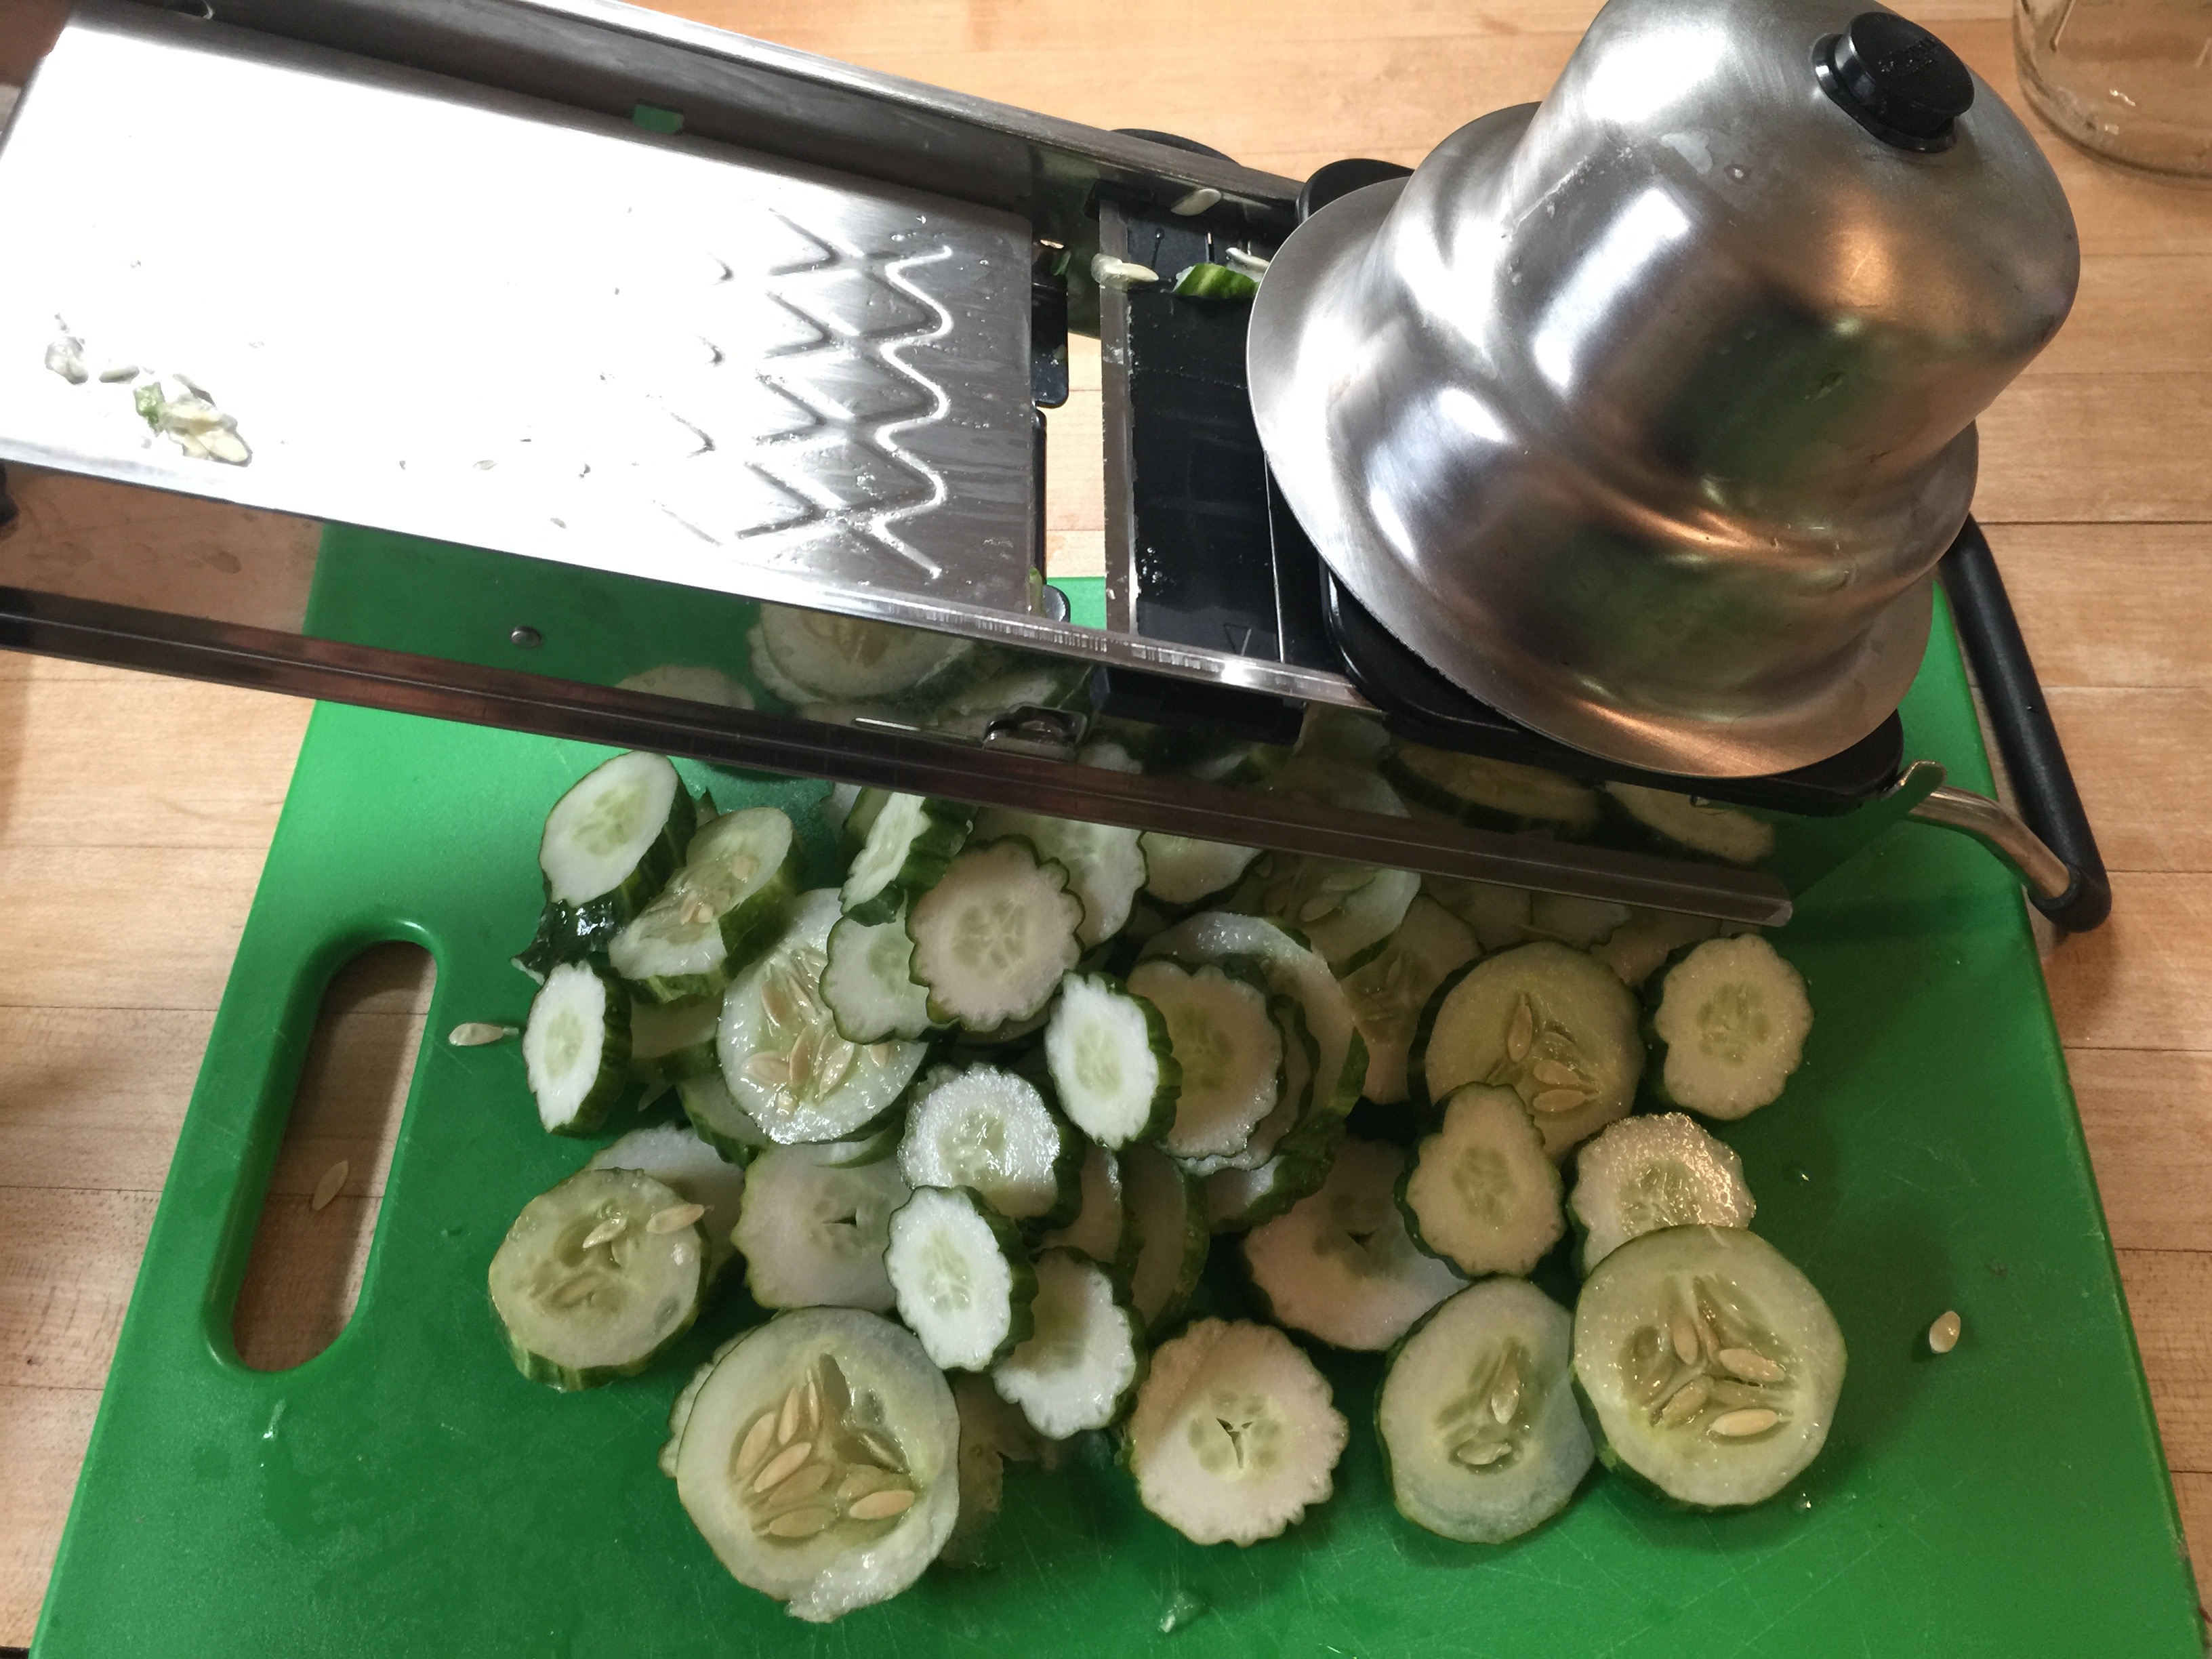
Look at these things…I had never seen anything like them before! They were the largest Japanese Cucumbers I had ever seen!
As you can see, these are huge!
I searched around through cookbooks and on the web. I didn’t find anything that shouted out at me, but I combined a few recipes, changed out the sugar, and came up with a winner! They haven’t even finished marinating, and my son said, “These are amazing…Dad is going to love them…This is my new favorite snack.”
So those of you looking for snack ideas, I have a new one!
You will need:
5-6 Cucumbers (I used 4 of these huge ones, so thinking this is the equivalent)
2 1/2 cups White Vinegar
1 Red Onion
1 Cup Xylitol or Sugar Substitute of Choice (See note at bottom)
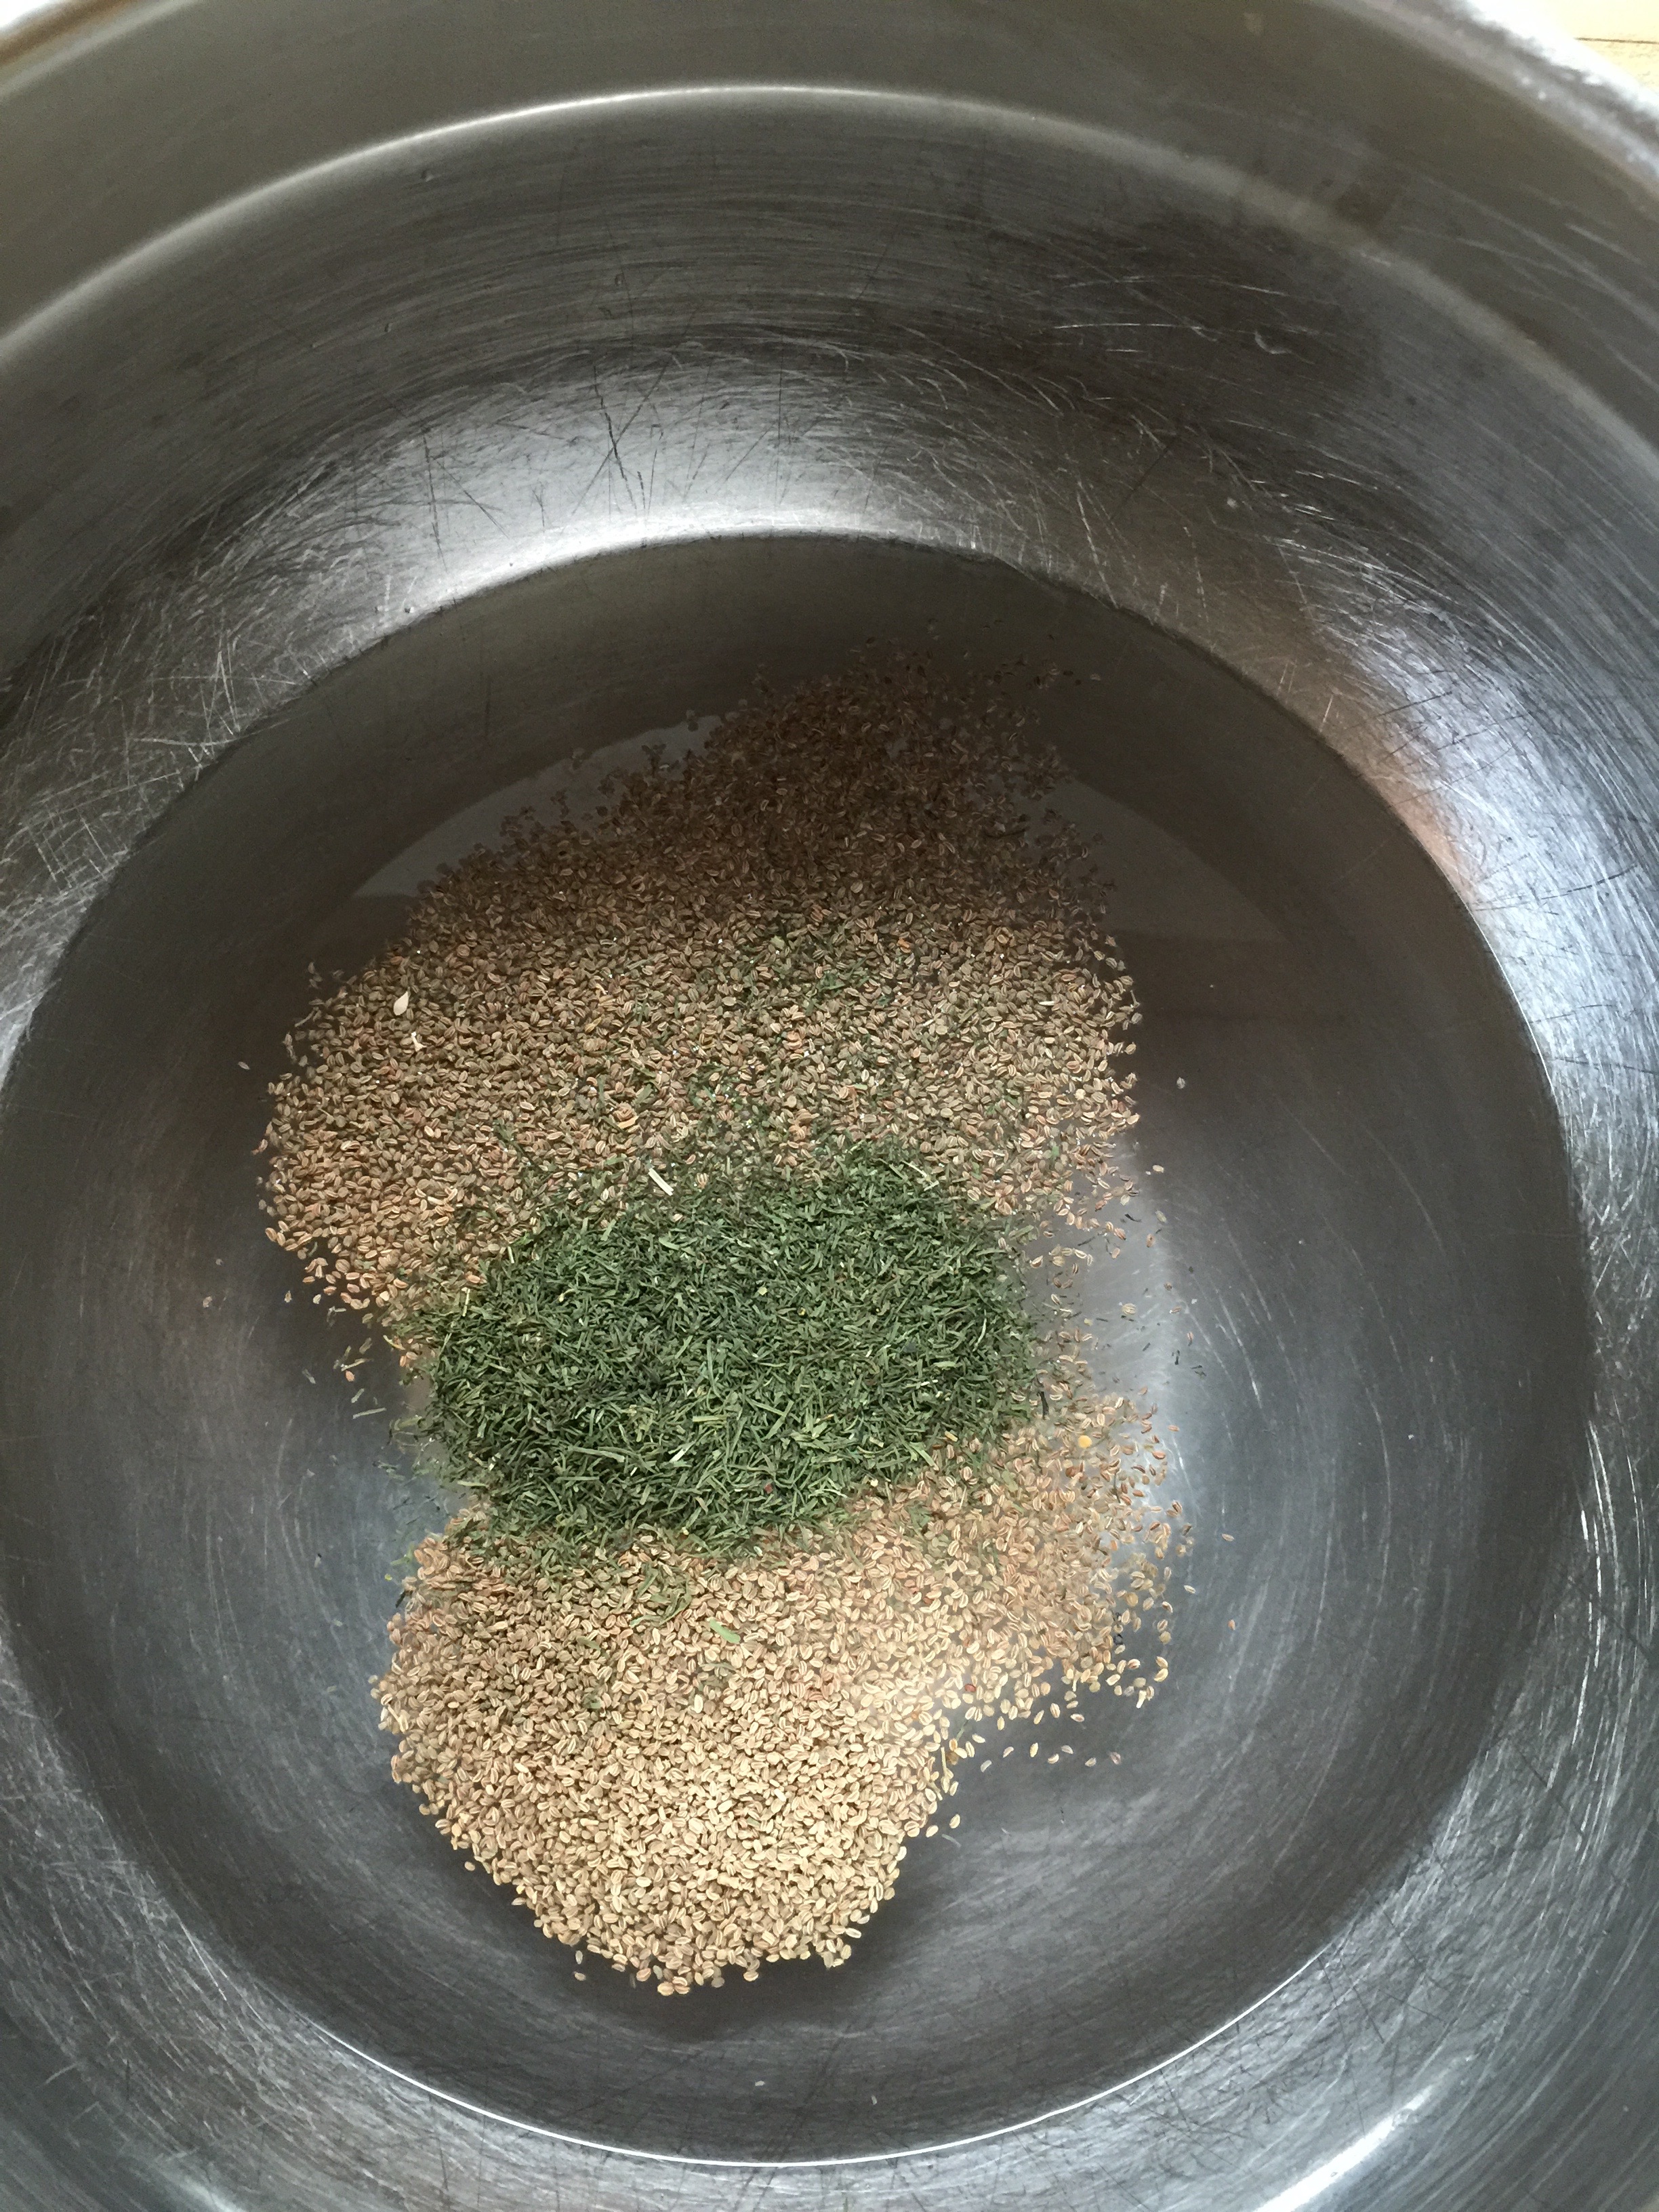
In a saucepan, combine your vinegar, salt, and sweetener. Over medium heat, (it’s gonna stink), heat your vinegar until your “sugar” and salt dissolves.
Remove from heat, and add your celery seed and dill weed. Allow to cool a little and place in the refrigerator to cool completely.
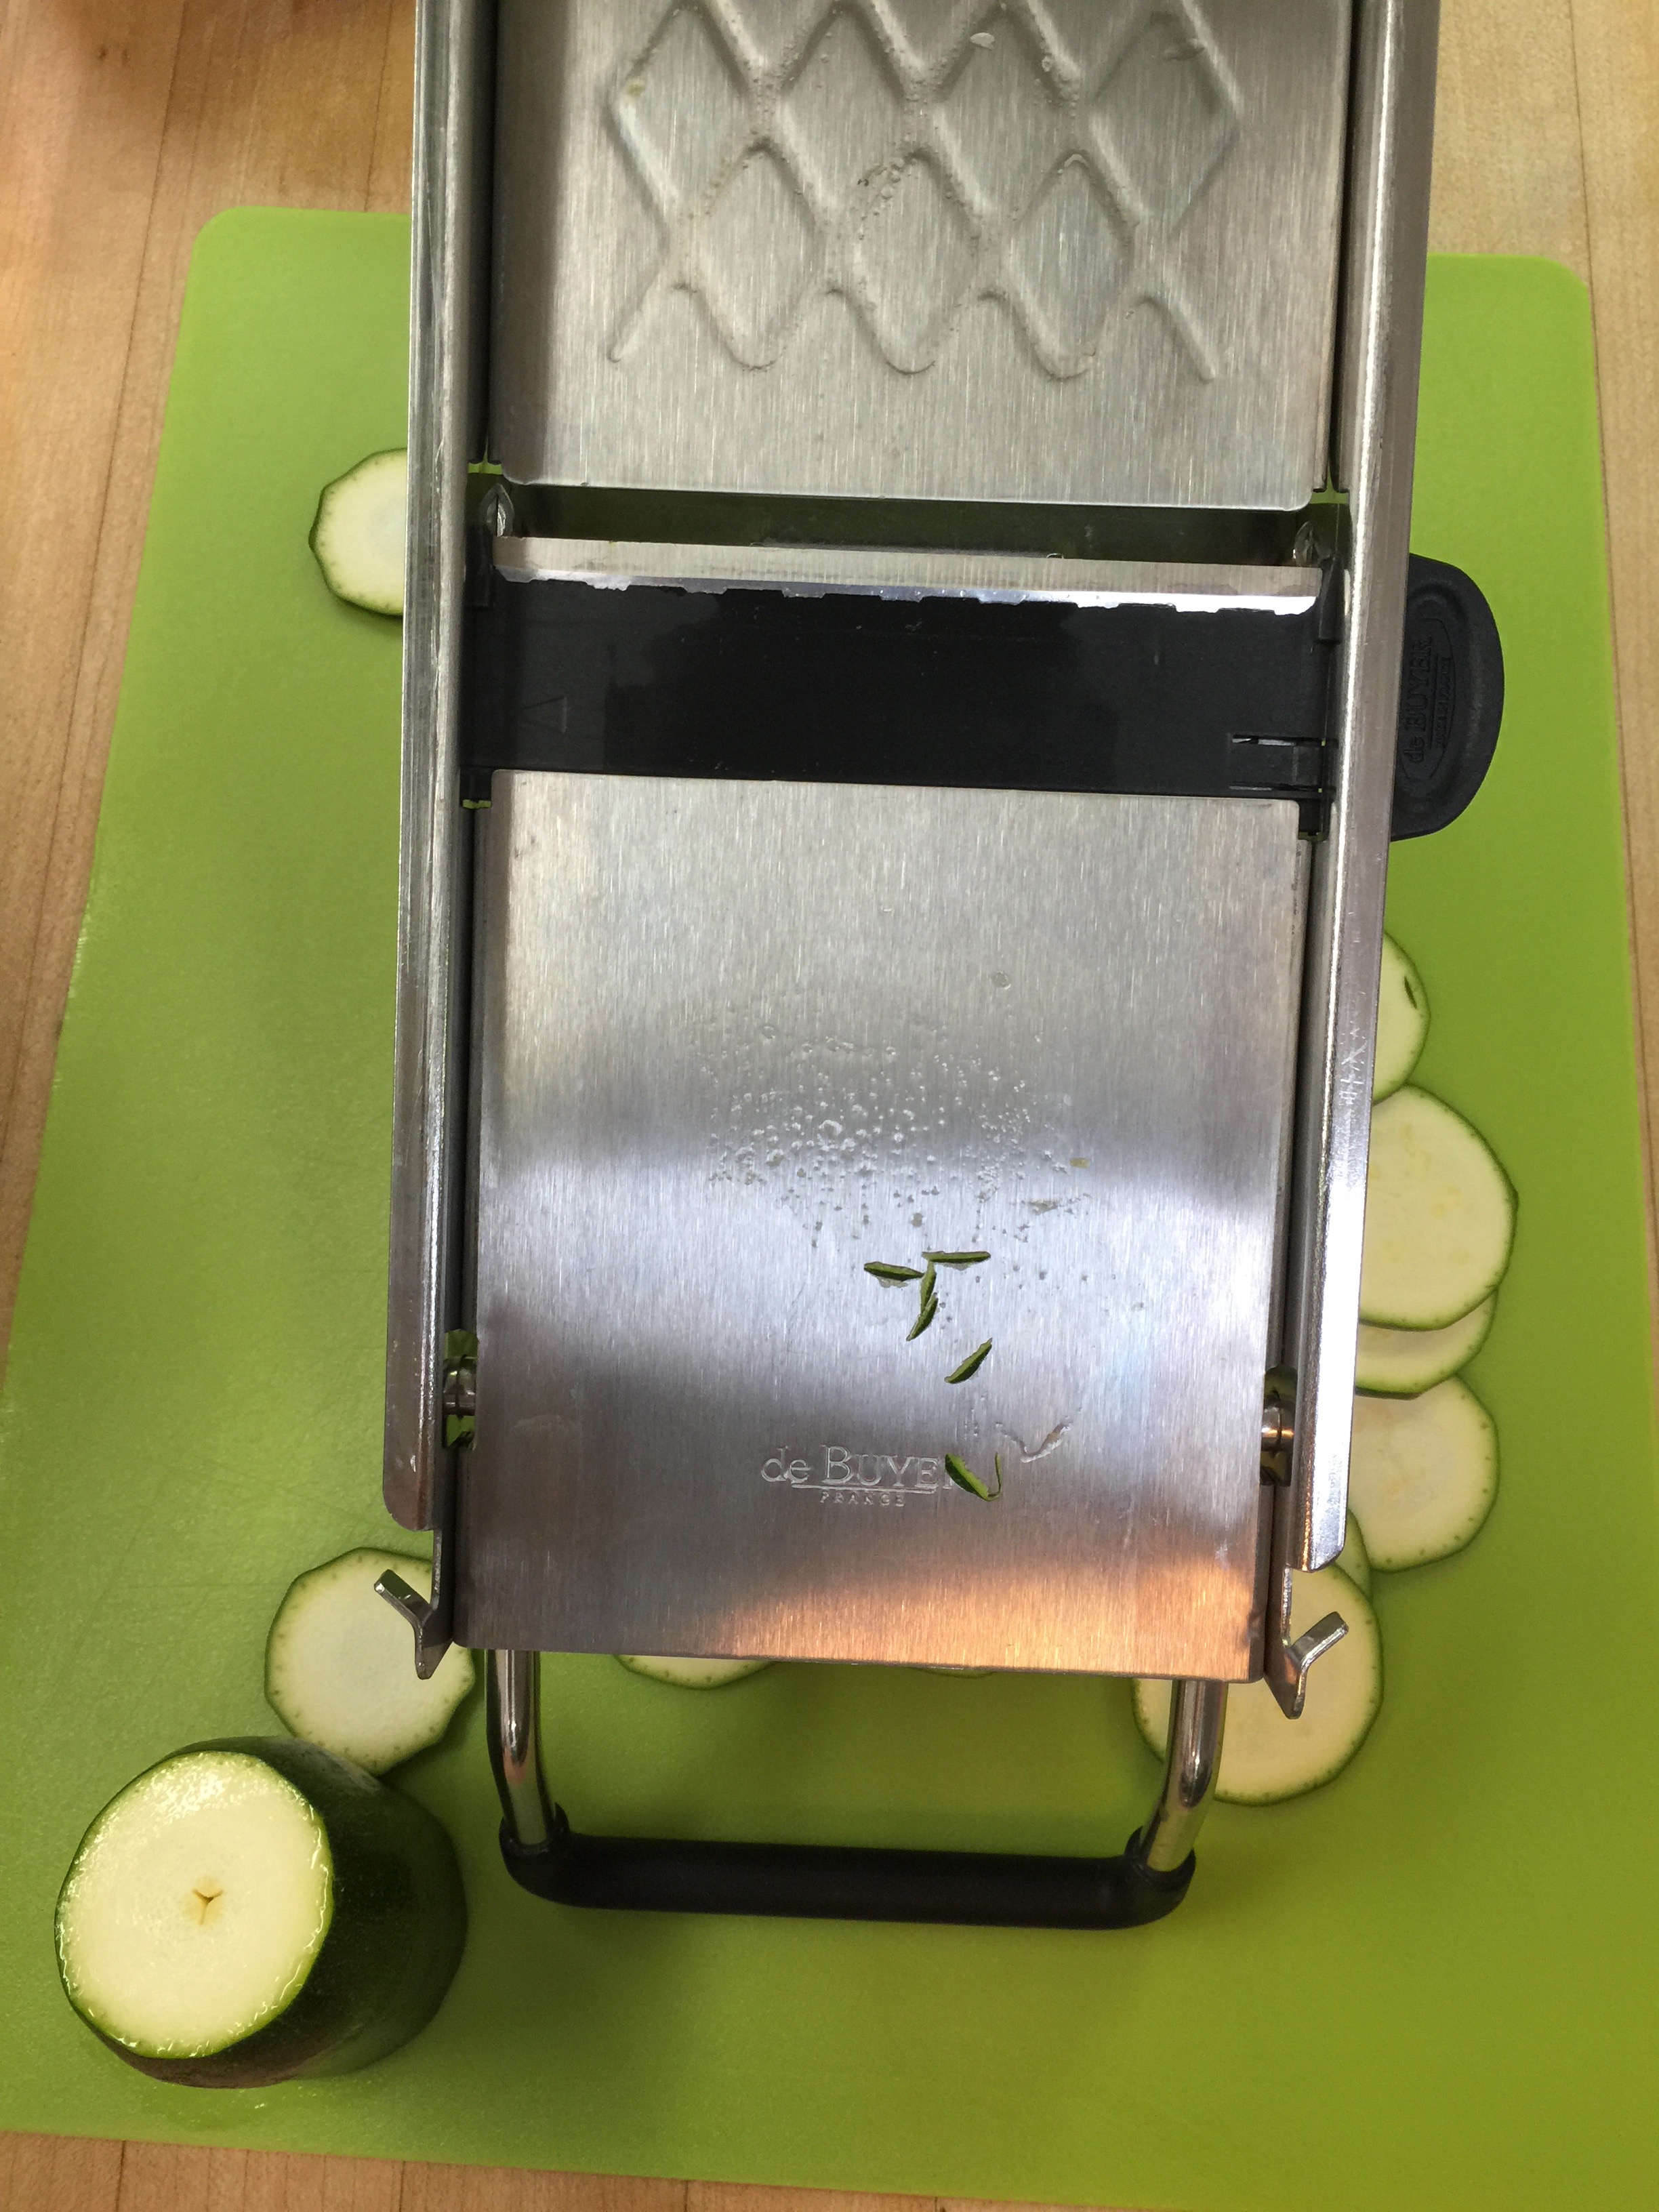
While your marinade is cooling, slice your cucumbers in a mandoline. I love my De Buyer! If you don’t have a mandoline, what are you waiting for? It makes life so much easier! I bought mine at Williams Sonoma, but you can get yours here too.
I did adjust my mandoline for thicker slices. I had it set from the zucchini last week, but these needed to be a bit thicker.
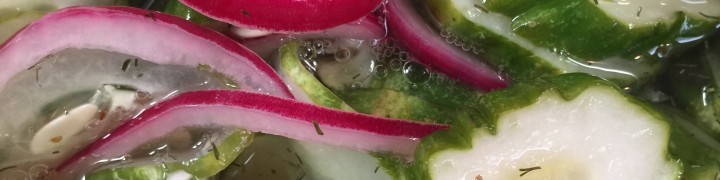
Also, slice your red onion into thin rings. Place your cucumbers and red onion slices in a bowl.
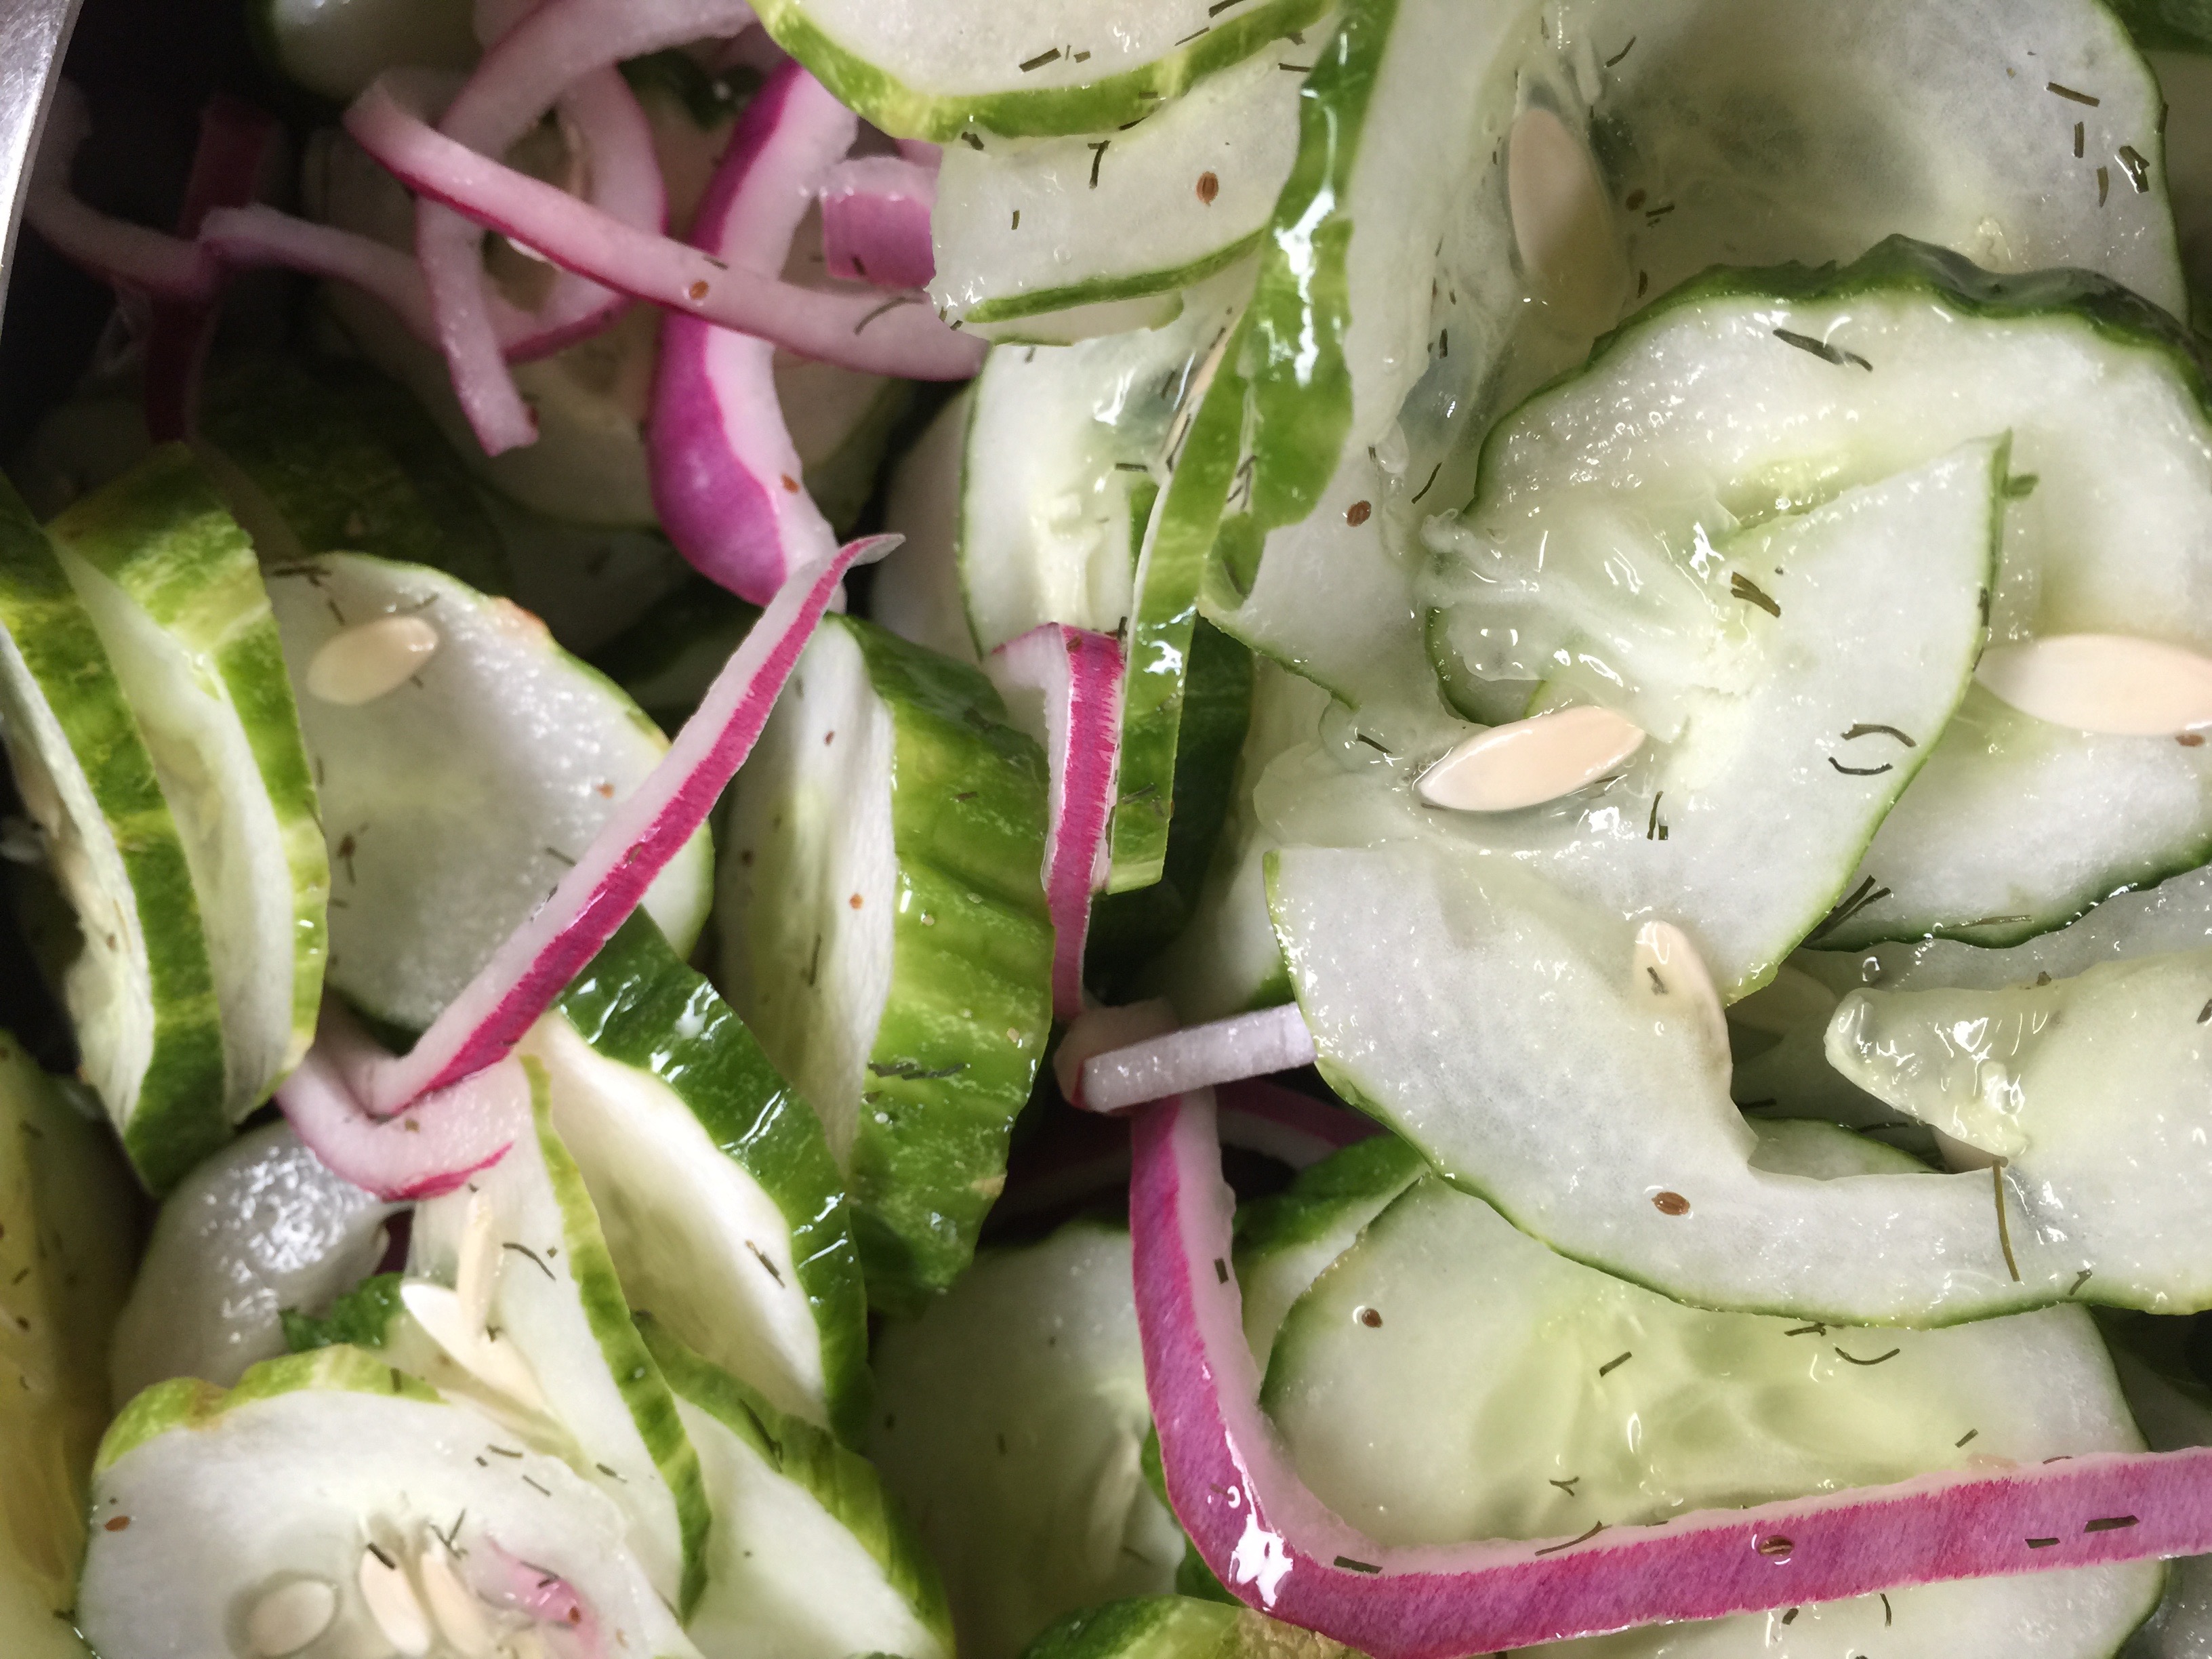
Once you have everything sliced and your marinade is cold, you can pour your marinade over your cucumber and onion.
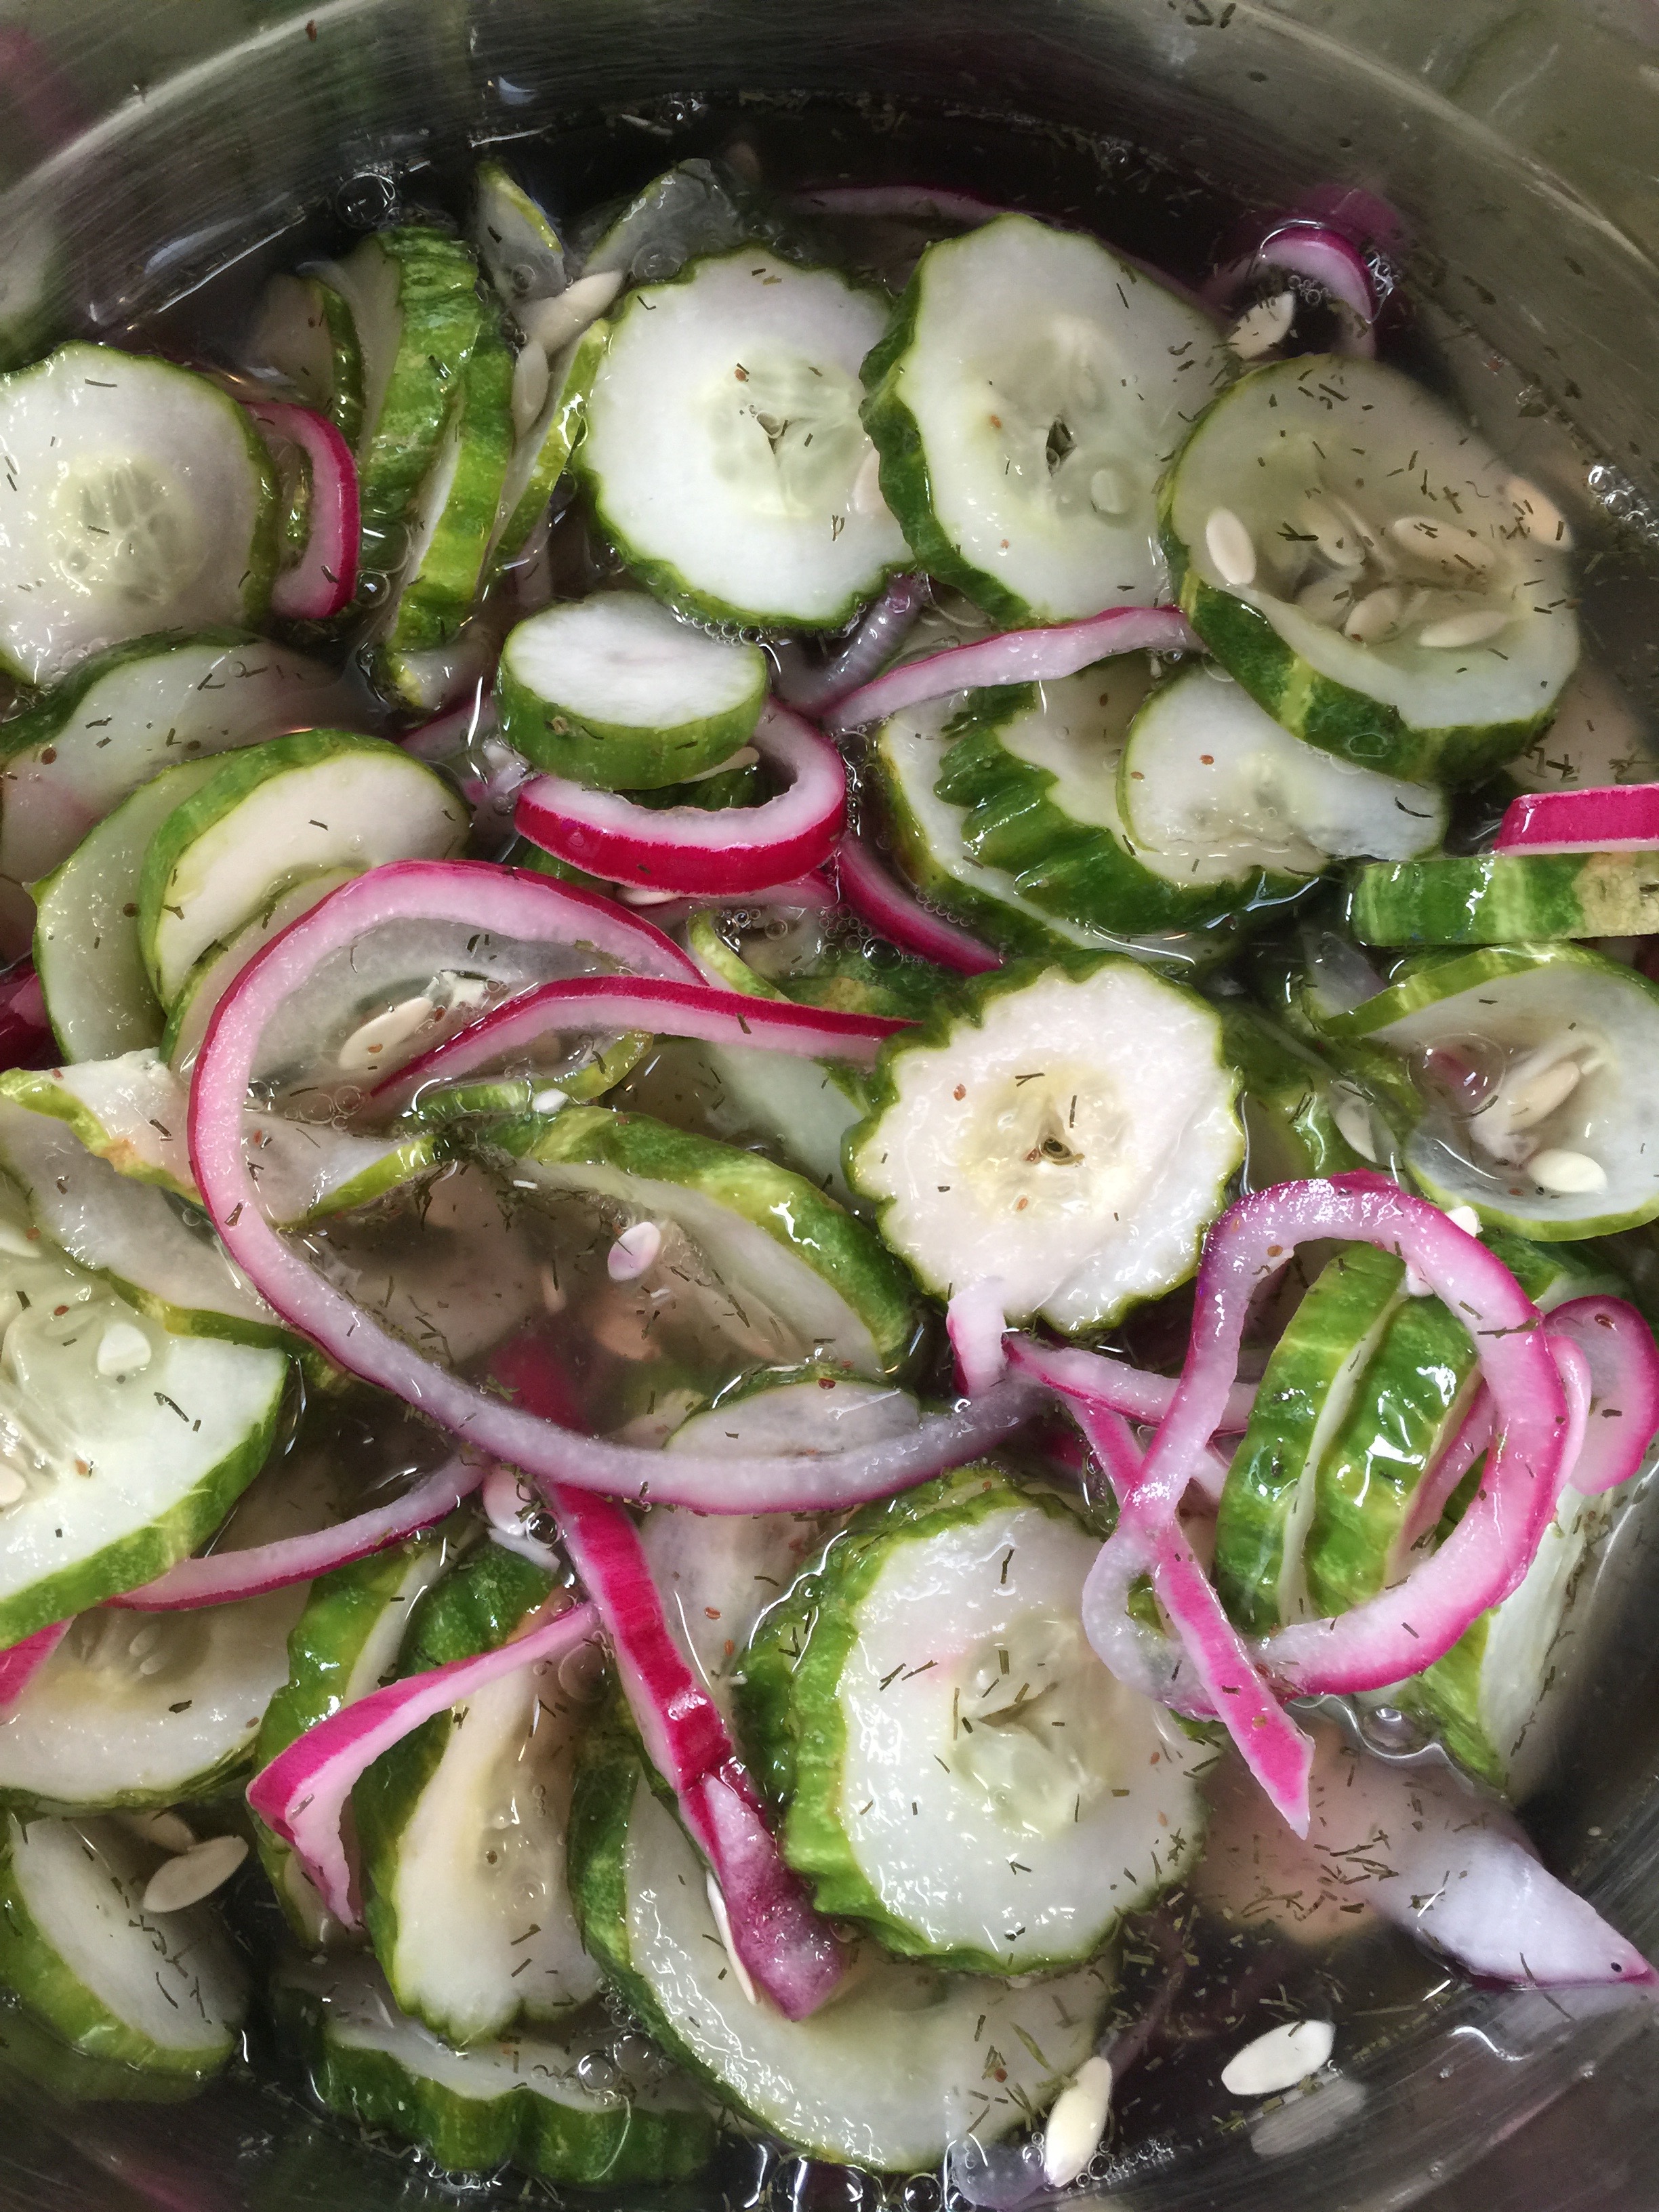
Toss everything together until lightly coated. Cover with Saran and place in your refrigerator overnight. At this point you can’t even see the liquid, but just wait!
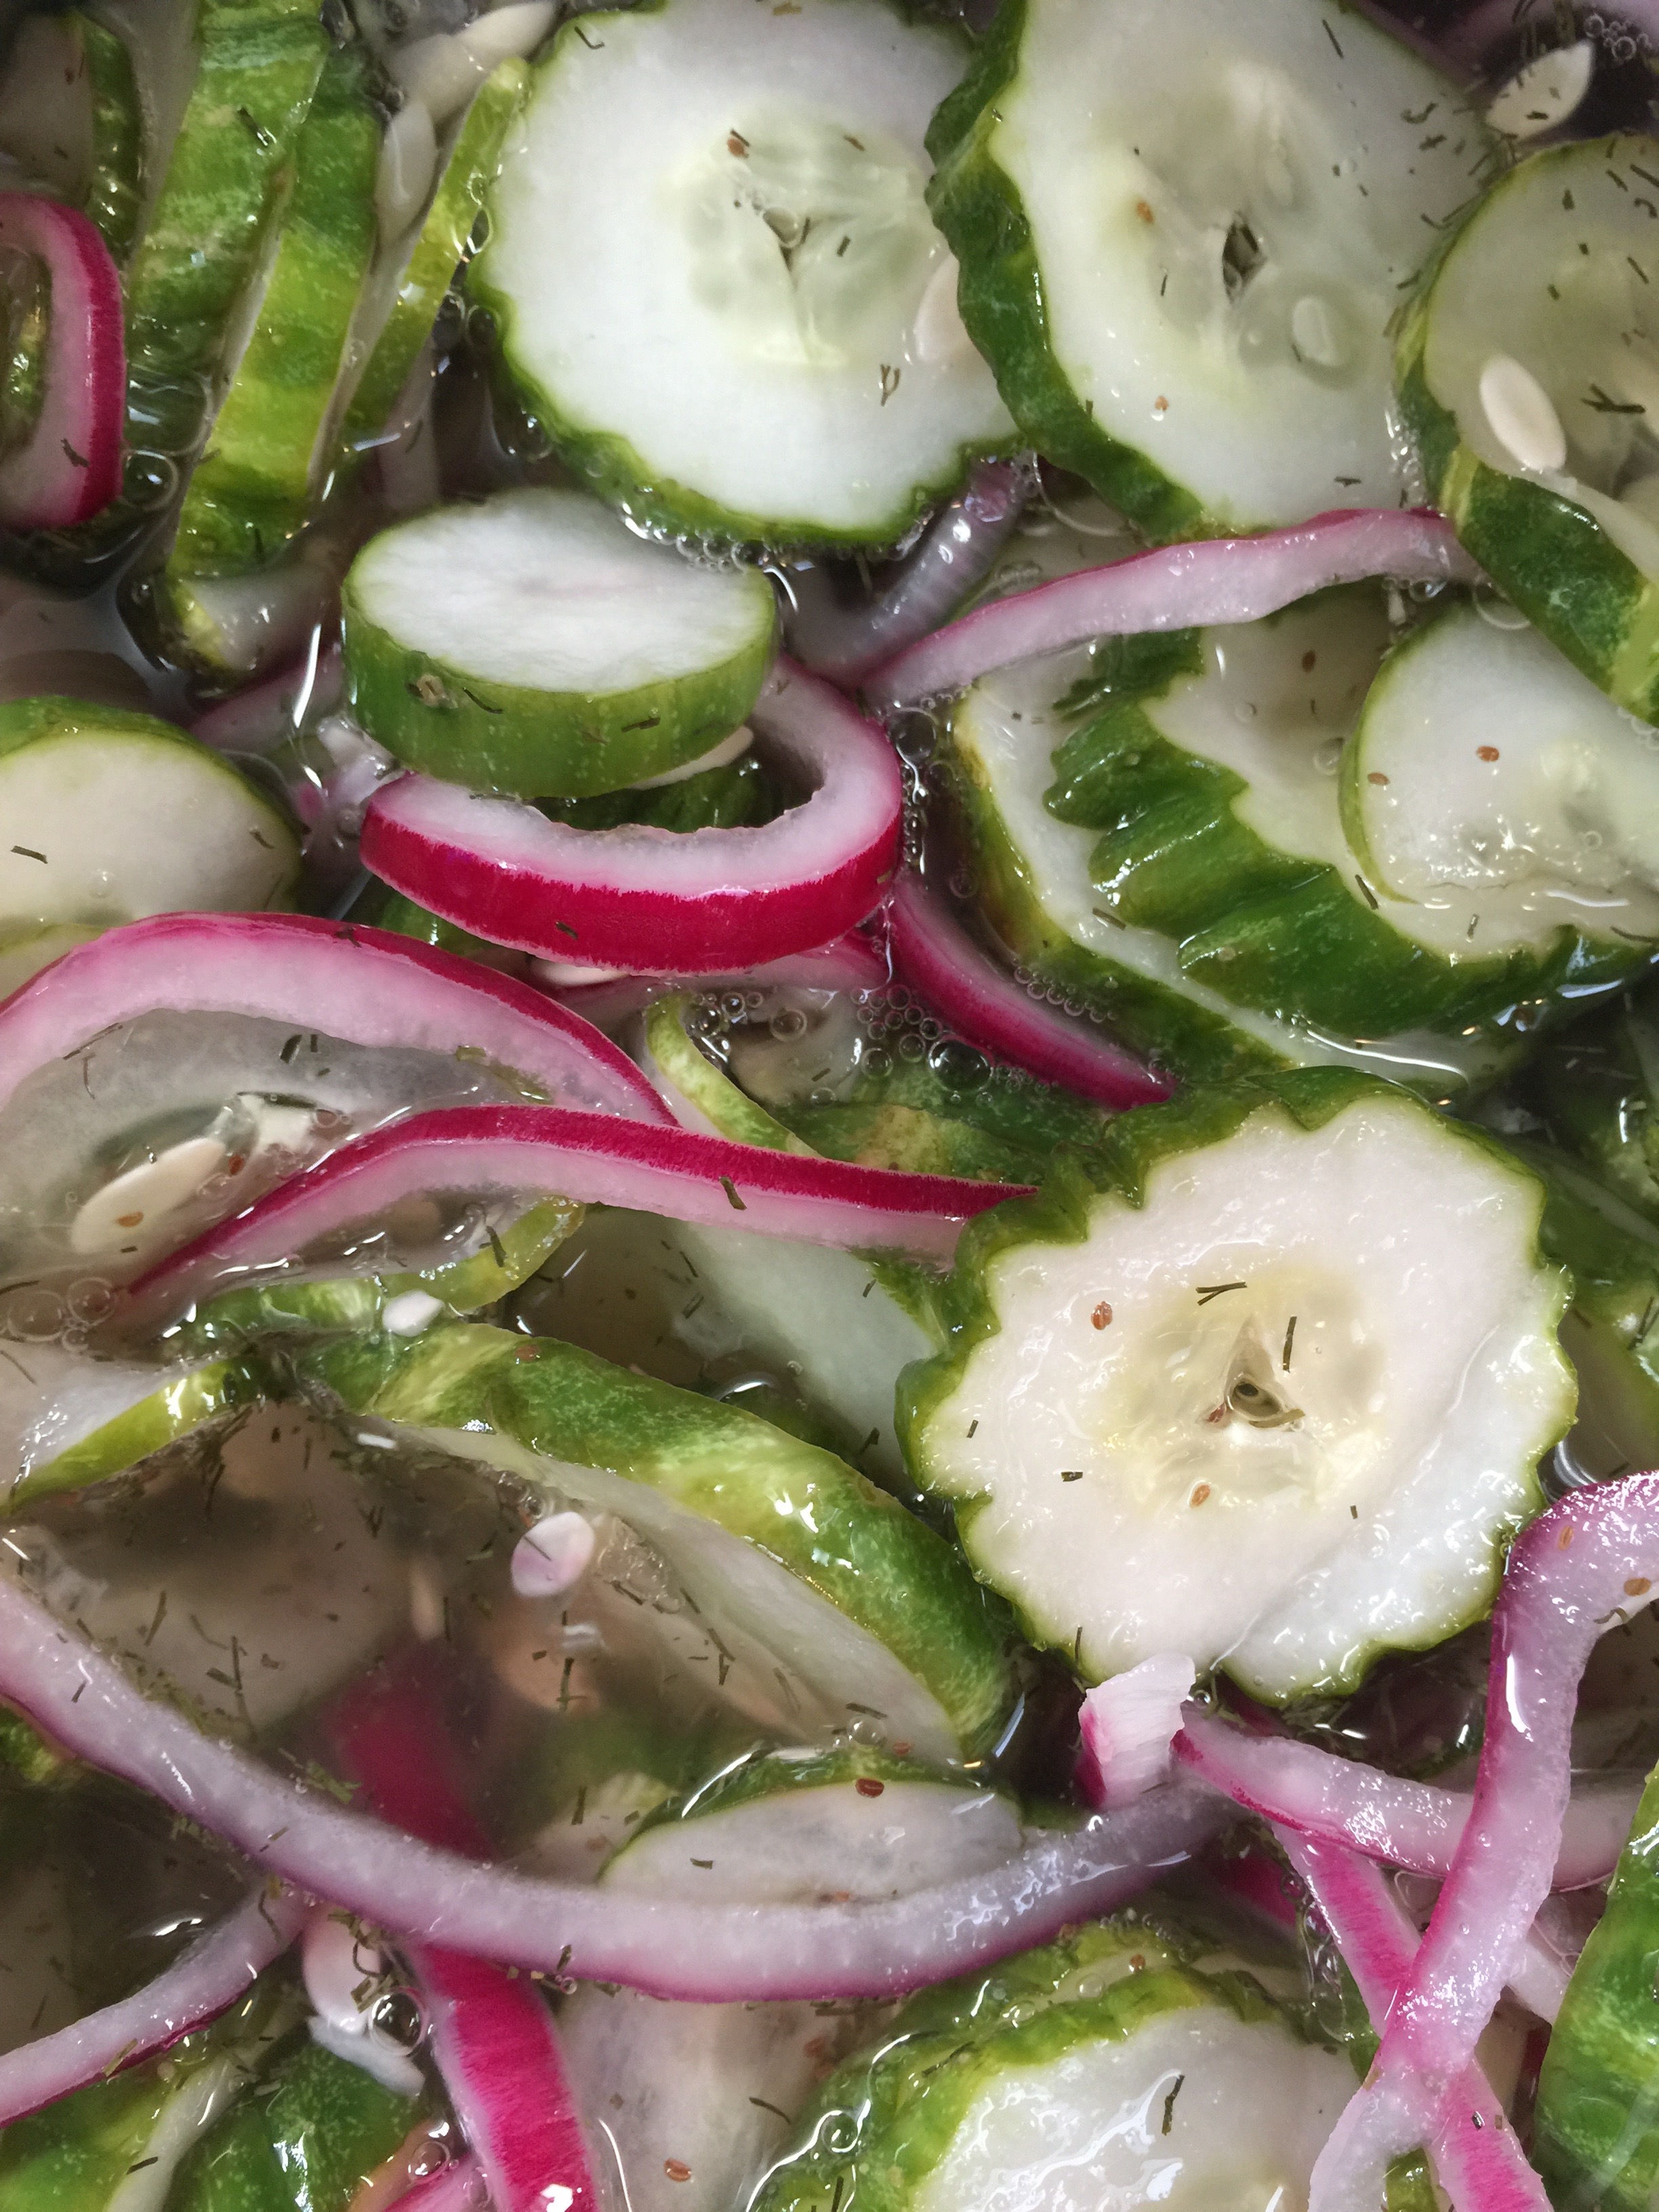
This is what it looks like in the morning:
Everything is soaking in the juices! Yum!
Let it sit and soak up the deliciousness for 24 to 48 hours! Enjoy as a snack, a salad, or a side dish! I am thinking ahead to the July 4th holiday!!!
A note on Xylitol: You don’t see us using this one very often. The reason I did on this dish was because it was a cold marinade that also had to be heated so I thought it would work best. There are many that love Xylitol, and there is nothing wrong with it from a Keto standpoint. I have two cautions on it though:
1. It is extremely toxic for dogs! Keep it away from animals.
2. It can cause stomach discomfort in a few.
For the quantity of liquid in these in relation to the amount of cucumbers, I did not think it would have much effect since we are not consuming the liquid on it’s own.
If you try different sweeteners or have a different variation on this recipe, we would love to hear about it in the comments section!
Get ready for this Keto friendly, sugar free, refreshing adult beverage. This is my go-to after a long summer week with the kids, work, and errands. It’s really nice at the beach too!
Before we start, let me remind you that we advise alcohol in very limited amounts. Your body will always process the alcohol before it processes your food, so be mindful.
There are options, and I can’t say that I prefer one over the other. The staple ingredients in all three are ice (preferably crushed), fresh lime juice, Stevia, and salt.
Start with your limes. You need a bunch. If you can find fresh squeezed lime juice at Central Market or a local farmers market that makes it easier, but I usually squeeze fresh at home.
Pour about a 1/4 cup of lime juice over your crushed ice in your glass, or even better, a shaker.
Now are your choices: If you want strong, go with Tequila mixed with Topo Chico.
If you prefer a milder spritzer, I really like a summer wine that is low in carbs called Vinho Verde. It is a bubbly Portuguese wine that is very inexpensive and easy to find. There are two I prefer, but these are popular in the summer so get what you can find. I like the Casal Garcia and the Santola. These are refreshing without too much alcohol, and great mixed like a margarita.
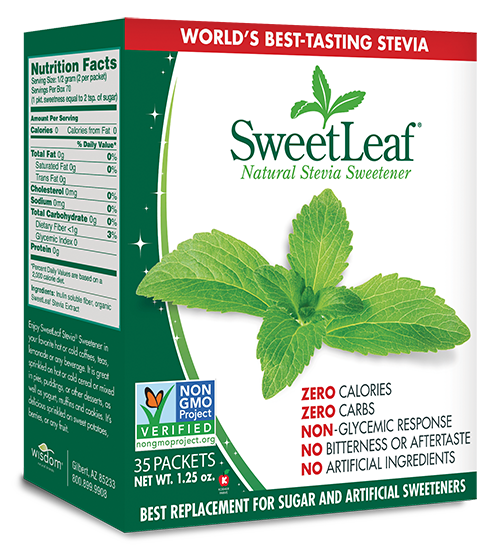
Then, add your little sweet if you like. You may not need it, but if you want it to be more like a sweet margarita, I like to add a packet of Sweet Leaf Stevia.
Mix it all together, and you have a great refreshing drink after a long week! Squeeze a little extra lime and rim your glass with salt. You have yourself a sugar free margarita.
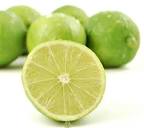
Side note, since we have been talking about fruit: Limes contain the absolute lowest amount of fructose of any fruit. It is one of the few I eat (or drink). They still have natural sugar so use in moderation, but it should not effect your blood sugar too much, if at all.
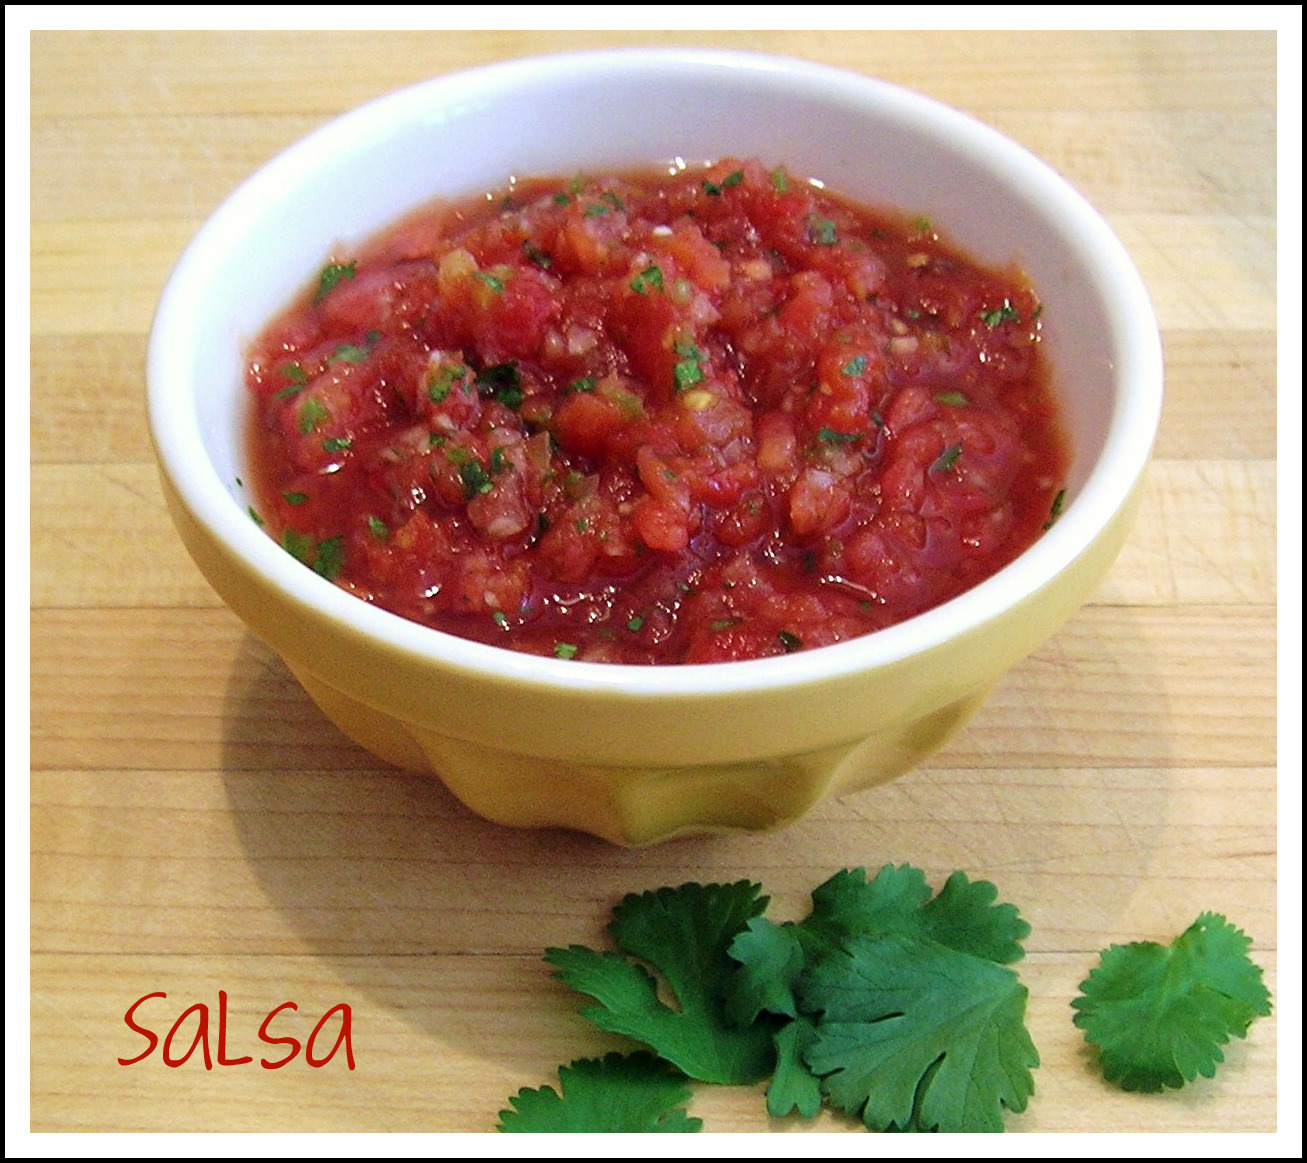
The type of crunch I am talking about is the loud tortilla chip kind of crunch! On Keto, I think it is safe to say, that one of the things we miss the most is that crunch of a chip or cracker. One of my summer-time favorites was corn chips and salsa. Needless to say, the corn is gone forever, but the salsa is here to stay. So what does one do for that crunch, scoop, or dip?
For a long time, I used a ton of celery, and still do for many things. It can scoop, it’s refreshing, full of fiber, and I can have it for all those wonderful Keto dips out there. It is not good for salsa though. Then I discovered the cheese crisps we posted a few weeks ago. Love those, especially for guacamole. The cheese is the perfect accompaniment with avocado.
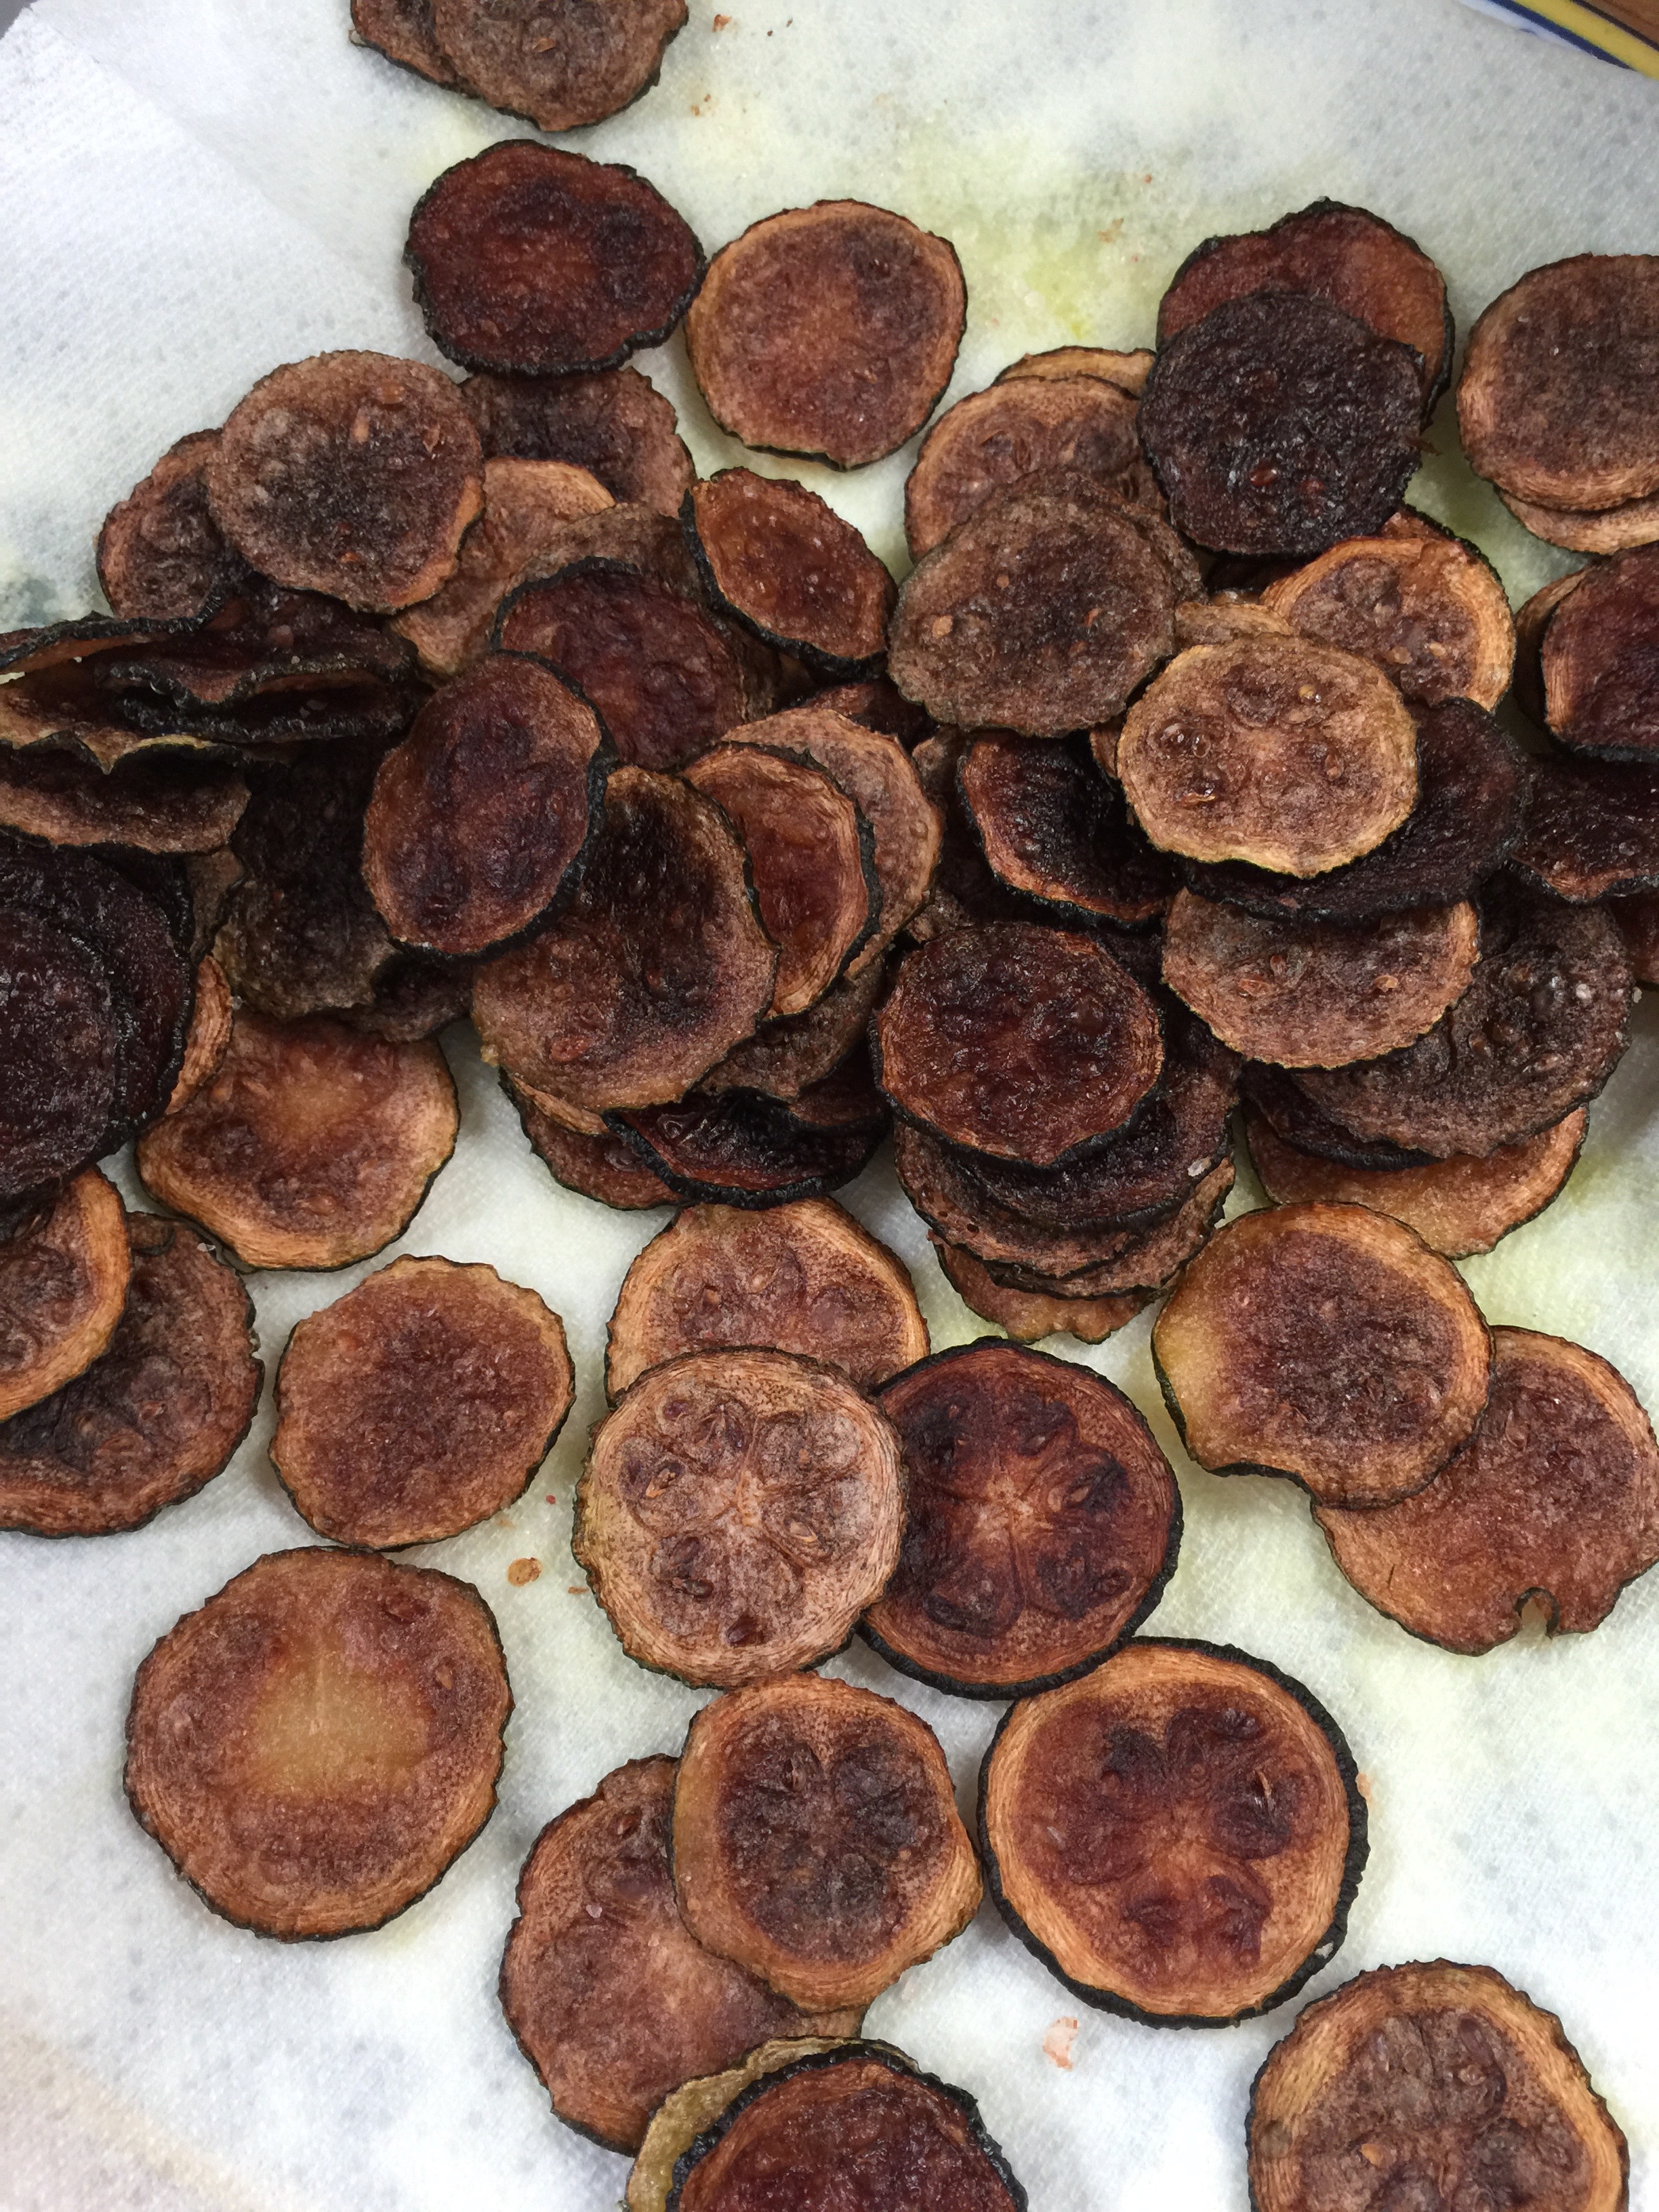
But, what about the salsa? Well…zucchini was again on sale at Sprouts last week, so I bought a bunch to experiment. Over the weekend I tried three different recipes for zucchini crisps. I will share two of them with you, and you can choose which you prefer.
The first is a simple chip, and when I say simple, all you need is time and a few ingredients:
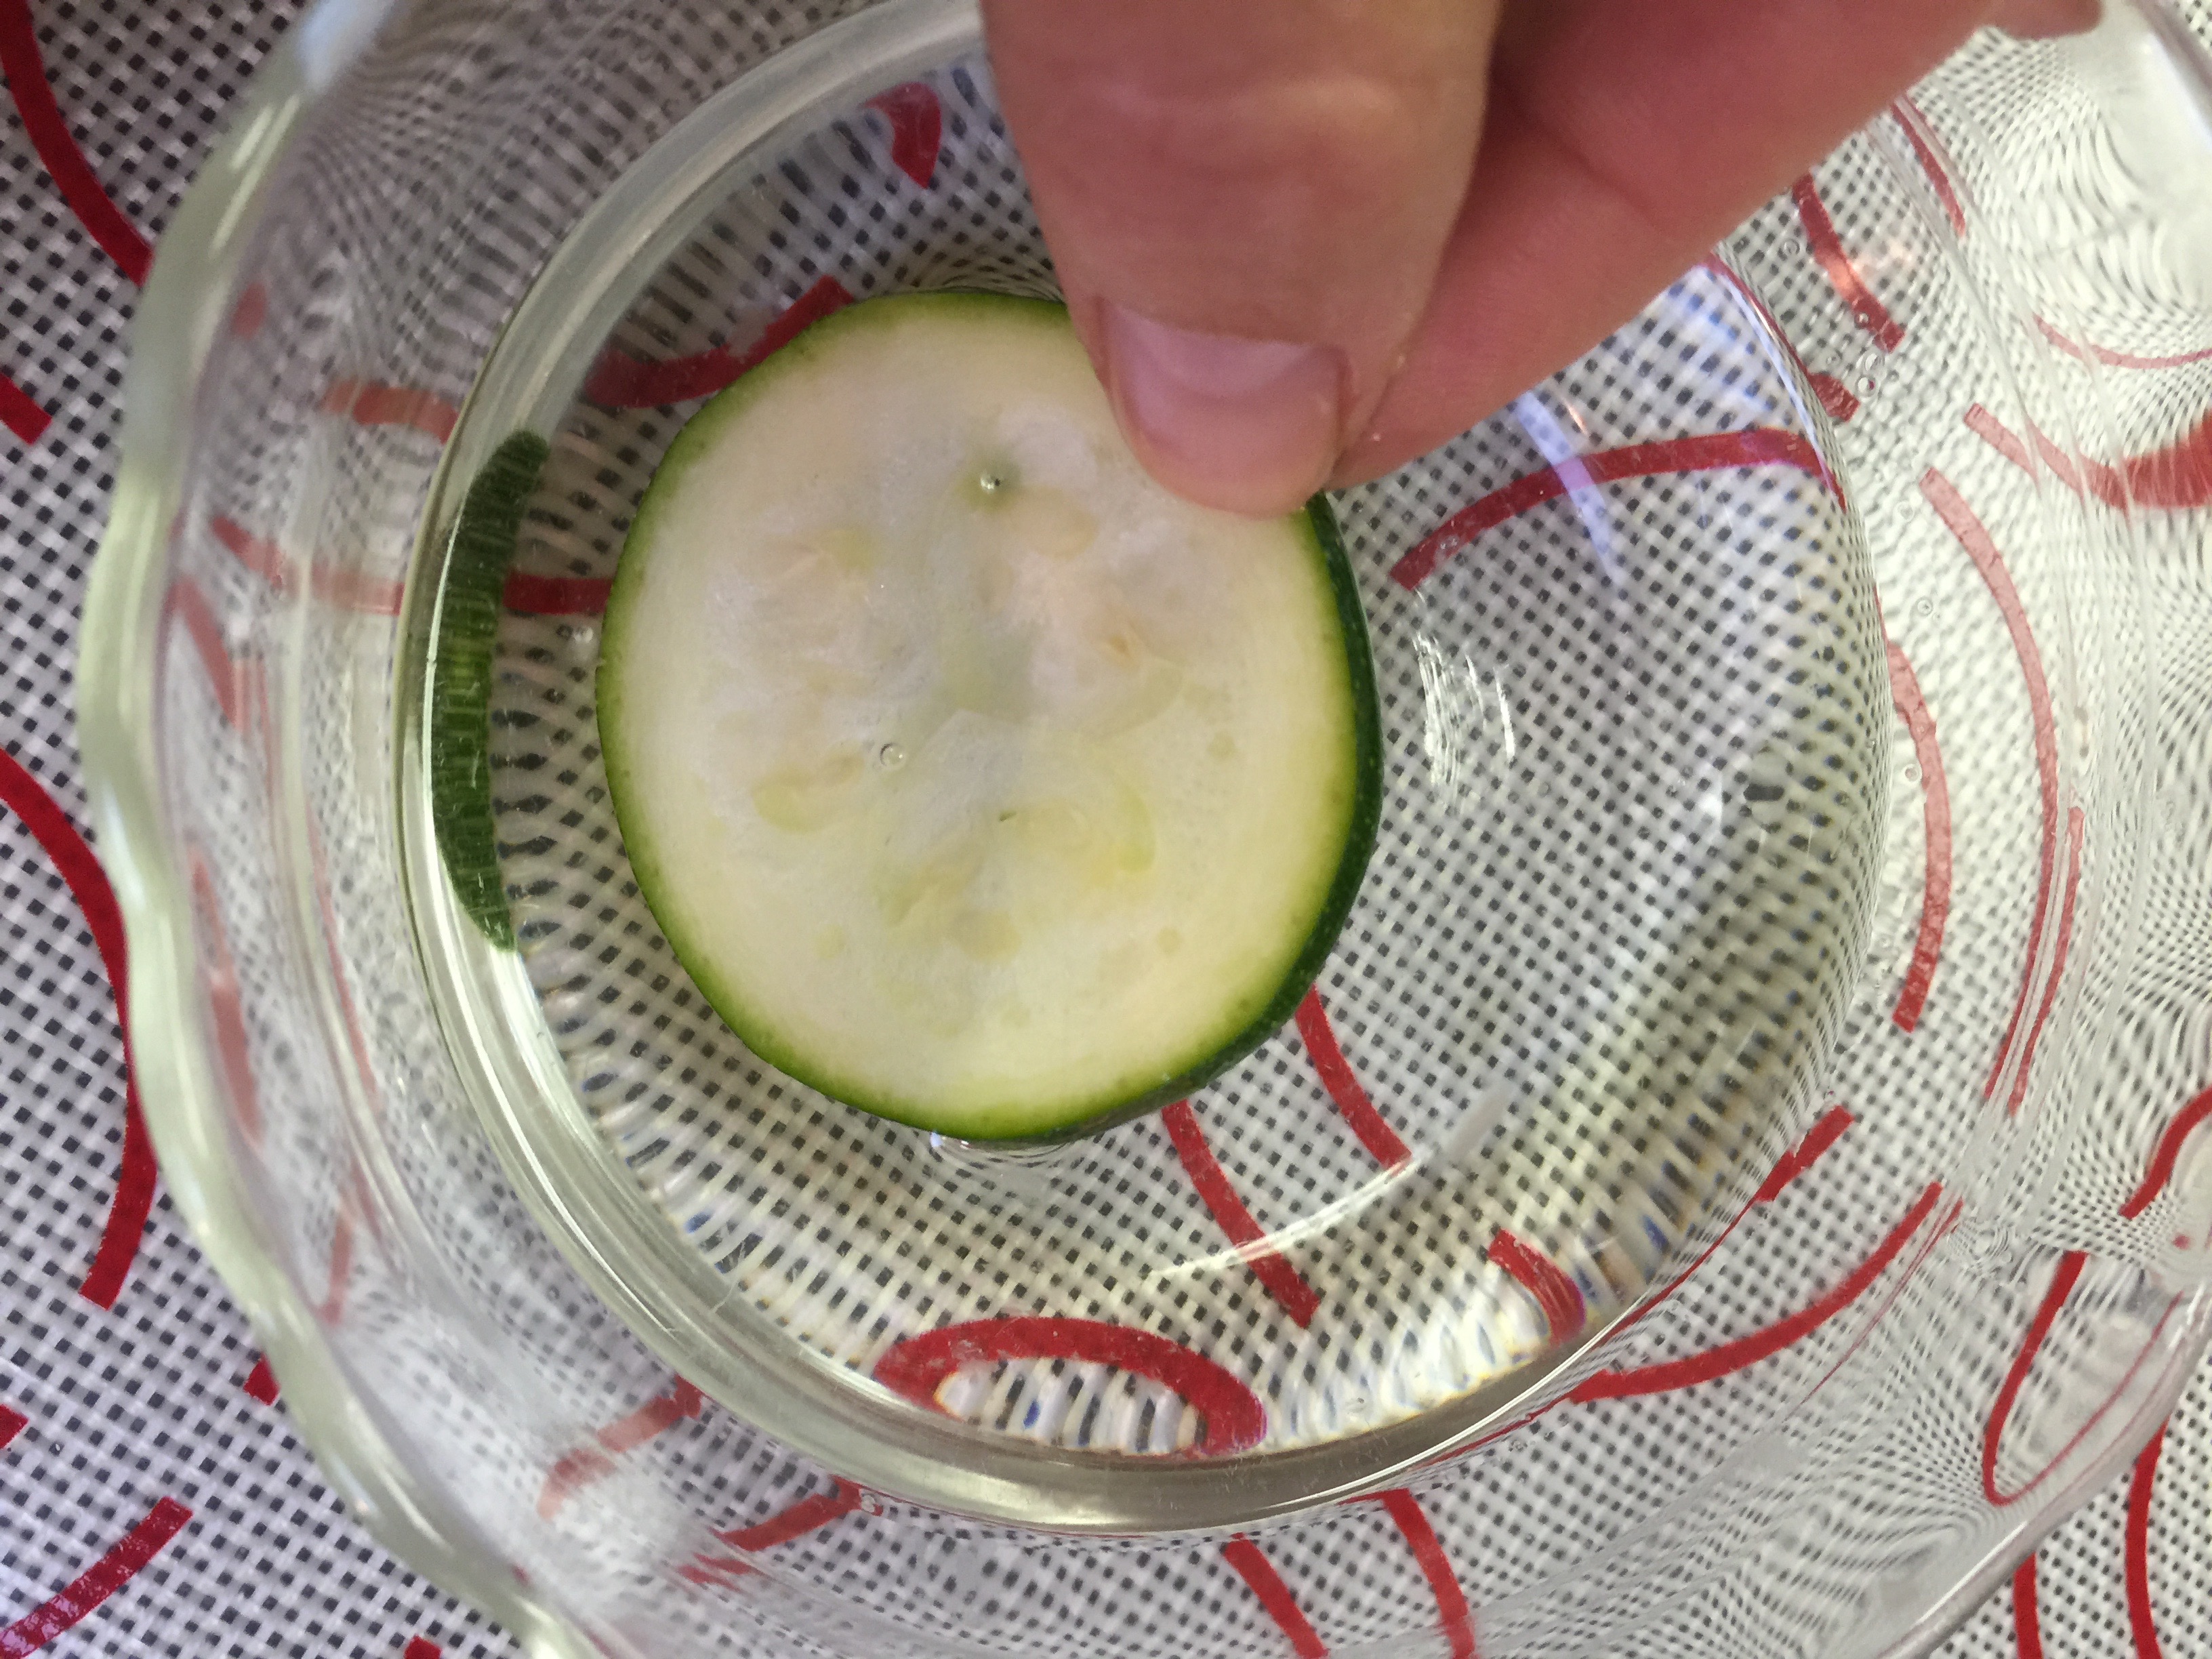
Wash and dry your zucchini. When I say wash, I mean wash with soap and water!
I used a Mandoline to slice my zucchini very thin. This also makes it a fast process. You want them very thin. Mine were probably less than 1/8 inch thick.
Now, I will tell you what I did, and also how you can do it differently.
The first thing I would change is to either slice my zucchini on the diagonal or lengthwise. The reason being, they shrink tremendously when they dehydrate so if the purpose is for dipping, these left very little surface area to do such.
Pour your coconut oil into a small pyrex or similar bowl. Just something shallow will do.
Dip each “chip” into the oil and place on your parchment. They can be close together. Variation: You can lay all your zucchini out and then brush them with the oil. You just have to flip them half way through baking.
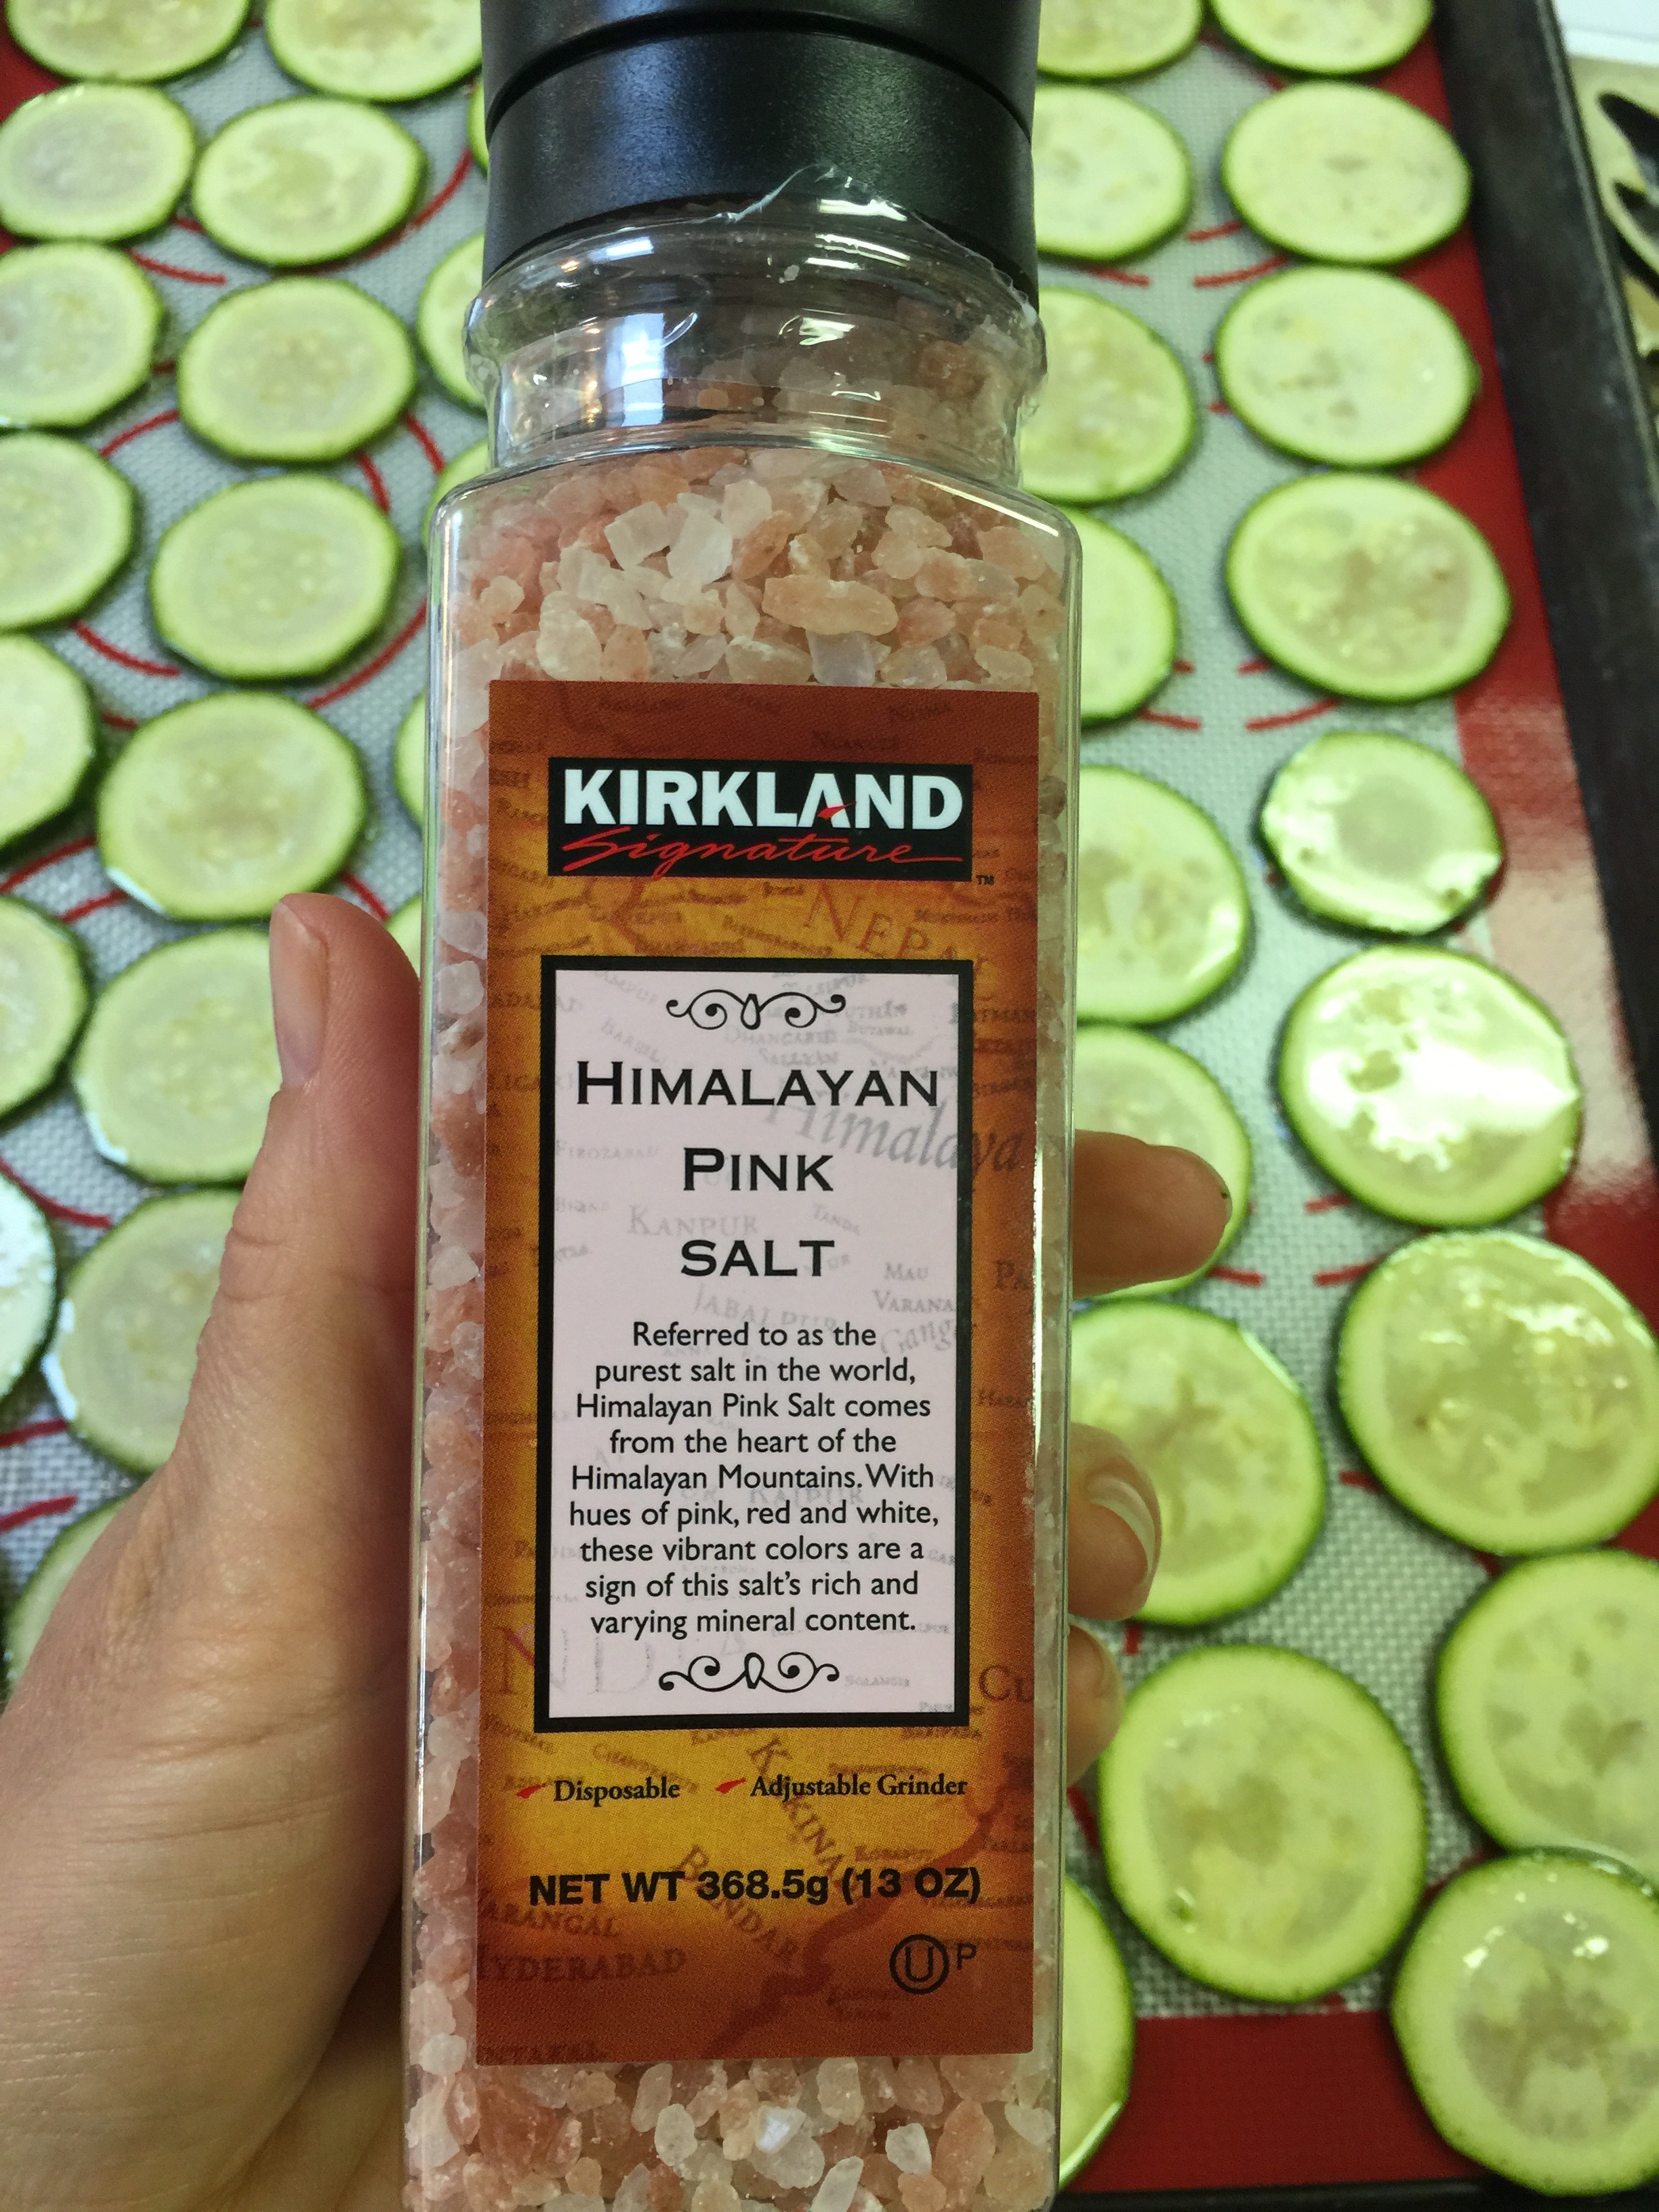
Once you have dipped or placed all your zucchini on your parchment, sprinkle a very scant amount of salt on top. This was a huge mistake of mine. I used a normal amount of salt, but they shrank so much, they were literally coated in salt. A little goes a long way on these!
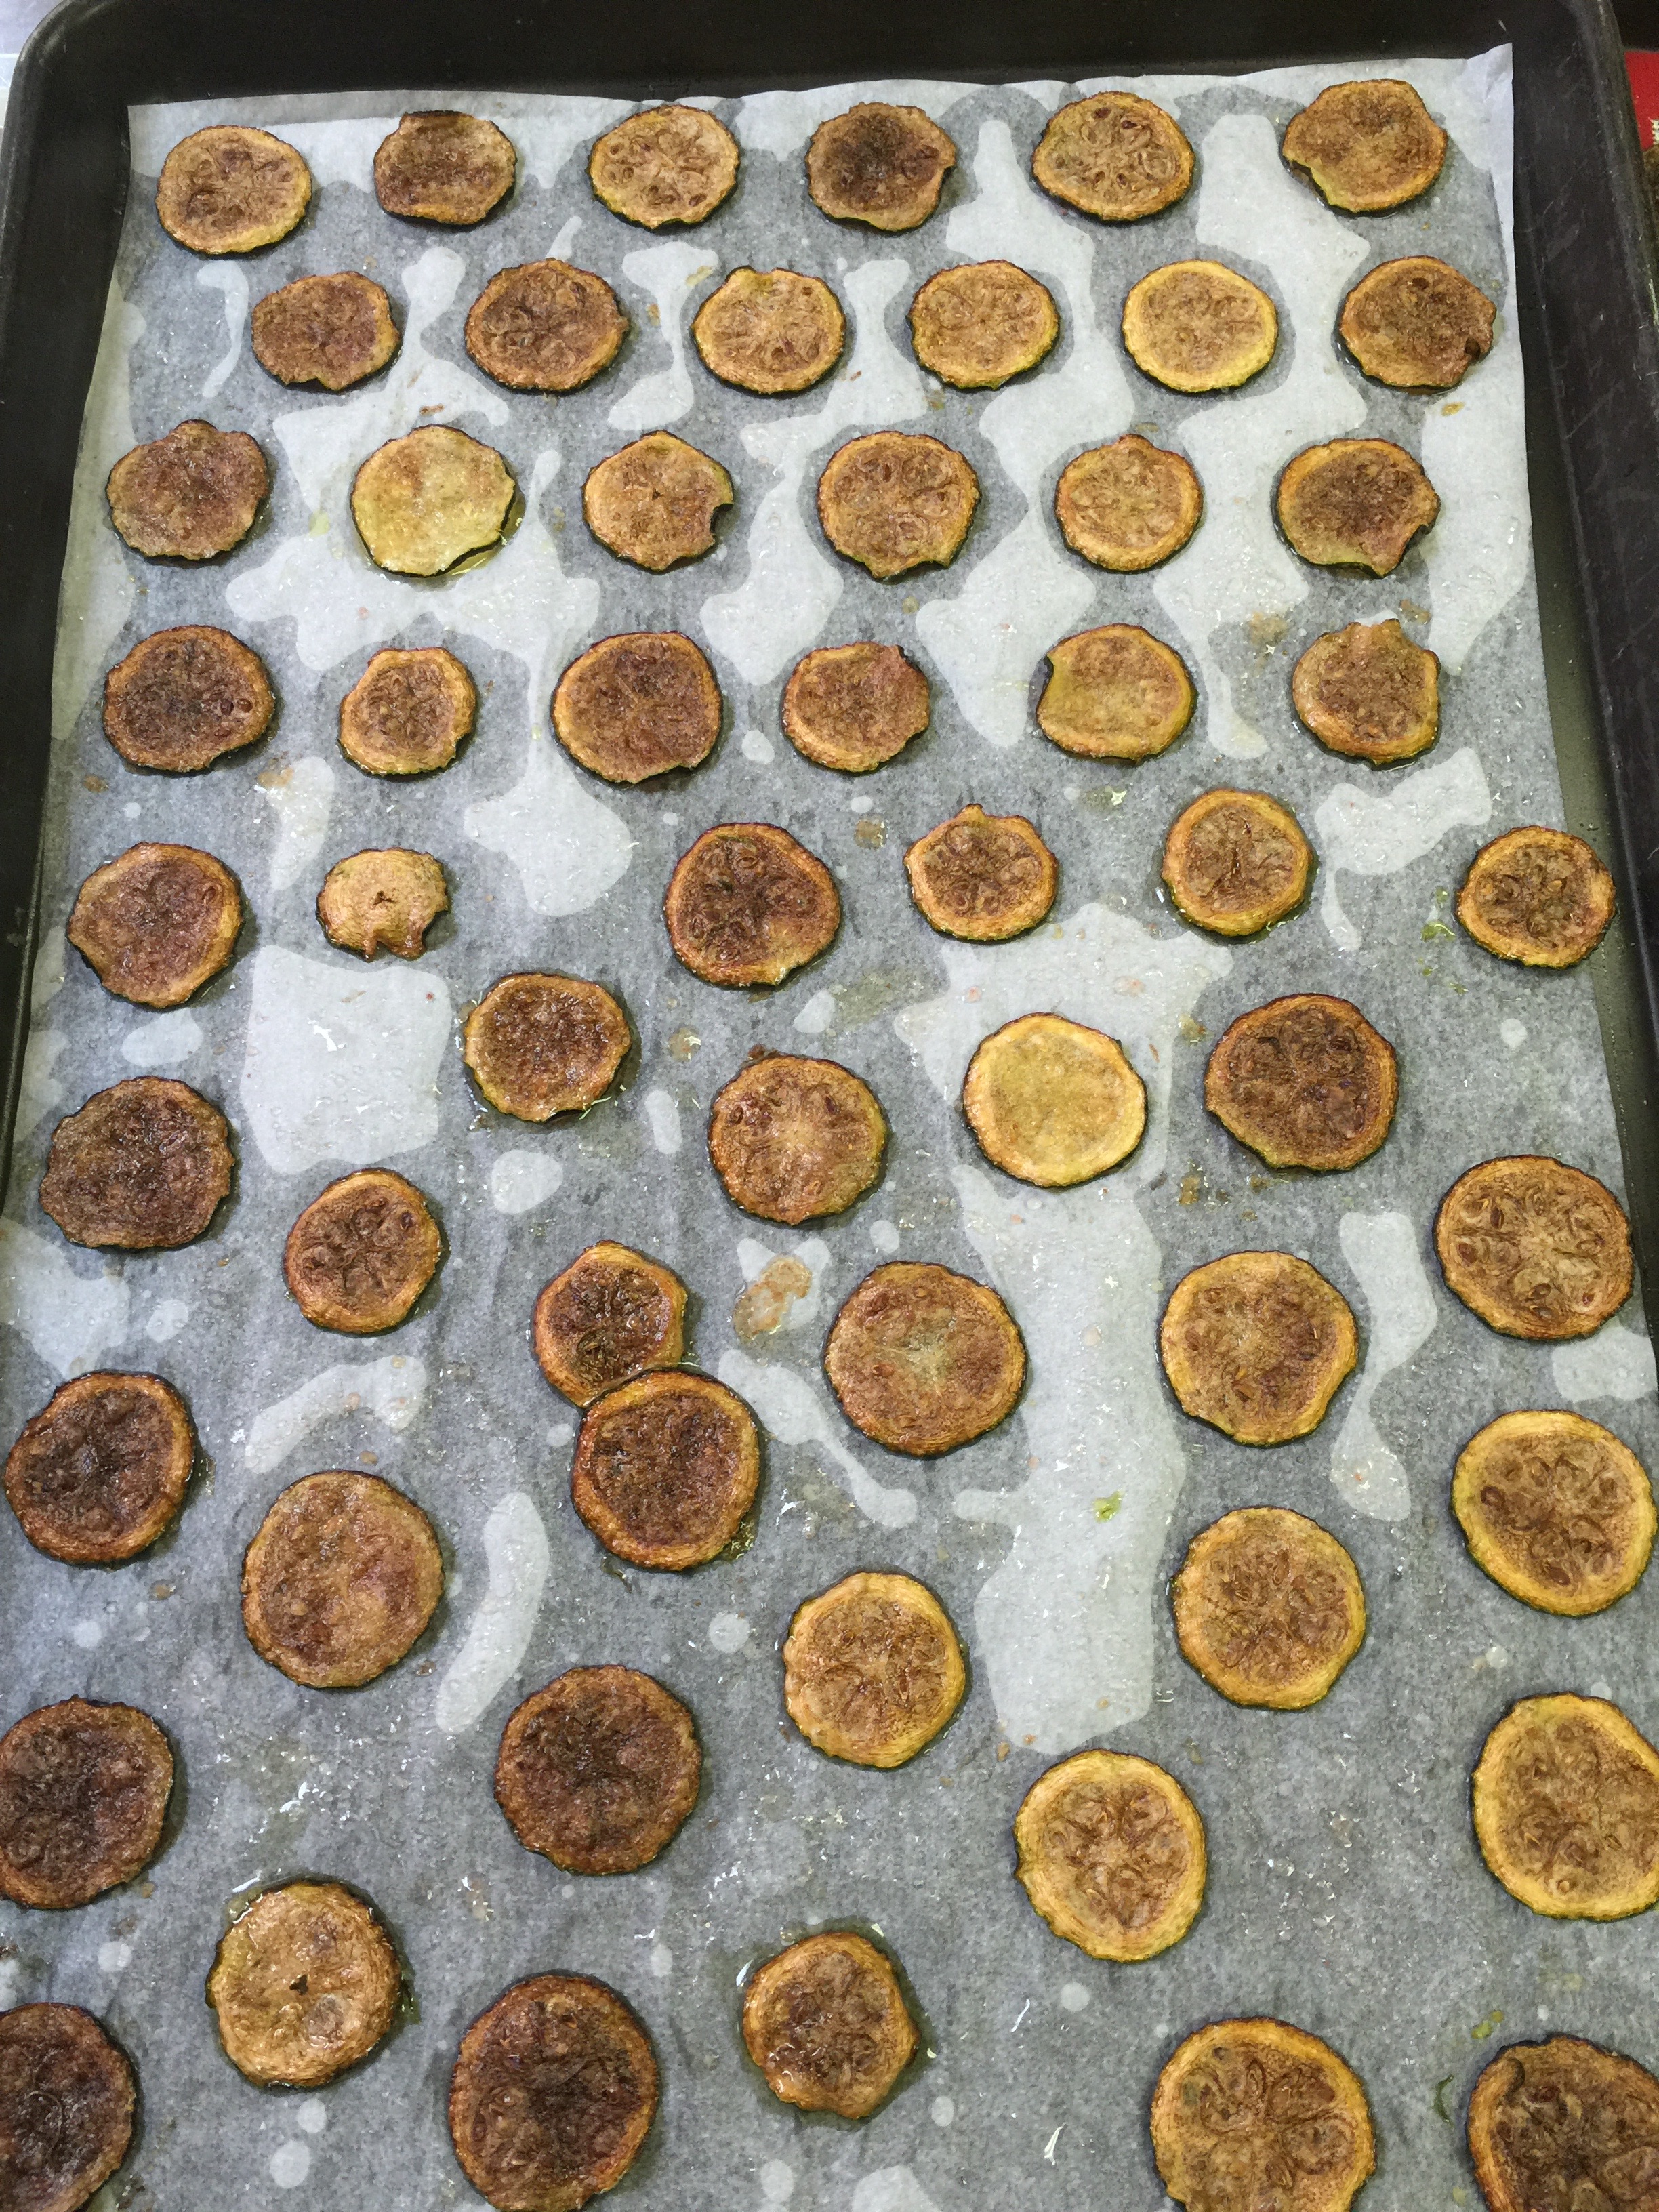
Place in a 200 degree oven for 2 hours. Yes, two hours. This will dehydrate and crisp them. I flipped my cookie sheet around about half way through so they cook evenly.
This is how much they will shrink, and why I recommend slicing the opposite direction for dipping chips:
Place on a paper towel to absorb the remaining oil. Once dry, seal them in a ziplock bag or they will get soggy.
Method 2:
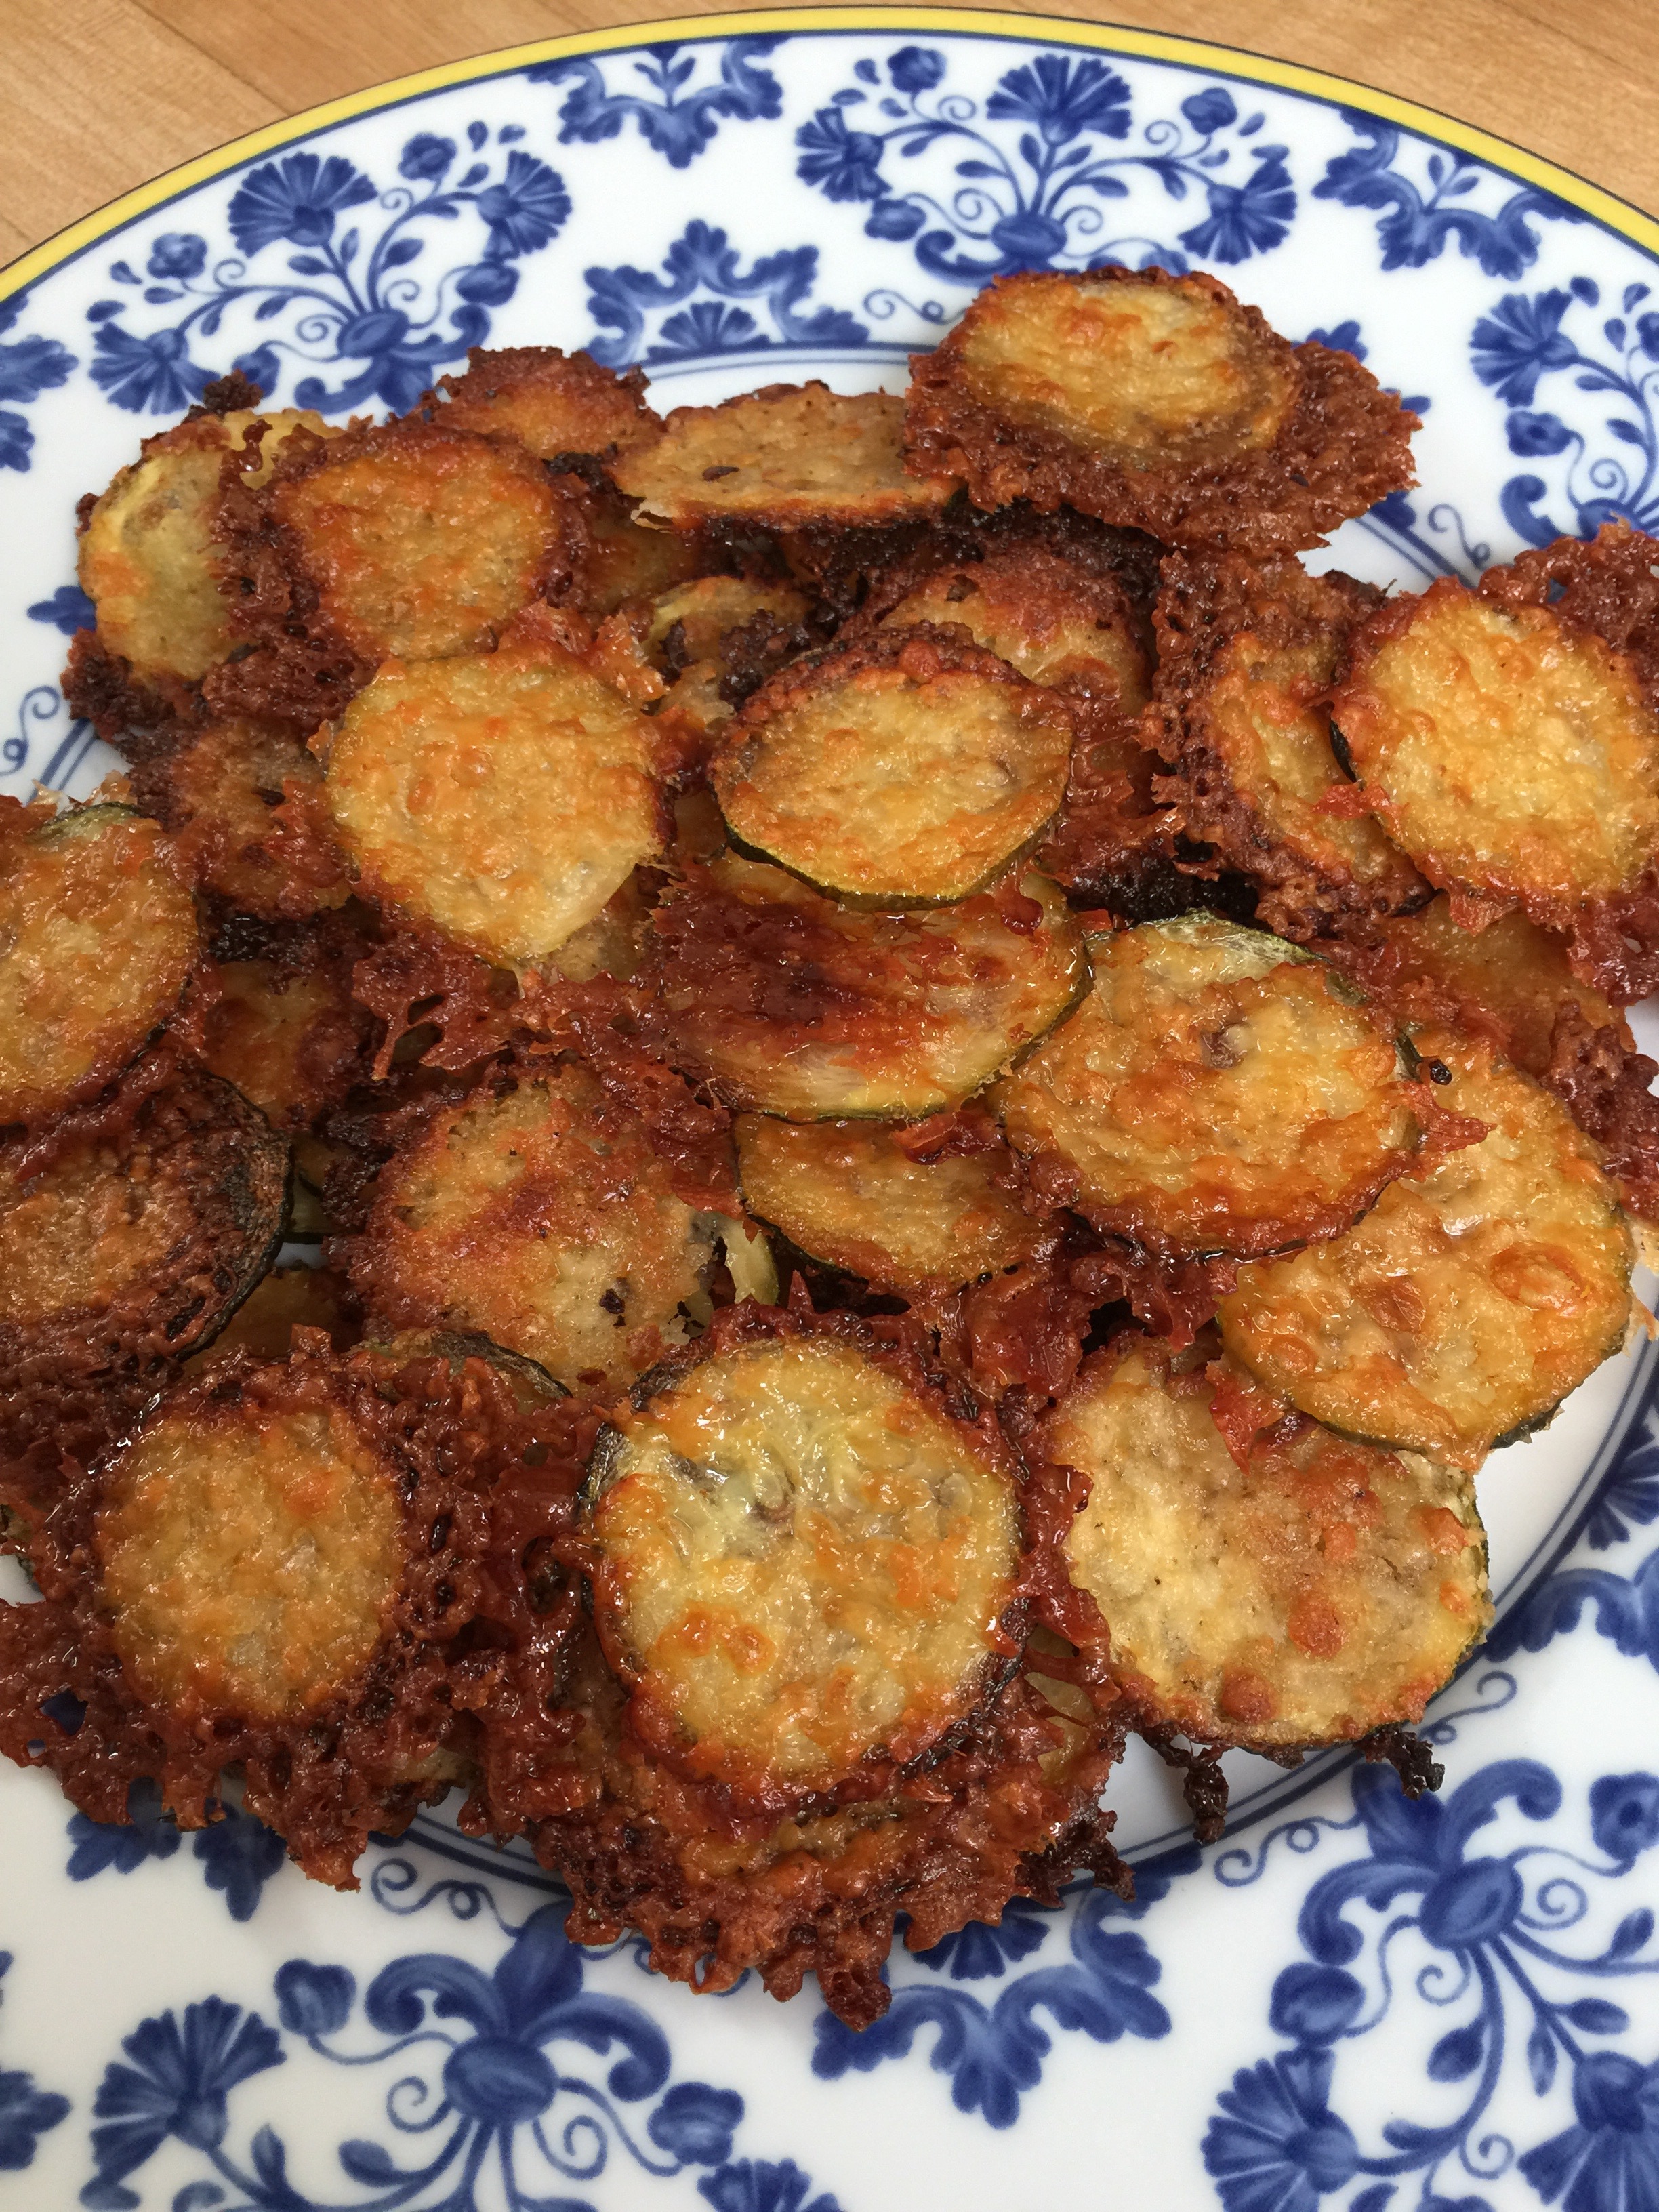
Cheesy Chips
These were described as tasting just like a “Cheez It”. In other words, a great snack for the kids looking for that healthy crunch without any grain!!!
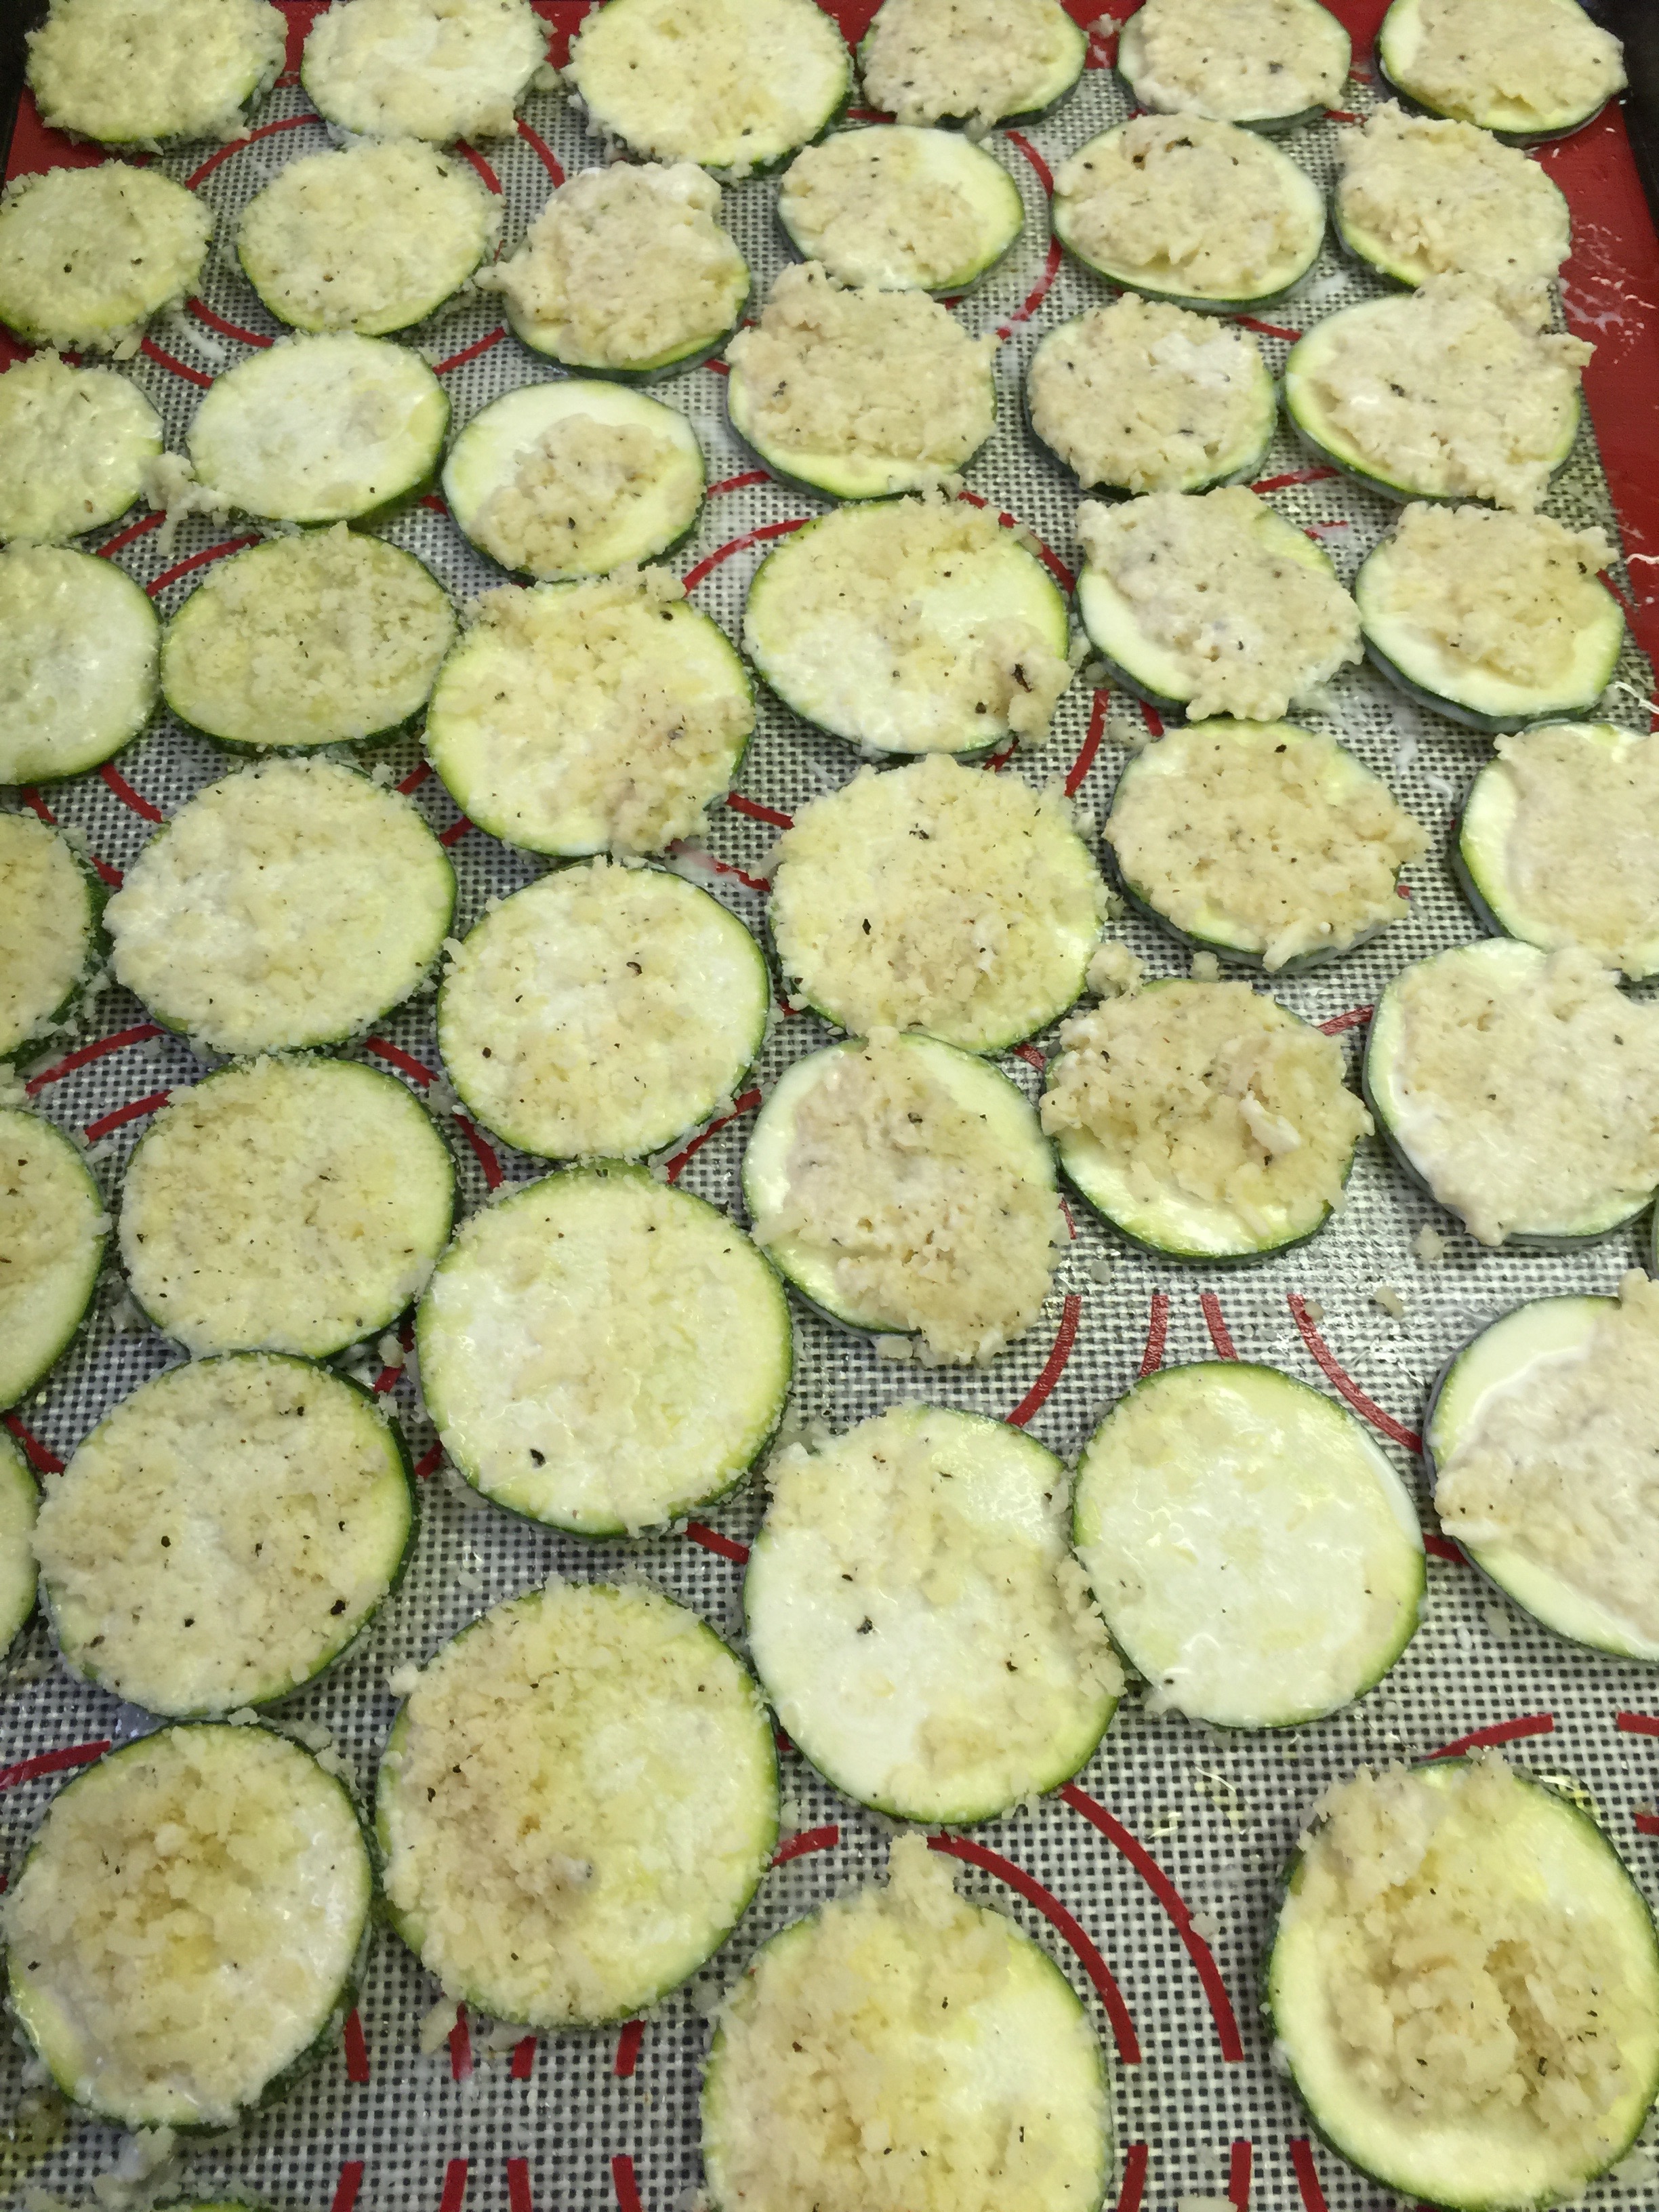
These are similar to above, except for the cheese. Follow the same directions until you finish with your oil.
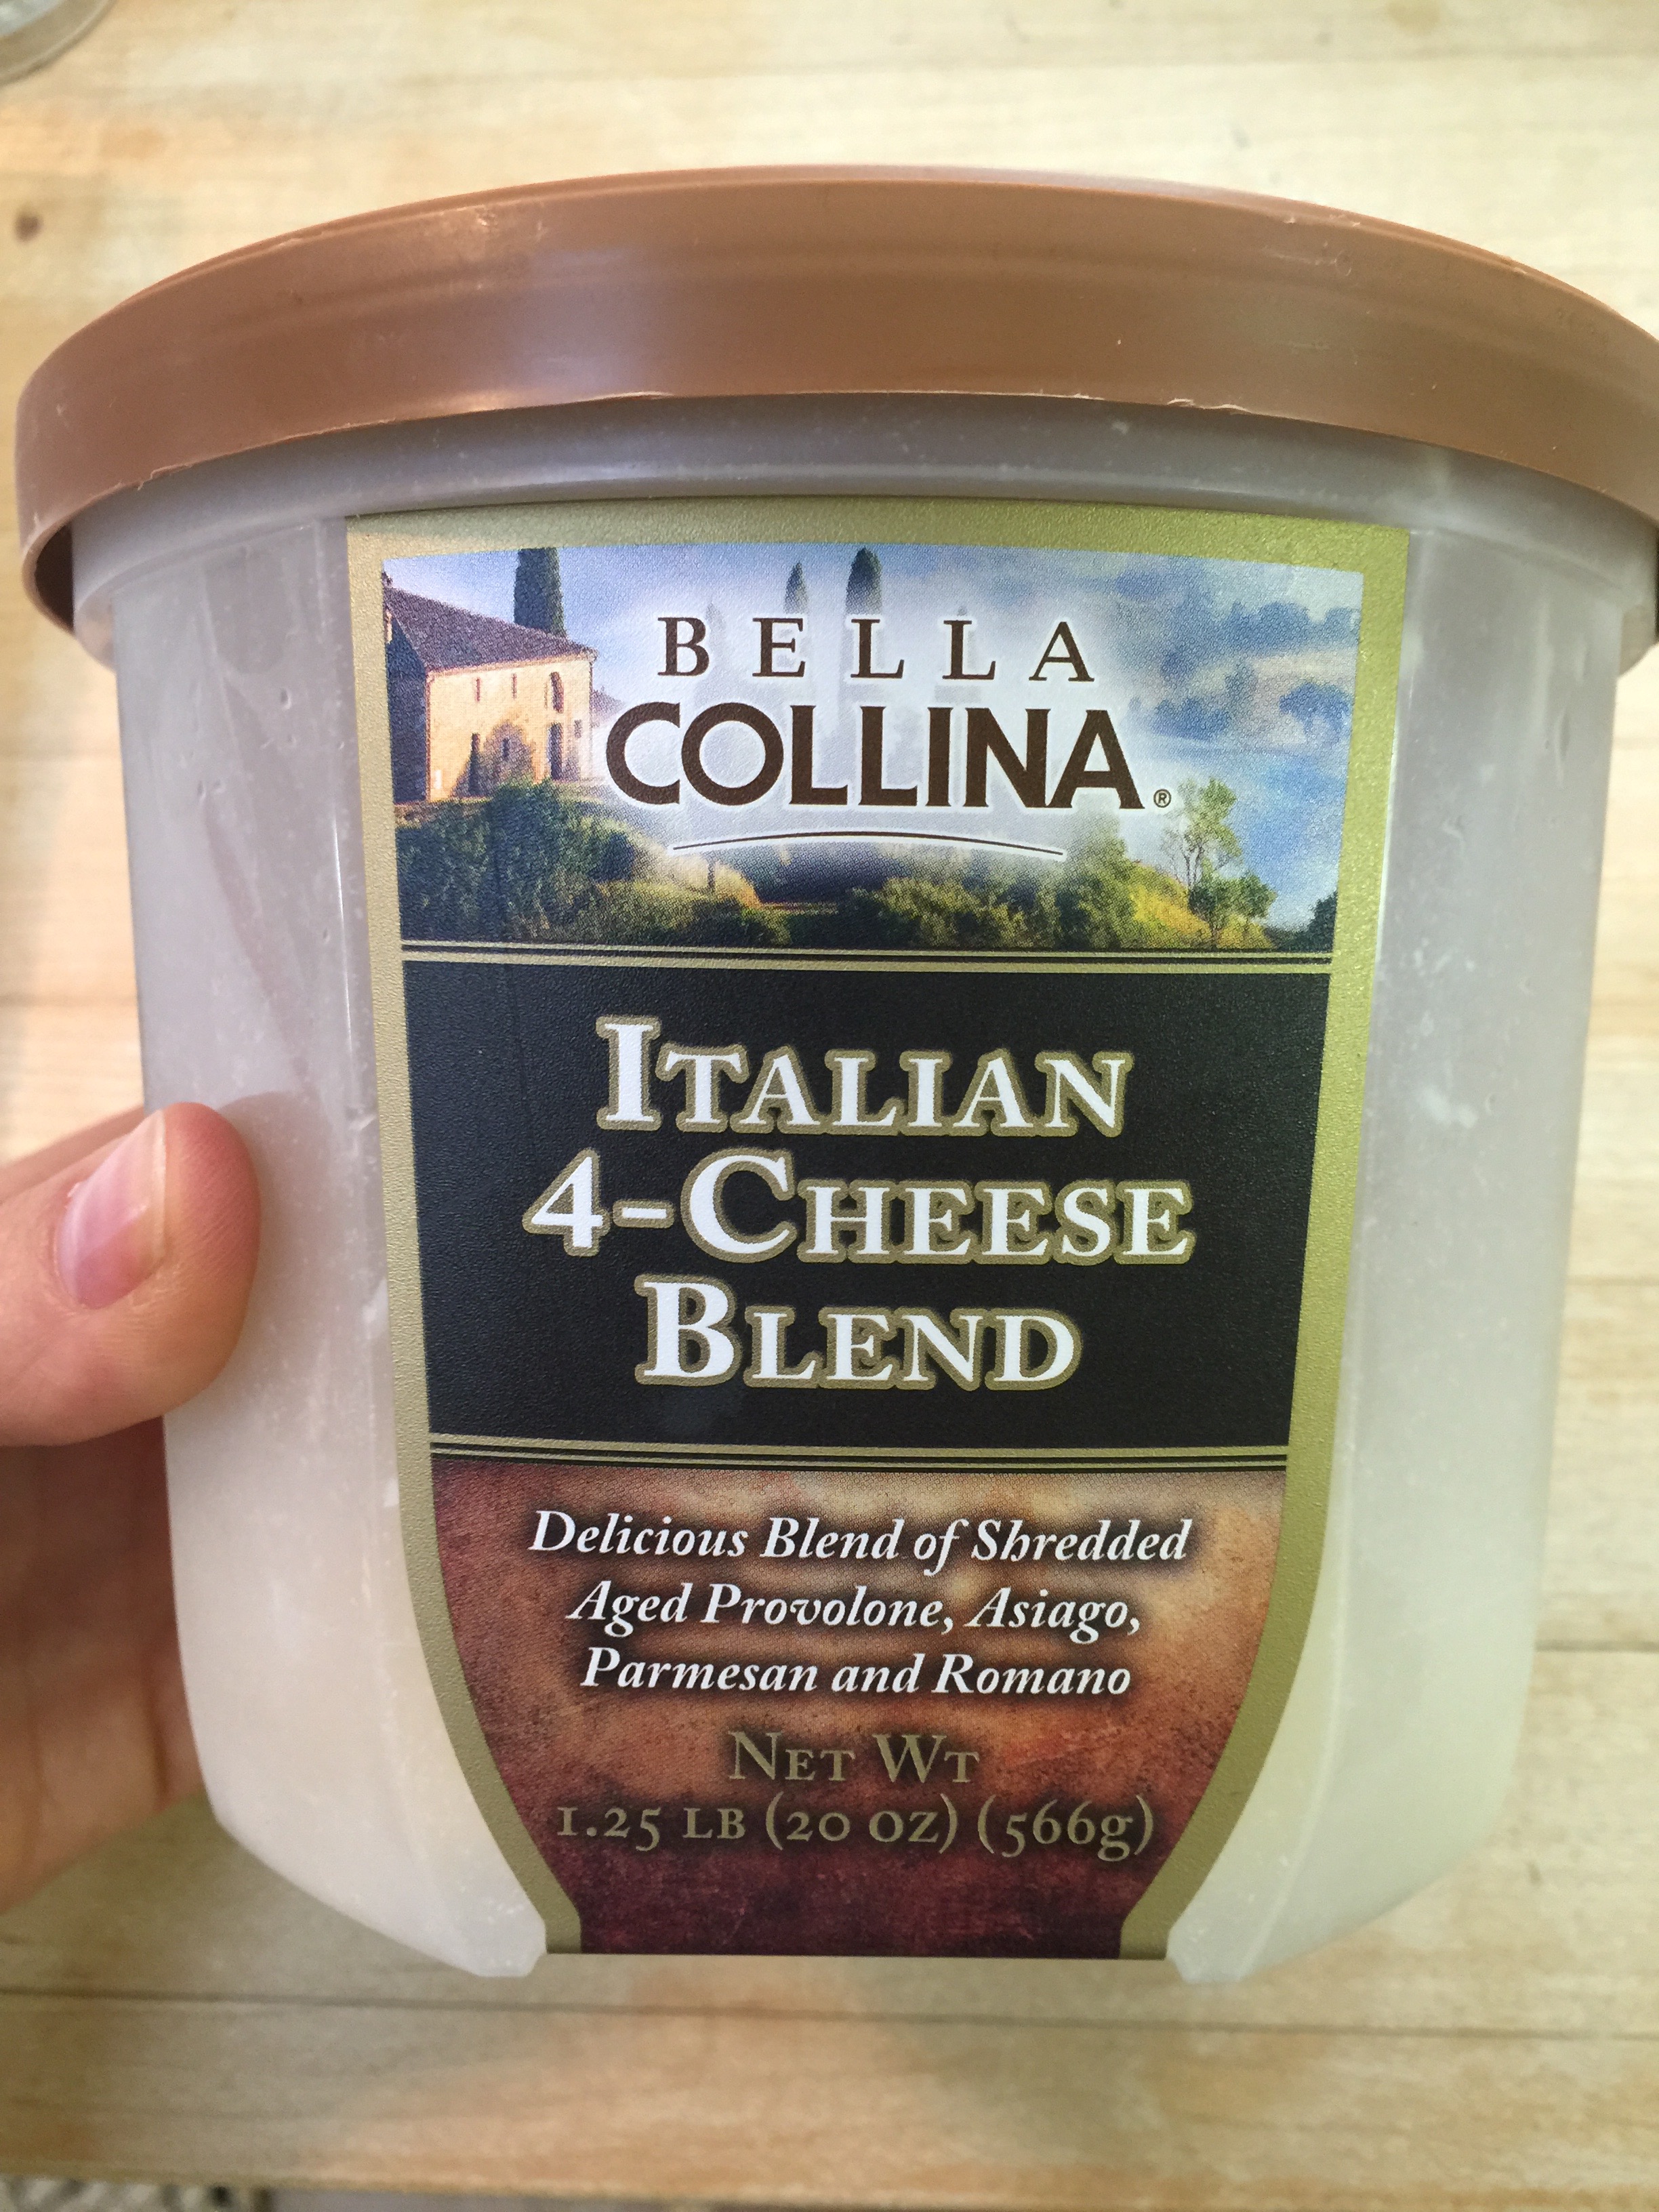
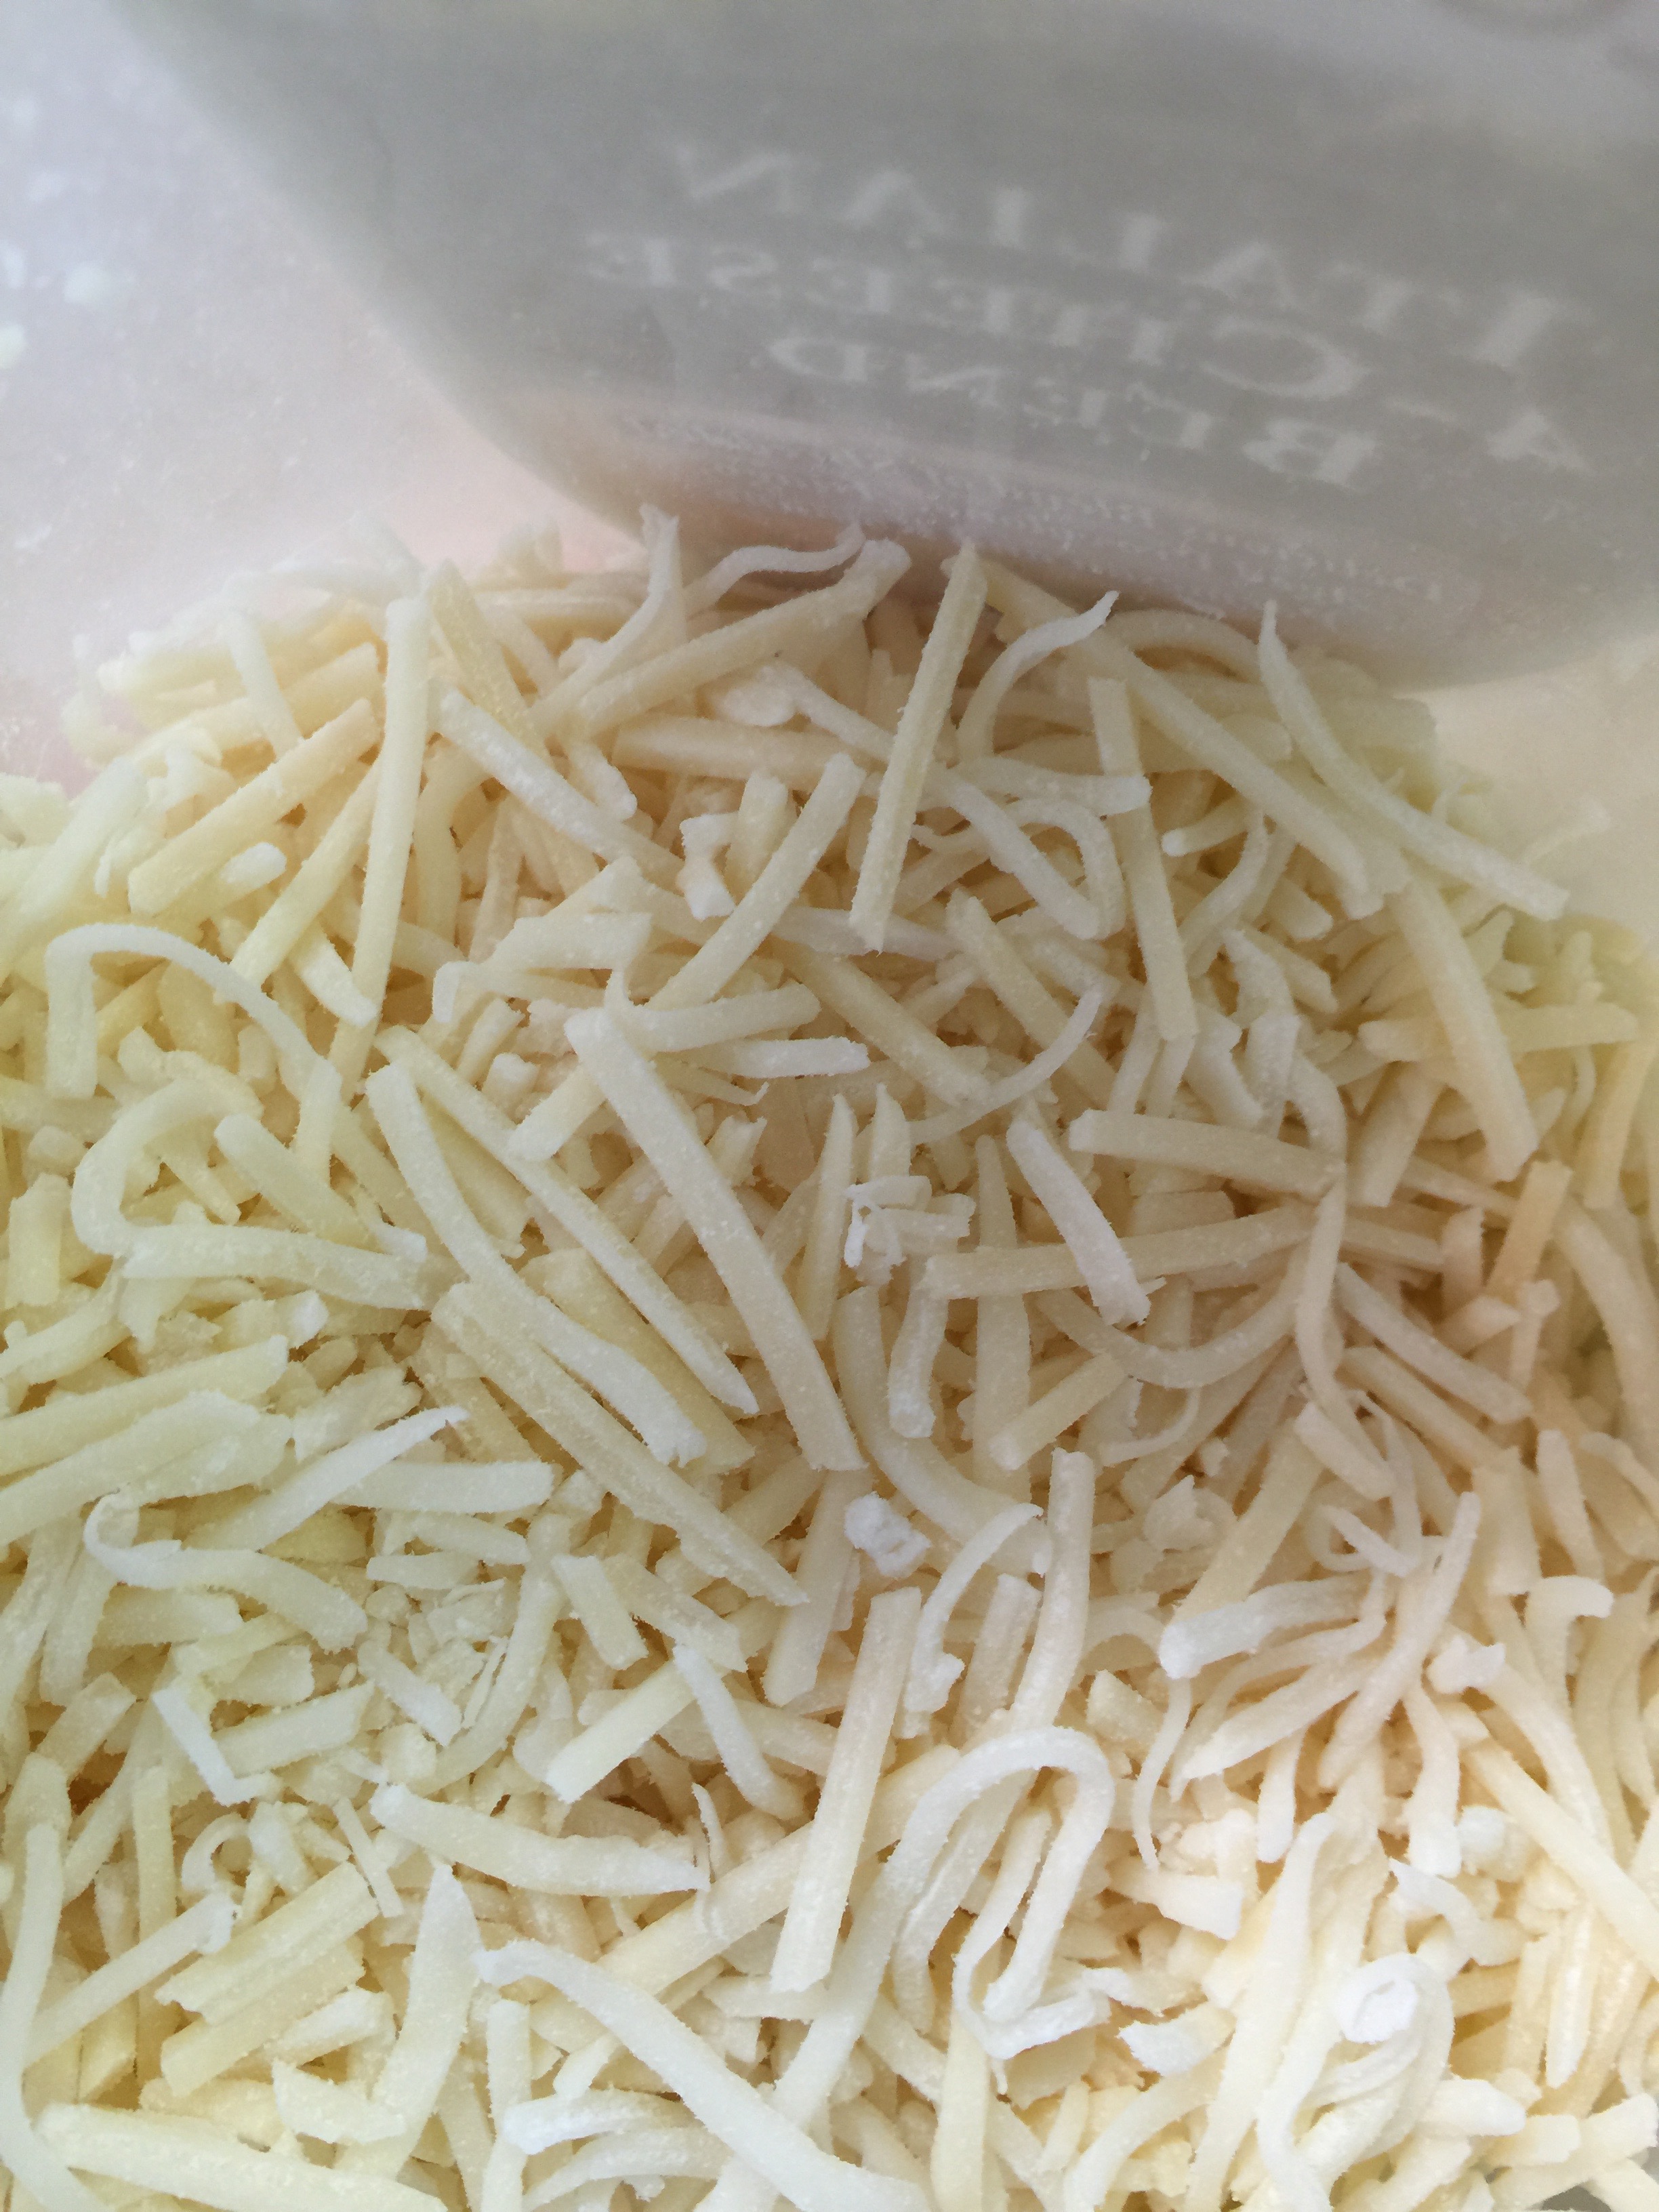
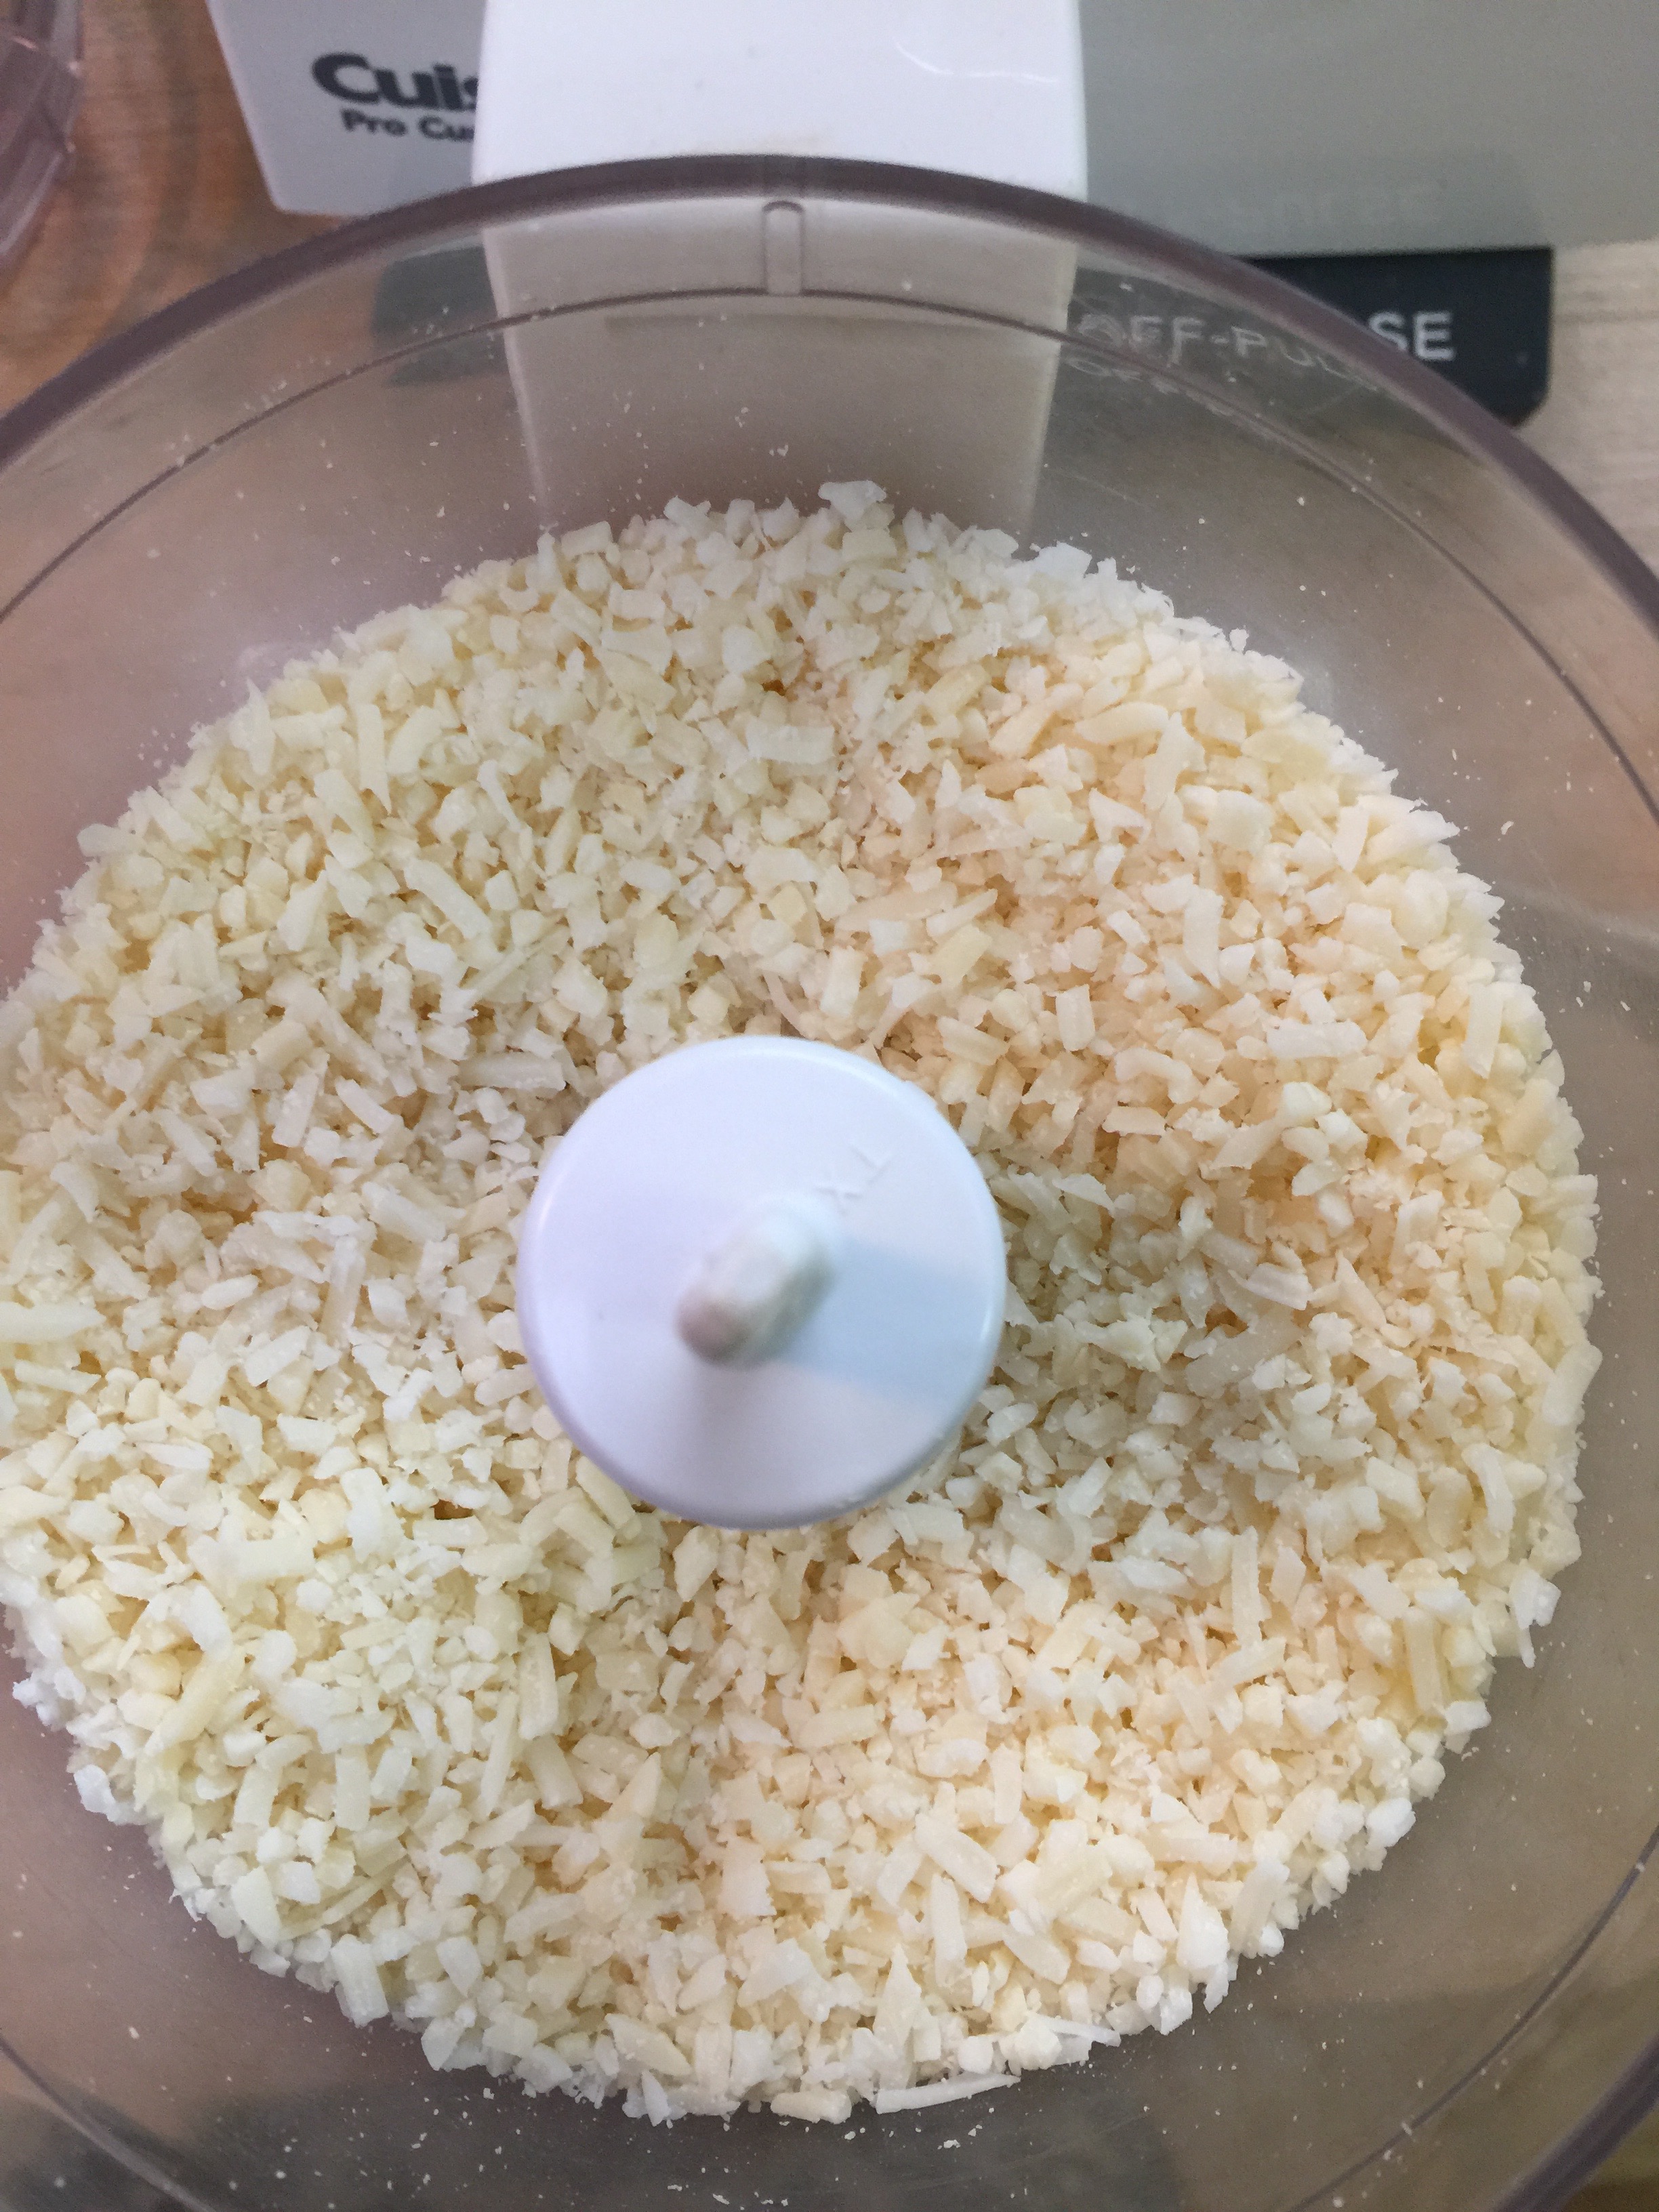
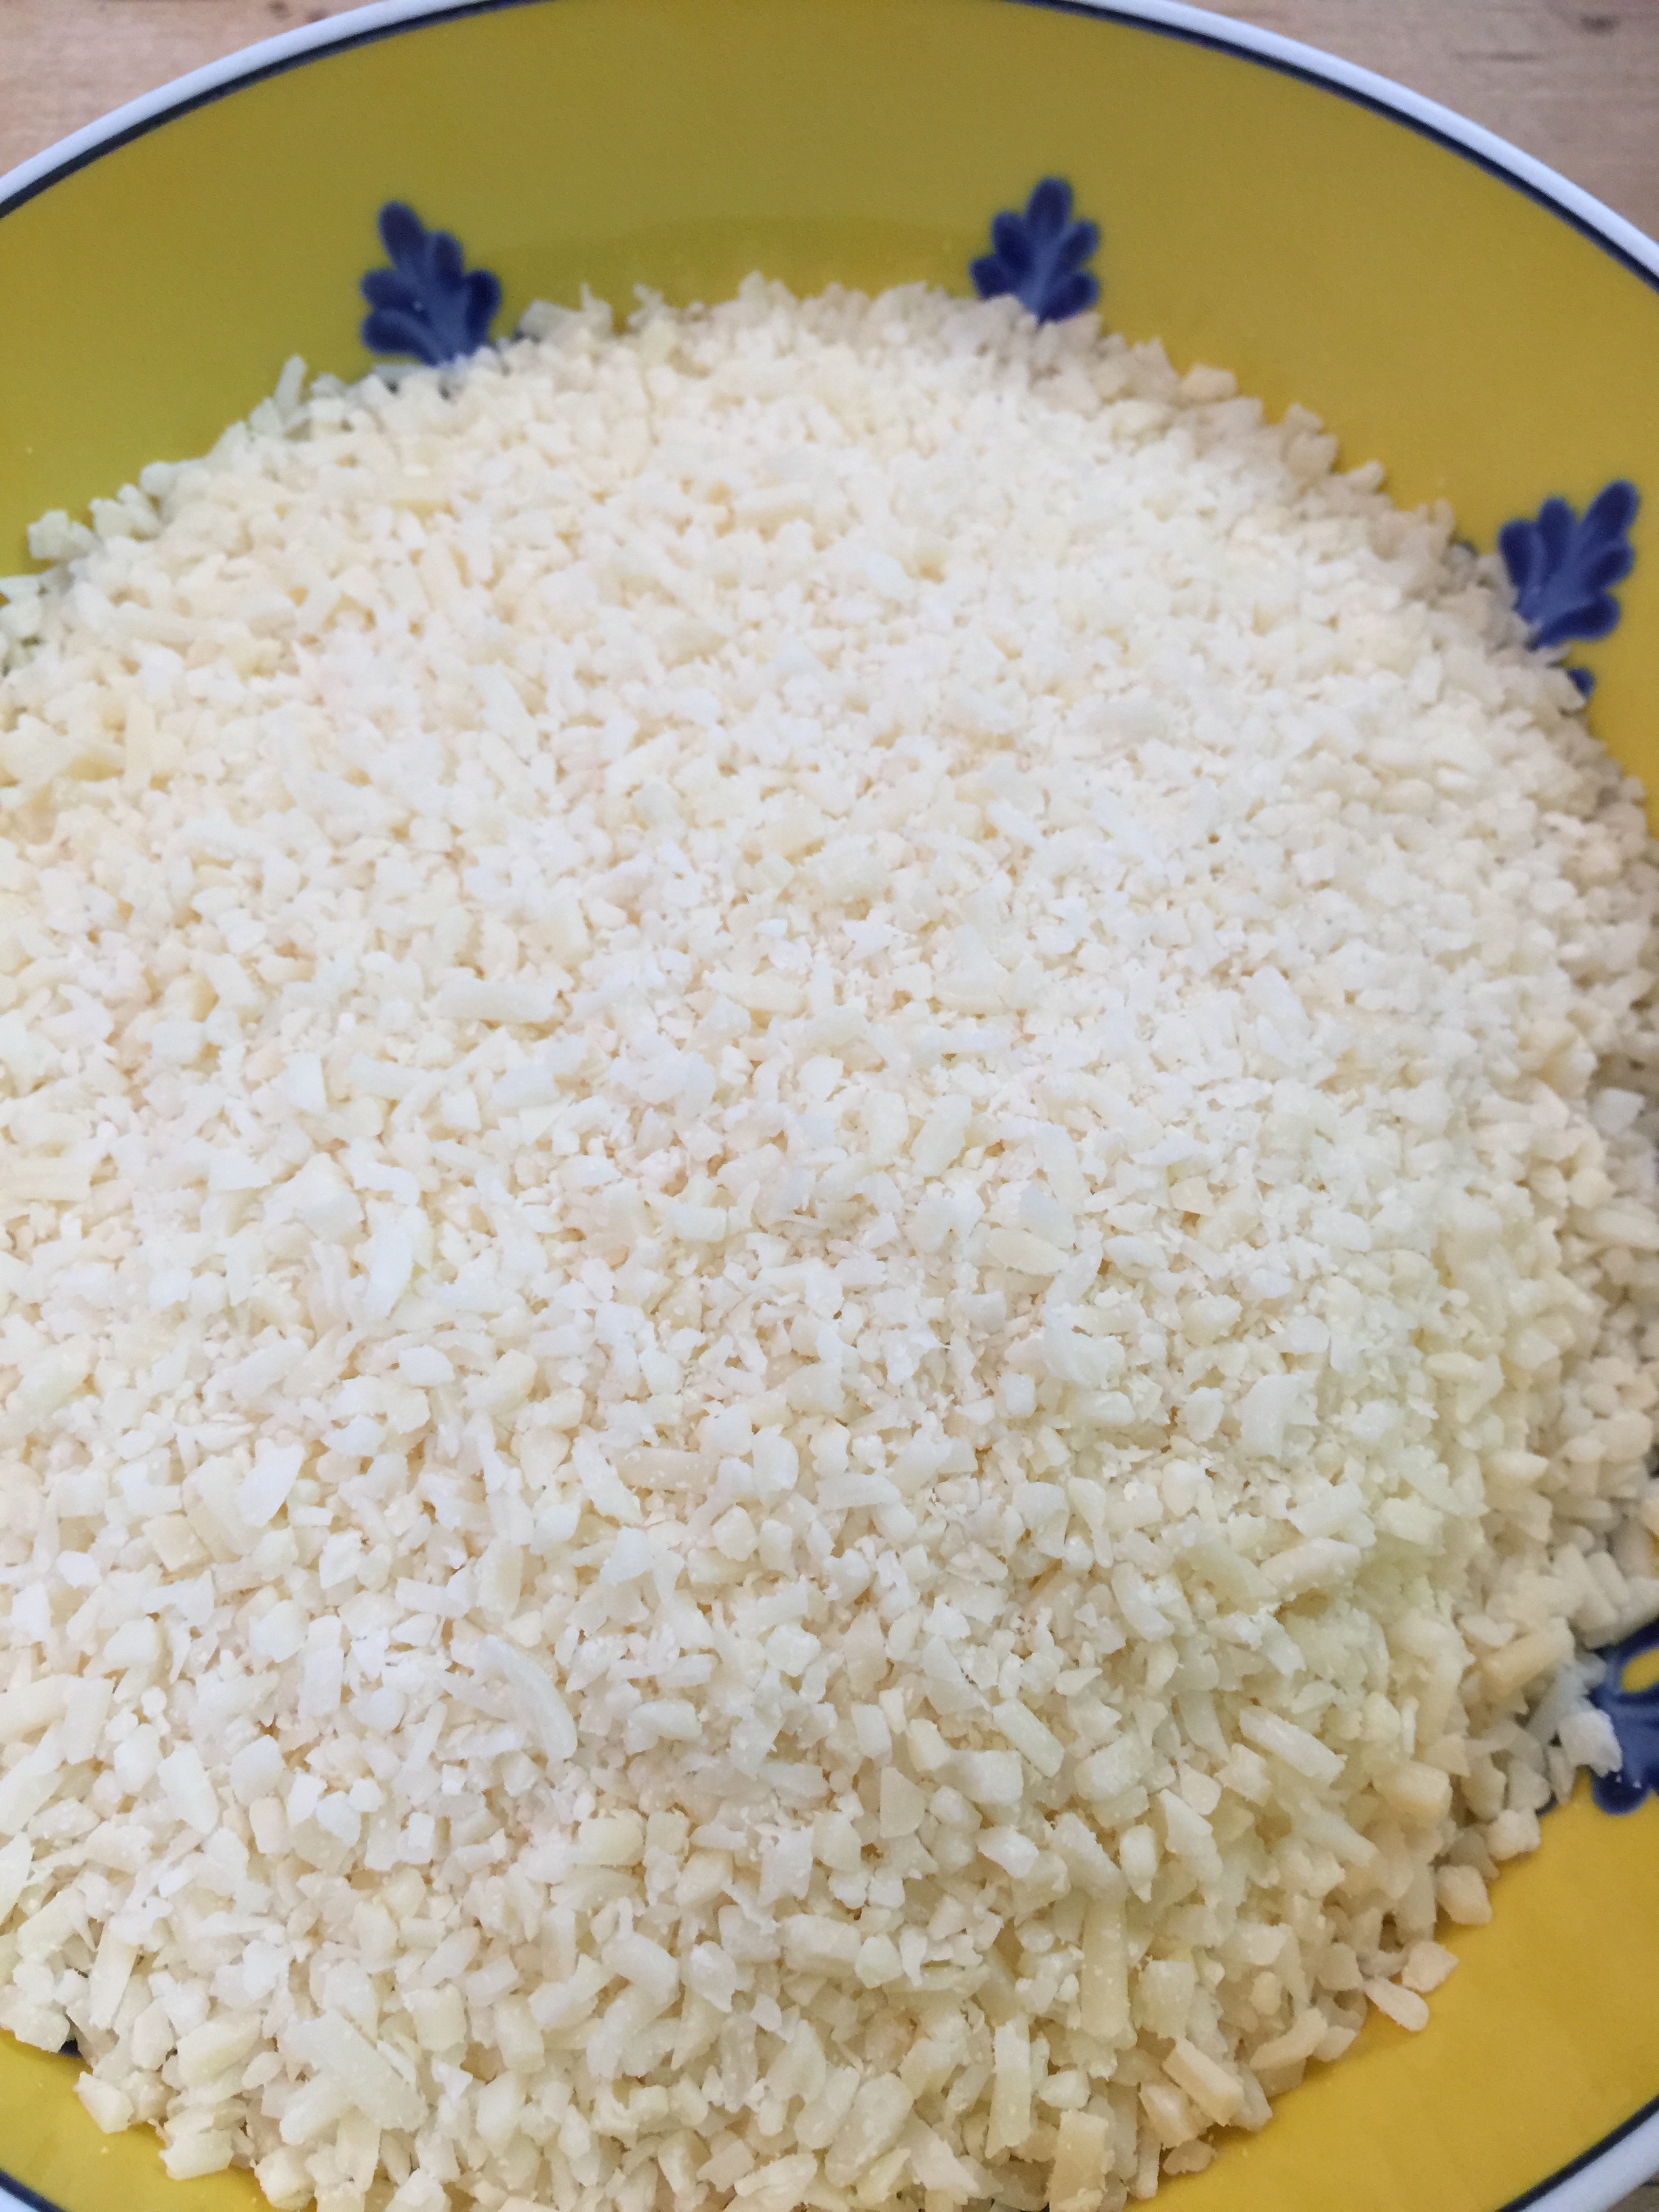
Grind your parmesan cheese in your Mini-Prep Cuisinart (unless you have already dirtied your big one.) The parmesan adheres to the squash much easier when it is a bit finer, but still melts well, unlike the super fine ground you buy off the shelf.
Pour your finely grated cheese into a bowl.
Take your squash one by one and dip into the oil first, and then into the cheese. Place each on a lined cookie sheet.
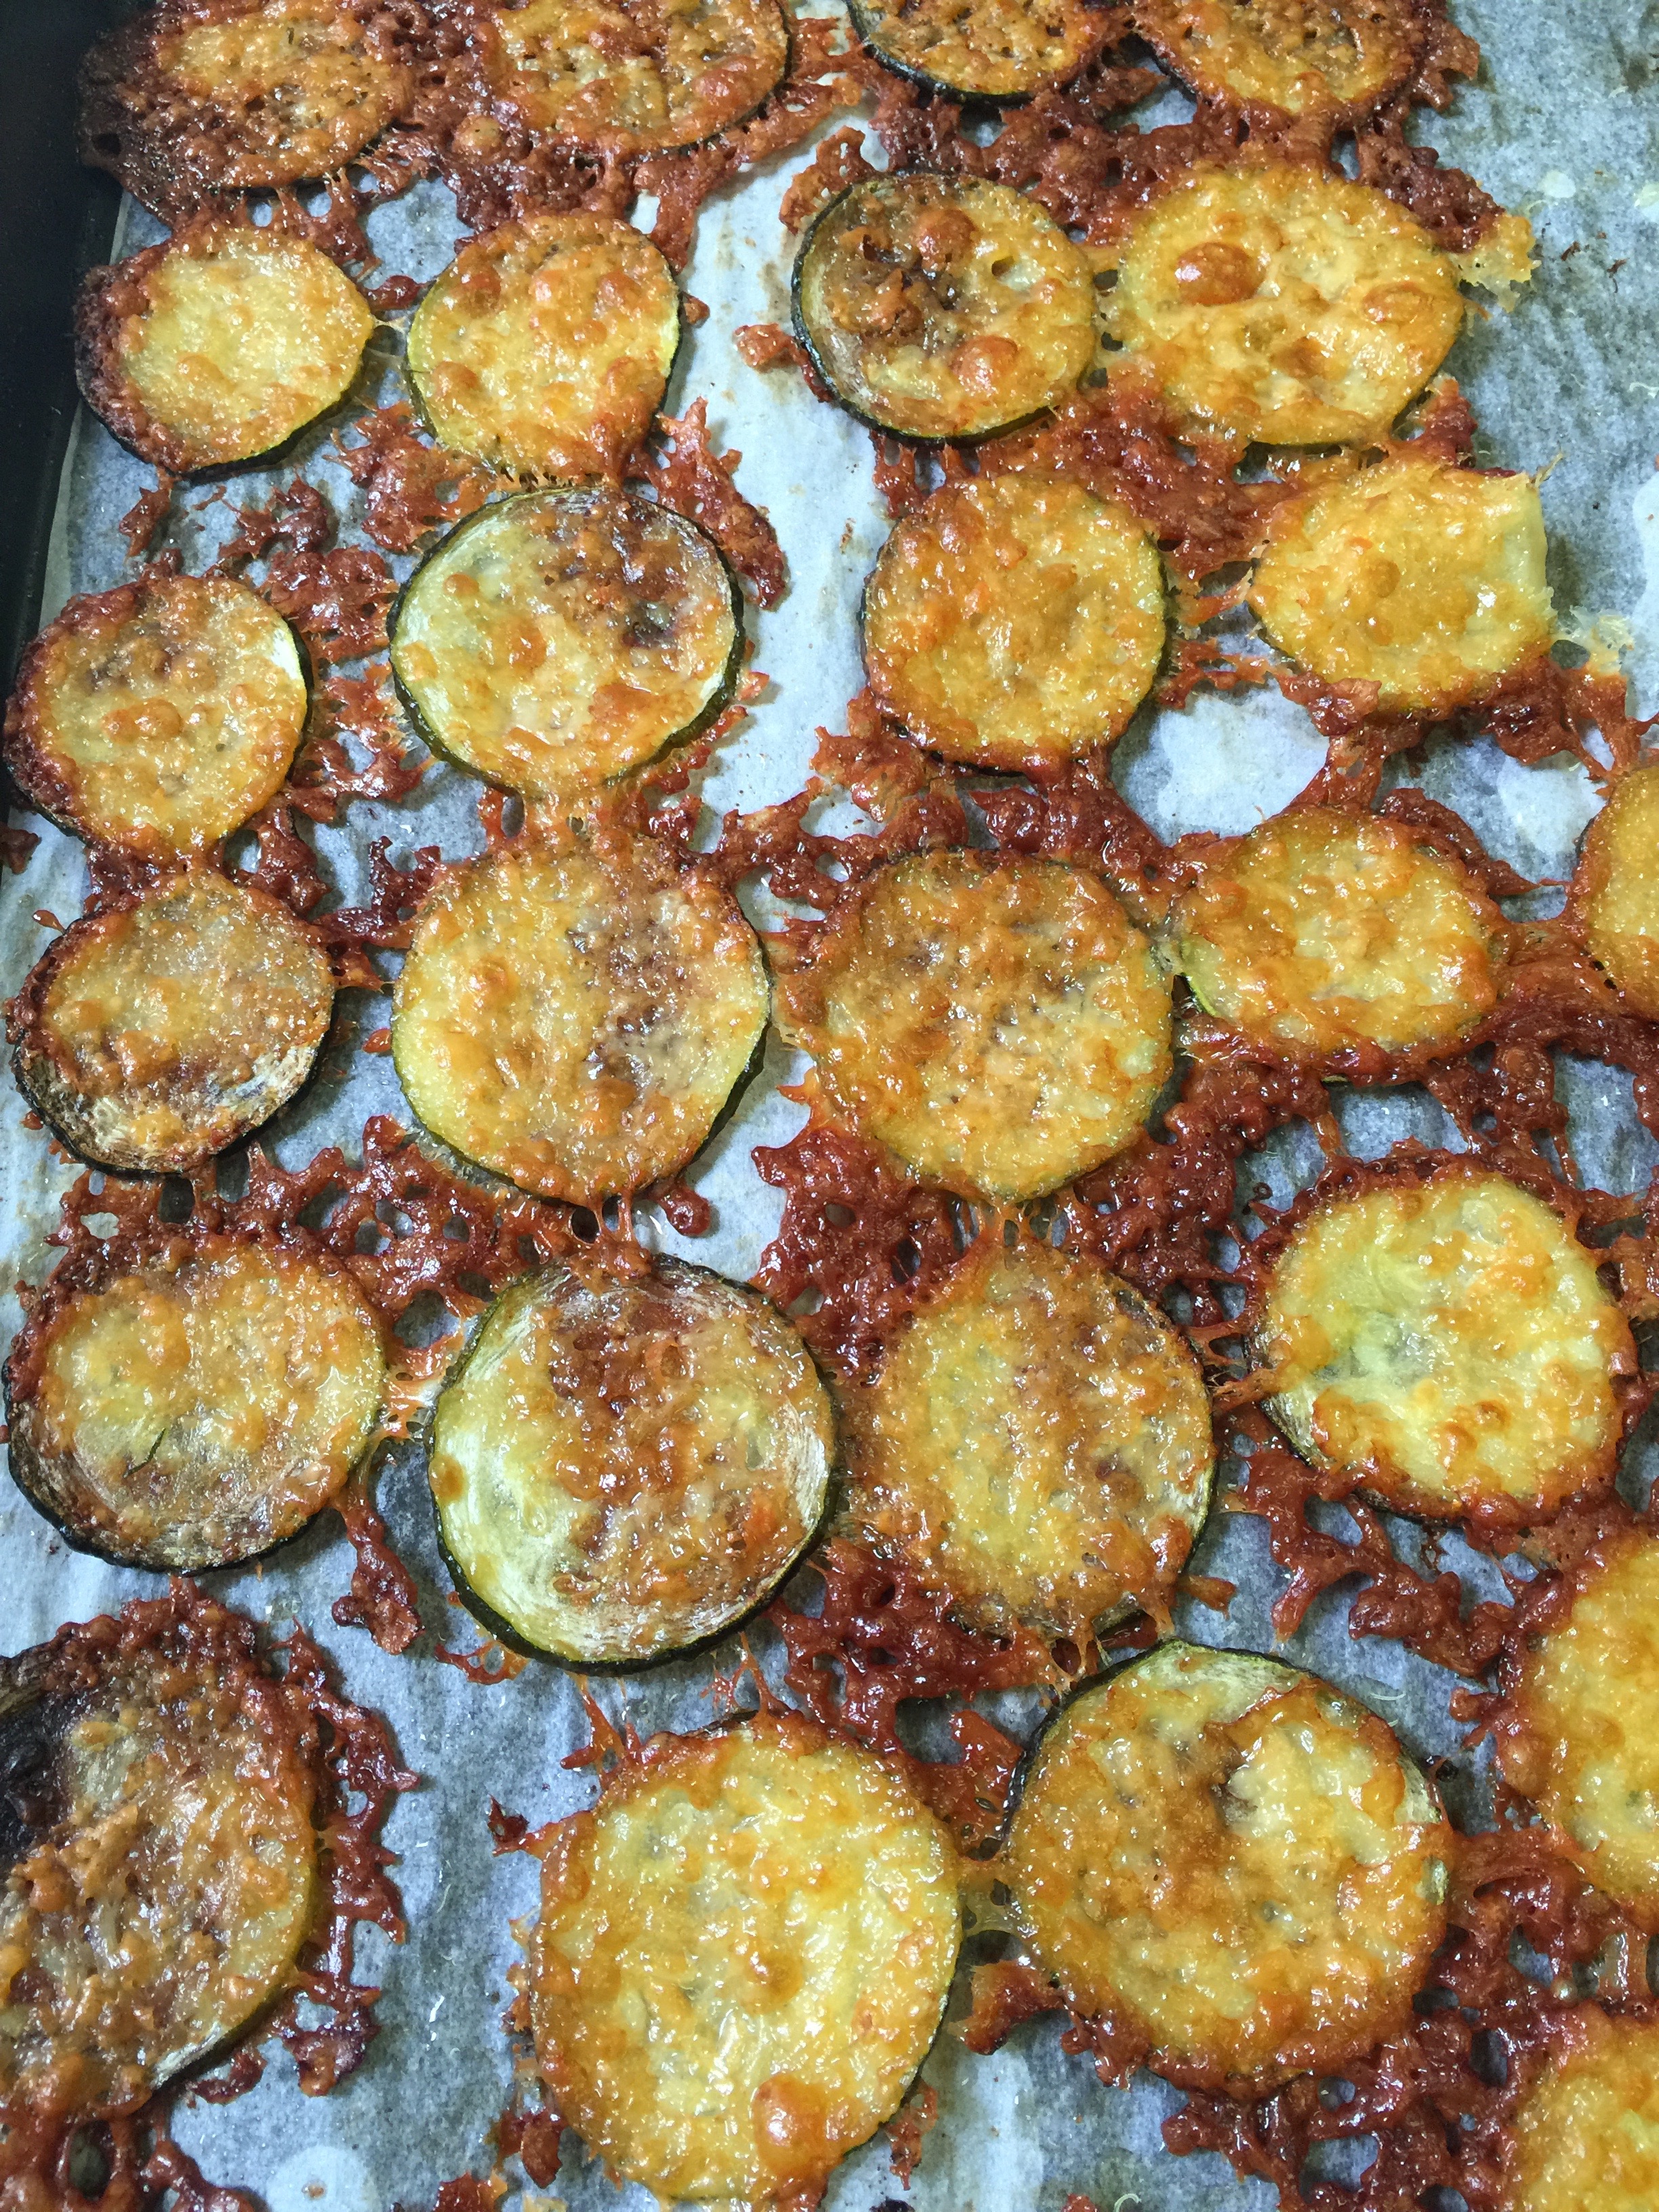
These will not need salt because your cheese is already salty. You can add pepper if you like for taste. You can always add extra cheese to the top if you have extra left over.
Bake at 425 degrees for 20 to 25 minutes. They should be a little darker than golden brown to ensure they are crisp. Serve immediately with your favorite dip or eat just as they are.
Store in a sealed container or Ziplock in the refrigerator.
We all need a little treat every once in a while! Even on Keto, you can make treats that will actually help with weight loss and your desire to stay in Ketosis. We all usually need to up our fat intake. Some recipes are easy, and some require effort. Today’s post is super simple, and was my go-to when I first started on the Ketogenic diet and just needed that little “something”. It is loaded with saturated animal fat (this is good), smooth, creamy, and has just the right amount of sweetness to end a busy day. And…it is so filling – you just need a tad, and you won’t have the urge to eat another thing! The kids beg for it after dinner, and I usually oblige, sometimes selfishly, so I can have a bite too.
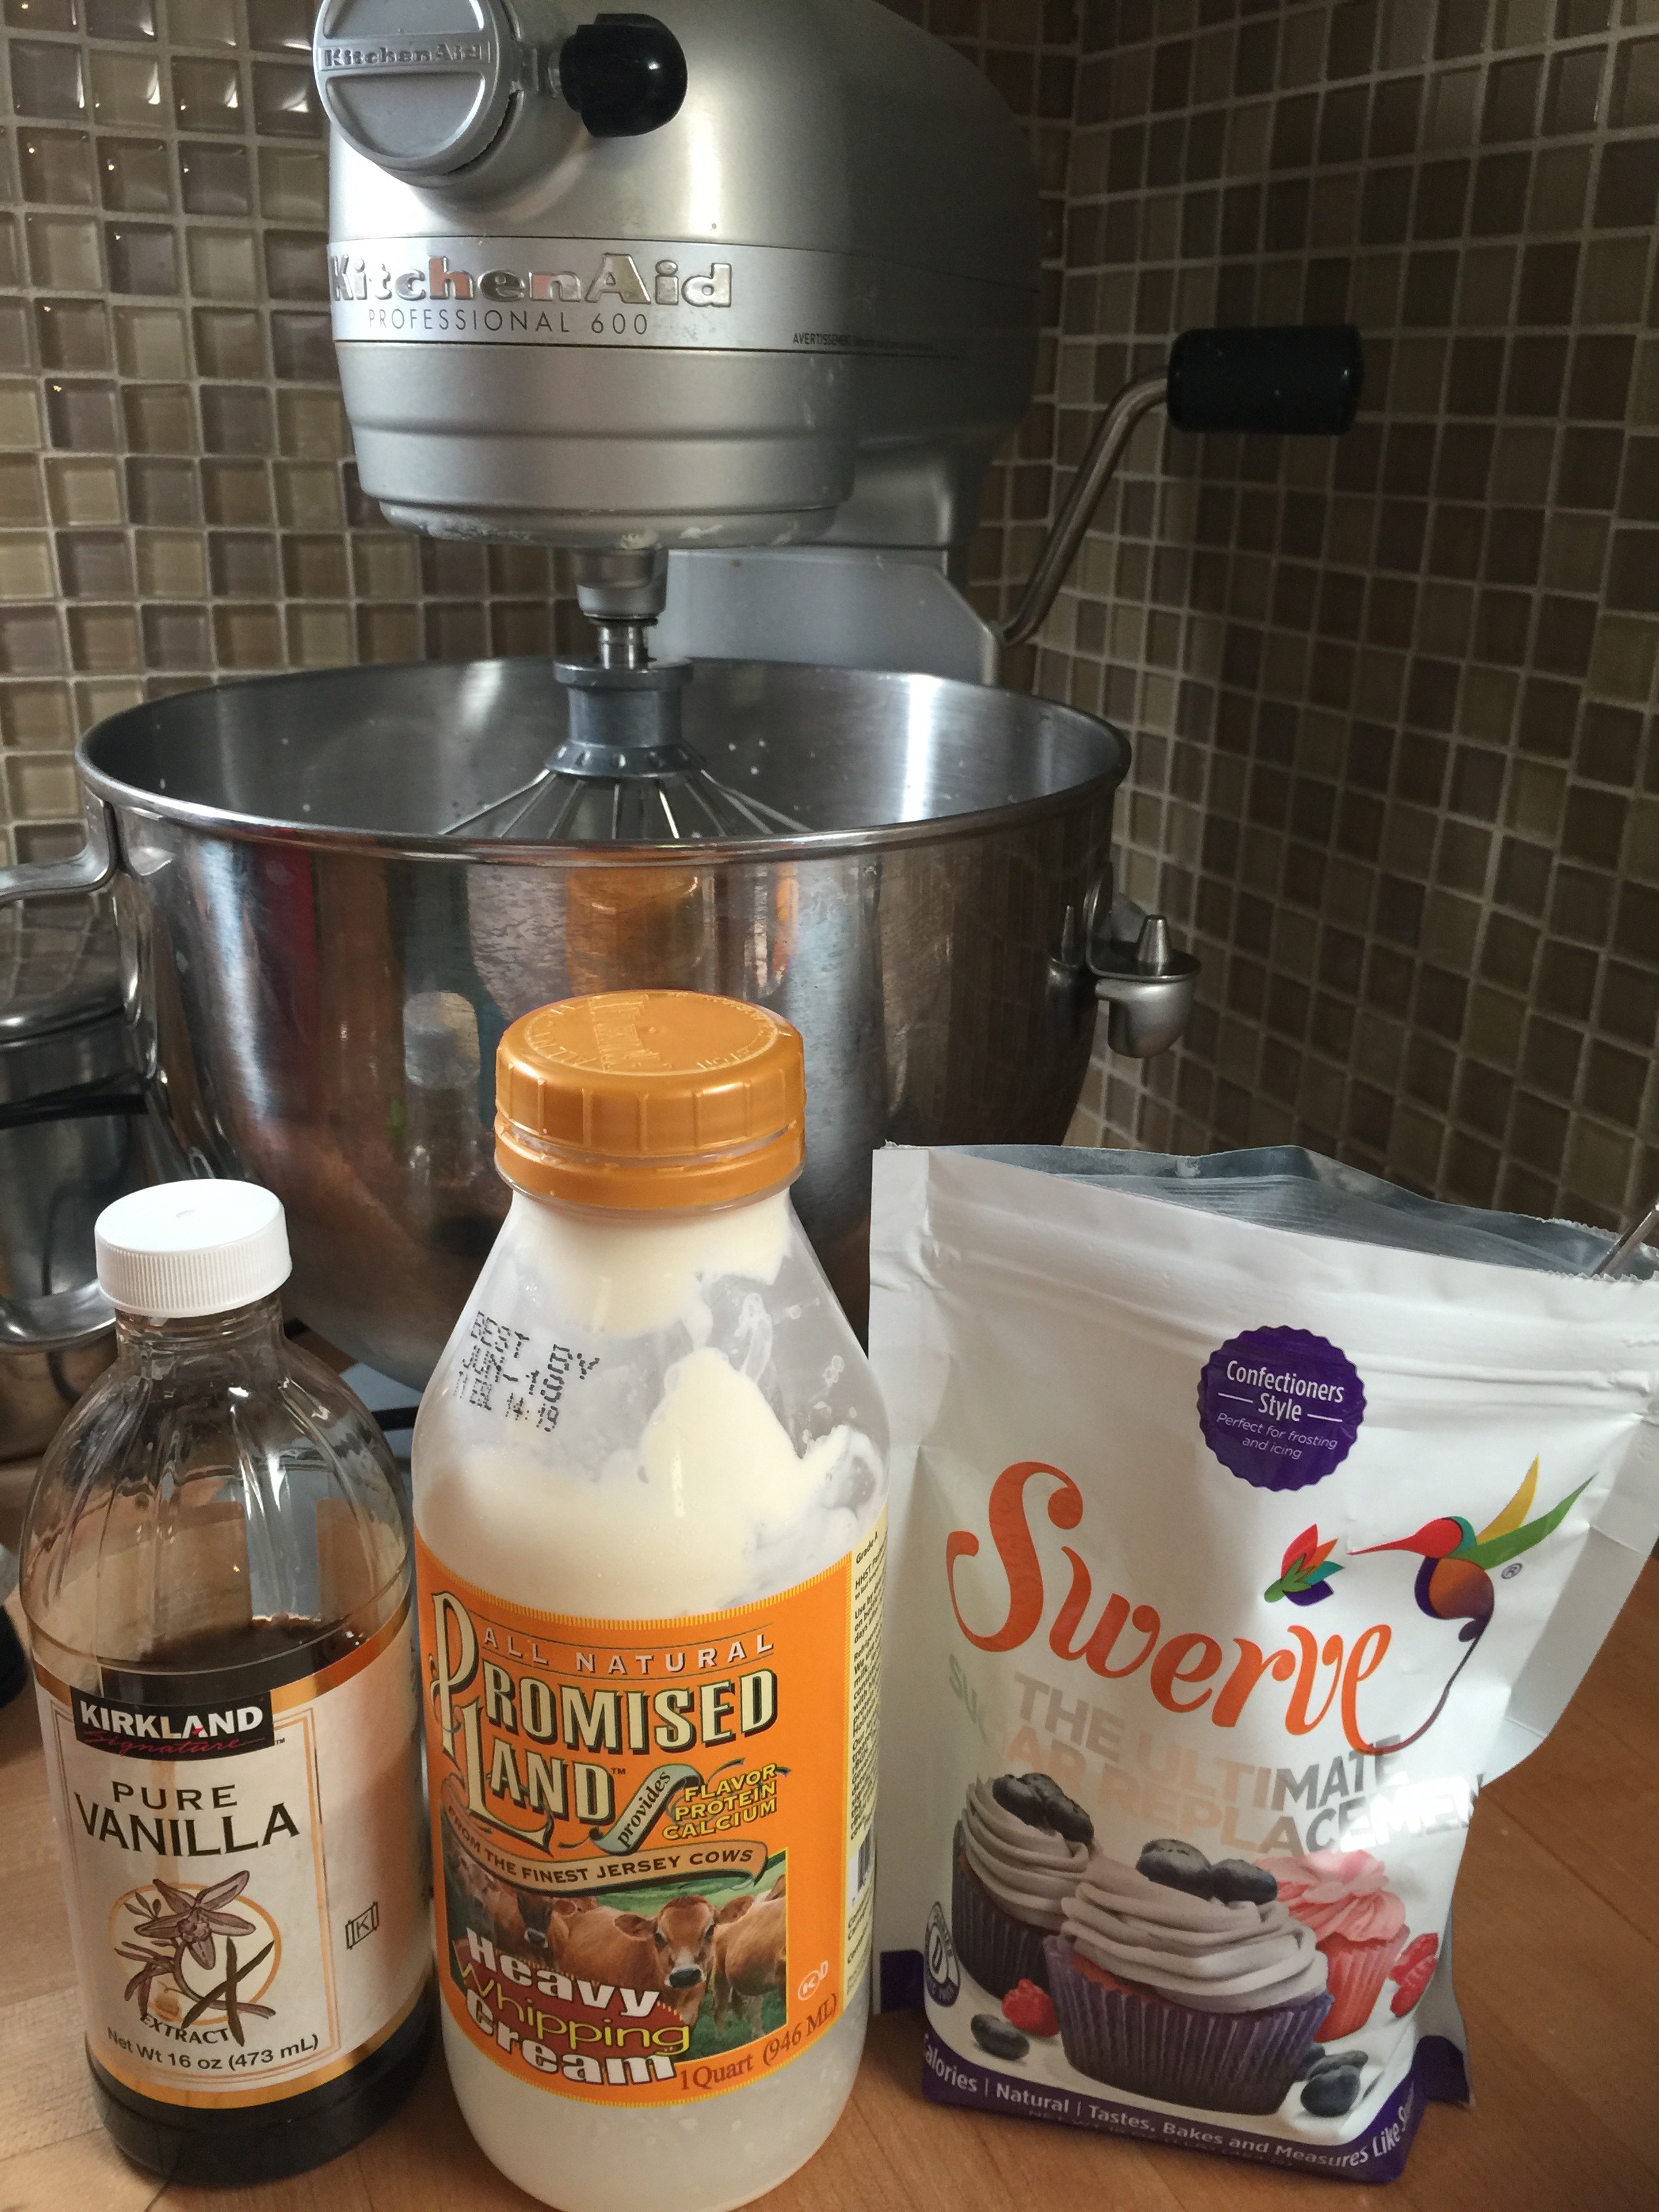
The Keto part of this is simple…Heavy Whipping Cream! I will say that this is where a KitchenAid Stand mixer comes in very handy. Check out the one I have here. It is a nice gift to yourself if you don’t already have one, and makes life faster and easier in the kitchen. I usually get my cream going while I am washing dinner dishes, and we have a fresh dessert in no time.
On a Ketogenic diet, we recommend staying away from many fruits. This is due to the natural fructose in fruit that makes a b-line for your liver. It is especially bad for Cancer patients and those with insulin resistance…Read more in this great article! However, there are some fruits that are better than others. My favorite fruits have always been berries! Thank goodness, because they also contain lower amounts of fructose which can spike your blood sugar. I know there is a lot of controversy on this subject, but I have seen it first hand with blood glucose monitoring, so I am on the no/low fruit bandwagon for myself. I do allow my children to have organic berries, and on occasion, I do too in small quantities. The trick for doing this is to make sure you eat your berries with plenty of fat to counteract the fructose in the fruit. Hence, the whipping cream.
What is better in whipped cream than berries. Yum! Now, don’t go crazy! You just need a small handful to do the job. Summer and berries have always gone hand in hand, so this is the perfect season to make yourself a Keto friendly dessert!
It is probably the easiest thing I have posted…
I used:
1 Quart of Promised Land Heavy Whipping Cream (Any will work)
1 Tbsp Pure Vanilla
1/4 – 1/2 cup Swerve Confectioners (Granular is very grainy in this one.)
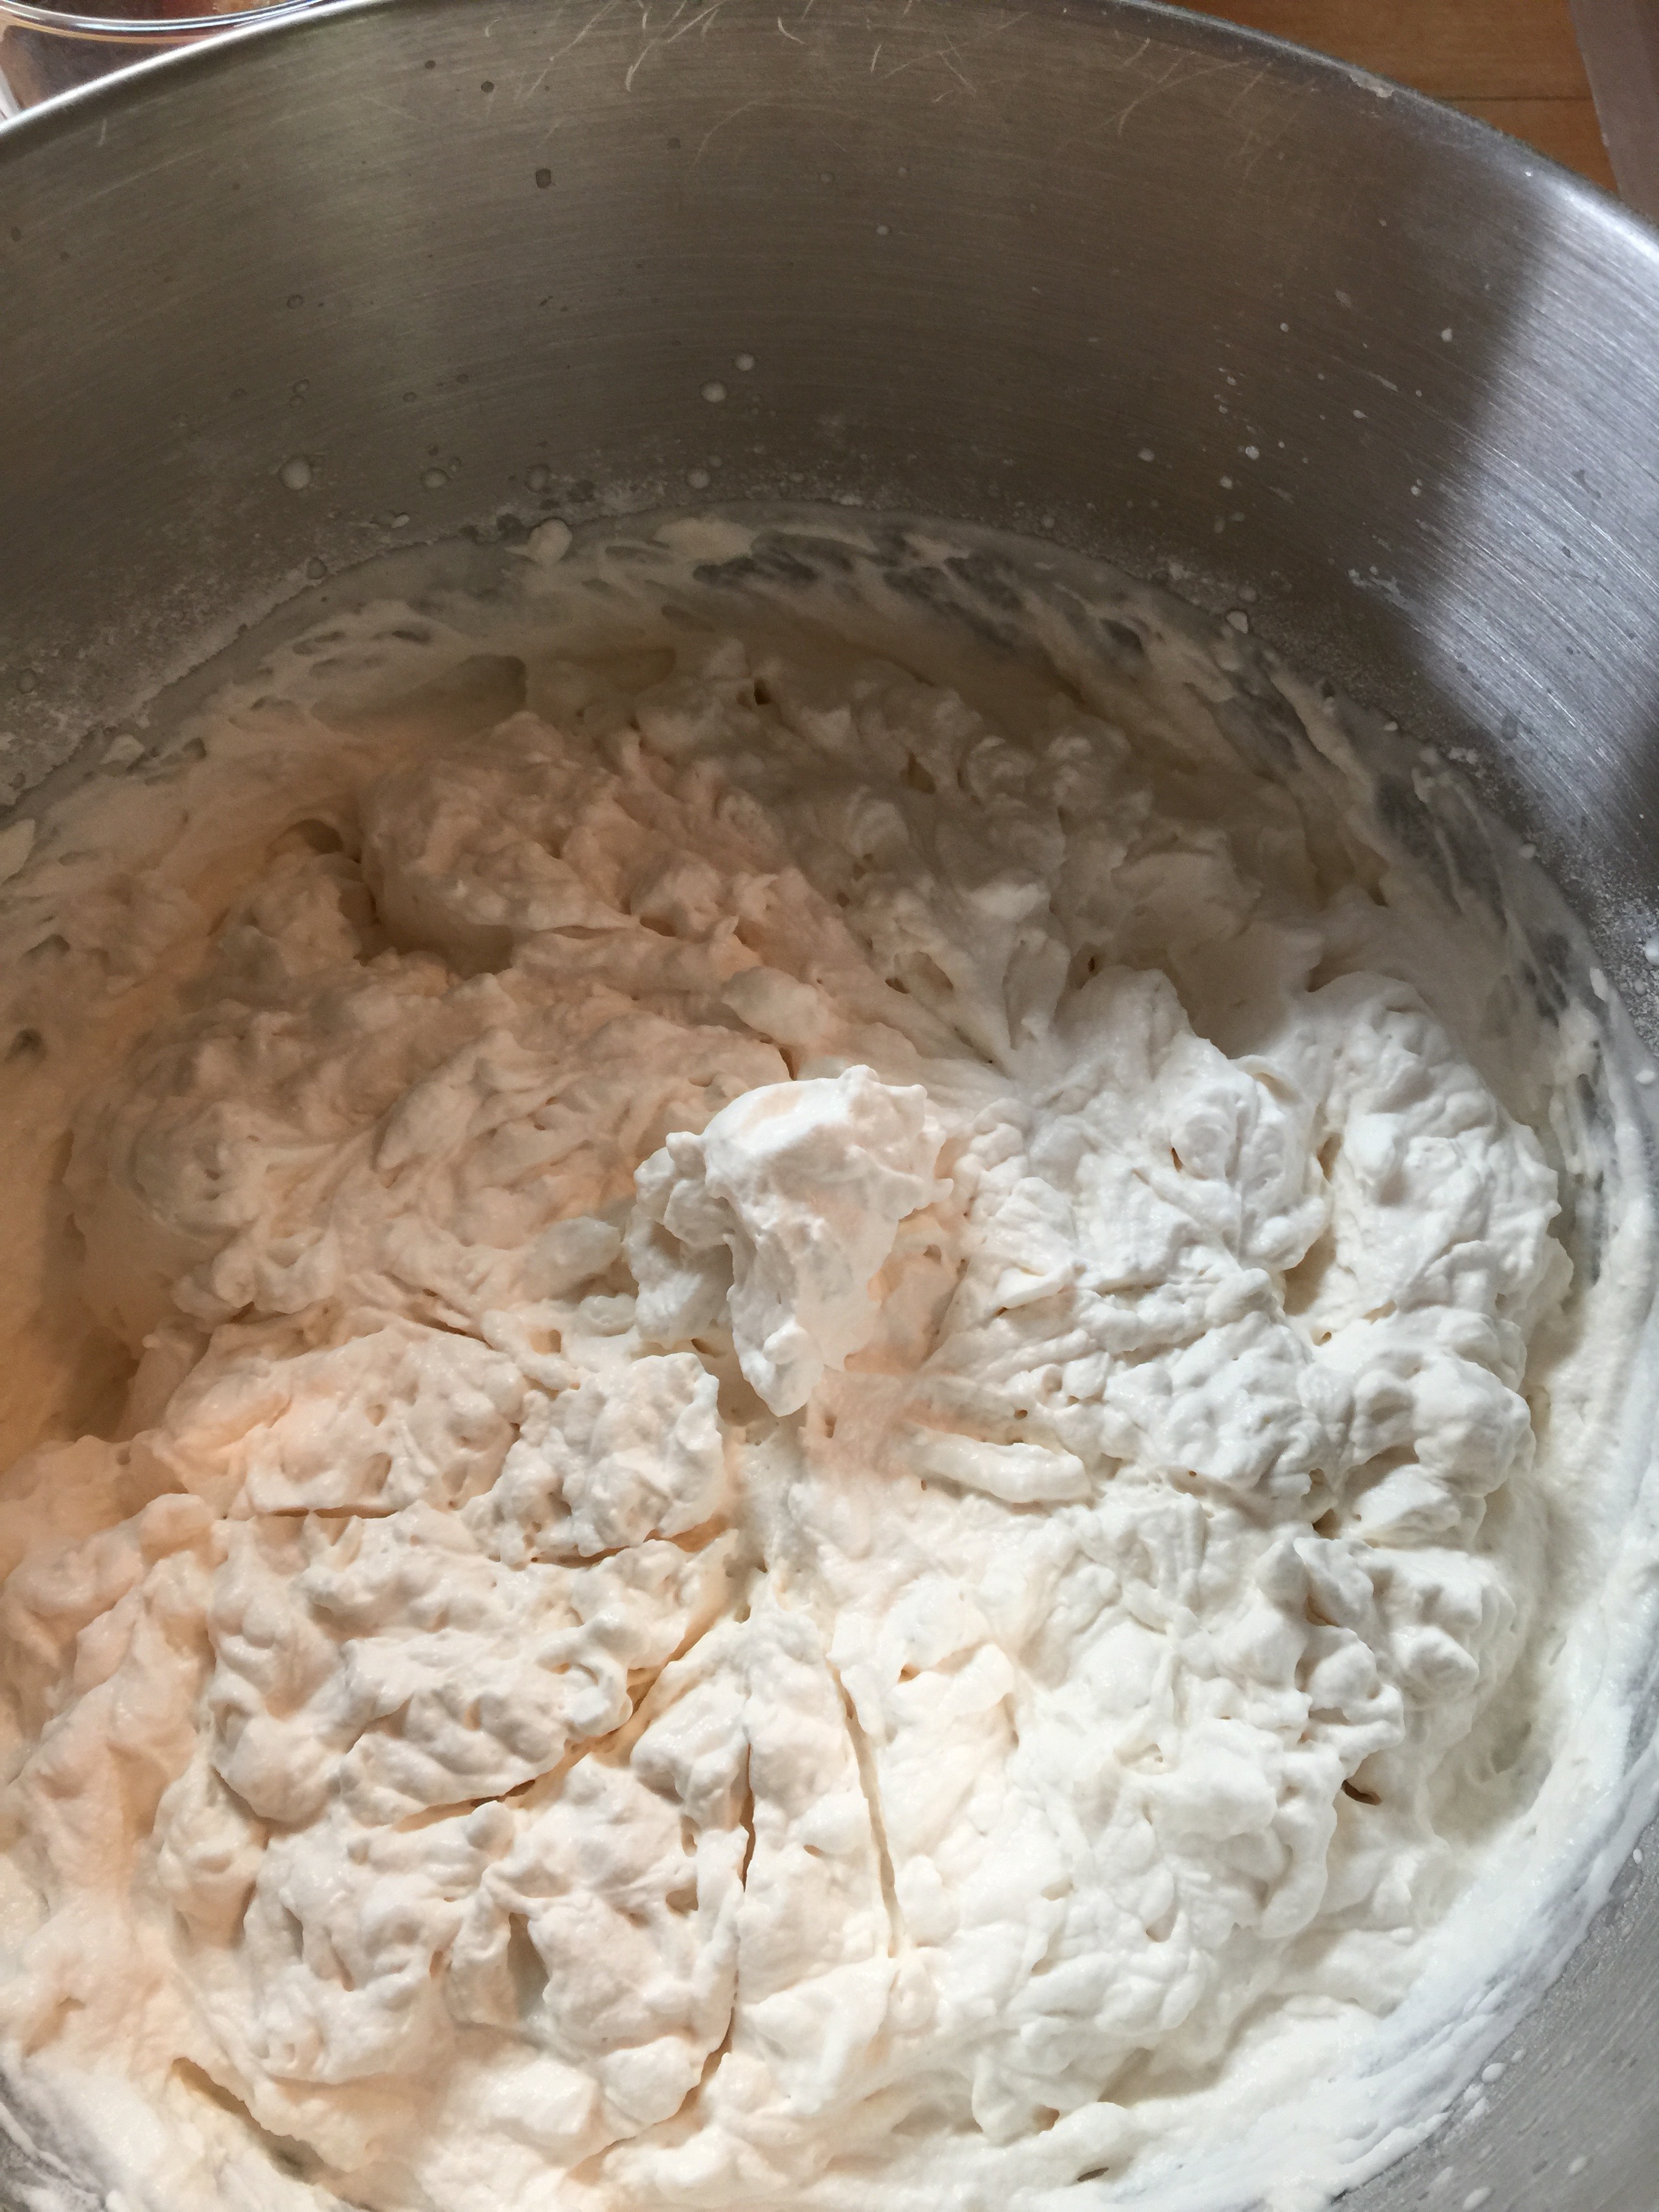
Start by beating your cream until it begins to thicken. Add your Swerve, starting with 1/4 cup. Our taste has changed quite a bit, so that we do not prefer things super sweet anymore, but feel free to add more to your desired taste. Then add your vanilla. Beat until it is very thick, but careful not to beat too much or you will have butter! It is okay to stop and start (tasting as you go). This is a preference treat, so keep an eye on it, and stop beating when it’s to your liking.
Top with a small amount of berries or eat it plain. It is delicious both ways! Enjoy!
This one was for the kiddos. When I have mine, I go with blueberries, blackberries or raspberries with a ratio or 2:1, cream to berries. I skip the strawberries generally. Let the cream work to your benefit!
Last Wednesday, we received a phone call at dinner telling us that we needed to get Erin and Charlie’s daughter, Elise, from the neighbor. Charlie had to call EMS because Erin had a seizure after a completely normal day at work.
Imagine, waking up to a regular schedule, getting ready for work, dropping the kids at school, working all day, returning home thinking about dinner, and boom, your world is black. This is what happened to Erin last week. A normal day, and then she awakened in the Emergency Room with no memory of how she arrived there.
As family descended, the discussion centered on a panic attack, because she had experienced a few over the past three months, or so we thought. In fact, as Erin and I worked on the conception of The Sweet Life Sugar Free the very first night, I witnessed her first “attack.” Her hands were shaking as she tried to type, and she got flustered. We took a break and discussed her day. She had experienced a hectic day at work and was not able to drink her water, take her supplements, or eat anything substantial. She drank two bottles of water and took some magnesium and potassium. She was obviously dehydrated, and possibly excited and nervous about starting our new venture. After a few minutes she felt better, and we got back to work as our girls played “Princess” in the adjacent room. Later that evening, as she was leaving the house, she came to get me because she couldn’t buckle Elise into her carseat or get her keys into the ignition of her car. She said she just “couldn’t get her hands to do what she was telling them to do”. I gave her yet more water, and she and Elise stayed for the night.
The next day, Erin was better and carried on as normal.
About a month ago, she called me from home early in the afternoon, and told me she had the same experience at work and had to leave because she couldn’t type. “My hands just aren’t working,” she said. This time she chalked it up to too much coffee and being nervous about her upcoming PET scan. Again, she slept and felt better the next day.
She was certain that both of these “panic attacks” centered around her anxiousness about her PET Scan on May 13, 2015, dehydration, lack of nutrients, and too much coffee. Makes sense, right?
I reread her post yesterday from May 15th, which discussed her clear PET scan, and how she was thanking Cancer for helping her have courage and appreciate the little things in life. She was so relieved when the scan came out clear just one short month ago. She closed her post by telling Cancer, “You are not welcome back!”
Fast forward to last Wednesday evening. I had Elise (Erin and Charlie’s daughter) and my kids at home, and my husband, Chip, returned from the hospital at 11:30 pm after sitting with Erin’s husband, and his cousin, Charlie. Erin was awake, and they were awaiting the results from the CT Scan. As soon as Chip walked into the bedroom, he received a phone call from his aunt in Denver that he needed to return to the hospital immediately…the CT results did not look good. There were two spots. I sat straight up in bed, and all I could think was, “No!” She had a panic attack, right? And, it certainly couldn’t be Cancer because she just received an “All Clear” on May 13th! That was less than one month ago! She was doing everything right! There was no way – the radiologist had to be wrong!
I got updates throughout the night without much information. As with many diseases, the waiting is horrible, terrible, endless. No one tells you anything. (Doctors, take note!) Chip returned home again about 6:30 am with no more information, other than Erin was scheduled to be transported to a different hospital. They had been waiting for hours for the transport so she could get an MRI which would show more detail in the brain. The hope was that the CT was showing something insignificant. She was to be observed by her oncologist and an awaiting Neurosurgeon. Everyone was just waiting, in holding mode, as if the clock remained still. Finally, she was transported about 8:30 am, on Thursday morning and taken to the MRI. Then, more waiting. At this point, more family members were on planes making their way to Texas.
In the meantime, Erin’s oncologist arrived and had taken a look at the CT scan. She told Erin and Charlie that it appeared the Cancer from the breast had taken root in the brain. Basically, Breast Cancer in the brain. I know what you are thinking…what about the clear PET scan? I hope you are as outraged as the rest of us were. The response was, “Insurance only covers a scan from the neck down.” I was stunned! Are you kidding me? They were told that day, for the first time by Erin’s oncologist, that 1 in 10 Breast Cancer patients with HER2 breast cancer, develop tumors in the brain! (Click here for more information on HER2.) Yet, they don’t scan for this? It is absurd! It was disturbing to all of us there that not only do they not scan the brain, but that Erin was never told to watch for symptoms or told that this was a possibility. All of these “panic attacks” she was having were small seizures caused by the tumors! Outrage, contempt, and anger seized every muscle and nerve in my body! No mention, no warning, no prevention – is that really what we call healthcare?
We also all learned that the tumors have more than likely been in her brain this whole time. Since the beginning of the story! I did not know that the particles in the chemotherapy cannot travel up the brain stem, therefore, leaving the brain as a free for all. The rest of her body is completely clean, and looks great, according to all the doctors. Seeing that the tumors in the brain are breast cancer tumors, they had to get there before she started chemotherapy almost two years ago since the rest of her body is cancer free. They were trapped in the brain without a chance of being eliminated by the chemotherapy and treatments she was receiving for the rest of her body!
Later in the day, the neurosurgeon entered the room and gave Erin the news that, yes, there were definitely two tumors in the brain, and there was an additional one near the brain stem for a total of three. She was scheduled for brain surgery the next morning at 10:30 am. Not much time to think, which was good for Erin, and probably everyone in the room for that matter! He was going to be able to remove the two higher tumors, but would have to do radiation for the third because it was too close to the brain stem. It is by the grace of God, and the advantage of a Ketogenic diet, that the tumors did not raise their evil heads until two years later, spread, or cause more havoc. Erin is still a believer! She was able to recover from her earlier surgeries before she had to do this one! This VERY big one! Whew, this was a lot to swallow! MoreCancer and Brain Surgery in less than 24 hours! We all thought she was fine!
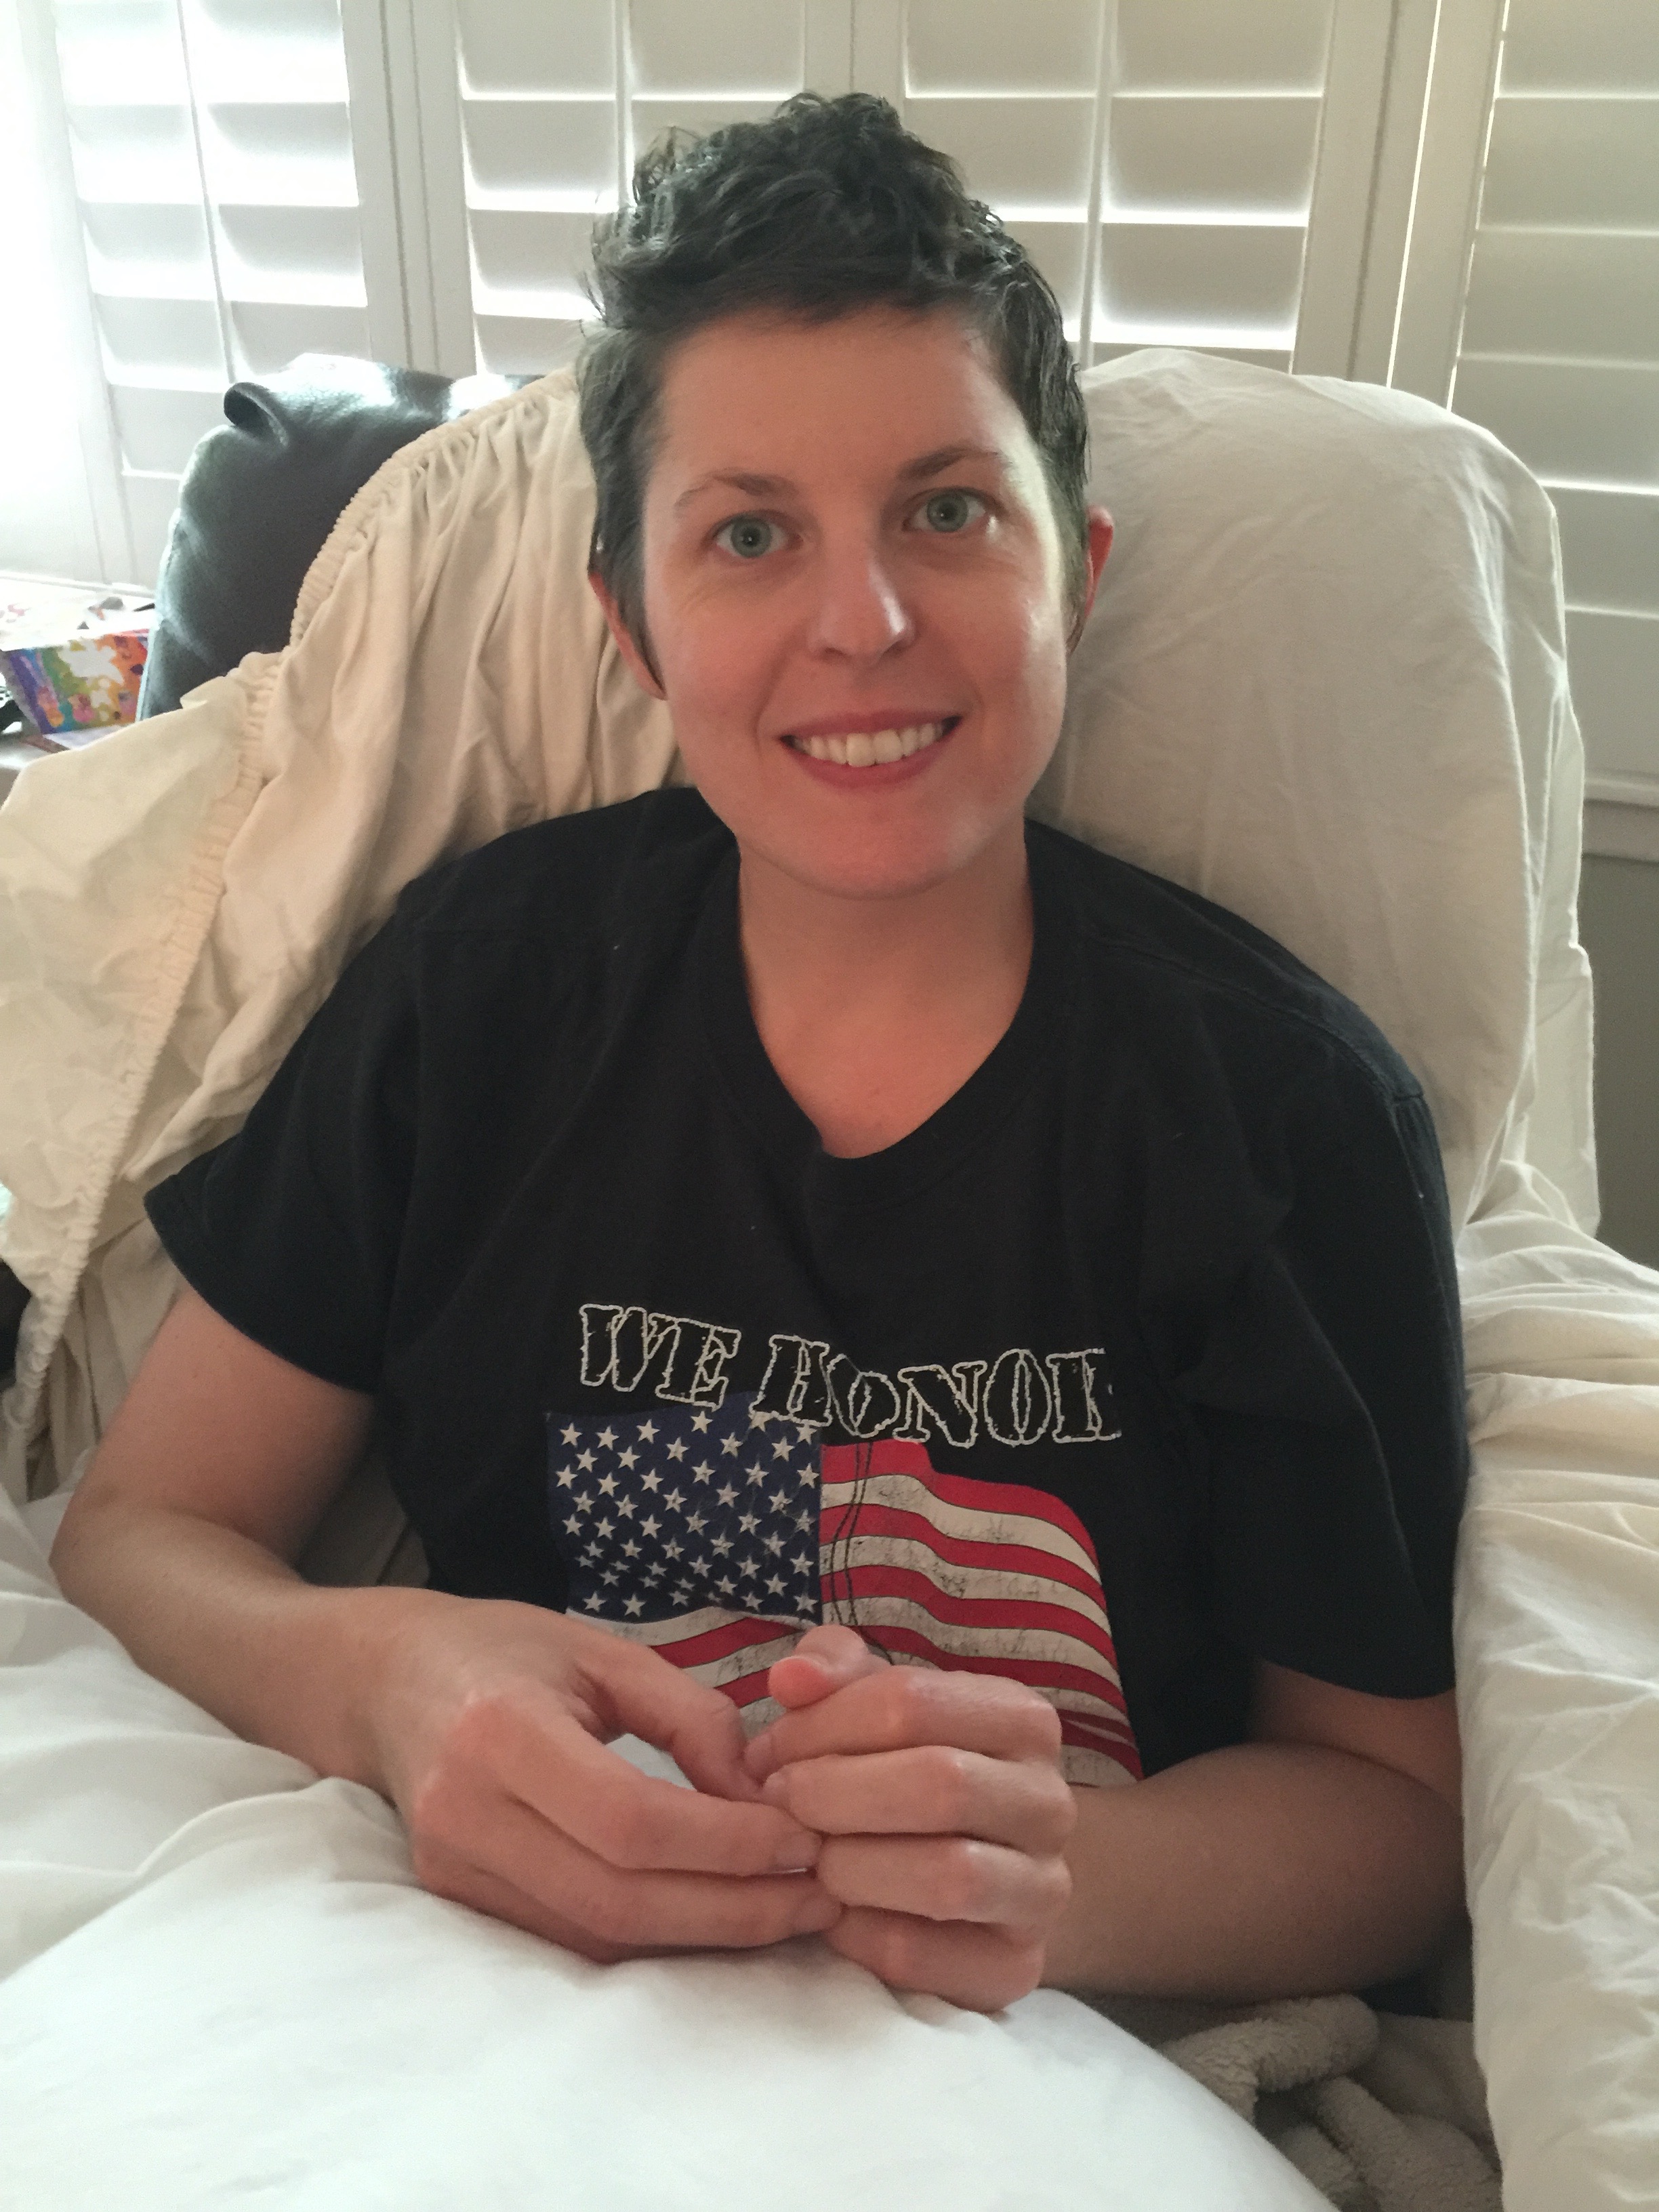
Friday roles around, and thanks to many prayers, and an excellent neurosurgeon, nurses and staff, “the surgery could not have gone more smoothly,” according to the surgeon! Praises for everyone in that operating room, all of her caregivers, and more than anything, the strength of our amazing warrior, Erin! She is amazing!
The day after surgery, she was up walking, and ready to go home. A little impatient, maybe, but strong as an ox! She was not waiting or relying on anyone! In fact, she said to me, “I just really don’t like asking others to do things for me!” Really?!?! She had just come out of brain surgery! We are all still in awe at her strength and determination. It is going to take an army to get her to sit still and recuperate. She was able to come home yesterday, and already talking about paint colors, as she stared from her chair to her fireplace. “Goodness!” was all I could say and smile.
My what a difference a week makes, and what a week it has been for my dear friend! She is not just a fighter, but a warrior. She is not just a patient, but a wife, a mother, a daughter, a sister, a friend, and a mighty encourager for those suffering through cancer, those that have fought the same battle, and those that may in the future. If only the insurance companies could see through the patient to the person.
Erin stands without fear and encourages the rest of us! May this be an encouragement to everyone that the battle carries on, and Erin will fight not only for herself, but for all the others out there as well! Be strong you amazing woman! You will win this battle, if only by your own will and determination! I have no doubt, and I love you dearly! You ARE an amazing warrior!
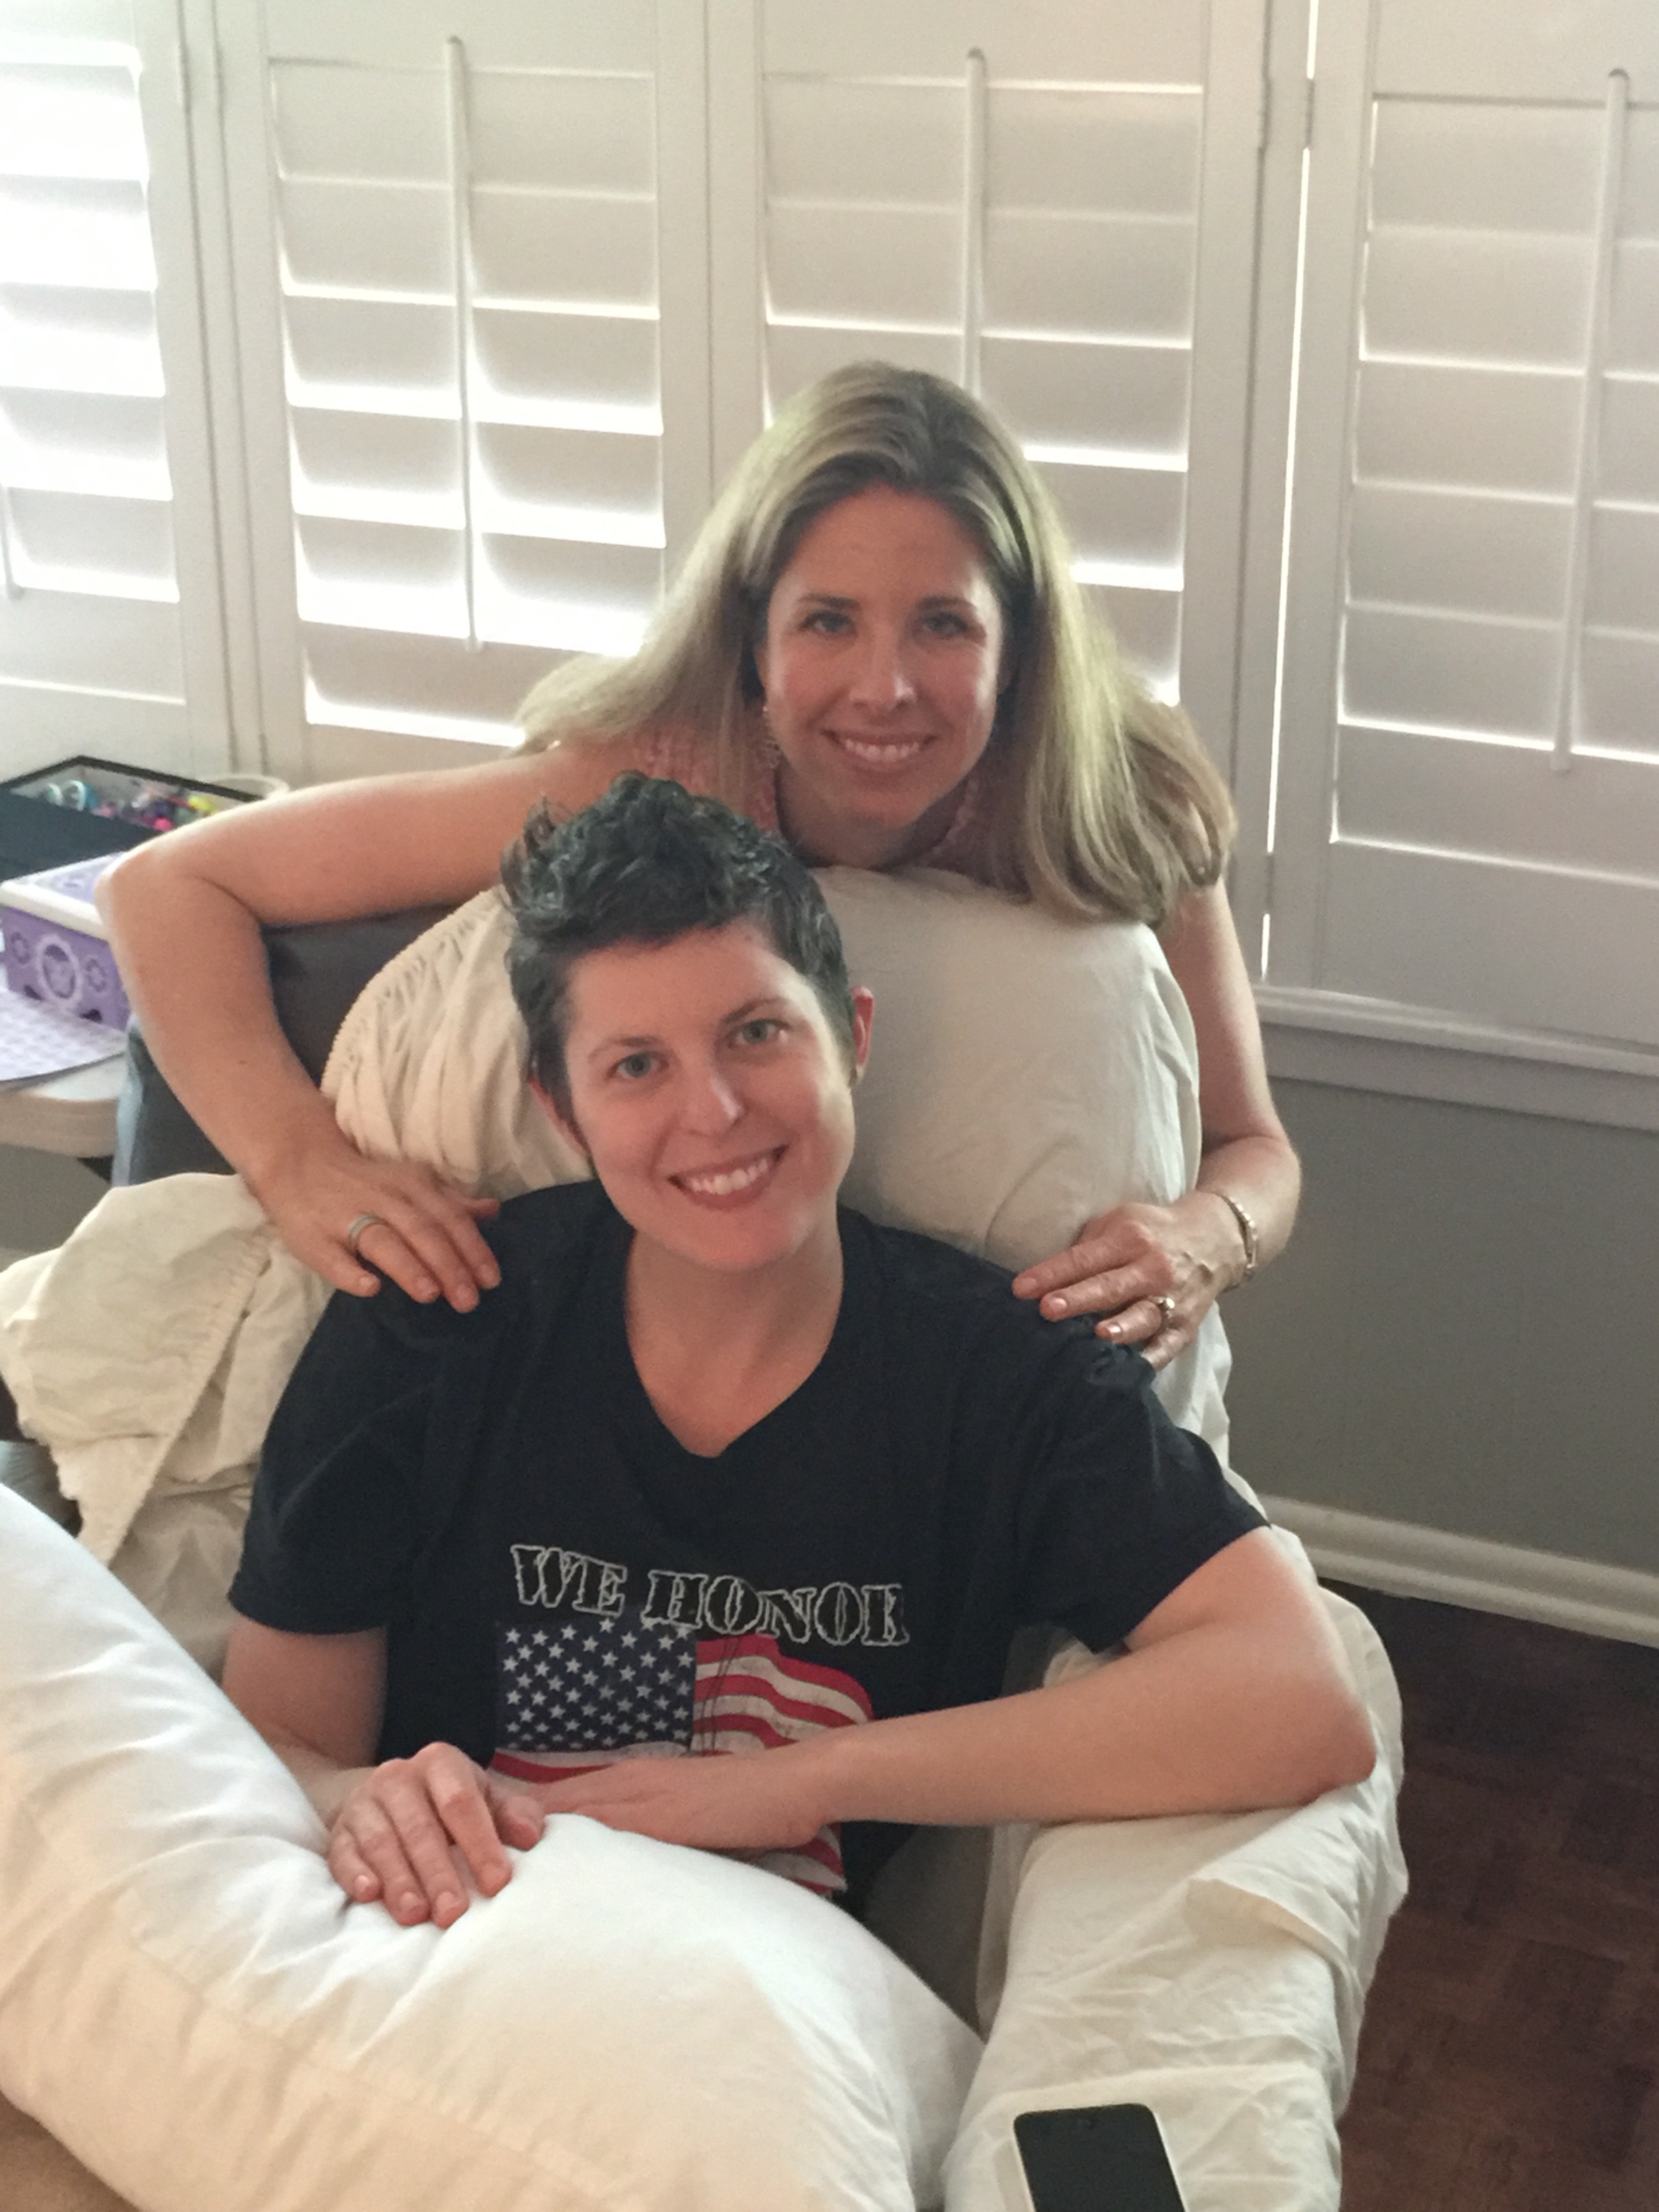
And yes, this is Erin yesterday – after brain surgery just four day earlier! Amazing!!!
Going Keto means no sugar, but it doesn’t mean no desserts!
Every once in a while, I like to experiment with sweet recipes. Sometimes it is as easy as taking an old recipe and just replacing the sugar with Swerve or Stevia. Sometimes it takes a little more creativity, and other times, I can find new Keto recipes online and adjust to our taste.
I was a legitimate sugaraholic before I started Keto. I was one that had to have desserts after every meal. Once I started on something sweet, I had to finish it, even if I was completely full! Keto has helped with this sugar addiction tremendously. I still like sweet, but I don’t crave it like I did. We also keep sweets to a minimum so that the kids don’t expect something sweet after every meal. It is always a special treat!
When I say addiction, sugar is a real addiction! Did you know that sugar is 8 times more addictive than cocaine? In fact, sugar has almost the same molecular structure as cocaine. That is a pretty scary statistic knowing all the diseases that sugar causes and progresses. We will talk about this more, but sugar is BAD!!!!
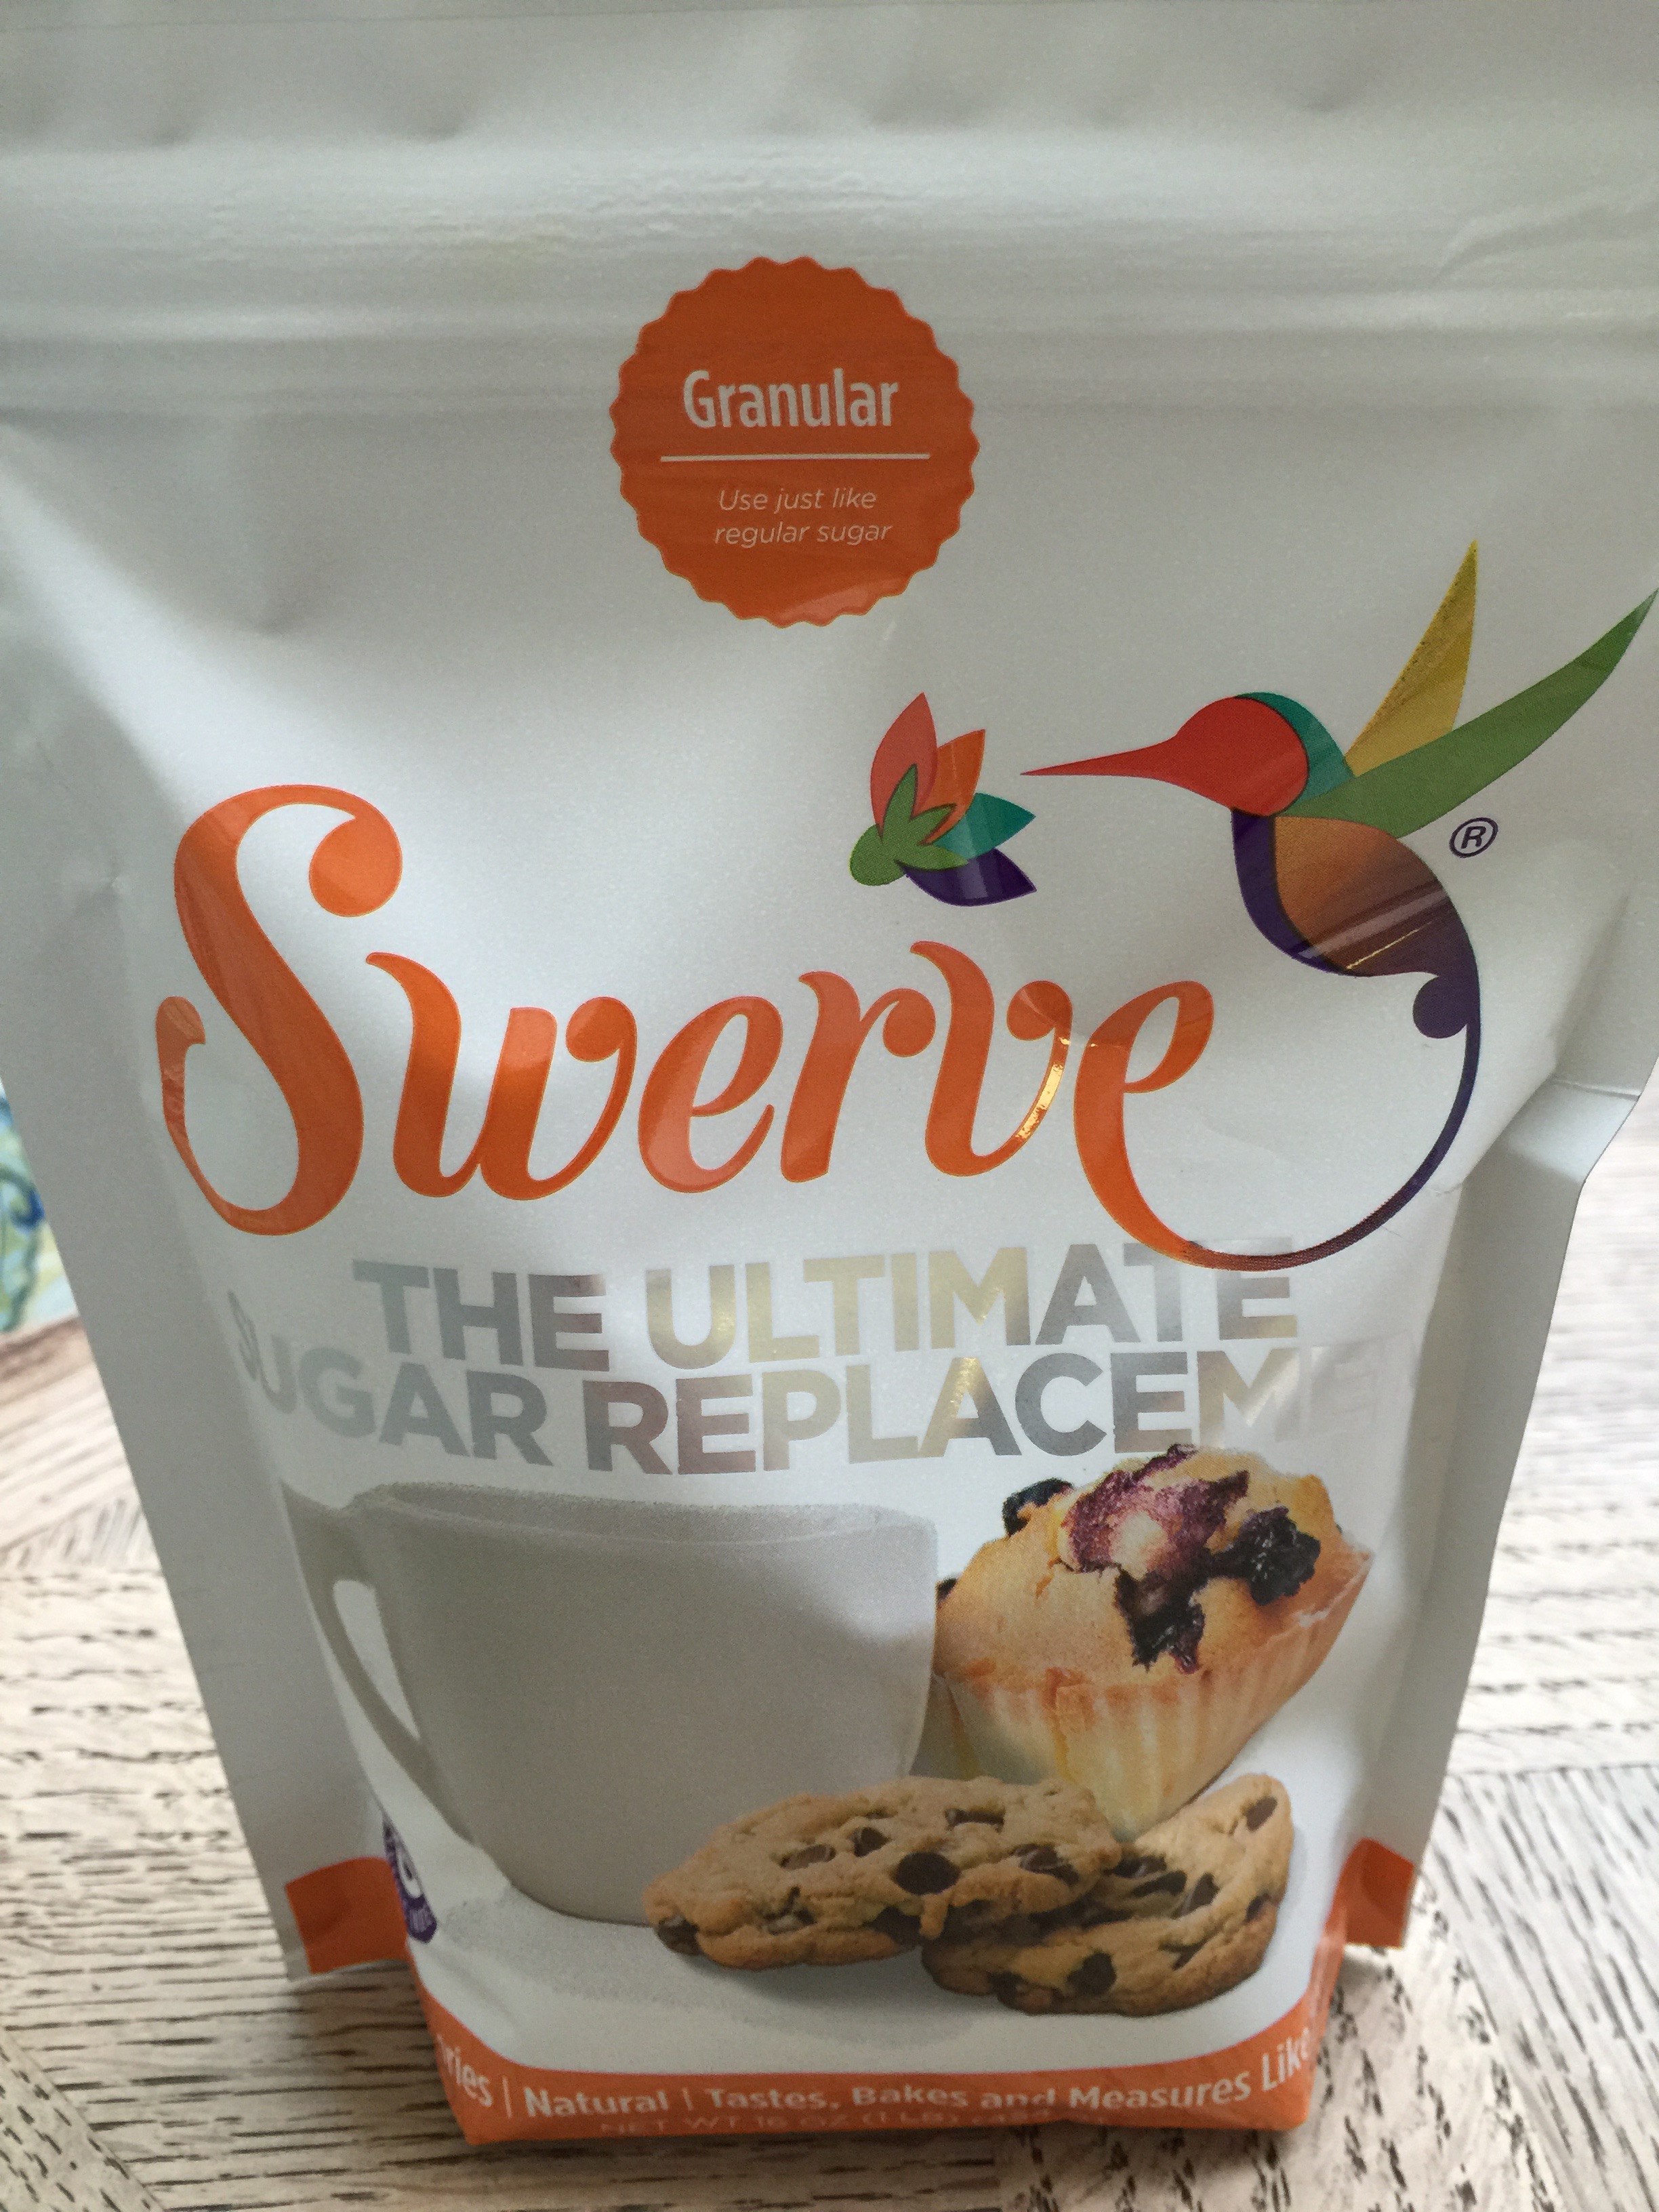
I will no longer eat anything with sugar, but have substituted it with Swerve and Stevia. I am also going to try chicory root in the near future too! The following recipe uses Swerve. Some, like my family, love Swerve and cannot tell the difference. I have heard others say they experience an aftertaste. I do sometimes taste sweet on my tongue when I drink water after eating something that was made with this substitute. Overall, I think it is a great sweetener with no glycemic effect, no GMOs, and no digestive effects like Xylitol can have on some individuals. It is all natural made with Erythritol, and is diabetes friendly and gluten free. Another great component is that it measures just like sugar so you can use it in your old recipes when sugar is the only substitution needed. It is great for us Ketoers.
We will do a post soon on all sweeteners, but Swerve is my primary go-to. It can be purchased at Whole Foods, Sprouts, and other health food stores, or online. Even Amazon has it, and we have it in our Amazon store here. There are two different kinds. One is granular like white sugar (orange package), and the other is Confectioners Style (purple package) which is more like powdered sugar. I use Confectioners in this one.
The Granular is great for anything baked, but can get grainy when refrigerated.
That being said, any time I make something cold, I use the Confectioners Style.
Without further ado, here is a scrumptious recipe for you to try that is perfect for summer!
1/2 cup Key Lime juice (Yes, it makes a difference – this part is time consuming so take that into account)
Instructions:
Preheat oven to 350 degrees, and grease a 9×13 pyrex baking dish with butter or coconut oil. Grease well!
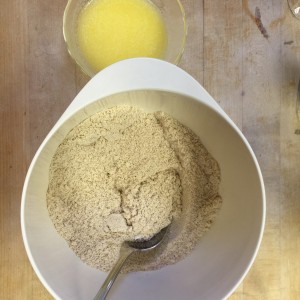
Combine your almond flour, 1/2 cup of Swerve granular, cinnamon and melted butter. I use my hands to really combine well because it is a thick crust-like consistency.
Press all the crust evenly into your baking dish or use a mini muffin pan with liners to make mini cheesecakes.
Bake the crust for 8 to 10 minutes.
For the filling:
In a large mixing bowl, beat your room temperature cream cheese until soft and fluffy.
Add your cup of Swerve confectioners, and vanilla. Continue to beat until well combined. Add your eggs, one at a time, beating in between each. Add your lime juice slowly, while beating constantly. It should be fairly runny and smooth.
Pour the mixture over your baked crust. Bake for 35 to 40 minutes until firm. (About 15-20 minutes for mini-muffins, but check because sizes can differ.) Cool completely, and then refrigerate for at least 2 hours, but preferably overnight.
Cut and enjoy. Serve with Keto whipped cream if you desire for a super rich dessert.
Note: This crust is delicious, but can be crumbly so use a very sharp knife and a spatula to remove from dish.
Yesterday, Erin posted about air travel, and relatives or friends preparing for your visit. Summer also means road trips, and we do quite a few! The Lutz clan just returned from the Texas coast. I knew after a busy school year, that I wanted it to be a relaxing time for the family. As much as I love to cook, I didn’t want to be running upstairs, while the rest of the family played in the pool, just to start dinner. I also know that my kitchen at home is much more stocked than any vacation home on the planet – and I am not one that likes to be without my kitchen tools. It is just so much faster and more efficient to have the right tools! You can find many of the tools we use in our store. The best thing to do is prepare in advance!!!
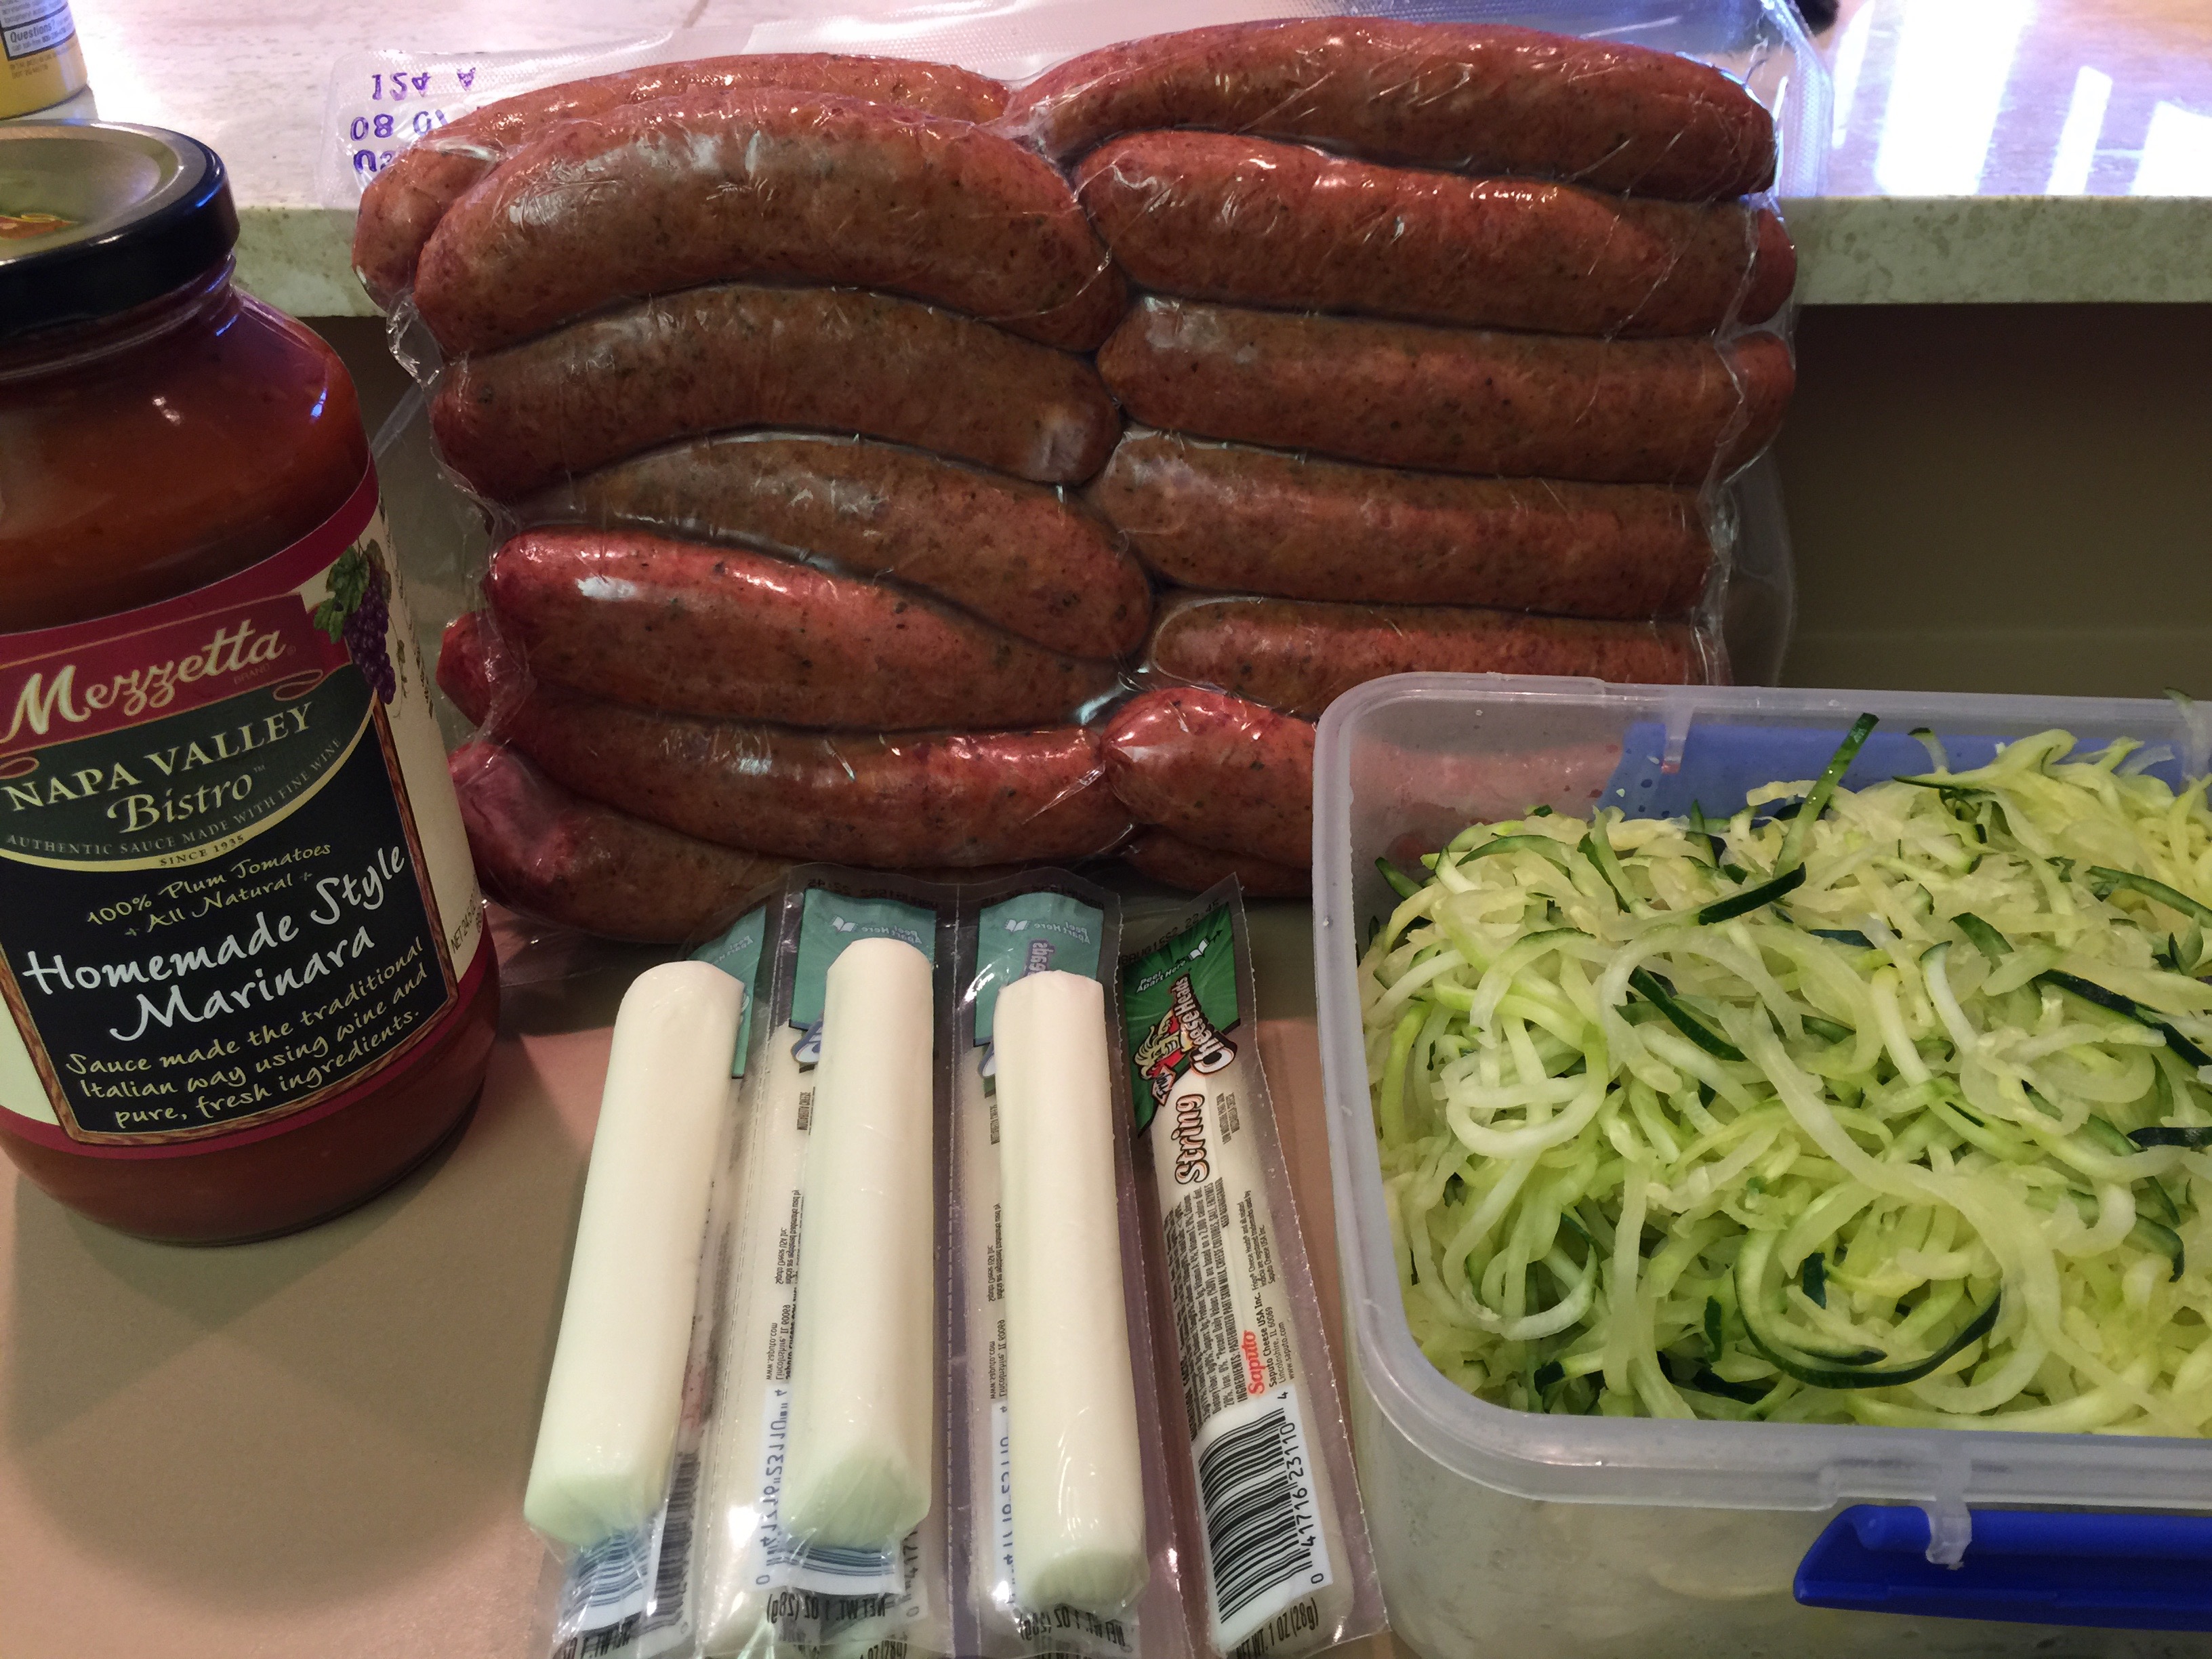
There are a few staples we always take along with us (coconut oil, a spinner, cream, eggs, and Kerrygold), and several meals that are easy to prepare and freeze for easy travel that have become our “summer road trip meals”. It takes a little planning, but it is totally worth it, to prep some food before you go. I start making a list about a week before we leave, so I can do my grocery runs and start prepping! A few of the things I did before we left were:
1. Spiraled some zucchini for noodles, and packed in a airtight container. Spaghetti is a super easy meal to throw together in a pinch. I took some precooked sausage that I boiled to throw on top with my favorite low-carb pasta sauce. Normally, I would top with shredded mozzarella or parmesan, but I forgot the shredded cheese. We did have string cheese, so for those that wanted cheese atop their spaghetti, I just pulled some strings off the string cheese. Along with a salad, topped with avocado, we had a meal in a flash.
2. I used my Cuisinart to make Cauliflower rice in about 2 minutes. I put it in a Ziplock bag as flat as possible for easy packing, and freeze. This freezes so well, and then all you have to do is defrost, throw on a cookie sheet for about 25 minutes and you have rice ready to go. Serve with fish (you catch) or I used a chicken curry and broccolini that I had in the fridge. Another well-balanced meal!
3. Pack those frozen casseroles you have made when you have extra ingredients. I had a frozen zucchini lasagna made from extra ingredients when I made one recently for dinner. Defrost, throw in the oven, and dinner is ready in 40 minutes – no cooking or dirty dishes!
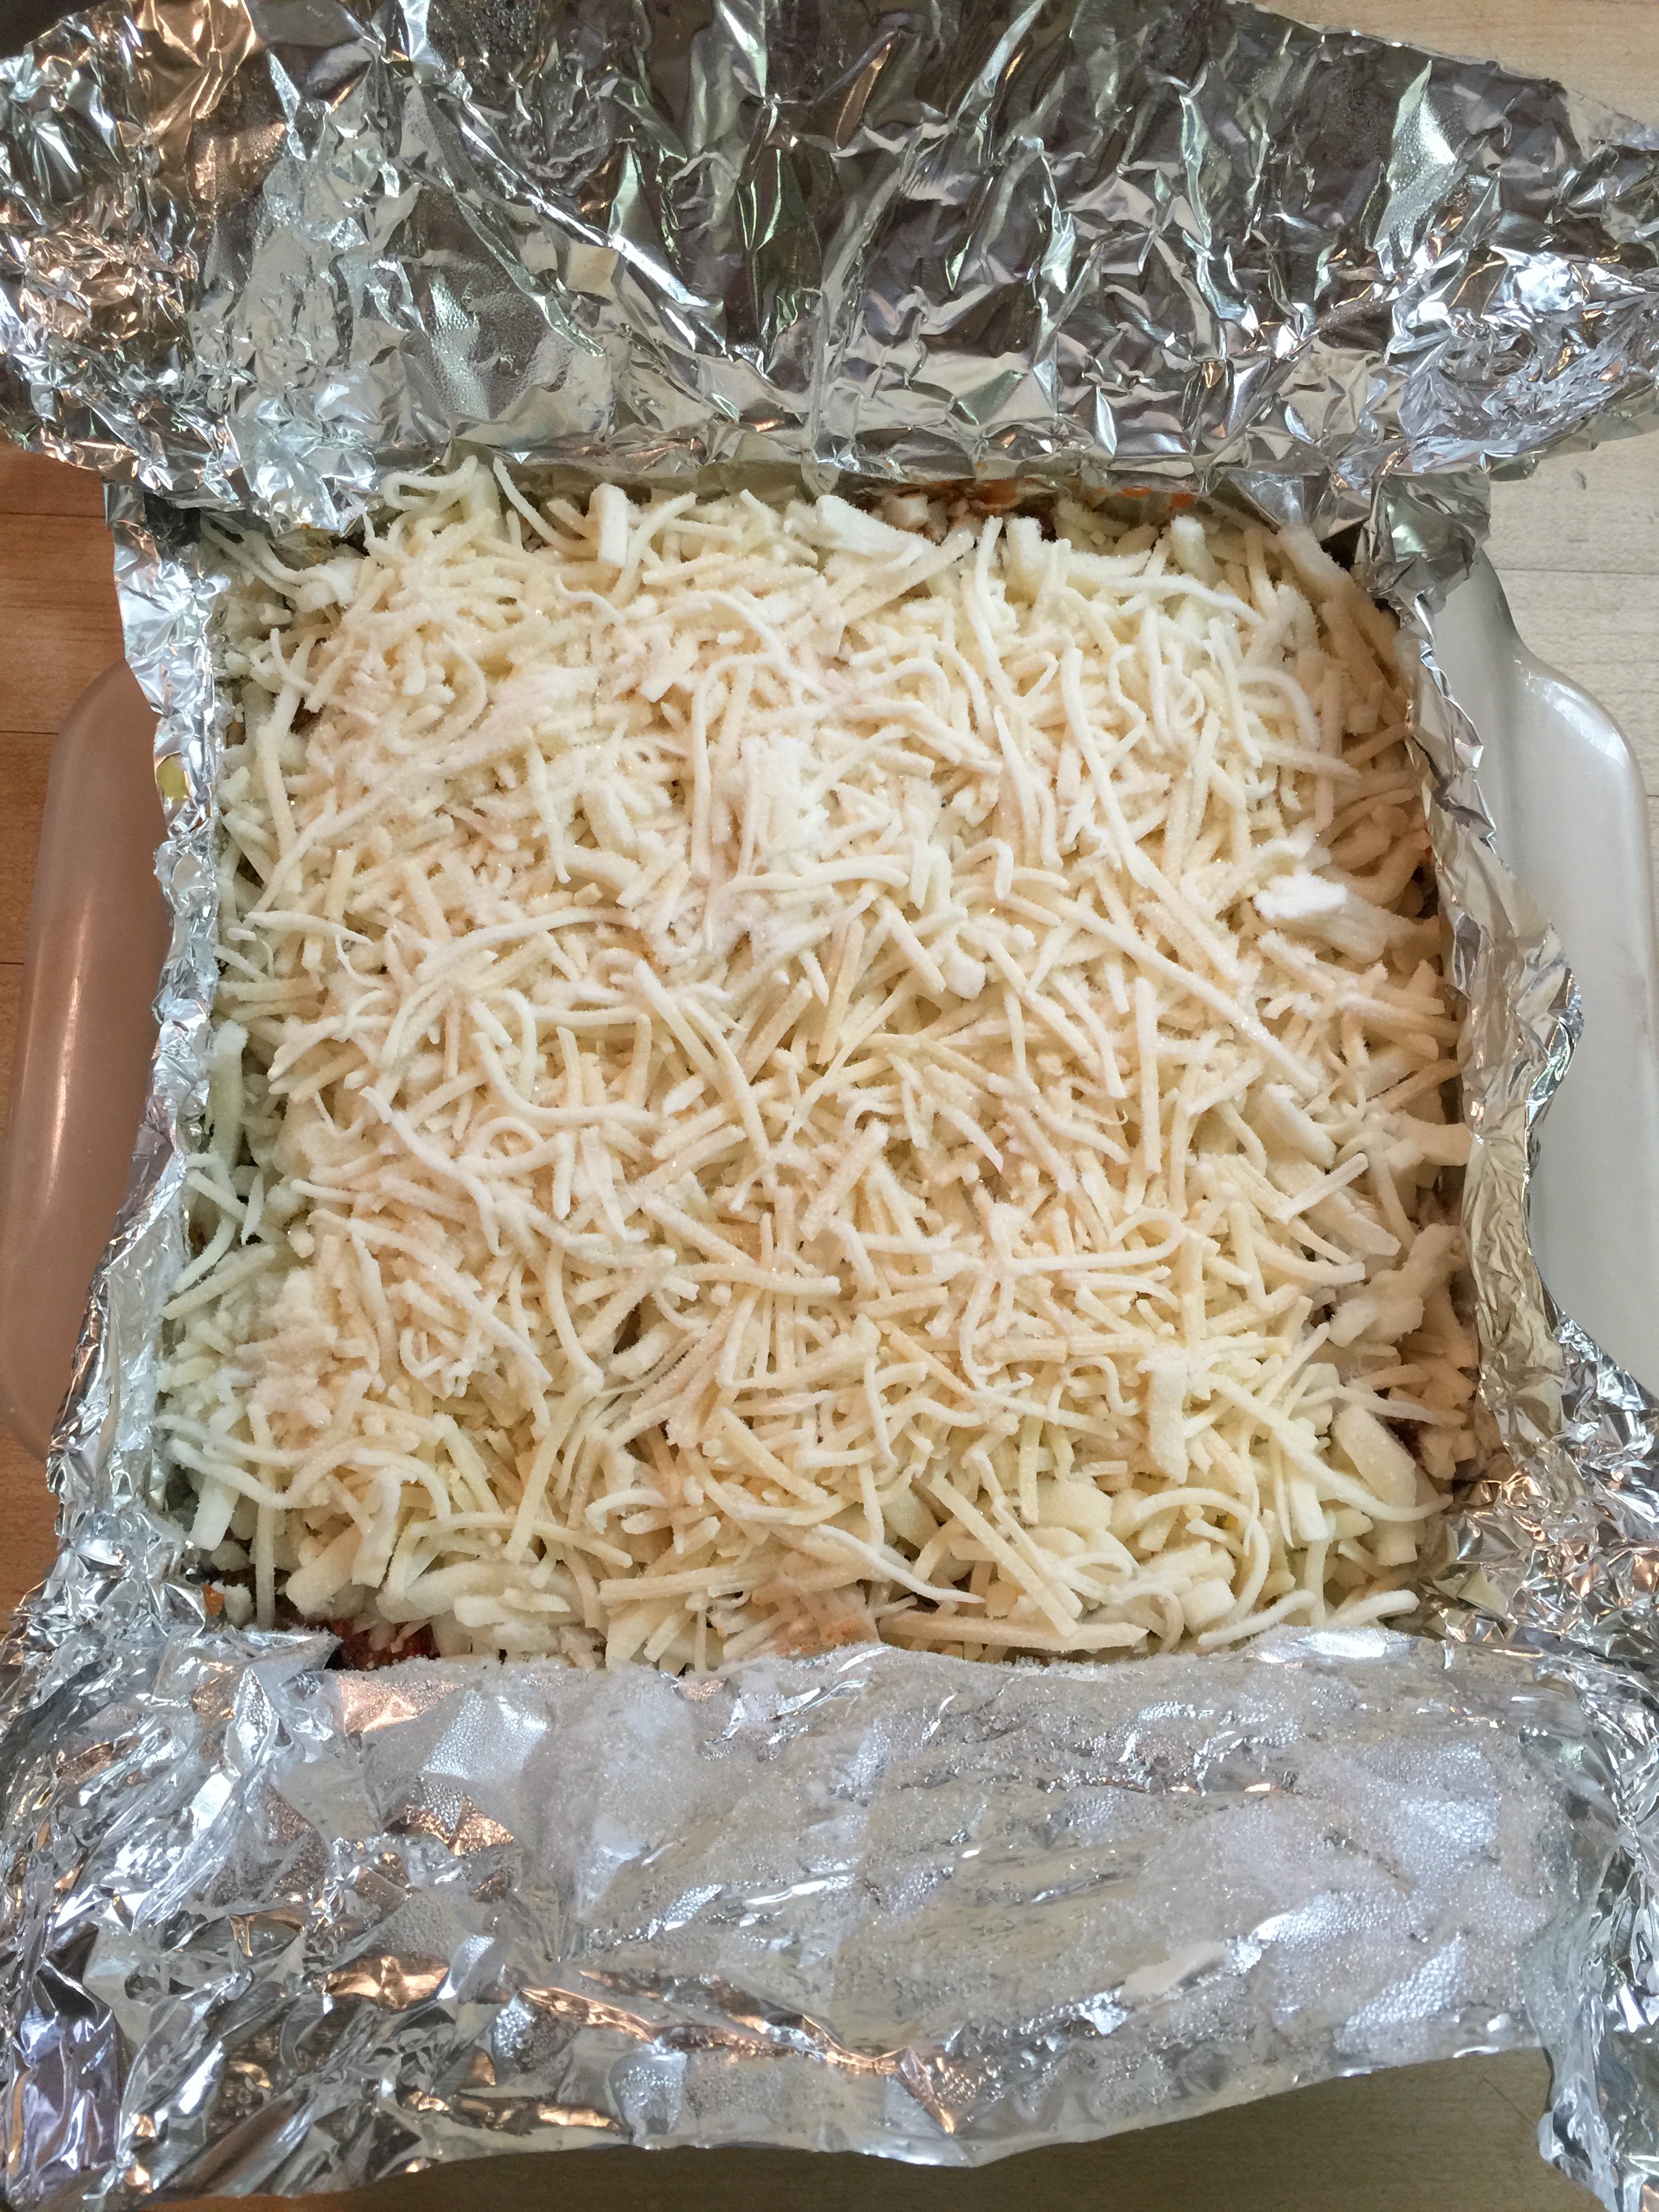
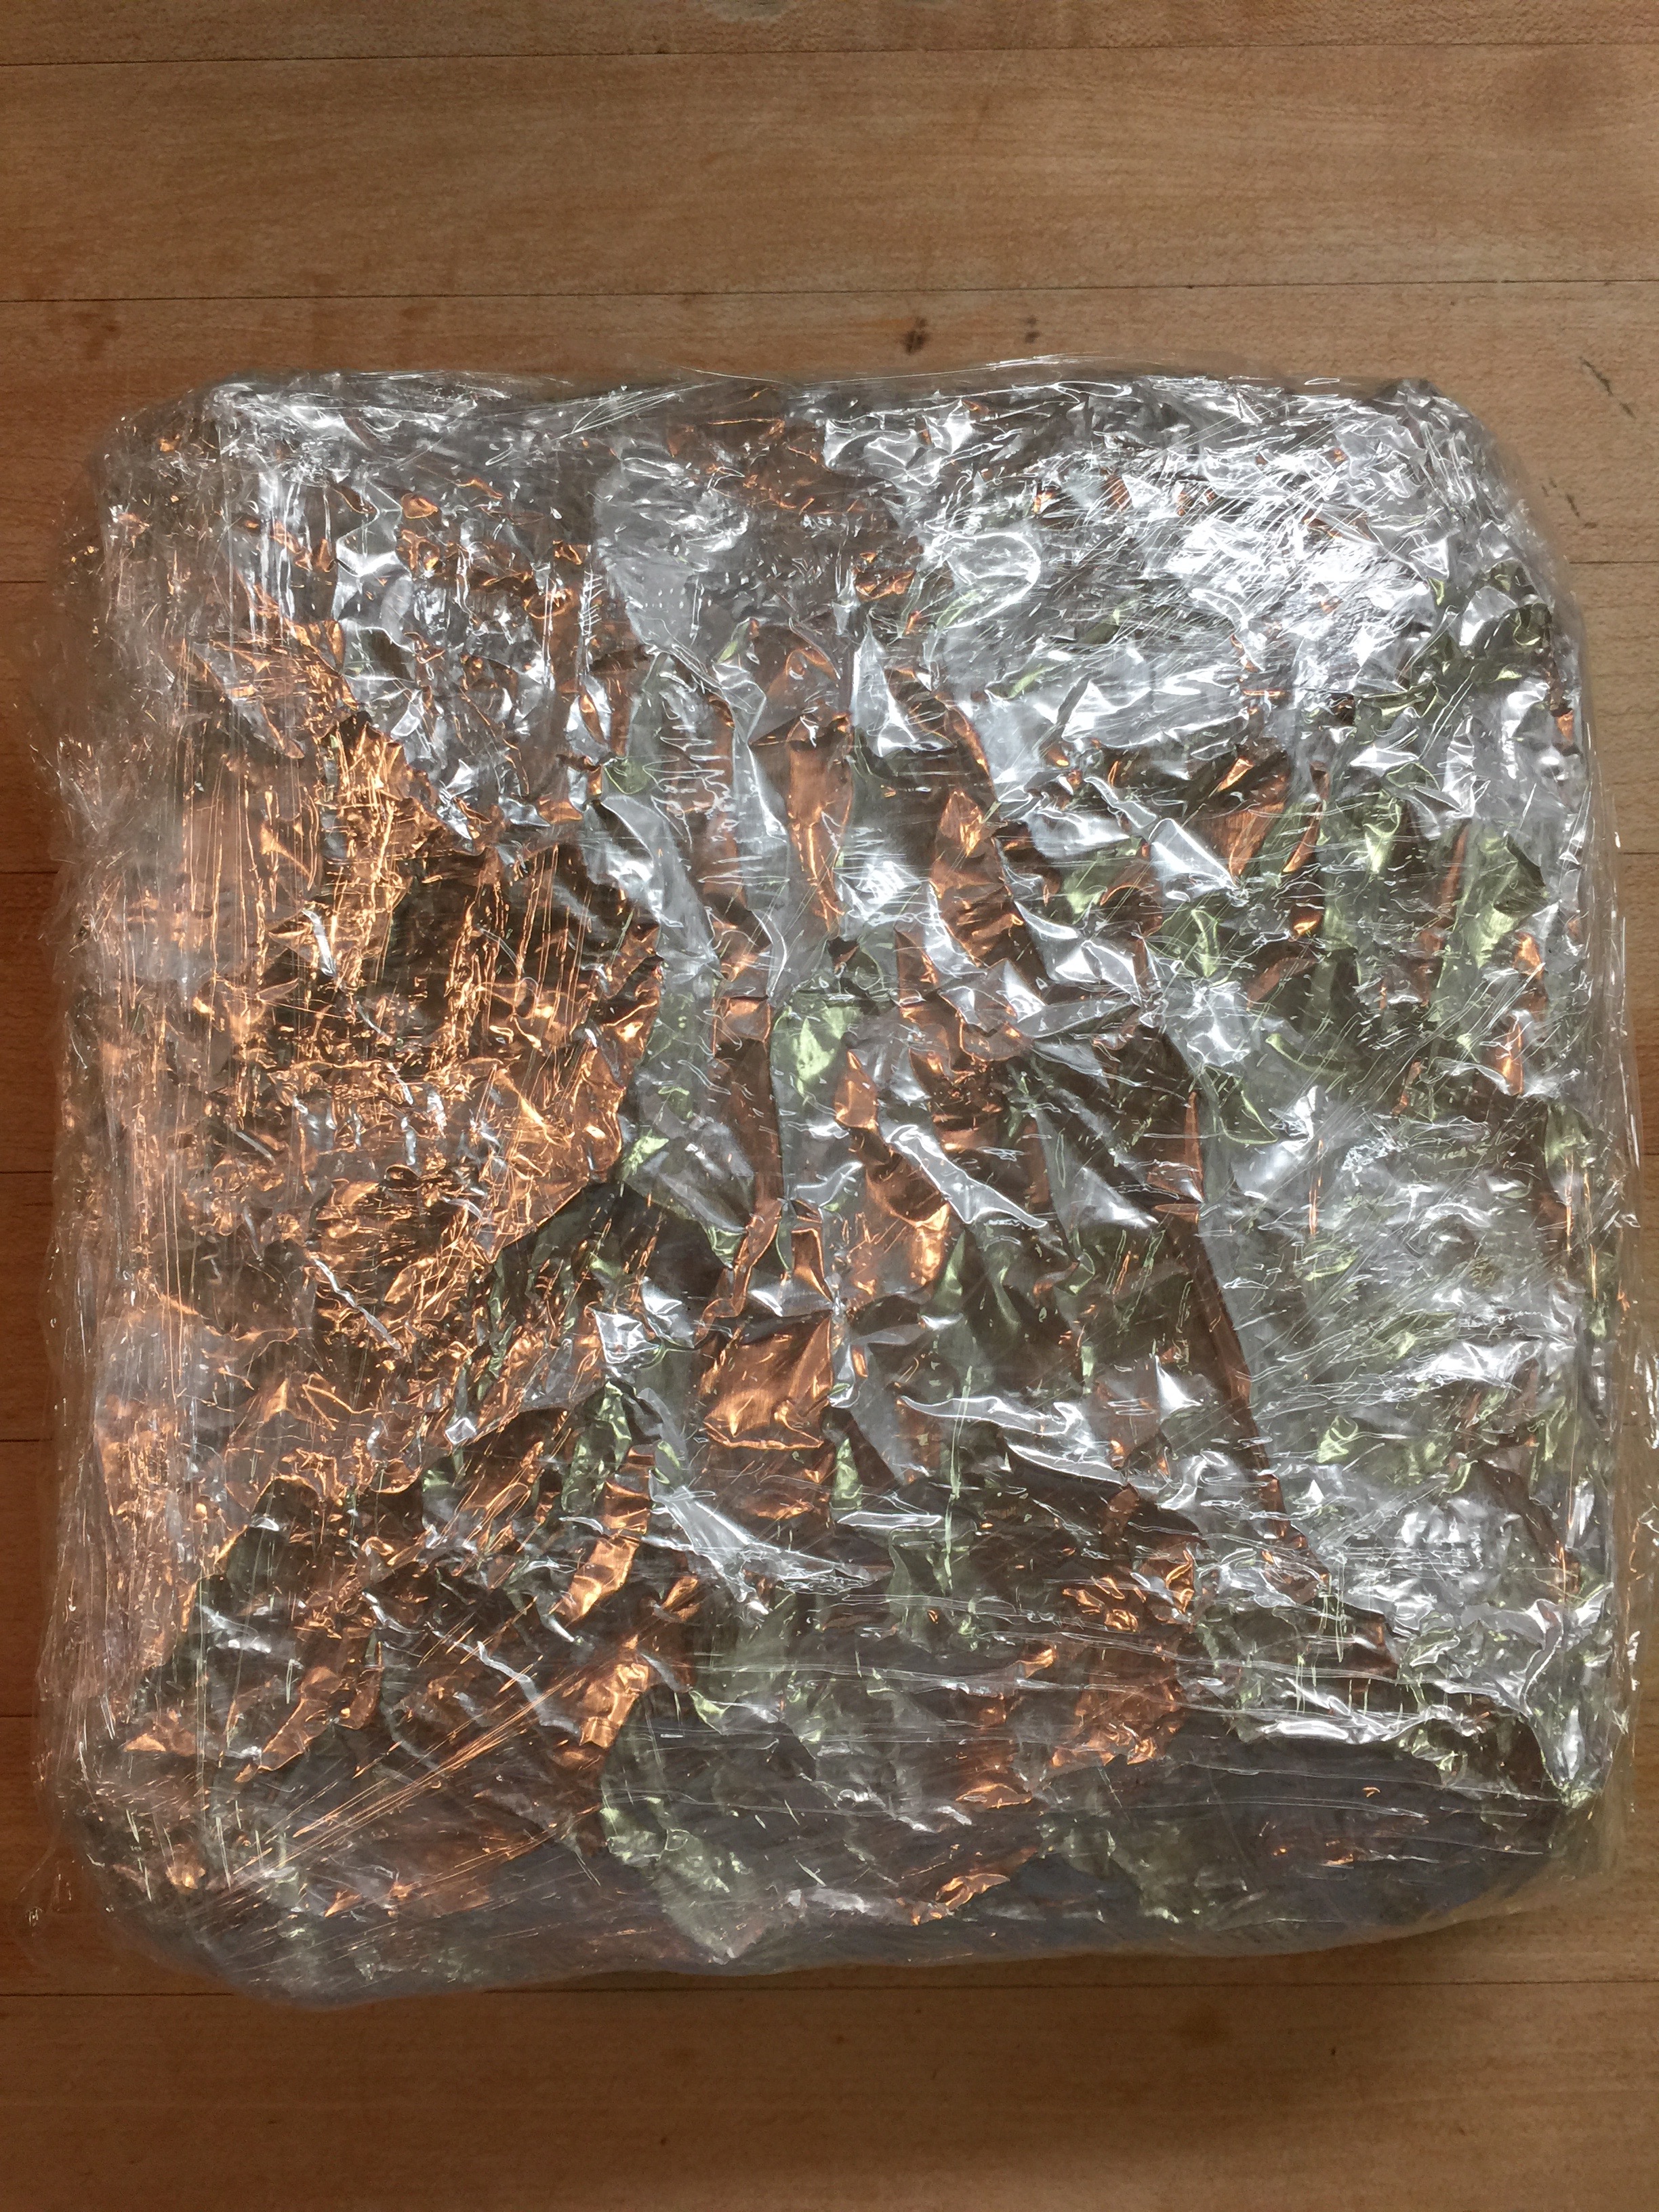
One trick I use for freezing is to line an 8×8 pyrex with heavy duty foil before I start layering lasagna or any other casserole. I wrap it up and freeze in the dish. Once frozen, I lift the whole thing out of the Pyrex and wrap in Saran very well. Now you have a brick of food that is easy to pack in the ice chest and don’t risk leaving your dish away from home. When you are ready to cook it, remove the plastic wrap and defrost in an 8×8 dish. Almost any condo or vacation home has an 8×8 pyrex or metal pan I have noticed. You can cook it in the foil in which it was wrapped. Check out this link at Southern Living for step by step freezing directions.
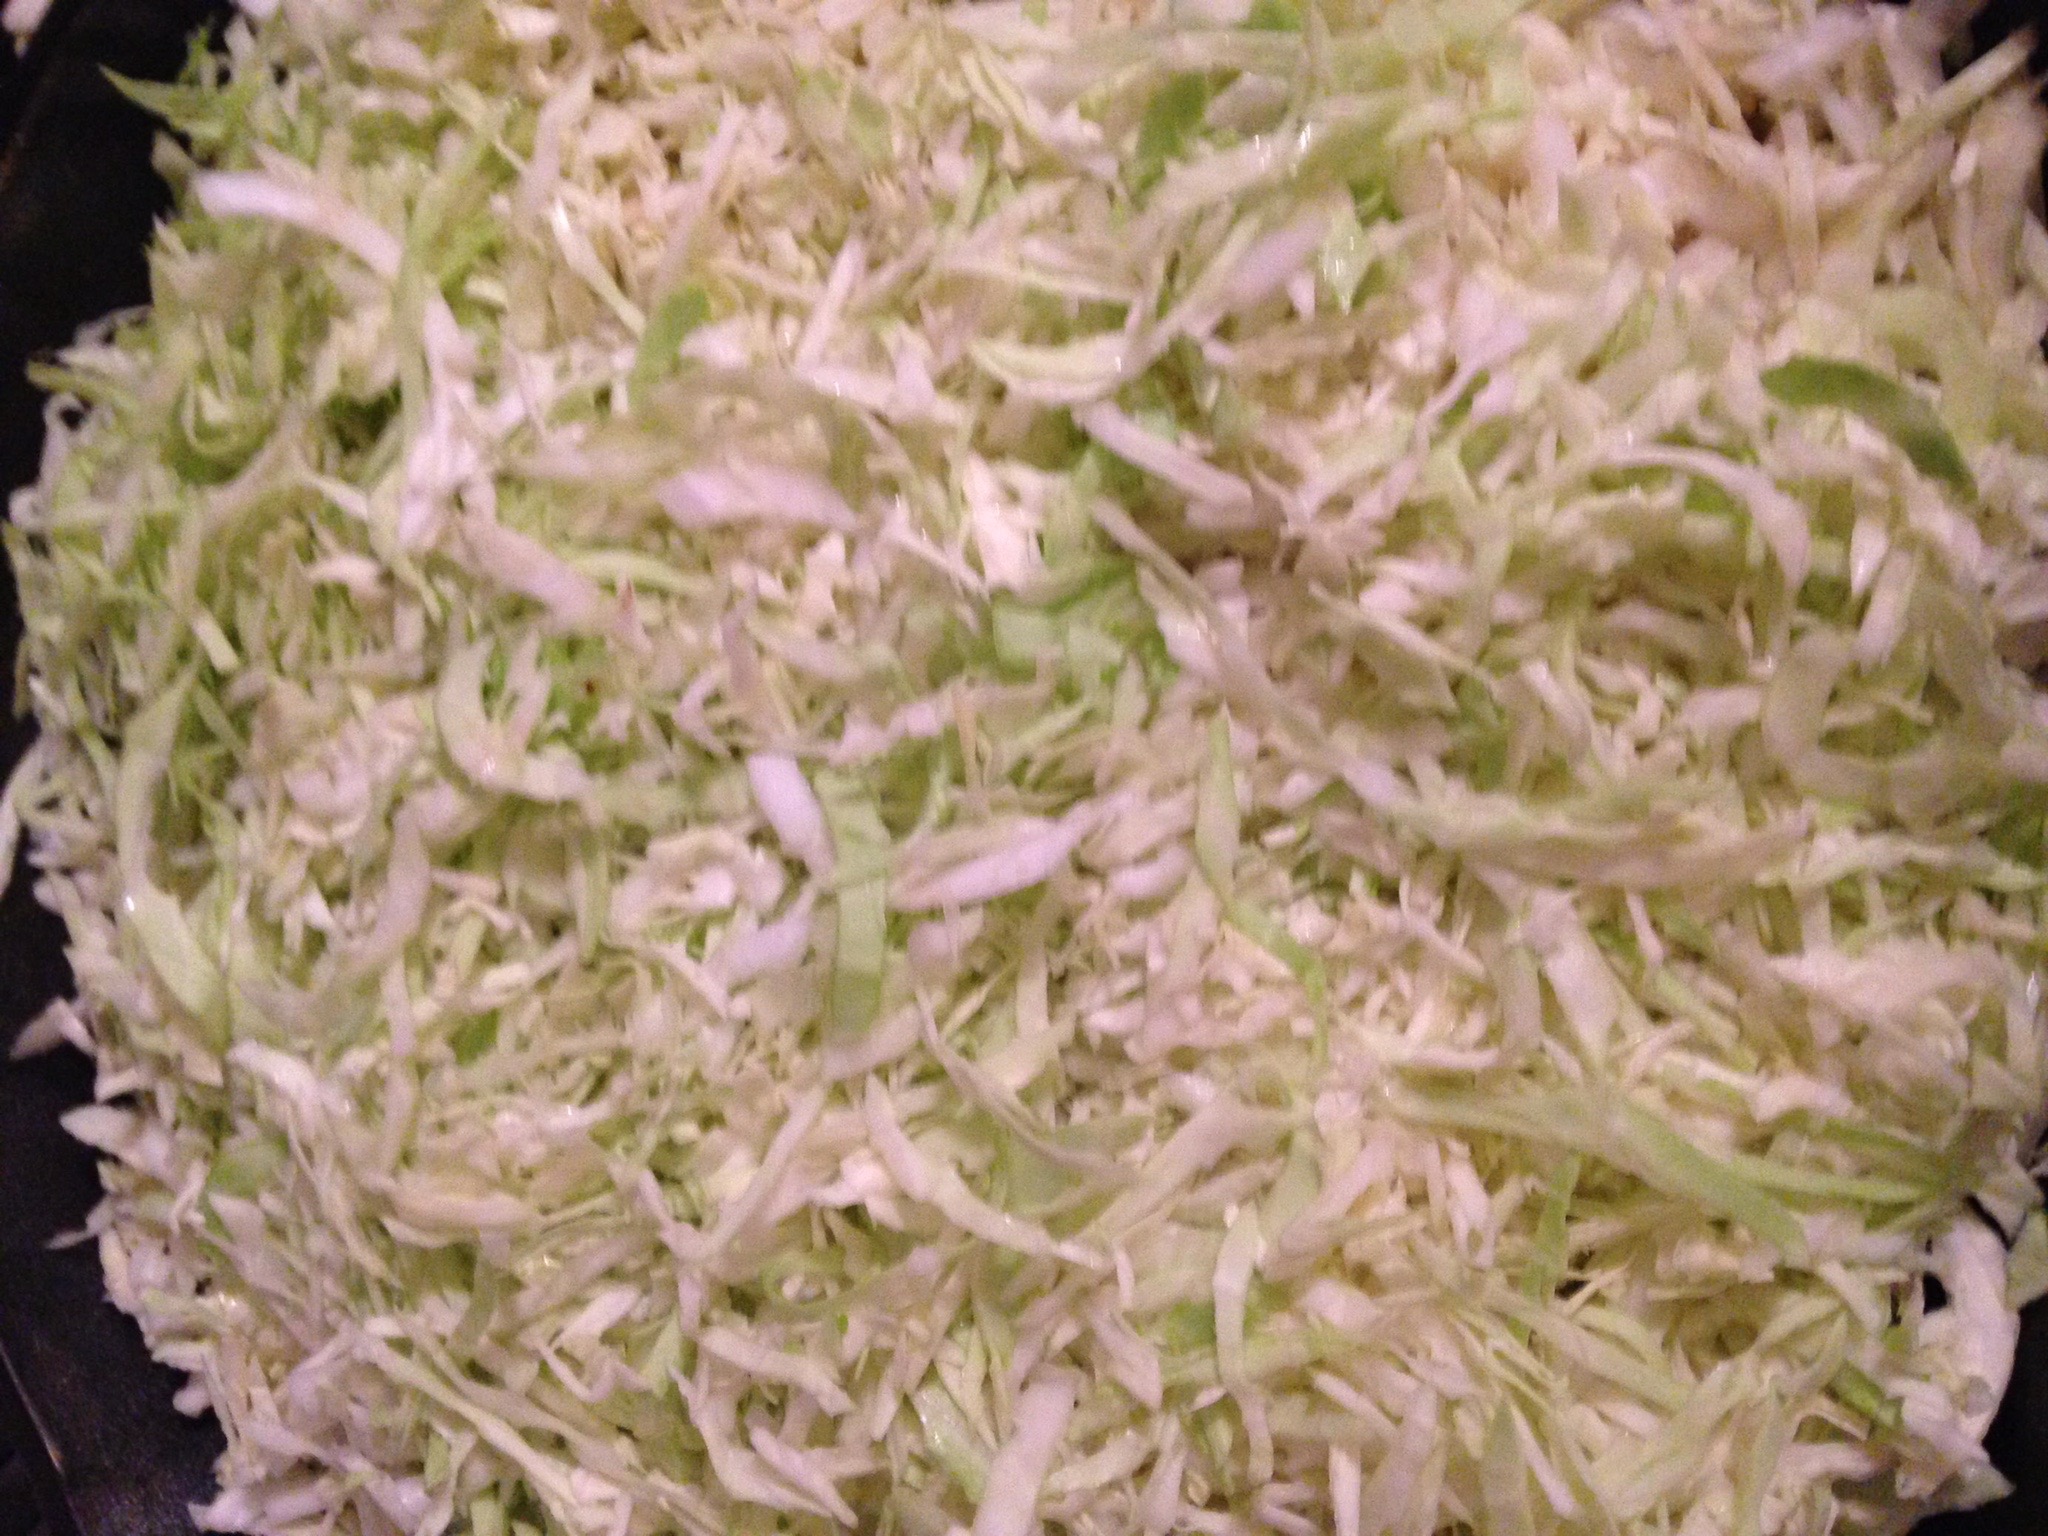
4. Another easy meal is precooked Bar-B-Que. I bought a precooked whole brisket which gave us dinner, a few lunches and dinner ready to microwave when we returned home. My trick for this is easy – save your bacon grease from breakfast when you cook on a foil lined cookie sheet. Yes! You can leave it out all day – I promise it will be fine! I plop that slab of meat in the grease, wrap it in extra foil, and you will have the juiciest pre-cooked meat you can imagine. I shredded cabbage before I left home and cooked it with bacon, onion and garlic. Store in an airtight container, and this re-heats better than any other veggie and is so good for you. We will be sharing this recipe soon! It is an excellent accompaniment to Bar-B-Que. This is the shredded cabbage before I cooked it!
5. I made another casserole that I had in the freezer that was similar to Chicken Divan like most of our mothers used to make. It’s the one with chicken, broccoli and cheese in a creamy curry sauce. The original recipe is almost Keto, but I change out the canned soups for more mayo, lemon, broth, and cream. Top with lots of cheese and you have a winner, winner, chicken dinner. I always serve with a side salad. Add the avocado my friends!
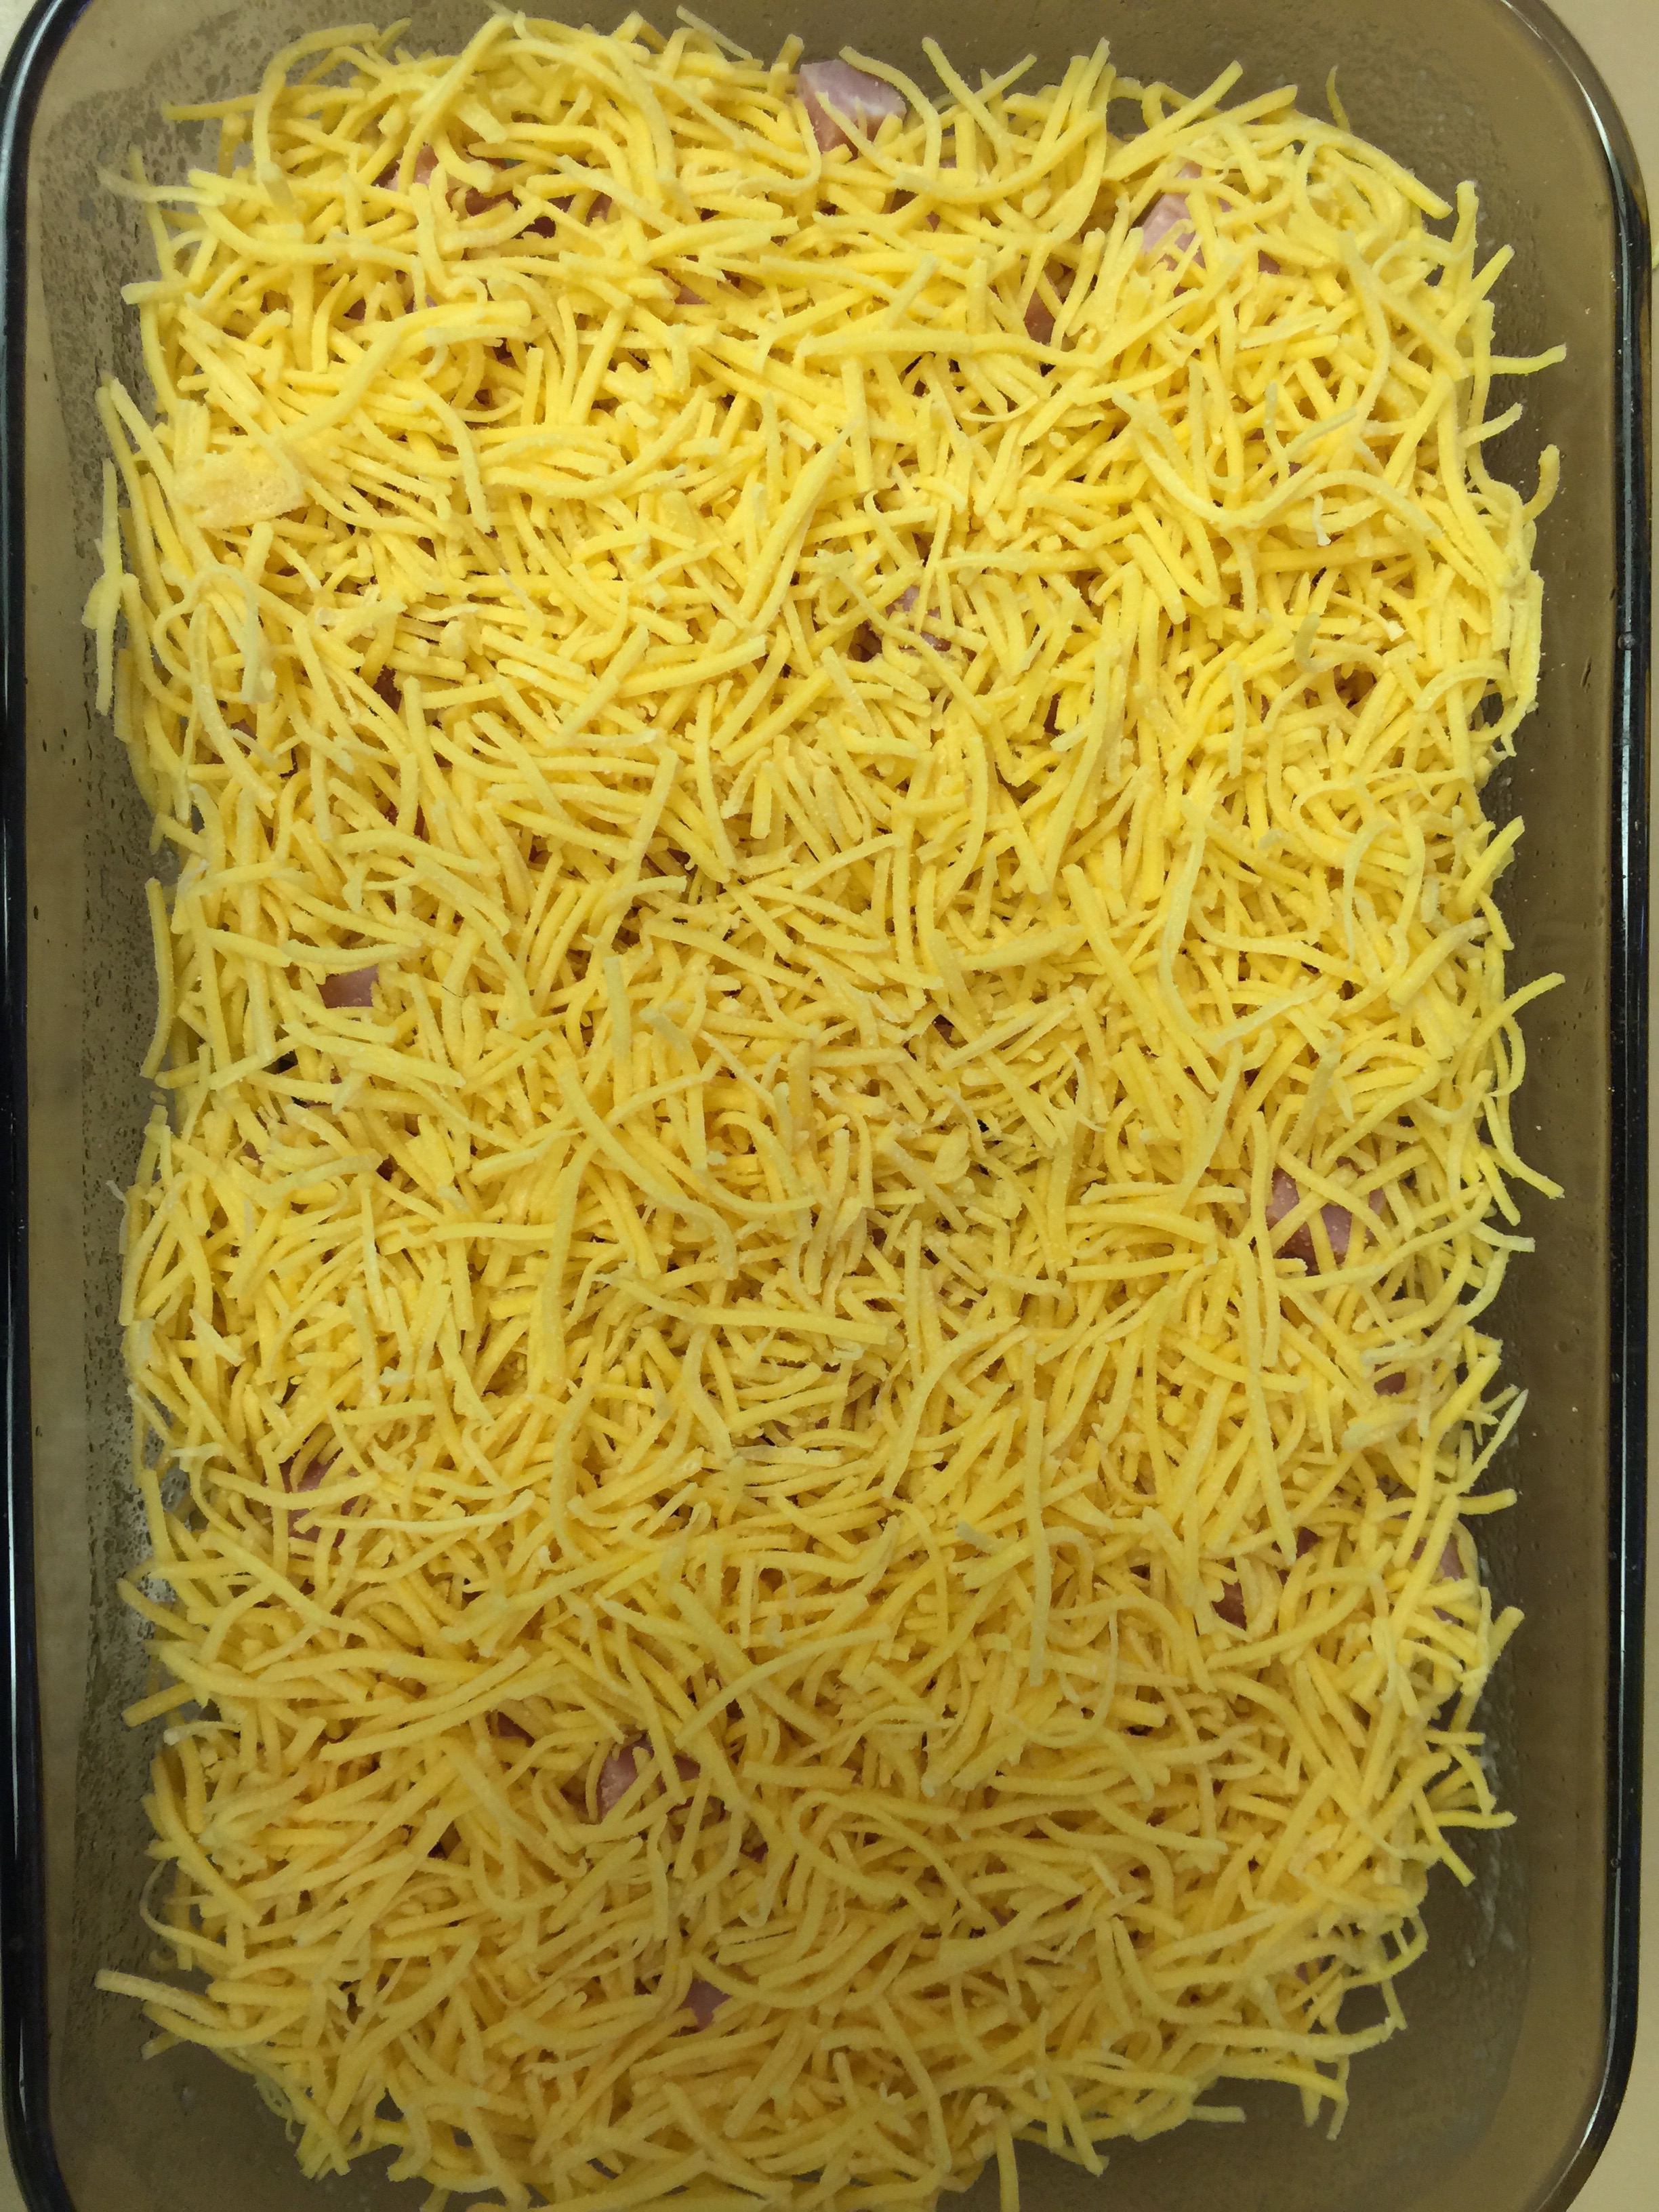
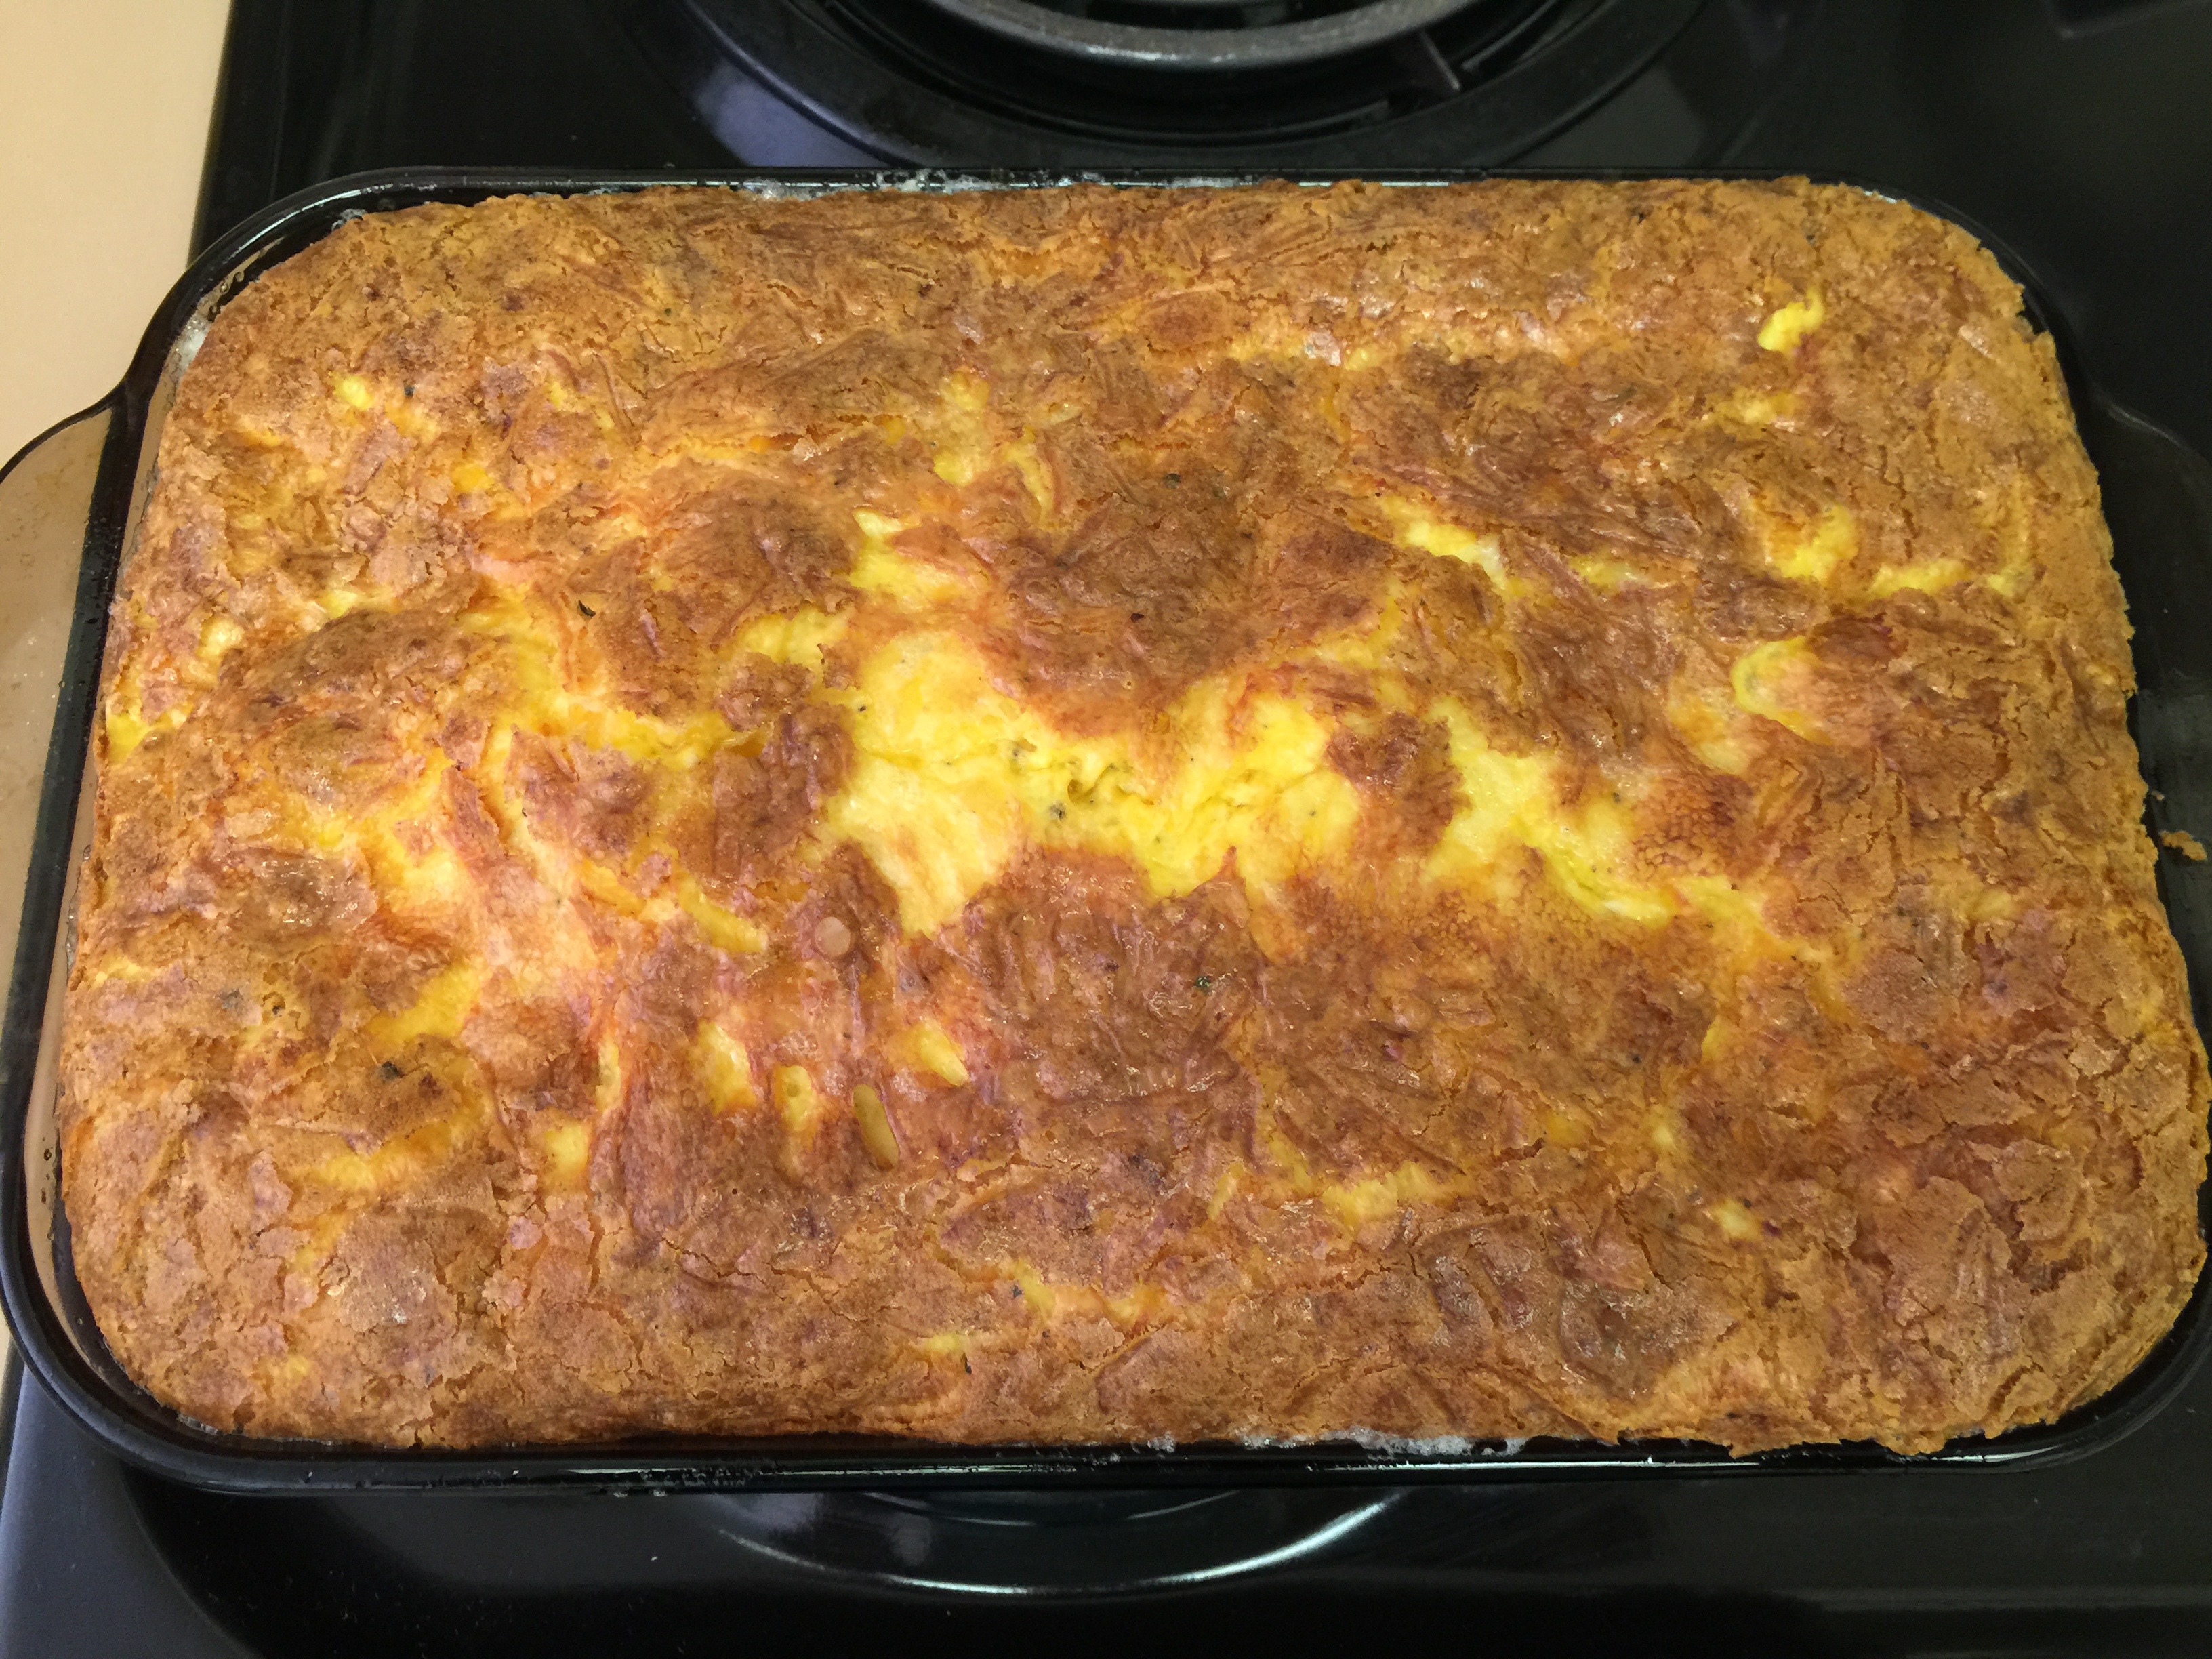
6. Generally we have scrambled or poached (yes, I take my poacher) eggs and bacon for breakfast. Check out our amazon store to see my poacher. Sometimes I mix in chorizo with the scrambled eggs to change it up. Last time I made a quiche at home, my kids requested ham and cheese, so I decided to do this ahead since the boys were playing golf early the next morning. It made for a quick breakfast with no clean up. I sprayed a casserole dish with Coconut Oil spray, cubed some ham, topped with cheddar cheese, and mixed 8 eggs with 1 1/2 cups of cream and garlic salt and pepper (go light on the salt for once on this one because the ham and cheese are already salty.) Poor the egg mixture over the ham and cheese and store in the fridge overnight topped with saran. In the morning when everyone is rising, remove the saran and pop it in the oven at 350 degrees for about an hour. This gave us two easy morning meals that were very filling, and the kids gobbled it up!
7. We had tons of left-overs at this point, so we served buffet style one night, and also at lunch if we weren’t making lettuce wraps for the beach.
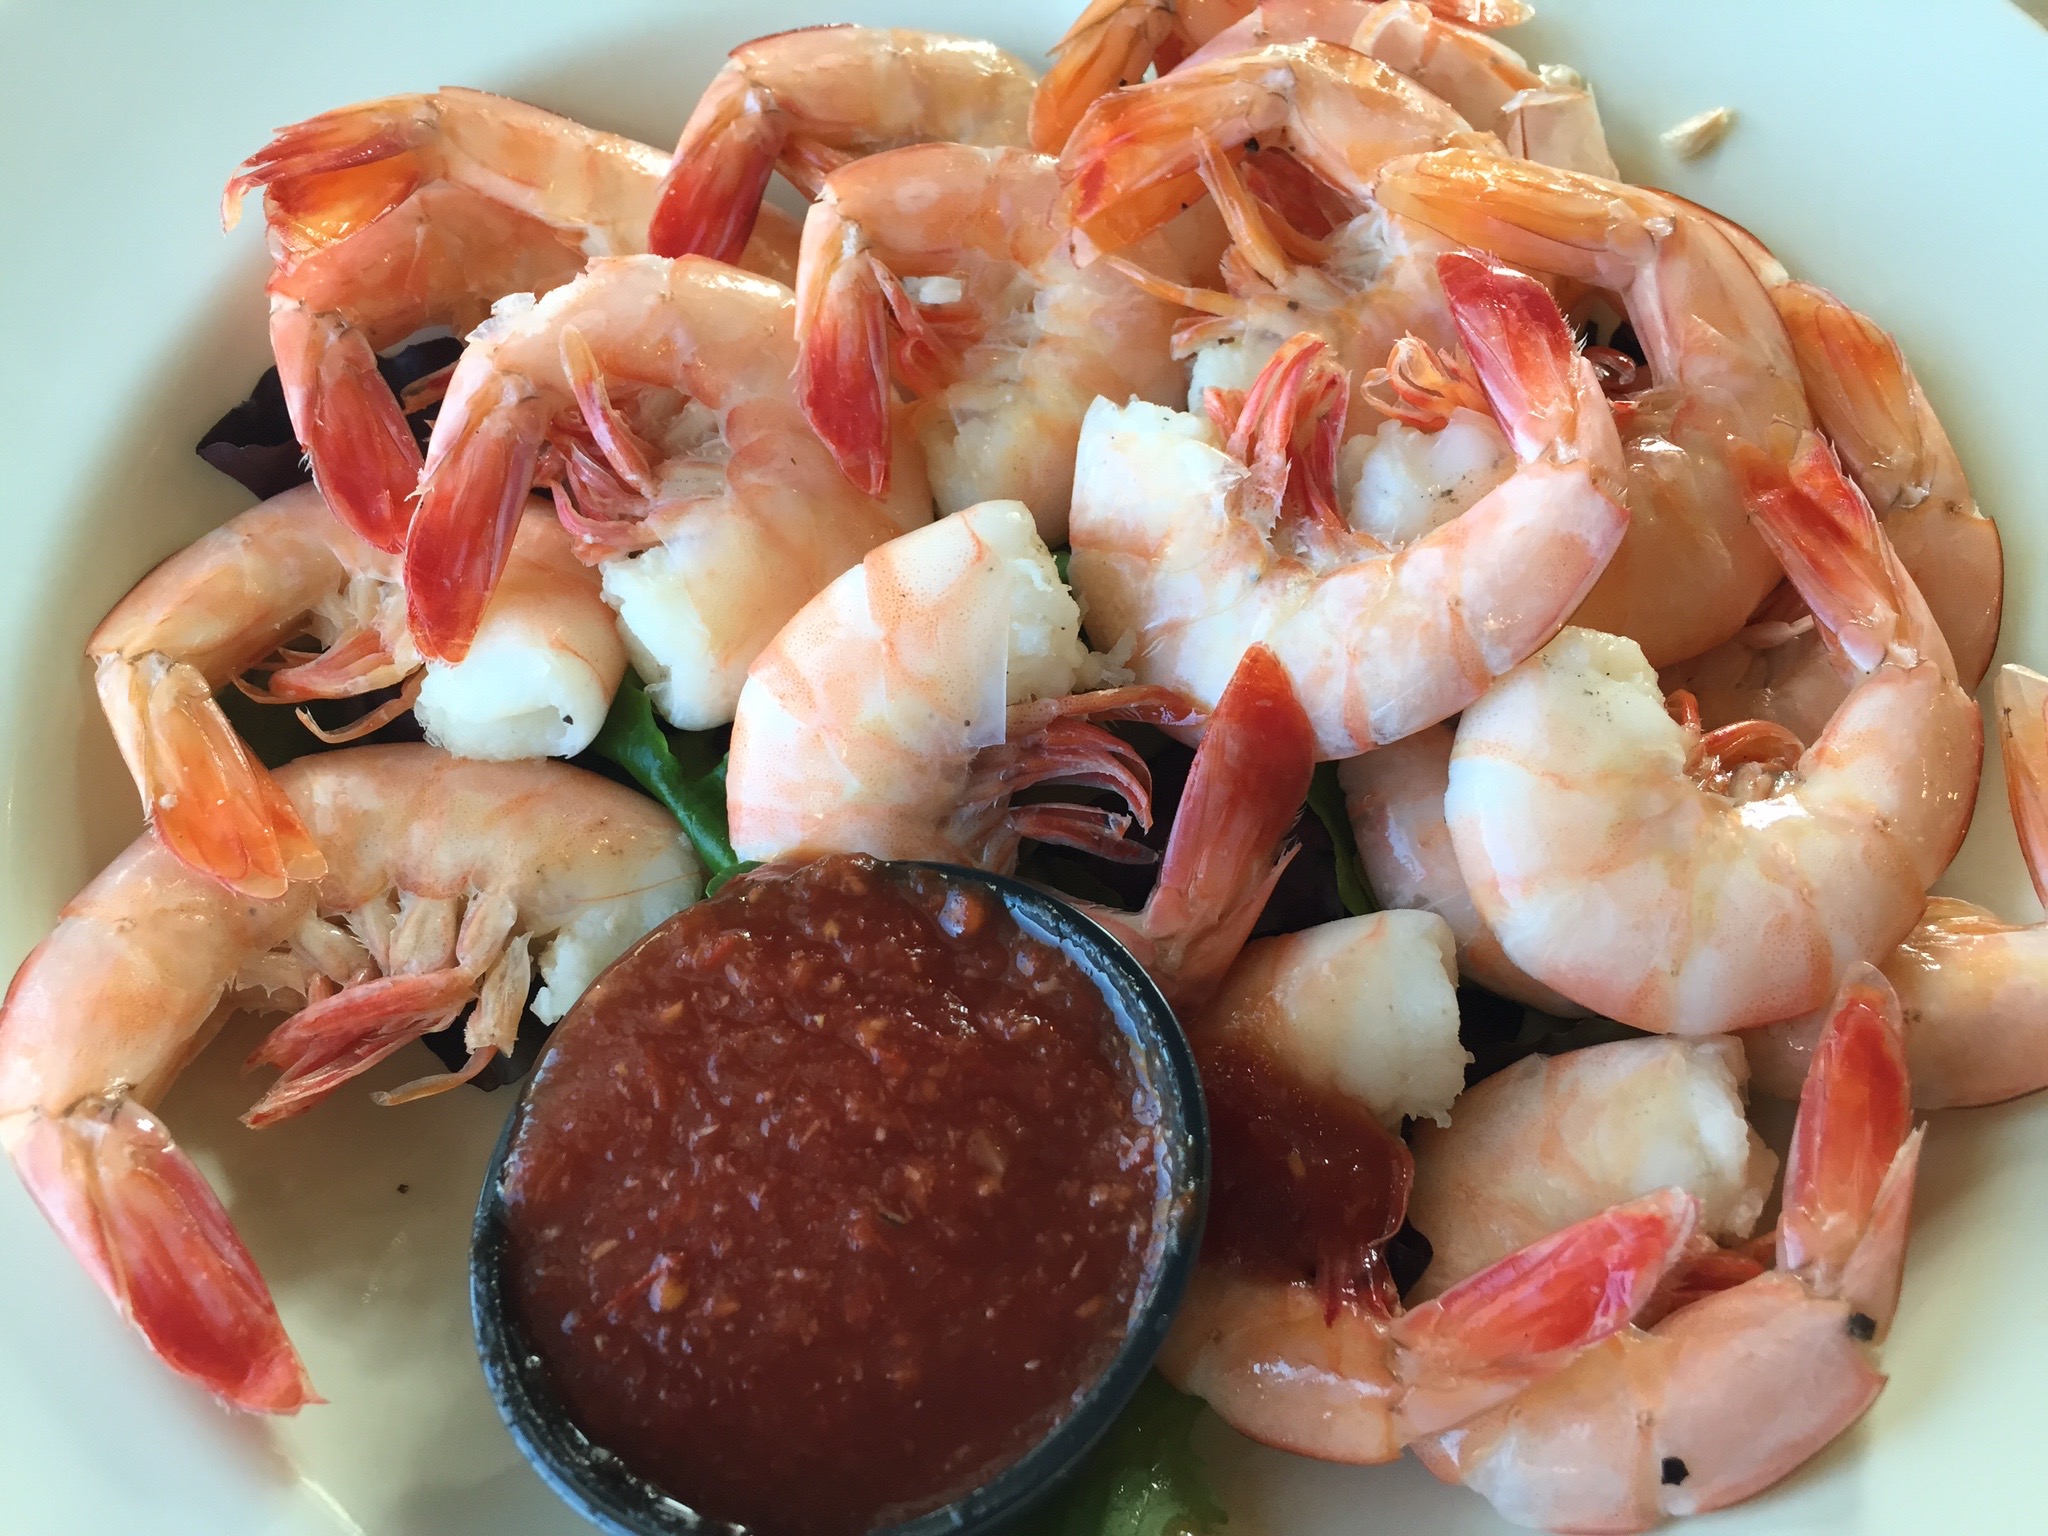
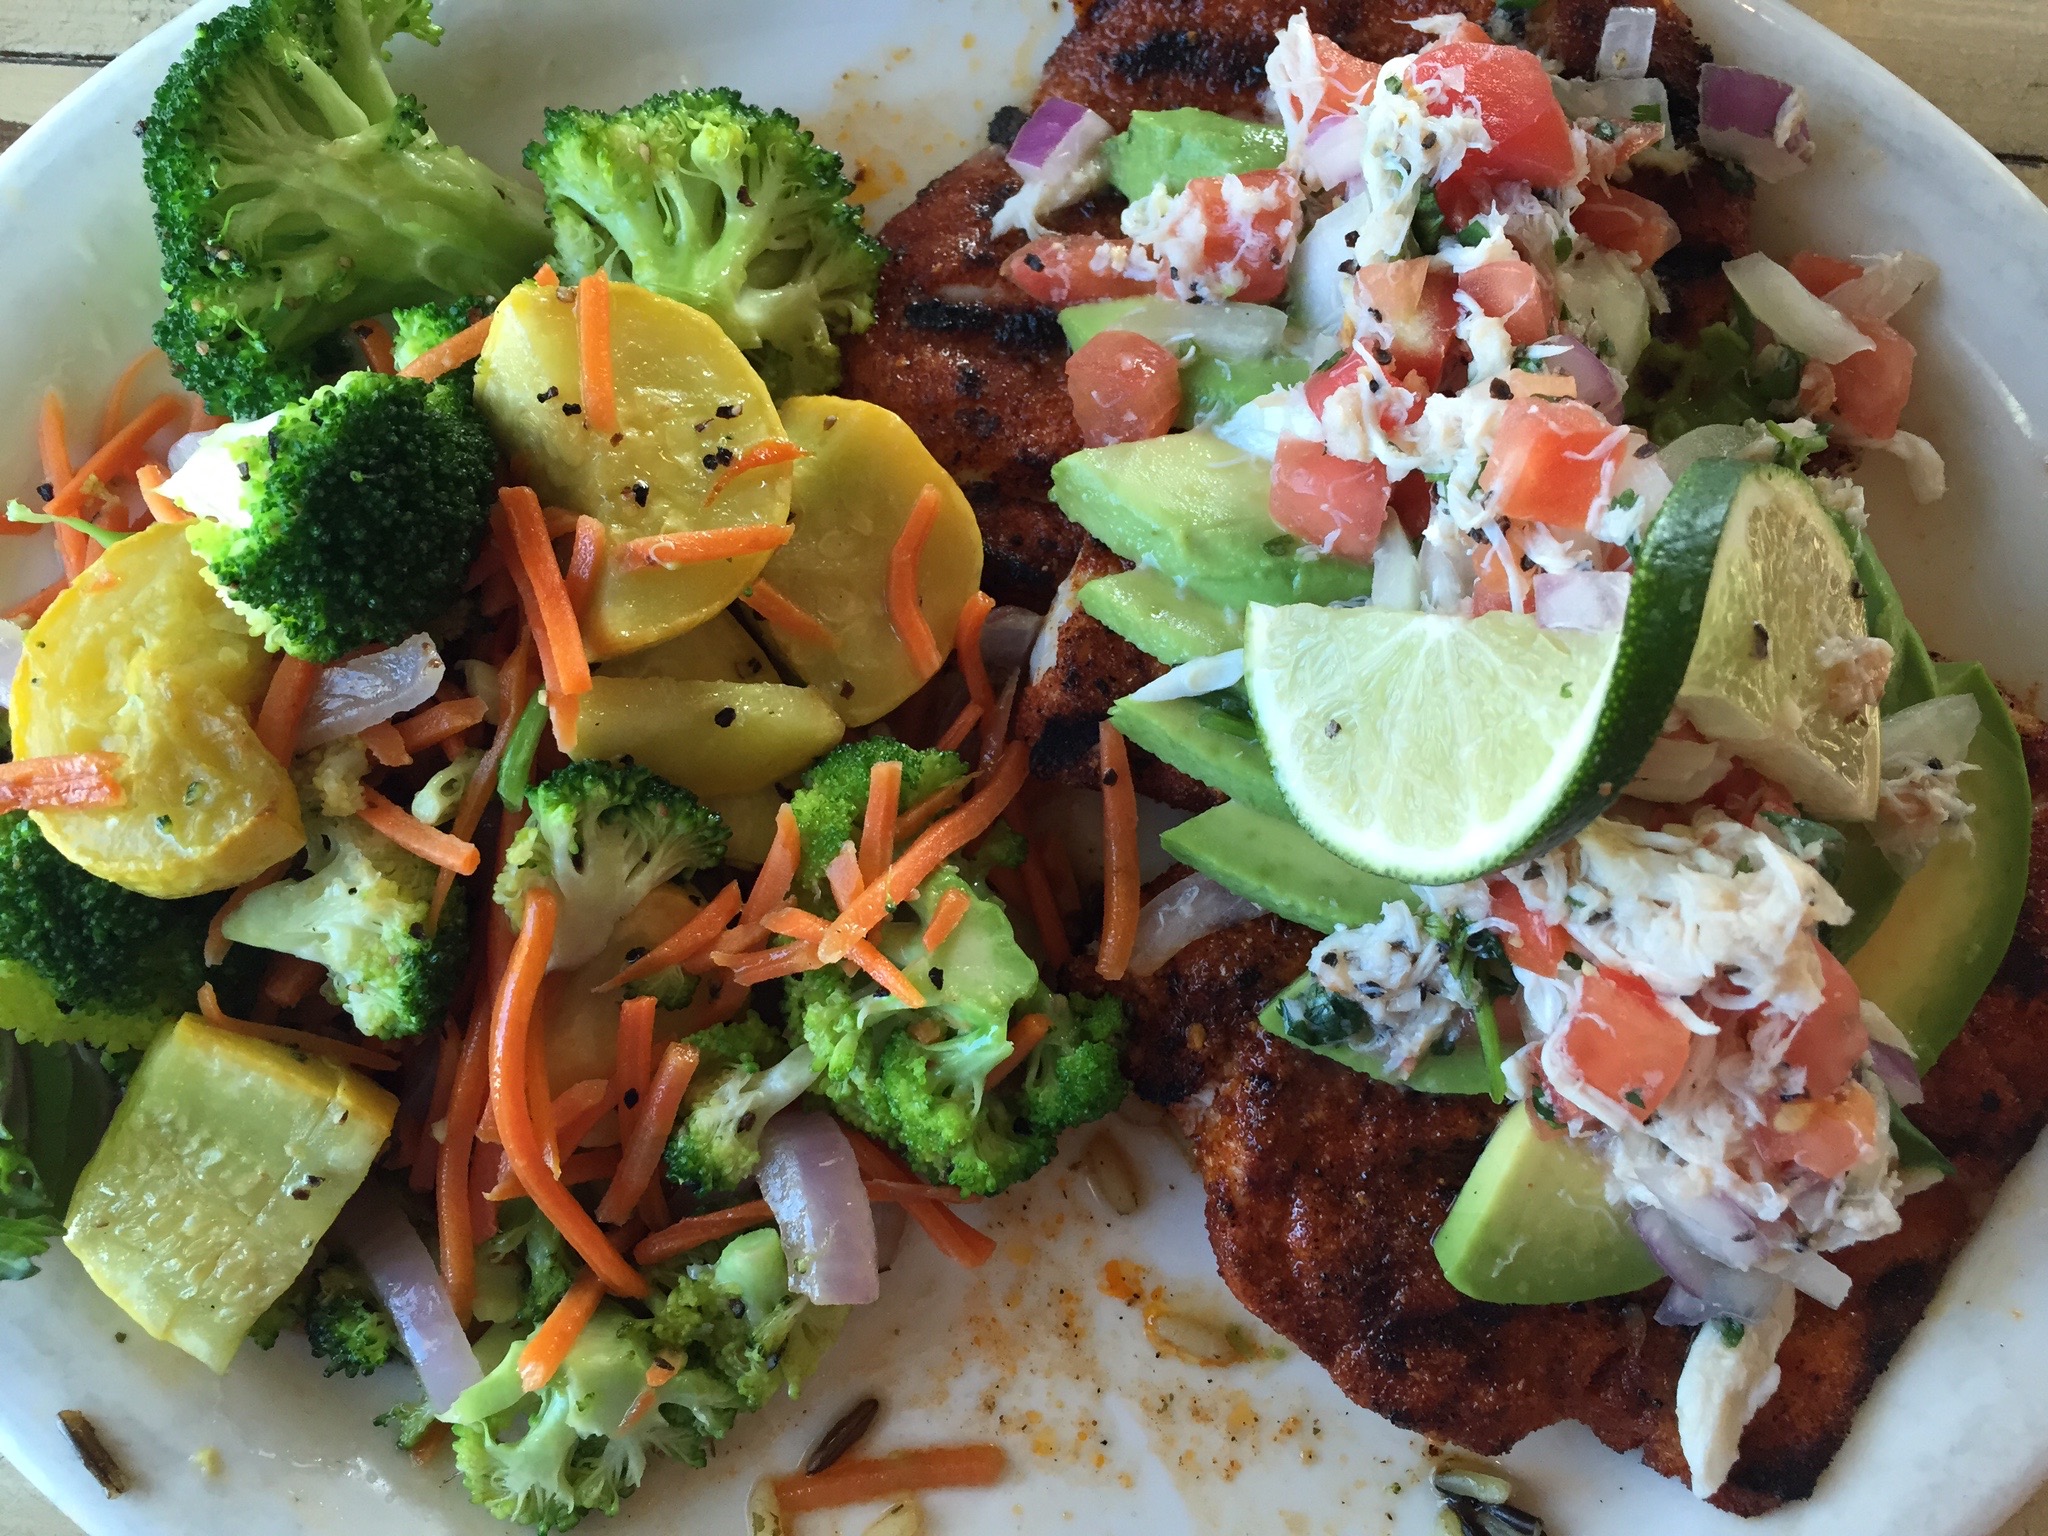
8. We always eat out one night for some fresh fish. It just happened to be Snapper season, so my husband and I both started with peel ’em and eat ’em shrimp, and ordered the Snapper Special at Seafood and Spaghetti Works that was fantastic. It was blackened in butter and topped with sliced avocado and a crabmeat pico de gallo. It was amazing, and it could not have been more Keto. Once you learn to eat Keto, it really becomes easy to eat out. See our tips in our eating out post.
Isn’t that beautiful? REAL food is just awesome! These are the foods that were designed to fuel our human bodies.
As you can see, I really did no cooking at all for seven nights. It was all reheating, and I had a healthy dinner ready every night with less than 20 minutes of prep time. I literally prepped dinner and set the table while the children were bathing each night!
If you want a relaxing vacation with your family, plan ahead! It is so worth it when you can prepare dinner in a flash while the family is winding down from a fun day in the sun. (Wear your sunscreen!)
We all hope everyone has a safe, fun, relaxing summer filled with memory making vacations!